Puzzle Cube
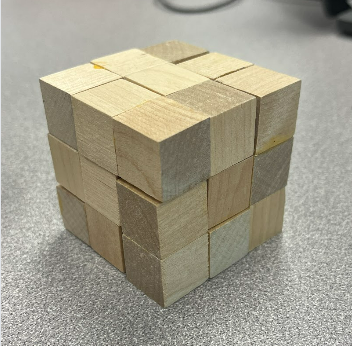
These are directions for making a wooden puzzle cube.
Supplies
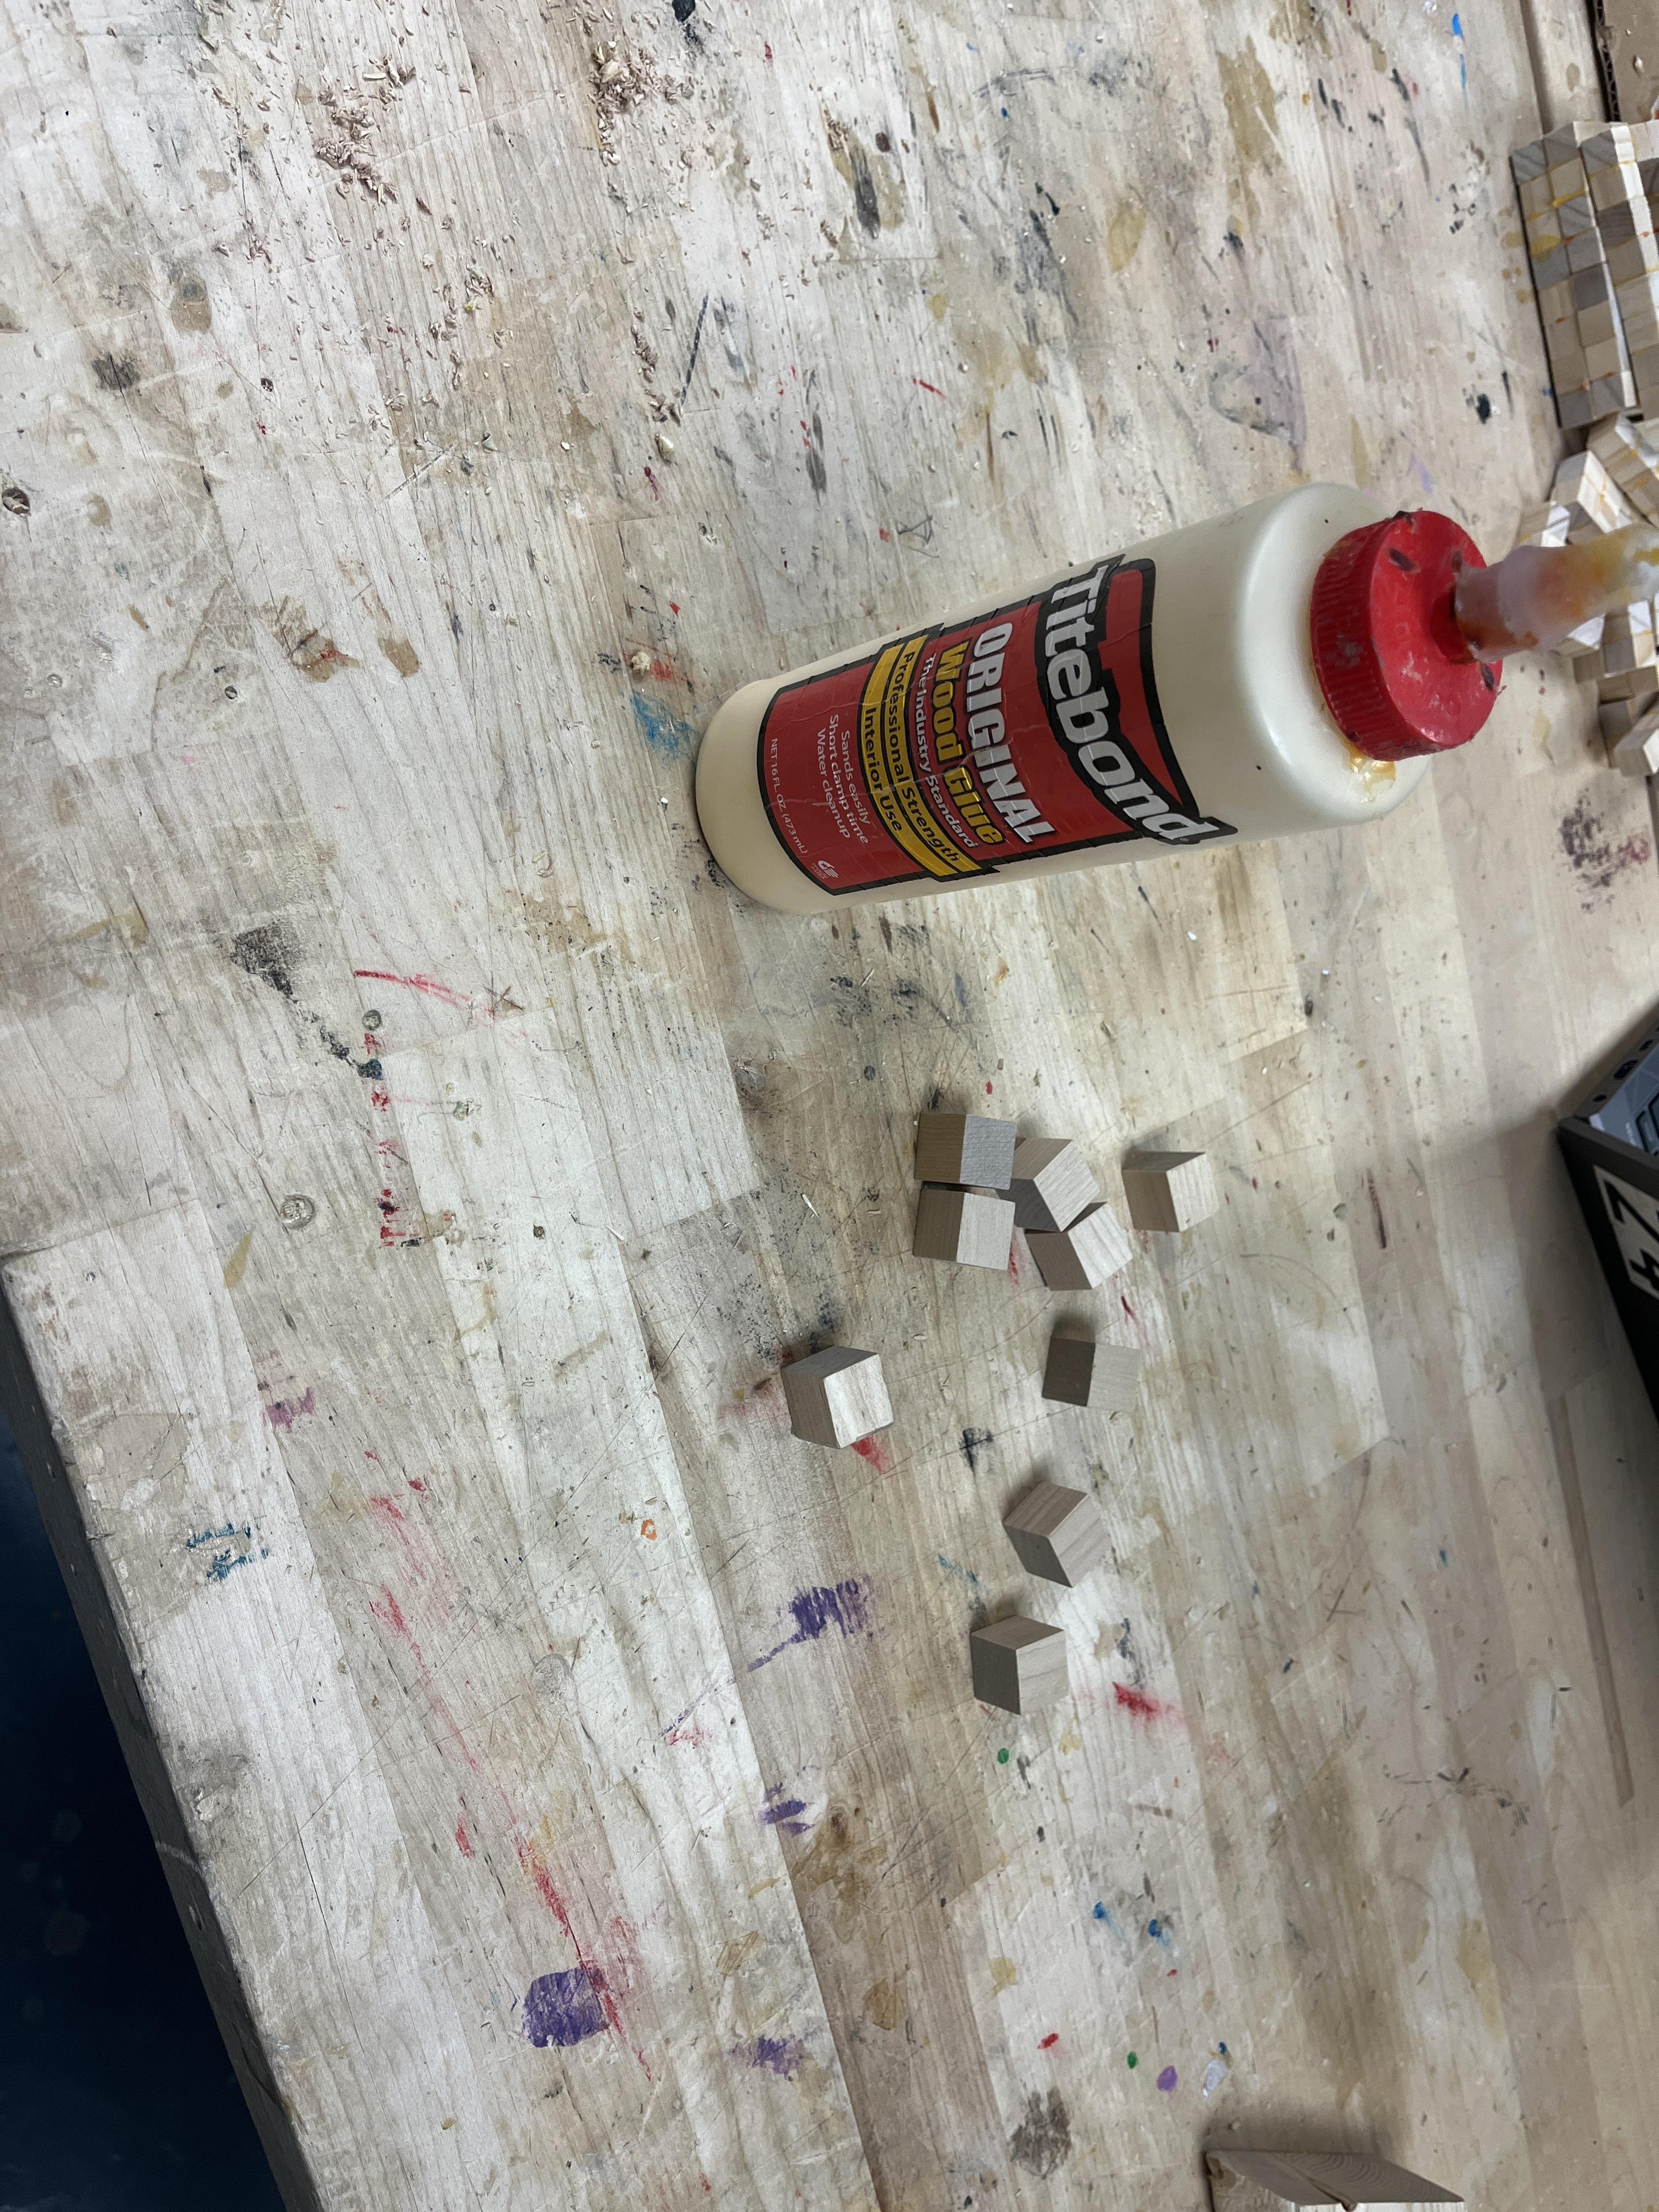
- You wood blocks
- Wood glue
- Fusion 360
- Isometric paper (normal paper is also ok)
- Pencil
Modeling

This is the modeling step. On isometric paper, sketch different pieces that you could use for your puzzle cube. You don't want to make them to small or large, so it's not too easy or too difficult. This can be hard to visualize, so you can use your unglued wood blocks to see if your pieces will fit together, and make a cube.
Modeling on Fusion 360 (optional)
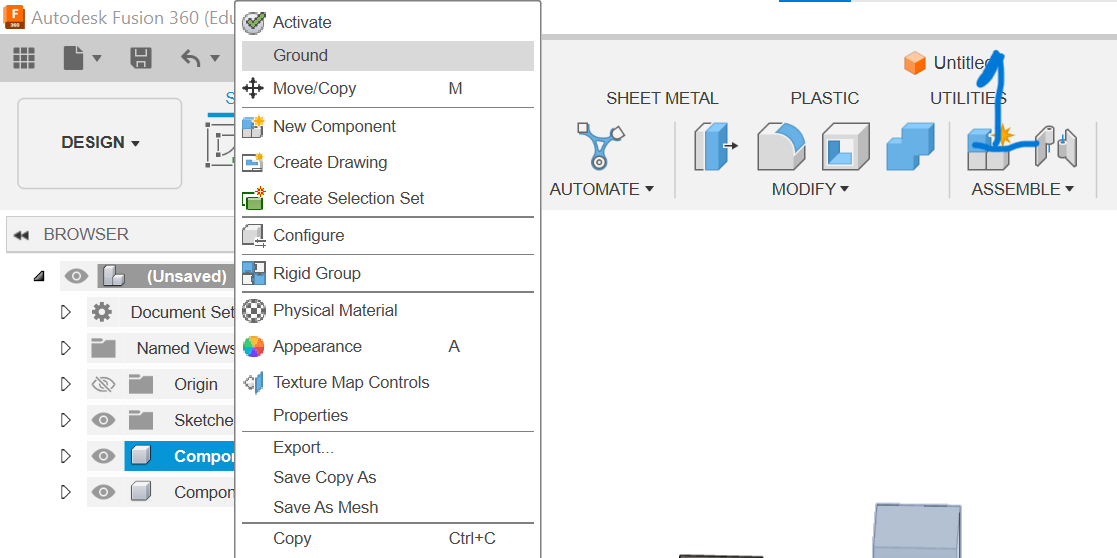

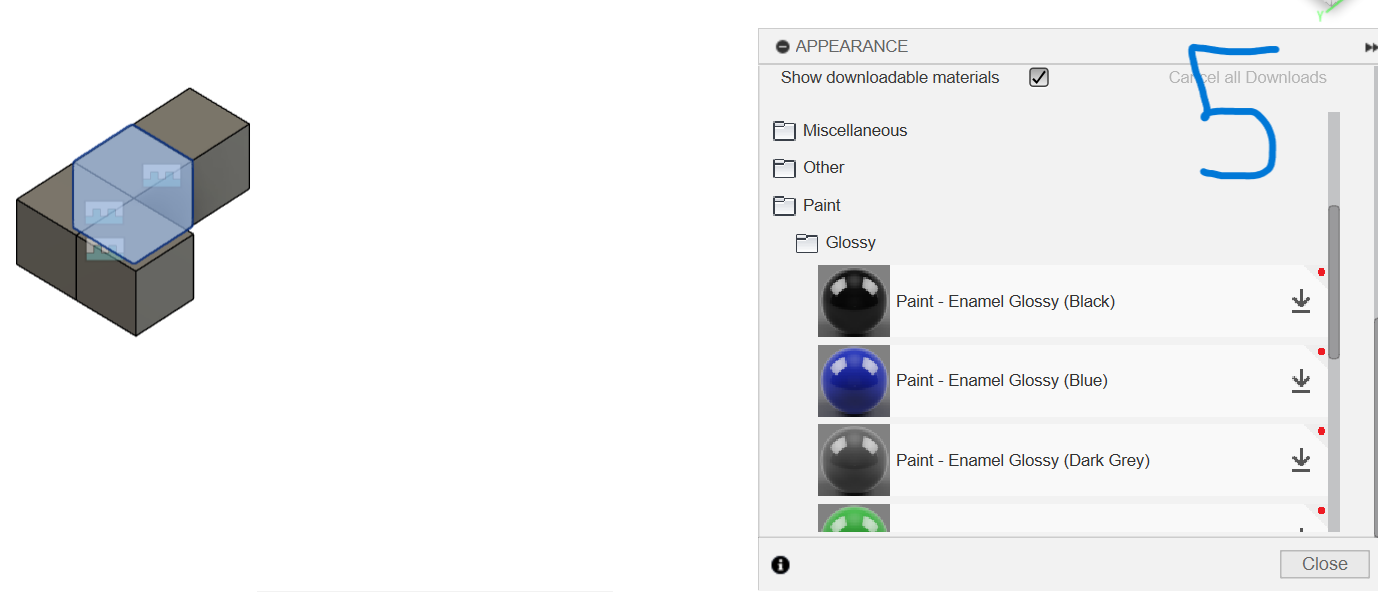
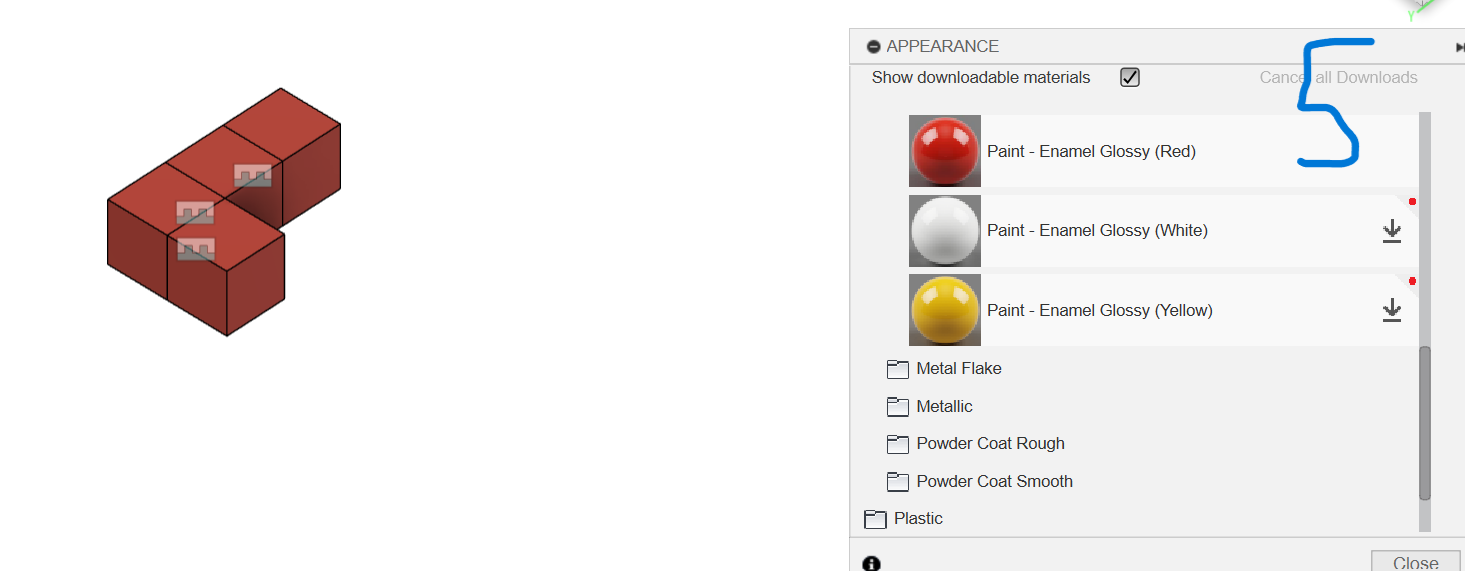
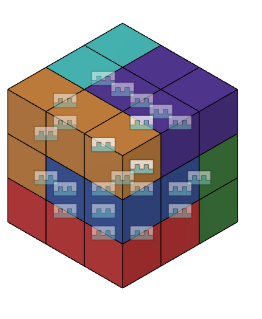
- Make a cube in fusion (you'll need 27 in total)
- Ground one of the cubes
- Use the joint tool to connect the faces of your cubes
- Click appearance on one of your components, and go to the paint folder, and within it go to glossy. Then, download a color and drag it on to each cube
- Repeat, and make all your pieces different colors, until you have made all your pieces.
- Connect each of pieces to each other, using the joint tool. You only need to connect 1 face to another, the rest of the piece will move with it.
(Click on the Pictures to see the step they correspond to)
Gluing
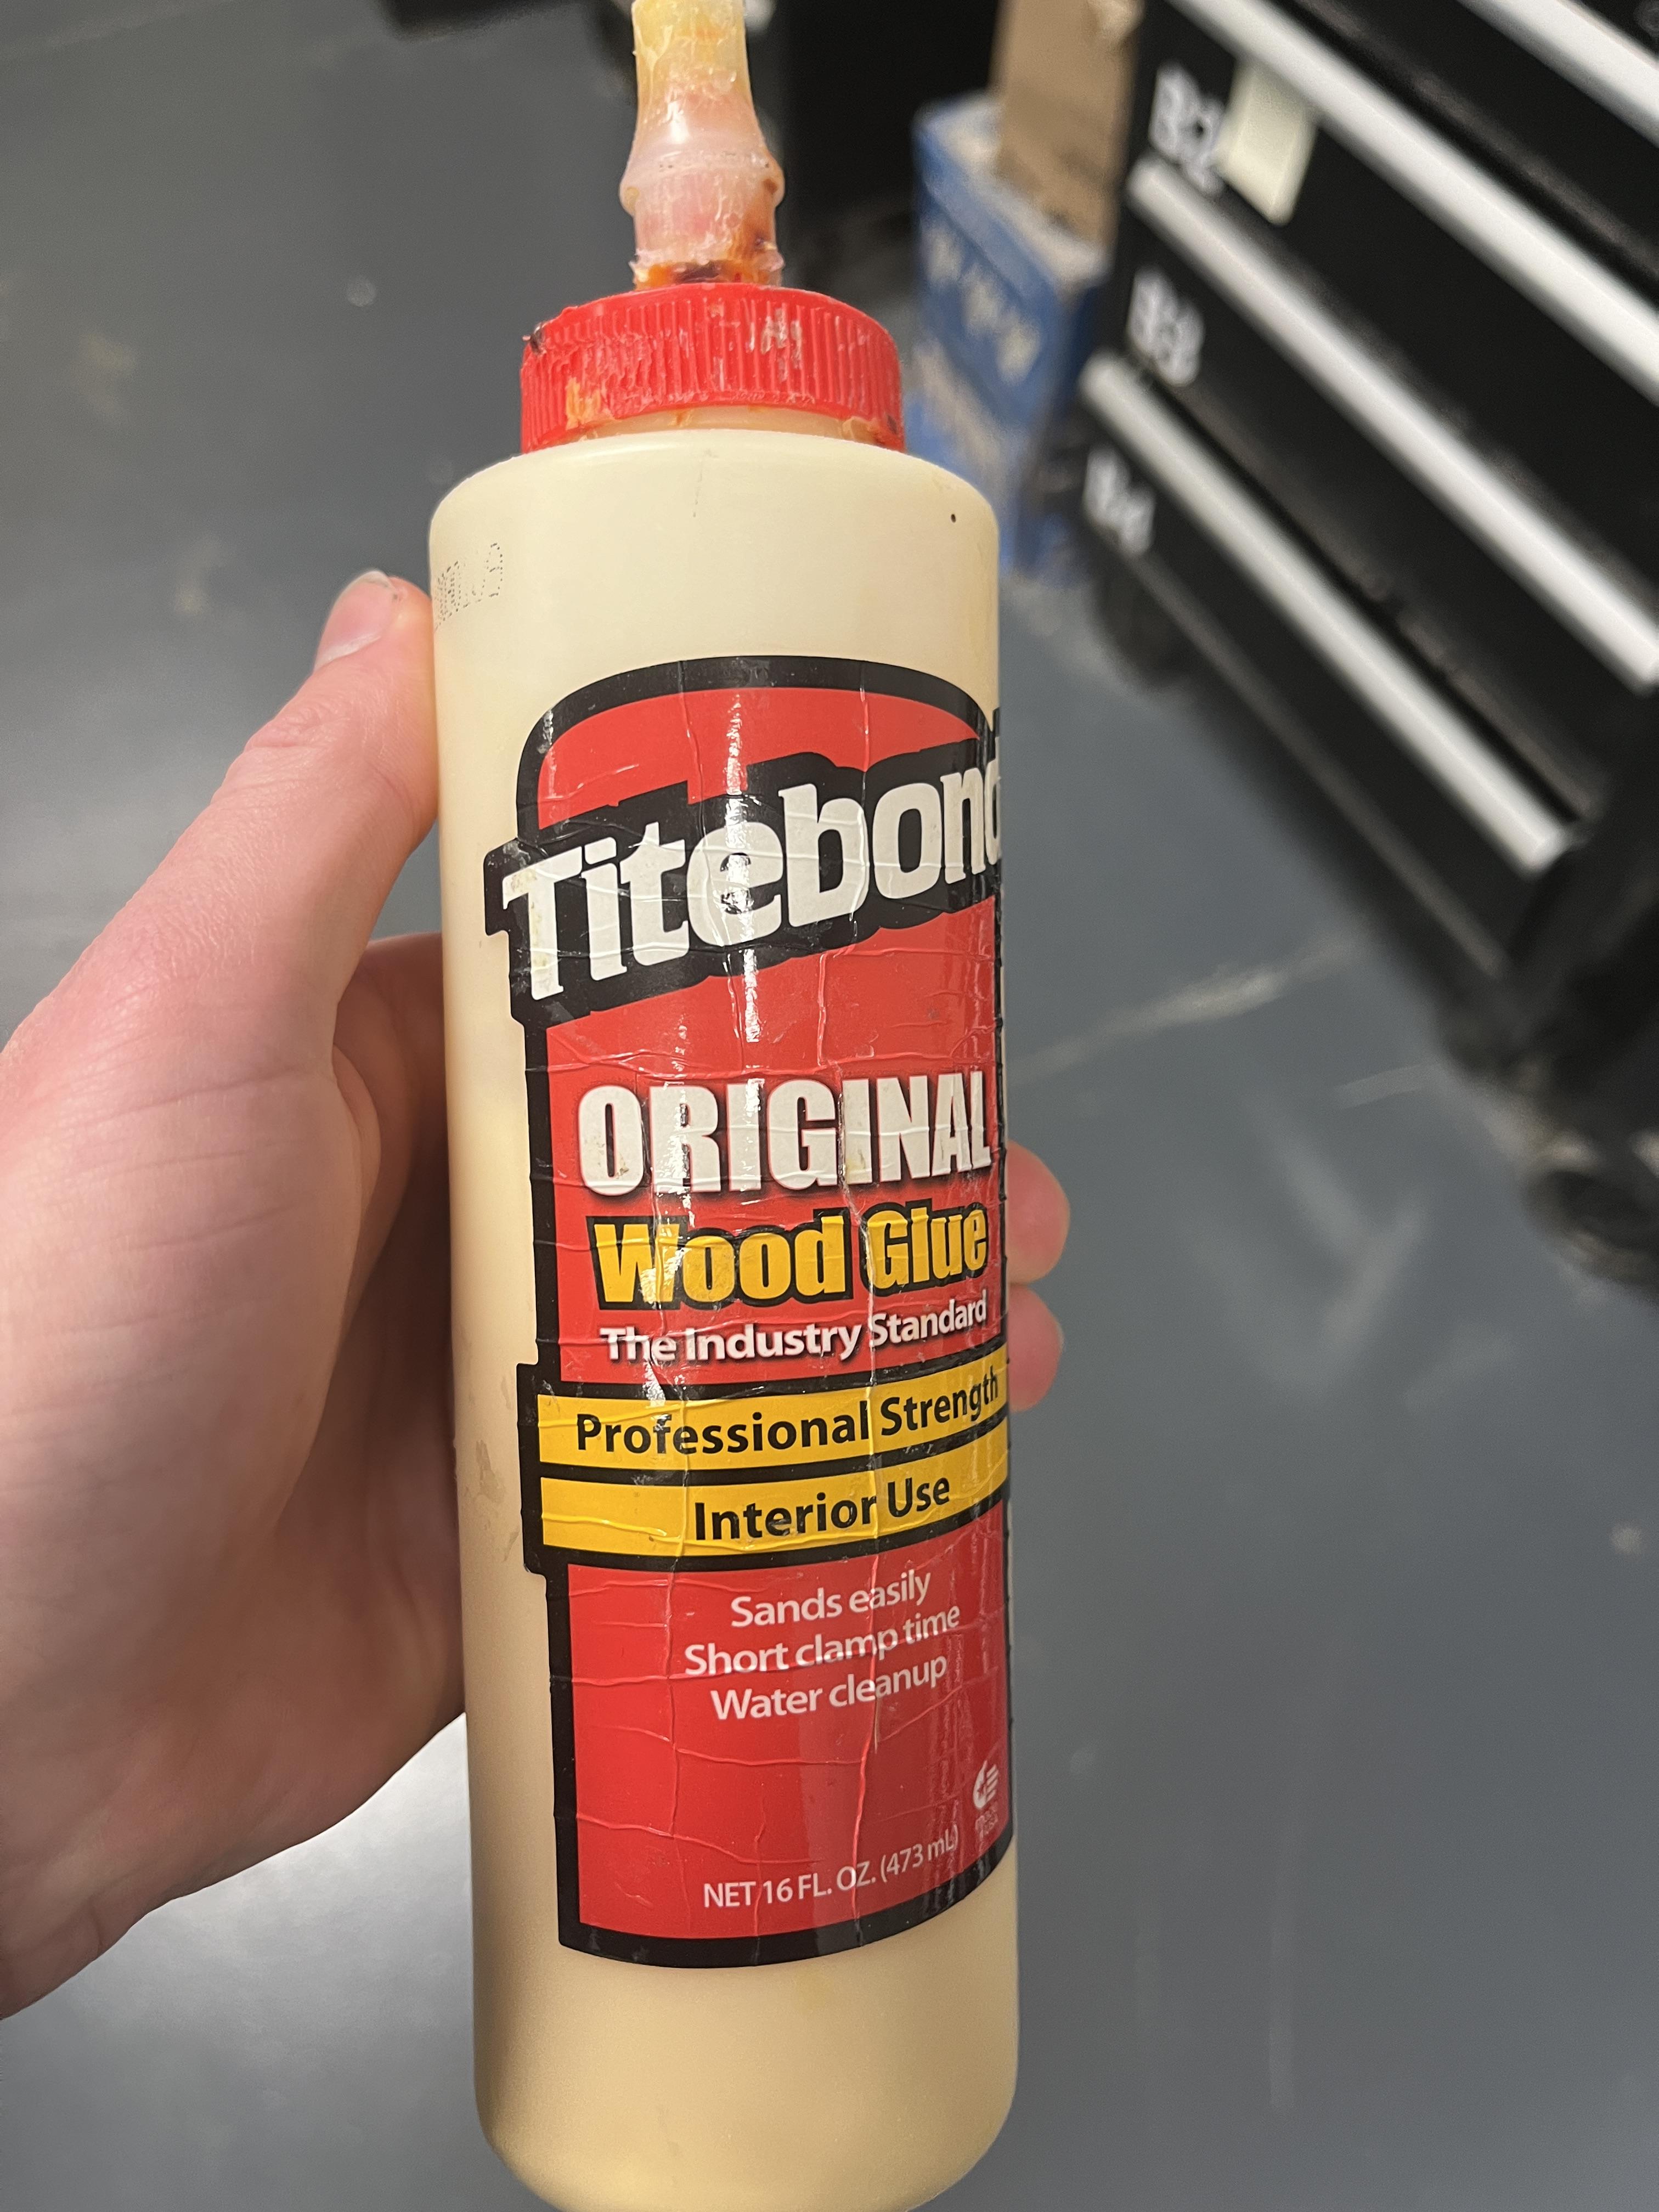
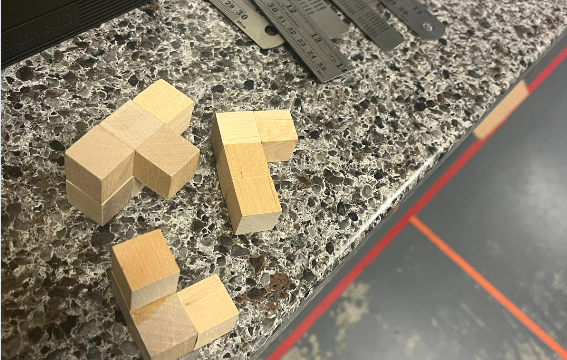
Now, glue your wood blocks together with wood glue. Spread the glue on one face, I suggest using something like a popsicle stick to spread the wood glue. Glue the shapes together based on your isometric drawings or your fusion model. Dry time will depend on the wood glue.
Congratulations!
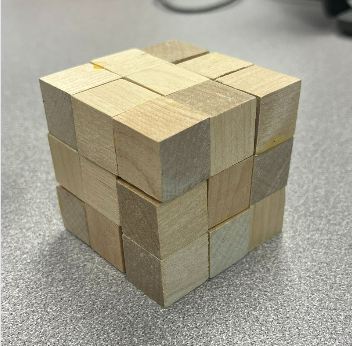
Your puzzle cube is done! Enjoy!