Puzzle Box Tinkercad Design
by implaxis in Living > Toys & Games
6651 Views, 42 Favorites, 0 Comments
Puzzle Box Tinkercad Design
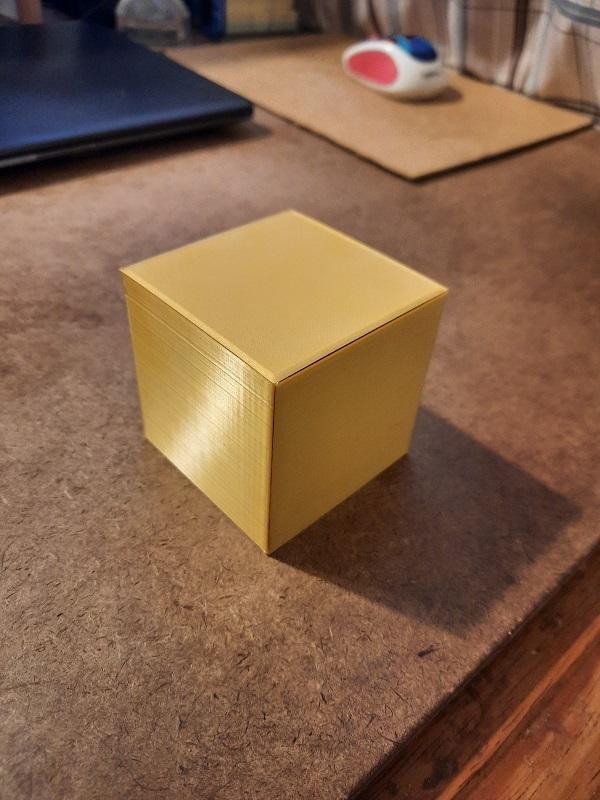
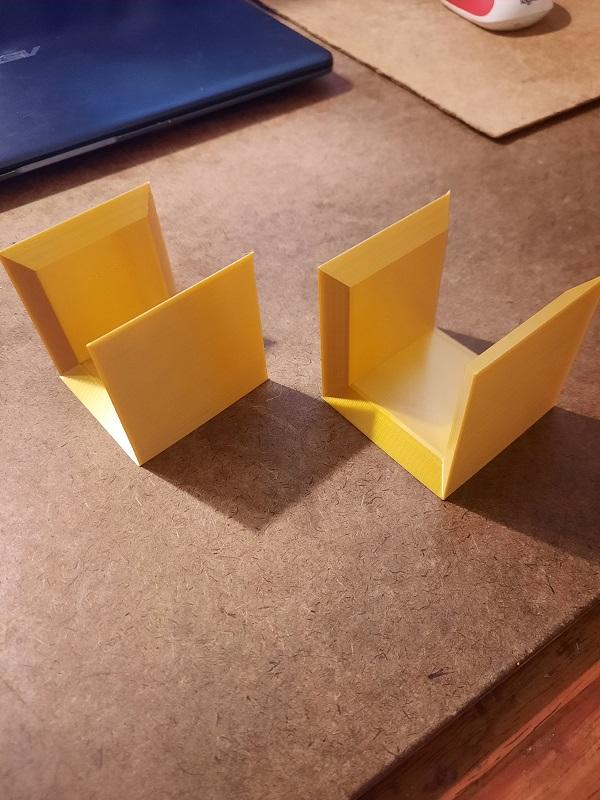
Make this intriguing puzzle box for storing or hiding things!
(Complete instructional video is in Step 9)
Supplies
Tinkercad 3D design software
3D printer and printing software
Plastic filament
Edge refining tools
Open Tinkercad and Create a Box.
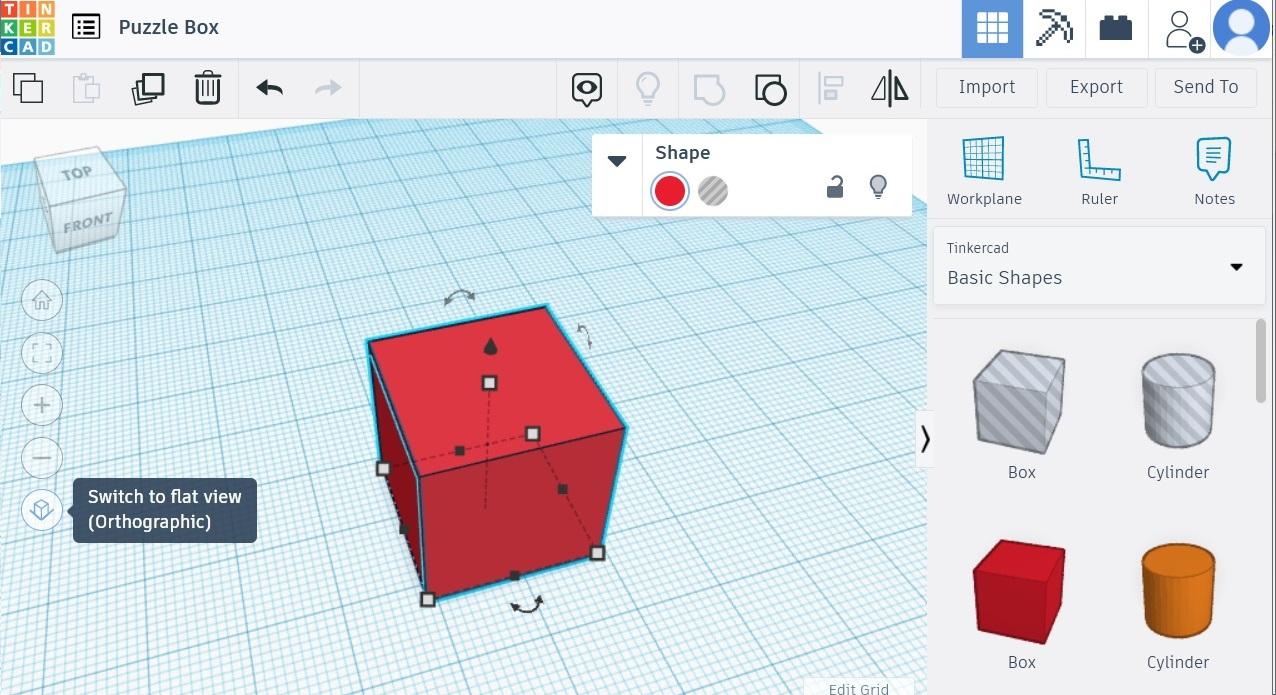
Add a solid box from the Basic Shapes library.
Click the View to switch to Orthographic Mode. It will make it a lot easier to line things up!
Size the Box.
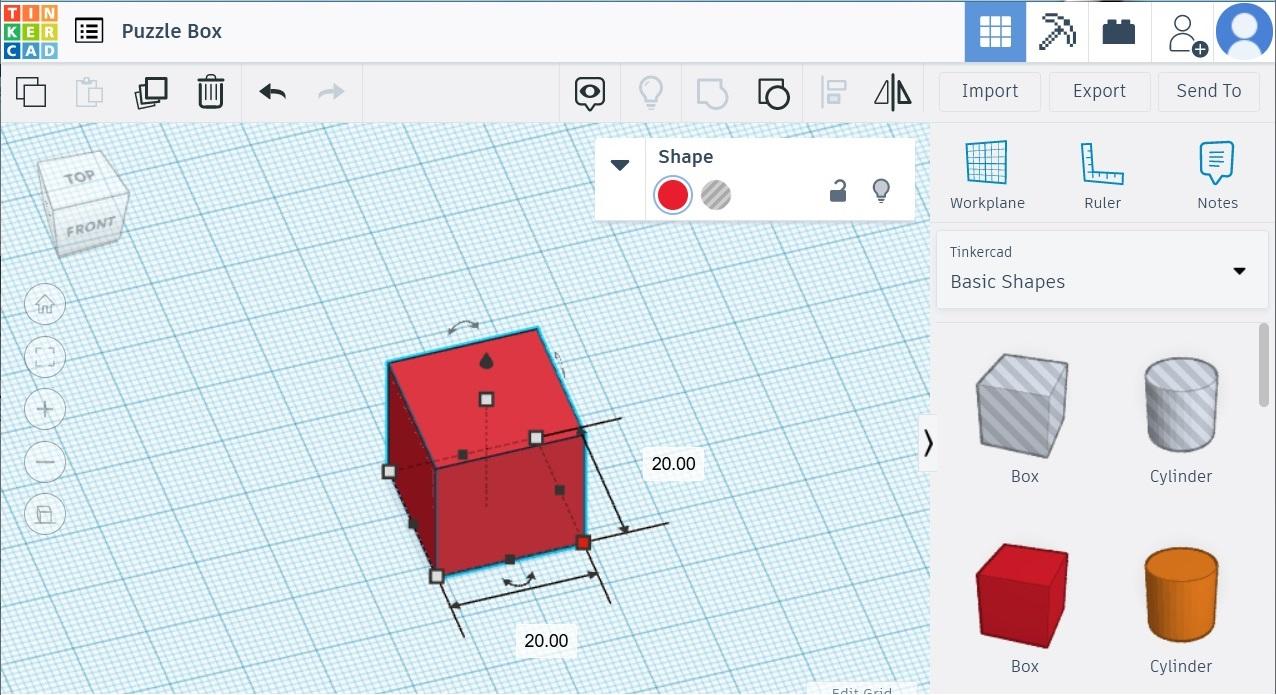
Select one of the corner handles, hold the Shift key, and expand to the desired size. (Holding Shift will retain the cubic proportions.)
Add a "hole" Rectangular Box.
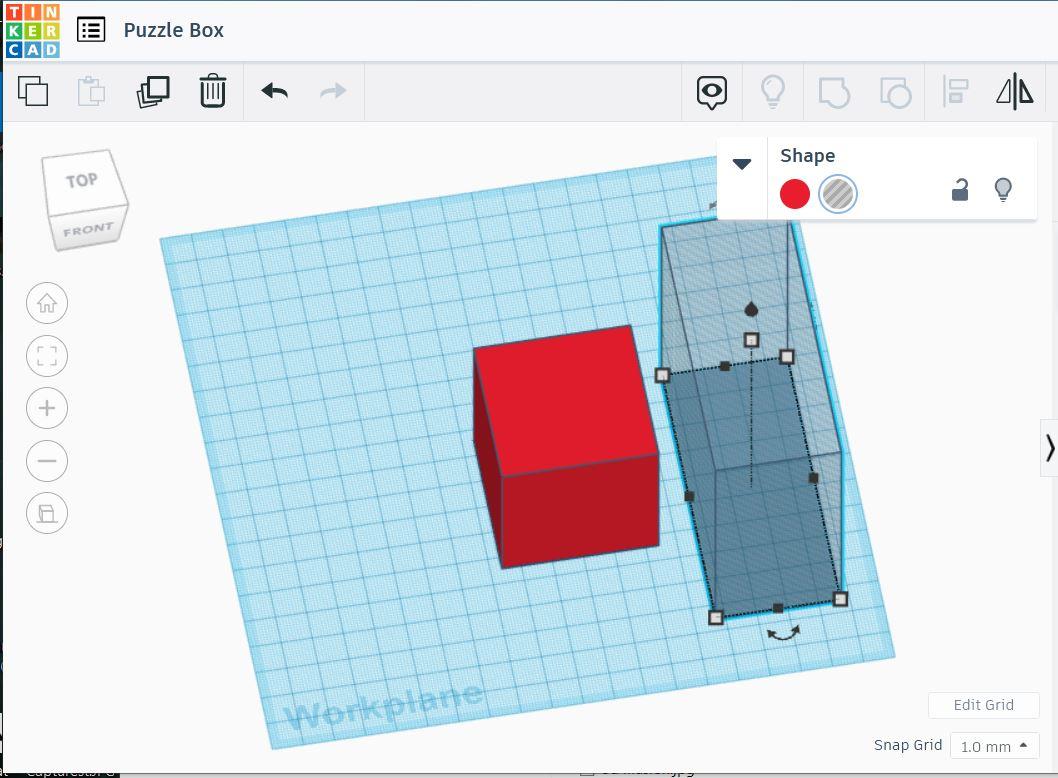
Determine how thick you would like the walls, and set the hole box width to allow for that.
Here the solid box is 50mm square, and the rectangular hole is set to 40mm wide, allowing for 5mm of wall space on each side of the solid box.
Move the Hole Into the Solid Box and Create the Basic Frame.
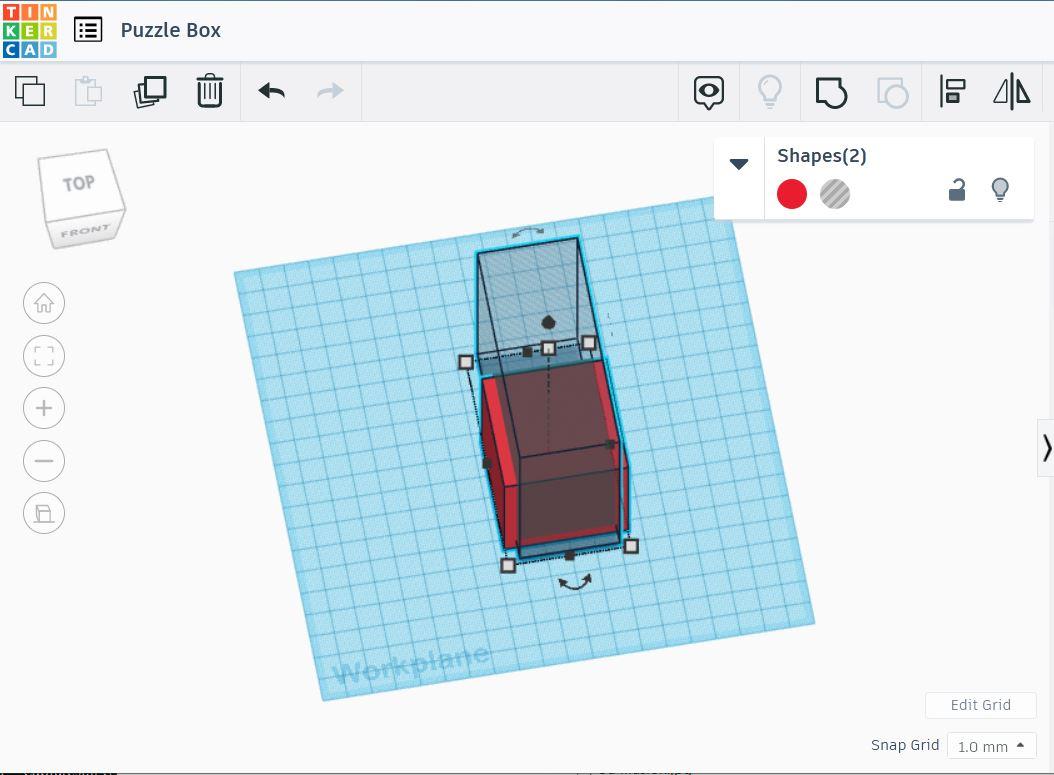
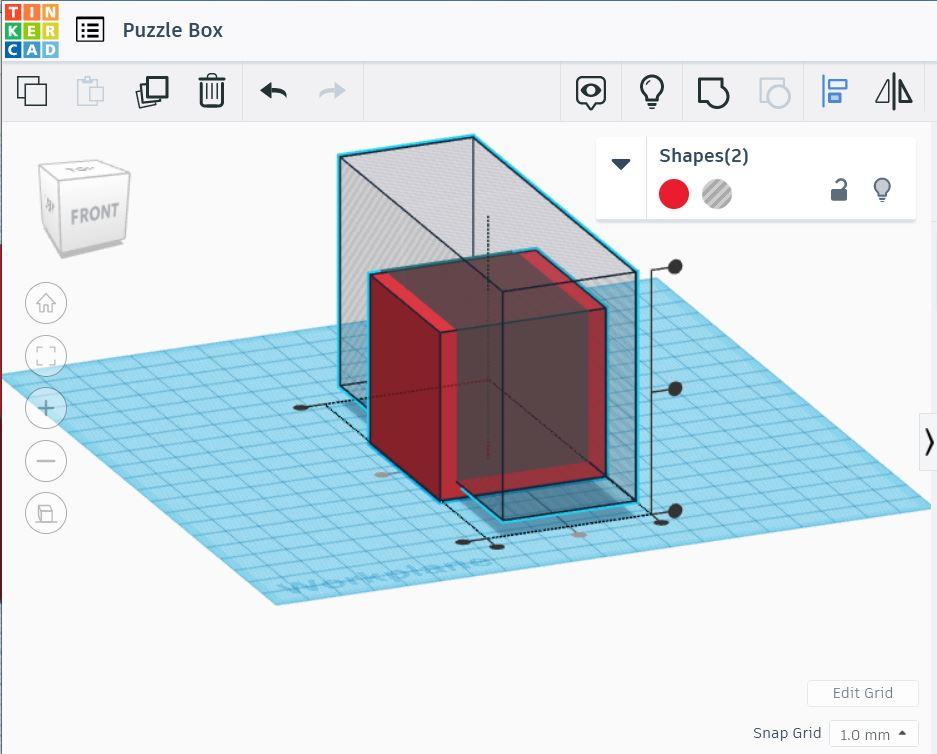
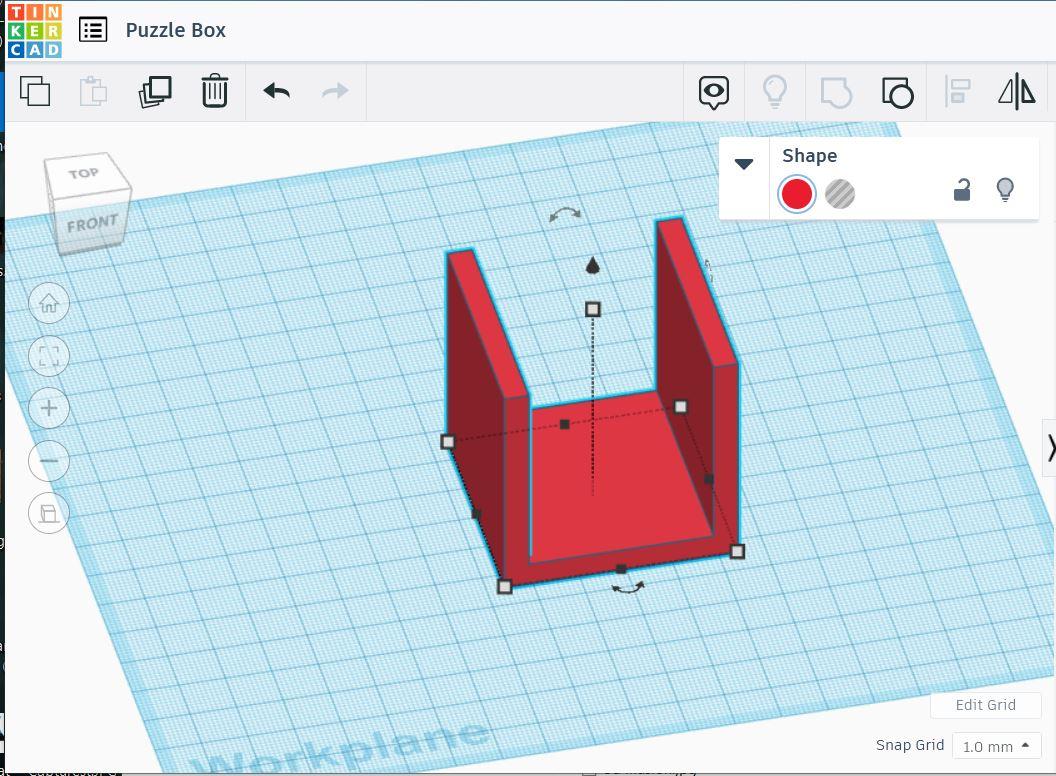
Place it so that there are 5mm of solid space on the sides and the bottom.
Use the teardrop shape on the top or bottom of the form to move it up or down along the z axis.
Use the Align tool to center the hole form along the x and y axes.
Select both forms, and use the Group tool to combine them. This creates a hole with the basic box wall form.
Create the Angled Shape.
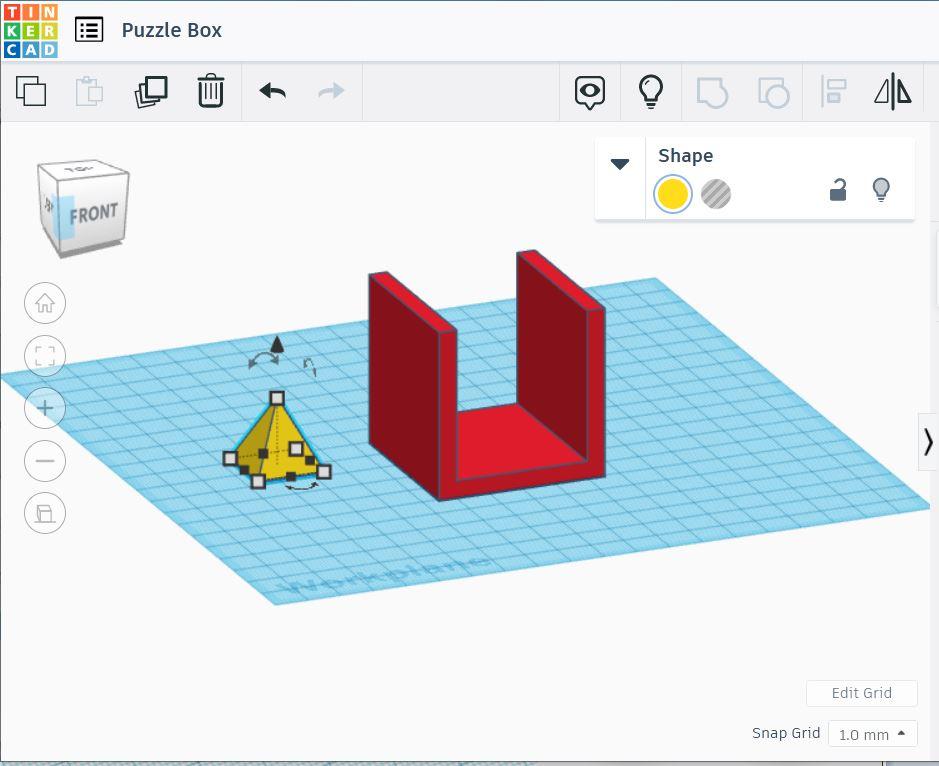
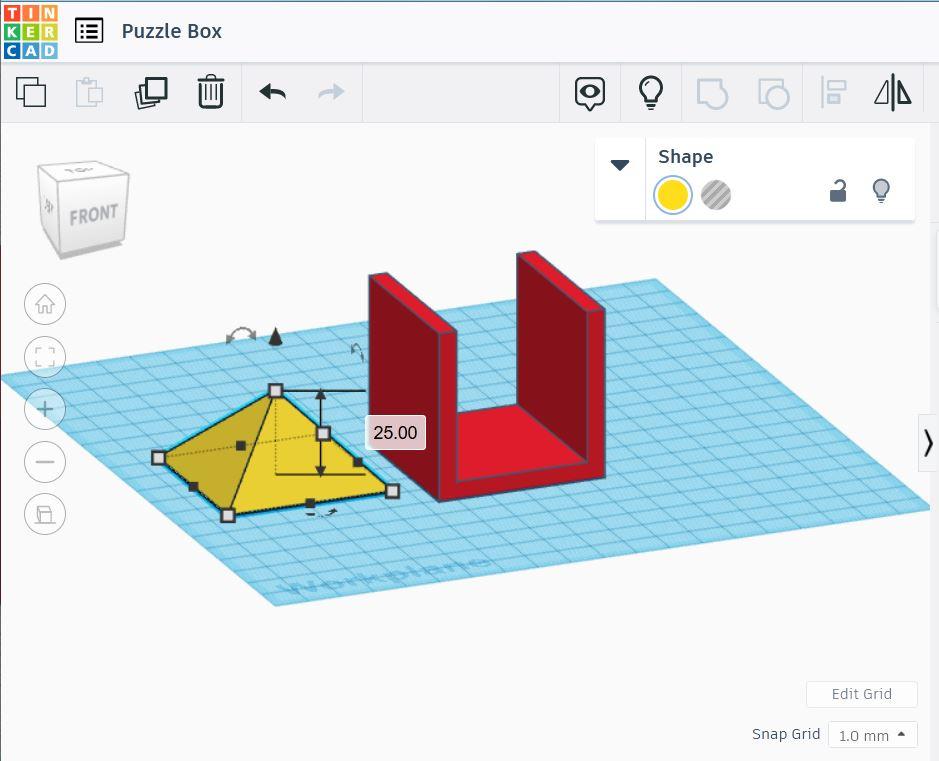
From the Basic Shapes library, select a pyramid. The base should default to 20mm.
Expand the pyramid shape. Set the base to the base size of the box. Set the height to 1/2 the height of the box. Here the base is 50mm x 50mm, and the height is 25mm. (It's math!)
Place the Angled Form and Create the Angled Sides.
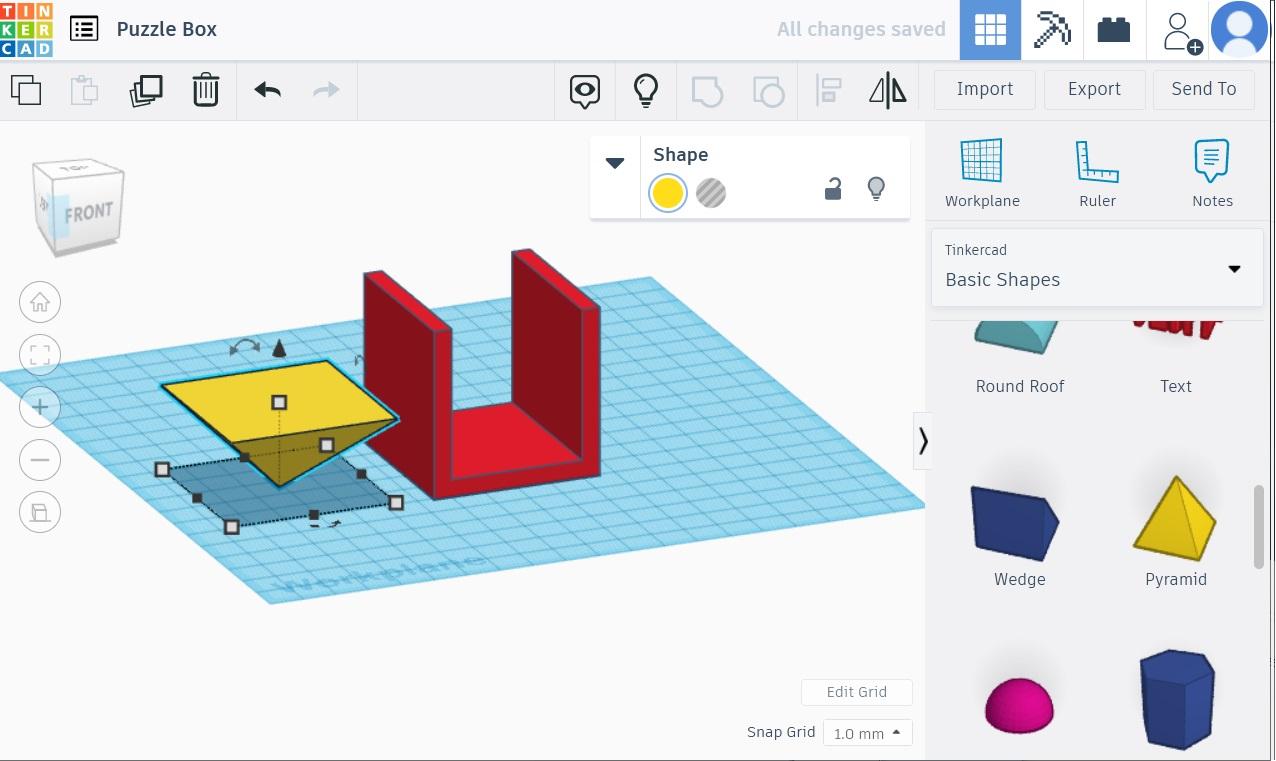
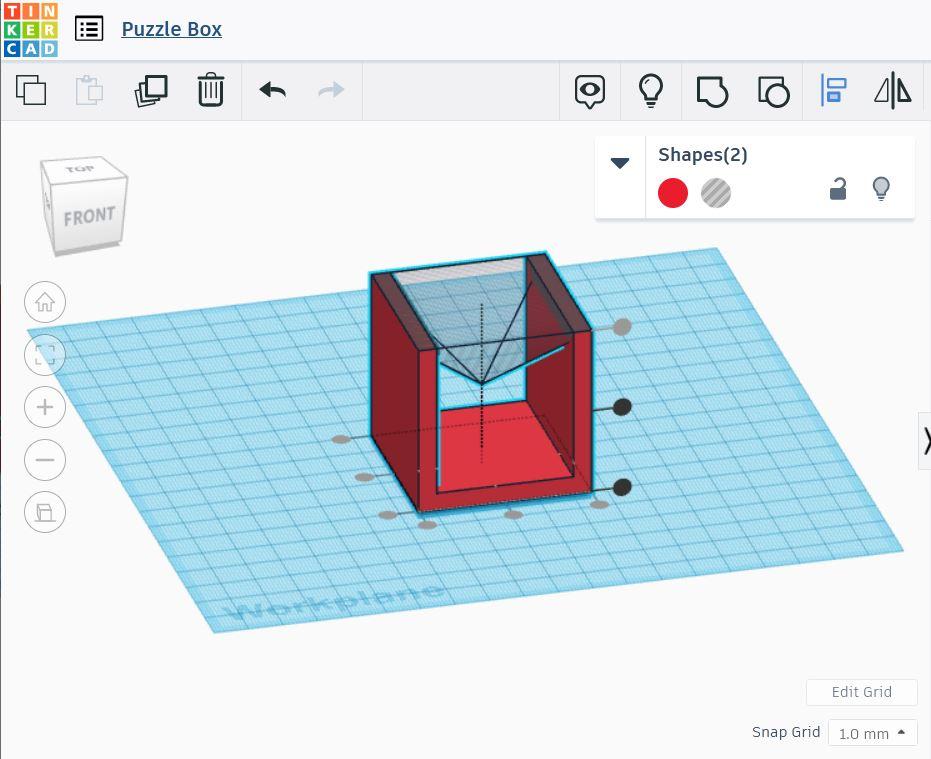
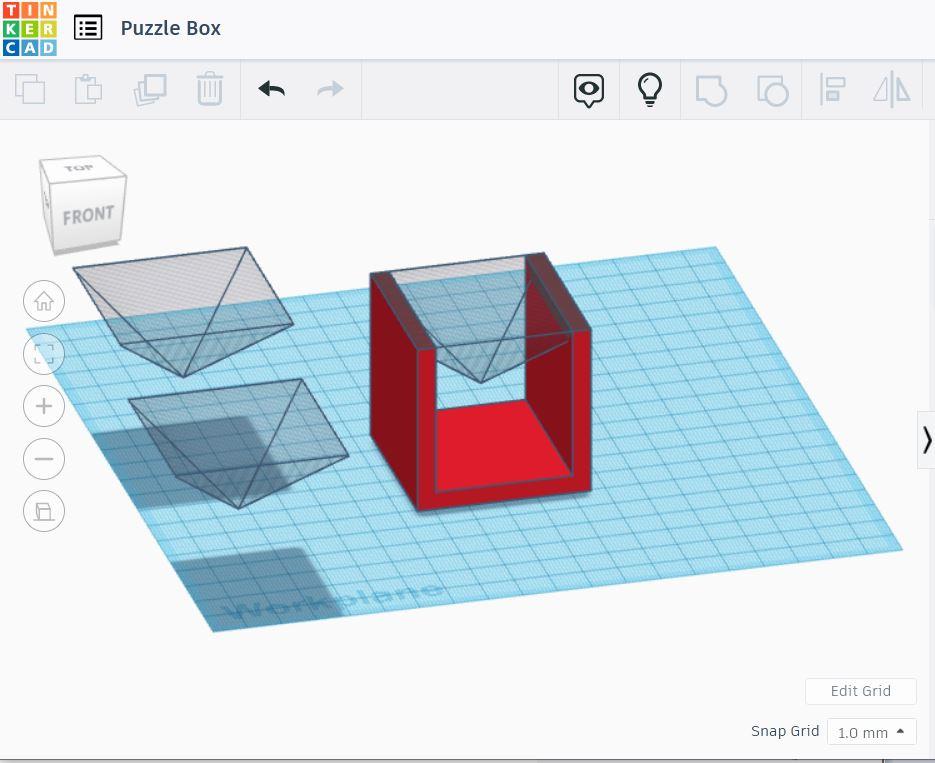
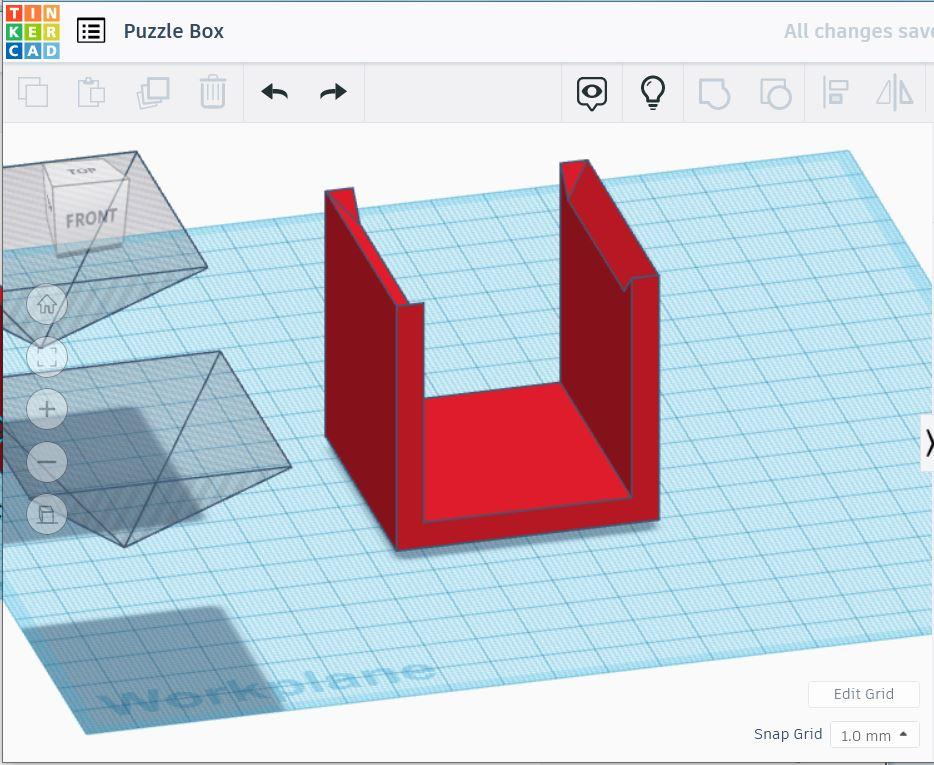
Use the Rotate tool to invert the pyramid form 180 degrees.
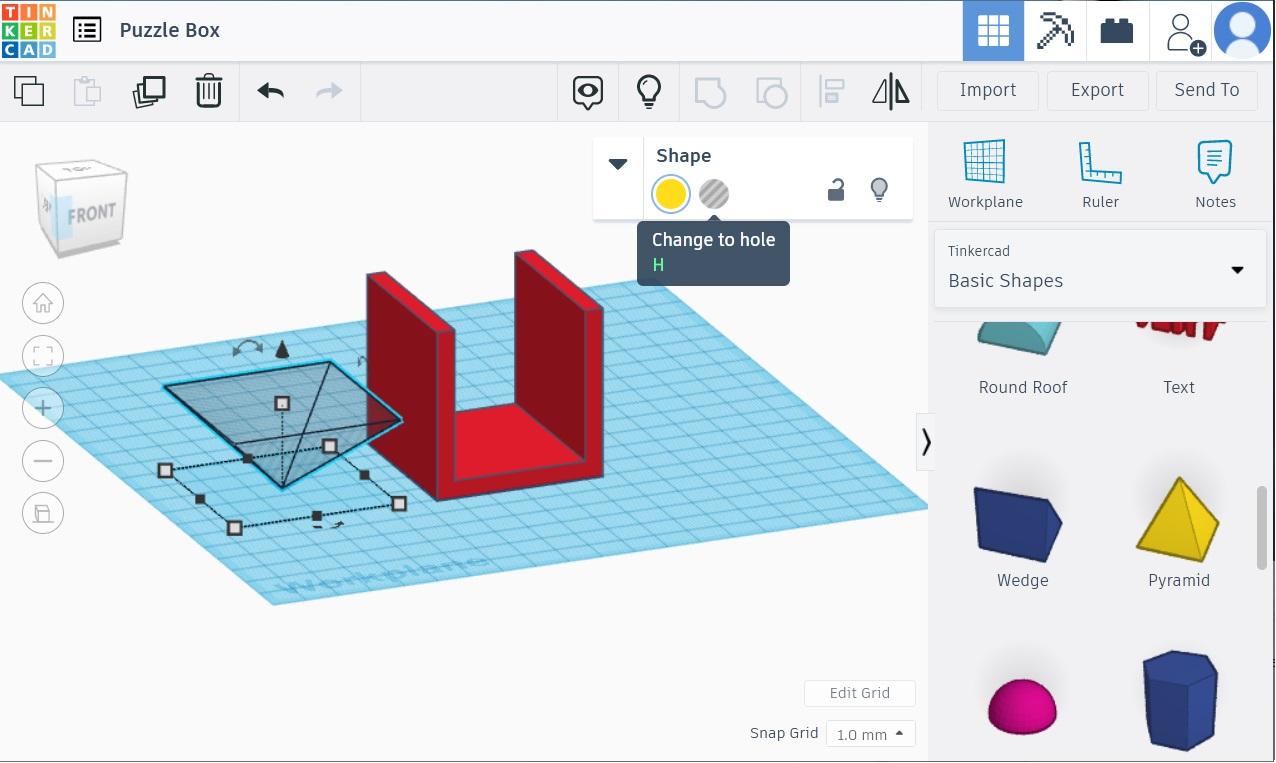
Select the pyramid and press H (or use the Hole tool) to change it from a solid form to a hole.
Move the pyramid hole to the top of the box. Use the Align tool to center the hole over the base, and align it to the top.
Duplicate the hole form two times and move aside.
Select the touching box and hole forms and click Group to create the angles for the top edges.
Create the Remaining Angles.
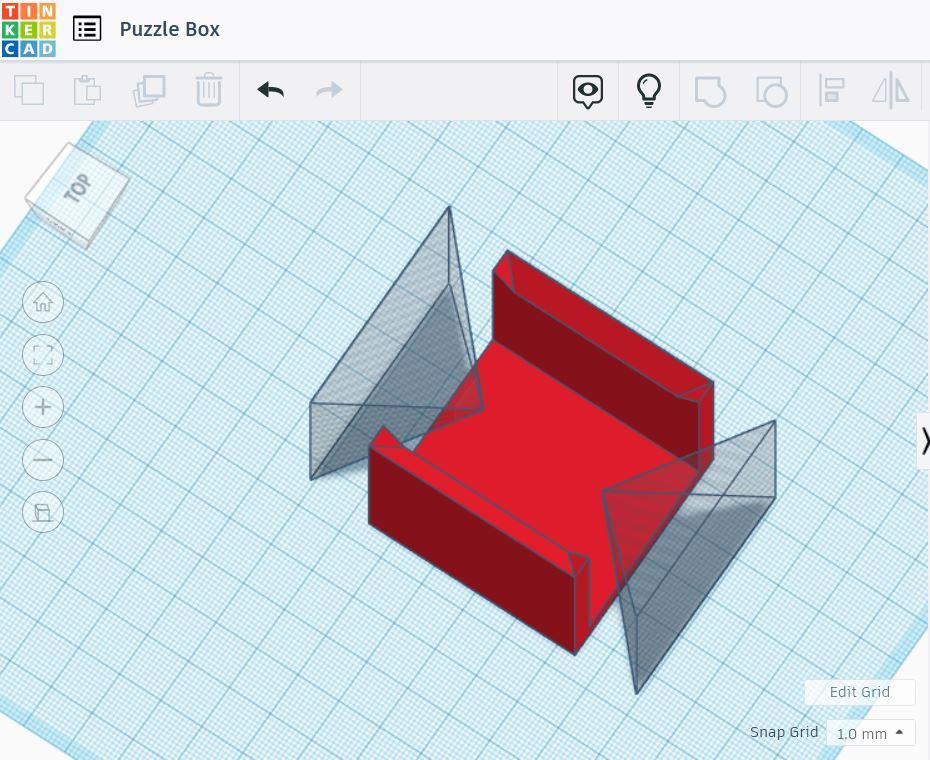
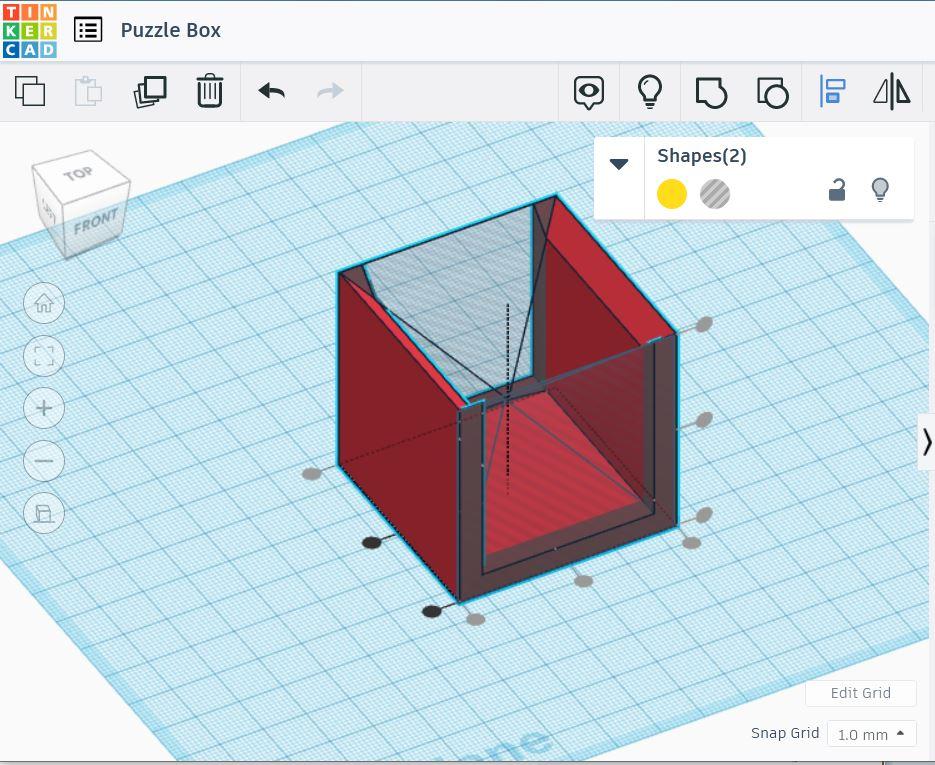
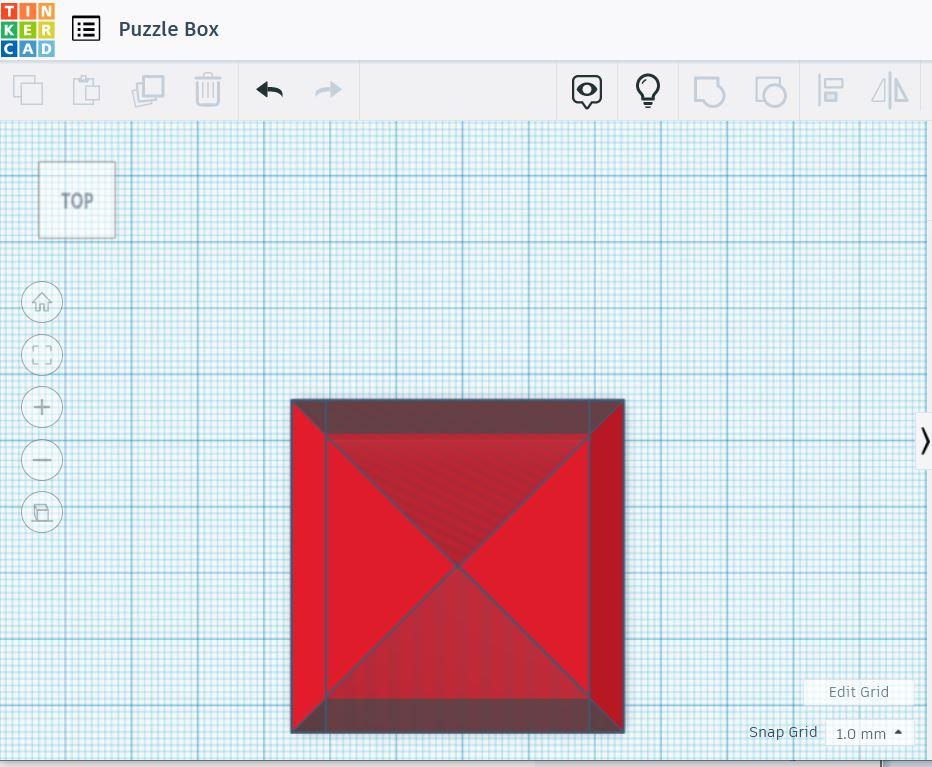
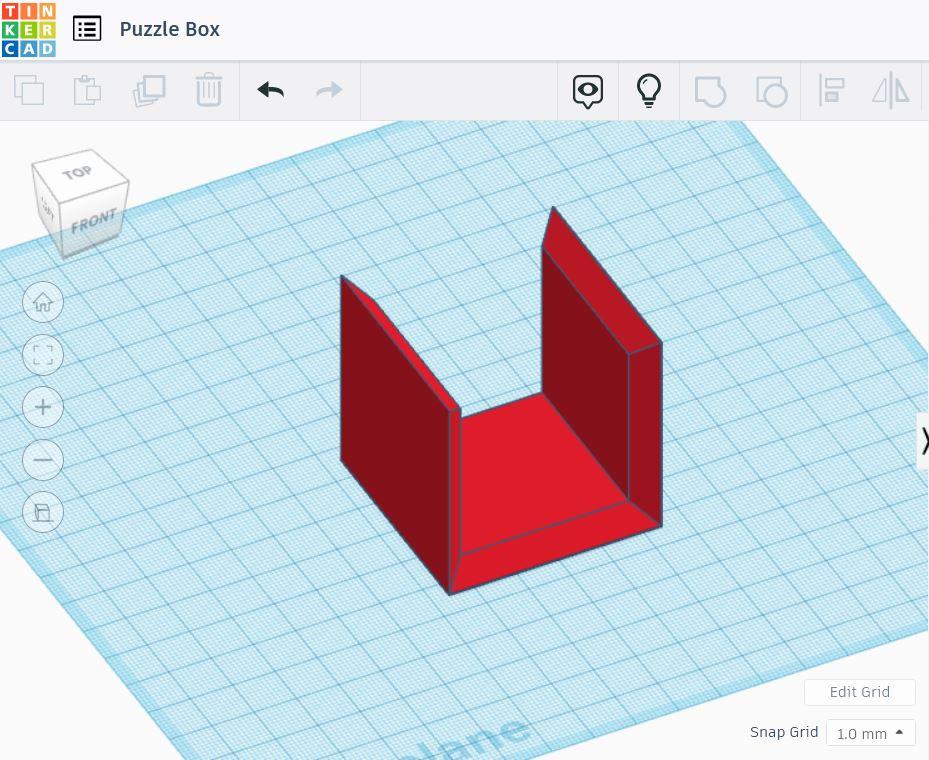
Rotate the other two pyramid holes to opposing 180 degree angles, and move them into position.
Align and center. Note that the bottom edges with be flush with the workplane. (Top view also shown.)
Select all forms and Group them to complete the edges.
Final Check
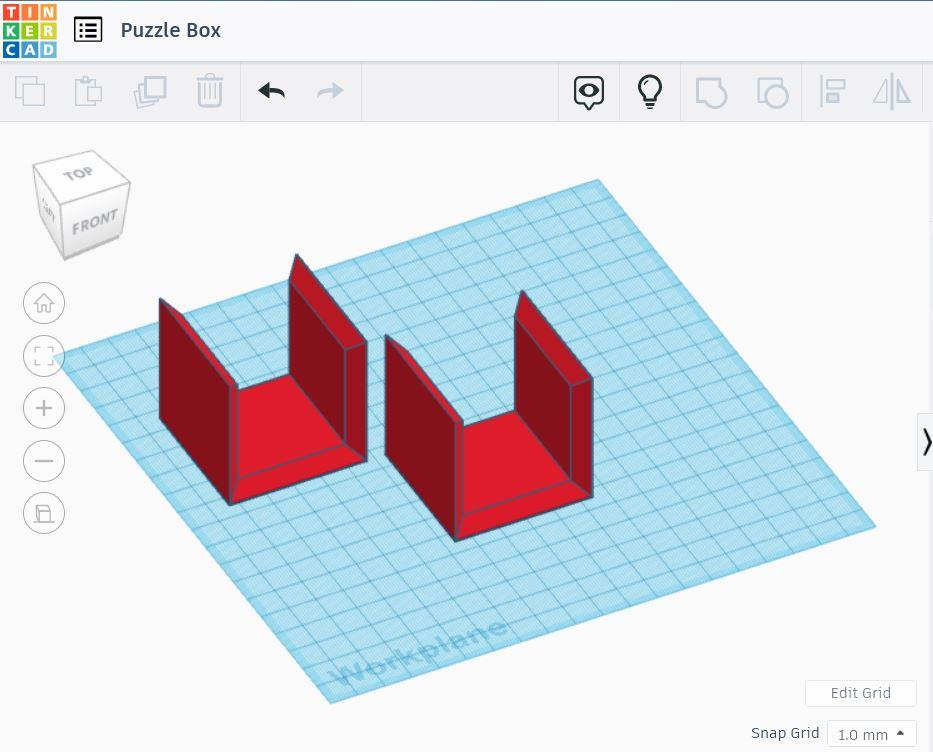
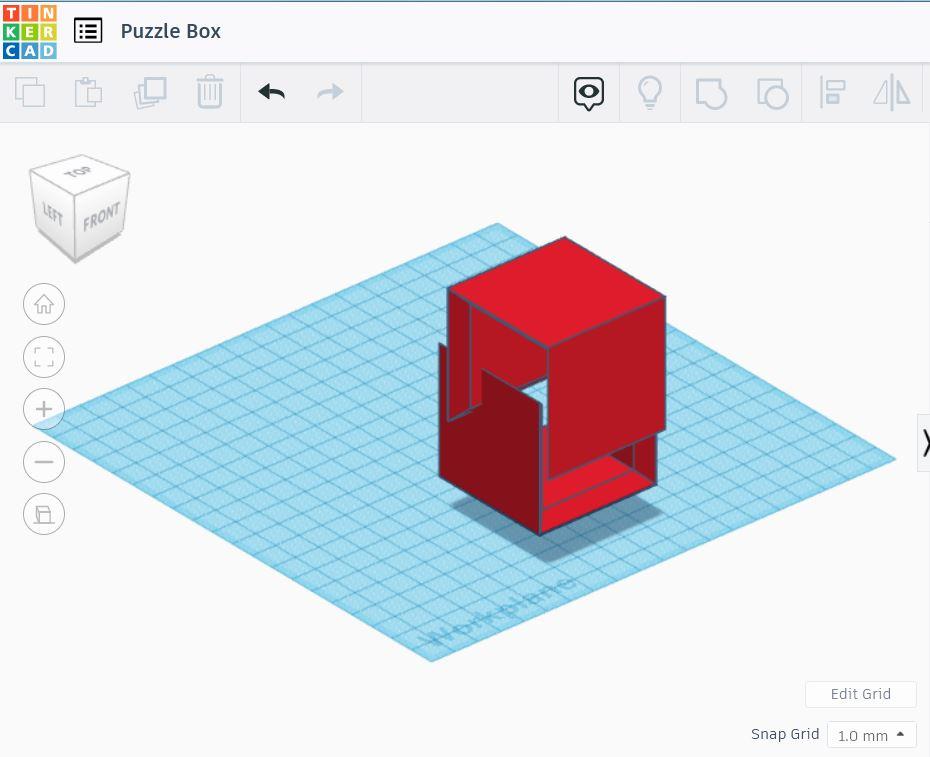
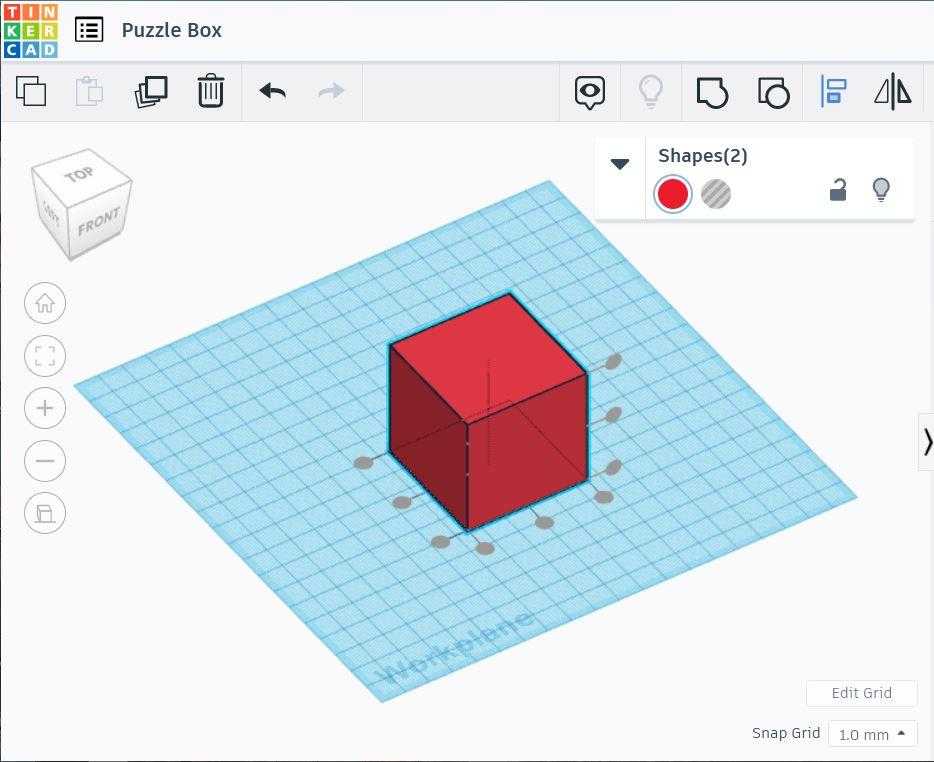
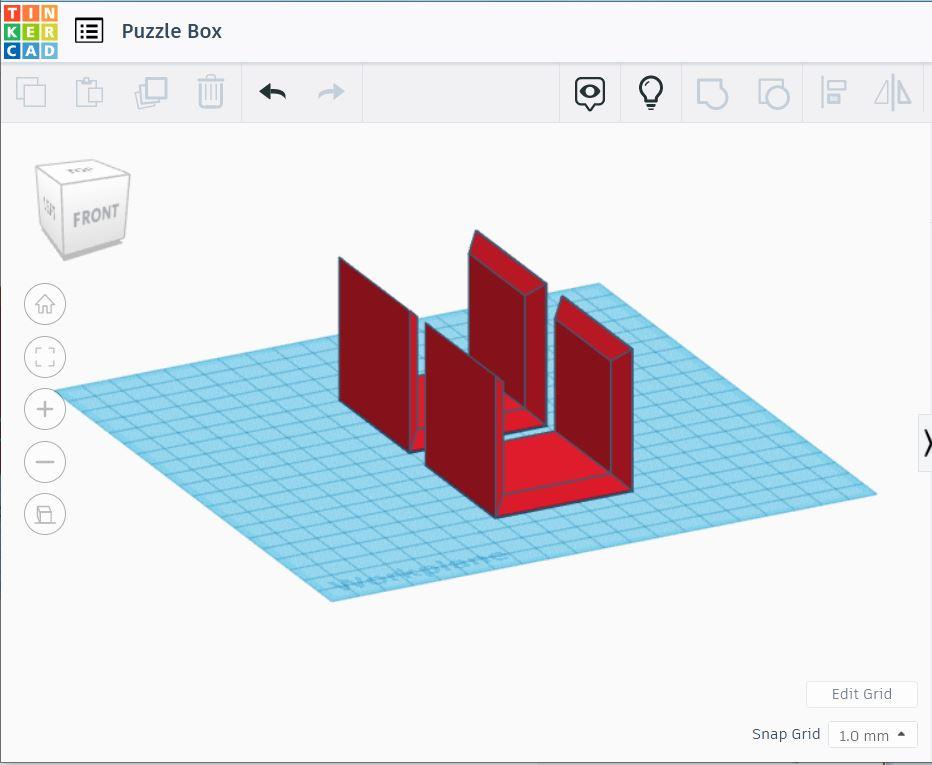
Duplicate the form and move aside.
Rotate the second form to fit over the first.
Do a final Align check to make sure the parts fit together perfectly.
Separate them again and rotate and move both forms to make for good 3D printing positions.
Export the forms to your 3D printing program of choice.
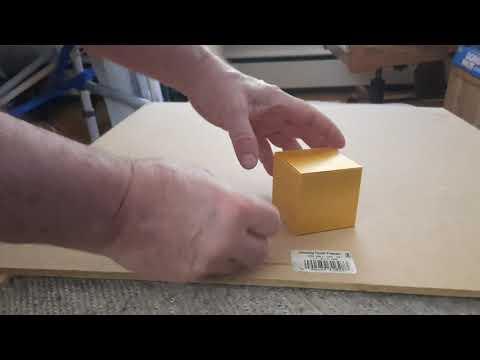
Instructional Video and Demonstration
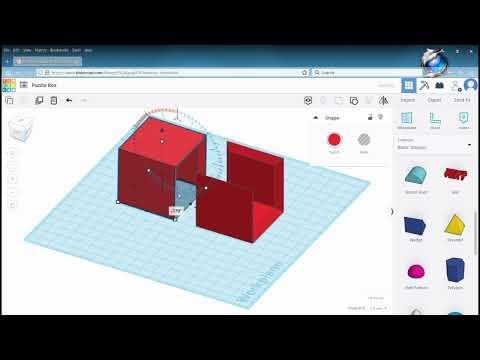
)
Printing Process Notes
Counterintuitively, it is better to print at a lower resolution as it helps to hide the seams and makes solving the puzzle a little more difficult.
Since the bases are flat and wide, it's not necessary to provide a raft or brim. I still recommend using at least a brim to ensure the edges don't slip during the initial layer.
Trim the edges of any artifacts, but don't cut down too much as the seams should be pristine.
After the project is finished, the PLA plastic may still absorb some moisture and expand a bit, making the connection looser. Try putting some cloth tape on the angled edge somewhere to increase the friction.