Puzzle Box - 3D Print
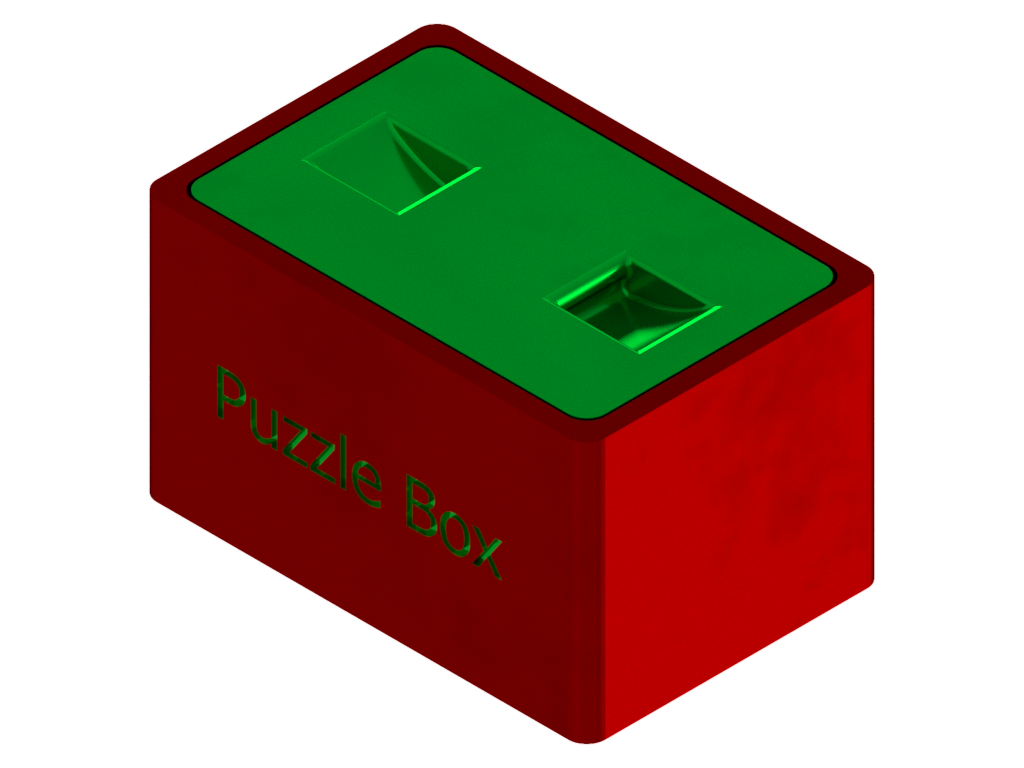
This is a smaller scale printable version of the puzzle box that I posted a few days ago - see here. The print and assembly instructions are pretty straightforward. I included pictures/renderings from CAD and STP/STEP files in case you would like to modify the design. The last step has the STL files for printing. I will give an instructables 3 month membership to the first person that prints the puzzle AND post a picture. Note that by being the first to print, you could find errors with the design. If so, please point them out and I will modify the design and send out new STL files. Hopefully this isn't needed :).
To see how it works, refer to my previous project video.
Tools/Materials
Puzzle Box
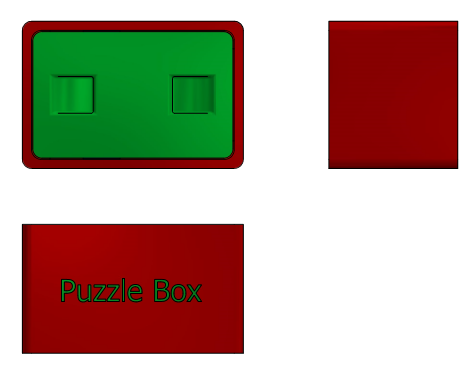
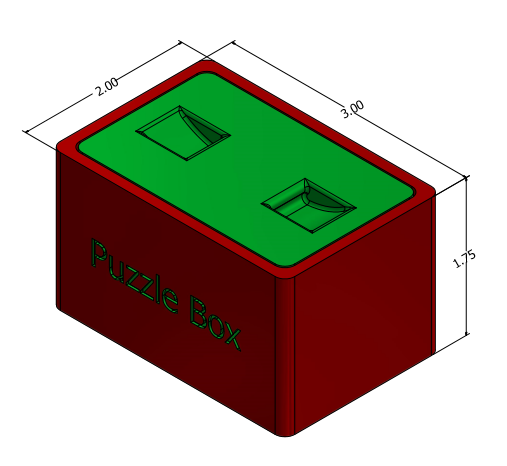
This is the completed puzzle - ready to be solved.
Downloads
Box
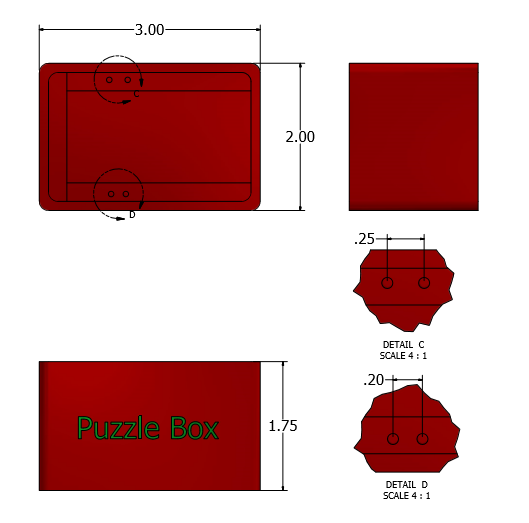
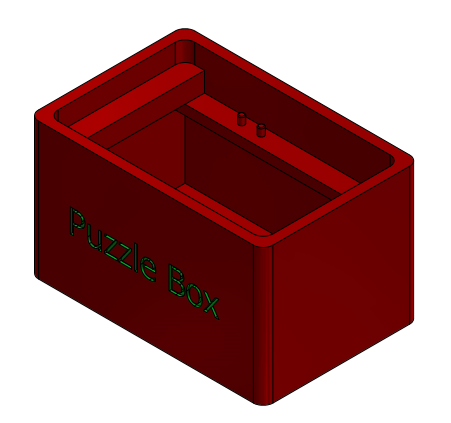
The box size was arbitrary. I figured you could get the same enjoyment out of this size puzzle without having to print a large version. Notice that I detailed the alignment pins for the nail block (next step). The different dimensions are used as keys to make sure you install it in the correct orientation.
Downloads
Nail Block #1
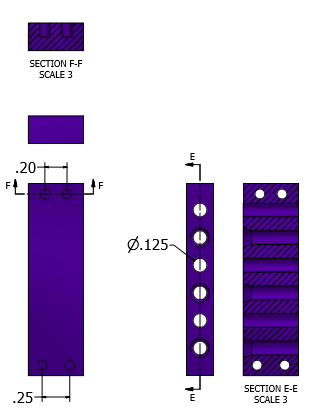
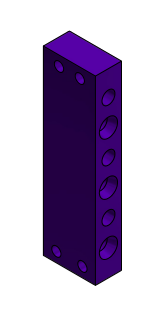
The nail block is 1/2" wide with six 1/8" diameter holes. The countersinks on every other hole help with nail alignment.
Downloads
Nails
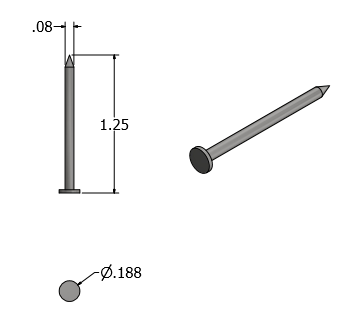
You will need 6 nails. I'm showing a 1.25" long nail with a 0.080" shank. The hole in the block is .125" so slightly larger shanks should work. If you would like to purchase nails, here is a link. Note that I also included the STL file for the nail in case you would like to try to print your own.
Downloads
Nail Block # 1 Install
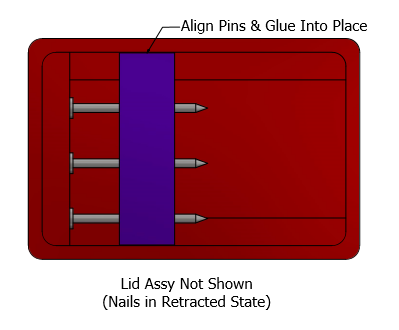
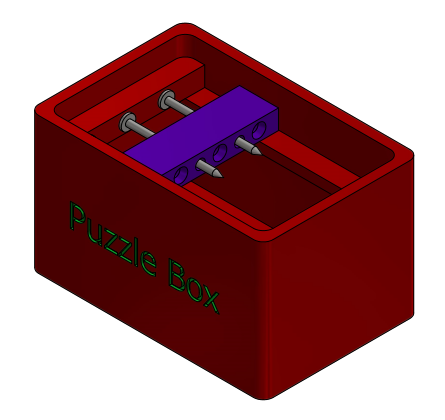
Place 3 nails in the block as shown. Attach the block to the box using the alignment pins for orientation. You might want to hold off on fully gluing it down until final fit checks.
Downloads
Nail Block #2
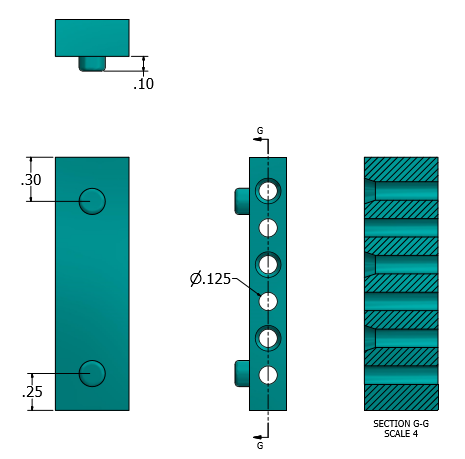
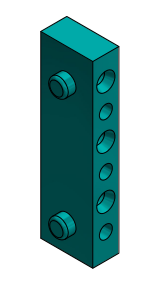
This nail block will be attached to the lid. The construction is similar to Nail Block # 1 except the length is a little shorter (clearance for box) and it has different alignment features.
Downloads
Lid
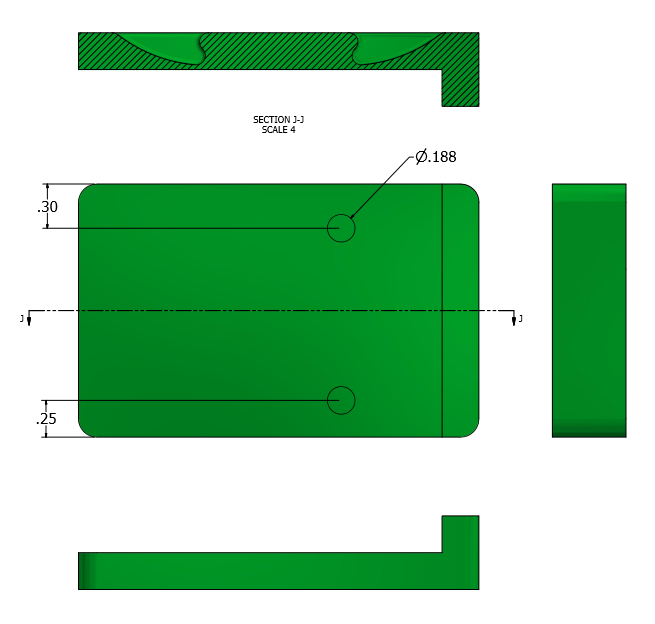
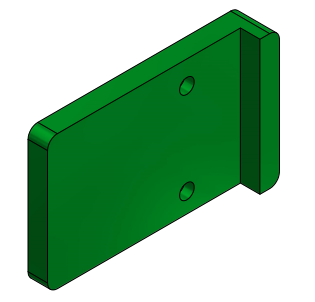
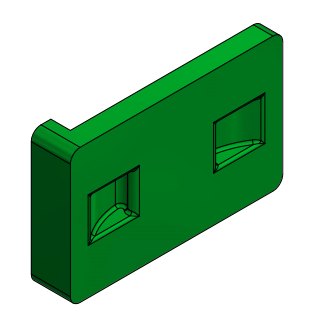
When placed on the box, there should be 1/64" gap between the lid and box. The holes are for the nail box alignment. Again, notice the keying offset. I tried to incorporate handle grabs into the top - hopefully these work.
Downloads
Lid Assy
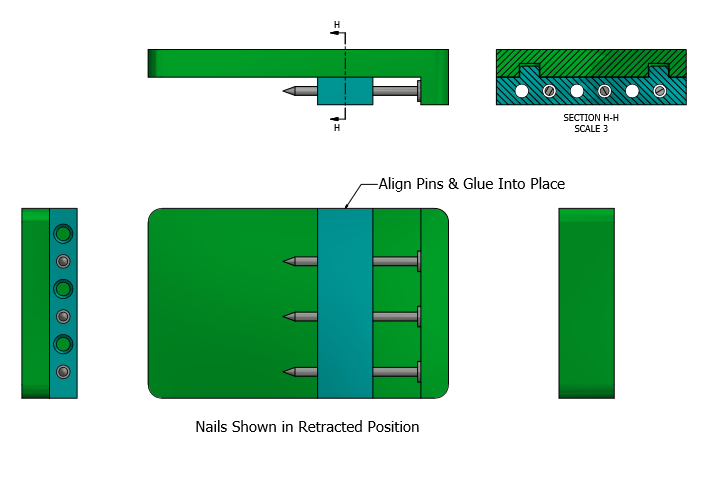
Place 3 nails in the block as shown. Next, attach the block to the lid using the alignment pins for orientation. Again, you might want to hold off on gluing until the end. If needed use a piece of tape or a small amount of glue to hold it in place.
Downloads
Give It a Try
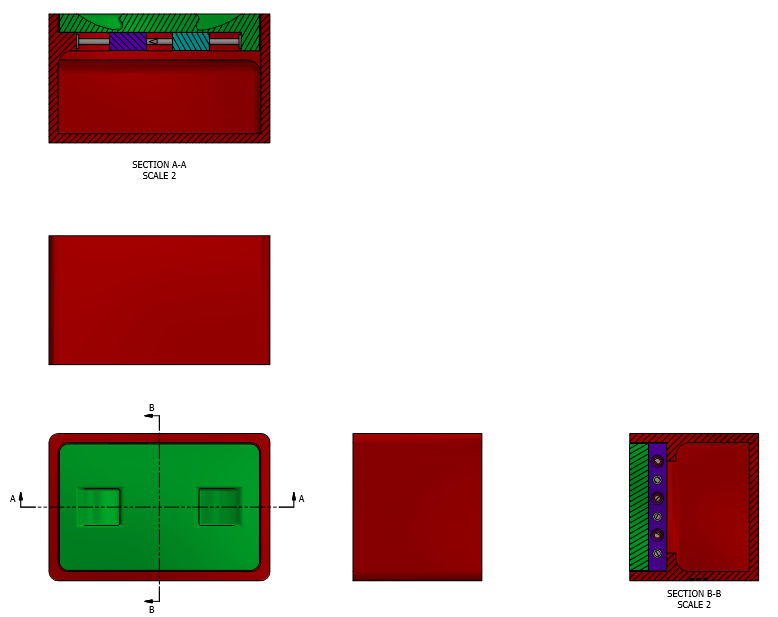
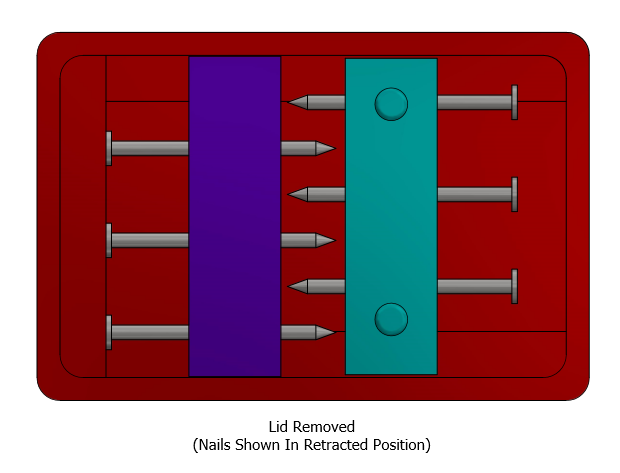
With the nails in the outward positions, place the lid on the box. Next, rock the puzzle back and fourth to move the nails. The lid should now be locked.
To open, spin the box - refer to video. After verifying that it works, go back and glue the nail blocks into place.
The first picture shows the overall completed box with cross-sections. The second picture is the puzzle with the lid removed. This is after spinning the box (nails free).
STL Files
This step includes all the STL files. Download to print.
Wood Version
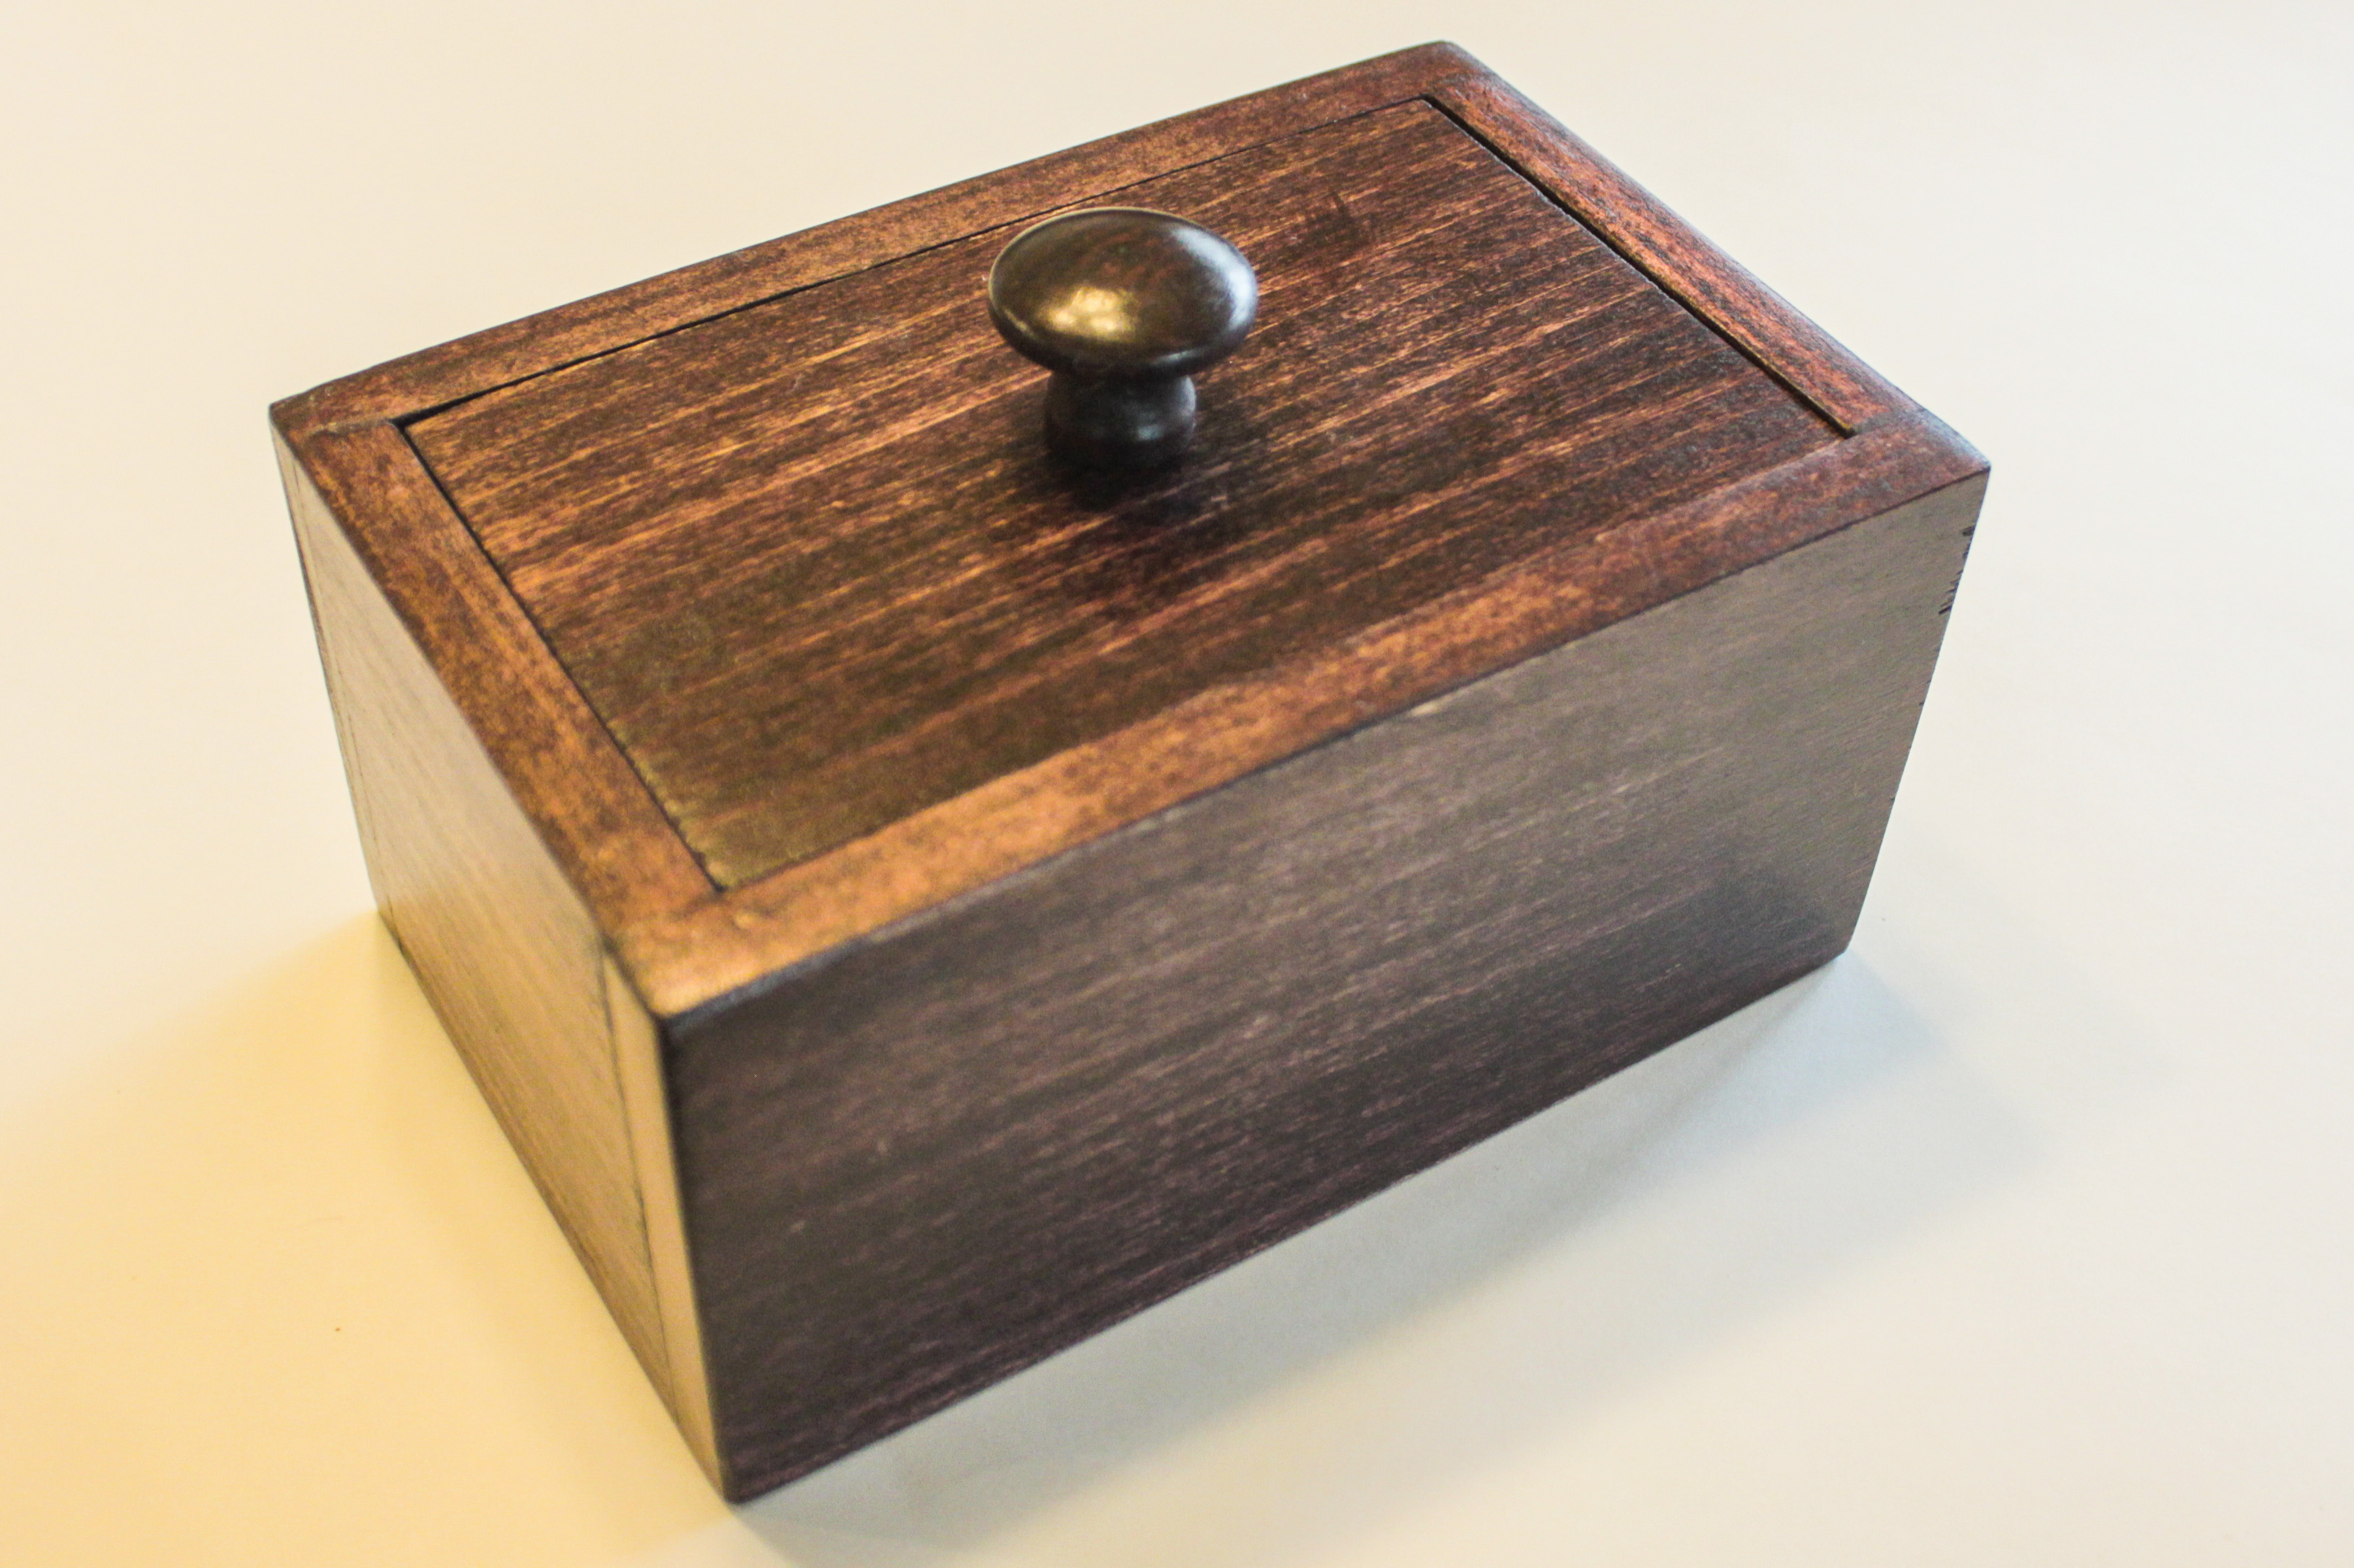
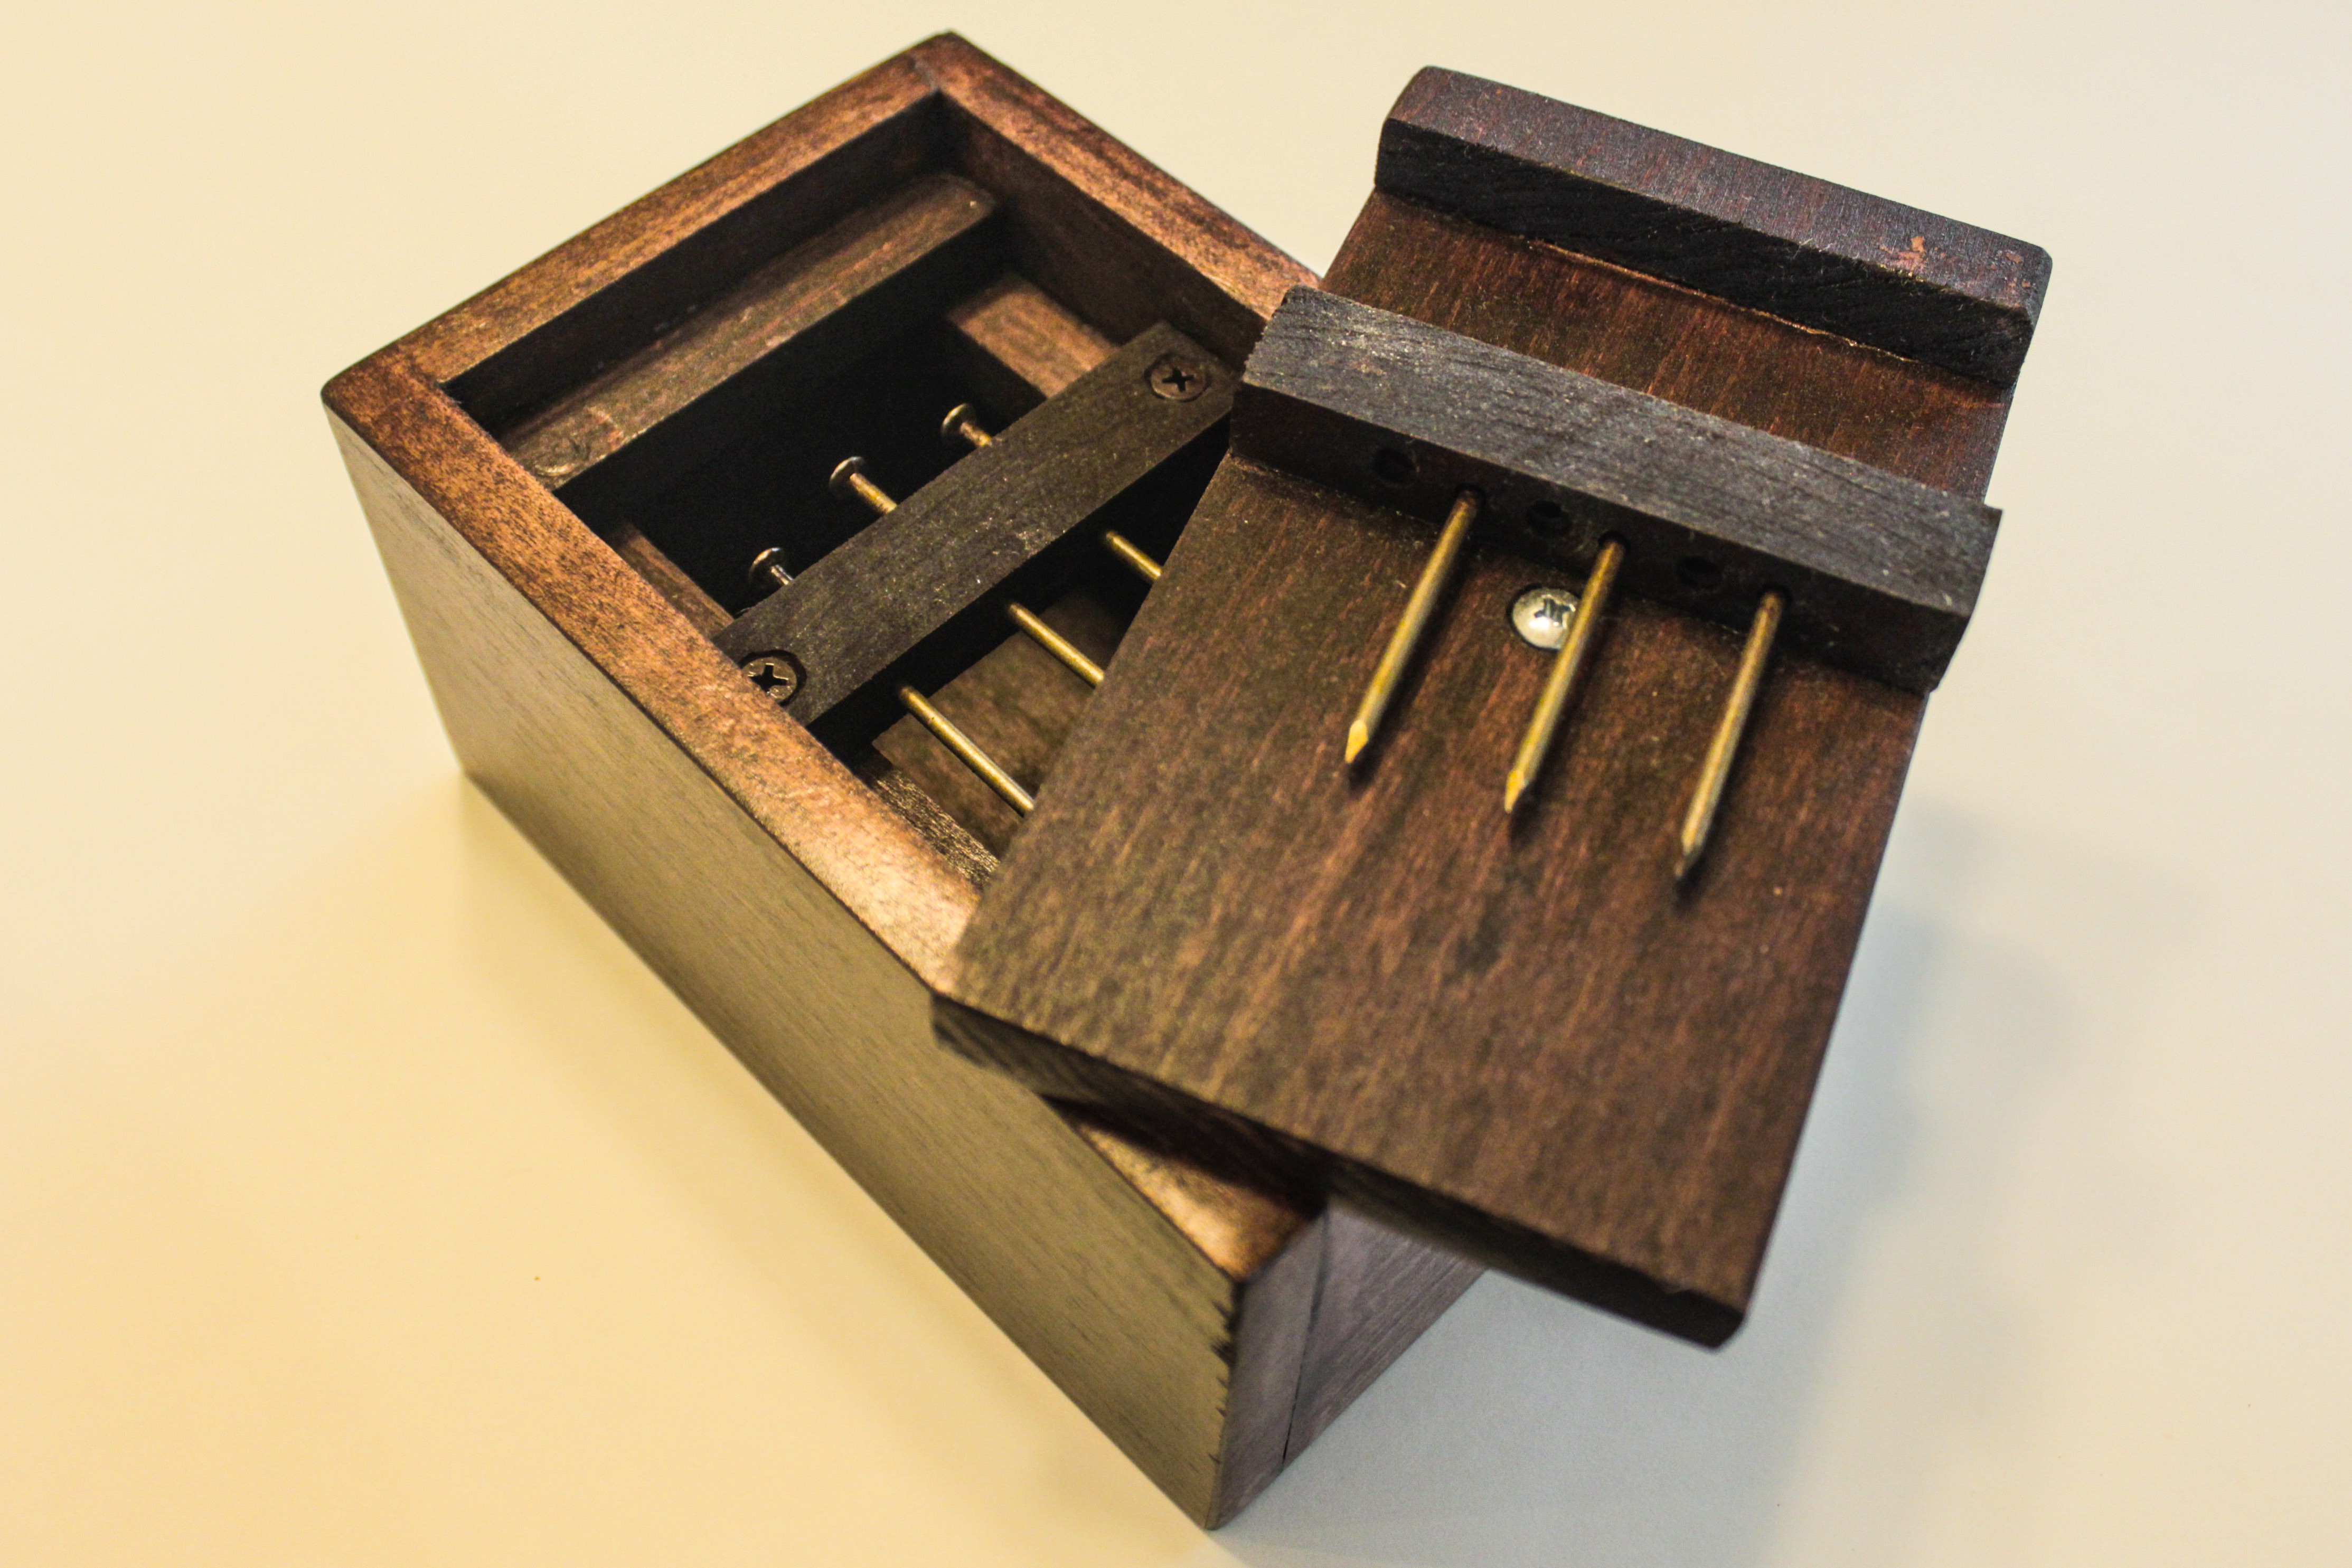
See the Wood Version Here.