Puzzle 3D With 2D Pieces
by gsencion in Design > Digital Graphics
236 Views, 1 Favorites, 0 Comments
Puzzle 3D With 2D Pieces

Greetings,
Today I’m going to share woh to make a 3D puzzle with 2D pieces in autodesk fusion 360.
Credits to the autor of the image: https://www.pexels.com/es-es/foto/agua-animal-mamifero-charco-10538872/
Supplies
For this case we will need a laser cutter and 2 mm thick wood the length and width will not be greater than 410 x 400 mm

Let’s get started by getting an image for reference.
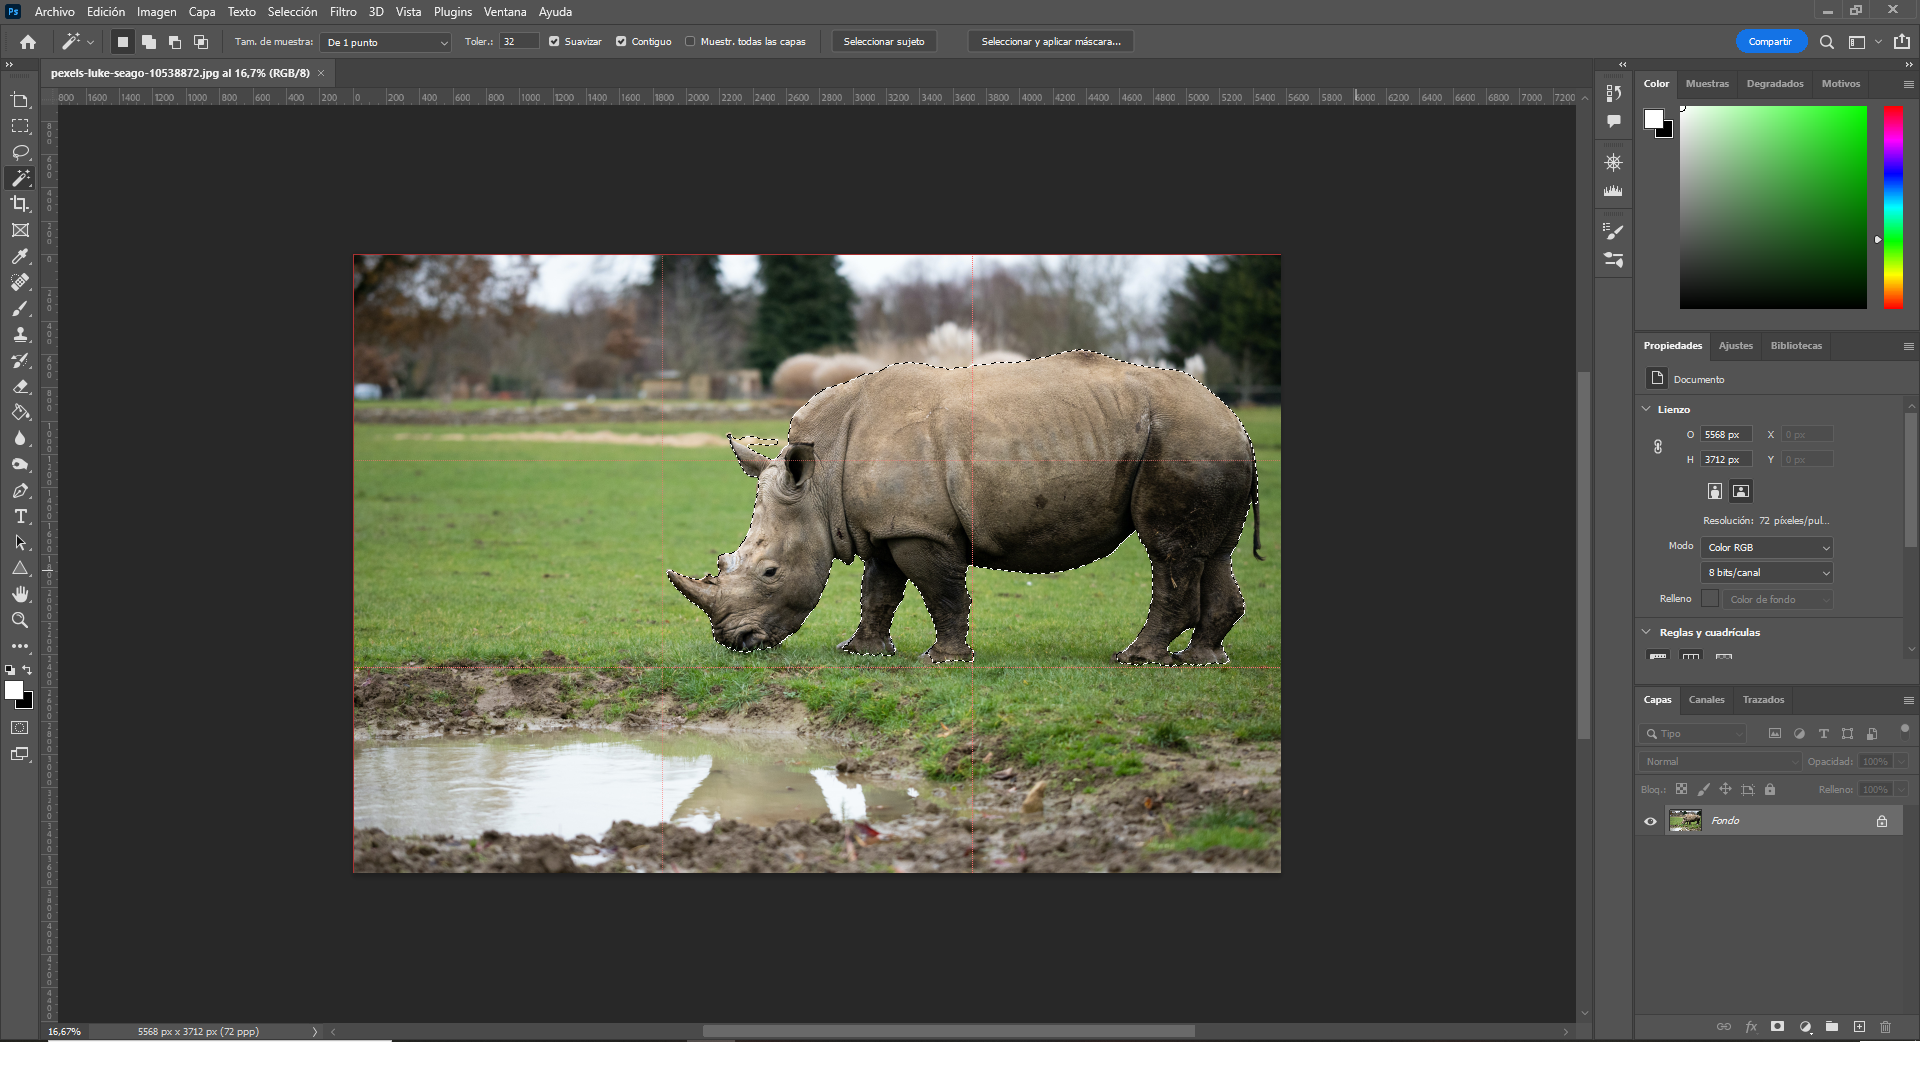
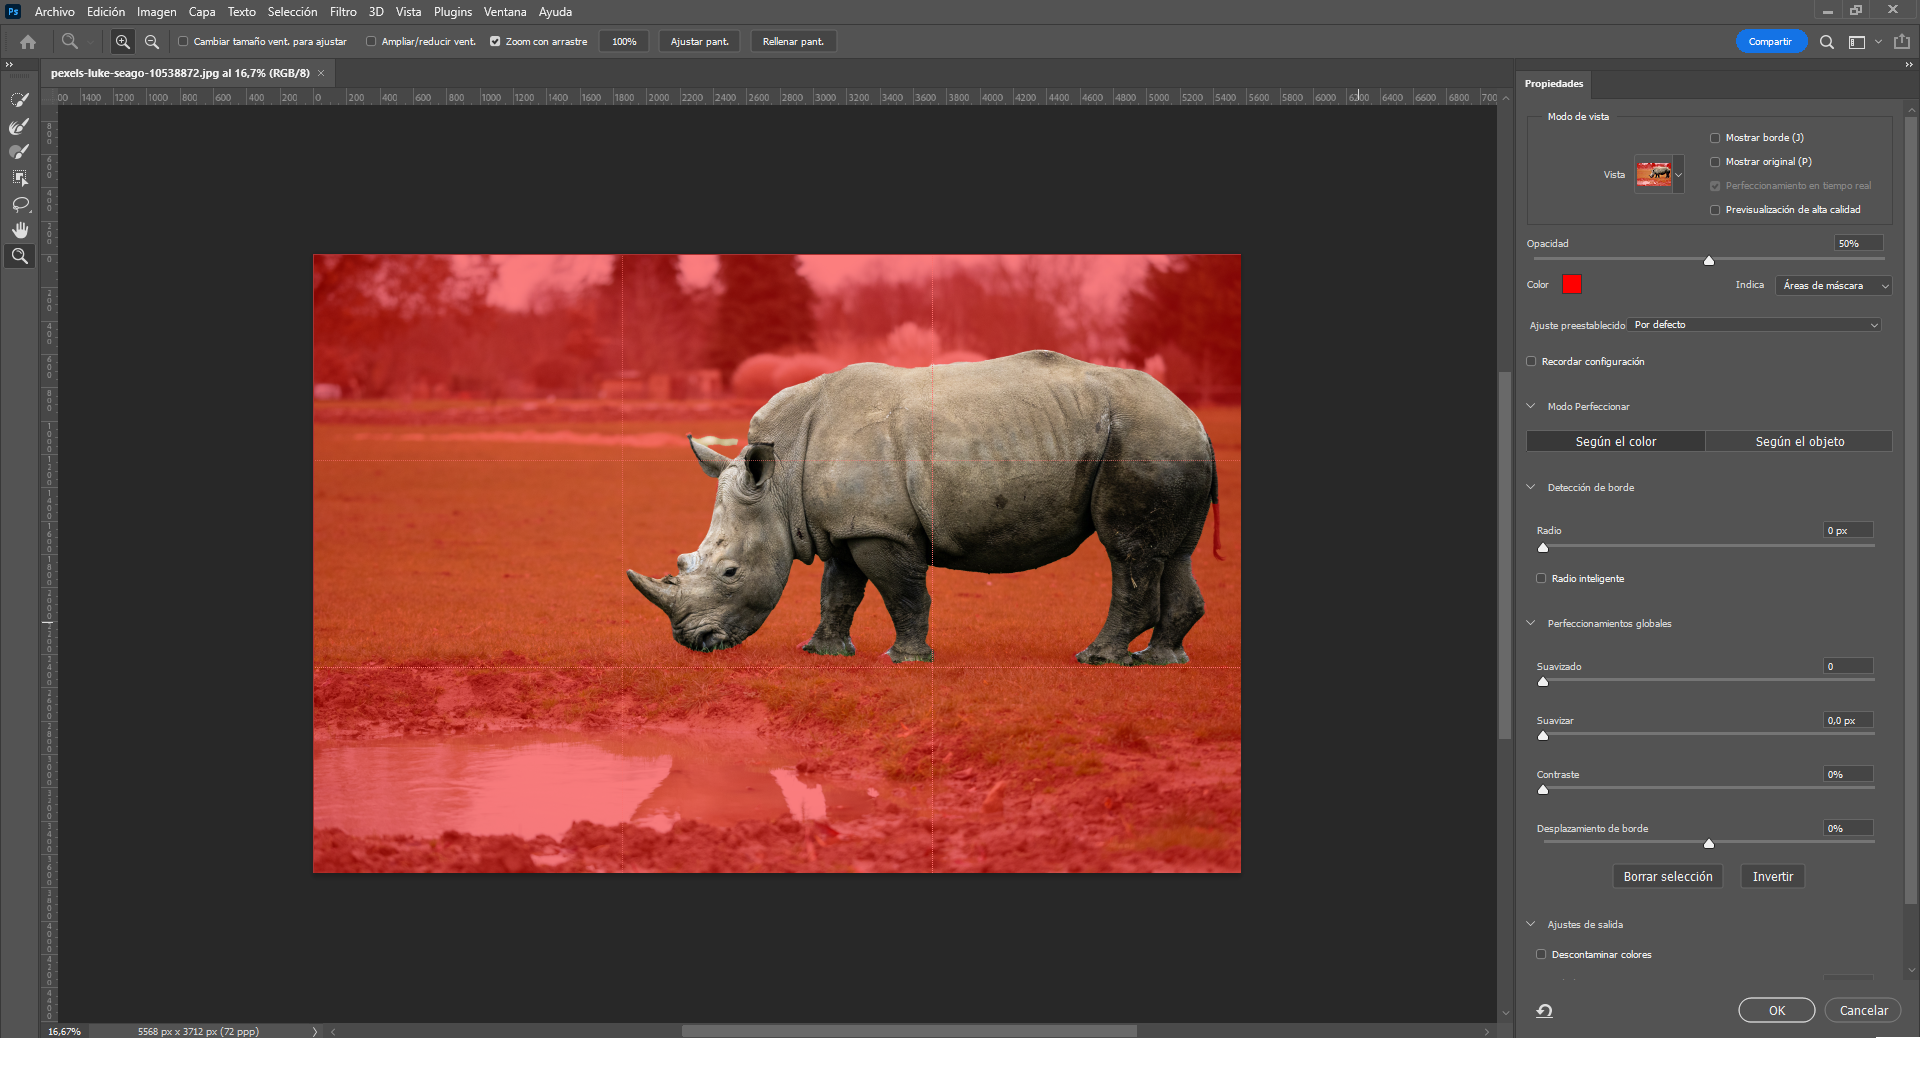
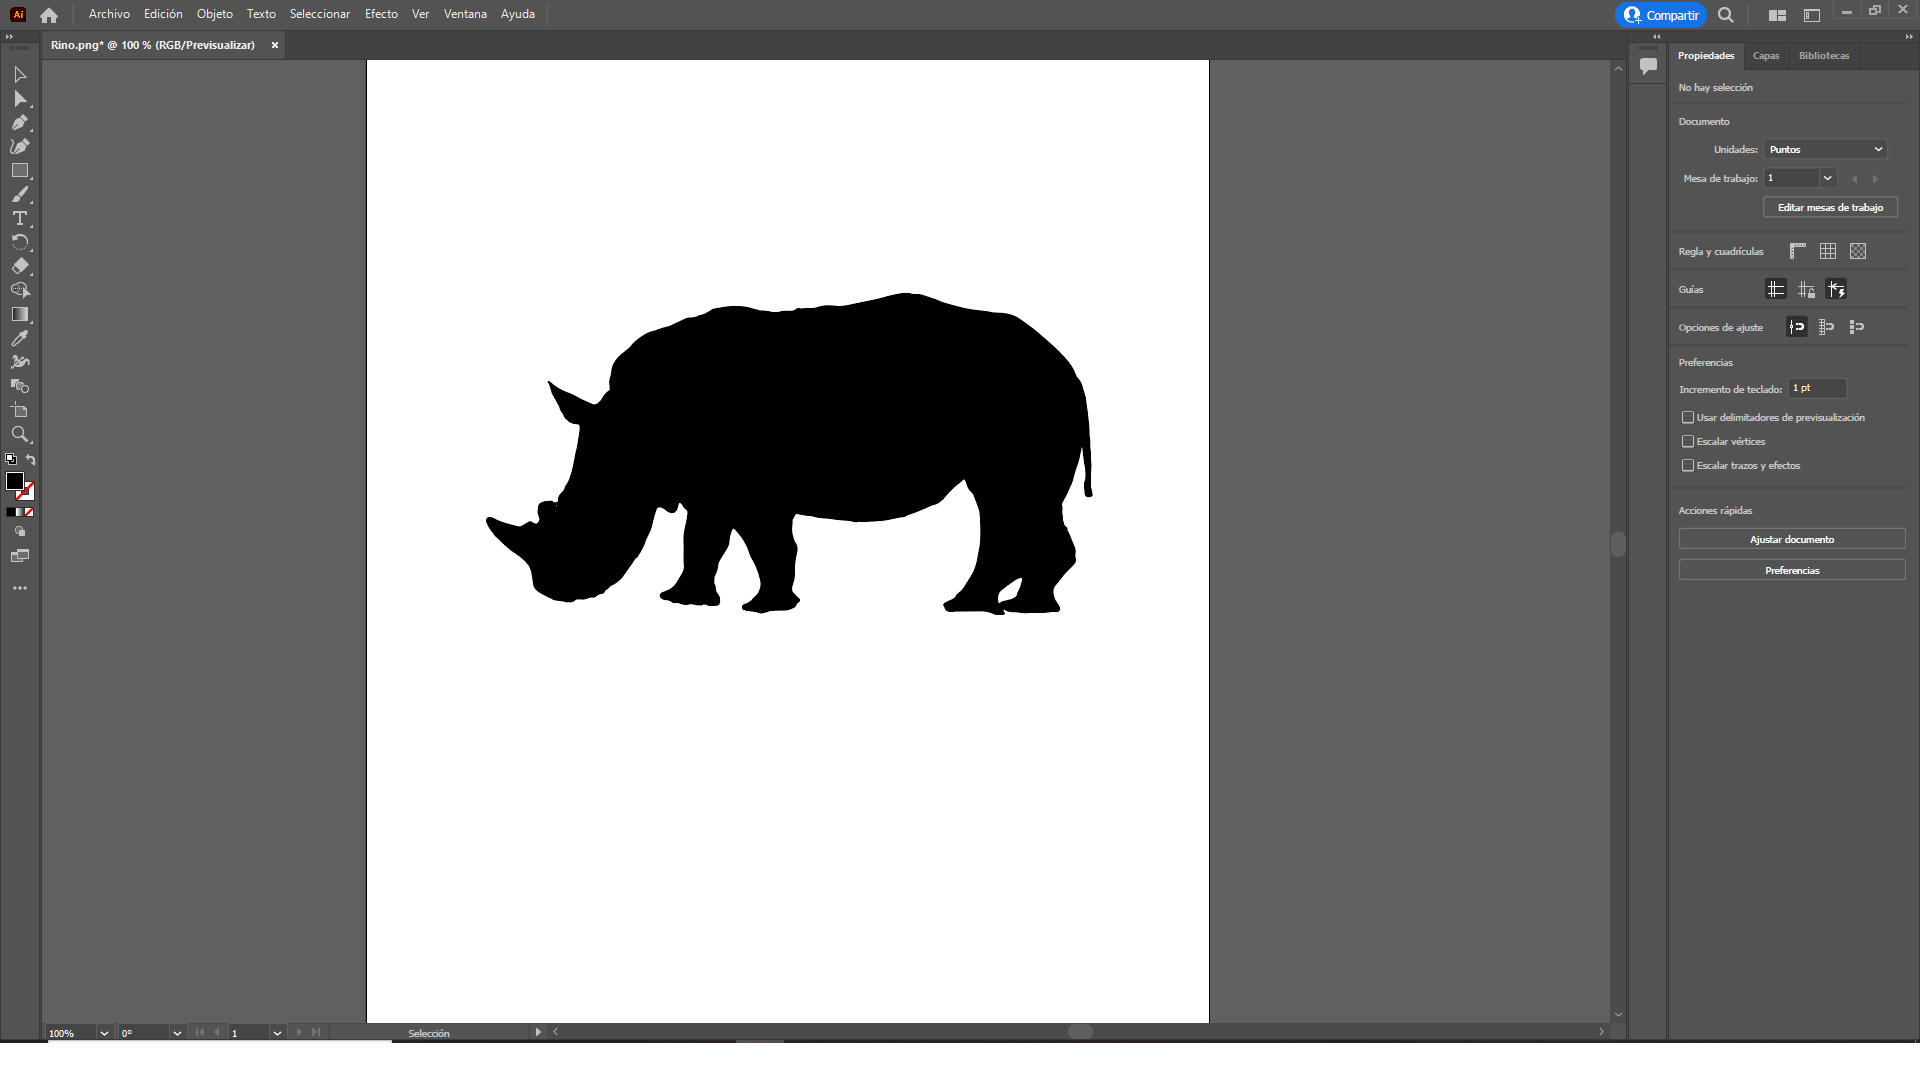
Then, we trim the silhouette that we are interested in from the background.
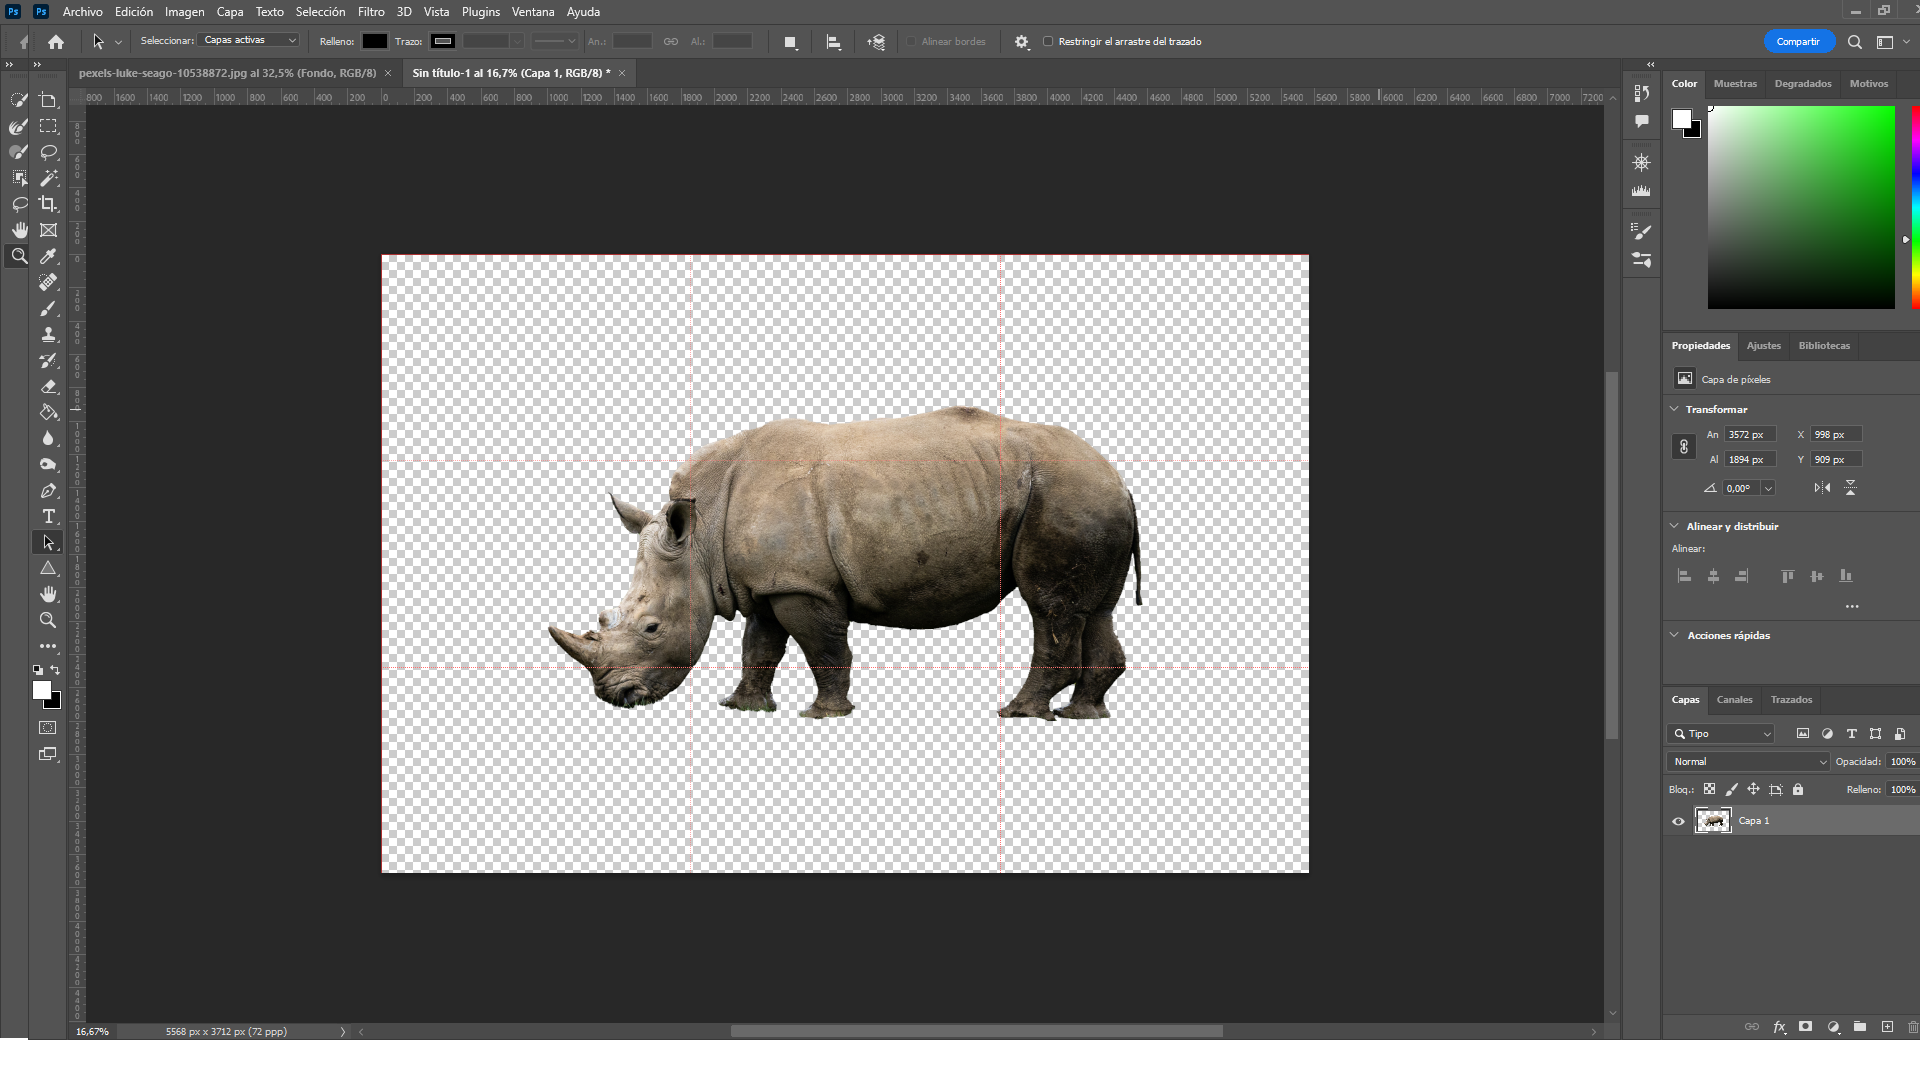
Once we have the desired silhouette, in this case the rhino, we send it to another document and save it as a JPG.
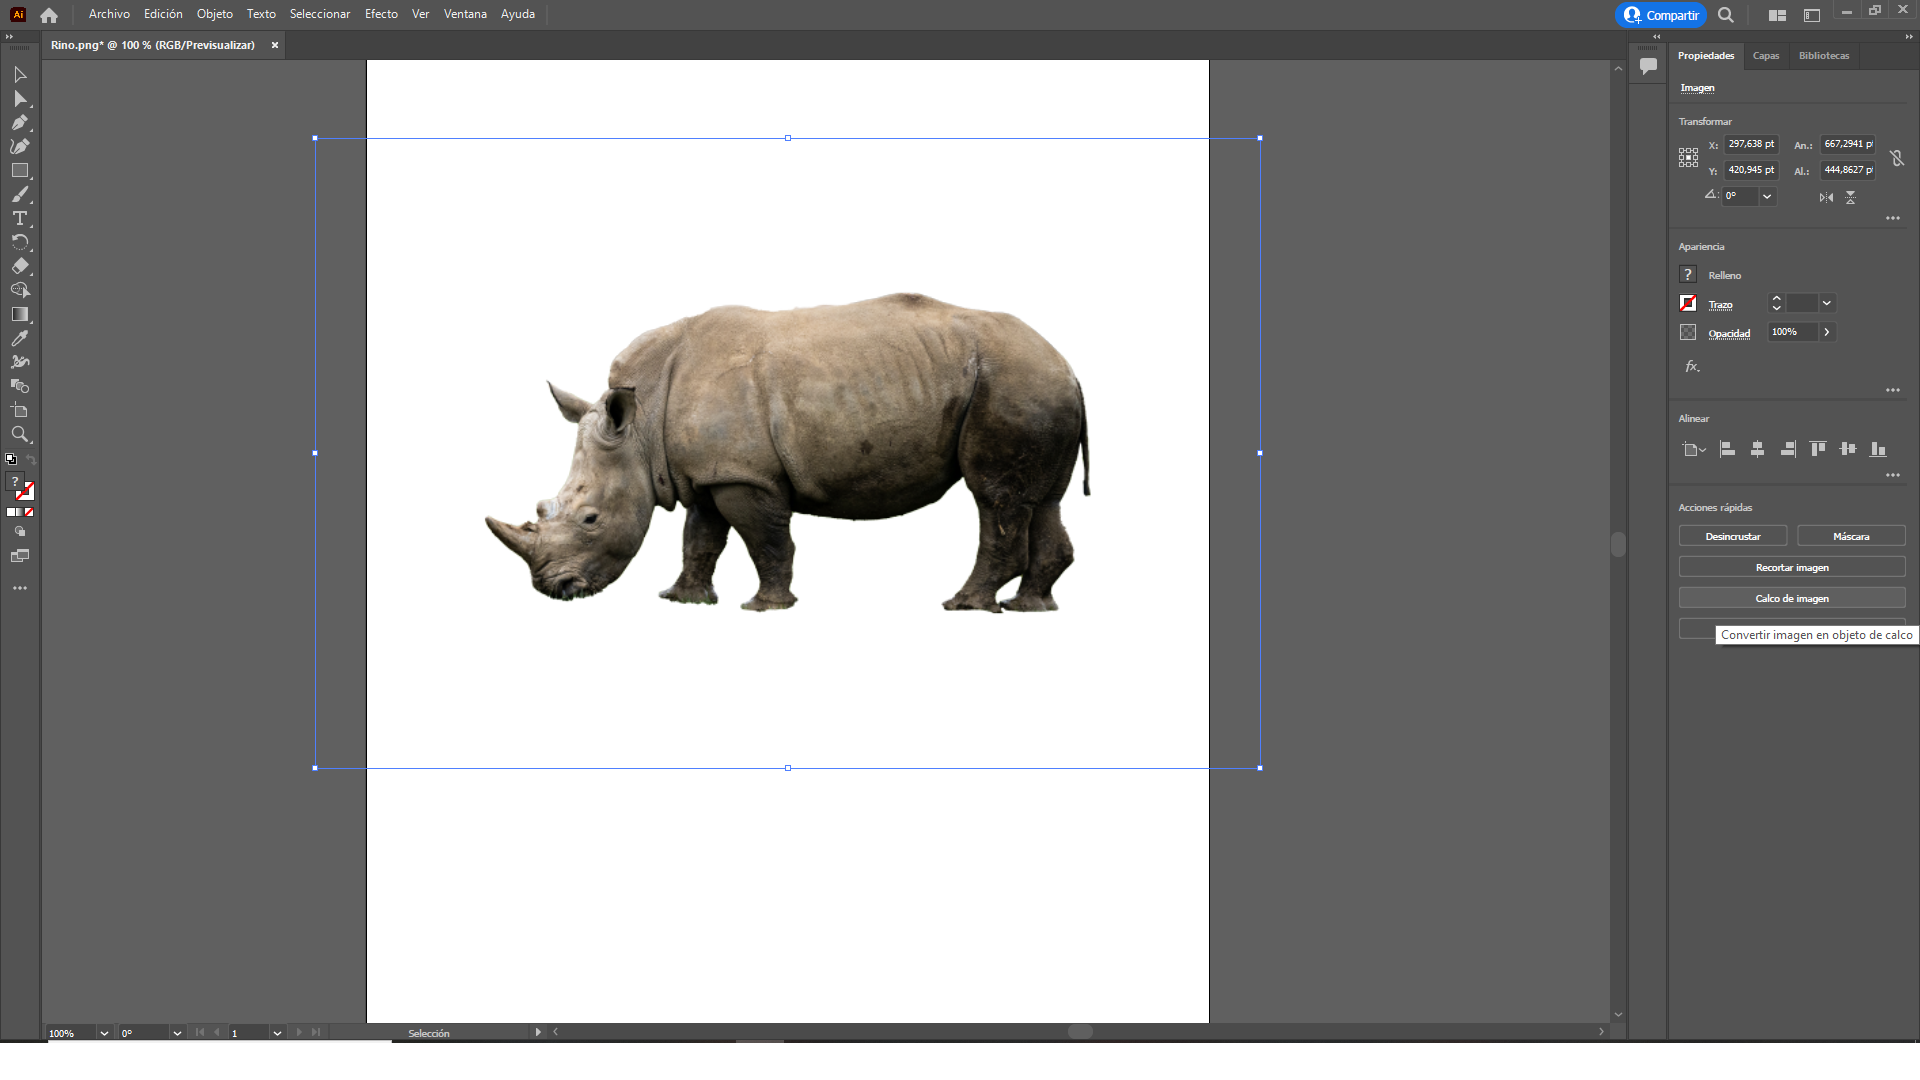
We open the file with Illustrator.
And make an image trace, with the option silhouette
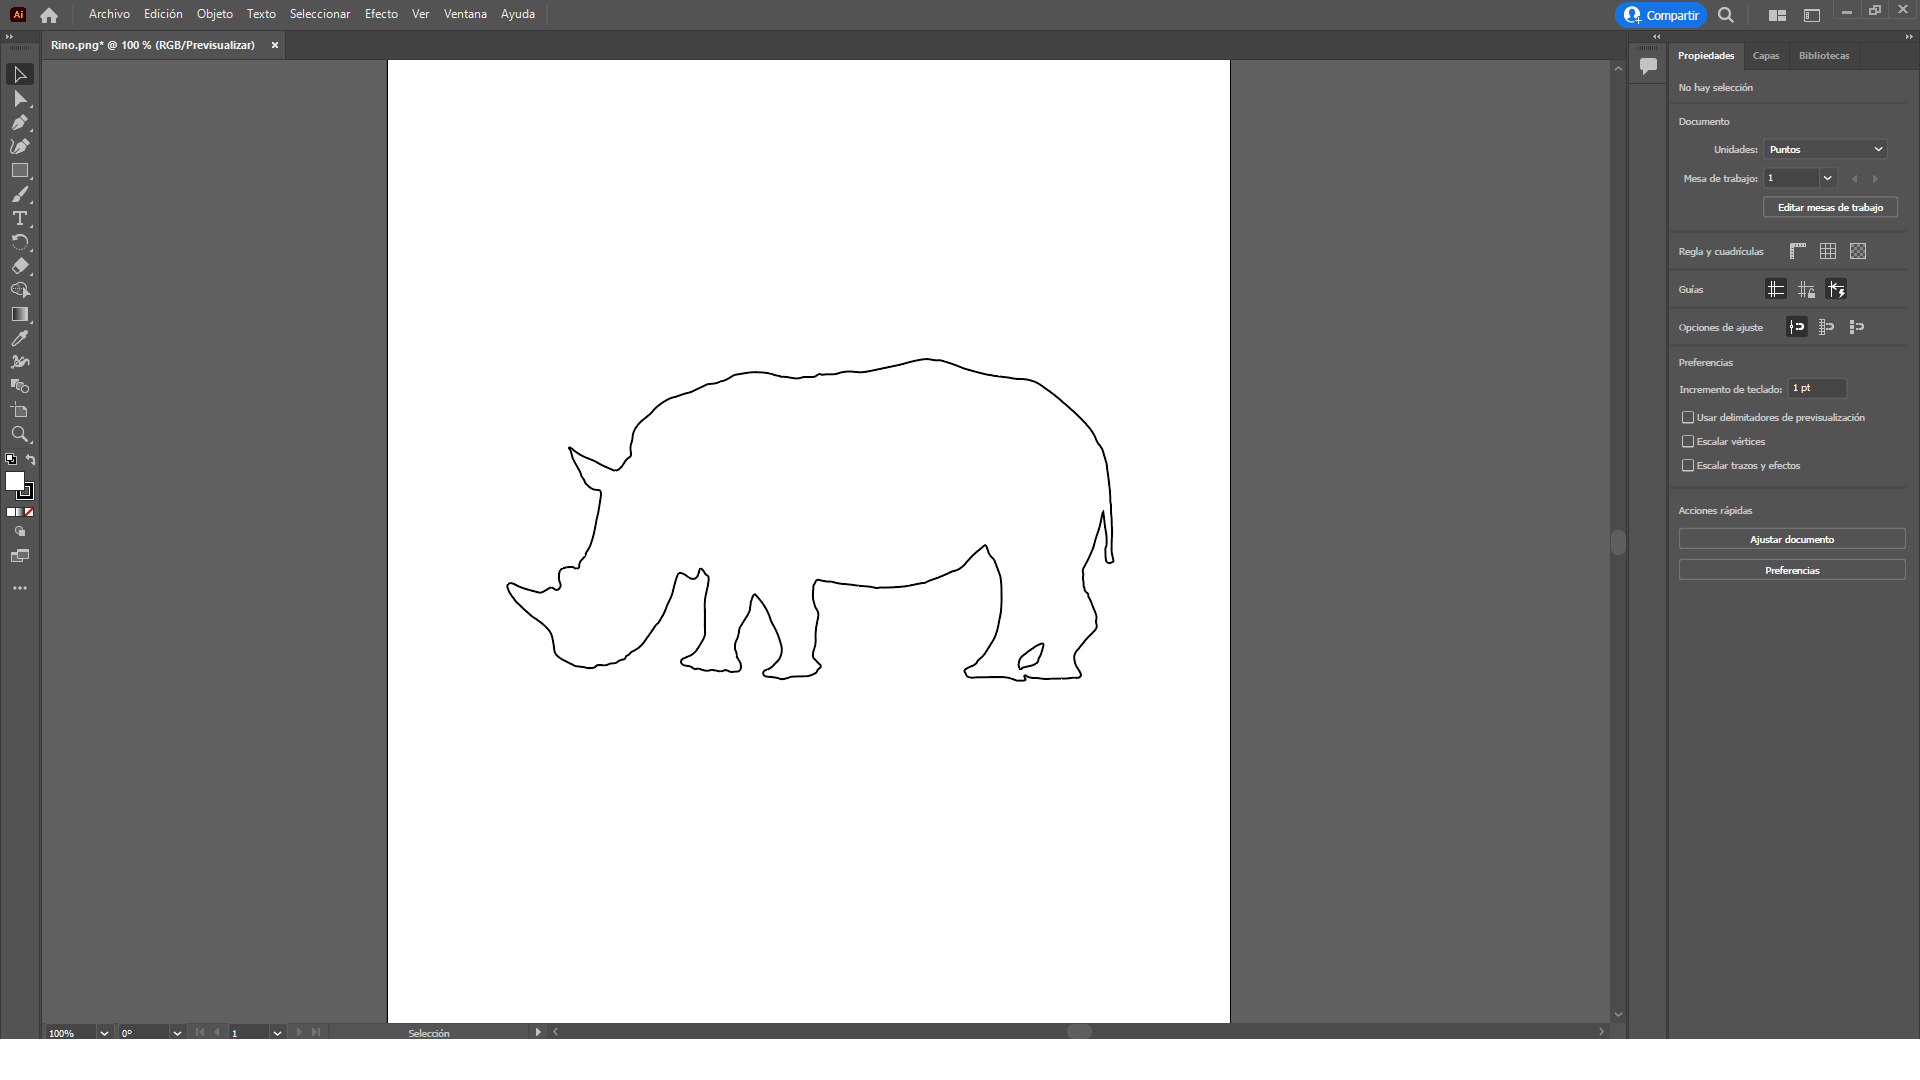
Then we exchange the colors of the trace and filling
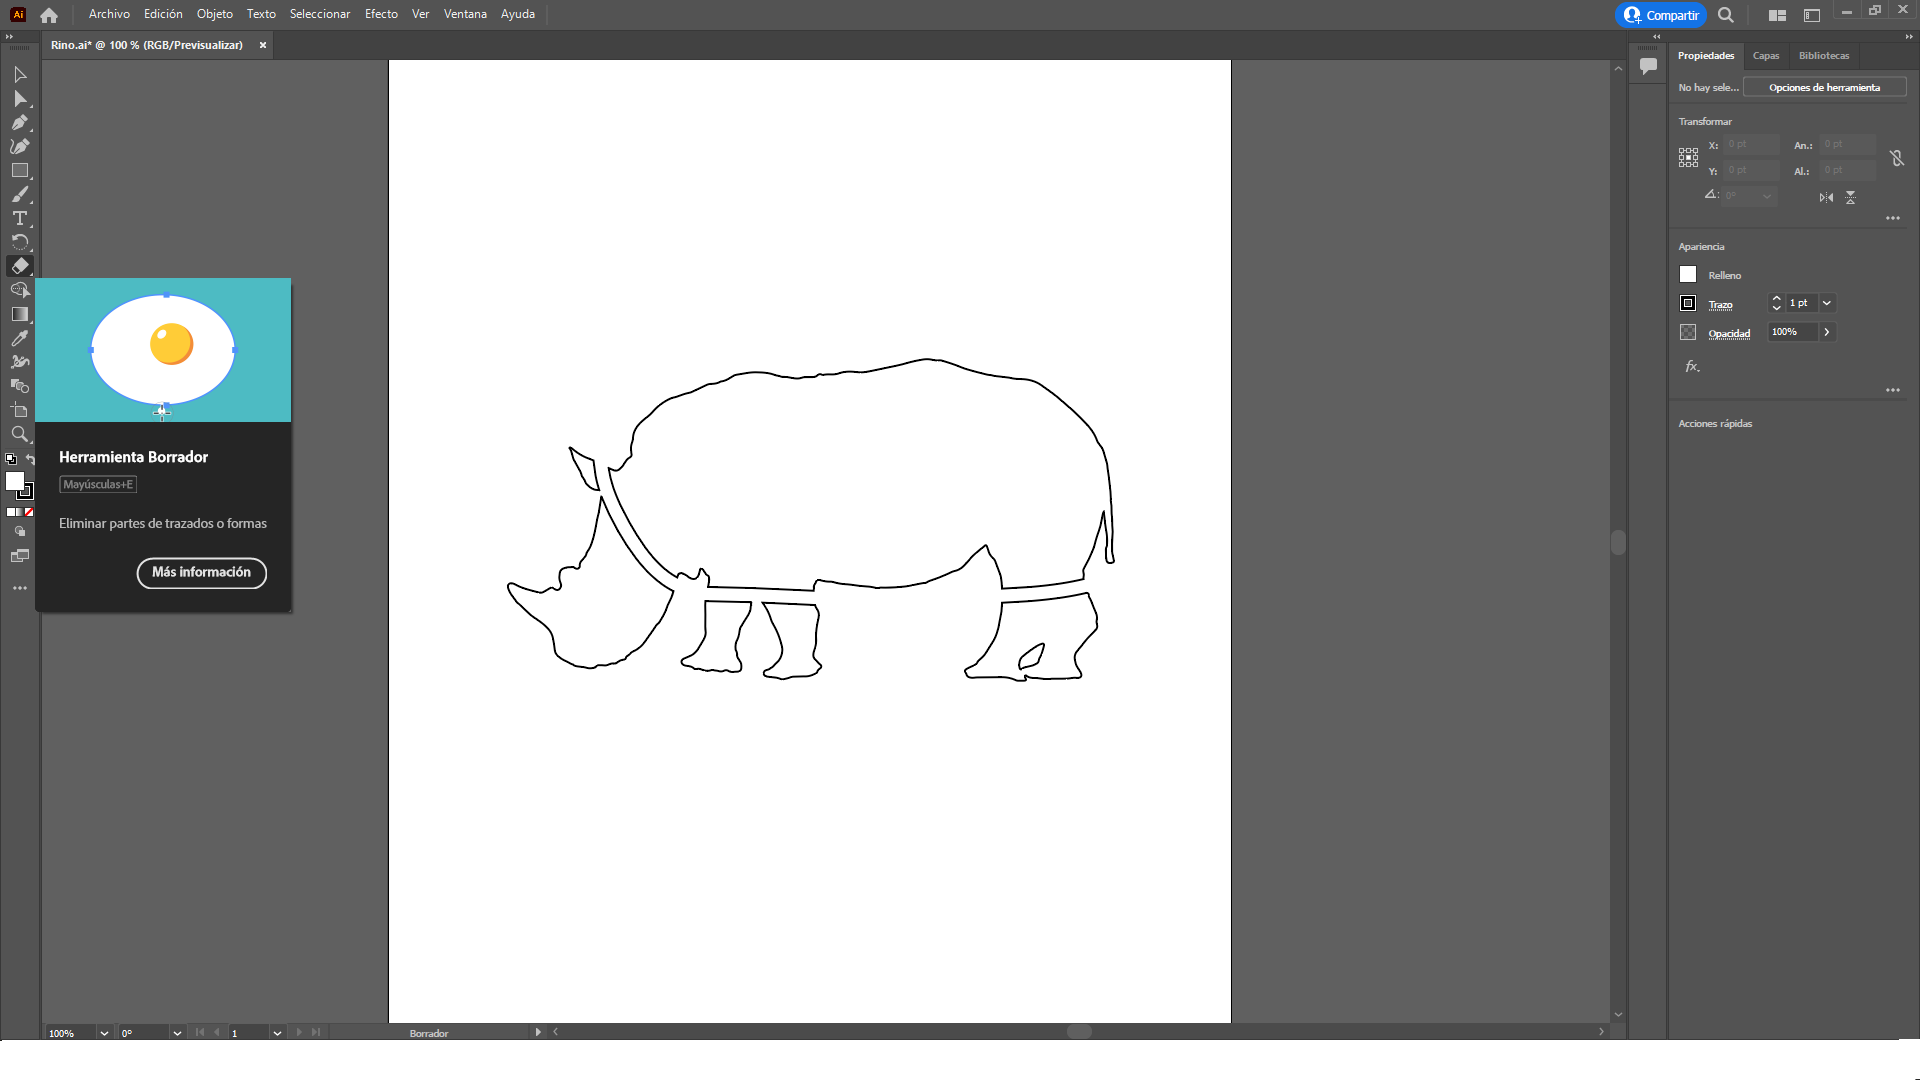
Now we divide the silhouette in the parts of interest for us by using the “erase” tool
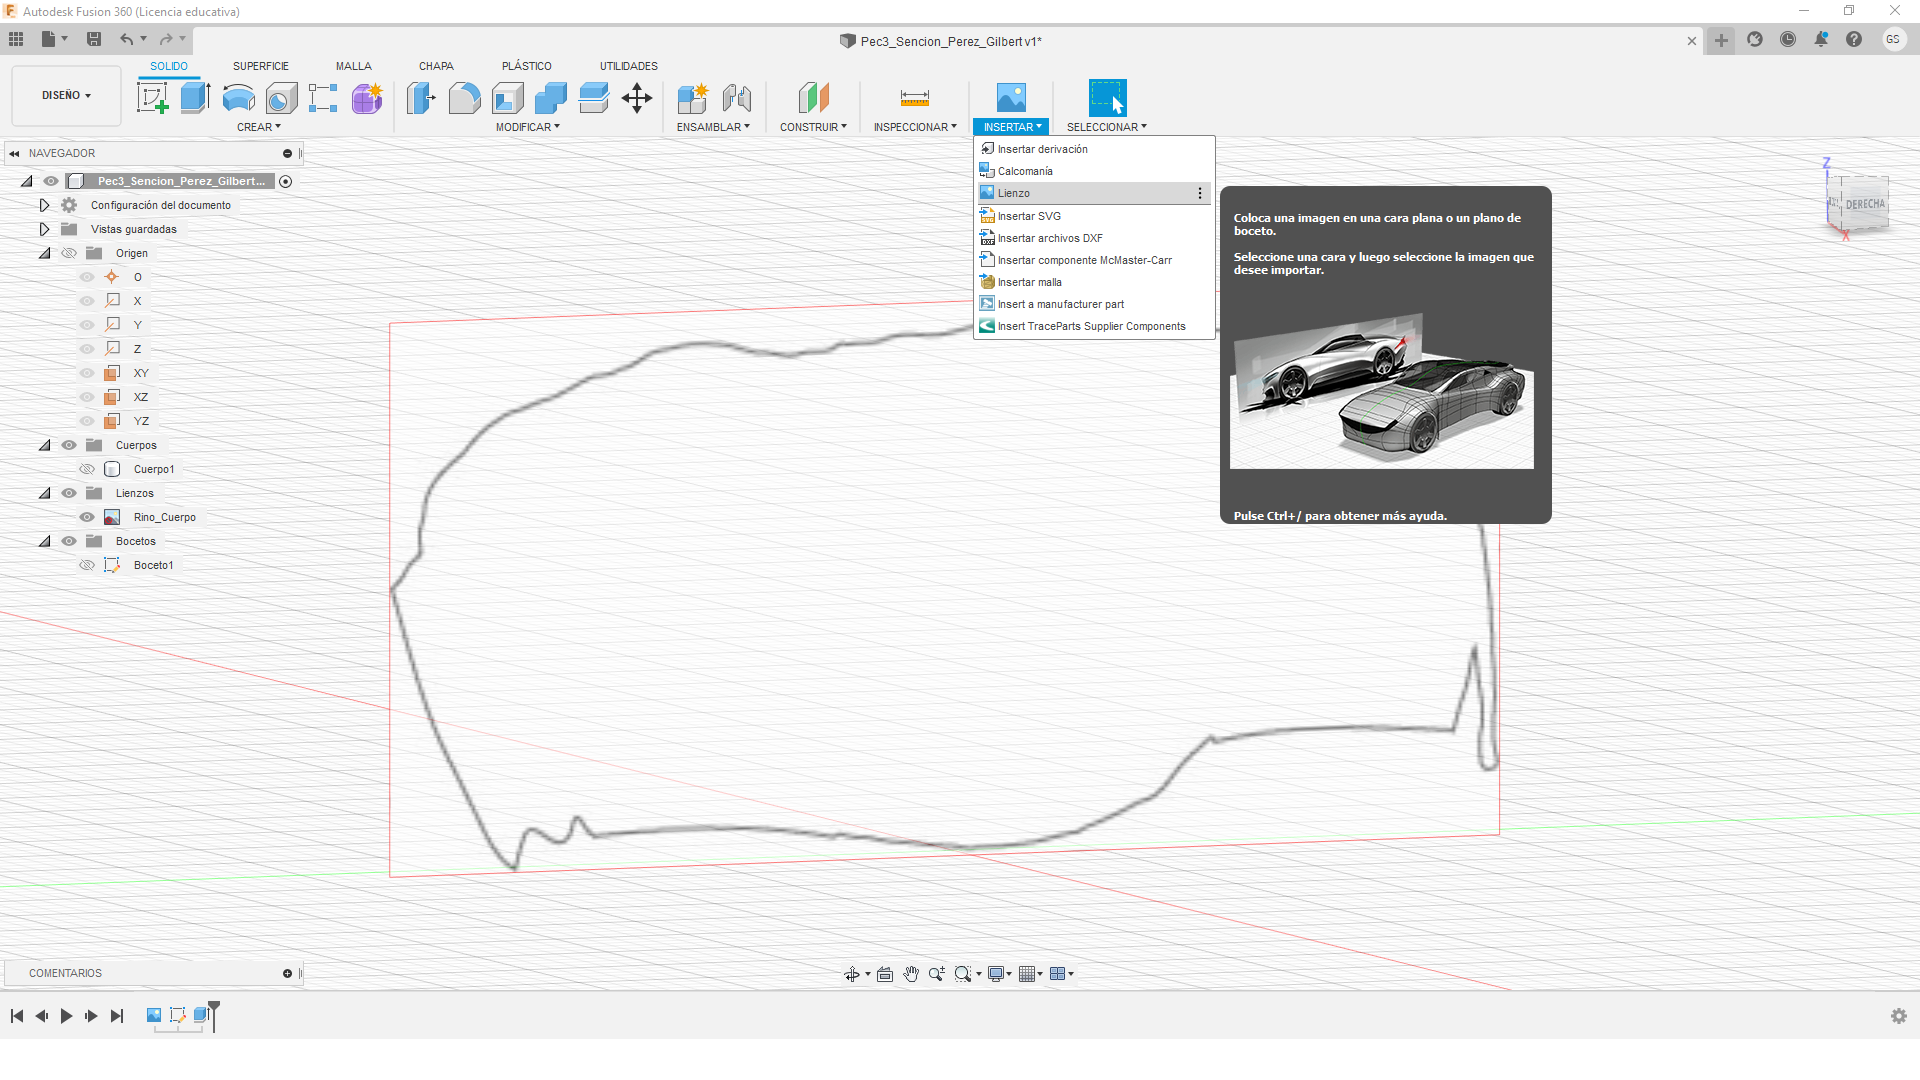
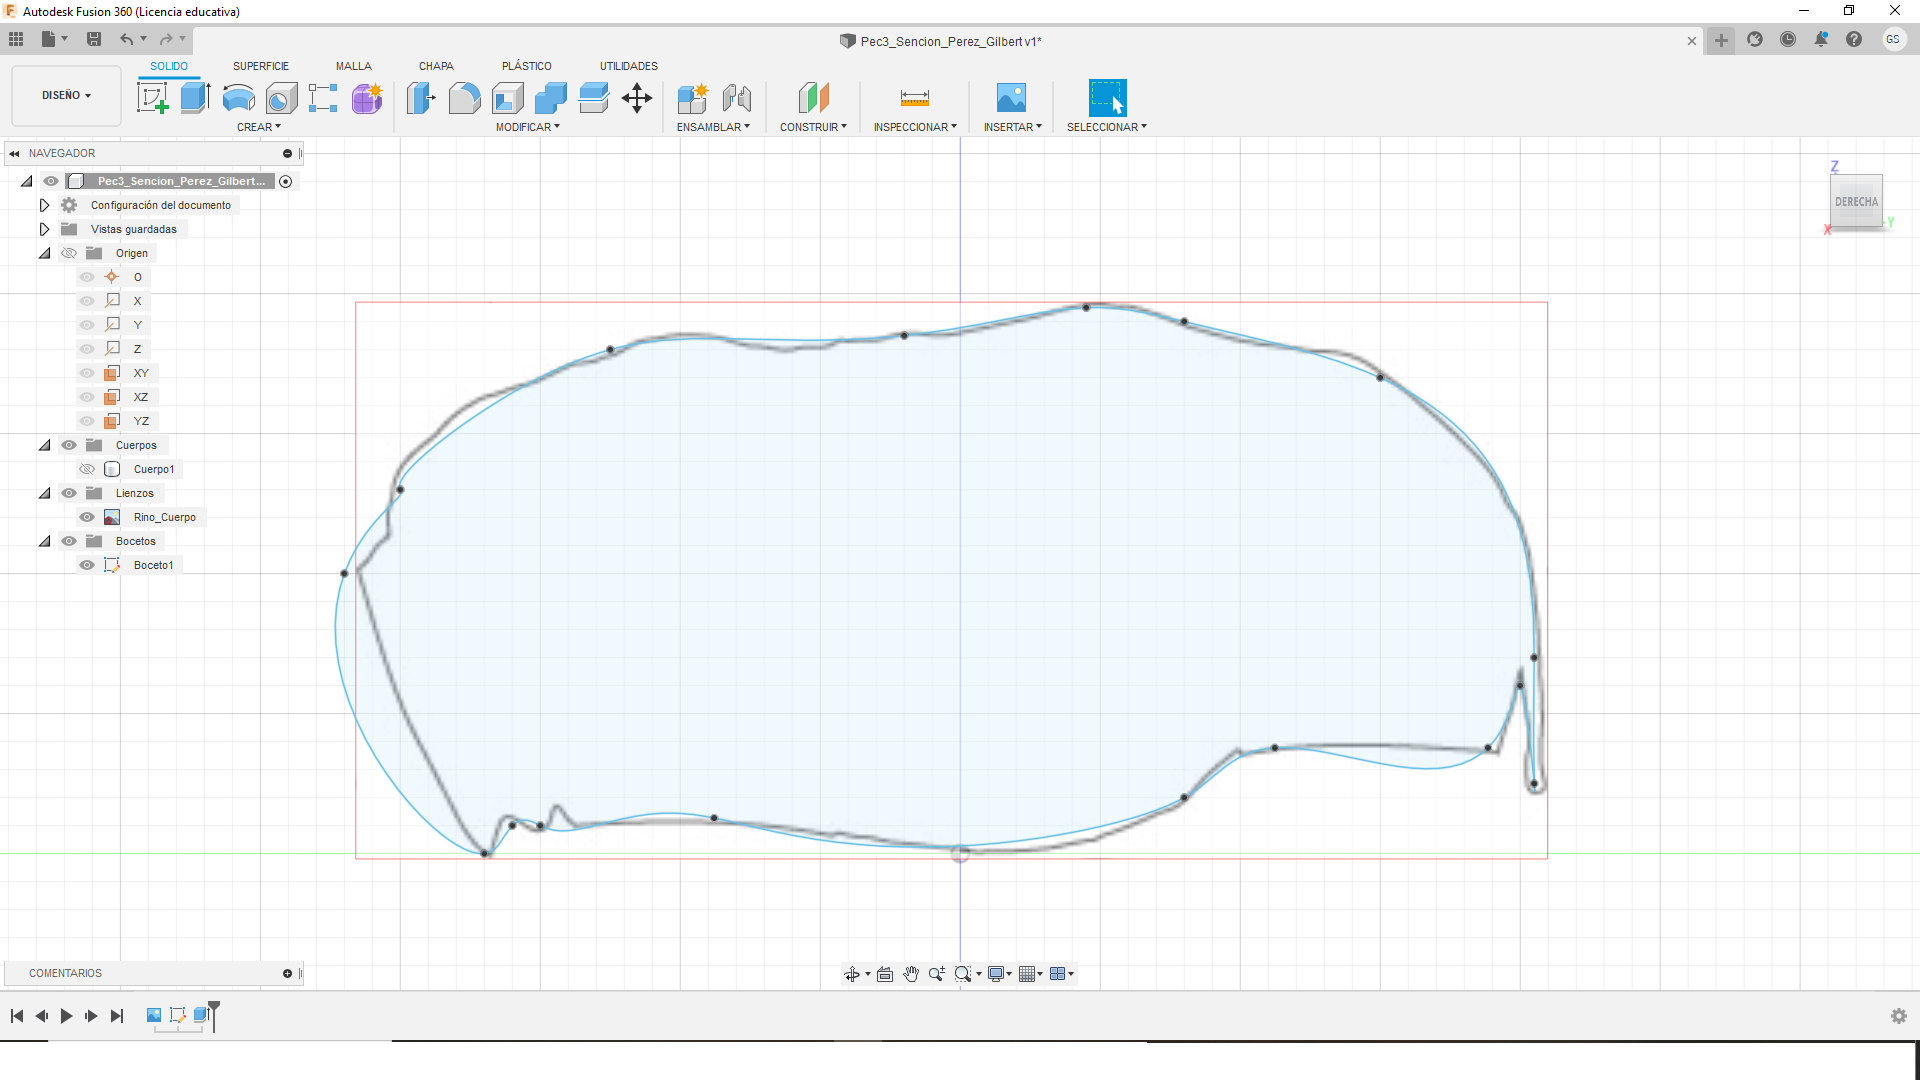
We open the file in Autodesk Fusion 360
And we insert a reference image of the silhouette with the tool “canvas”

Once the sketch is finished, we extrude it.
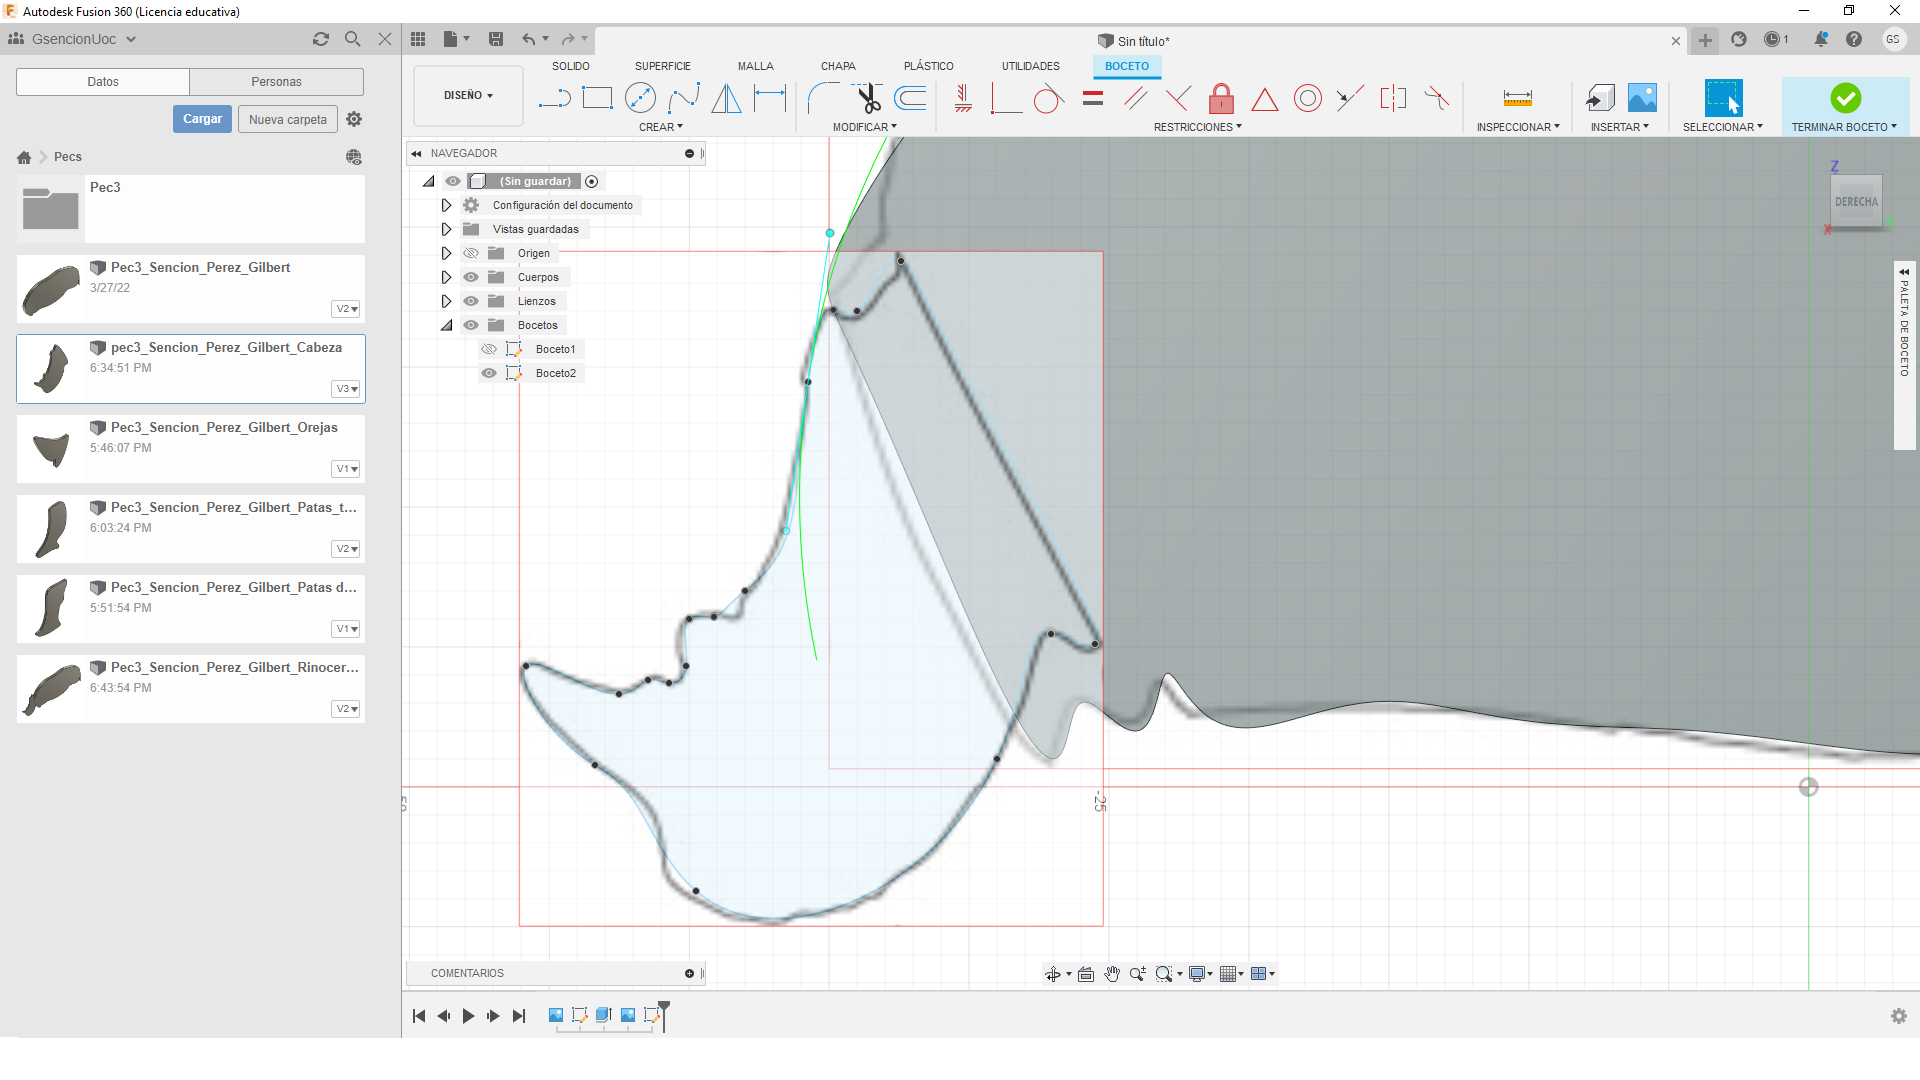
And then we continue to generate the rest of the elements.
In my case I generate the head and then join it to the body
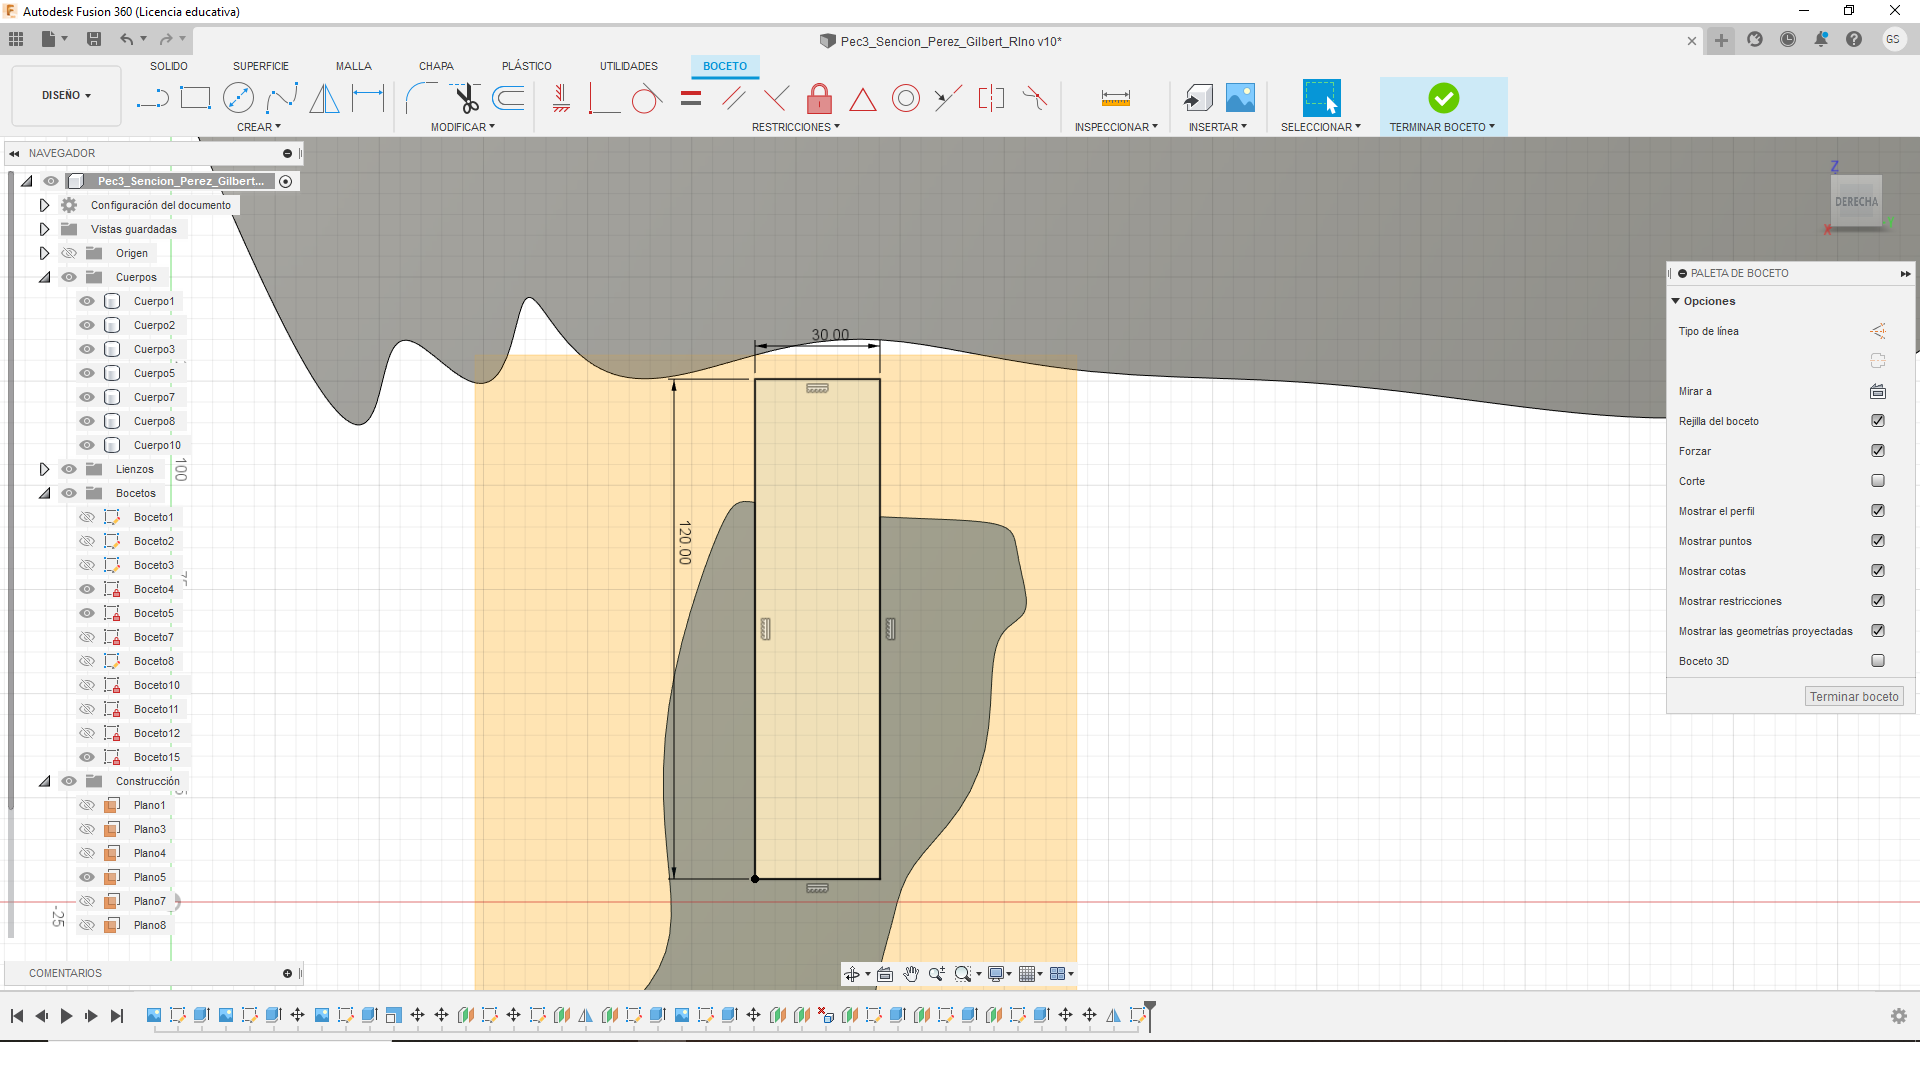
And generate the joins of the puzzle.
We generate the sketch and extrude it by using the “new body” option instead of the “join” option.
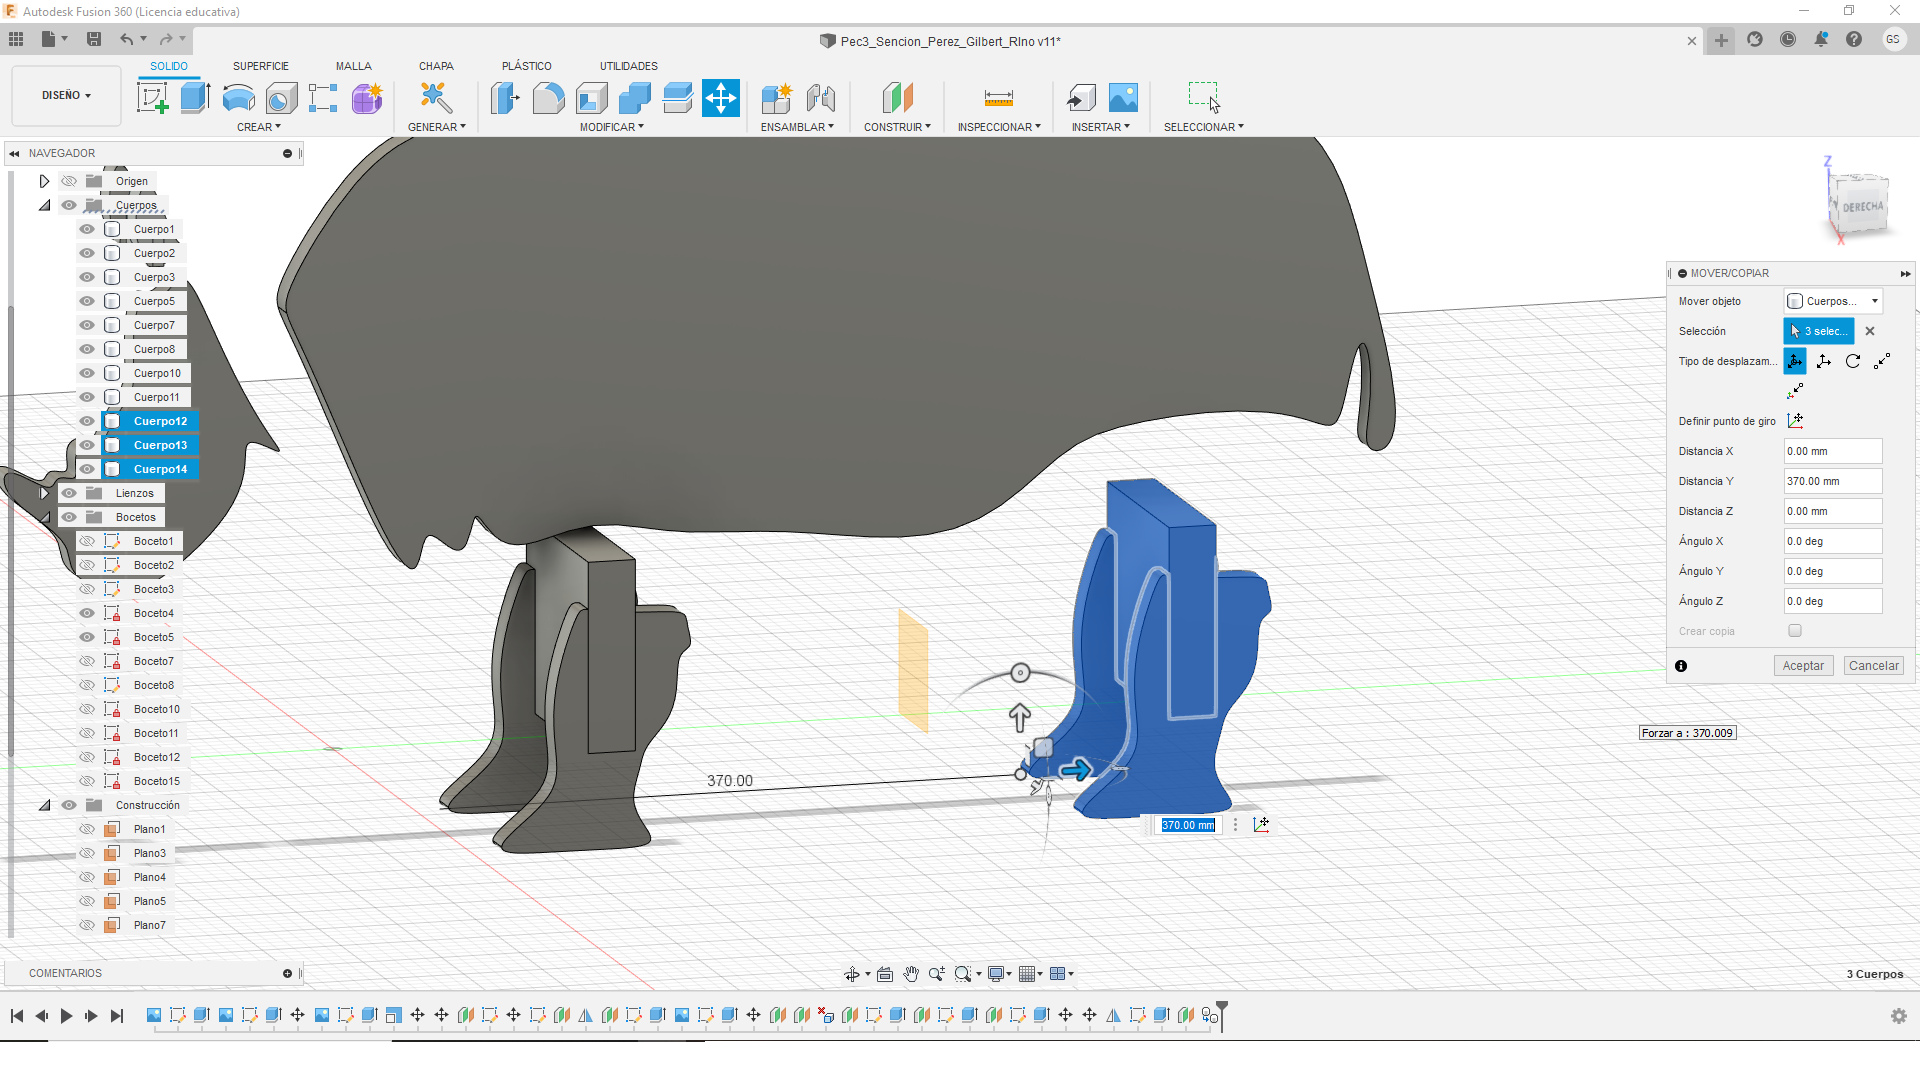
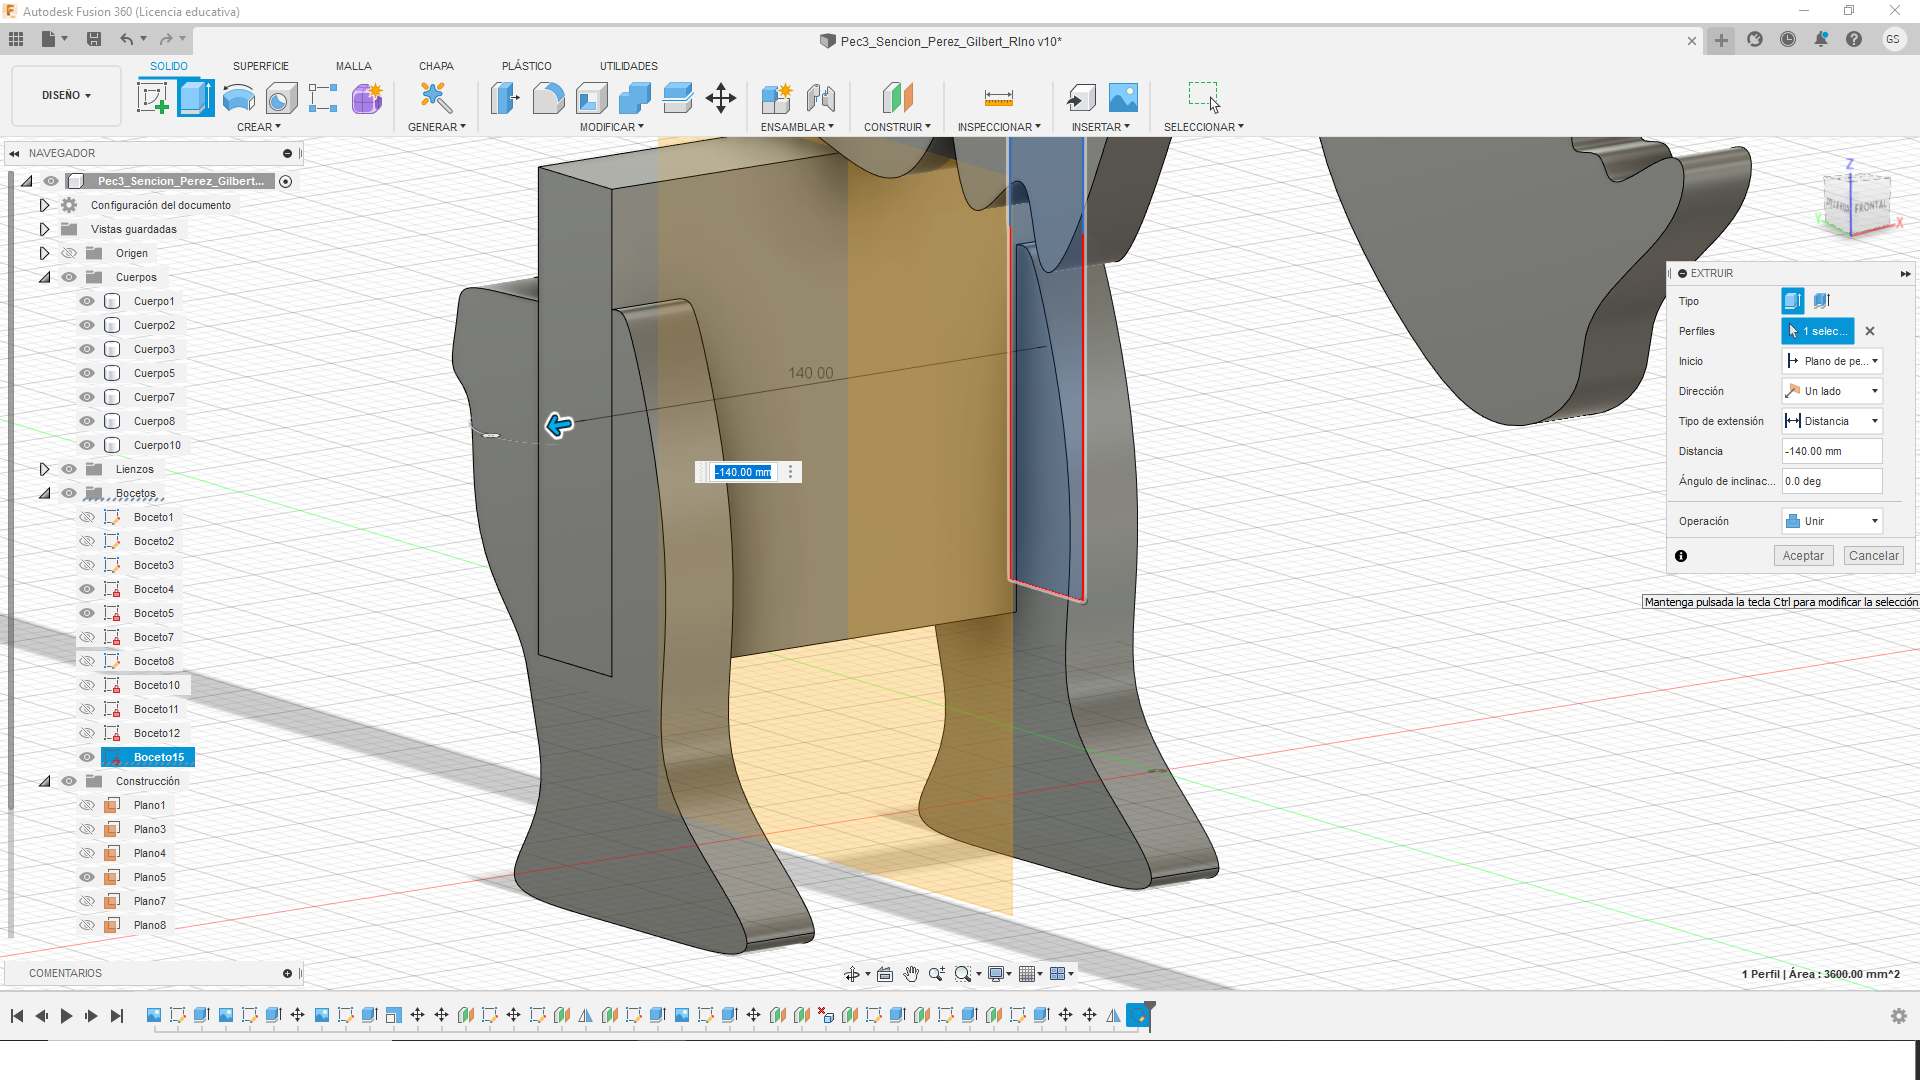
We copy-paste the legs they fit.
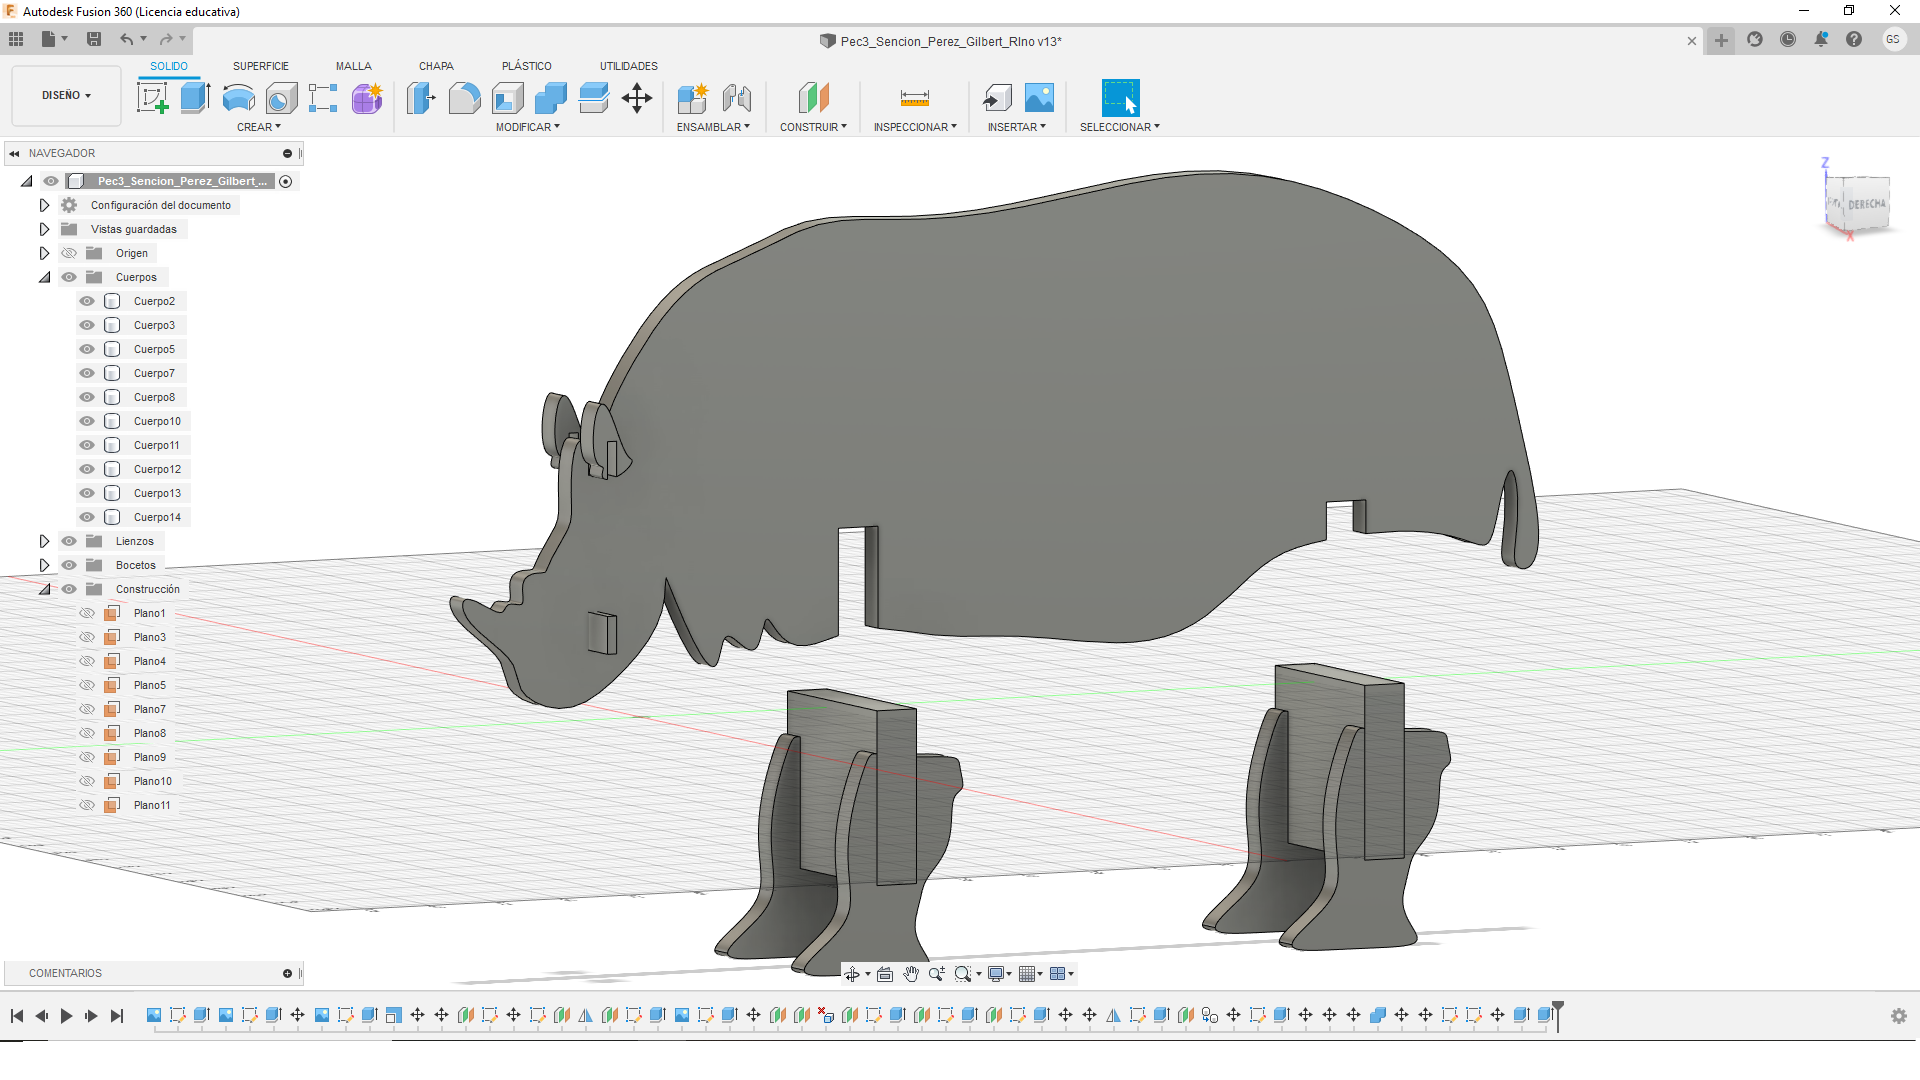
We continue generating the sockets in the main silhouette, which lastly has been joined to the head, generating a single body and head solid.
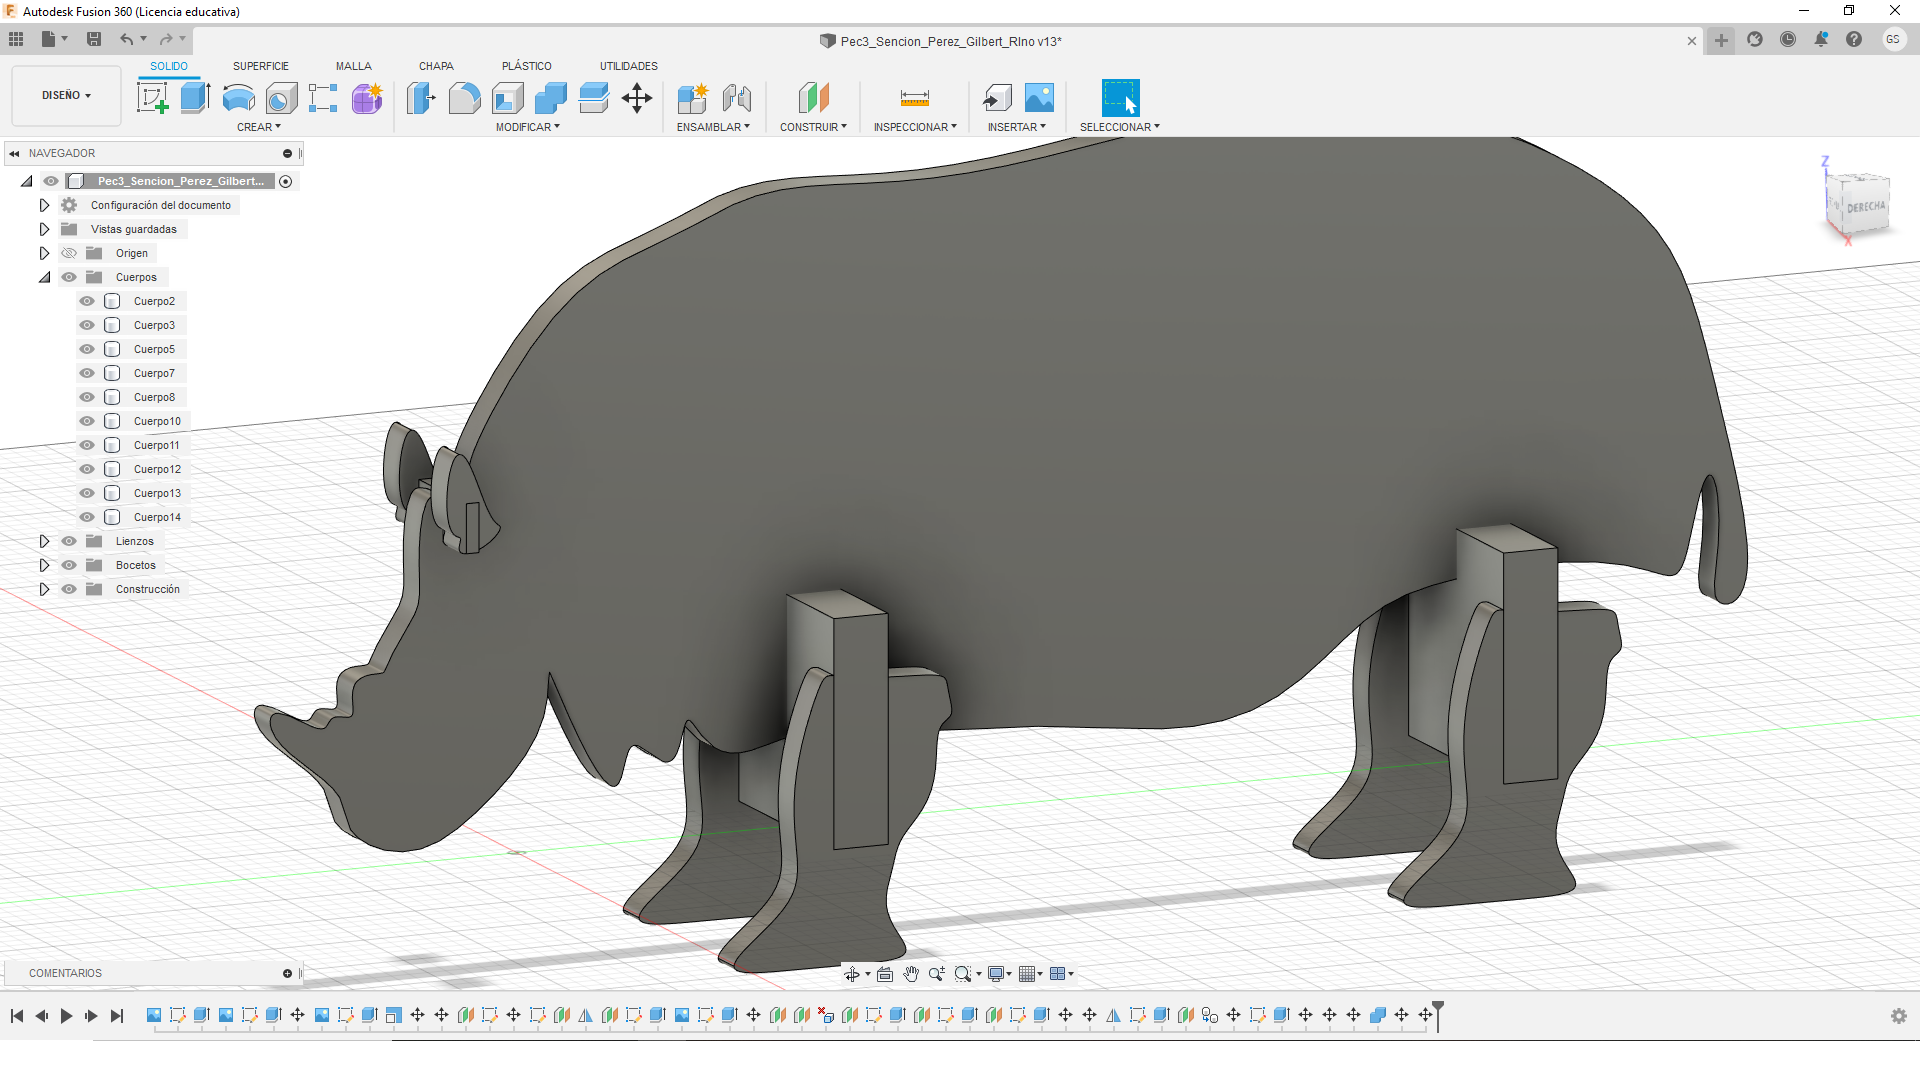
And to finish we move the different parts to their final position.