Smart PuzzelBox Using Raspberry Pi
by JensLagae in Circuits > Raspberry Pi
408 Views, 3 Favorites, 0 Comments
Smart PuzzelBox Using Raspberry Pi
.png)
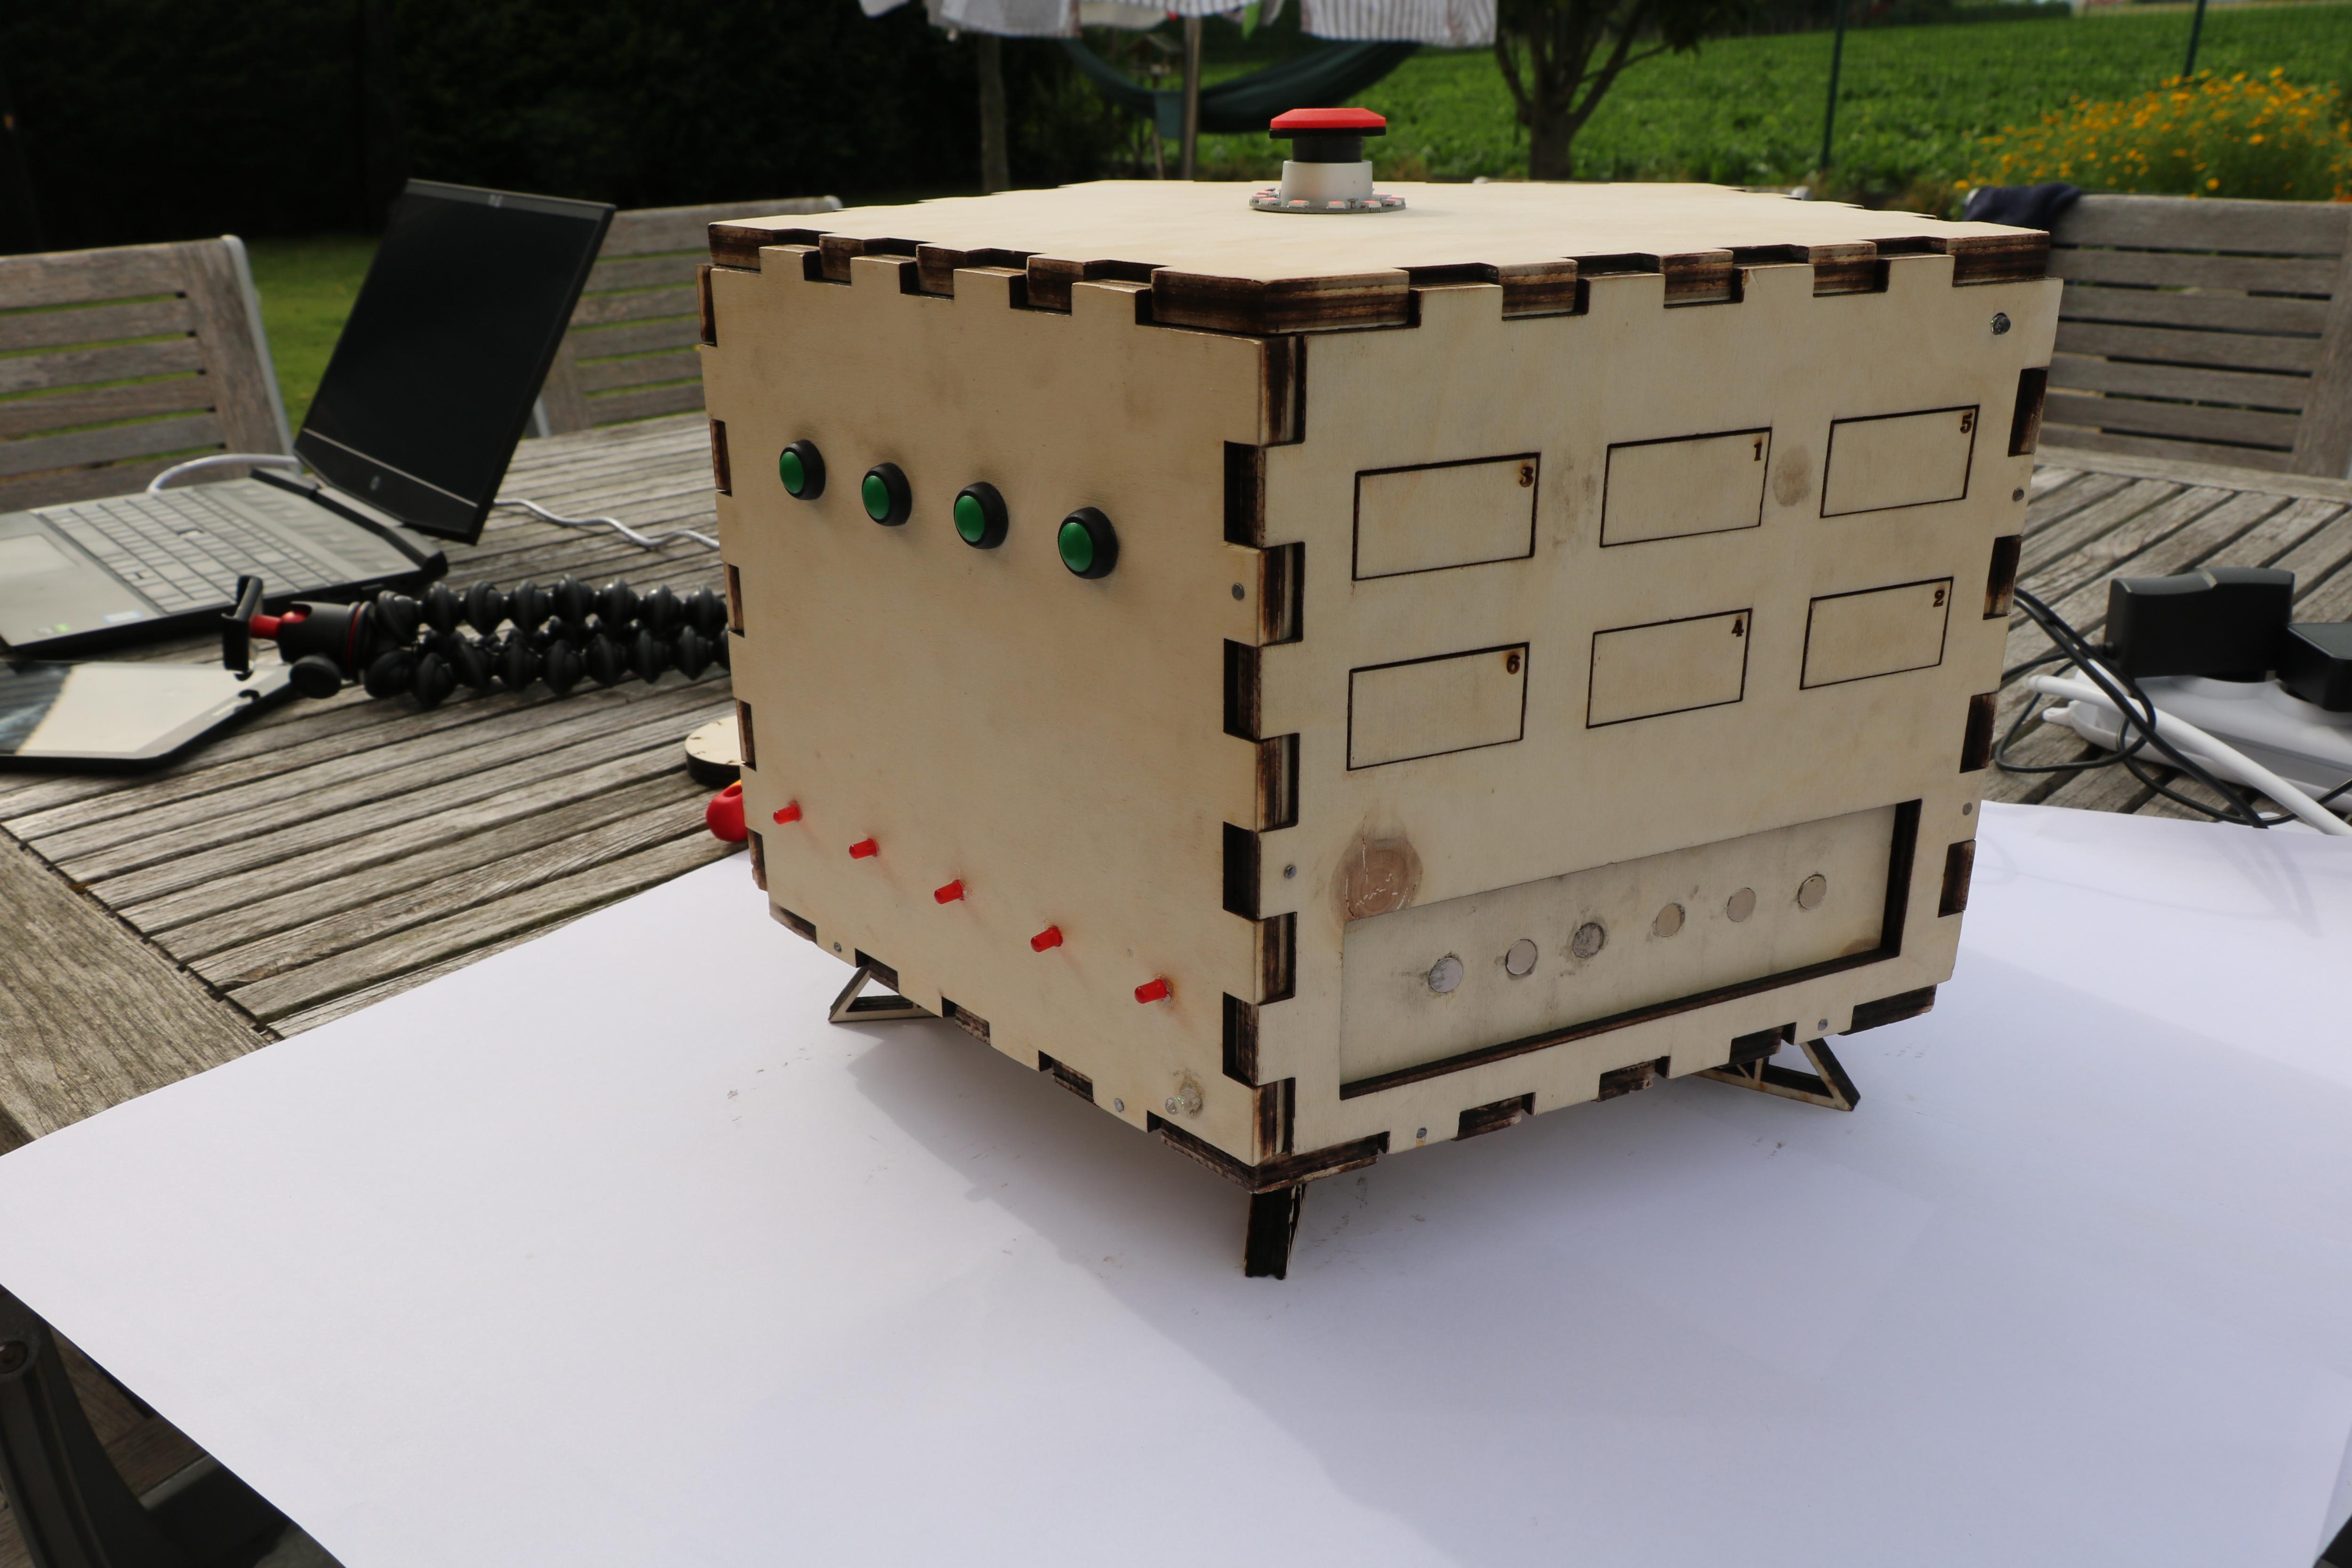
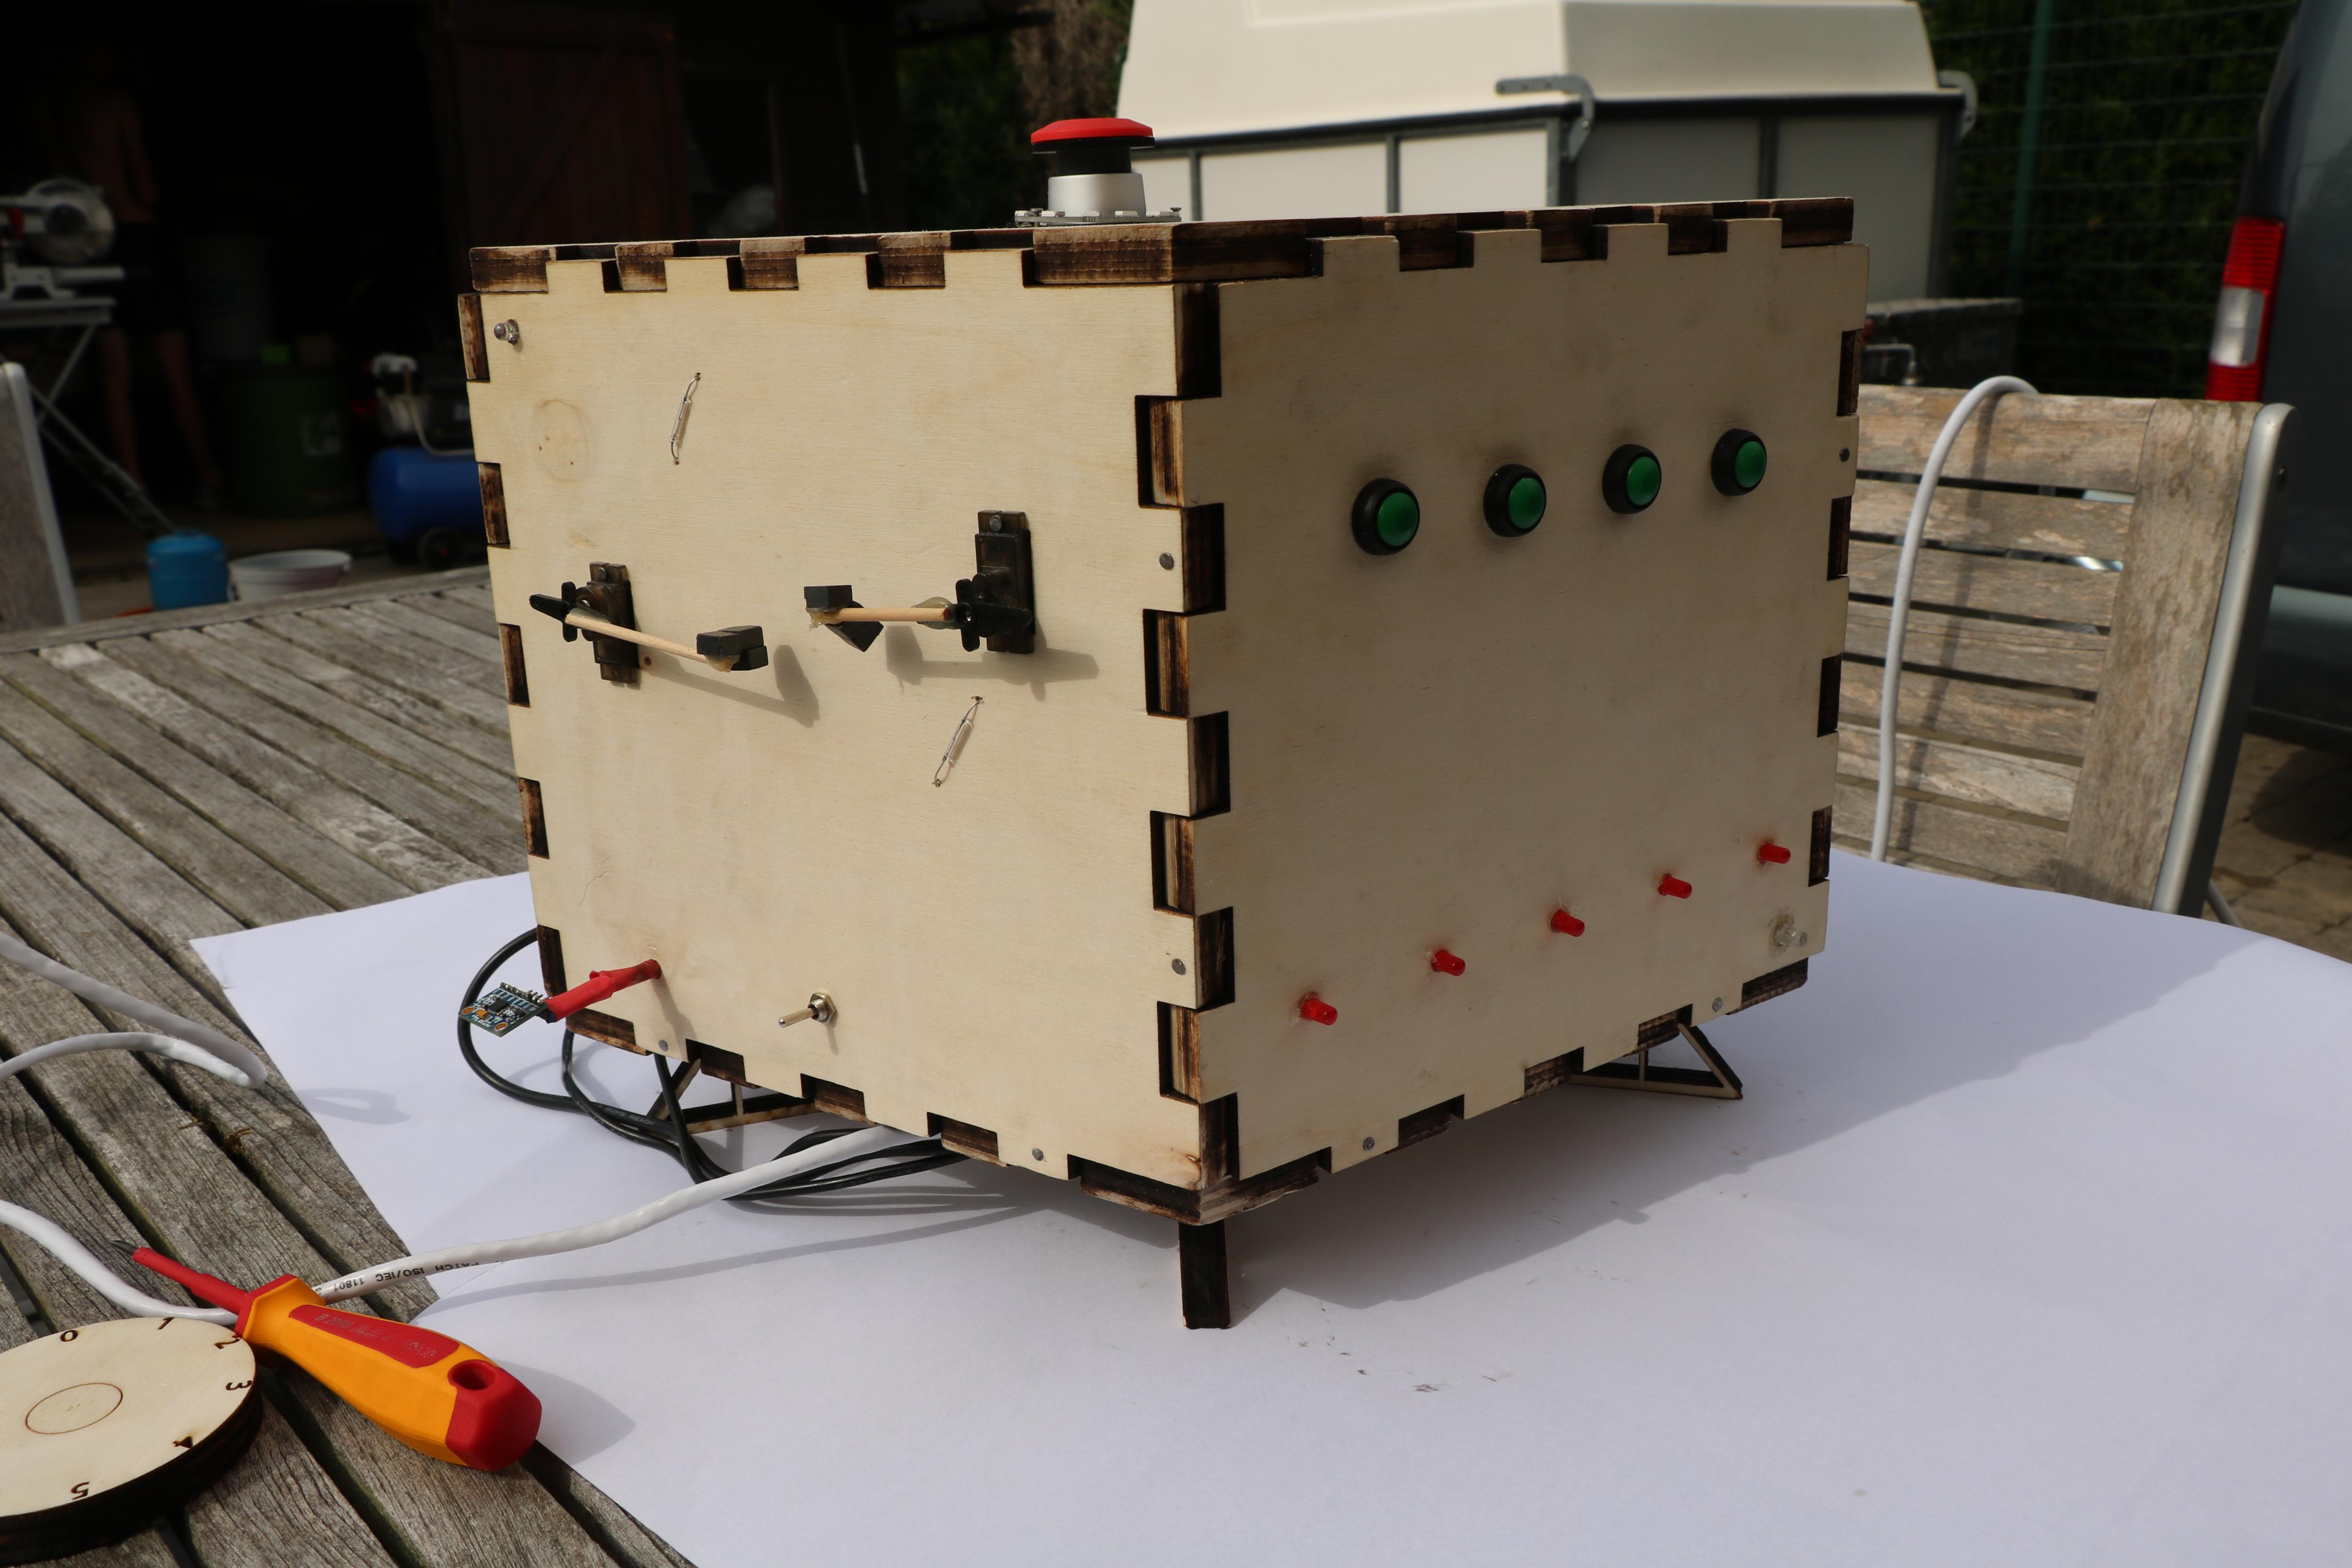
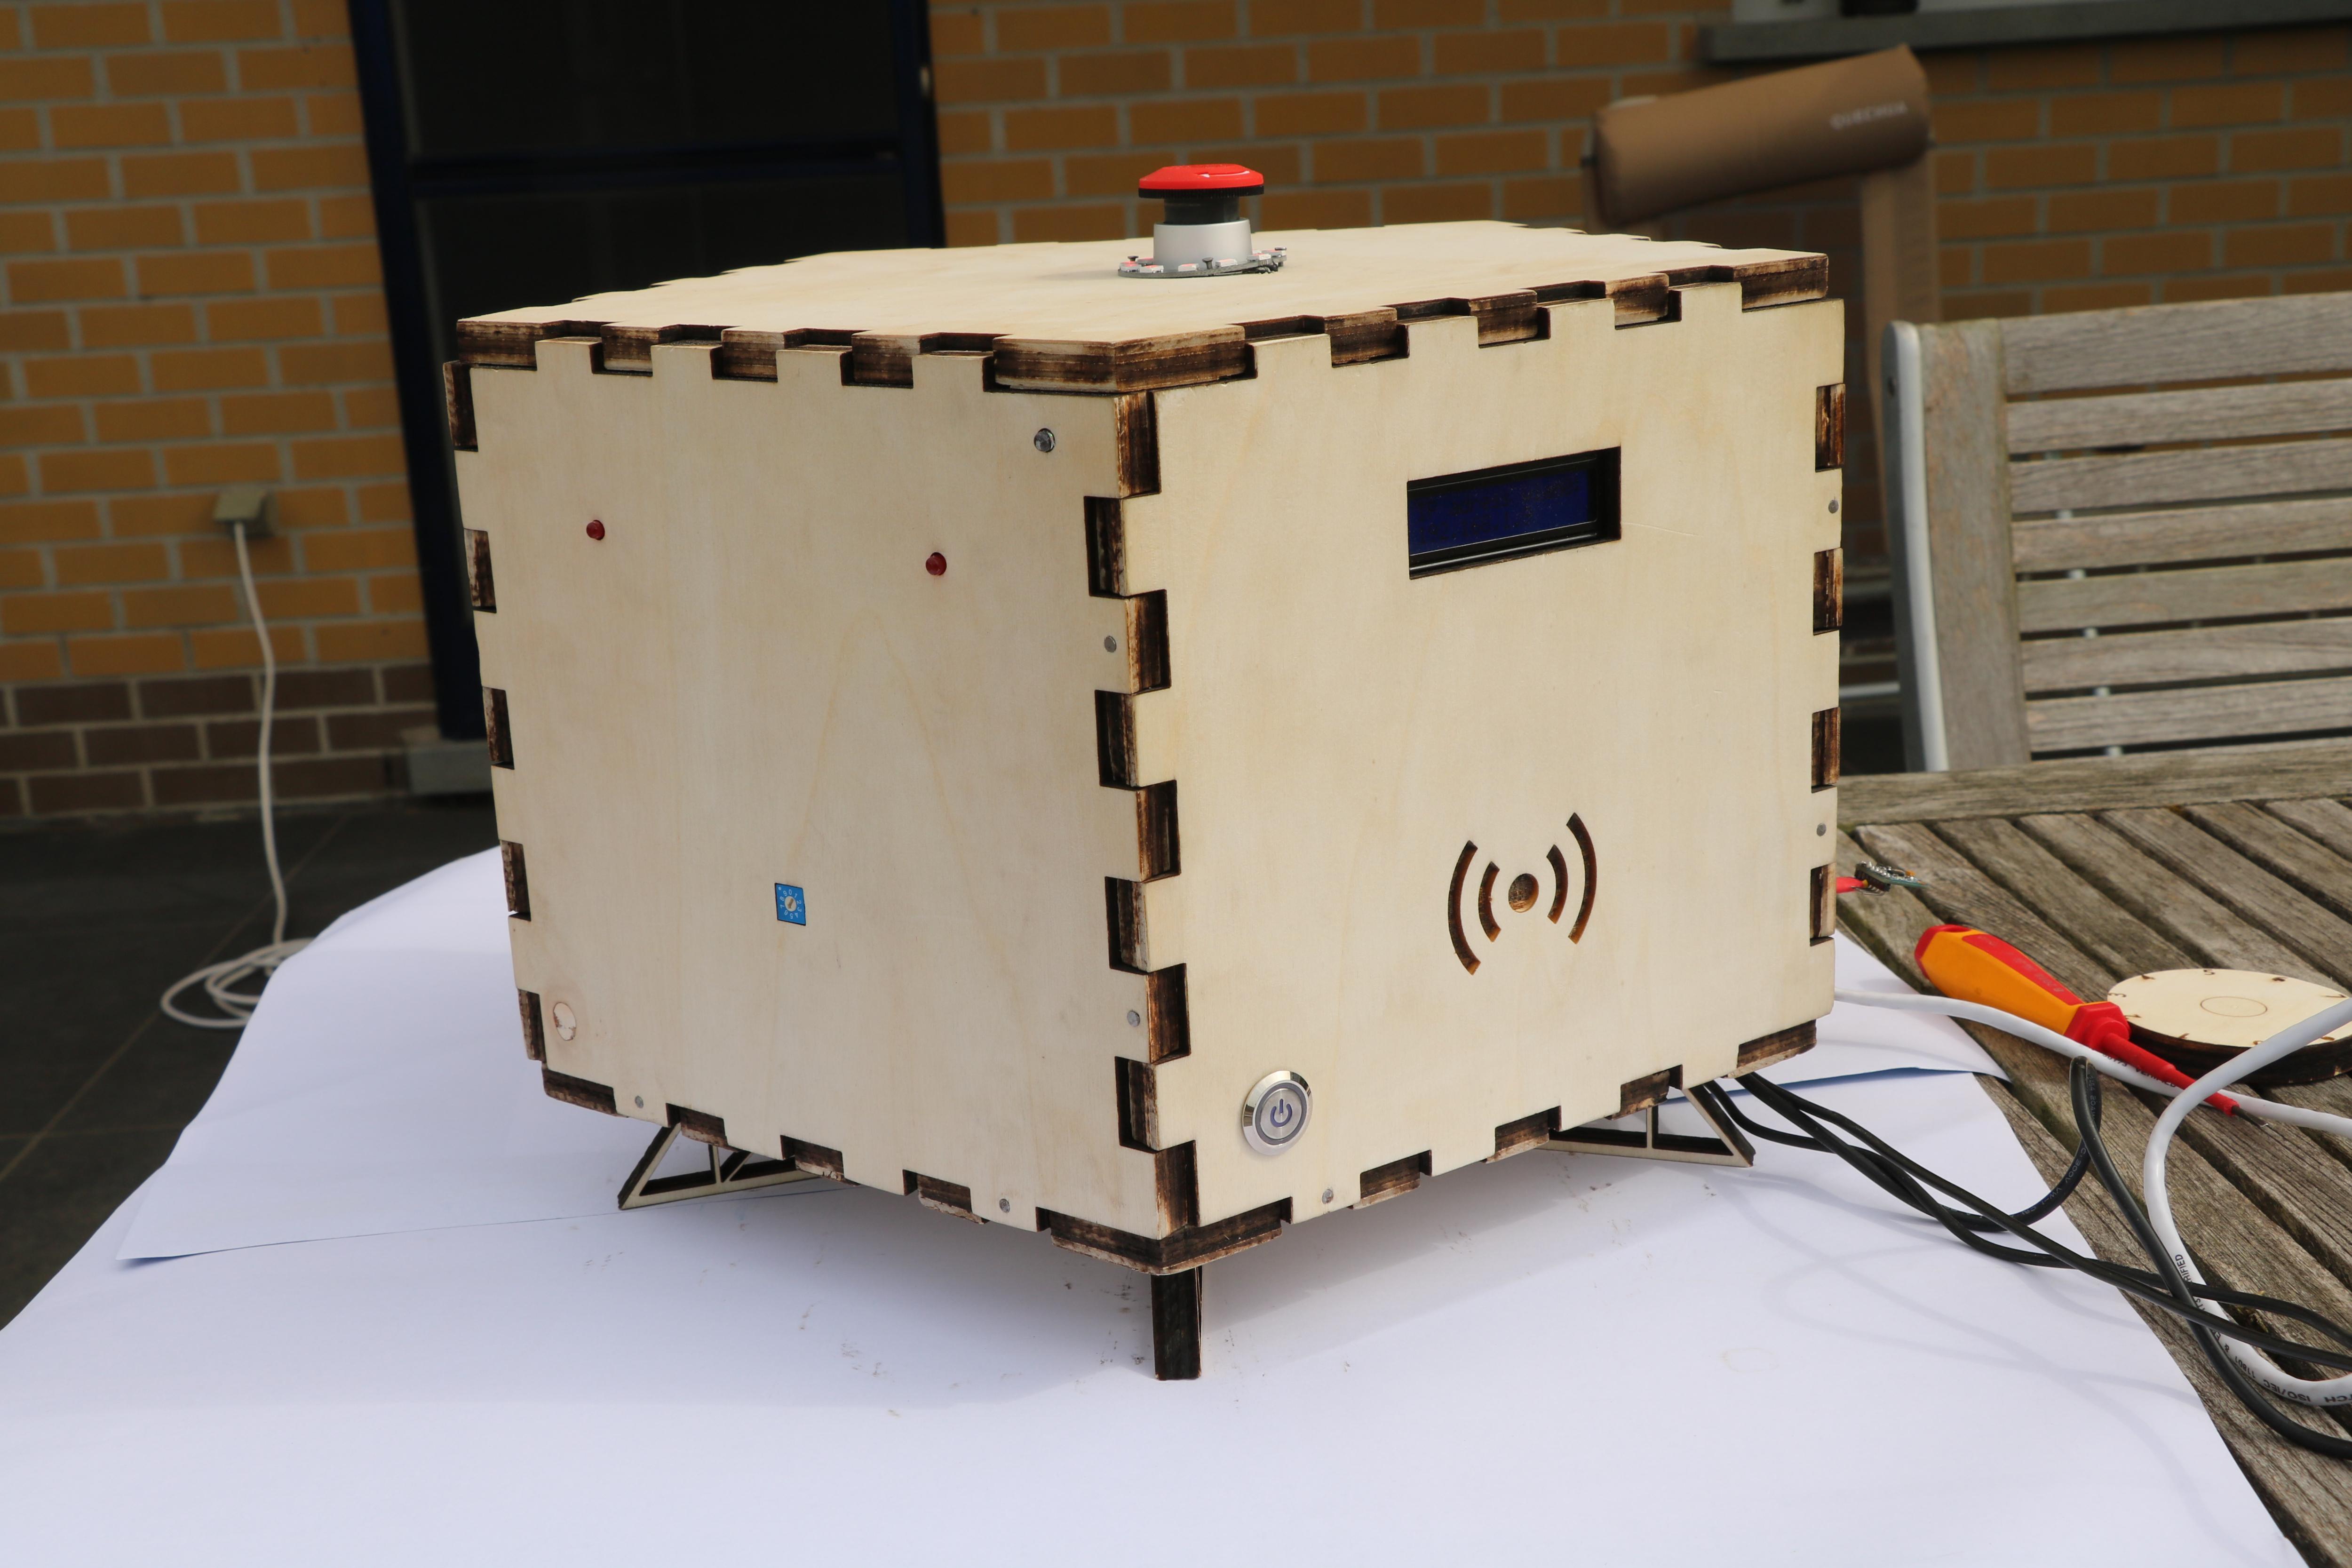
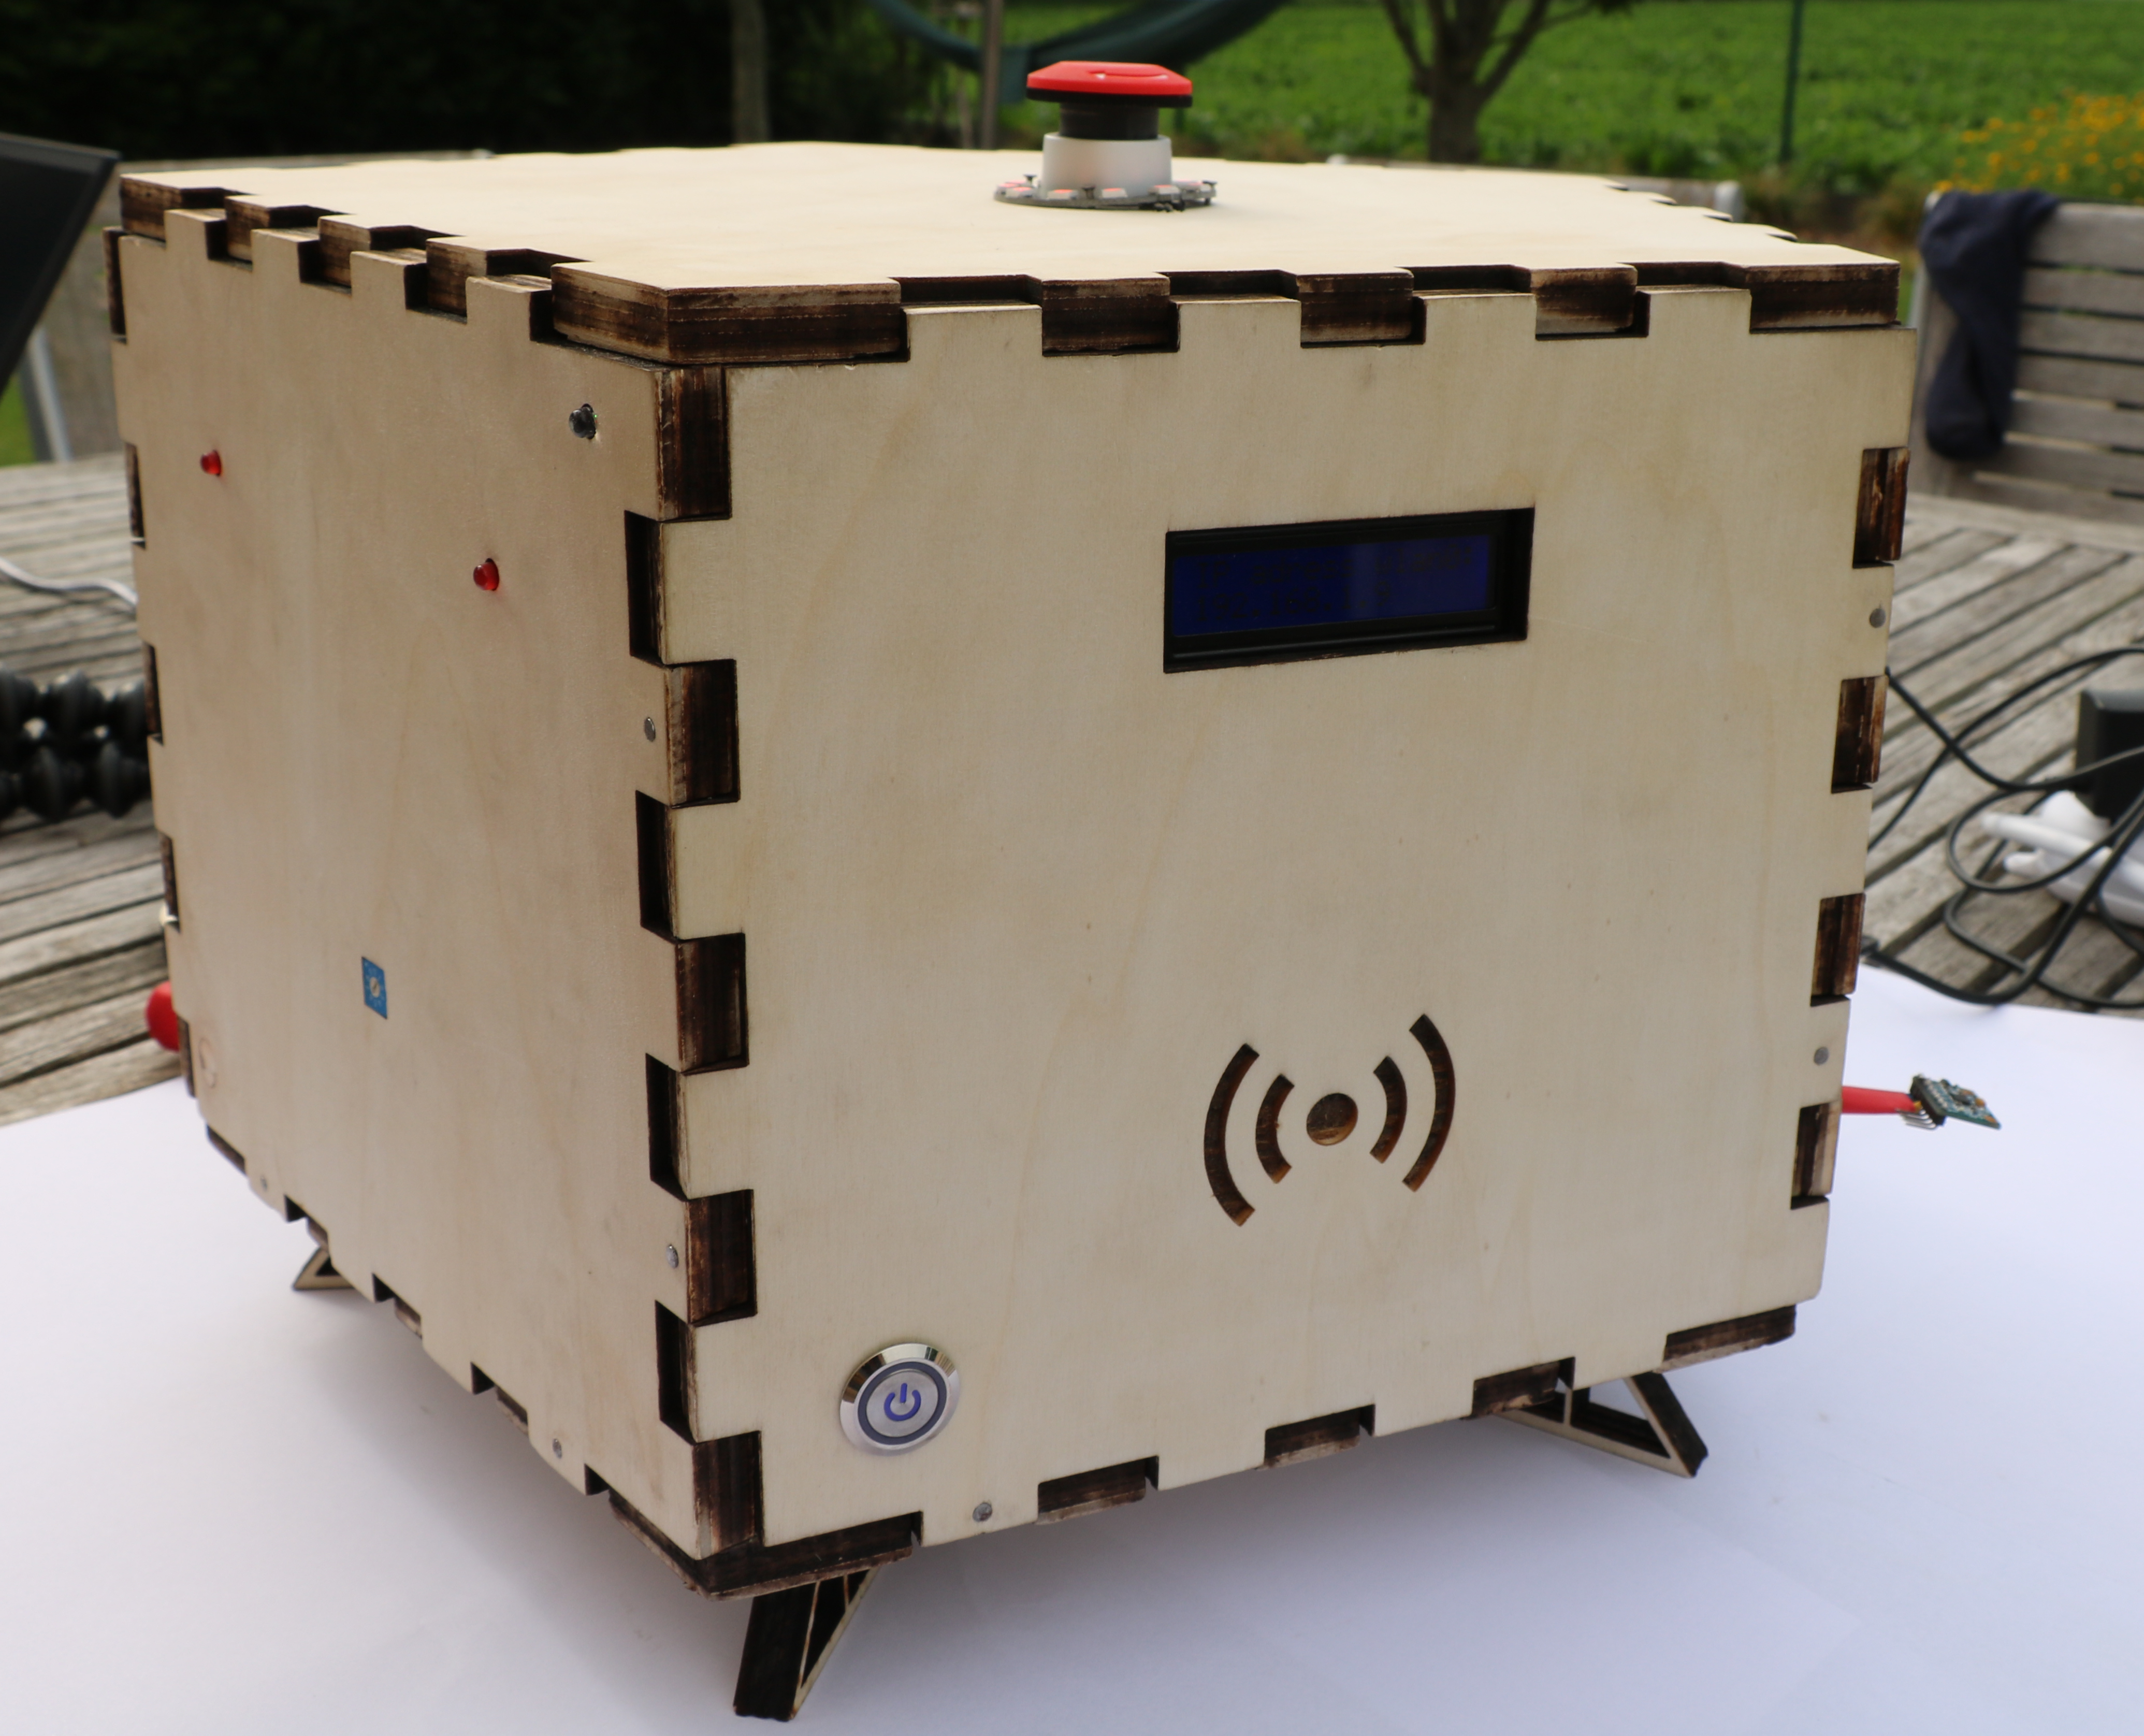
I am an MCT student from Howest in Kortrijk, Belgium.
My project is a Puzzelbox made for children 10 years old and up. It has 4 different games that the user must solve in order to activate the end button.
What are the features?
- Tracking of previous games
- Breakdown of the game you played per segment when finished
- live data feed for quiz segment
- 4 games that need some thinking to solve
Look at my code on github and try it for yourself if you like the challenge.
Github Repo: Github
Supplies
Raspberry Pi 4B with 16GB SD Card
The Raspberry Pi is a computer that runs Linux, but it also provides a set of GPIO (general purpose input/output) pins, allowing you to control electronic components for physical computing and explore the Internet of Things (IoT).
My whole project runs on my Raspberry 4 with a configured image.
LCD Display 16x2 with PCF8574N expander
The LCD display shows the ip address and messages with instructions.
WS2812B - 12 RGB Neopixel ring
The neopixel ring shows the process of the player when playing
2 Servo motors
The 2 servo motors are used to trigger magnet contacts by magnets attached to sticks.
RFID Reader
The RFID reader is used to start the game. The user can choose from 4 different colors RFID card.
Magnet sensors
The magnetic sensors are mainly used in the quiz game to check whether the correct answer has been given.
BCD with PCF8574N
I read the BCD via the PCF8574N to know which number the user has dialed in the number game.
MPU6050
The MPU6050 is used to control the servos. When you turn the MPU, the servos turn with it.
PI T-Cobbler , breadboards and wires
Breadboards and wires are used to connect all components. The T-Cobbler is used to interface with the Pi.
The list of materials
The list of materials used can be found in the pdf.
Schematic
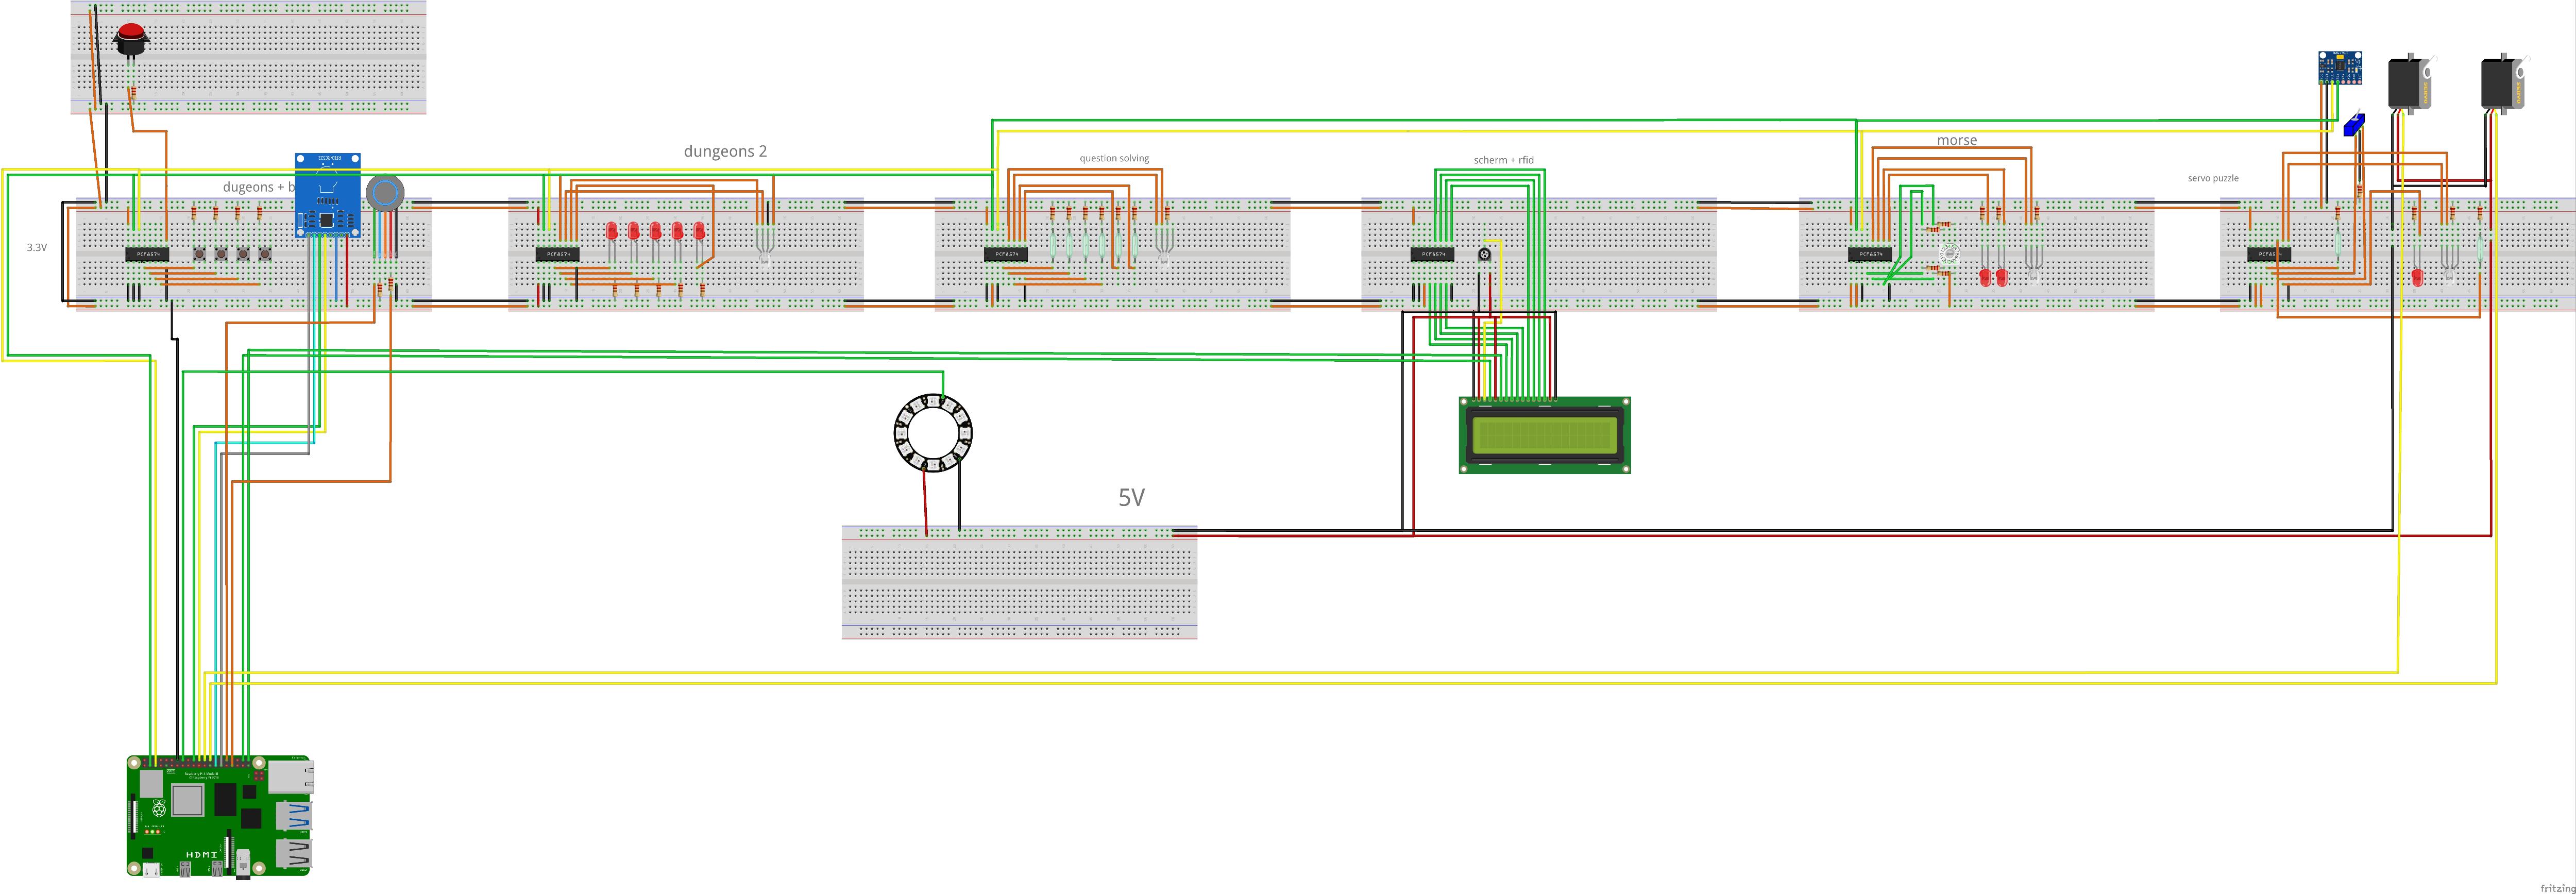
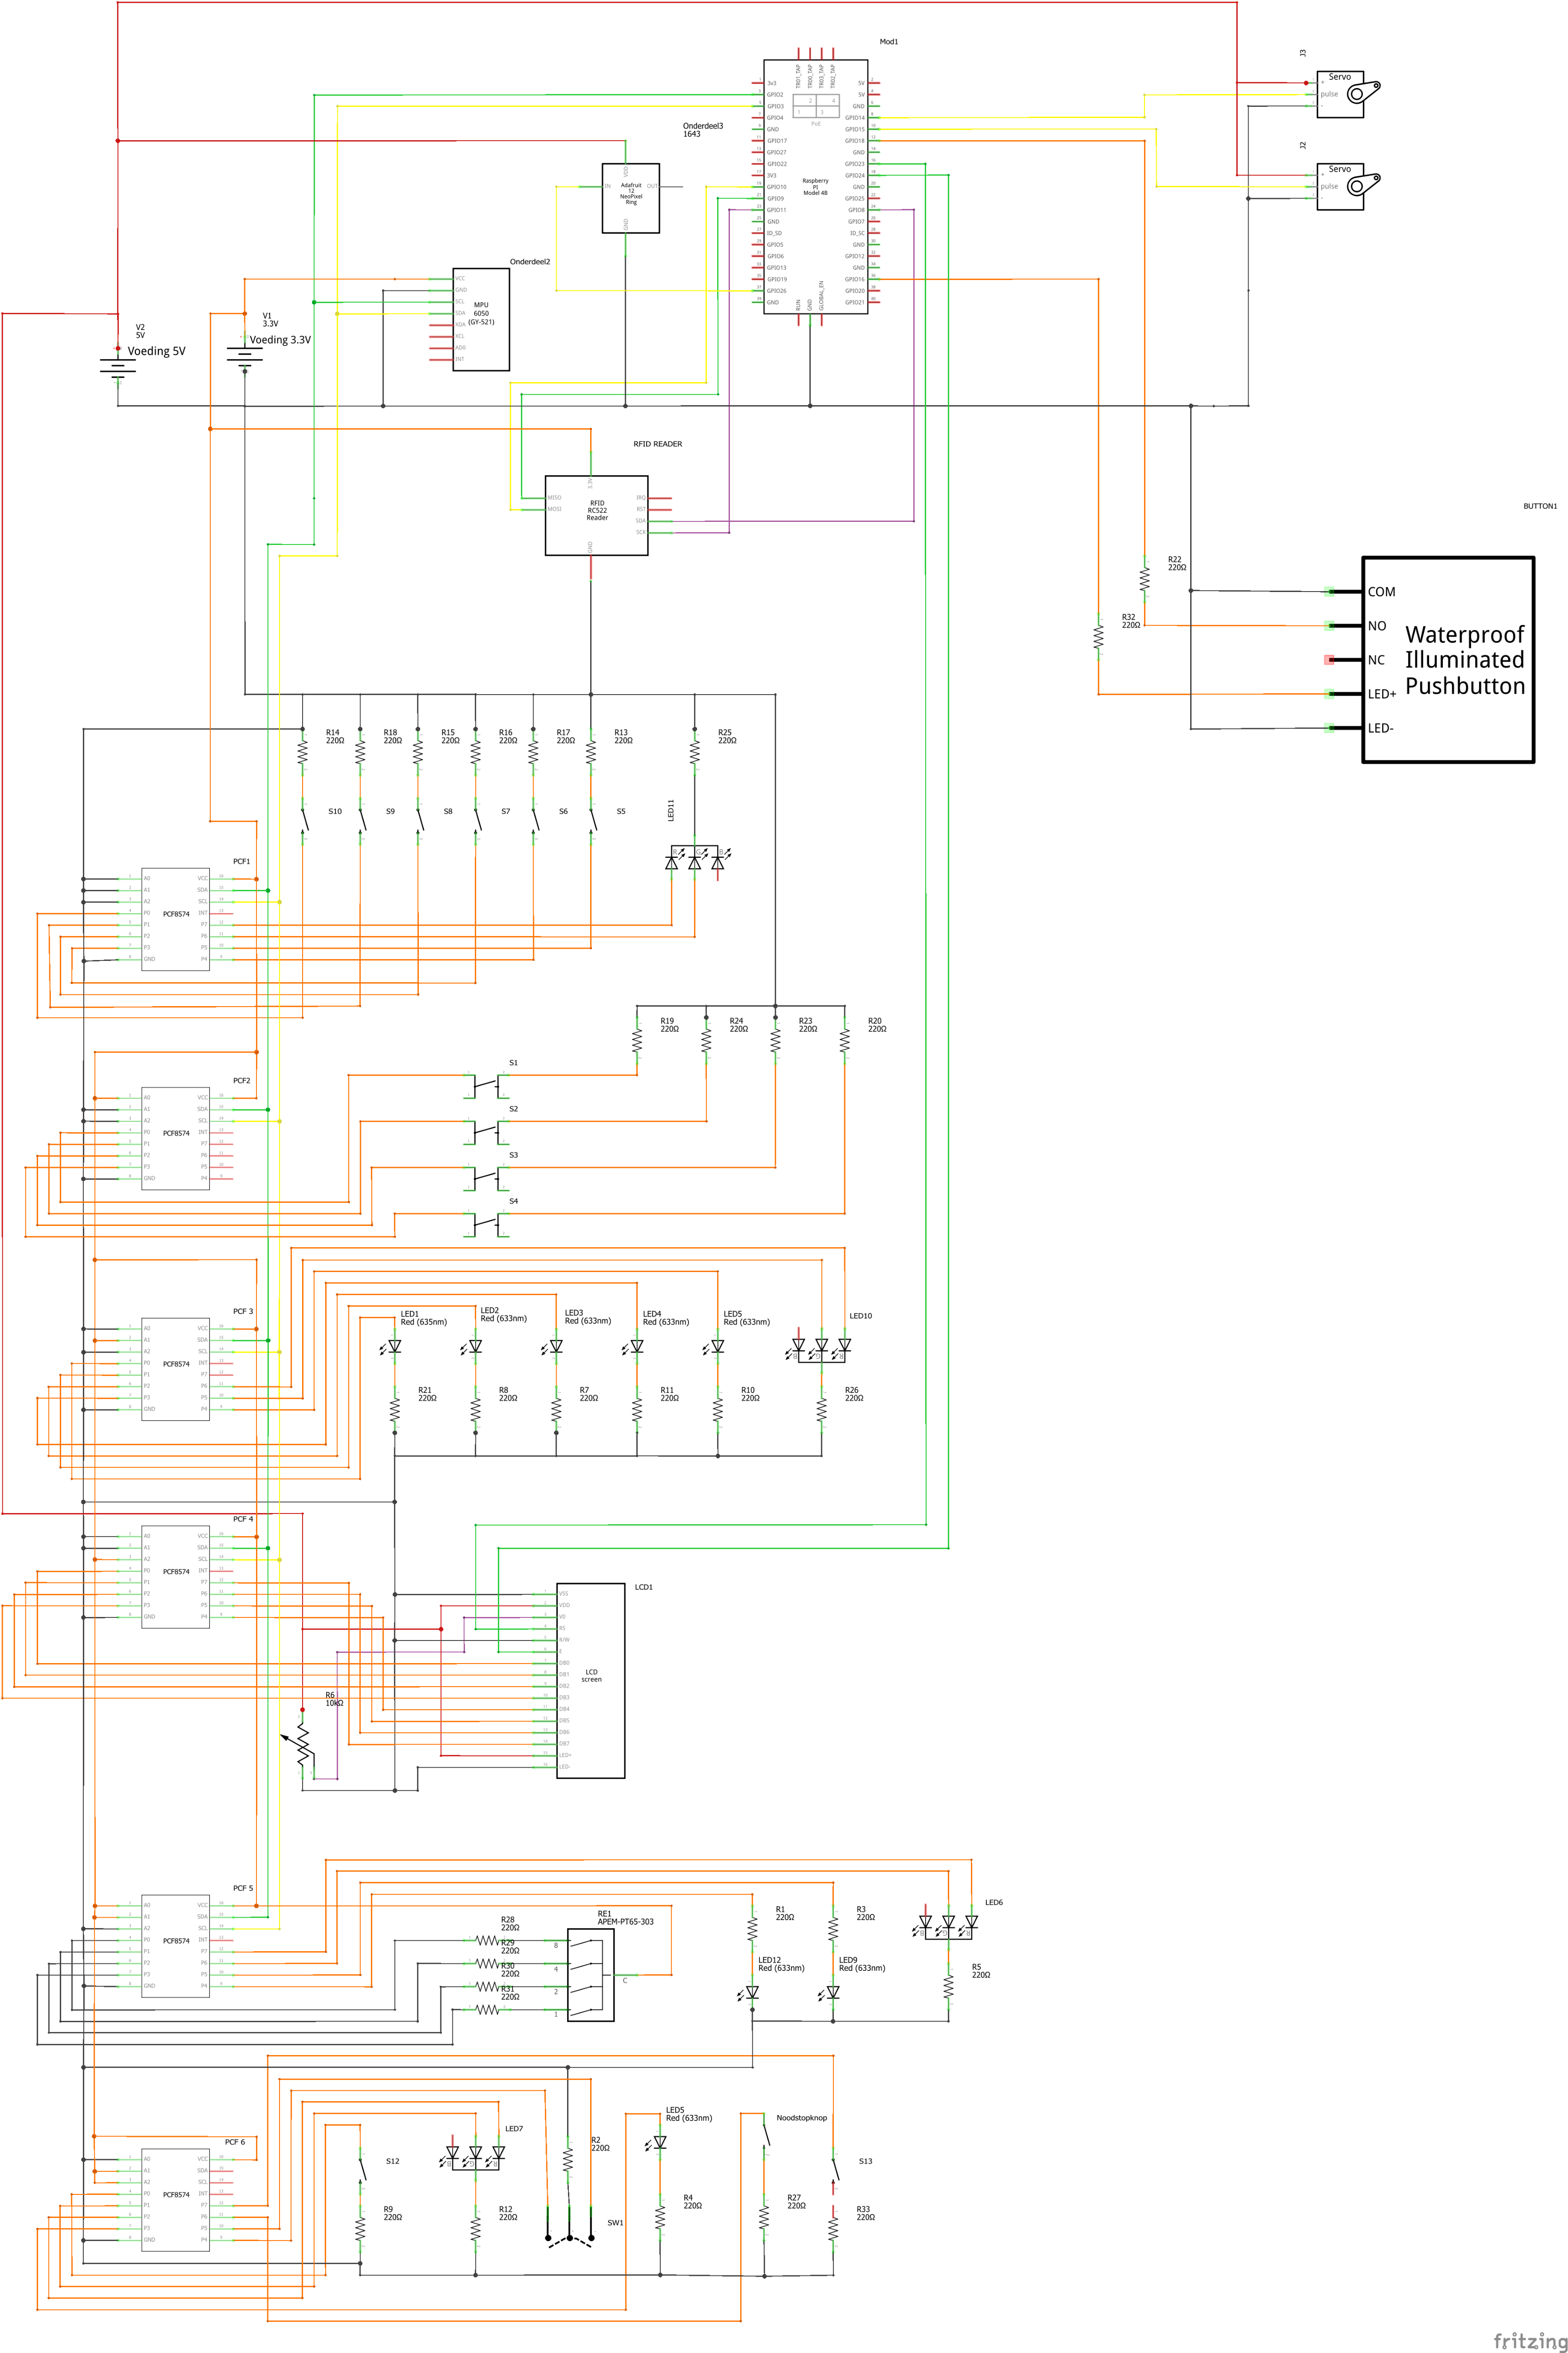
The schematics for the project are made in Fritzing.
Colors used in schematics:
- Red = 5V
- Orange = 3.3V
- Black = GND
- other colors = data wires
IMPORTANT NOTE!
Look closely at all components when attaching power cables. DO NOT apply 5 volts to 3.3 volt components. Also make sure to connect the GND is connected to the GND of the PI.
Database
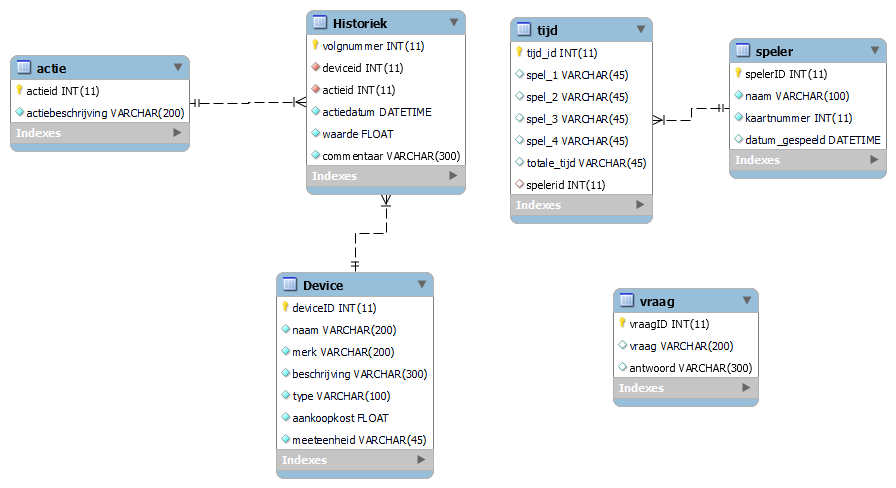
All data from the sensors and actuators is stored in a relational SQL database (MariaDB).
Breakdown of database
Device
Here you find information about the sensor/actuator.
History
Here you find all logged information about the device's.
Example:
- Buttons been pressed
- RFID being used
- BCD number info
Action
Here are all the actions stored that can happen to the sensors and actuators.
Question
The questions are stored inside this table. These are used to display on the web page.
Player
The player table stores information about the player.
Time
The timetable stores the segment times and the total time spent on one run.
Preparing Raspberry PI
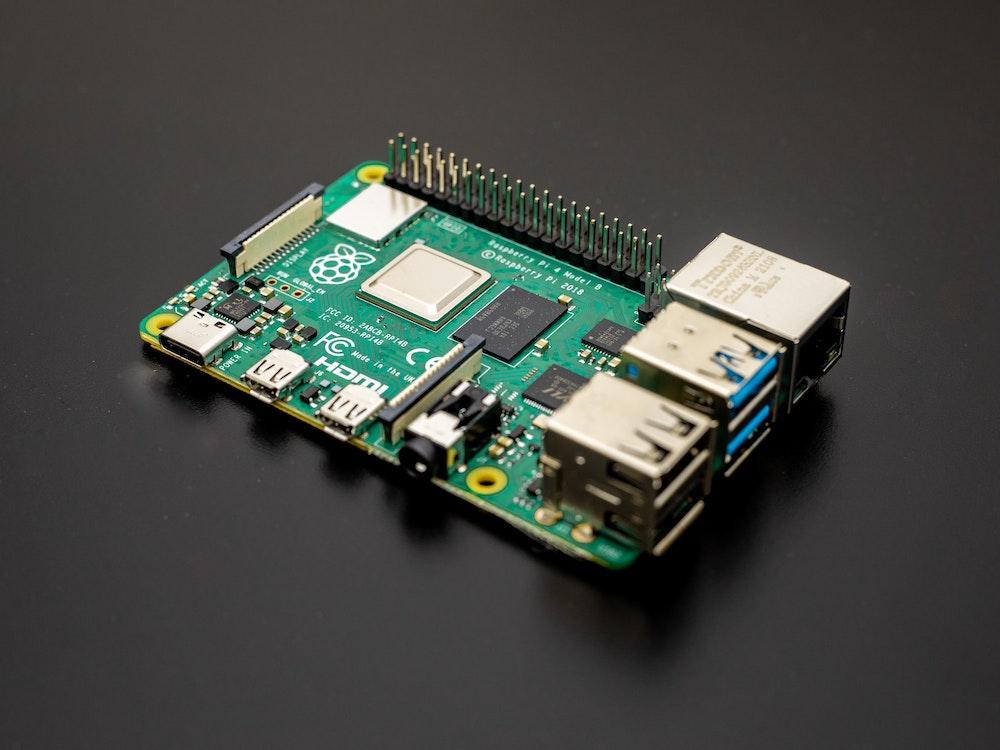
Before we can run the code we are going to prepare the raspberry pi.
1) Downloading Raspberry Pi OS.
Go to Raspberry Pi OS and download image (Raspberry Pi OS with desktop). This may take a while.
2) Writing image to your SD Card.
When it is finished downloading, you can write the image to your sd card with (recommend 16GB and up) Raspberry Pi Imager Video Tutorial : https://www.youtube.com/watch?v=ntaXWS8Lk34
3) Configuring the SD Card. When writing is done, we can start setting up the SD Card.
- Open the file explorer.
- Go to my pc --> find boot disk
- Create a new file ssh without extension in Notepad++.
- Add 'ip=169.168.168.169 to the end of the file and save it.
4) Starting the Raspberry Pi.
- Connect an internet cable from your PC to your Pi
- Open Putty.
- Make sure you are in the same range as the Pi.
- Choose port 22 and enter the ip address of your Pi 169.168.168.169 and connection type SSH.
- Enter login pi and the password raspberry.
- If you get a warning message, click Yes.
5) Some configuration.
Enable I2C and SPI on the Raspberry Pi with:
sudo raspi-config
Choose Interface Options and enable (I2C and SPI). Navigate to Localisation Options --> change timezone and WLAN Country.
Then reboot the Pi.
sudo reboot
6) Adding WiFi.
Add your own home wifi.
sudo wpa_passphrase 'Networkname' 'Password' >> /etc/wpa_supplicant wpa_supplicant.conf
Reload your wireless network card in the PI.
wpa_cli -i wlan0 reconfigure
You can now check the connection by requesting the ip-address (wlan0).
ifconfig
7) Installation of packages.
Stay up to date with the latest version.
sudo apt update
sudo apt upgrade
Install the following packages and libraries for python:
sudo pip install flask-cors
sudo pip install flask-socketio
sudo pip install simple-websocket
sudo pip install mysql-connector-python
sudo pip install gevent
sudo pip install gevent-websocket
sudo pip install selenium
sudo apt install chromium-chromedriver
sudo pip3 install rpi_ws281x adafruit-circuitpython-neopixel
sudo python3 -m pip install --force-reinstall adafruit-blinka
sudo apt install python3-dev python3-pip
sudo pip3 install mfrc522
Now reboot the Pi.
sudo reboot
8) Get github code.
Clone the github repository linked below.
git clone https://github.com/howest-mct/2021-2022-projectone-LagaeJens
9) Database
Installation of MariaDB and configuration of the program.
sudo apt install mariadb-server mariadb-client -y
Securing the database.
sudo mysql_secure_installation
Enter > Type a password (remember) > y > y > y > y Create a user on the database.
sudo mysql -u root -p
create user 'USERNAME'@'localhost' identified by 'USERNAME';
grant all privileges on *.* to USERNAME@localhost;
flush privileges;
exit;
Make a new connection in MySQLWorkBench
- Open MySQL WorkBench and make a new connection.
- Connection Method --> Standard TCP/IP over SSH.
- SSH Hostname: 192.168.168.169
- SSH Username: pi
- SSH Password: raspberry
- MySQL Hostname: 127.0.0.1
- MySQL Server Port: 3306
- Username: USERNAME
- Password: PASSWORD
10) Apache
Installation of Apache and configuration of the program.
sudo apt install apache2
nano /etc/apache2/sites-available/000-default.conf
Replace the following lines with the following lines and change DocumentRoot to the path of your project (SAVE: CTRL + X > Y > Enter):
ServerAdmin webmaster@localhost
DocumentRoot /home/student/2021-2022-projectone-LagaeJens/frontend
then:
service apache2 restart
next up you open:
nano /etc/apache2/apache2.conf
and change:
<Directory />
Options FollowSymLinks
AllowOverride All
Require all denied
</Directory>
to:
<Directory />
Options Indexes FollowSymLinks Includes ExecCGI
AllowOverride All
Require all granted
</ Directory>
(SAVE: CTRL + X >Y>Enter)
Then do the following commands to activate and check if the application is running:
service apache2 restart
service apache2 status
Next we are going to install the following library's:
- sudo pip3 install rpi_ws281x adafruit-circuitpython-neopixel
- sudo python3 -m pip install --force-reinstall adafruit-blinka
- sudo pip3 install mfrc522
To apply changes
sudo reboot
11) Running the server
Now you ready to start the server.
sudo /bin/python3 /backend/app.py
NOTE!
We need to run the program as sudo due to how the neopixel library works.
12) Starting the software automatically via services
If you would like Puzzelbox to start the program automatically when the power is connected, please follow these instructions.
nano /etc/systemctl/system/puzzlbox.service
Then edit the file and add the following:
[Unit]
Description=Puzzlbox
After=network.target
[Service]
ExecStart==/usr/bin/python3 -u /home/student/2021-2022-projectone-LagaeJens/backend/app.py
WorkingDirectory=/home/student/2021-2022-projectone-LagaeJens/backend
StandardOutput=inherit
StandardError=inherit
Restart=always
User=root
[Install]
WantedBy=multi-user.target
(SAVE : CTRL + X + Y)
Now we will enable the service.
sudo systemctl enable puzzlbox.service
Last we reboot the Pi
Sudo reboot
Frontend
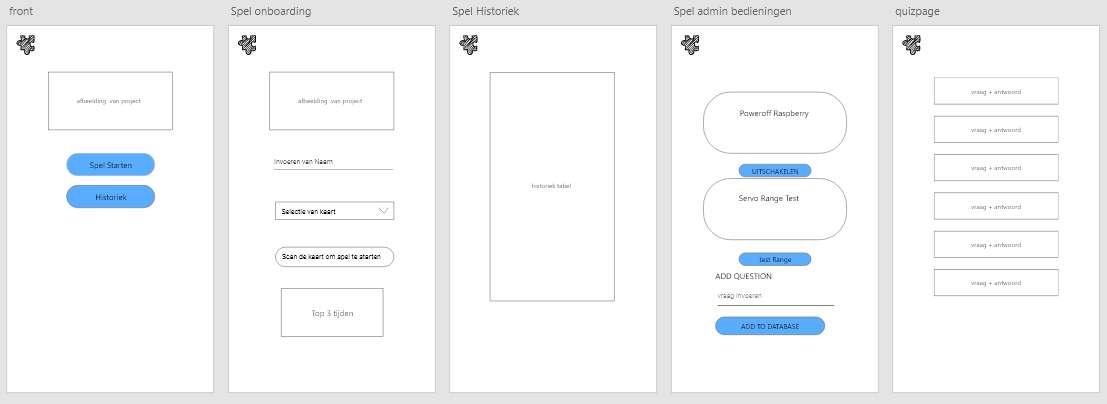
First, I created the wireframes in Adobe XD. Then I recreated the wireframes in HTML and CSS. Then I used javascript for visualisations and socket.io events.
To make the tables, I used this article.
Backend
The whole backend is coded in python.
If you want to make changes to the code, you can use the editor of your choice. I have used Visual Studio Code with the remote SSH plugin enabled
The task of the backend is to send data to the frontend, run the programs for the puzzles, socket.IO and threading.
The API routes take information from the SQL server and pushes it to the frontend. It can also receive data from the frontend or backend and publish that data to the SQL server.
We use threading to be able to run multiple tasks simultaneously. So that we do not have to wait until one is ready to start another.
We use socket.io to talk between the frontend and the backend. It also forwards live data to the web page without the need for refreshing.
NOTE:
You must change the login data in Config.py to your Database login data.
This makes sure you have connection with your database.
Building the Case
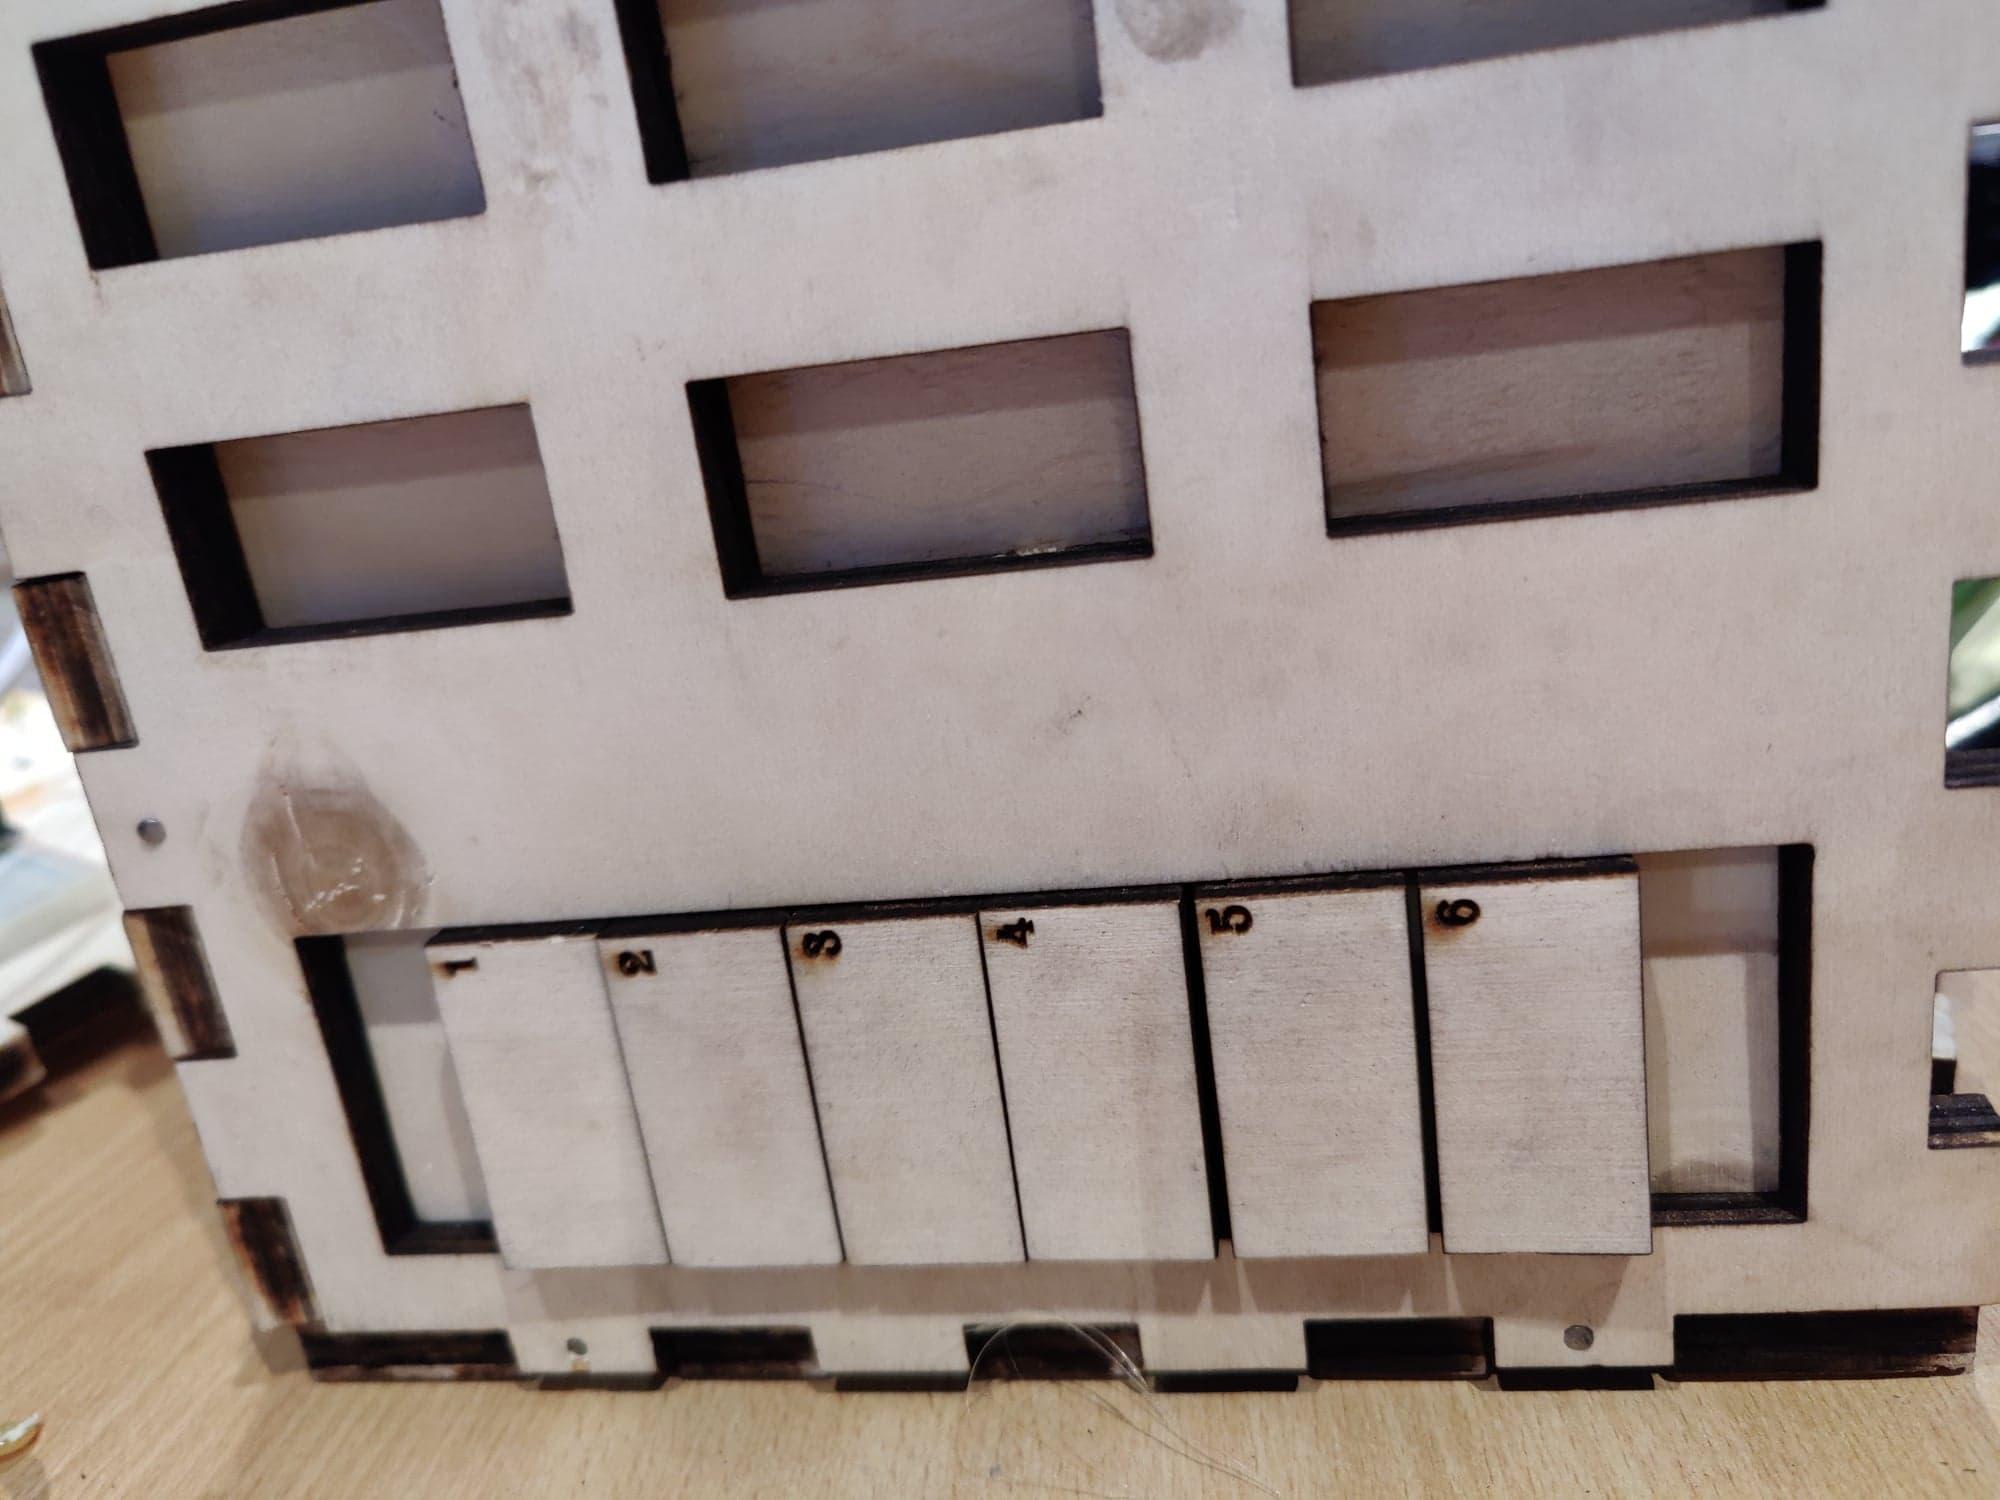
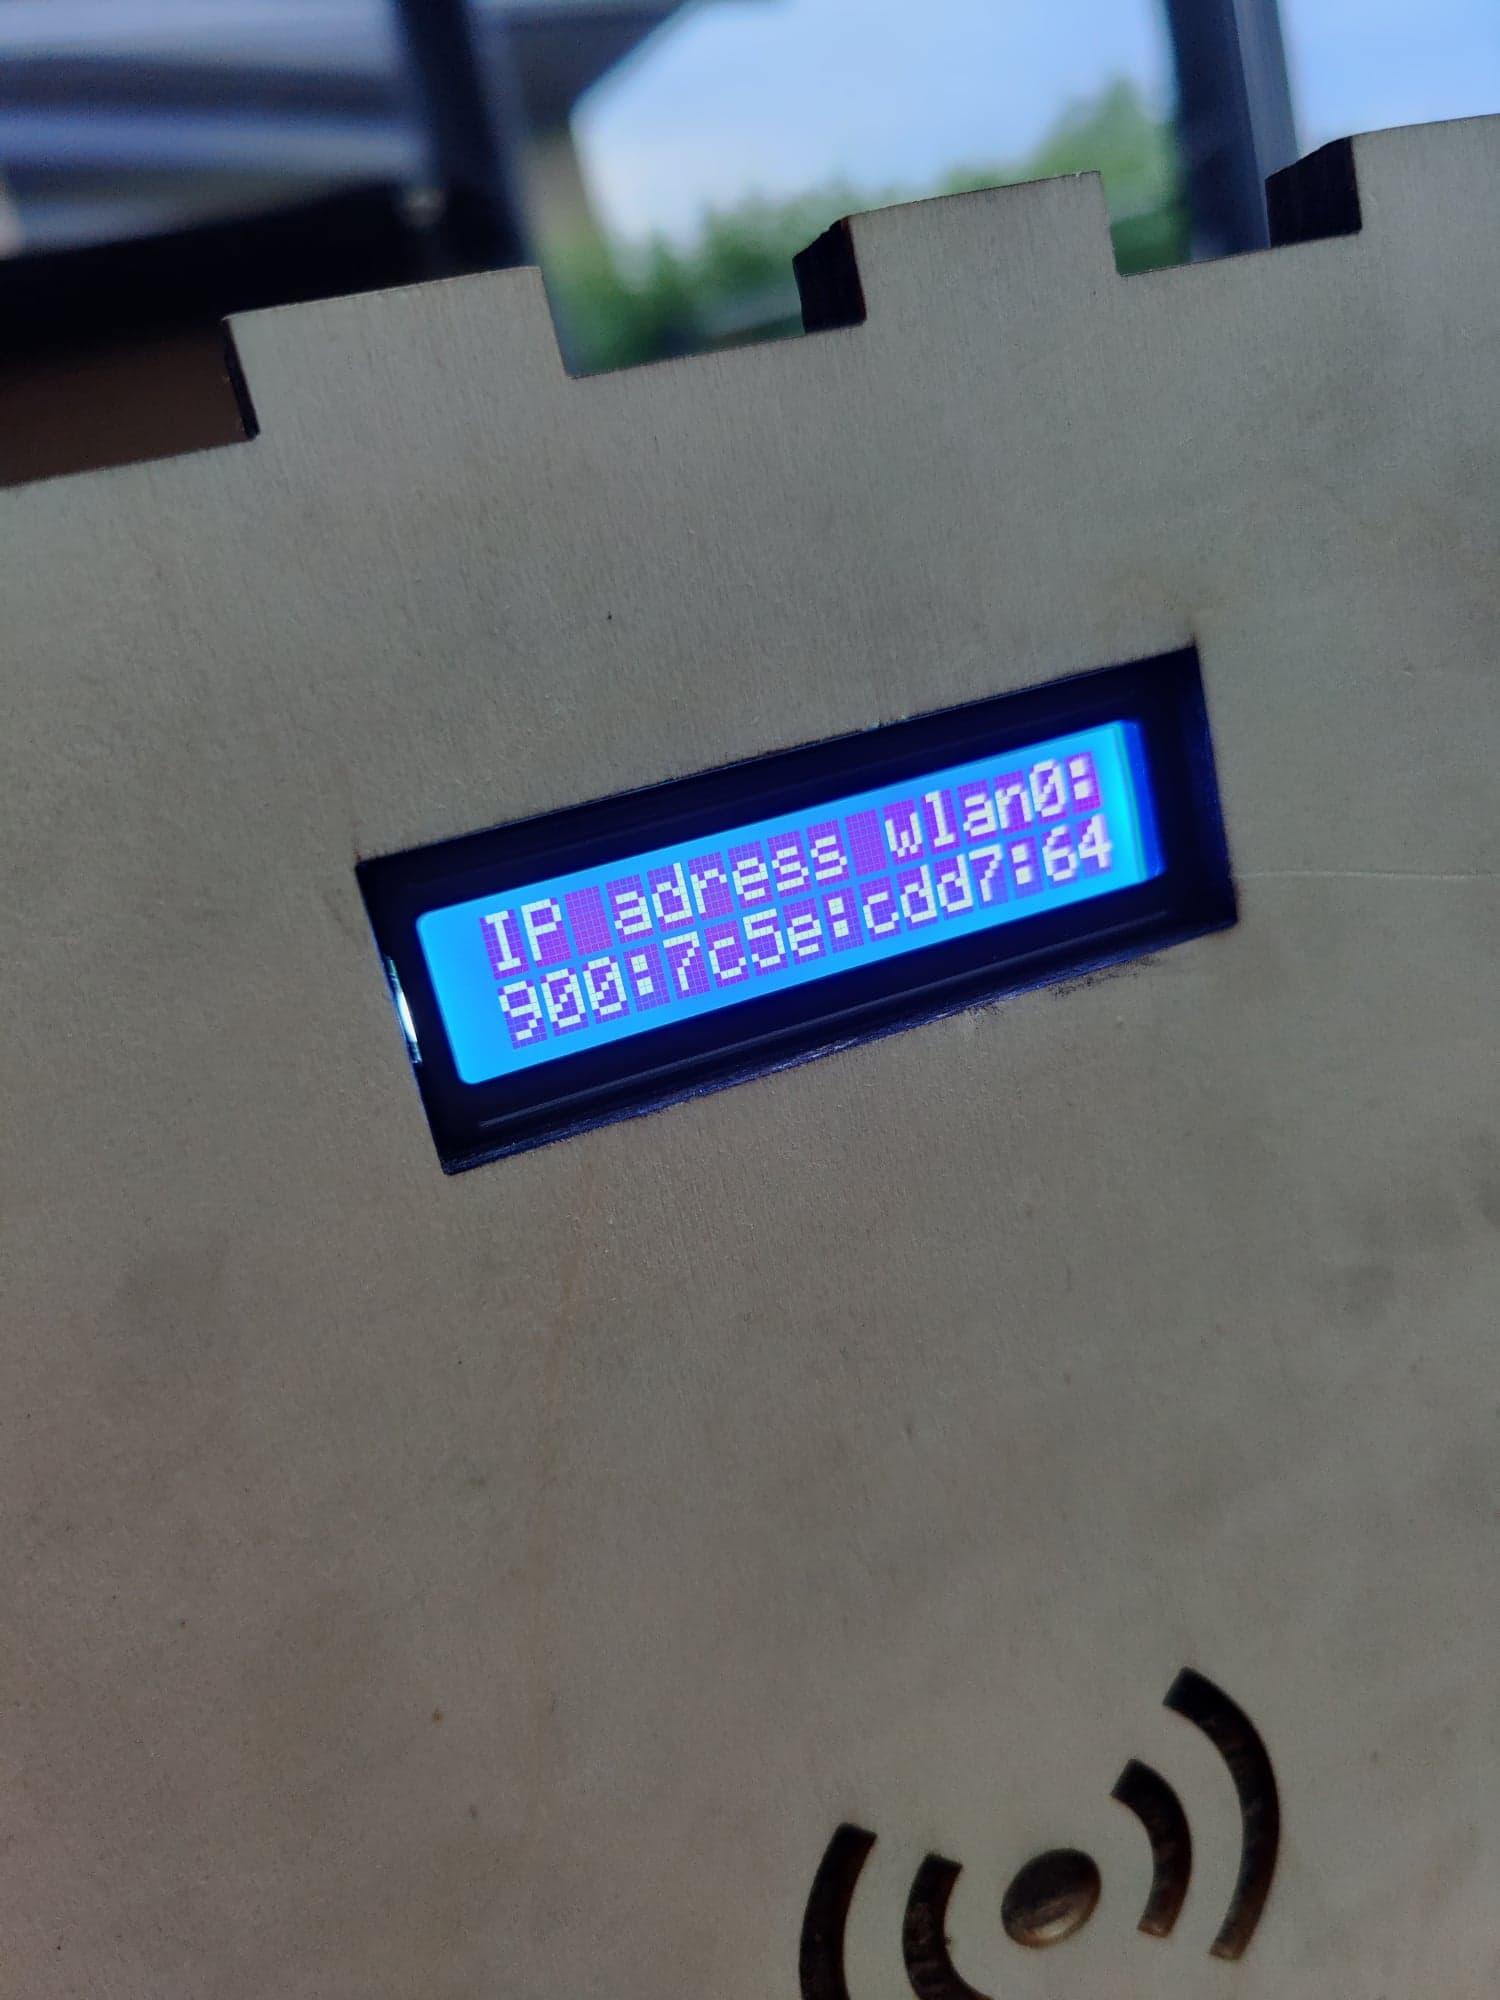
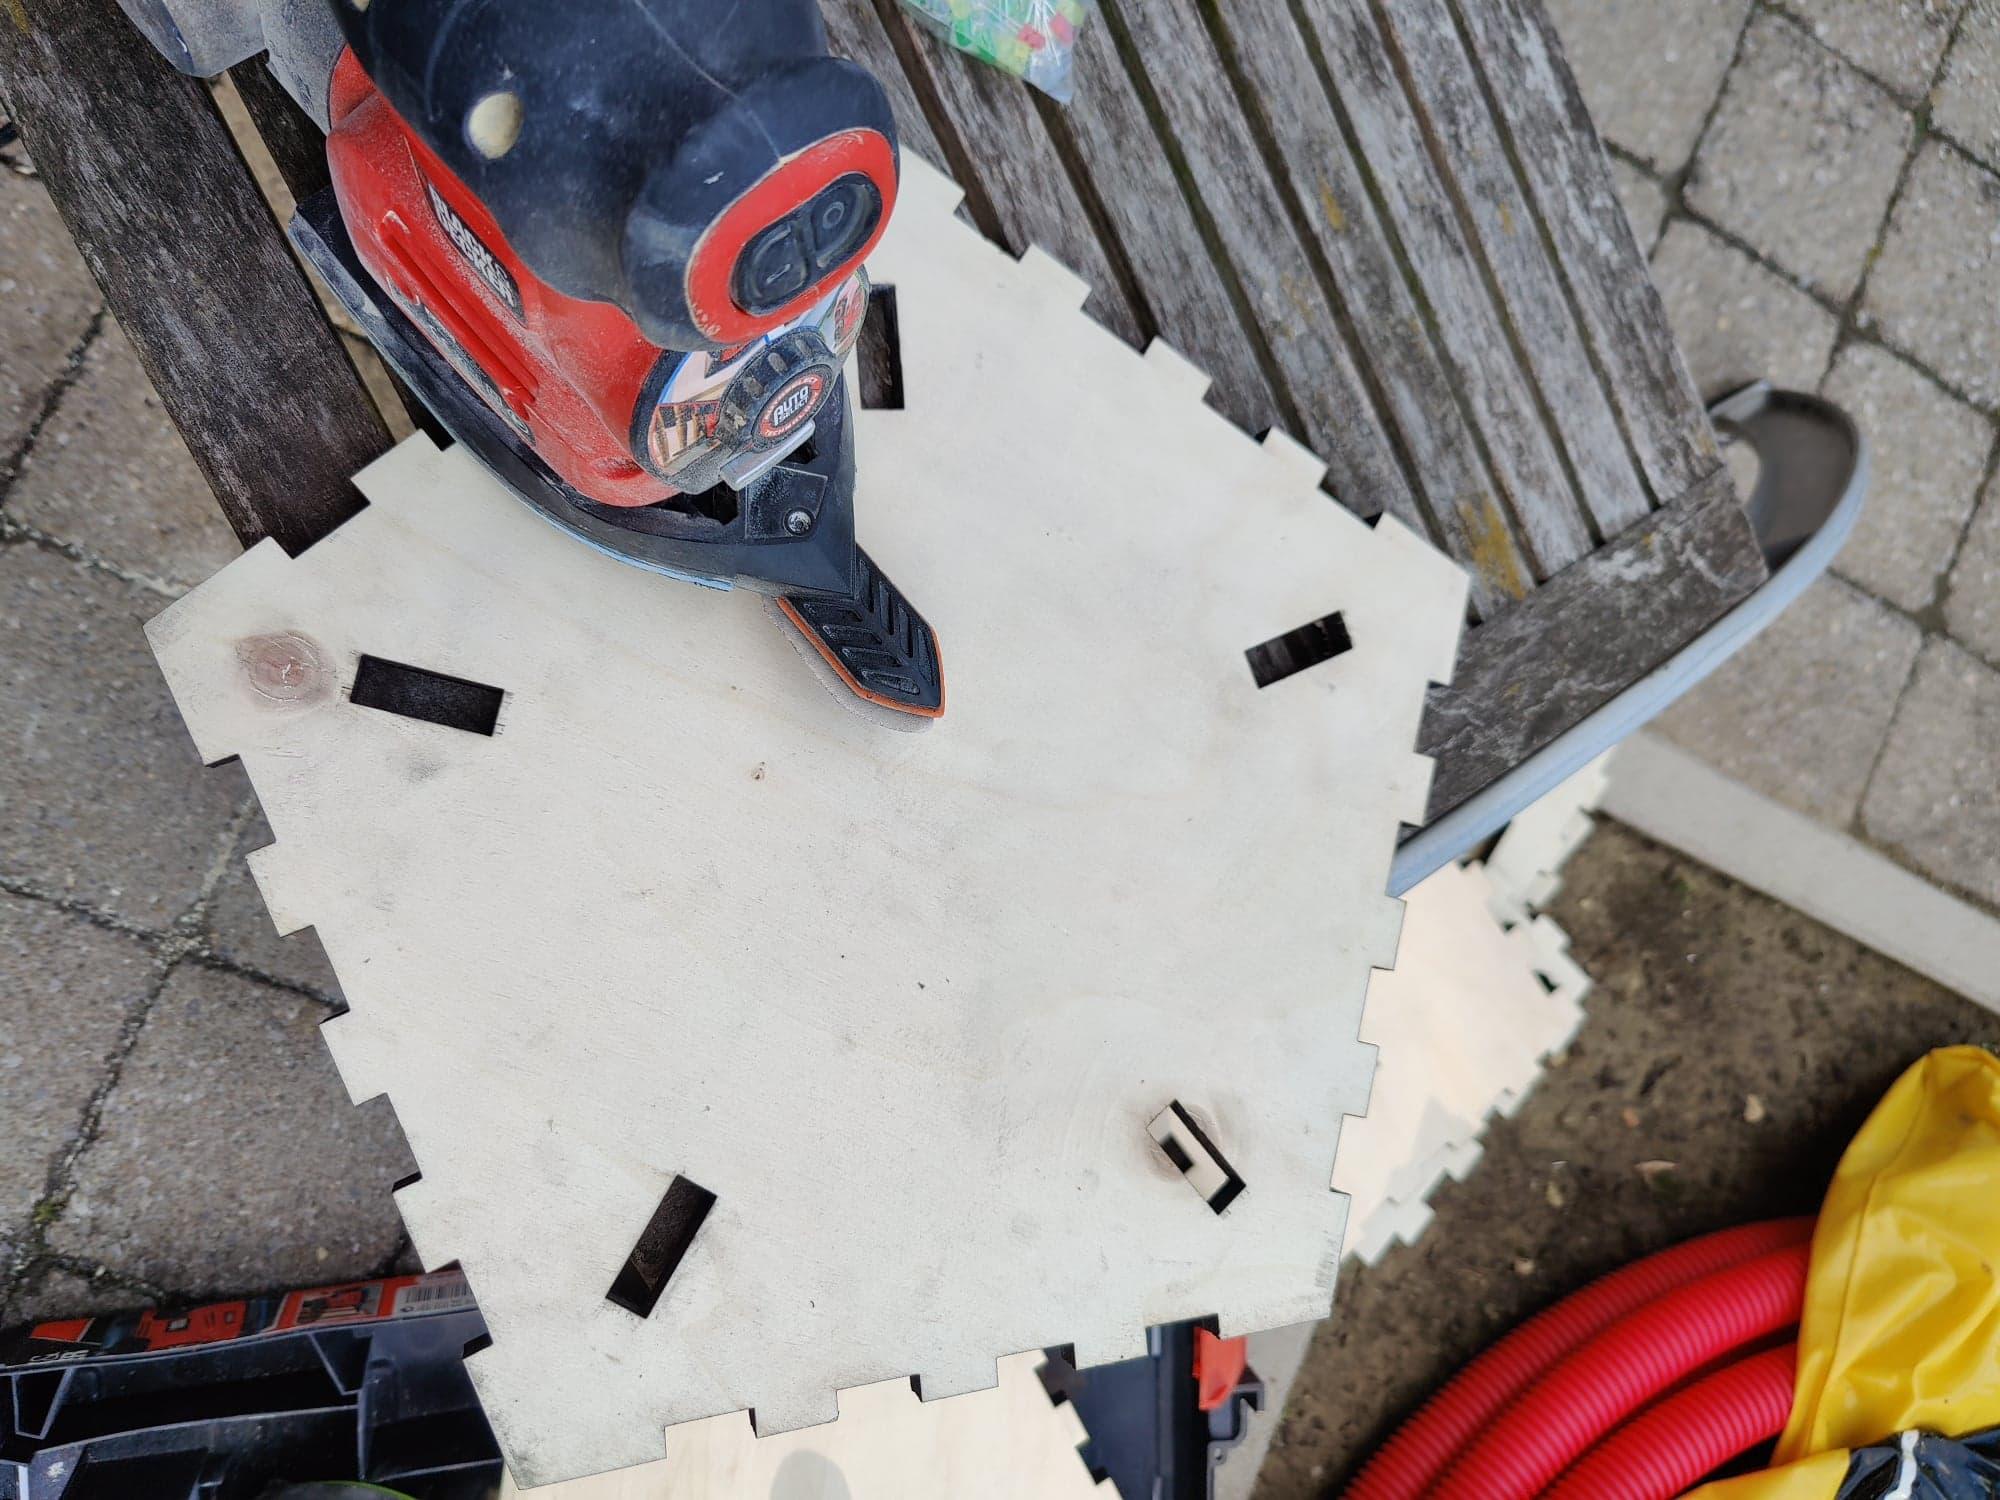
.png)
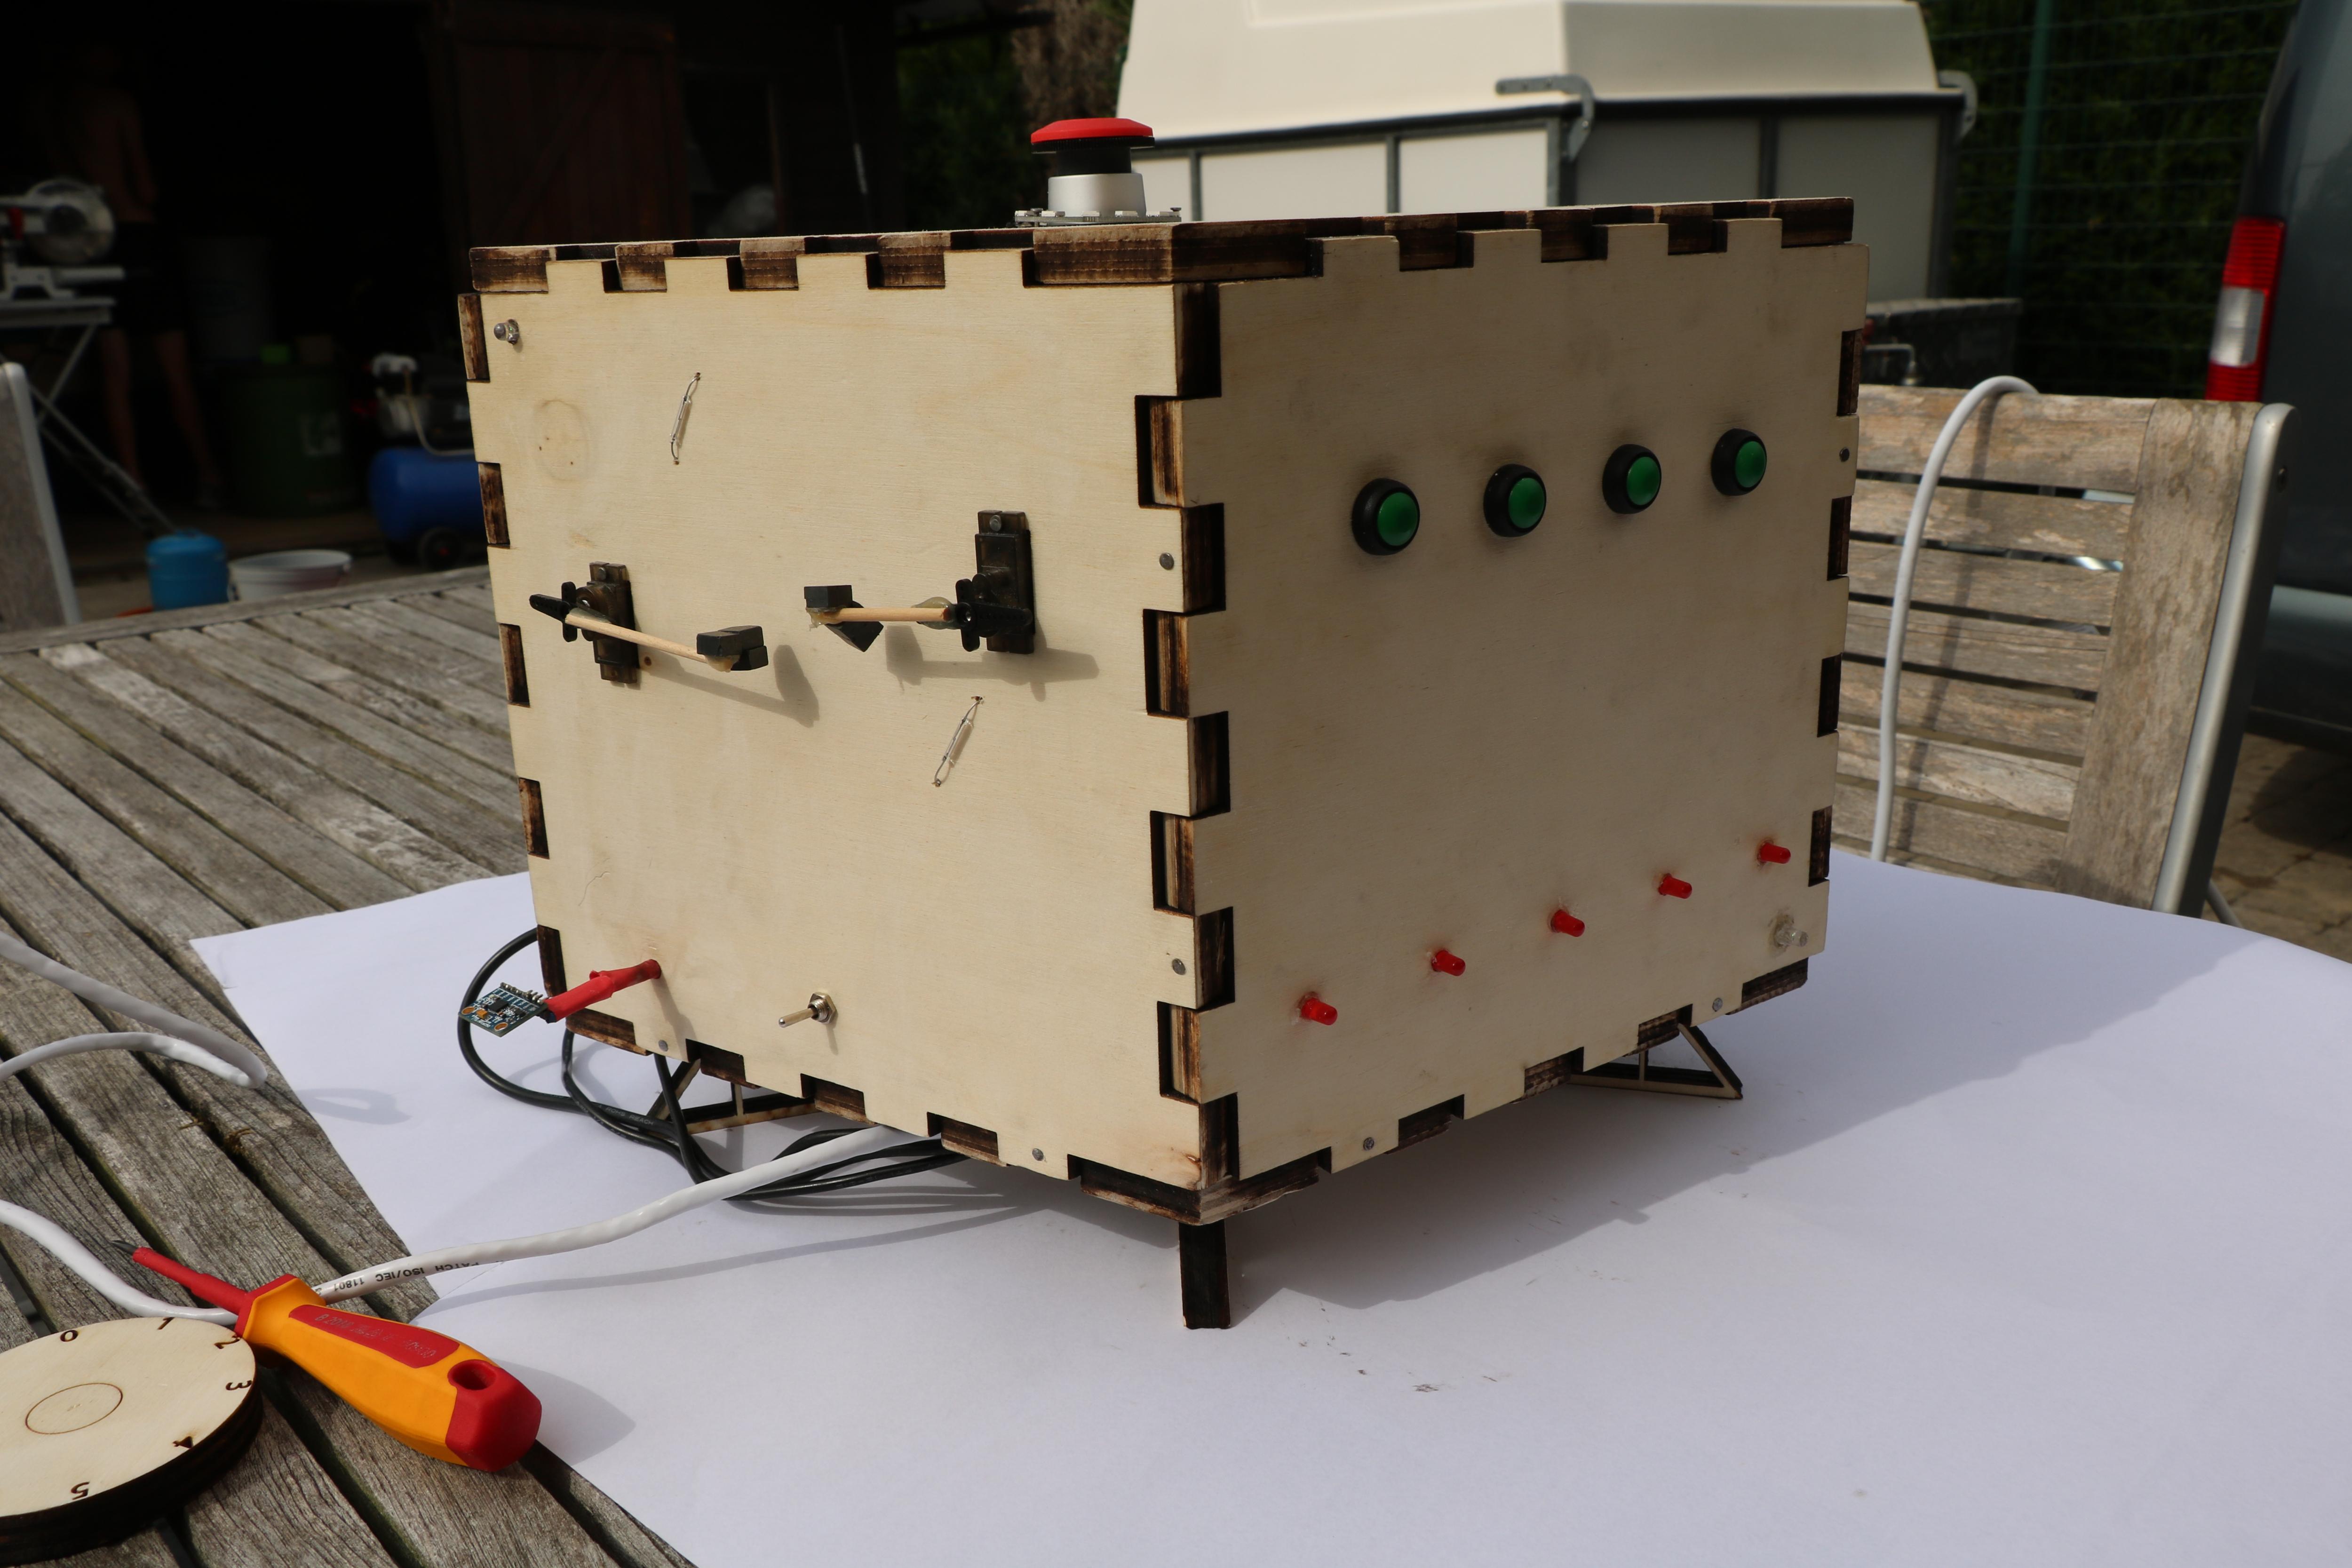
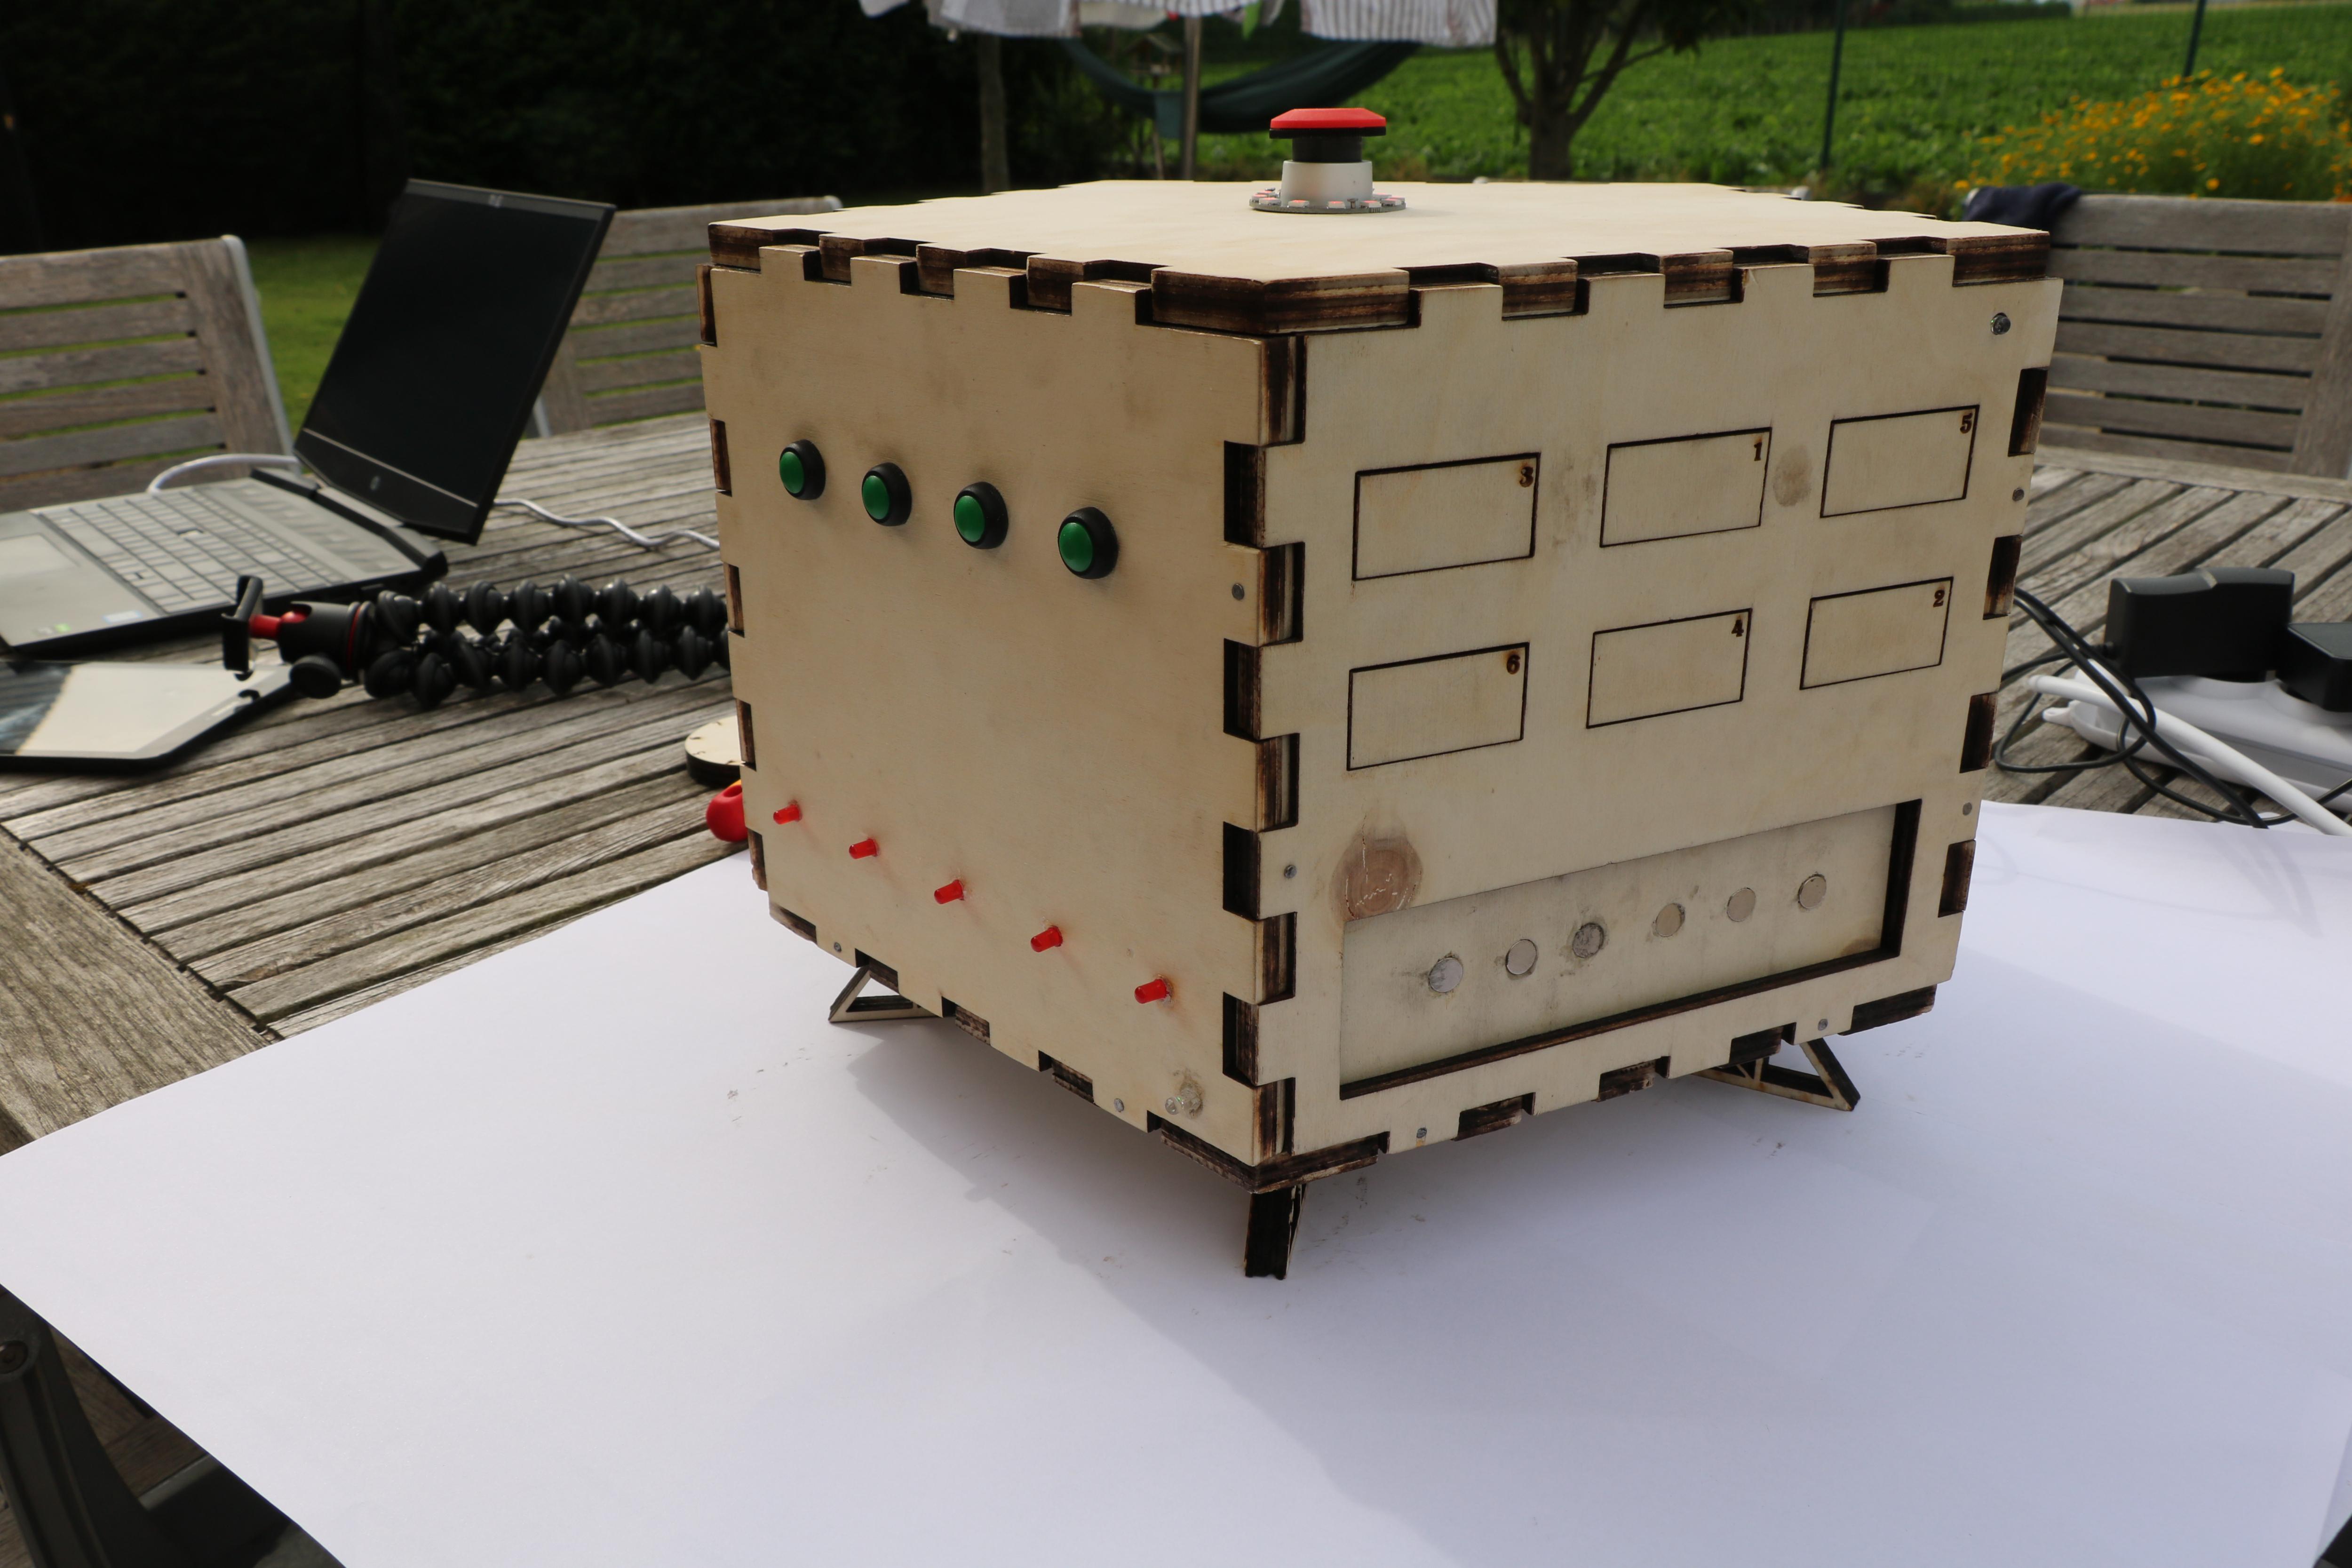
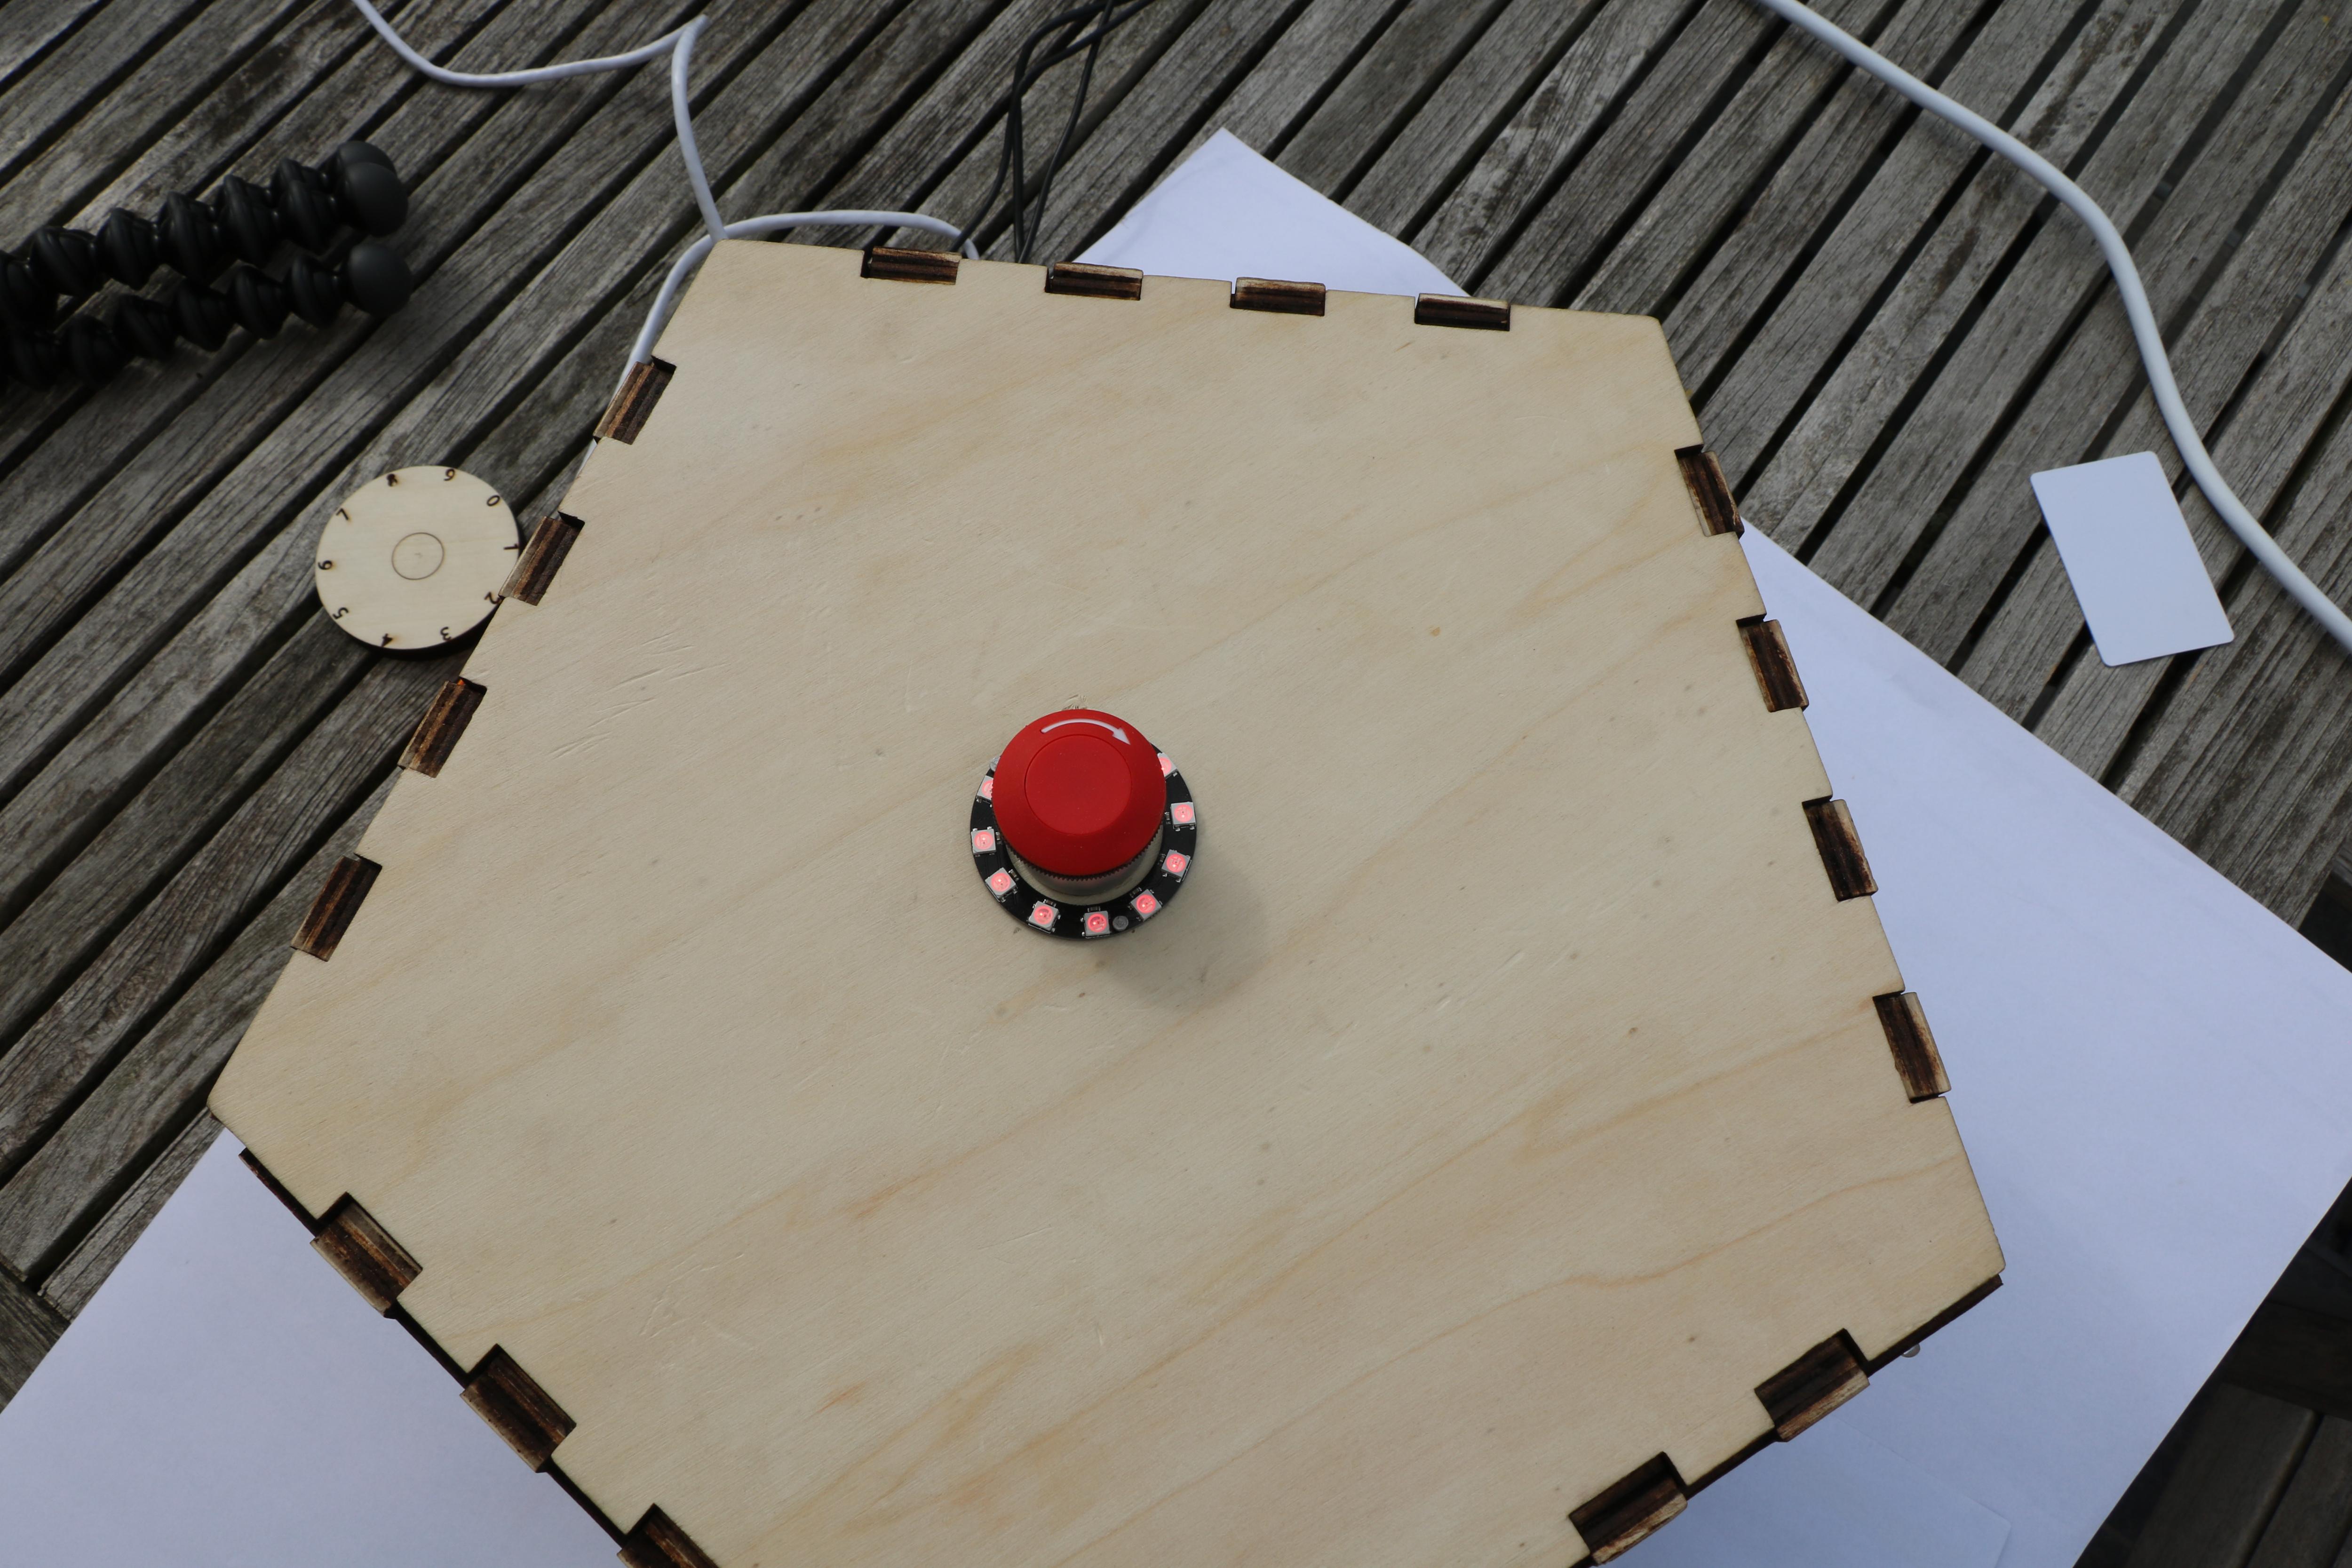
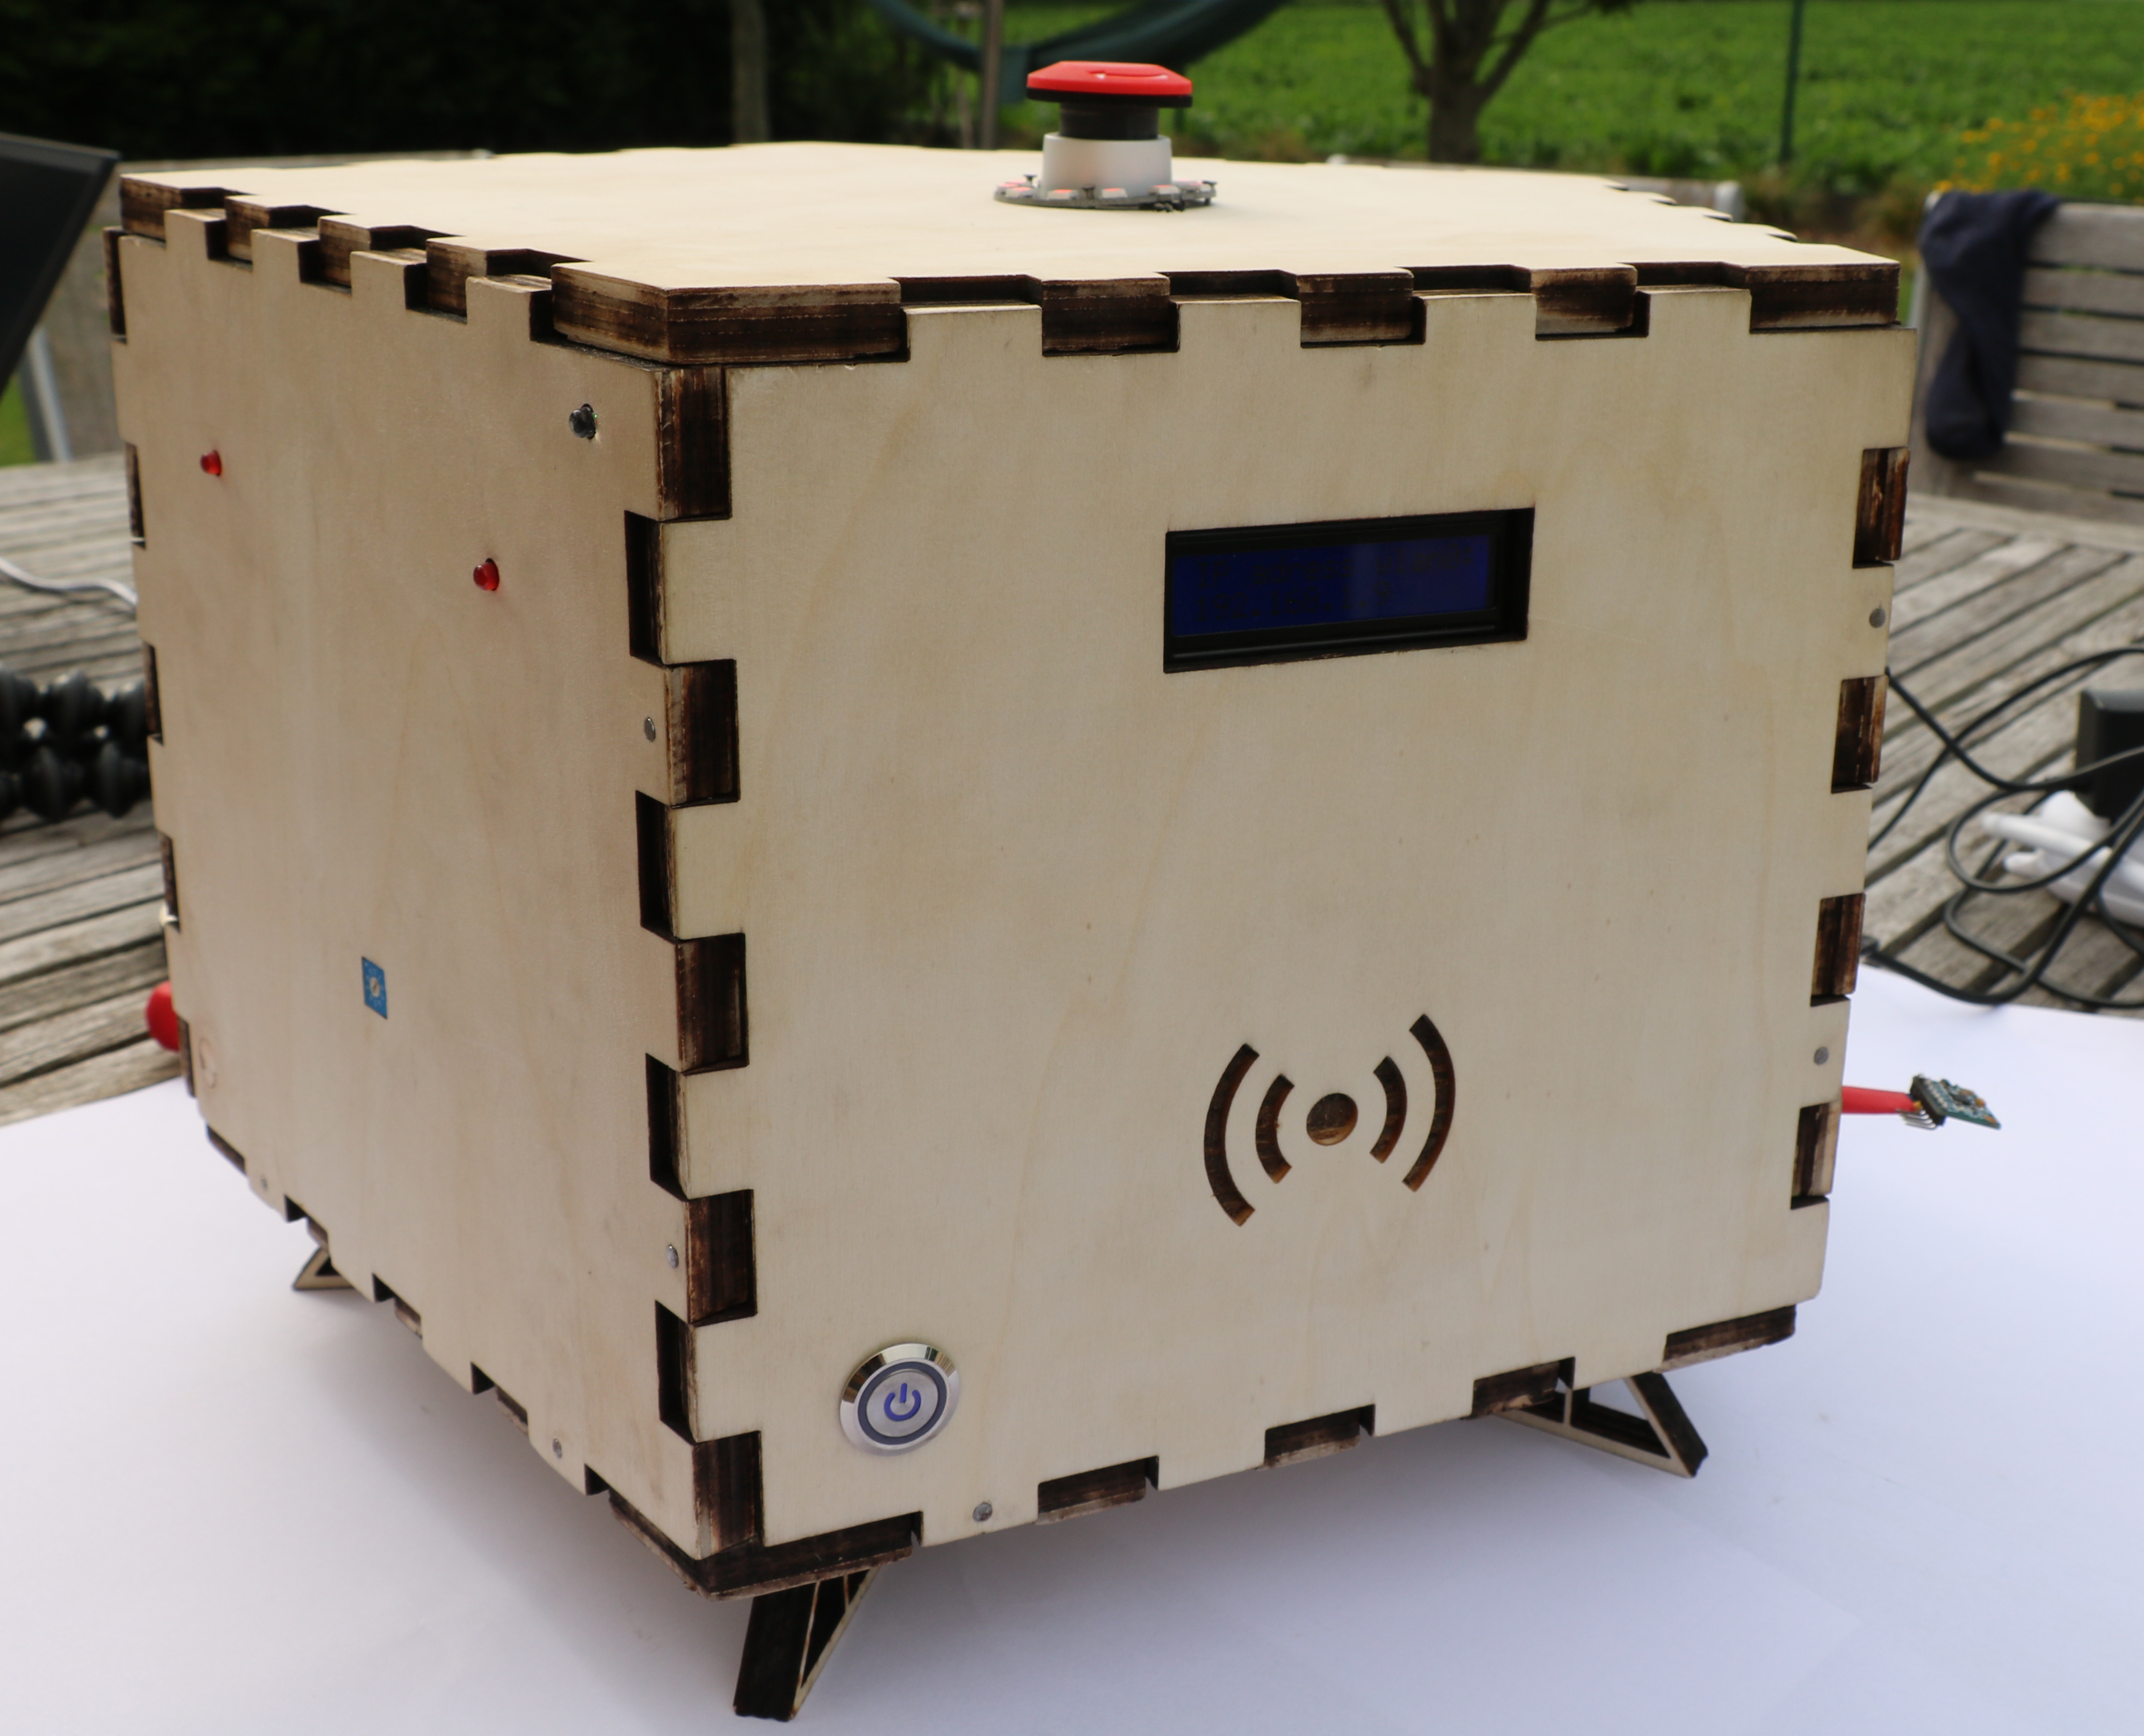
First, I designed the box in Fusion 360.
Then I had to convert the pieces to an illustrator drawing.
In the illustrator files linked below, you will find the vector drawing of the finished project.
The casing is made from 12 mm plywood that has been laser cut. The size of the boards used are 400x600mm (15,748x23.622 inches).
The individual parts are held together with small nails. The top is held in place by the friction of the 5 segments below it, this ensures that you still have access to the inside of the box to make changes or repairs.
Downloads
Soldering and Connecting Components
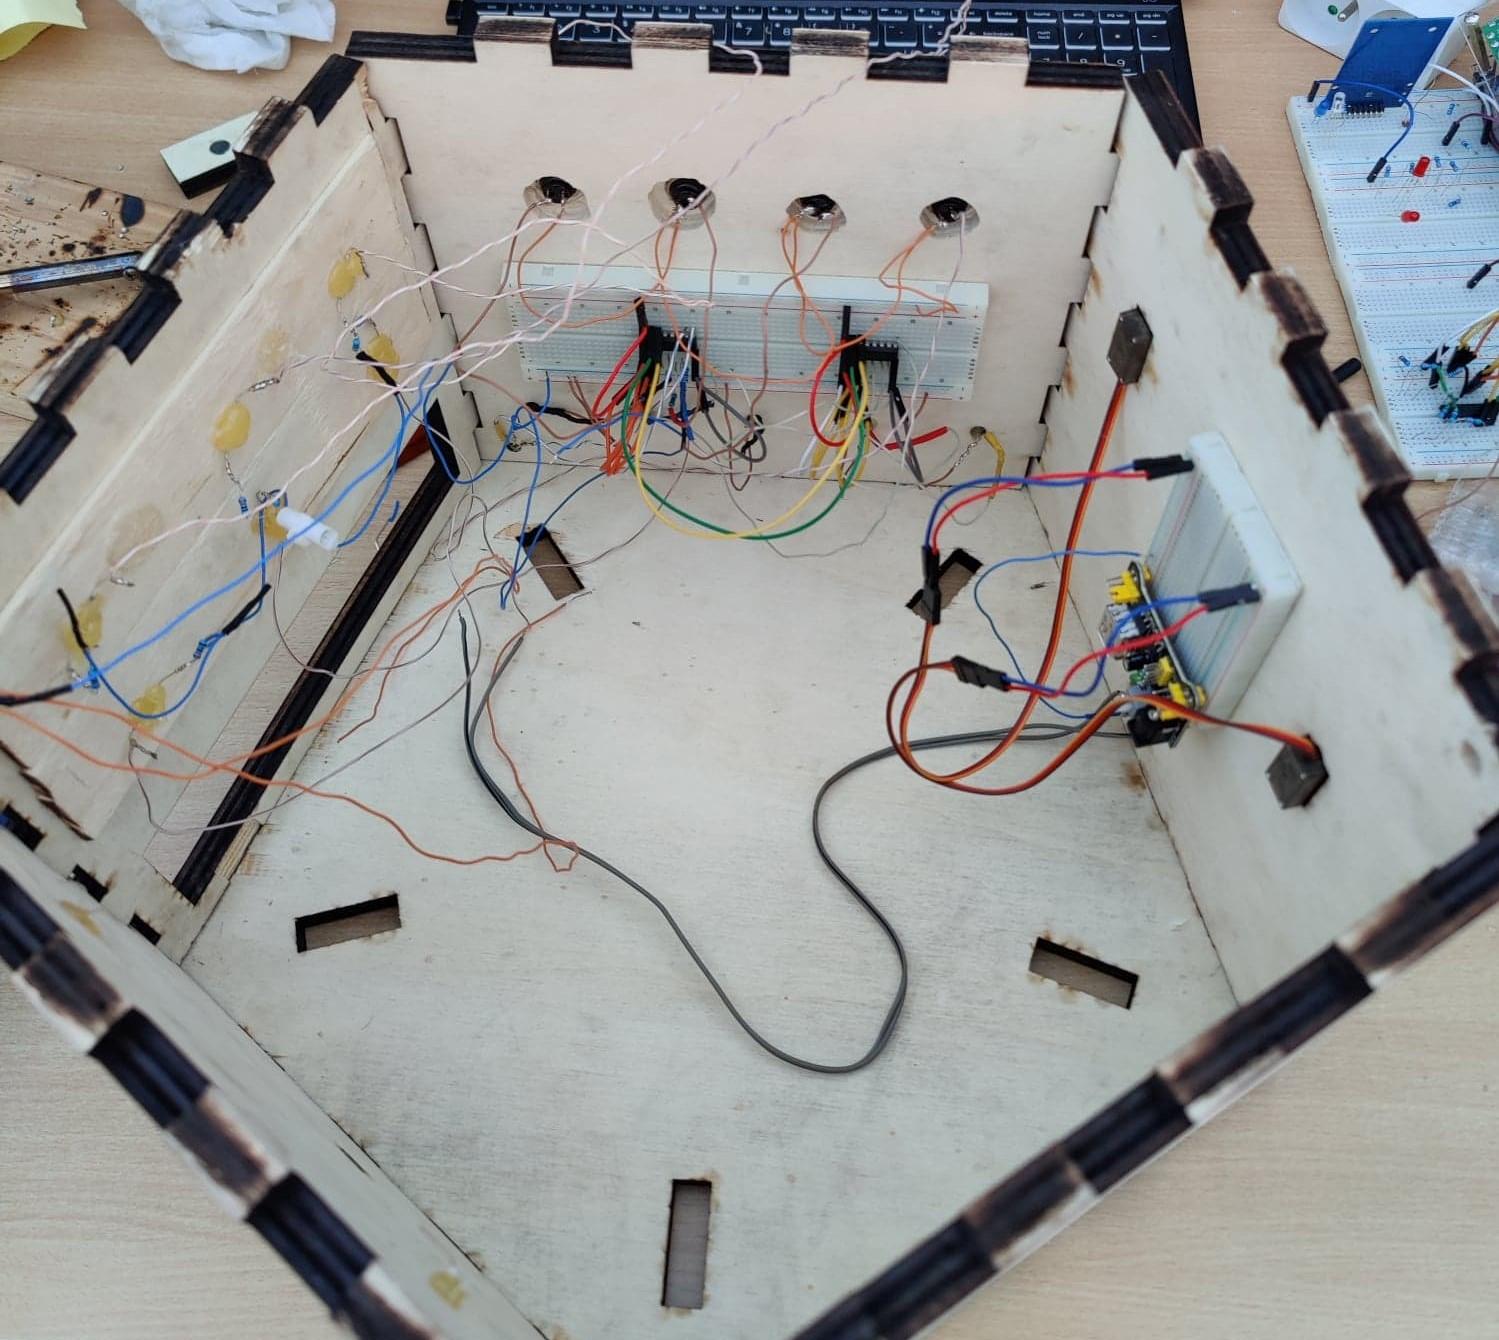
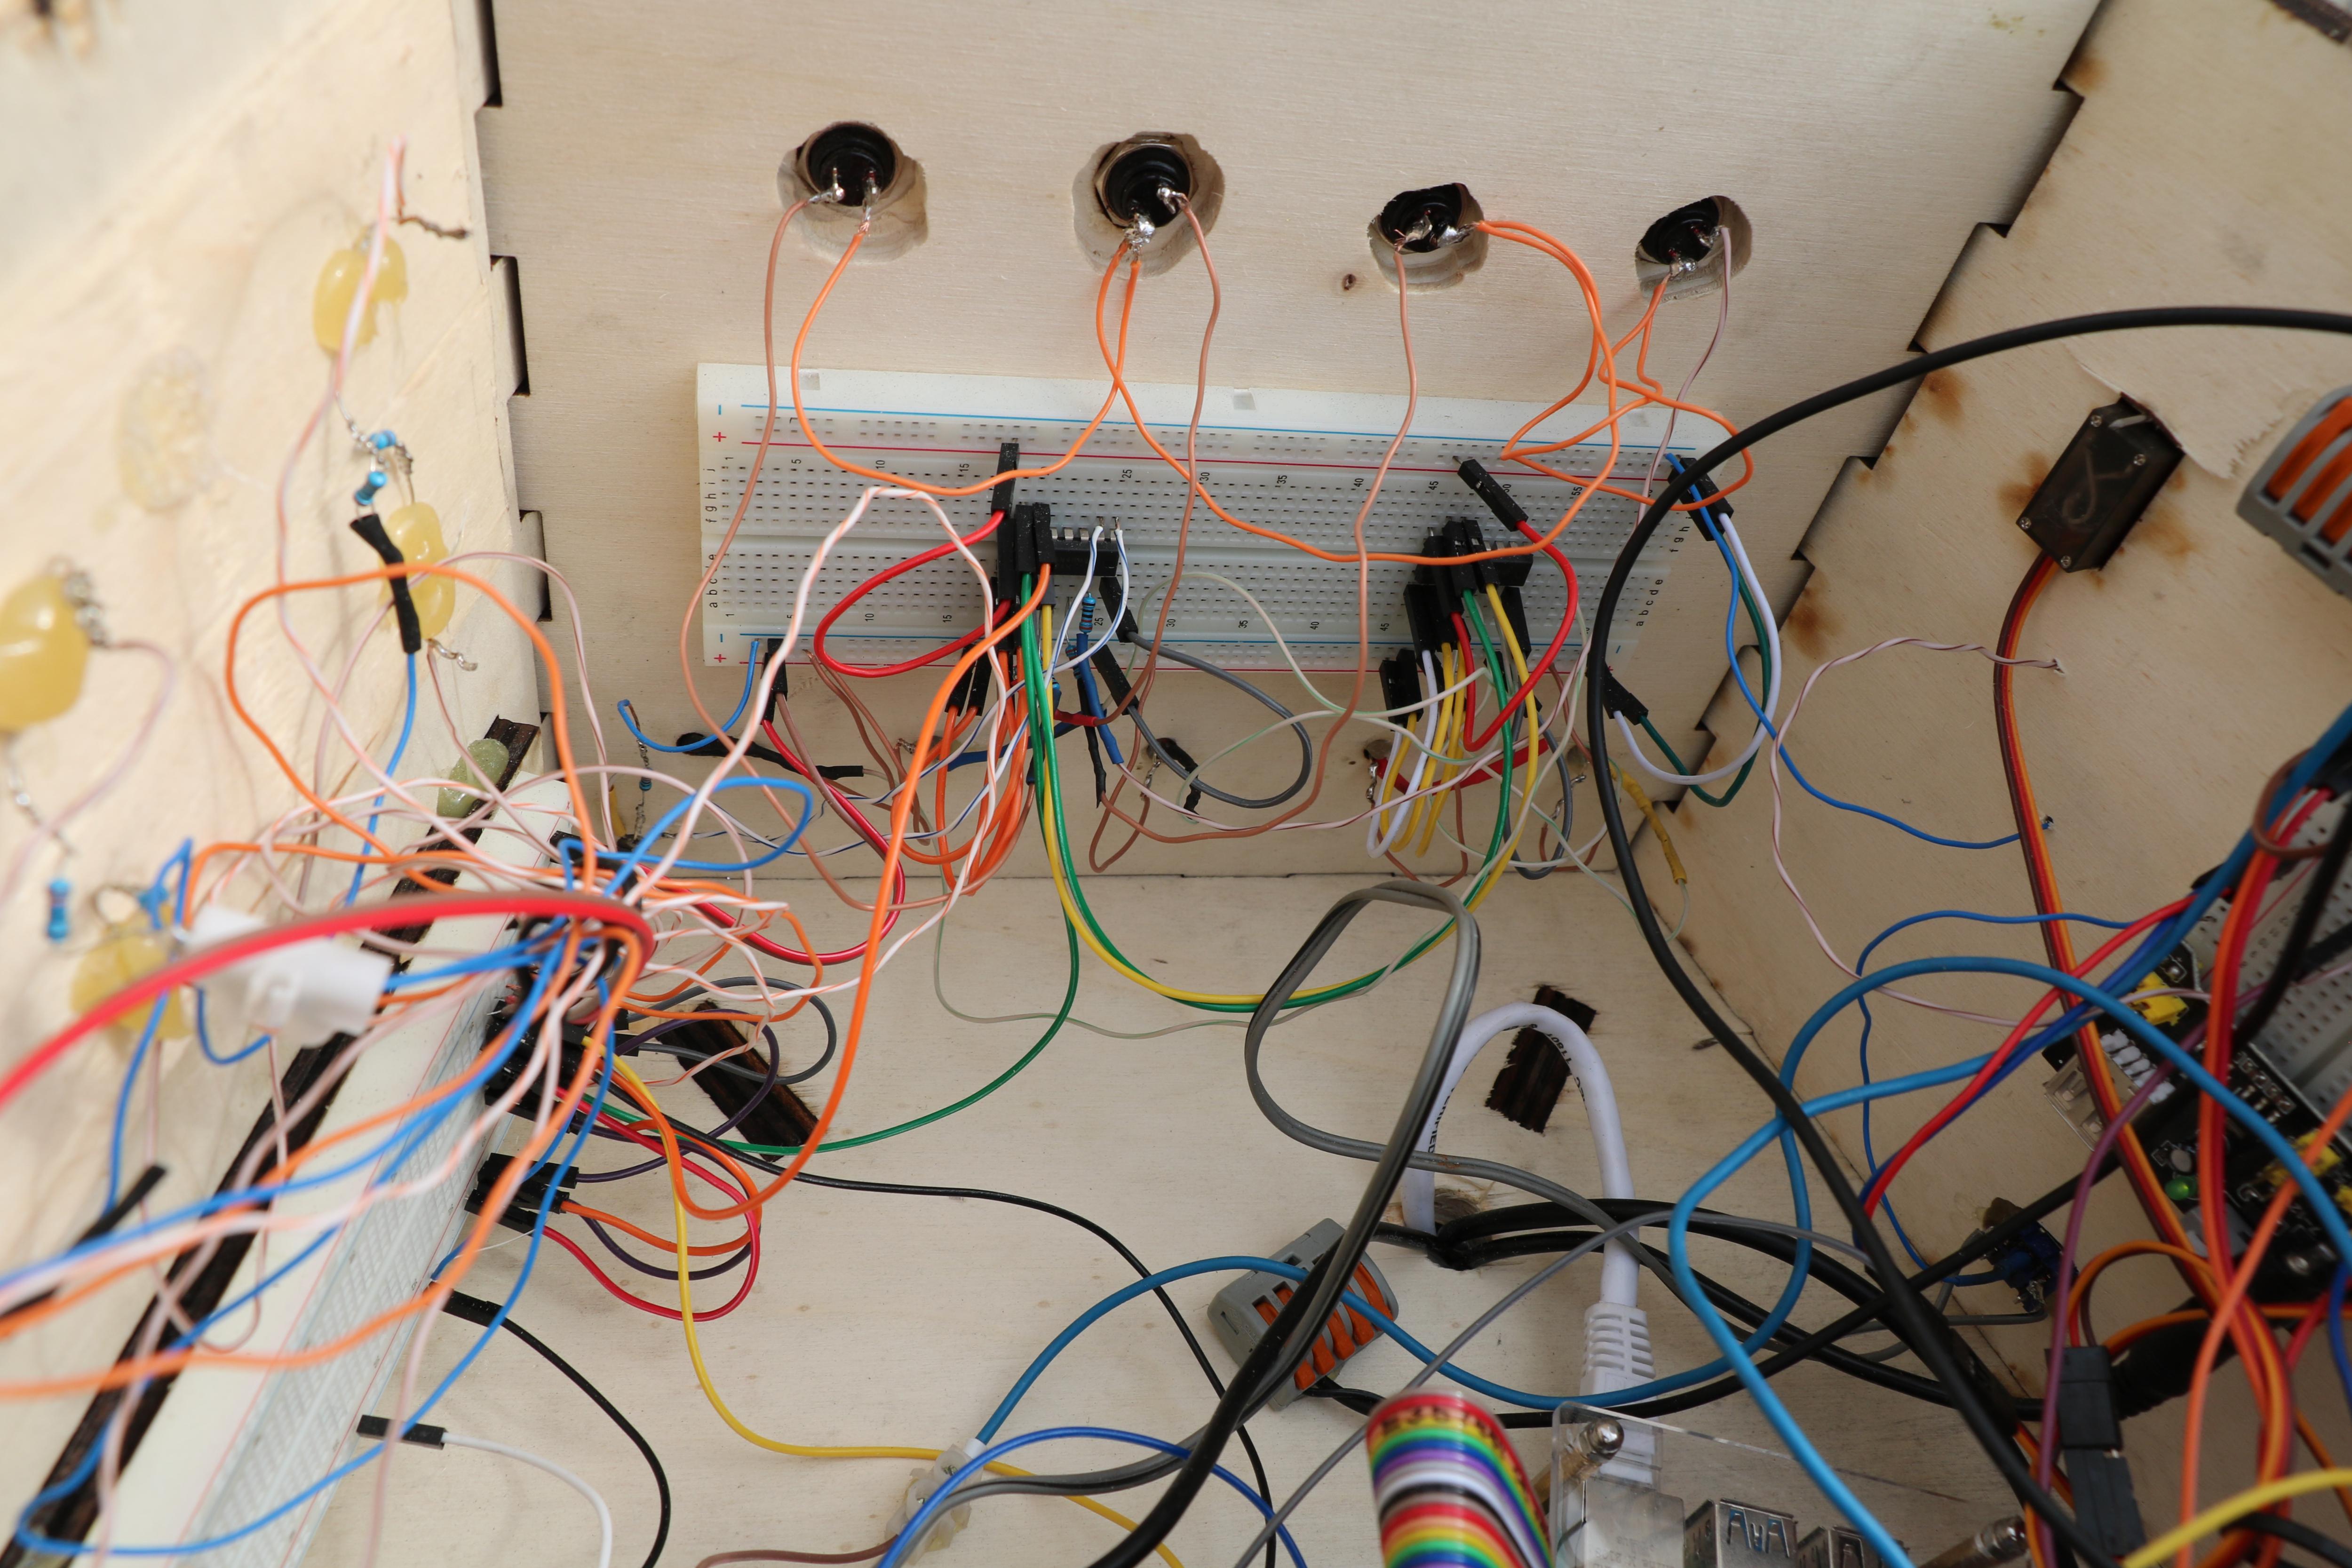
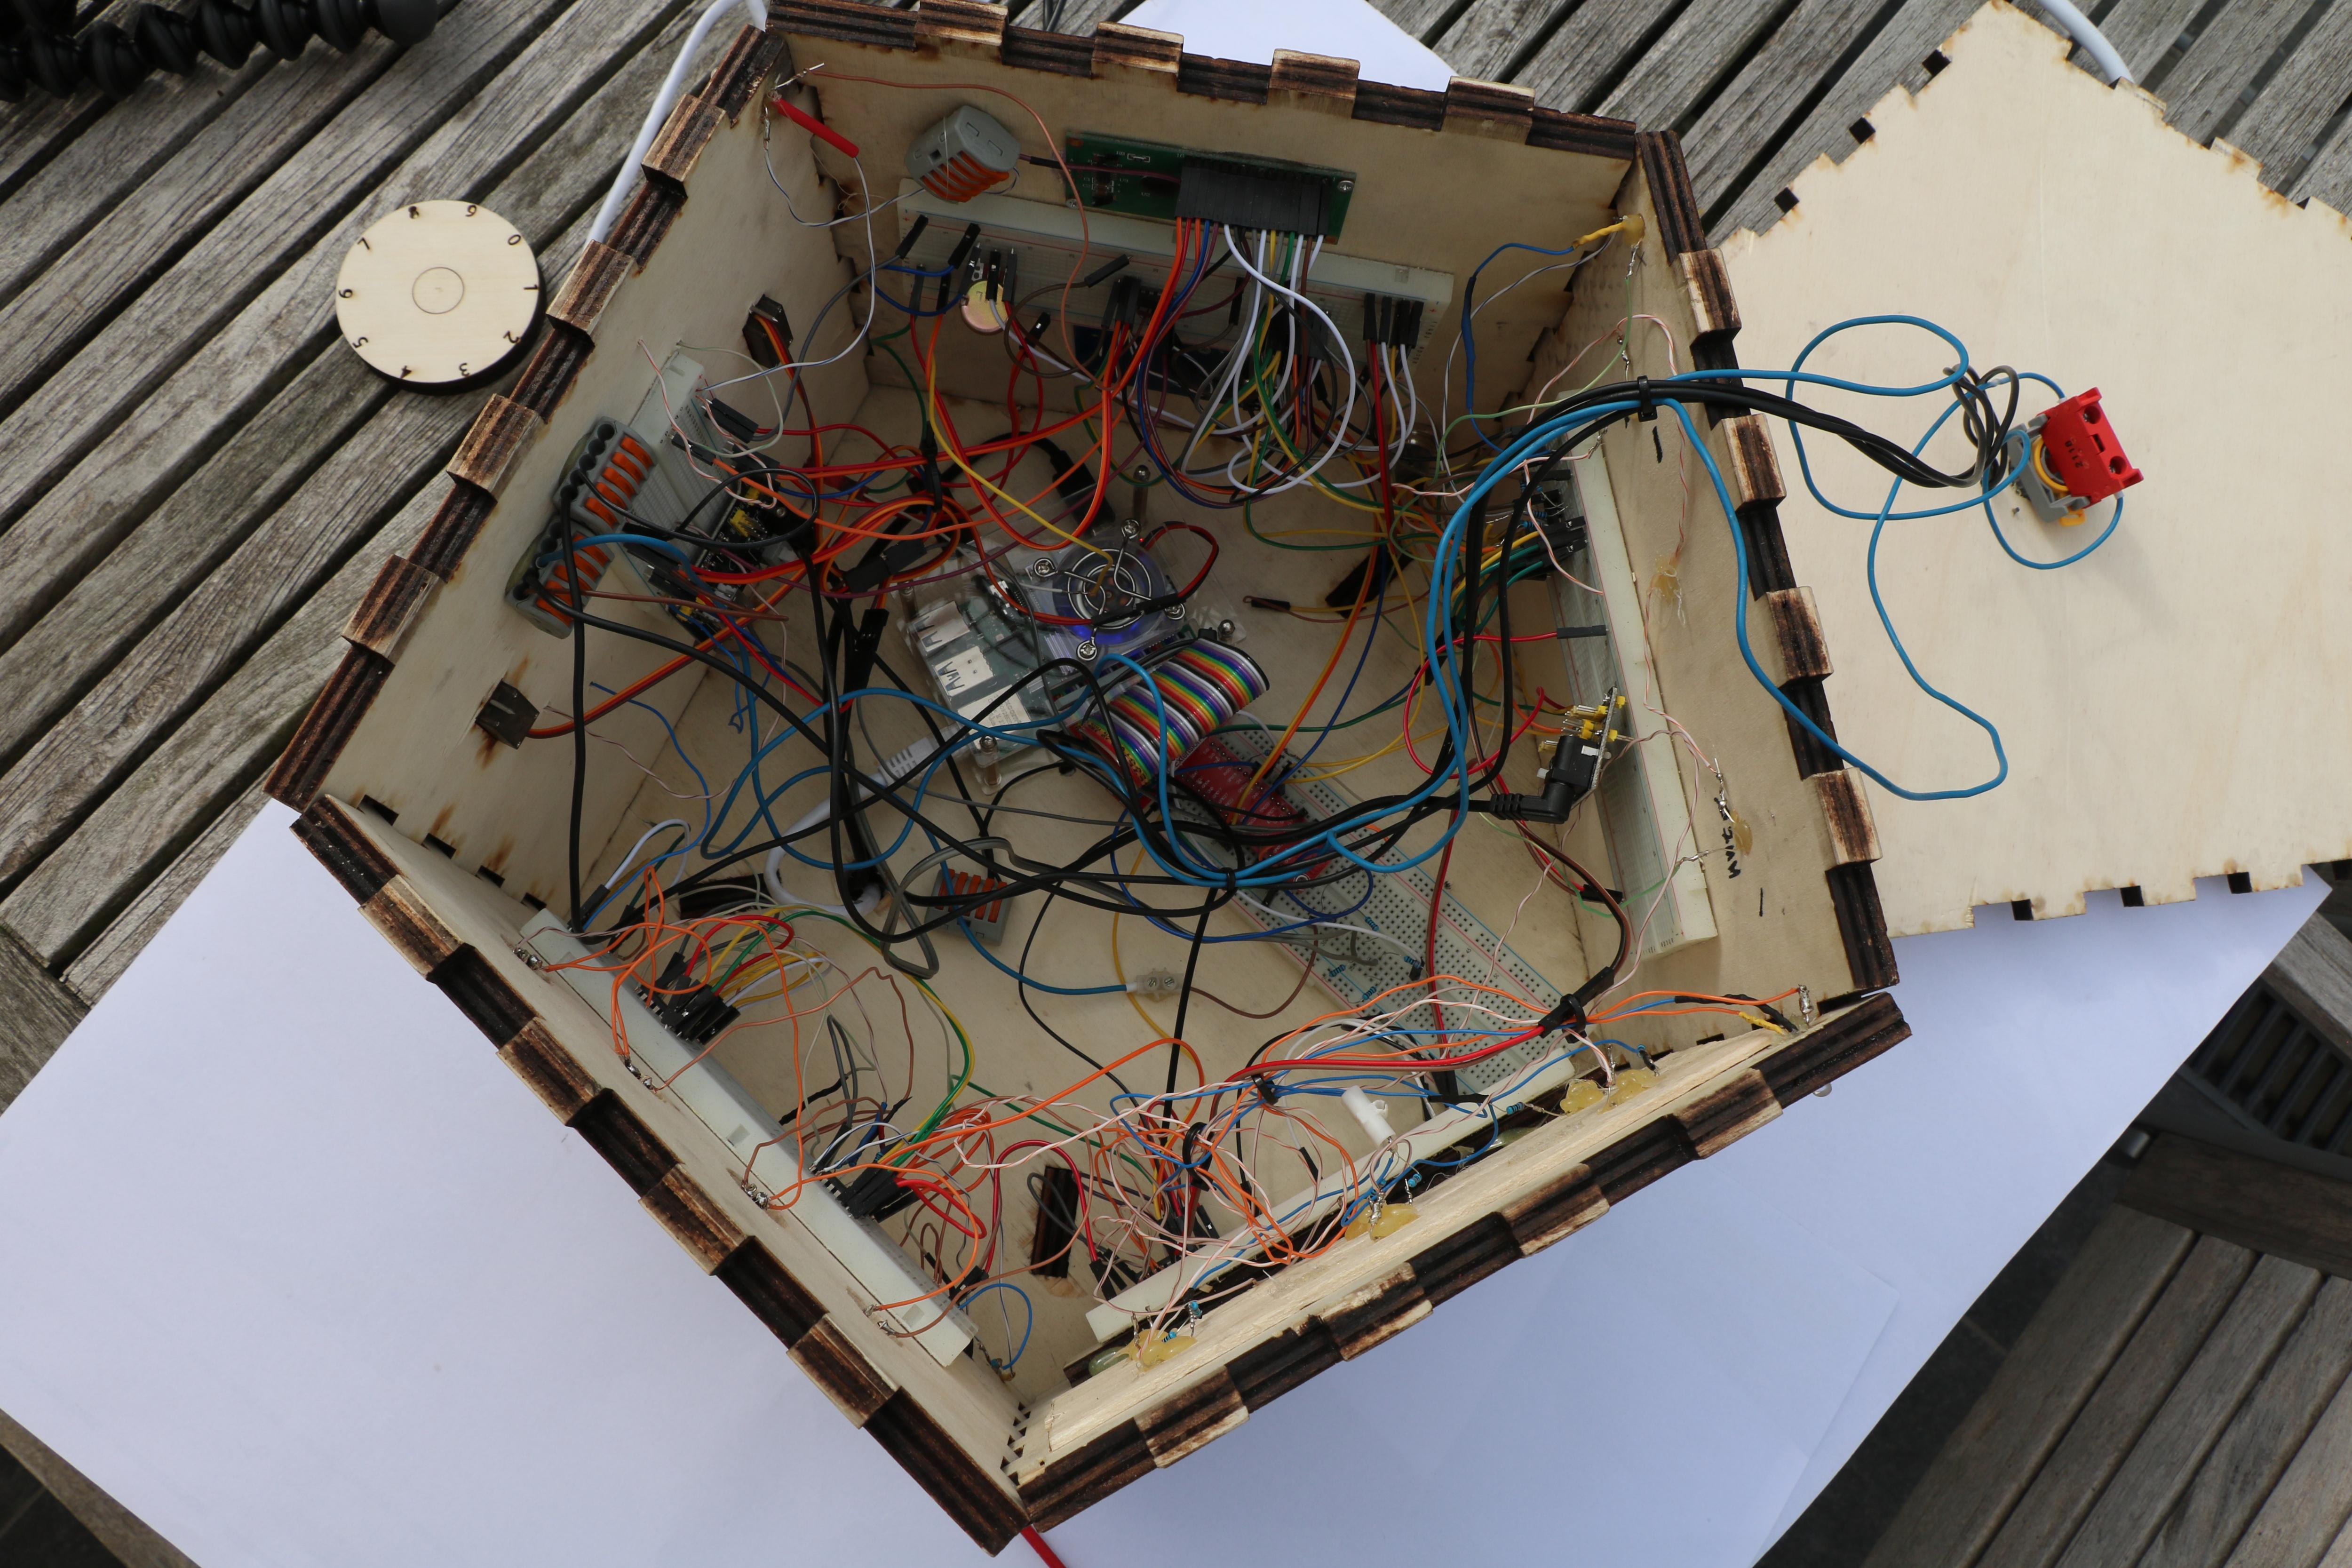
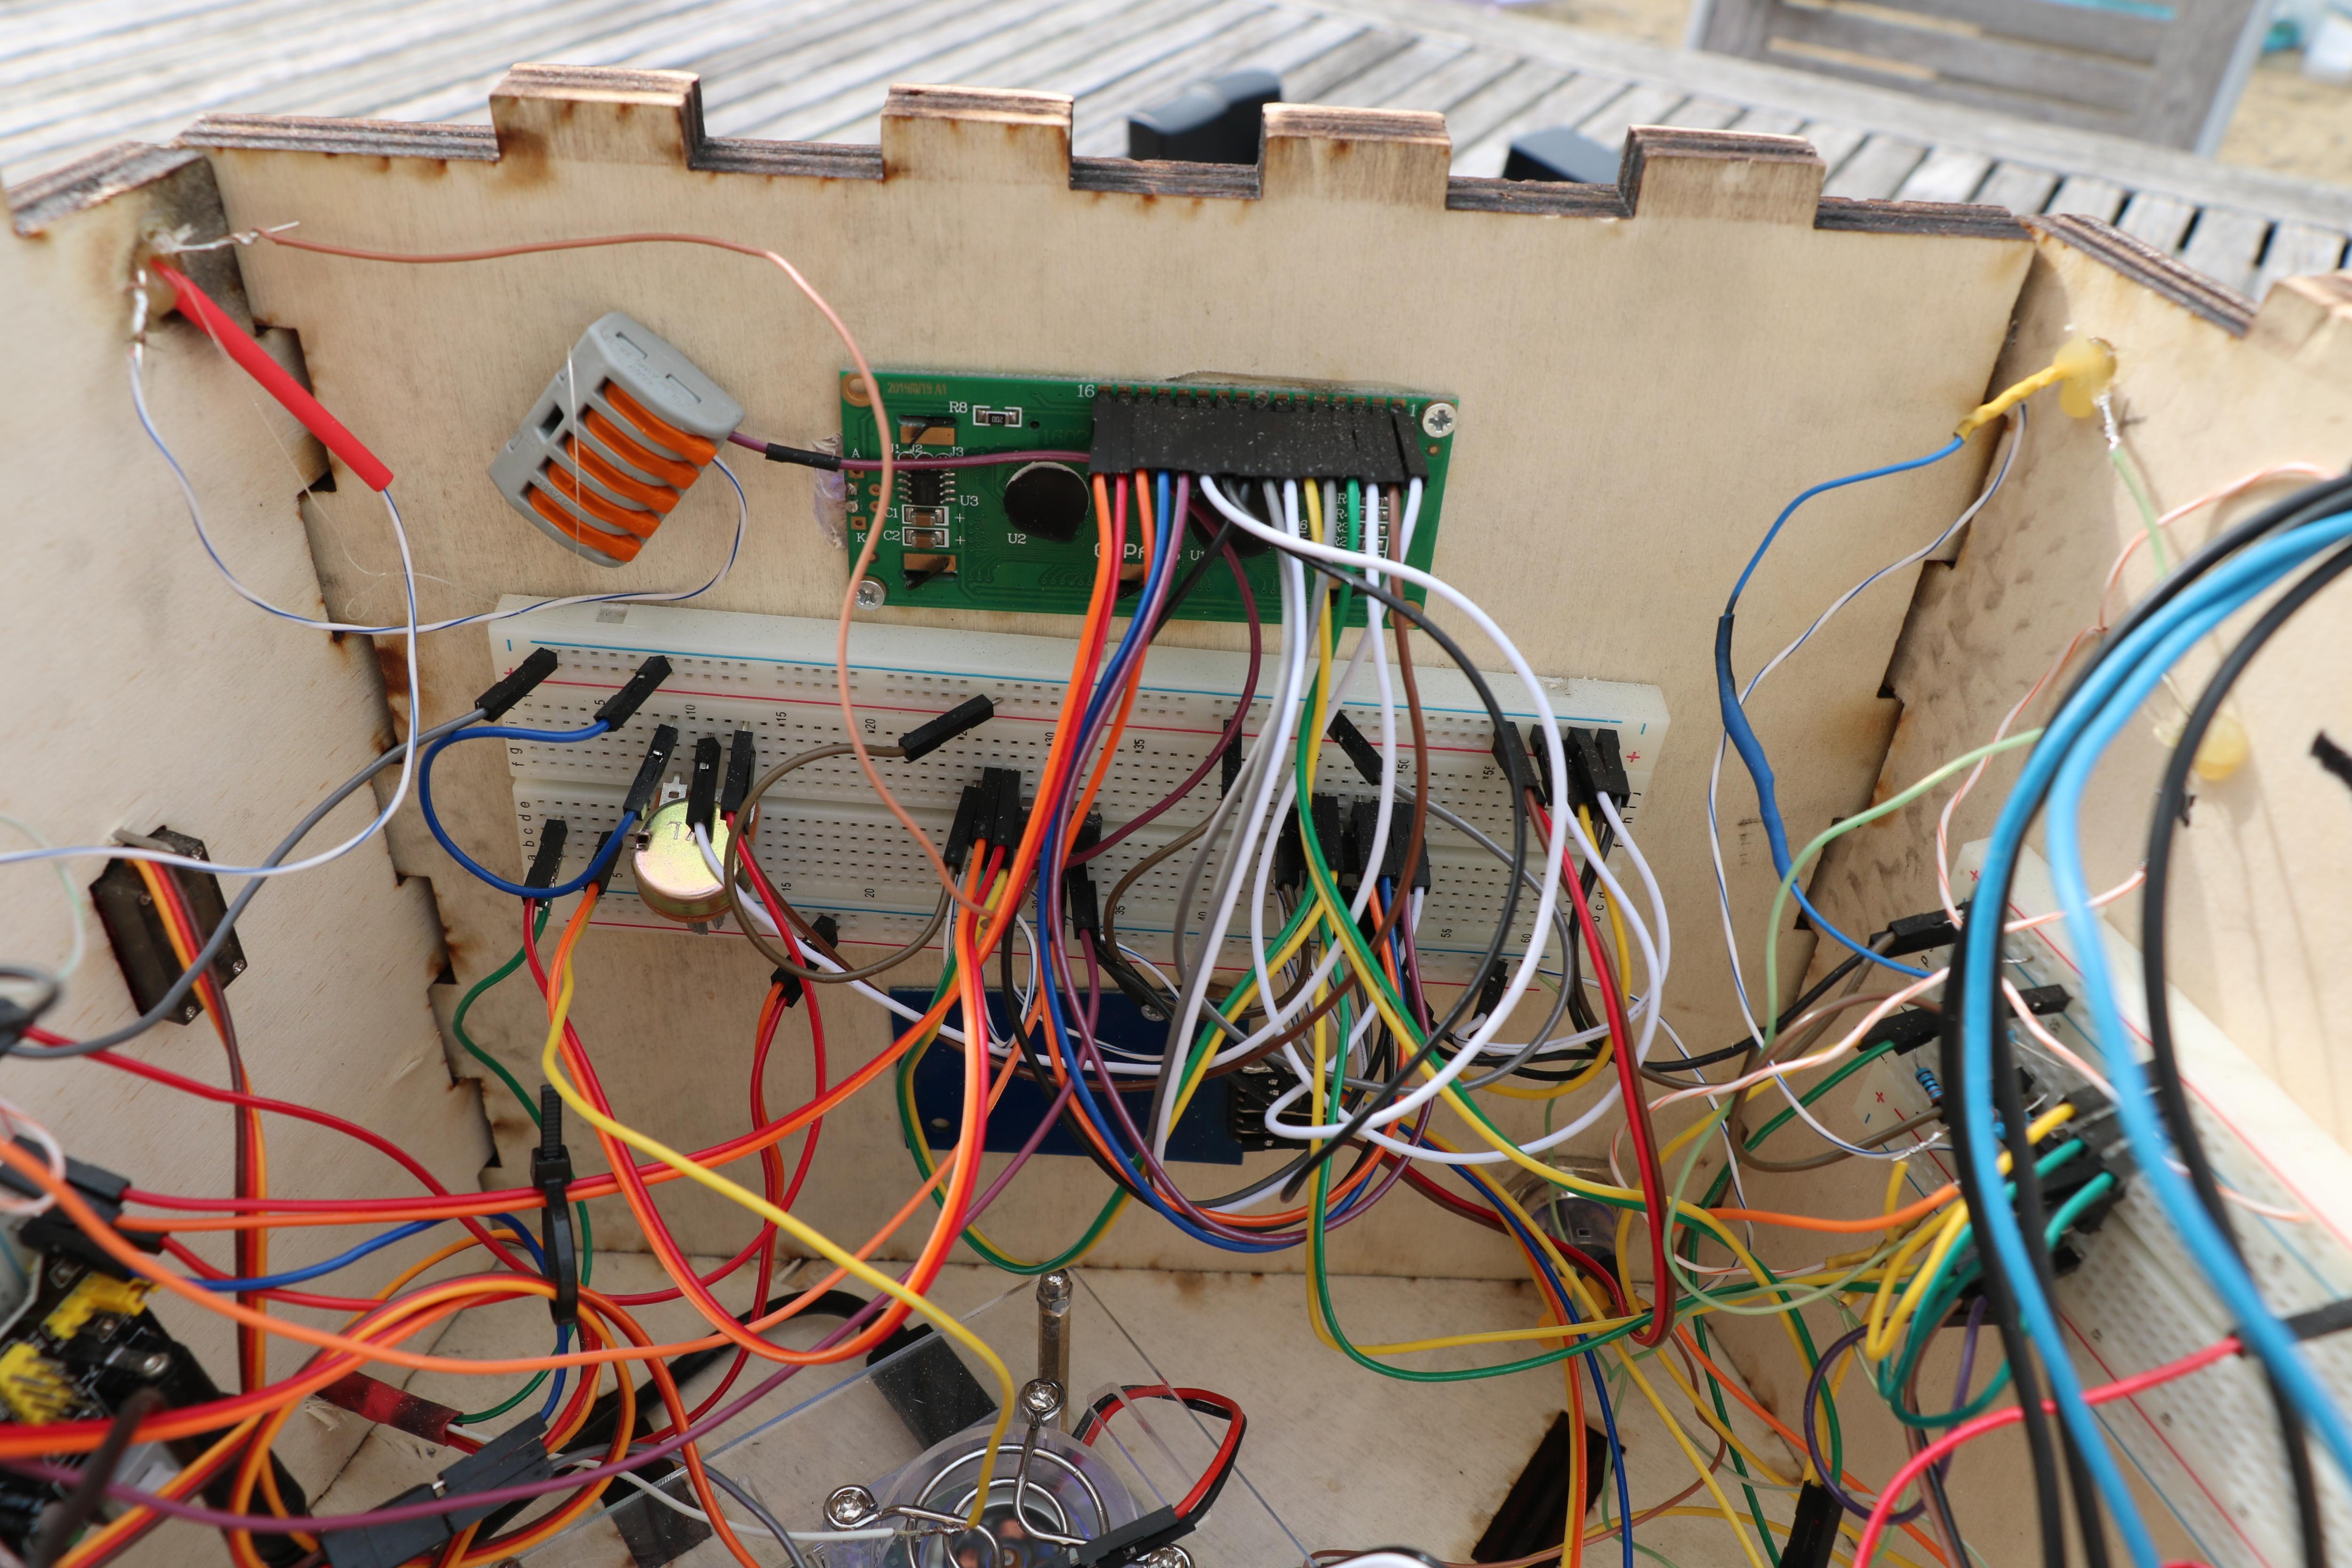
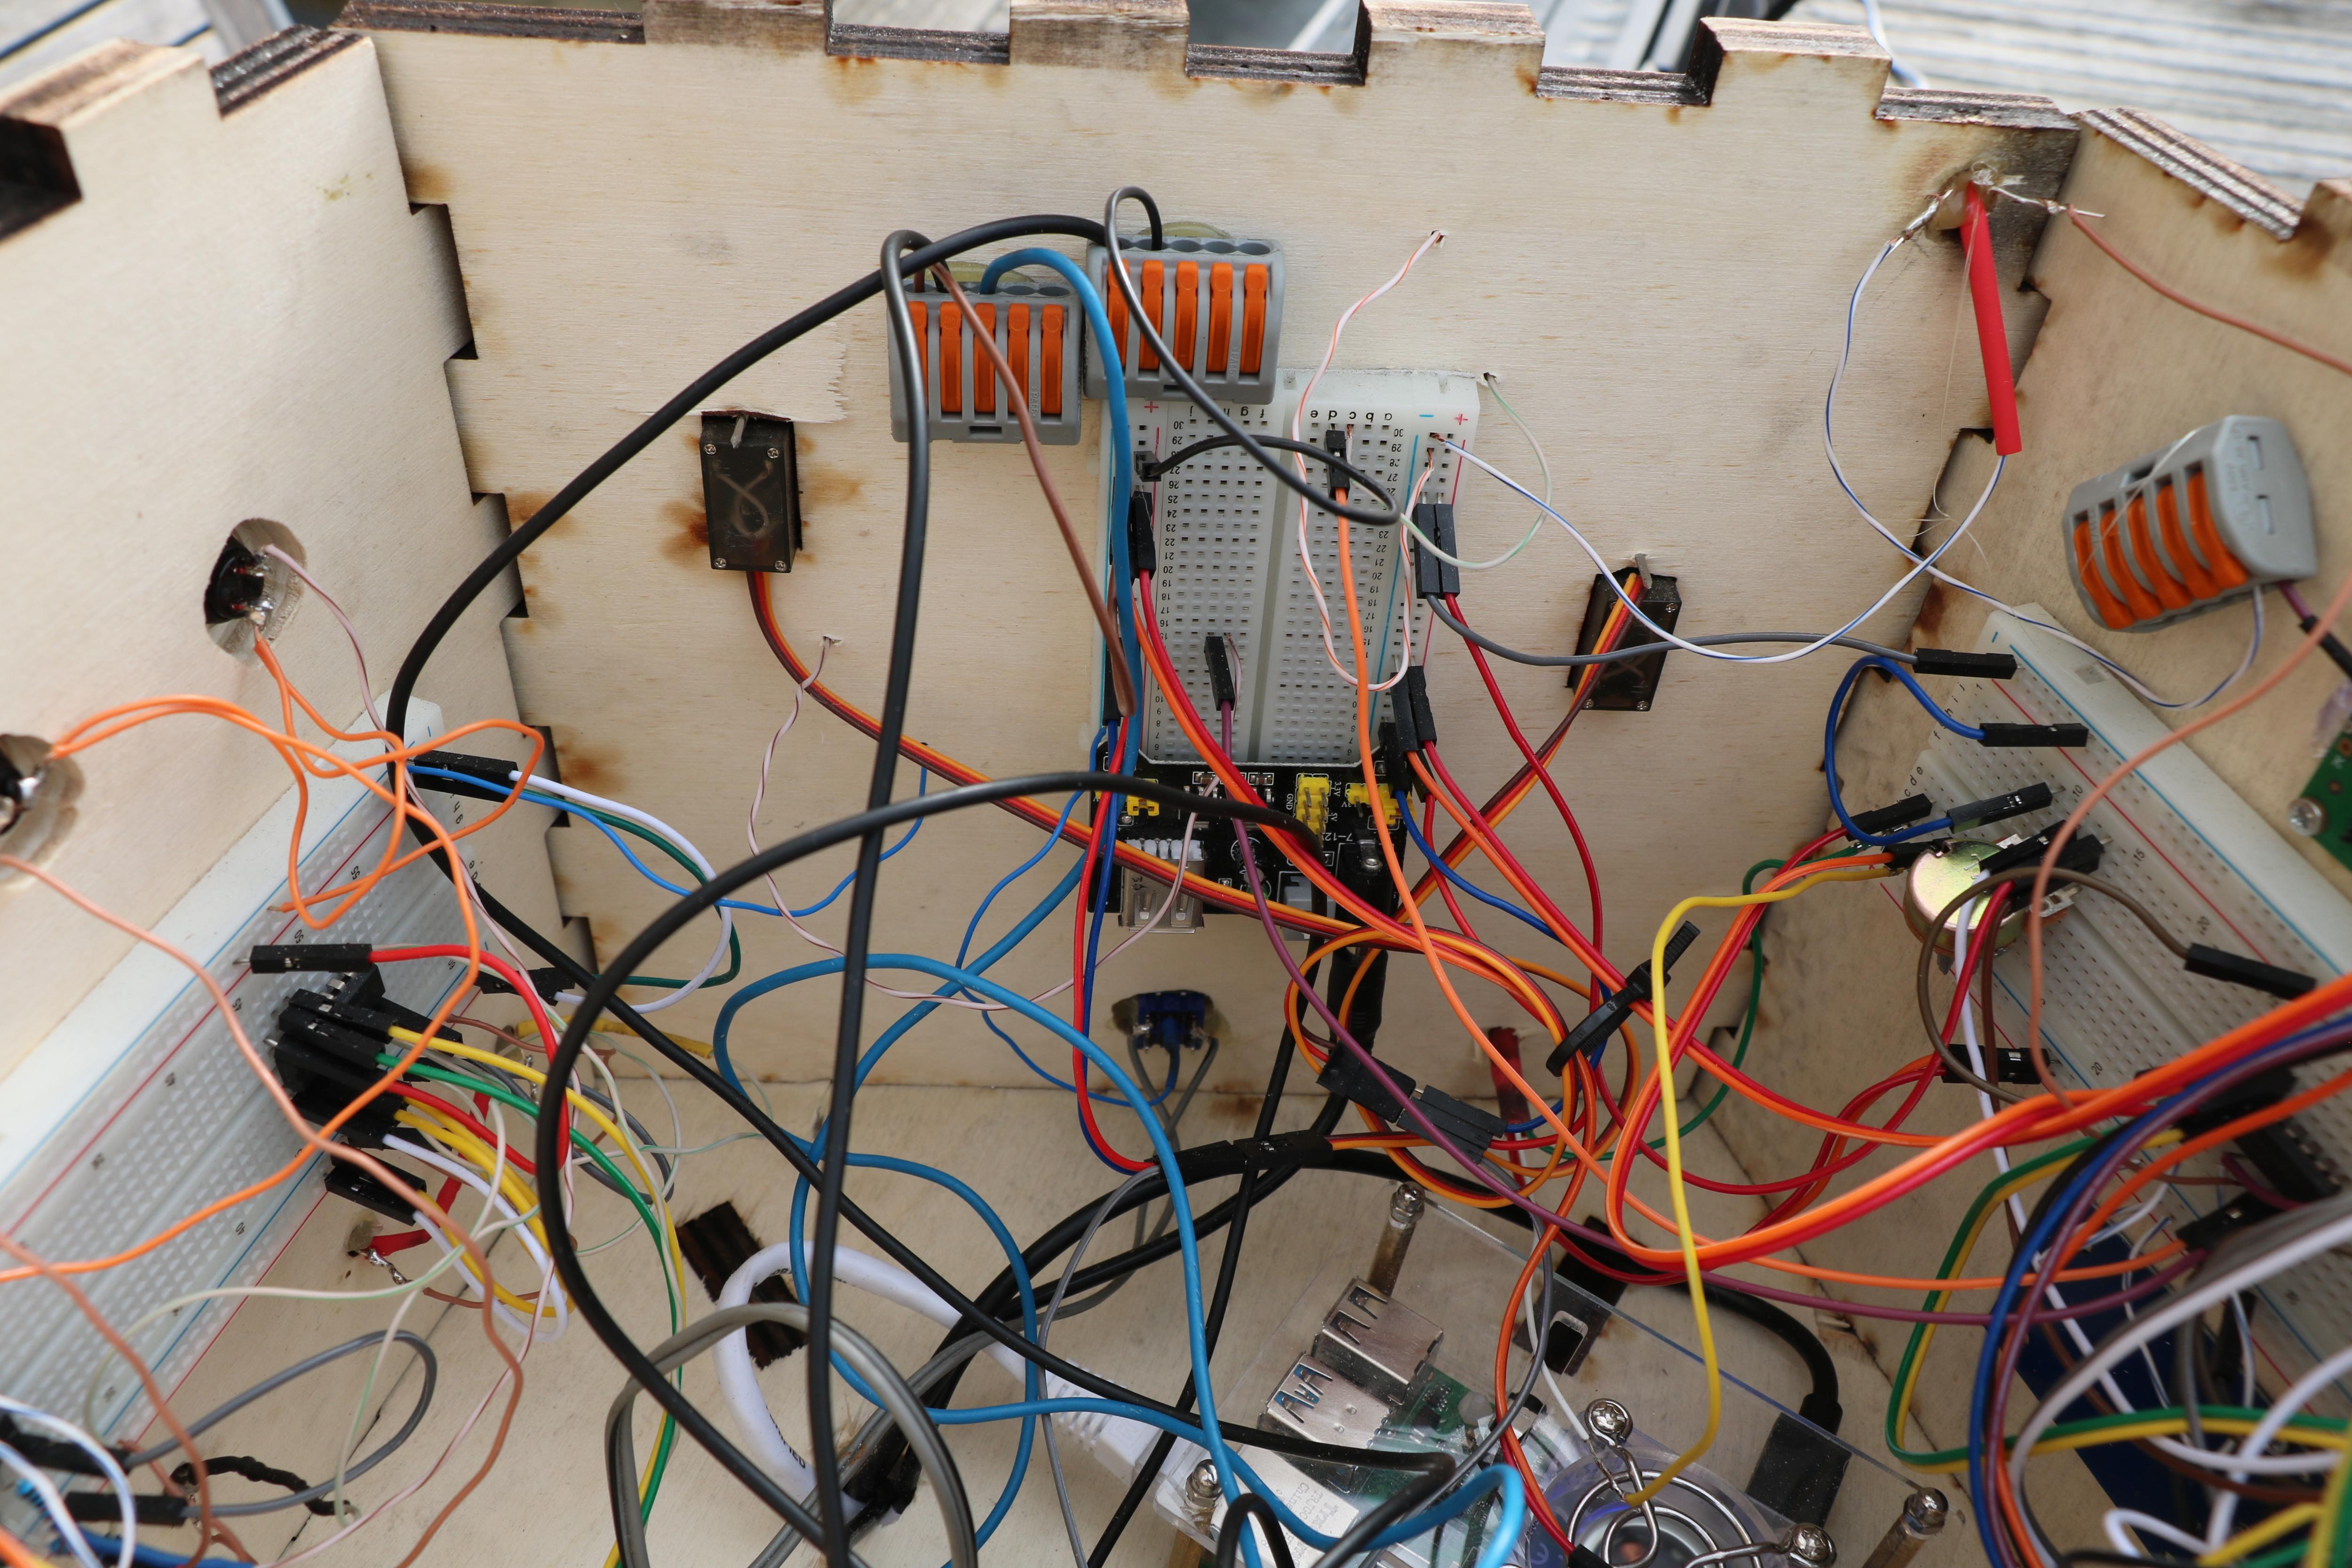
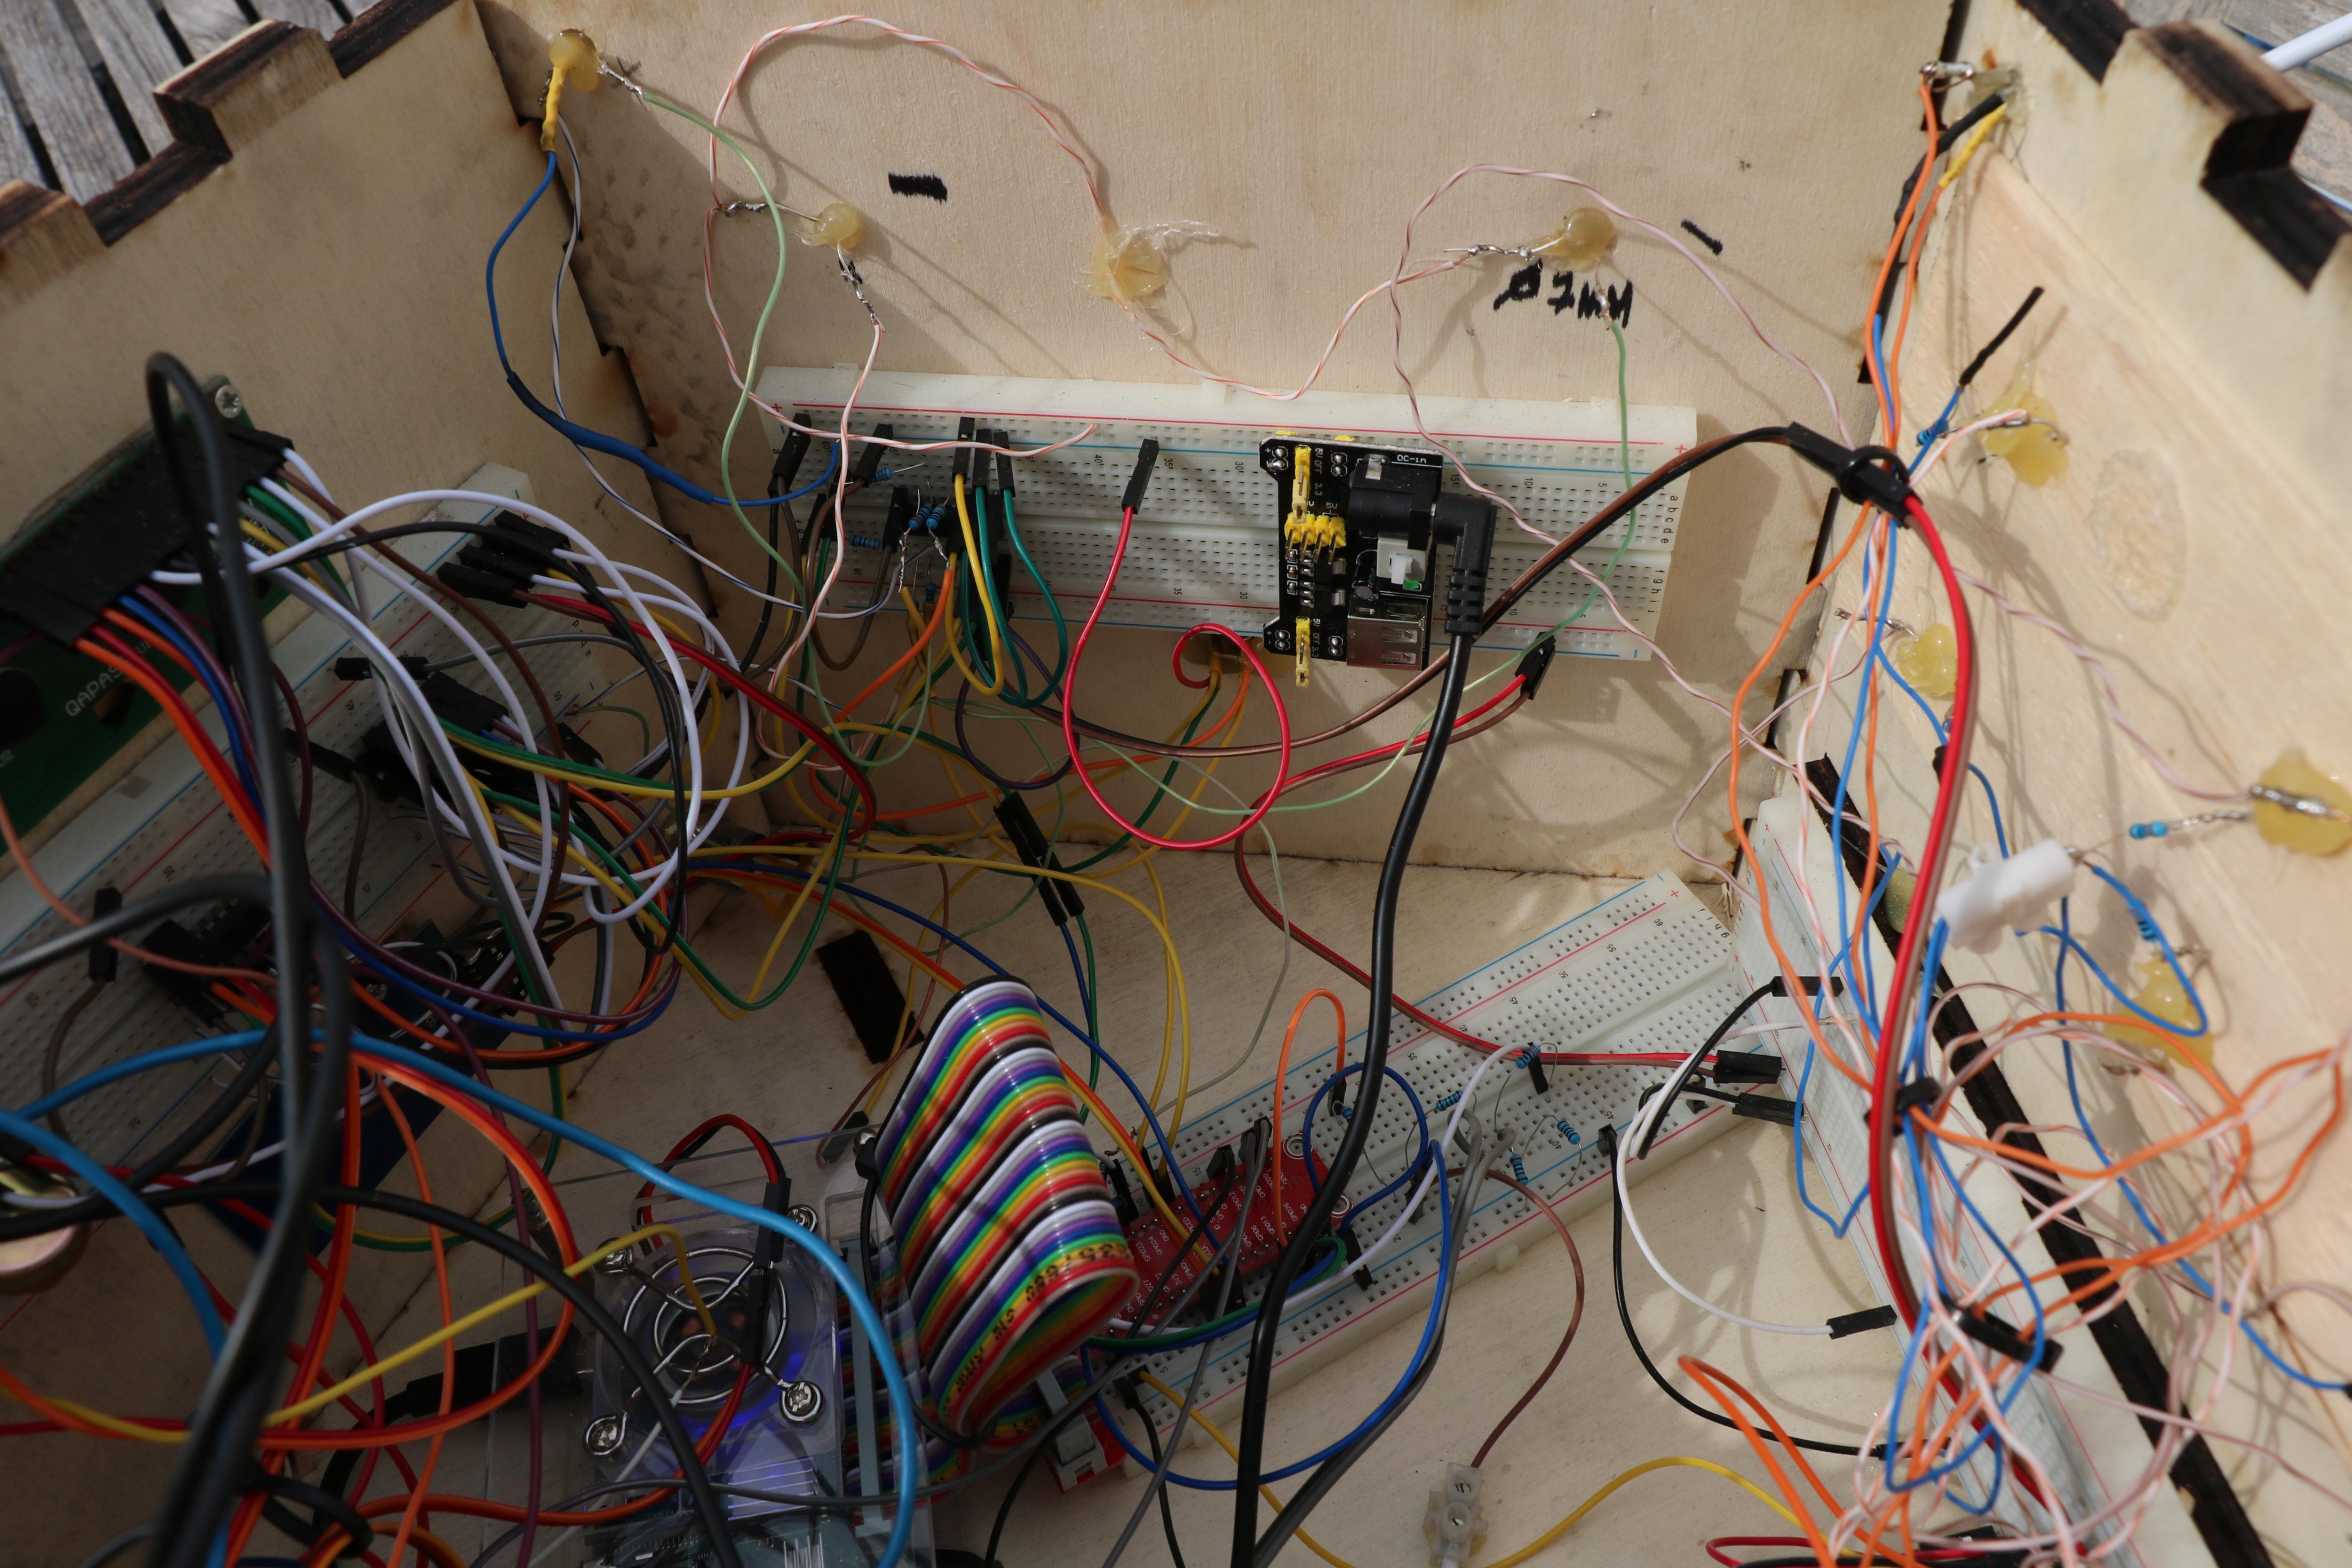
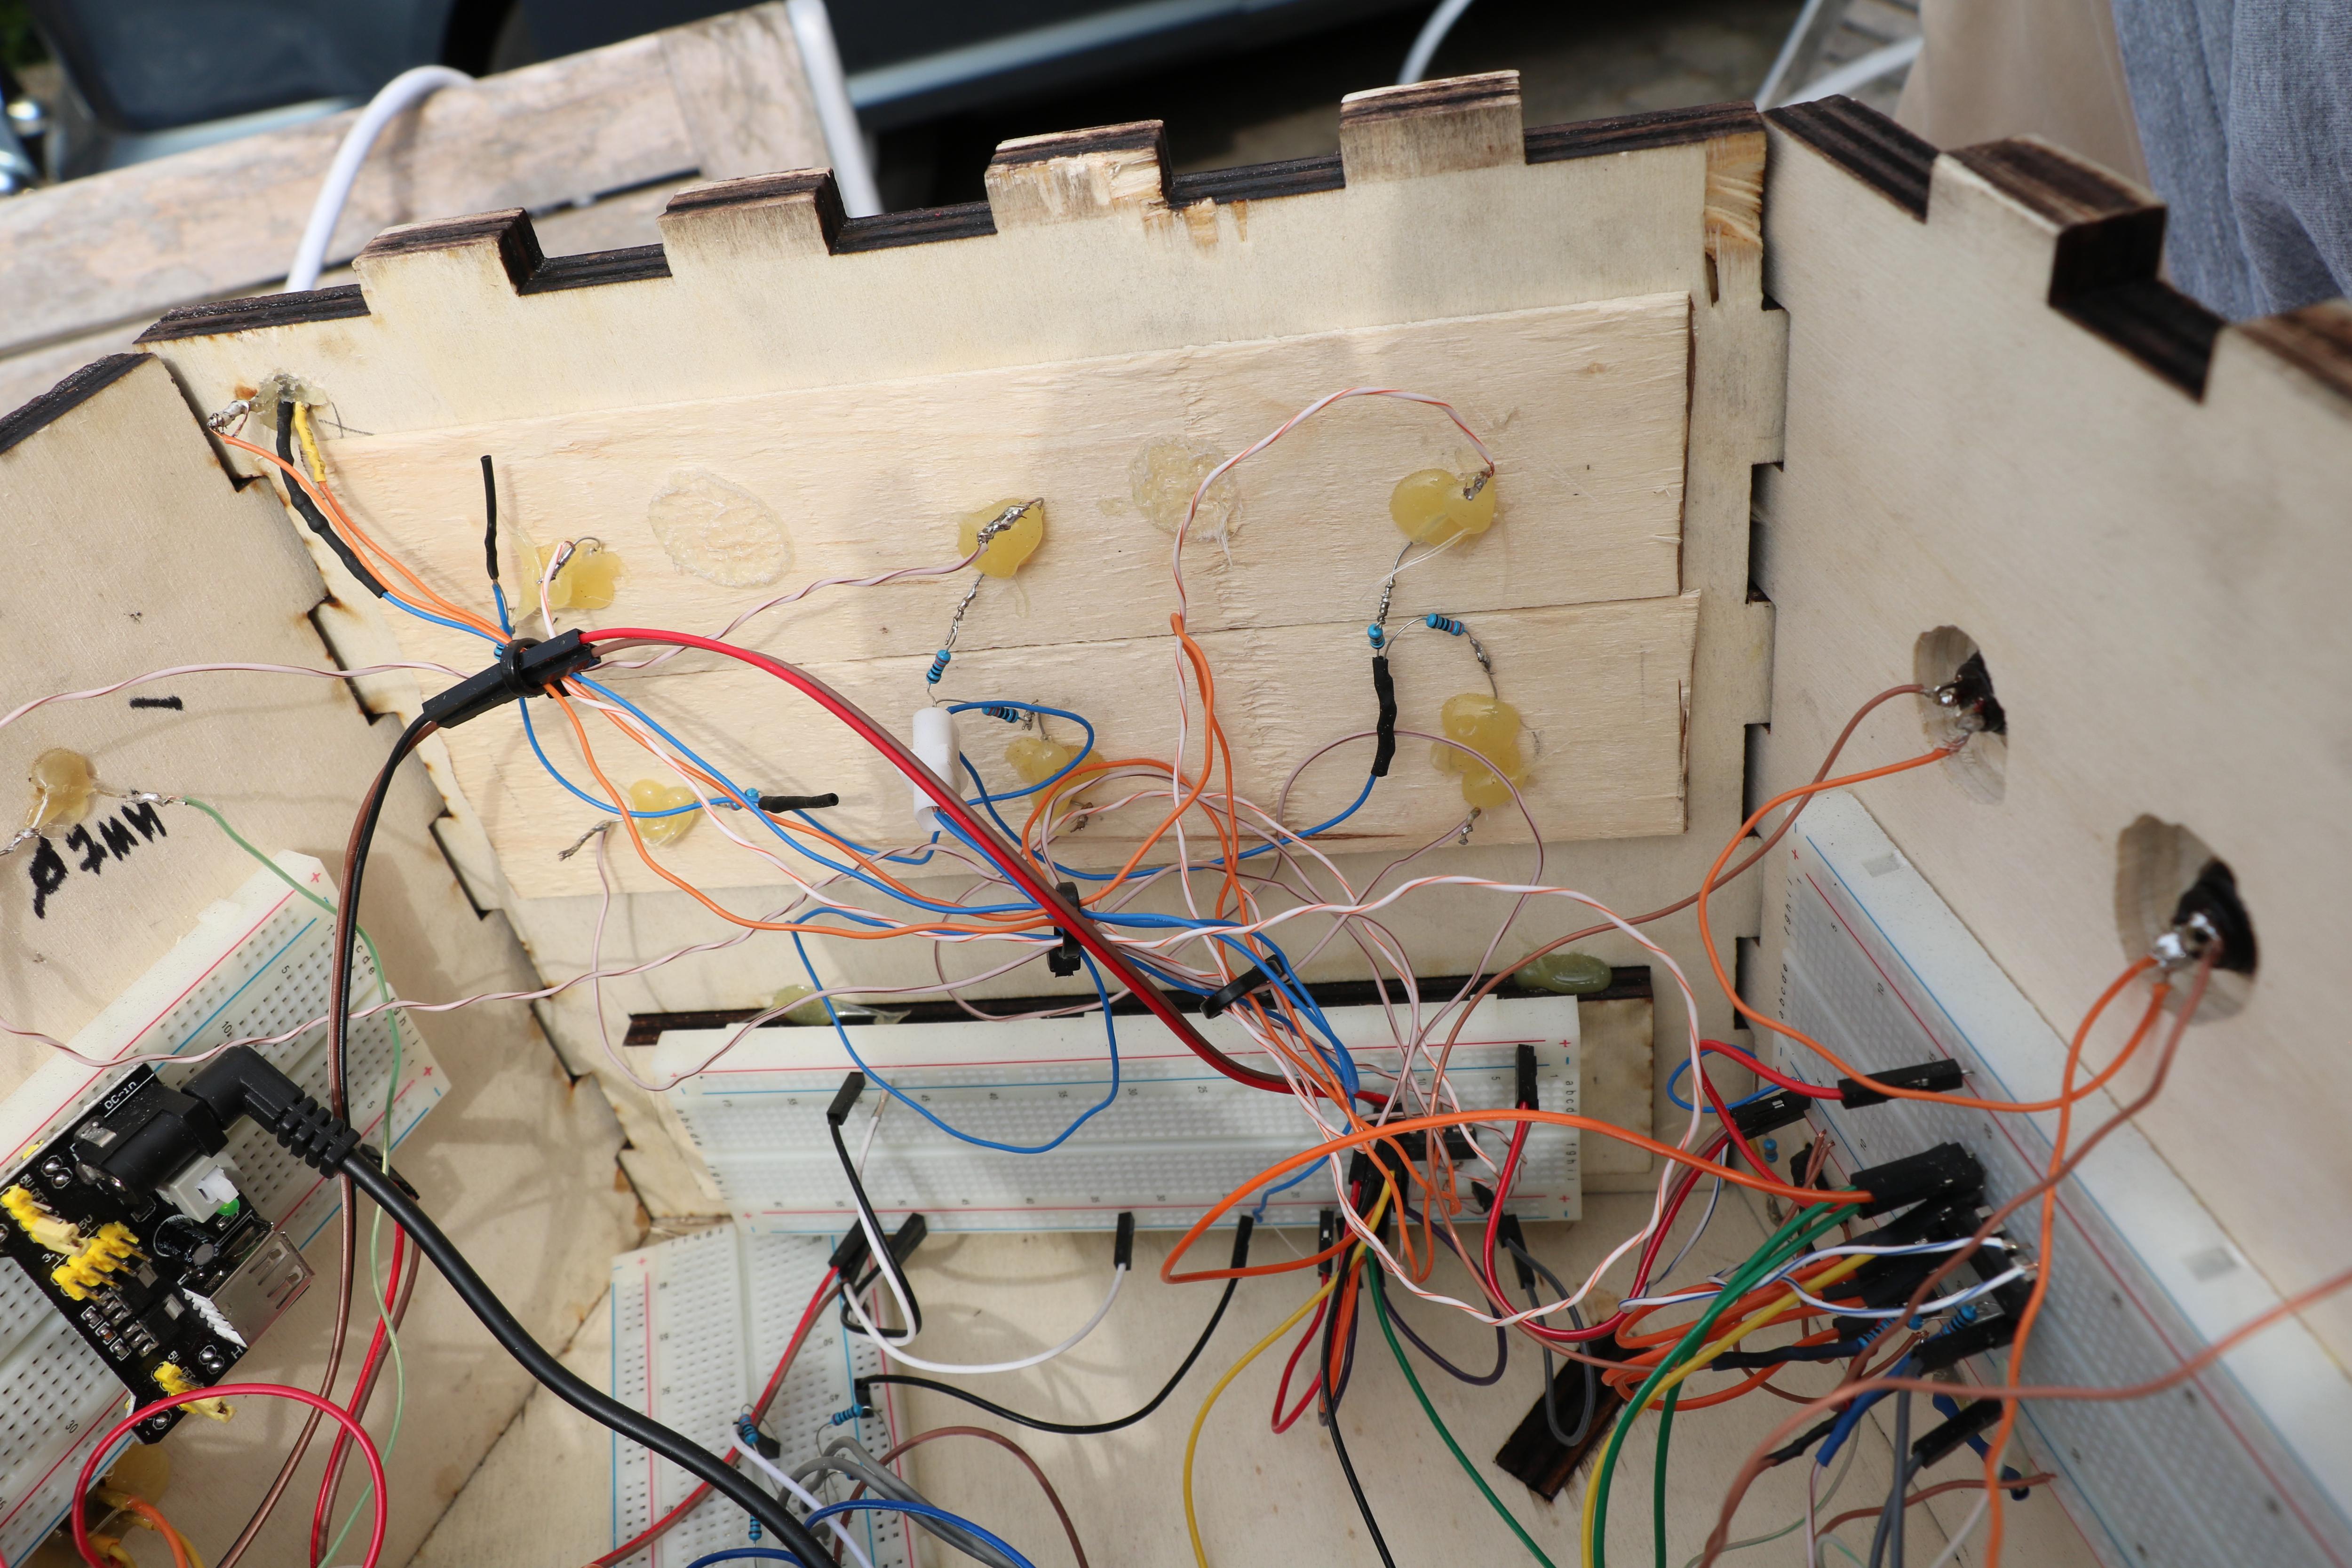
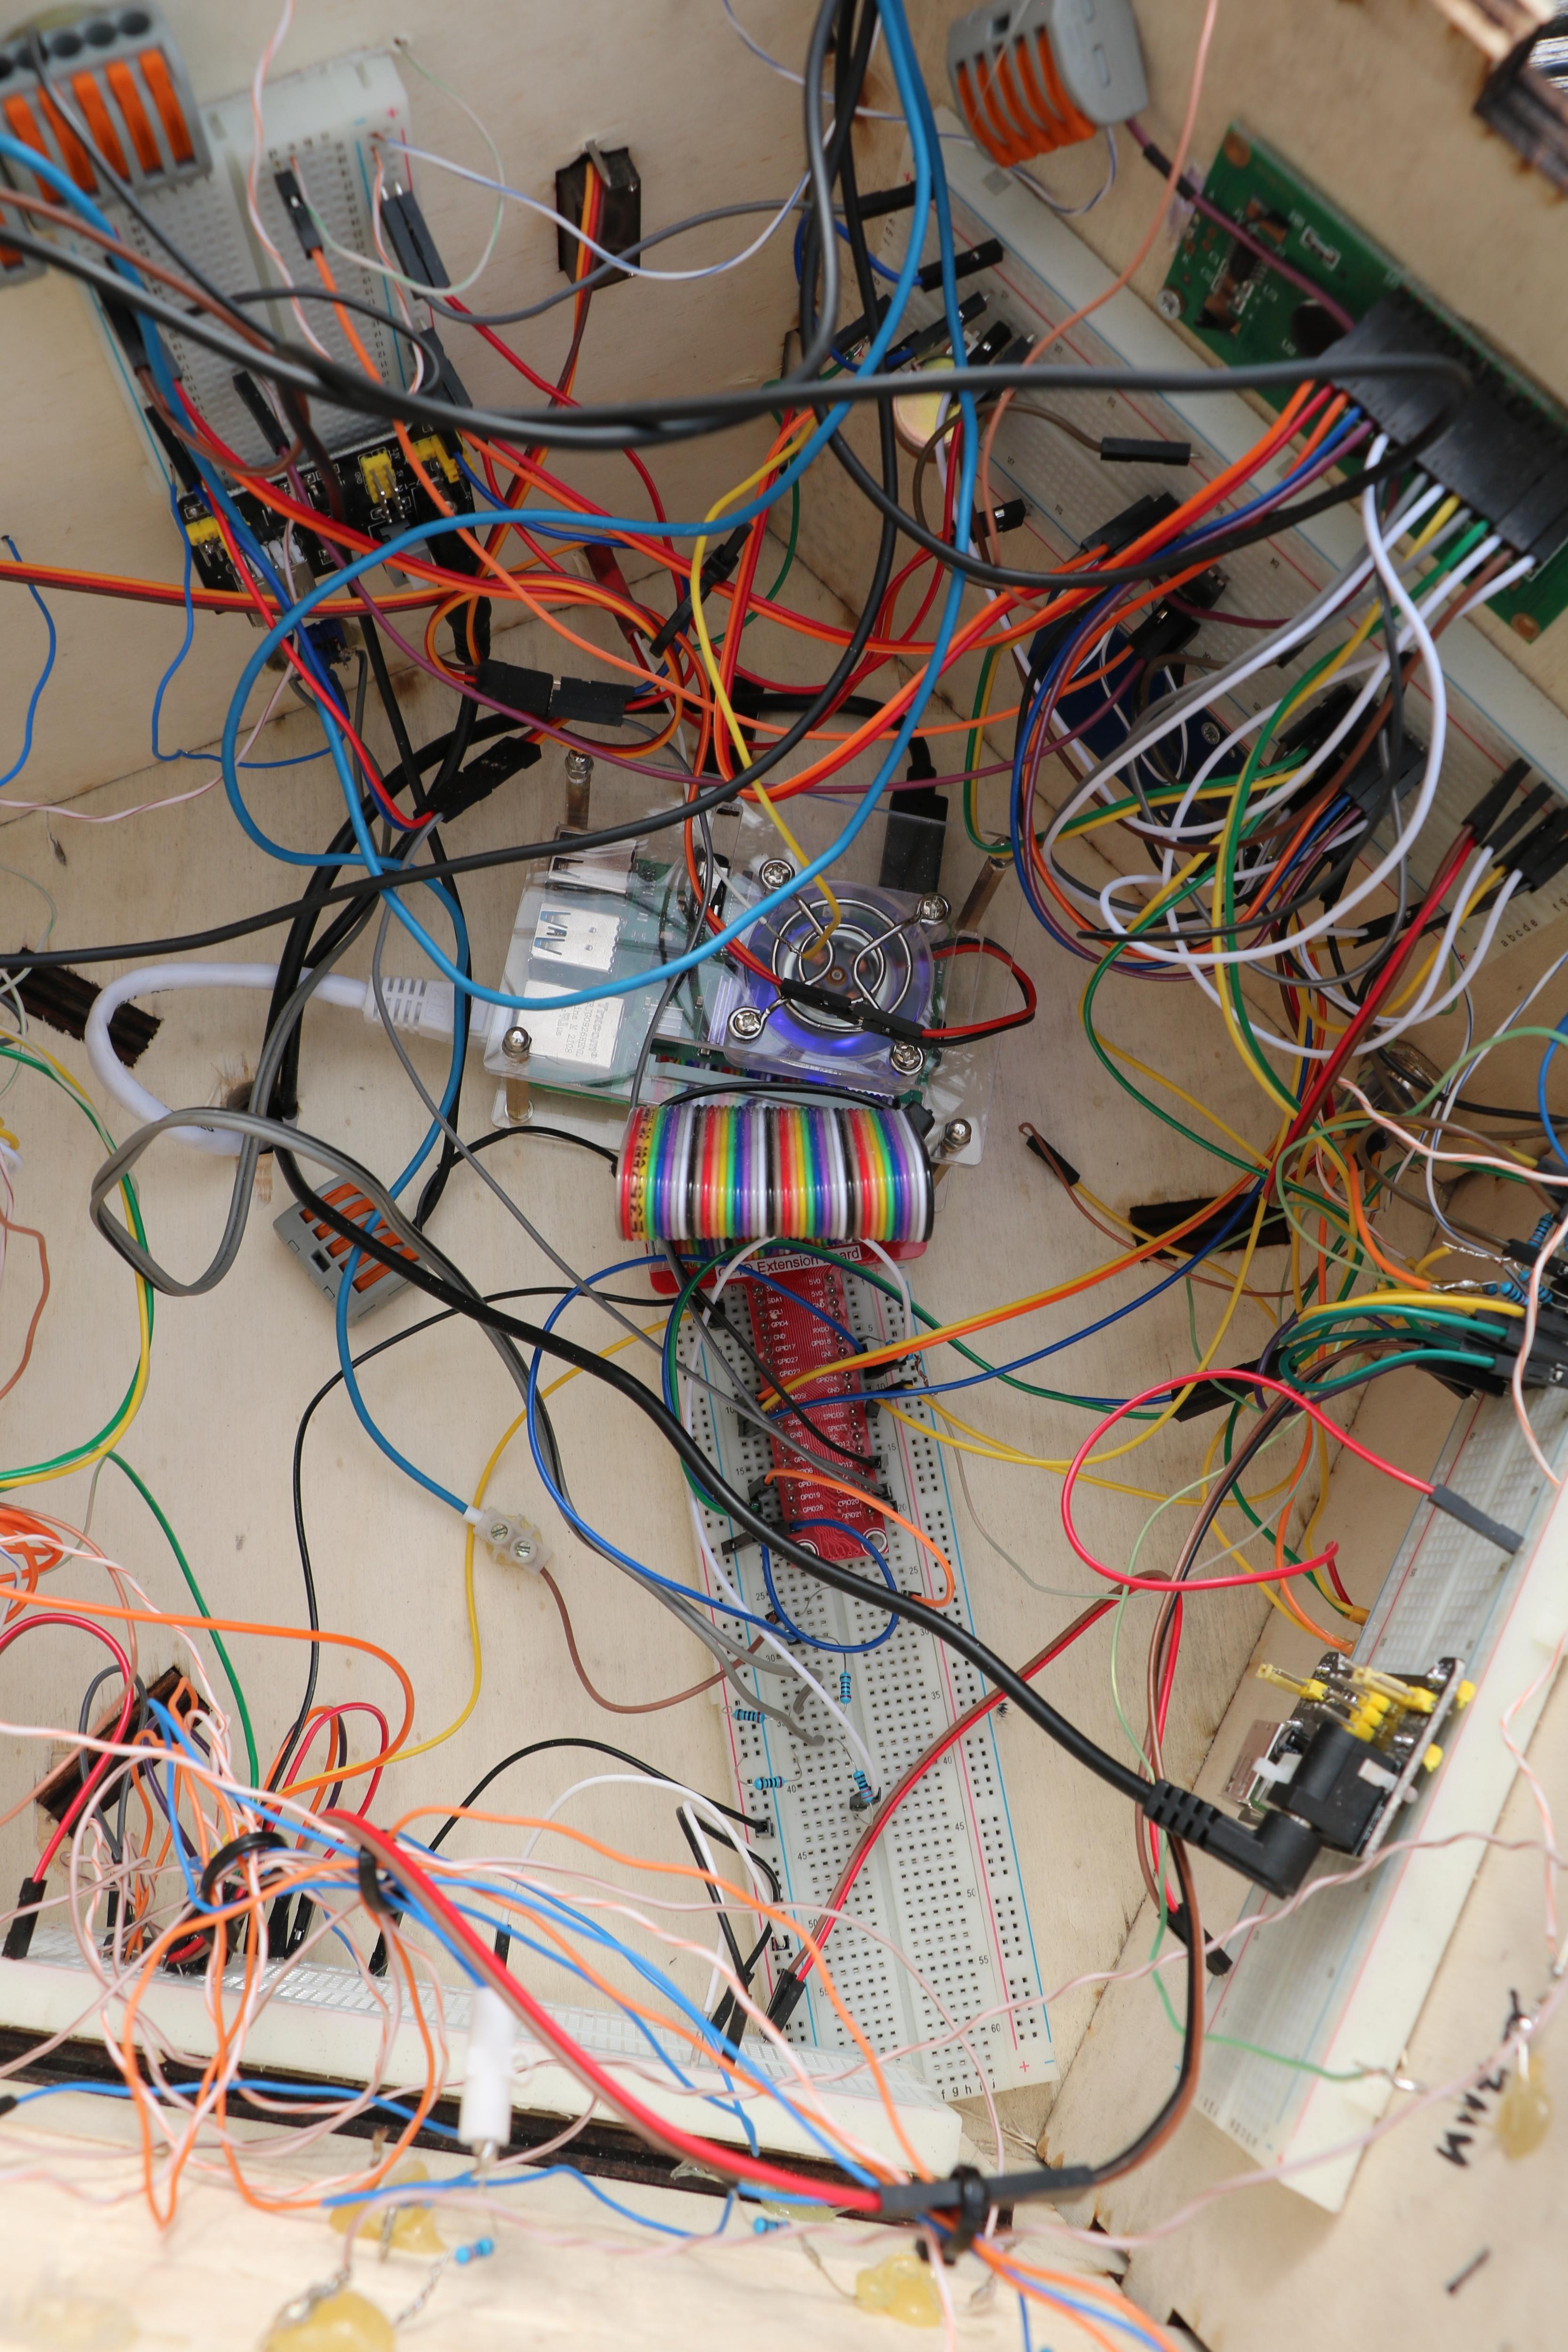
Mounting of the components
To assemble the components, you may need to use a dremel/mill to countersink the holes for some components.
To connect and layout the components follow the fritzing schema.
Have fun recreating the project and maybe inventing new games yourself. Feel free to DM me if you have any questions about the project.