Pure White Background Photography
by Timothee Gillier in Design > Photography
6996 Views, 42 Favorites, 0 Comments
Pure White Background Photography
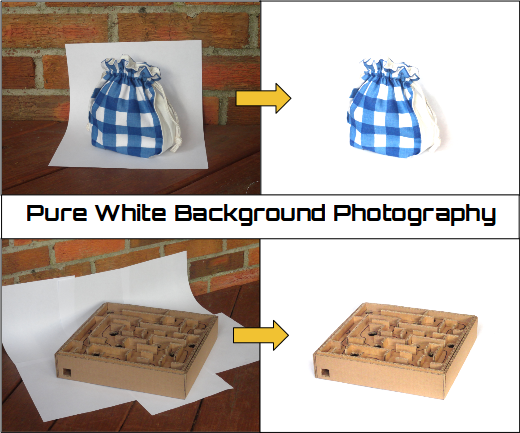
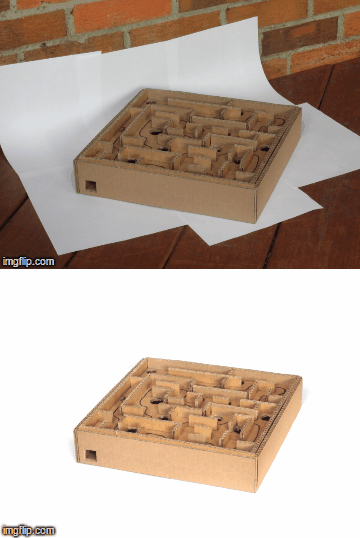
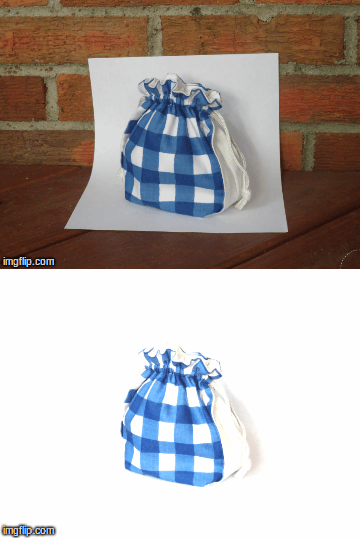
I have been part of Instructables for a long time and my pictures were never good. I had a good camera and accessories but the pictures still looked bad, so I decided to figure out how to make them better. When I was looking up how to make a pure white background photo I saw that it was very difficult and it needed a lot of equipment like a white photo backdrop, flash heads, light modifiers, light stands and a bunch of other expensive stuff. I found a way that is supper cheep and all you need is a camera and Gimp.
Why?
Why would you want to have a pure white background photo? Because it makes your pictures look professional and awesome! A white background makes the main object the focus. and there are no background items to distract the viewer's attention. Everything looks more vibrant in contrast to white and the background might get in the way of the viewer. Also white backgrounds eliminate the need for setting up the backgrounds or having tacky background that just look ugly. You might also think can I use this for other things than just Instructables? Of course, this can be use for showcasing products on other cites where you share you work.
Materials
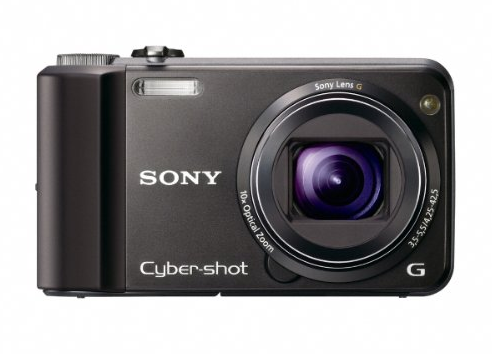
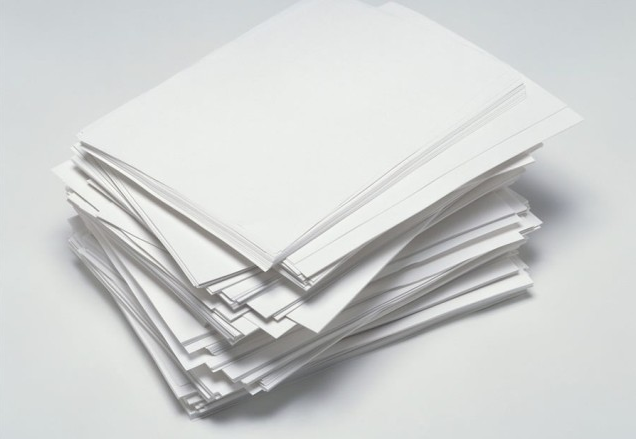

You don't need lots of materials and all of it is cheep and easy to find.
- A Camera, they are not cheep but they are really easy to find. Also the better the camera the better your picture will turn out but most of the time a regular camera will do.
- Some White Paper, this is easy to find and you can go from a large poster sheet to regular printer paper.
- A Light Source, every thing from a flash light to the sun will do. This will just prevent unwanted shadows to invade your pictures.
- A Computer with Gimp, this is like Photoshop but it is universal and works on PC, Mac and Linux.
Where to Take Your Picture
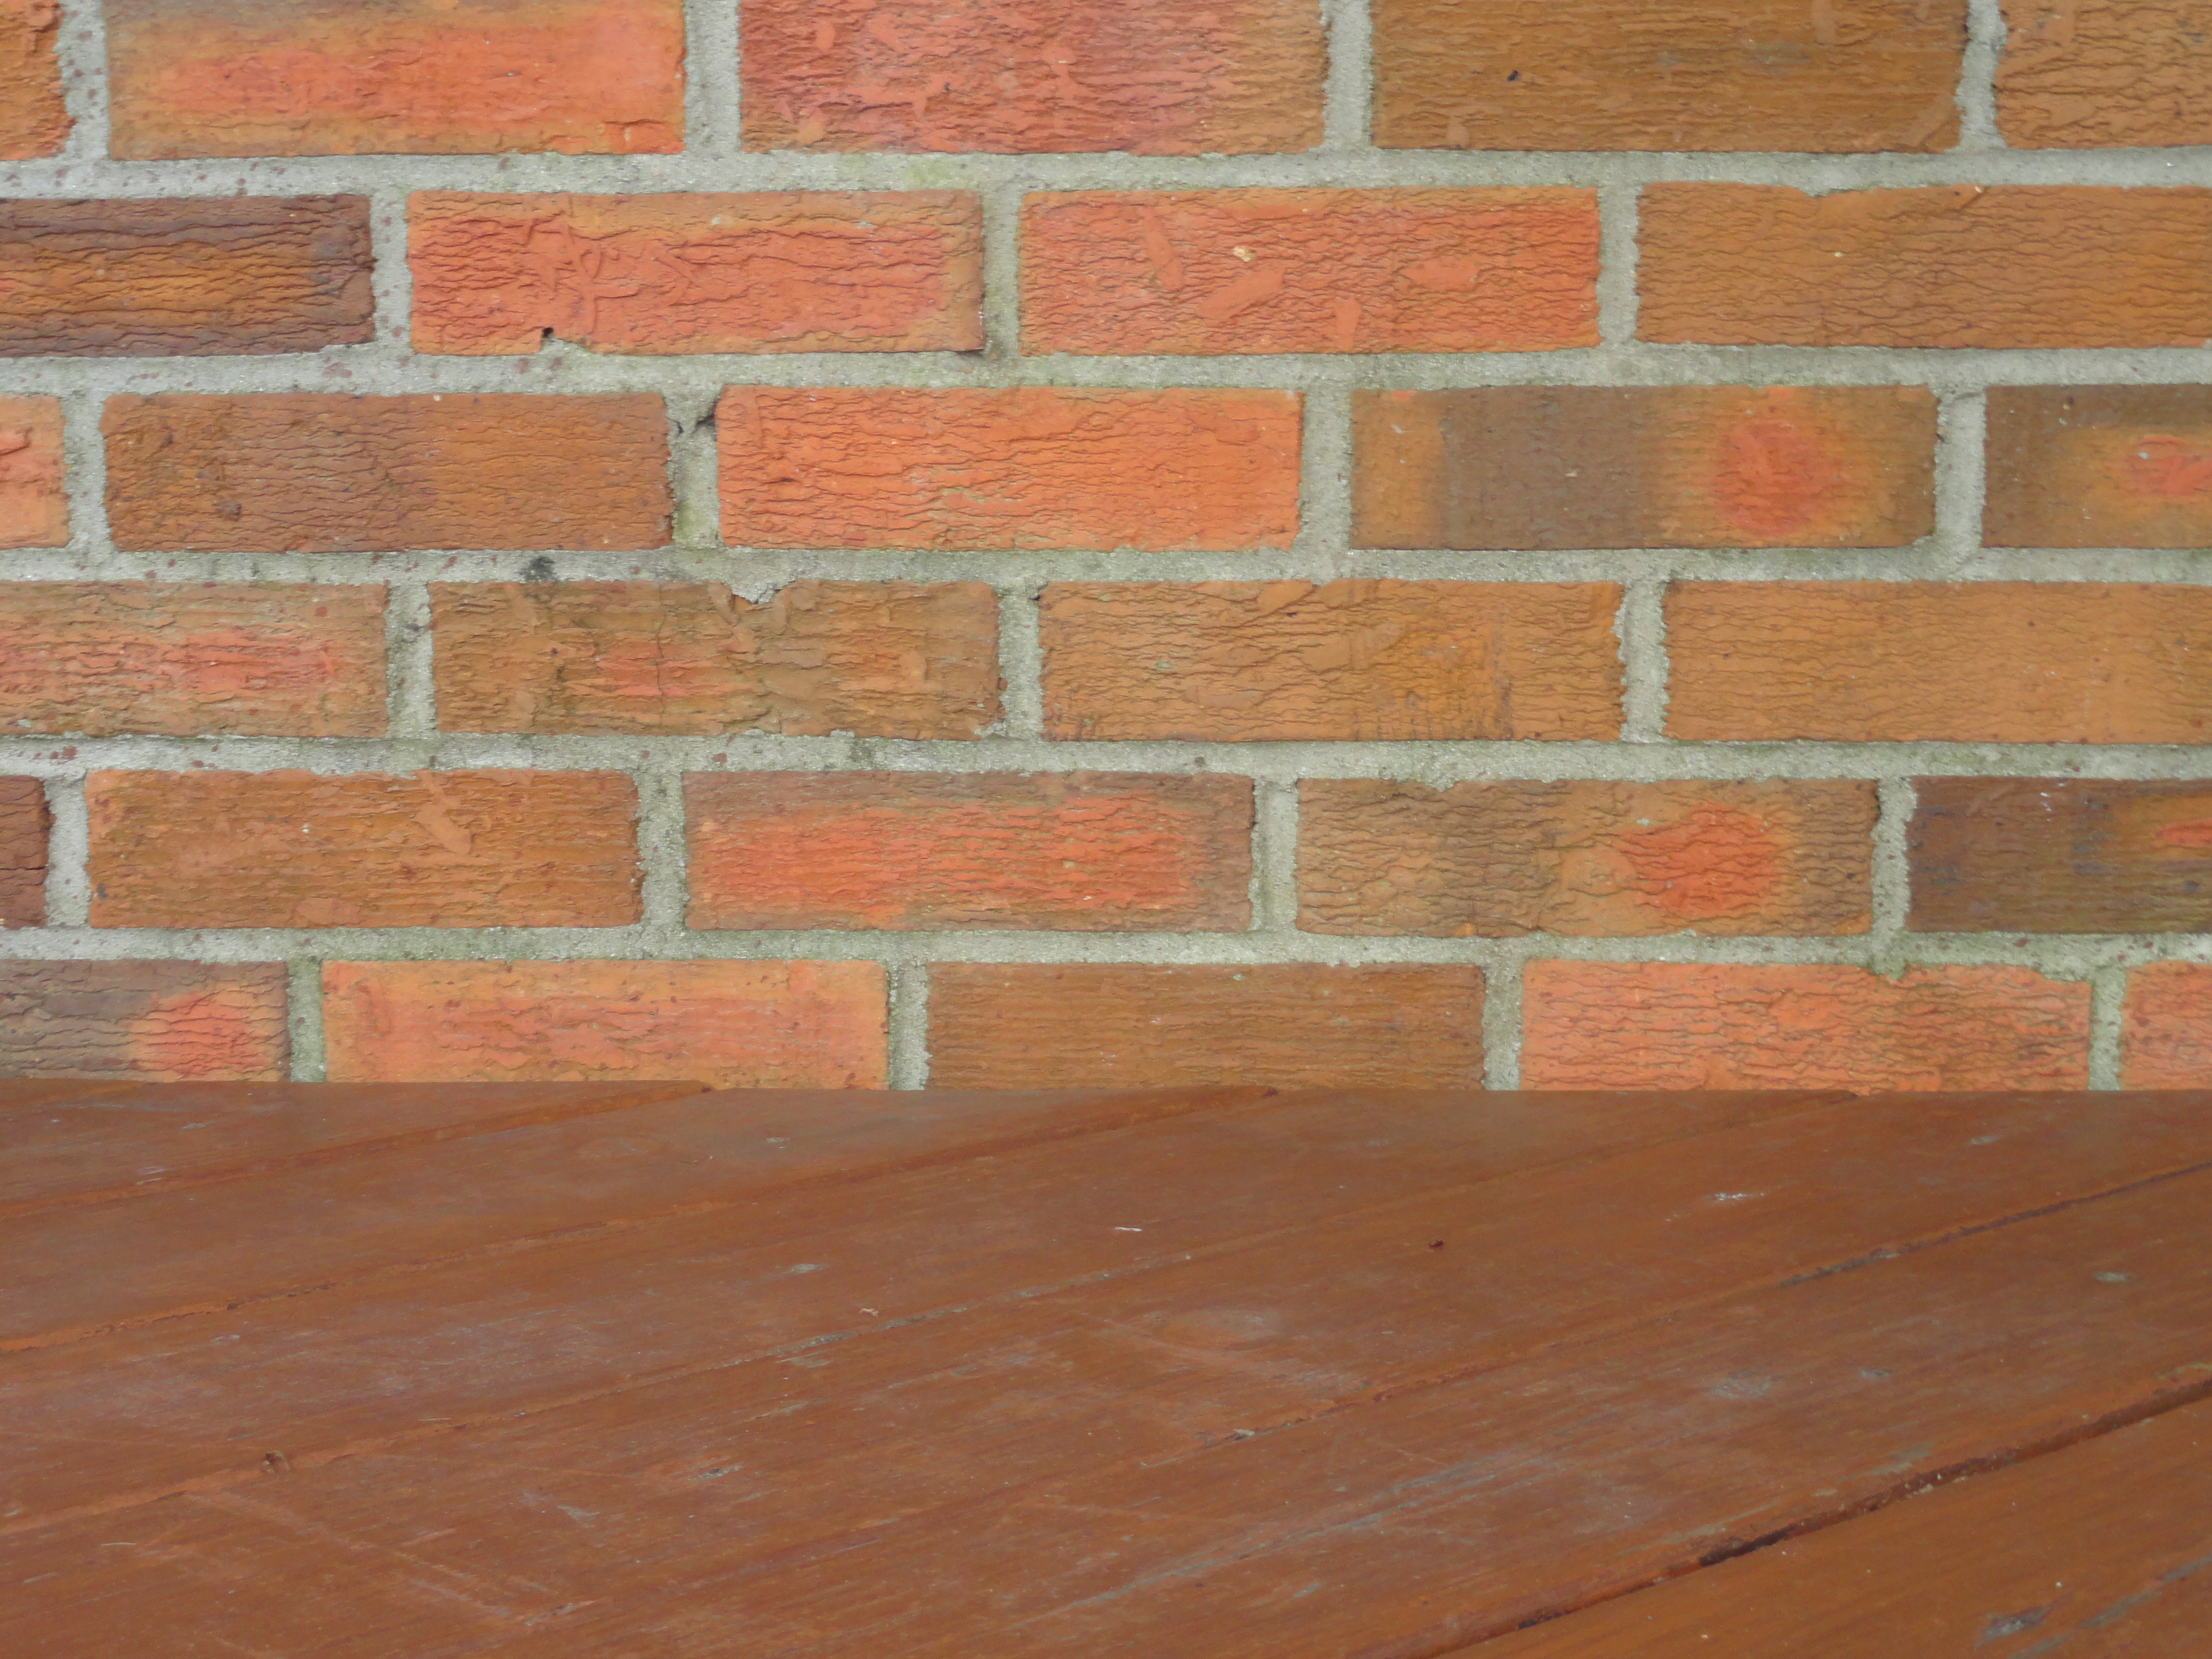
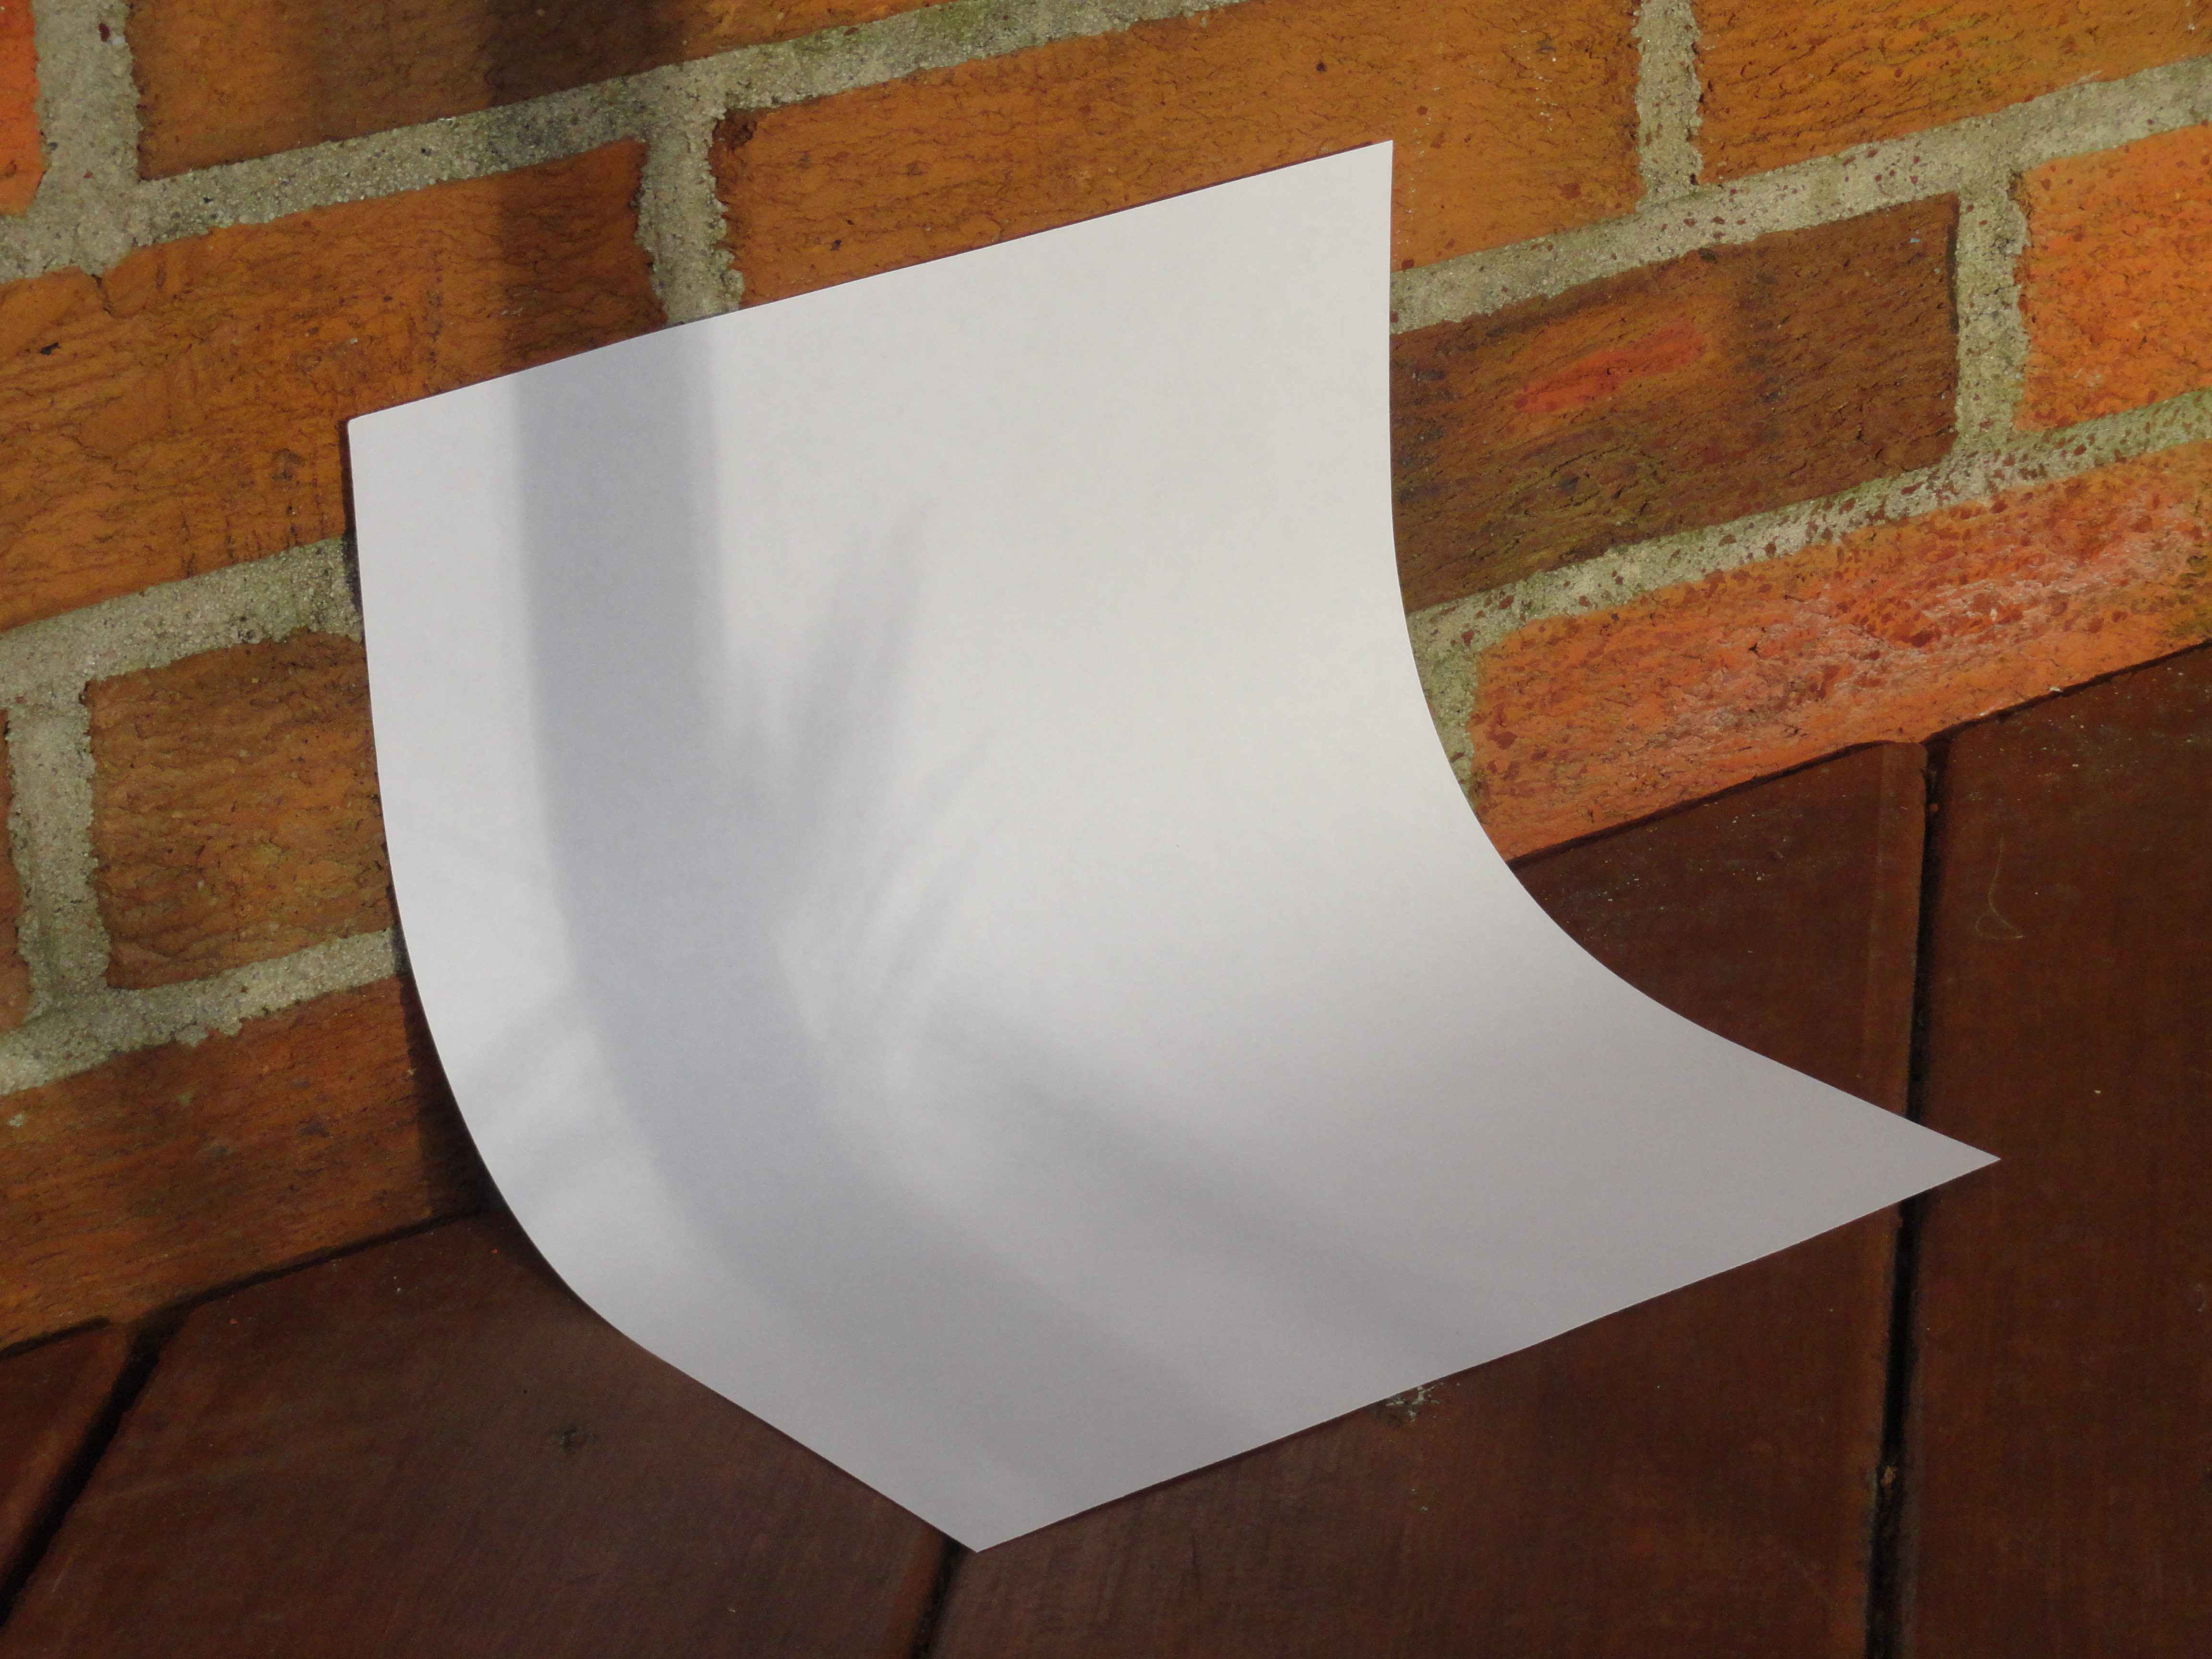
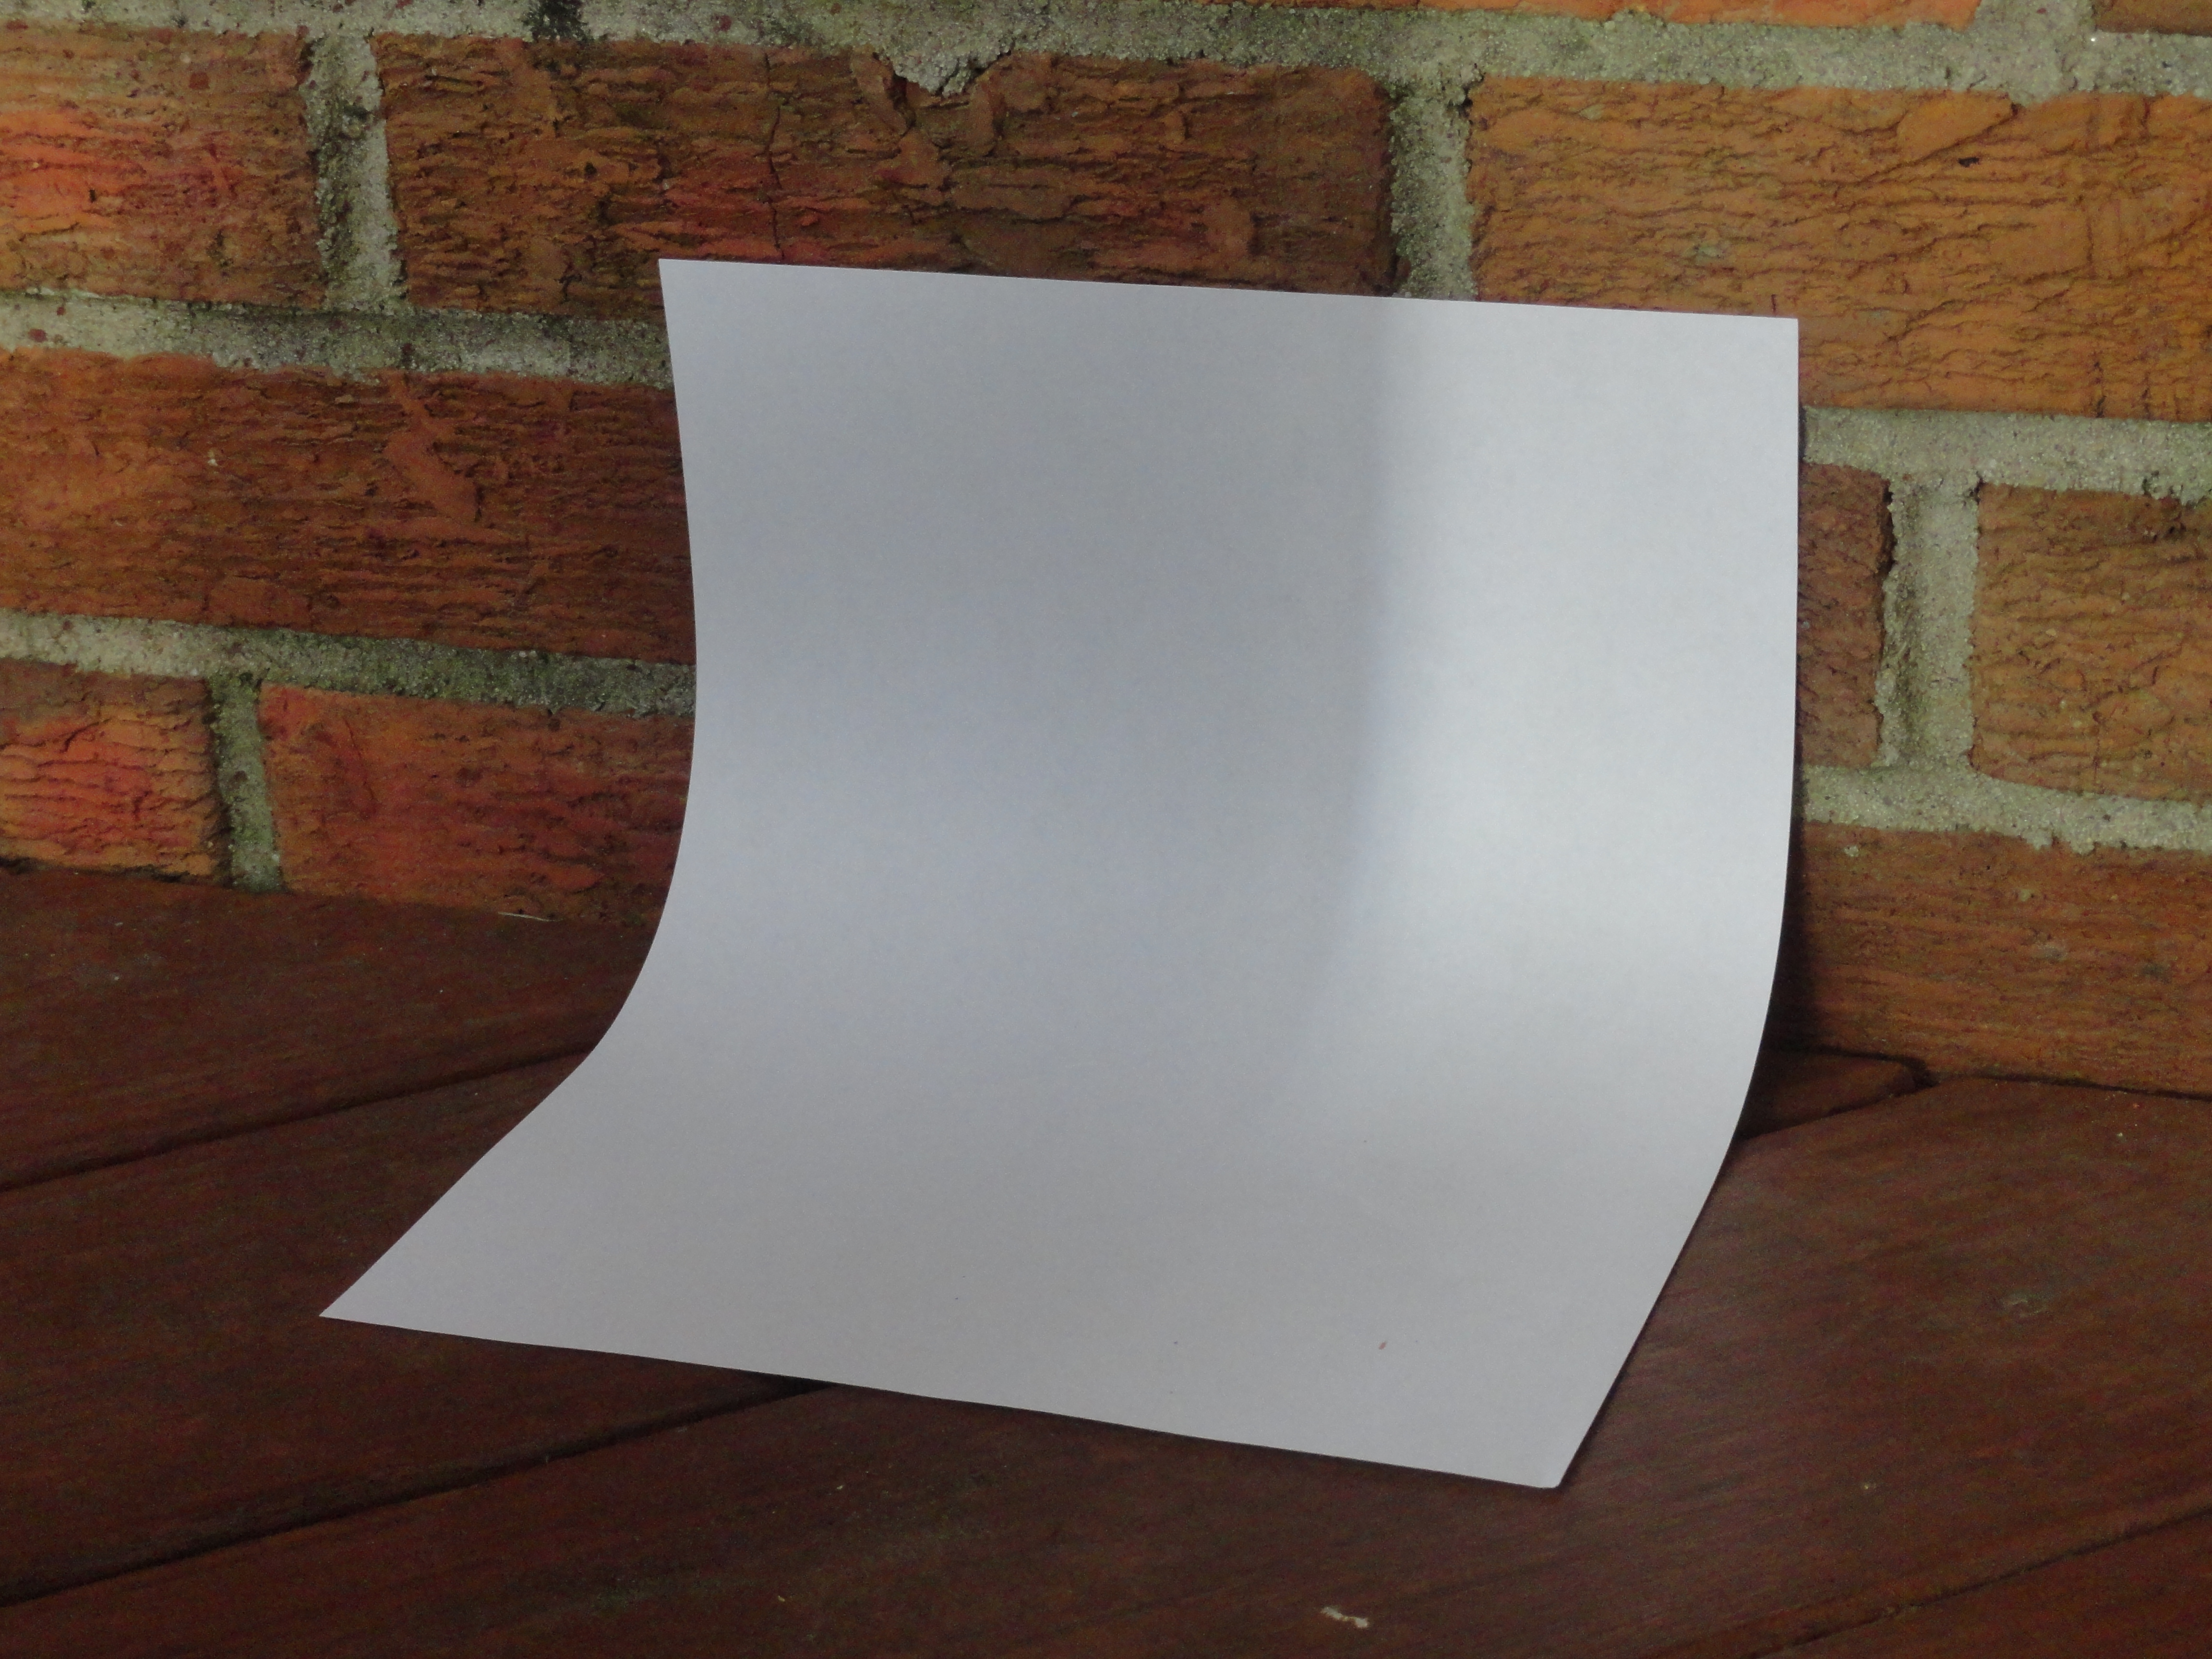
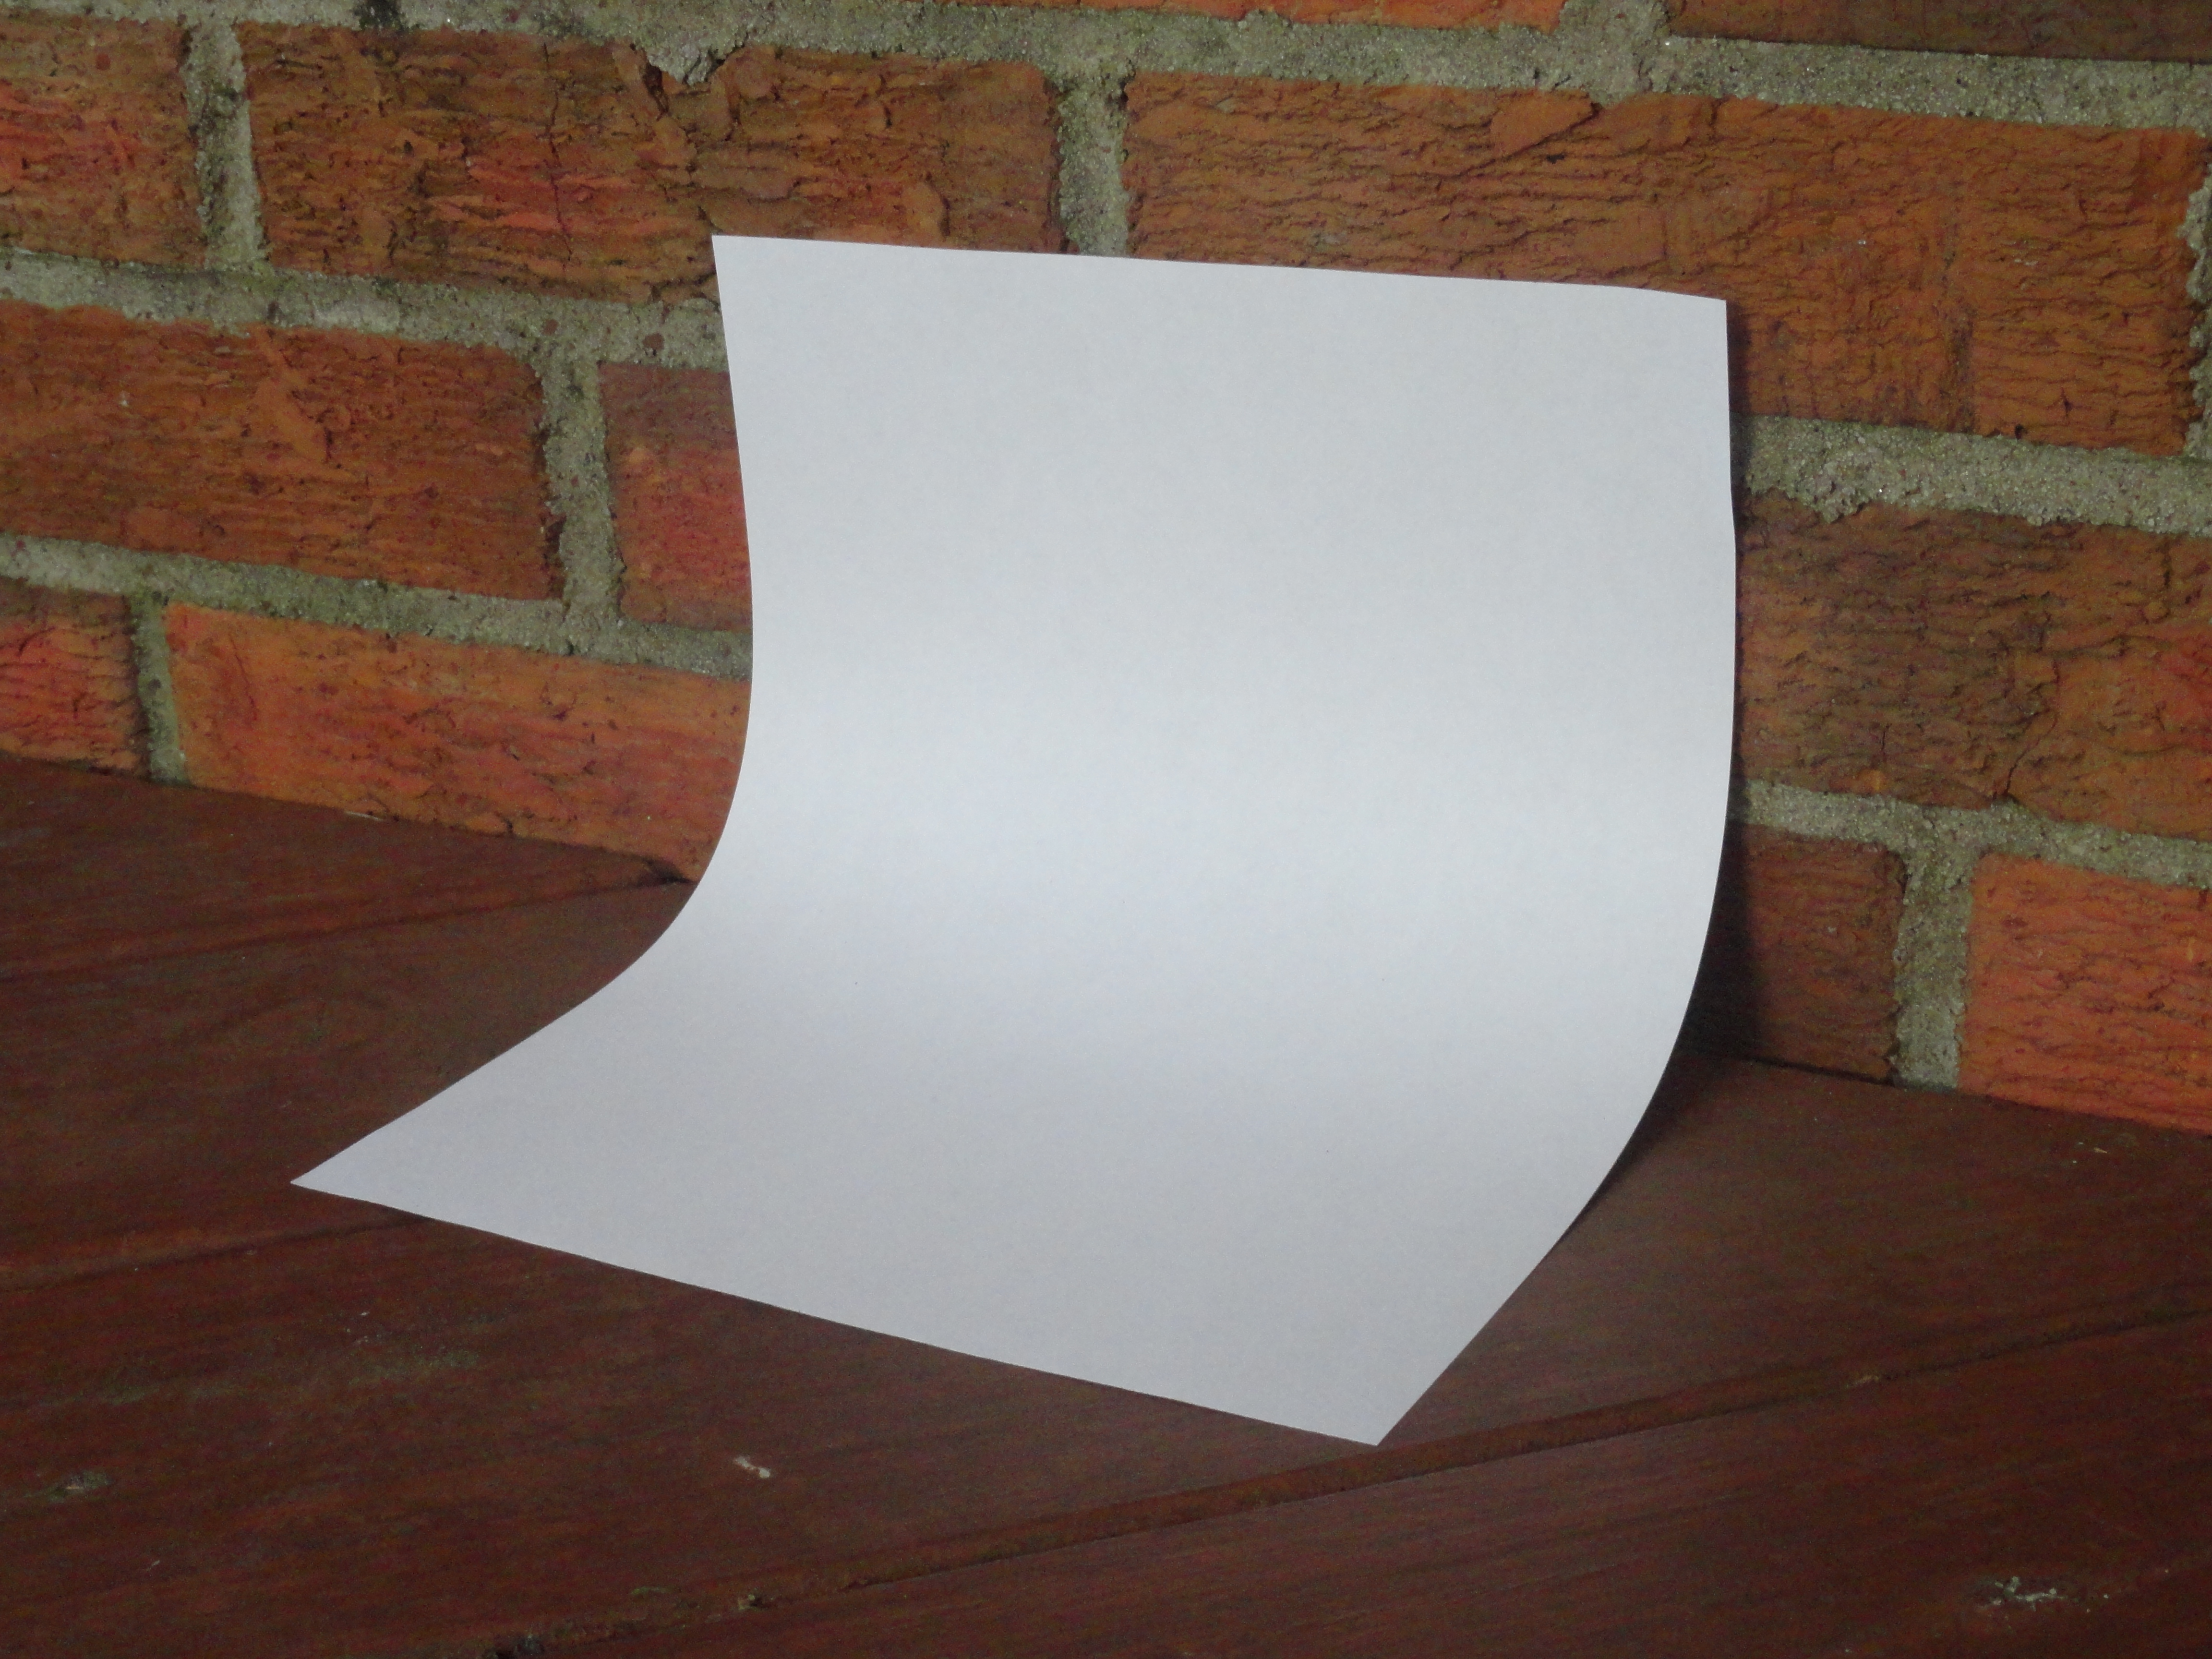
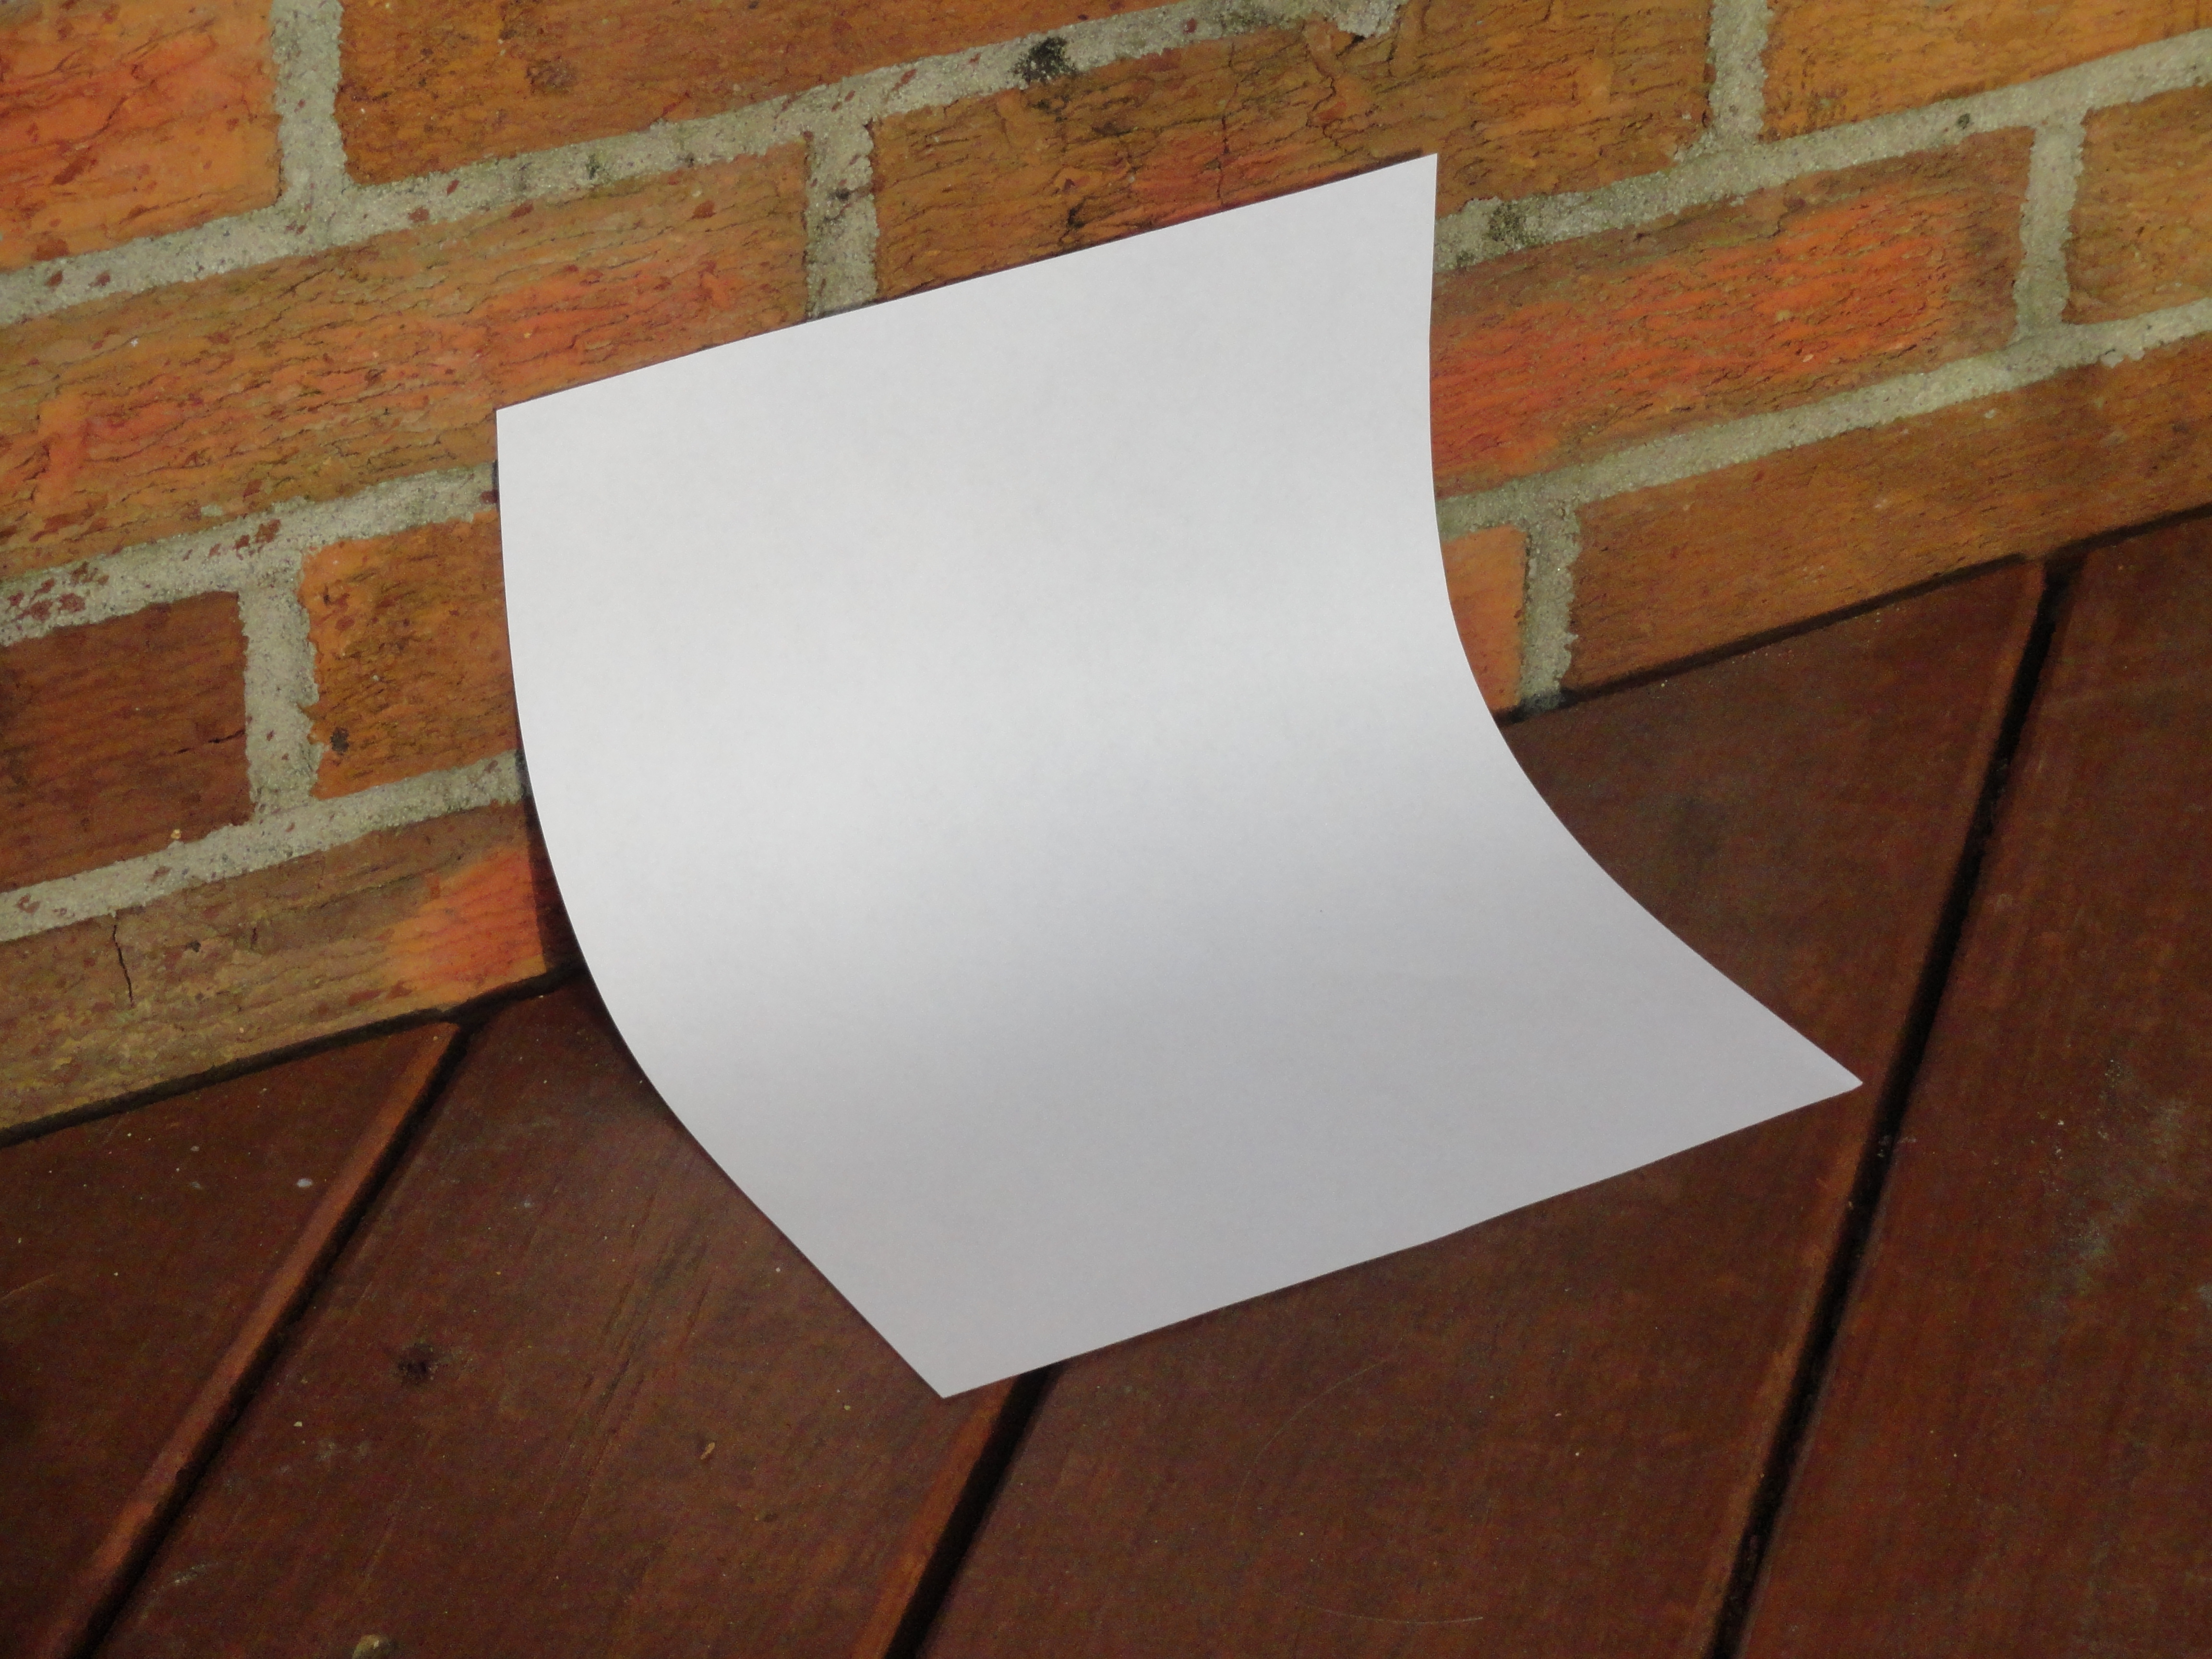
One very important thing about photography is where you take your picture. Bad posture and position and cause you to take bad pictures. You need to find a place that does not have any shadows that are in the way of where you are going to take the picture. The dream spot should have a light source and a wall so that you can rest the piece of paper against it. The reason why white photo backdrops are curved at the angle is so that there are no shadows and it makes the object look as it it were sitting in an infinite white plane. Once you have found that spot place you object on the paper and get ready to start taking pictures.
What Not to Do
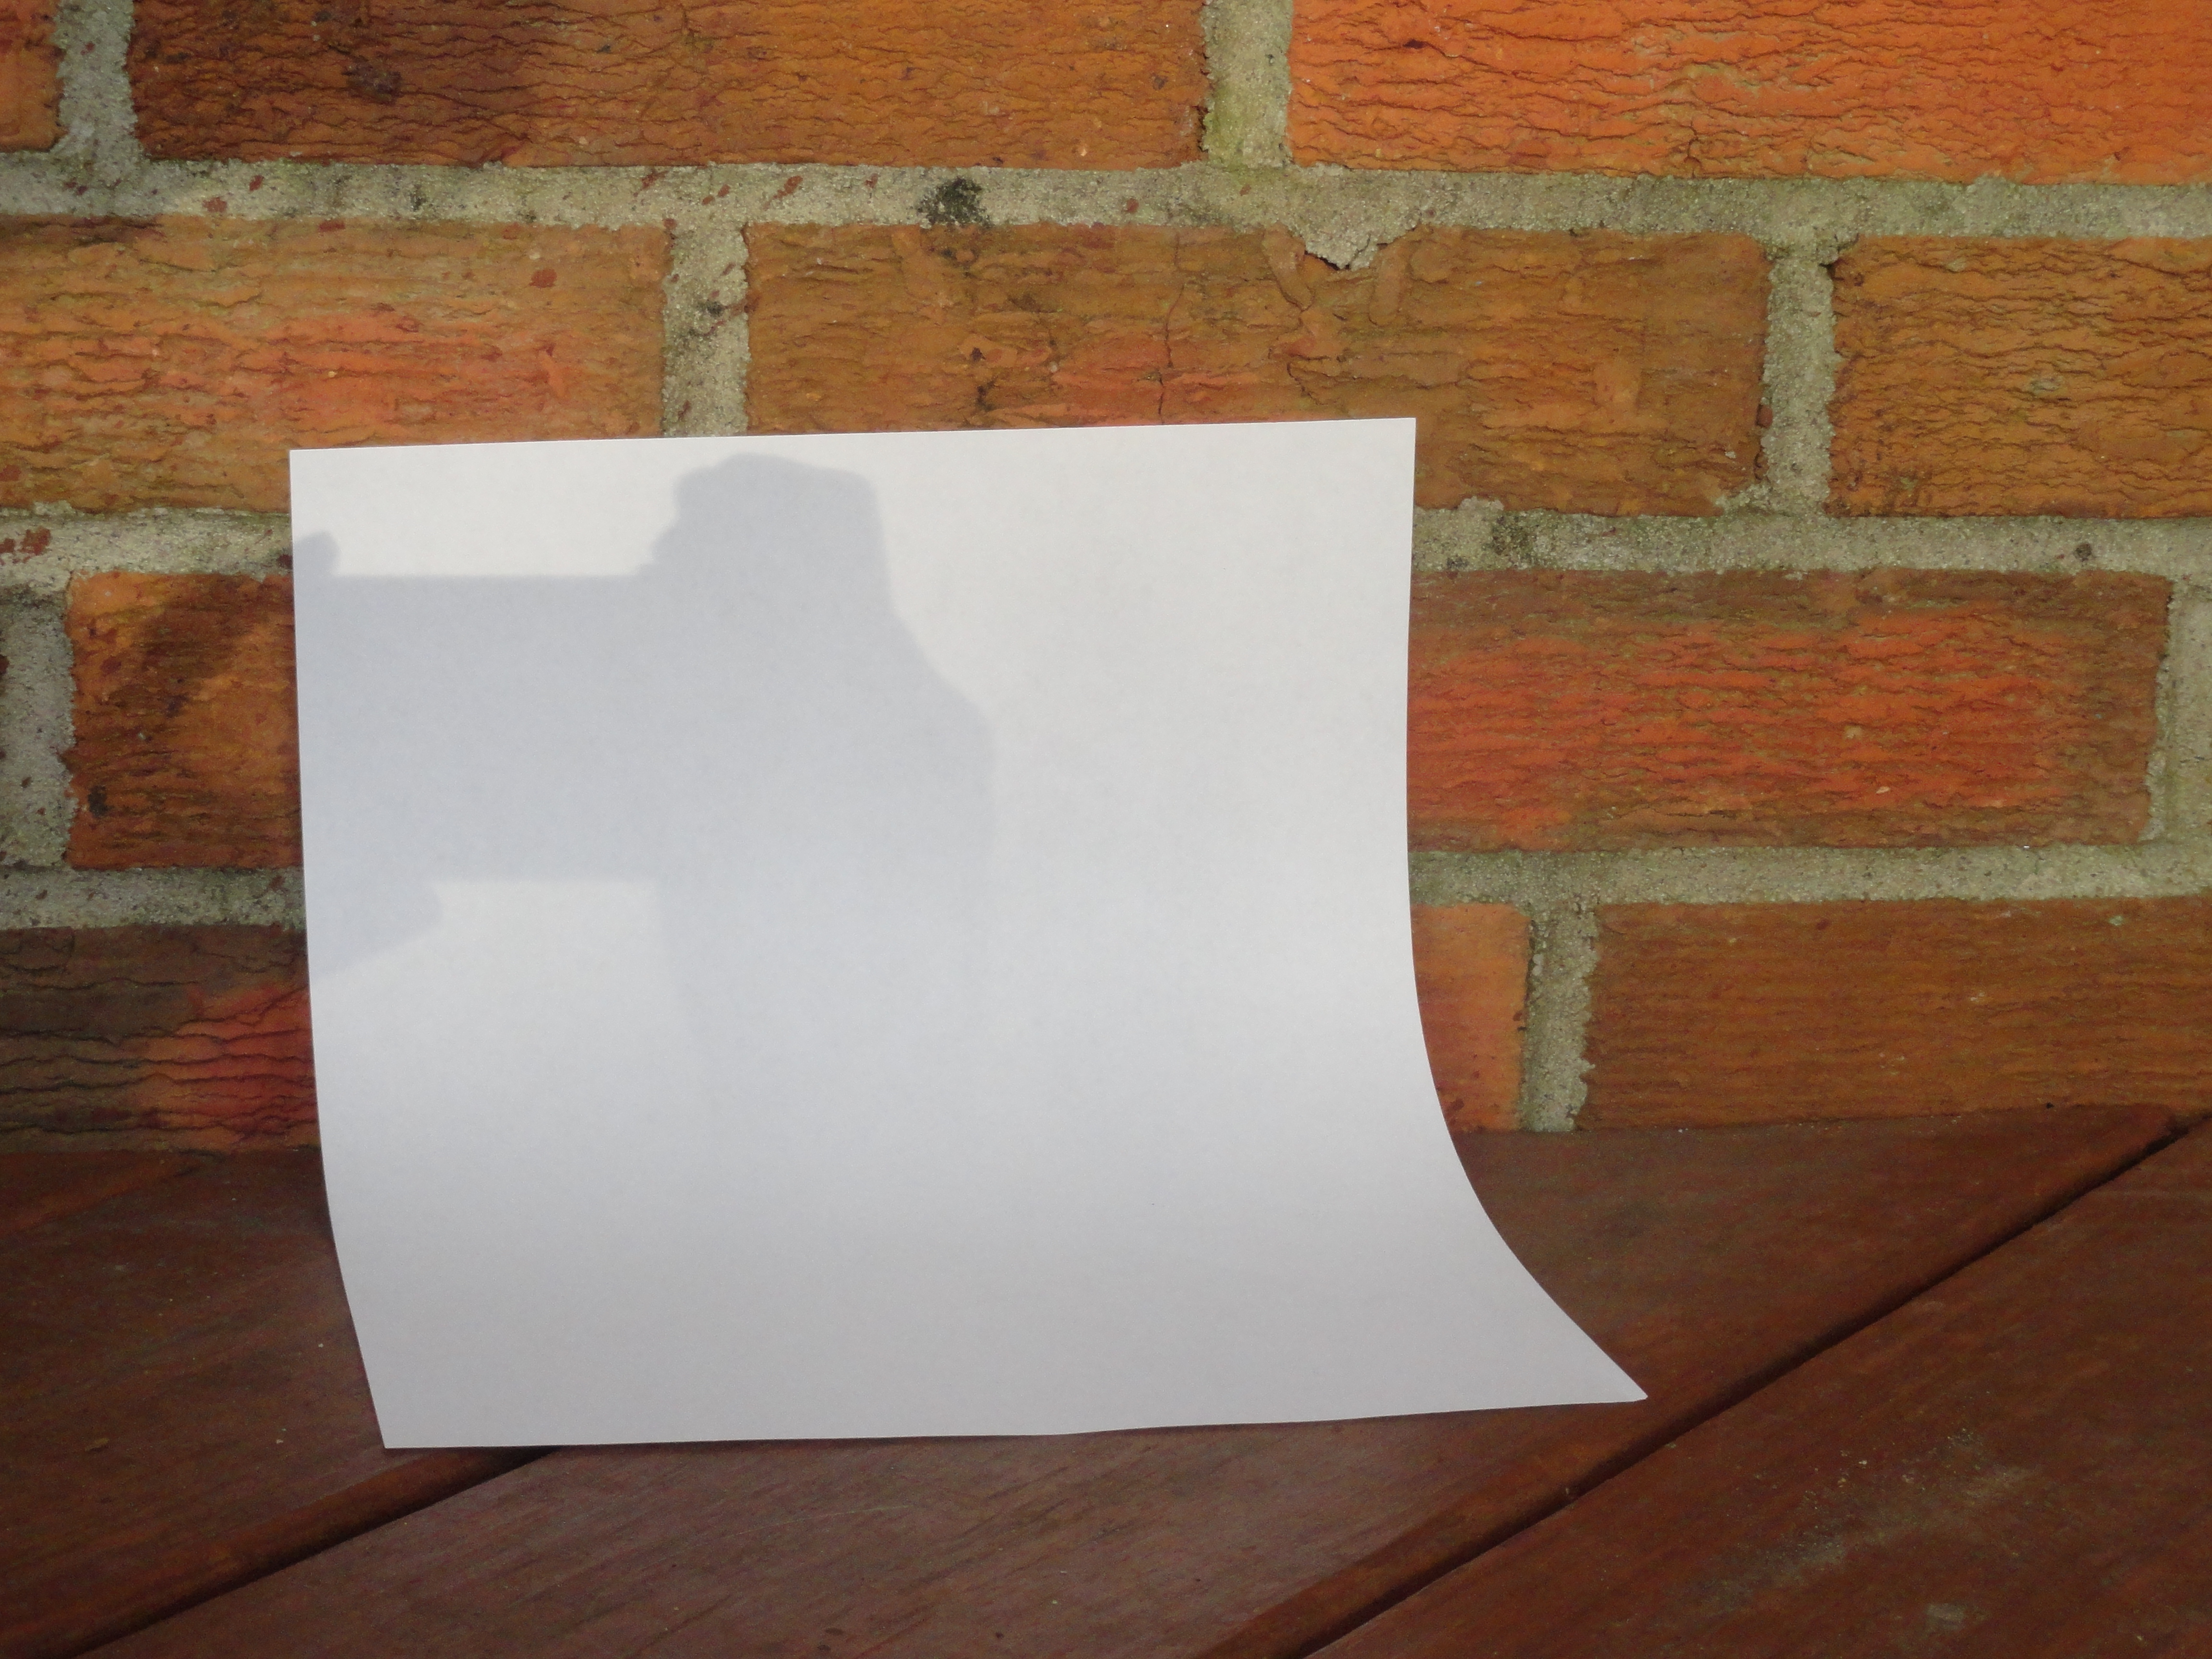
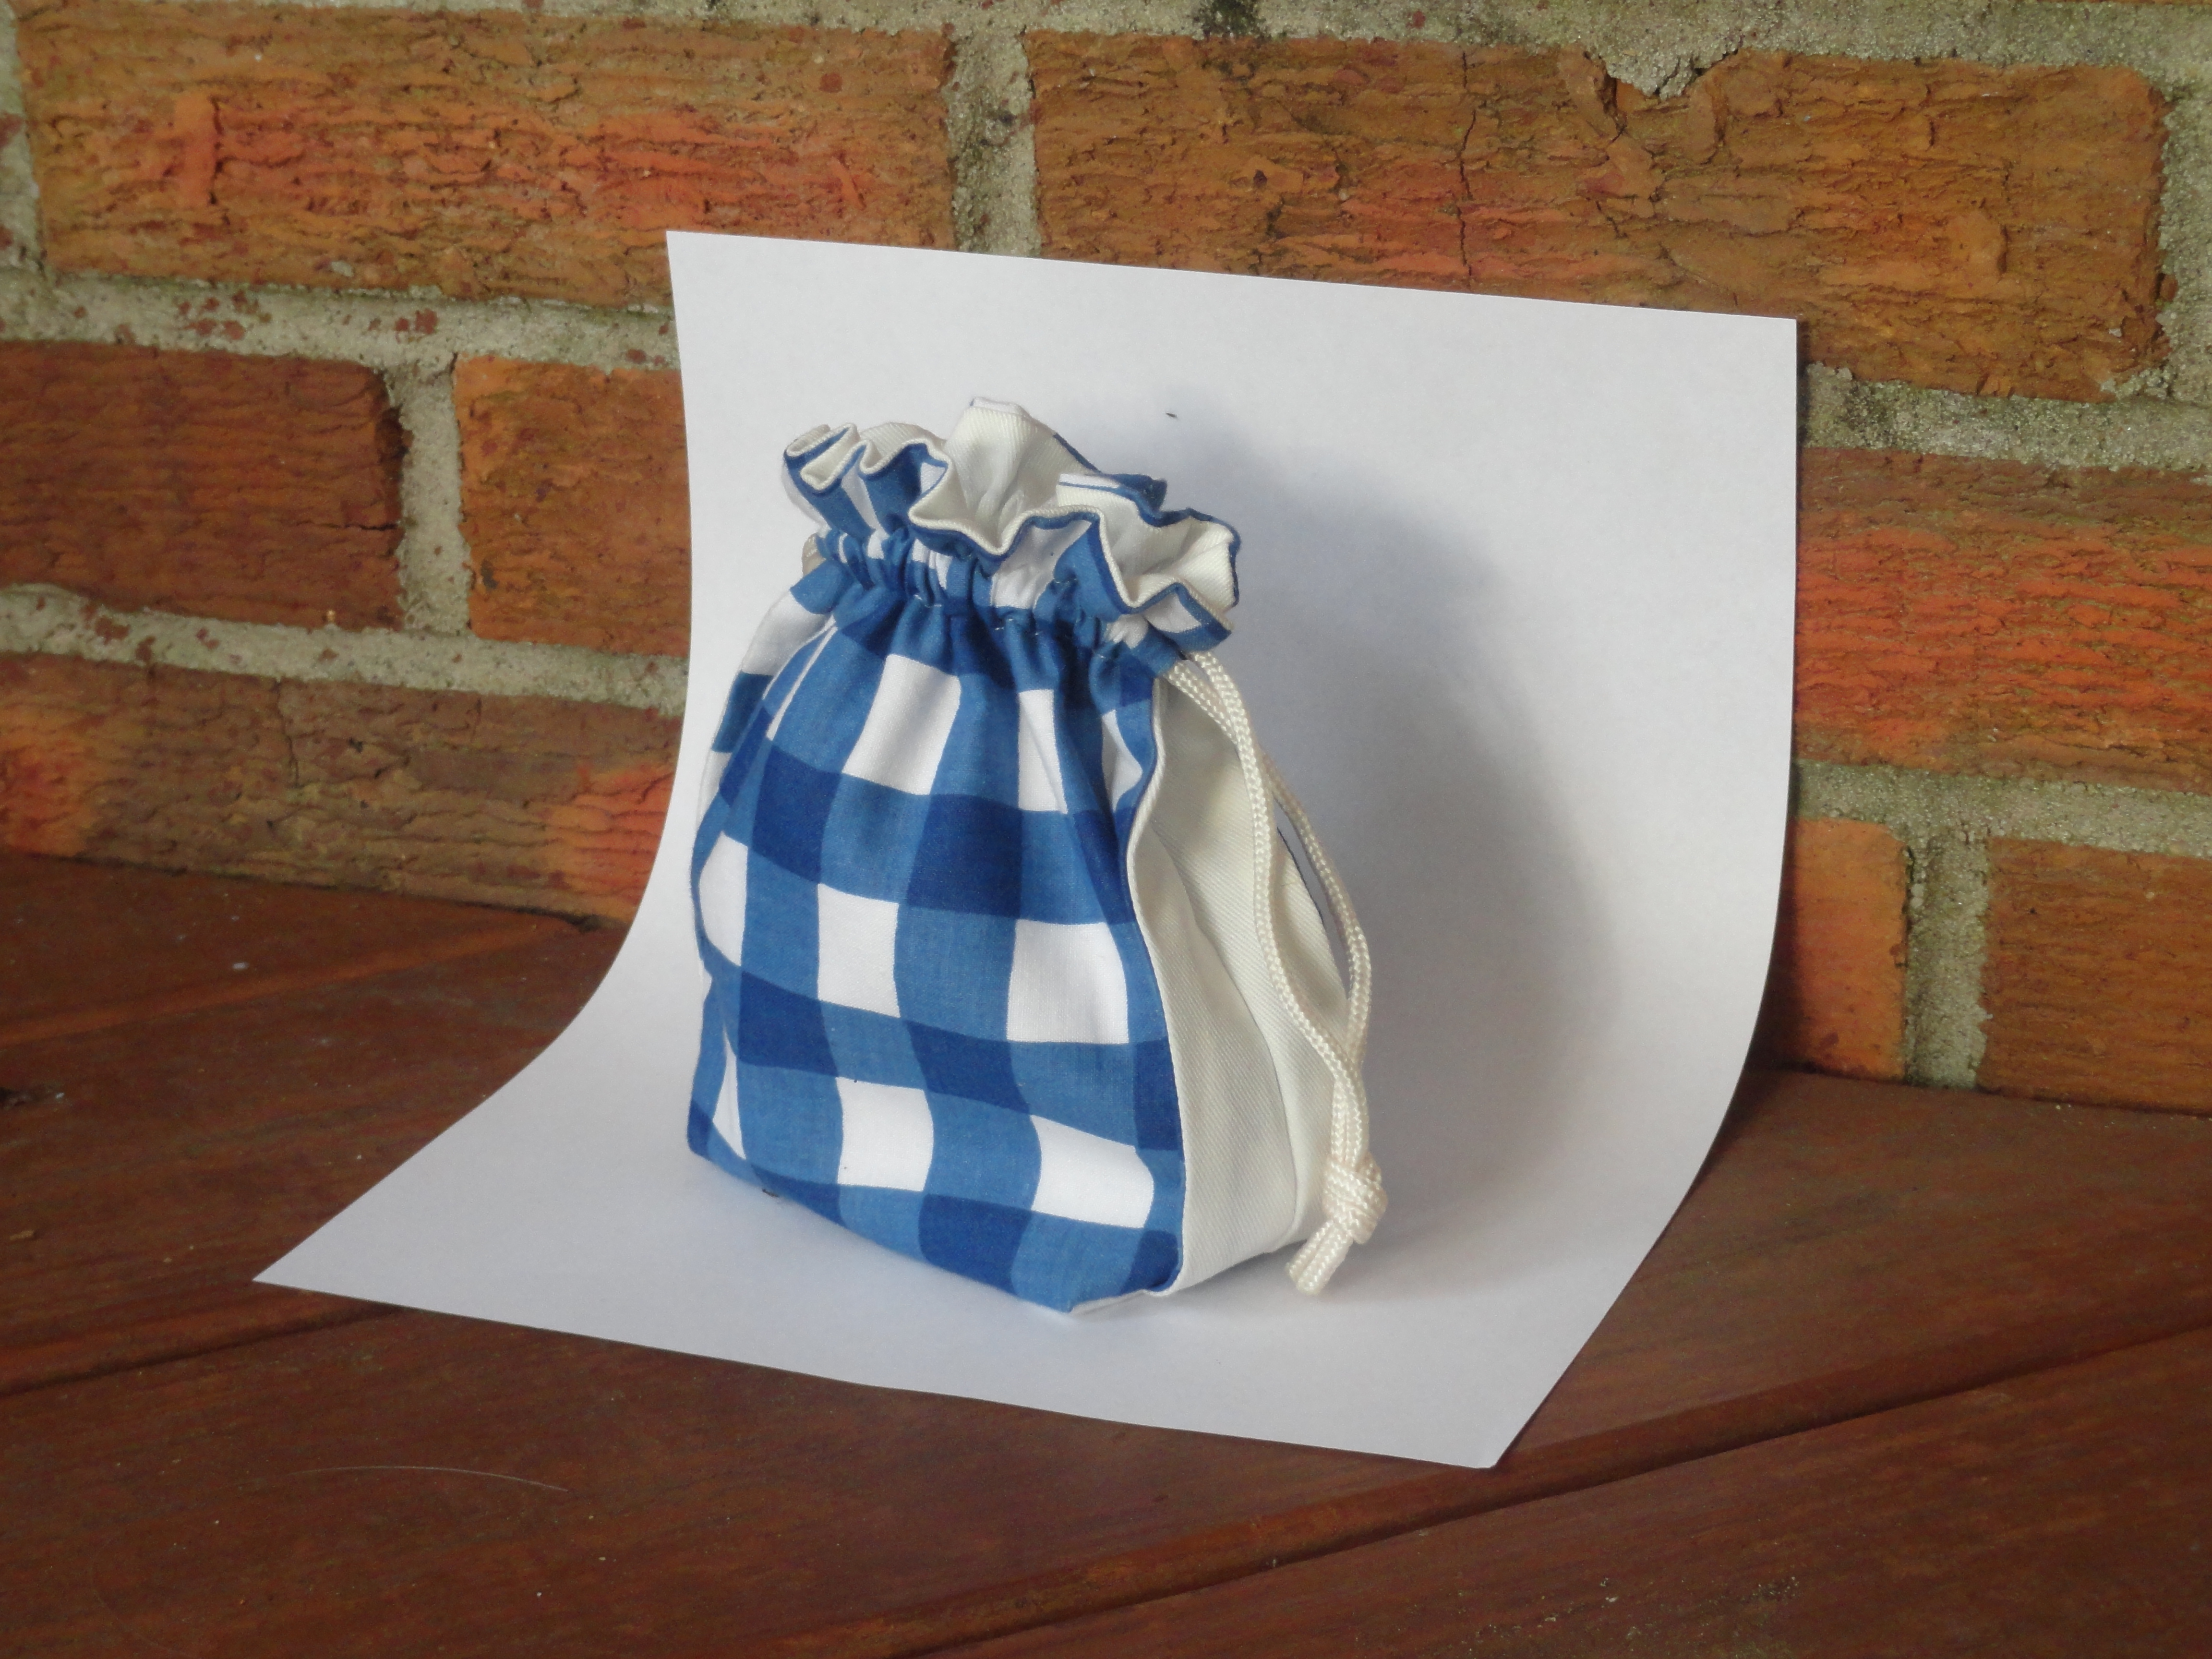
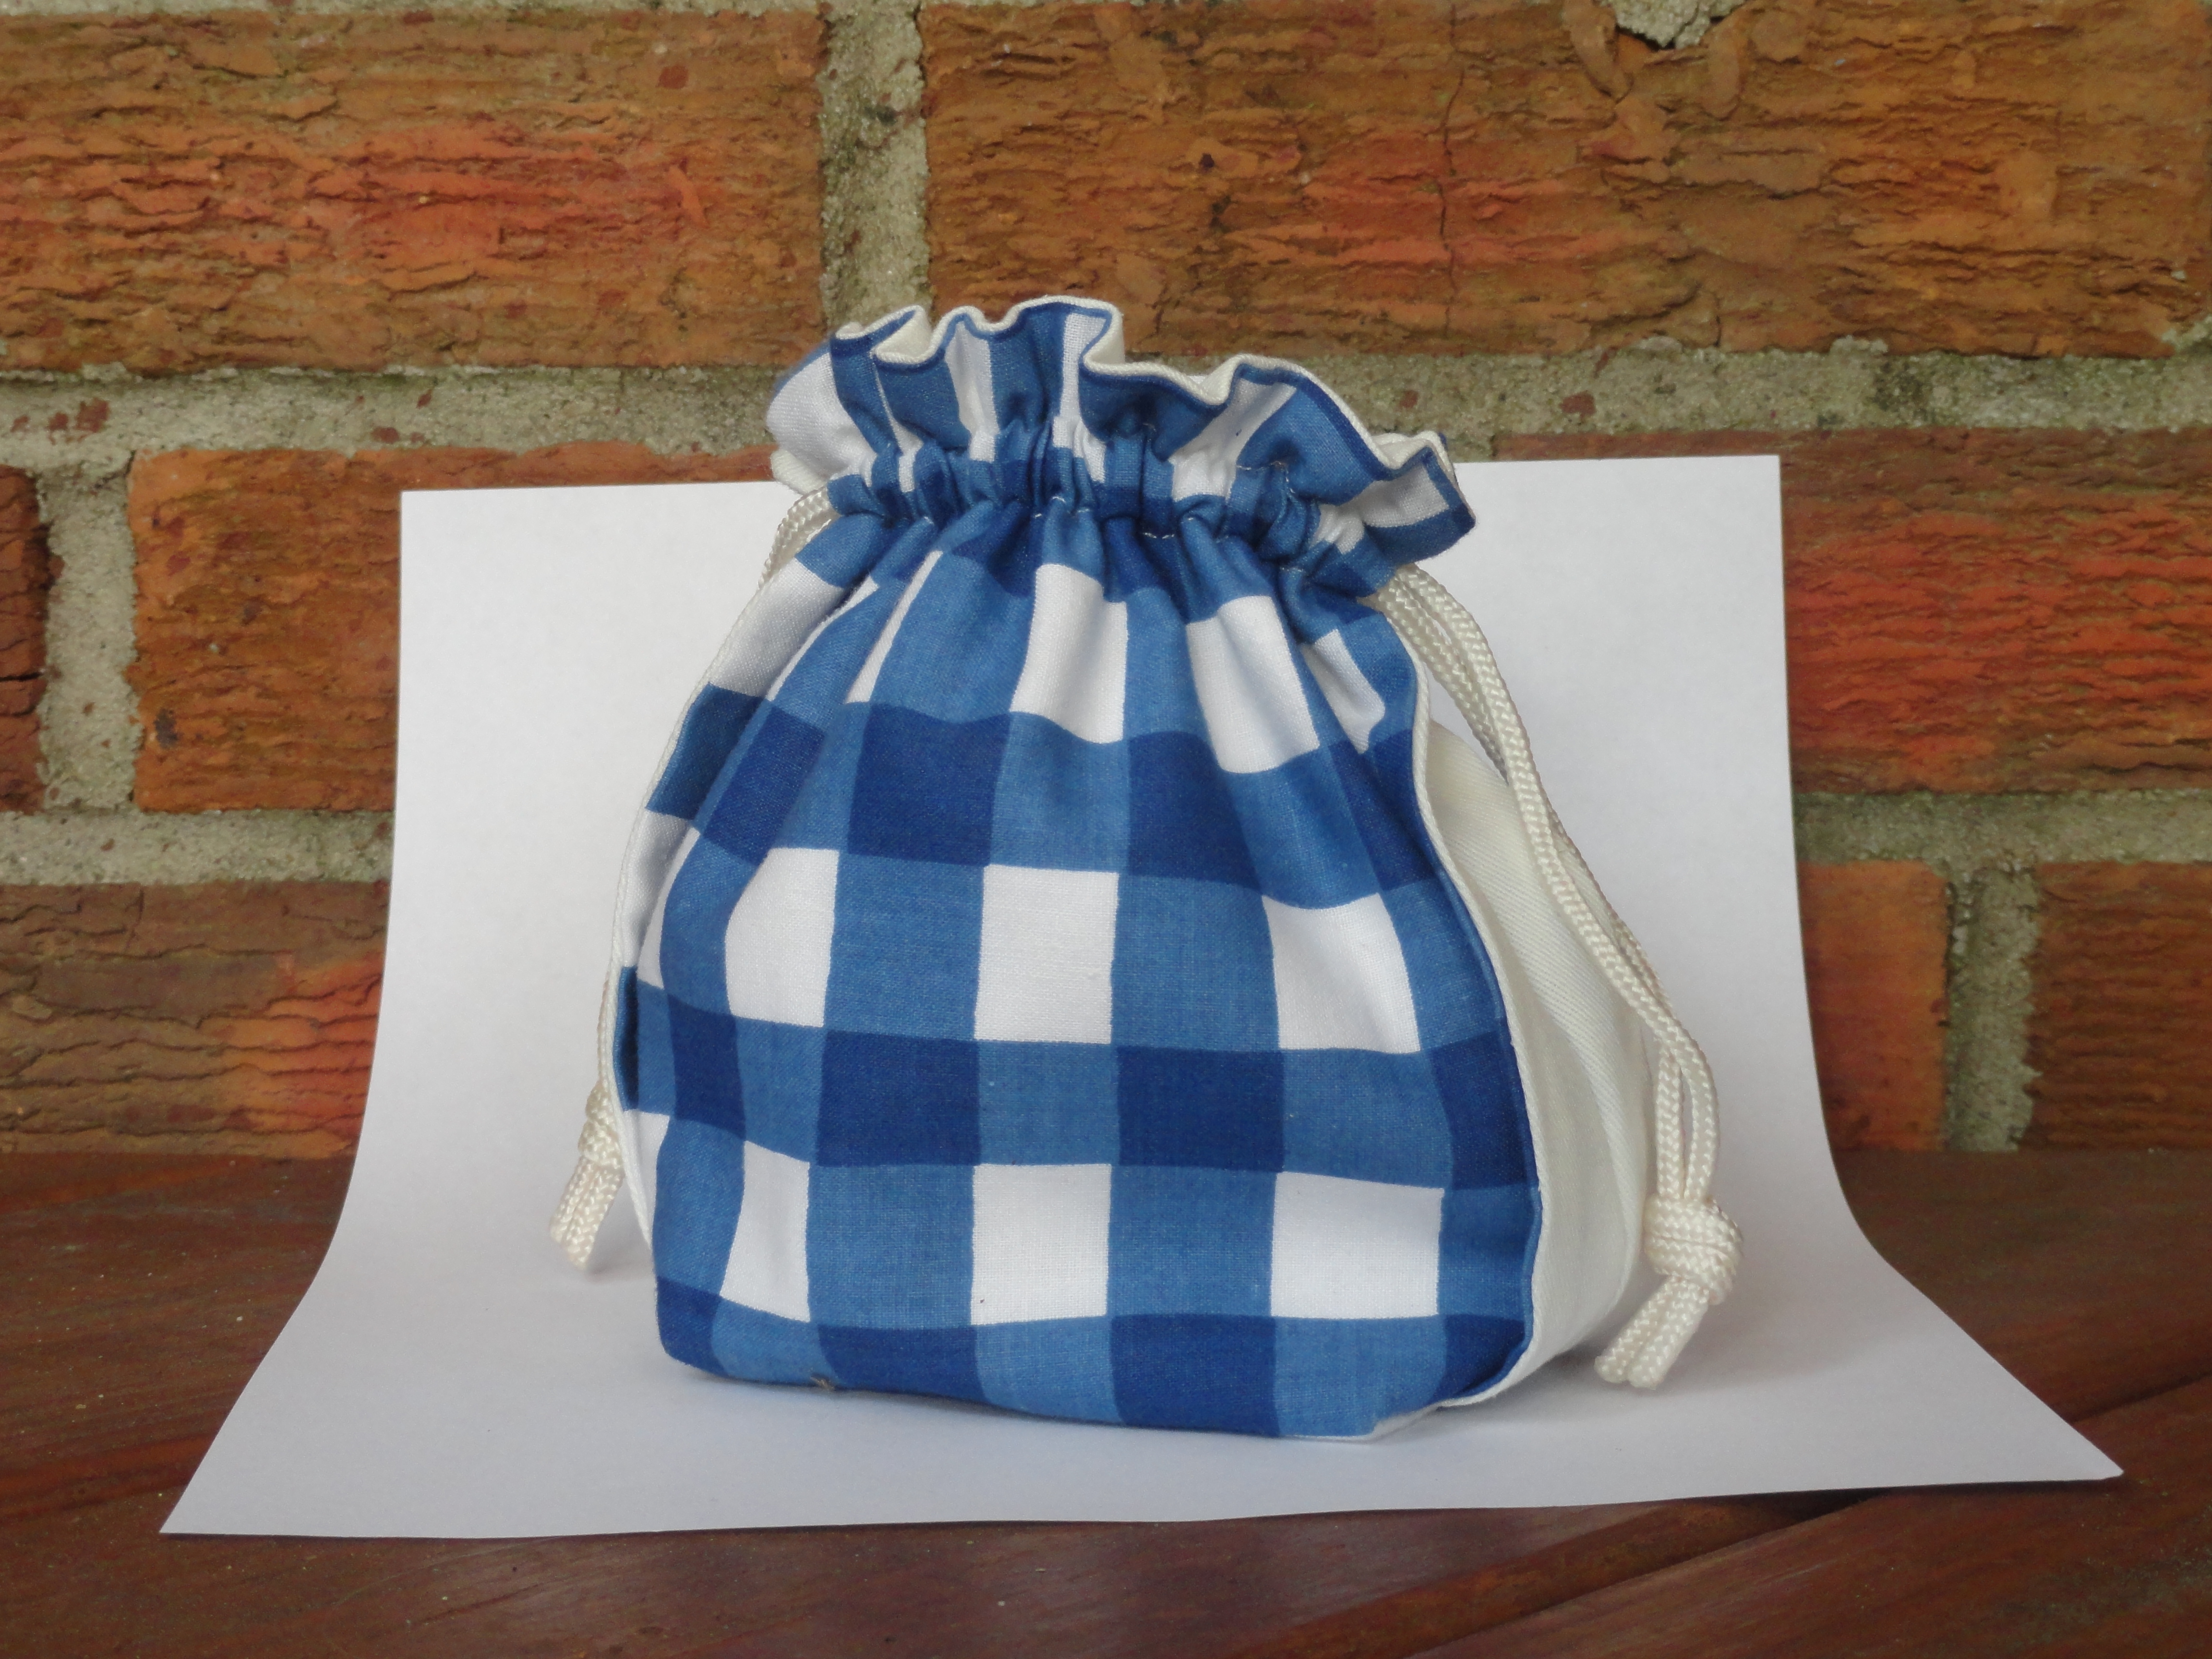
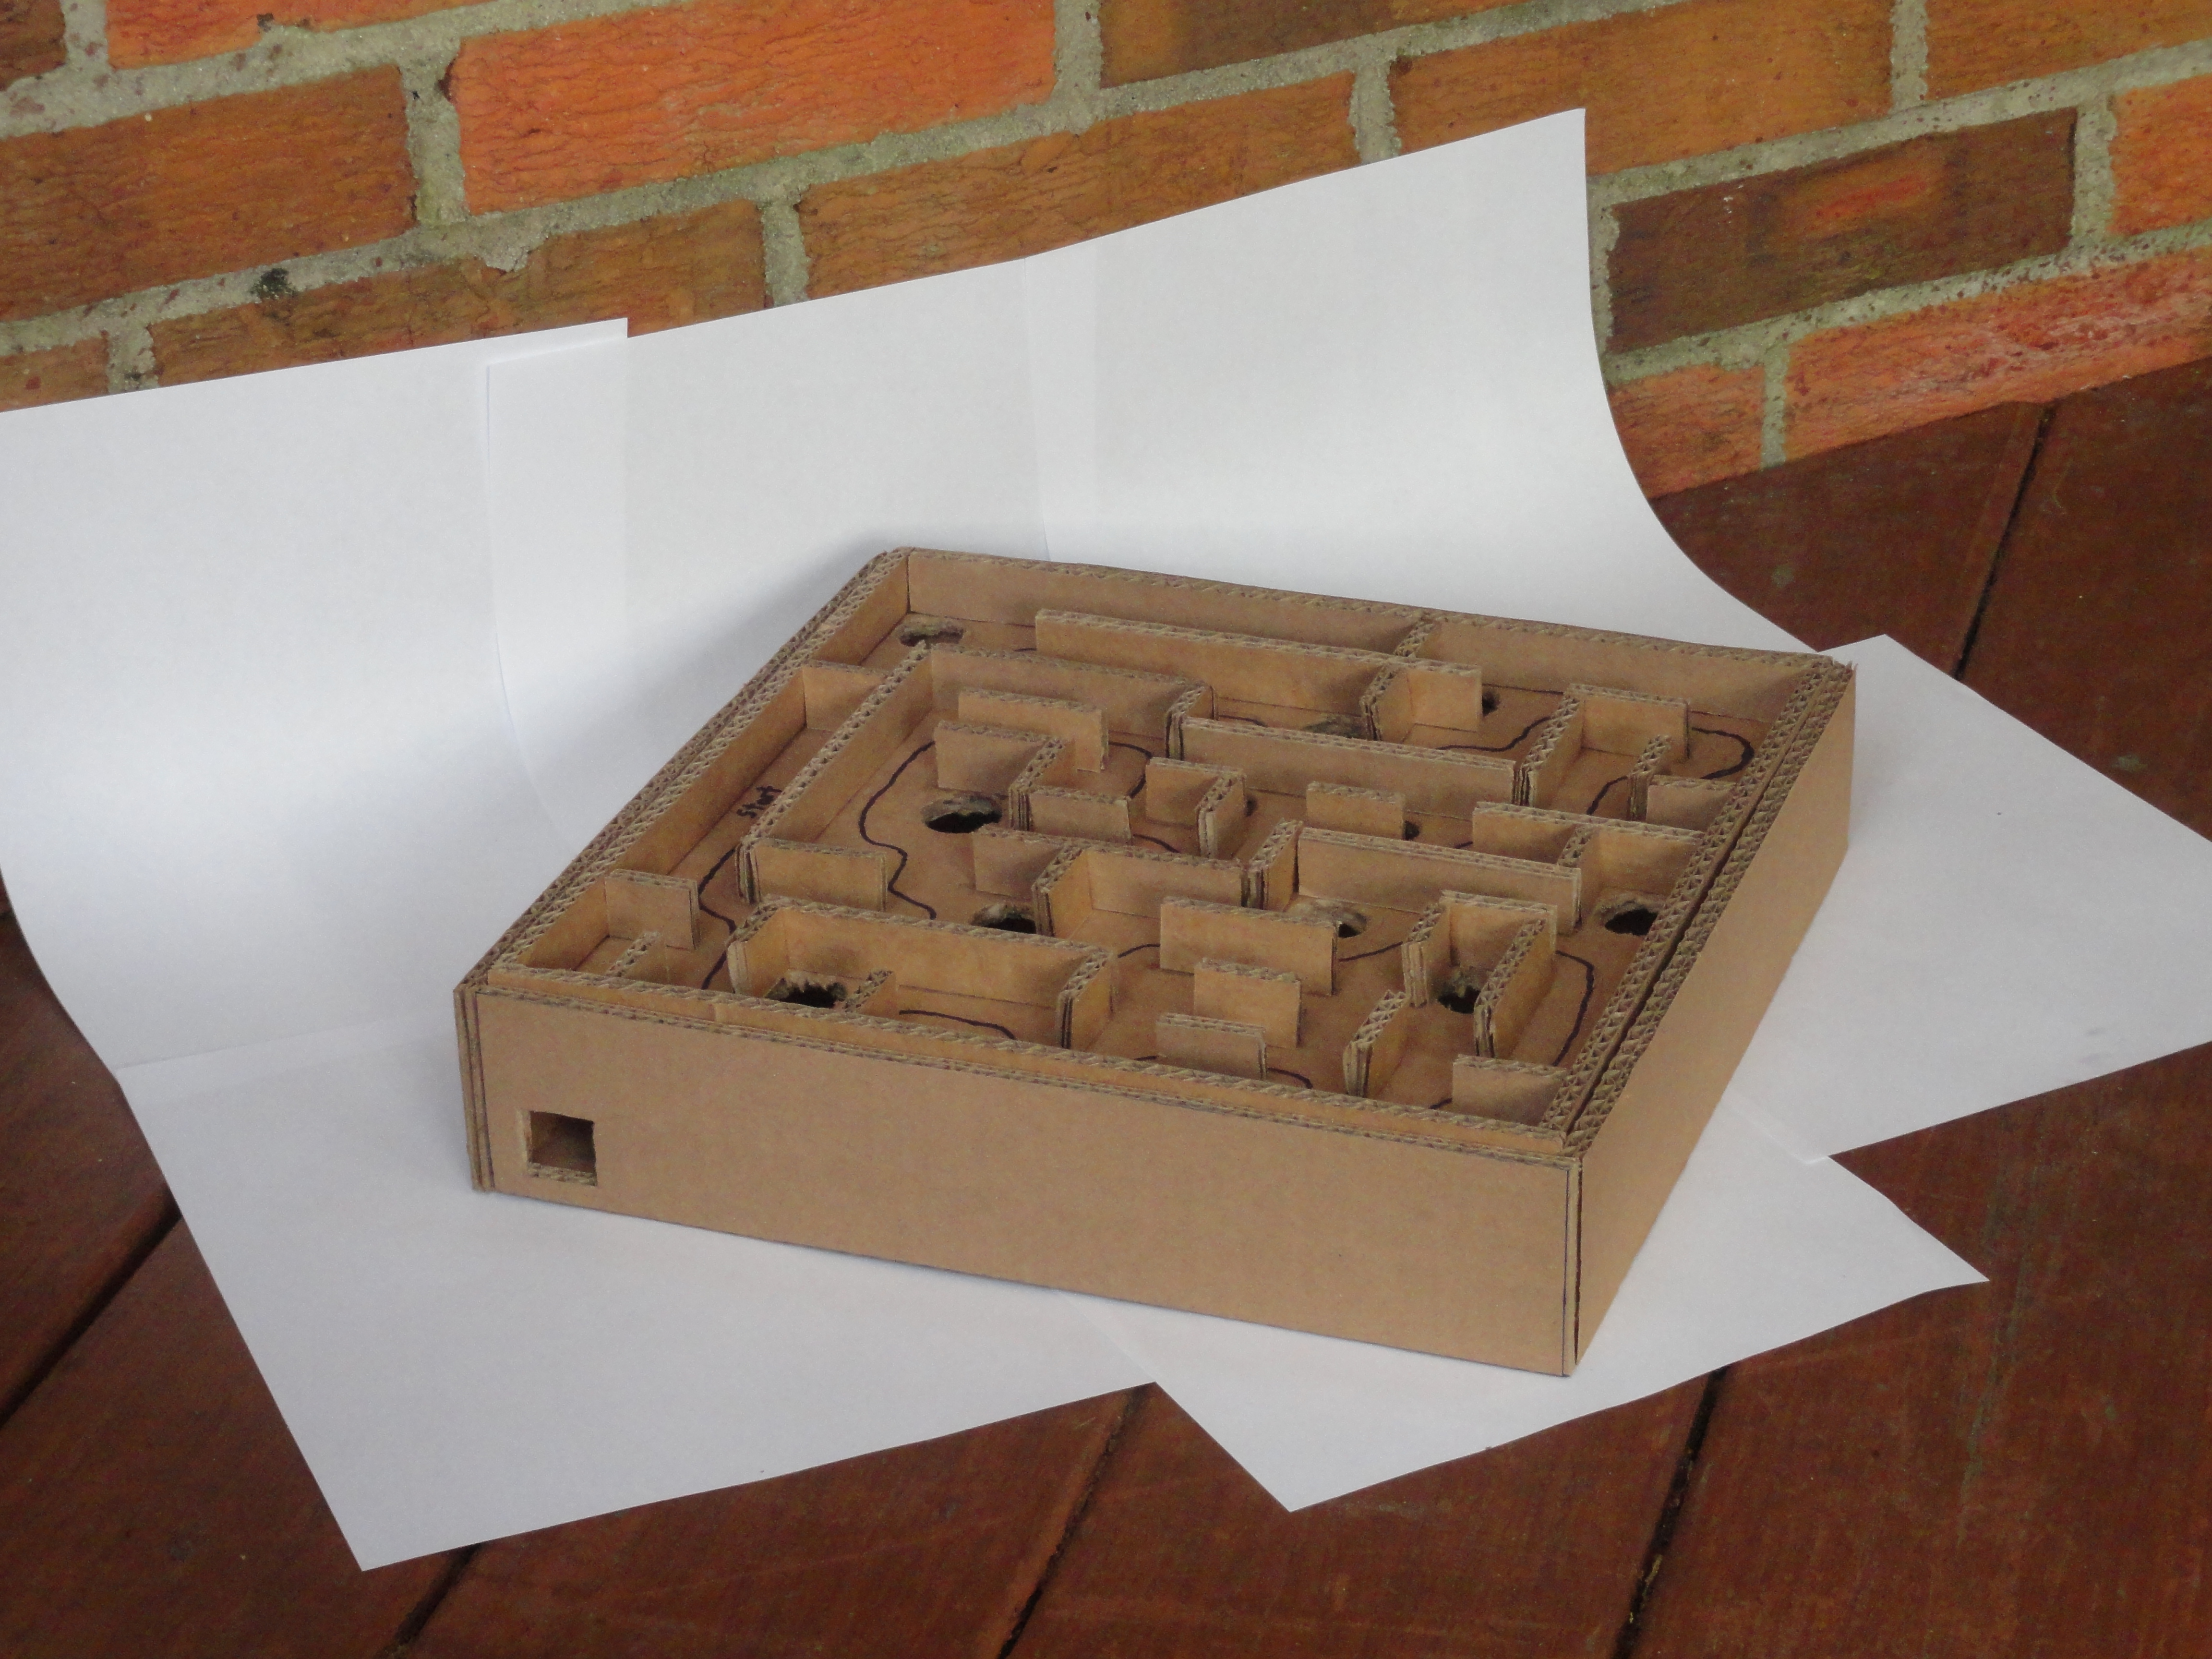
Before you start taking pictures I thought it was a good idea to tell you how to position yourself before taking them. First of all you need to stay out of the way of your light source you do not want to have the shadow of your camera or you on the piece of paper. Also you don't want to take the picture from an angle where you can see a lot of shadow this will make your picture look weird and don't have the shadow face you. You also don't want the object to stick out of the paper you can use multiple pieces of paper or one large sheet to have the object not stick out.
Taking the Picture
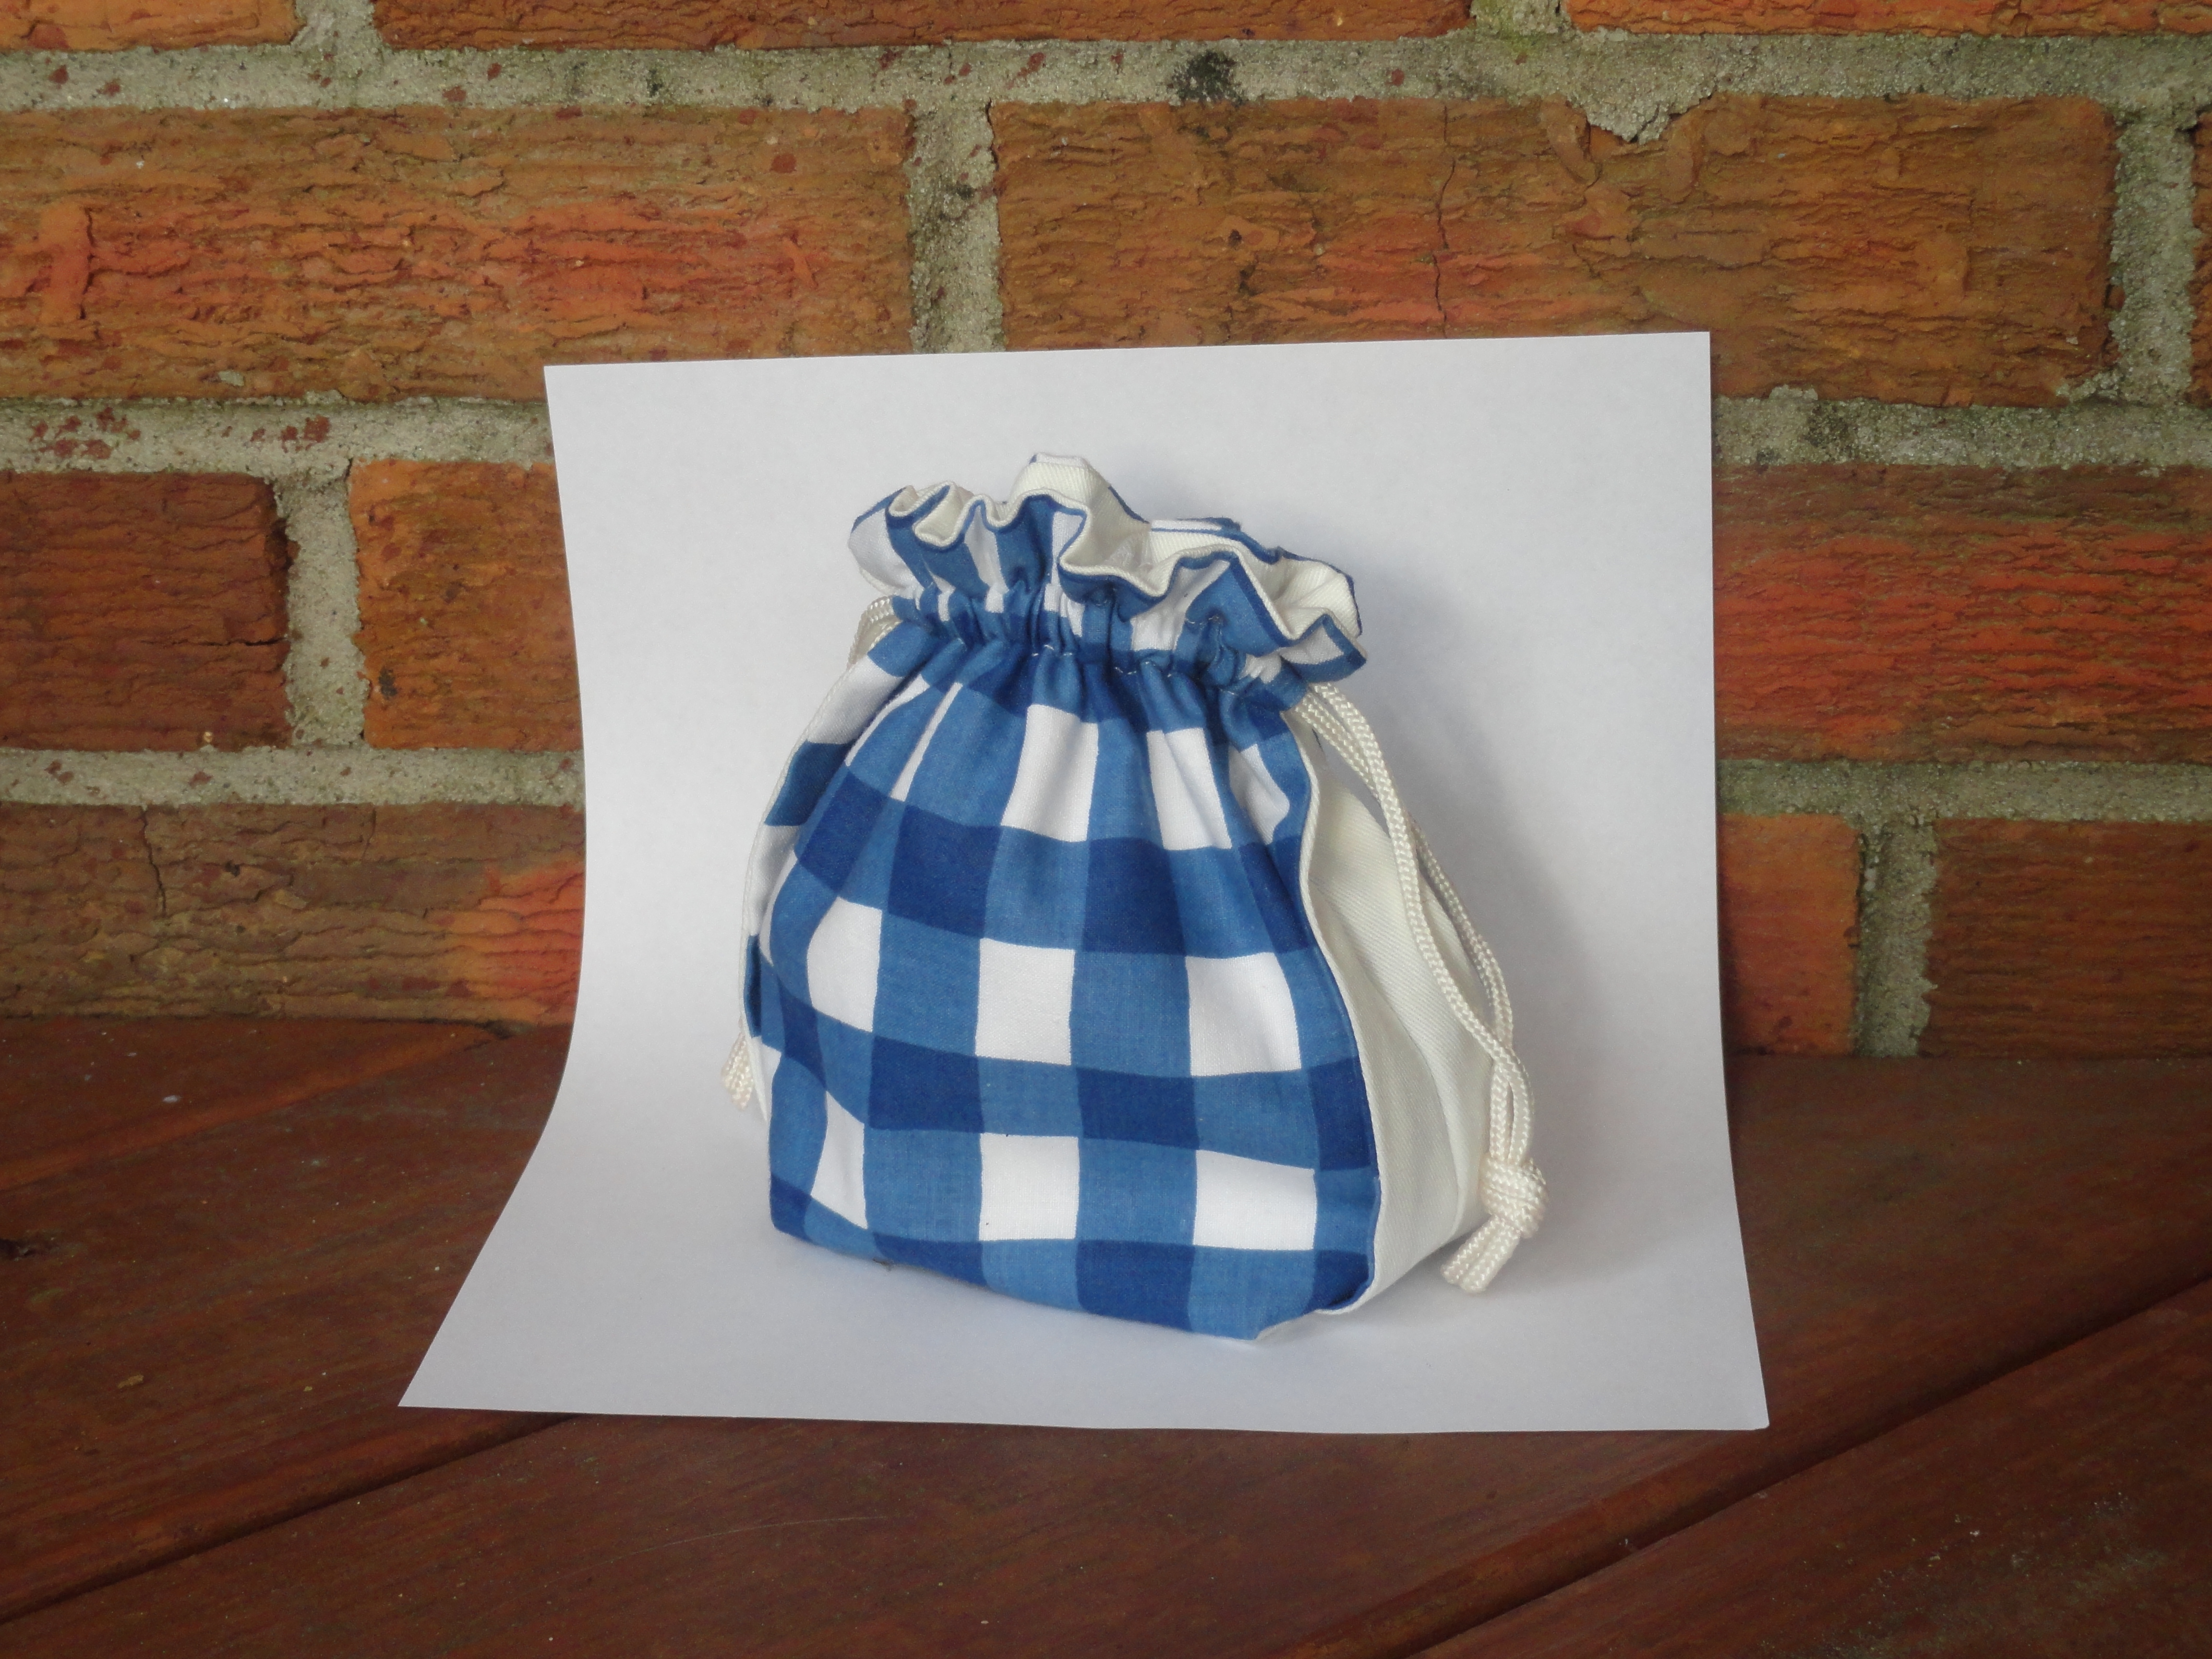
Once you have found a good position remember to focus you camera on the object you do not want to have foggy pictures that are hard to see. if you have a tripod it is a good idea to use it this will help your camera focus and it will give you a high quality picture. If you don't have one it's OK you can use other objects like a stool or other inanimate object that are very stable.
Editing the Picture
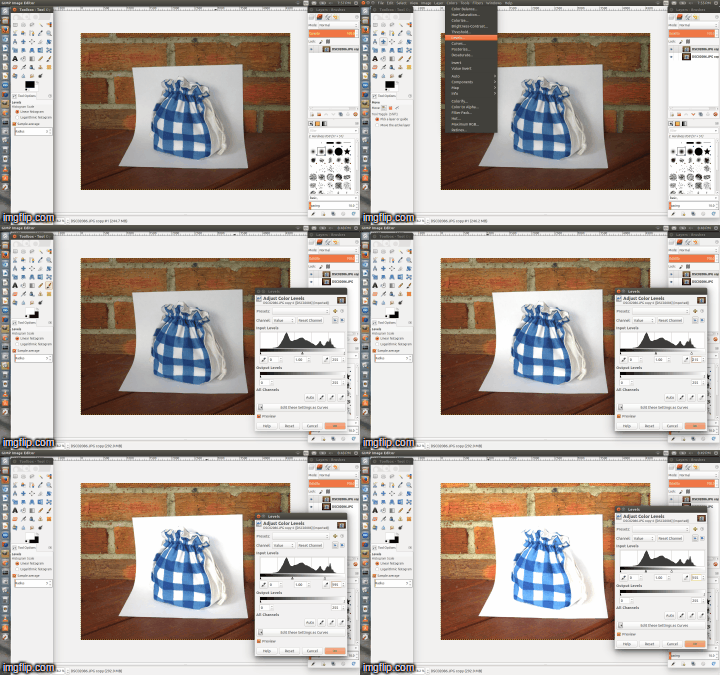
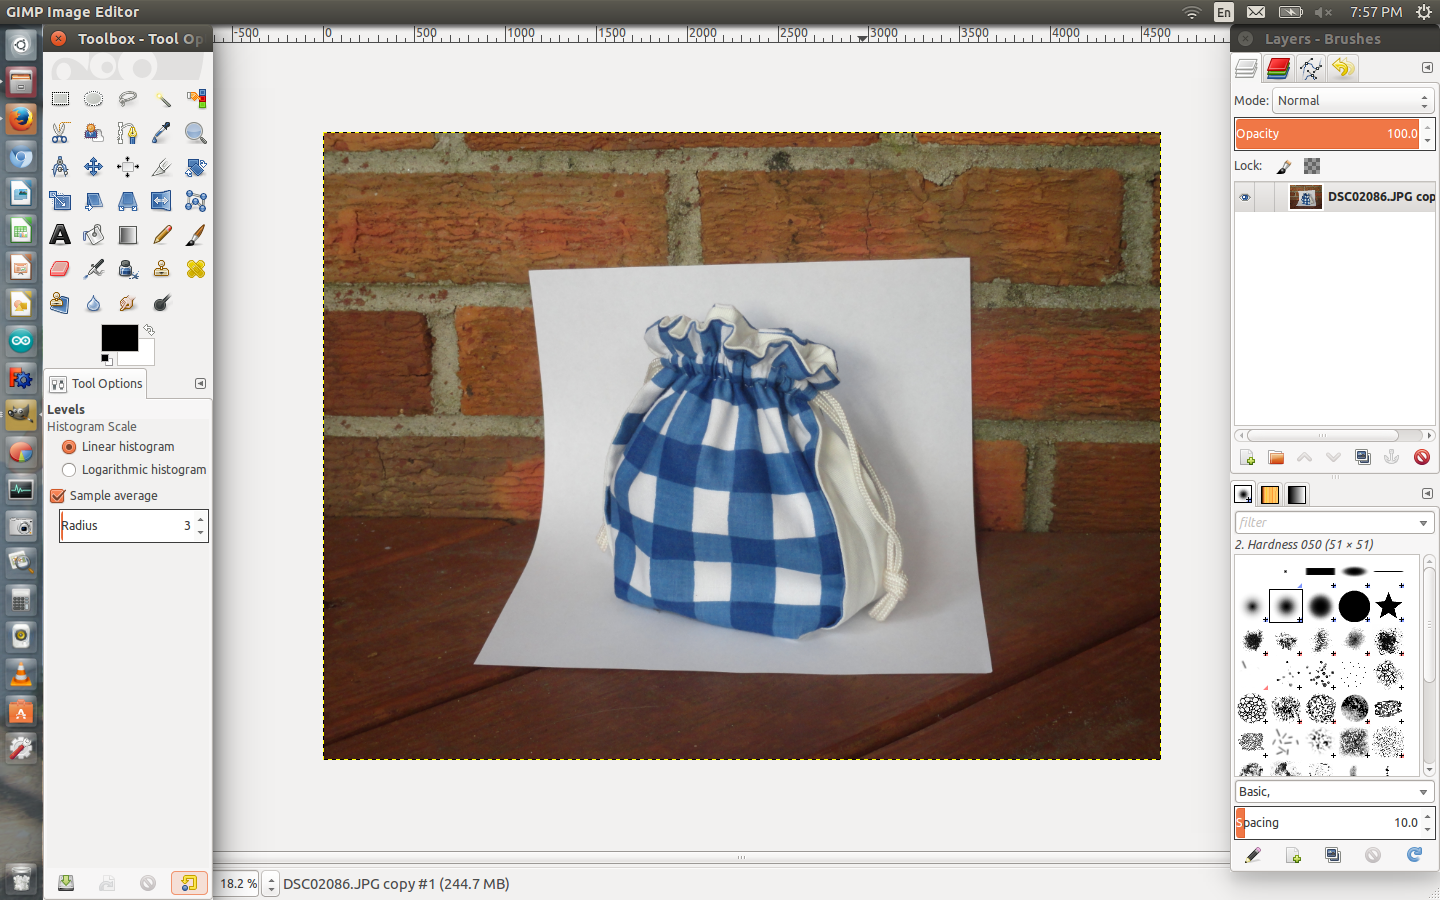
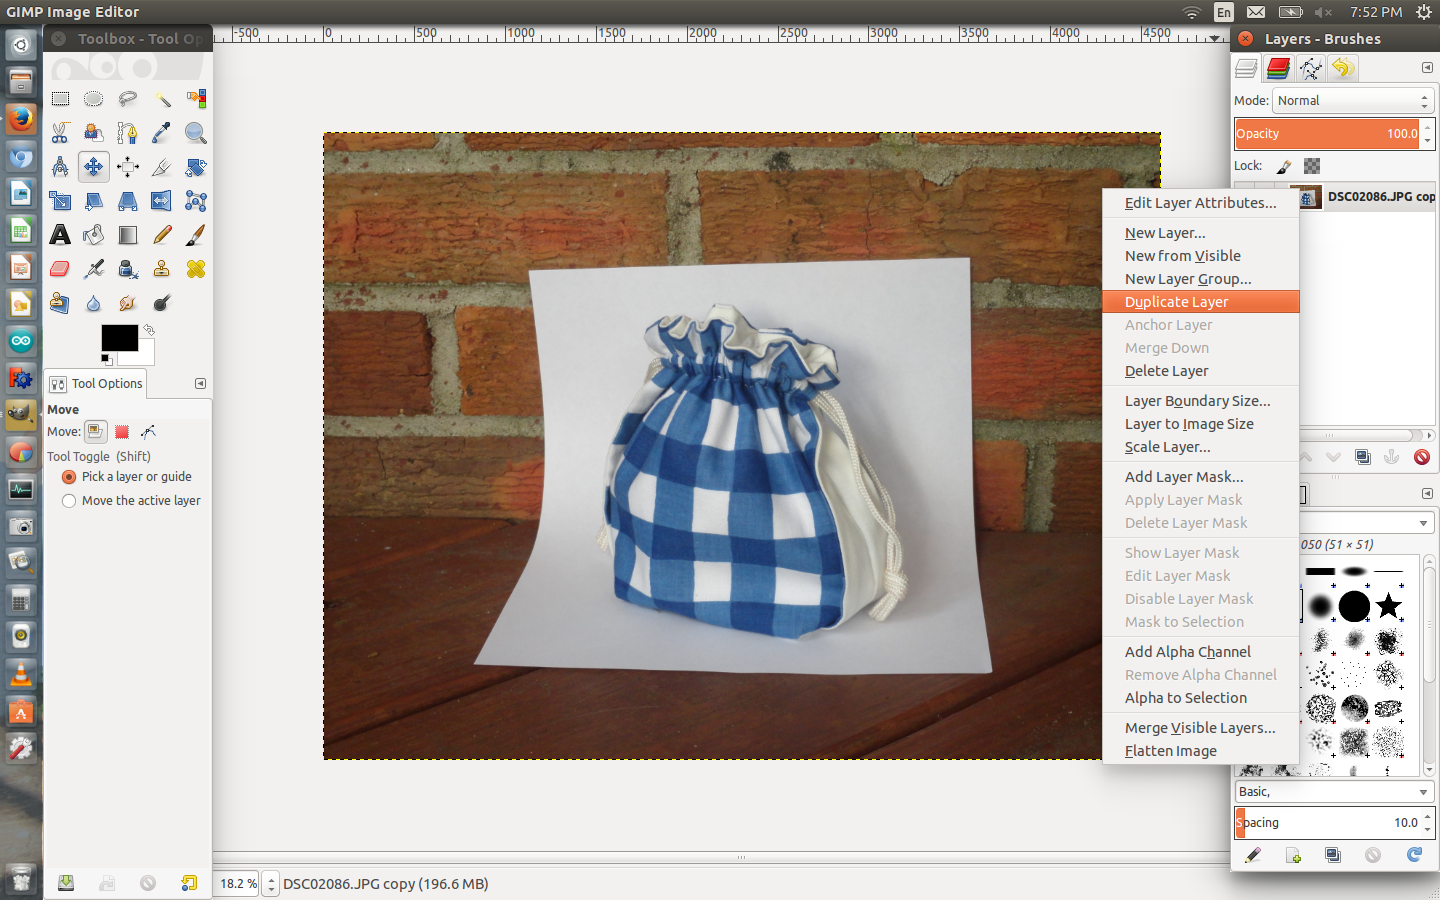
After all those tips and trick I'm sure you ready to use Gimp. So the first thing you will need to do is to install Gimp, the programs universal and works on PC,Mac and Linux. I use Linux but it is the same thing for all. Once that it's installed get ready to start editing.
- Open the image in Gimp.
- Right click on the image layer in the panel on the right and duplicate it. The duplication is so that if you mess up you still have a hard copy of the picture, but if you are familiar with Gimp you can skip this step.
- Select the layer at the top, it should all ready be selected after duplication.
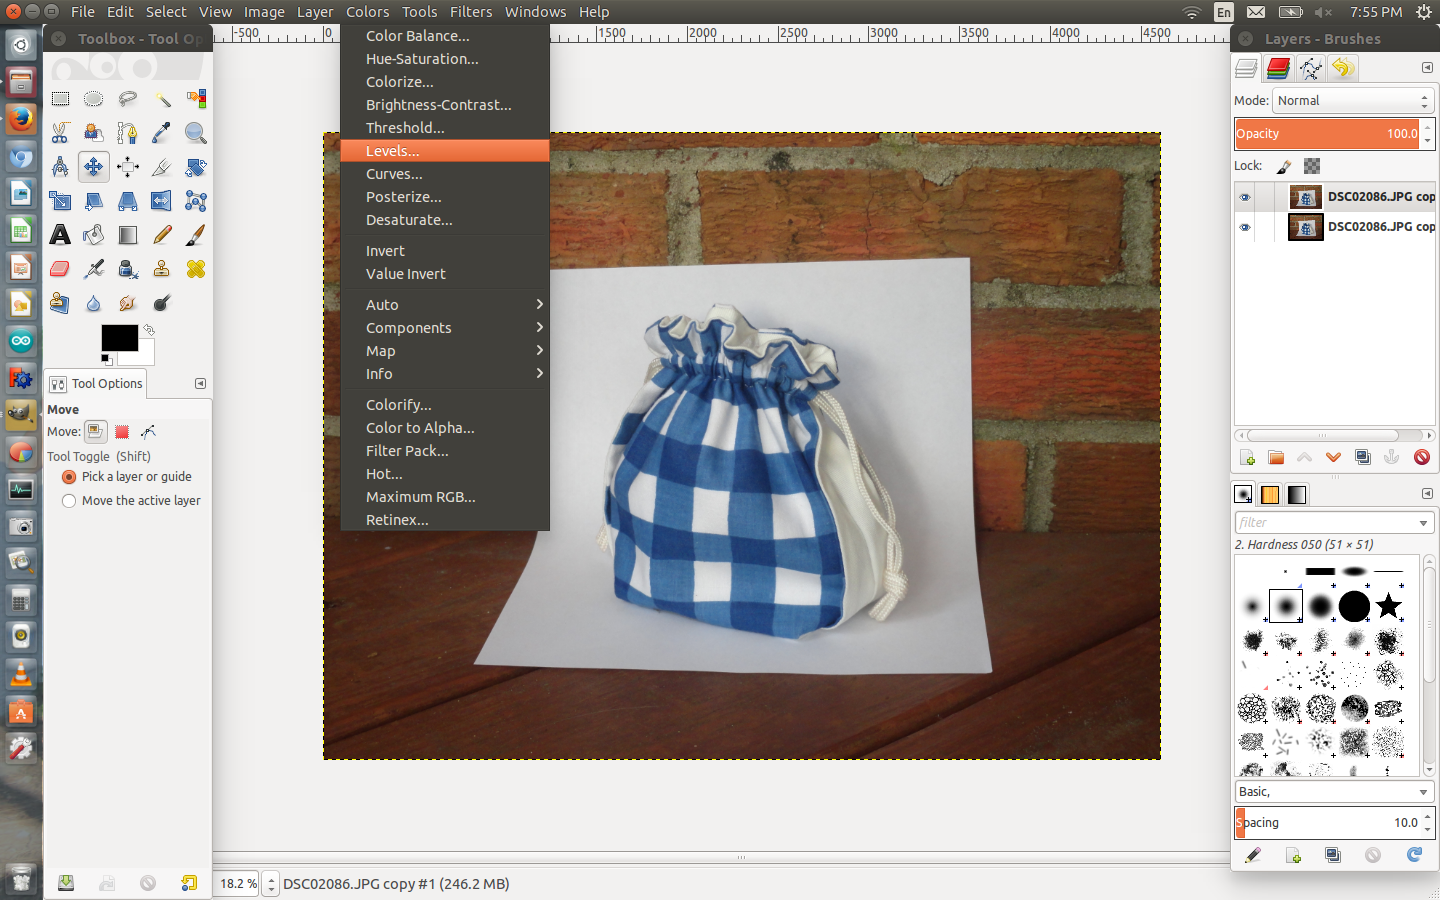
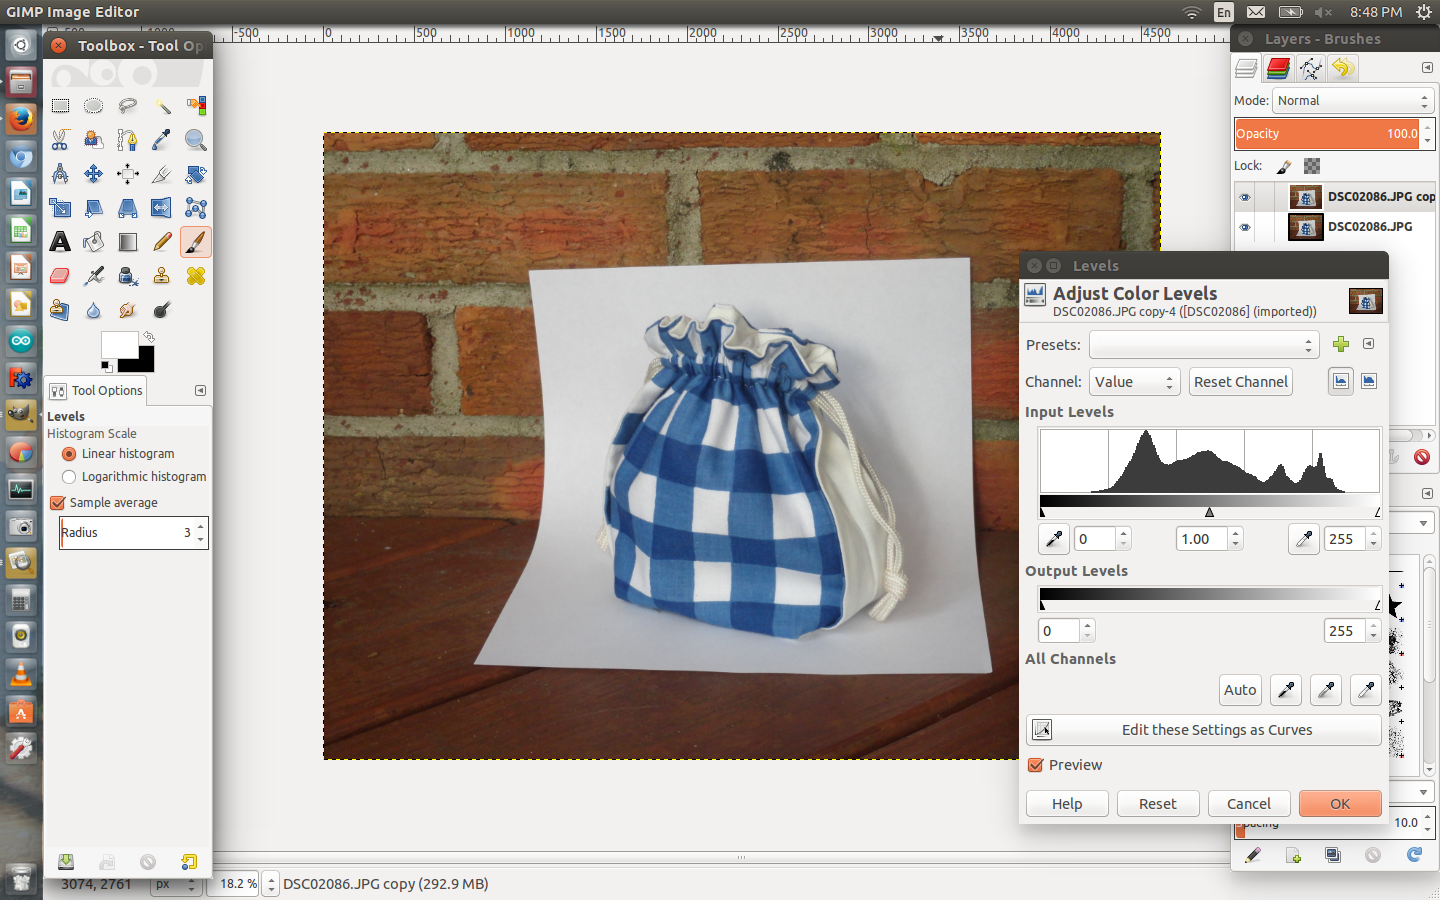
- Then go to Colors and click on Levels.
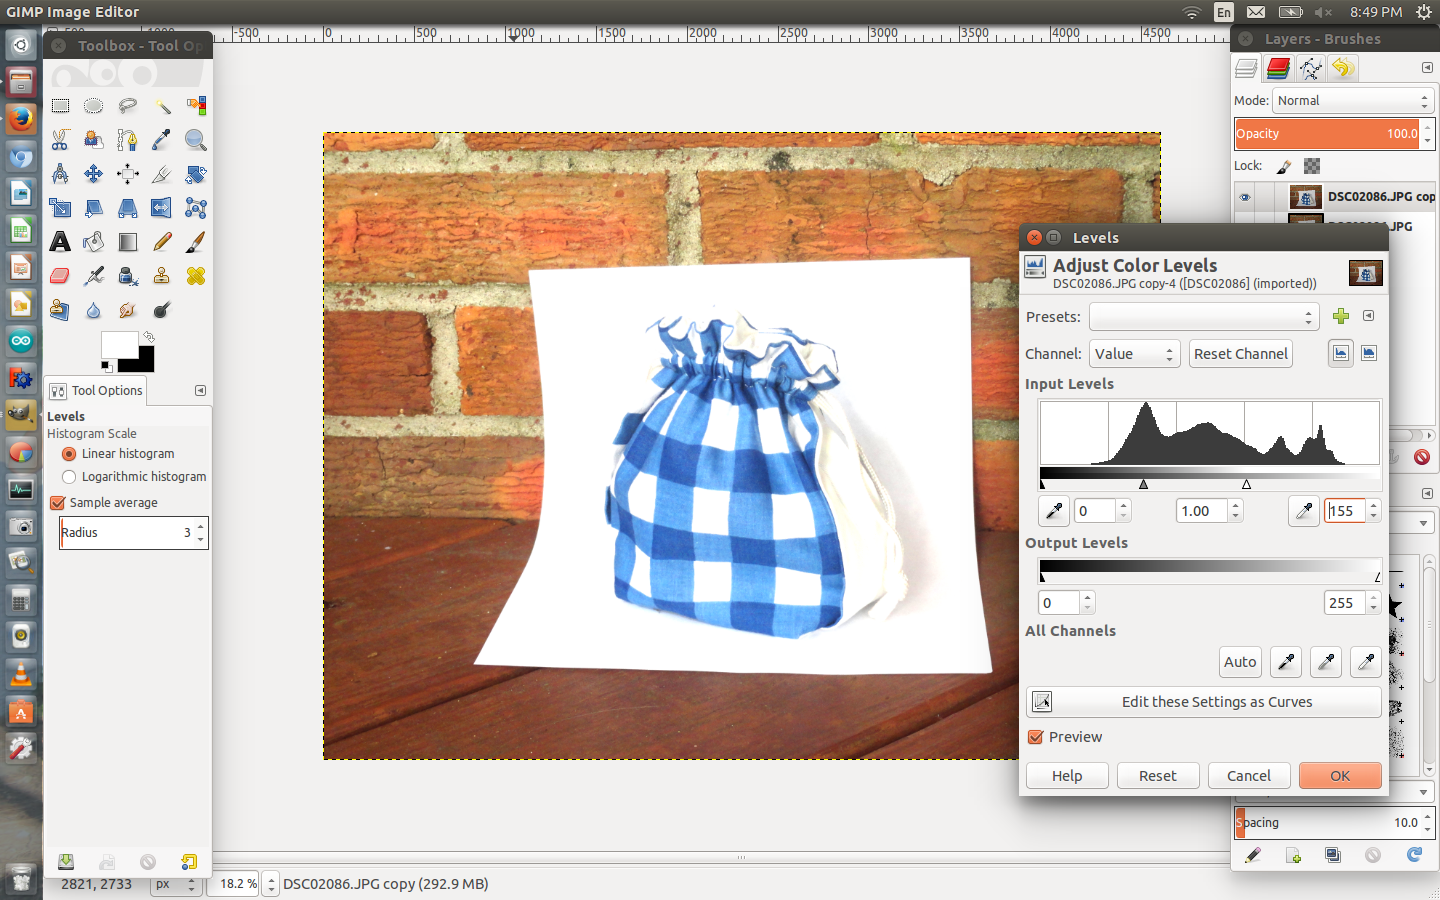
Drag the white triangle on the right to the left. The more you drag it the whiter the picture will get.
Drag the triangle until the area surrounding the object becomes pure white.
Getting Rid of the Backgroud
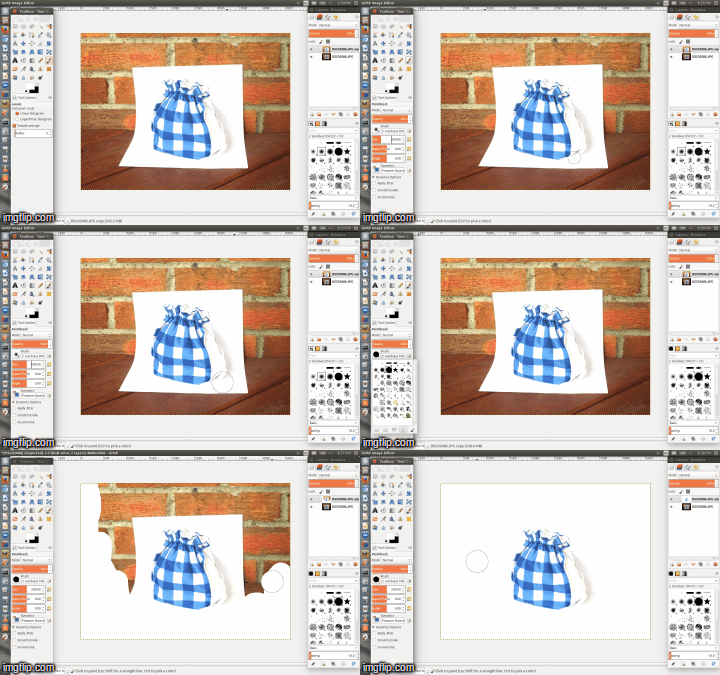

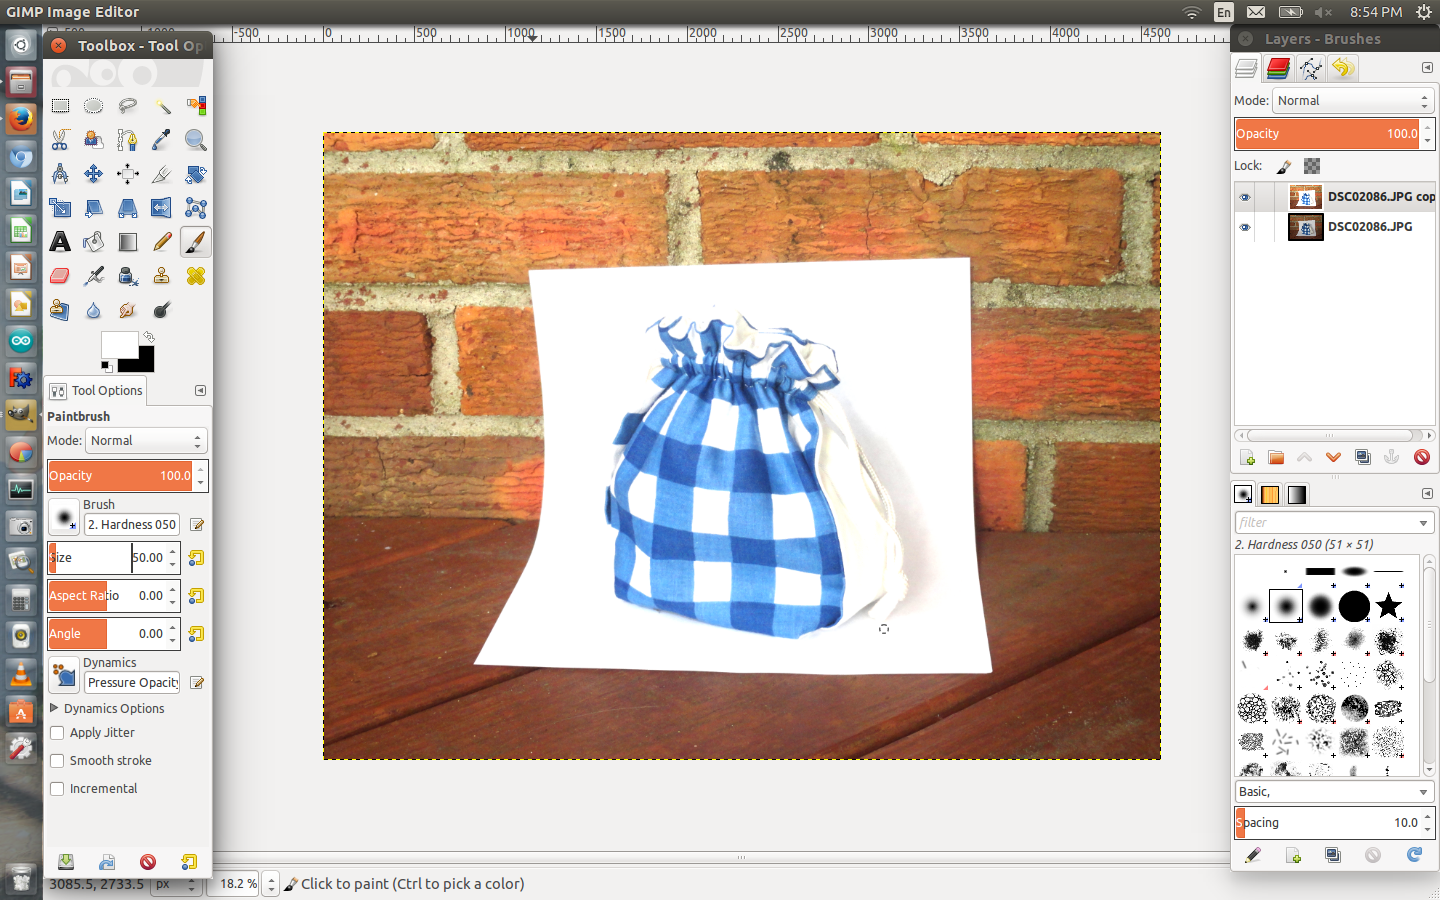
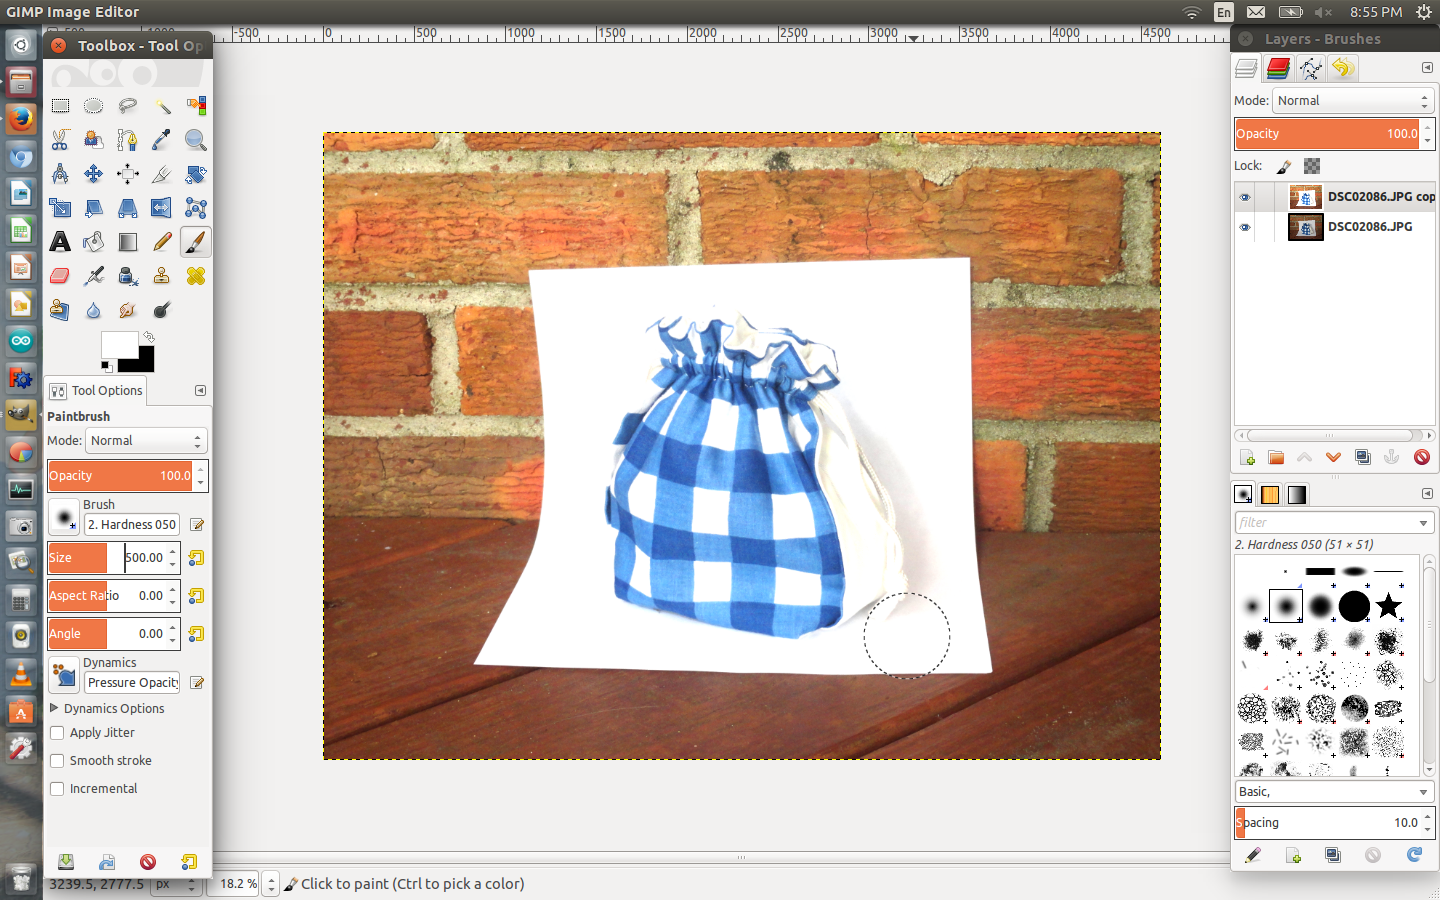
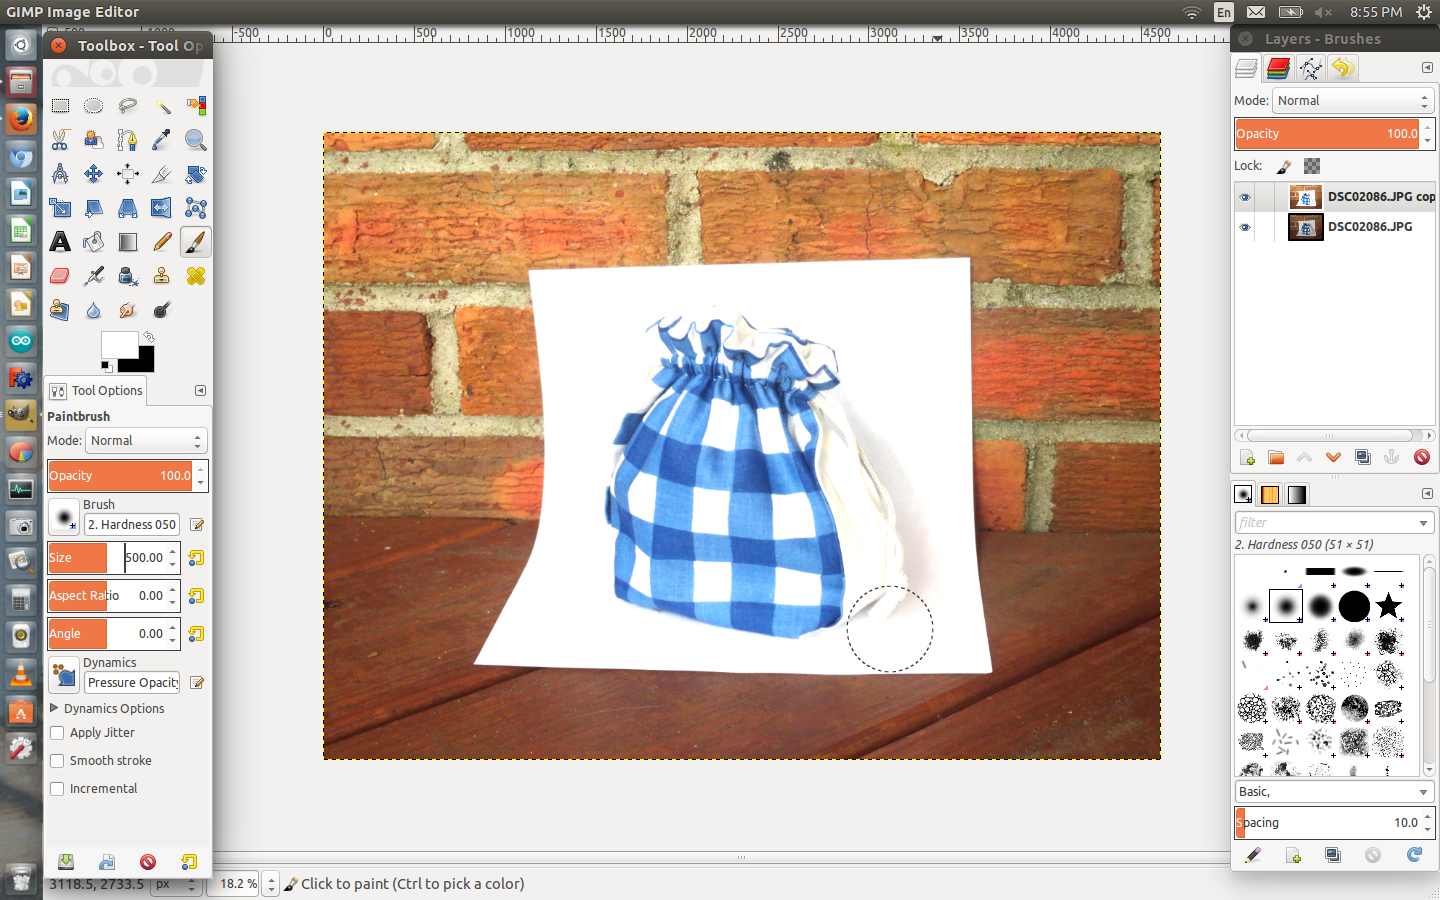
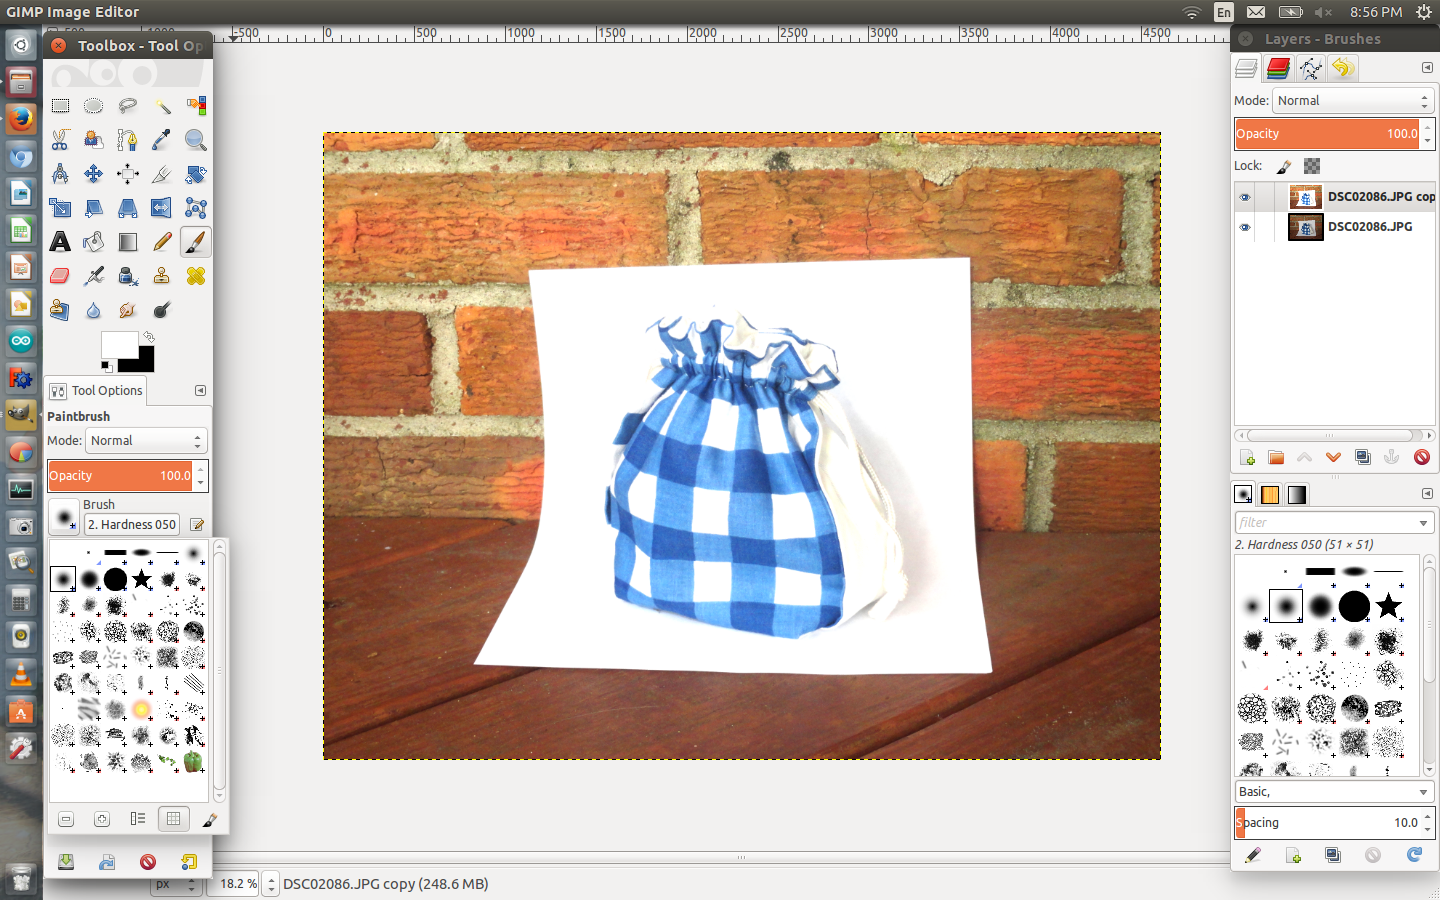
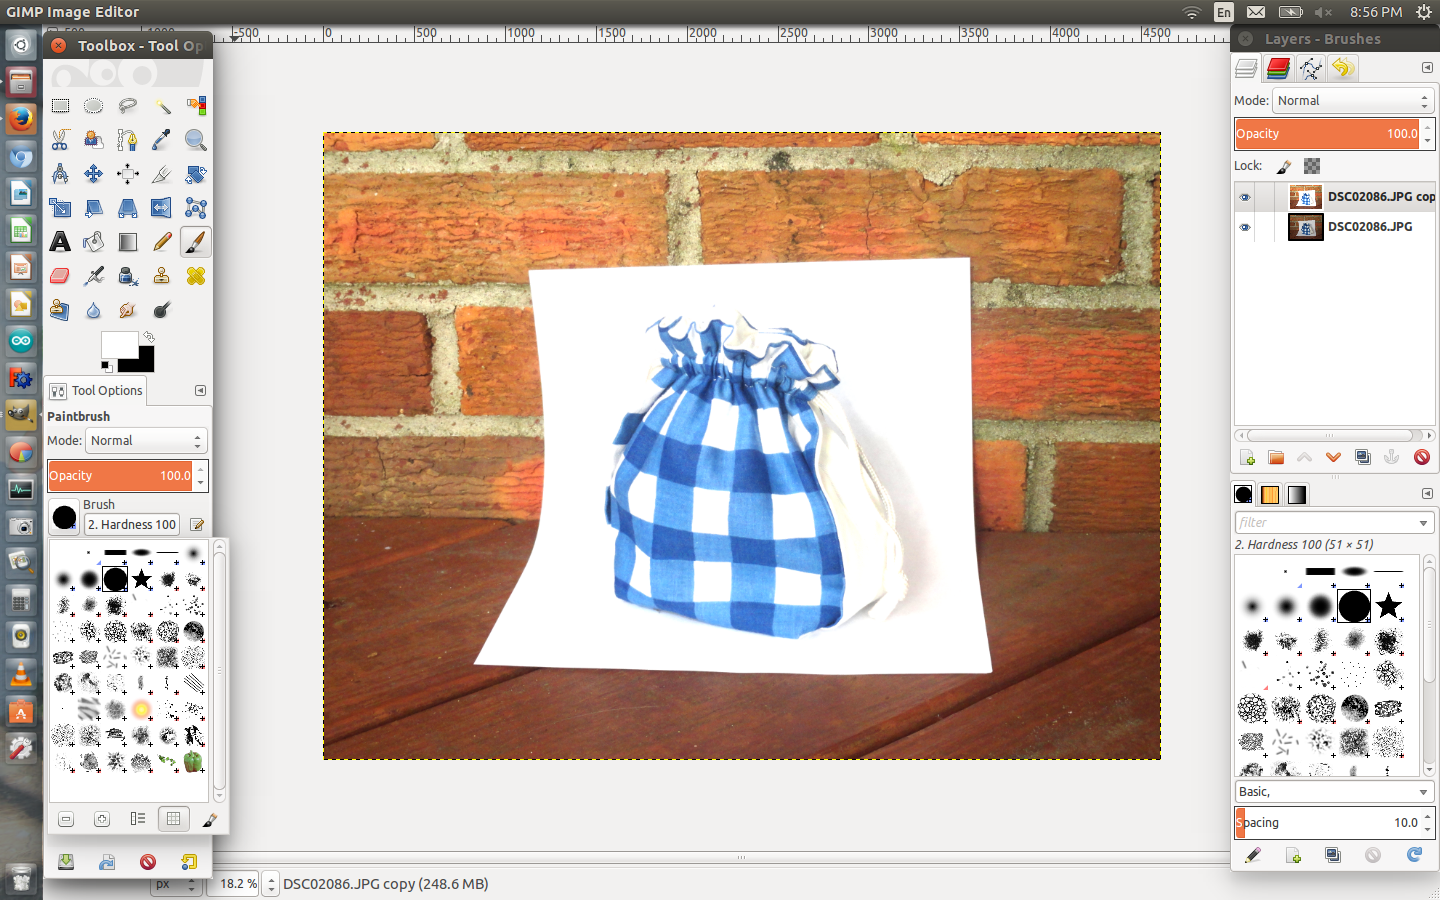
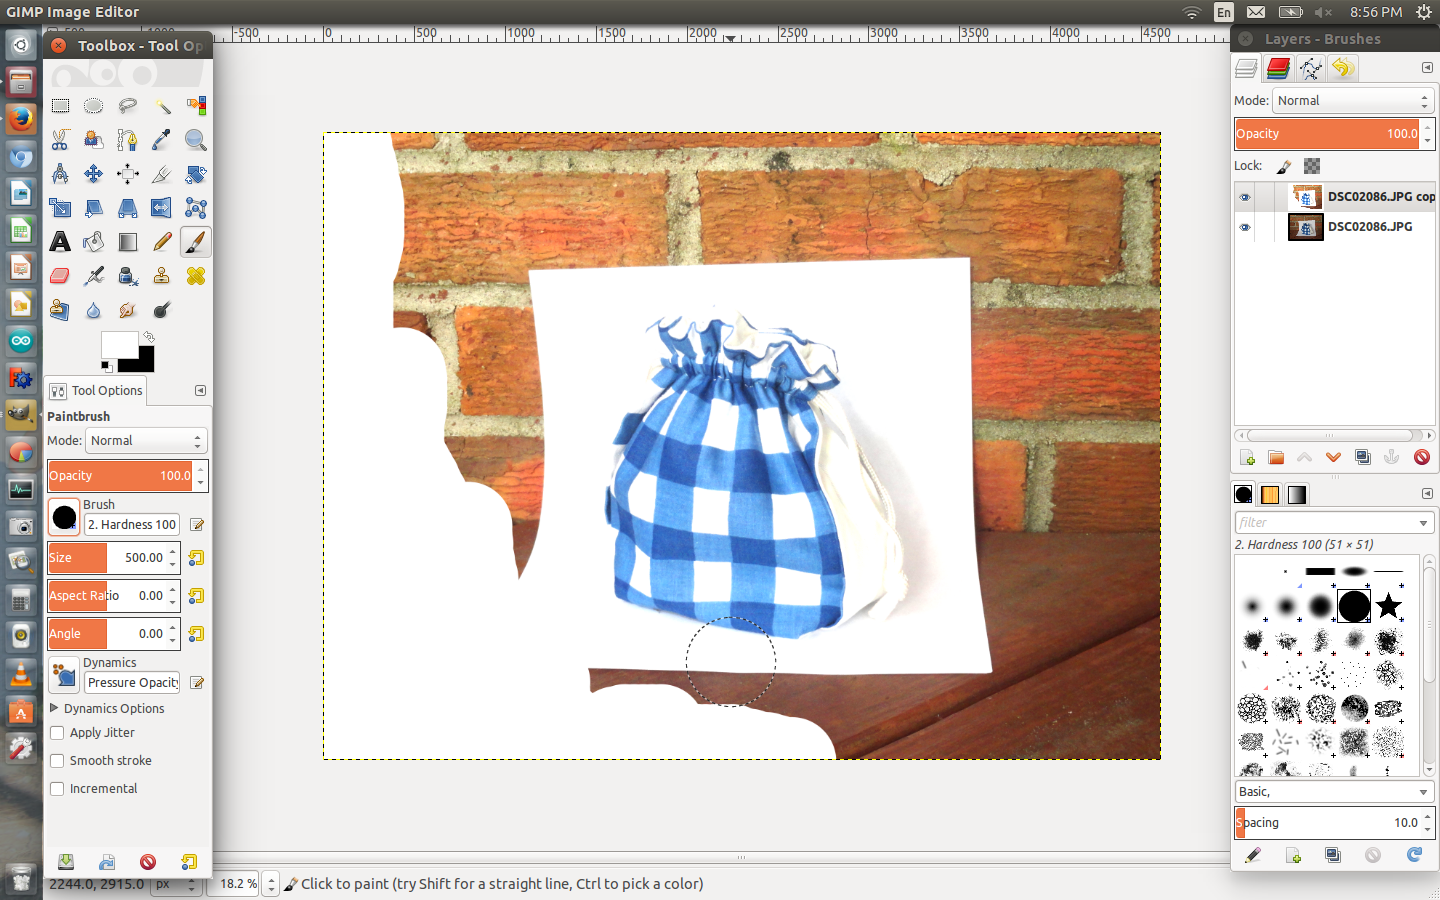
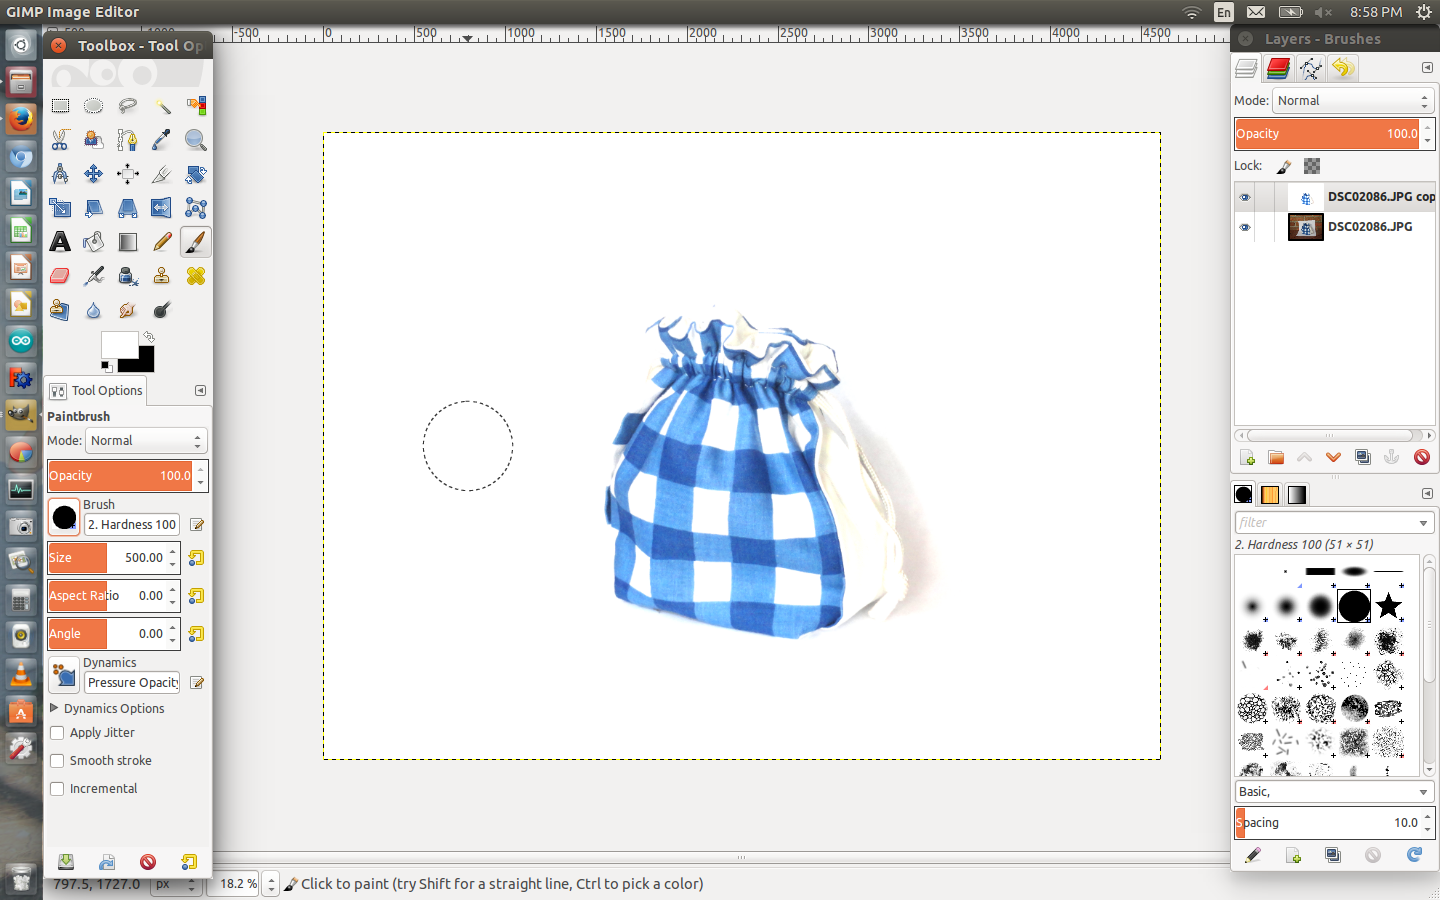
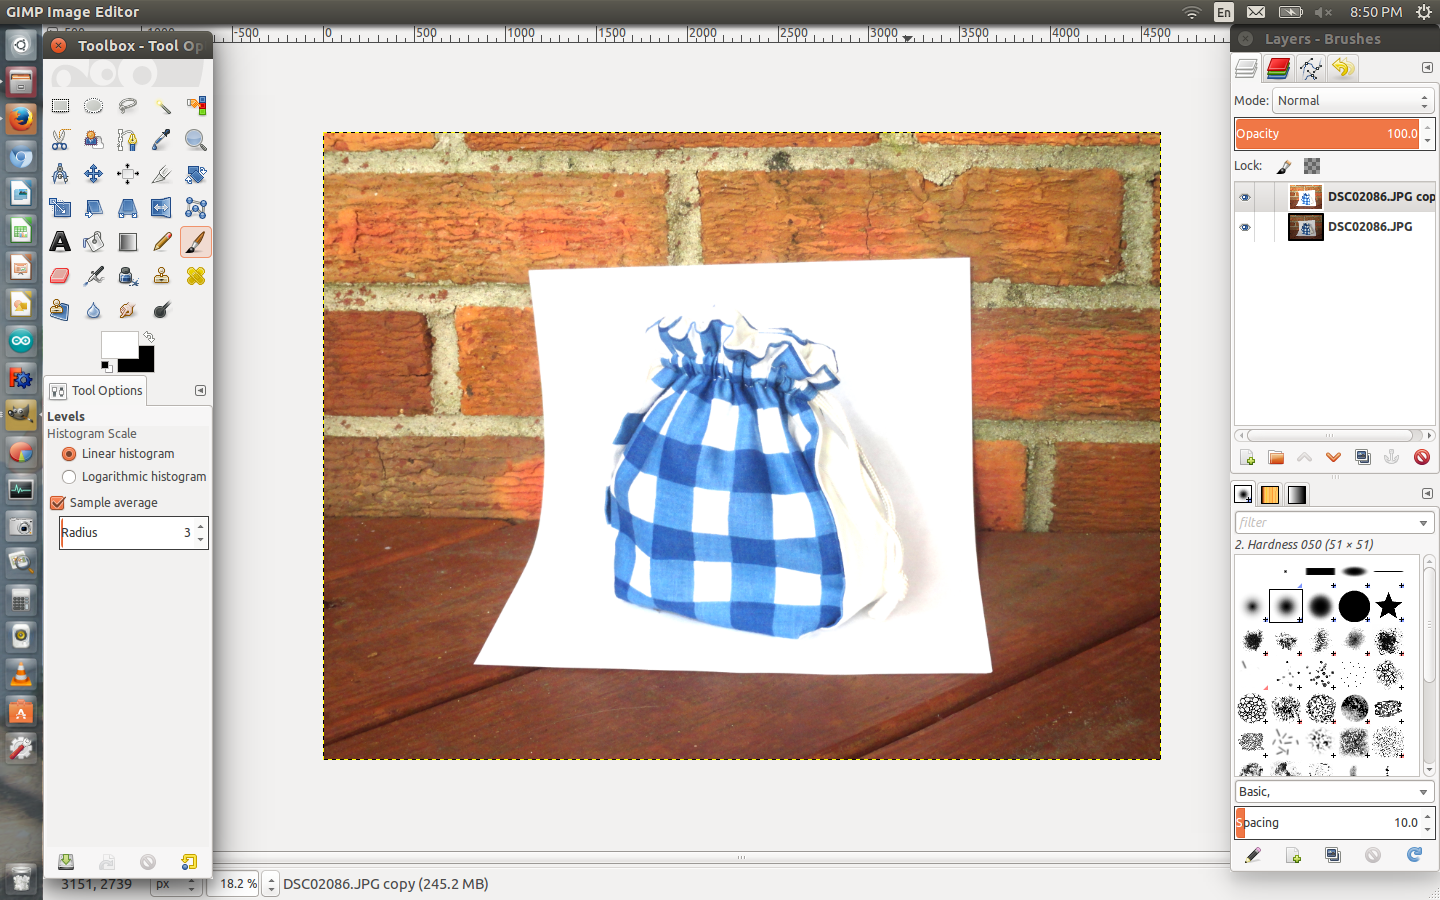
After whitening the piece of paper you need to get rid of the background. For this step what I did is I took a white brush and got rid of the background, but I left the image and its shadow untouched.
- Select the paintbrush tool or you can press P for a short cut.
- Make sure that the color is pure white and to change it click the foreground and background color menu.
- Then increase the size of the brush so that you can fill in the background more easily.
- Start filling in the back ground. remember not to touch the object or the shadow of the object.
The Finished Product
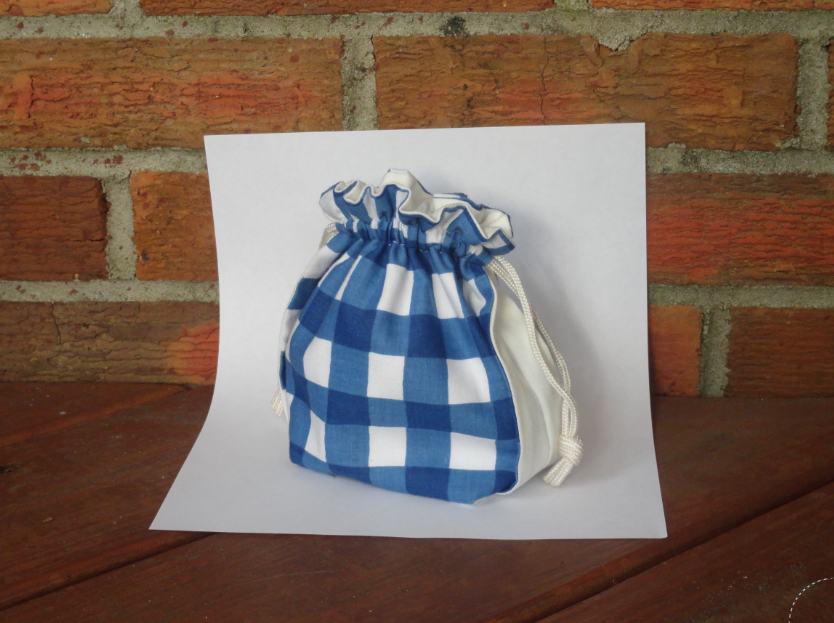
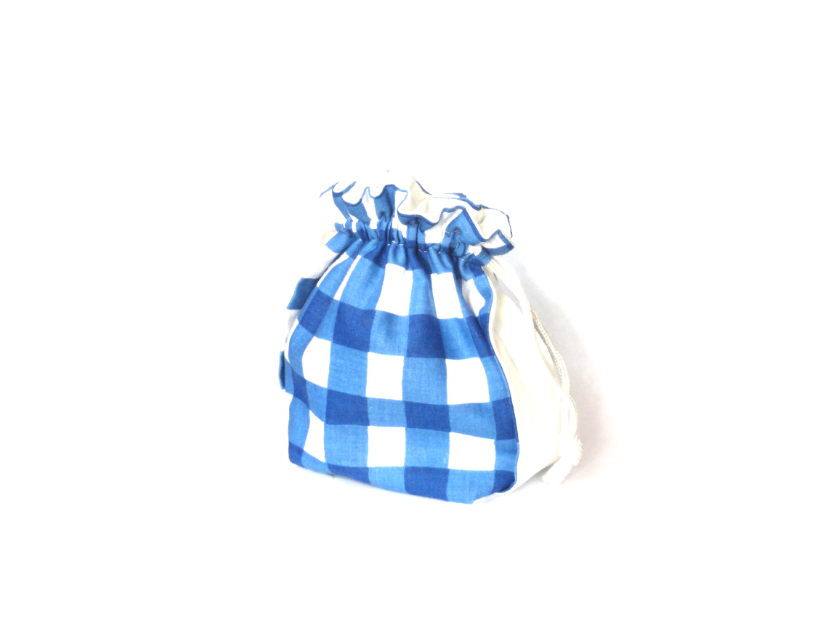
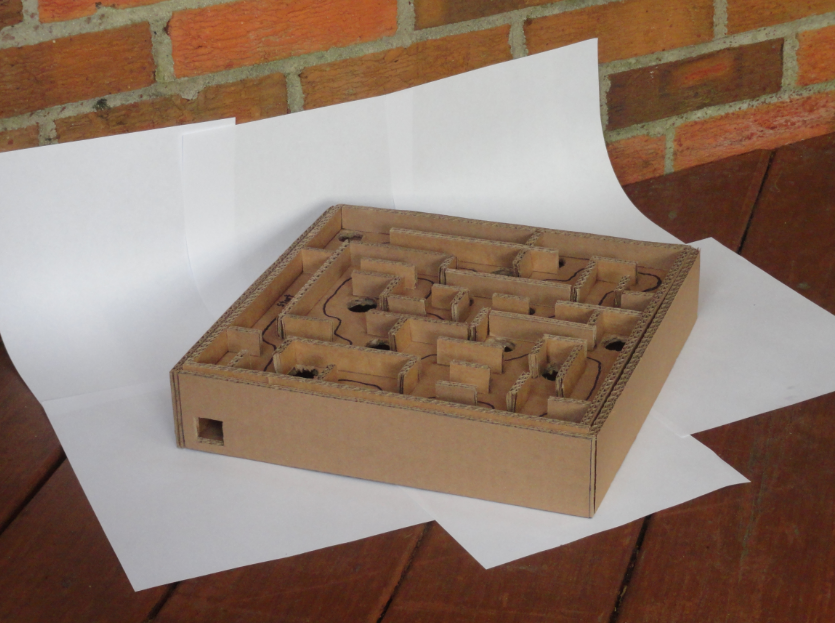
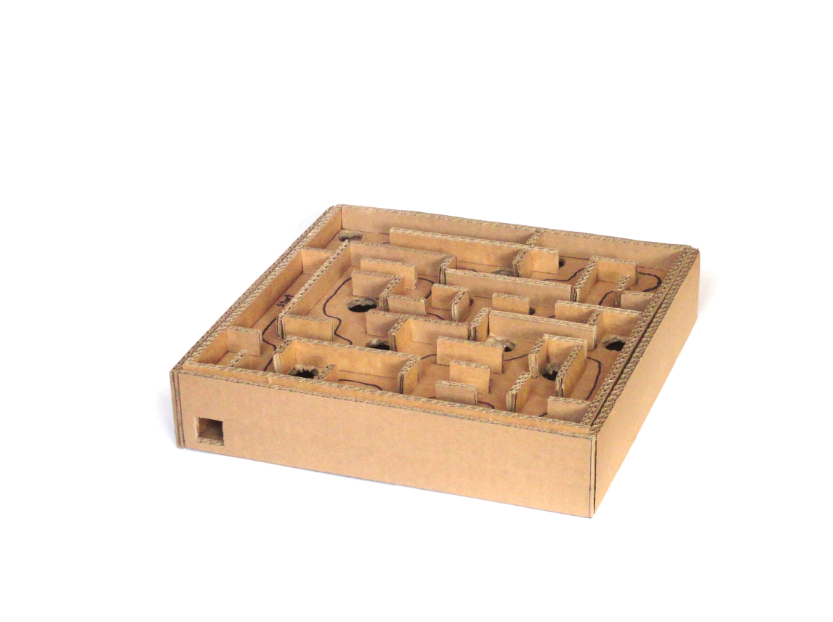


I put some examples of the before and after product so that you could see the differences. I am not an expert but I hope this helped you take better and make some fascinating pictures. I'm not sure if I was clear enough in explaining the steps, but I think the photos will help. Also if you have any questions please don't hesitate to ask. Suggestions and corrections are appreciated. I hope you enjoyed learning how to take pure white background photography.