Puppy Tea Bag Holder
.JPG)


.JPG)
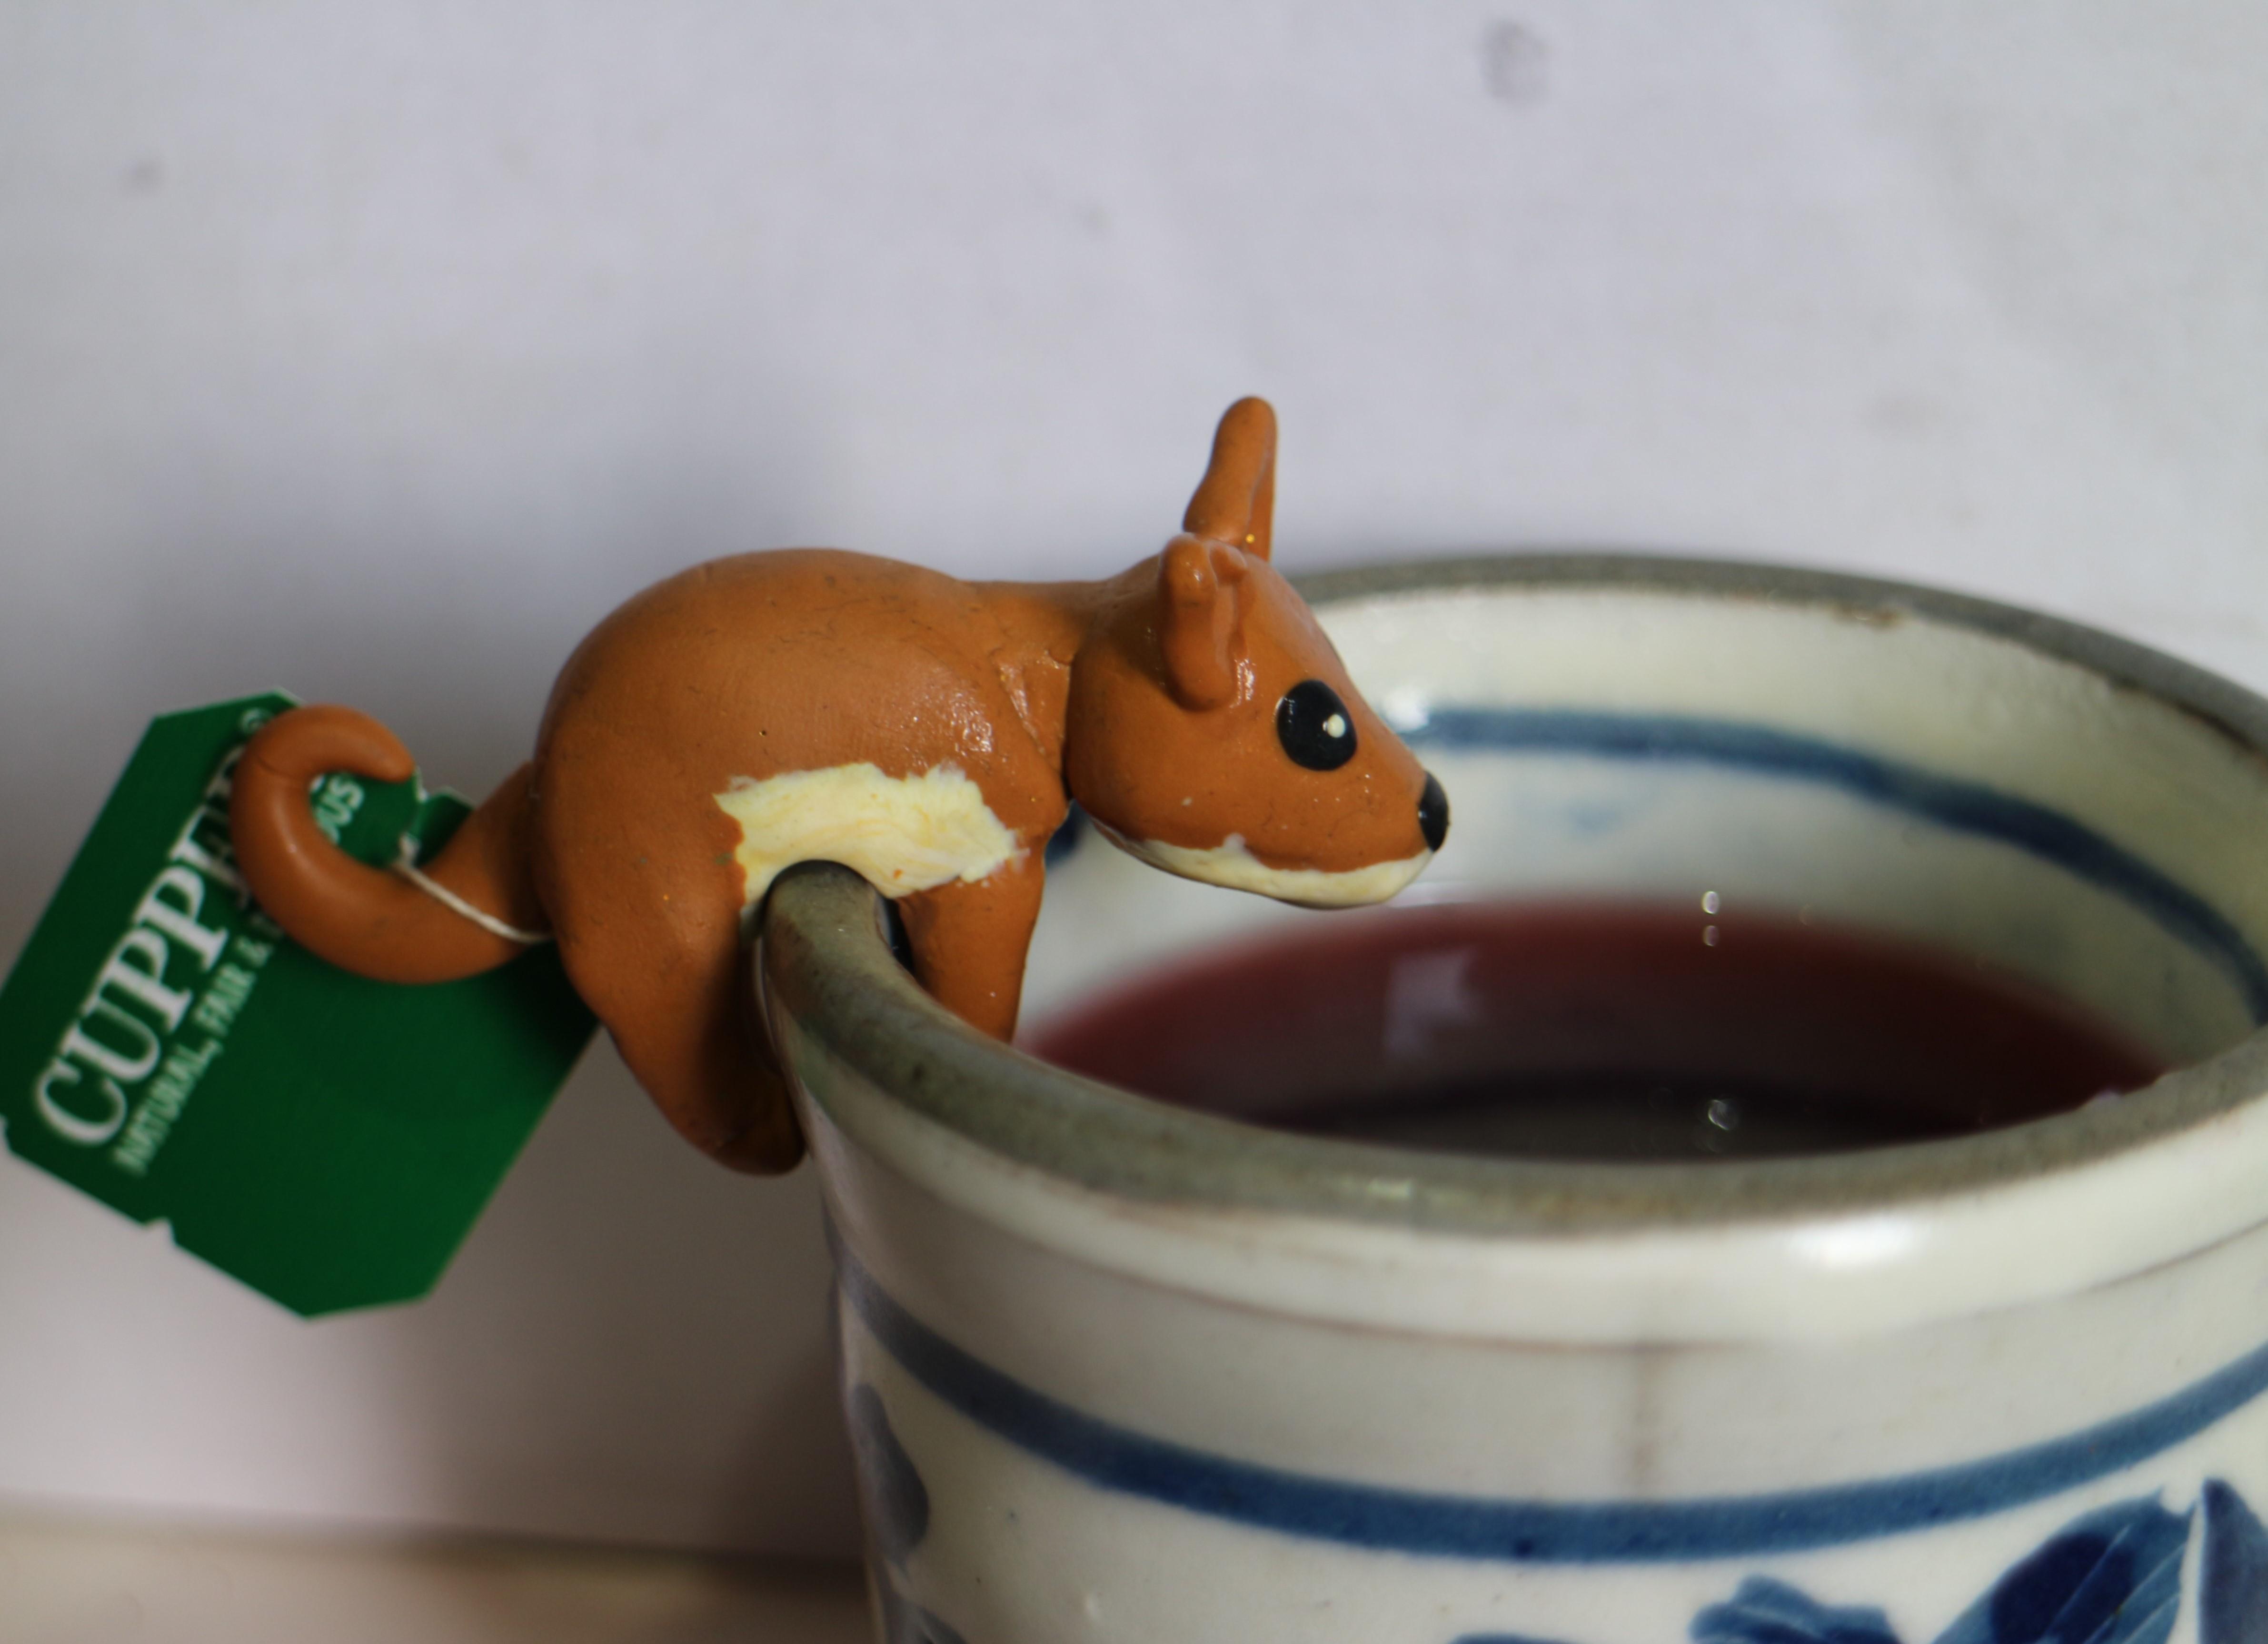
Sometimes when you make tea the bag and string fall in... and then you have to fish them out. It's annoying.
So I made this project to save your tea!
Supplies
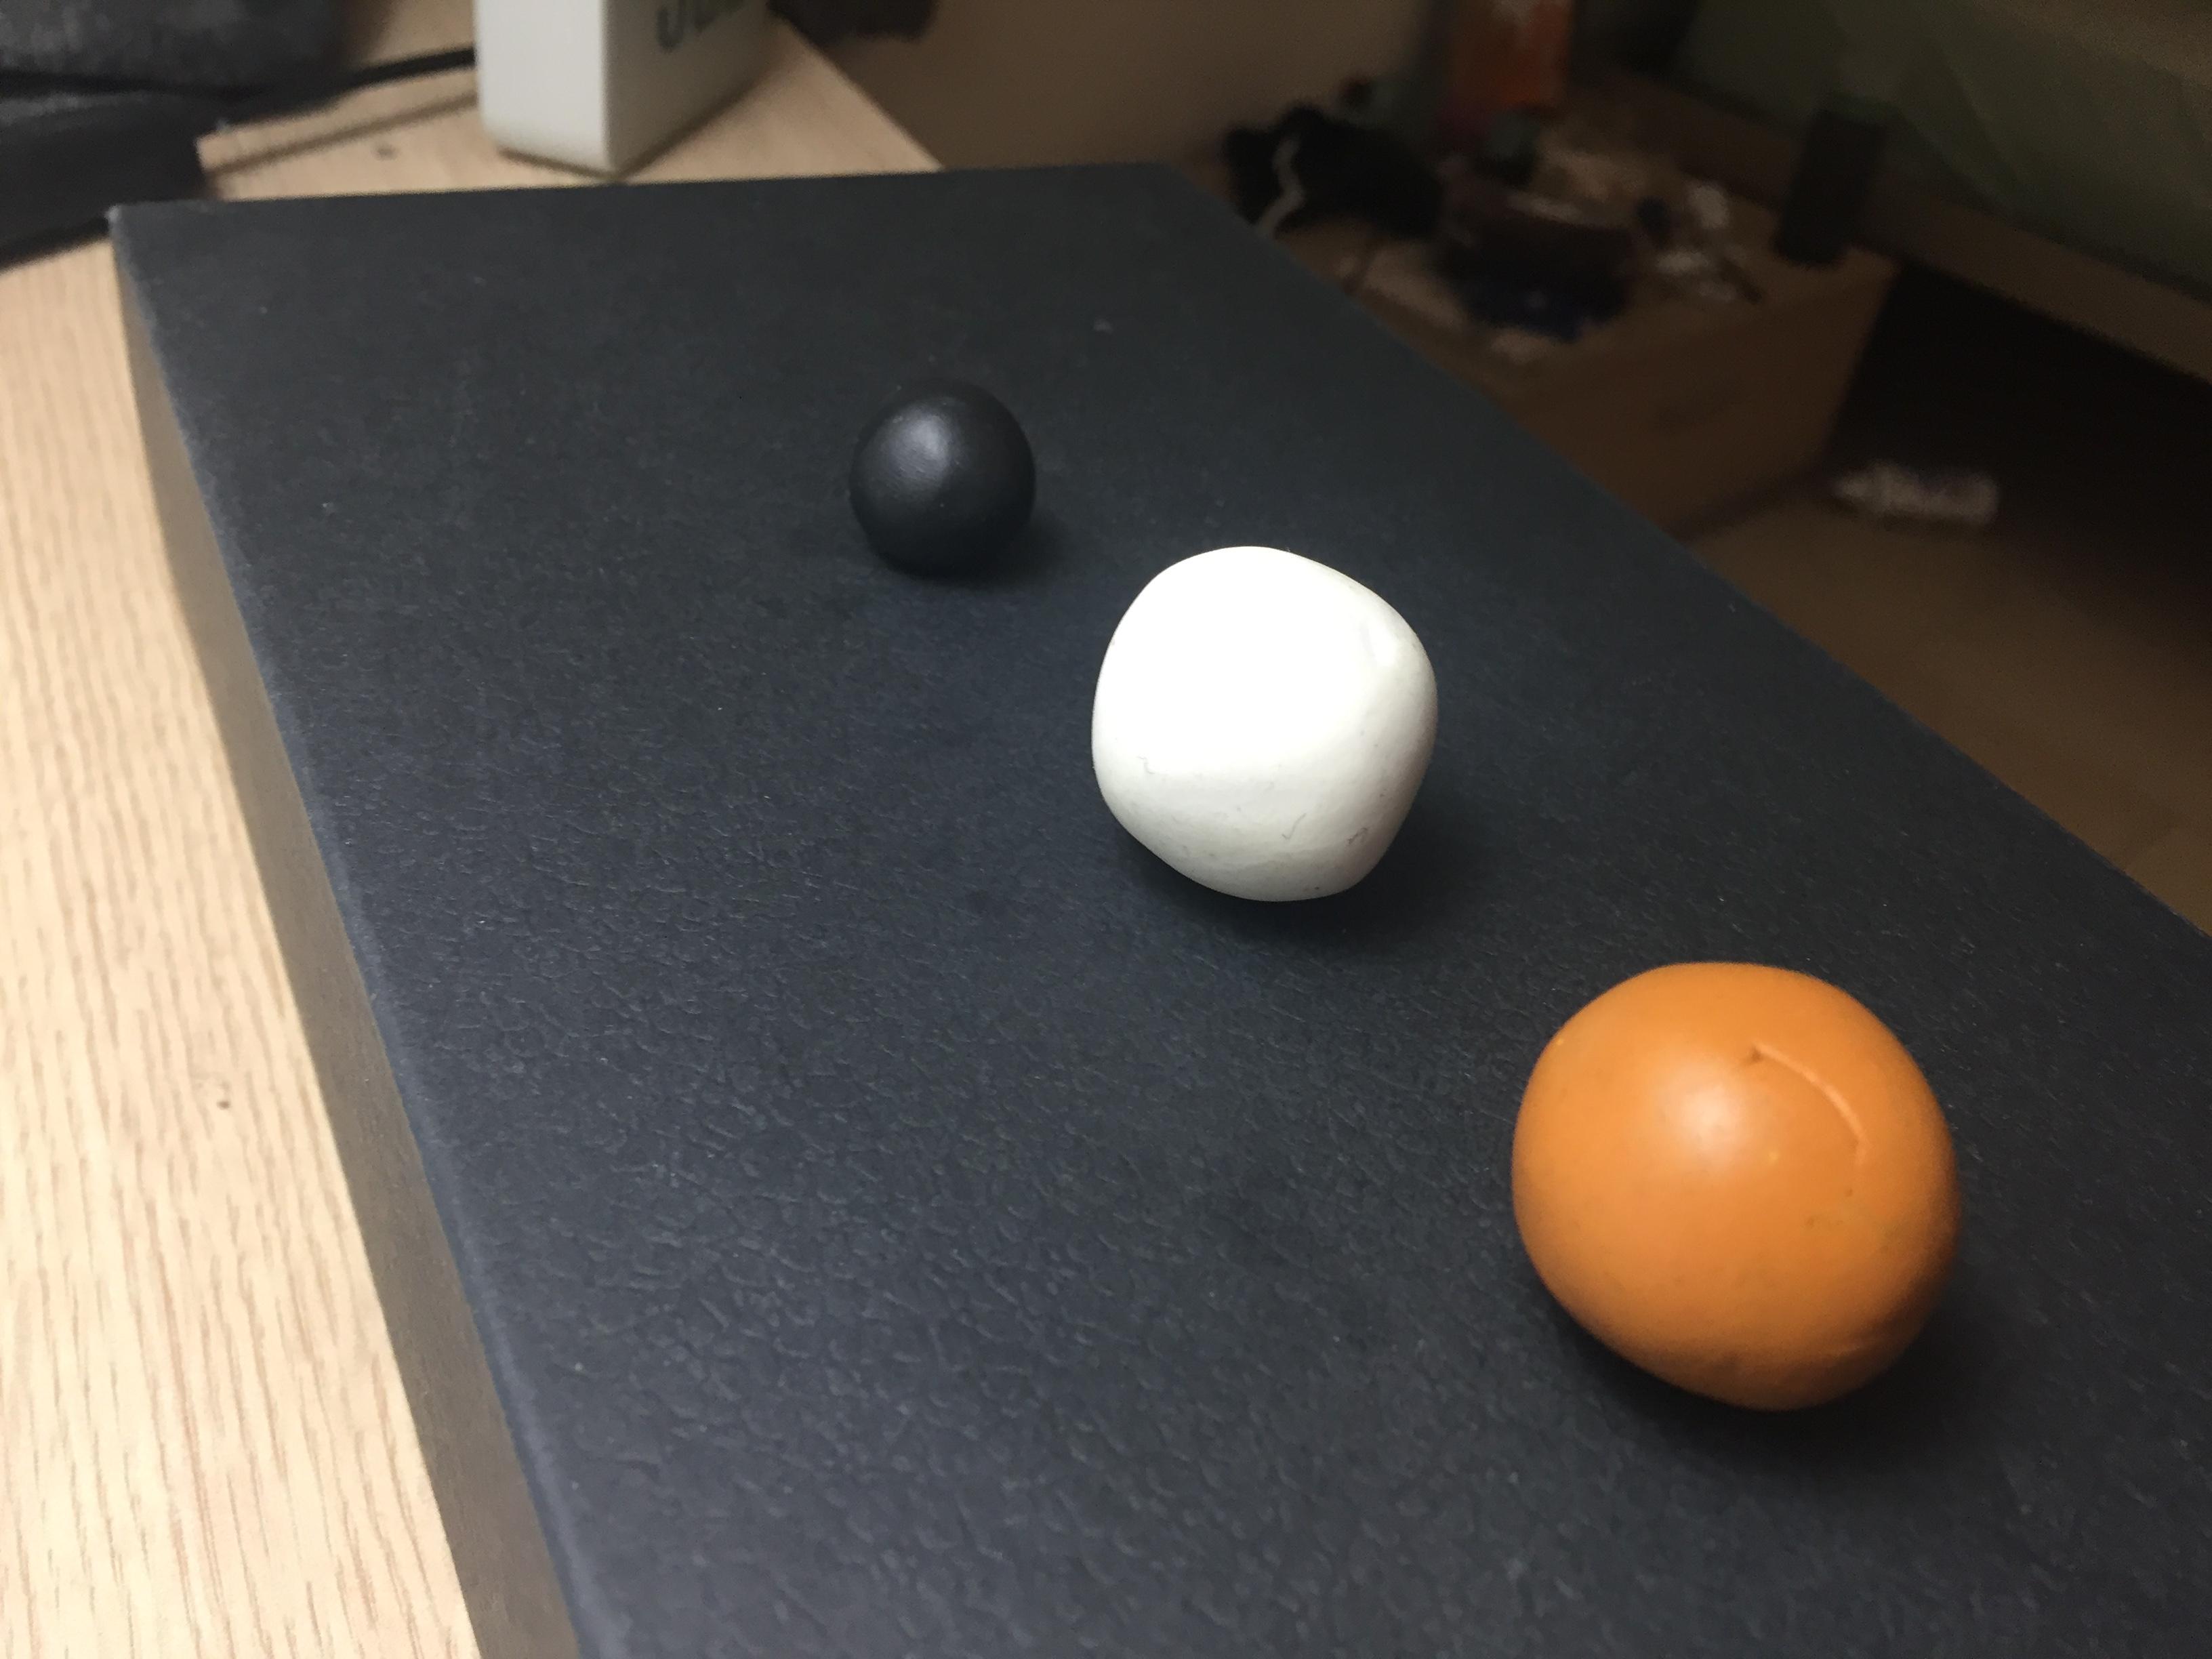
- Polymer clay in the colors - white, black and mustard brown.
- knife
- rolling pin
- knitting needle
- a mug for measuring
- clay molding tool
- oven
Getting Ready to Start
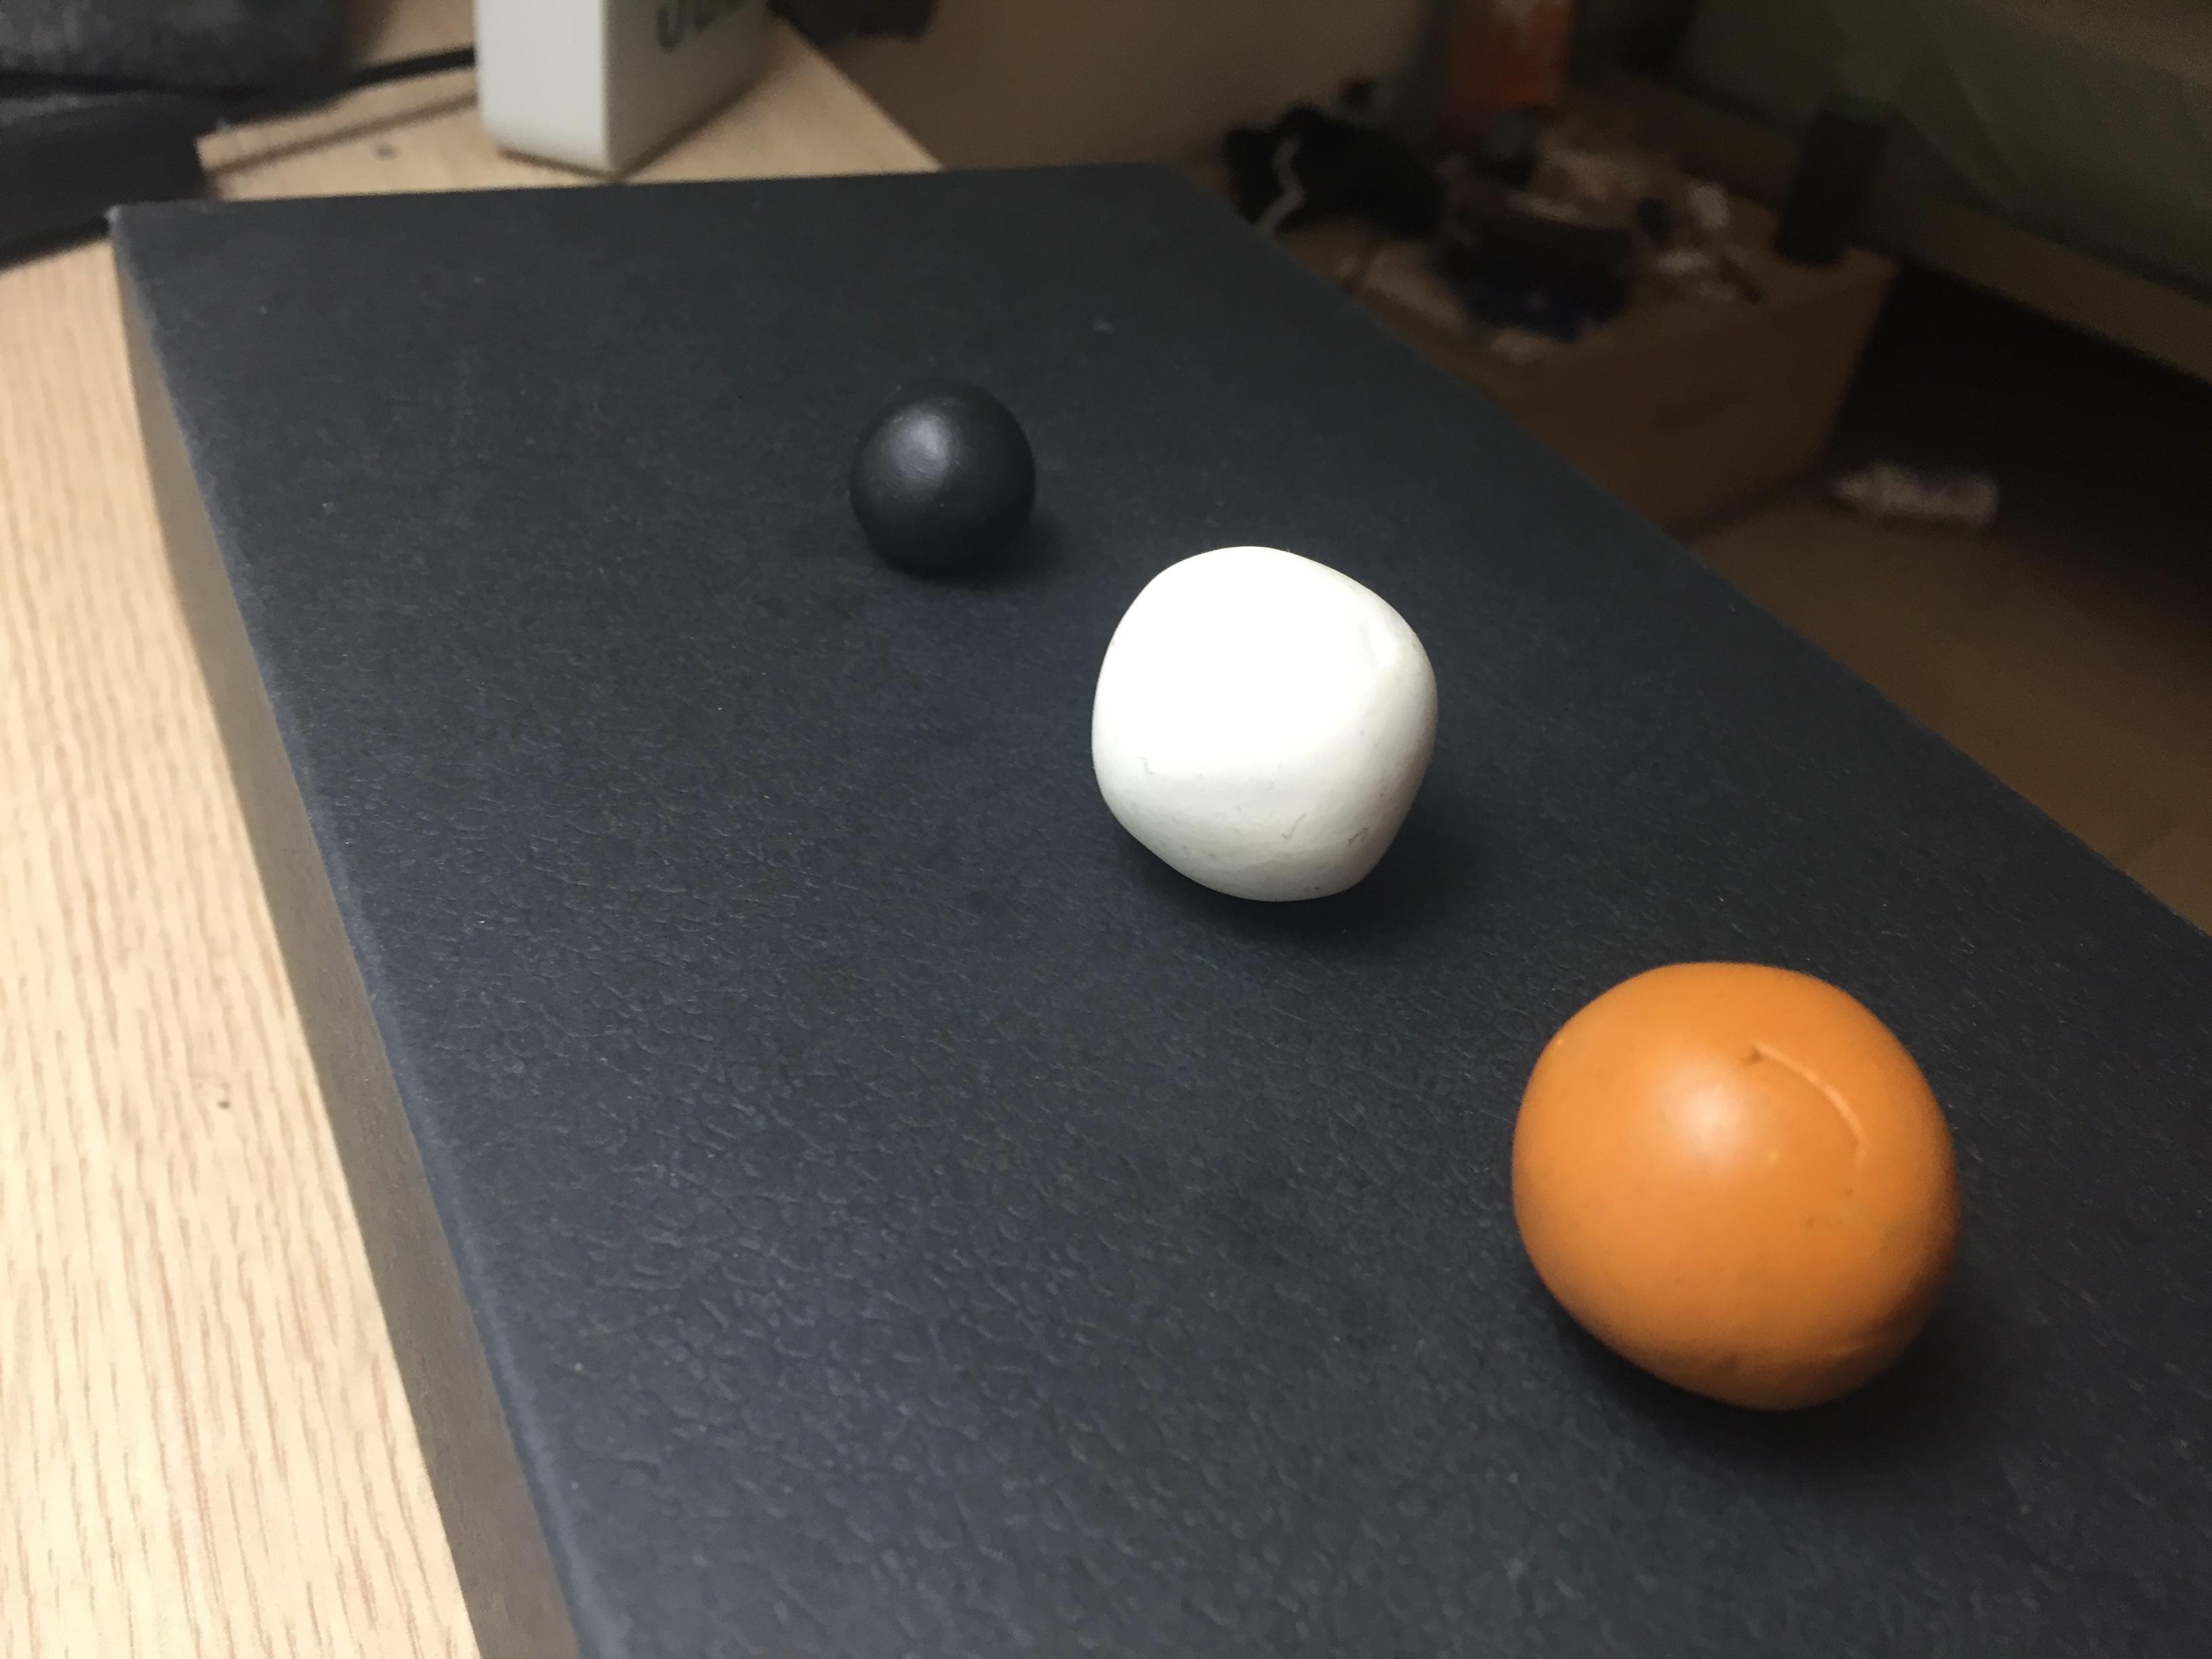


The black is for the eyes and nose. The white is for the belly and the head, and a little shine in the eyes. The brown is the main color.
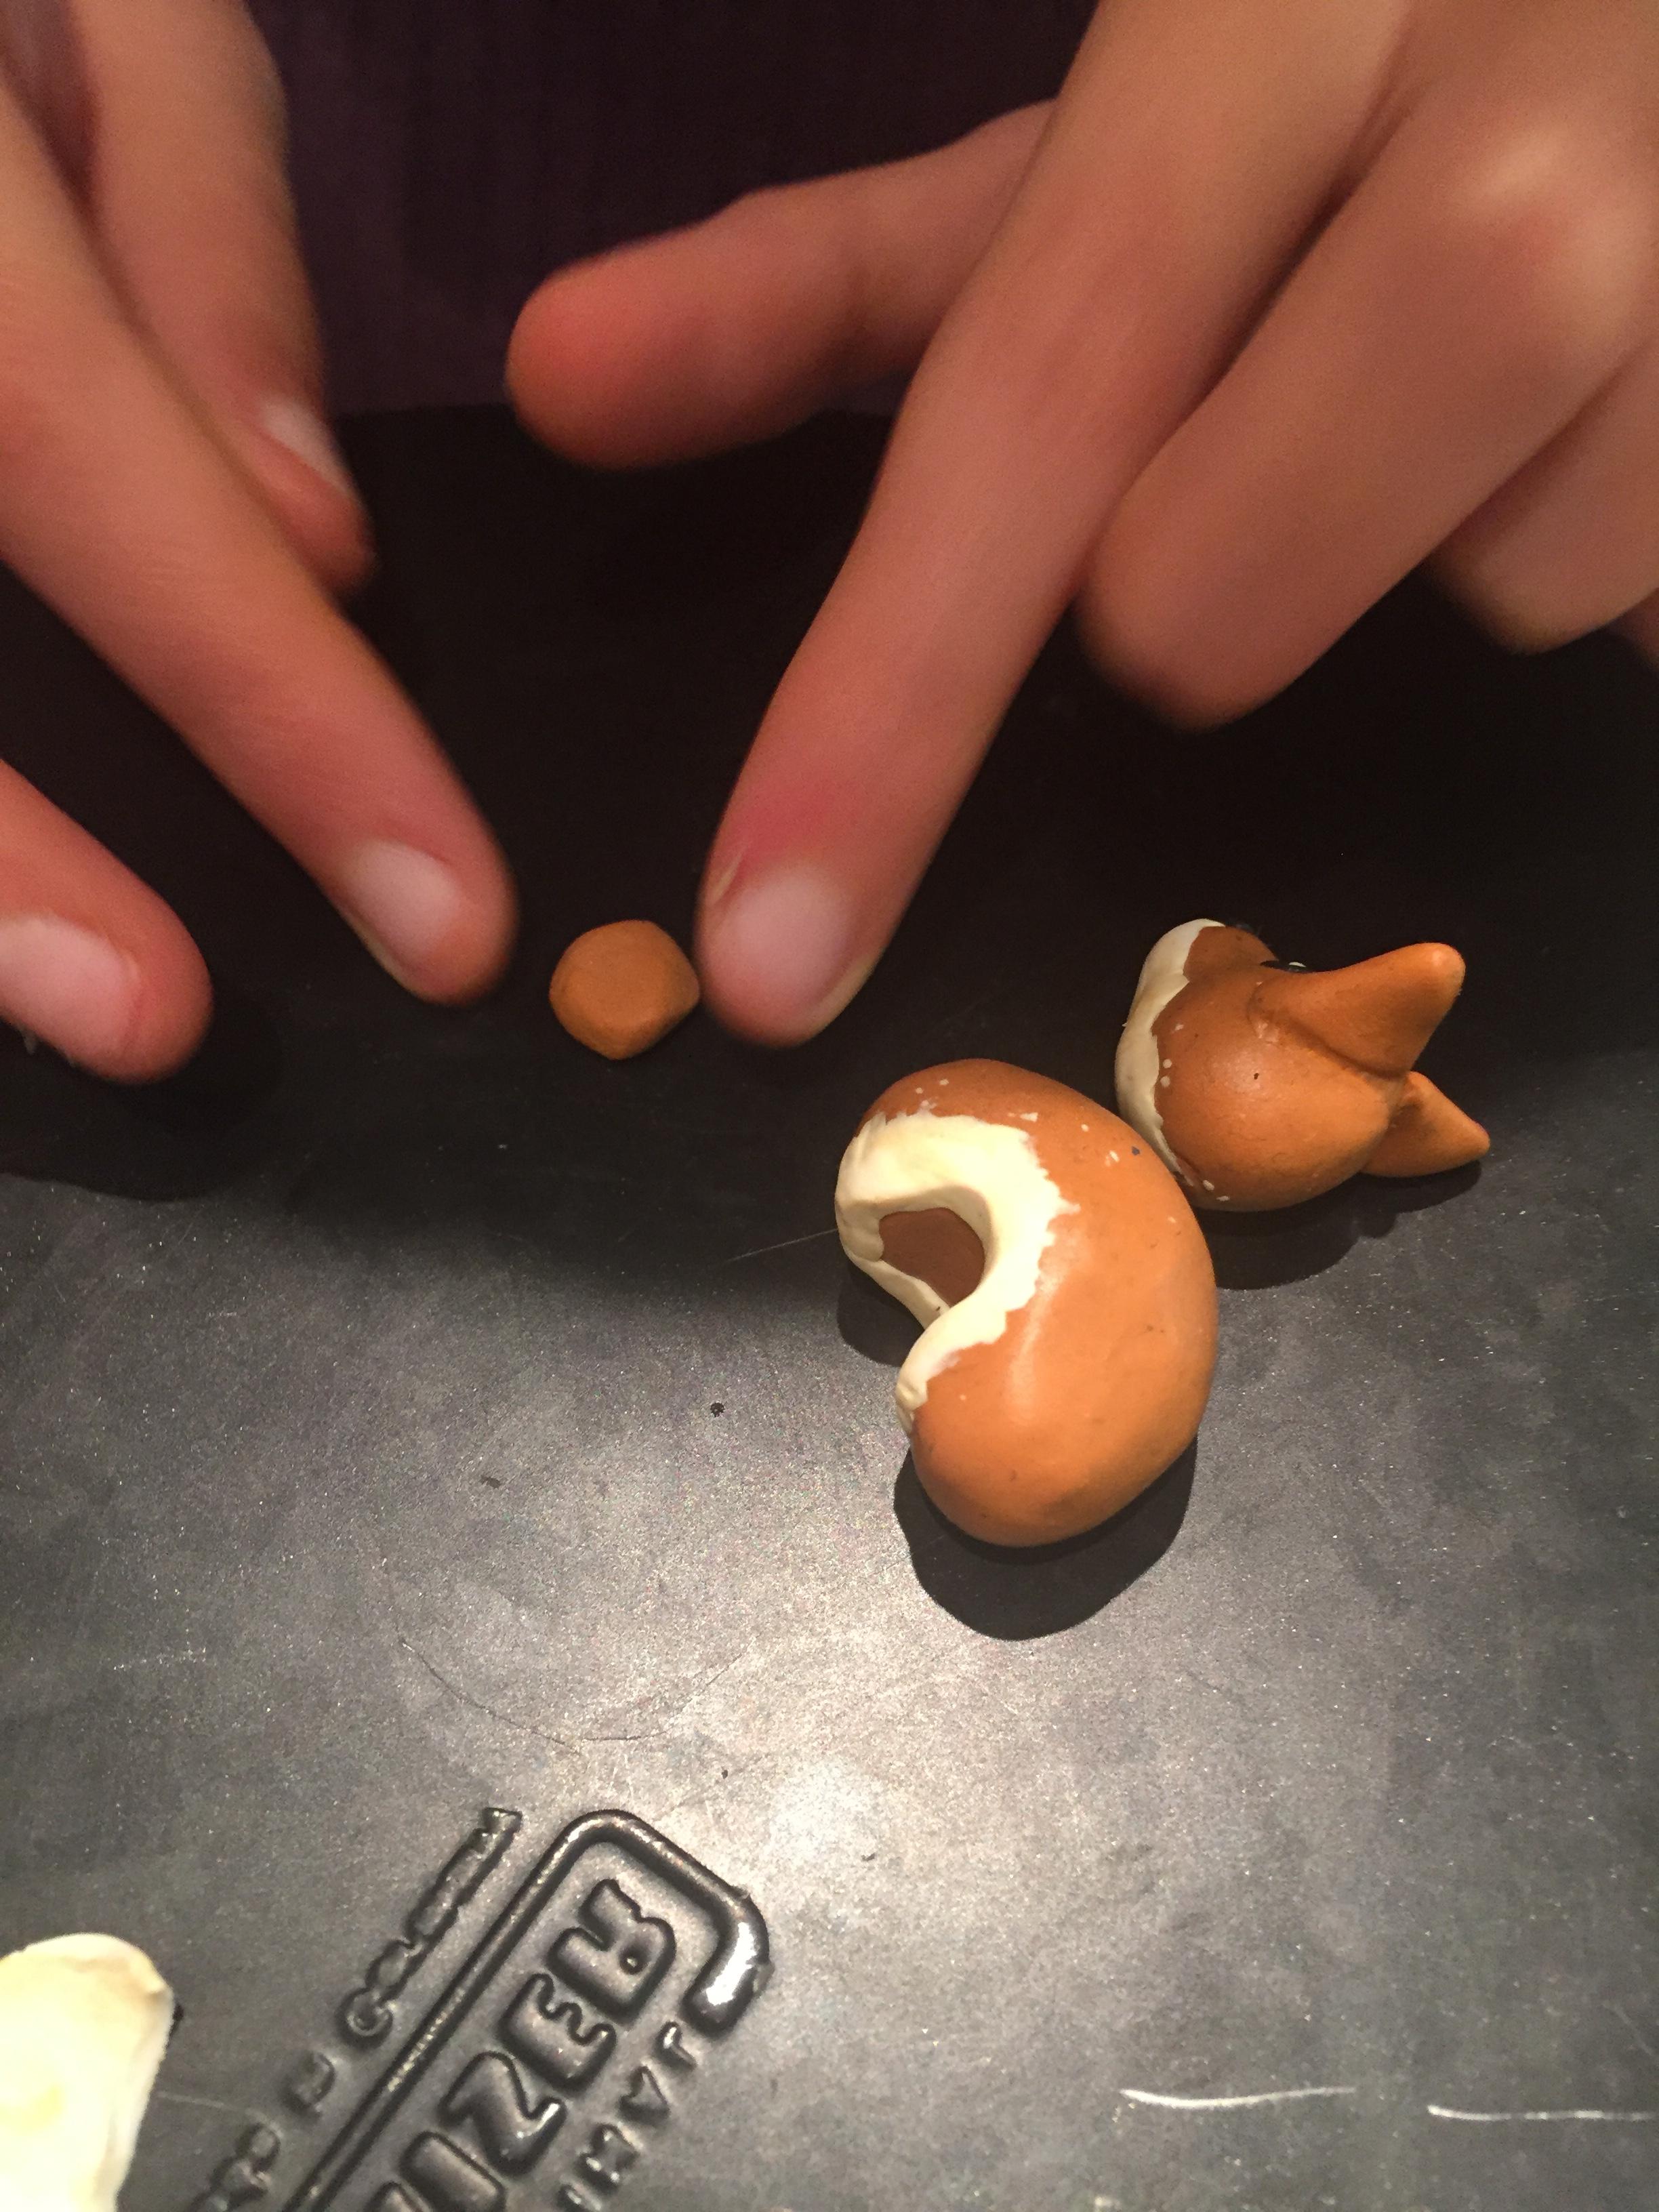
- Divide the brown into smaller balls like the photo.
The Body
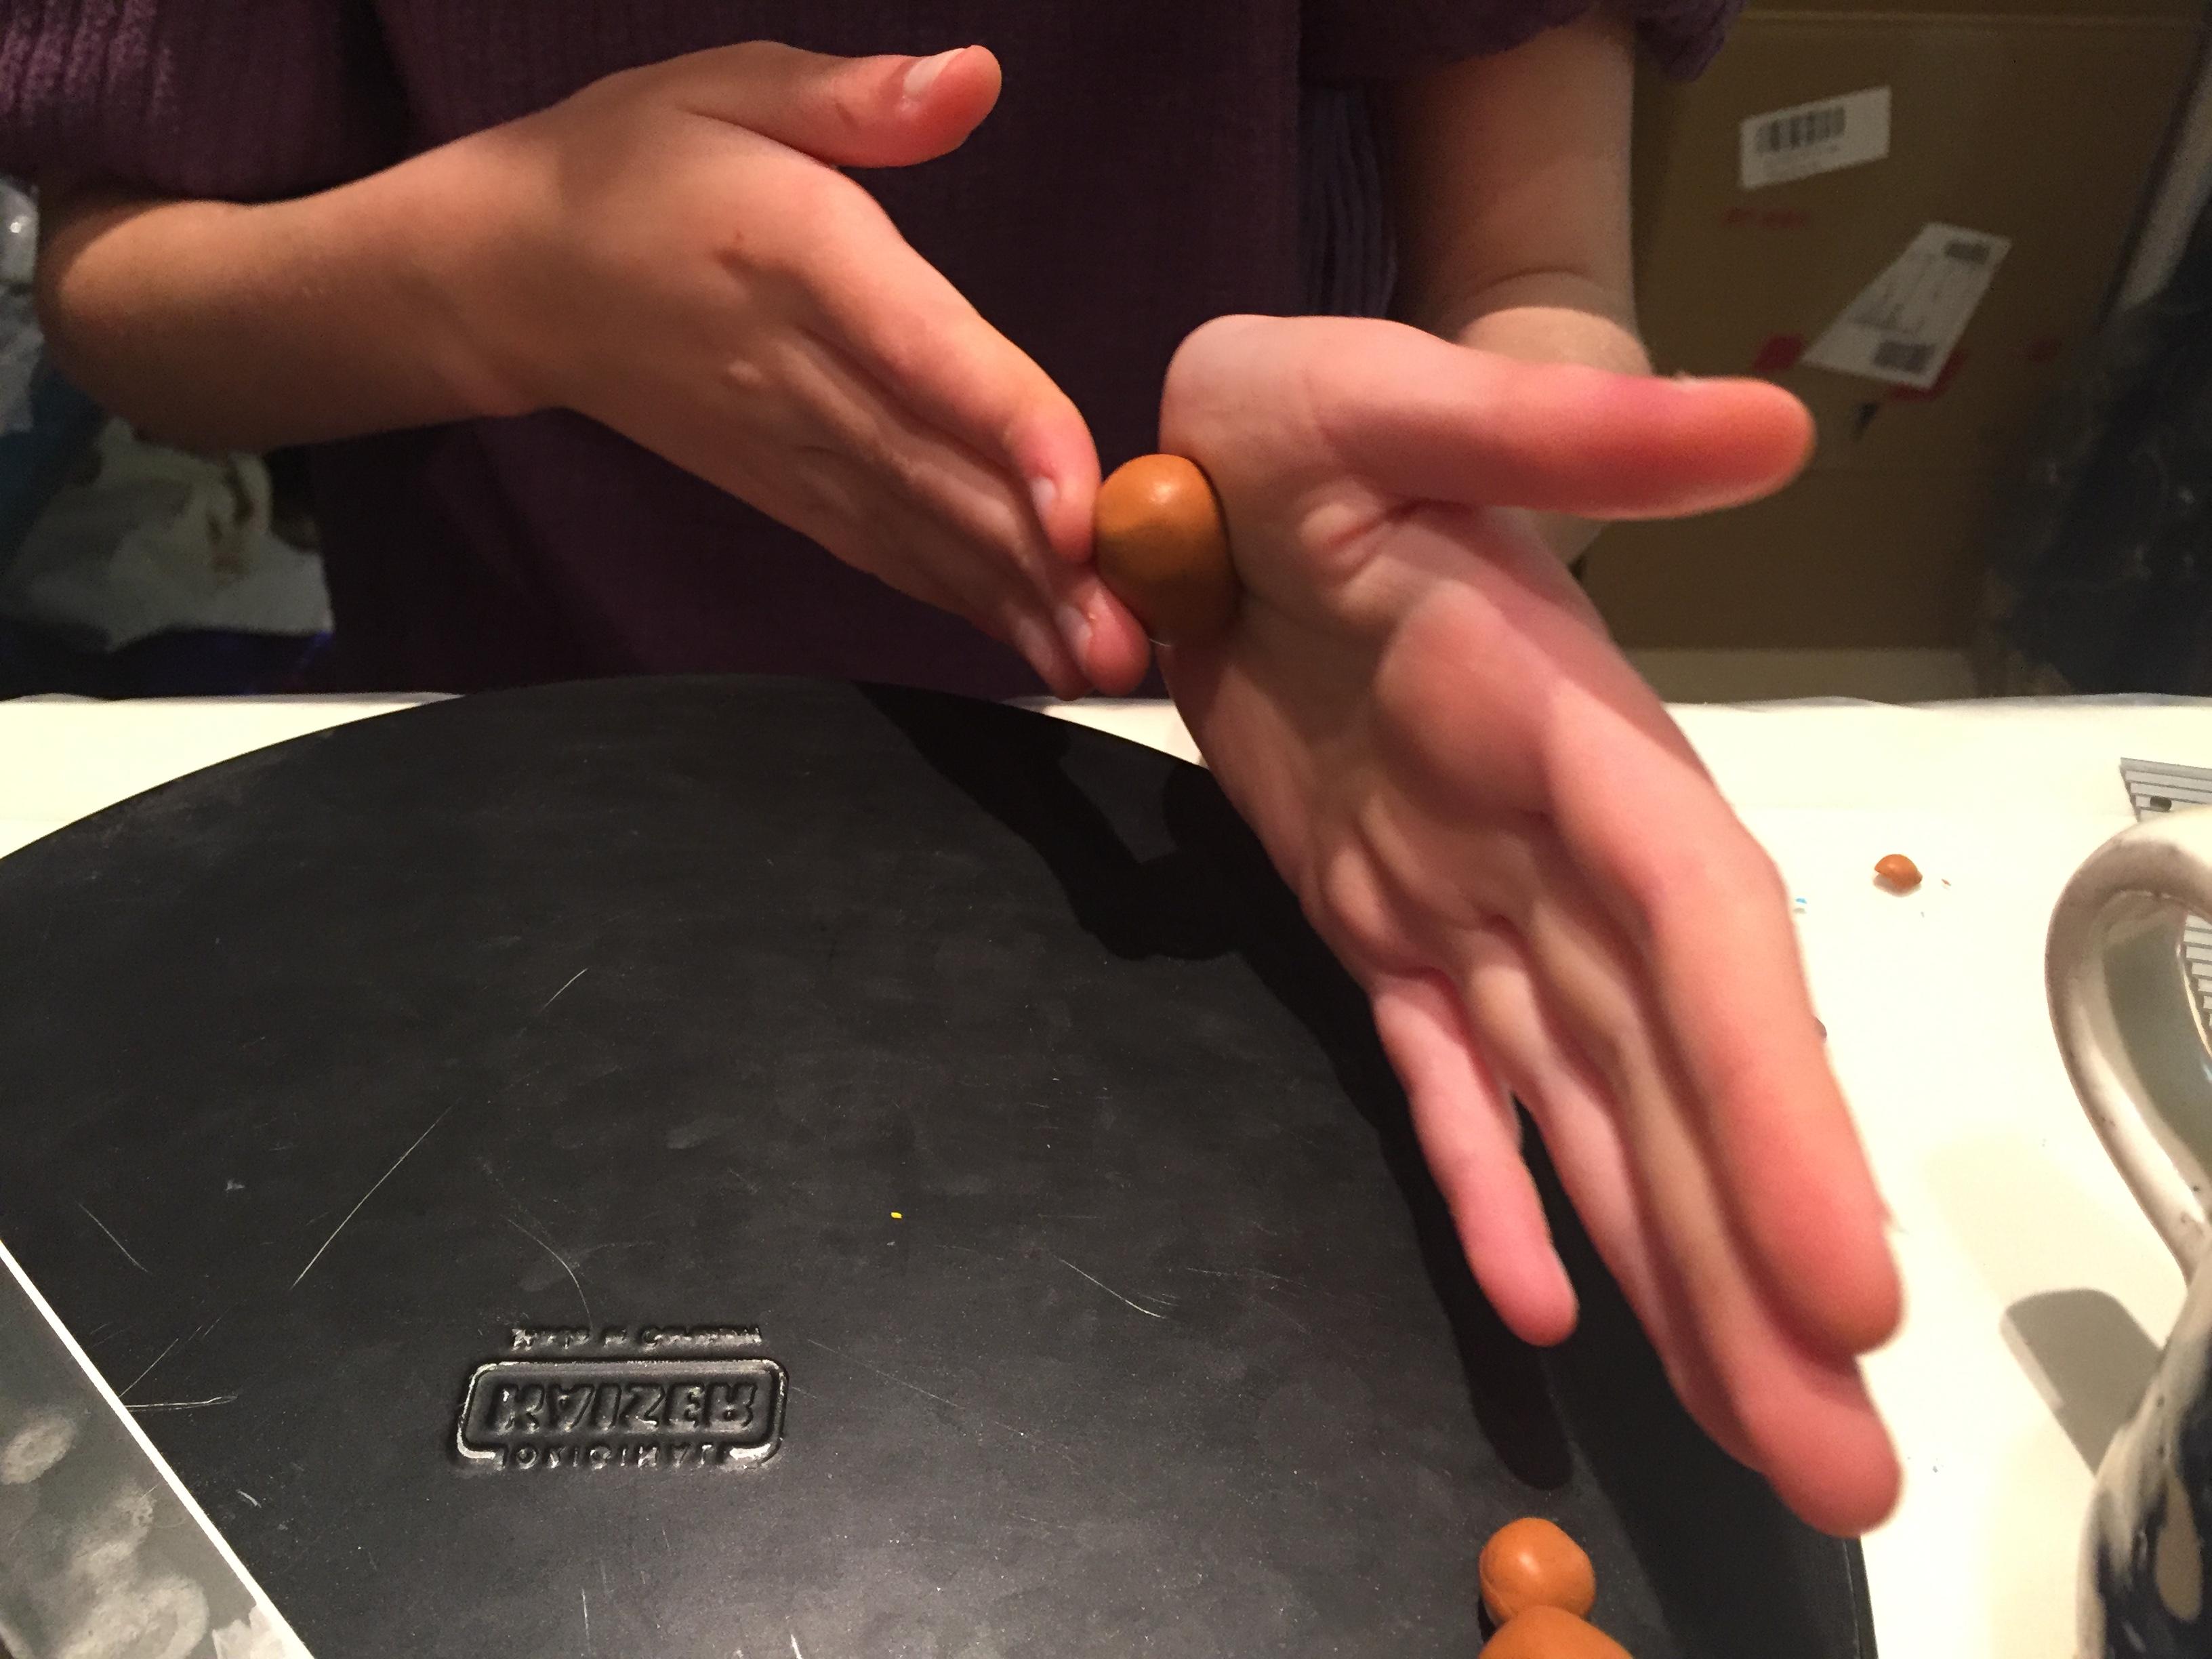


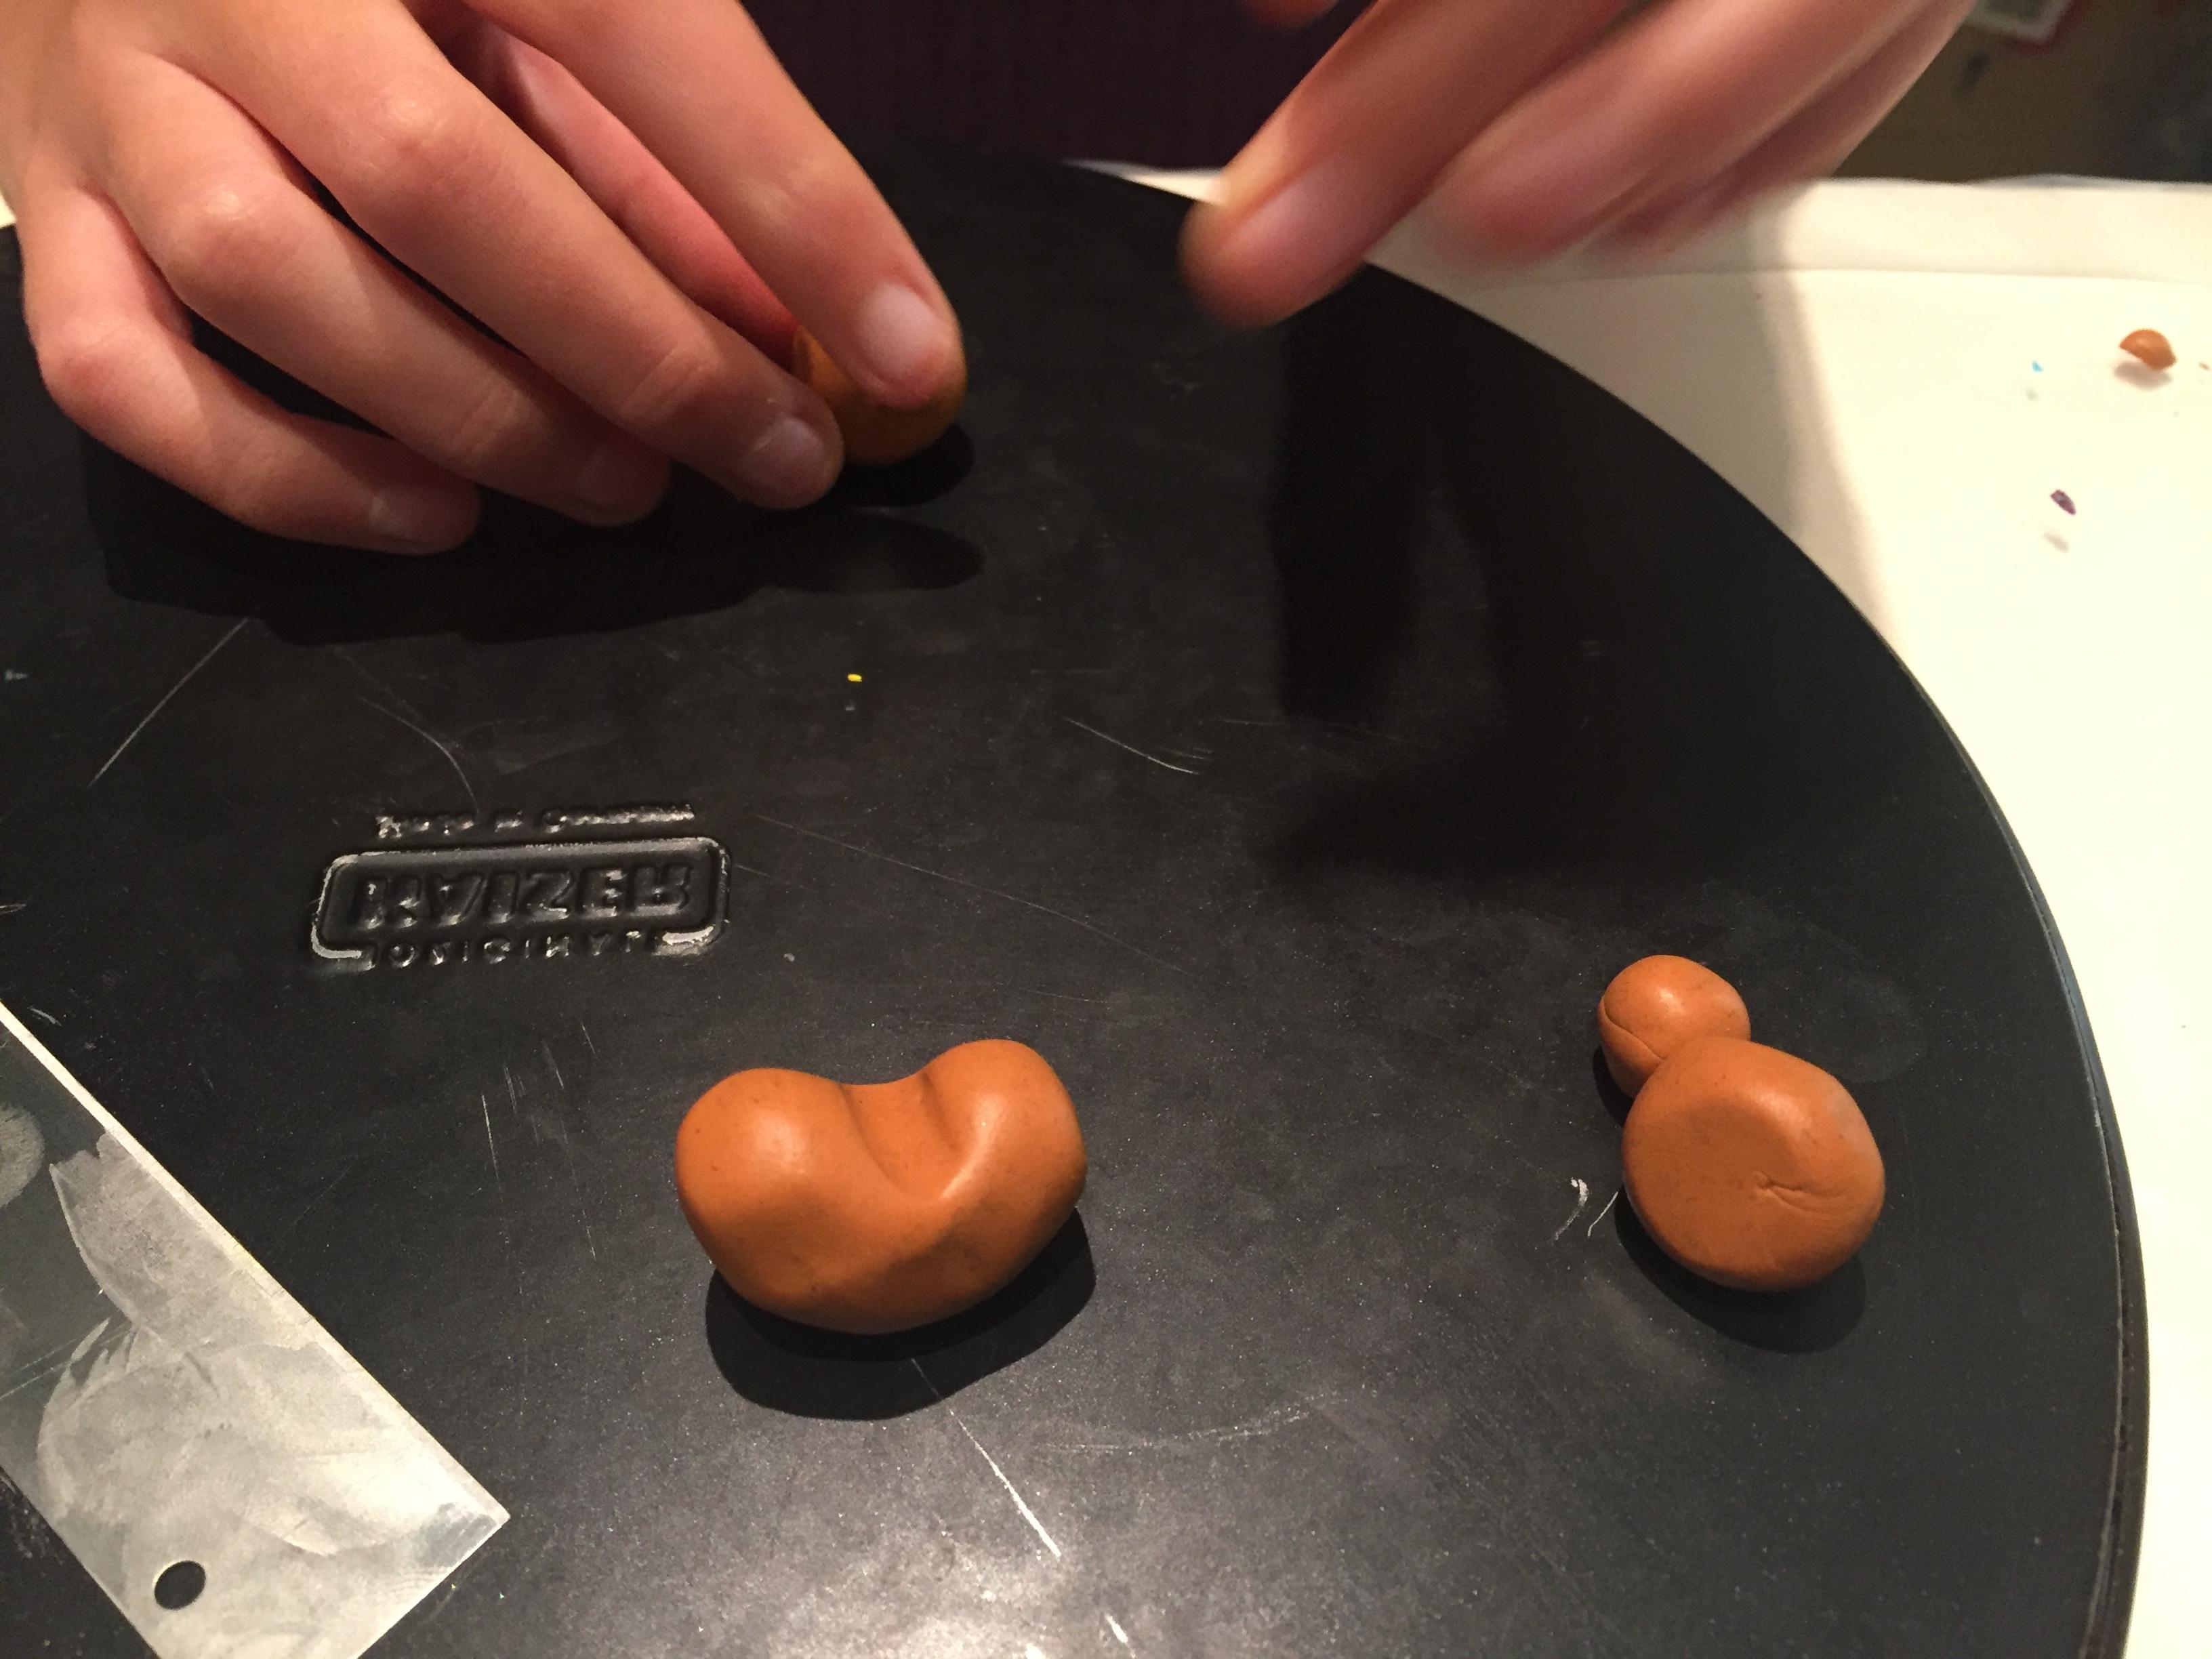
Take the biggest ball for the body.
Roll it out into a fat sausage.
Take your mug and place the body onto it, so that you get the shape of the rim and it doesn't fall.
Legs and Tail
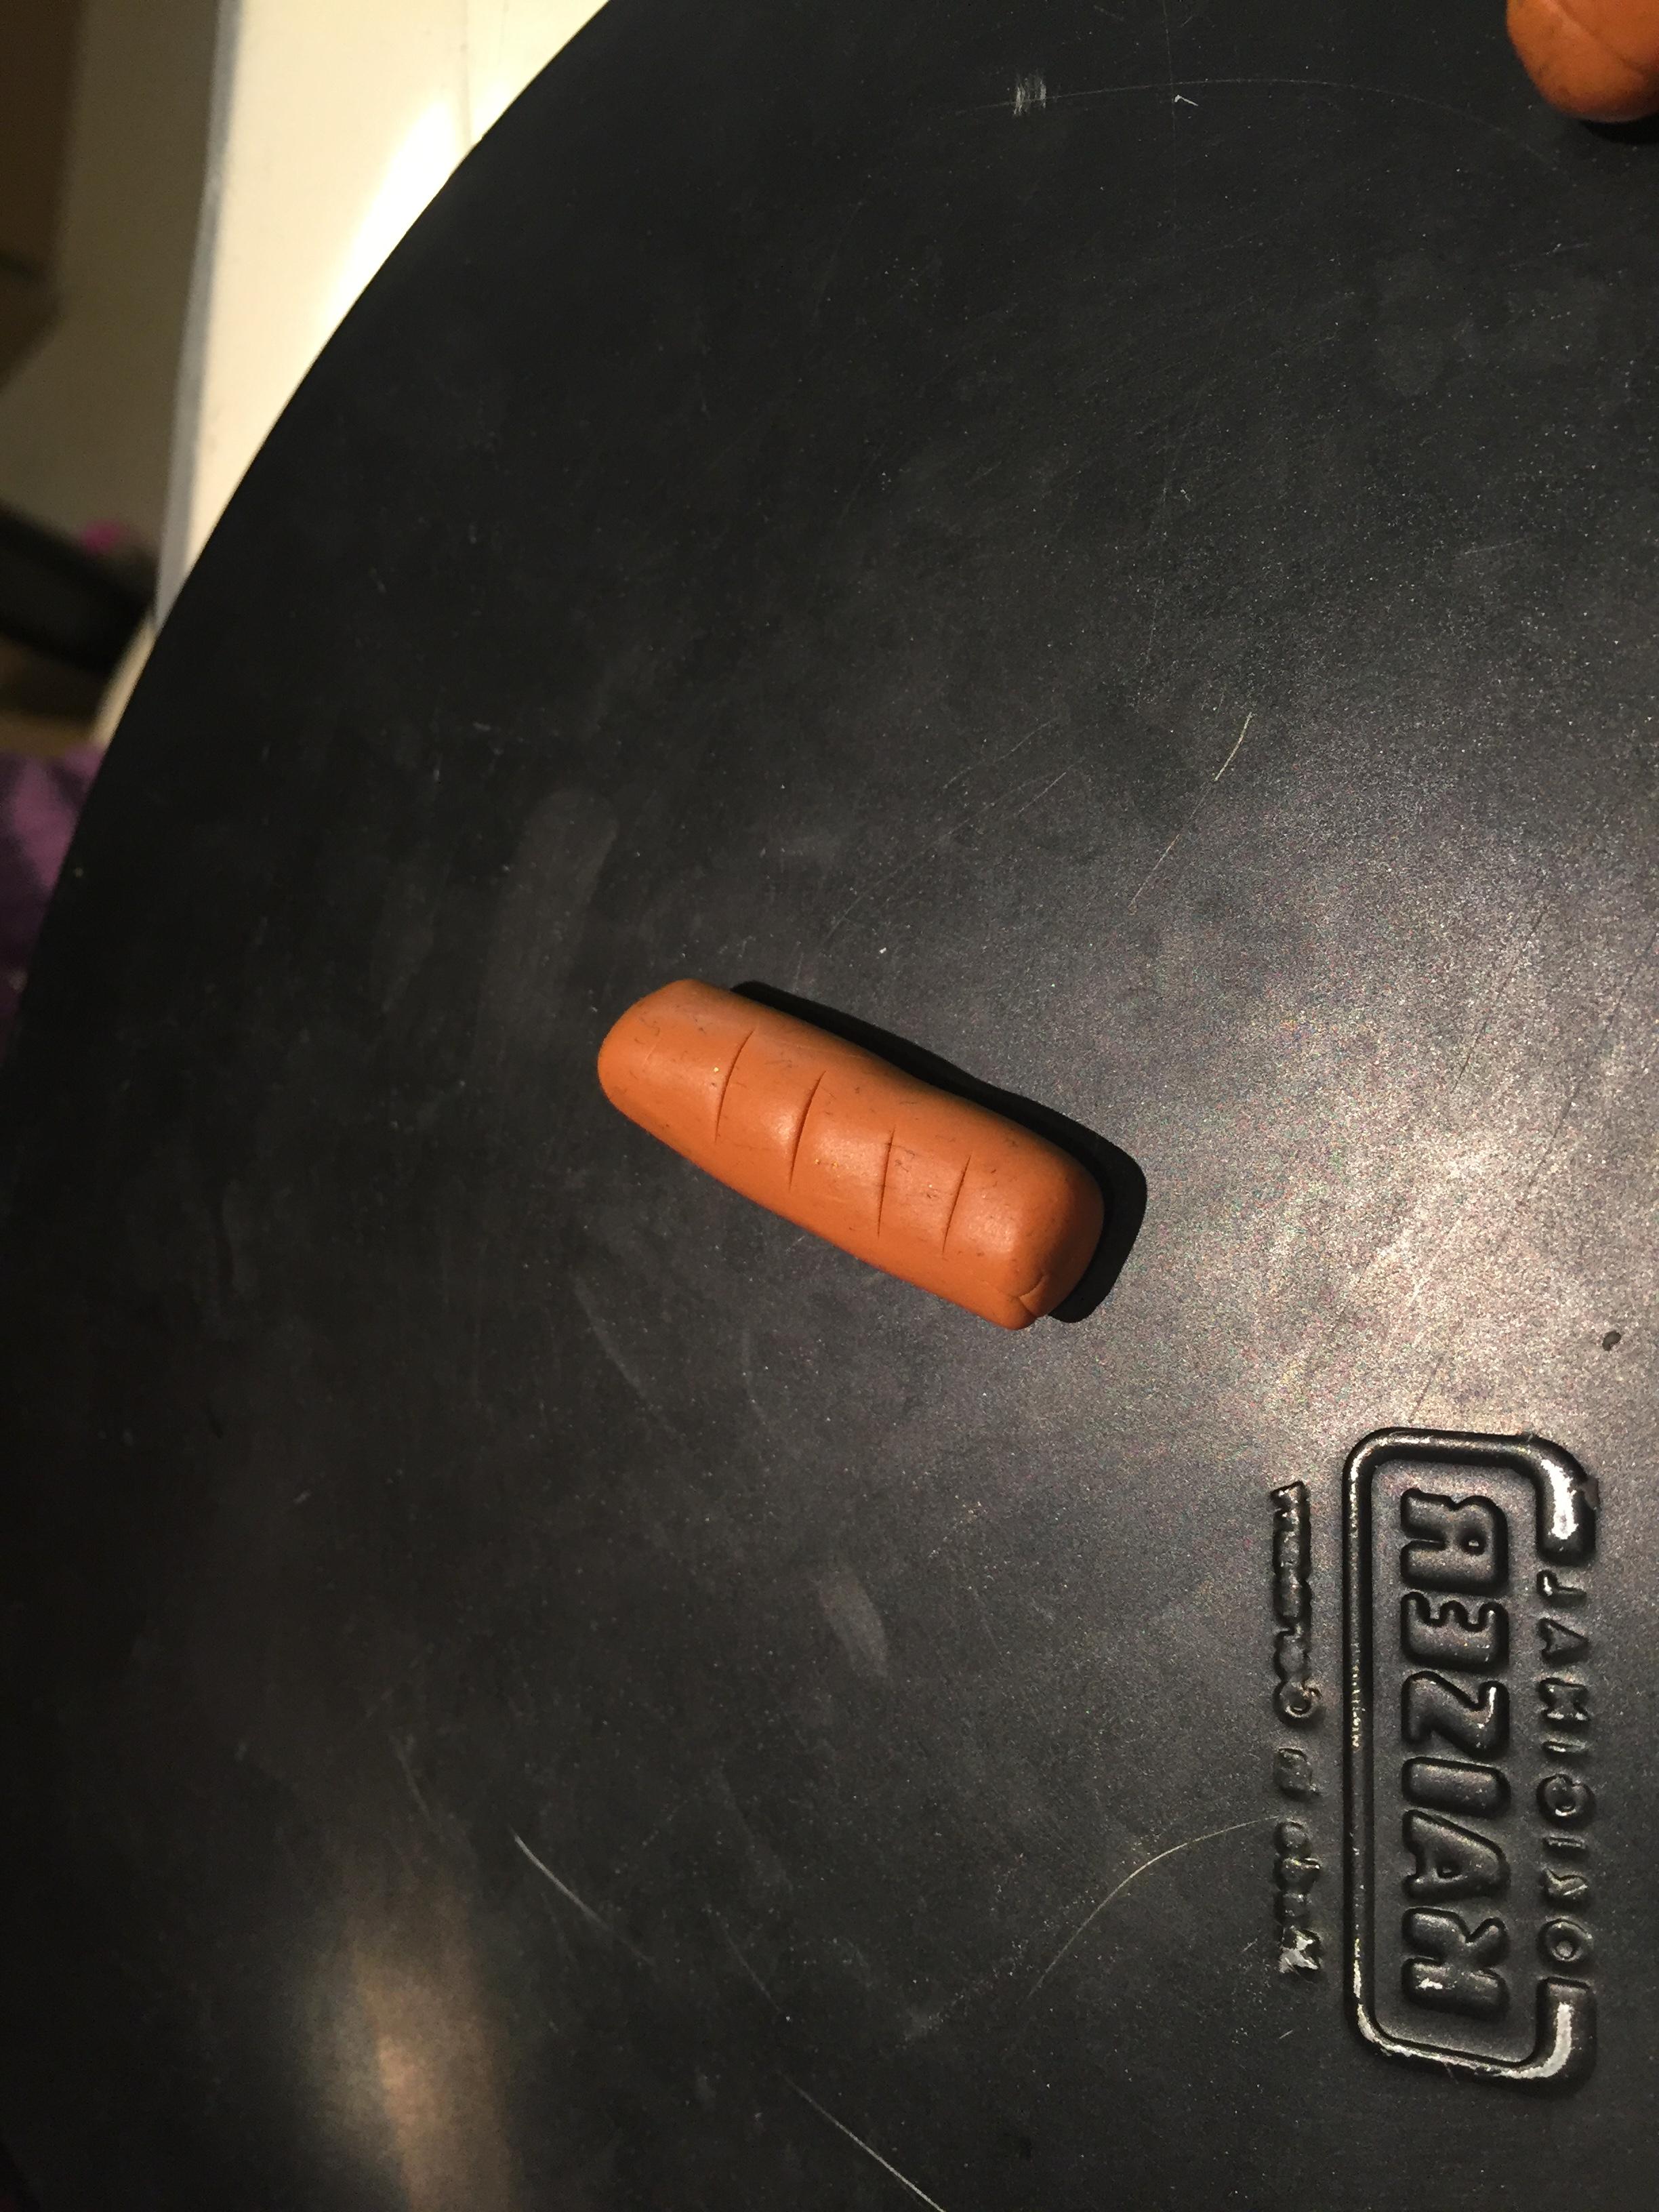
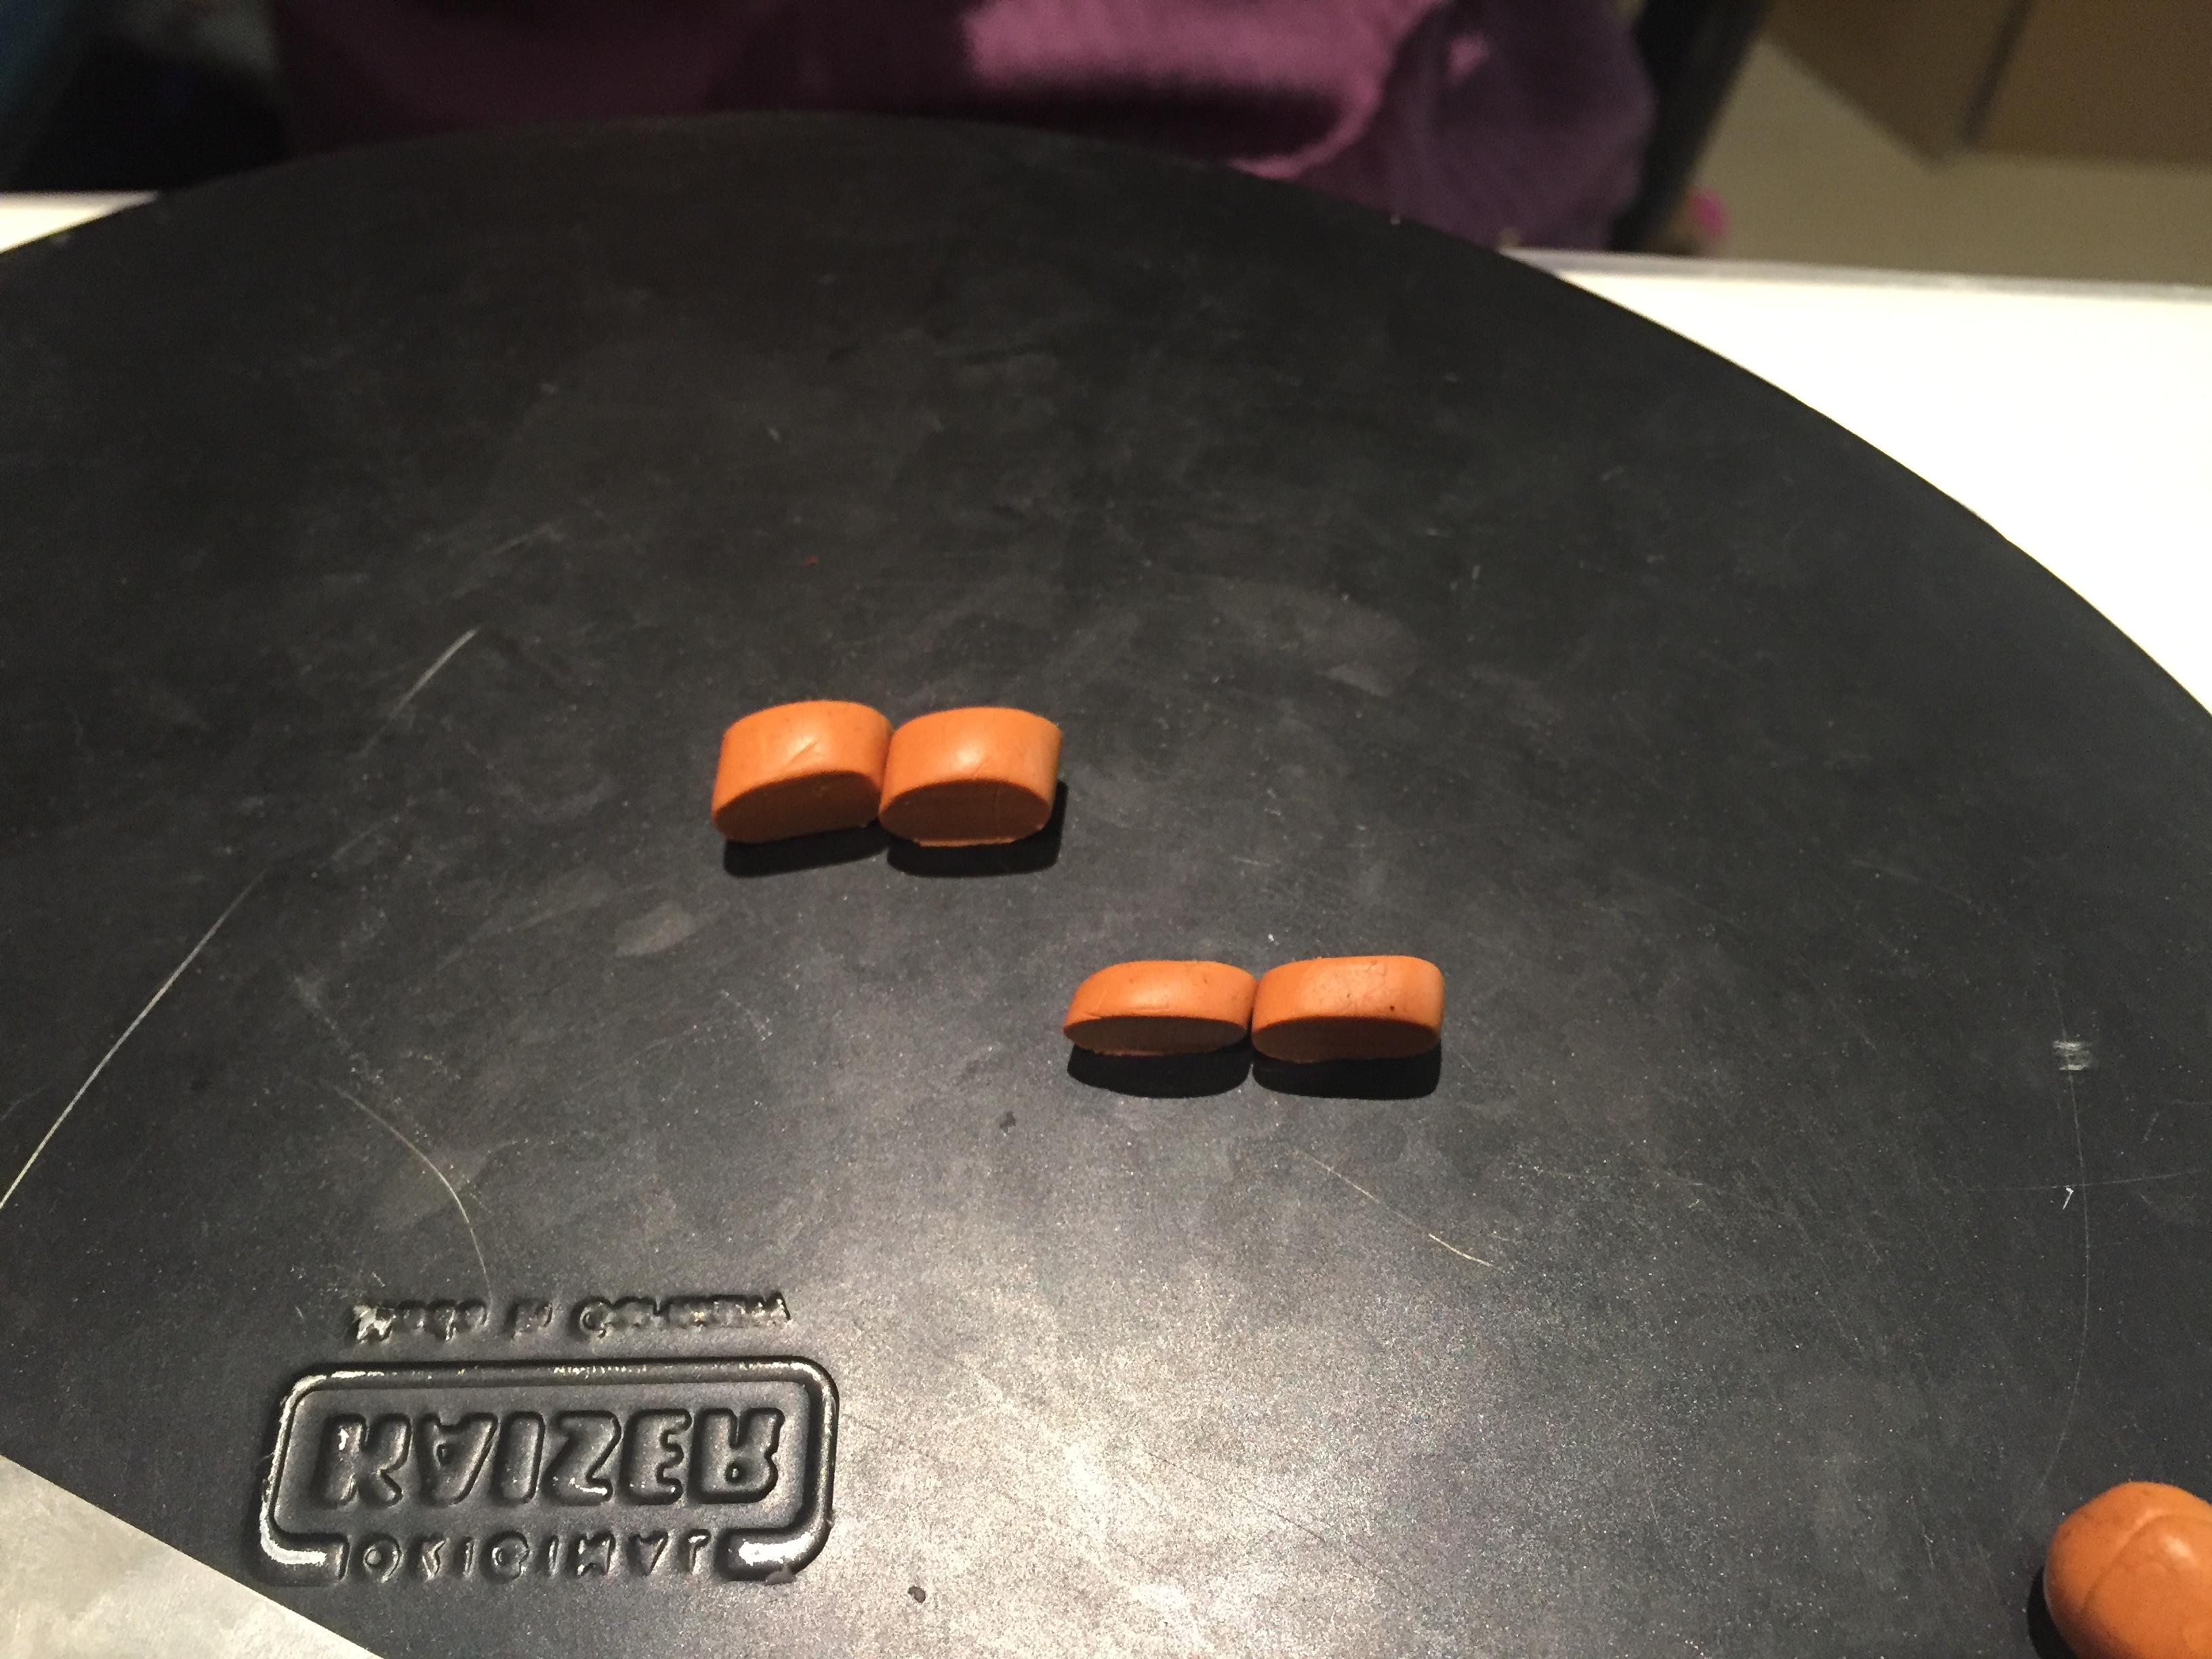


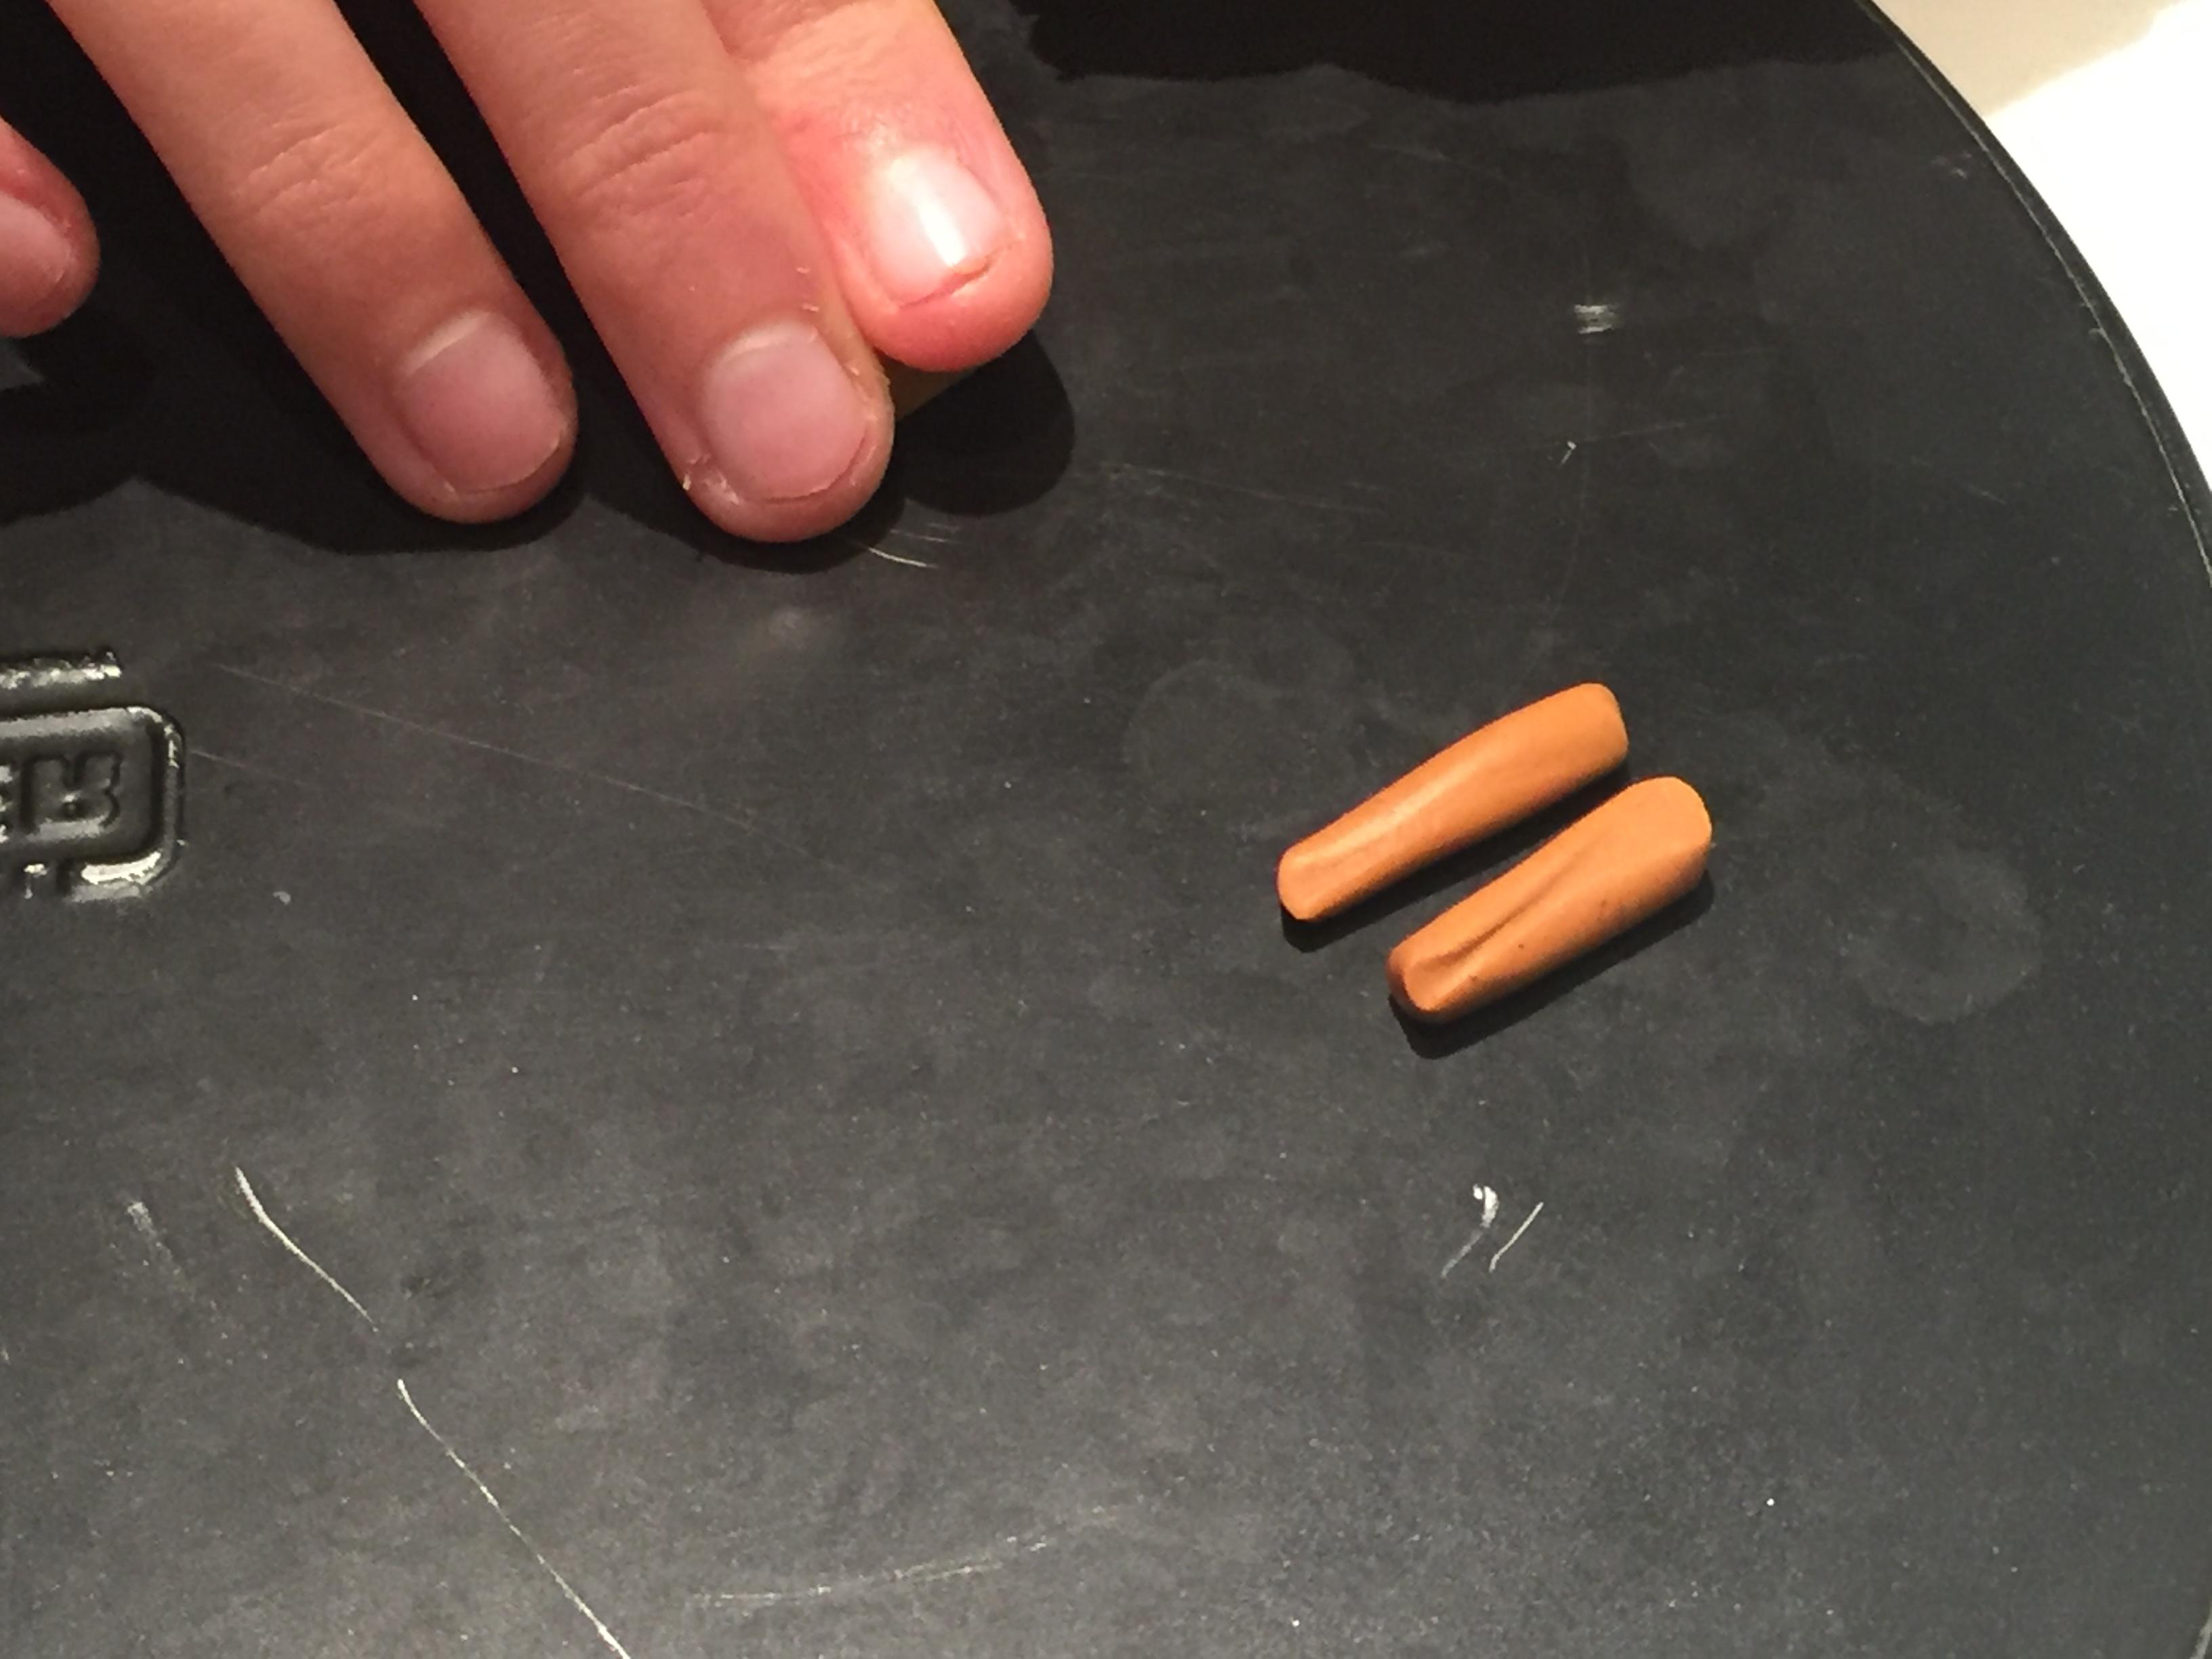
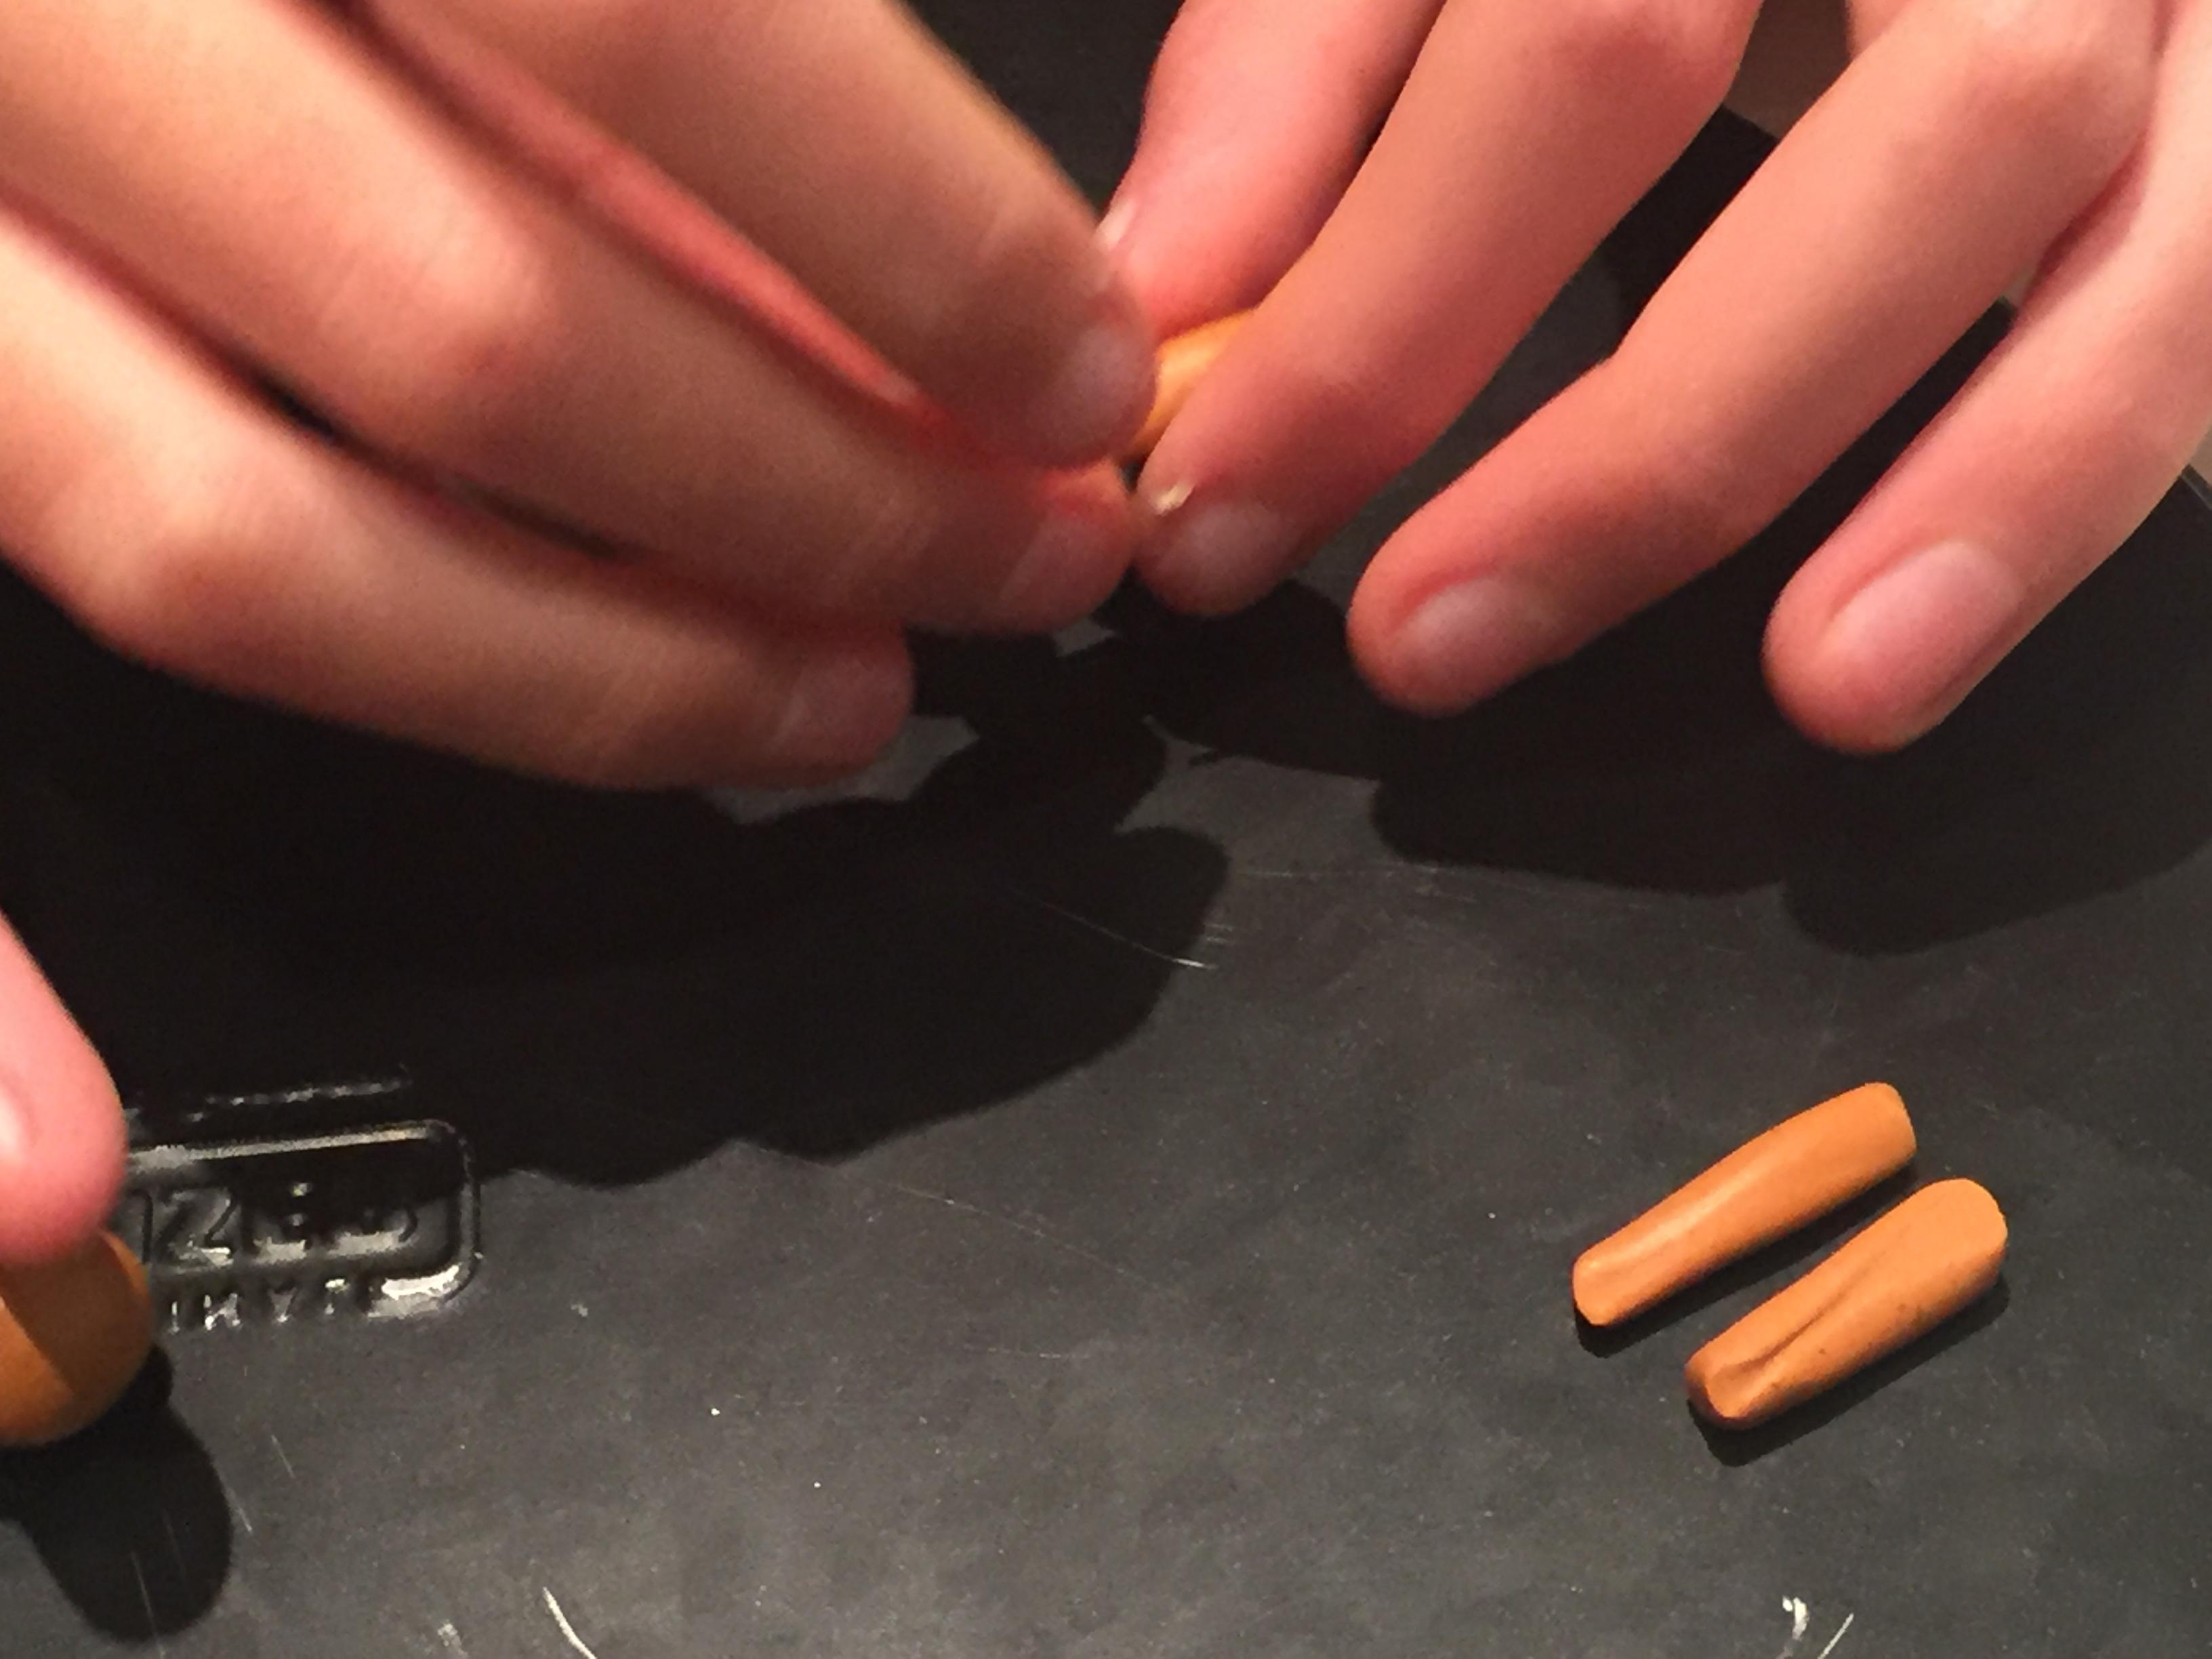
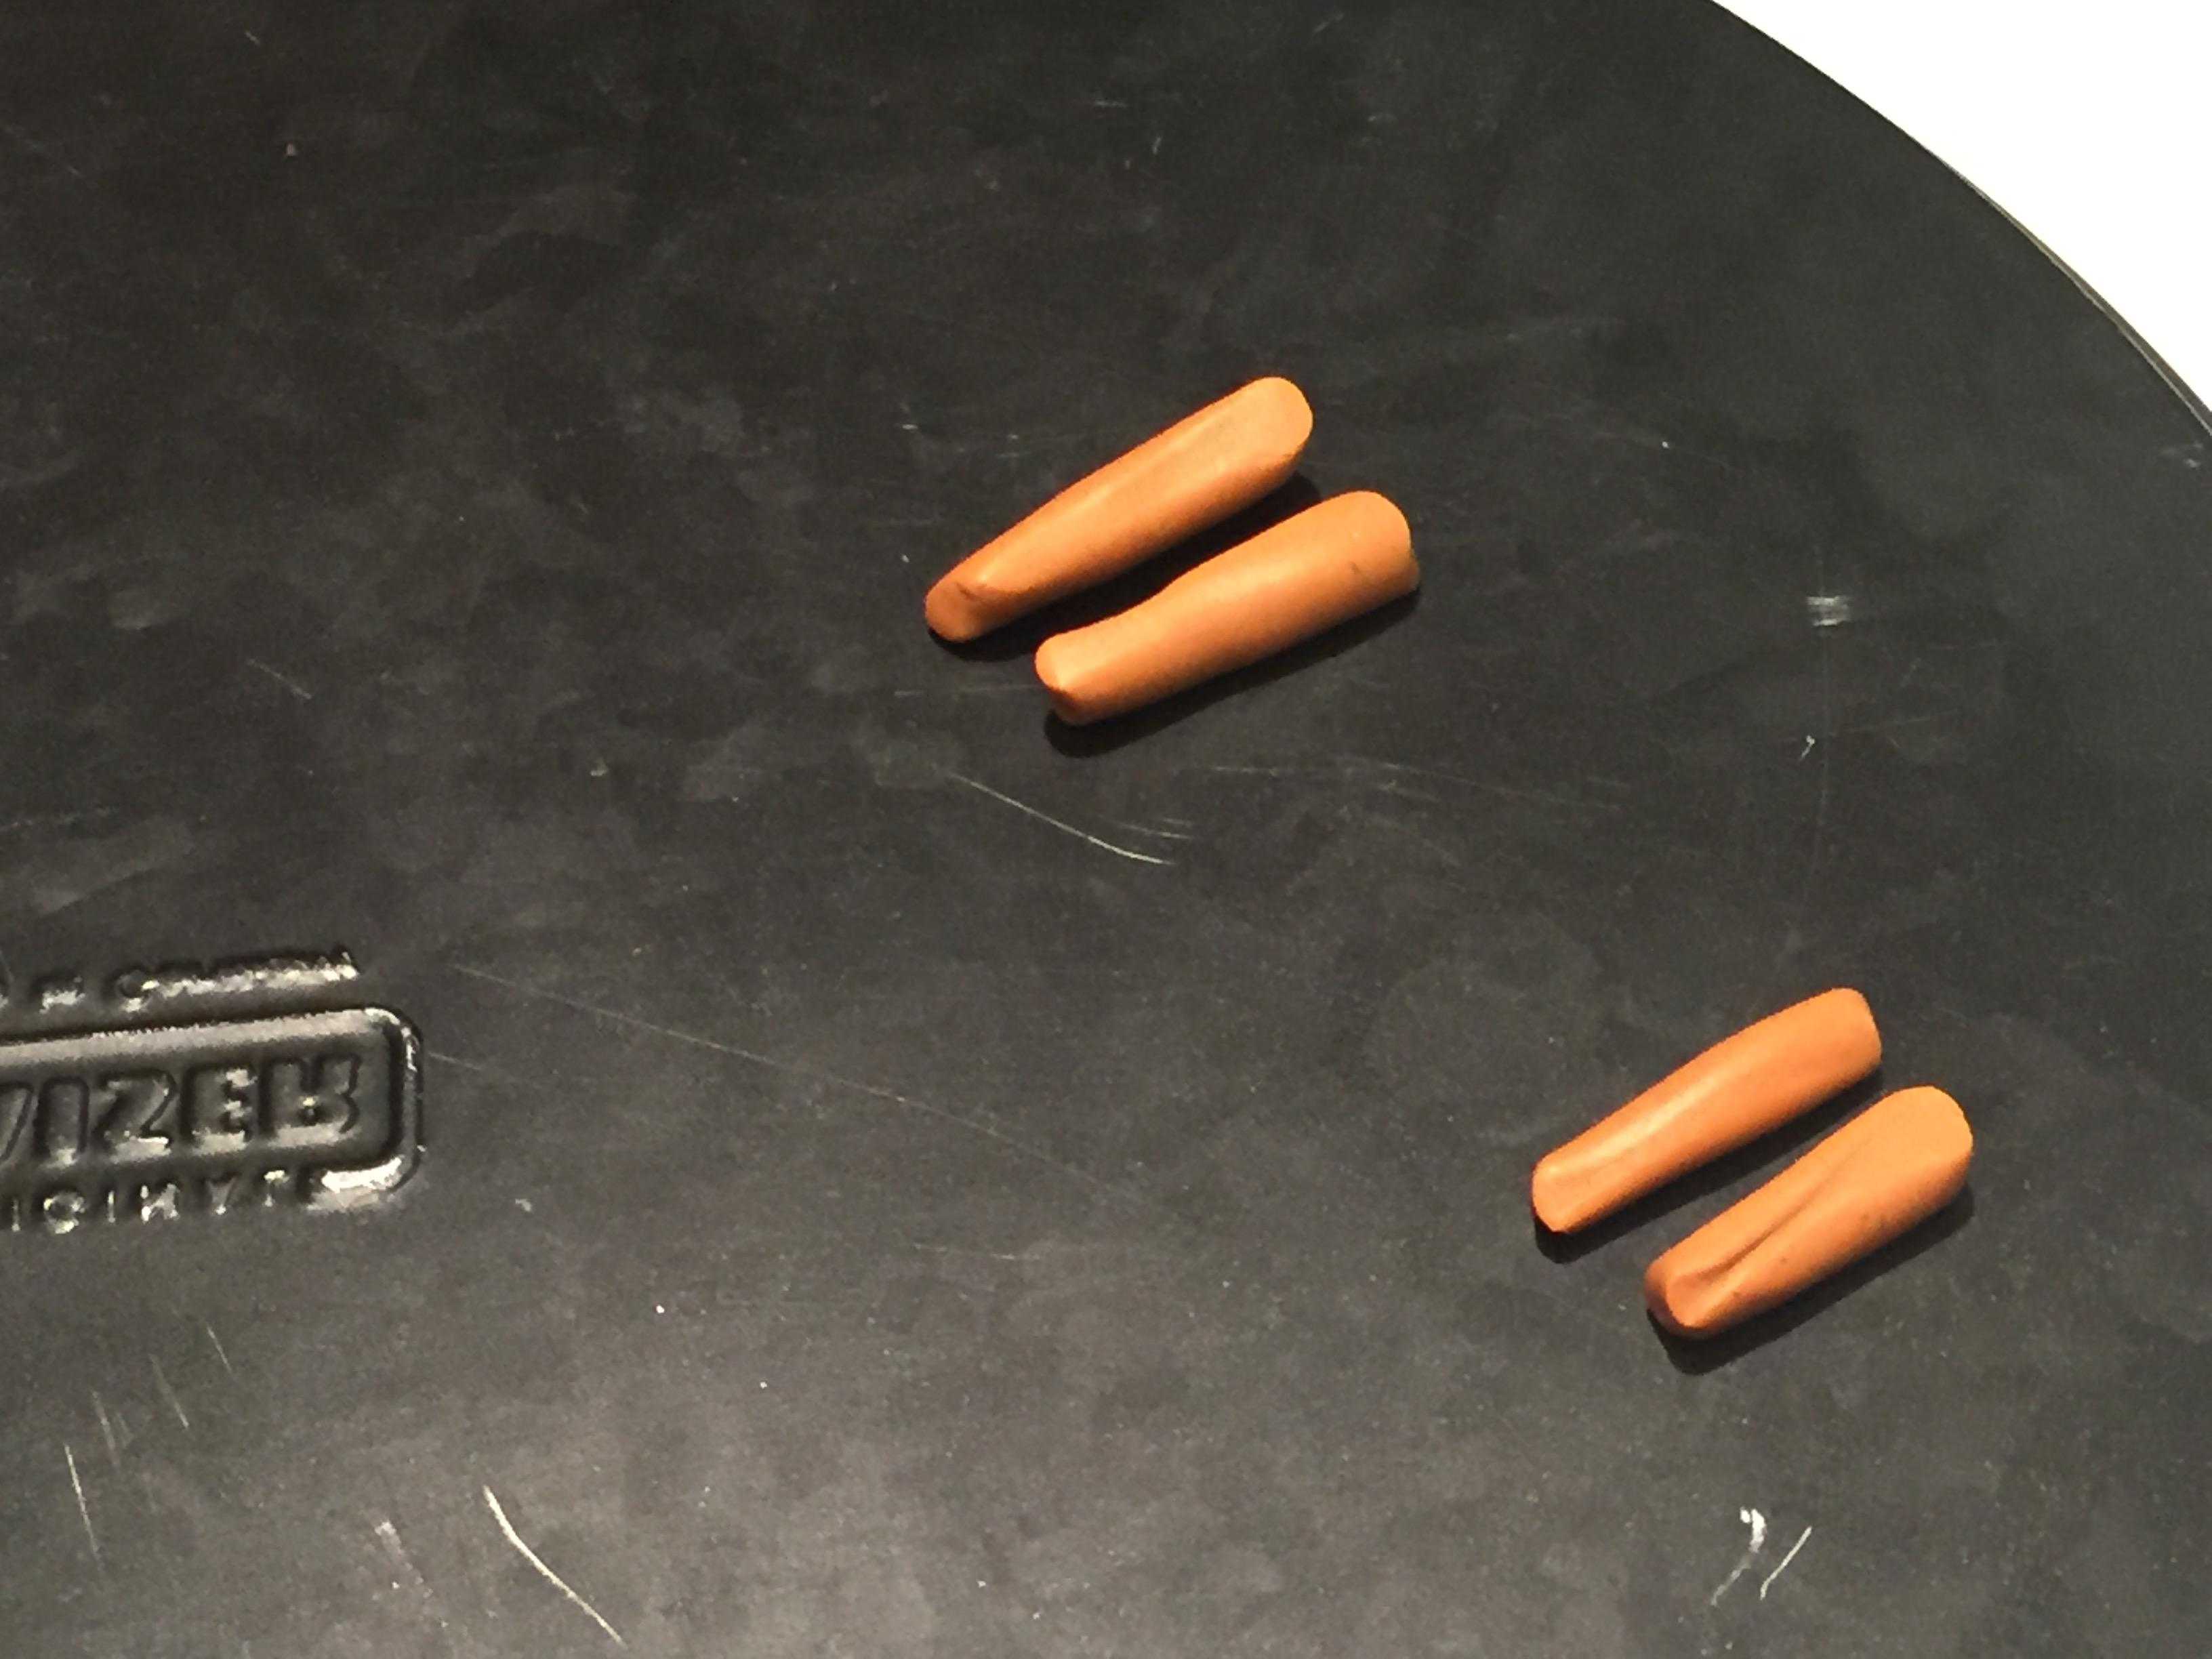

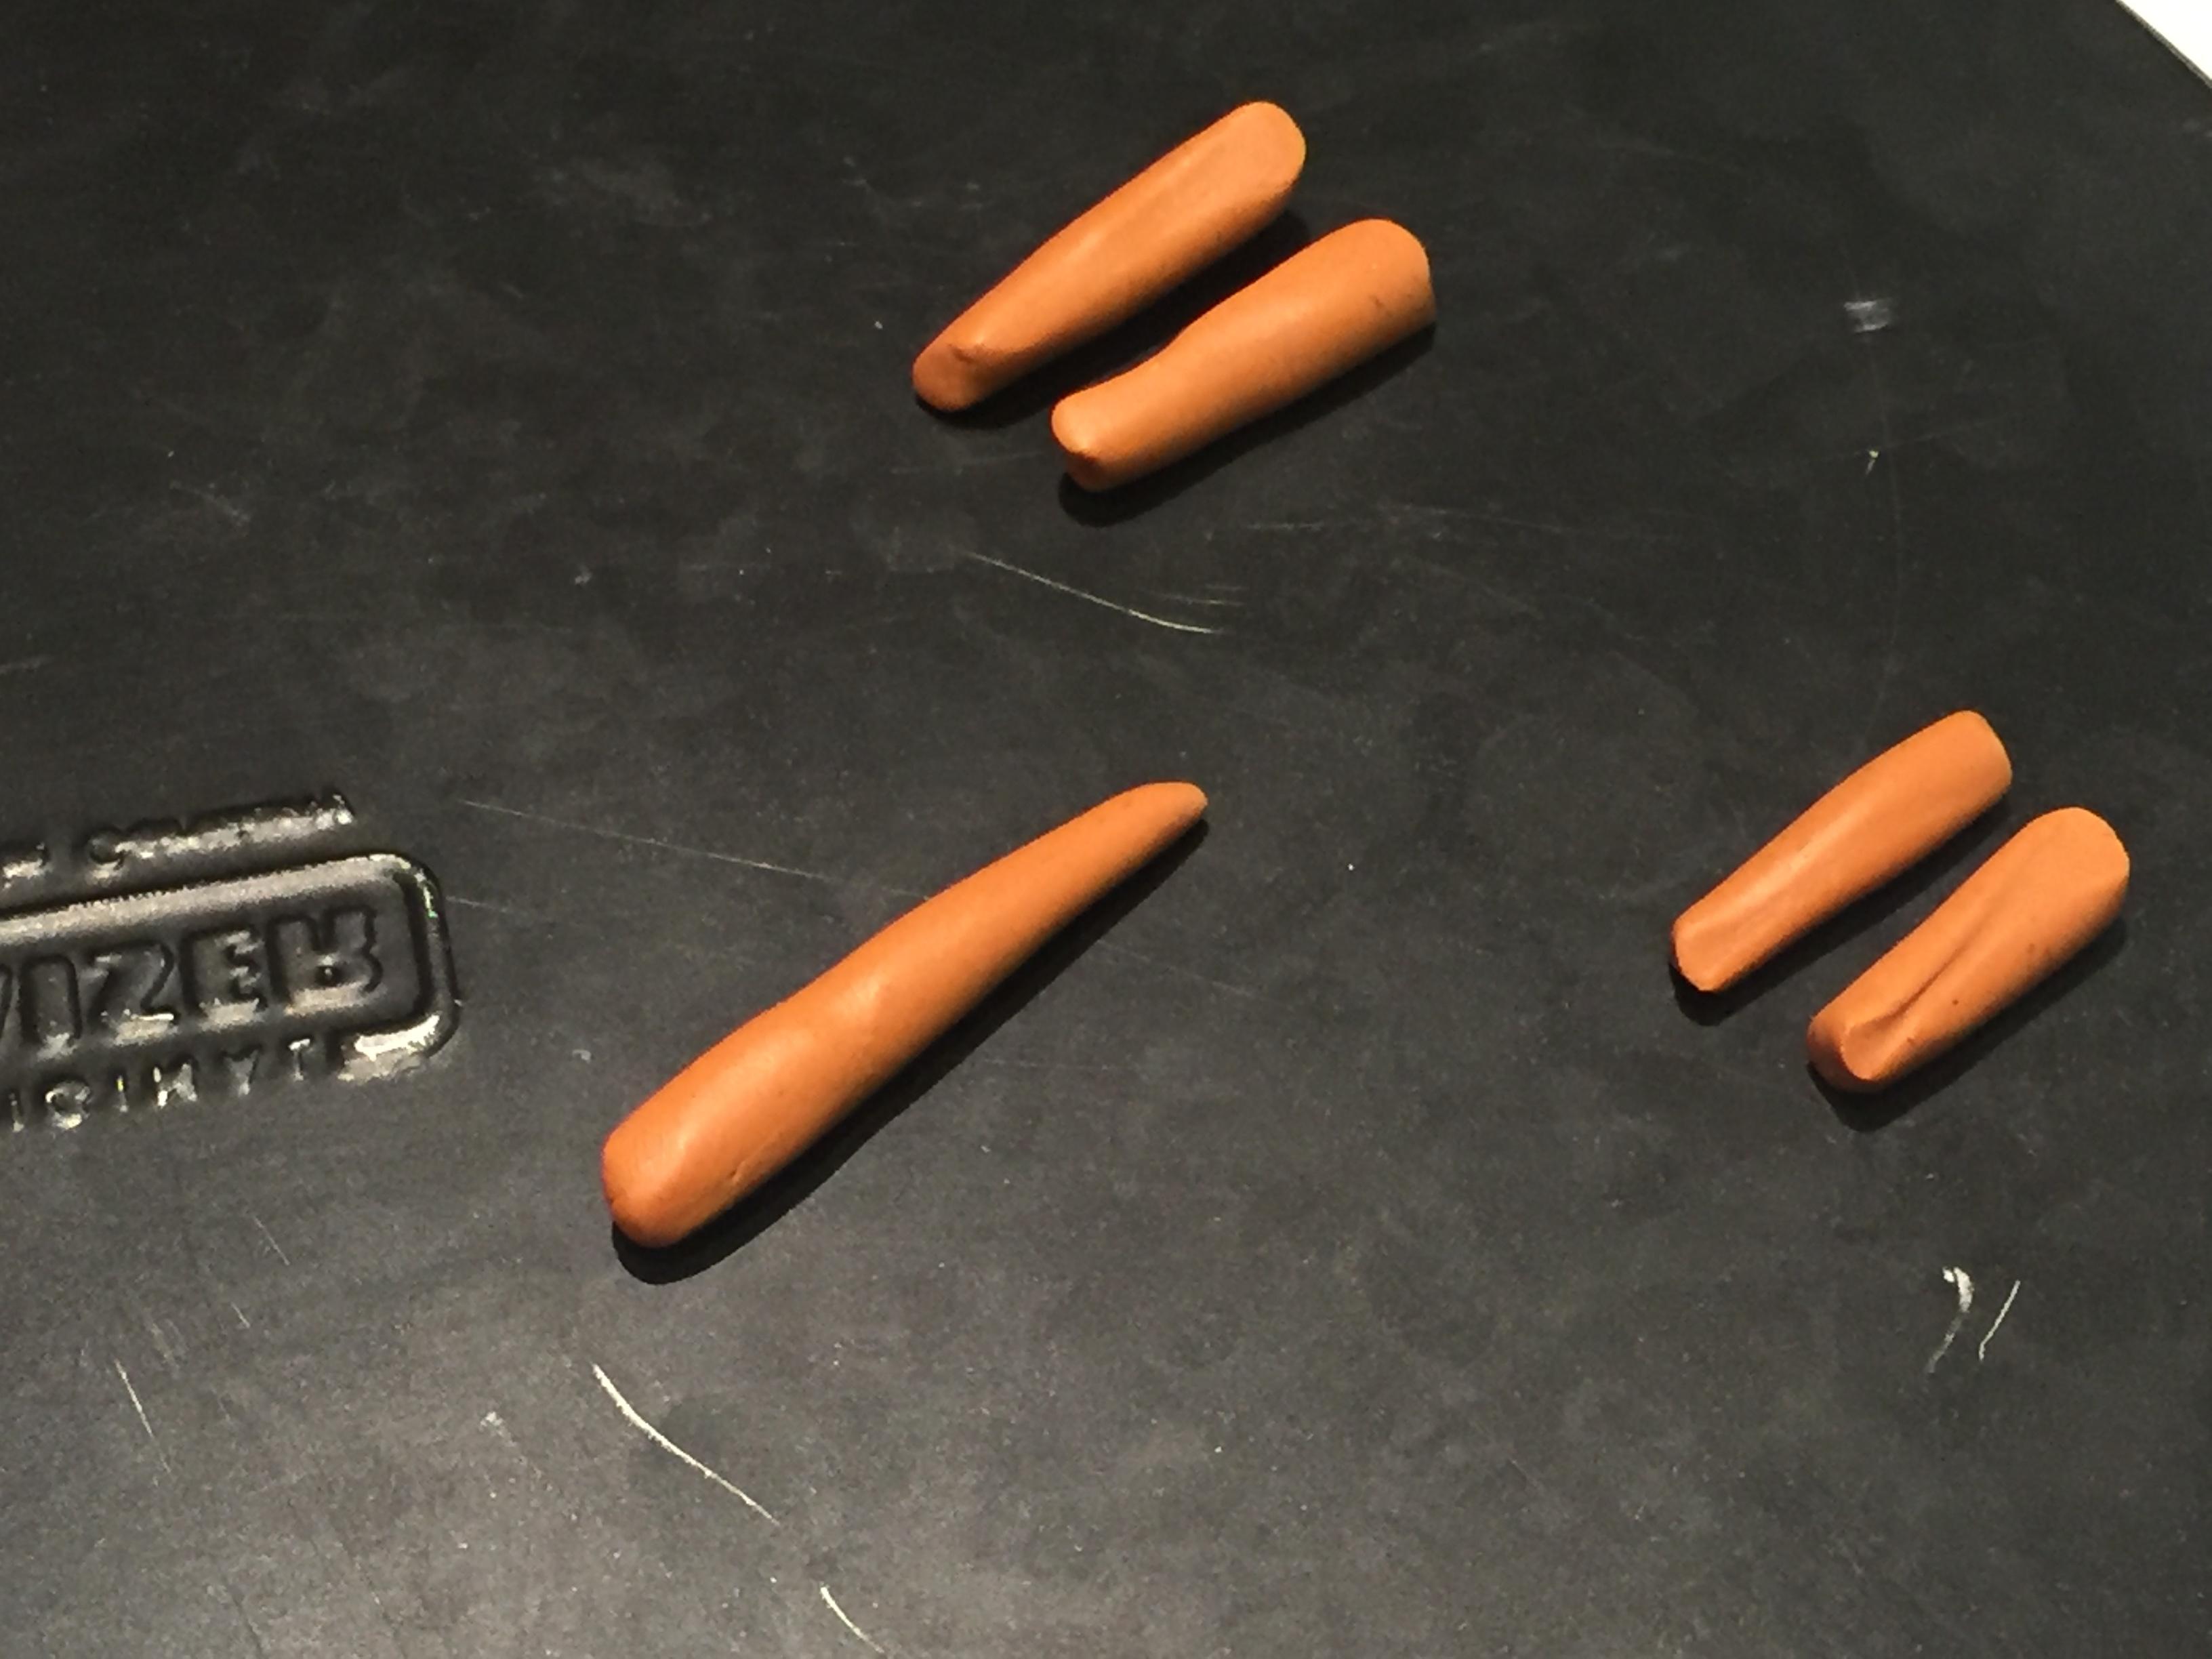
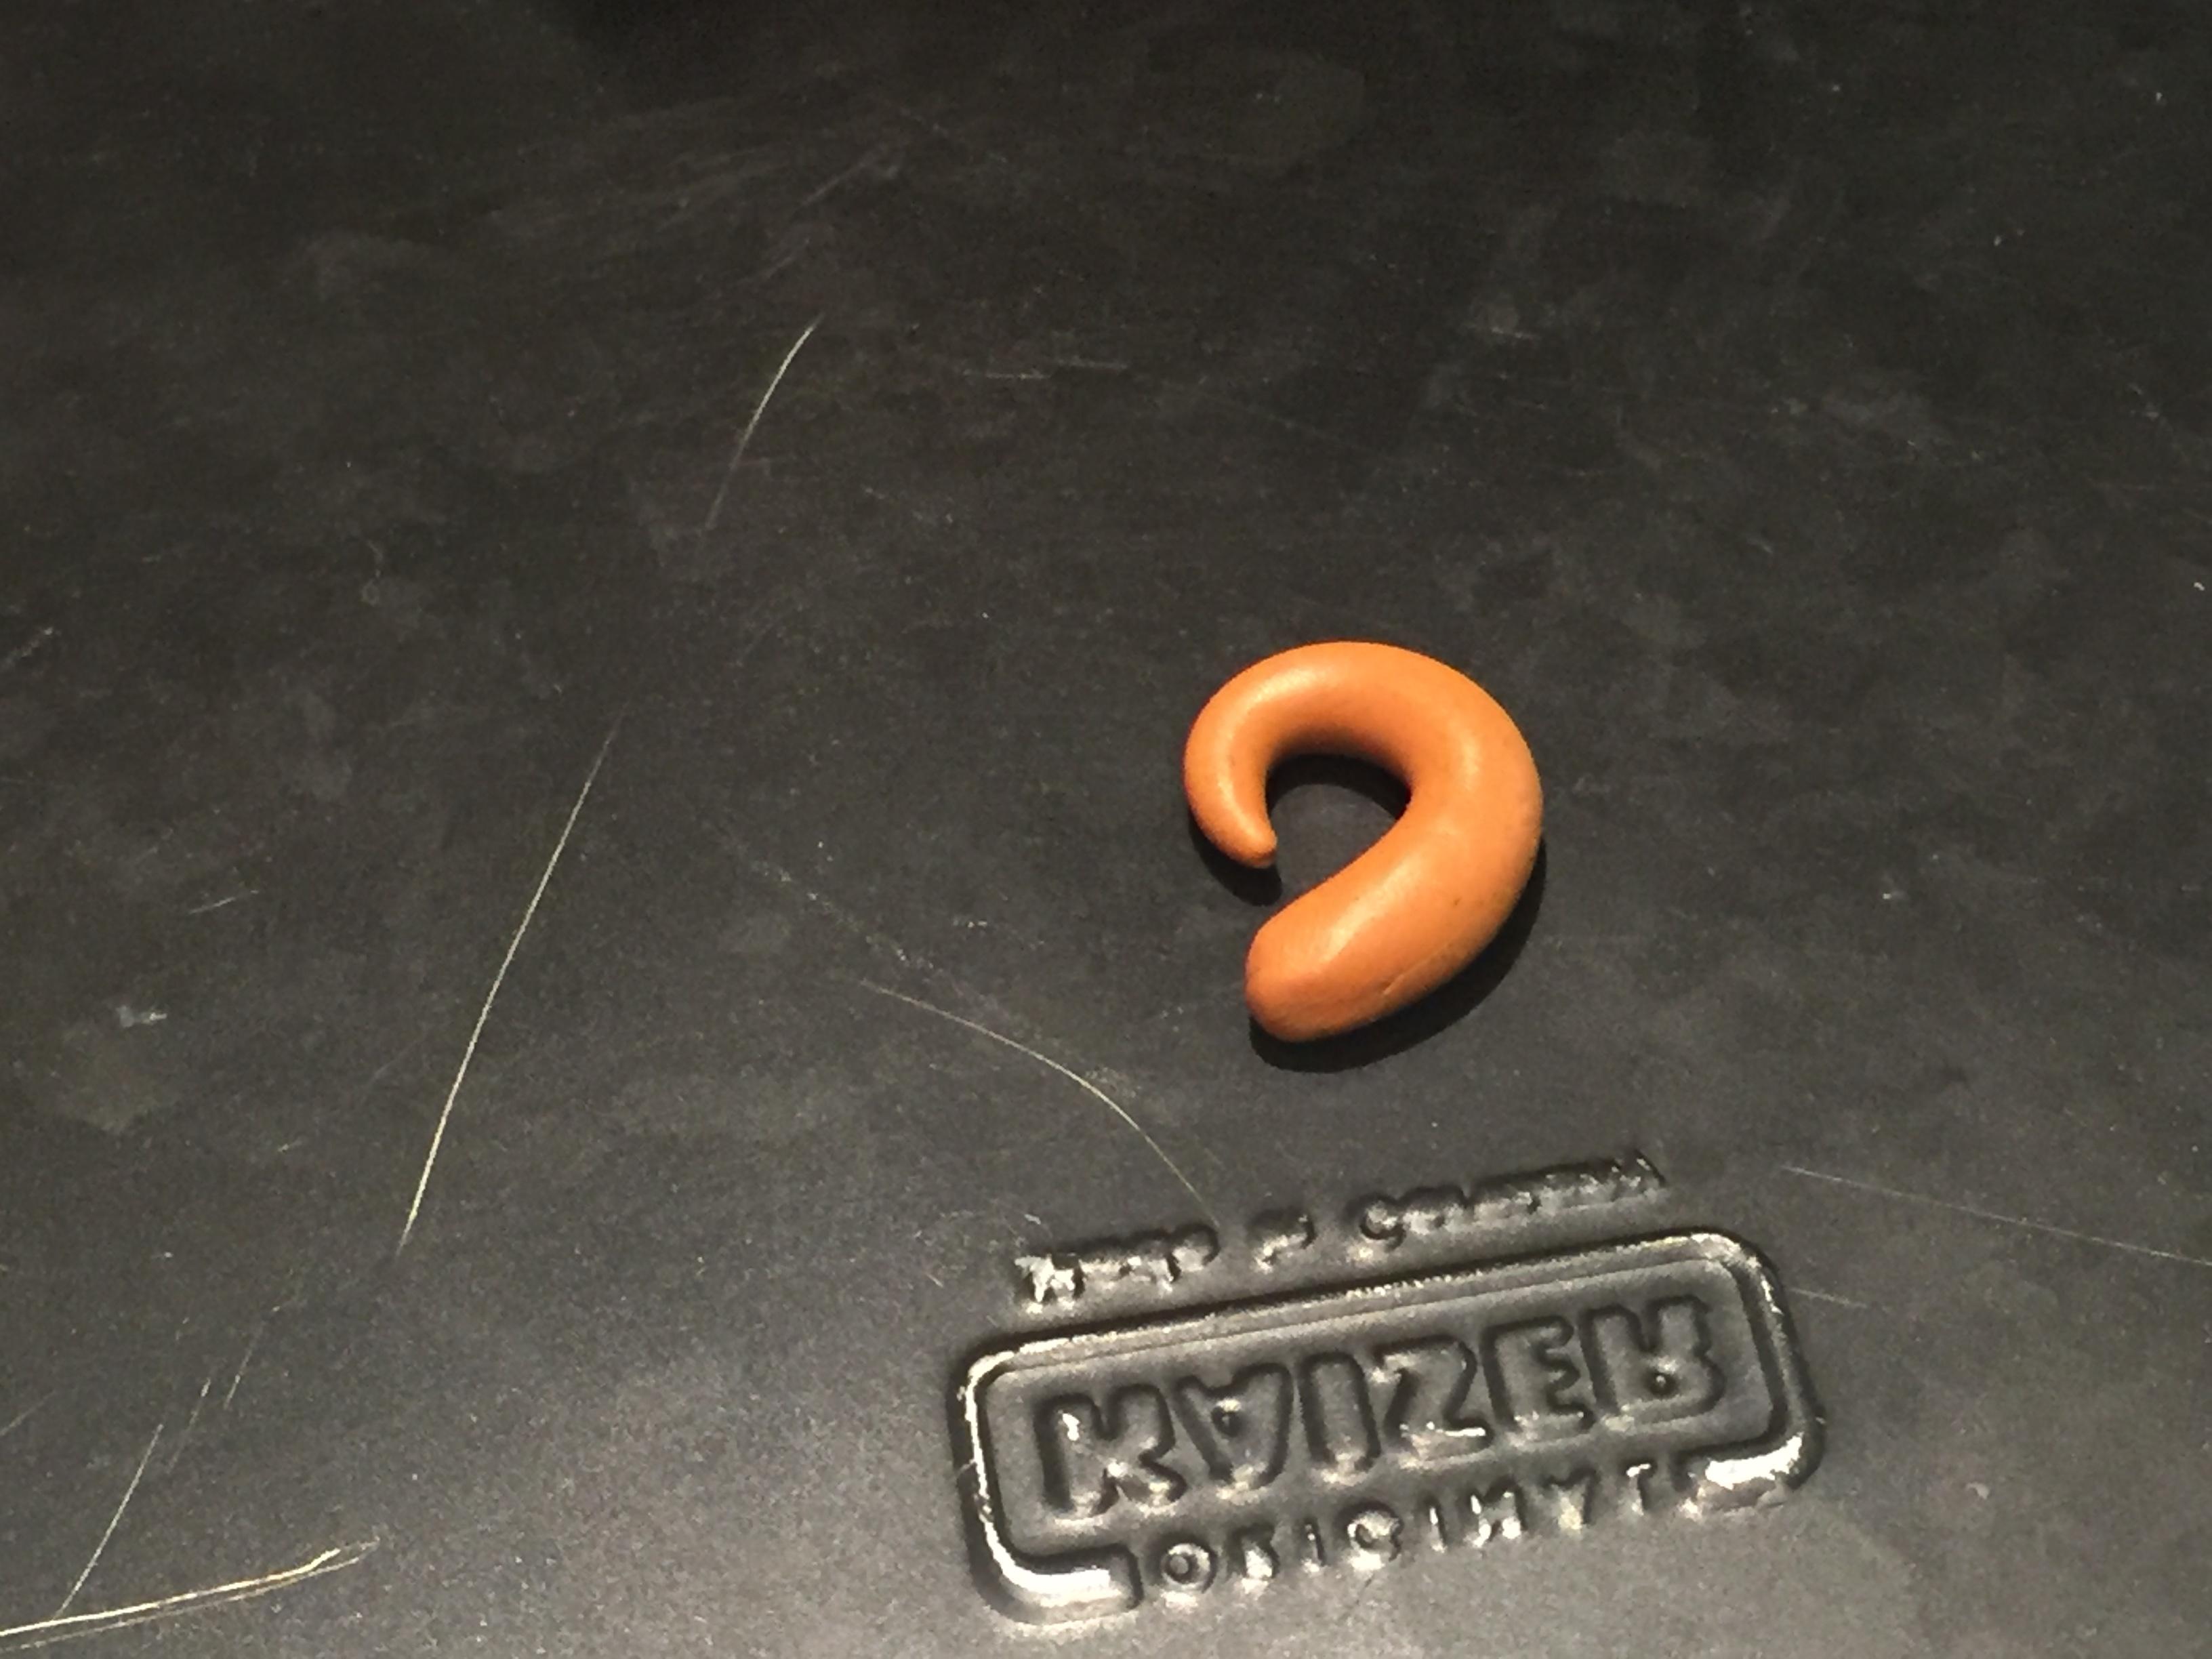
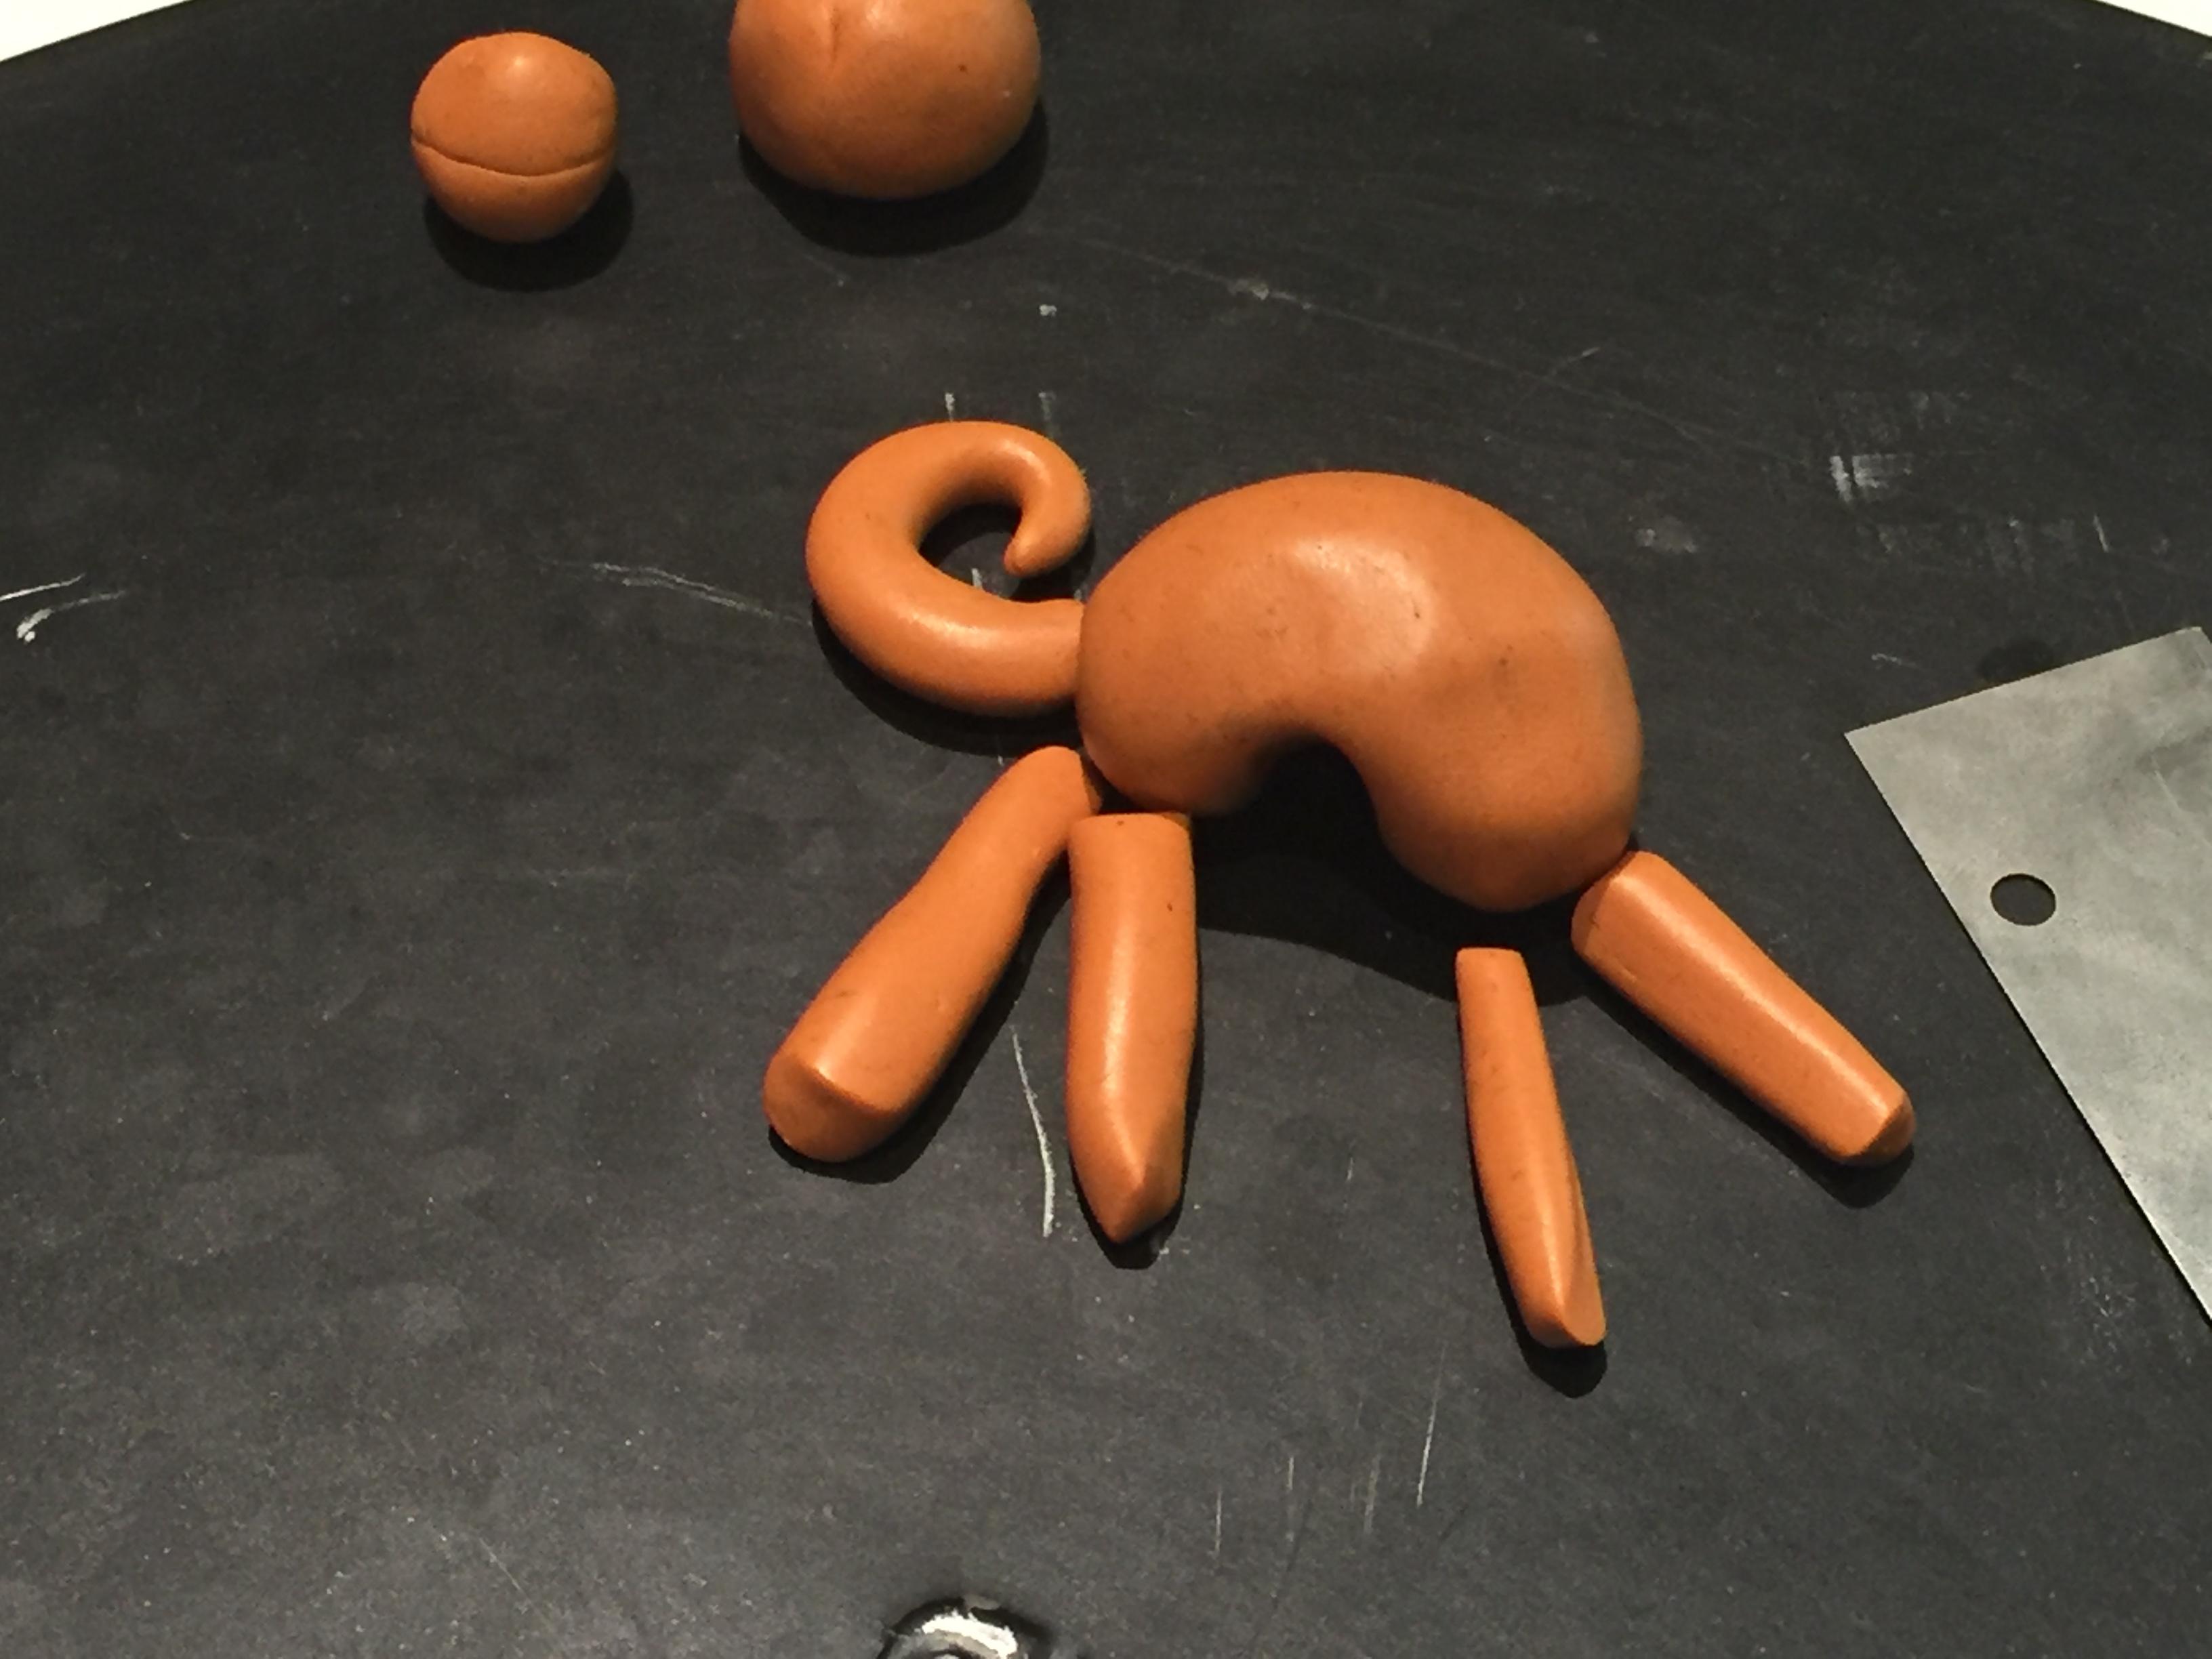


Take the largest of the remaining balls for the legs and tail.
- Cut it up into 5 pieces - 2 small, 2 medium and 1 large
- Roll each out into sausages. - the medium are the back legs, the small are the front legs and the largest is the tail.
- make the tail pointy at one end and roll it up into a shiba-inu tail/ tea bag hook.
- use the needle to add paw like shape to the back legs.
Making the Head and Ears


Use the largest ball from the 2 remaining balls.
- cut into 3 pieces - 2 small and 1 large like the picture.
- The large will be the head, the small ones are the ears.
- Shape the large piece into a head with a muzzle (see pictures).
- Shape each of the ears into a triangle, with a slight fold.
White Fur
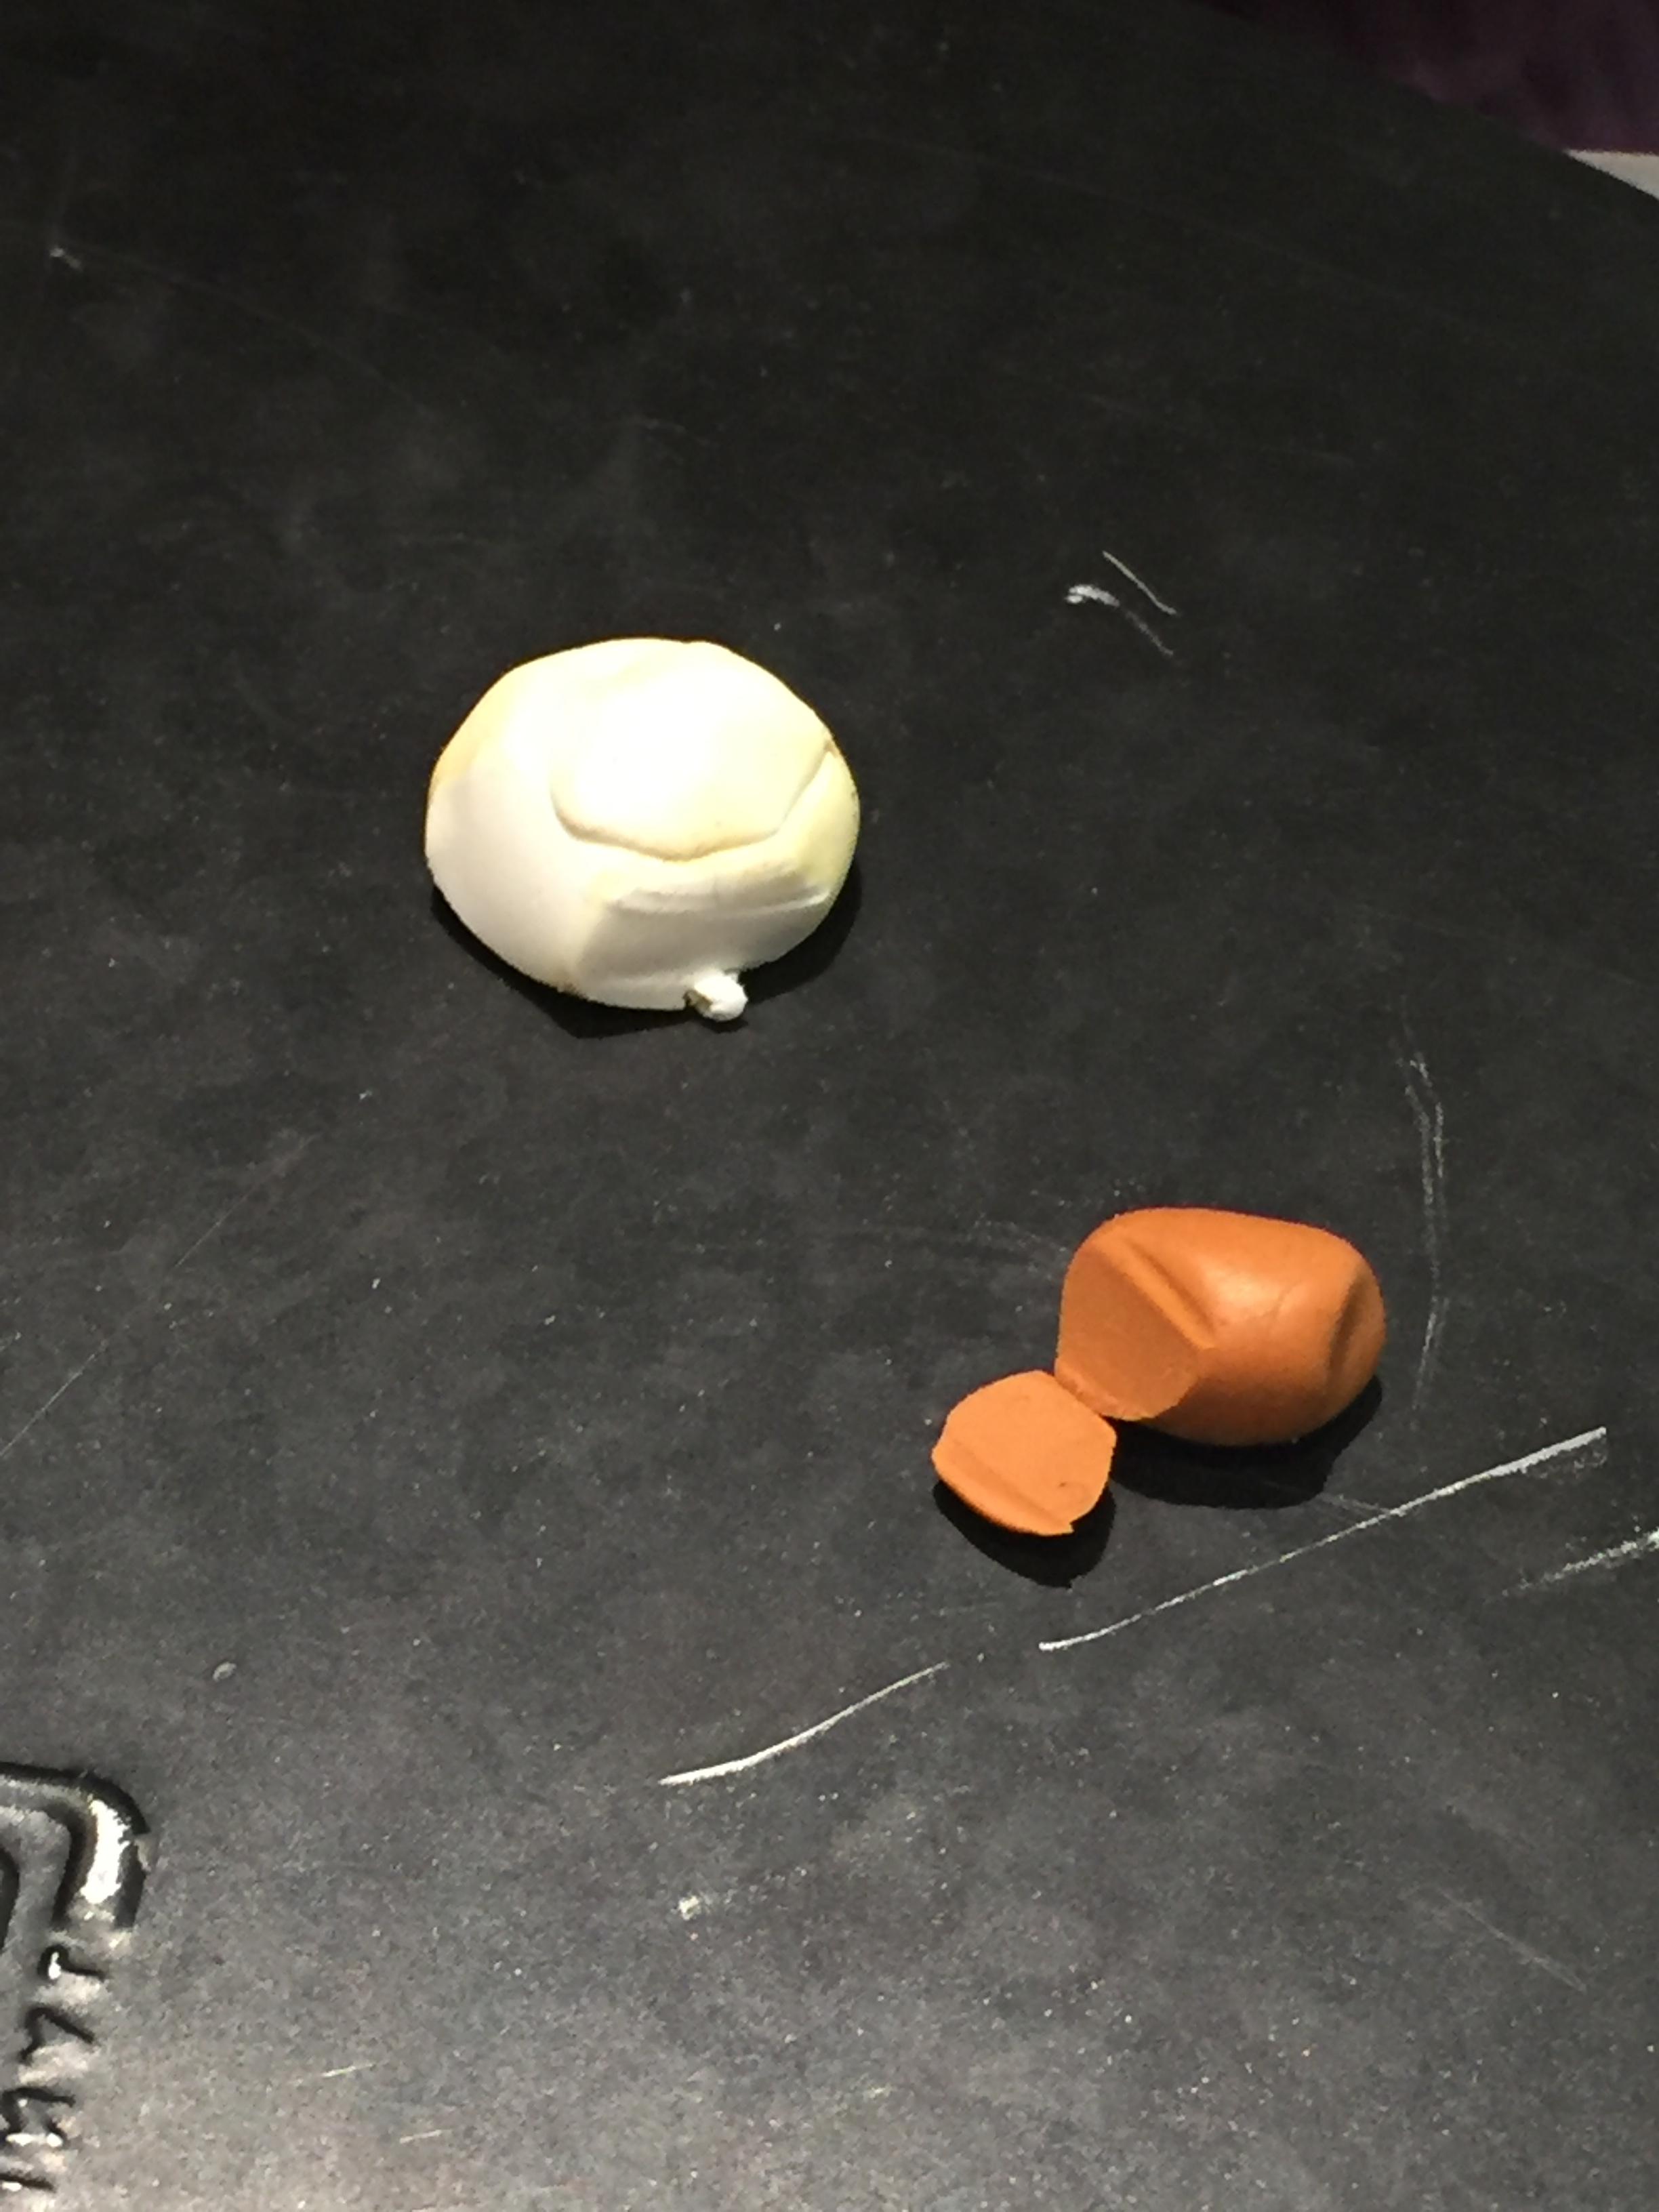
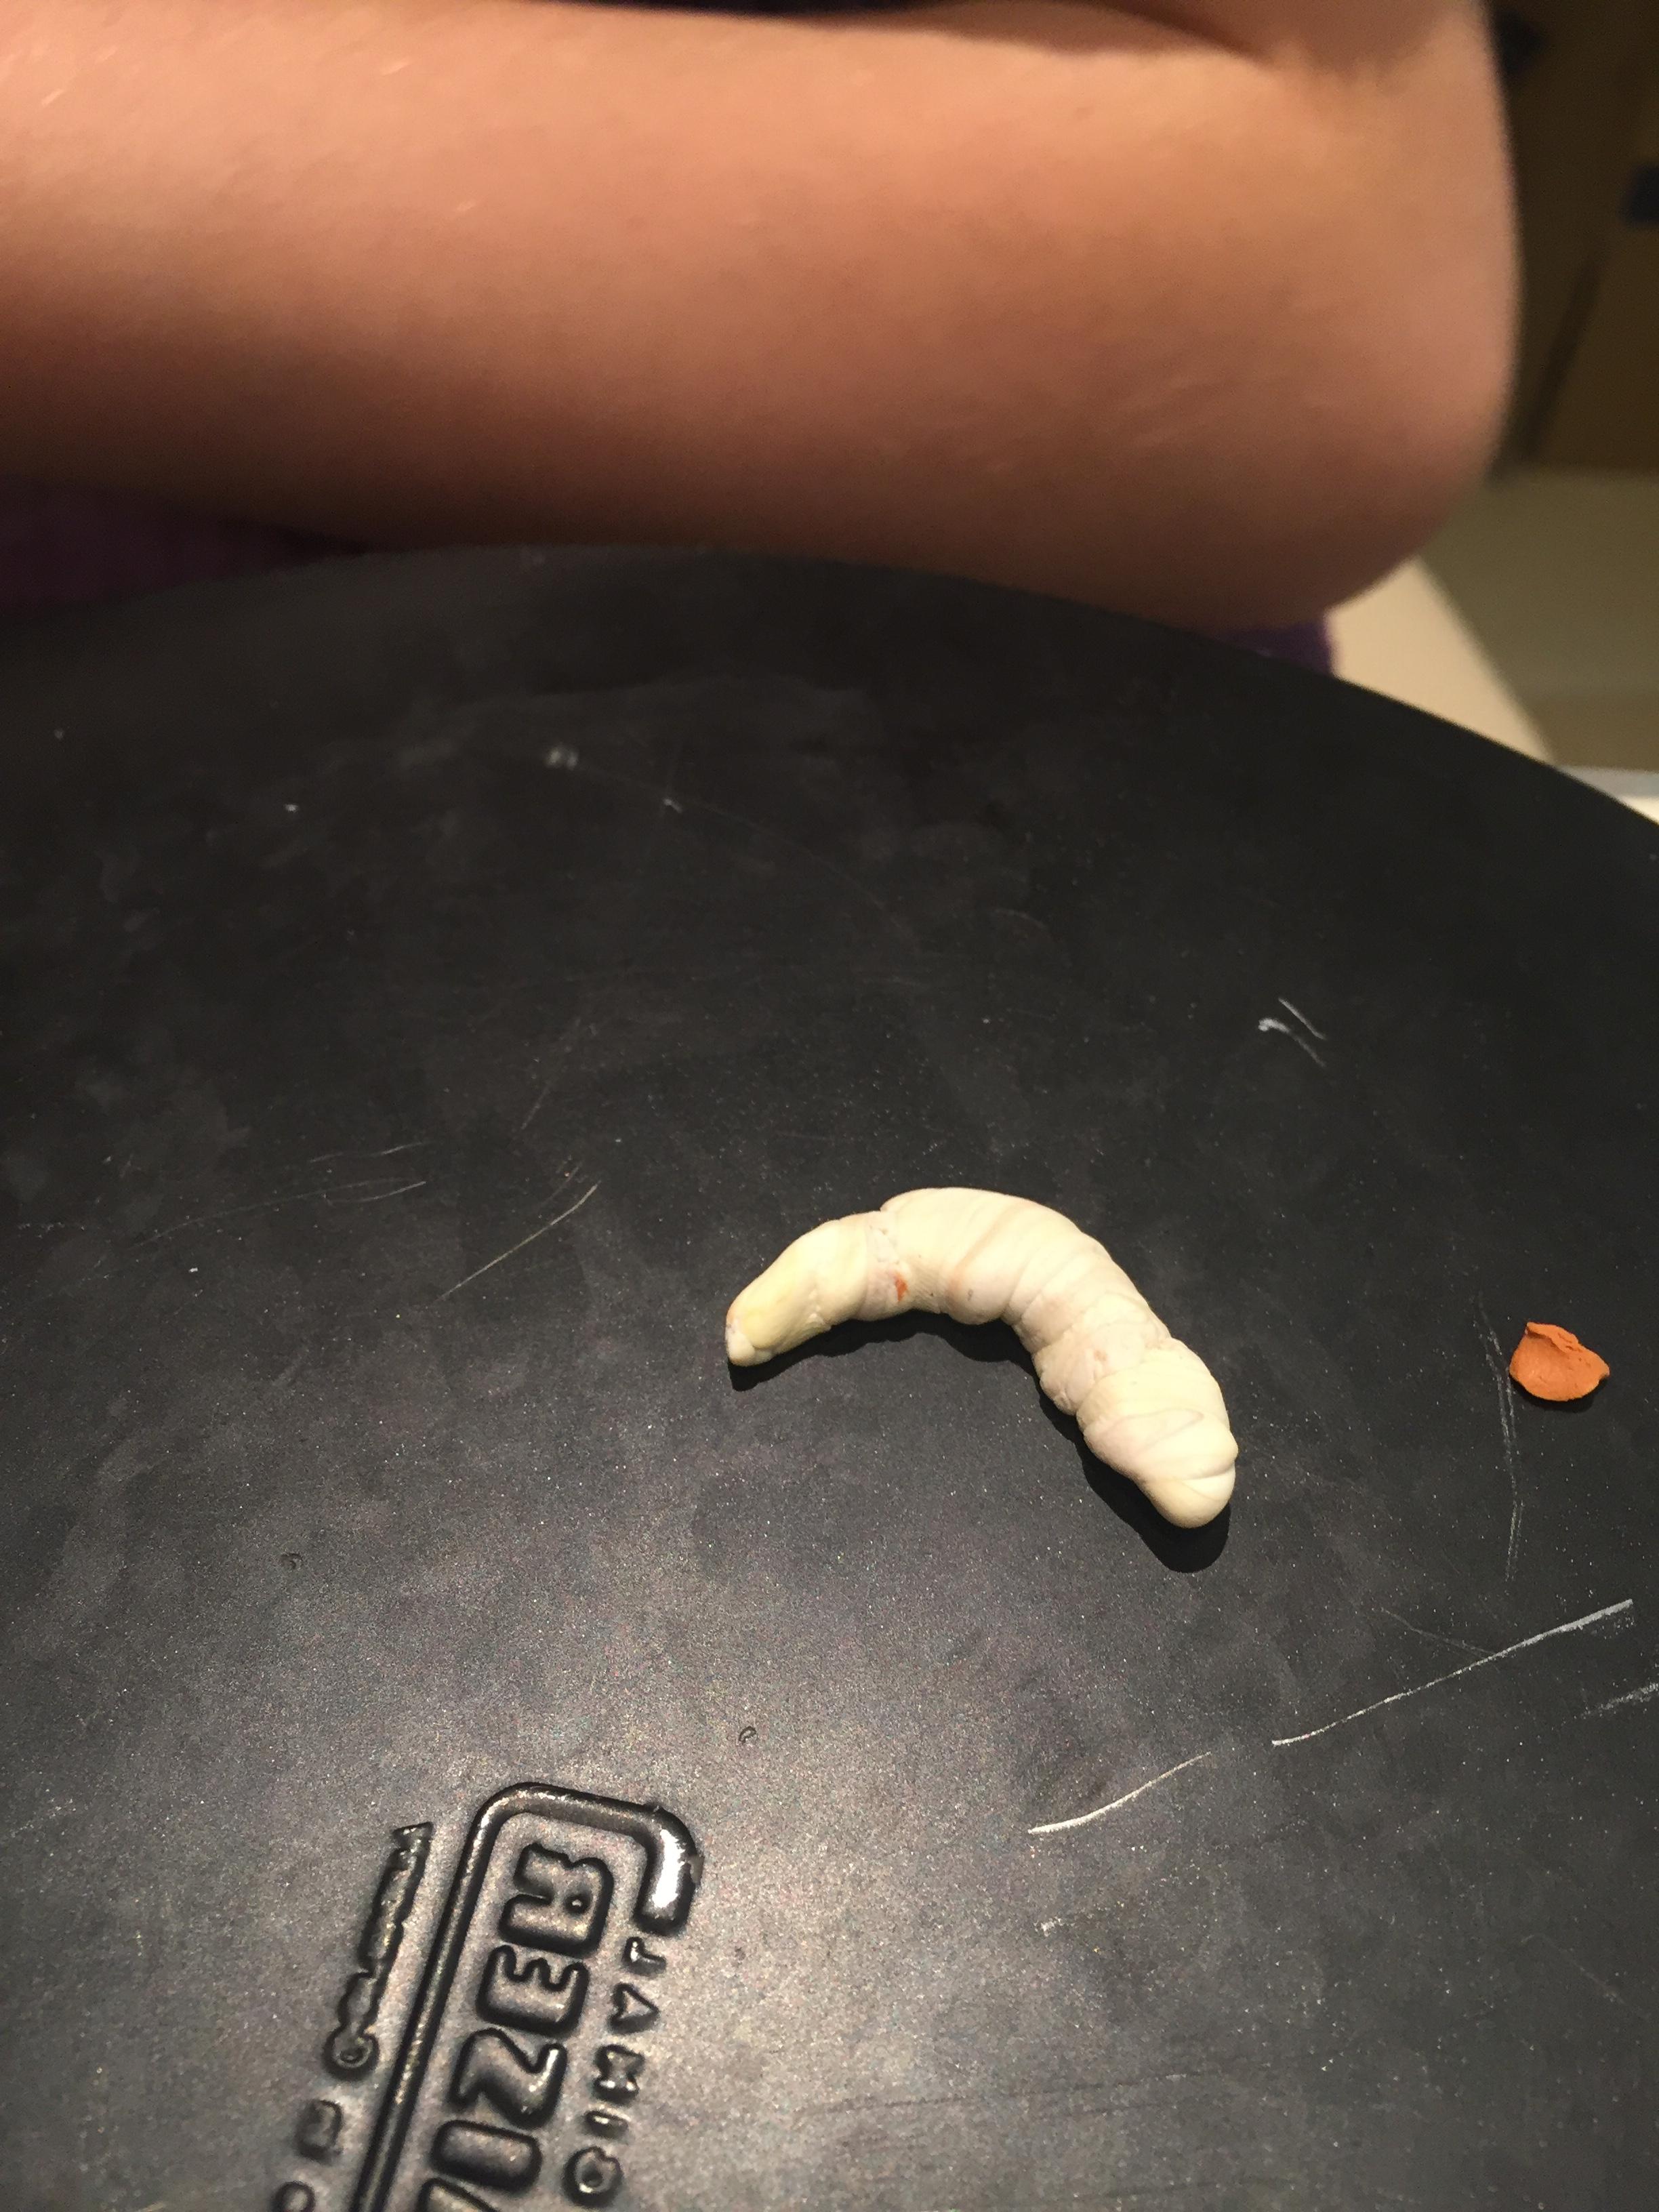

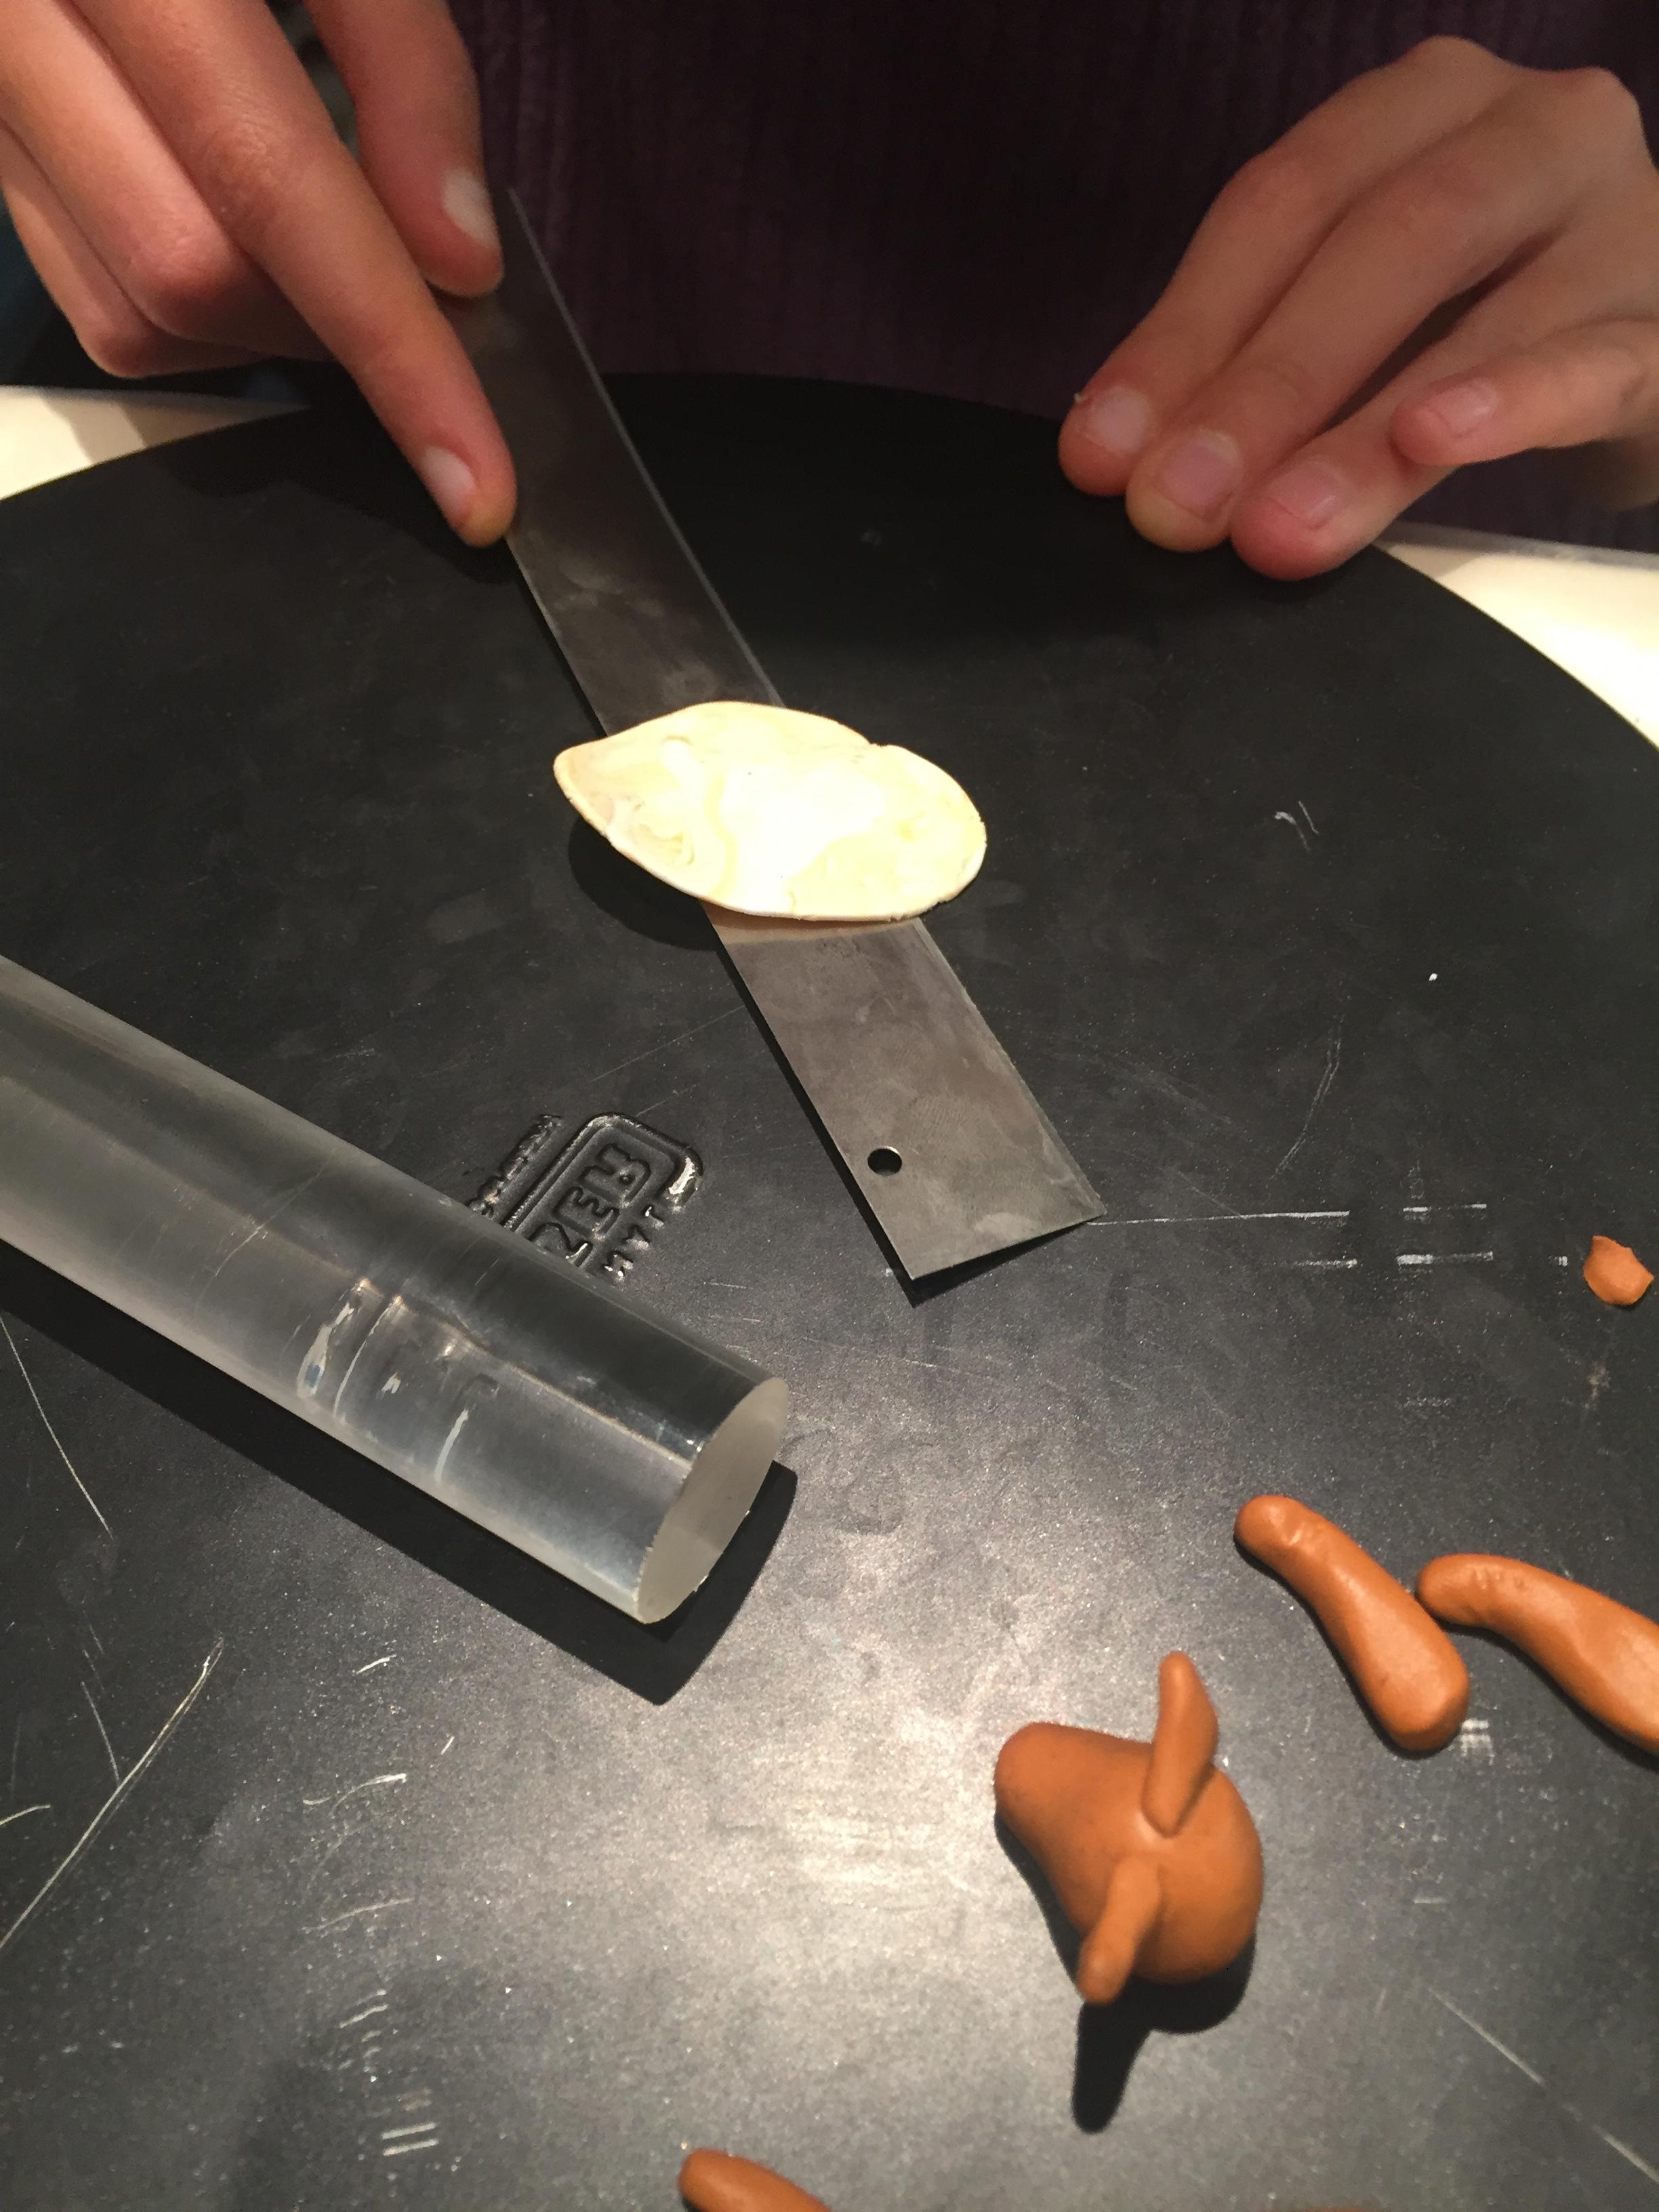

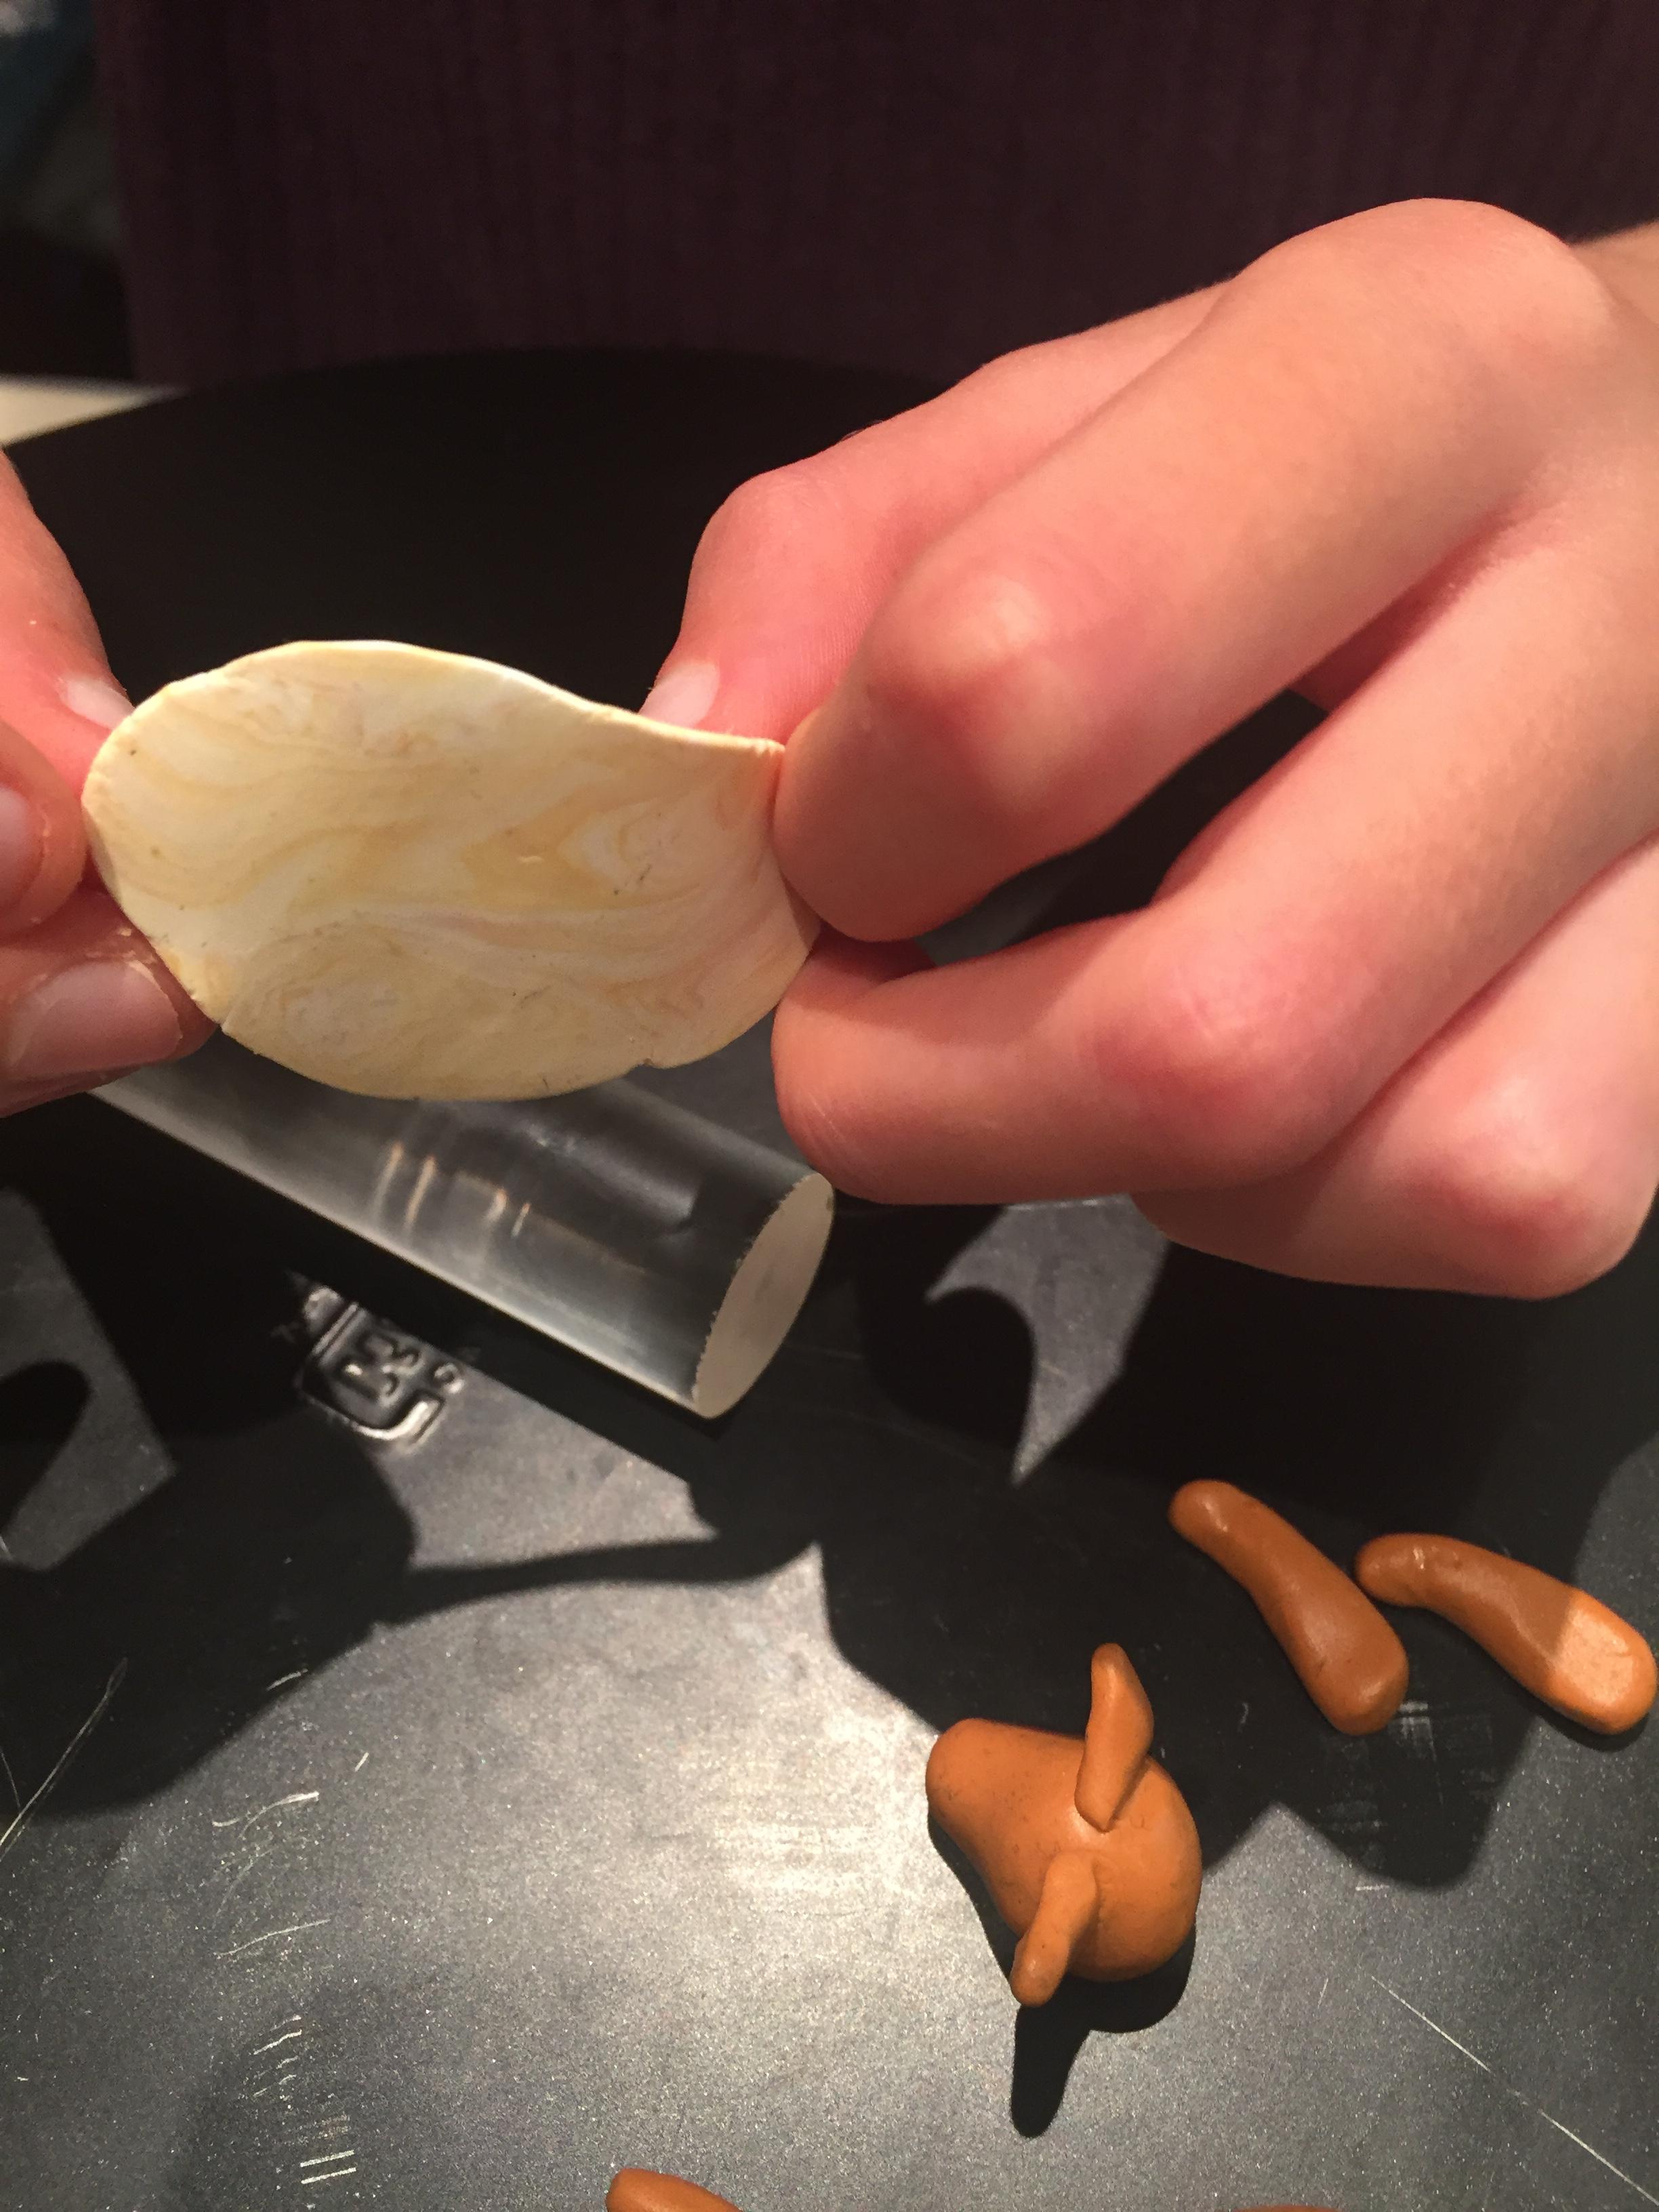
Cut a piece of the remaining brown ball and add it into the white ball. Not too much because it is also used for the shine in the eyes later.
- mix the colors by twisting and making a ball and rolling it out.
- Roll it into a thin layer.
- It's not completely mixed you can still see the brown lines in it.
White Fur on the Body
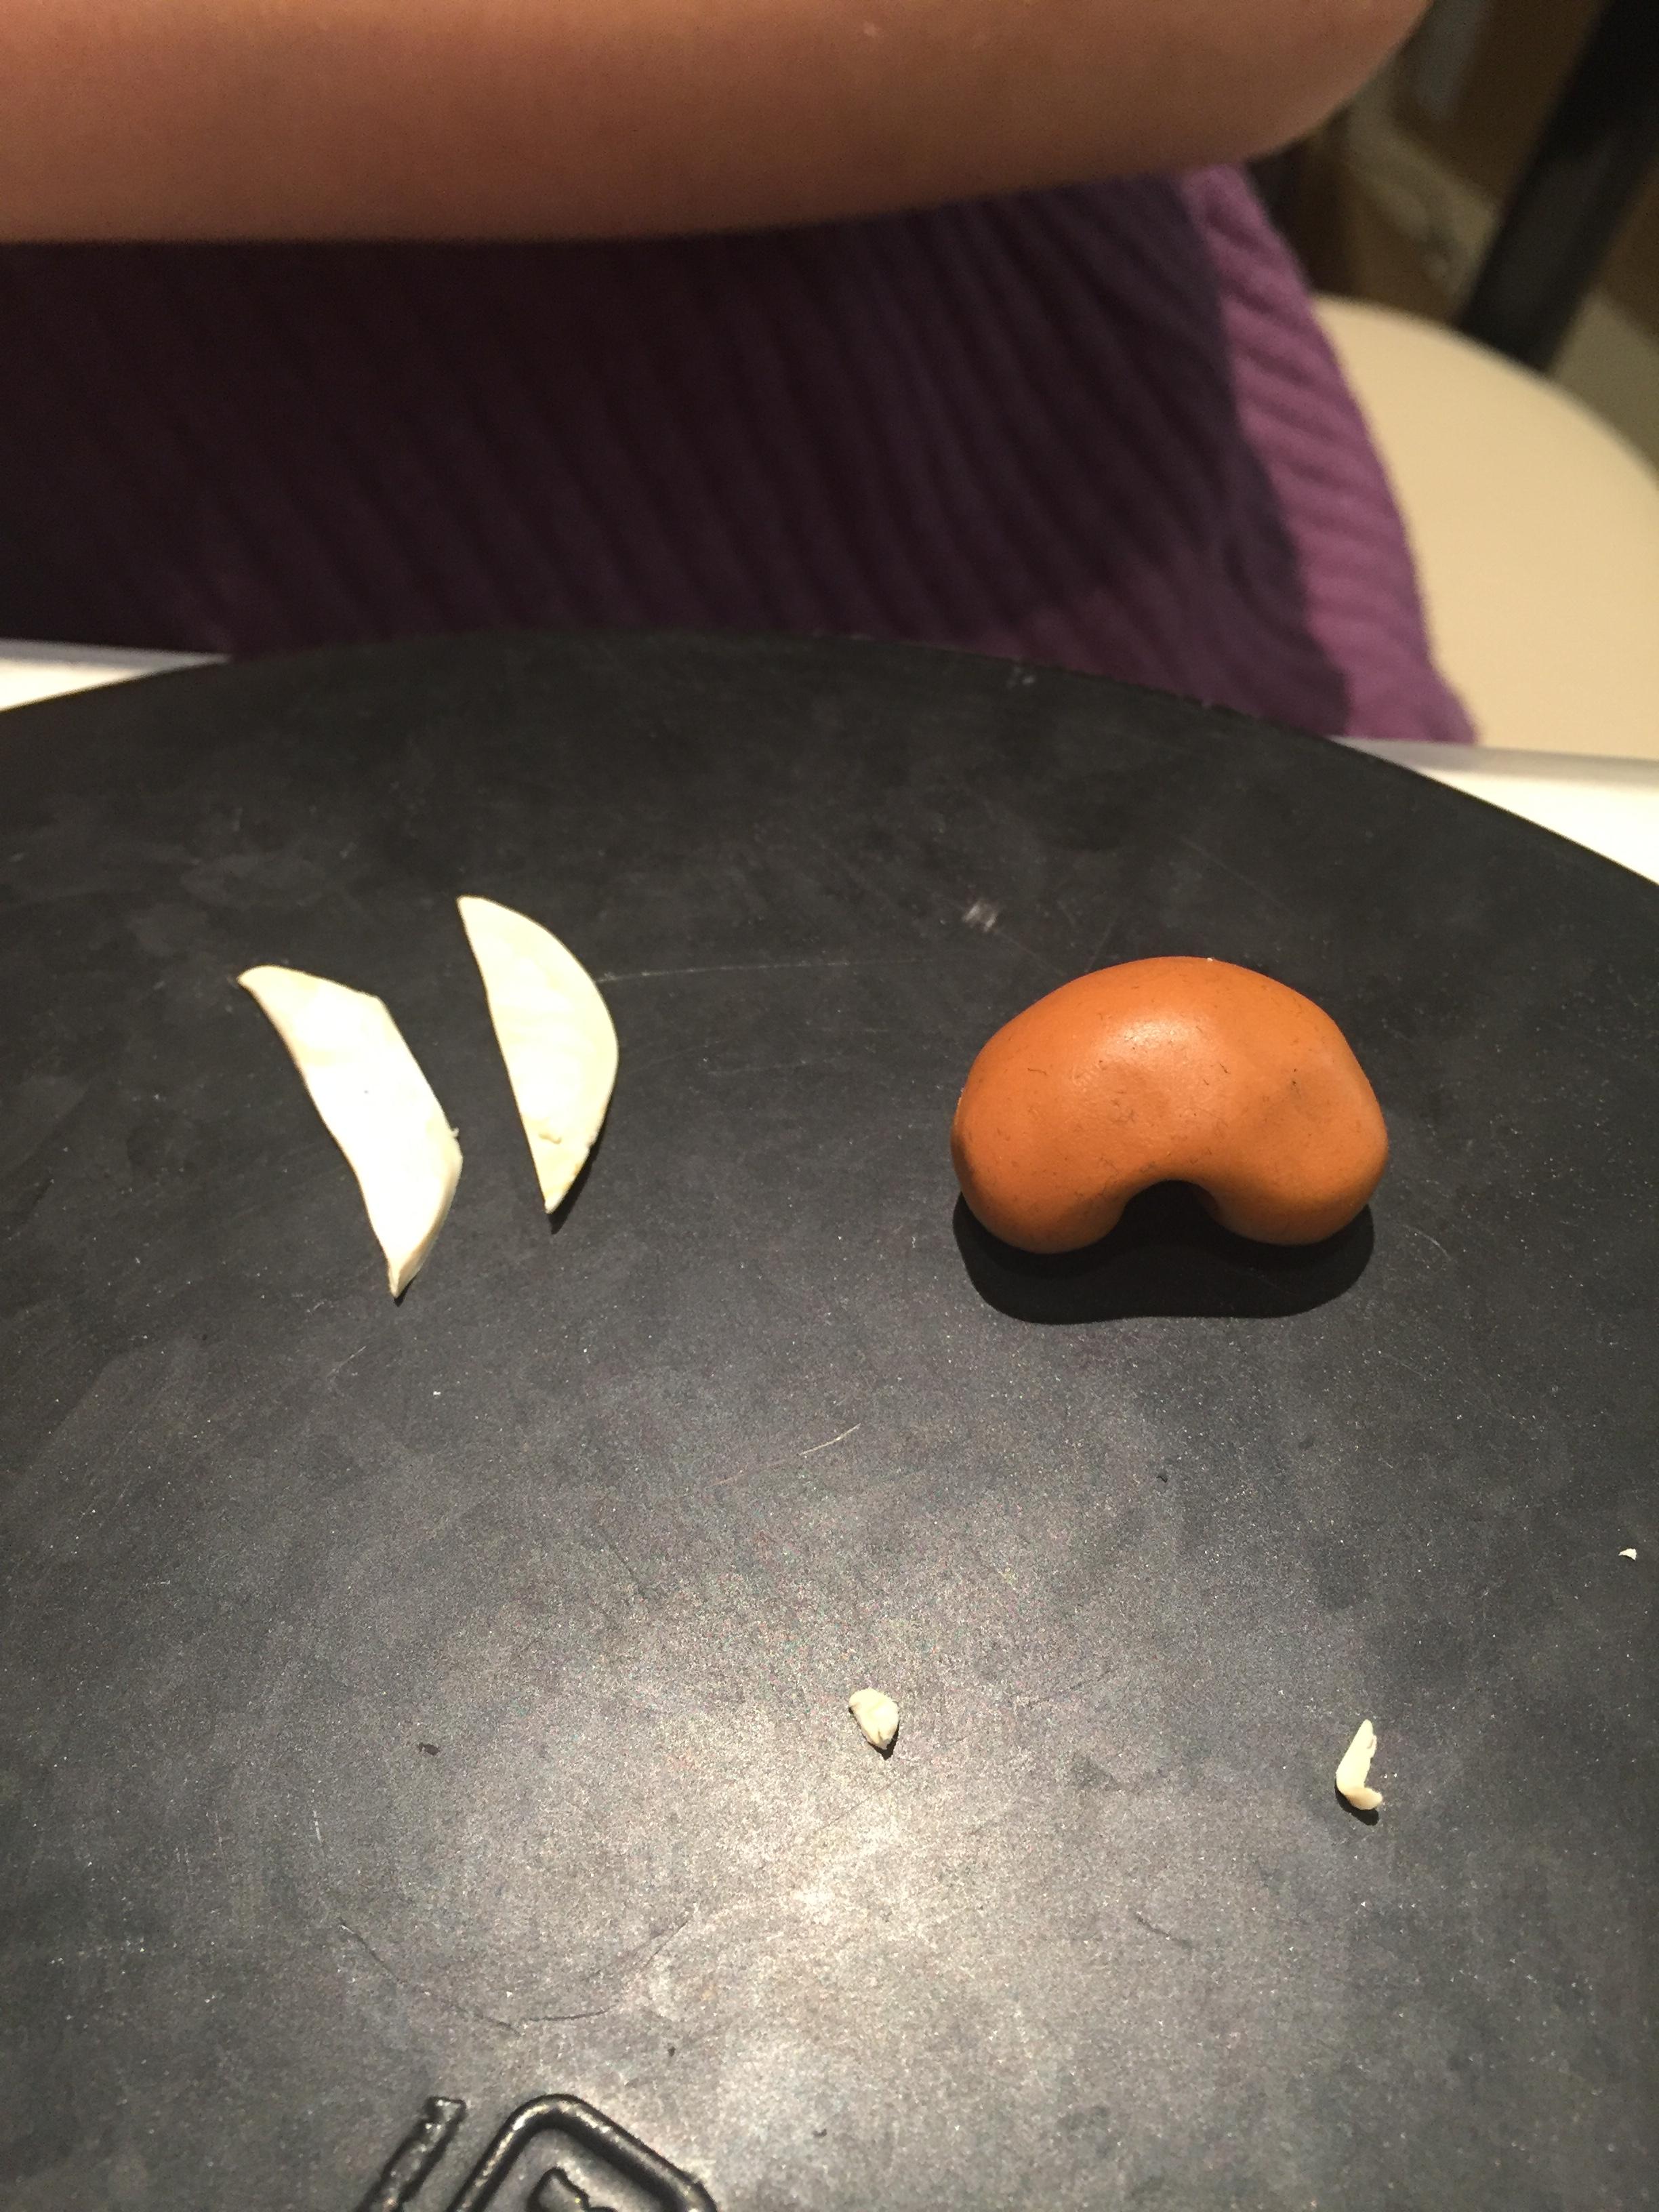


- Cut out 2 lines from the white and fit it on both sides of the body.
- Use the needle to attach it and smooth it in.
- Make sure it still fits on the mug.
Putting Together the Head


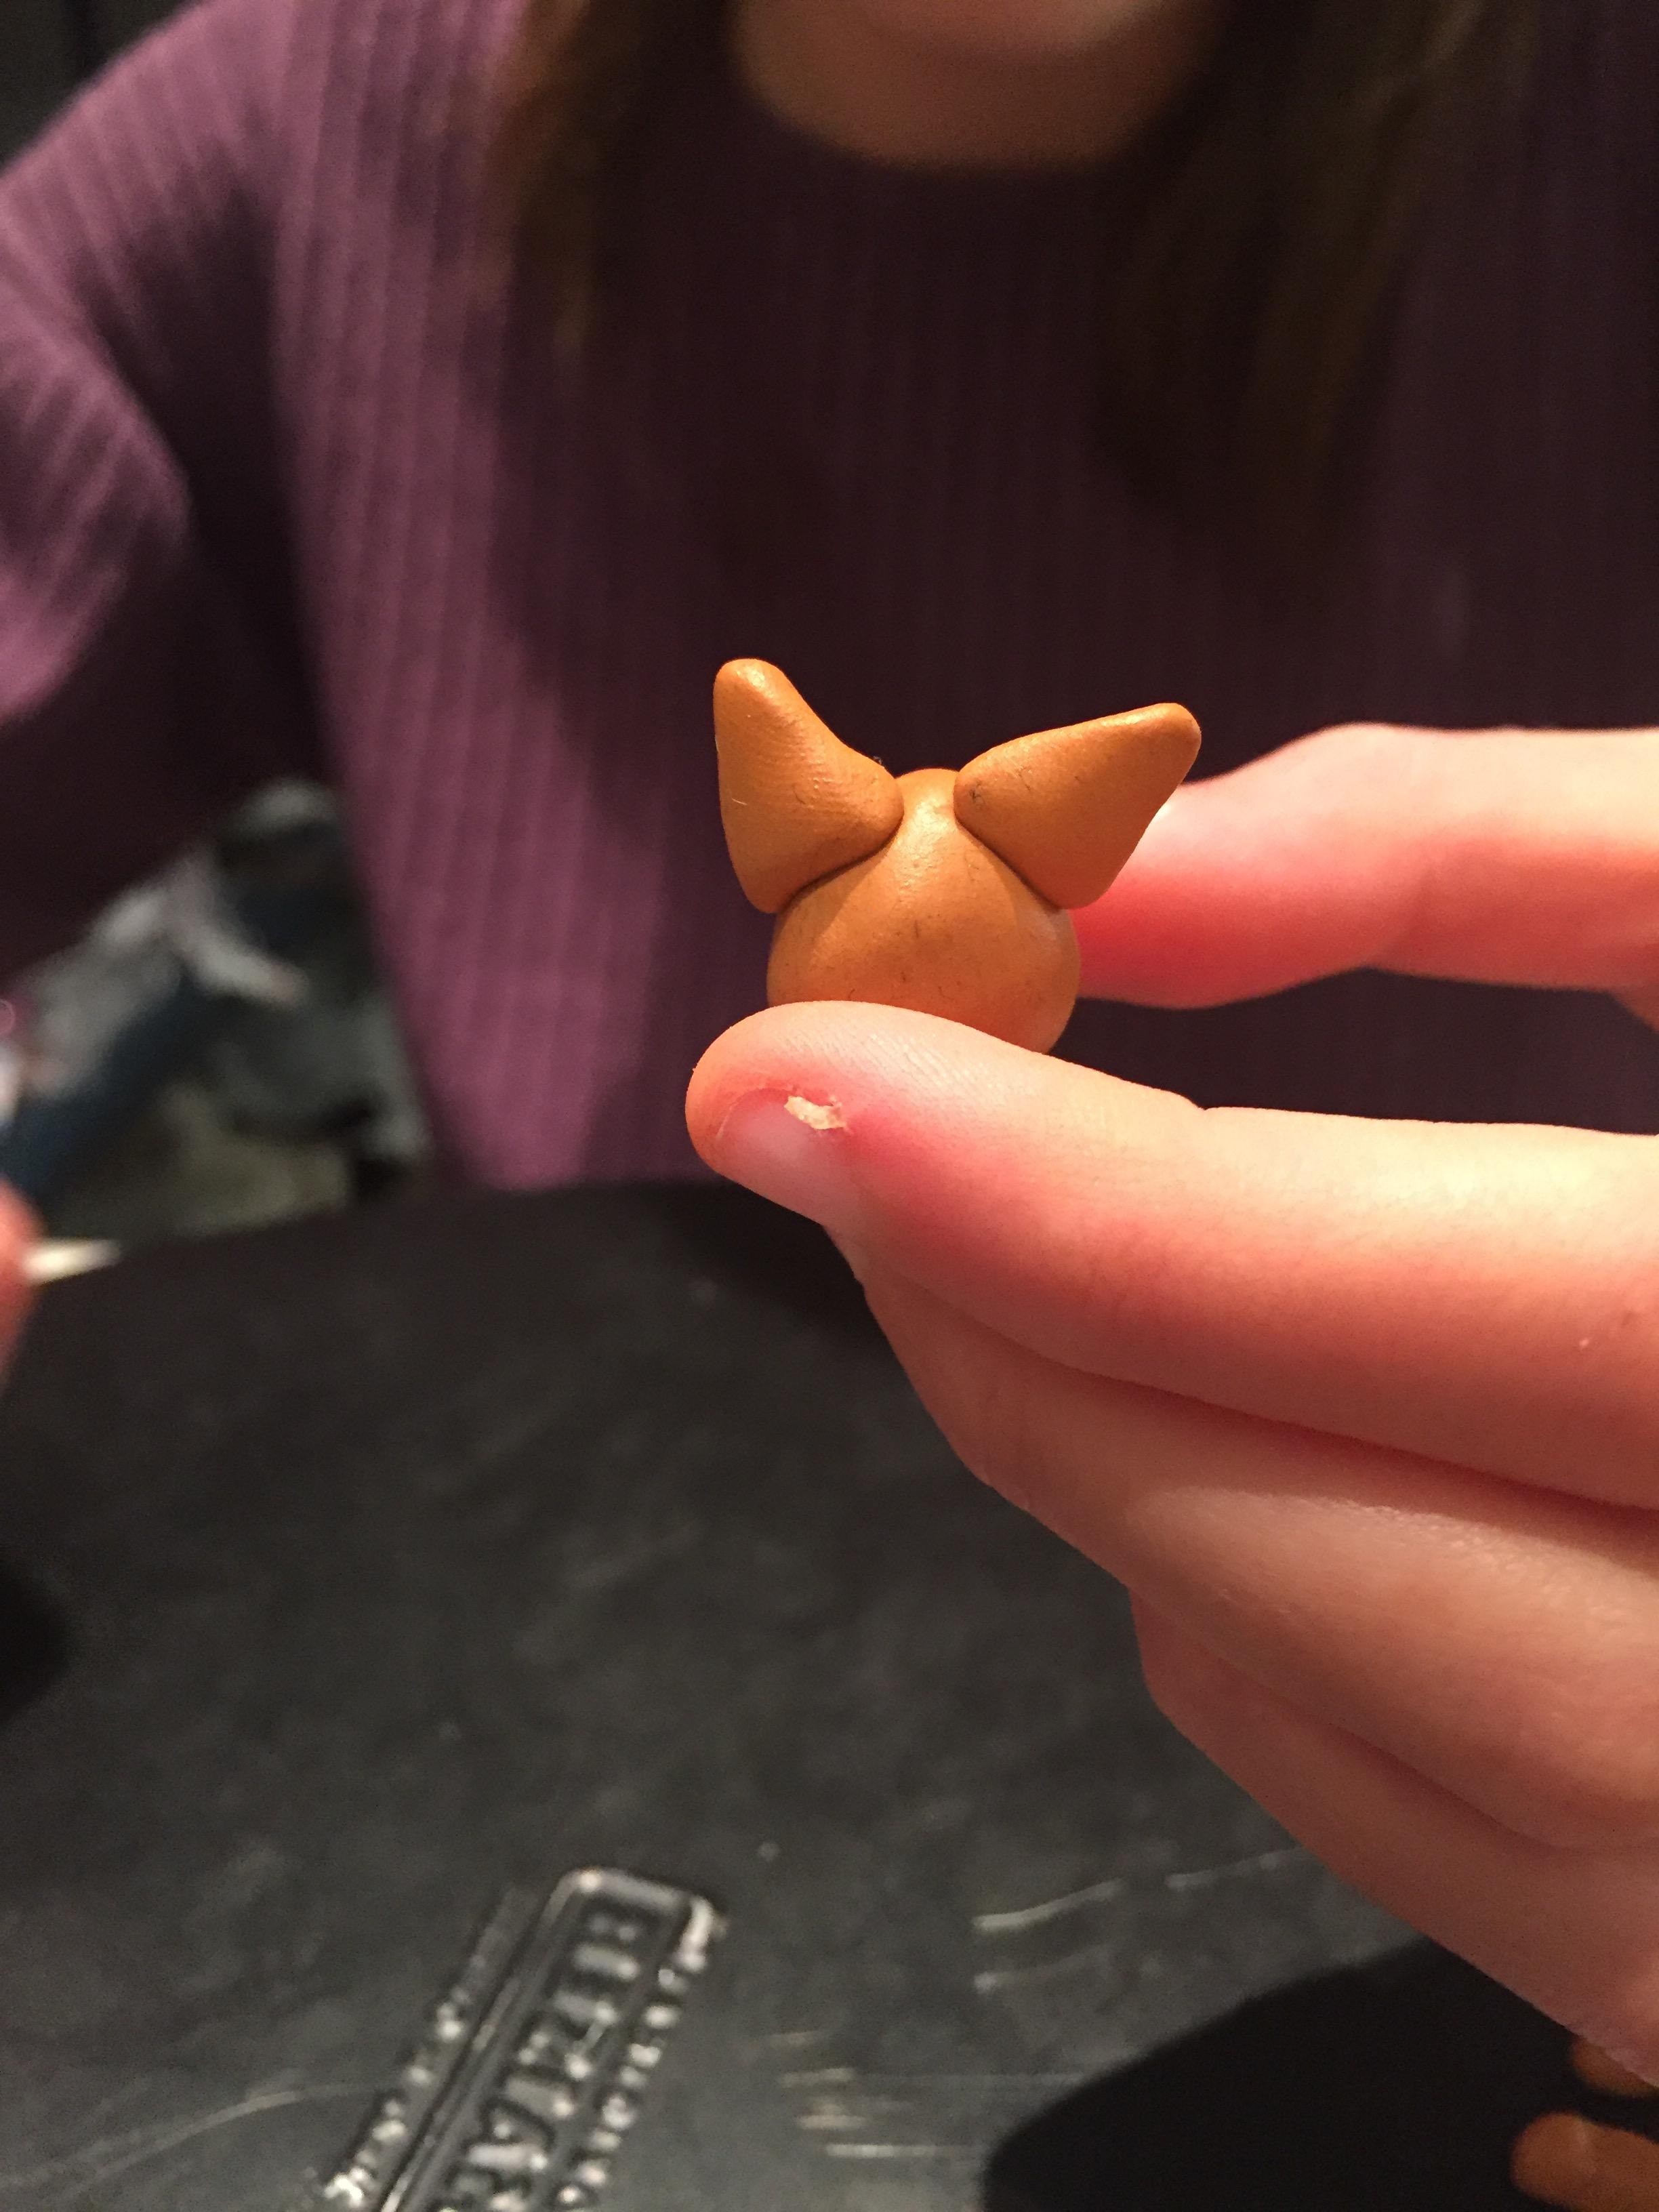
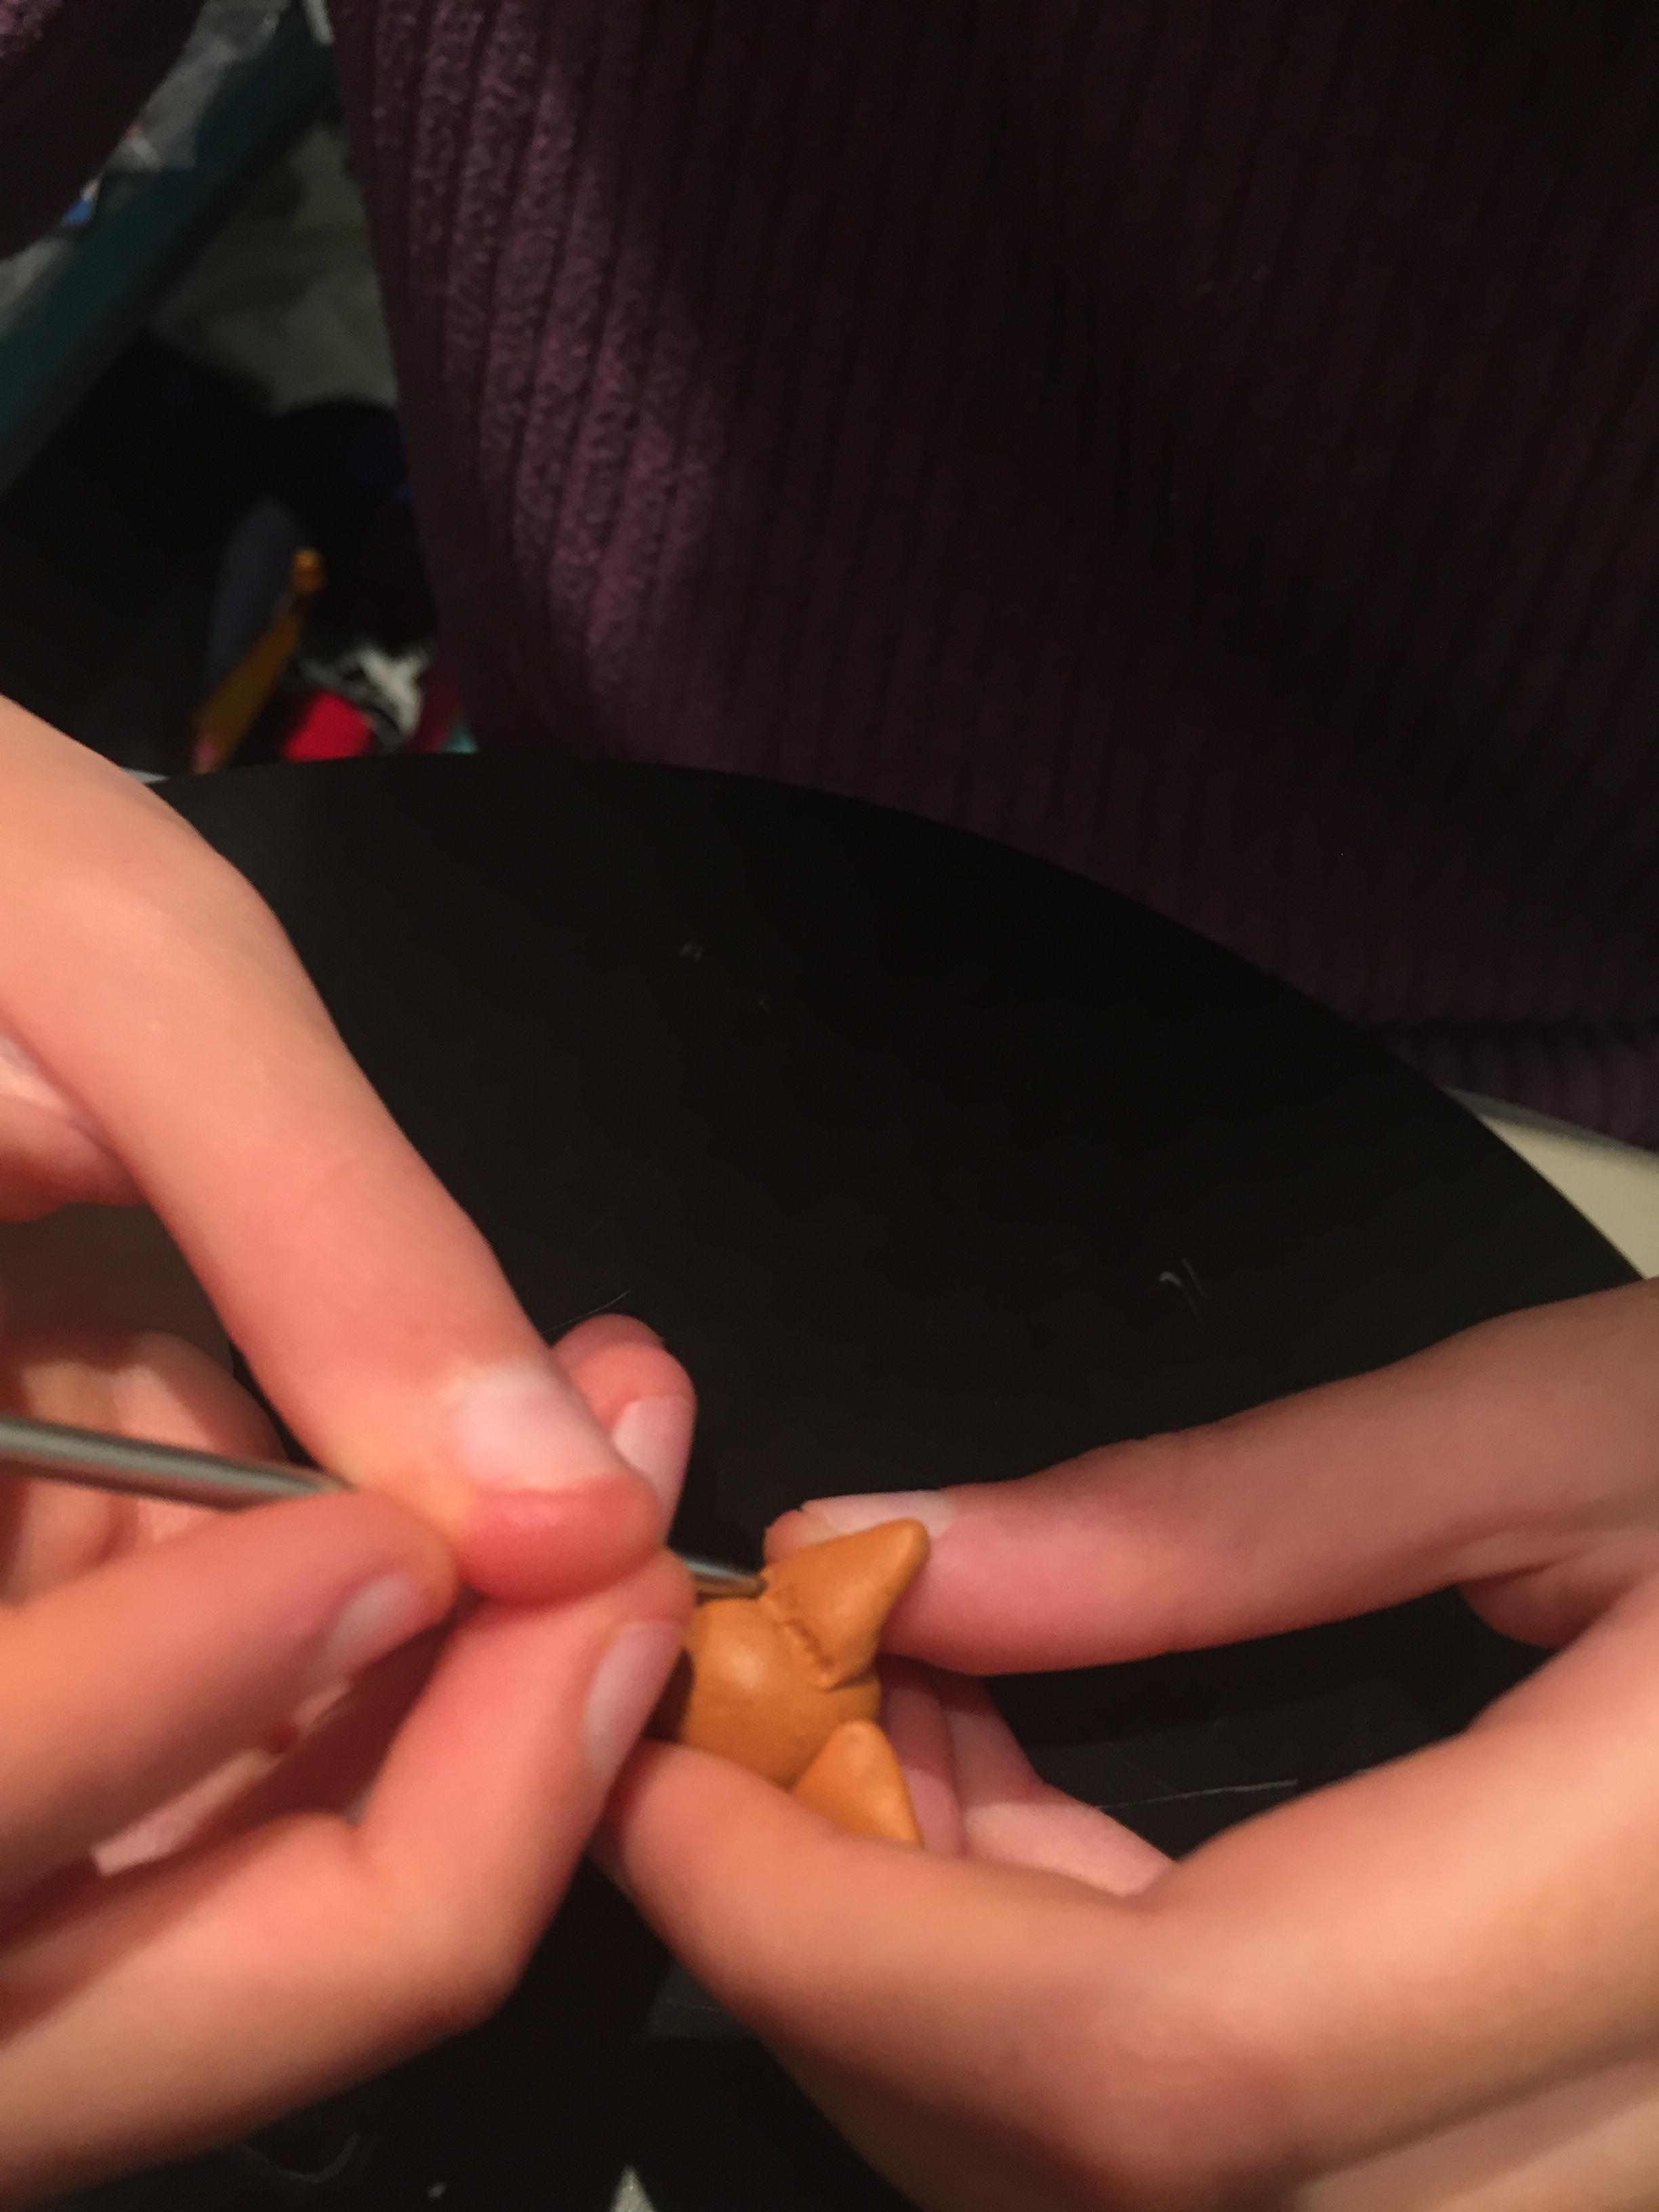
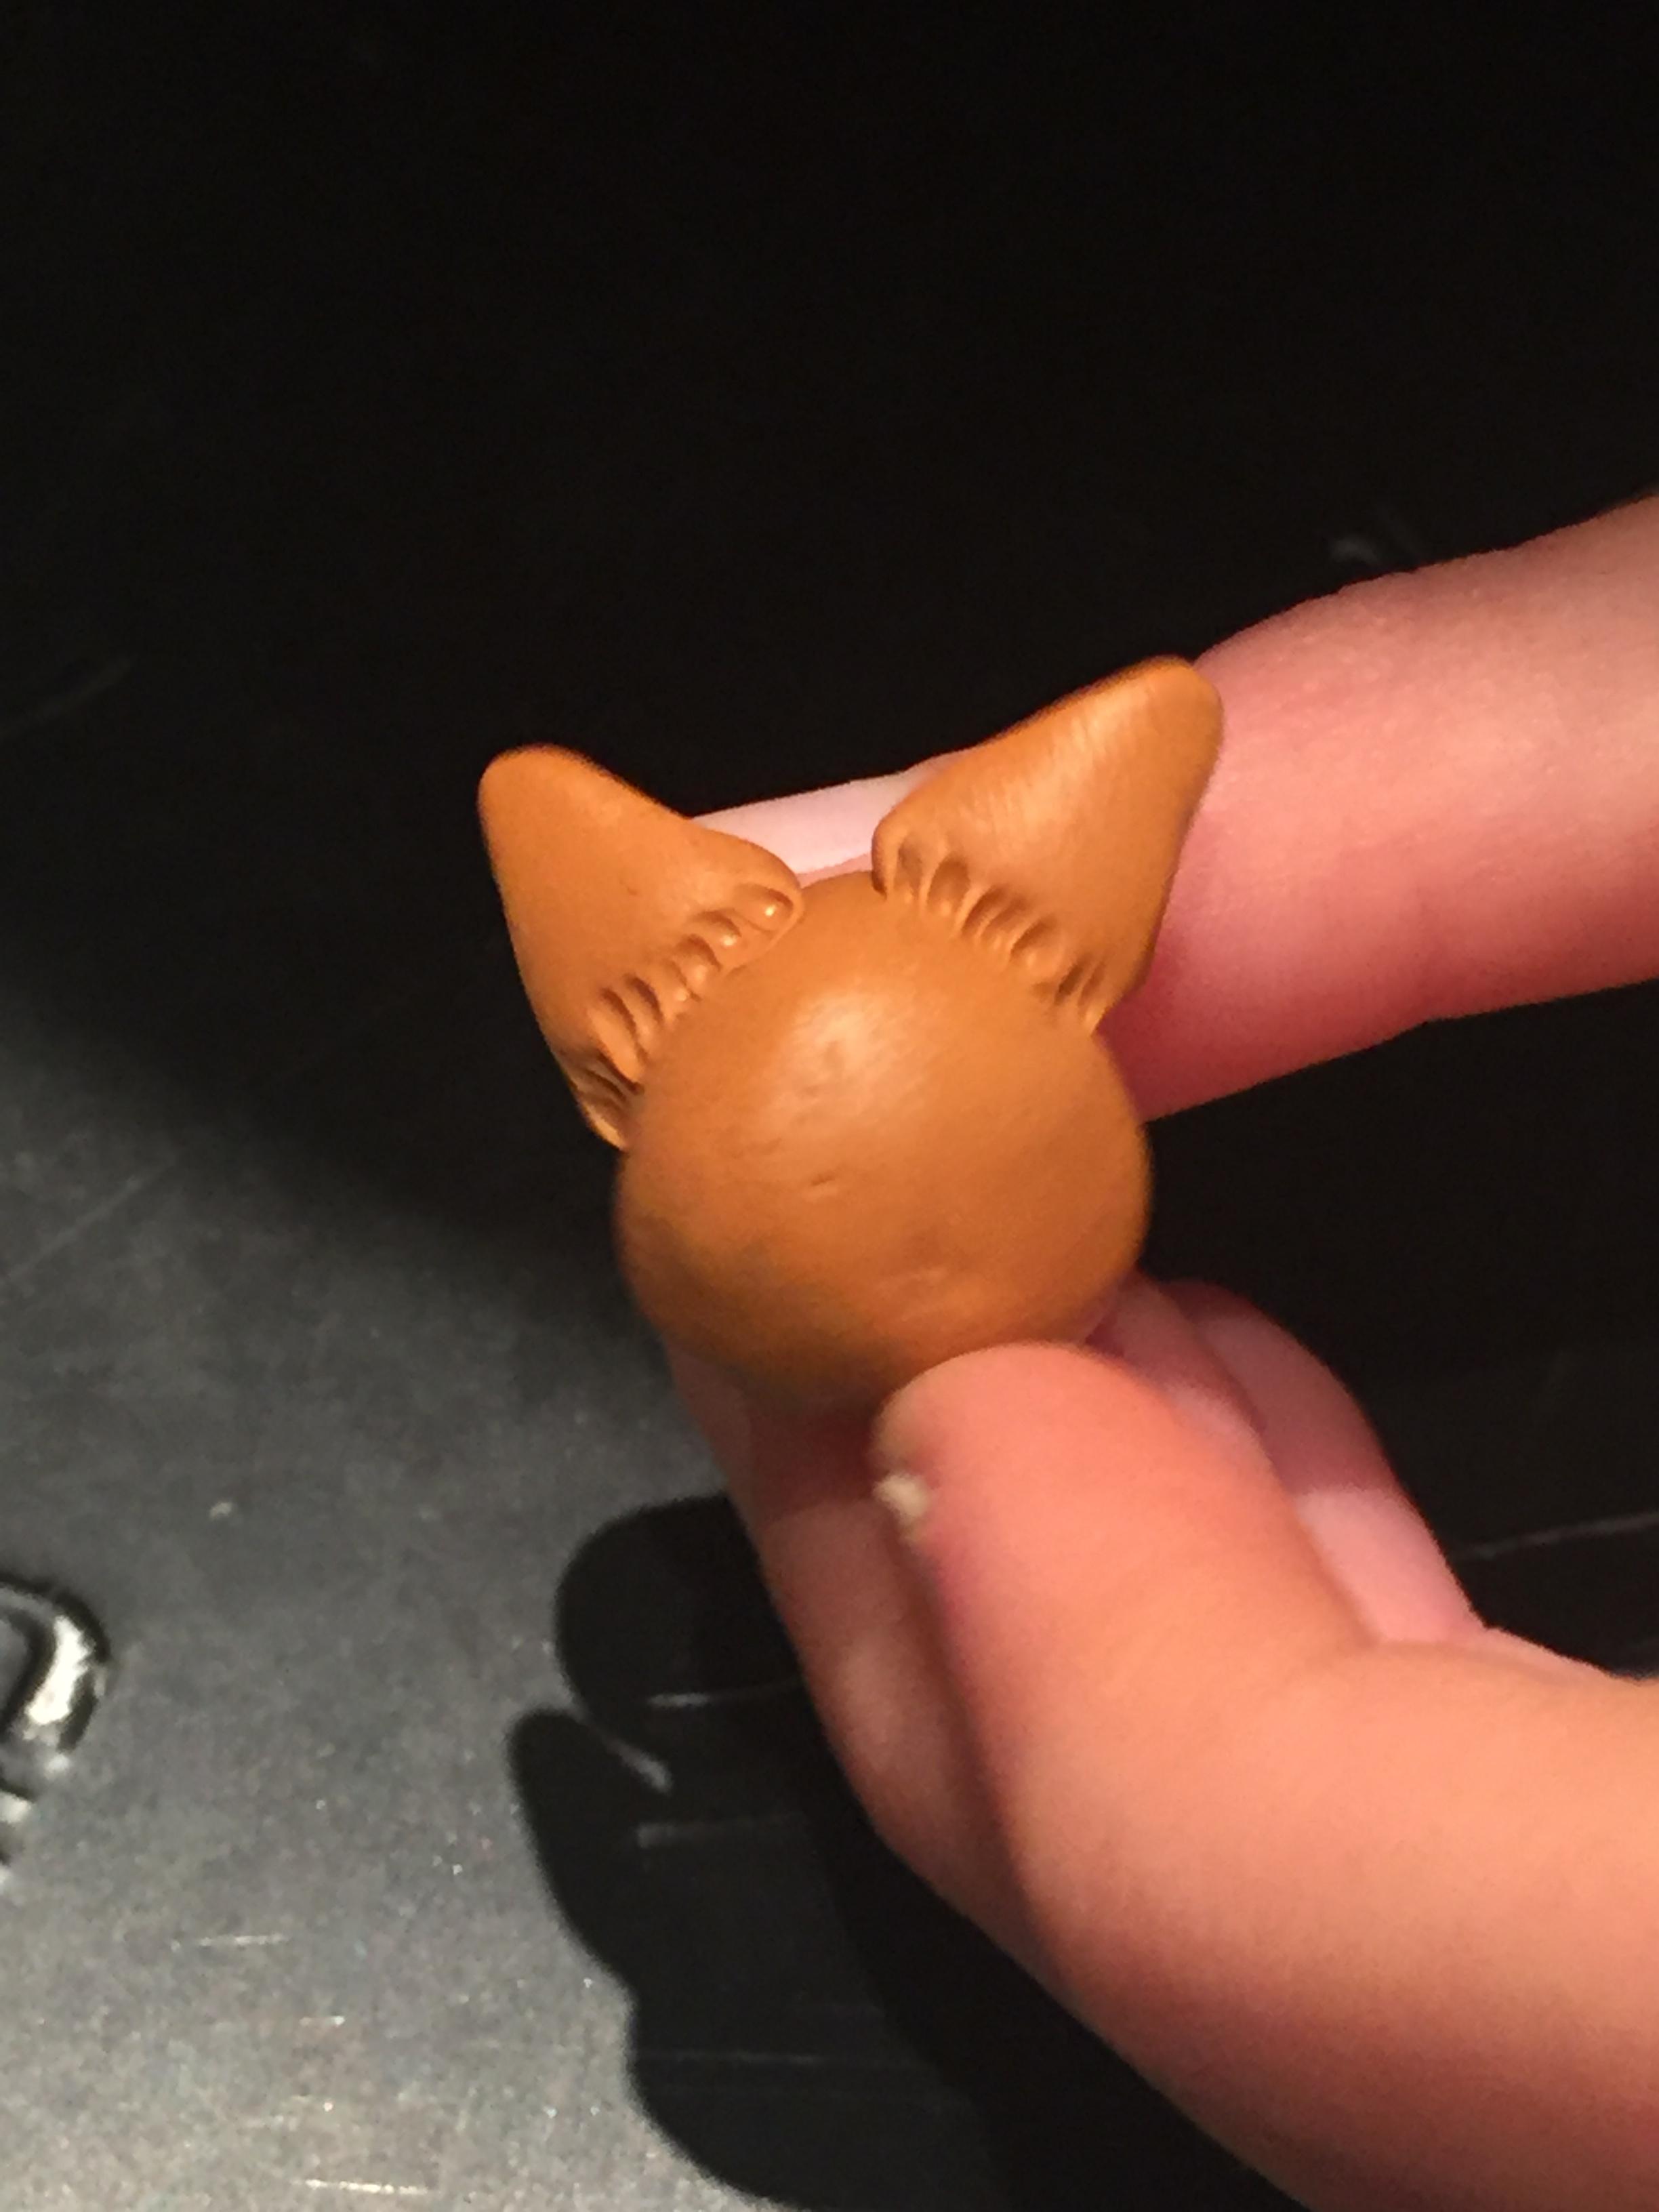

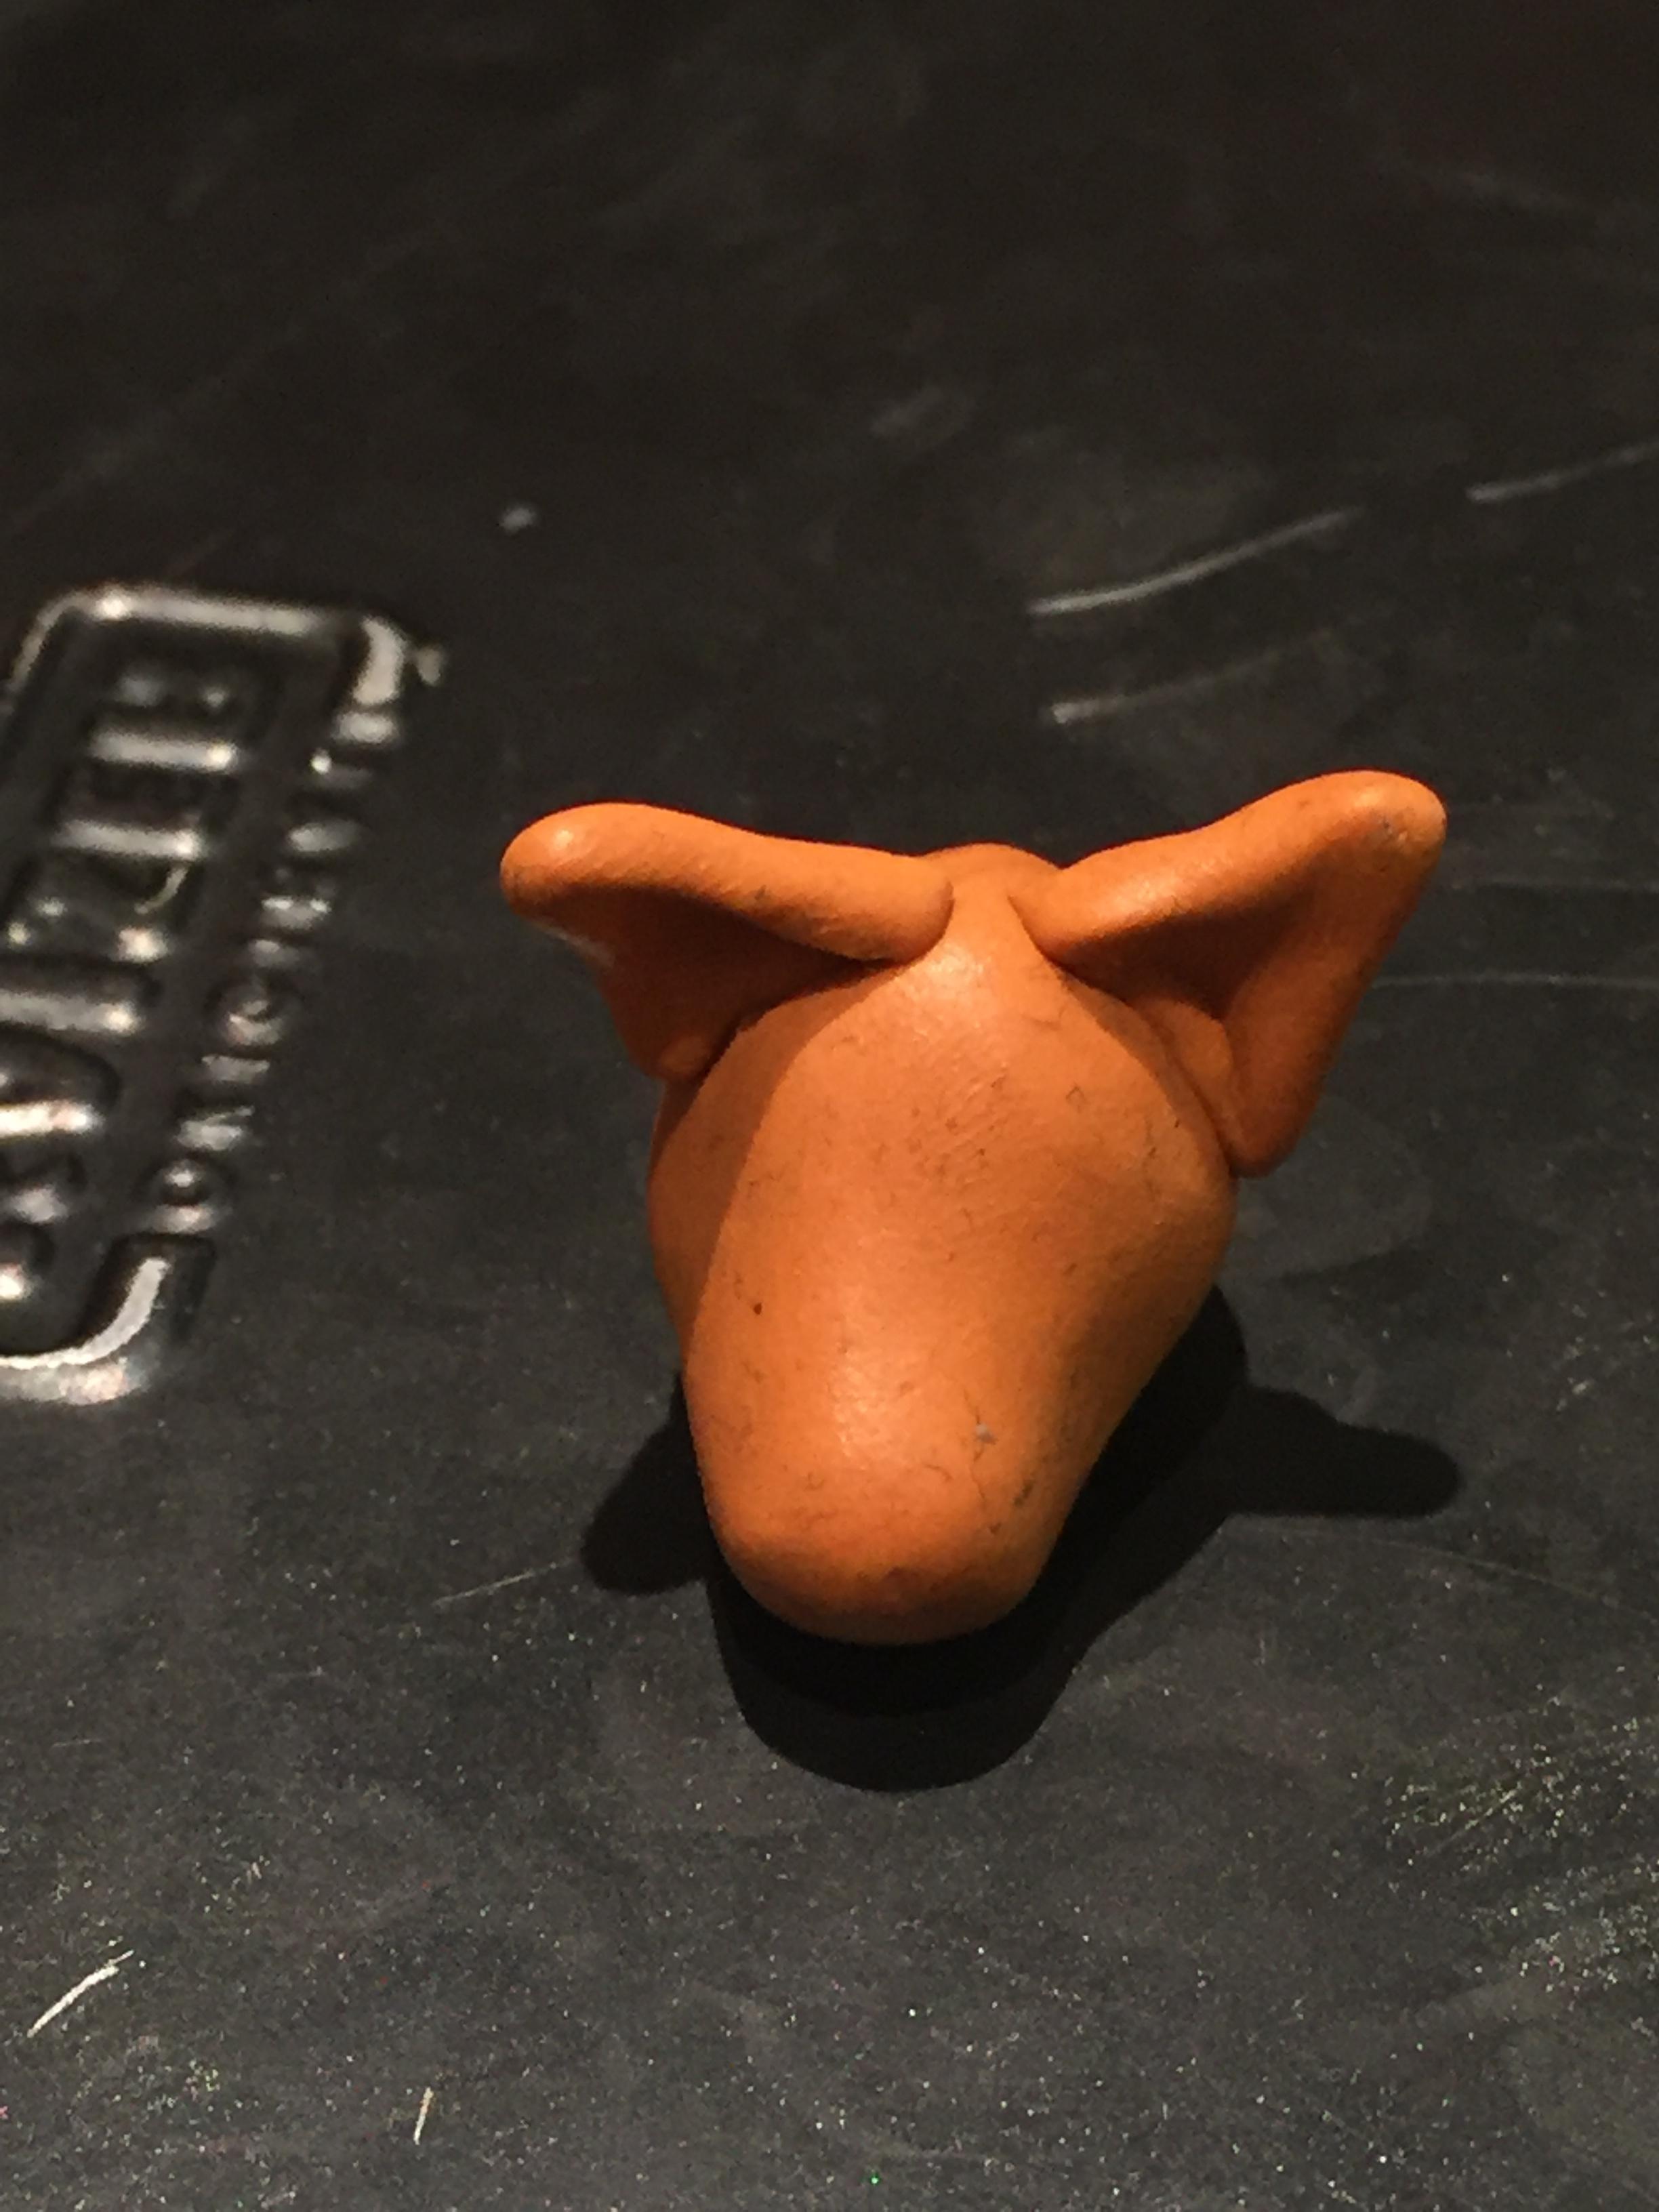

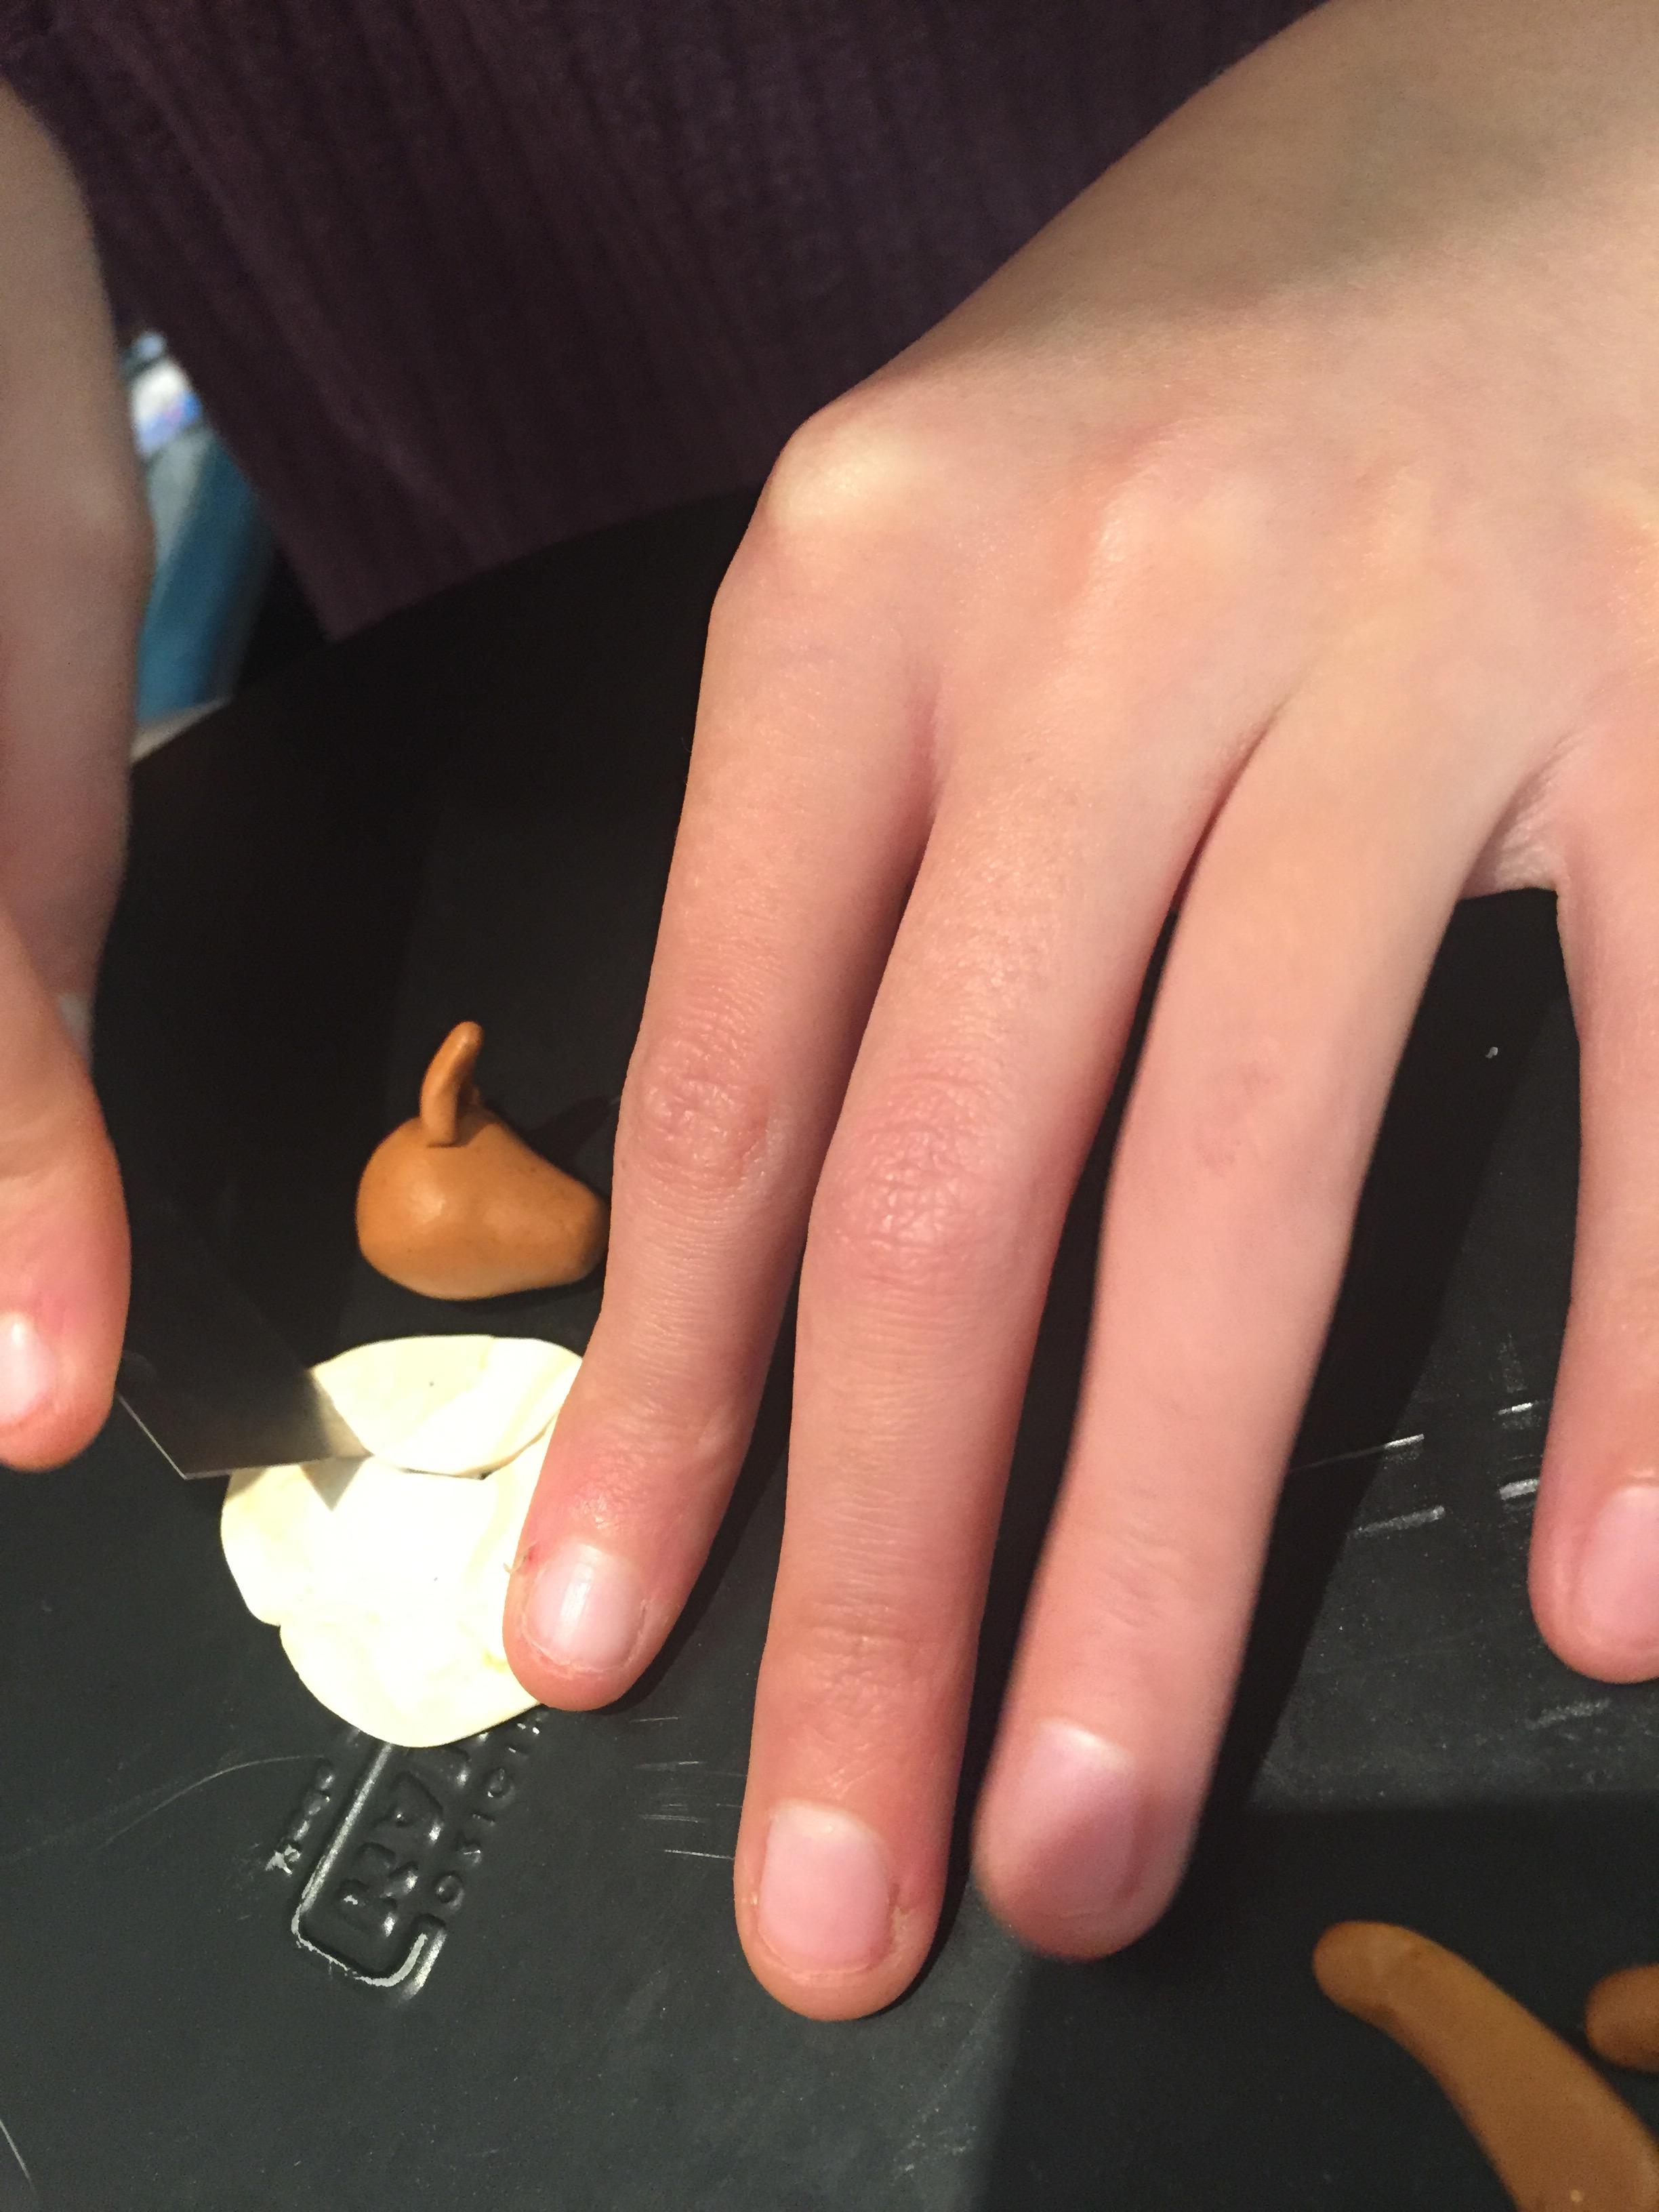


- Make lines for the ear location with the needle.
- attach the ears onto the lines.
- Use the needle to make sure they stick, and then use it to smooth it out.
- From the white cut out a piece to fit under the head. It's almost a triangle.
- Press it on and cut off any excess.
- connect it and smooth it out with the needle.
Eyes and Nose


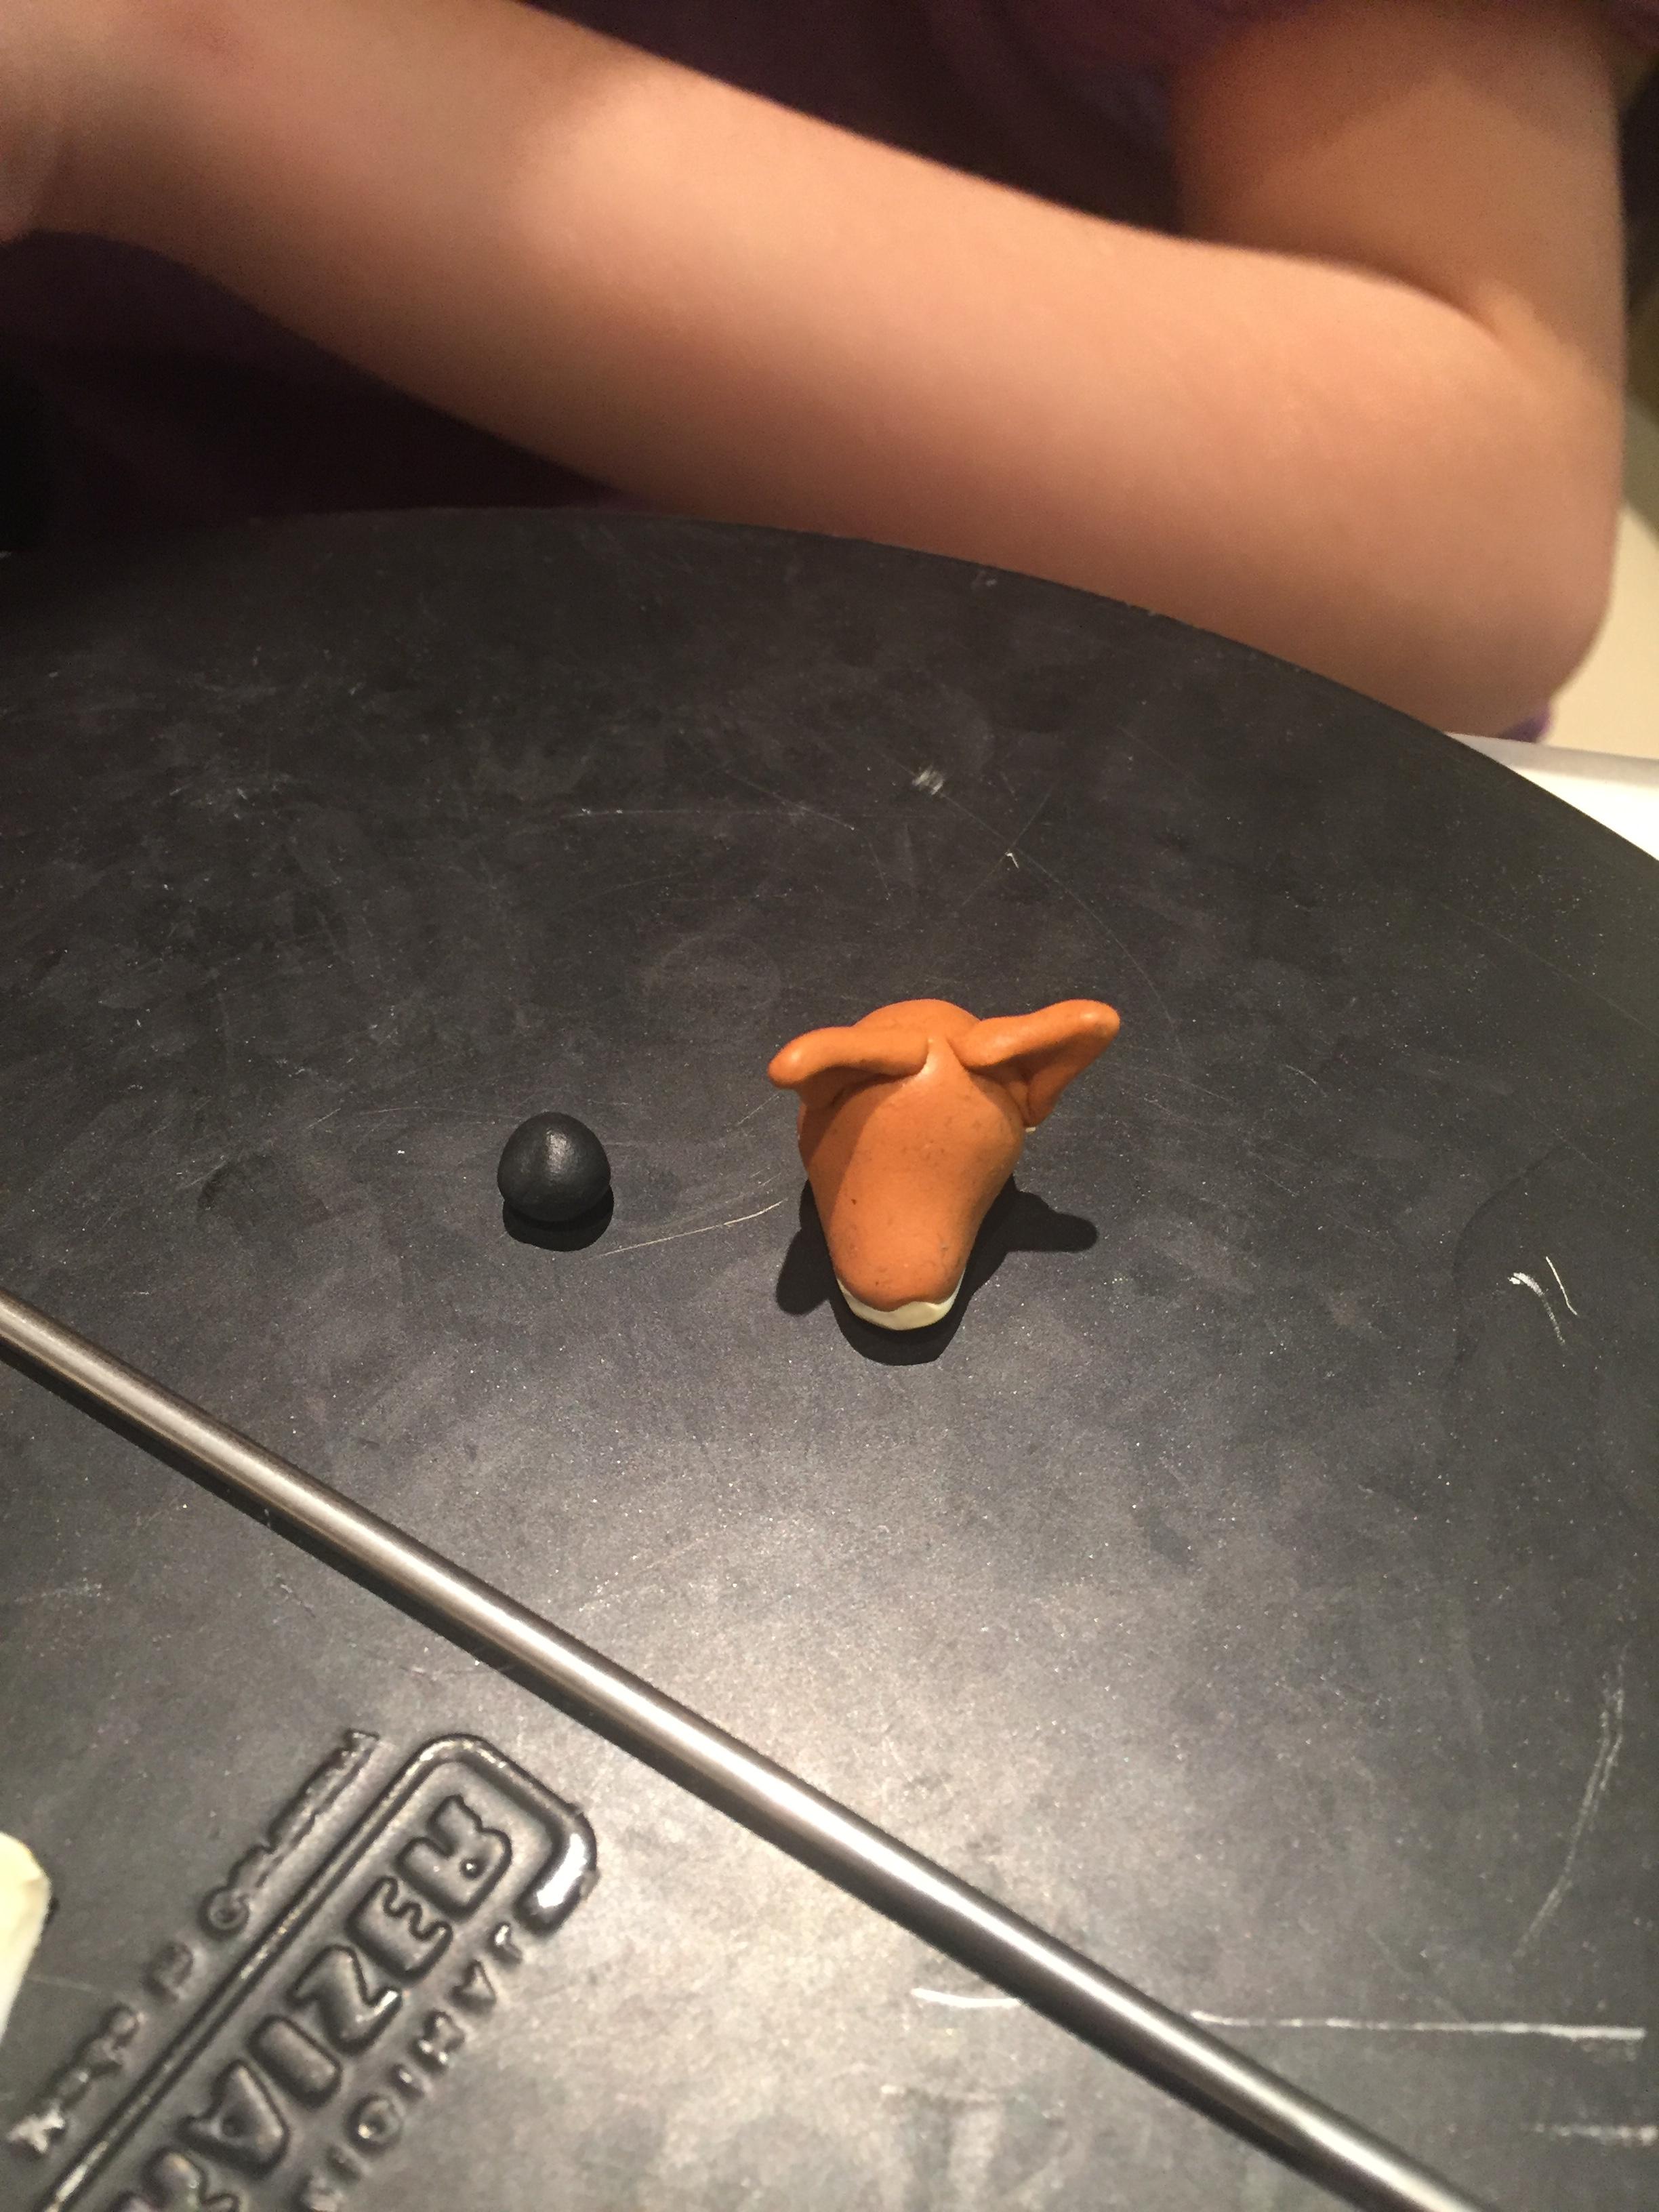
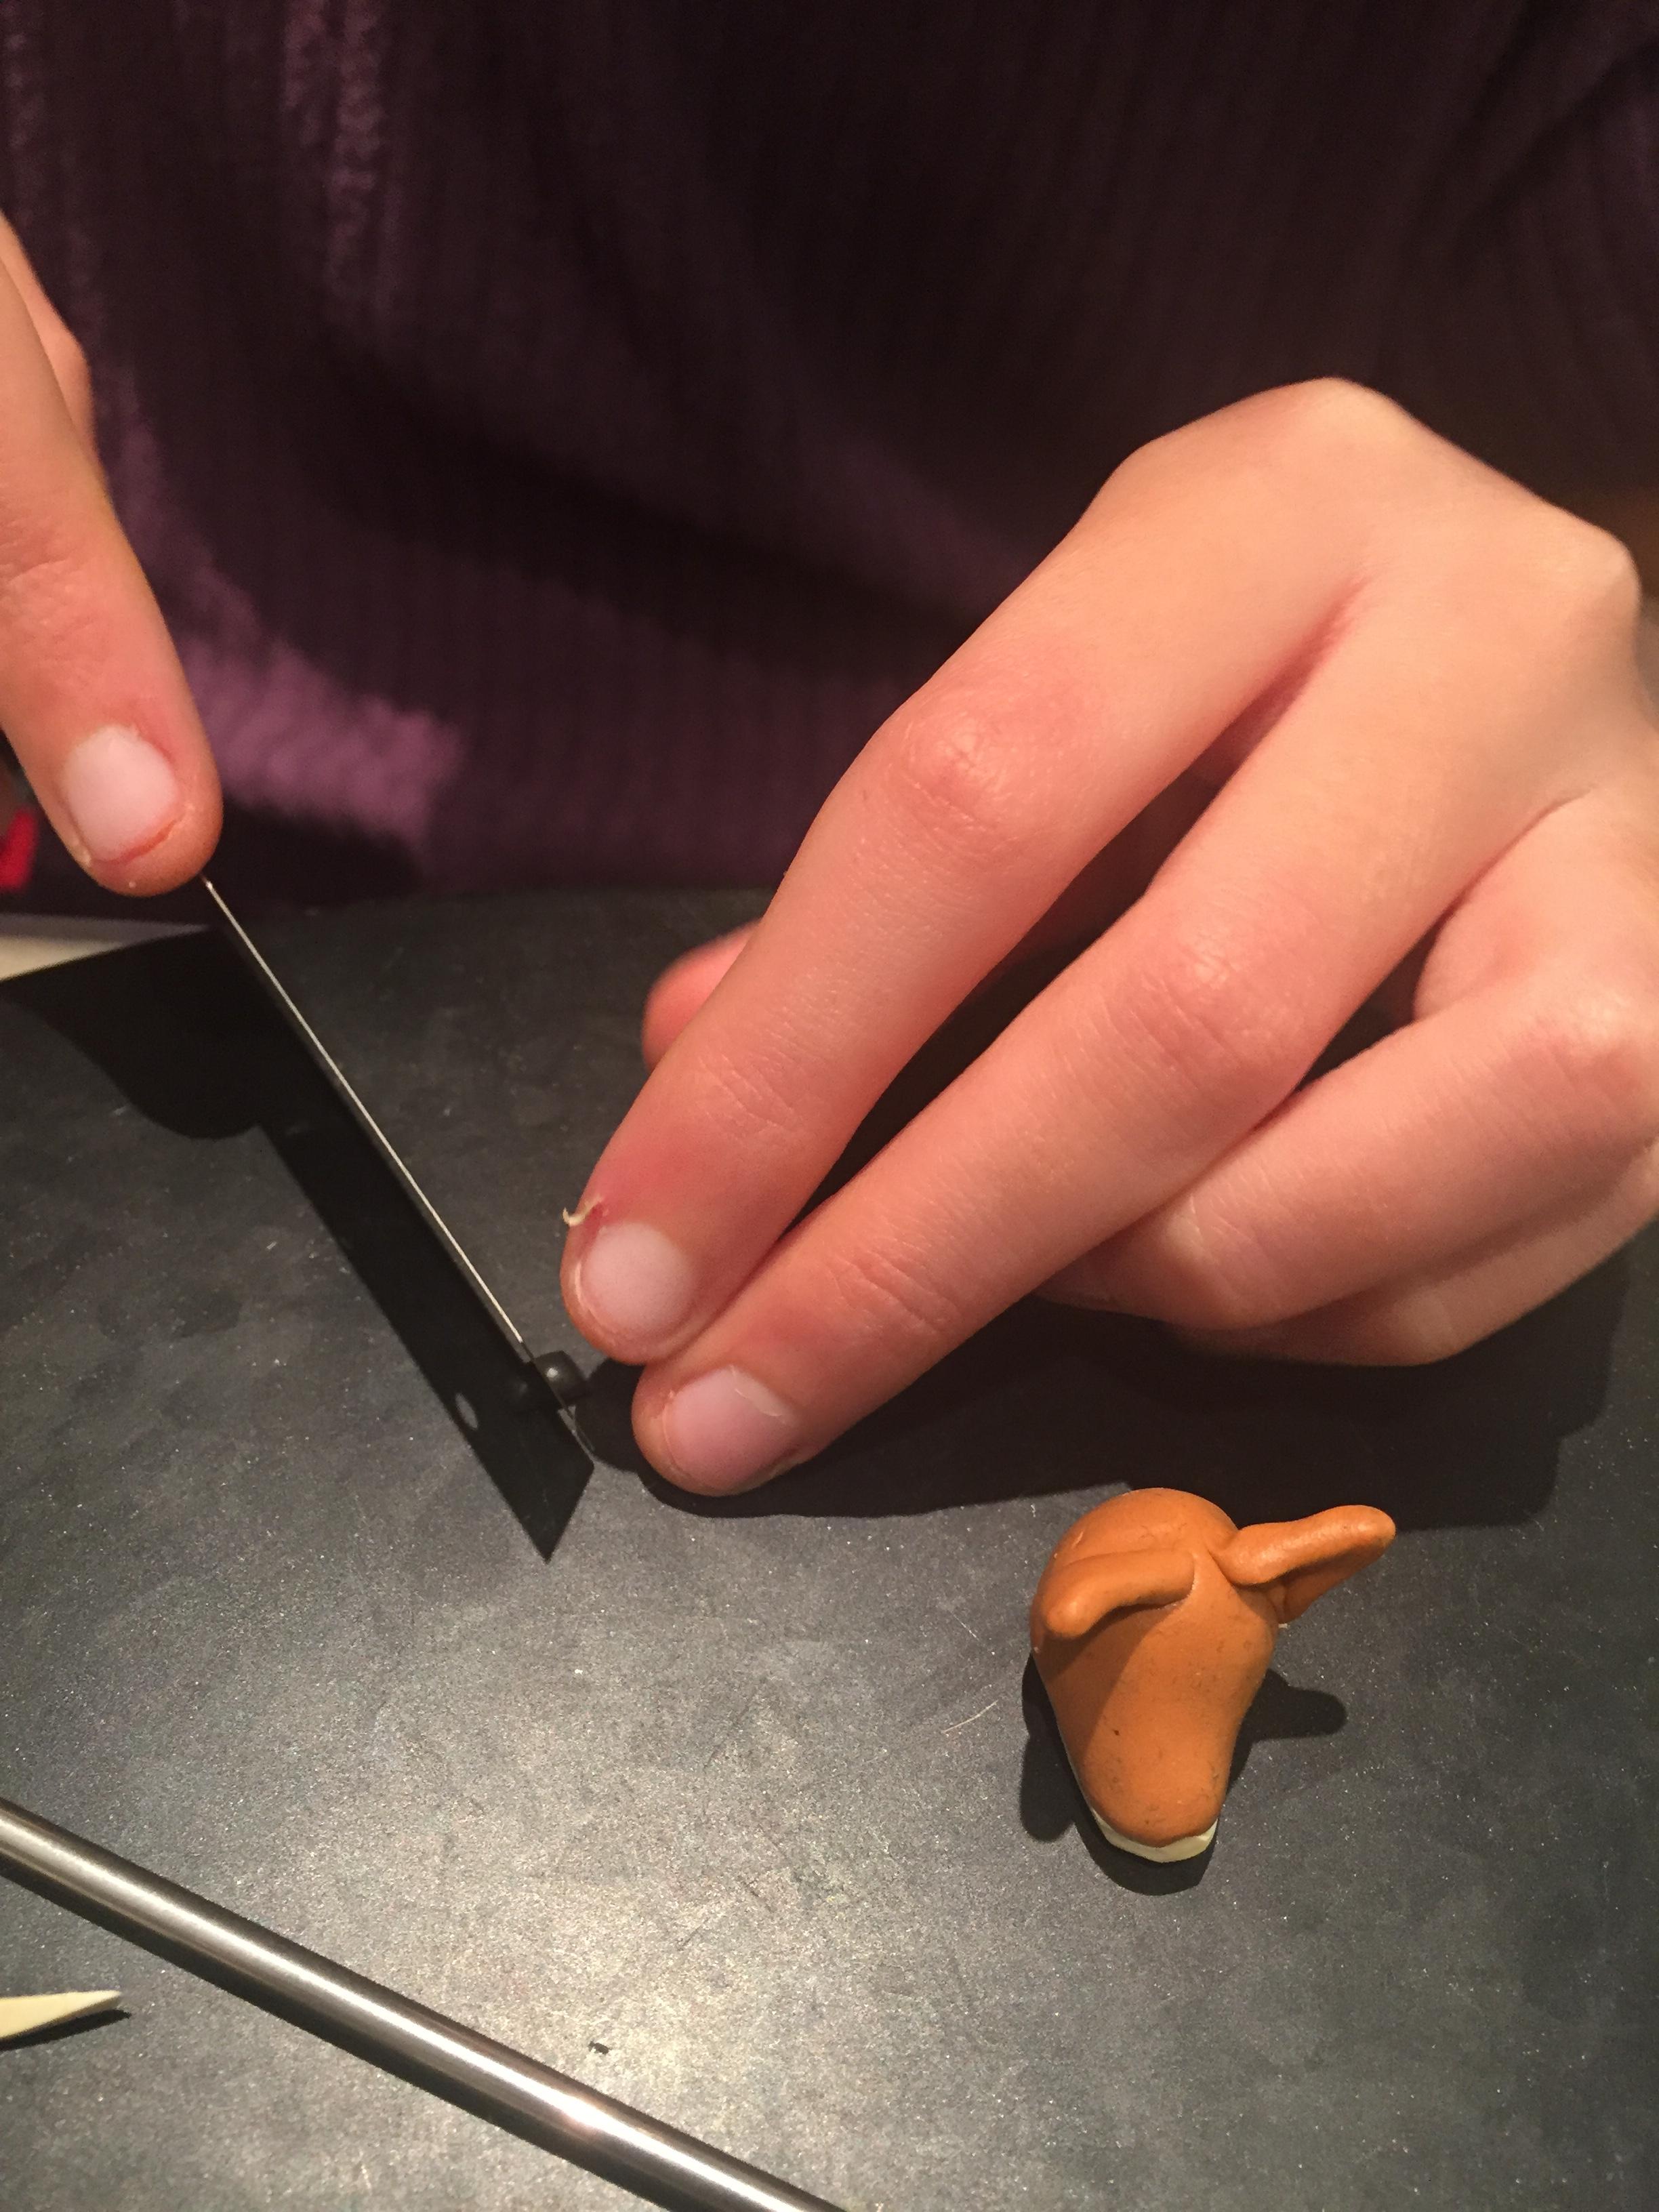
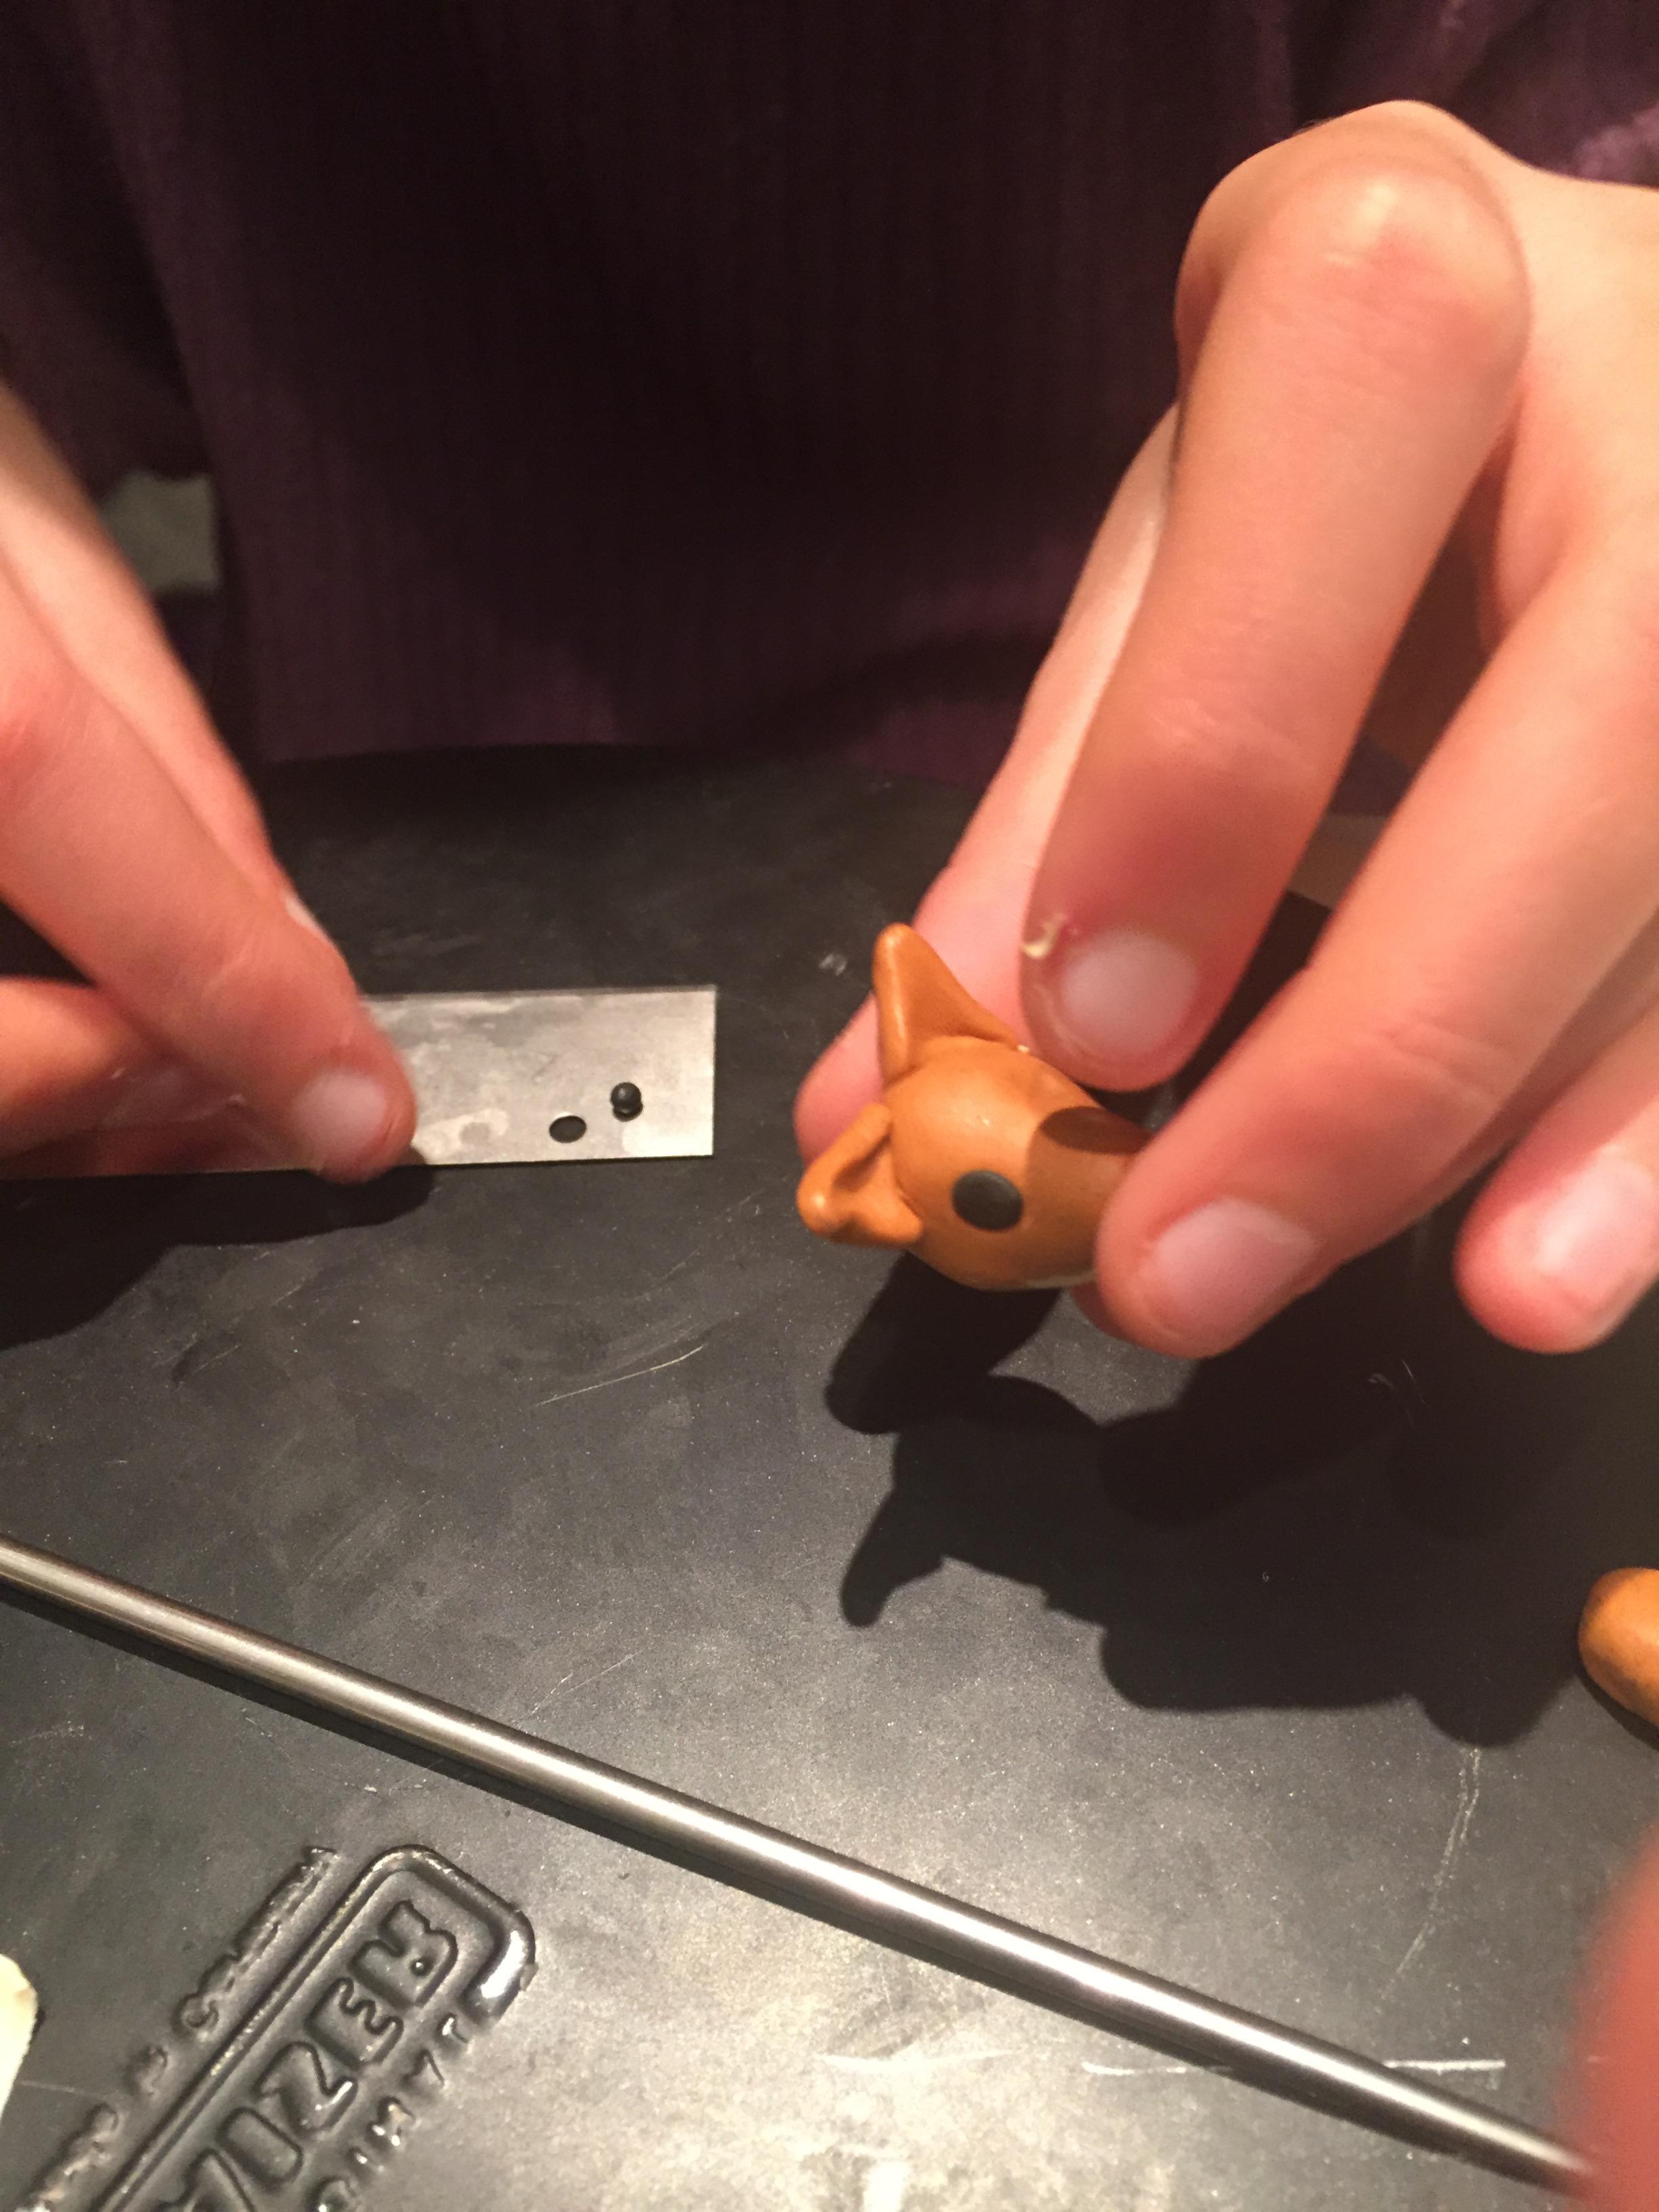

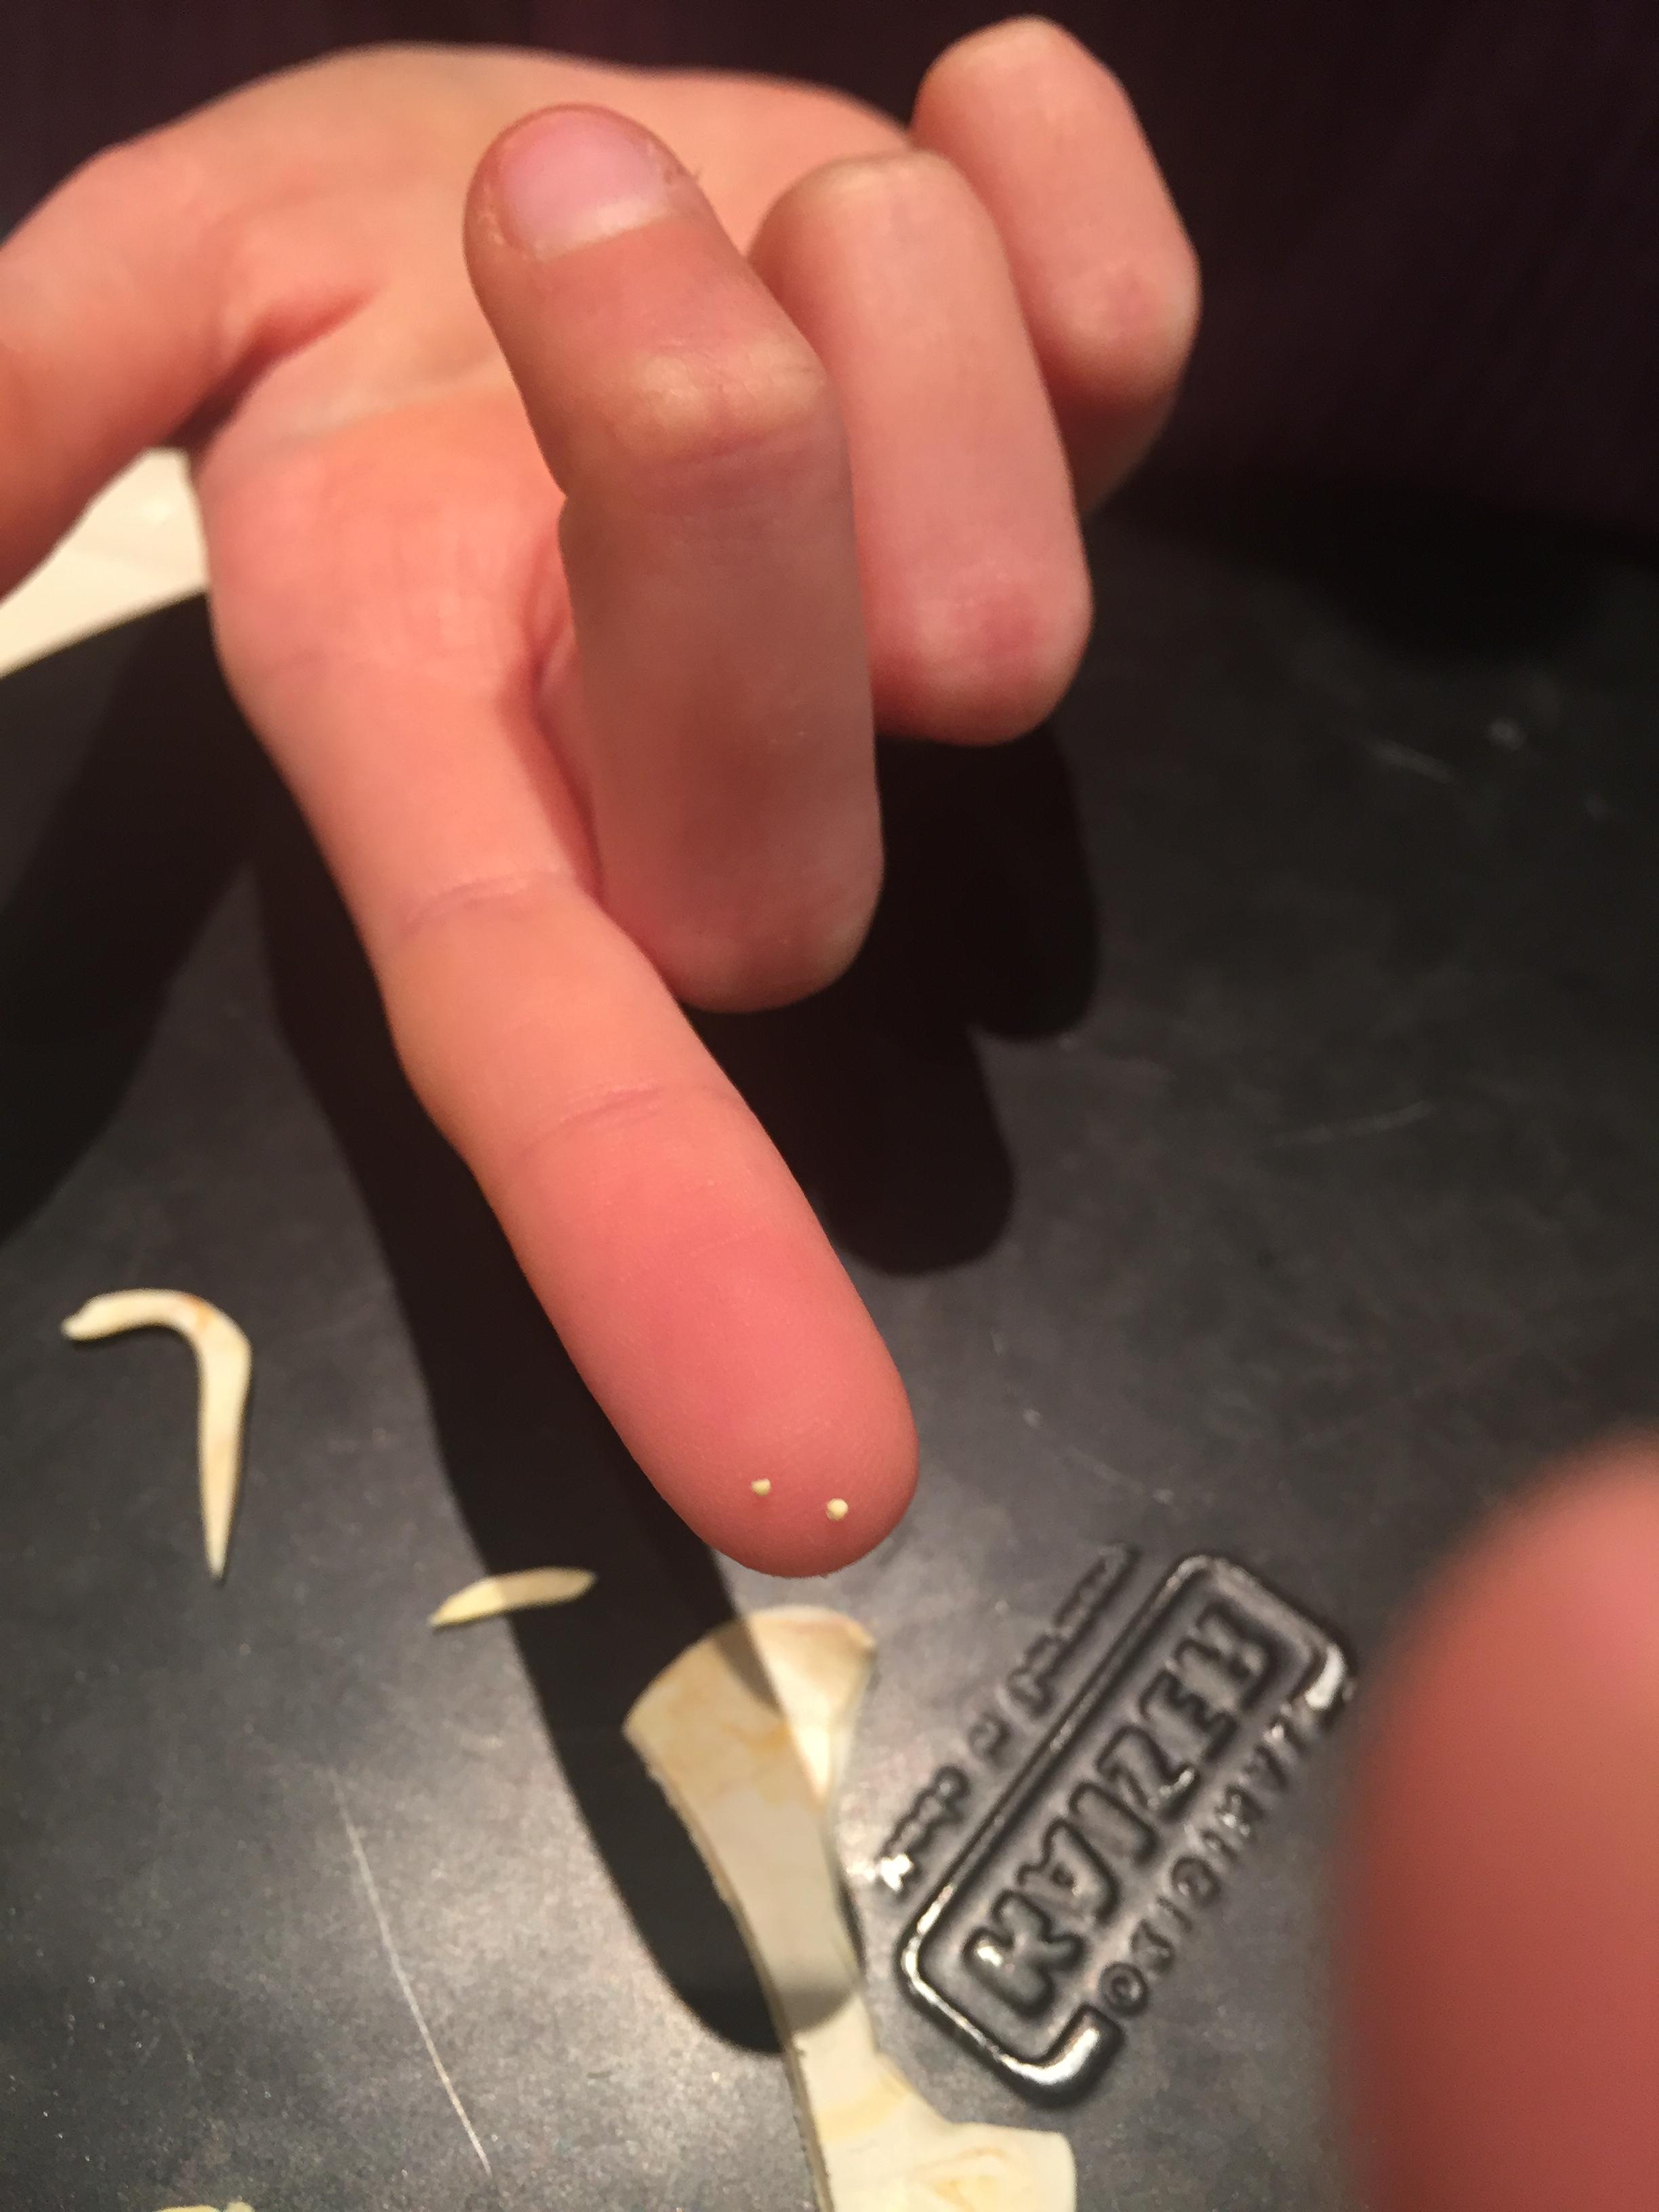
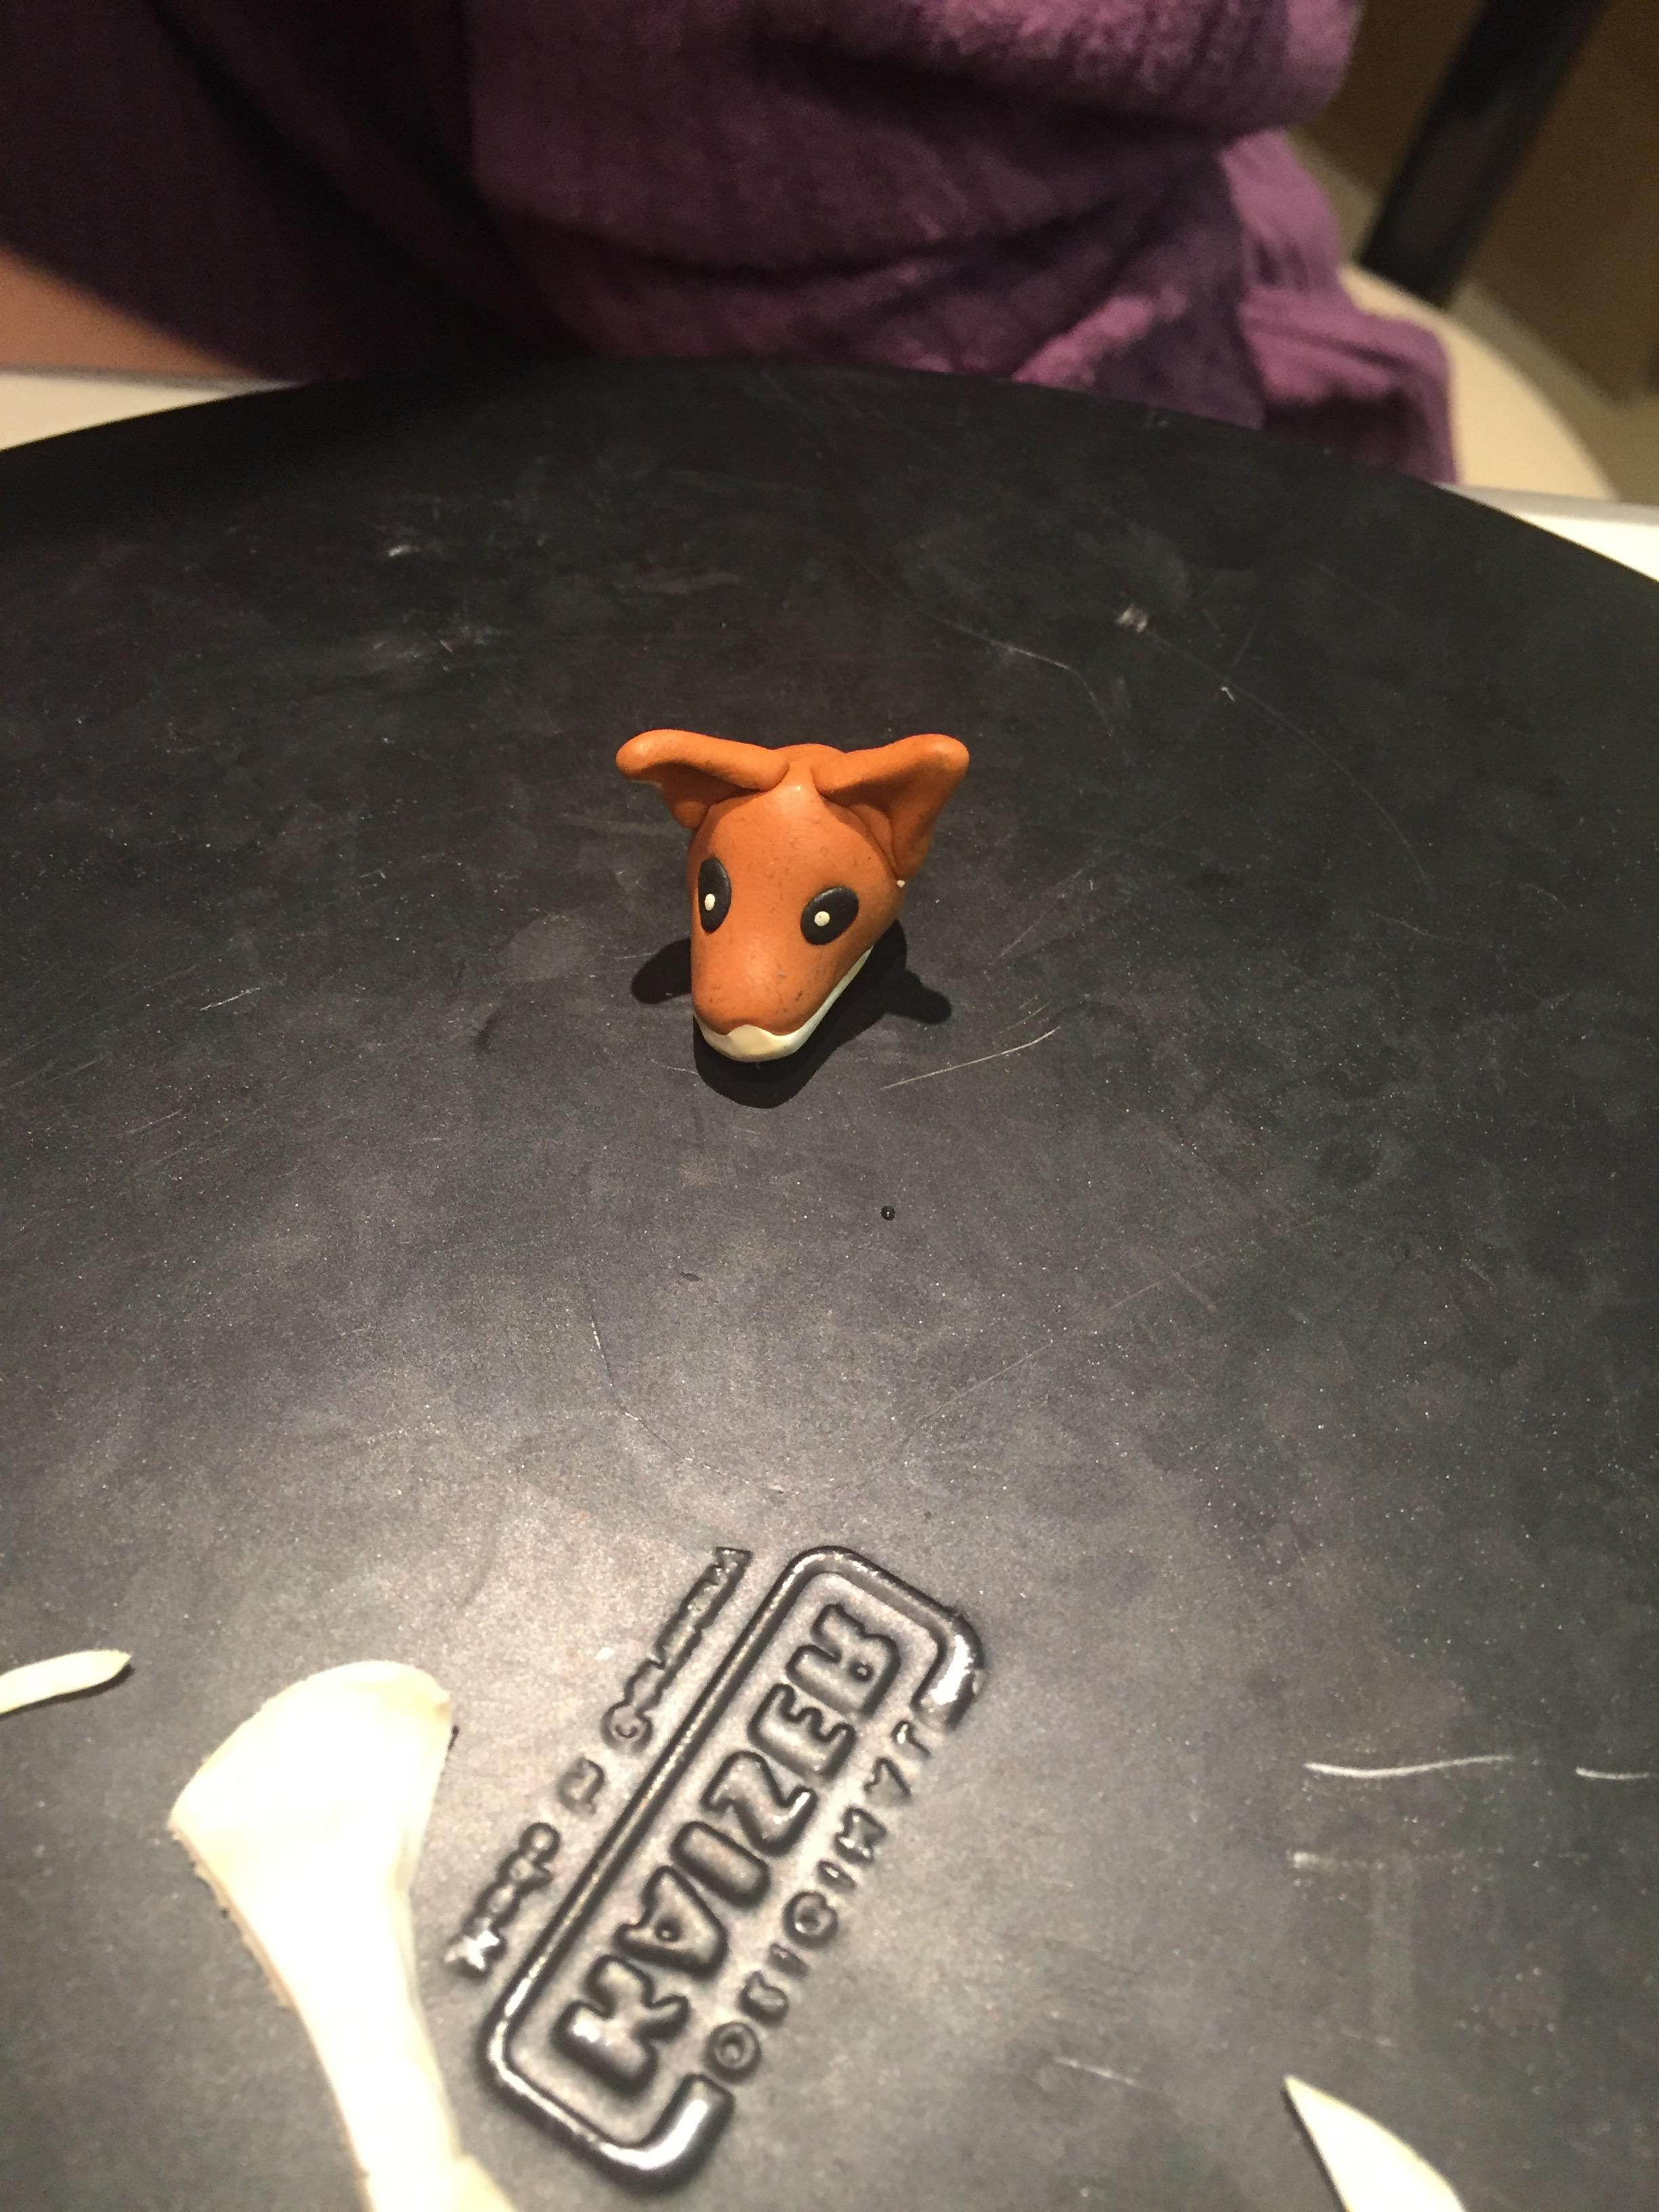


- Use the modelling tool to make 2 dents on the sides of the head for the eyes.
- cut 2 small ball of black for the eyes and press them down in the dents.
- From the white that is left make 2 tiny dots. Press them on the black to make the shine in the eyes.
- Cut out a small black triangle for the nose and attach it by pressing.
Put It Together

.JPG)


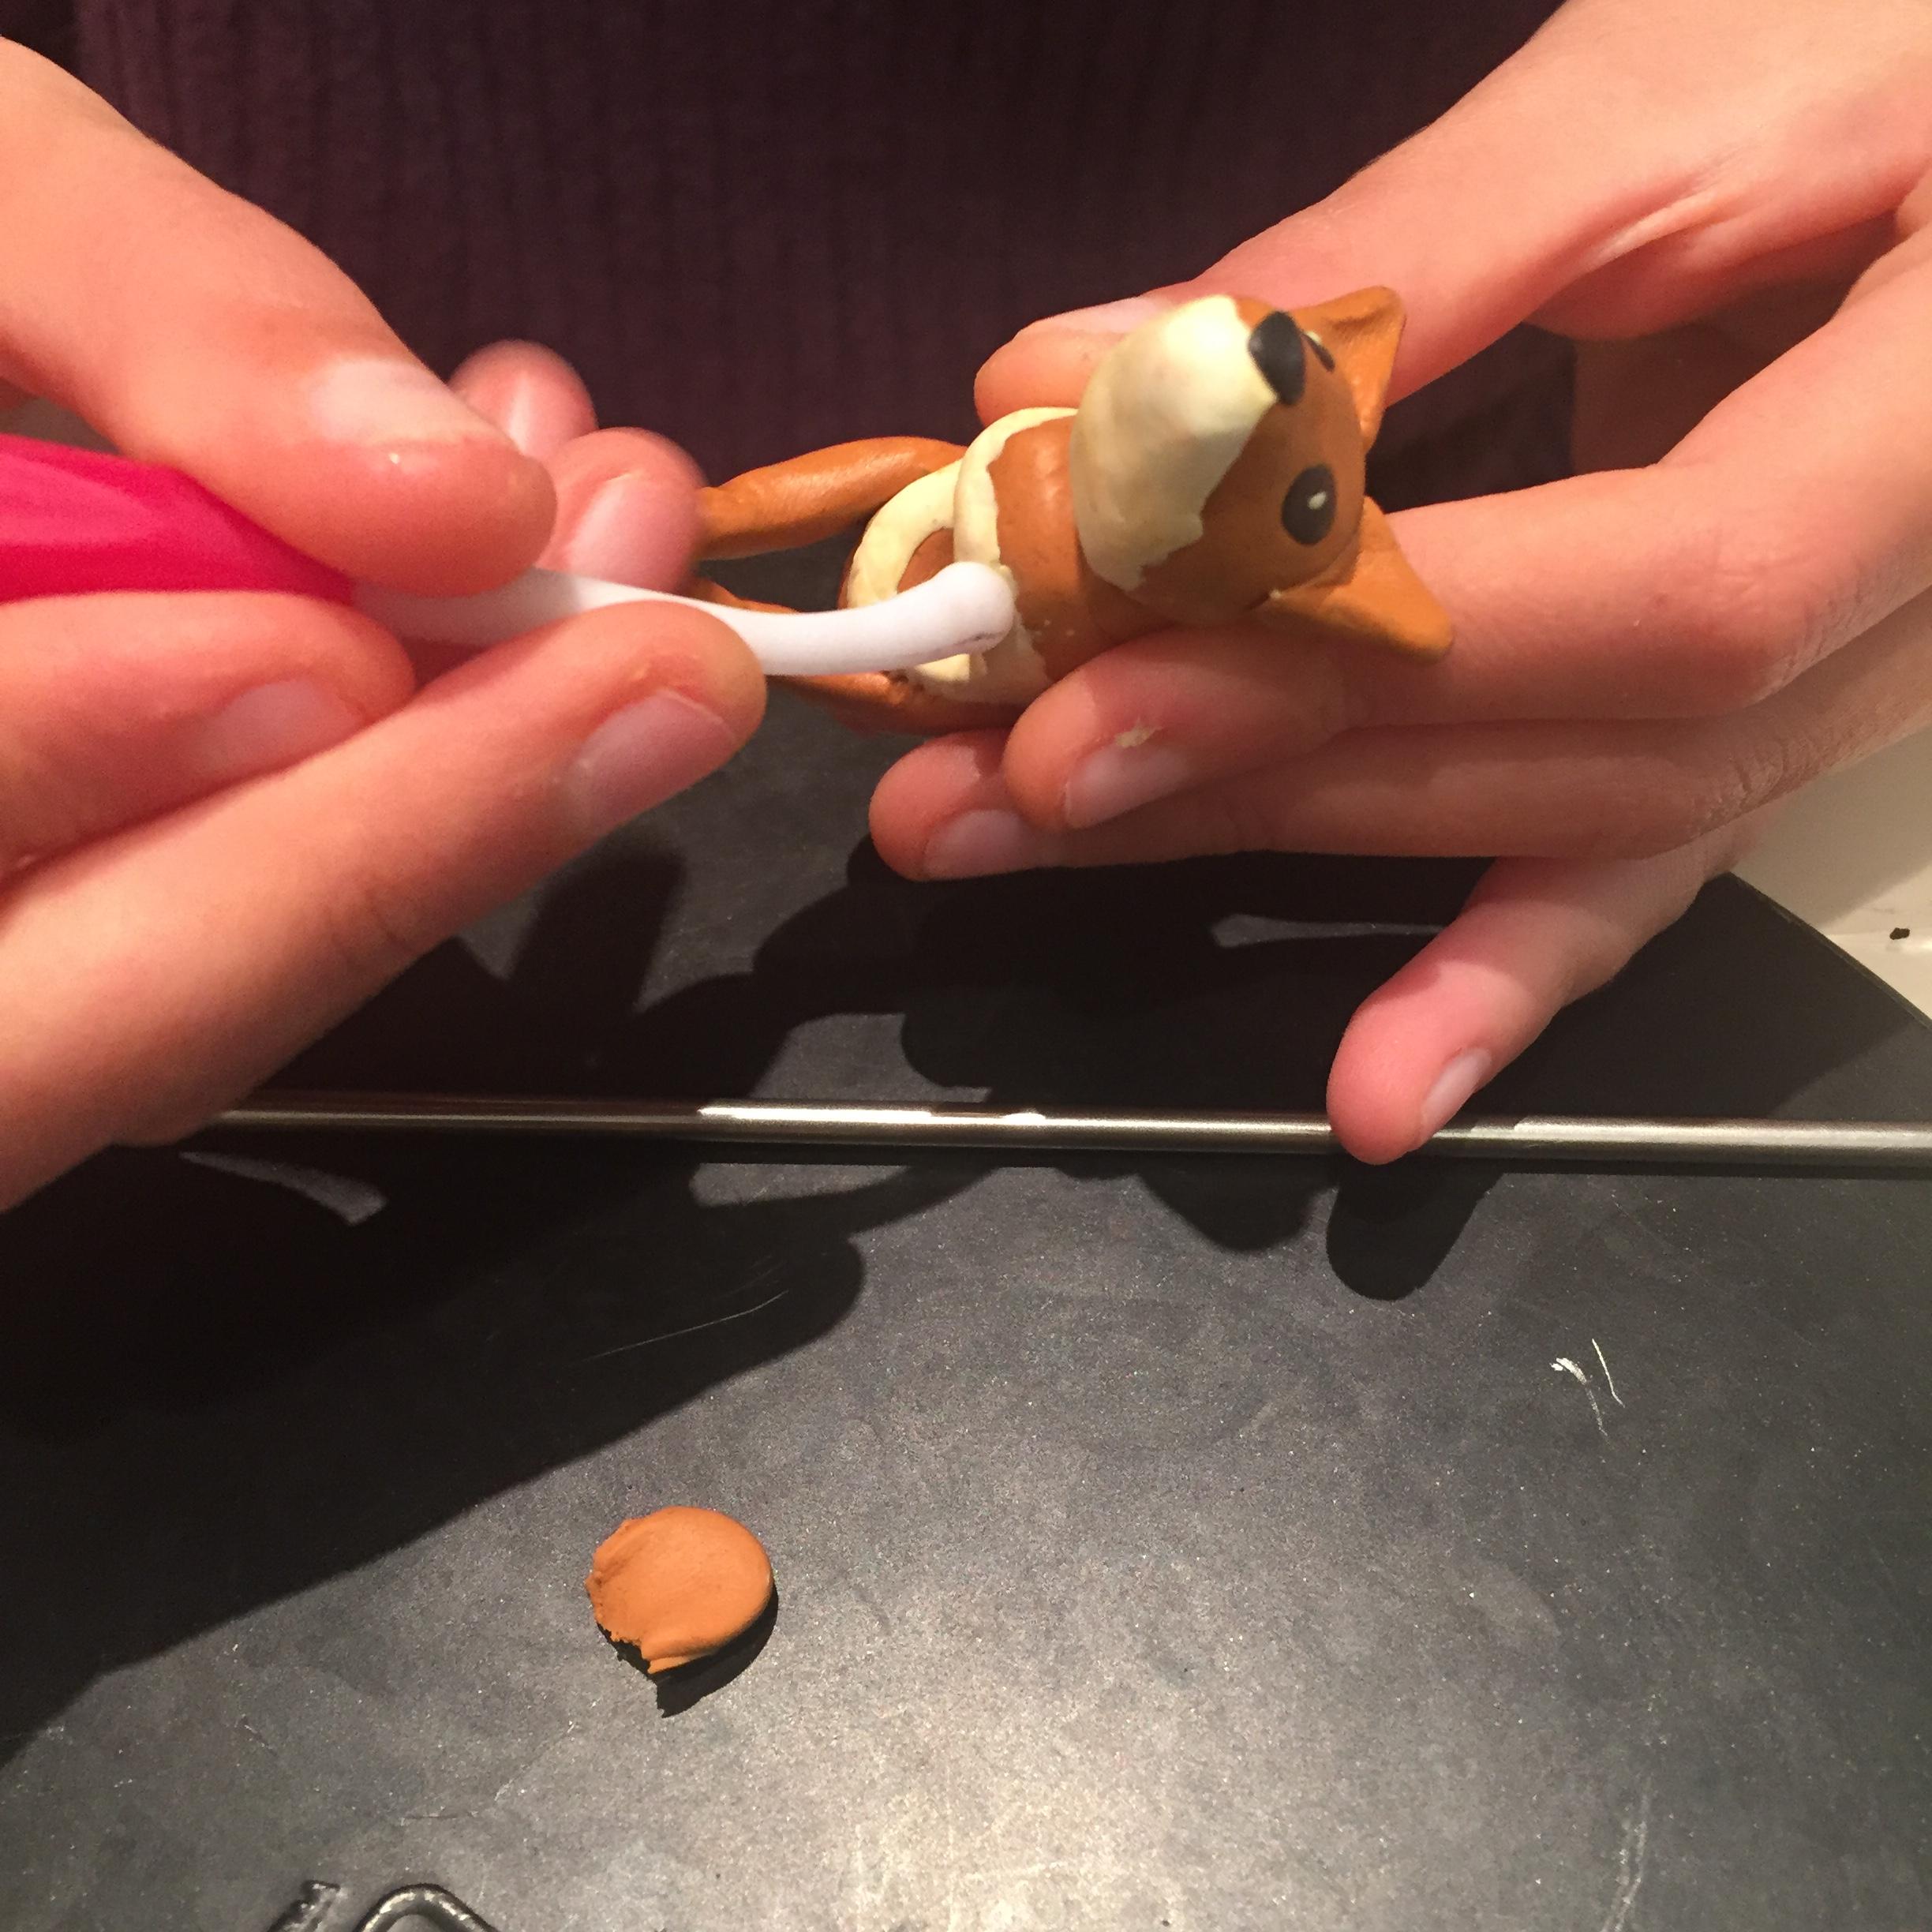


- Use the leftover brown to make a neck.
- Attach it between the head and the body.
- Smooth it with the needle.
- Attach back legs on the side of the back of the body.
- Use the needle to attach and smooth.
- Make 2 dents on the front of the body, below the neck with the modeling tool.
- Attach the front legs with the needle and smooth them out.
- Always check the if it still fits the mug.
- Make a dent behind for the tail.
- Attach the tail with the needle and smooth.
Burning
Burn the model with the mug in the oven following the manufacturers instructions.
End Result


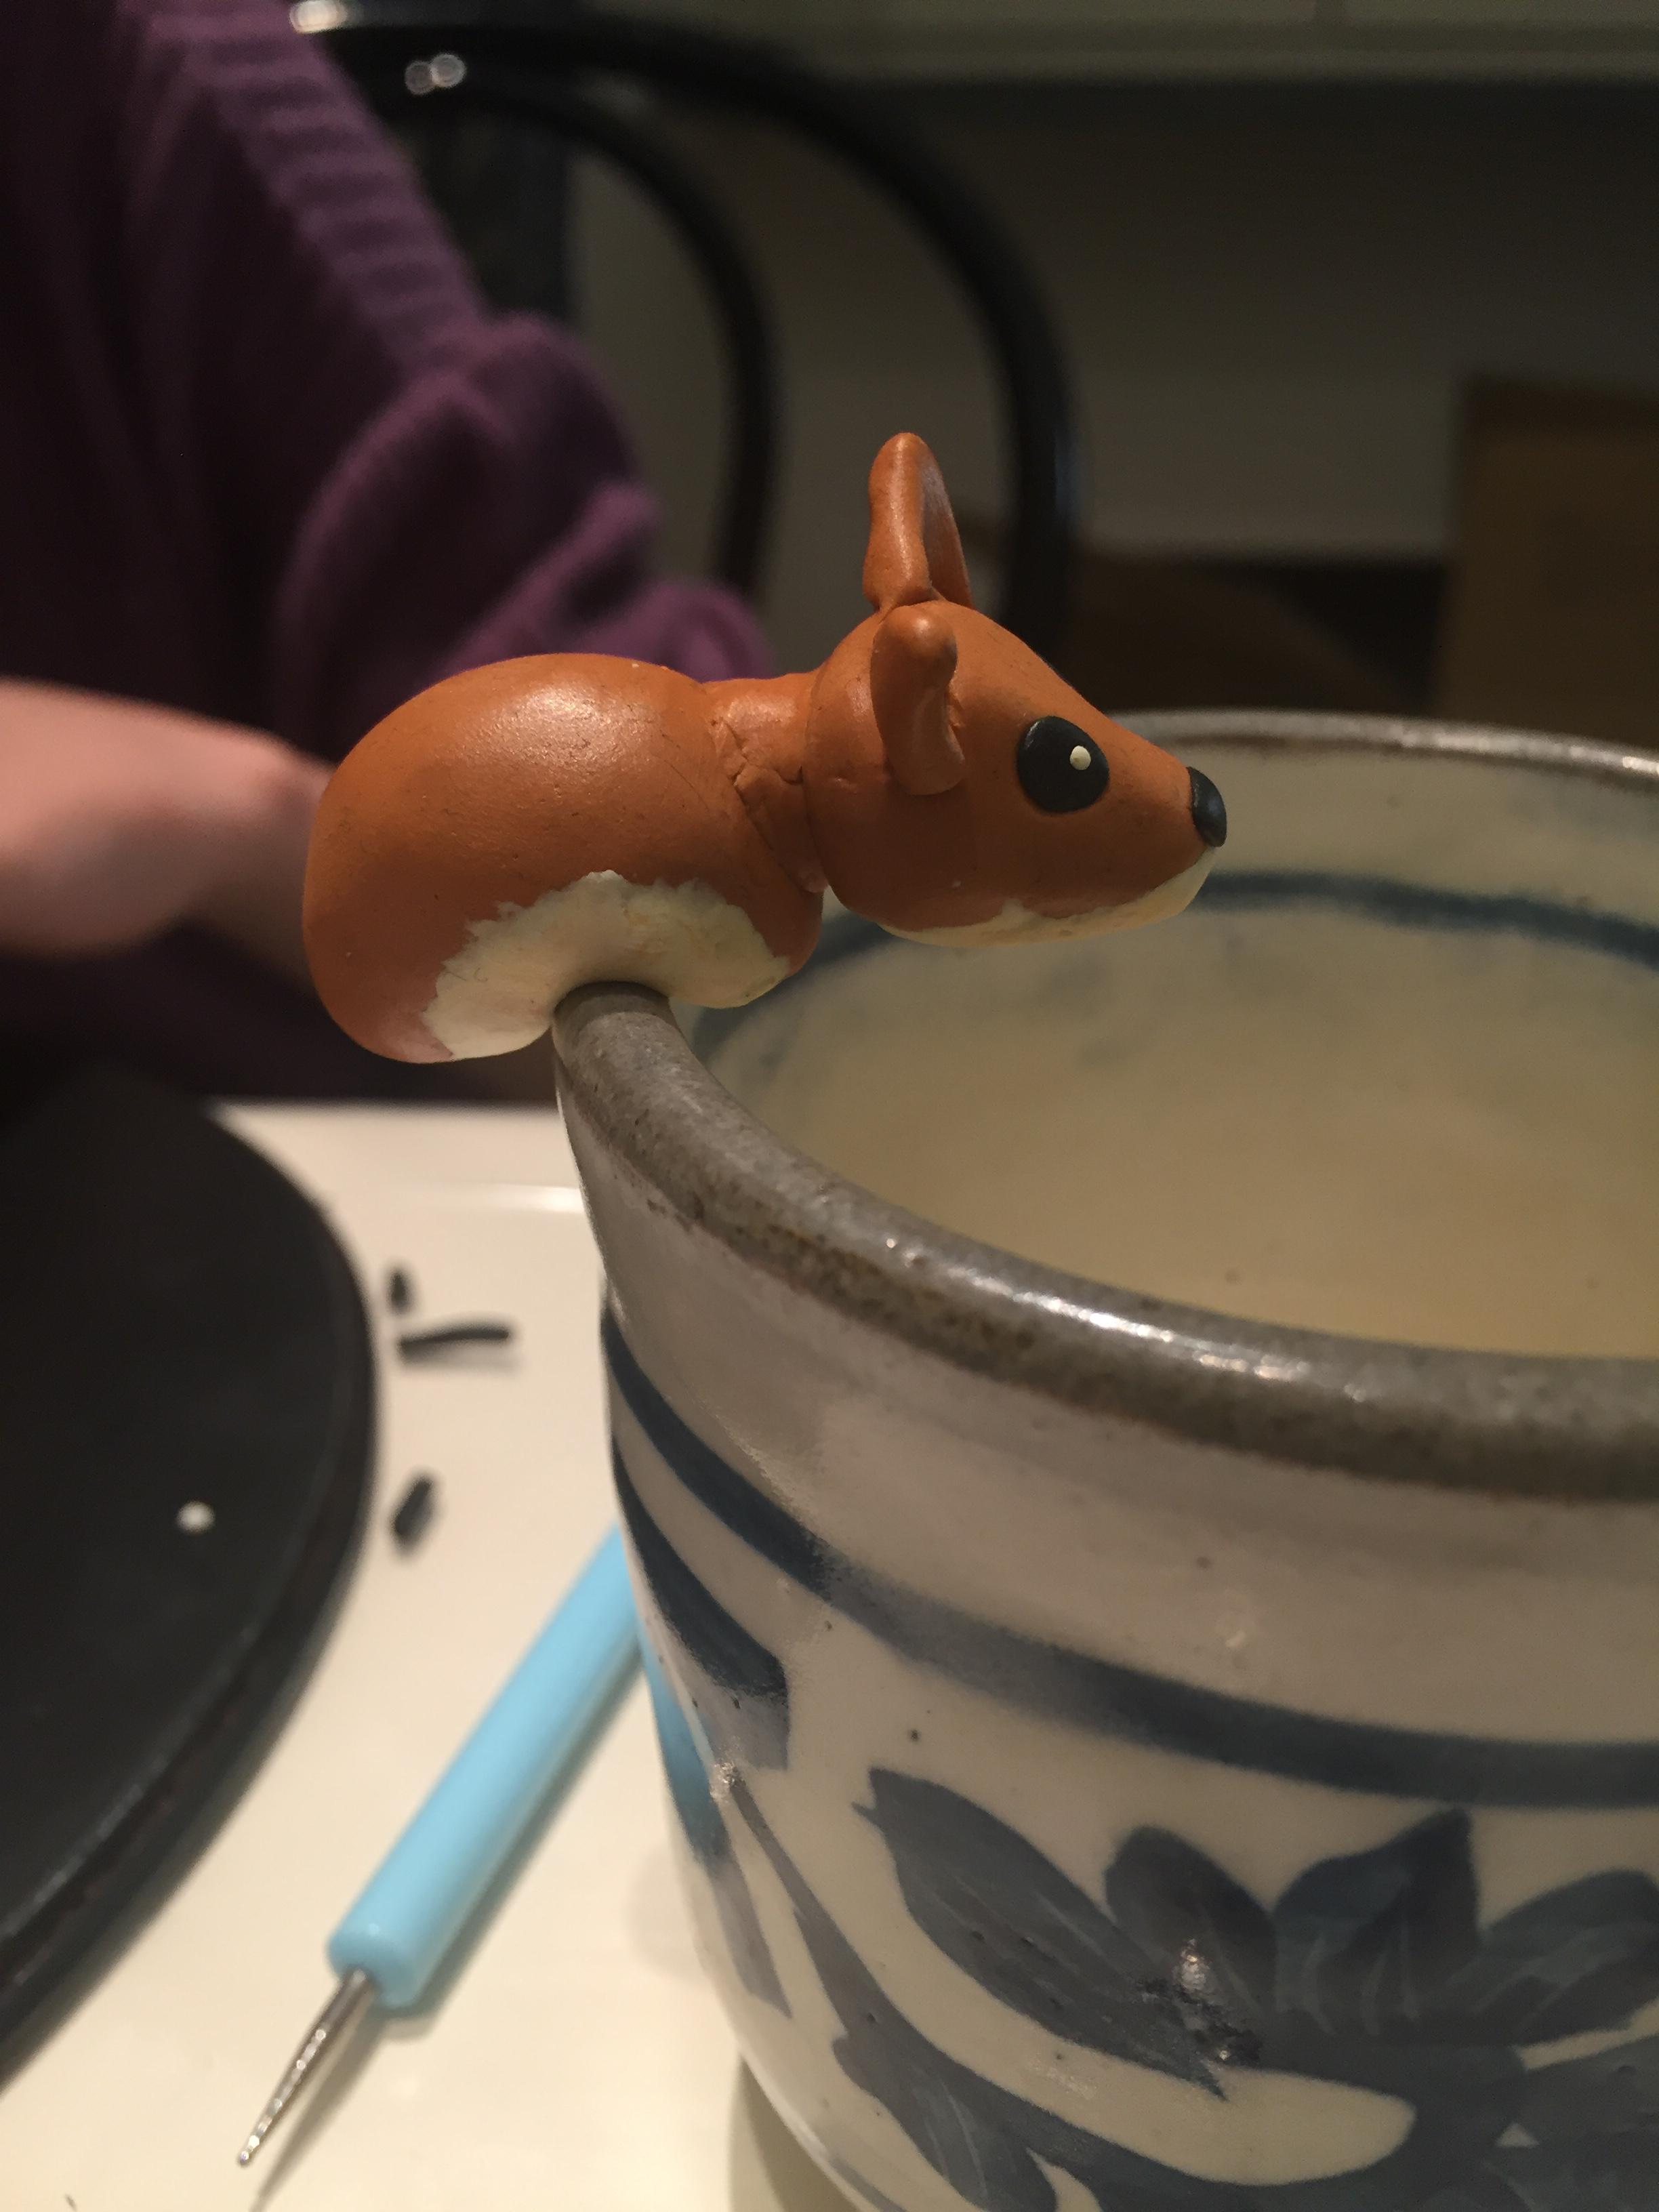
Have tea without fishing.
Yes her ears are that big.
Beware of puppy licks.