Puppet Green Screen Effect in Movie Maker 6
by flyingpuppy in Design > Video Editing
14039 Views, 16 Favorites, 0 Comments
Puppet Green Screen Effect in Movie Maker 6
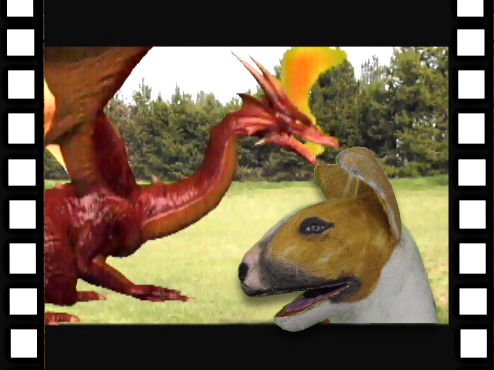
When this puppet contest went live, I had just finished a foam-and-felt dog puppet that was made to look like my niece's English Bull Terrier and I wanted to make a movie titled "How Seamus Became a Real Dog" using green screen effects. For free or nearly free, of course. That meant I had to use Windows Movie Maker 6 instead of some high-end video-editing software like After Effects that costs $1000.
The upshot? It IS possible to use free software to make a green screen movie, and can be a lot of fun.
This tutorial will show you how you can use Windows Movie Maker 6.0 to make a puppet movie where different backgrounds and special effects can be added using the green screen (or chroma key) plugin.
I'm not going to say that it's easy to make a green screen movie in Movie Maker. Just that it's possible.
You can grab two popcorns and watch the finished movie below.
To follow this tutorial, you will need:
Puppets
Digital Video Camera
A Green Screen and/or free green screen clips
Windows Movie Maker 6.0
Rehan ShaderTFX plugin ($15 after a 15 day trial)
Puppet Movie Stars
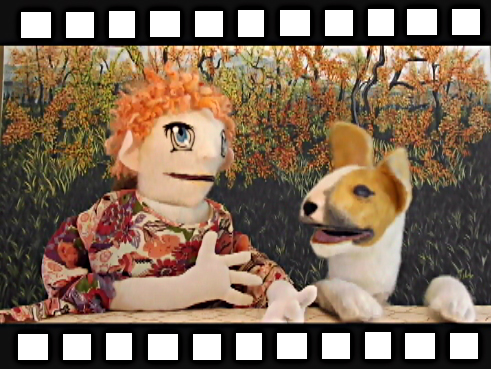
Puppets come in all sizes and shapes. The cool thing about a puppet is not so much that it LOOKS real, but that the person behind it MAKES it real. Puppets are pure magic in that sense. You can have something as simple as a pair of eyebrows stuck to your hand and build a giant personality out of it.
If you want to make a puppet, here are a few of my favorite tutorials to show you how:
Blu the Finger Puppet
Quick Sock Puppet
The Sandwich Puppet
Felted Foam Pixie Puppet (one of my stars made out of foam and needle felting)
Wacky Polyfoam Puppets
The Steampunk Superhero Puppet
If you want to make a puppet, here are a few of my favorite tutorials to show you how:
Blu the Finger Puppet
Quick Sock Puppet
The Sandwich Puppet
Felted Foam Pixie Puppet (one of my stars made out of foam and needle felting)
Wacky Polyfoam Puppets
The Steampunk Superhero Puppet
The Green Screen
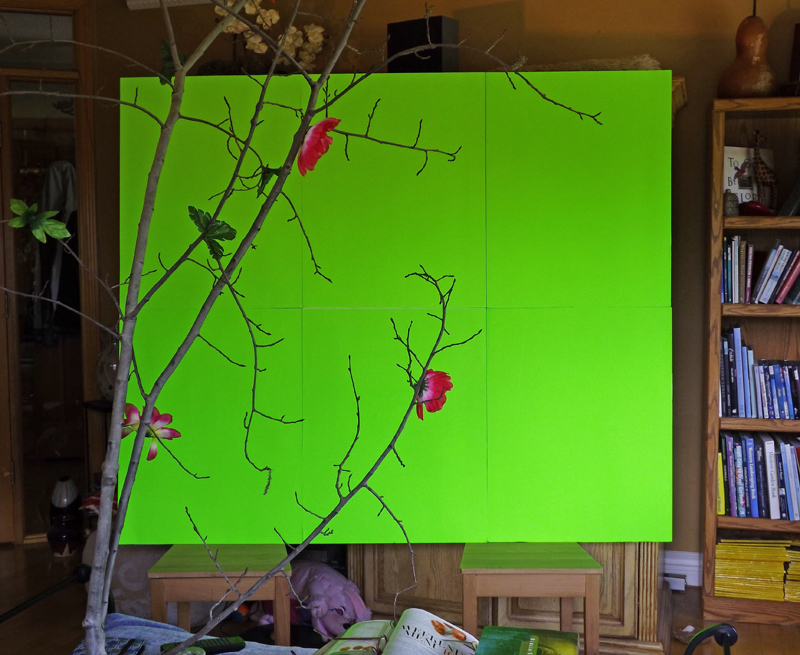
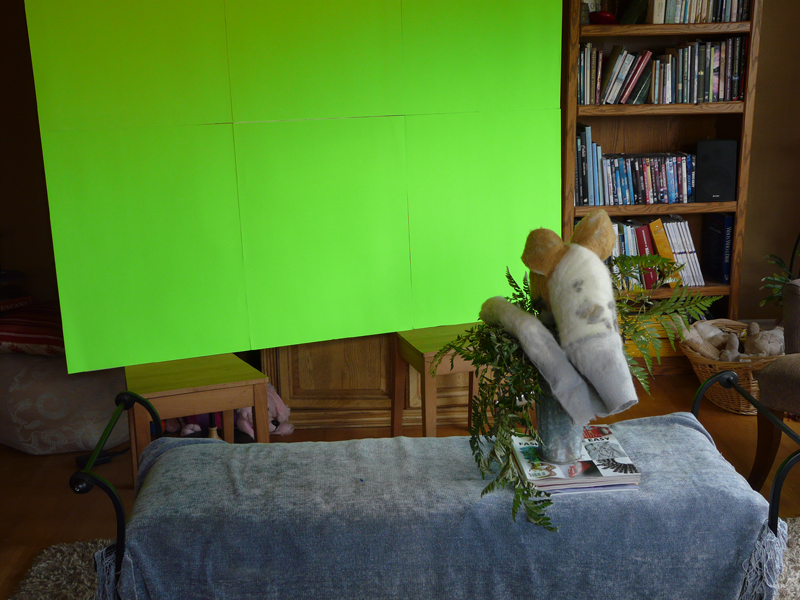
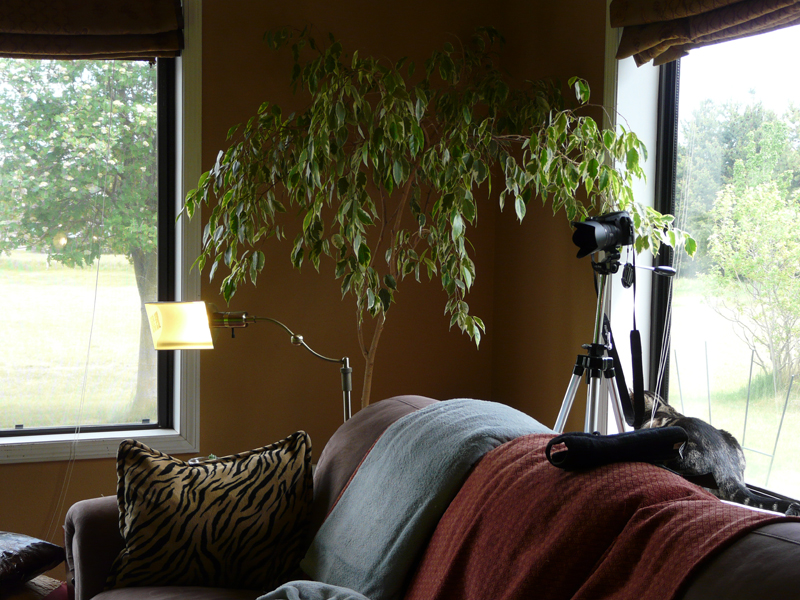
A green screen can be something as simple as a piece of green tarp tacked to a wall. The keys with a green screen are 1) even lighting, and 2) to have it large enough that you can get the subject at least 5 feet away from it (to avoid a green halo) and still have the color green cover the entire background in your camera shot. My accompanying instructable on how to make a portable green screen shows the problem of green reflection from the screen onto the subject when you can't have the subject far enough away from the screen.
For a good (clean) final effect (without halo), you should also use a high definition digital video camera setting.
As for material, I would not use a plastic tarp because of reflection issues when it is lit. Lime green poster board from the dollar store makes an ideal screen material.
If you don't need a portable screen, you can tape several sheets together and tack the entire screen to a wall, then light it from both sides (behind the subject so you don't have shadows) for even coloring. Some chroma keys are more sensitive than others and will not tolerate the least bit of difference of shade in your green screen (fortunately, the Rehan keys that work with Movie Maker 6.0 are very good at forgiving such difference and deleting the entire green background).
You can also use free green screen clips available on the Internet. Two channels on Youtube that offer free clips are BestGreenScreen and GreenScreenCreators.
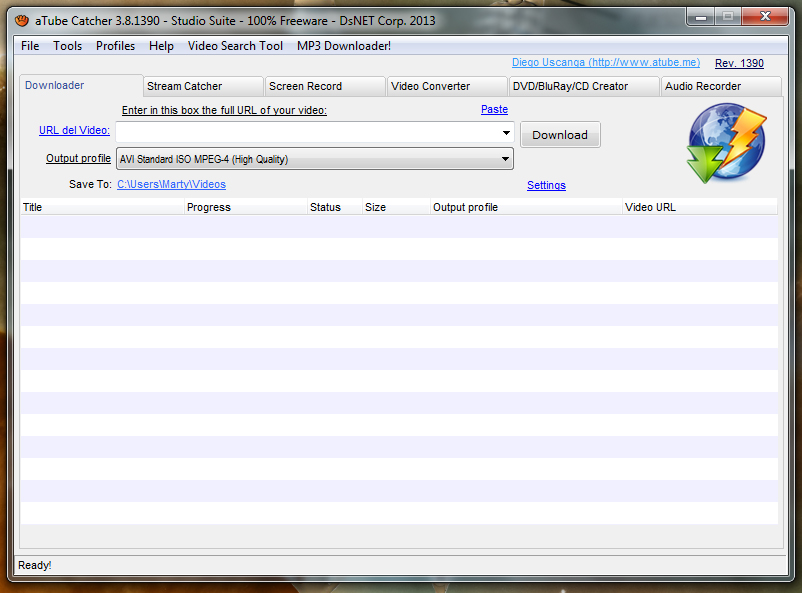
How to download a Youtube clip? Use aTube Catcher freeware: in the Downloader option, paste in the URL and hit "download."
Video Editing Software Pros and Cons
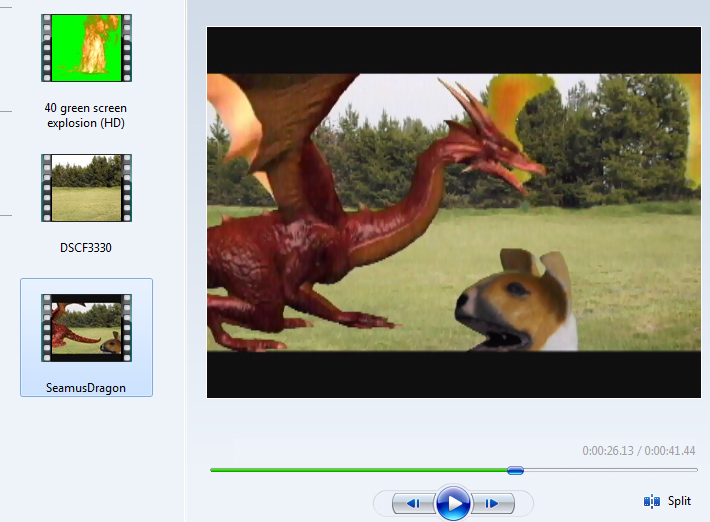
I'm assuming that anyone who can afford After Effects video editing software is not going to be looking at Instructables for help. This is for peeps like me who have to scrounge for freeware, shareware, or cheapware.
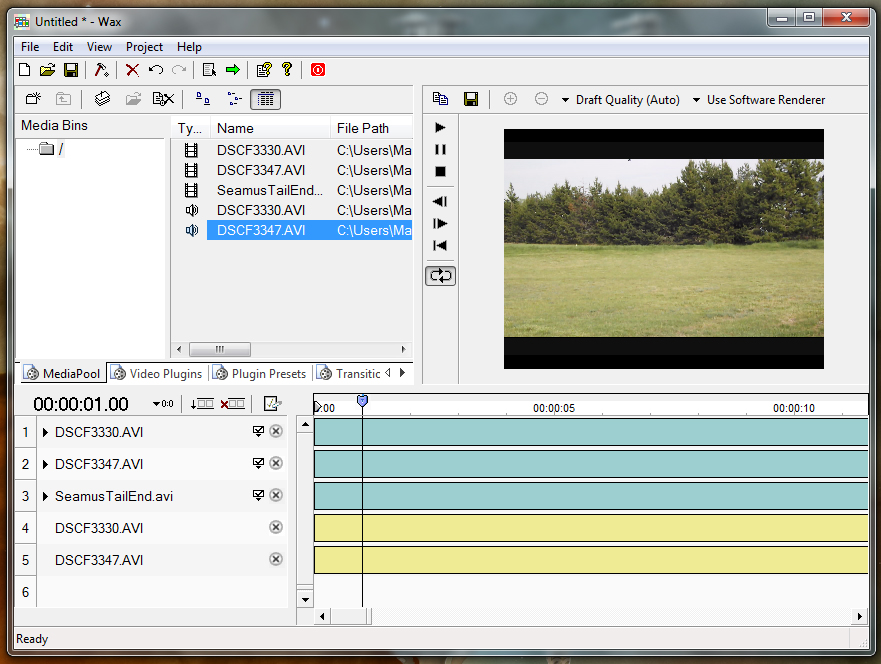
In addition to Movie Time 6, I experimented with Wax 2.0 in the making of this movie.
The Pros and Cons of Movie Maker 6.0 over Wax 2.0:
Both software are free.
Movie Maker 6.0 only has one video track and two sound tracks, whereas Wax 2.0 has several of each (99 I think). This means that in Movie Maker you can't stack video tracks and blend them all in one step. At most, you can overlap two video clips, but even then you will have a couple frames left over that have to be deleted after publishing. For my finished movie I had to add a green screen effect, publish the movie as AVI, re-import it and add another layer of effects, and so on for every layer of effects. VERY CUMBERSOME.
In Wax 2.0, you can put all your video layers in at once and each layer can be manipulated in all sorts of ways (stretched, made into 3D, etc) at the same time. So, if all you need is video, then use Wax 2.0.
As for sound, it would be fantastic to have layers that could be cut and edited simultaneously, but unfortunately I couldn't get Wax to render sound on my computer at all. That was enough of a stumbling block to move back to Windows Movie Maker.
You can download Wax 2.0 and all sorts of presets (special effect plugins) from DebugMode.
Wax has a built-in green screen (chroma key) effect which lets you use a dropper to match the exact green of your screen and then increase or decrease the tolerance until you delete all you need deleted. In actual experience, I found Wax's chroma key to be so sensitive that I couldn't get the whole screen to delete and leave the foreground clean and crisp.
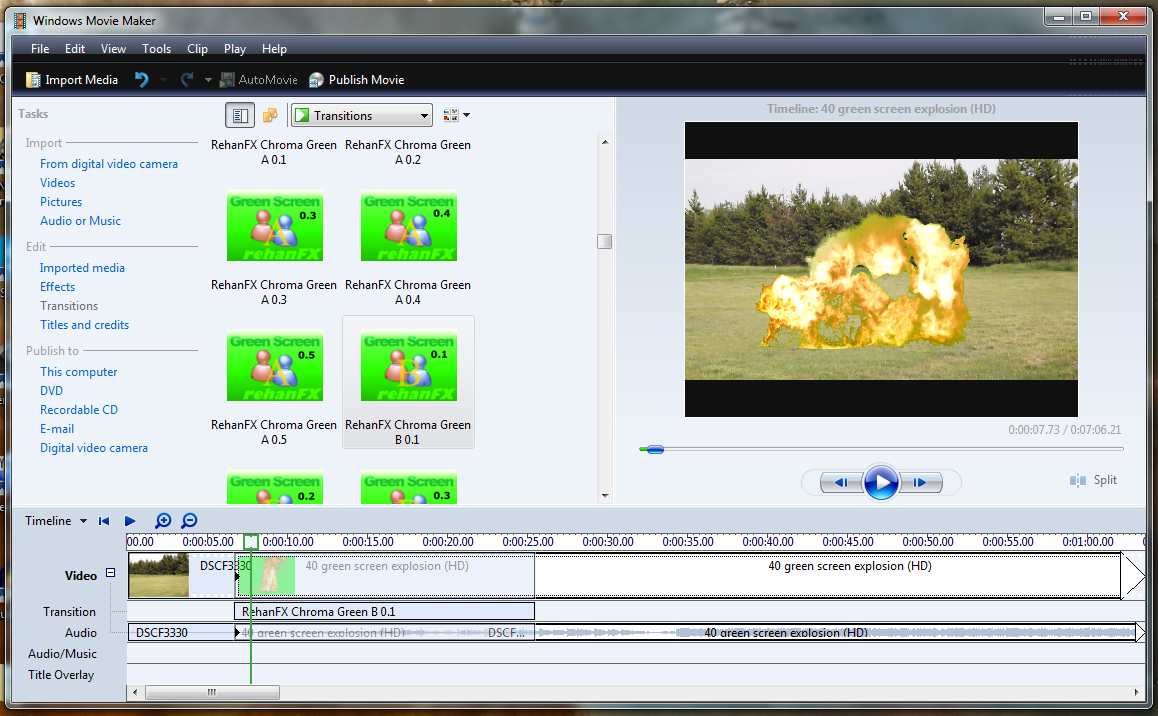
For Movie Maker 6.0 you have to download a plugin: ShaterTFX from Rehanfx.org. Once it is installed, you will find the chroma keys in Windows Movie Maker's transitions dropdown. To use the transition, you need to overlap the two video clips (background and green screen clip) and then drag the chroma key transition onto the overlapped videos.
Green Screen Video TuTorial

This video will give you a visual of how I used Movie Maker 6.0 to overlap video clips and add the green chroma key effect in the puppet movie. For written details, read steps 2-4.