Publishing My Auto-created Videos From IPhone Onto Youtube, a Manual Method
by scheng4 in Living > Life Hacks
47 Views, 0 Favorites, 0 Comments
Publishing My Auto-created Videos From IPhone Onto Youtube, a Manual Method
I created a youtube channel that certain members of my family with less digital literacy has access to, and I'm so lazy that I haven't made time to make videos for them. We have created a video that shows them how to access the youtube channel.
Luckily, iPhone automatically generates "memories" from our photos and I am looking forward to being able to tell my family that there are new things there from our adventures, hassle free!
I thought I'd share this technique. Here's the video version from Youtube. https://youtu.be/22YLUSPgiZI
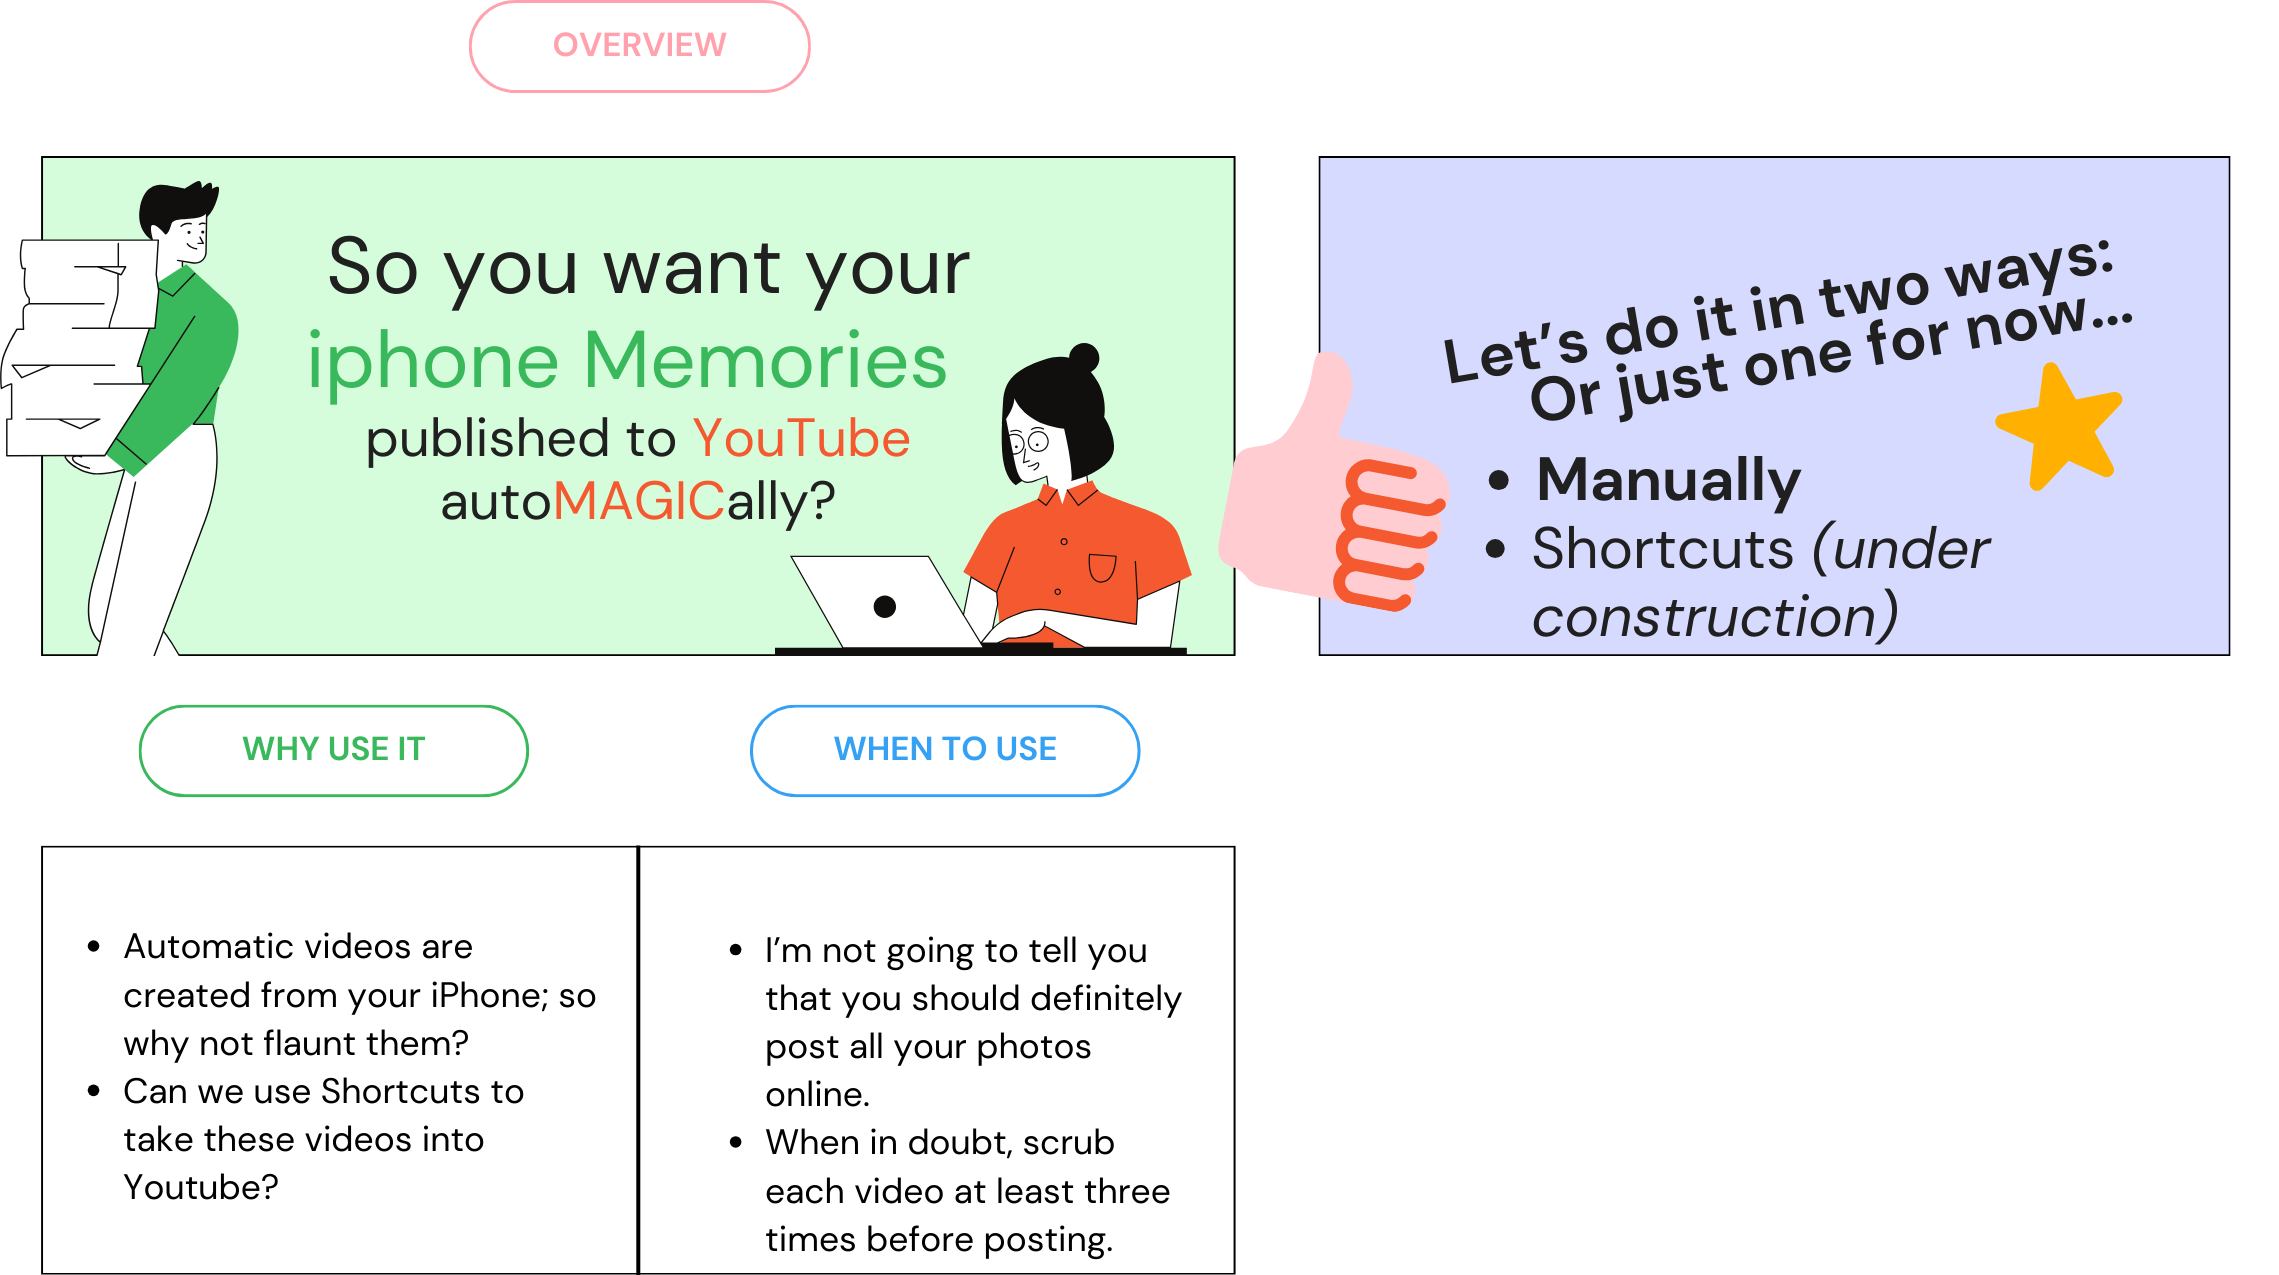
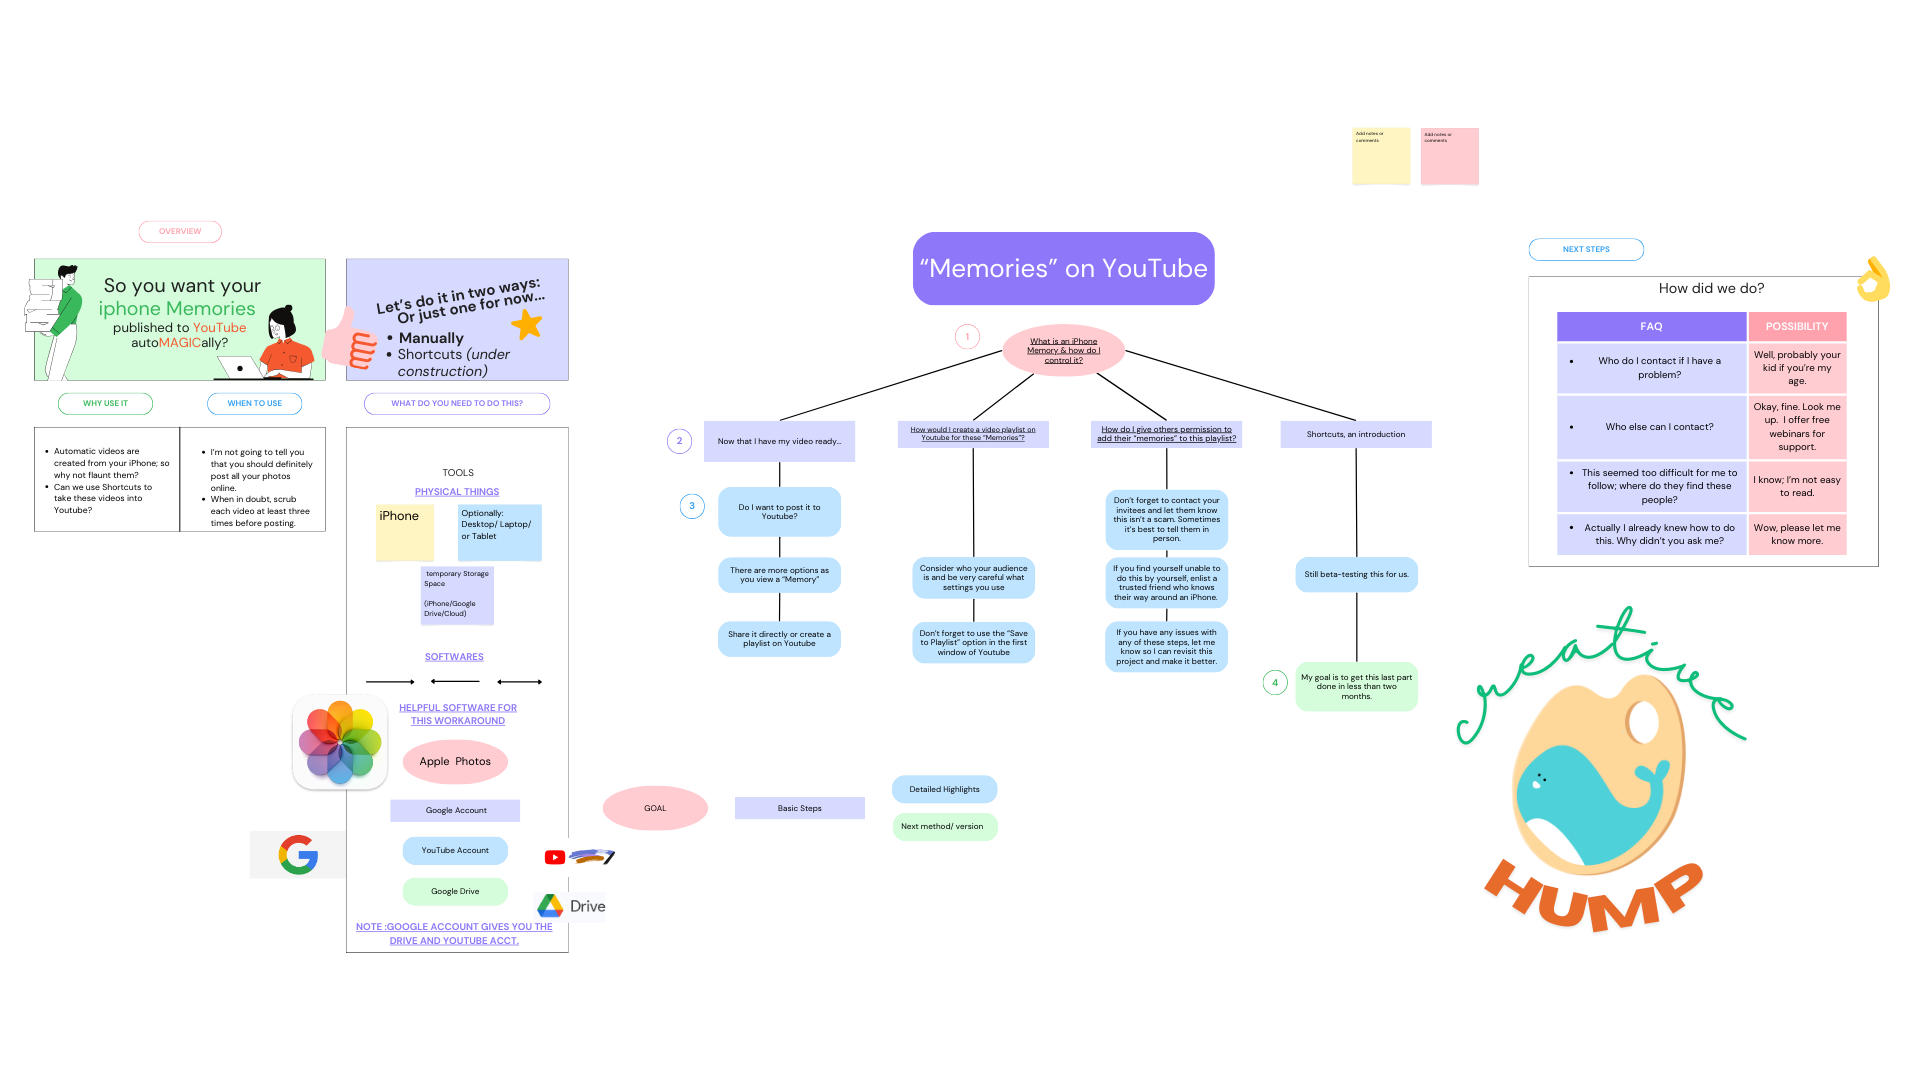
I'm also working on a "Shortcuts" method so that there's less fiddling.
Supplies
.png)
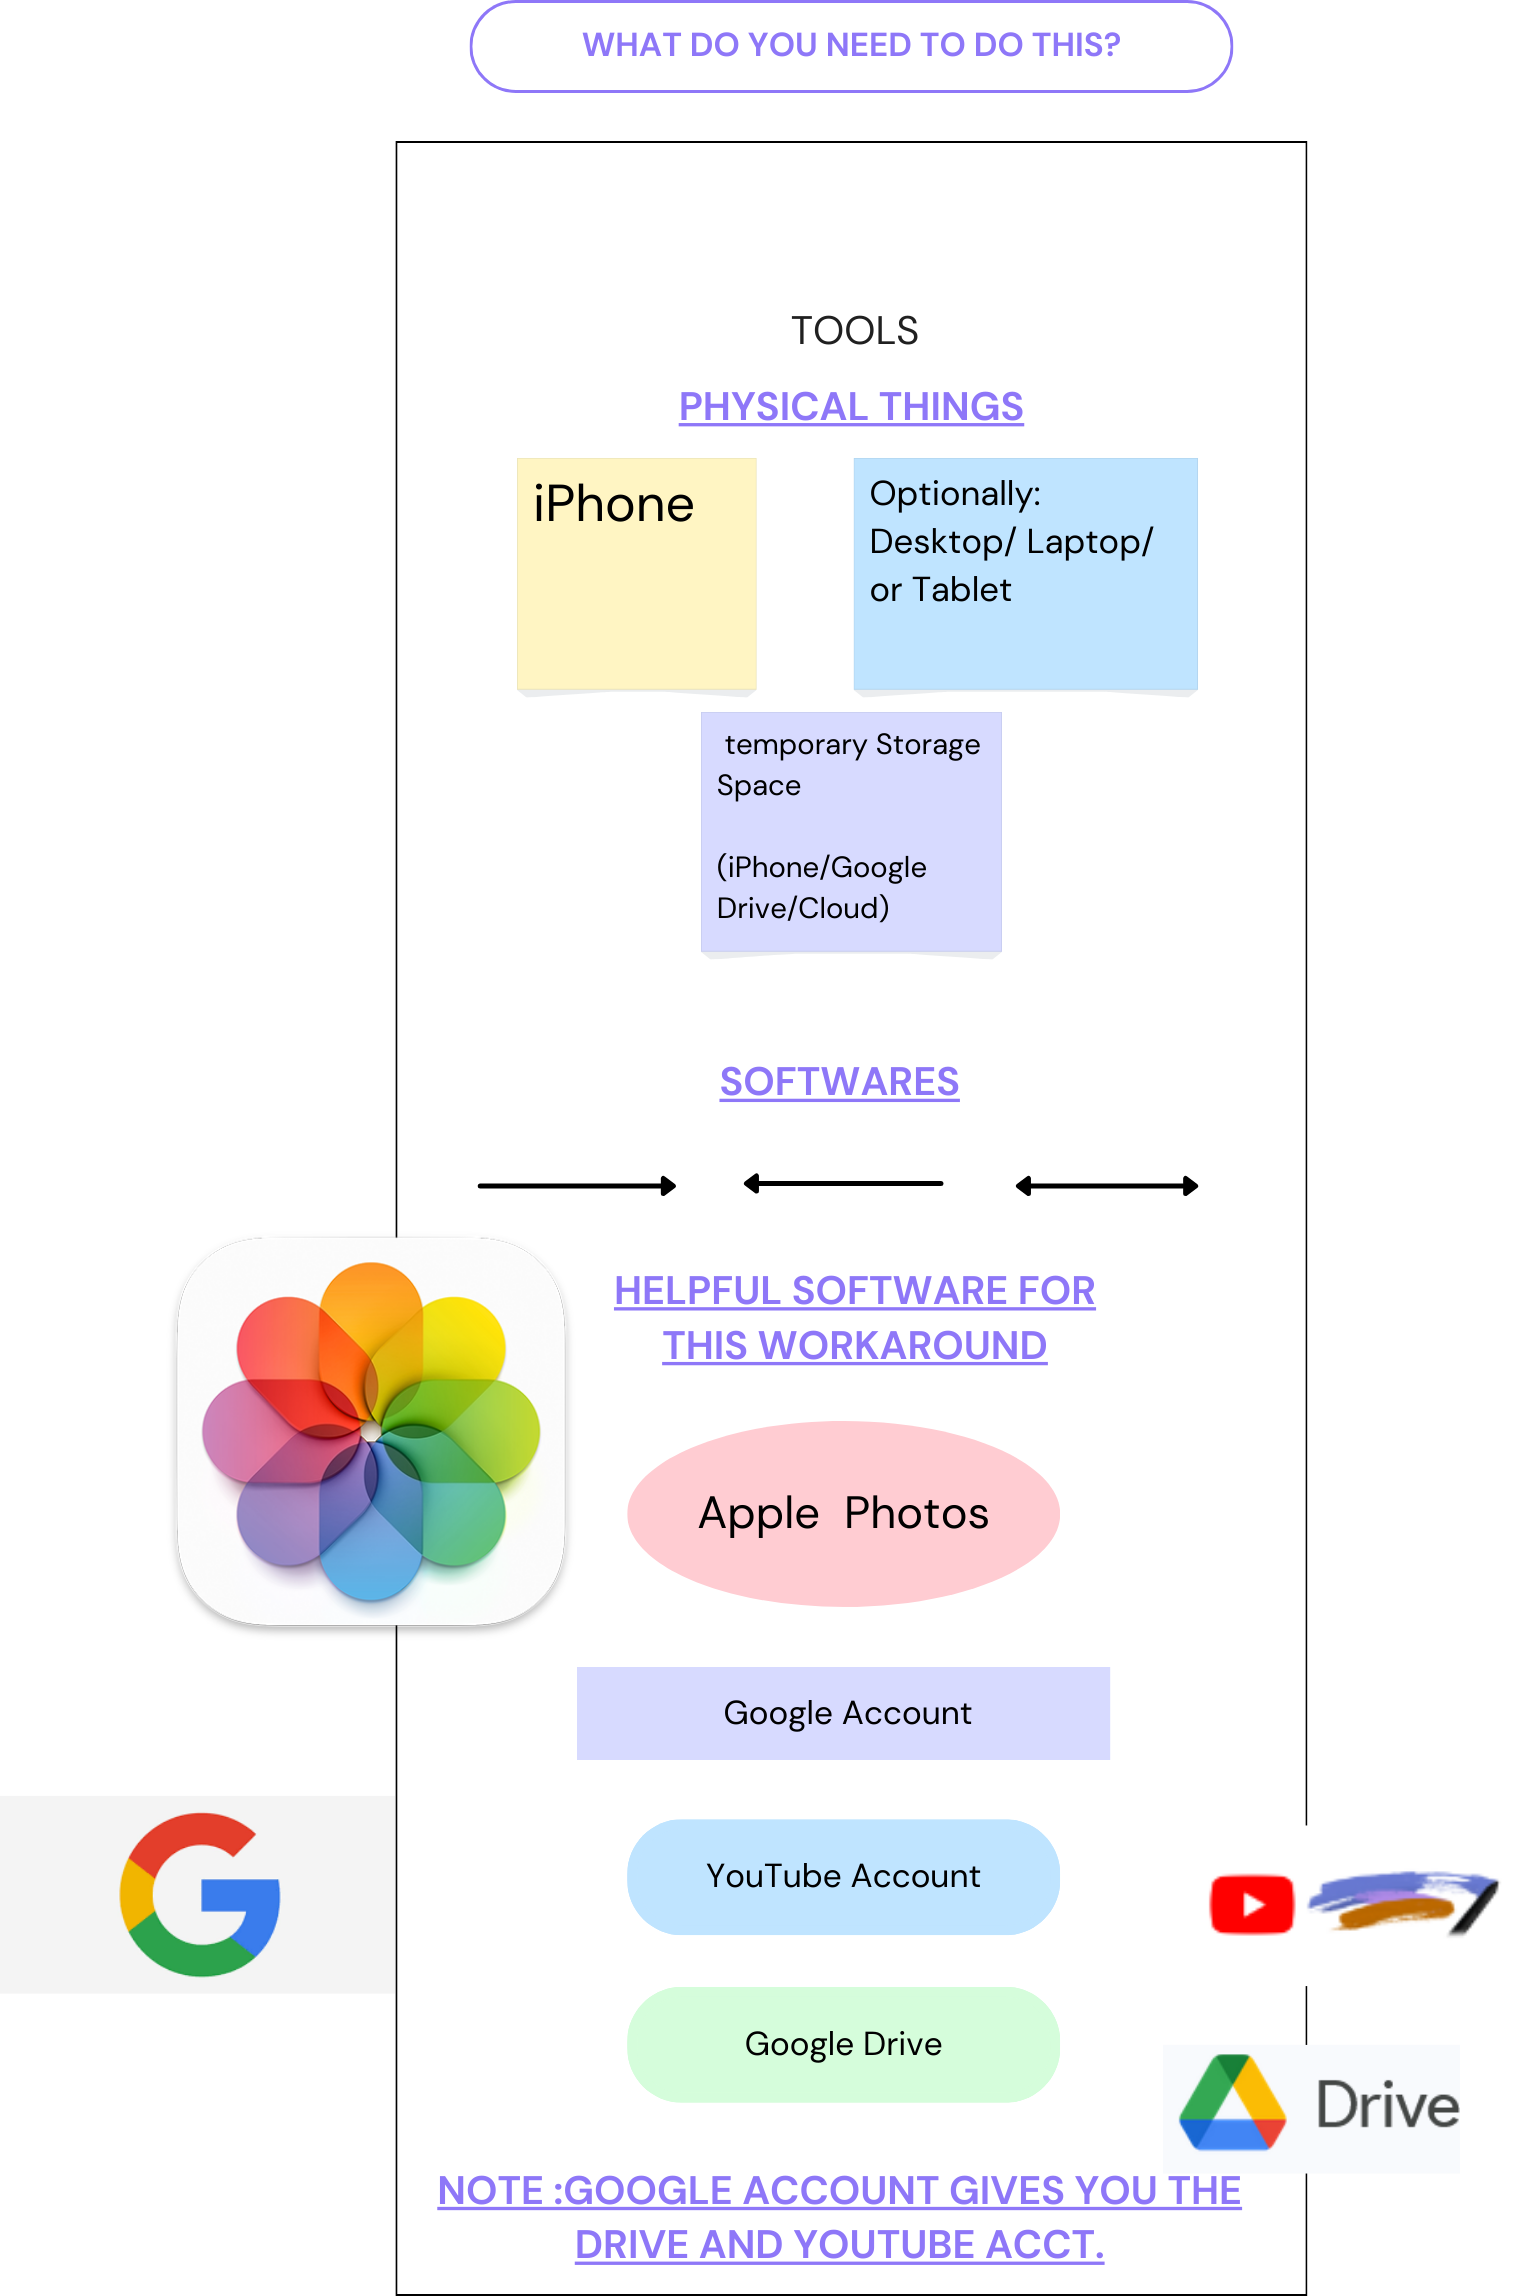
- iPhone
- YouTube Account
- Google Drive Account or iCloud space
What Are Apple Memories?
.png)
Have you ever noticed your iPhone trying to show you a video that you've never seen before, but it's one with a generic name like "A Day at the Beach" and it has your recent photos in it. That's your pervy neighbor, Apple propagating videos for you automatically with some set of algorithms to make sure you're going to want to watch your own private peep show of your life. Have you ever wanted your family to see that, too? Well this is a tutorial on how you can do just that. Just make sure you learn to tweak these videos in case you have some naughty things in there.
Wait, you don't have an iPhone? No worries, Google is just as pervy as Apple, and apparently they offer it, too. Actually, their memories seem to be more of a slideshow than a video... Sorry.
- Open up "Photos" (the icon with the rainbow 8-petalled pinwheel) app on your iPhone.
- At the bottom, there's a menu: Library/ For You/ Albums/ Search
- Click on "For You" and at the top you should see "Memories"
- You can also click "See All" to get a look at all the available memories. Hopefully you don't have a brand new iphone so that you're able to see a lot of things here.
- Choose one video and click it. This is your first video for step 2.
How Do I Save These Videos?
.png)
You'd think there'd be an easy way to save the videos. Well, yes there is, but only one by one. In fact, you can only save them by viewing them. The Triple Dot Option Top Right buttons are your key, and then you just have to choose a way to save them somewhere you have space. If I were you, I'd use the "favorites" Heart button as a message to yourself about whether or not you've backed up the video, but maybe you prefer another system to remember it.
- Click on pause while you're viewing the video that you selected on step 1.
- Maybe you just want to Save Video with the download button. That's fine, then skip to step 3. If not, read on.
- Look for the upload button on the top next to the title of the iPhone (that looks like an upward arrow coming out of a box)
- All of your options are available for sharing here. If you want to upload it to Youtube ideally another iOS update will enable that for us in the future, but for now we have to have it uploaded somewhere else first. You can either save it to your phone or save it to the cloud and delete it later when I know I'm done uploading to Youtube.
- Want to use Google Drive? Click the "... More" button which is hidden all the way to the right of the middle row of icons that start with "Airdrop/Messages/Mail/..." right below your contacts.
- Under Suggestions, hopefully you'll find Drive (the Google colors in a triangle)
- Choose your upload folder carefully here, making sure you're in the right gmail account if you have more than one. (Don't forget to use color to help you identify your folders if that increases your productivity.)
- Decide if you want this folder to be shared with anyone and enter their emails if so.
- Click "Upload" when you're sure you're ready. This may take about 1-2 mins depending on the size of your video.
Private, Unlisted, or Public on Youtube
By default all your videos will be private, which prevents people from being able to see anything even if they land on your URL. I like to take the middle route and keep things unlisted in case I am not sure what I just posted, and don't want to become YouTube famous because life is weird like that. Then be sure you only send out the URL to trusted family or friends, not on some random social media place so that you can monitor how it's doing and give yourself a way to breathe a little easier while you decide what is and is not fit for public consumption. But first how do we get from here to there? What do we do?
- Hopefully you've figured out where you've uploaded your video. In my case for example, I chose to use GDrive which I use from my computer, and I have a specific set of folders that I used to classify where it belongs. If you have trouble finding your directory, I suggest start by learning about where all your possible storage spaces are and how to get to them. Here's a quick tutorial from WikiHow on navigating Directories.
- Open your file (drive.google.com or where ever you uploaded it) and download or save it somewhere that you'll remember.
- Open the Youtube App and sign in if you aren't already.
- Click on the Create button (top Right, looks like a movie camera with a "Plus" sign inside)
- On the pop up menu select "Upload Video".
- Select file (and here's where it helps to know where you downloaded your video & usually "recent"/ date details will help here)
- Customize your description/ title, etc as needed, making sure to toggle on or off whether or not it is made for children. (I usually use "No, it's not made for kids" regardless to make sure it's less likely to affect them.)
- Make sure you select "Playlist" on the first screen so that all the videos that you need go to the playlist you've shared with your family.
- Click Next until you get to Visibility where you will choose to keep it "Unlisted" (my preference), go "Private" if you're not sure if you want anyone at all to see it yet, or go "Public" (because you're just ready for anything as it comes.) If you choose "Public" you also have scheduling options, so that you can ready yourself or put yourself out in style with as many promotional newsletters and announcements as you need to make about it.
- If you happen to have a video that is directly related to another one that you already uploaded, there's an option on the last screen to associate it with that video.
Share It With Your Family
.png)
Texting is not as safe as it used to be, so I tend not to share passwords via text anymore. If you send a link to a website url that is by invitation only, like a set of private videos, that would probably be safest. When you have unlisted videos (like me), just be aware that anyone who knows how to spy on texts (basically anyone who cares to download an app) will probably be able to find that URL too. And that's the only thing that is keeping your videos out of the public sphere as far as I know. So emails can be safer depending on how well you keep your passwords and two step verification security checks as you see fit. Here's the steps to sharing your youtube playlist:
- Create a playlist or choose one that you're already sharing with the folks you want to send it to if that makes more sense.
- Make sure that the people who need it the most has access to the playlist. Share the playlist as a collaborator.
- Be sure to let each collaborator know that you've done this, and get them to agree to do this with you before even starting this project. Have at least one person willing to help so that you aren't doing this like a lone wolf (like me. Some of us are still learning to do the basics of communication, but sharing gives us a path to grow.)
- It may make sense to share it especially with the people who are willing to show others how to do this if this tutorial won't help them. (I'll be creating a video to go along with this soon; I'll post it when it's ready.)