Proof-of-concept Robot Arm and Controls (Lego Nxt)
by michaelgohjs in Circuits > Remote Control
12029 Views, 69 Favorites, 0 Comments
Proof-of-concept Robot Arm and Controls (Lego Nxt)
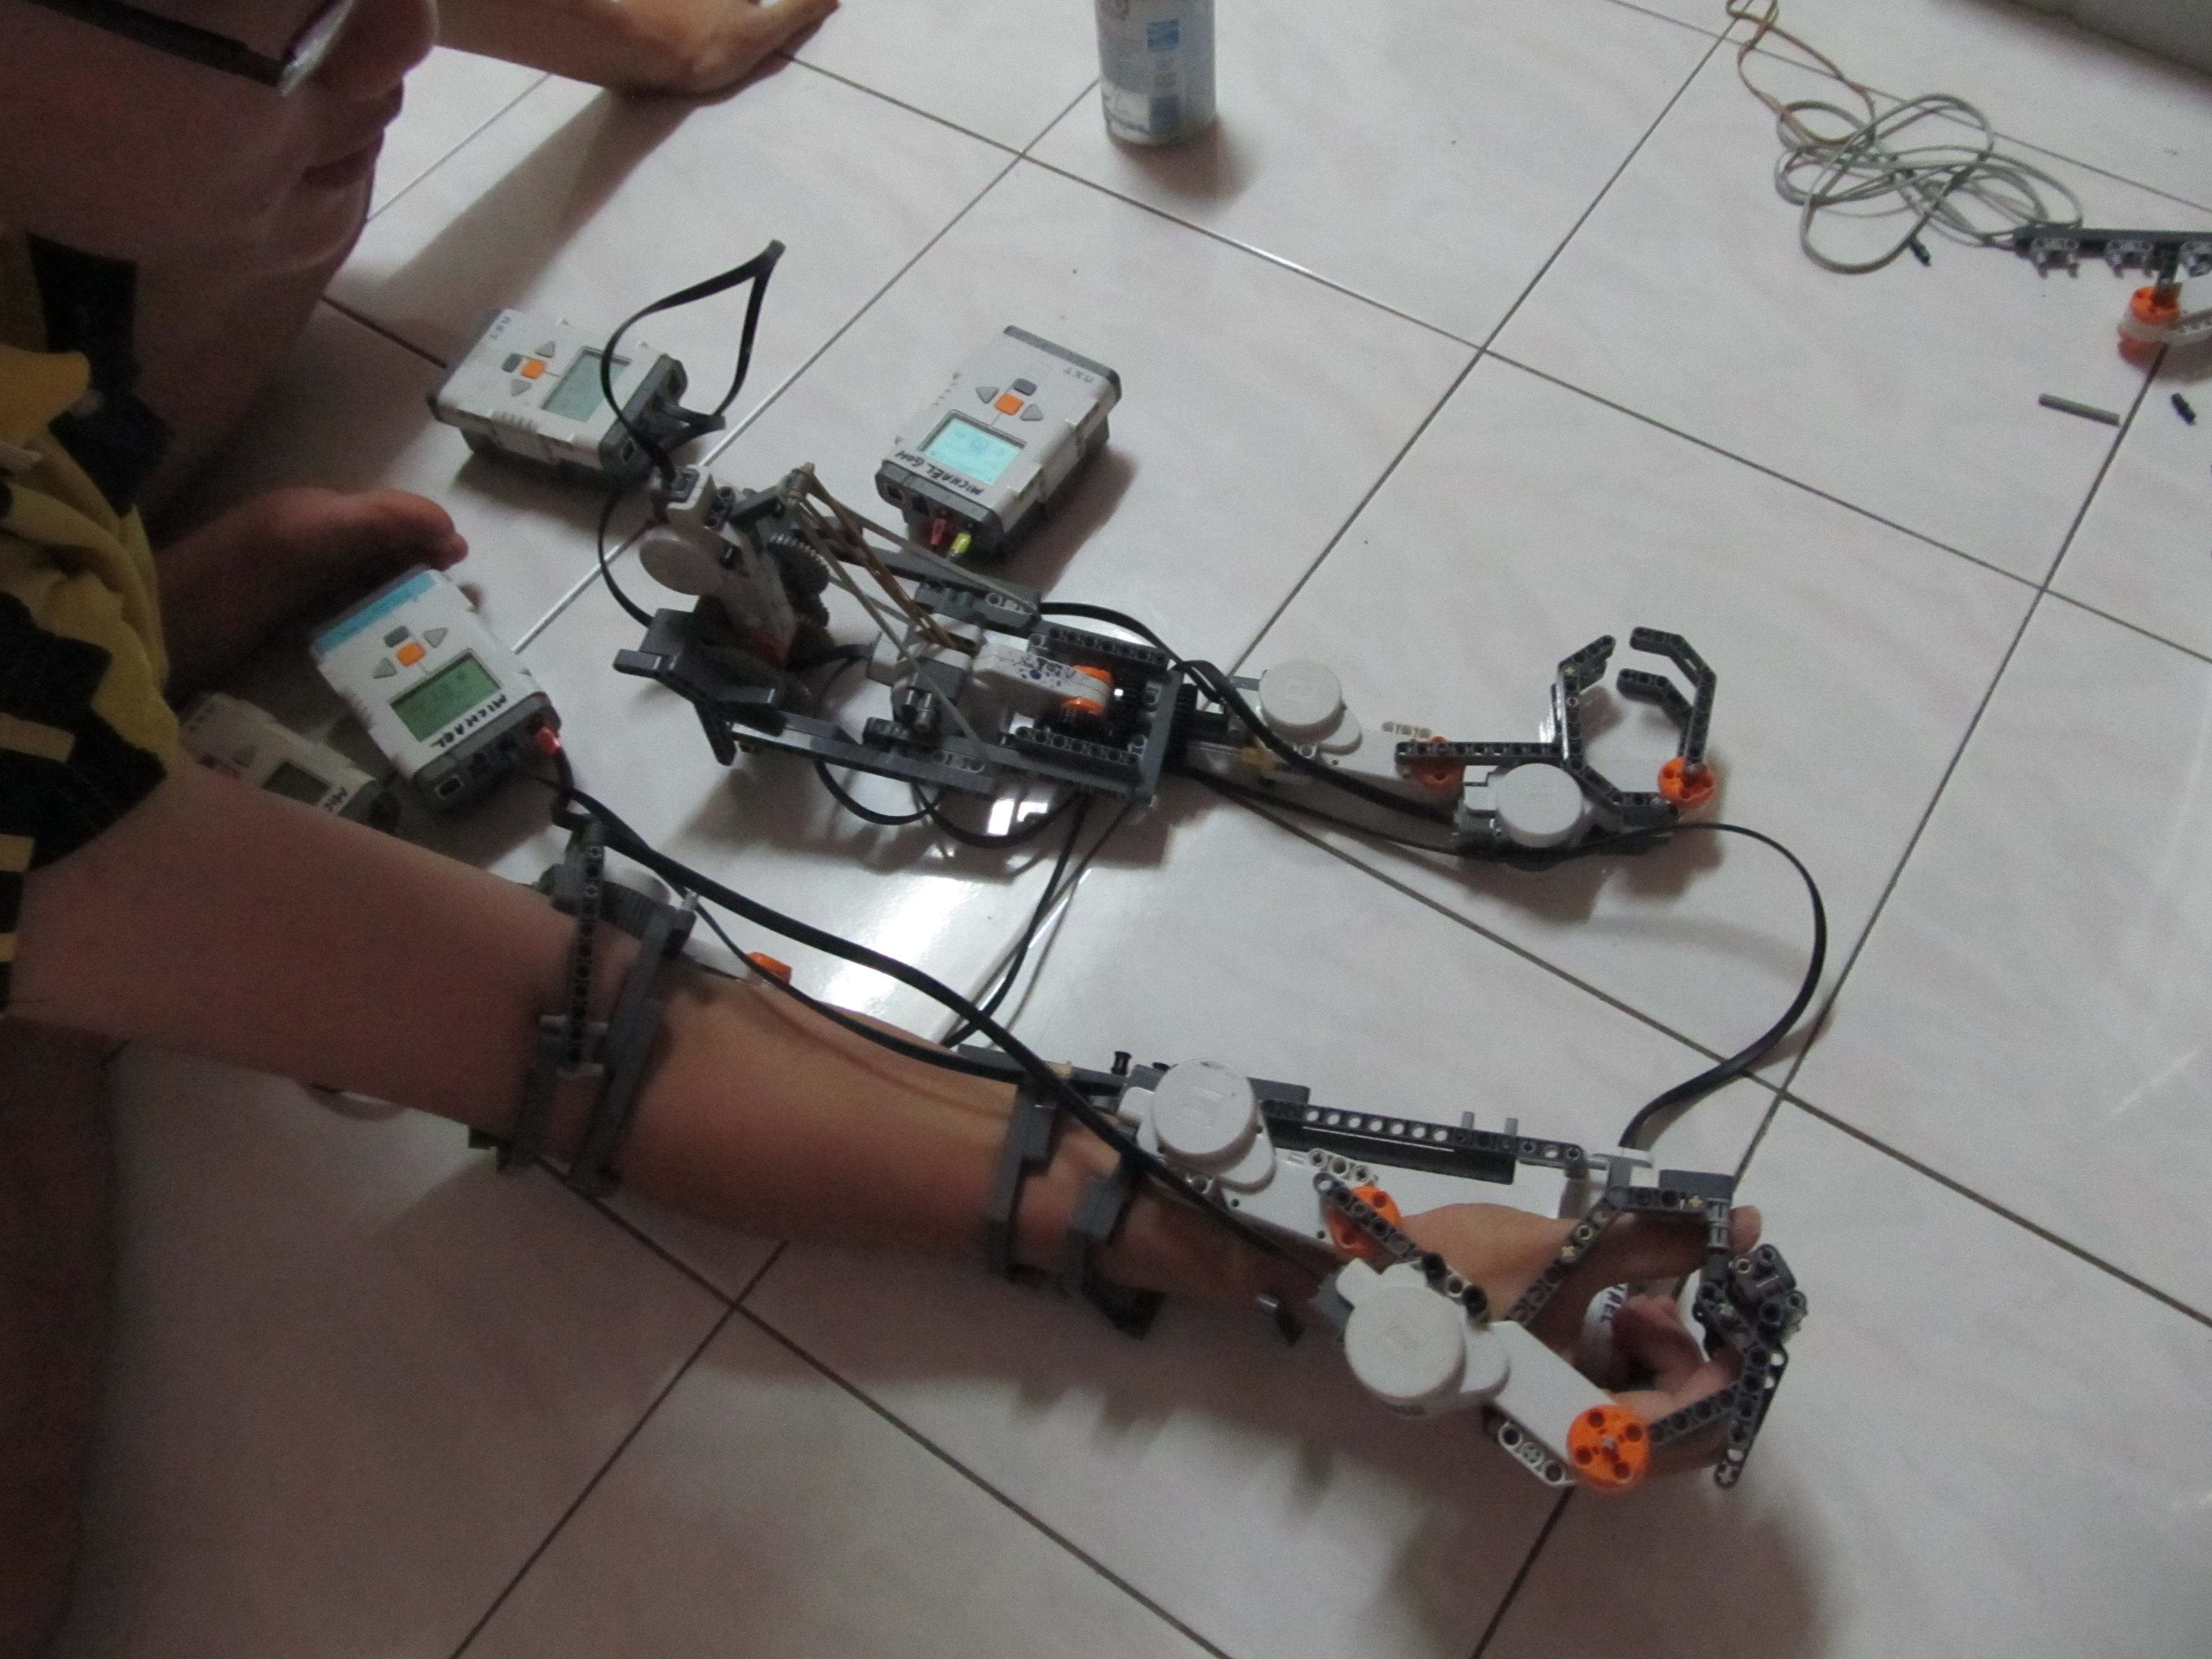
Finger (robot and Control )


Just a very simple Claw mechanism for the fingers on both the robot and the controls, the main difference is the two loops in the control for my index finger and my thumb.
You would want to build the controller around your hand first before building a complementary robot hand.
If you want to use gears and have the motor oriented differently its not too much of a problem as it can be dealt with in the programming.
You would want to build the controller around your hand first before building a complementary robot hand.
If you want to use gears and have the motor oriented differently its not too much of a problem as it can be dealt with in the programming.
First Wrist Movement


Similar to the finger components, the first wrist movement is rotation about an axis perpendicular to your radius and ulna (bones).
For the controls you would want to attach/lash it to your fore arm in such a way that the motor(used as rotation sensor) has its pivot aligned with your own wrist pivot, around the carpus. you would also want the bracer holding the control to your arm to be tight so it won't move around too much as it might damage the controller and will cause a loss in precision.
For the controls you would want to attach/lash it to your fore arm in such a way that the motor(used as rotation sensor) has its pivot aligned with your own wrist pivot, around the carpus. you would also want the bracer holding the control to your arm to be tight so it won't move around too much as it might damage the controller and will cause a loss in precision.
Second Wrist Movement

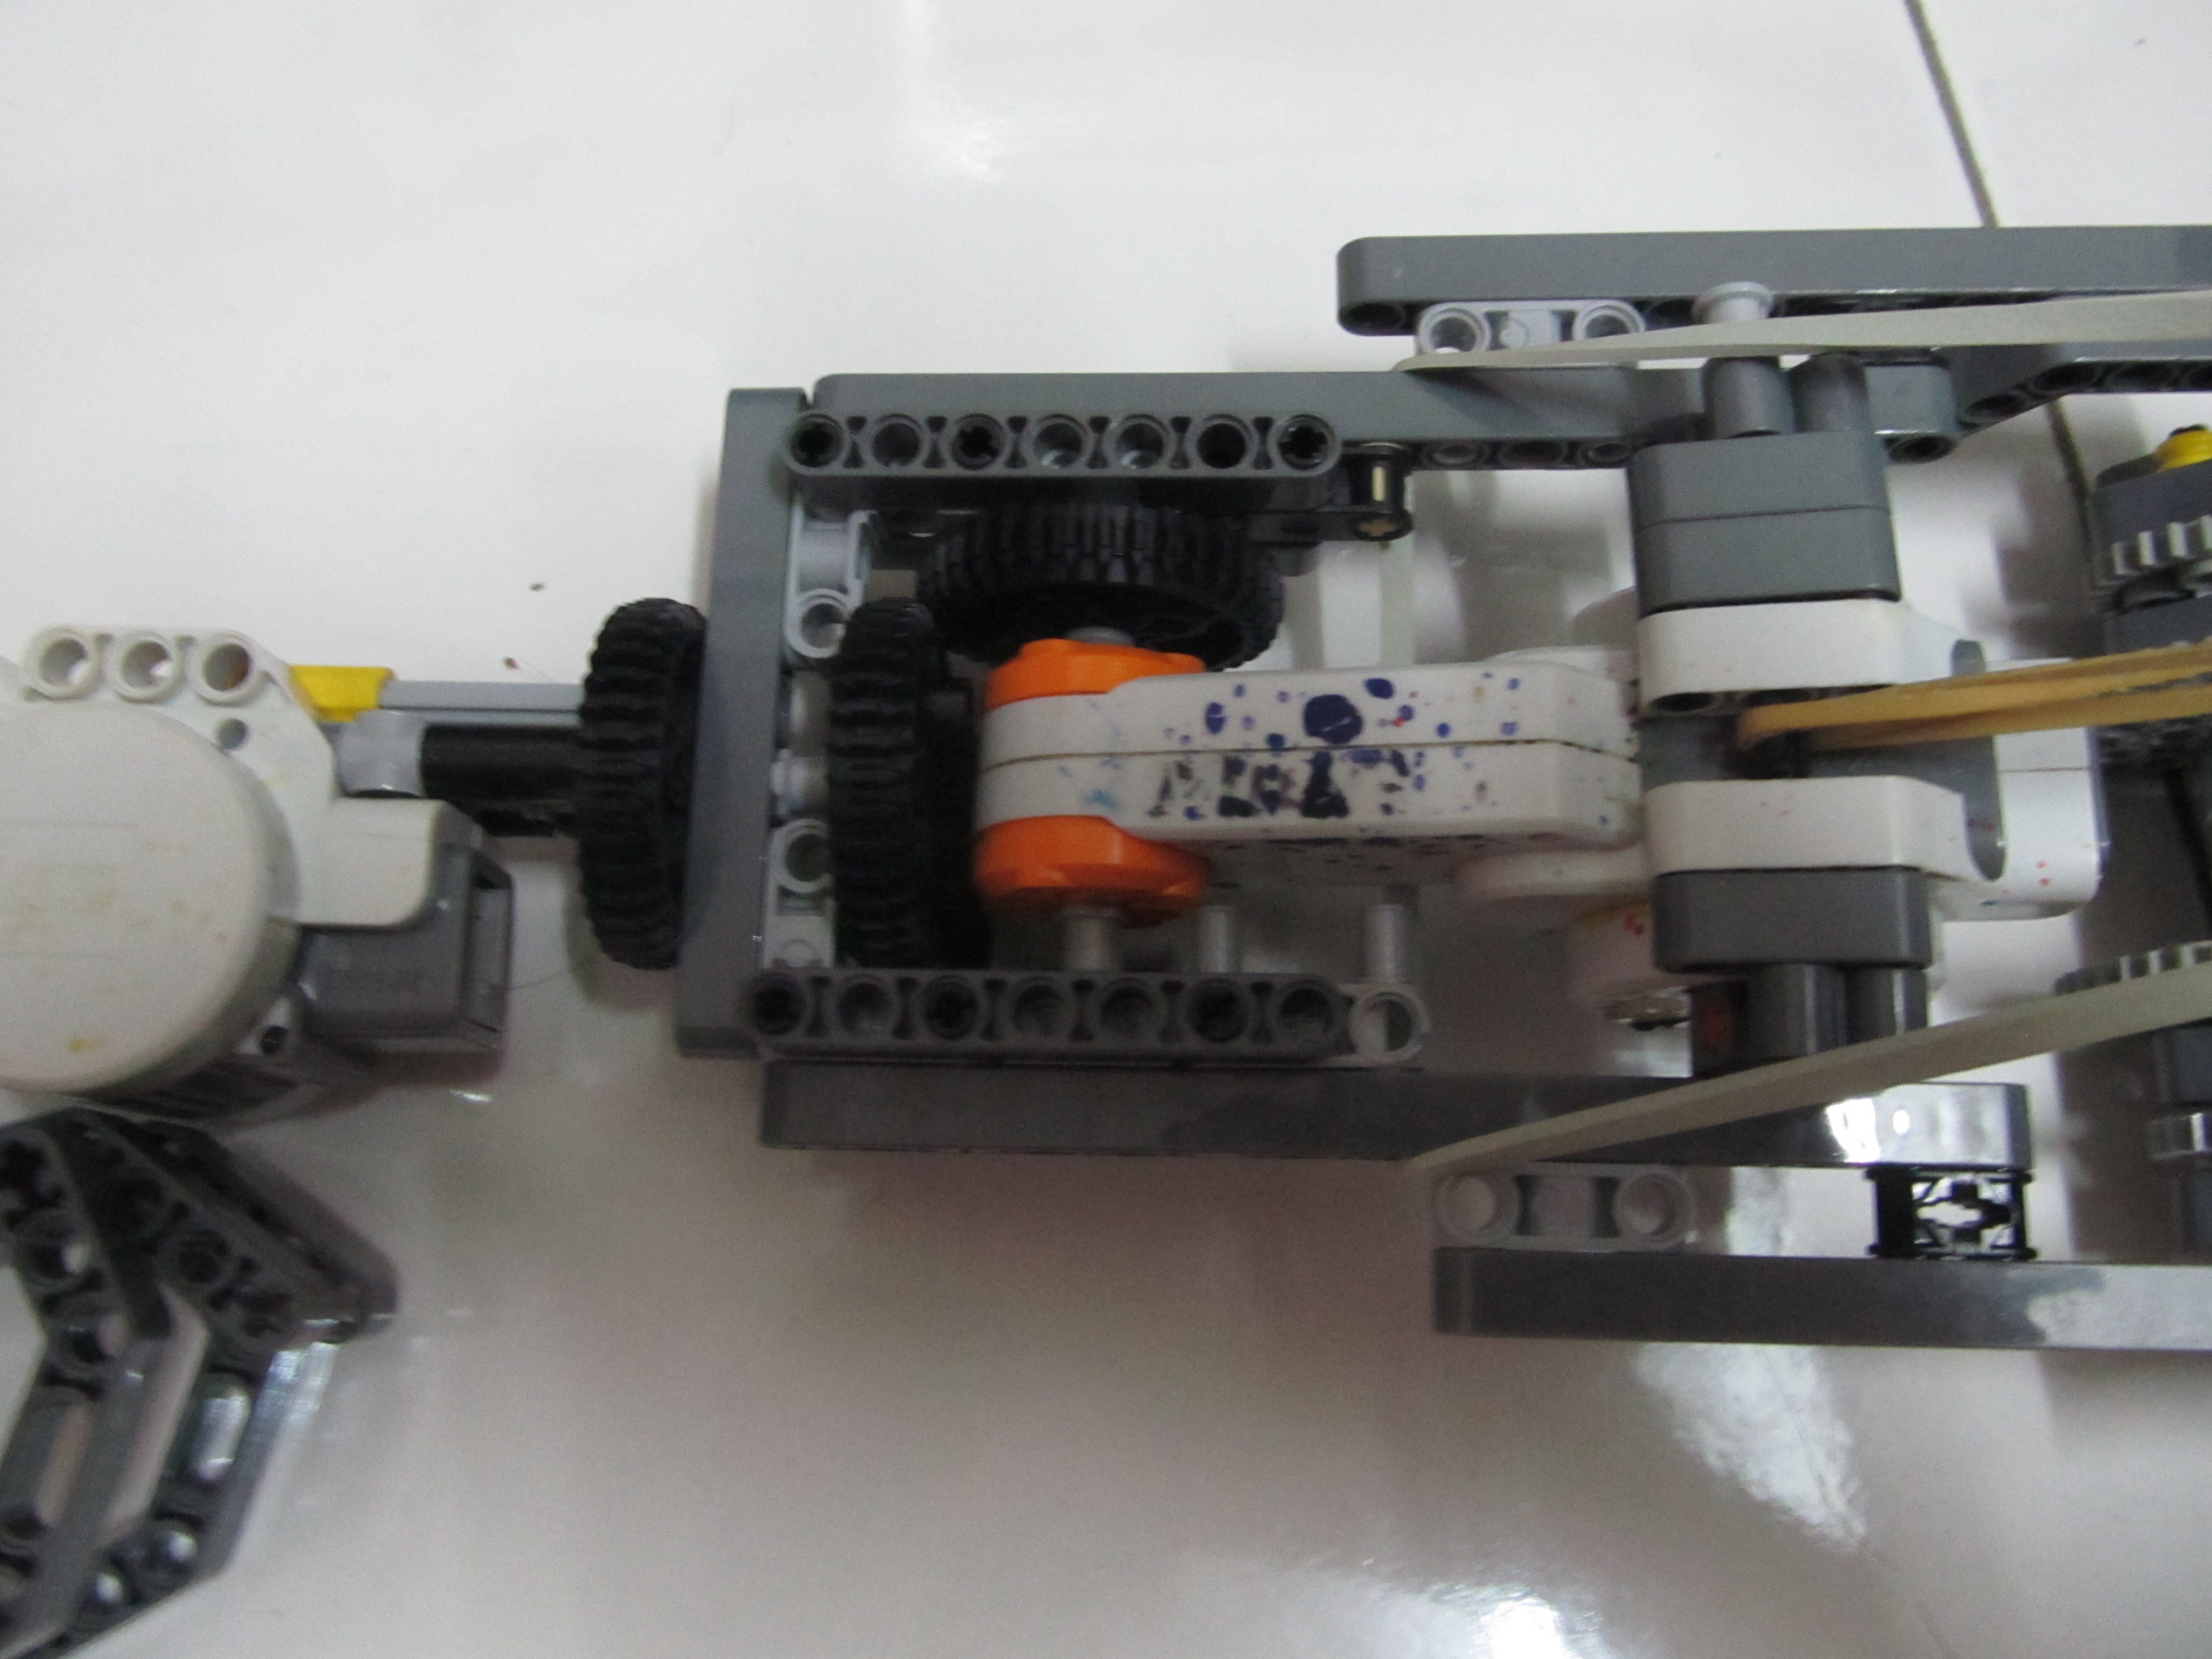


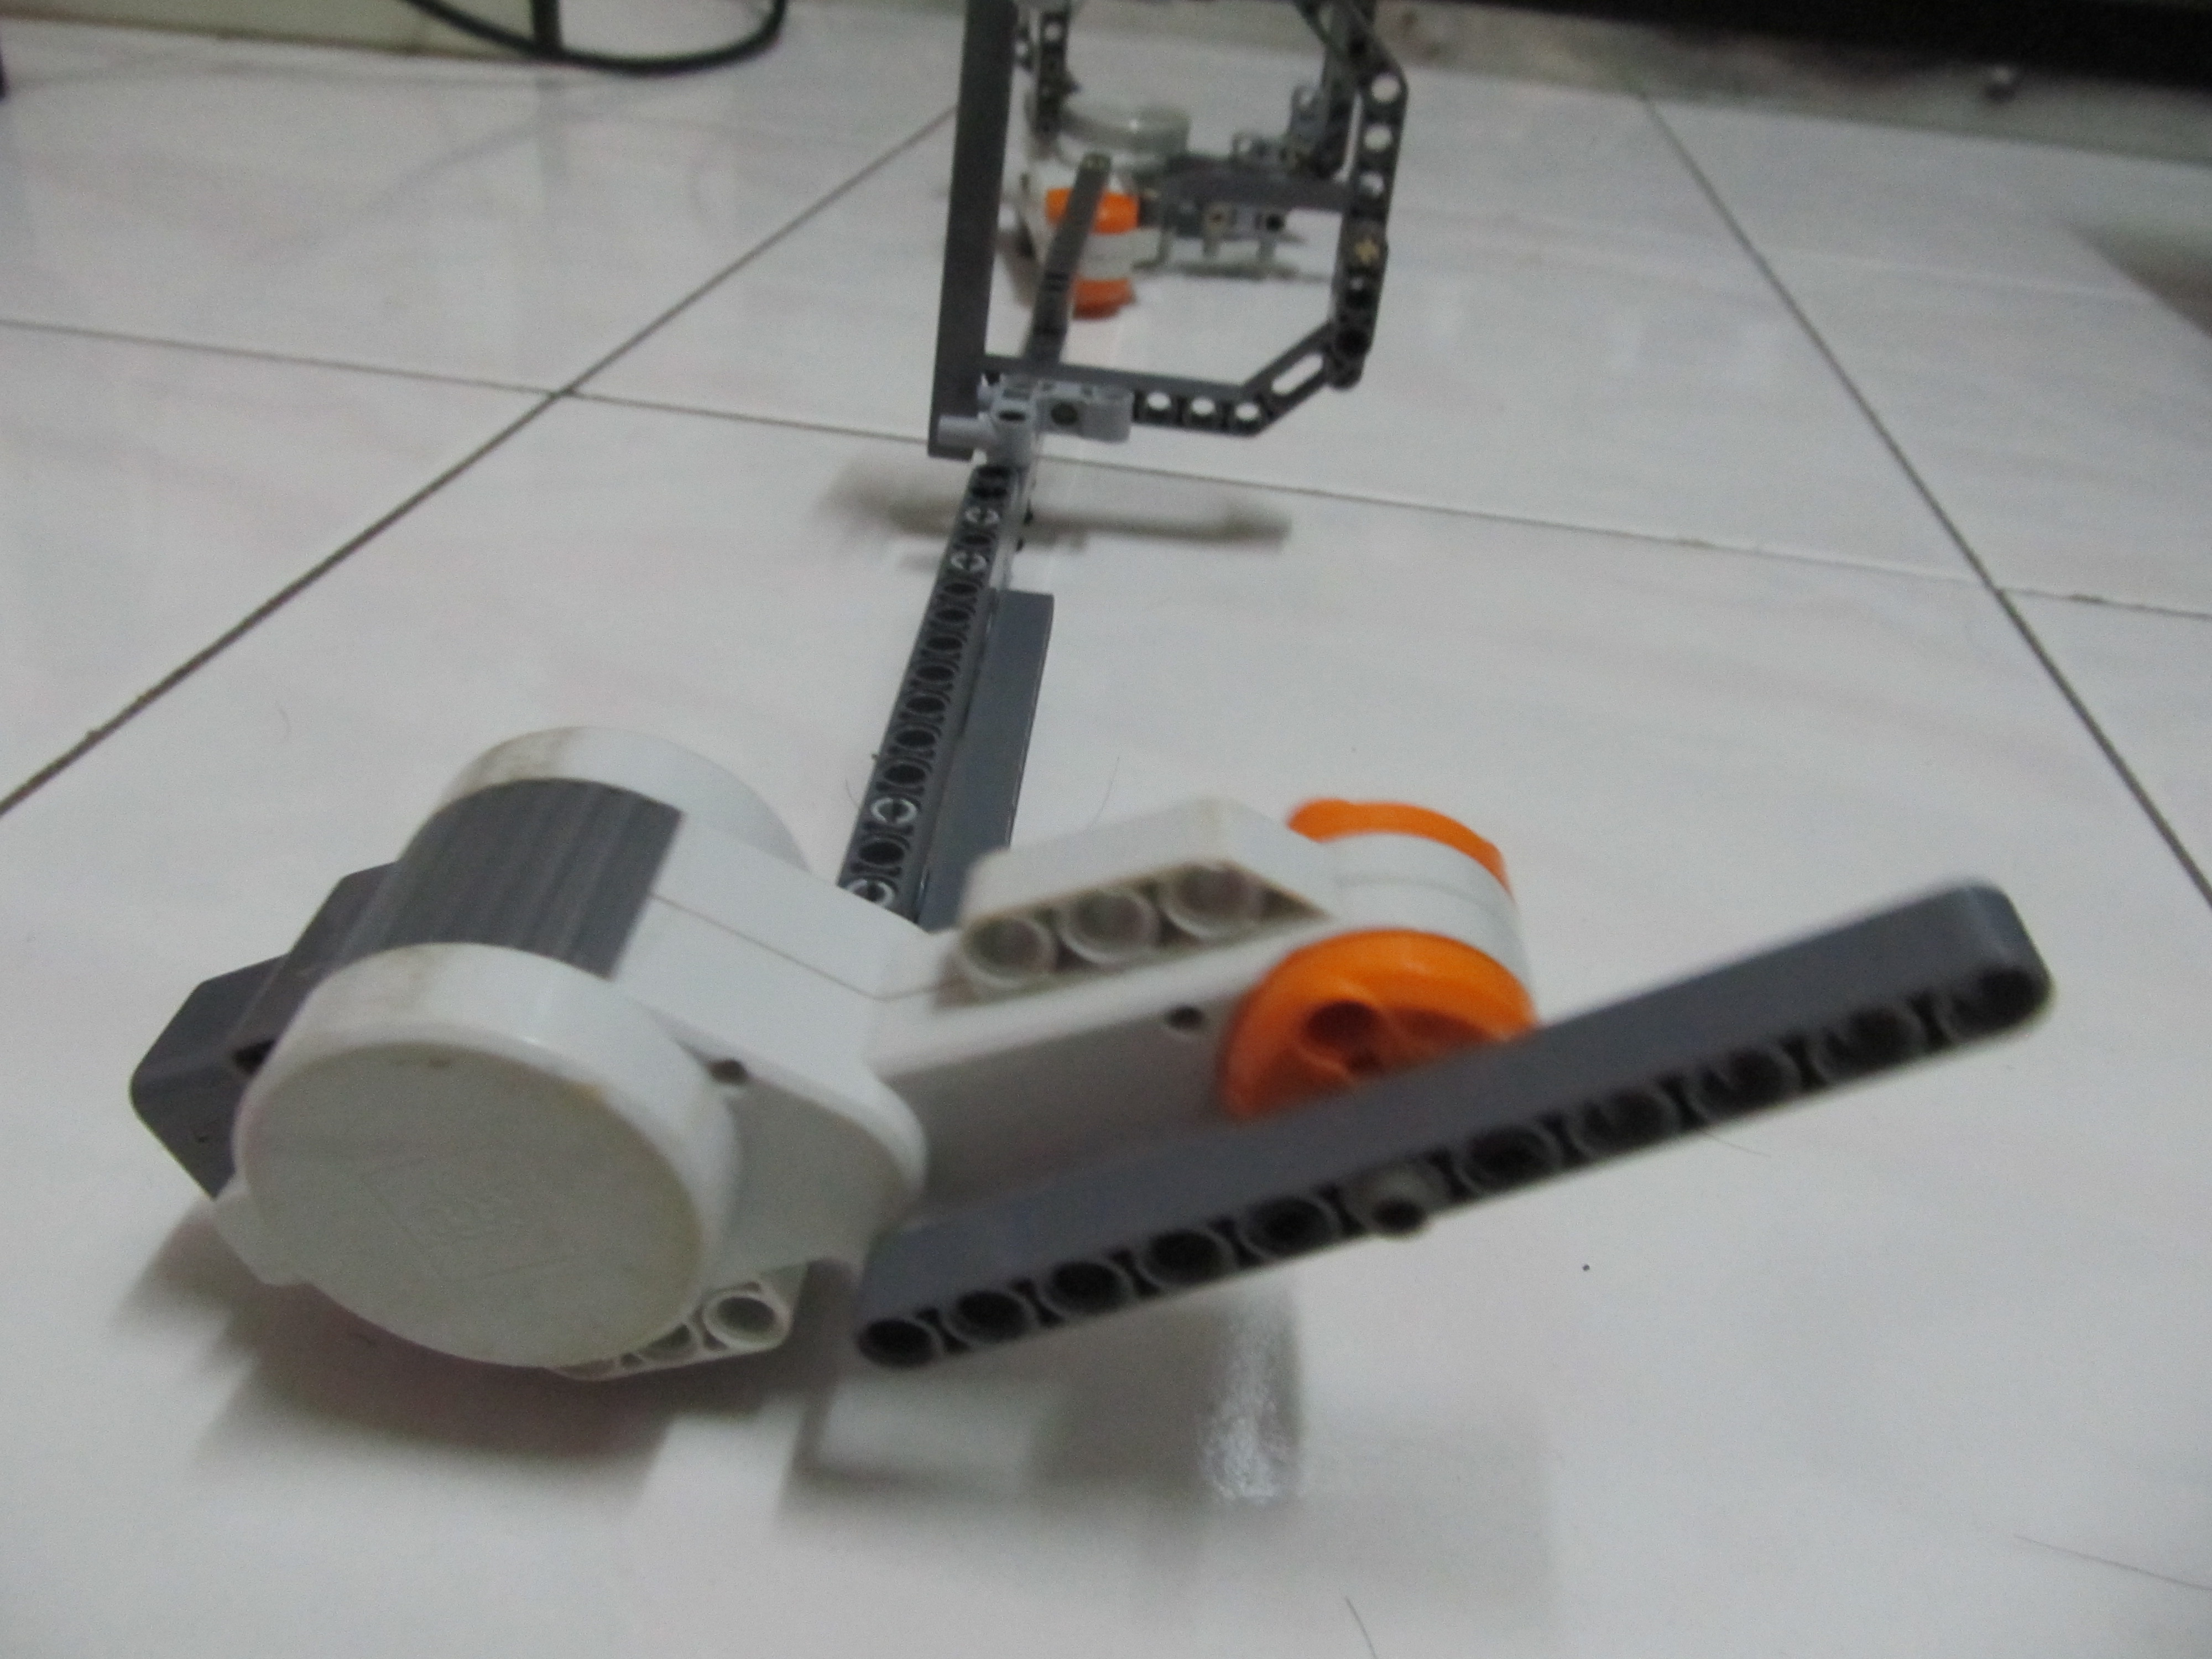
This wrist movement is one with its rotation axis parallel to the radius and ulna (bones)
For the robot arm, I used a set of bevel gears so that the motor can be mounted in a more streamline manner
Again the controller is the less straightforward of the two components. After much experimentation with various fancy but cumbersome mechanisms, this simple setup proves to be the most effective I have tested. And you would want to find a way to attach it your arm.
Elbow Joint

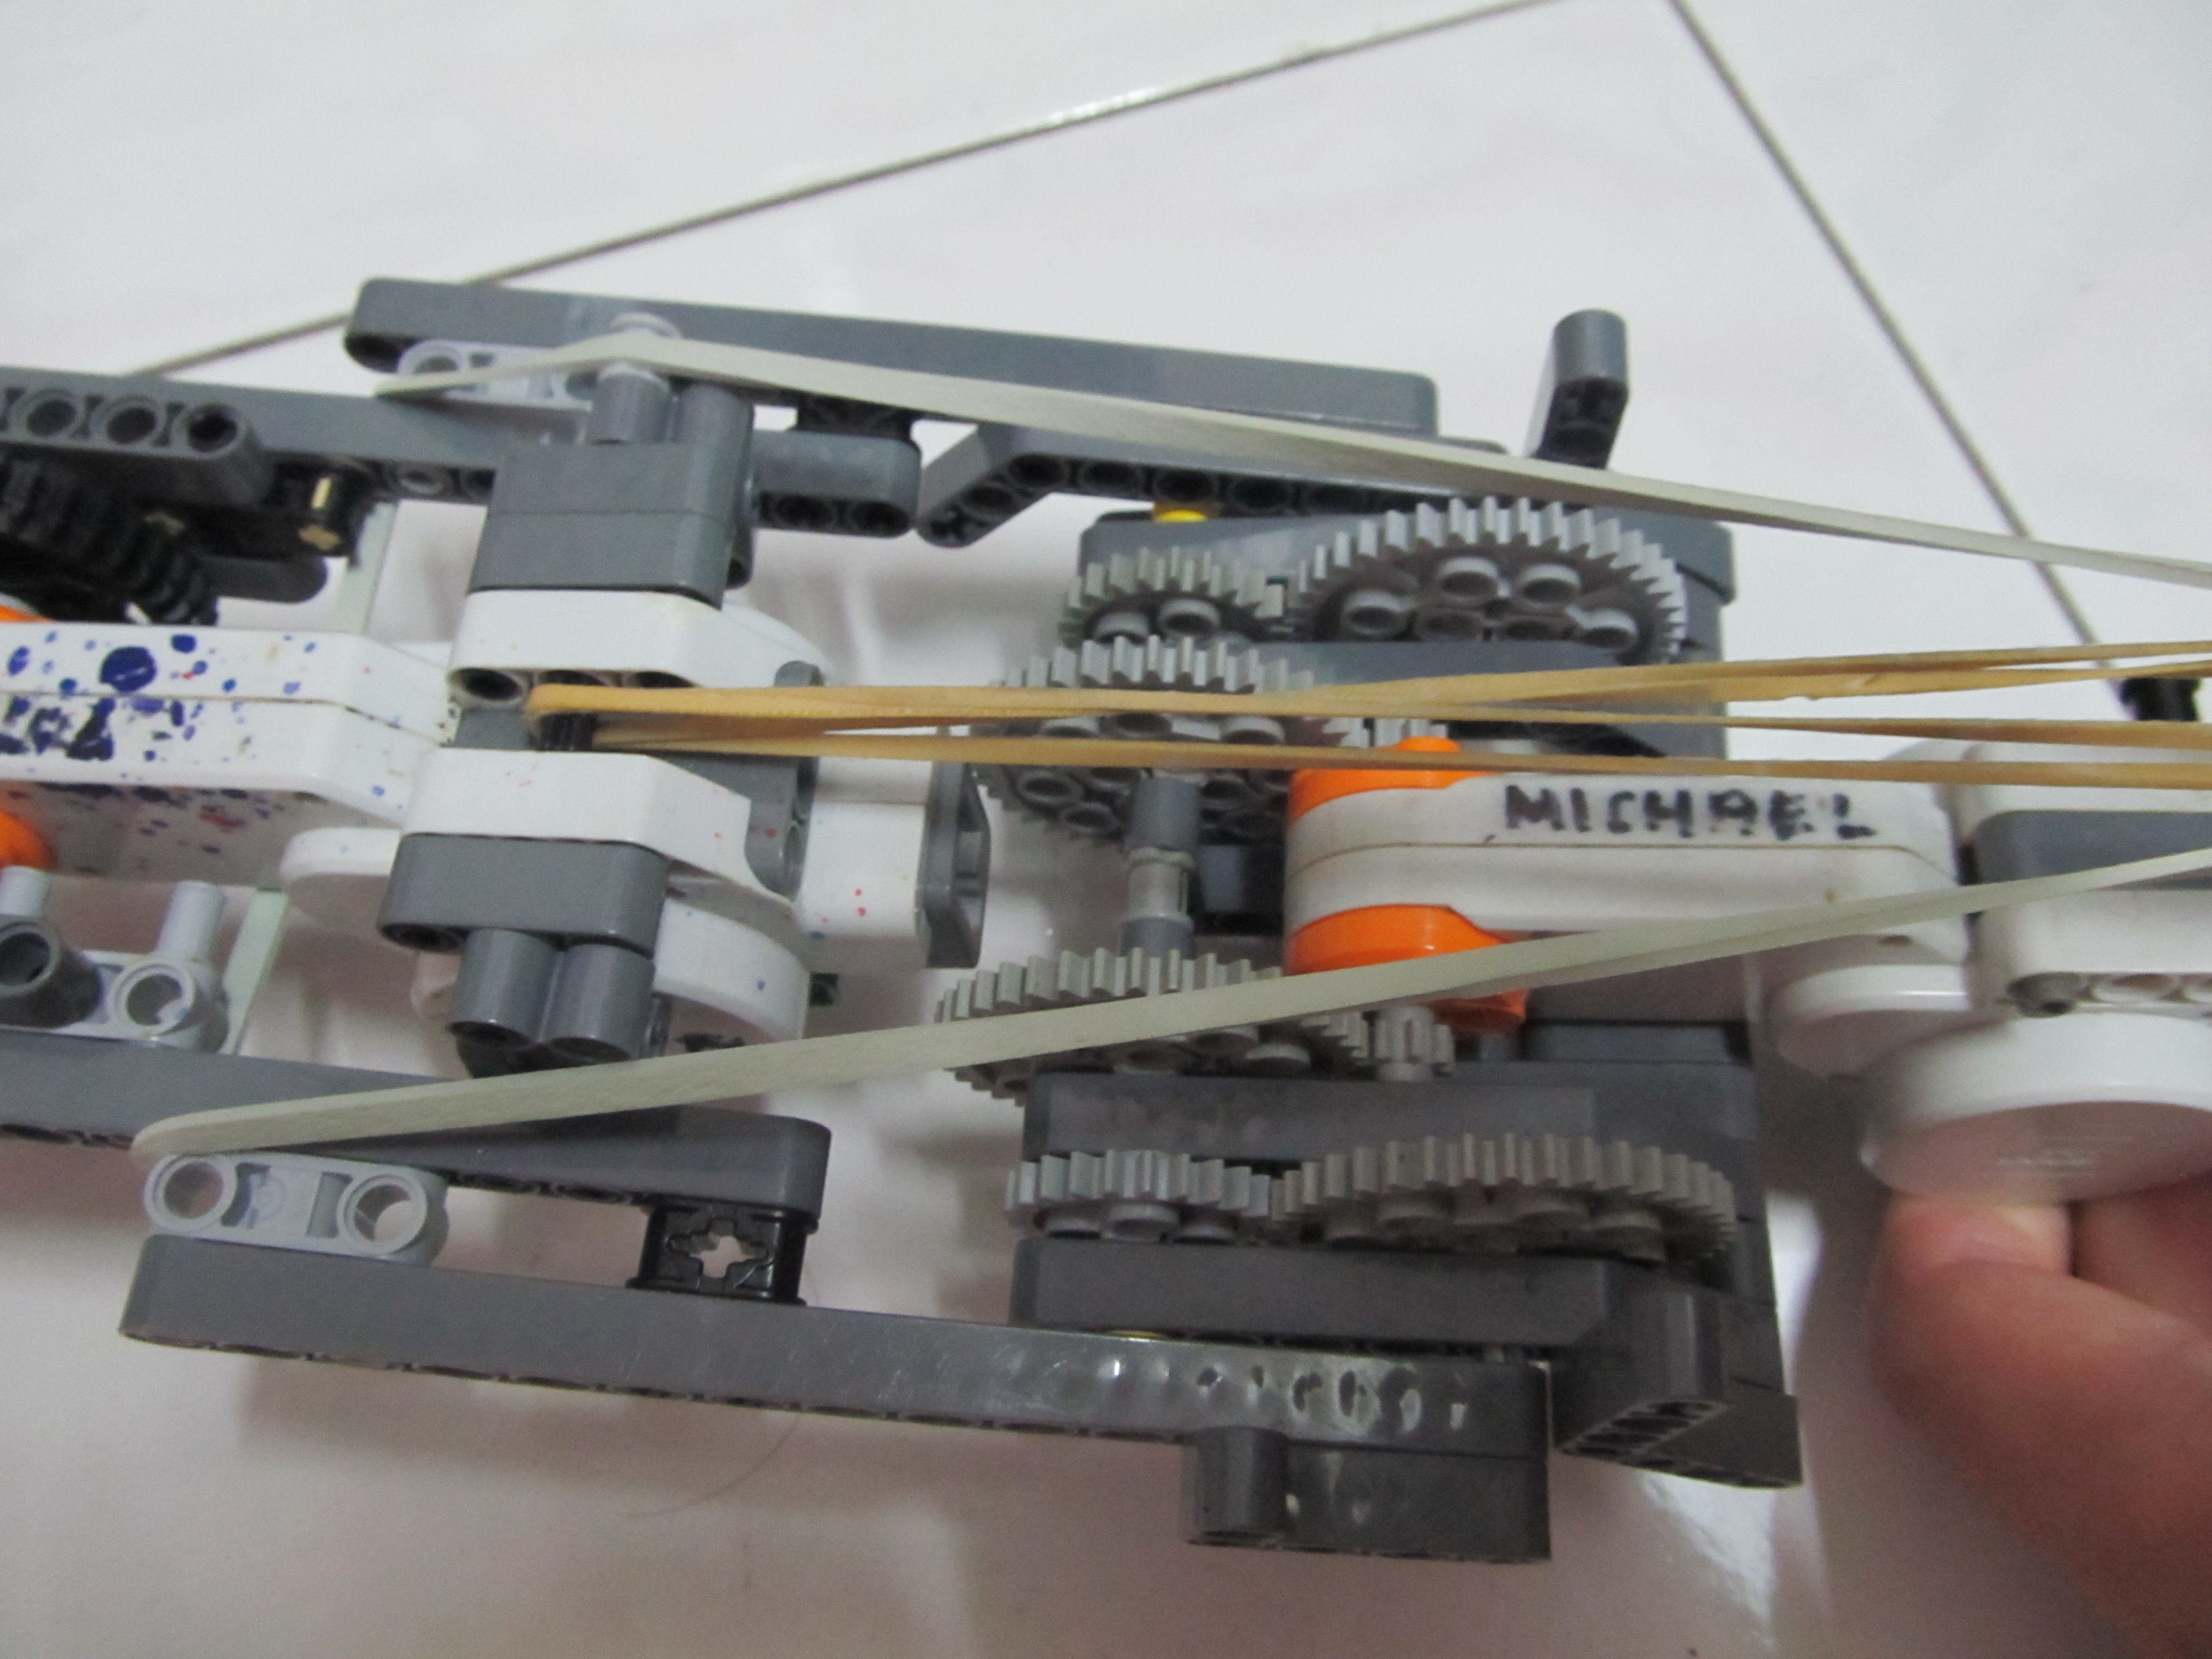
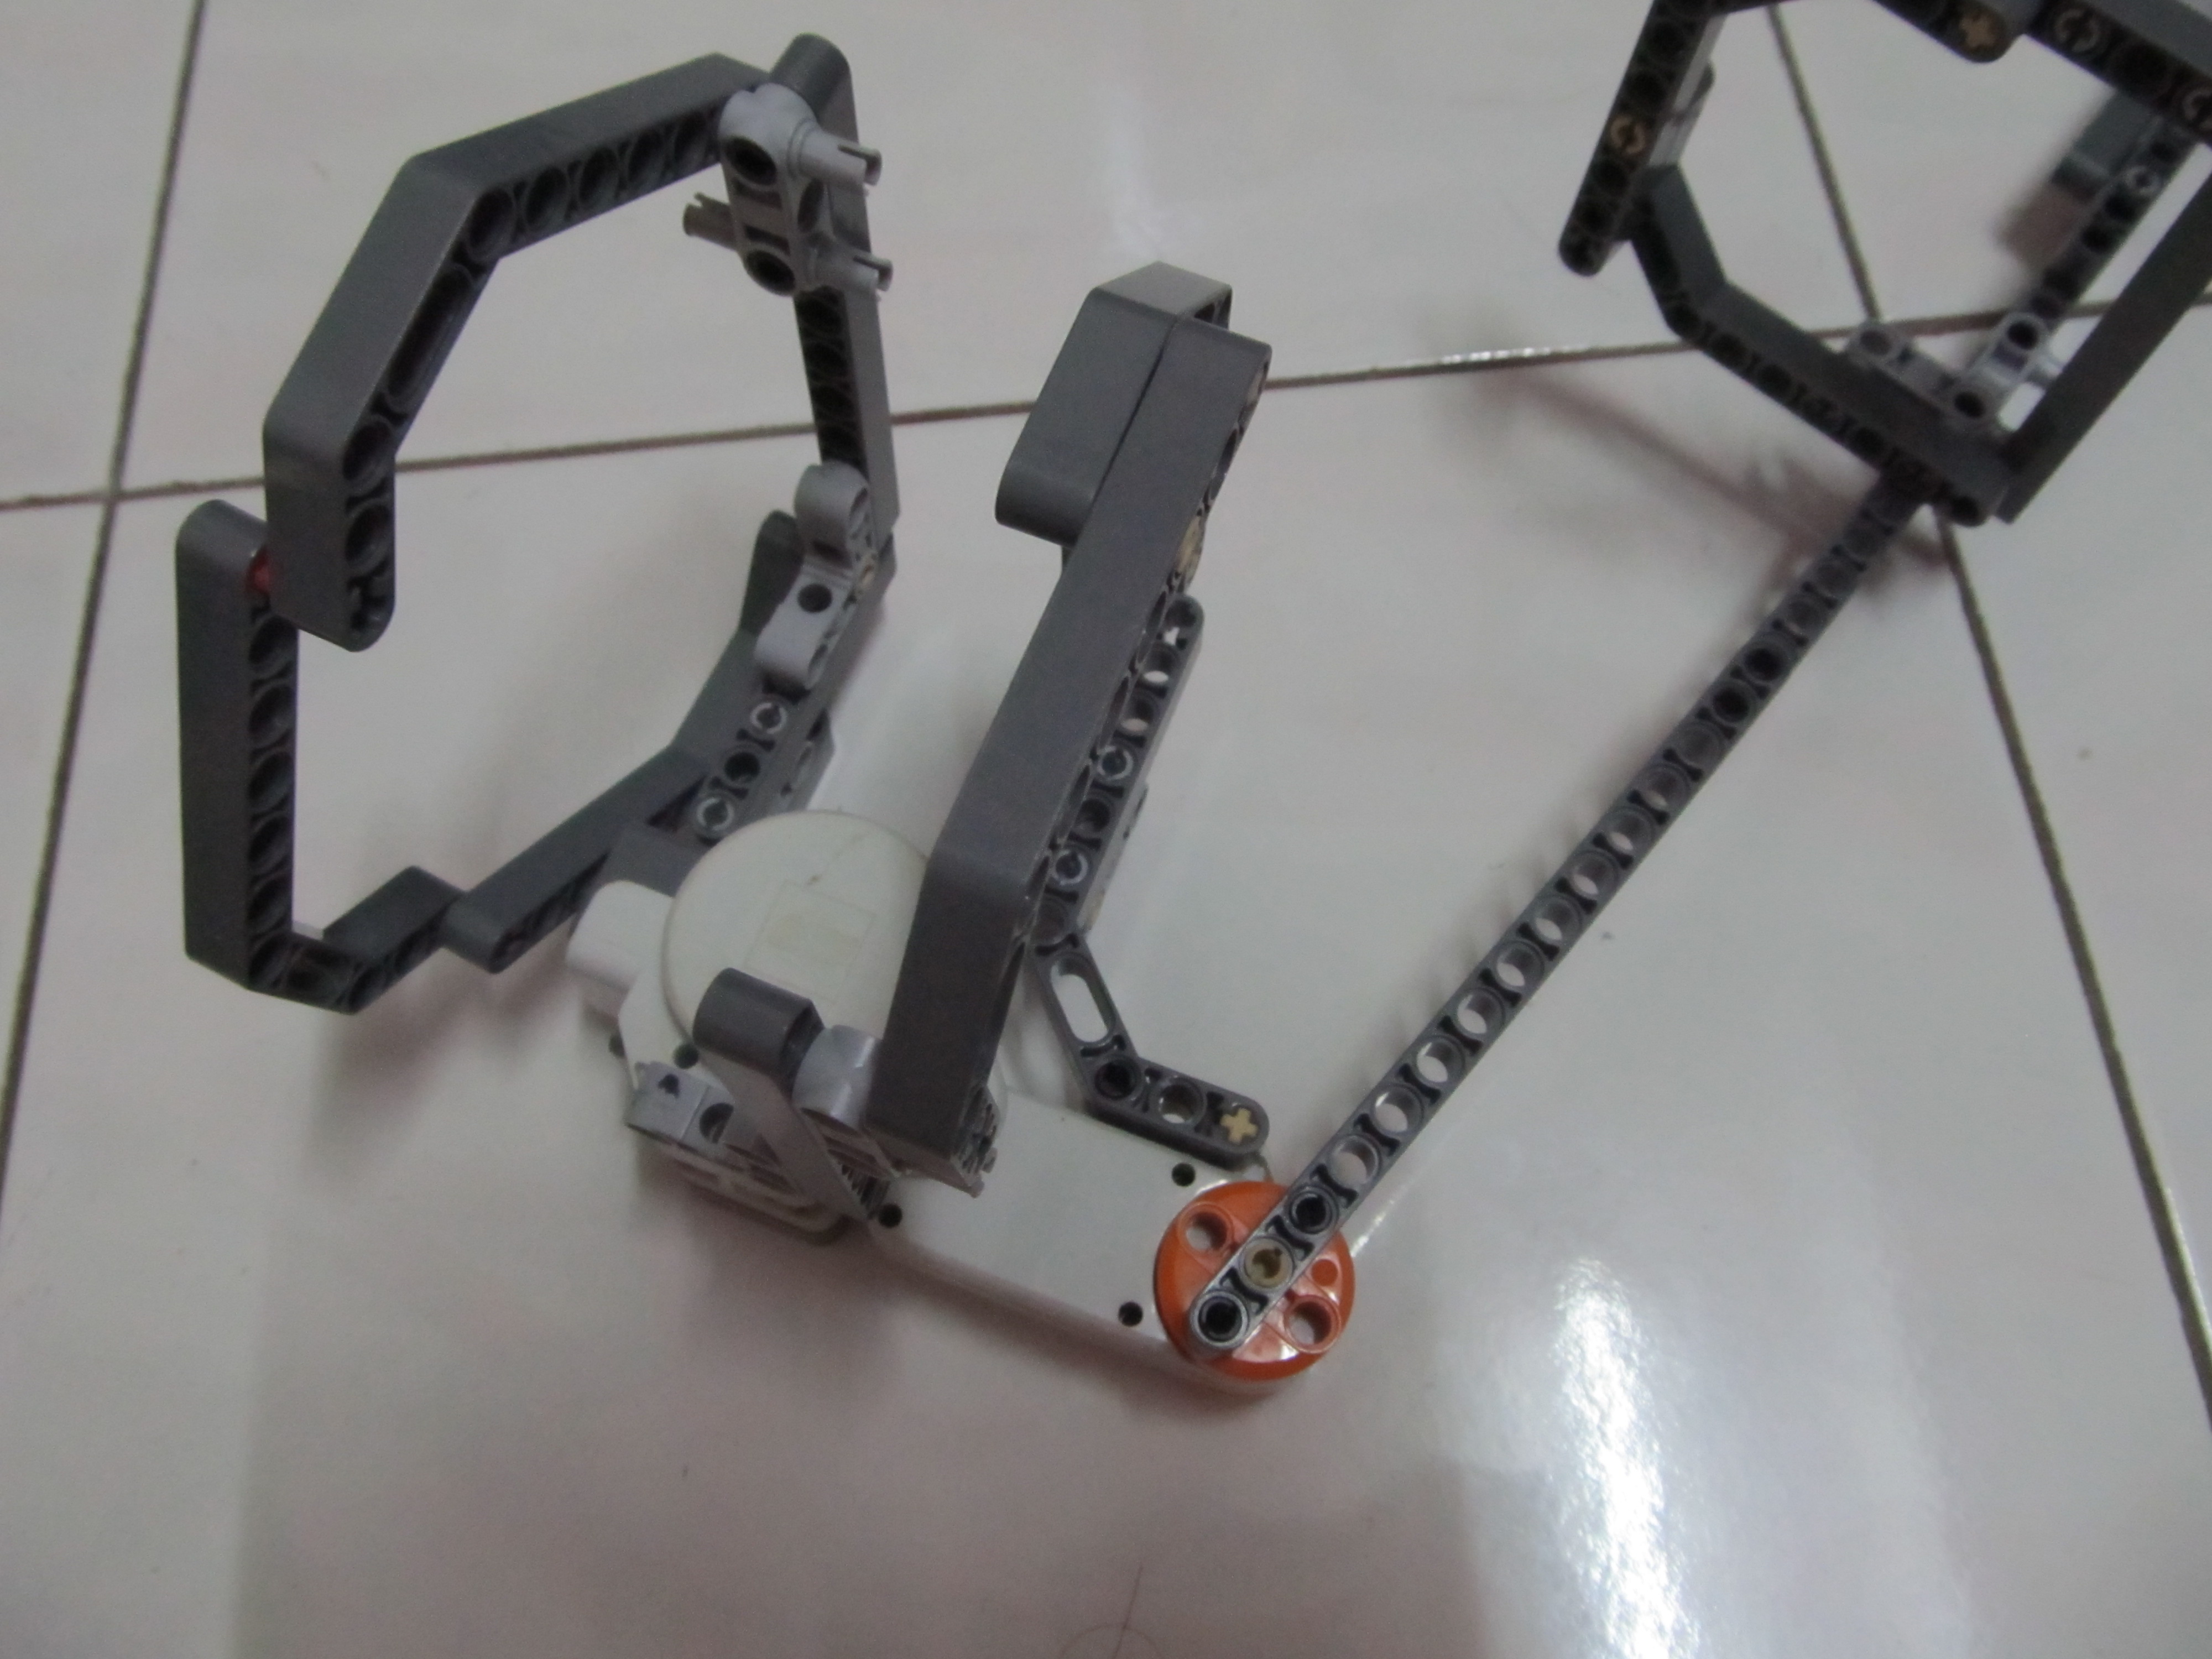

For the elbow joint controller You would want to mount the motor beside your elbow. You might have some problems with the parts holding it to your arm if it goes around your bicep as your arm radius will be larger when you curl your biceps. You can try to overcome this with flexible lashings.
As for the robot, all that weight is going to cause quite a large amount of moment (torque). I tried to fix this by using quite a bit of gear reduction but it was not enough. This problem was solved by adding rubber bands too help when the motor needs to pull everything up.
As for the robot, all that weight is going to cause quite a large amount of moment (torque). I tried to fix this by using quite a bit of gear reduction but it was not enough. This problem was solved by adding rubber bands too help when the motor needs to pull everything up.
Program and End Word
The programming is done is NXT-G the software that comes with the Lego NXT set, the education version should be nearly identical.
For the most part, the program is to synchronize 2 motors either via bluetooth or on the same NXT "brick". However, there might be some tweaking required in certain joints. For example, the elbow joint will need a multiplier so that every degree the control senses the robot's elbow motor will turn 20 degrees (i cant remember the exact value), and depending on how you orient your transmitting sensors relative to your receiving motors you might need to reverse the direction.
If you would like to have a look at the program you can drop me a message and I will try and send it to you.
So thats about it, its not the most polished setup (not polished at all actually) but it does what its meant to which is to prove that it is possible to remotely control a robot by getting it to mimic our motion using mechanical means. Of cause you can use a kinect and cameras or even some of those neuro-link-ish things, but all I have is some Lego so thats what I can do.
Please feel free to ask me any questions, and feedback/opinion is very much appreciated.
Thanks for reading and please vote if you like it.