Projects That Change Light
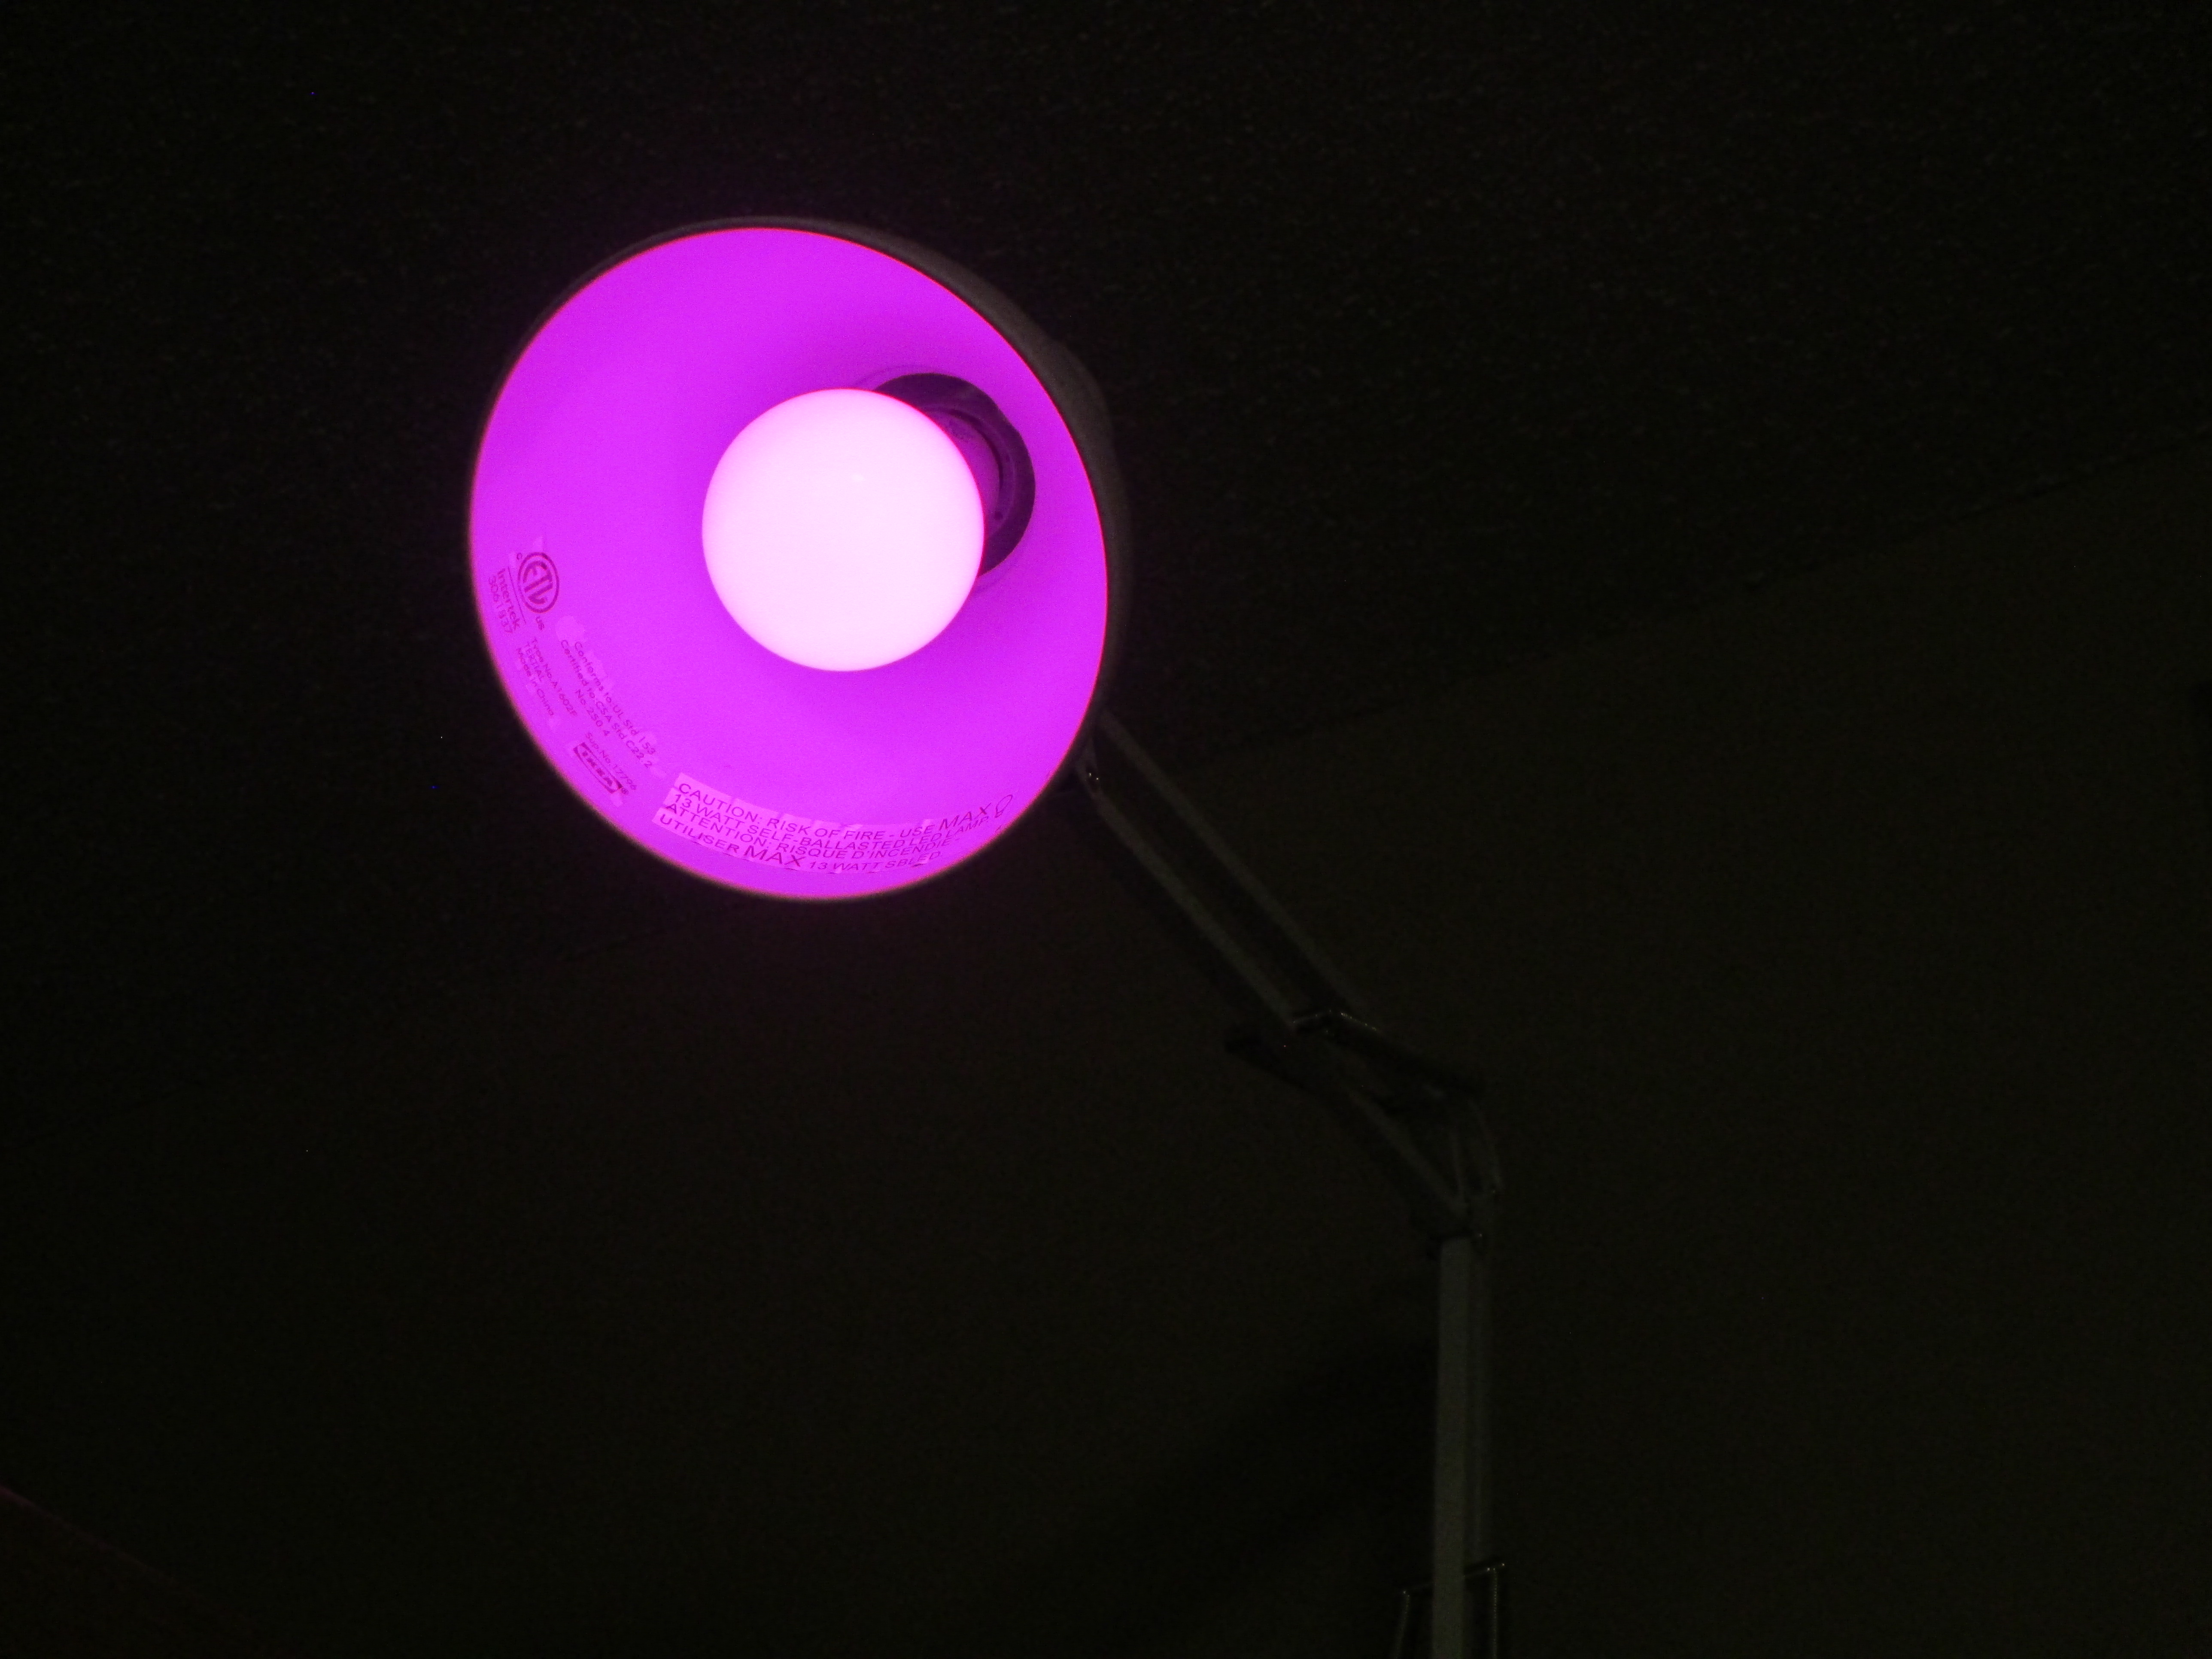
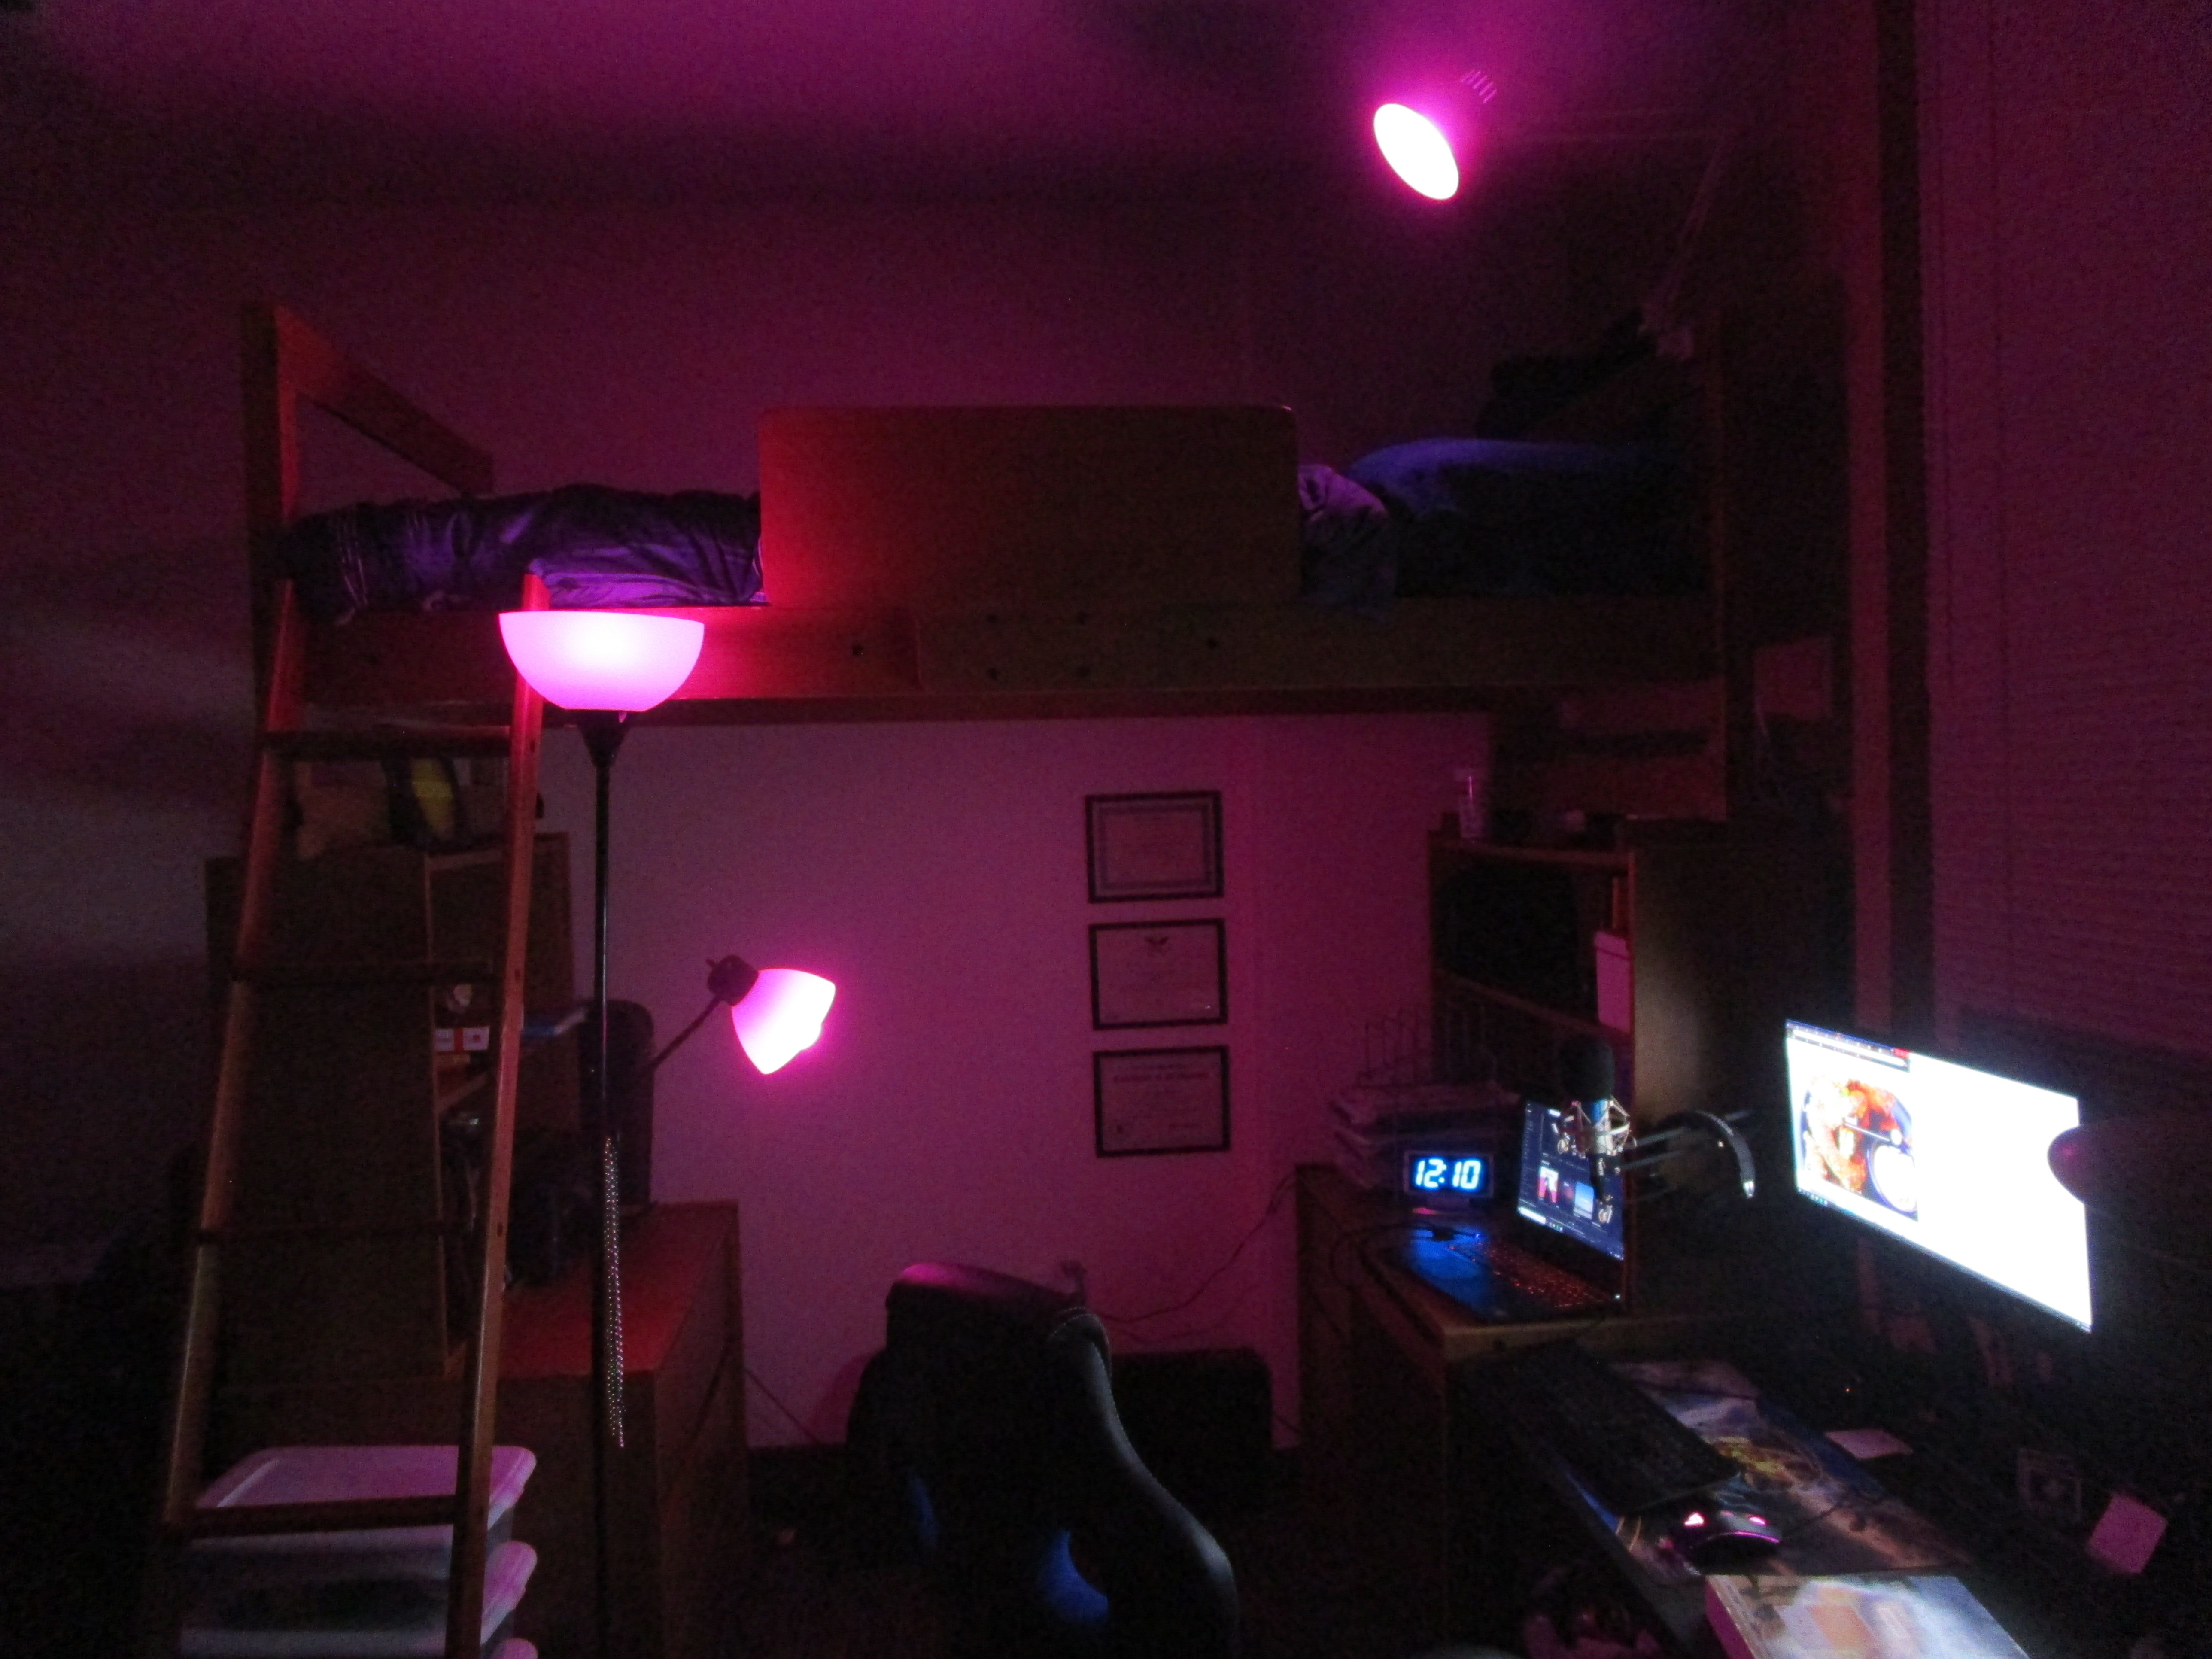
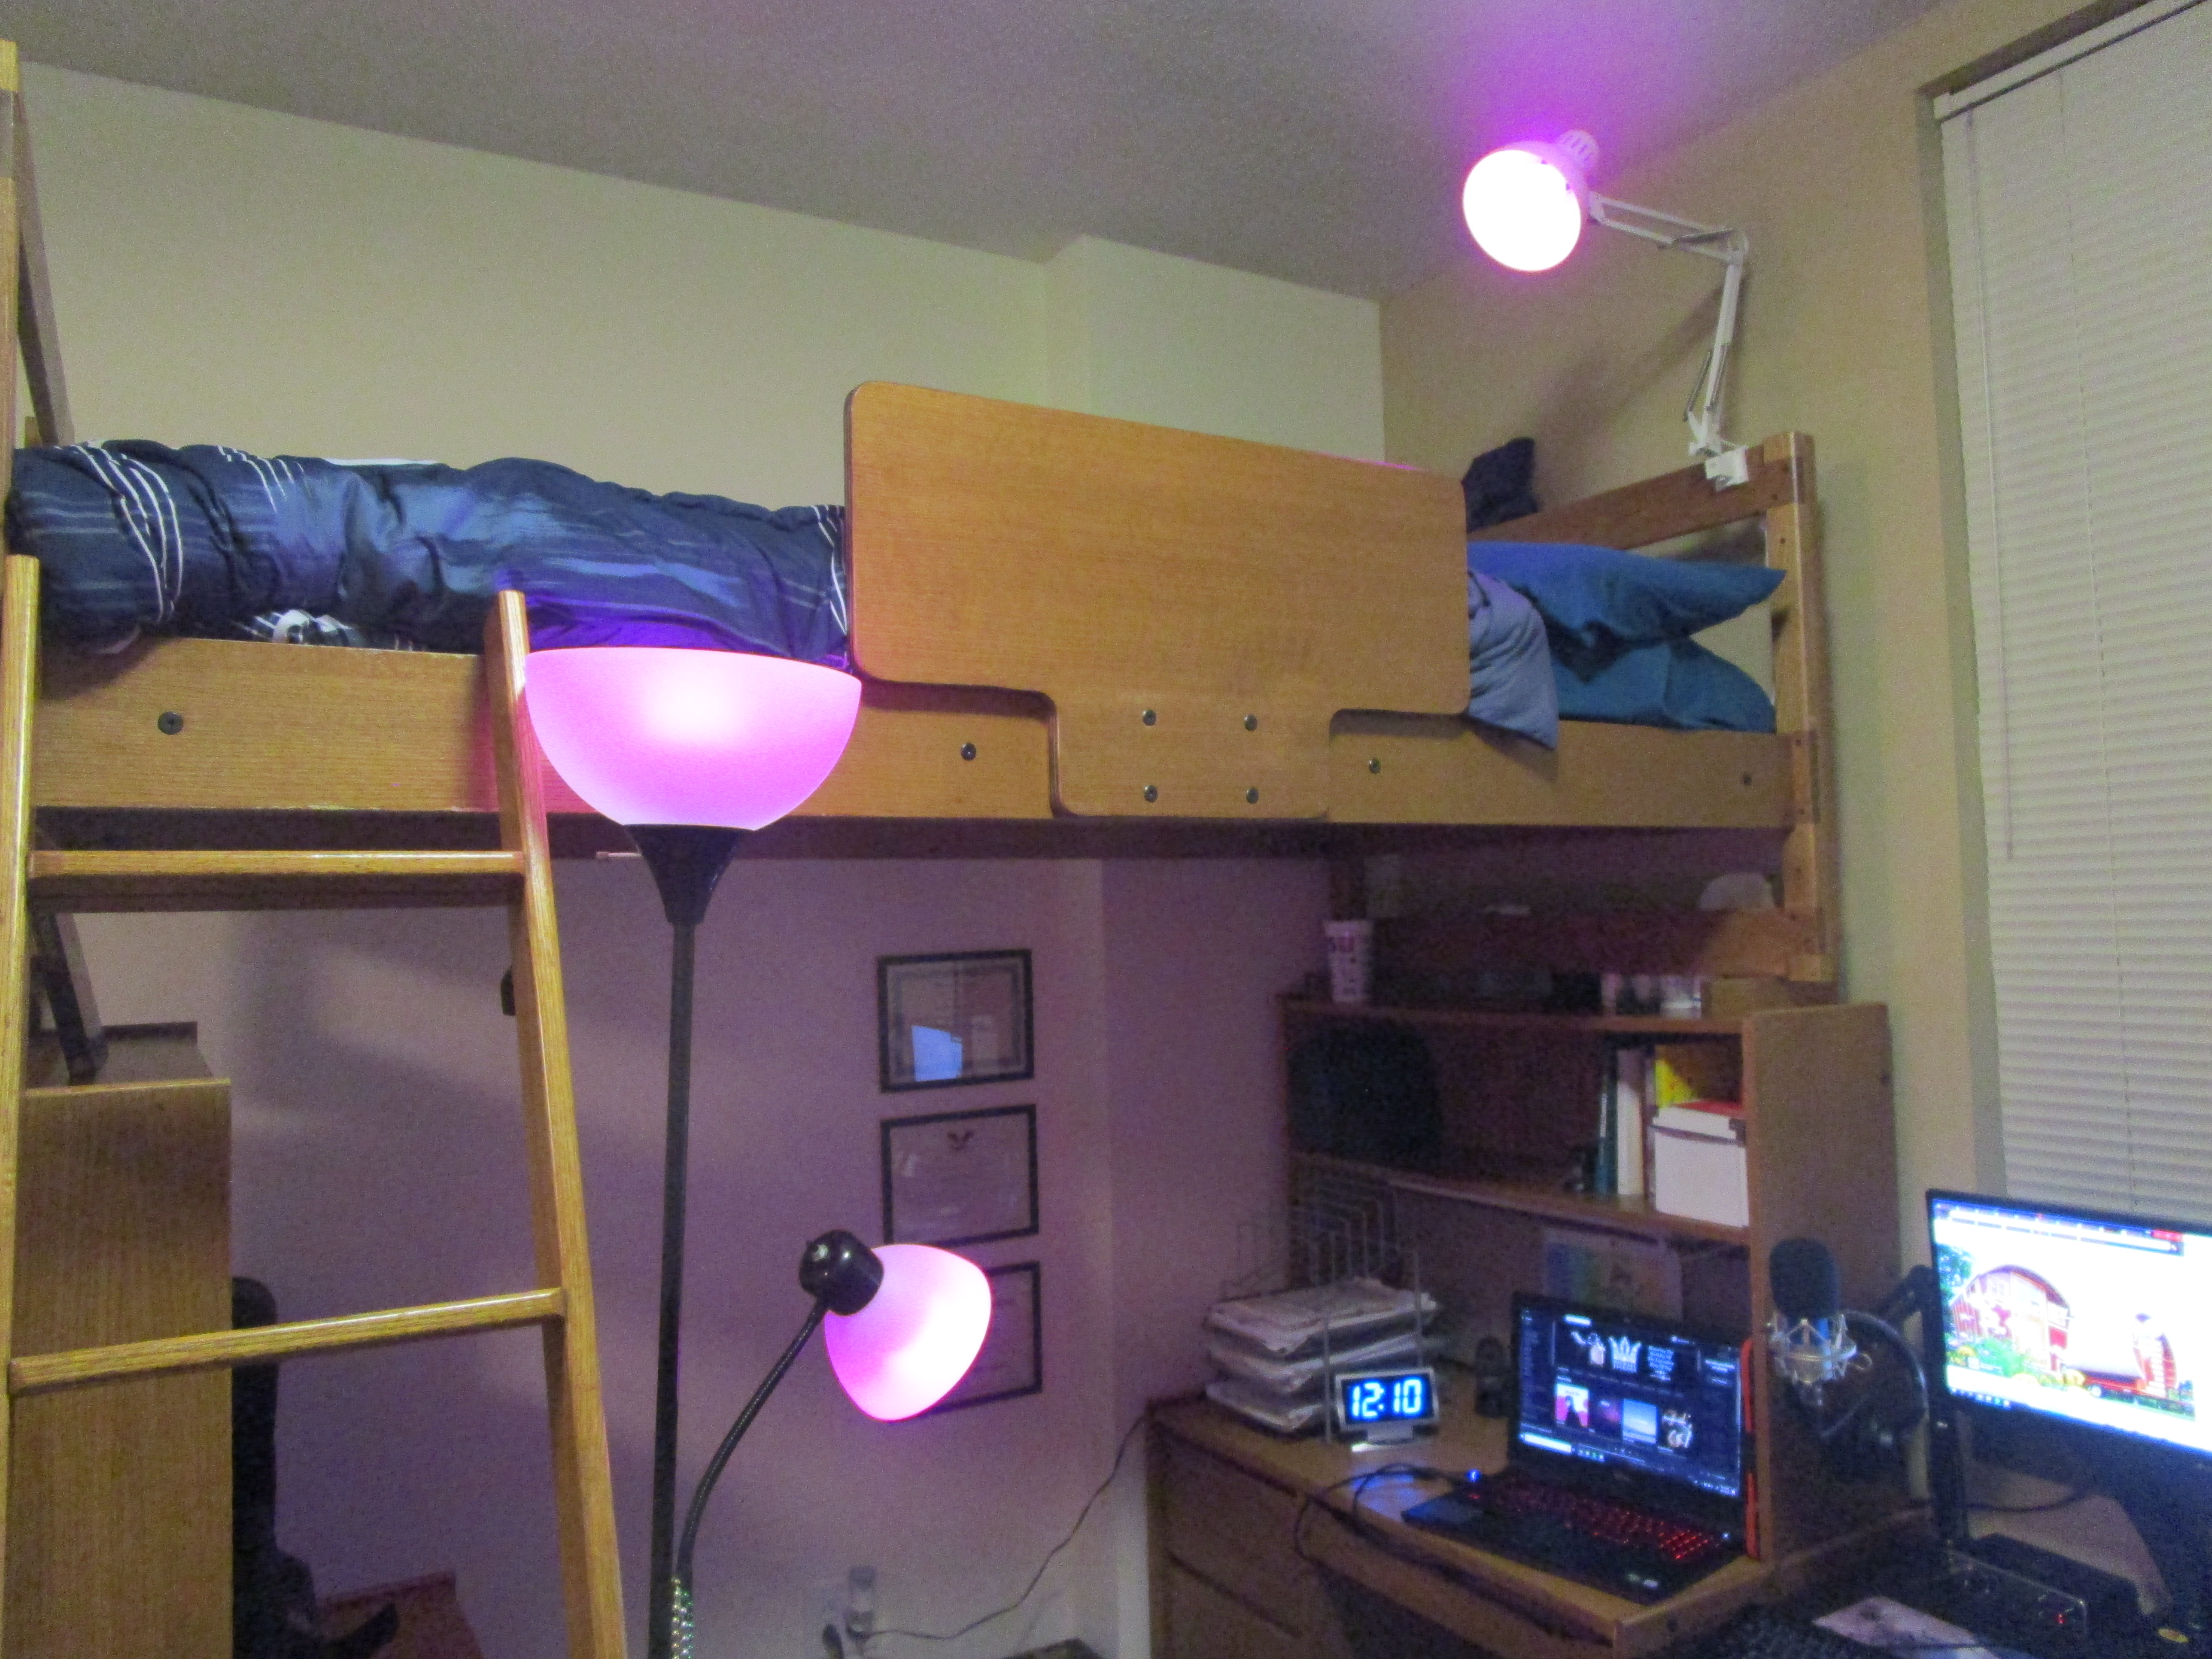
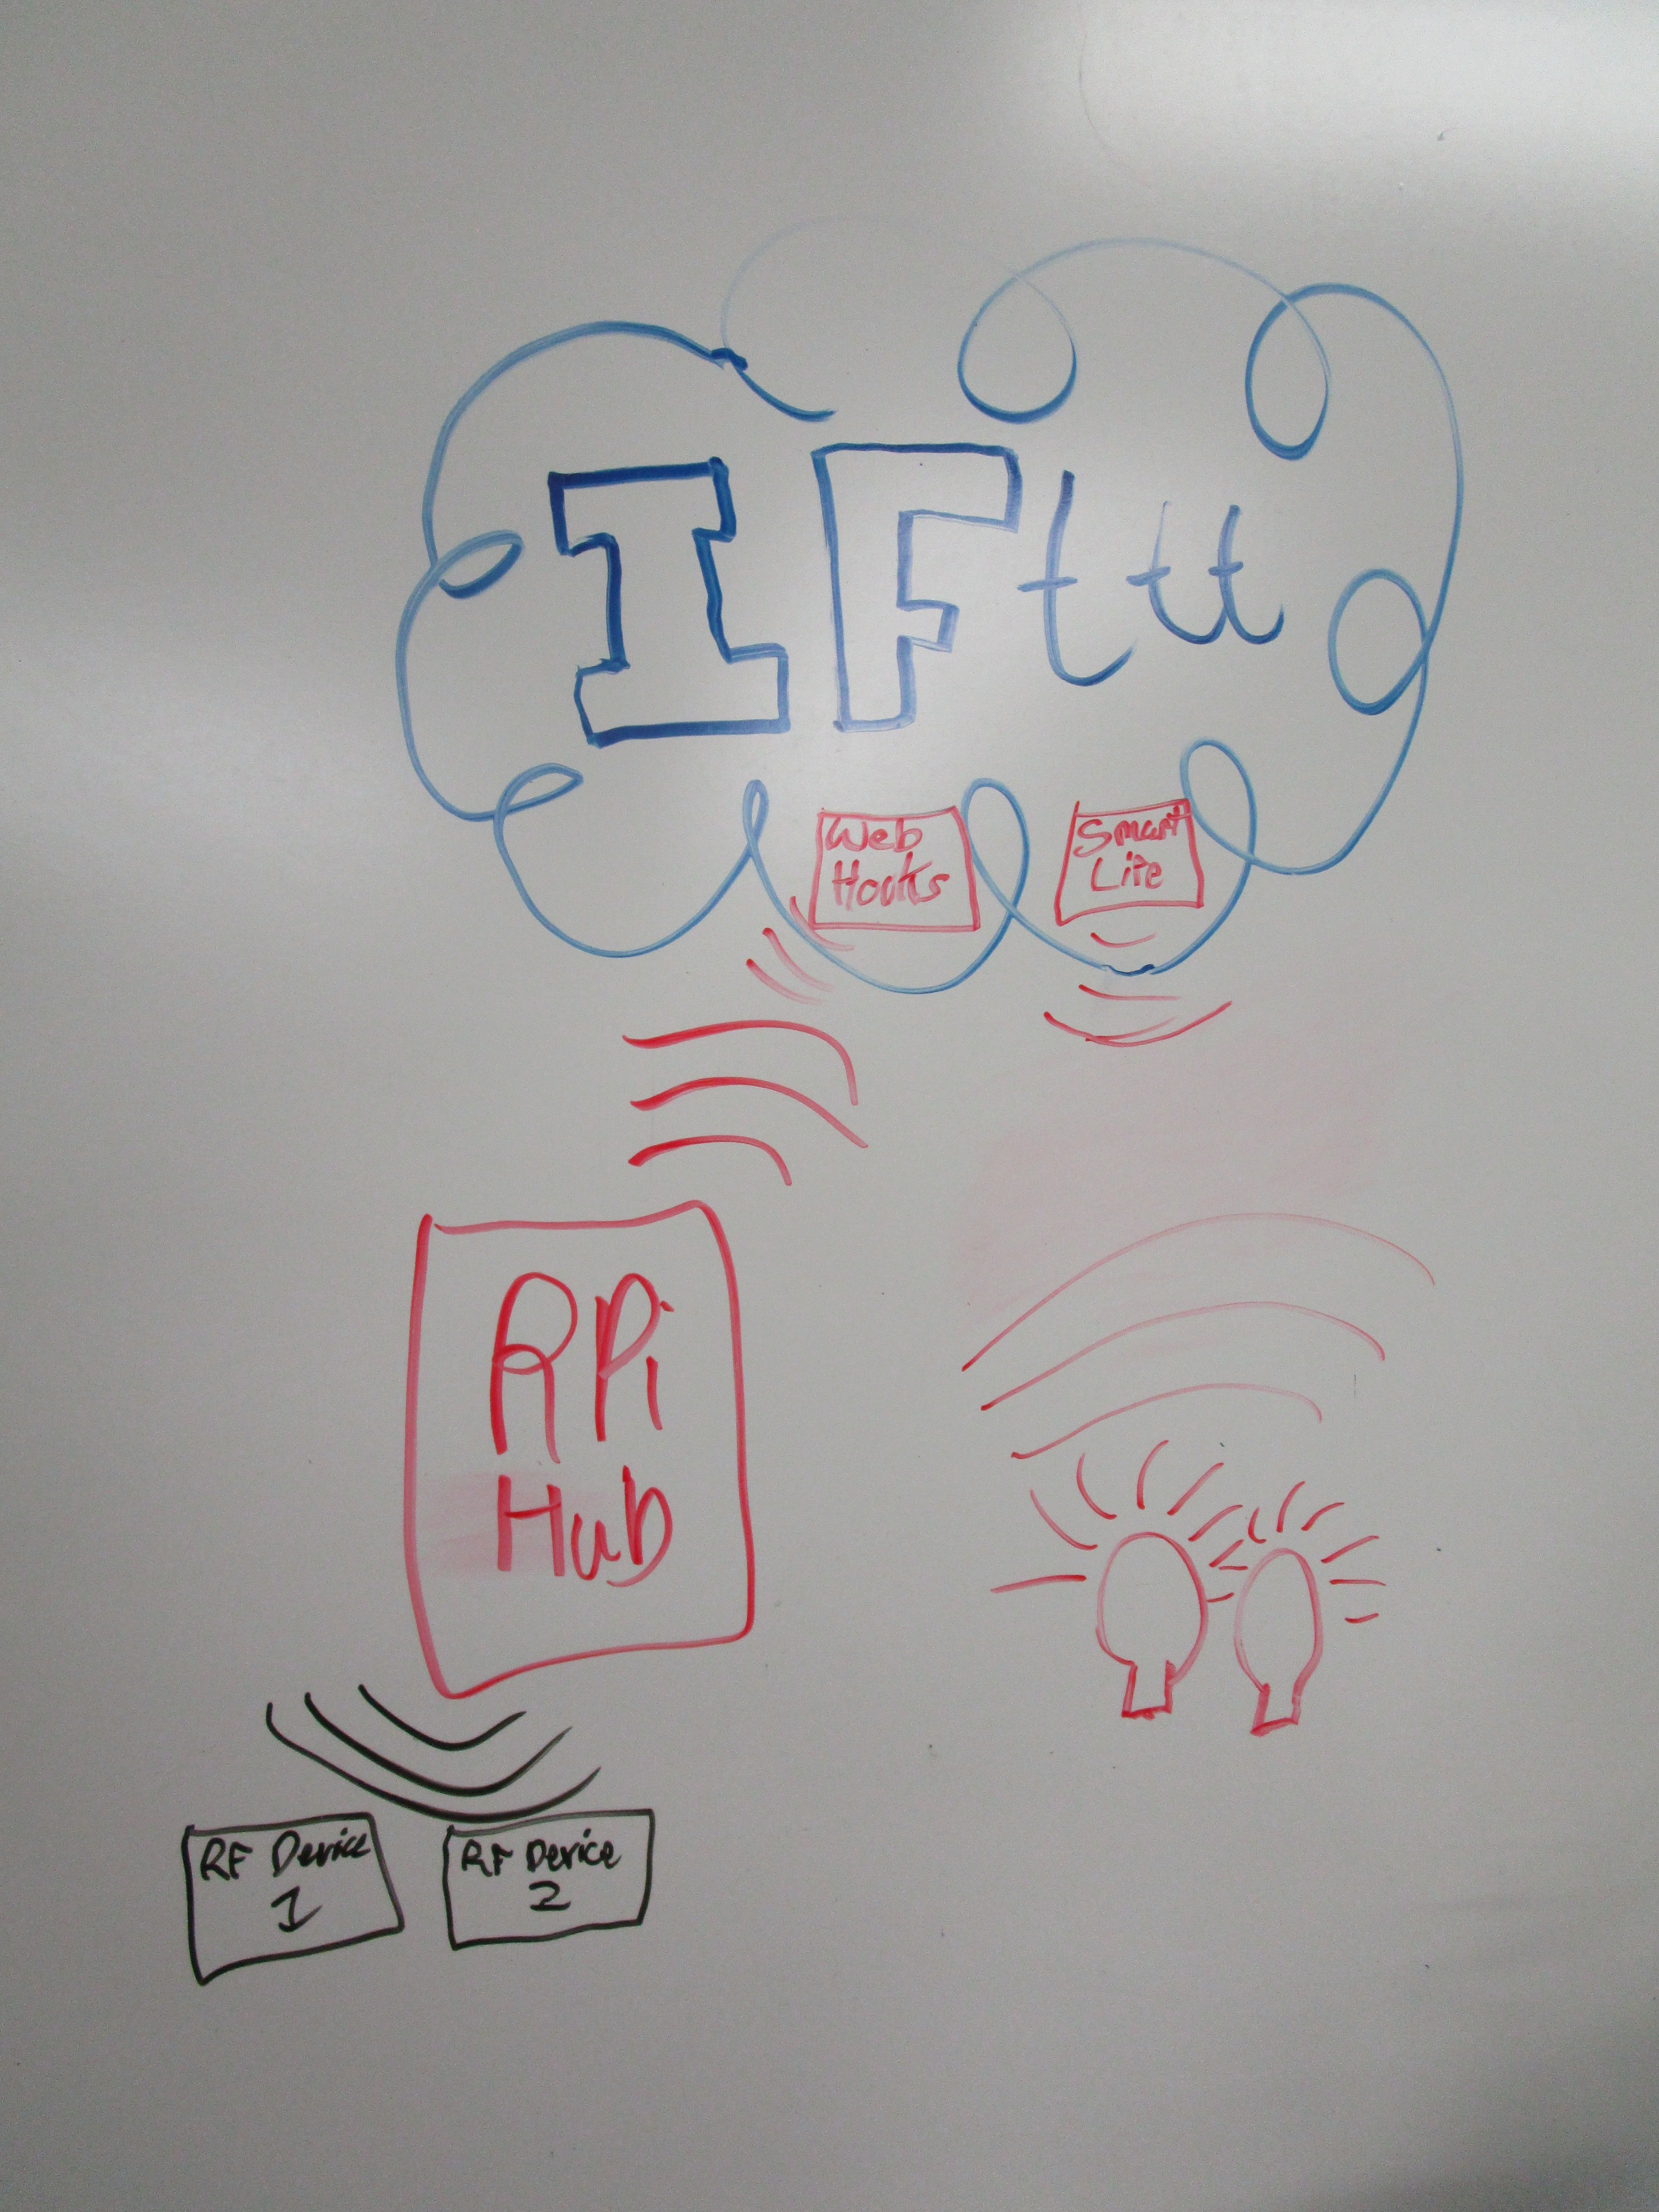
Projects that Change Light was a project inspired by all of the connected devices that are around us. Often times we don't want a loud BEEP to go off whenever a device (or several) needs to get our attention. Lights are an excellent way of solving this problem because they can be subtle in everyday life. With a range of colors to use they would make a great addition to any home device (or project!) so can it be done? This project shows that it can be done by using Webhooks to interact with any internet connected device. Let's dig right in!
WARNING: Before you continue, make sure that the lightbulbs that you are using support IFTTT. The lightbulbs that are used in this instructable worked at the time this was made but stopped communicating with IFTTT. The concept is the same but you will probably need to find lightbulbs with IFTTT on the box.
Supplies
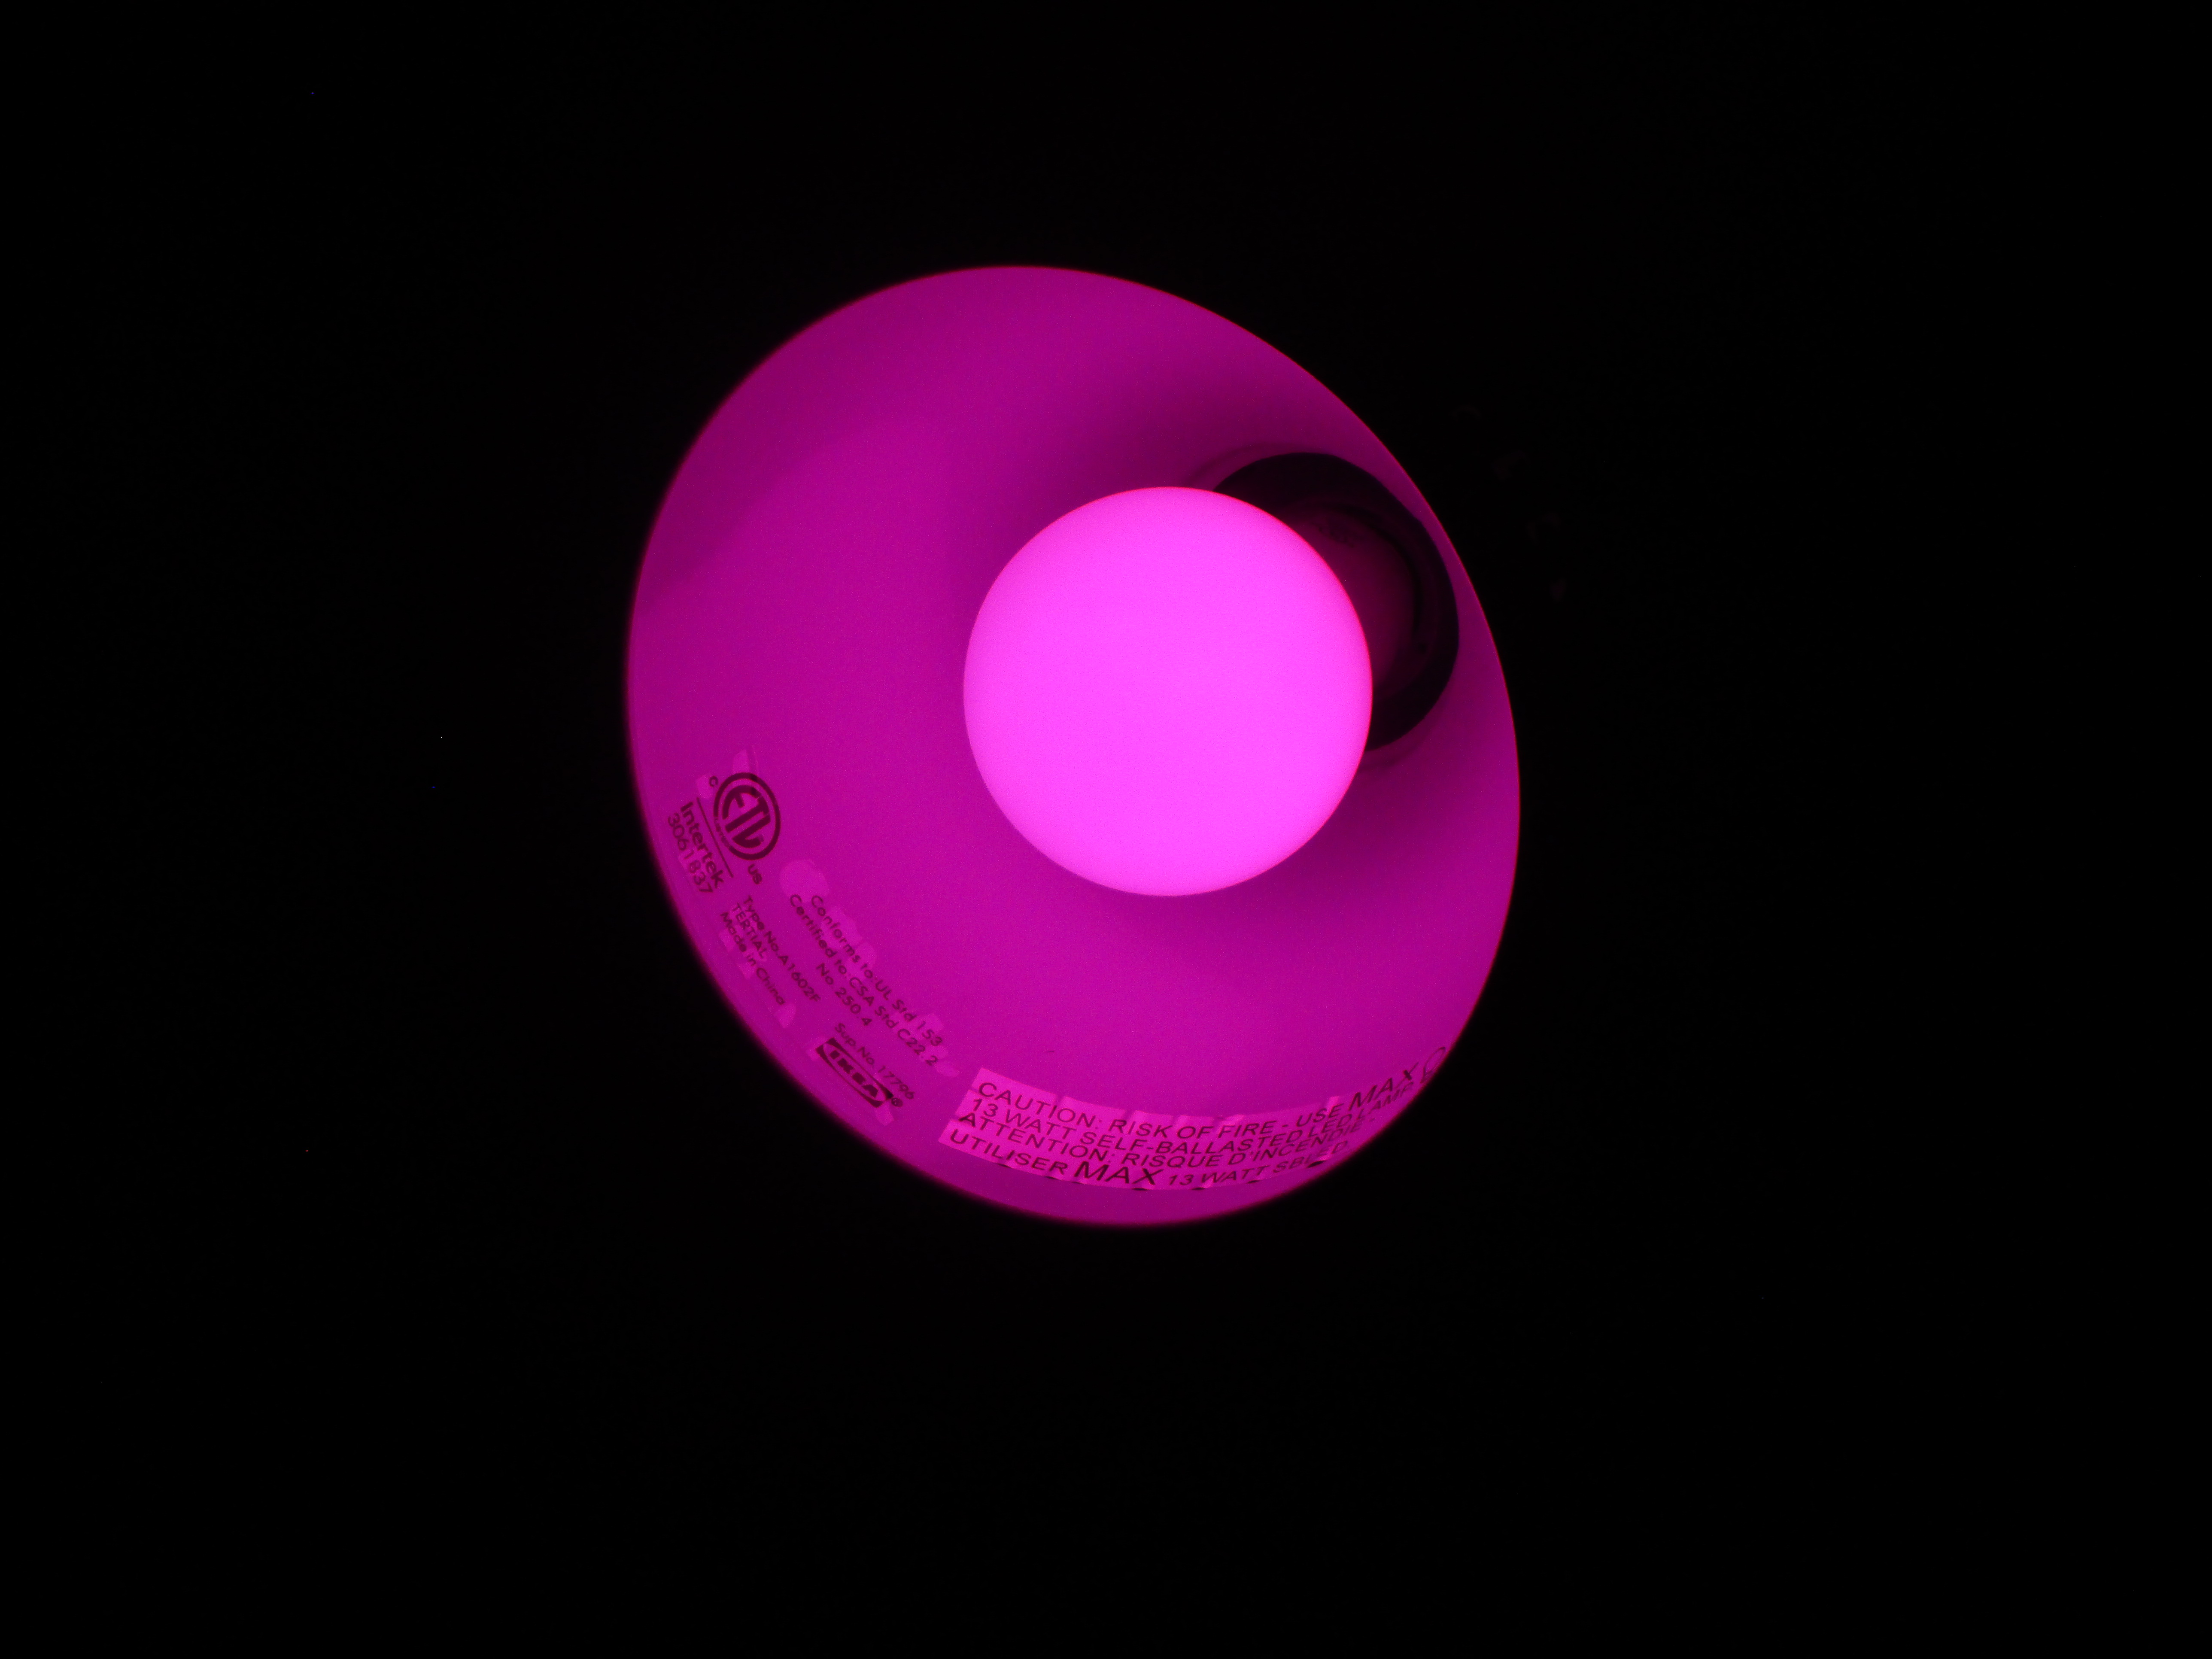
- Merkury Light bulb at Walmart for $12.88?!?
- Smartphone
- (Optional) A internet connected project
Setting Up the Bulb(s)
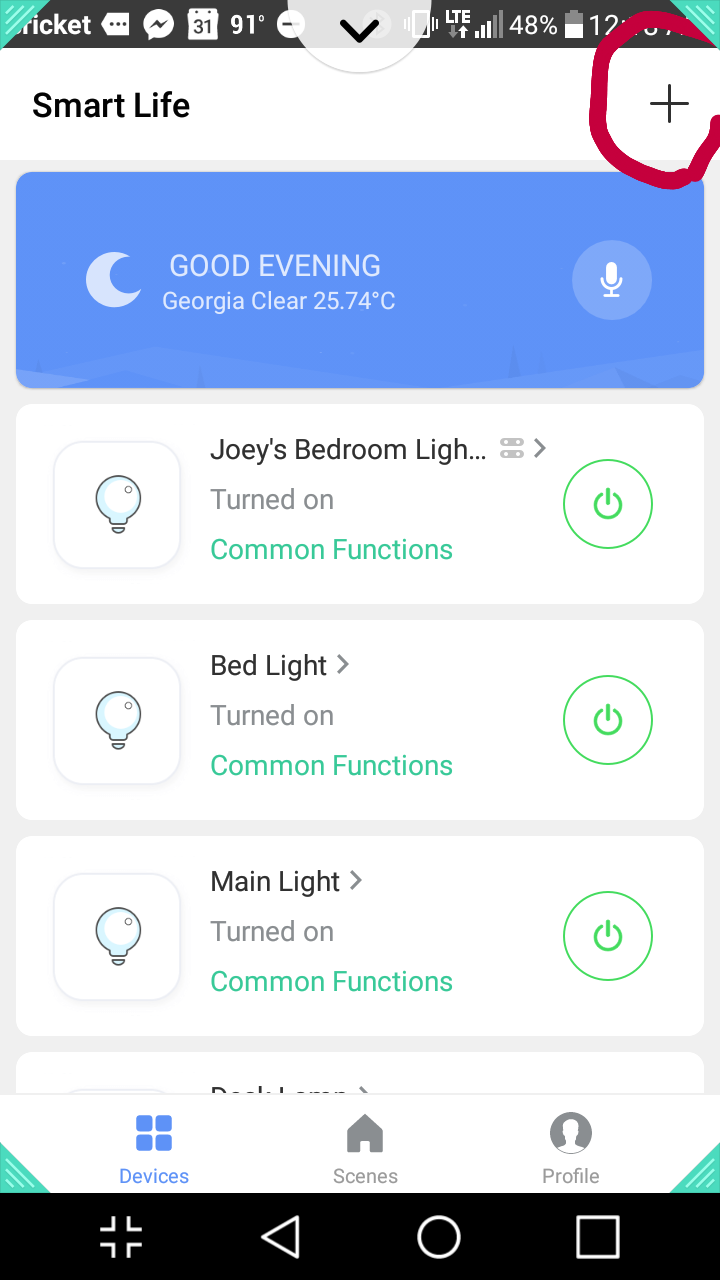
- Starting off you will need to download the Smart Life app on either a Android or Apple device.
- Next, bust out that new light bulb, screw it in, and supply power. At this point it should be blinking.
- While blinking, open up Smart Life on your phone and press the plus in the top right corner.
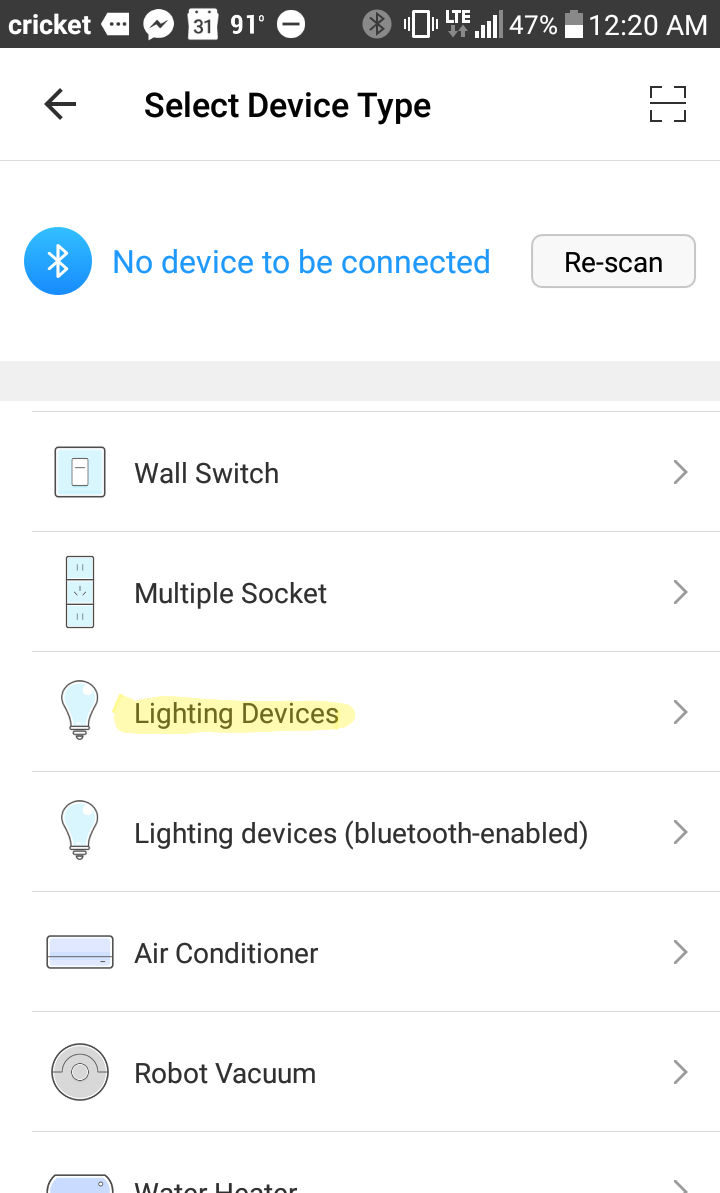
- A screen showing devices should appear. Press Lighting Devices.
- Follow the step by step instructions to connect the light.
Connecting to Webhooks/IFTTT
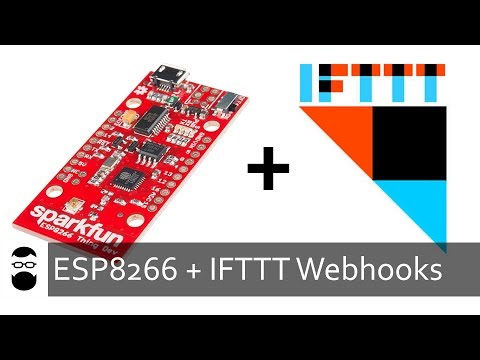)
Webhooks are a great way to connect any of your devices that can connect to the web. This video shows how it's done at 8:32.
Light Applets

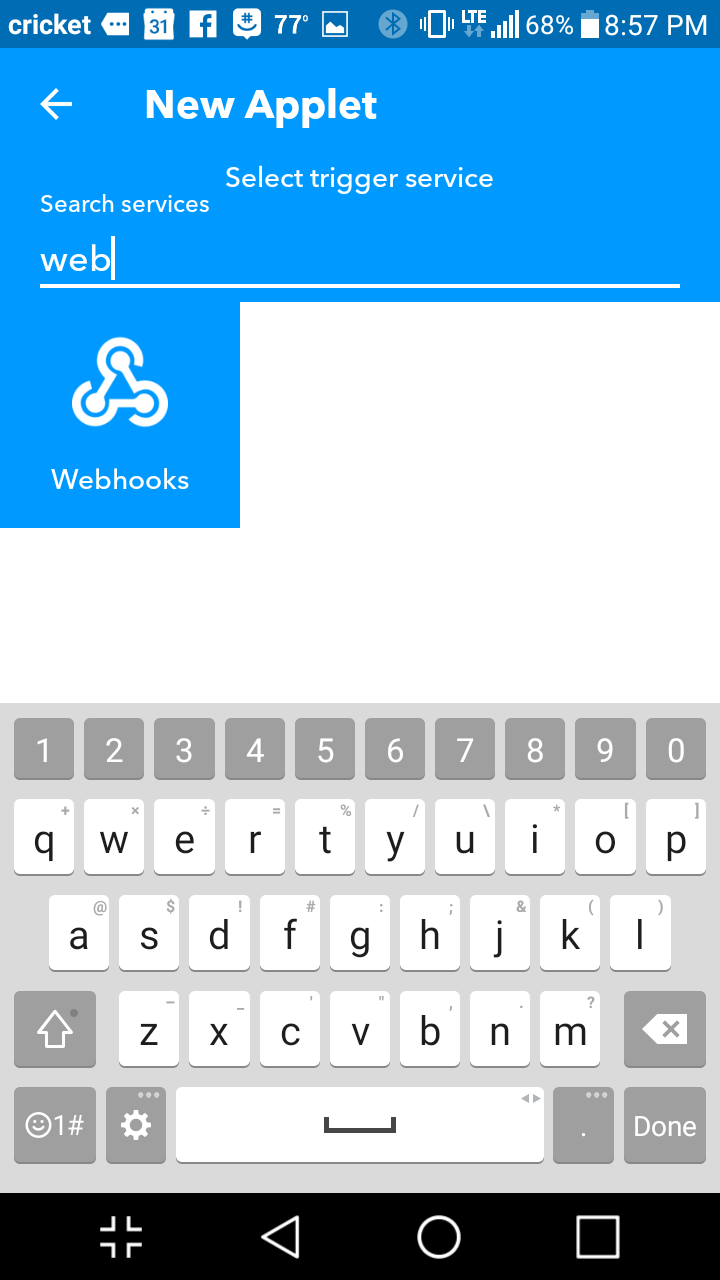
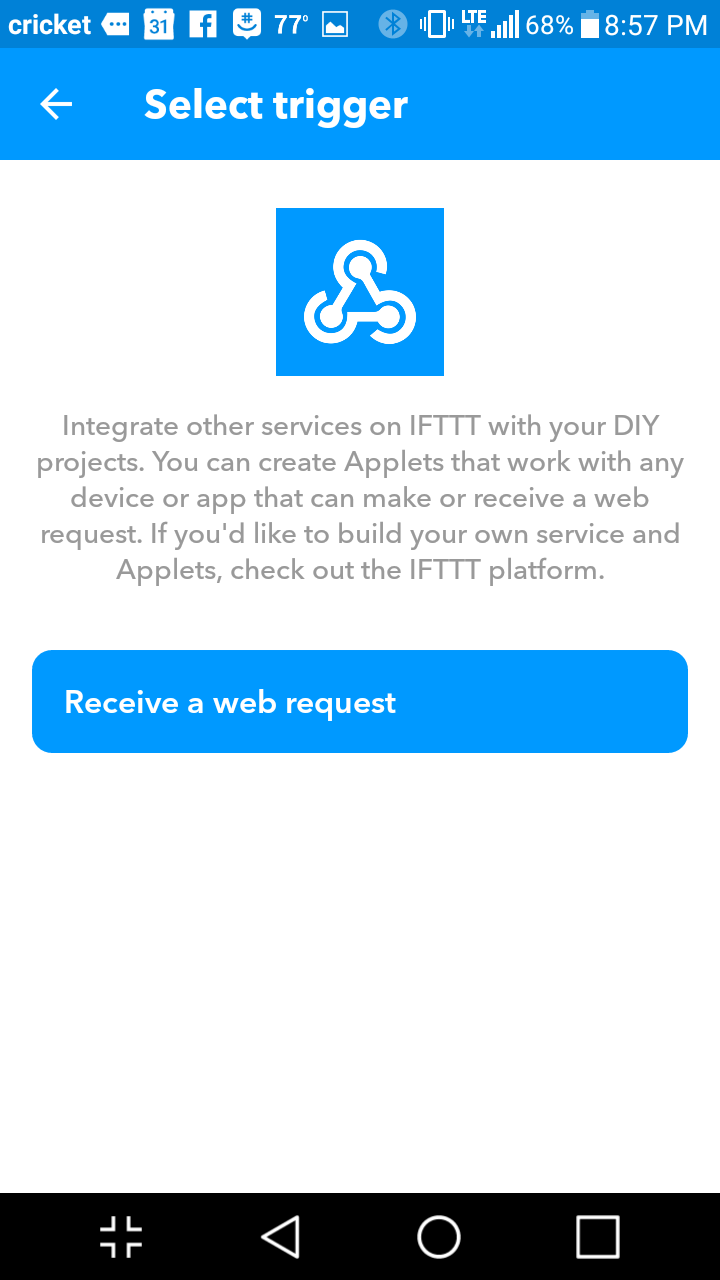
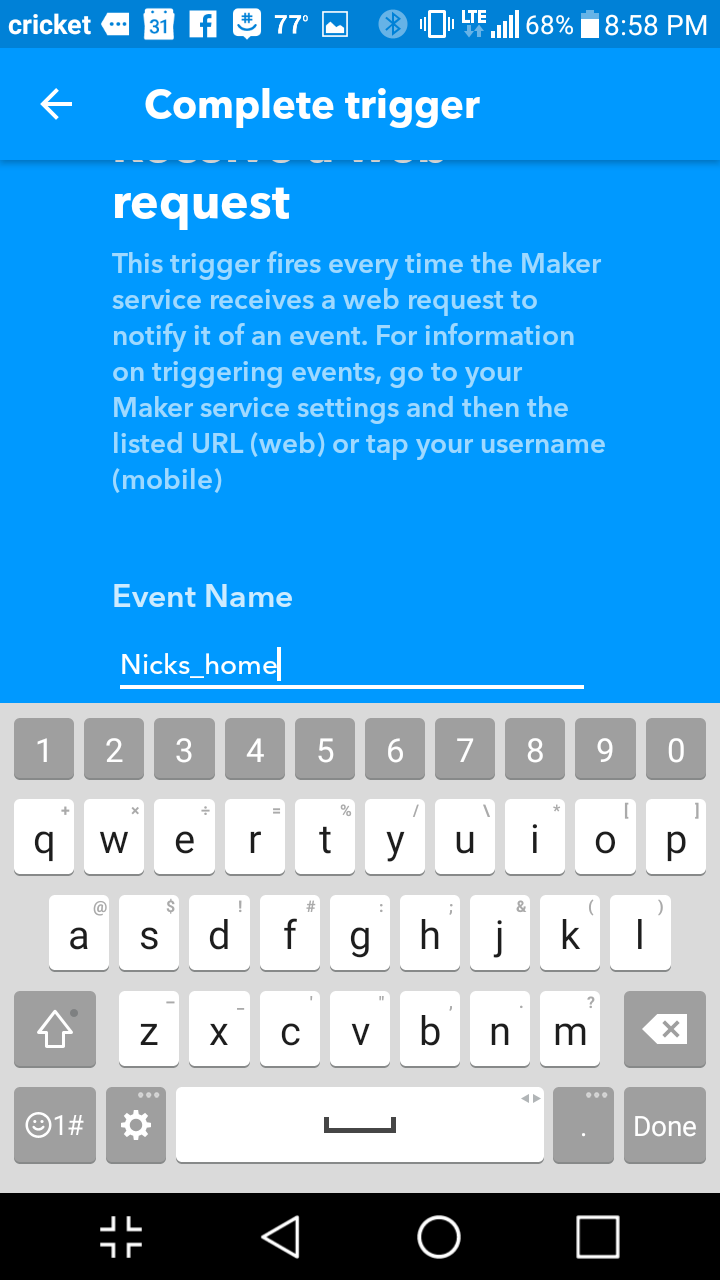
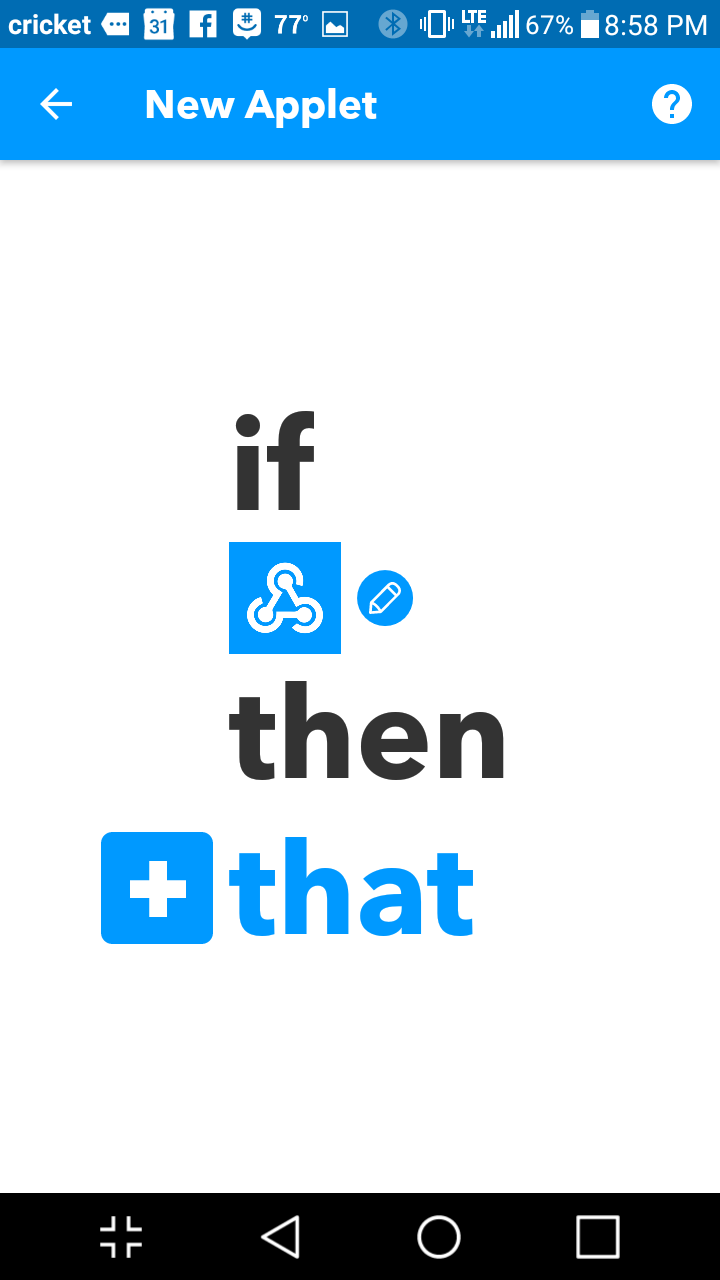
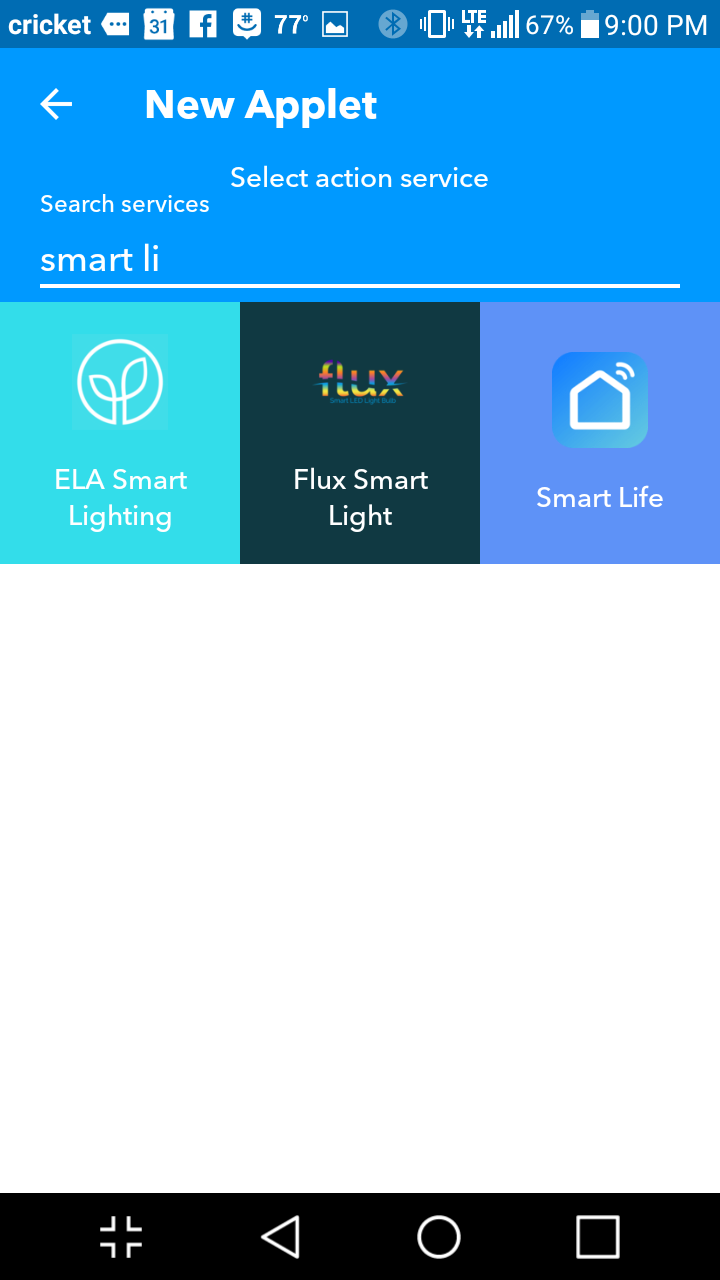
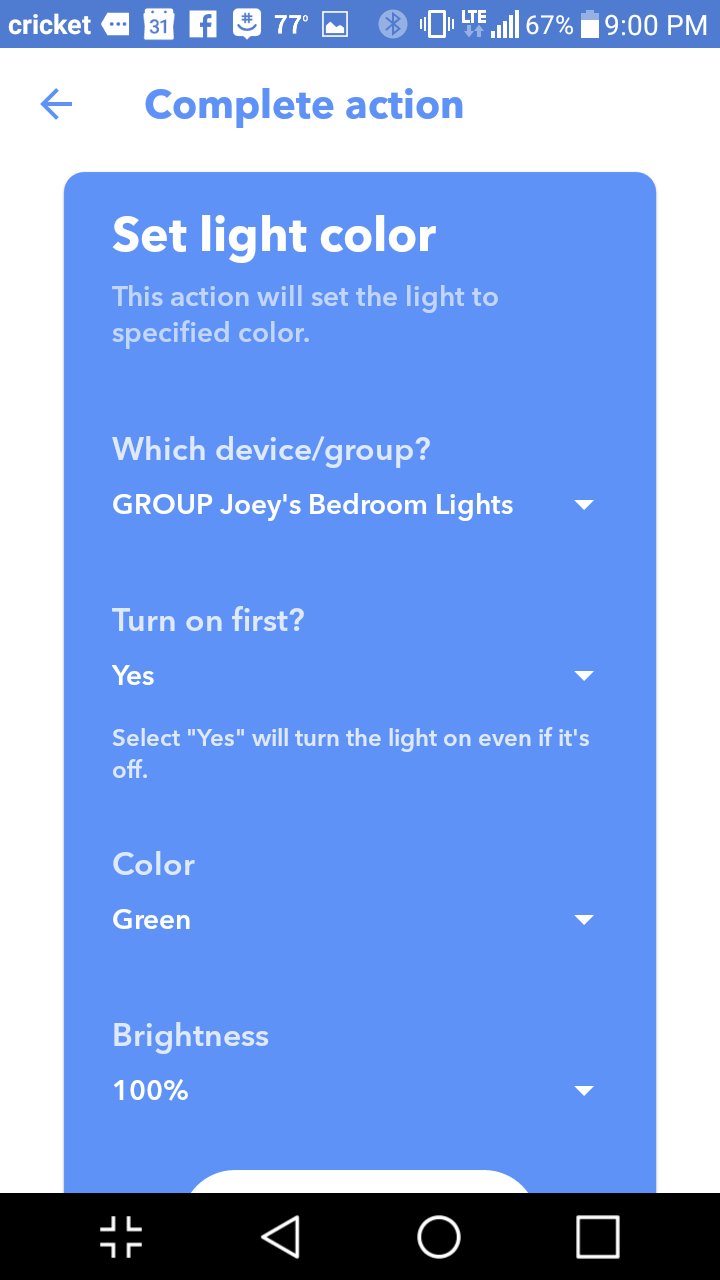
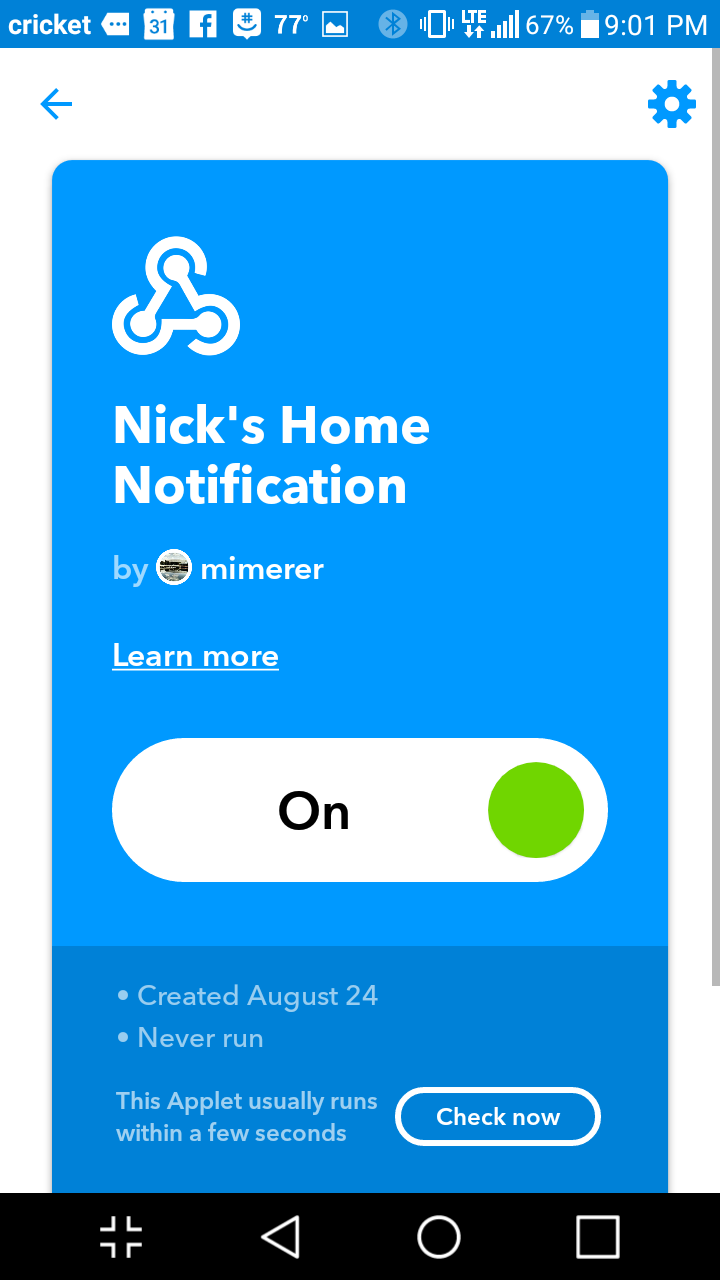
Now that you have your key, follow the pictures above to setup your very own light app. Trigger your app by using https://maker.ifttt.com/trigger/{EVENT FROM PICTURE}/with/key/{YOUR KEY HERE} in any internet connected device.
Future
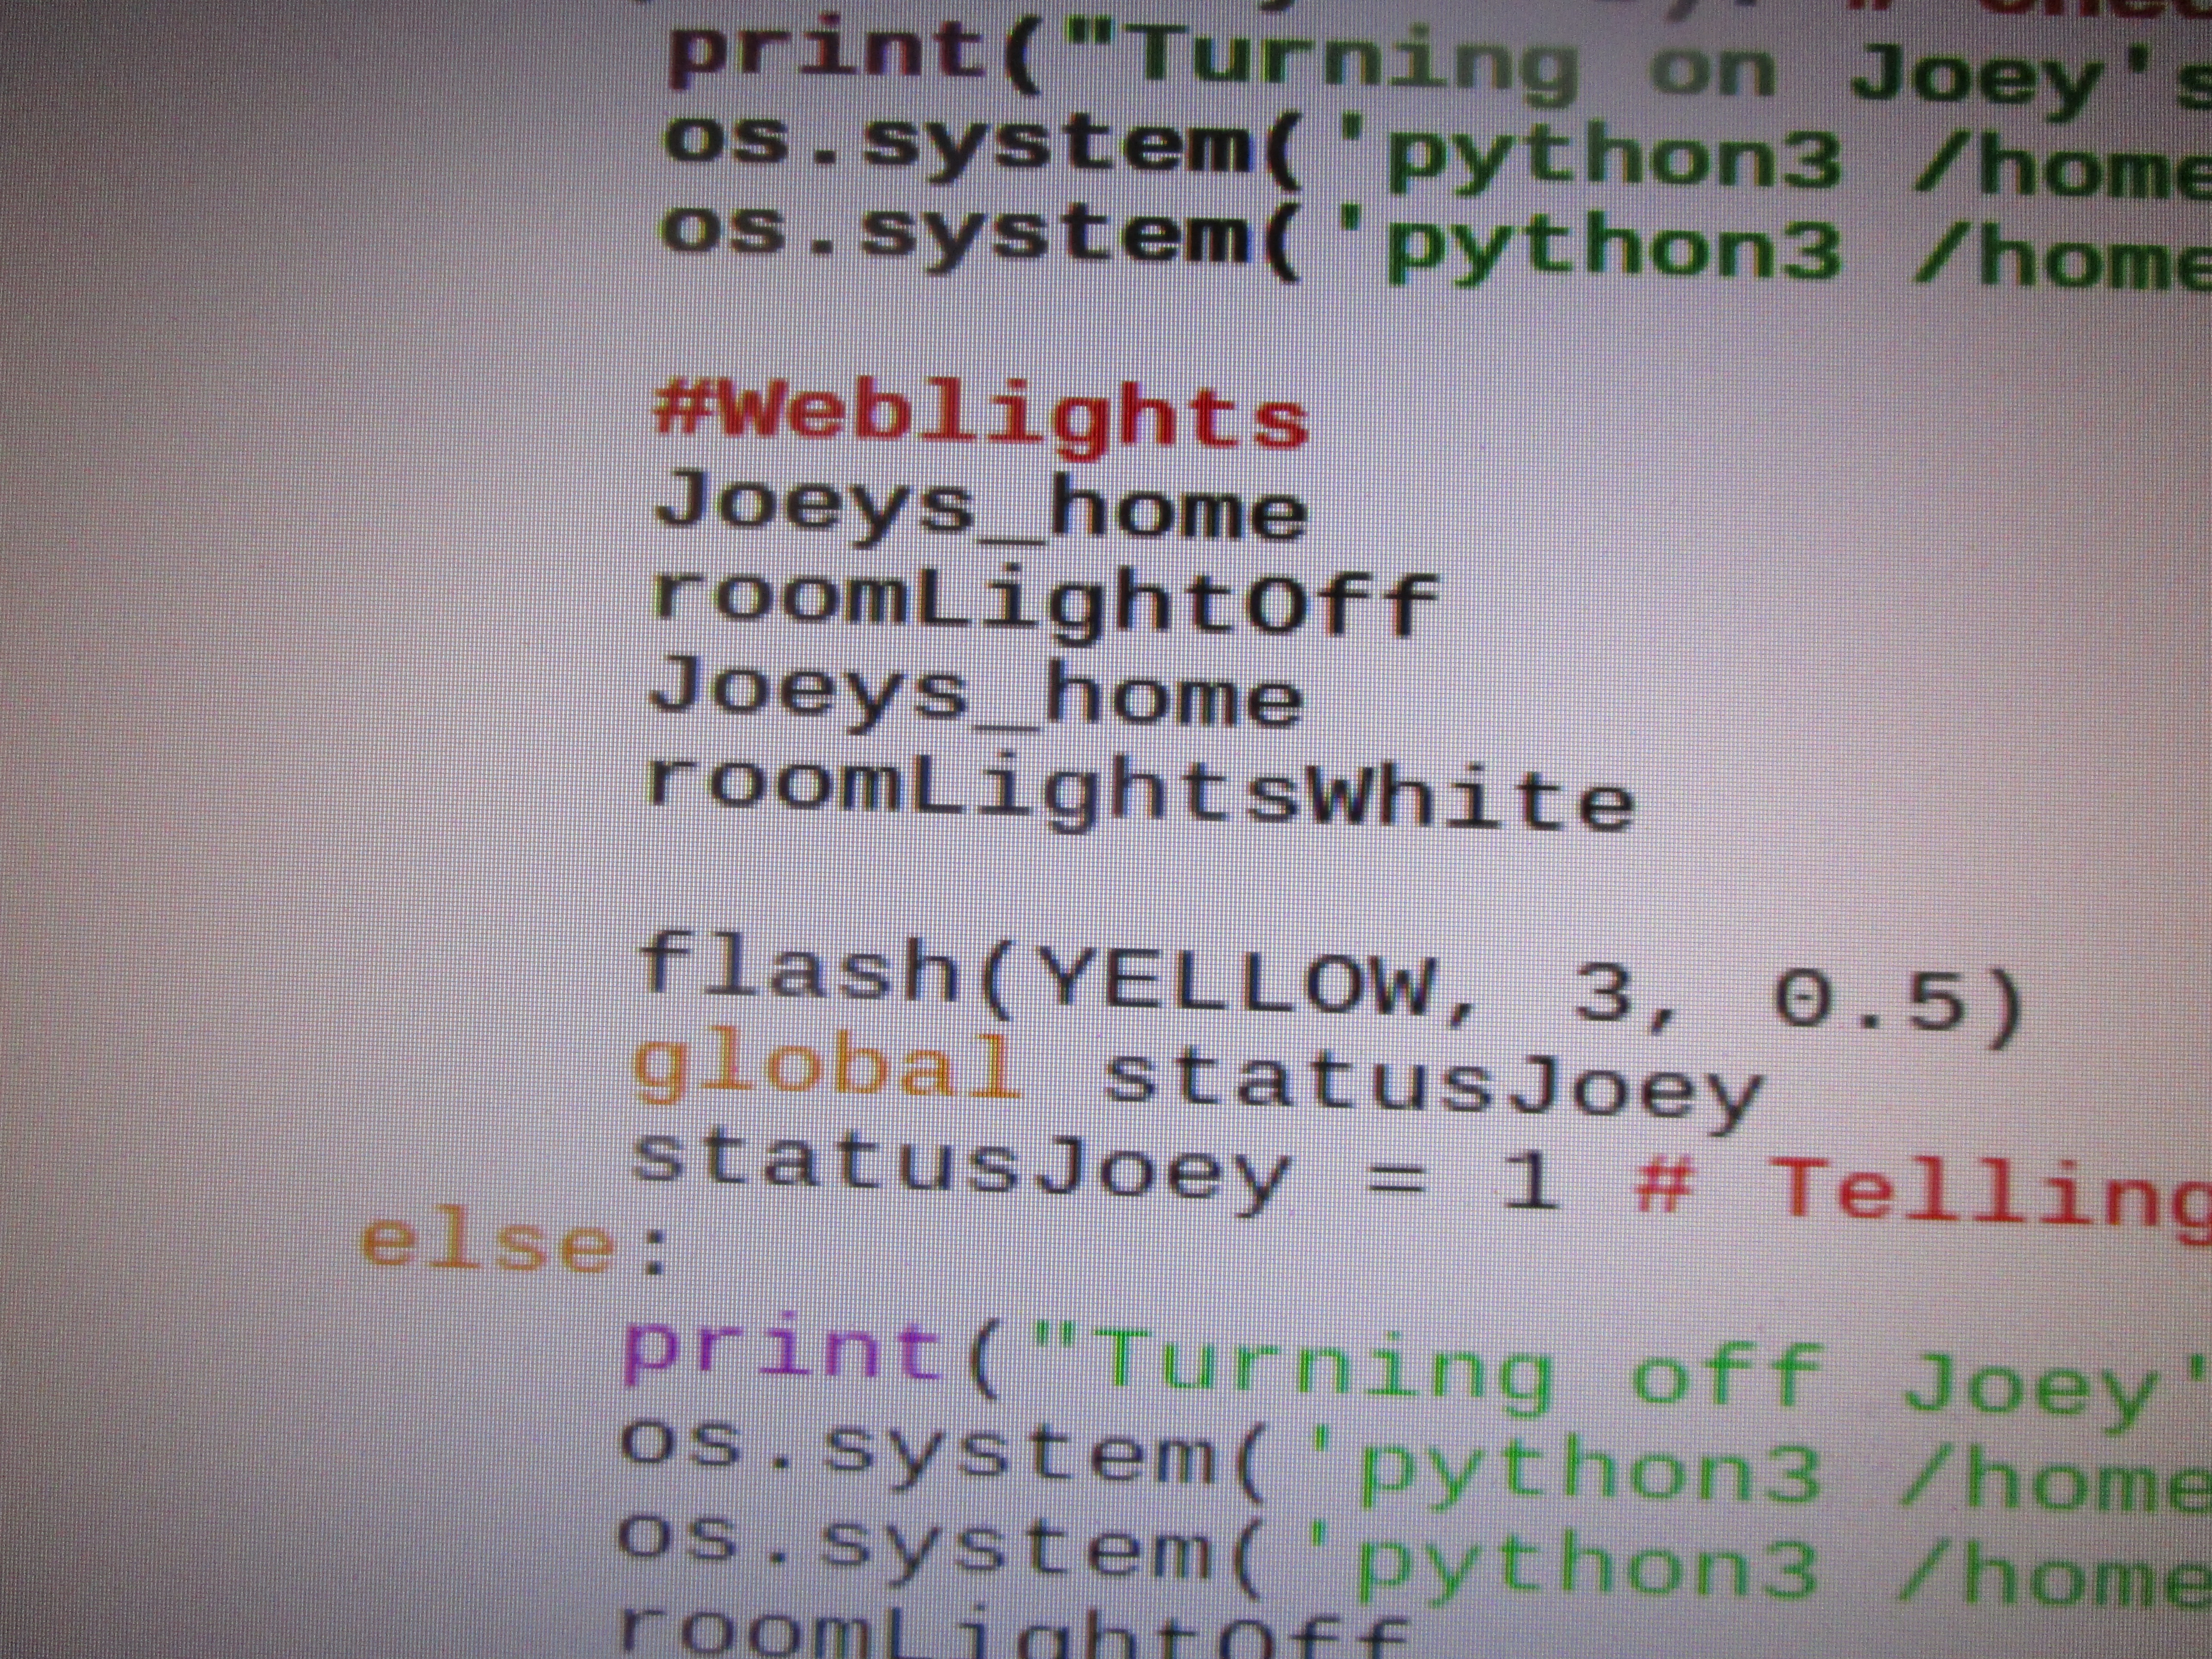
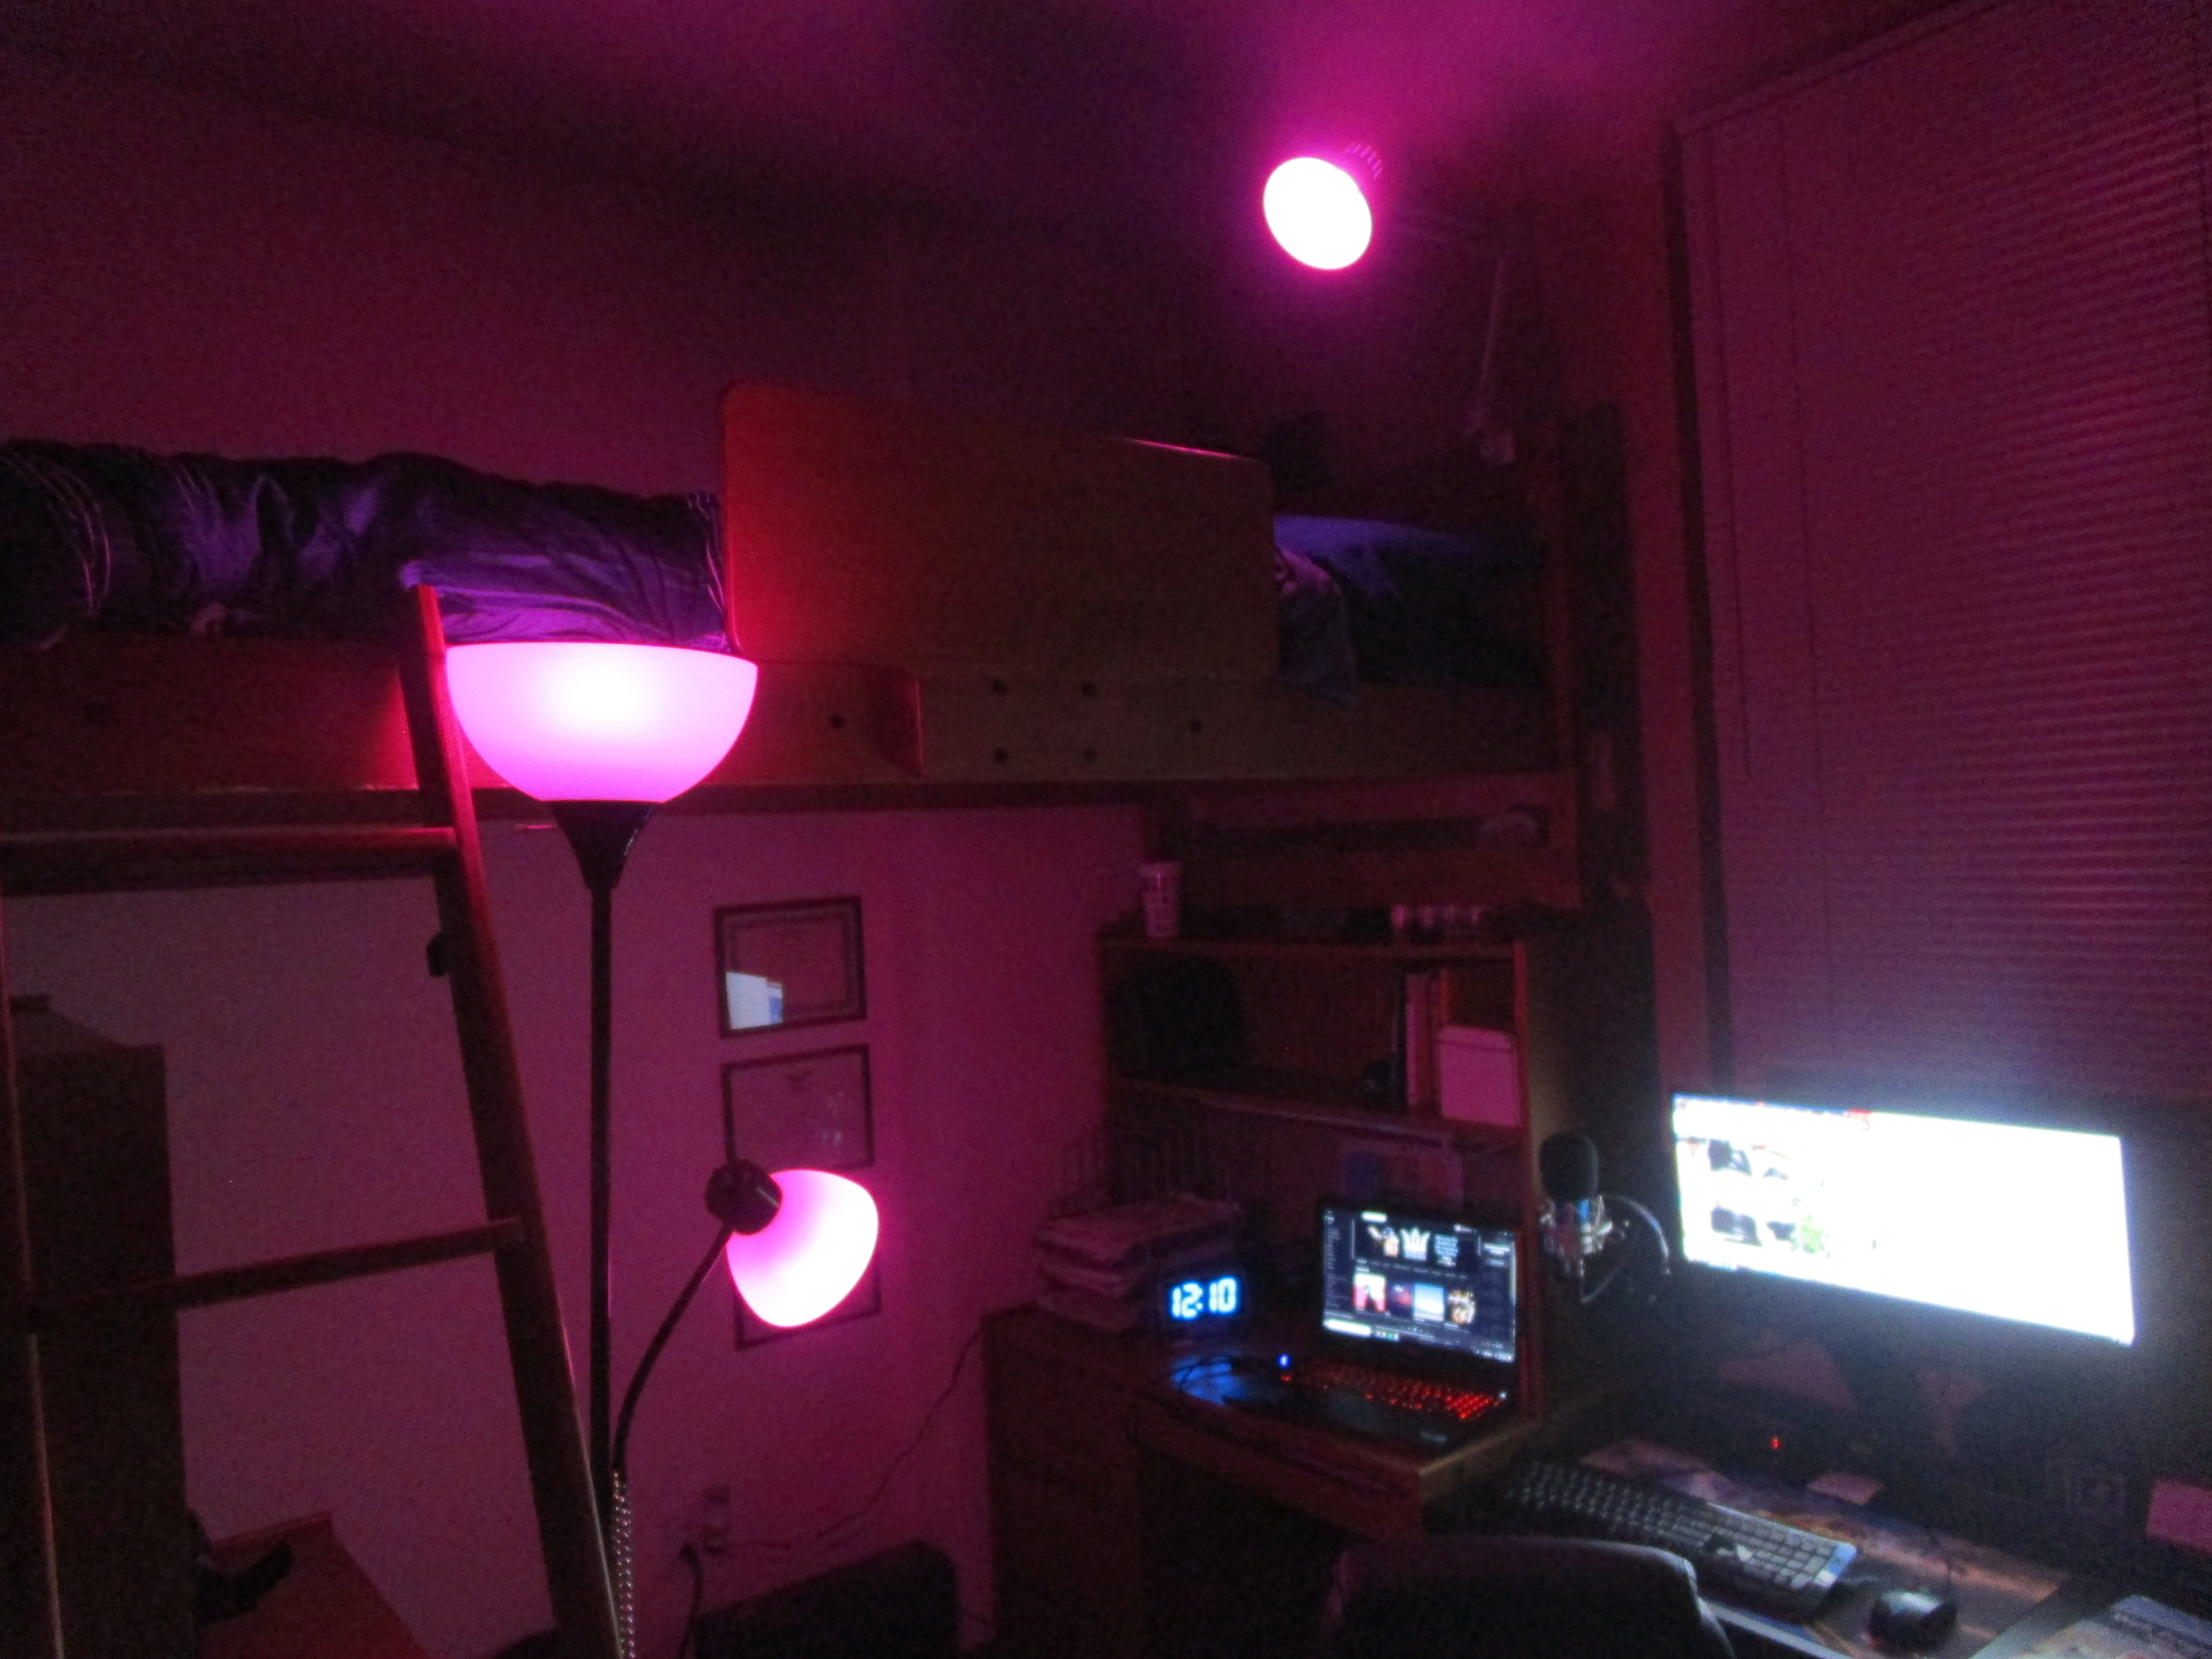
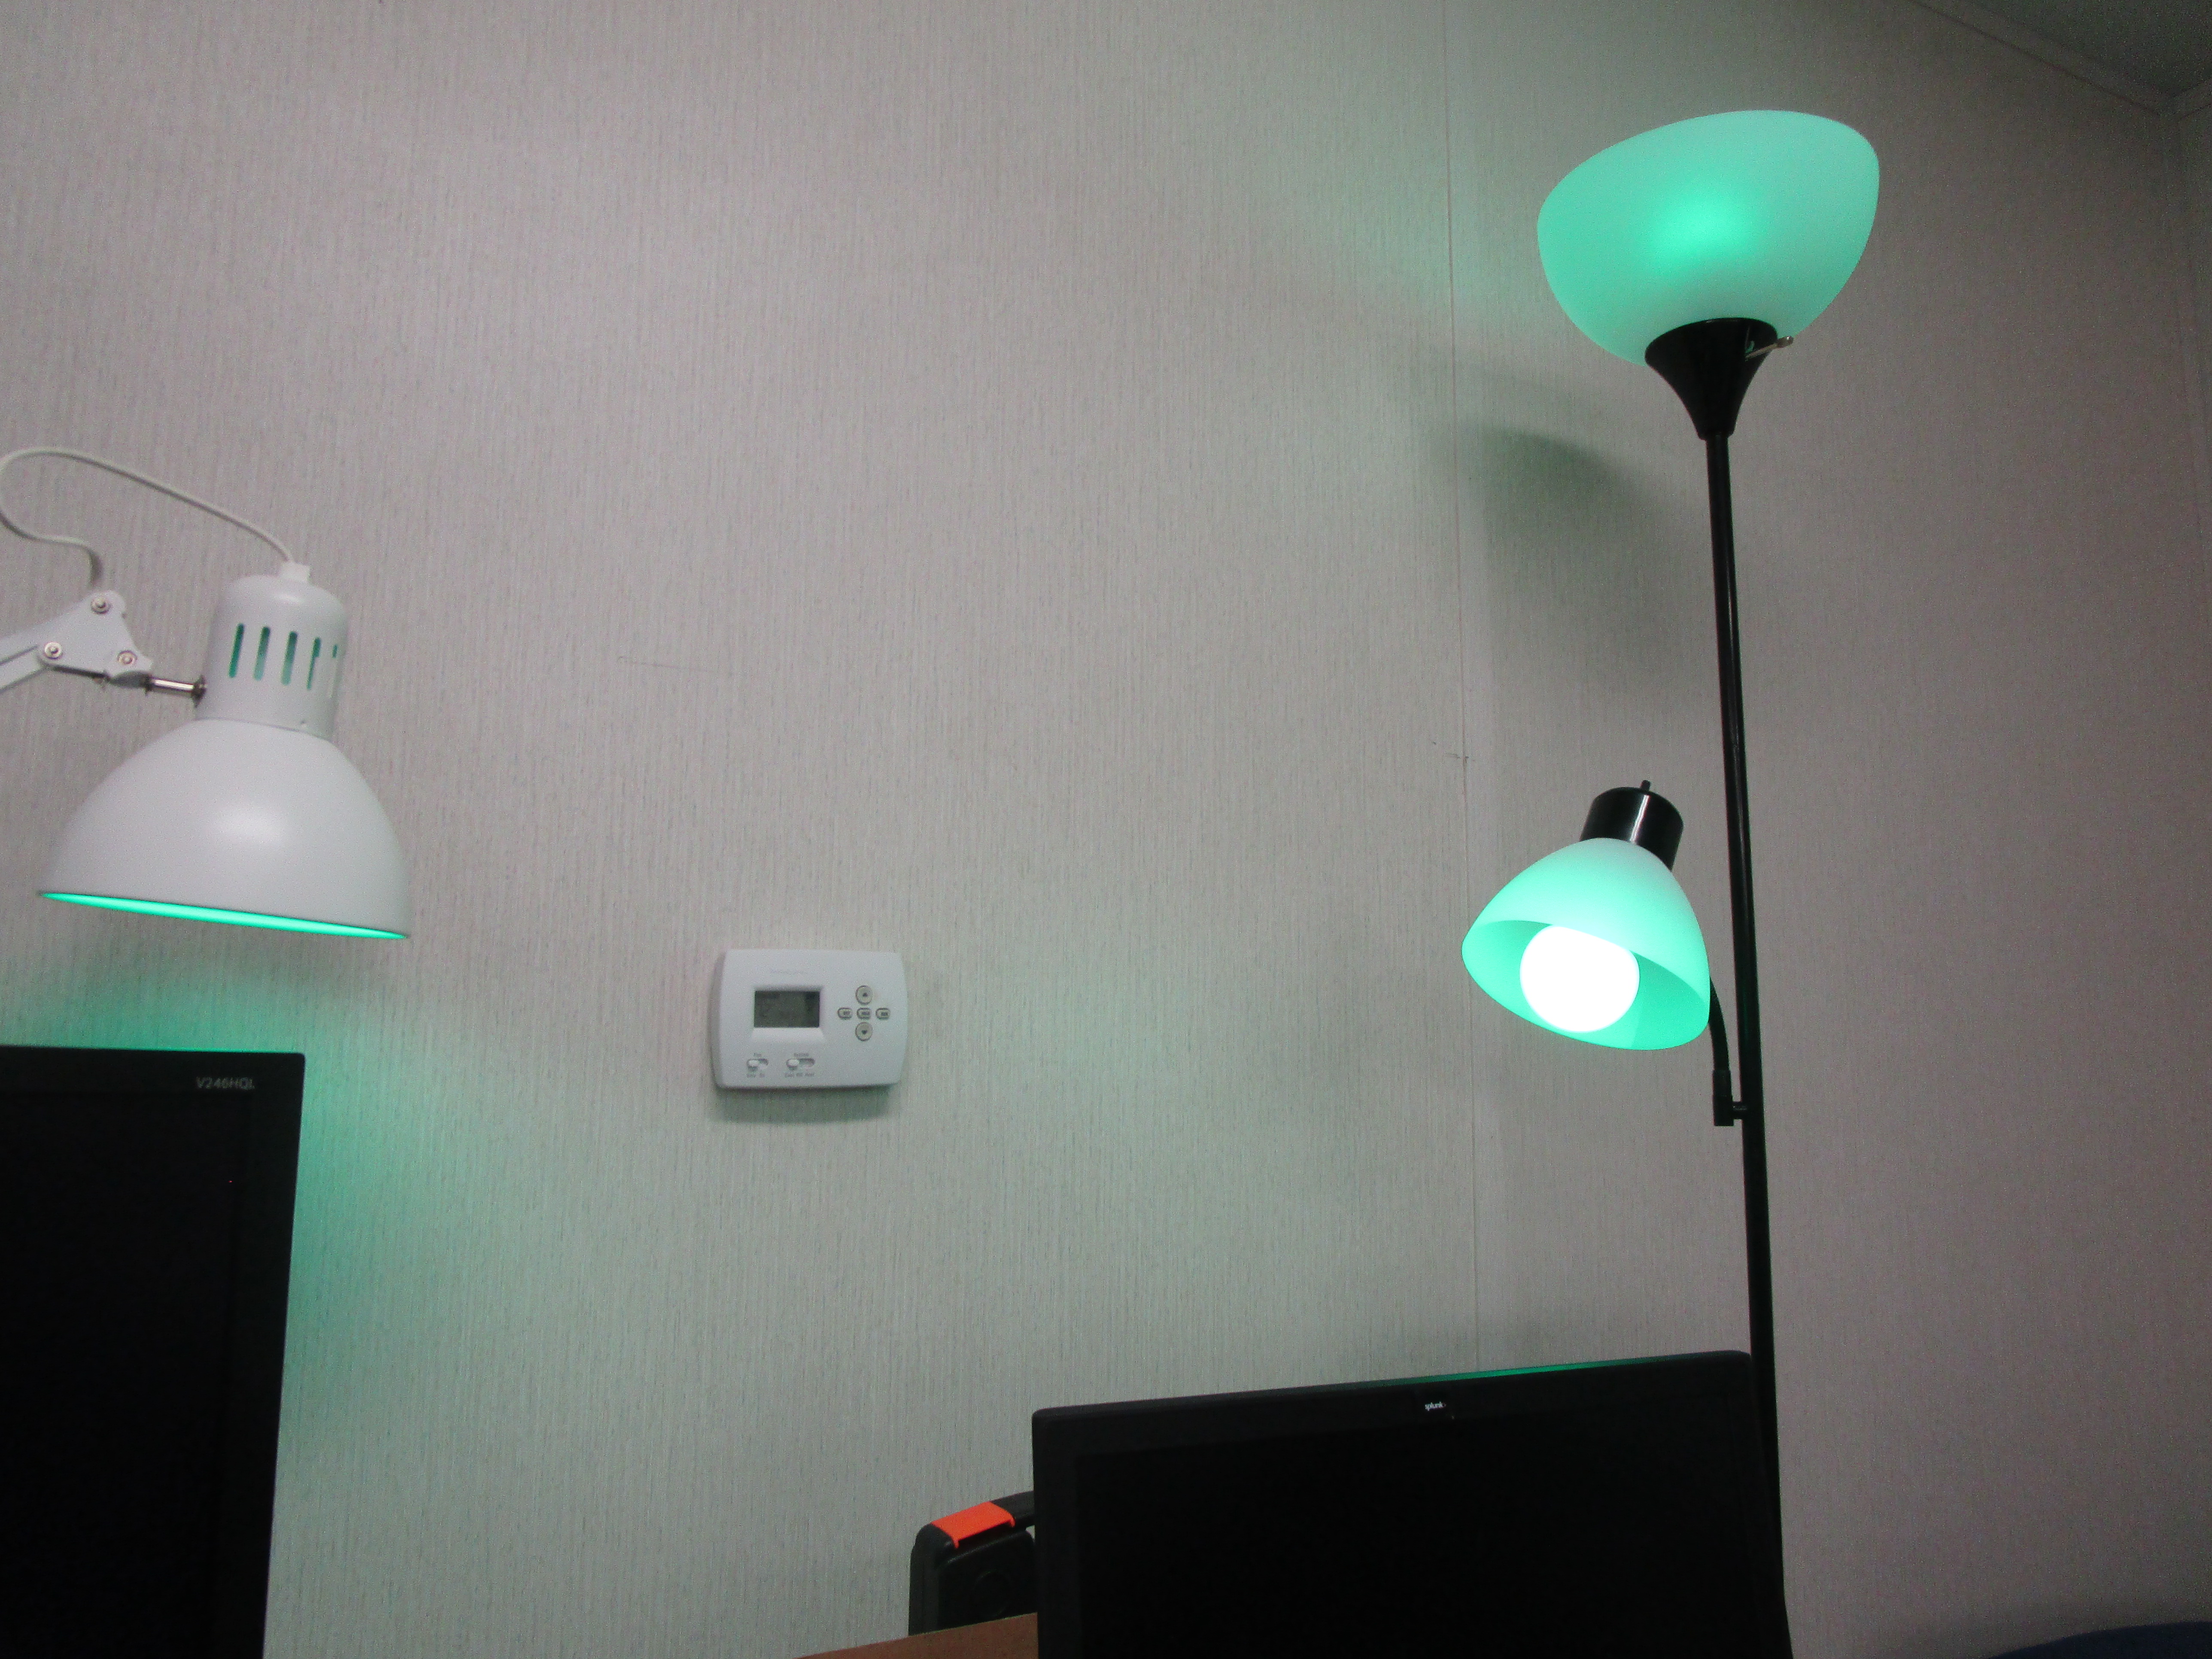
- The rest is up to you! Put the link in your newest project and light up our world with your newest project.
- The problem that I ran into while making this project was in the IFTTT app. It will only do one action at a time so when I wanted to do something like blink the lights, it wouldn't do it. The way I remedied this was to make a webhook (event) for each action (On/Off) and give those links to my project so that the Raspberry Pi could blink the light bulb.
- In the future, I would like to make it more secure by making the webhooks its own program in order to hide the key and keep all of the web links straight.
- Overall, a great way to have your project communicate without to much coding and once the first three steps are done, they're done. All that has to be done is step 4 for as many project as you want! Happy Making!