Project Zoe
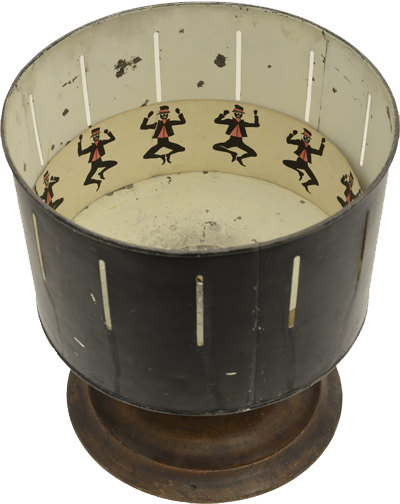
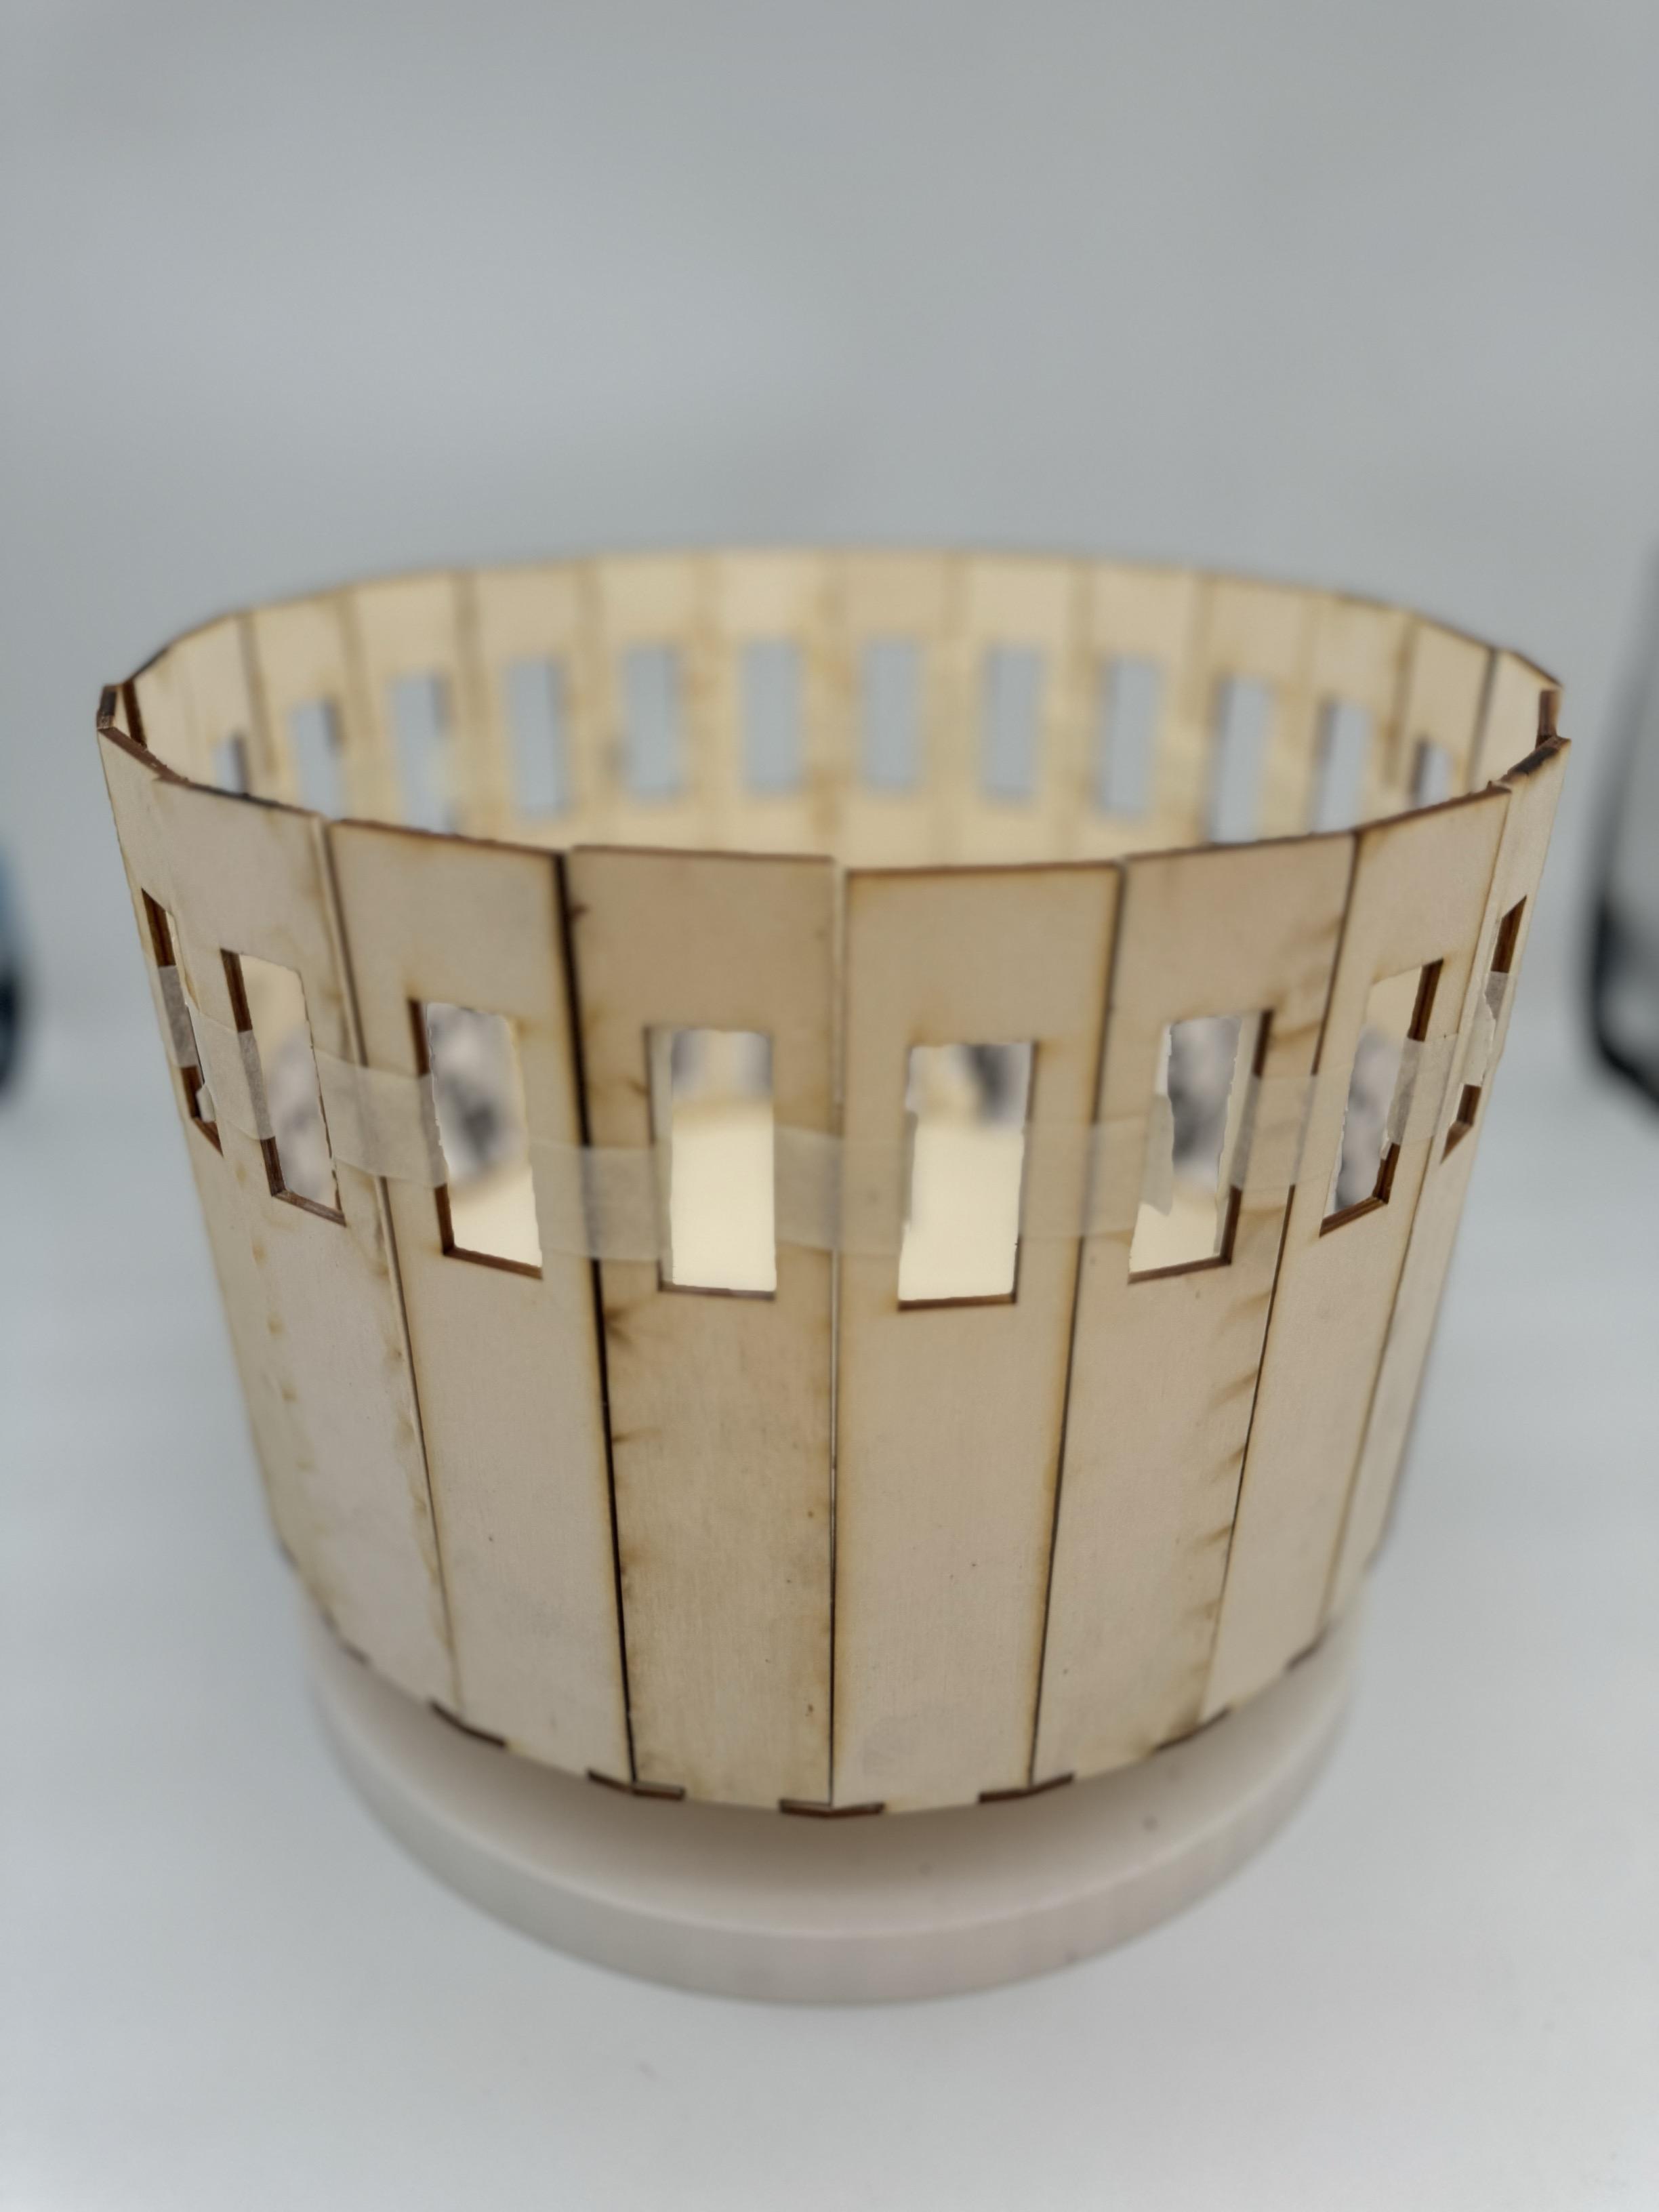
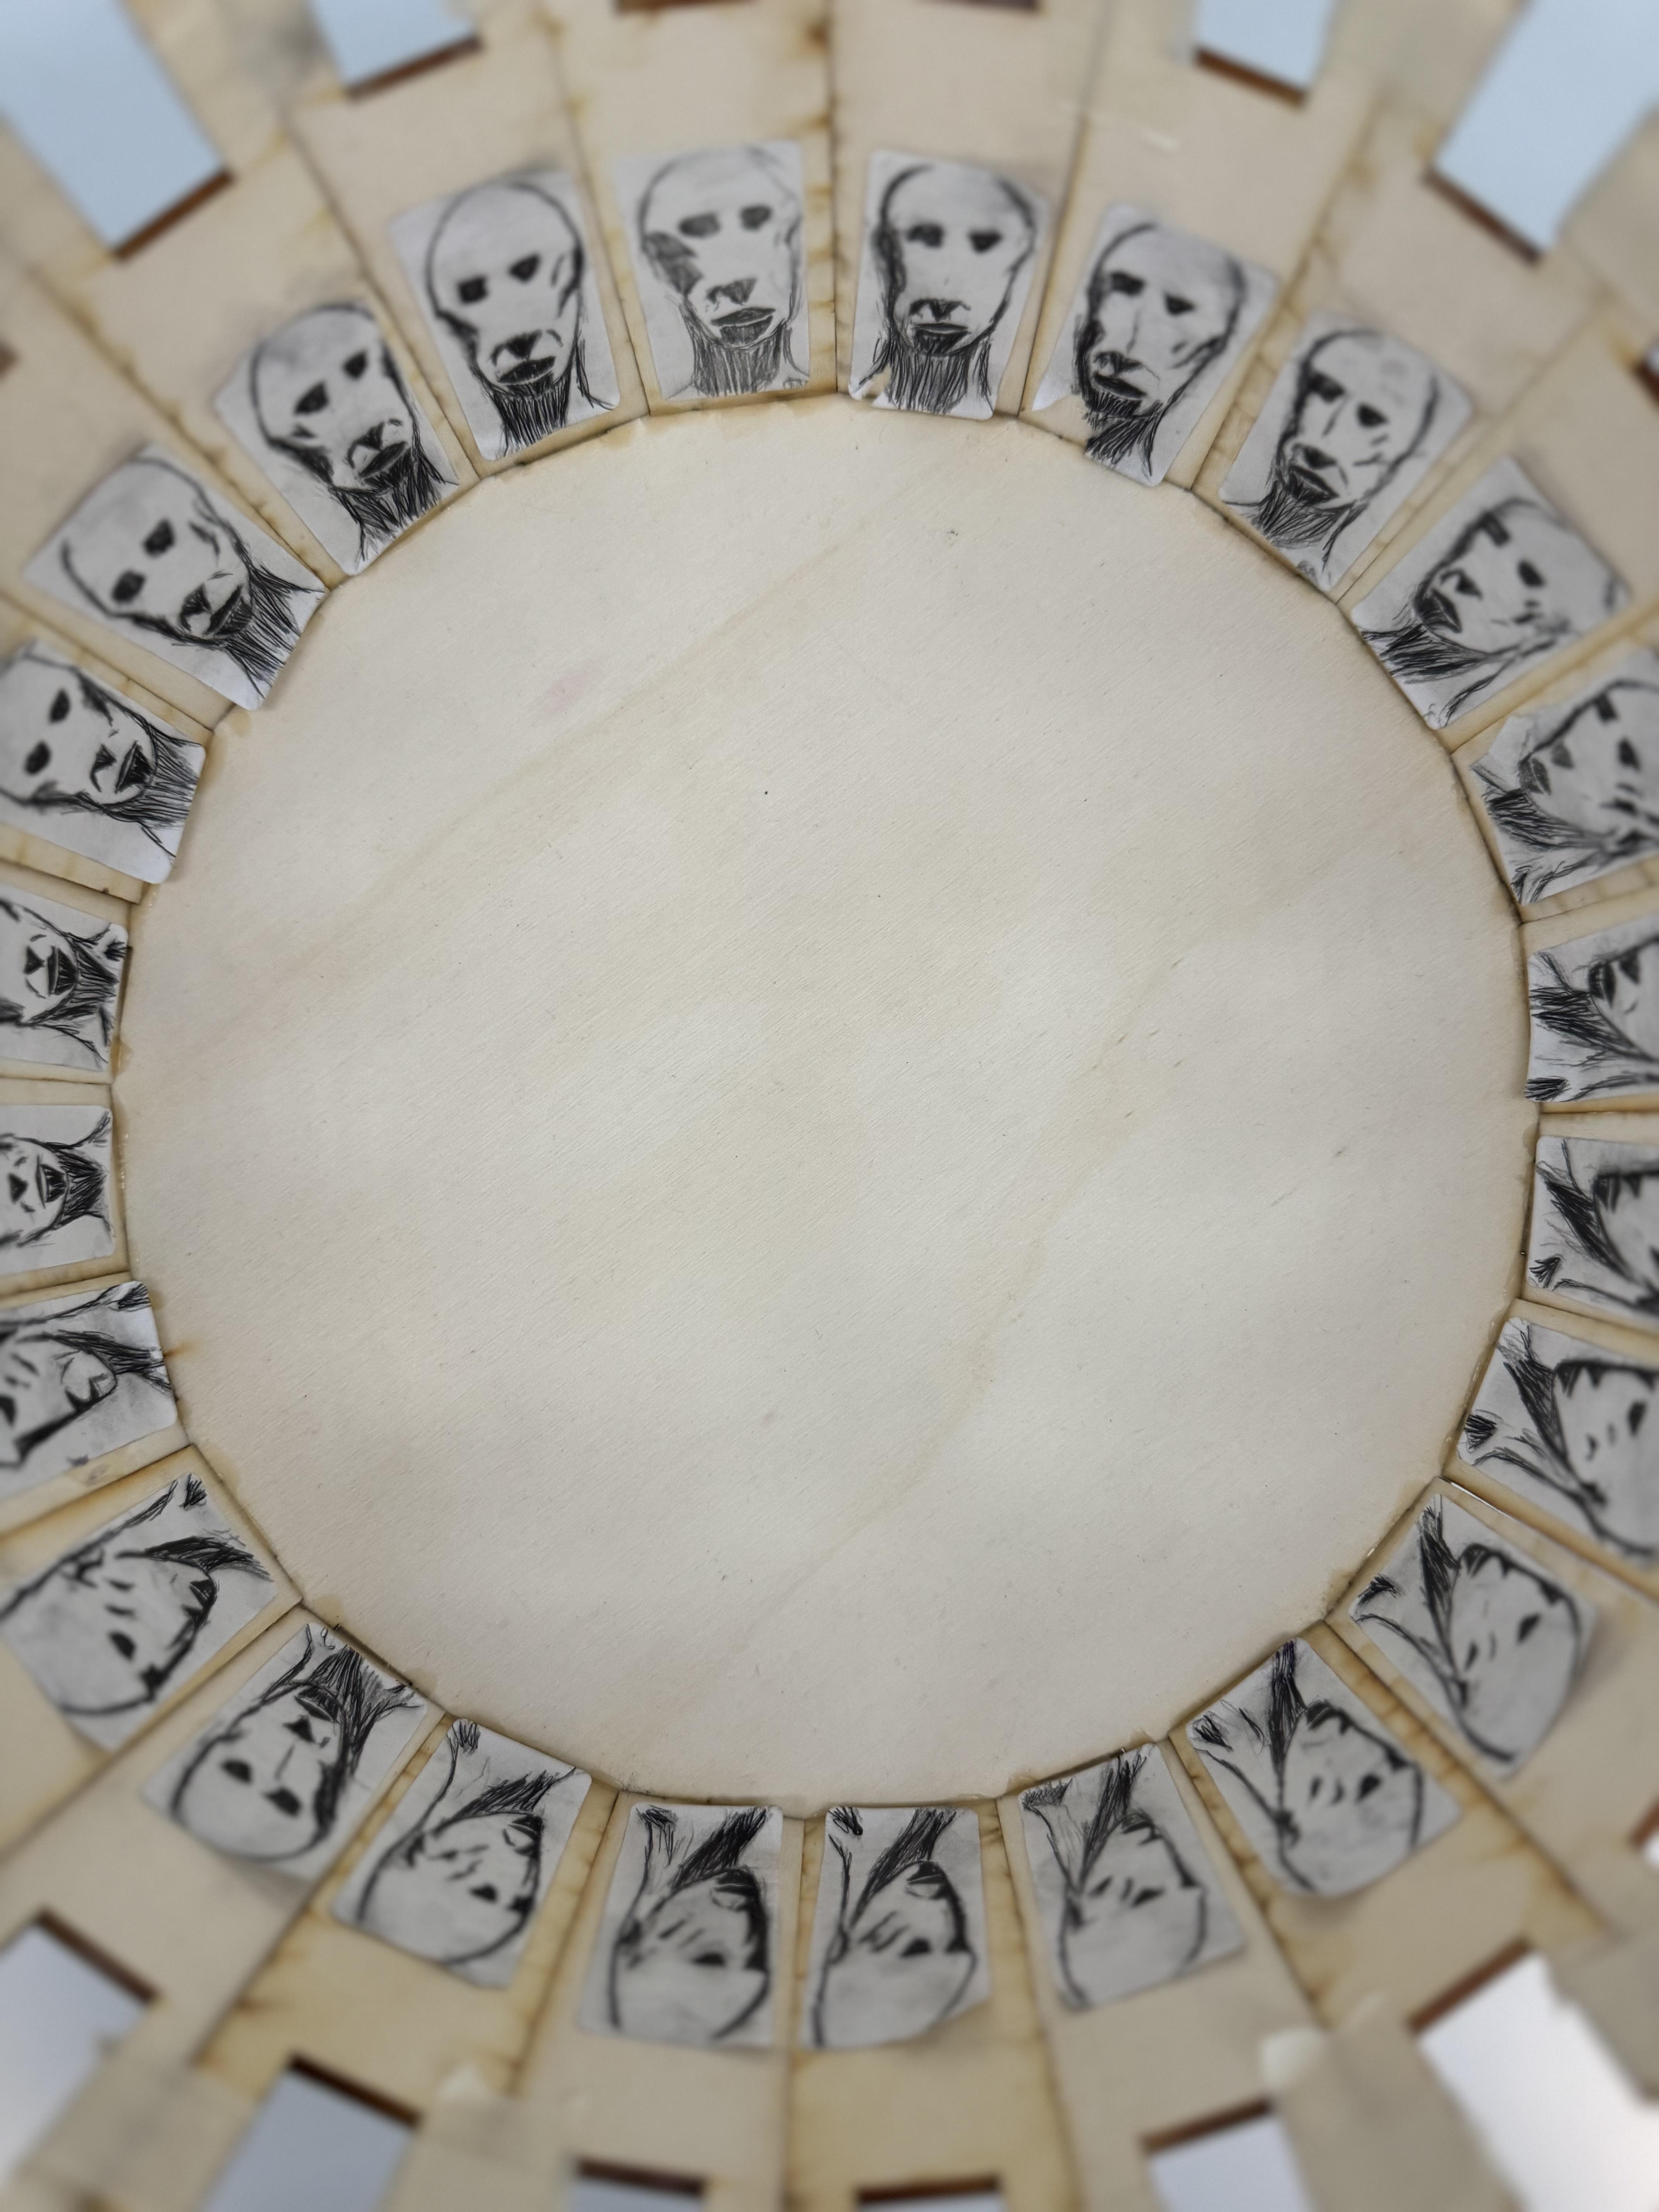
This is a Zoe, short for Zoetrope. It is a cool, old-school device that creates the illusion of movement from a series of still images. It’s a spinning drum with slits around the sides, and inside, there’s a circle of pictures or drawings. When you spin the drum and look through the slits, the pictures seem to come to life, kind of like a simple animation.
Not much practical use to it, but if you also want to make yourself a Zoe, here is how to easily make one (If you can easily access a laser-cutter and 3D printer that is, of course).
Supplies
- Laser-Cutter
- 3D Printer
- Any CAD tool (Autodesk Fusion 360 in this case)
- PLA Filament
- 2-3mm Plywood
- Bearing
- 3 x 10 Printable Sticker Paper
- Gorilla Glue
- Tape
CAD Sketch (For Laser Cutting)
.png)
.png)
.png)
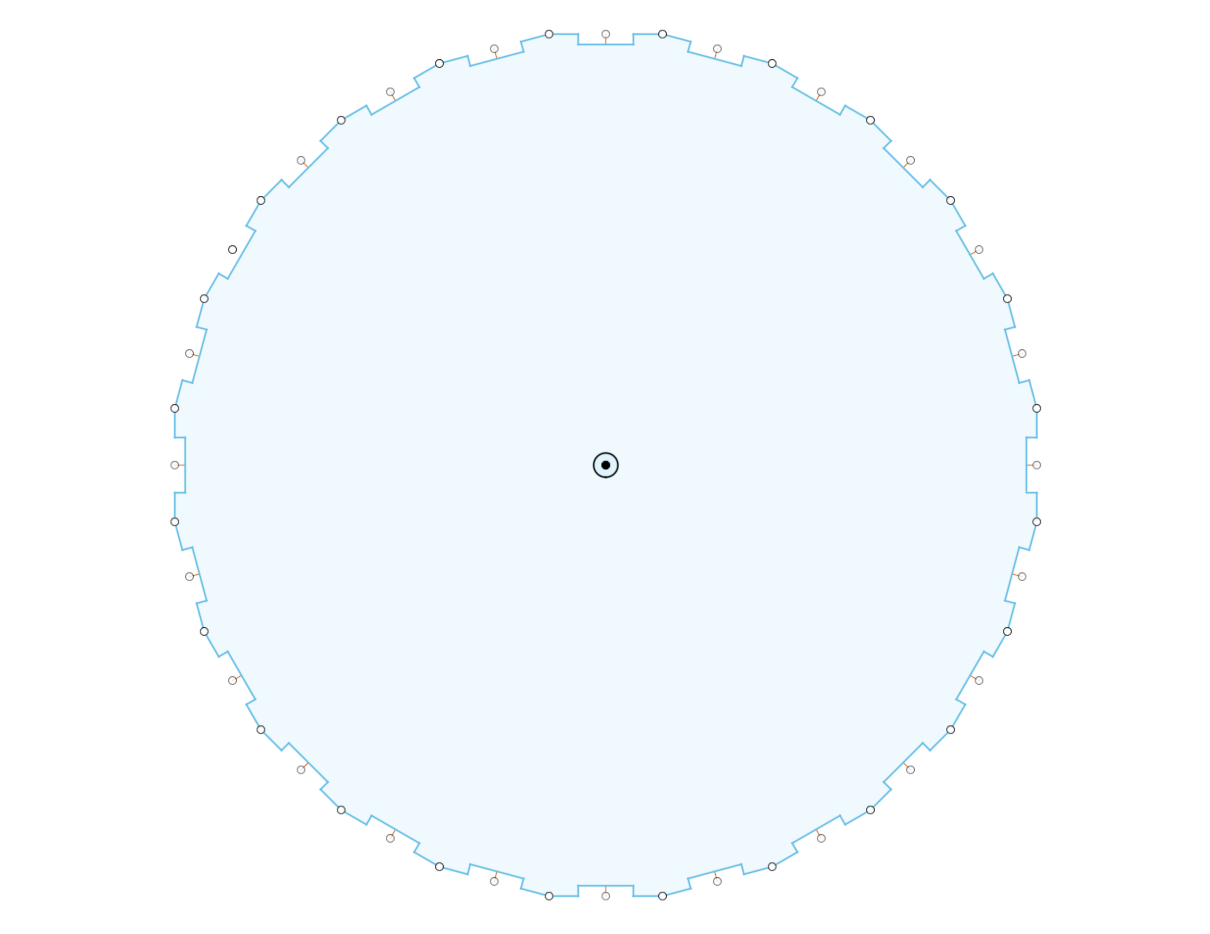
Draw one sketch for the base plate like the one shown in image 1. It could be either 12 or 24 frames and can be adjusted to preferences. The display here is 24 frames.
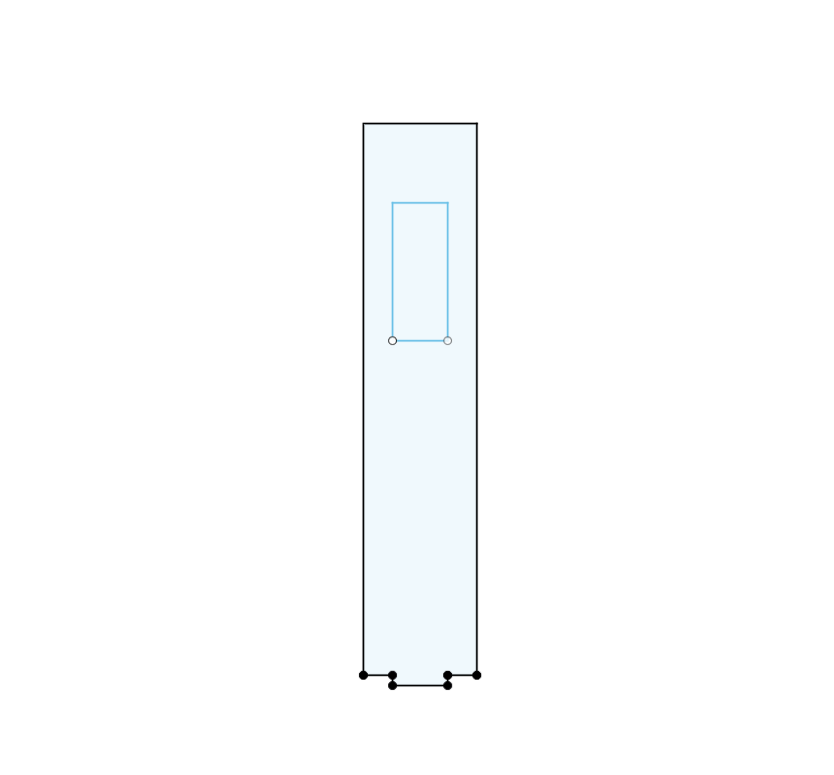
Draw another sketch for the frame shown in image 2.
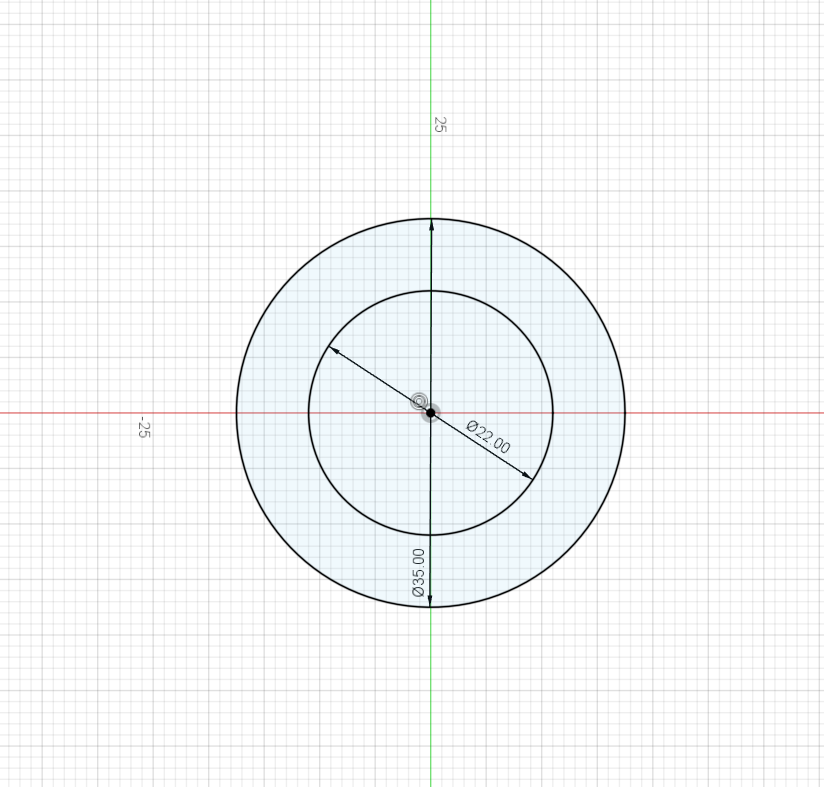
Draw a final sketch to house the metal bearing for image 3.
(All dimensions are adjustable to preference)
Export the sketches in .dxf files and import it to any application that edits and turns the .dxf file into .ai files for laser cutting (make sure to duplicate the frame sketch to the correspondent frame slots of the base plate).
CAD Model (Support Plate)
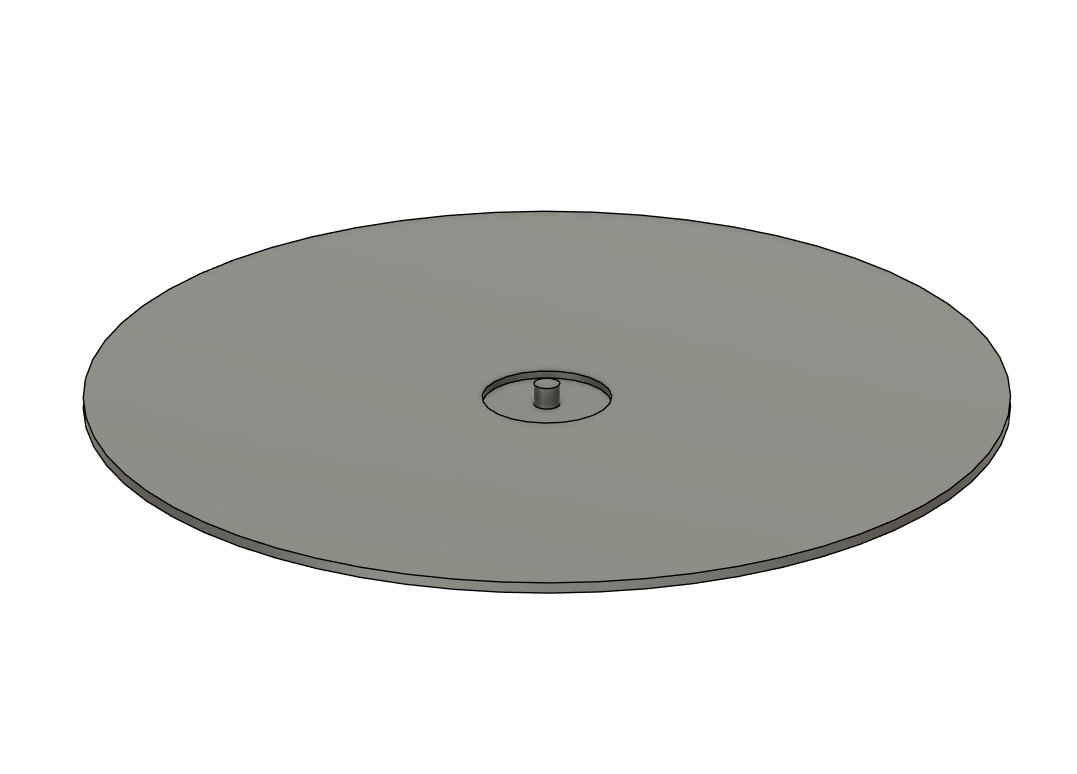.png)
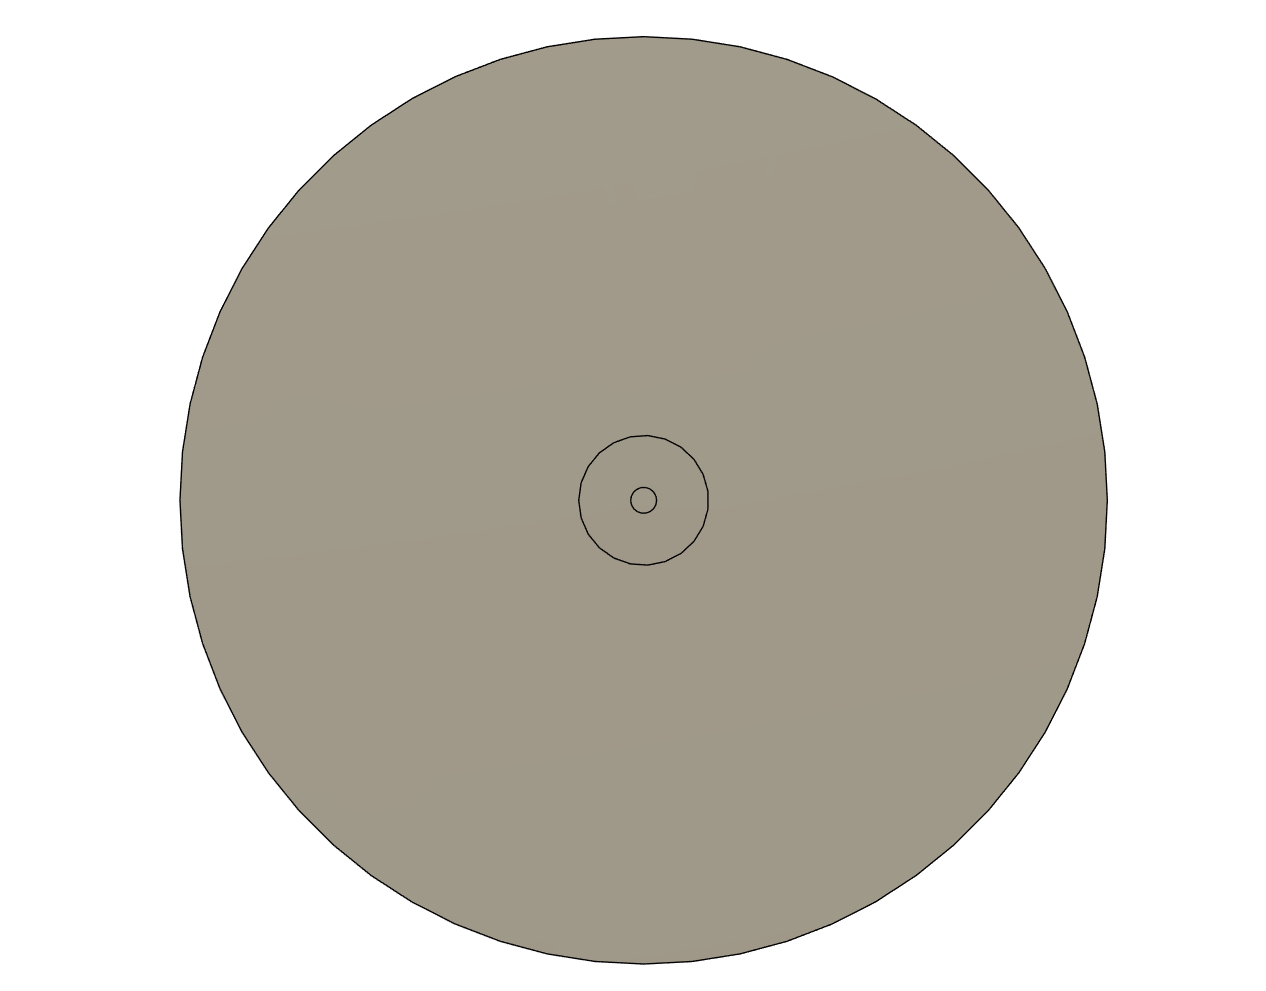.png)
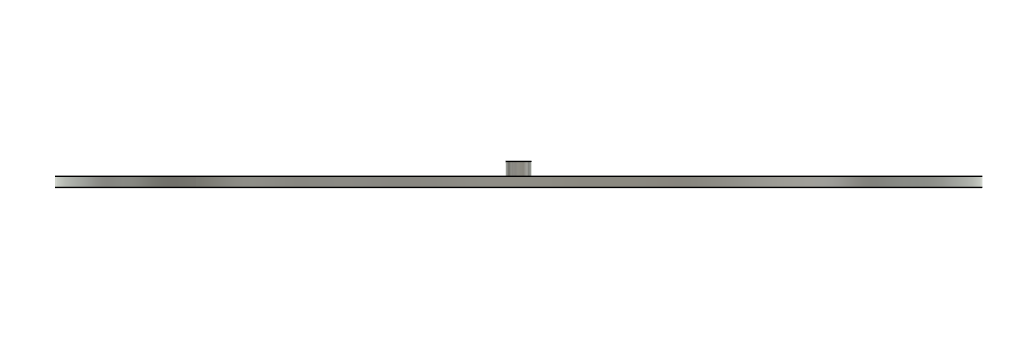.png)
While the base plate and frames are being cut, hop on CAD again and make a 3D disk that has a pole for the bearing (adjust the diameter and height of the pole based on the bearing). This disk will stabilize the Zoetrope while it spins.
Once you are done, export the model in .3mf files and send it to your 3D printer and print it with PLA filament.
Frame Content
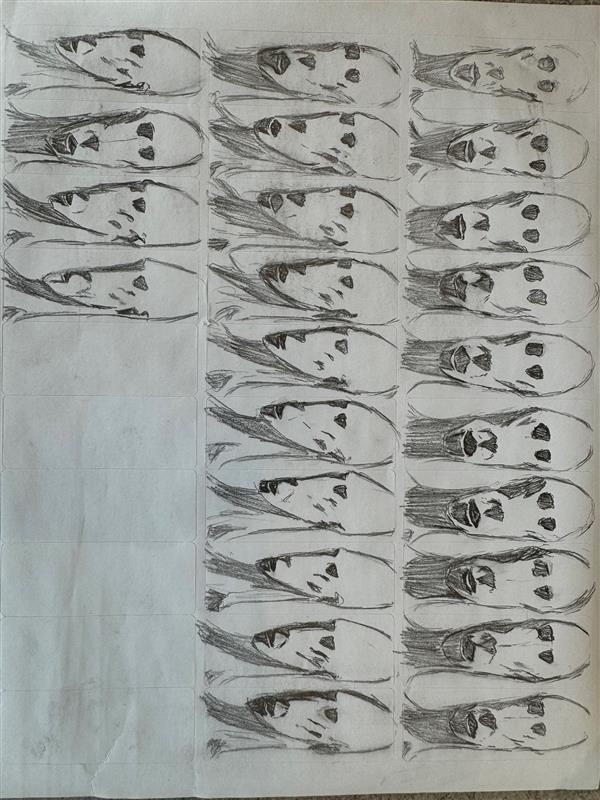.jpg)
After the frames are all cut, we need something on the frames for the animation to be played when we spin the Zoetrope.
Obviously, if you are feeling it you could draw each frame on Adobe Illustrator and engrave it with laser cutting, but here I chose to draw all the frames out by hand on sticker papers.
Then stick each sticker frame by frame onto the plywood frame.
Assemble the Components!
.jpg)
.jpg)
Once you have the base plate, the frames with contents on it, and the disk, you can start assembling it!
- Lay the base plate vertically and the frames horizontally
- Apply gorilla glue to the portion of the frame that inserts into the slots on the base plate
- Roll the base plate to the next empty slot and repeat step 1-2
- (Optional) Use tape to tape the adjacent frames together for stabilization
- Apply gorilla glue to the space between the frames
- Once all the frames are inserted, just insert the Zoetrope onto the disk (bearing to the pole)
- Spin your Zoetrope and look at the animation!
Finished Product
Here's a video of my Zoetrope spinning if you are interested.