Project Sadak-Chhap: IoT Name Tags. Saving Street Dogs
by TanmayBenjwal in Workshop > 3D Printing
1126 Views, 5 Favorites, 0 Comments
Project Sadak-Chhap: IoT Name Tags. Saving Street Dogs
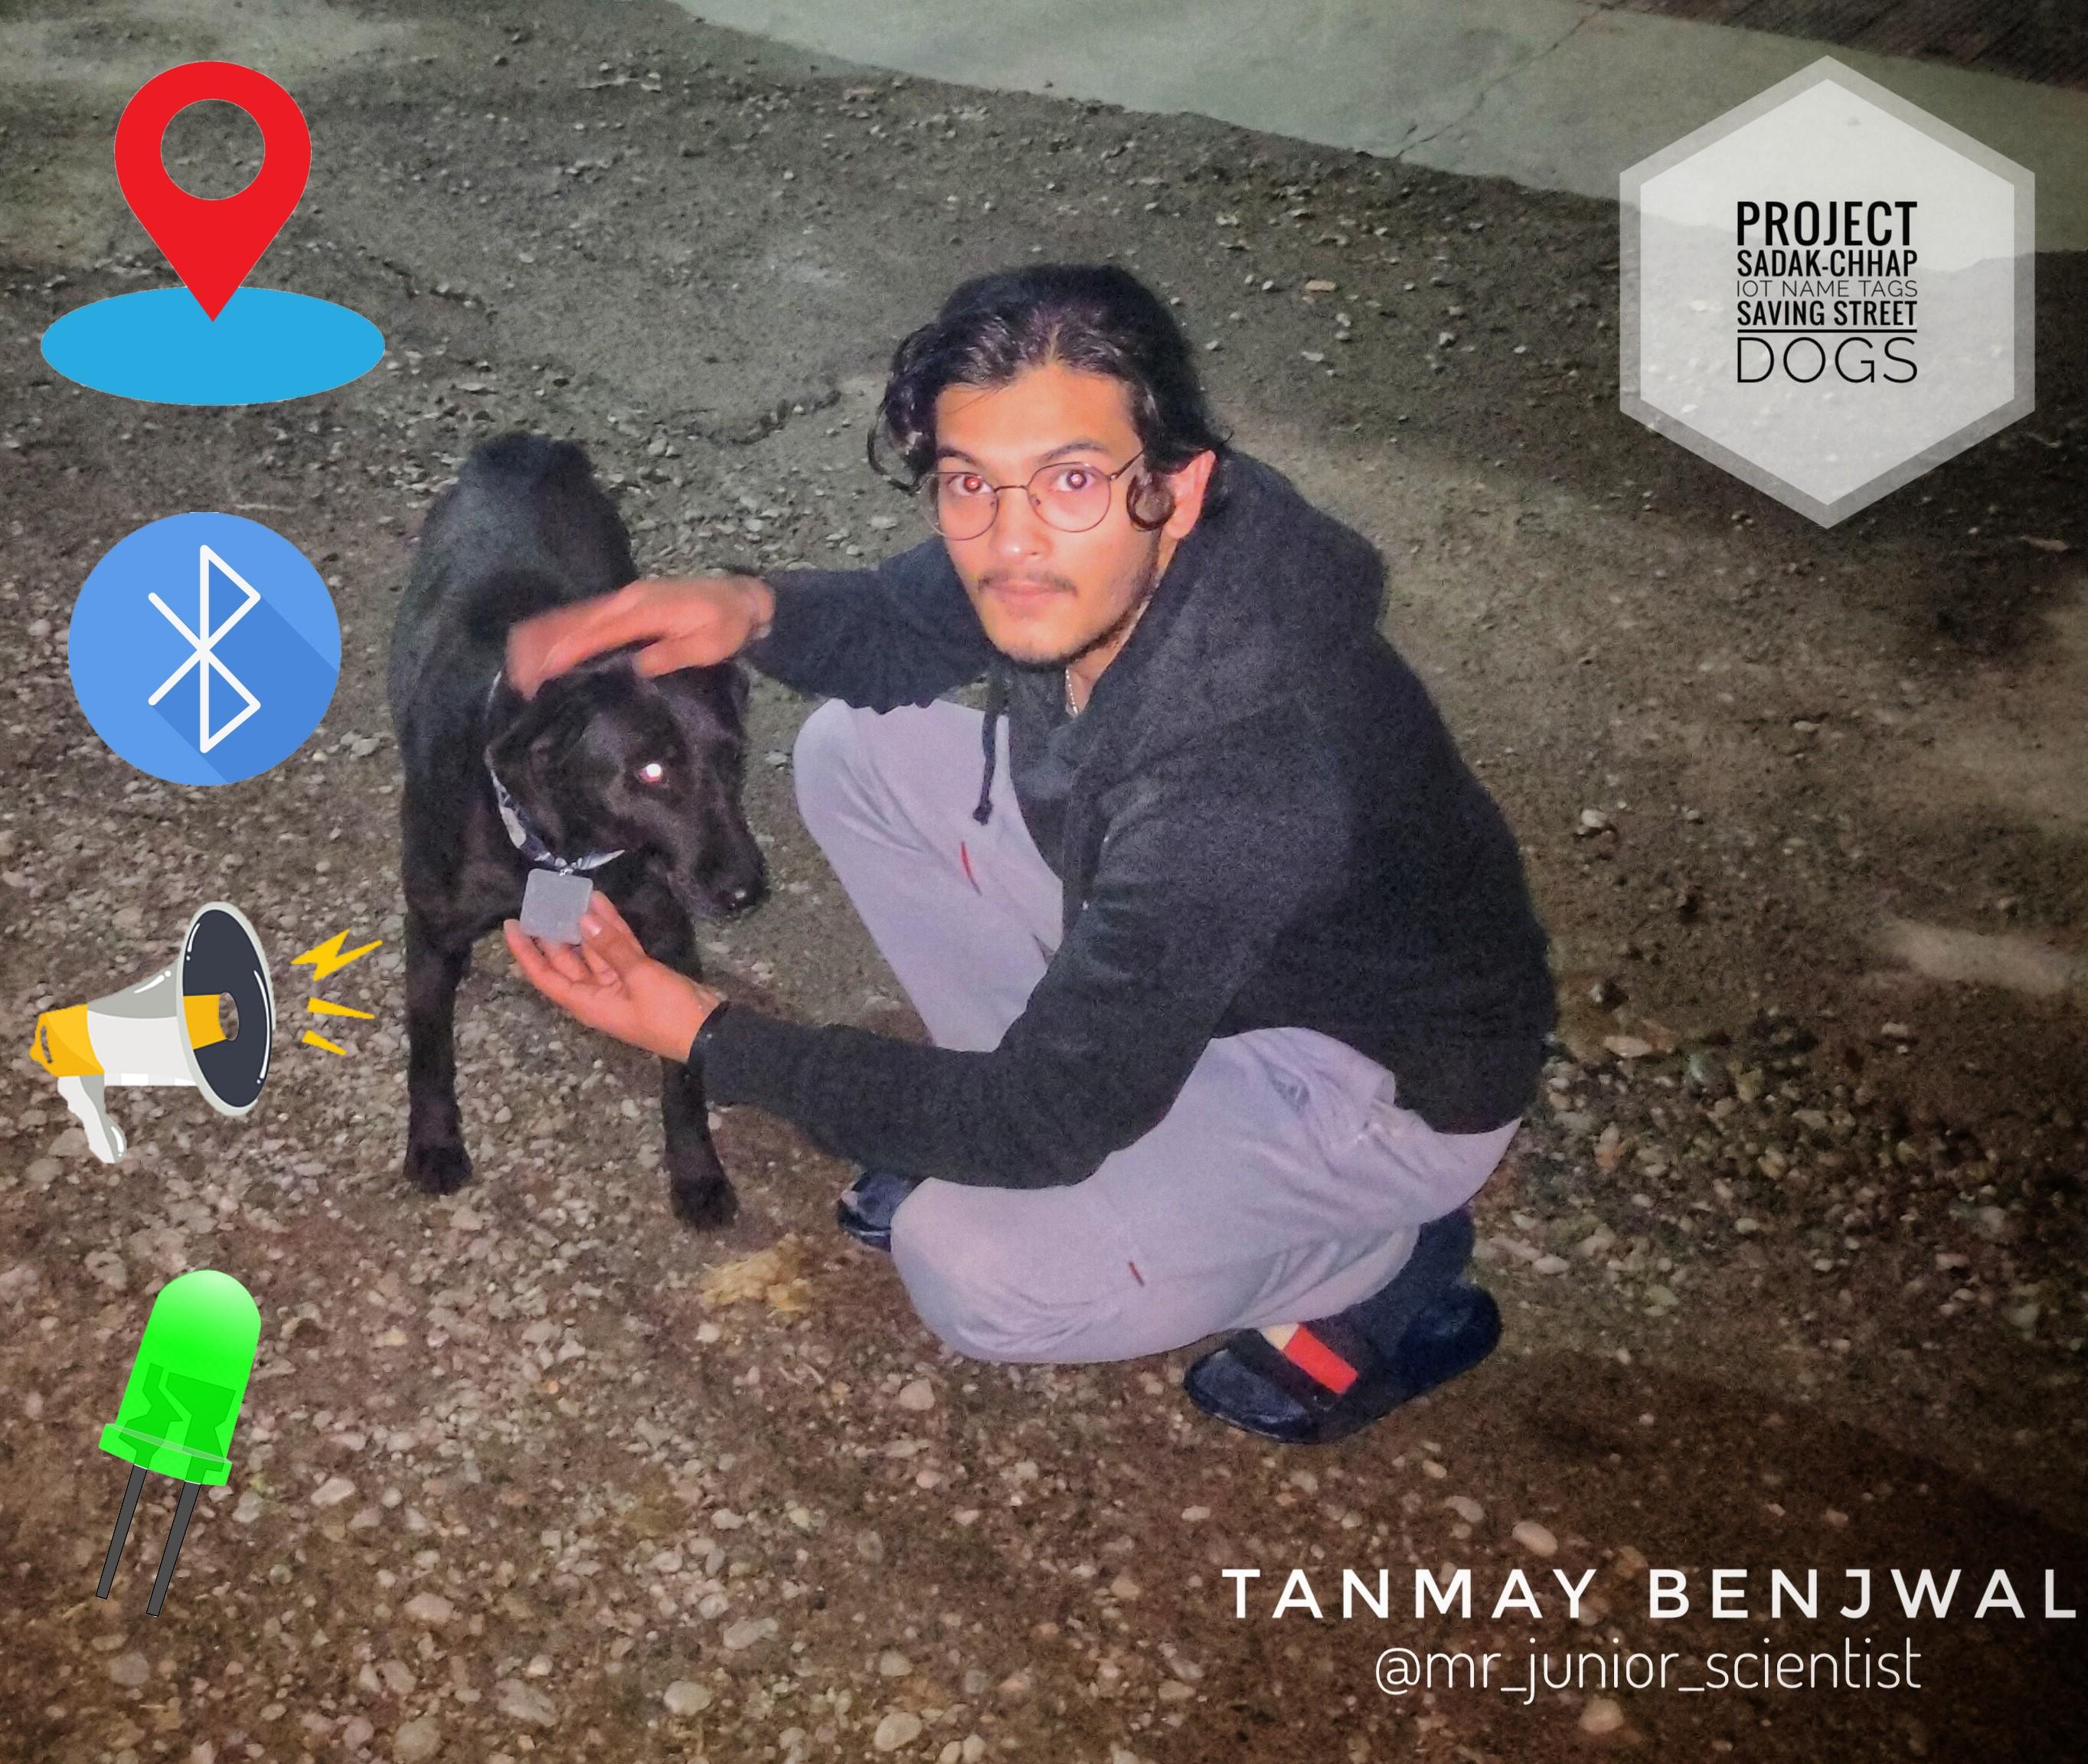
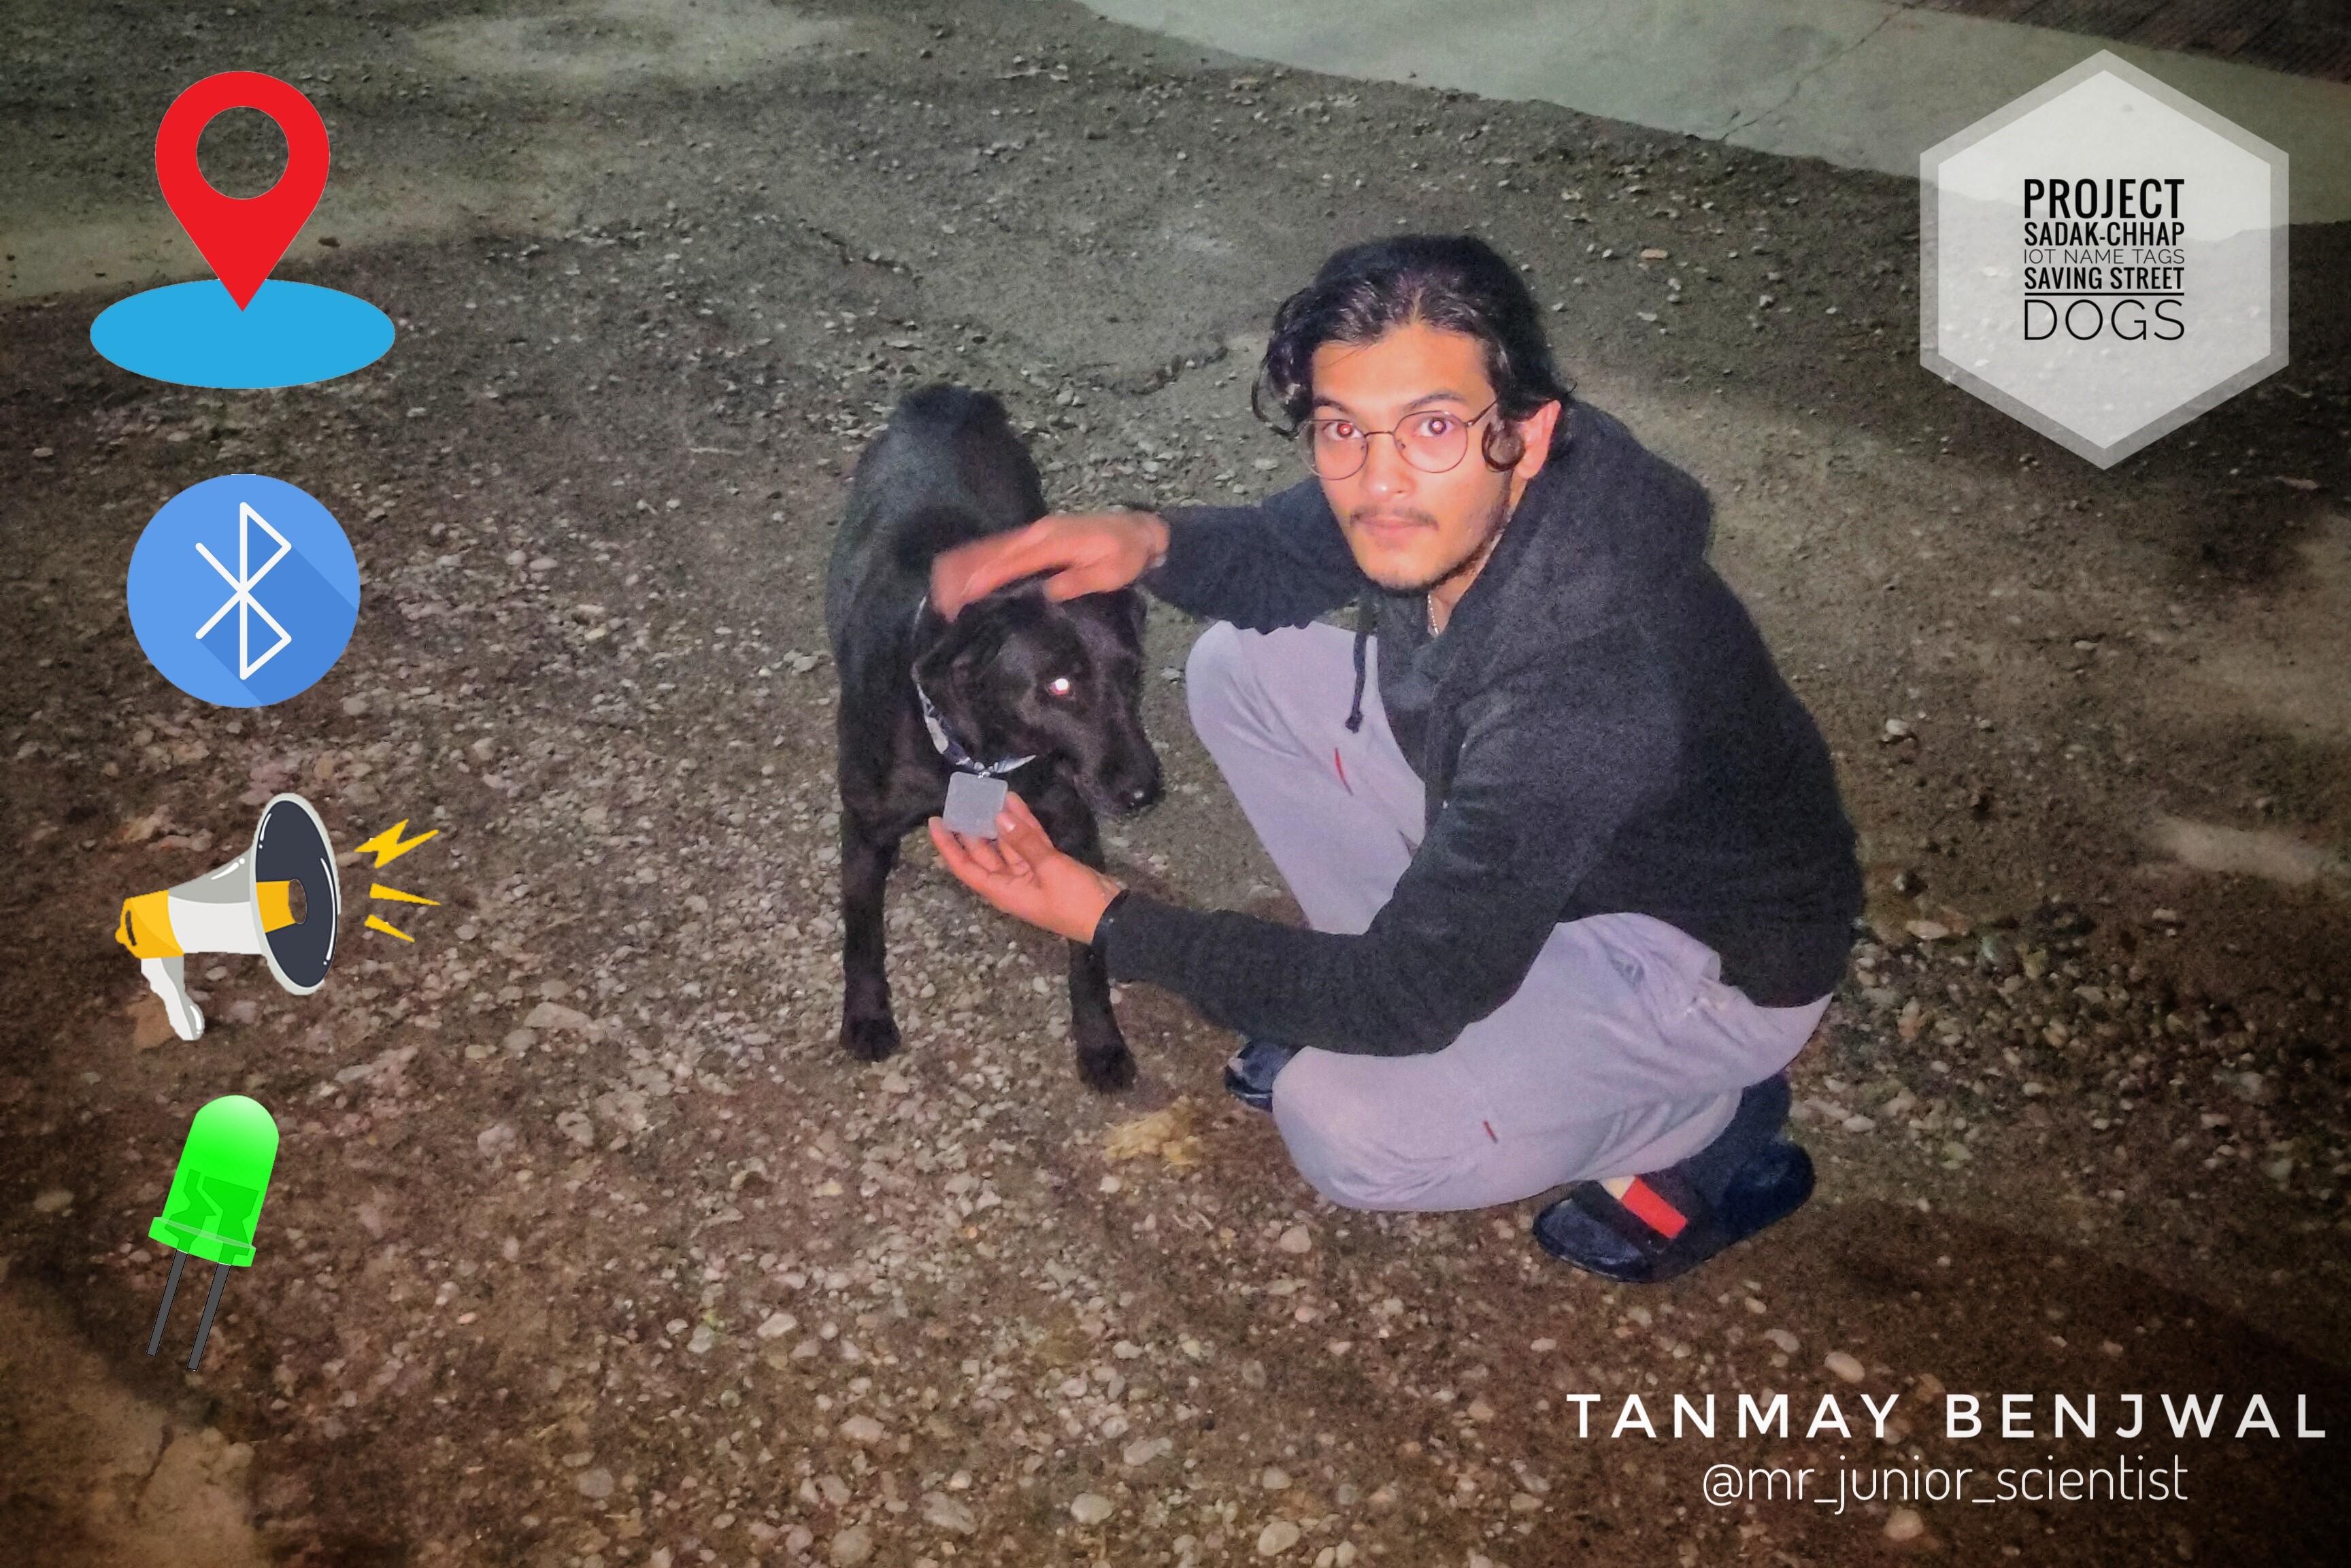


Every year many Street Dogs die due to hunger, improper shelter, rash driving and even cold.
Project Sadak-Chaap is my initiative to do what I can do to make their life easier. By tracking and keeping record.
Aim is to make dogs wear it in their neck along with there neck collar. It has a battery life of 12-18 months.
Although I have made it for Street Dogs it can be easily used for your personal pet or any other animal also as the design is made keeping in mind ergonomics of animals and is also very small, strong and extremely light.
This IoT Name Tag isn't just a "name tag" it has build in GPS, Bluetooth, RFID, buzzer and a LED indicator enabled within it which when paired with the app allow us to upload and have a detailed log of Dogs movement, Eating(last time when it had food), and other important details. Anyone with the app can connect with the dog/pet and see the latest updates about him/her.
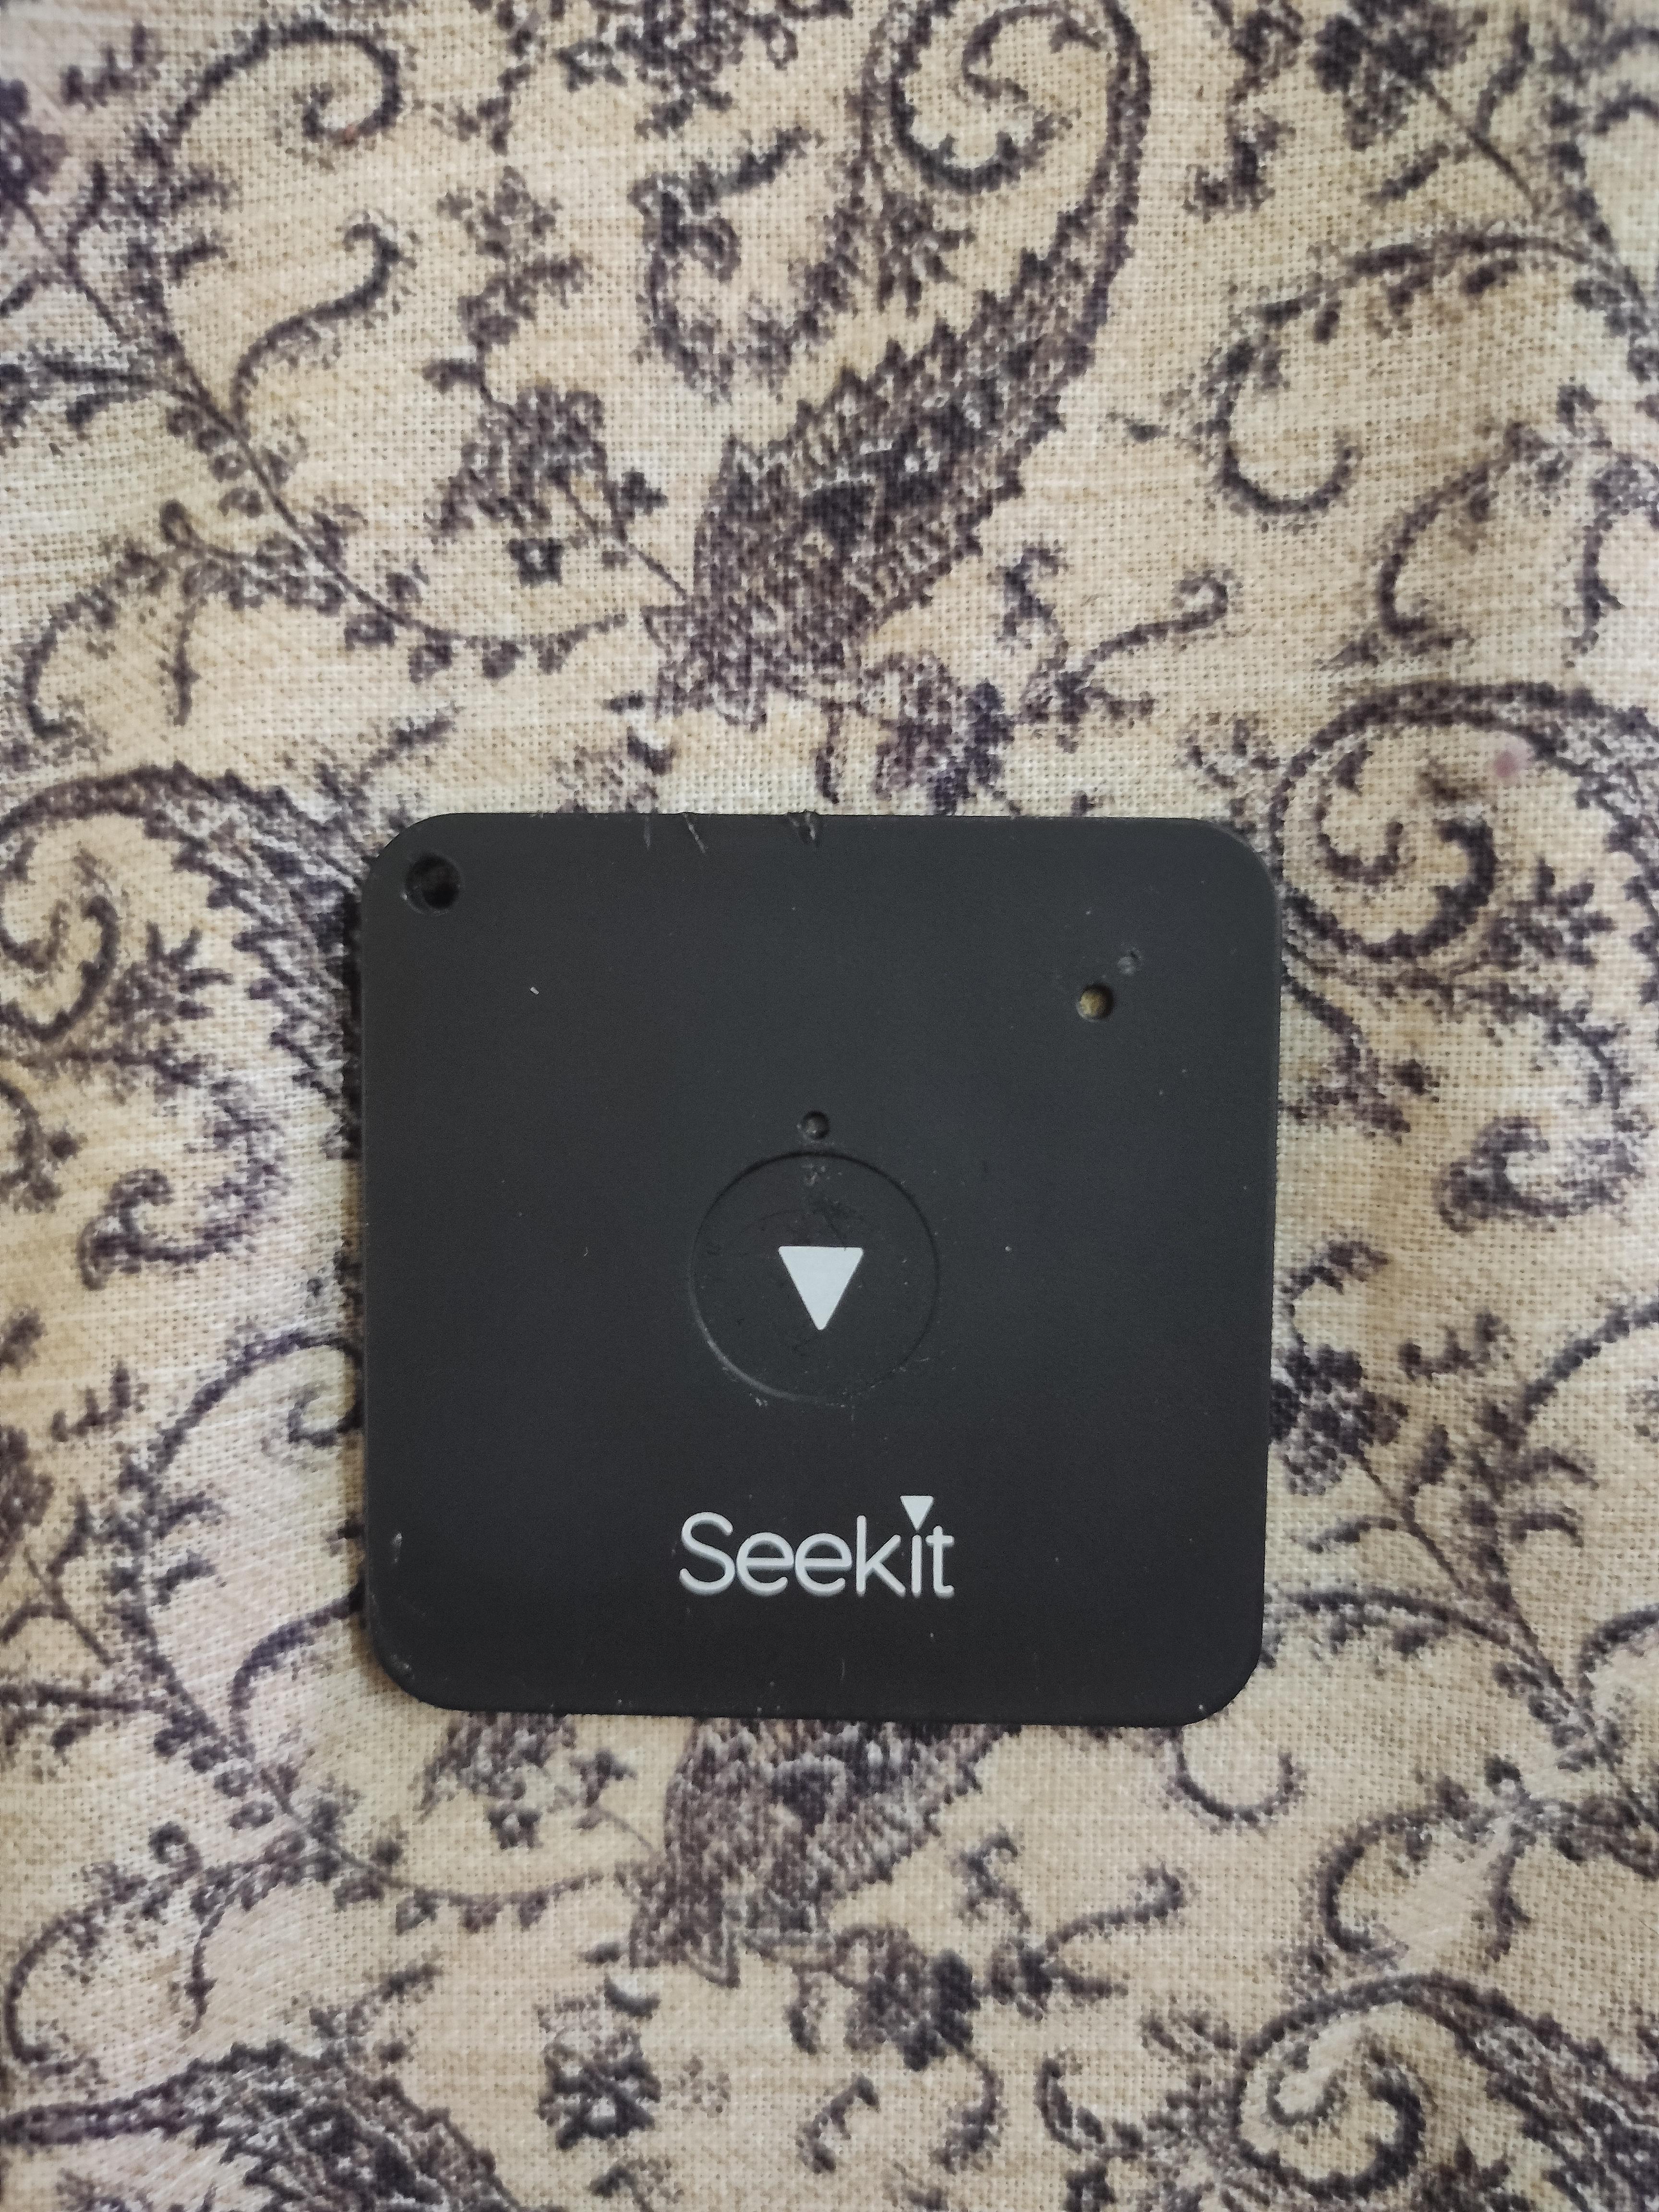
I have used a Panasonic SeekIt a RFID sticker and 3D Printing to make Sadak-Chhap IoT Name Tag. The final app is still under testing and manufacturing but we can use SeekIt app( available on both Android and IOS) and RFID app.
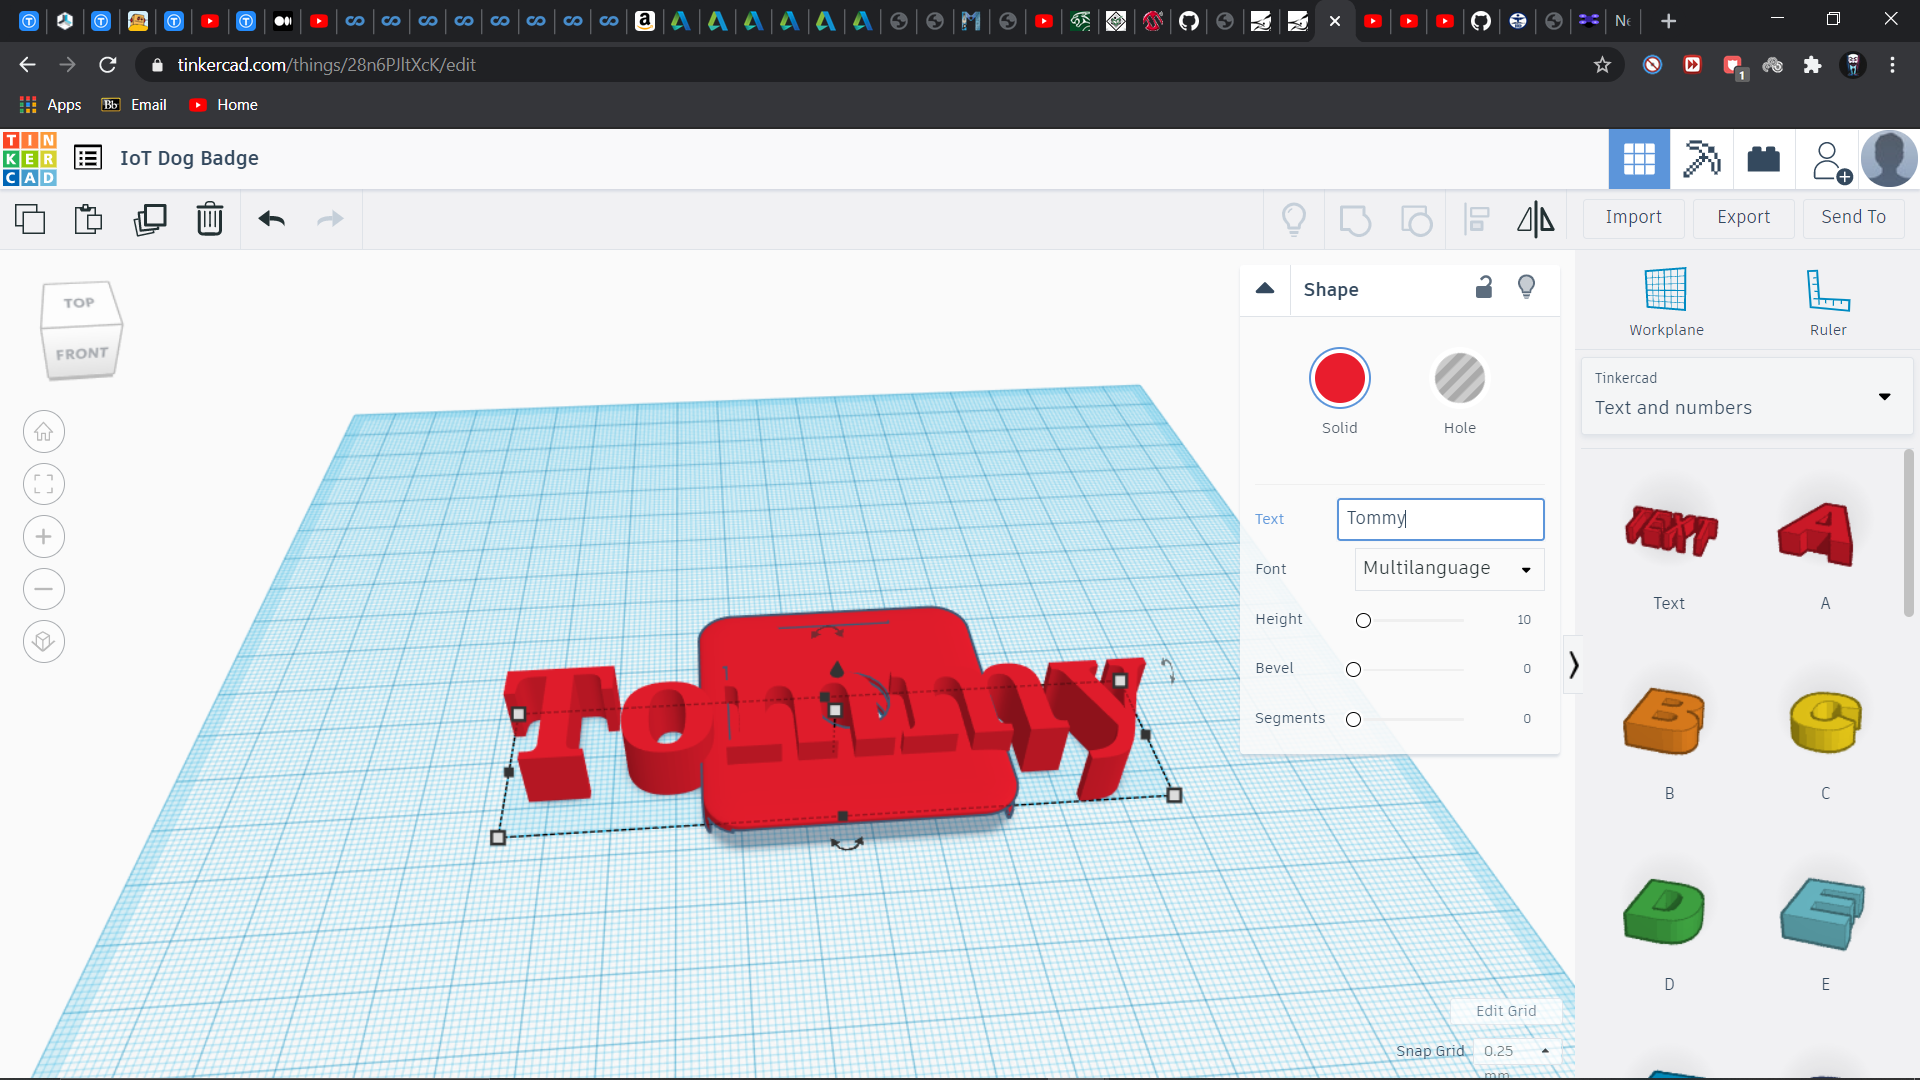
The name written is editable(change it to your pet's name)all .stl file and ThinkerCad links are provided in the Instructables
Supplies
Panasonic SeekIt
3D printing
RFID sticker/tag
Tinkering and Design Thinking
.jpeg)

Okay the Steps are pretty straight forward.
Buy a Panasonic SeekIt (~$10)(or any other similar product) and download the seekit app. My app will be out soon I will update this Instructable with its links as soon as I am done with the app.
It has a battery life of 12-18 months which is why it's perfect for then build.
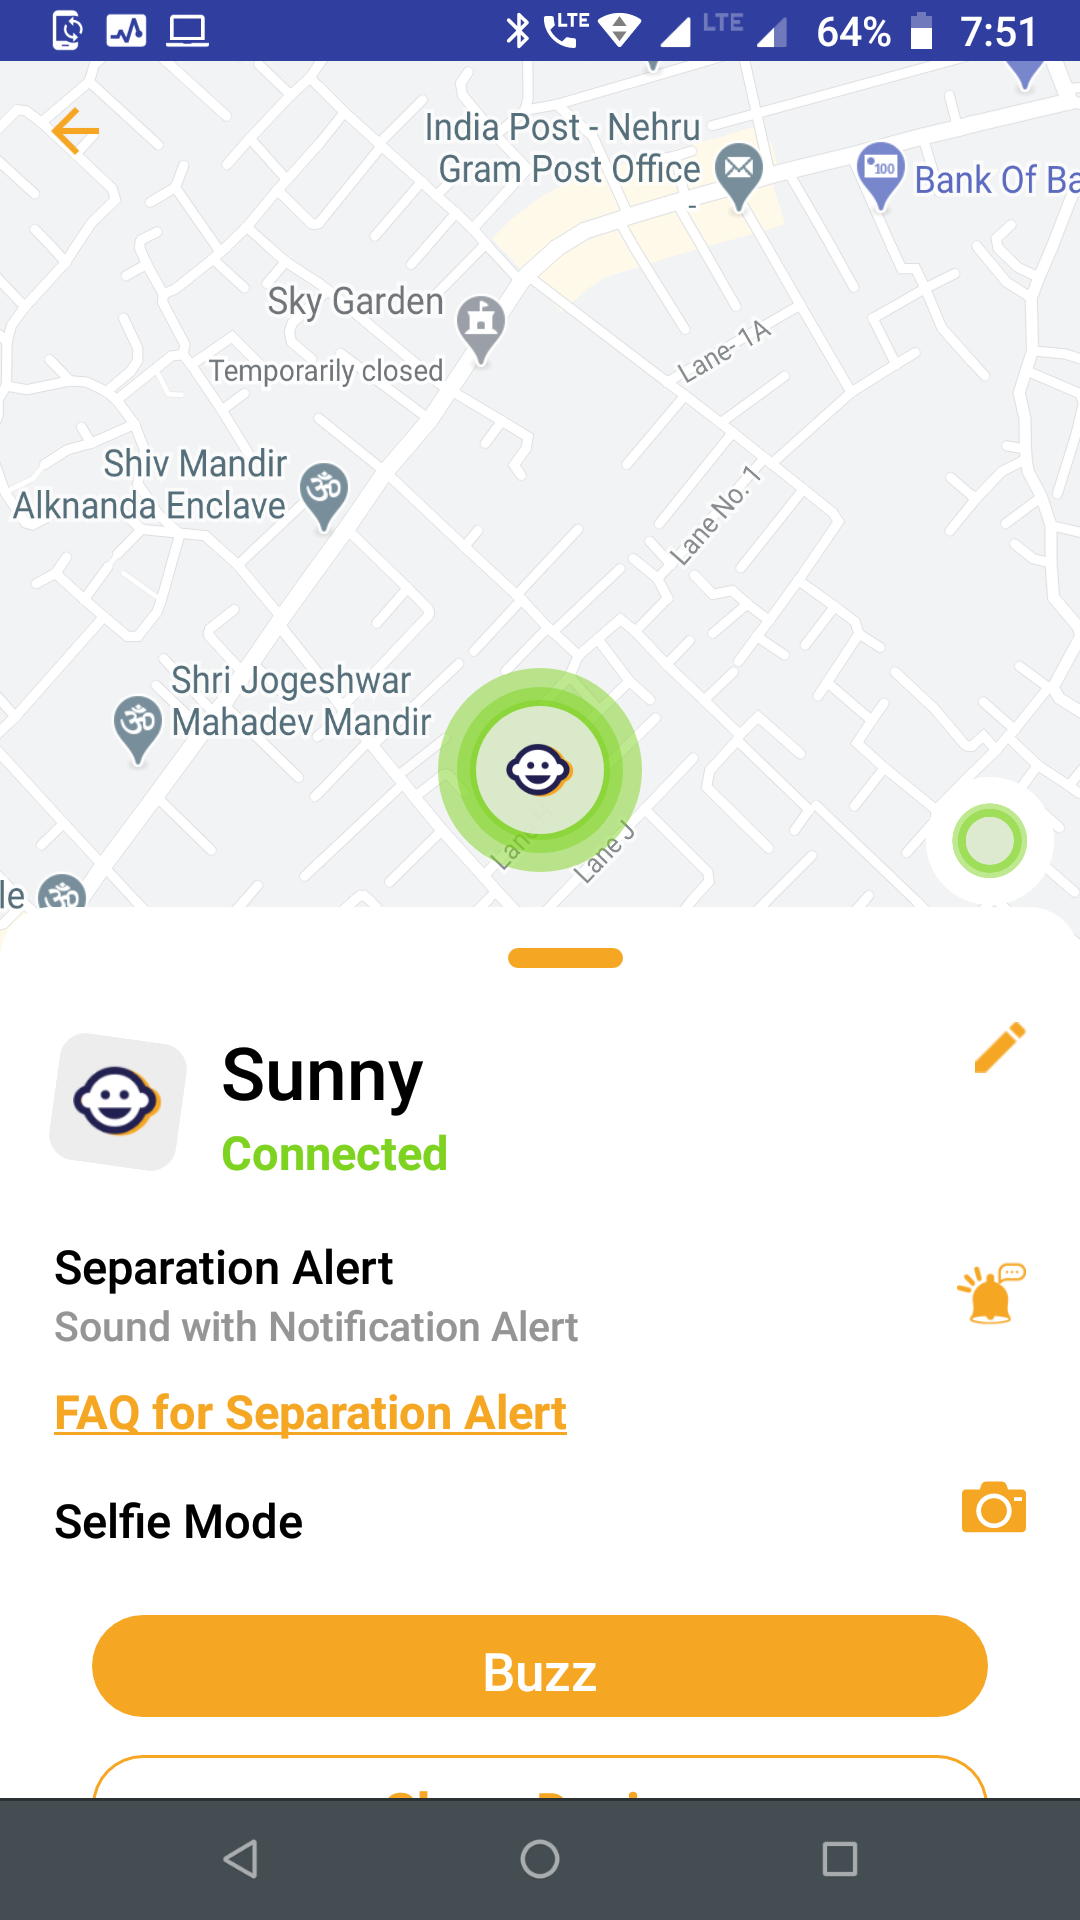
with the app you can geo-locate, buzz, share information, and track your pet. I used it to track street dogs within my locality.
Make measurement of your Seekit(or of the product you bought or made). I used a Vernier Calliper to measure its perfect for measuring small objects with good resolution.
Make a outline sleeve design of it. Remember you will have to cover the device is a ice cover with decent fit along with opening or holes where there is the button, led and buzzer.
You also need to decide which type of fitting do you prefer:
1. hanging from dogs neck or
2. snug fit with the neck collar band.
3 attached with the dogs cloth (on dogs back).
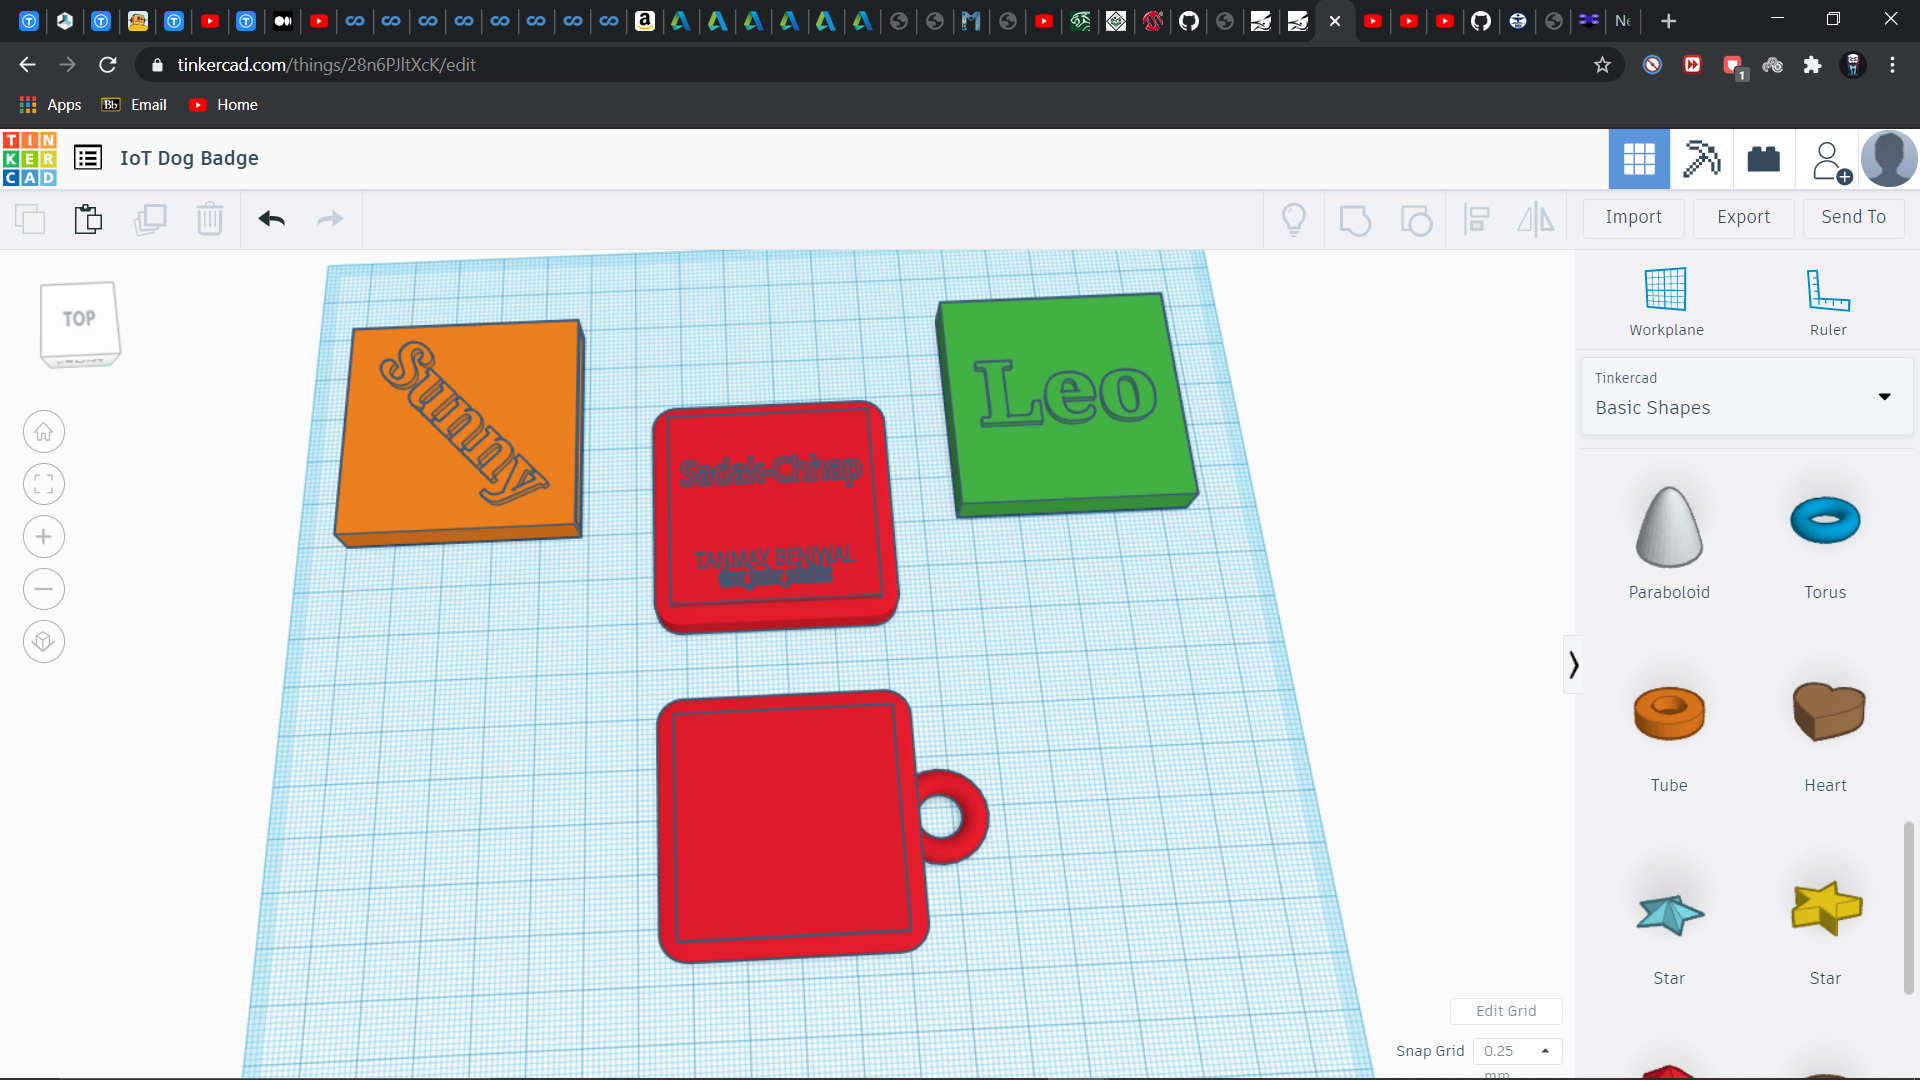
I have uploaded a design of each (.stl file as well as ThinkerCad links) use them or edit them to suit yourself.
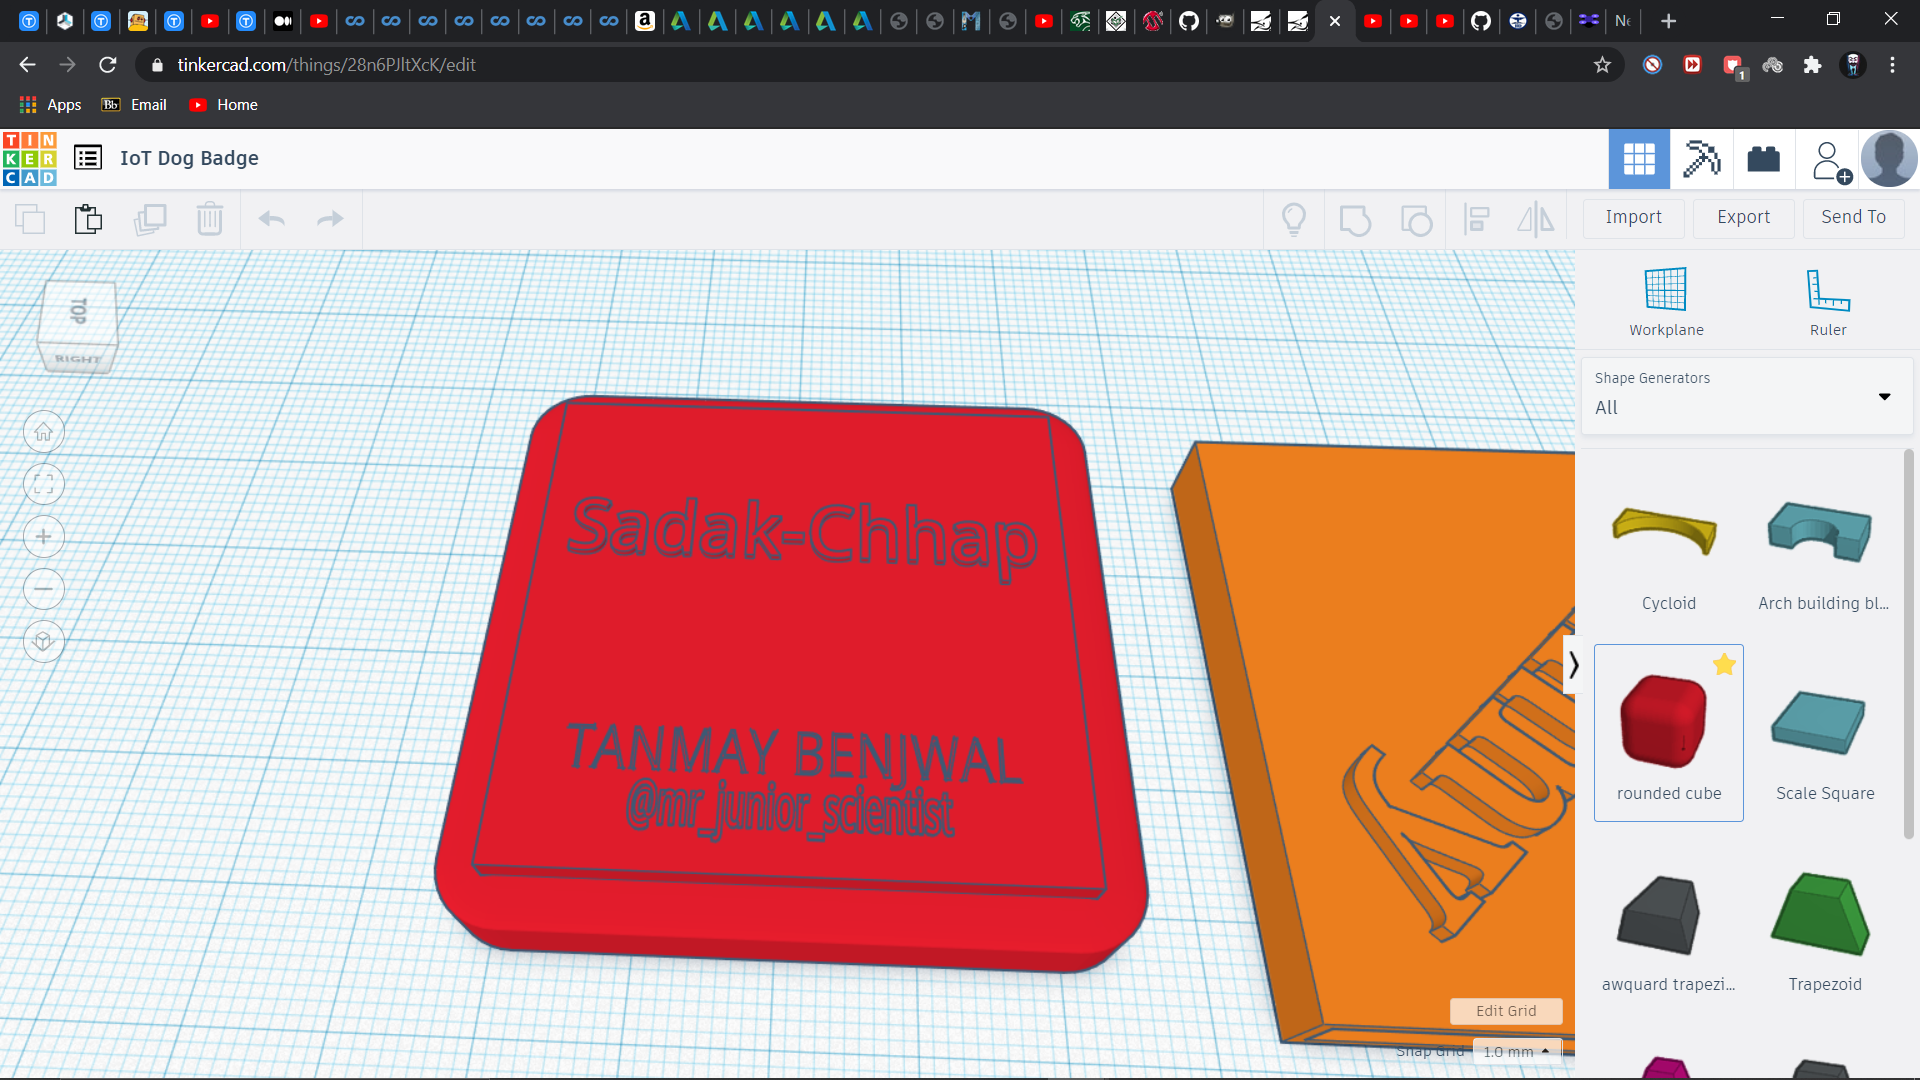
ThinkerCad: CAD Model
.png)
.png)
.png)
.png)
.png)
.png)
.png)
.png)
.png)
.png)
.png)
.png)
.png)
.png)
.png)
.png)
.png)
.png)
.png)
.png)
.png)
.png)
.png)
.png)
.png)
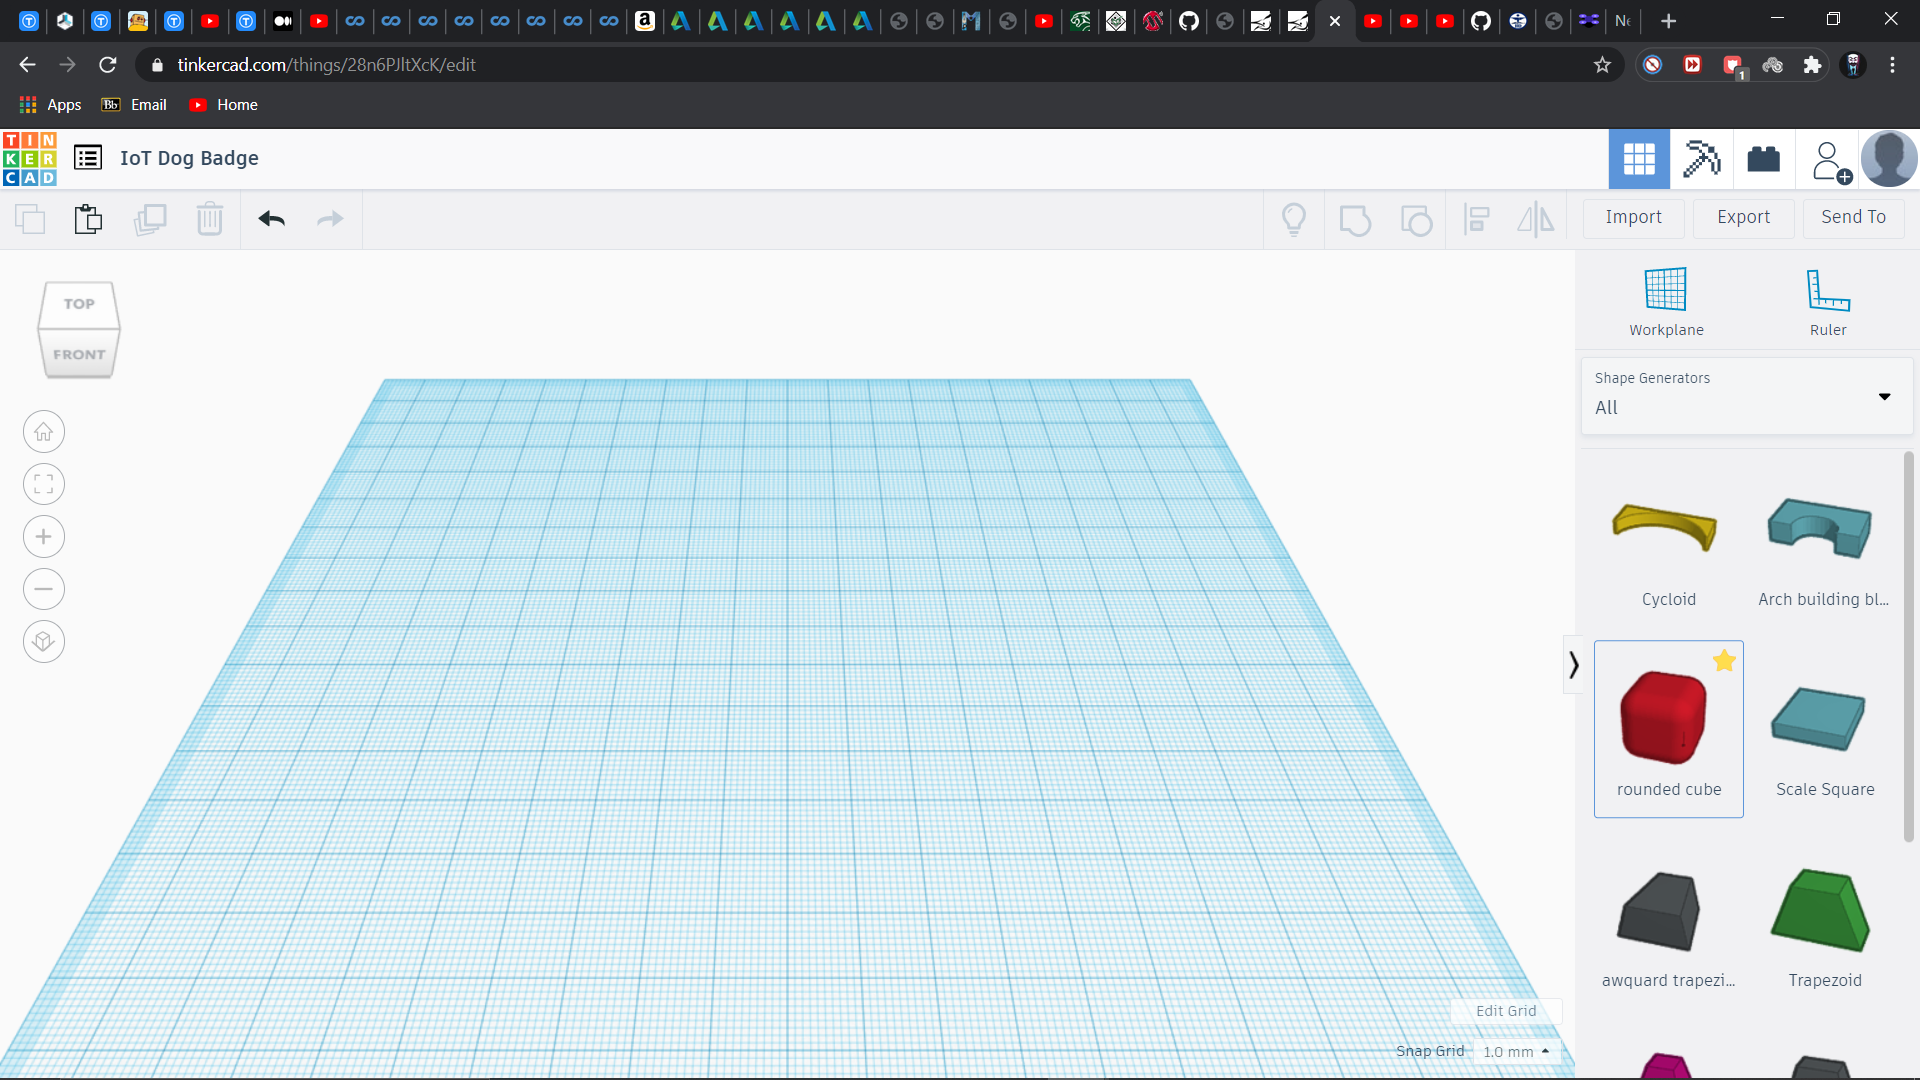
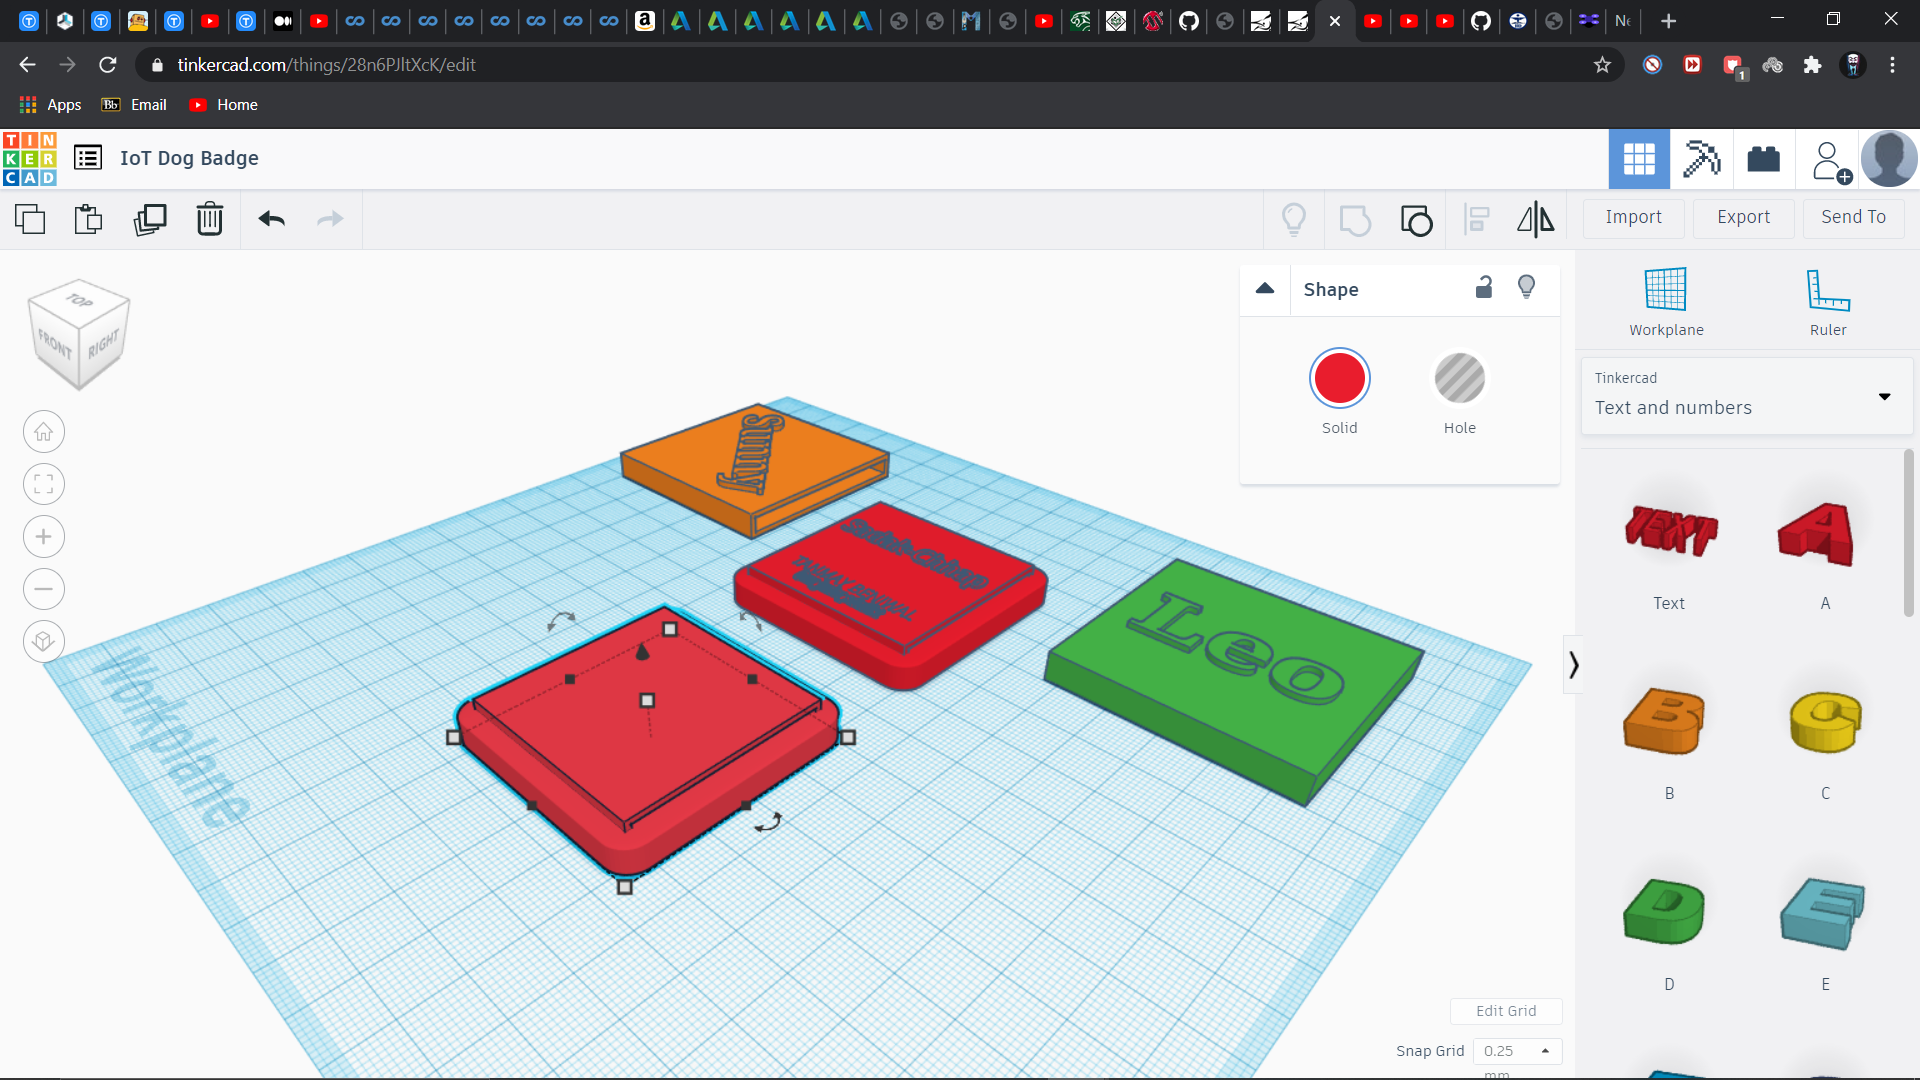
Now we have our measurements and design in mind now its time to make it on ThinkerCad.
Use your measurements
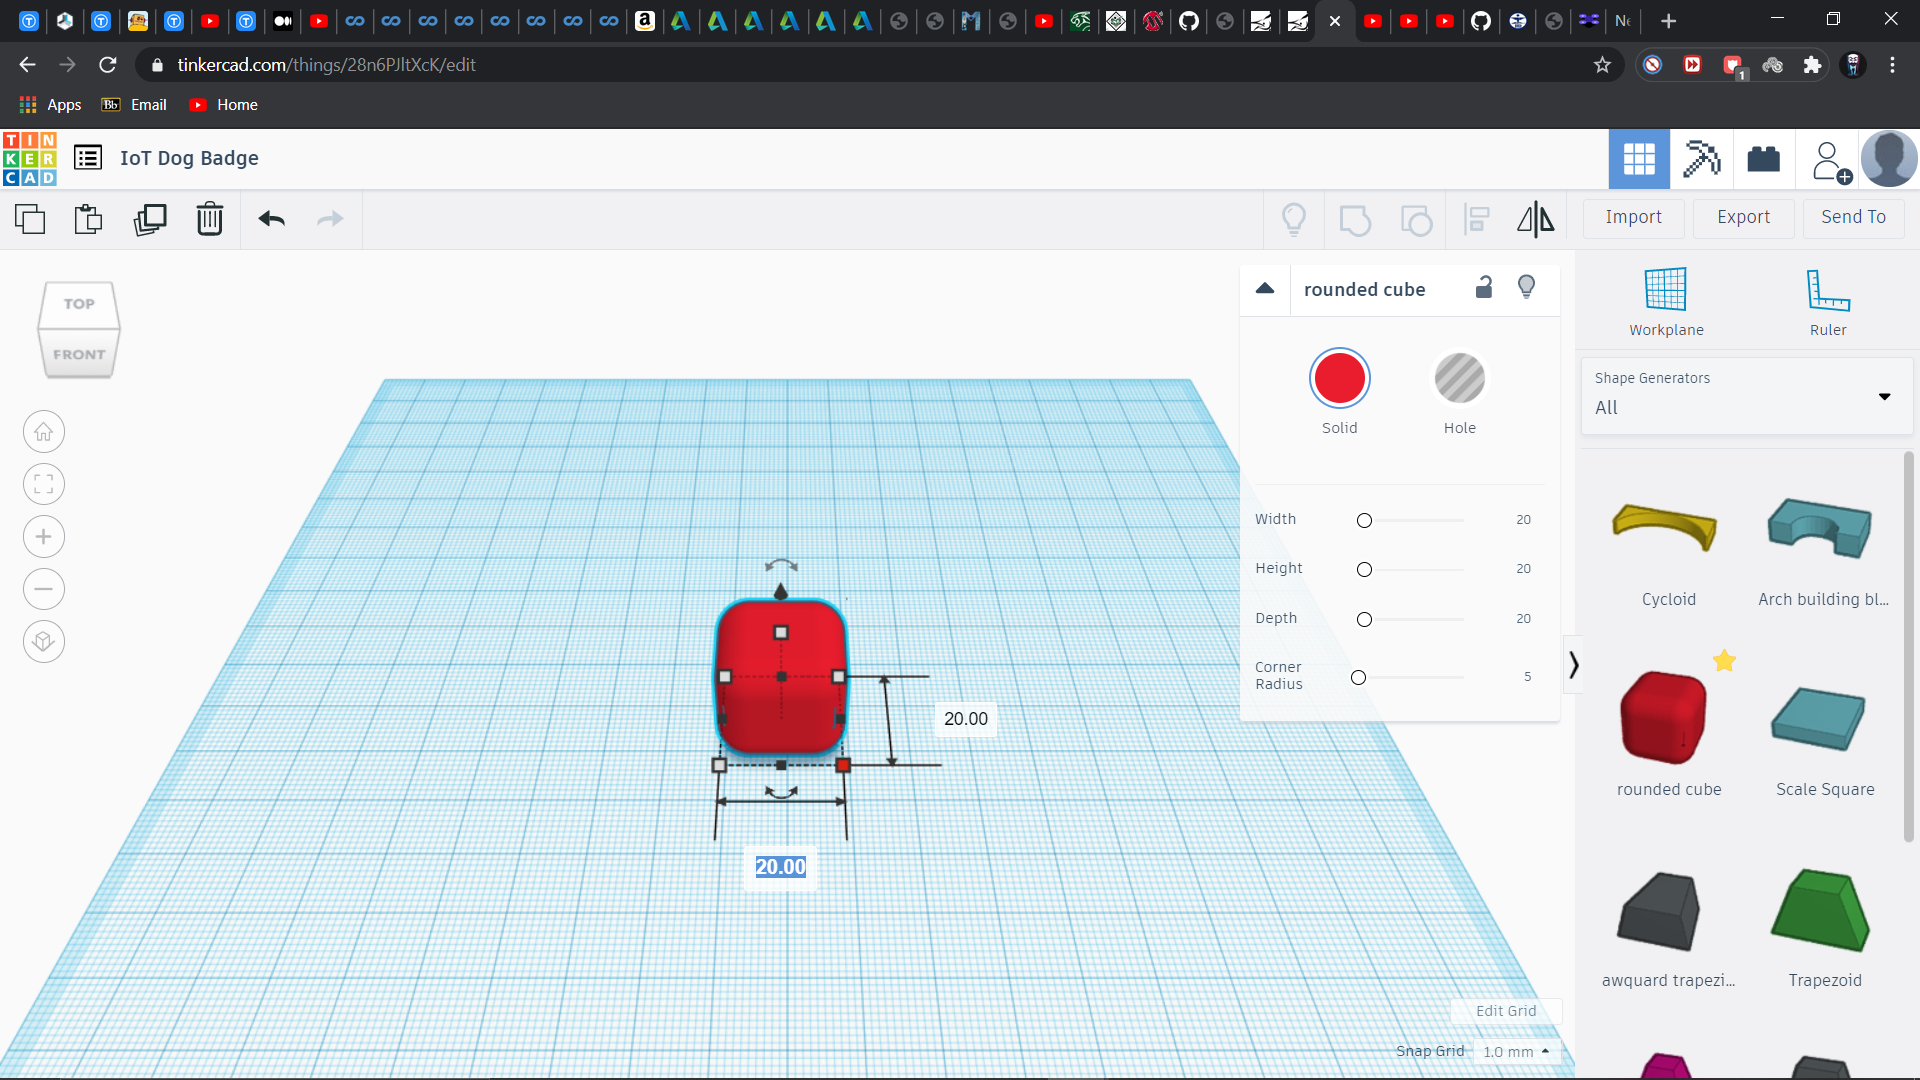
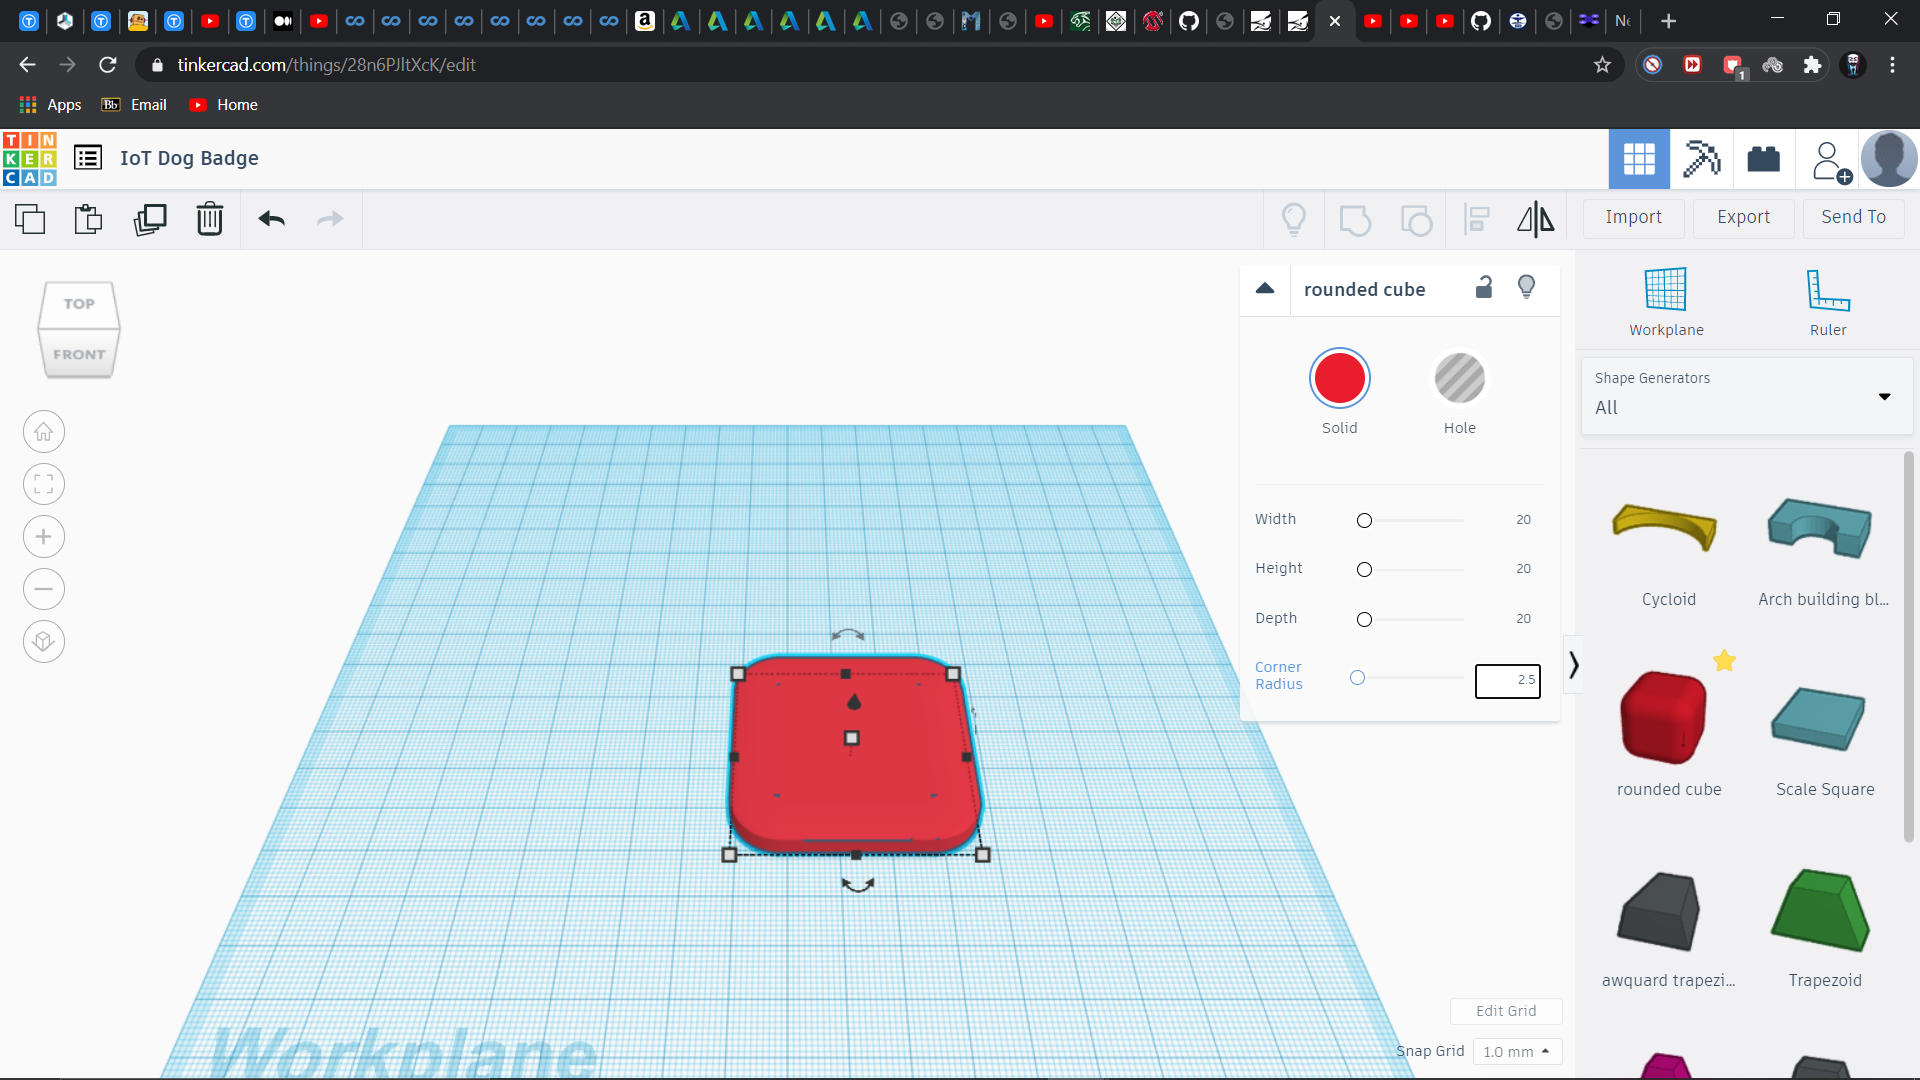
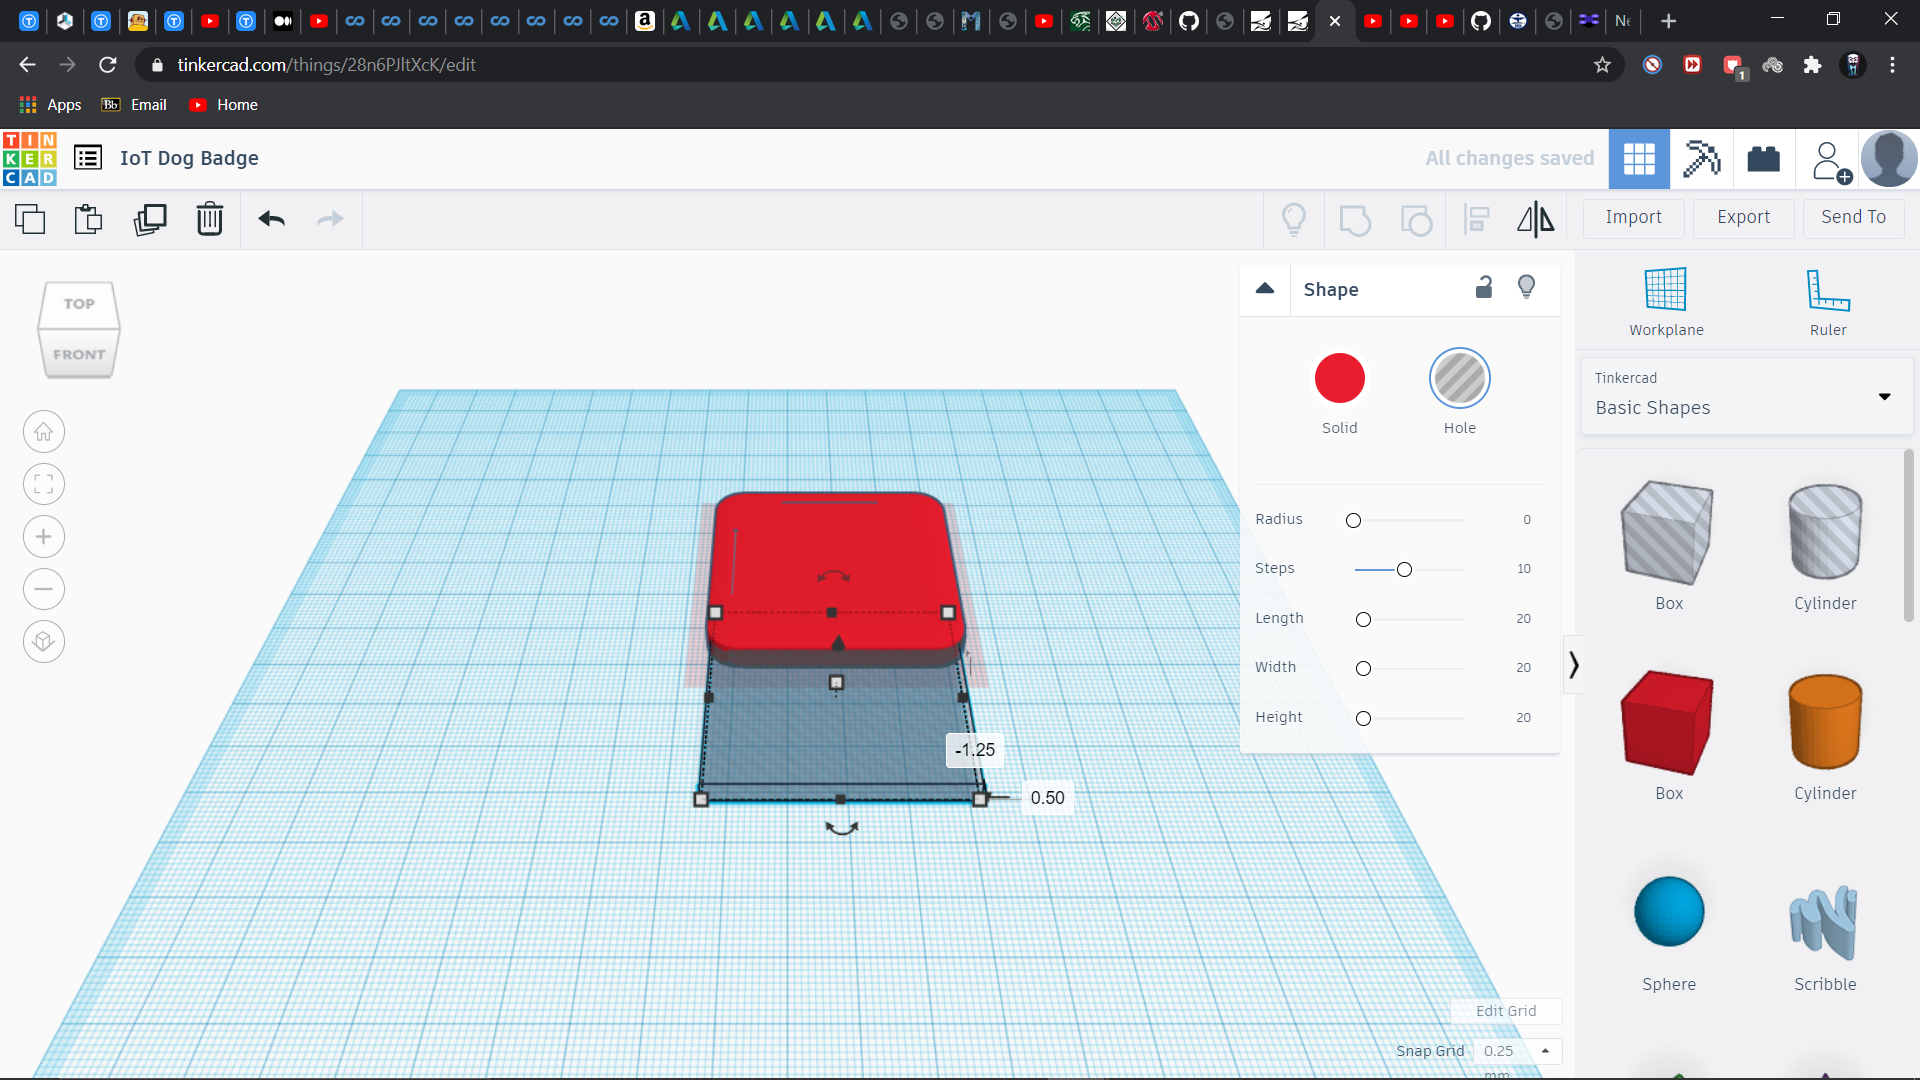
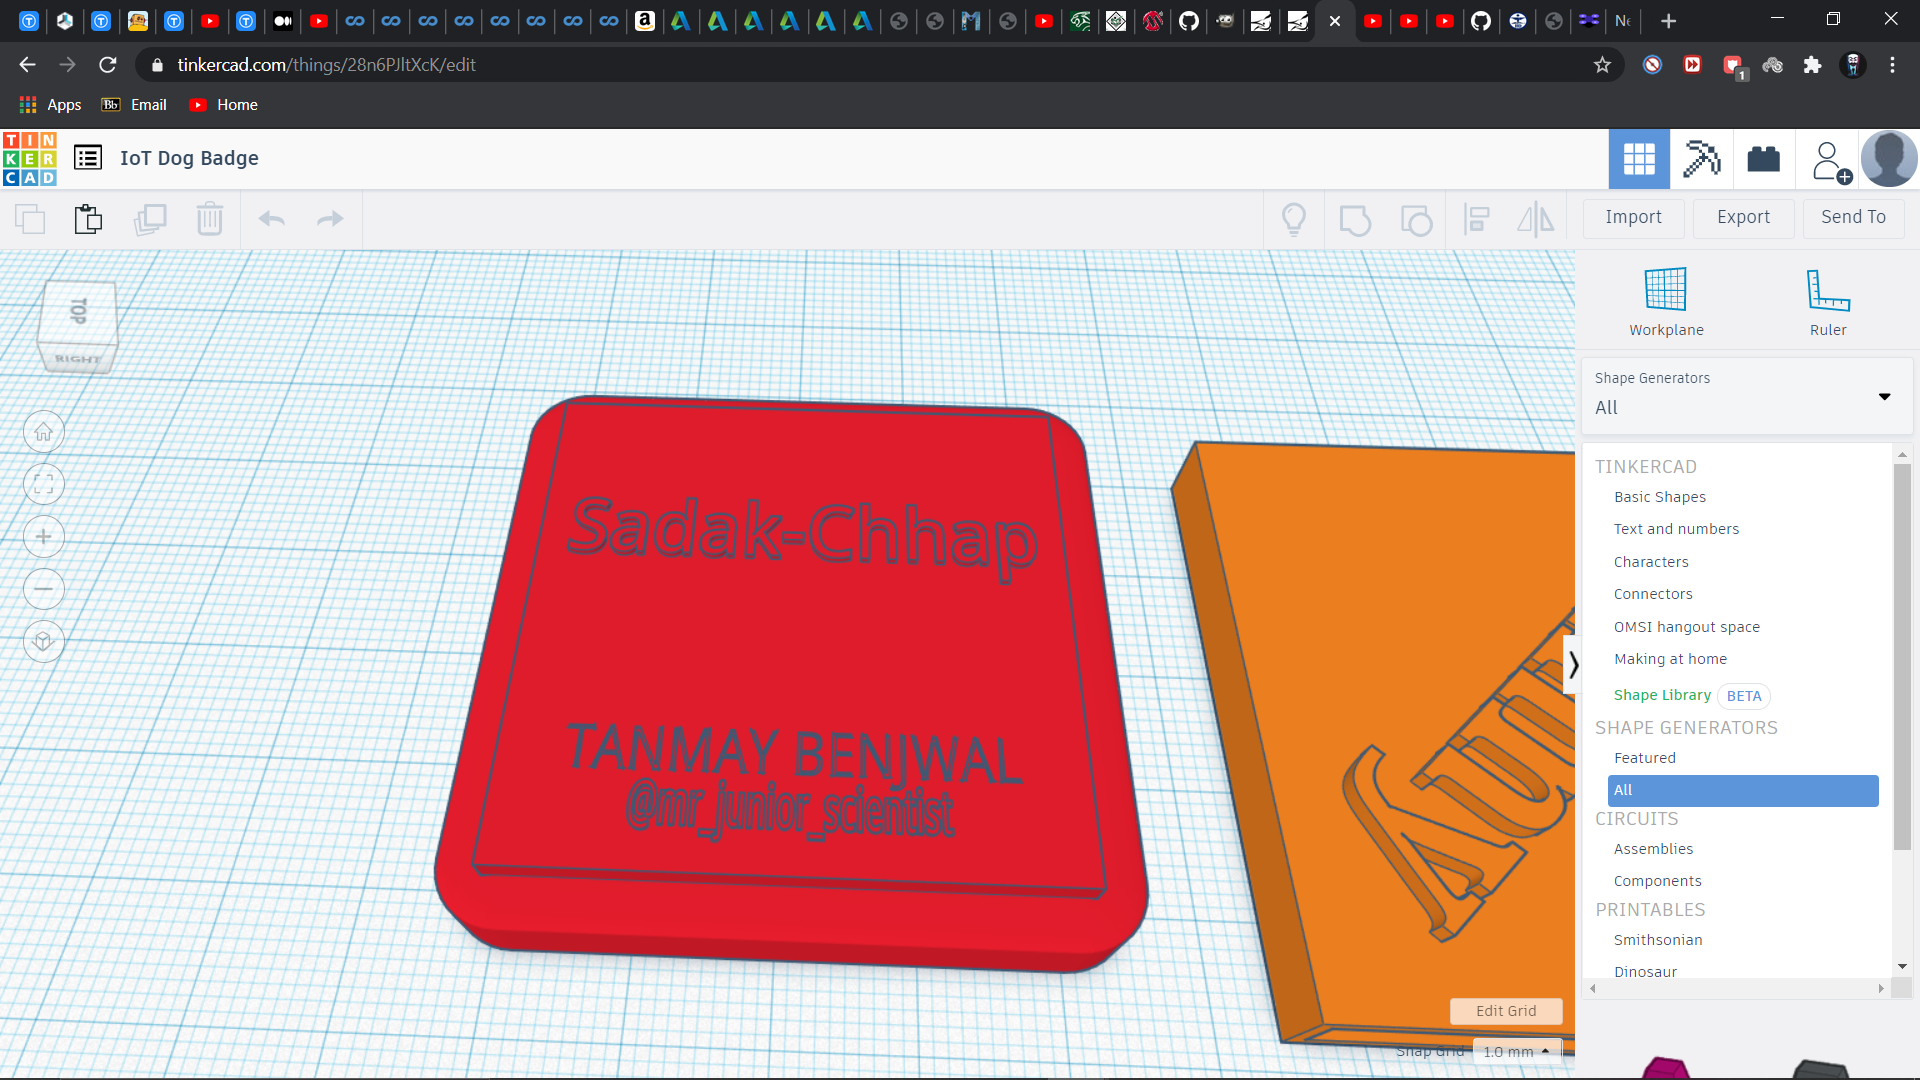
In the Shape Generators : All Dropdown go to the10th slide and then surf through it and select the rounded cube
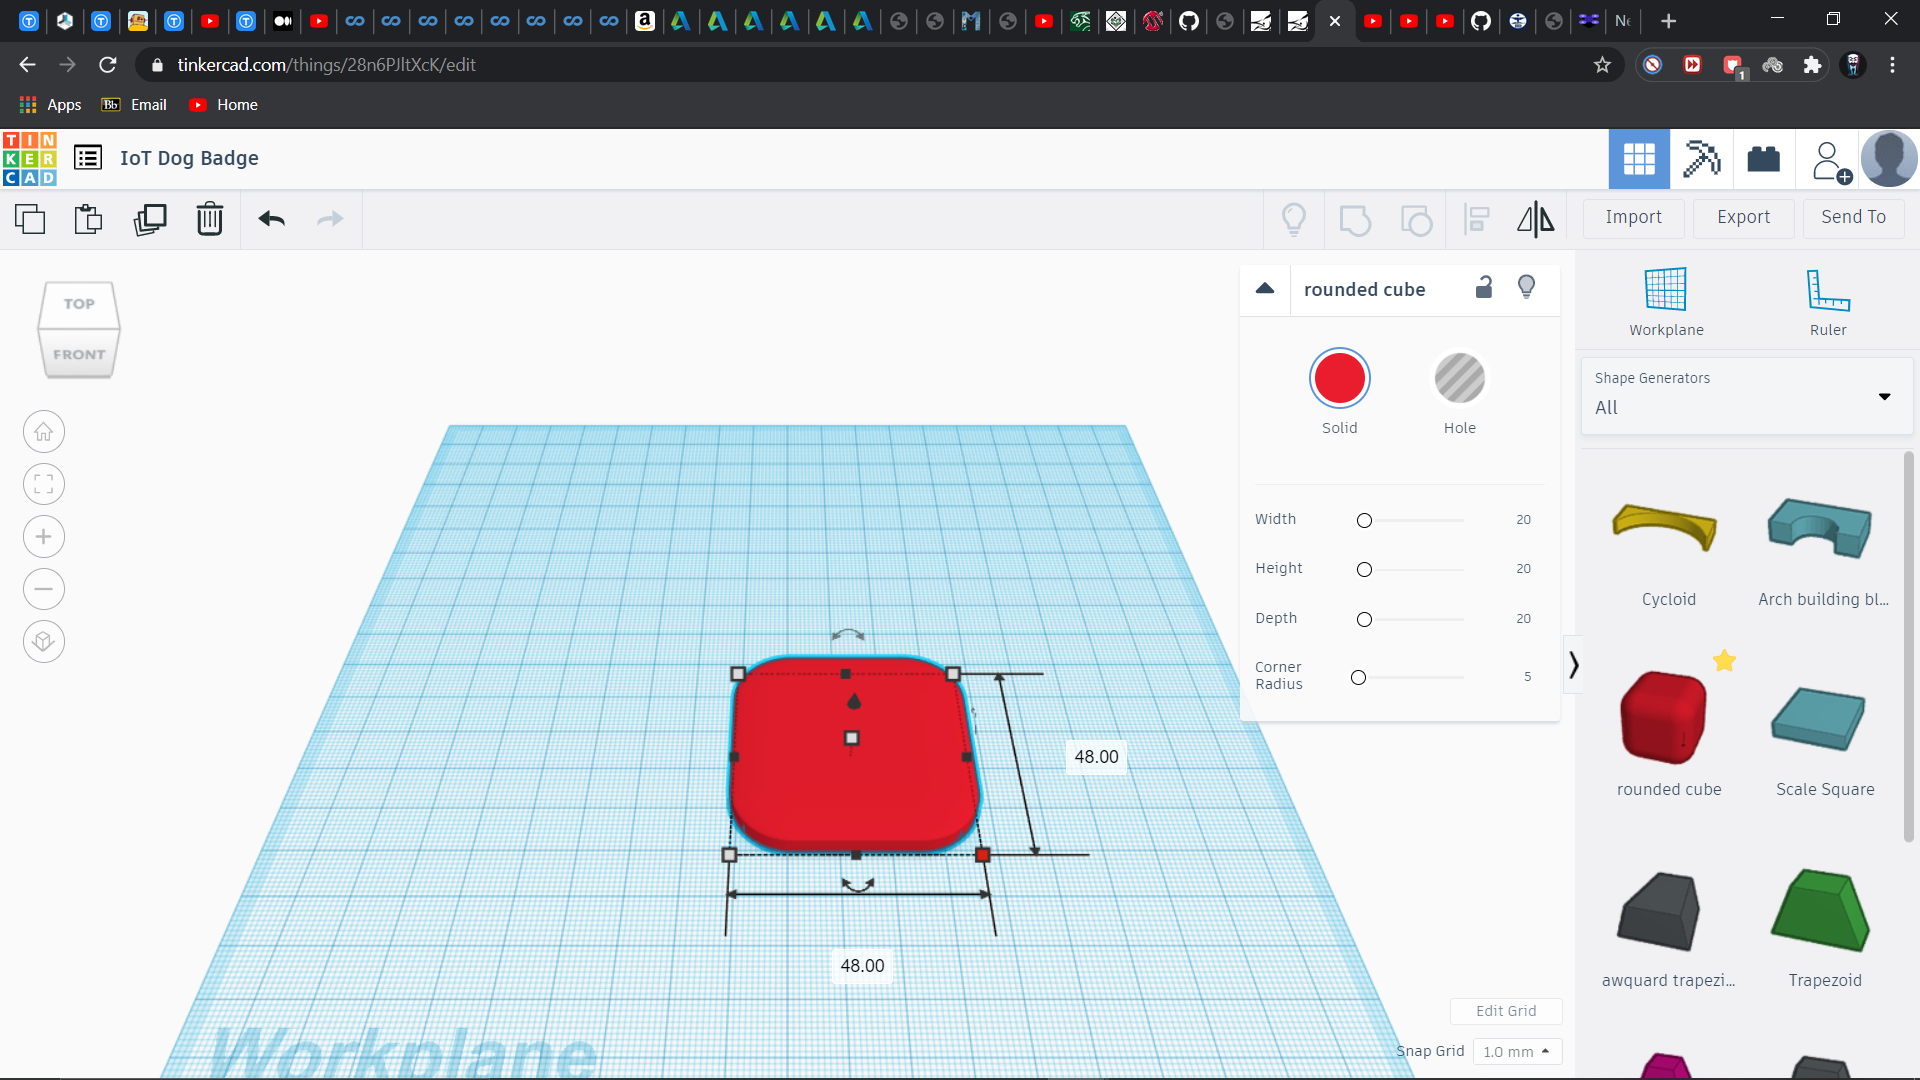
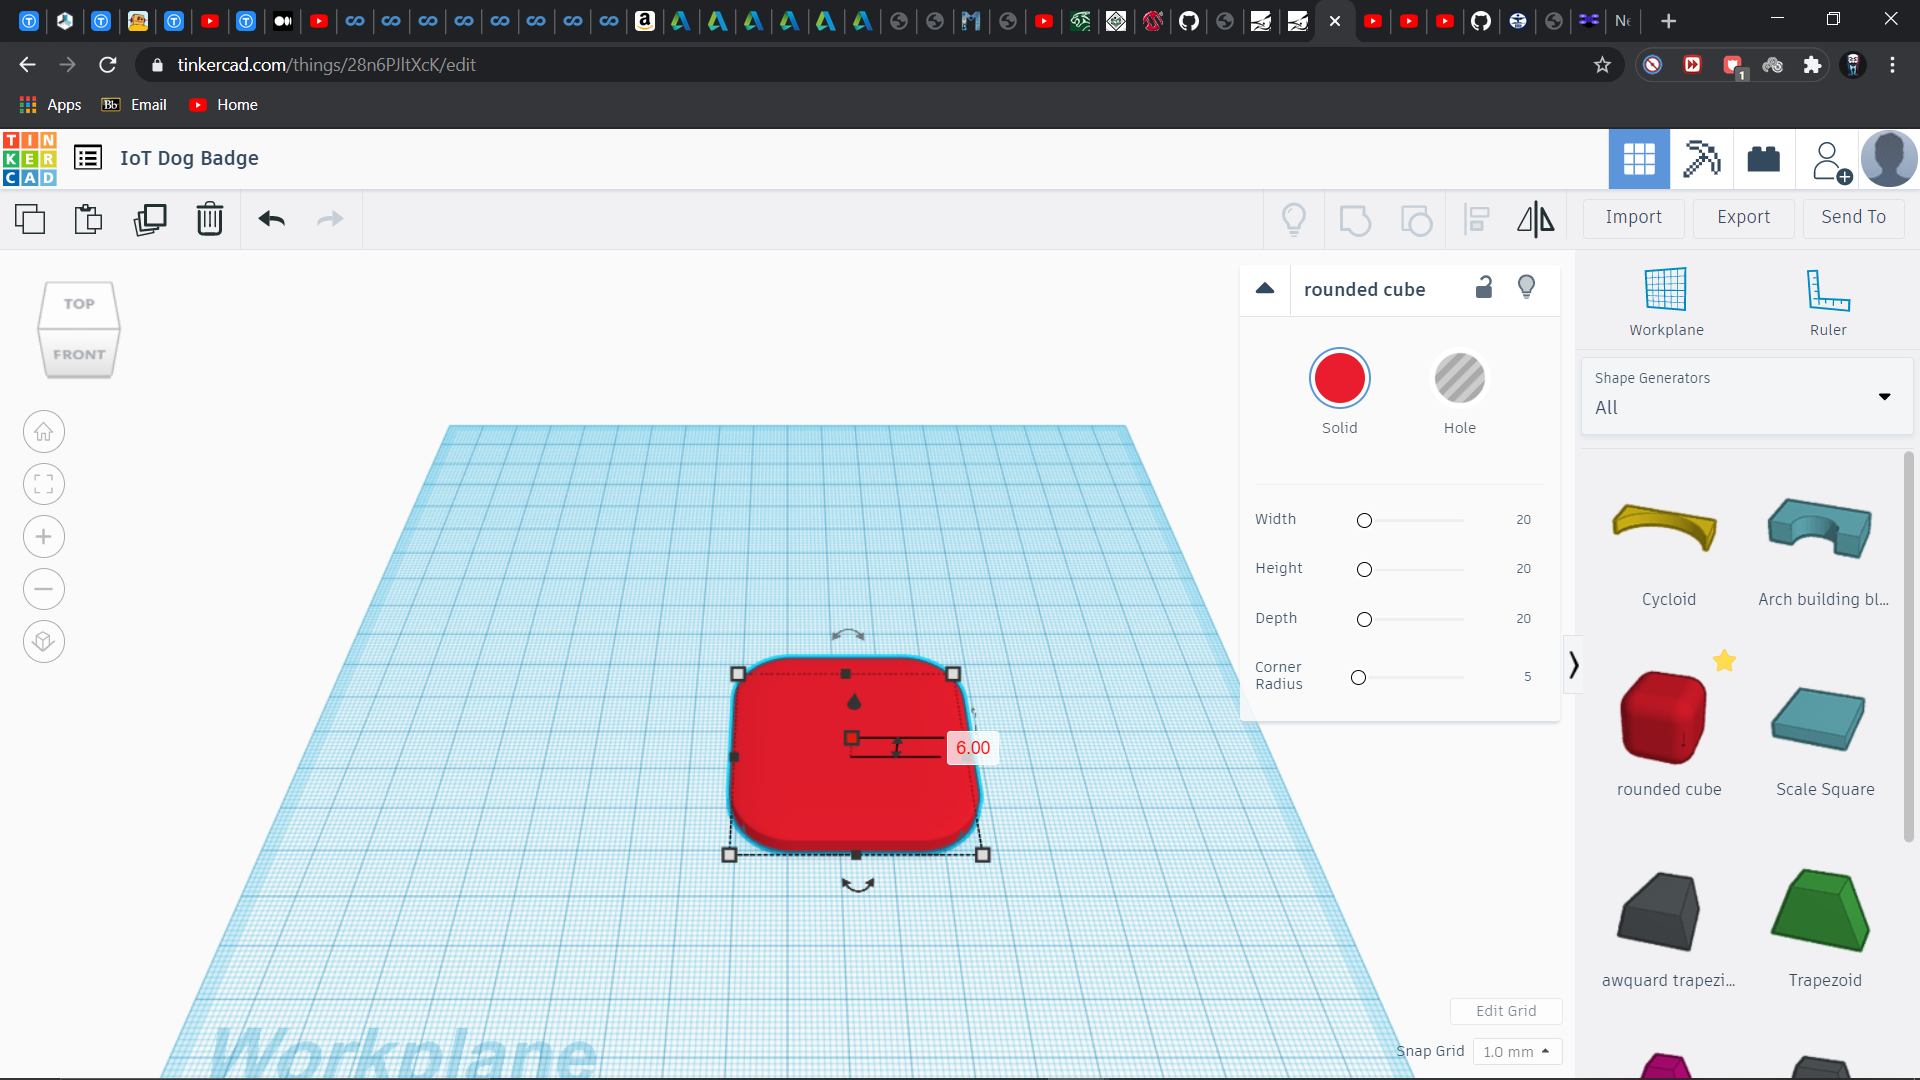
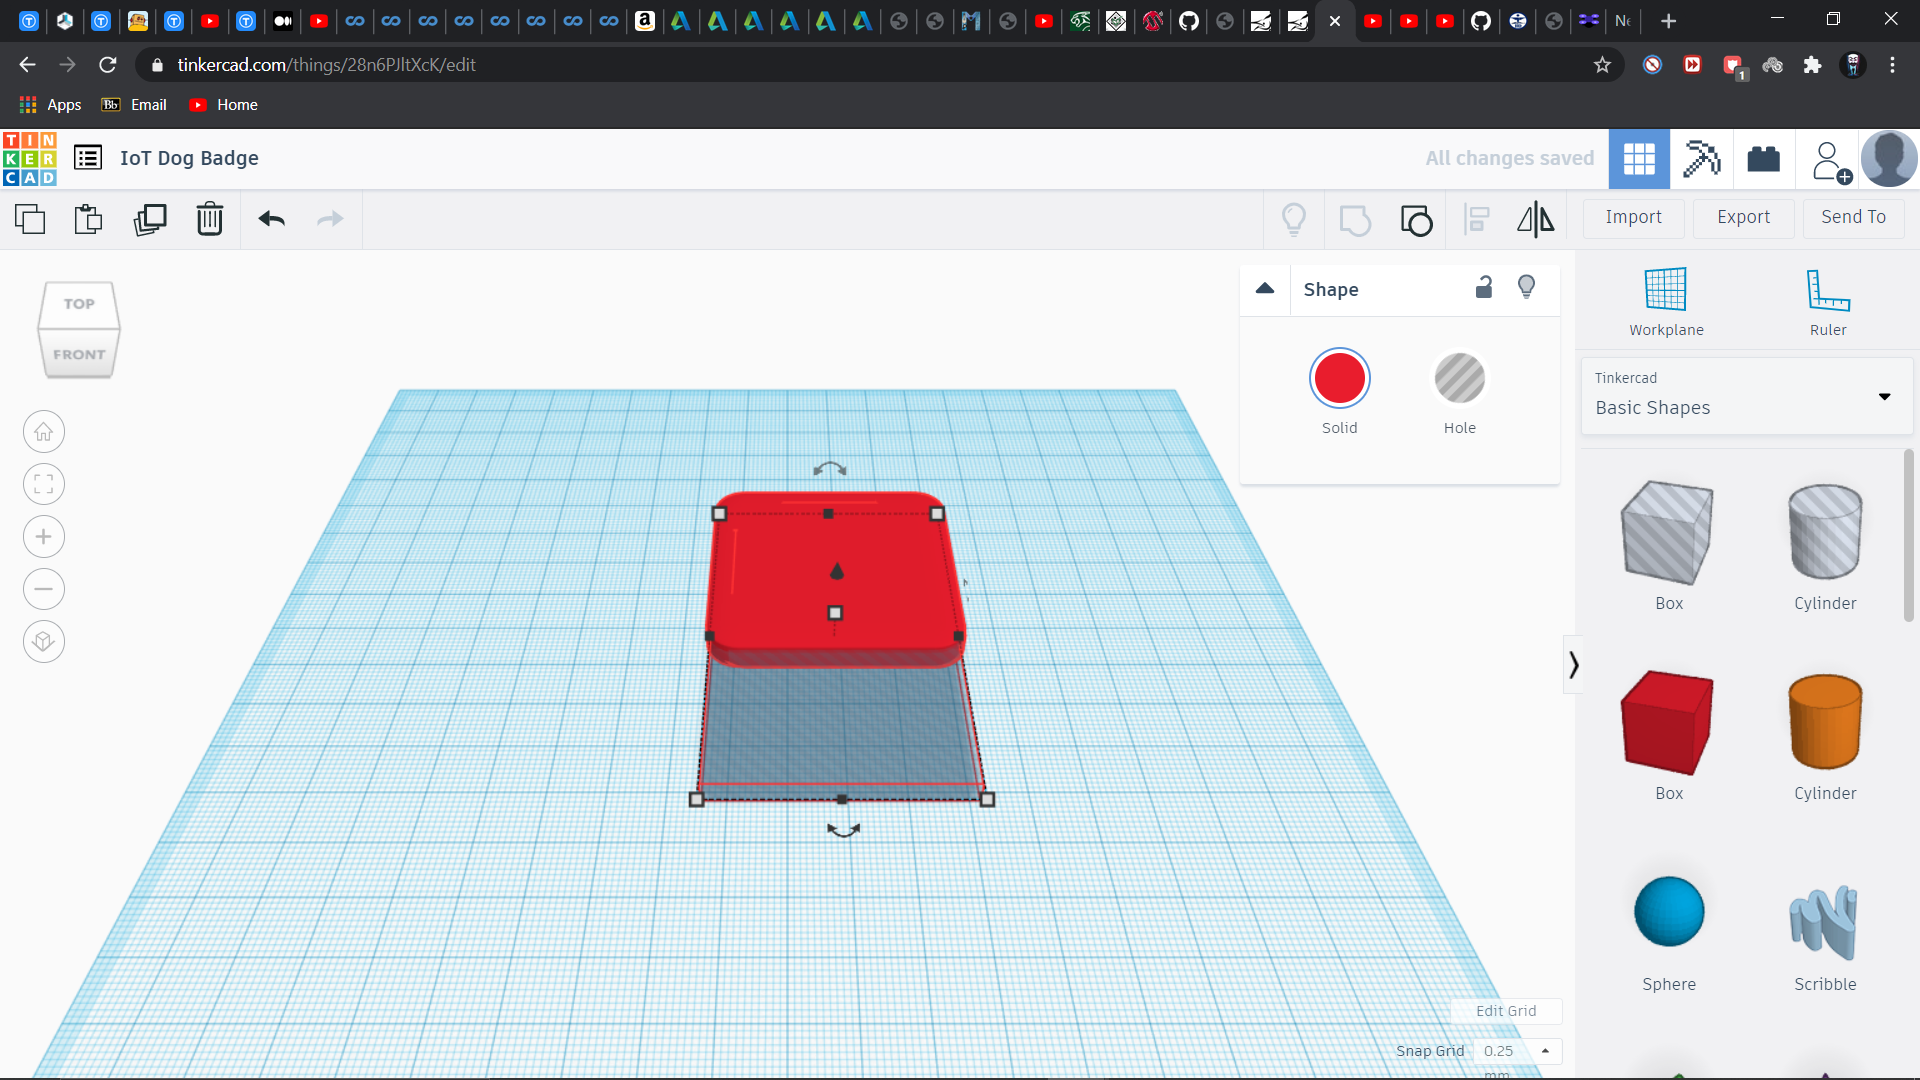
now change the measurement to your own desired measurements( Tip- add 2 to all your measurement to have a decent 1 mm thick side walls)
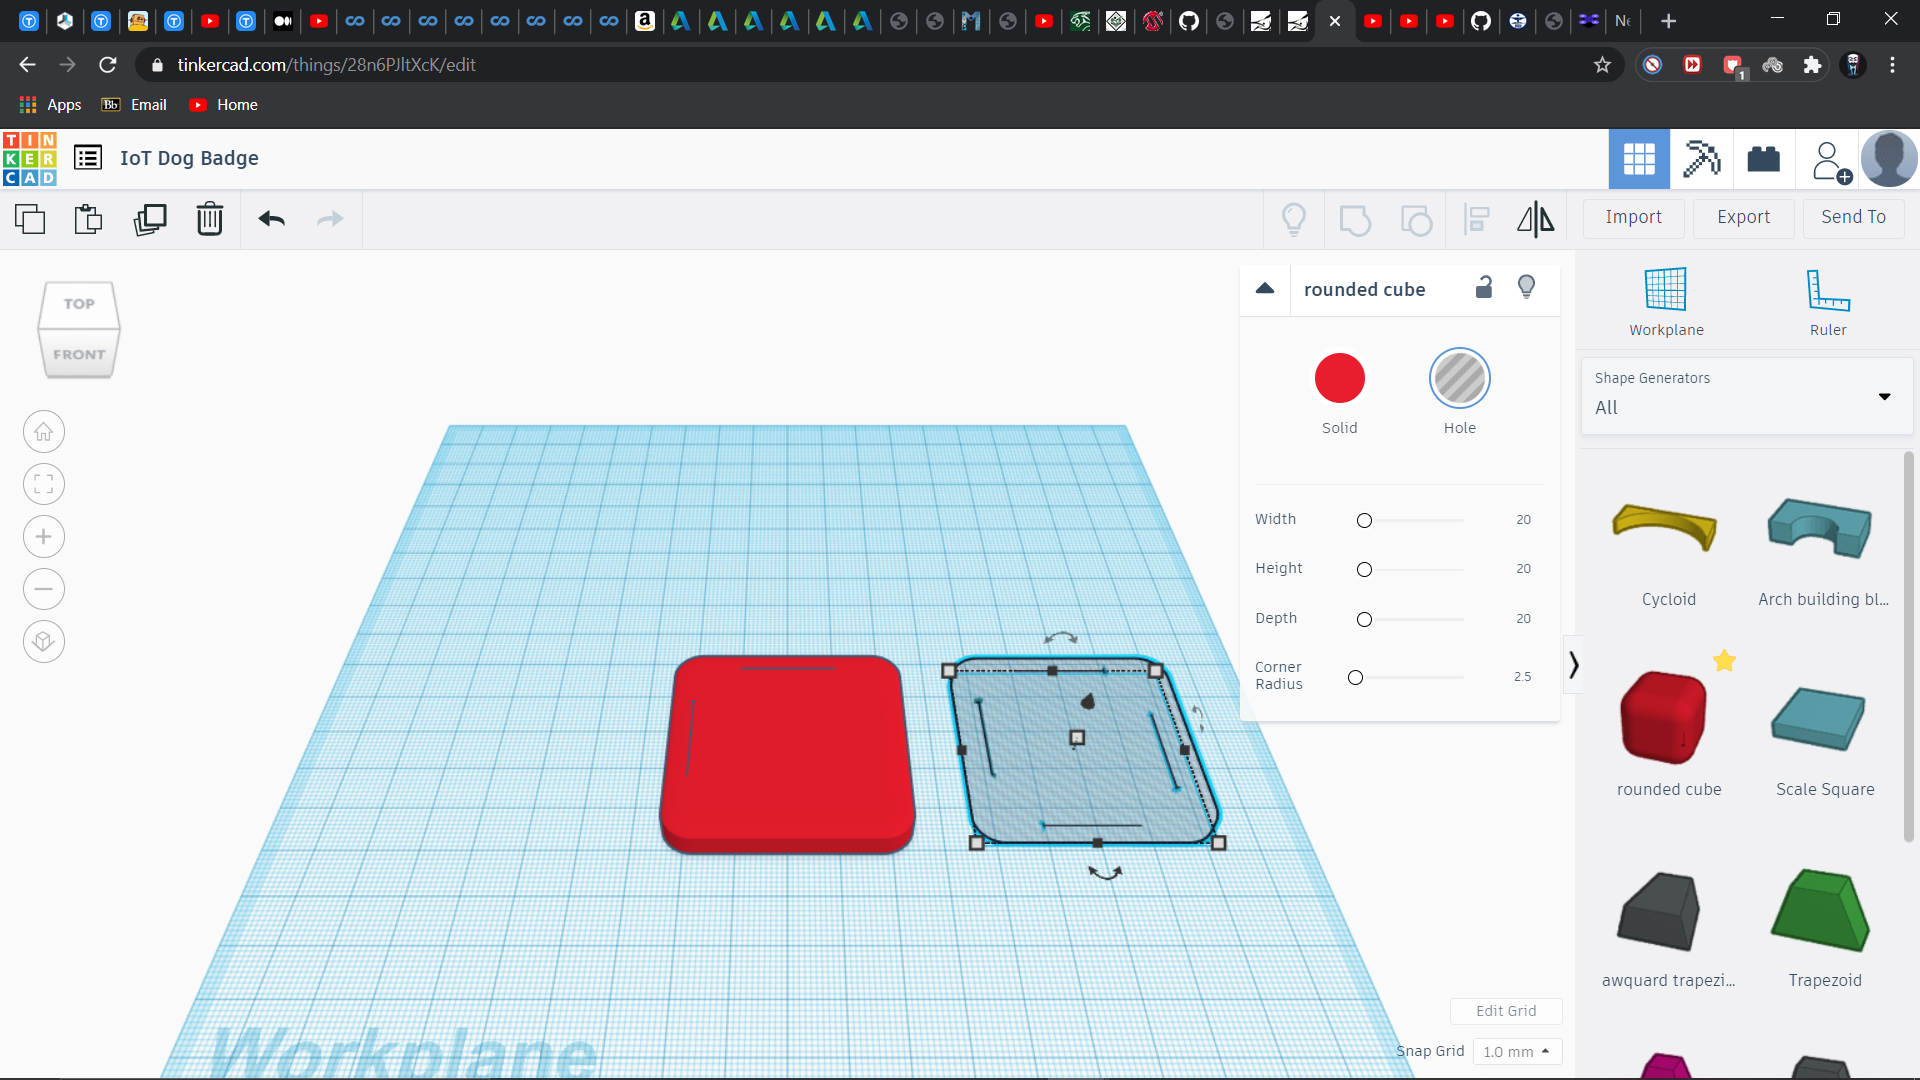
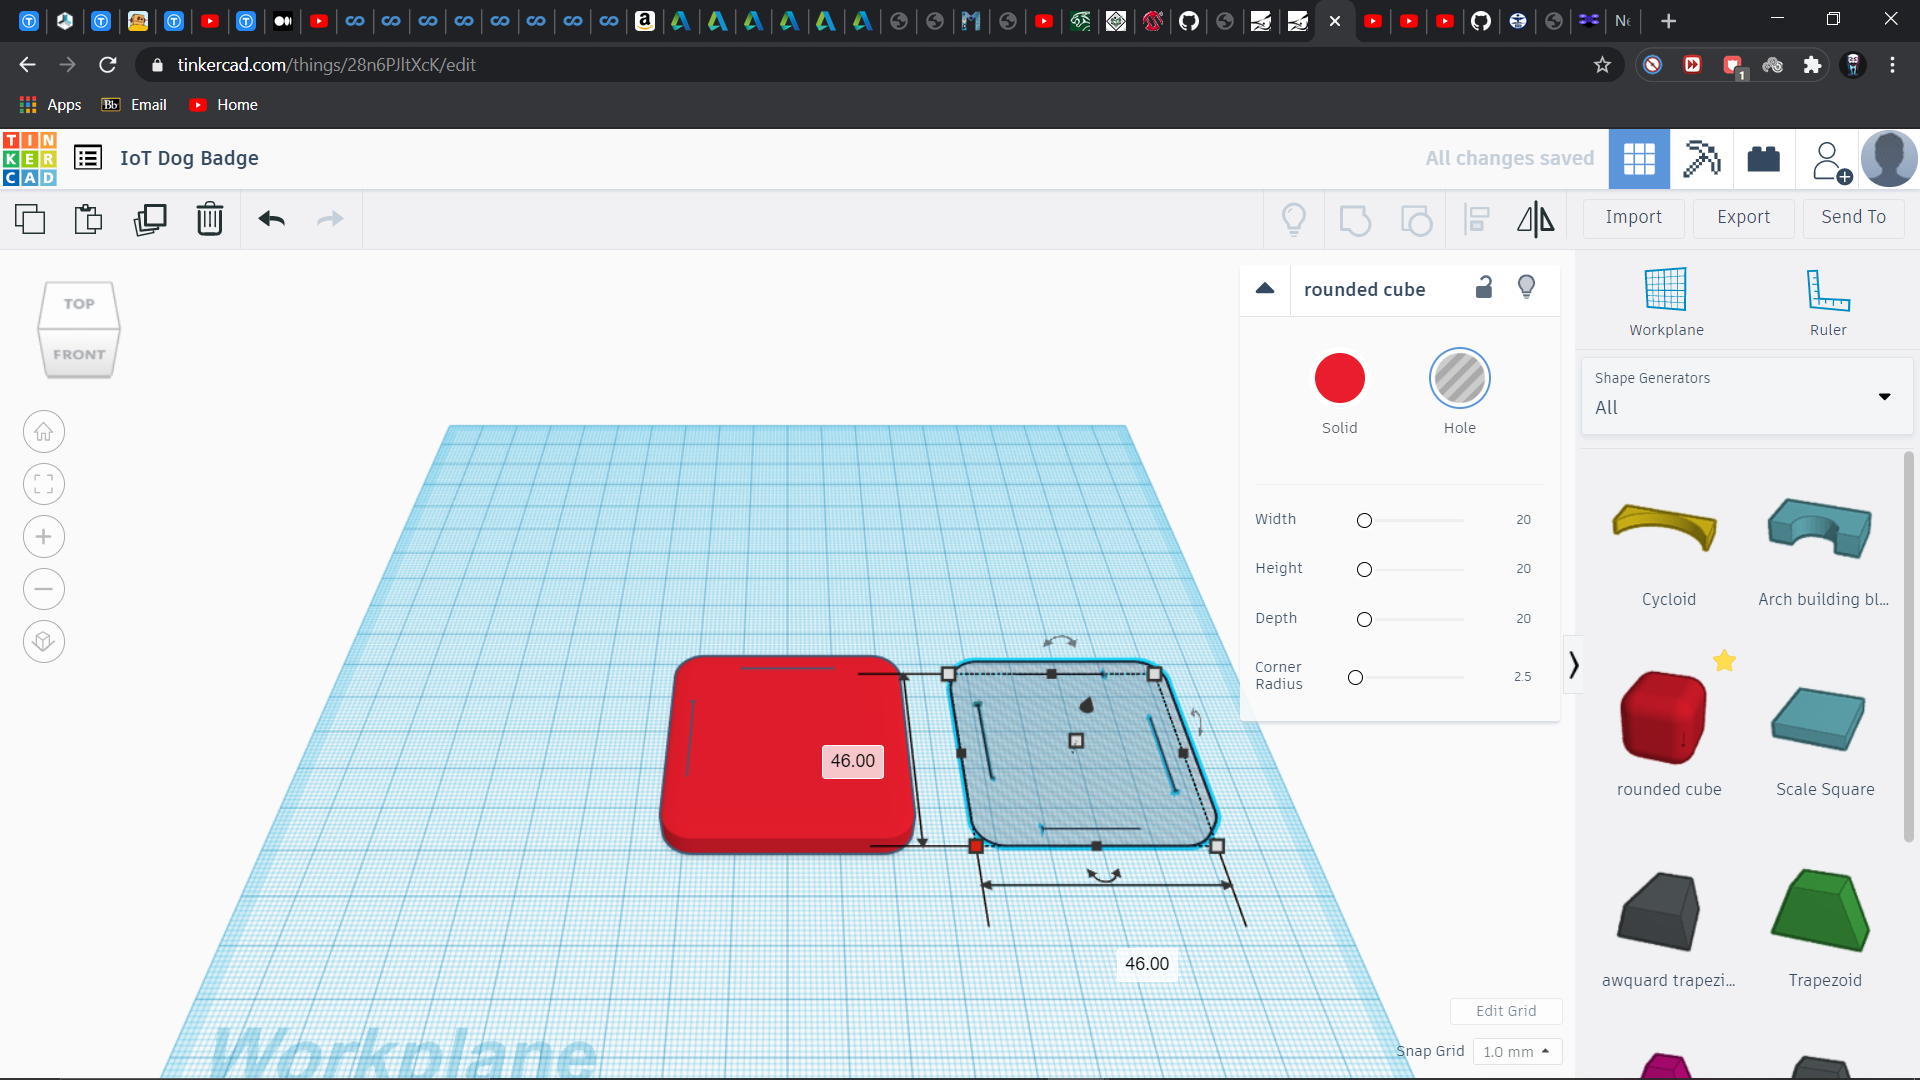
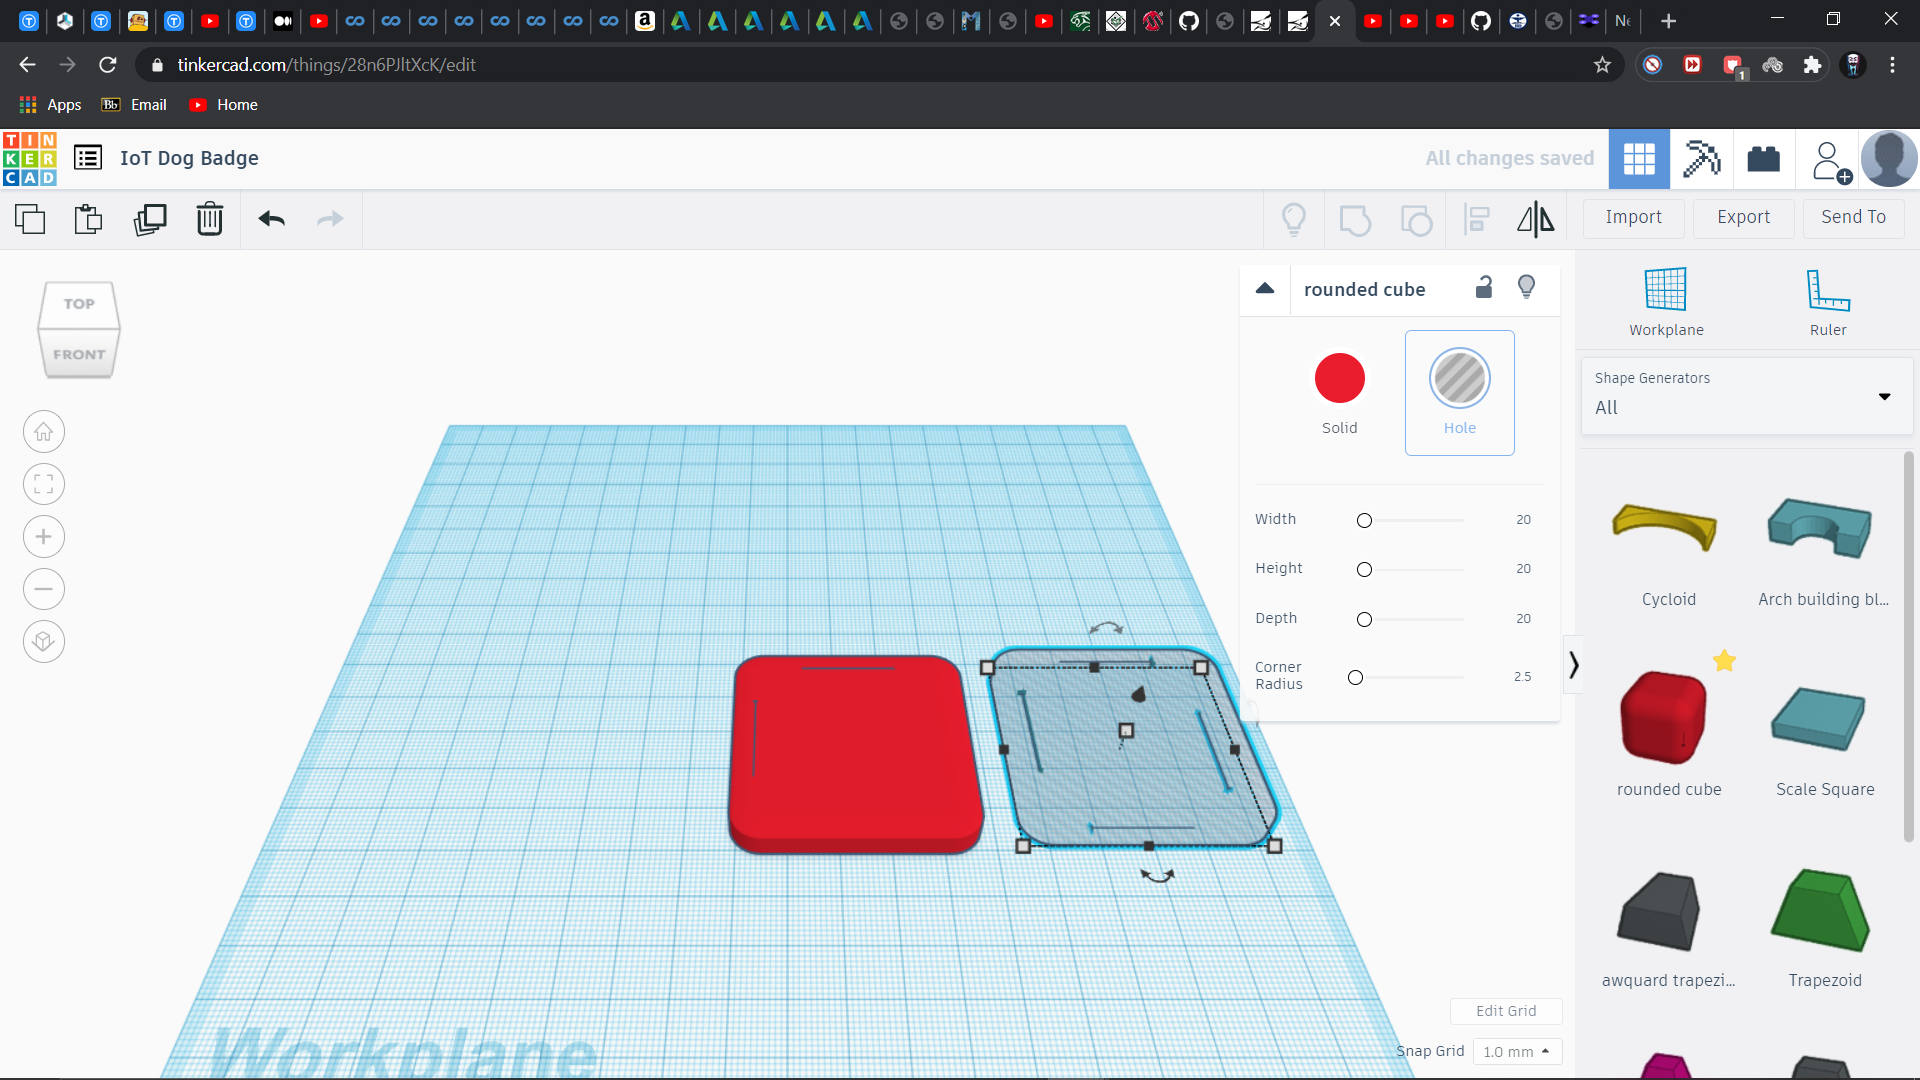
now copy your model and chose the Hole option from the shape dropdown that pops up when ever you select your shape.( Make it's dimension as measured by you)
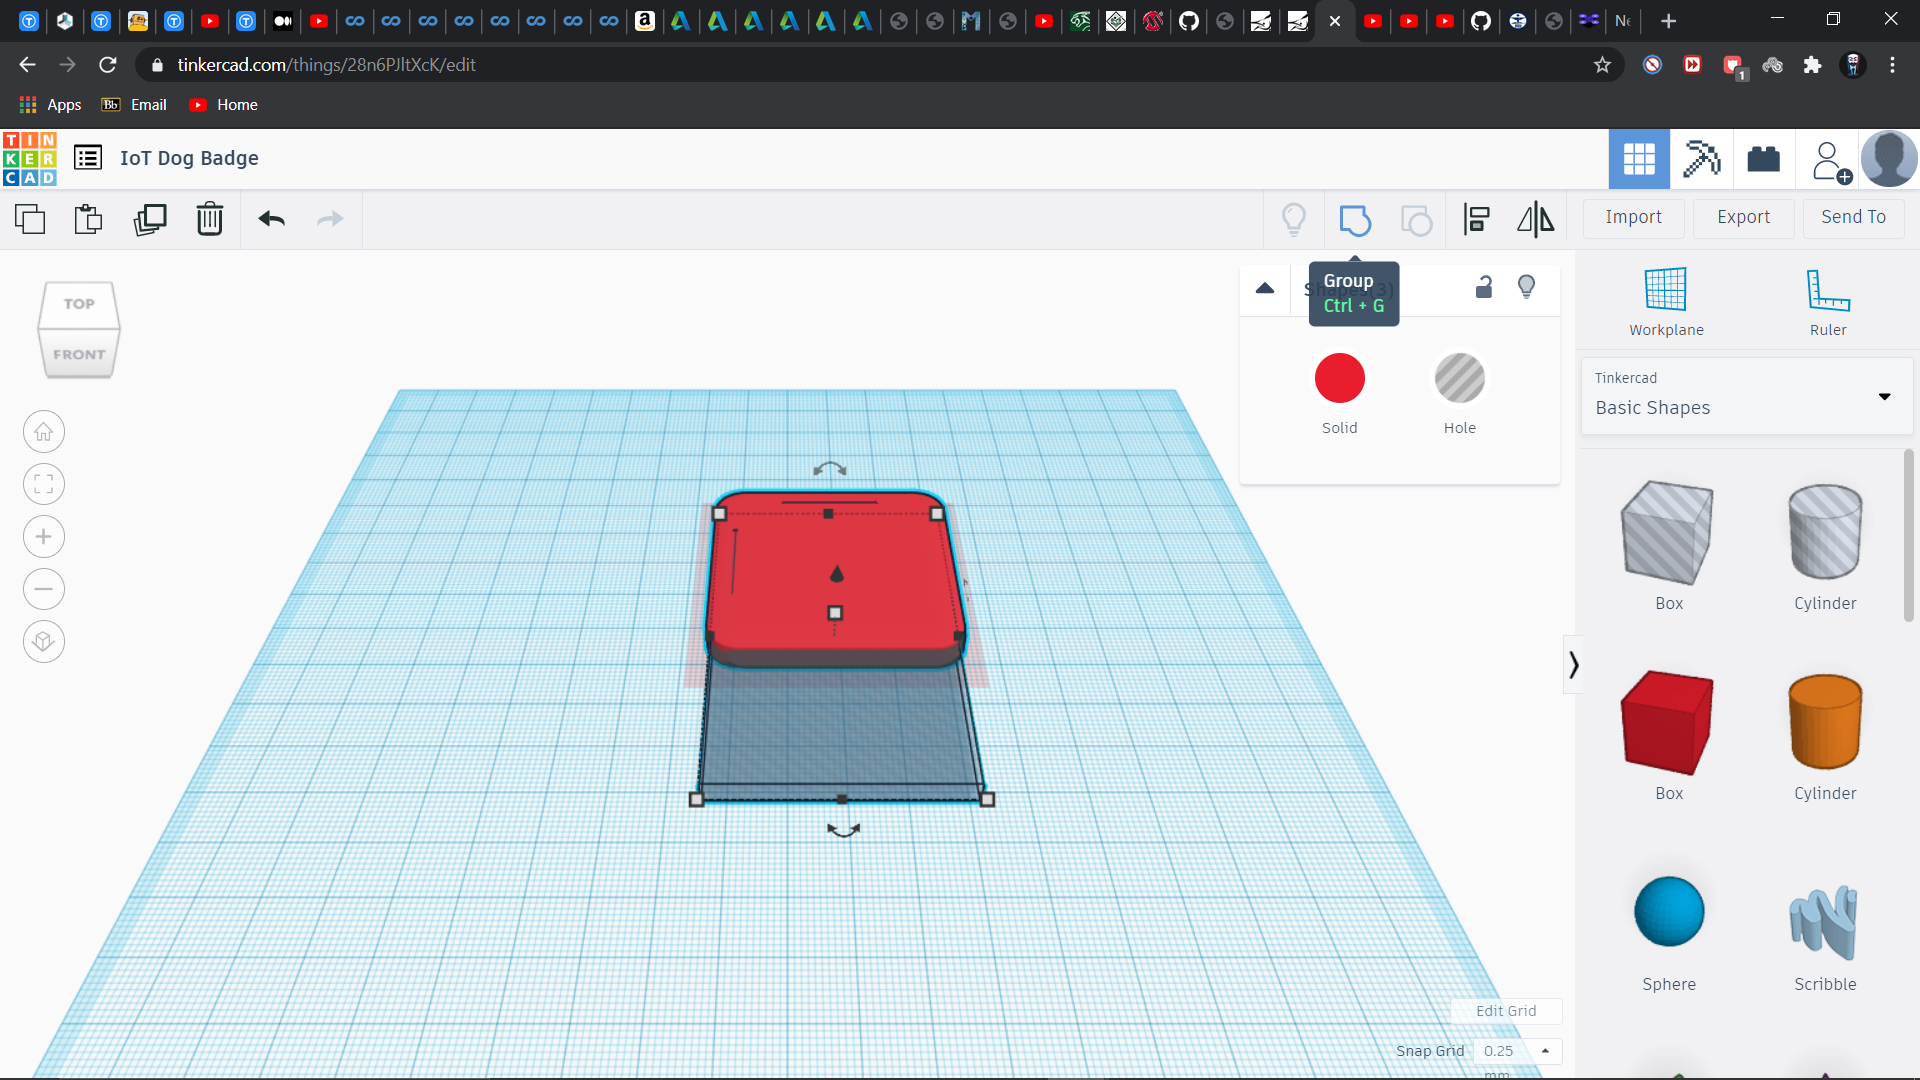
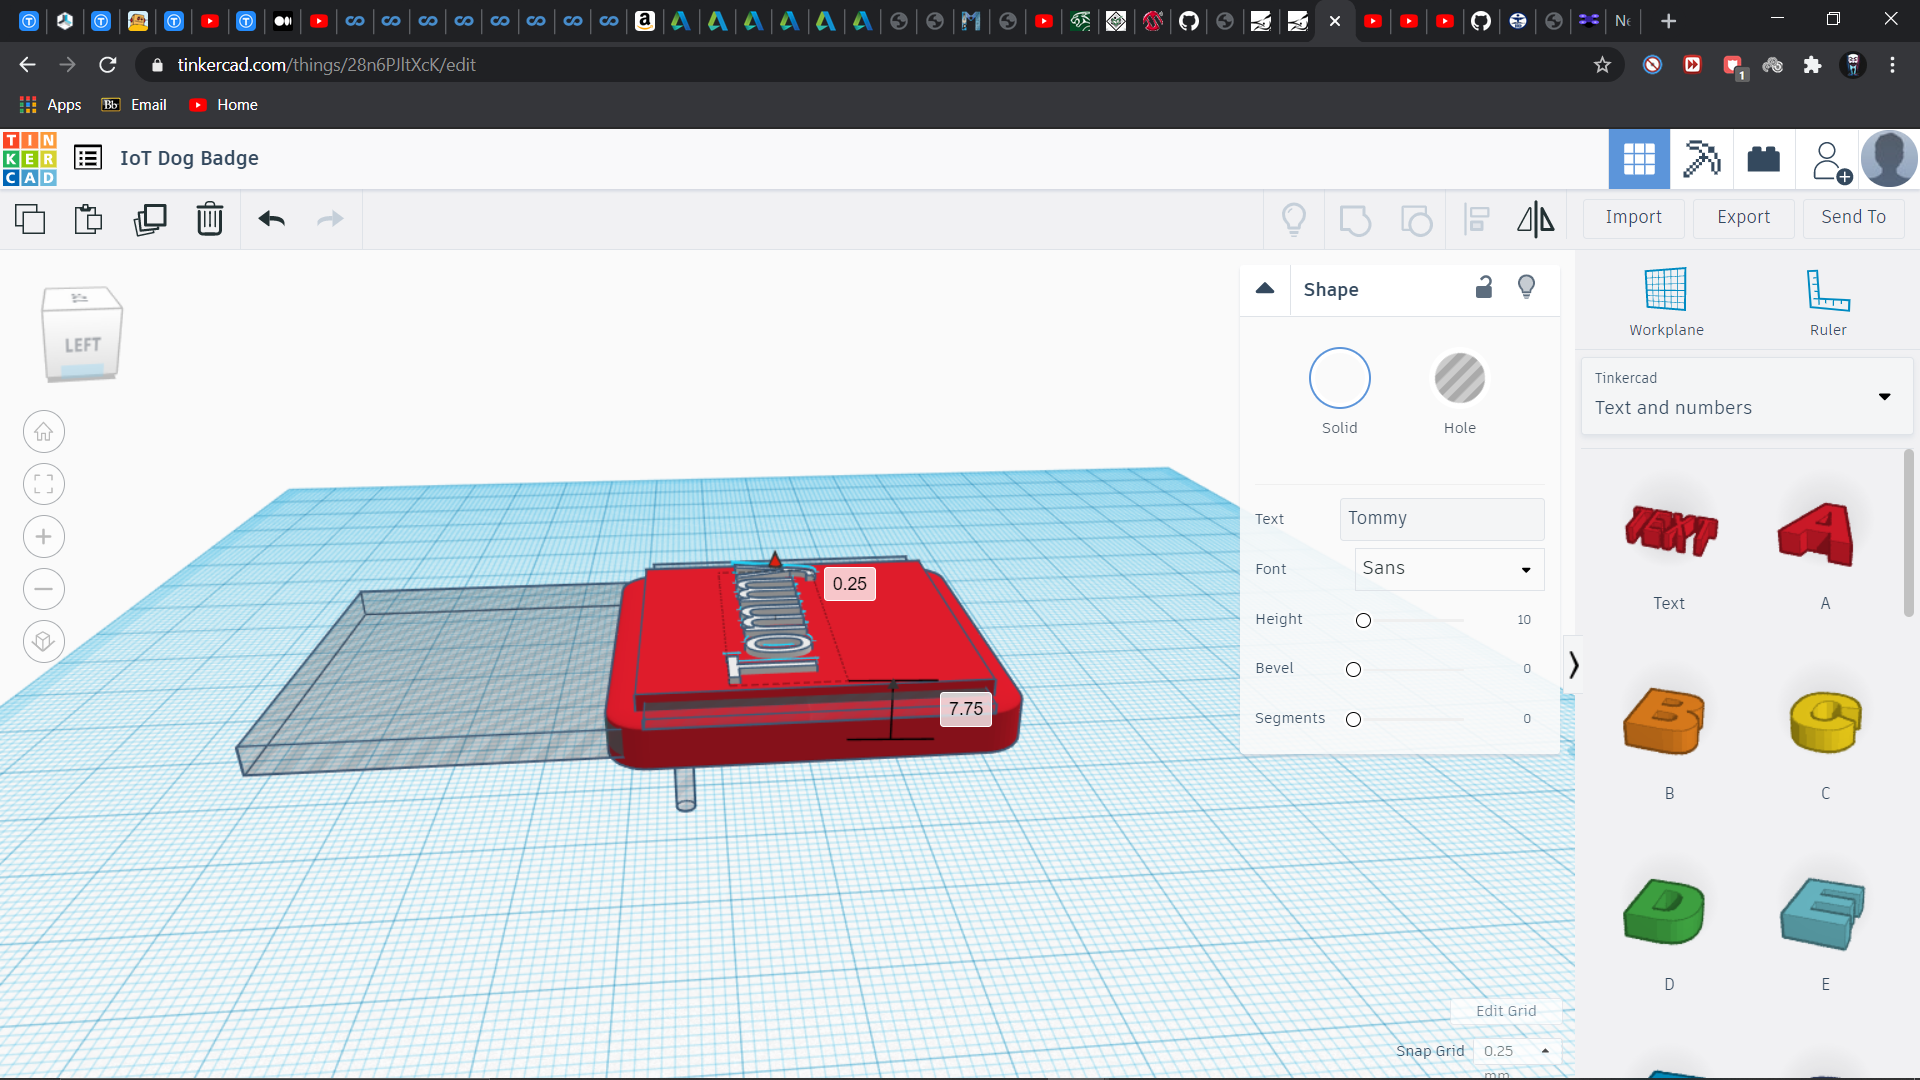
now raise the copied hole shape 1mm from the Workplane drag and place it in between the solid(2mm extra) shape.
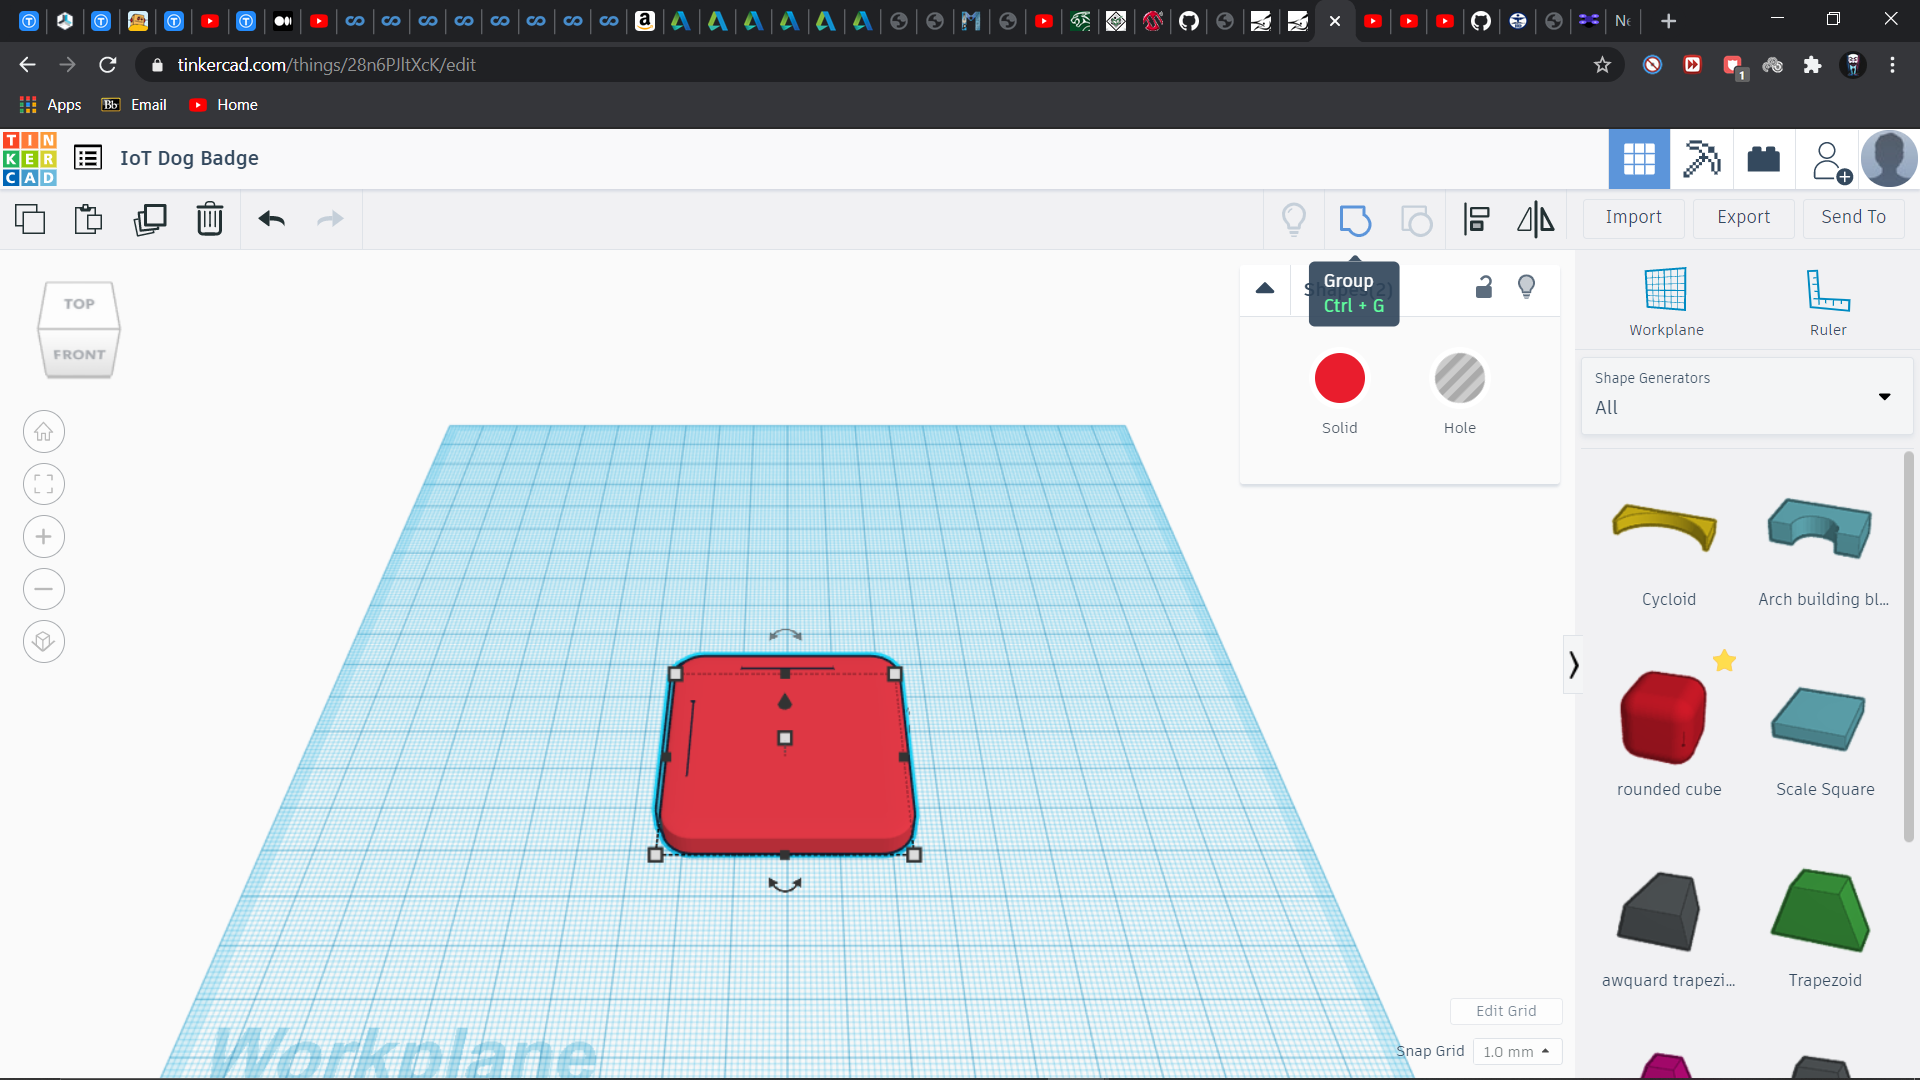
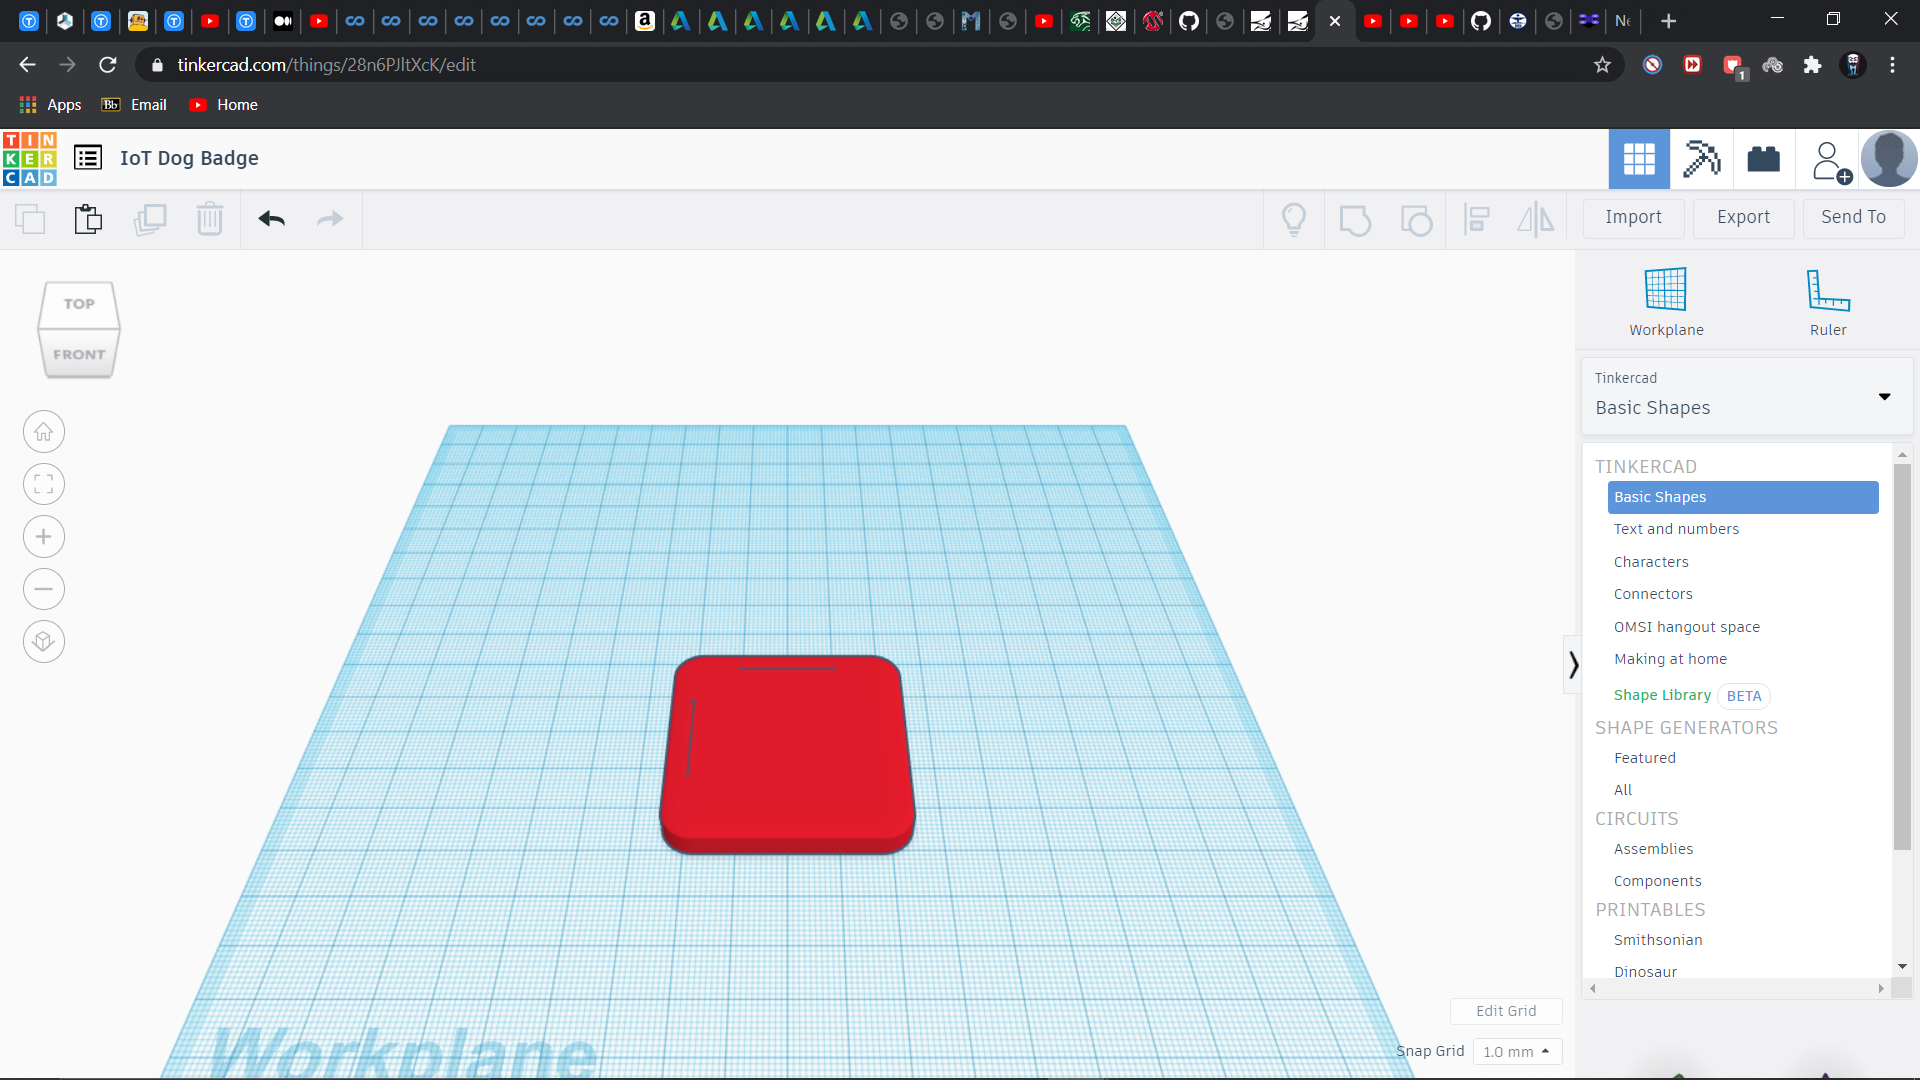
select both the object and Group them
we now have to make holes and slit for buzzer, button, led and for sliding the seekit in it respectively
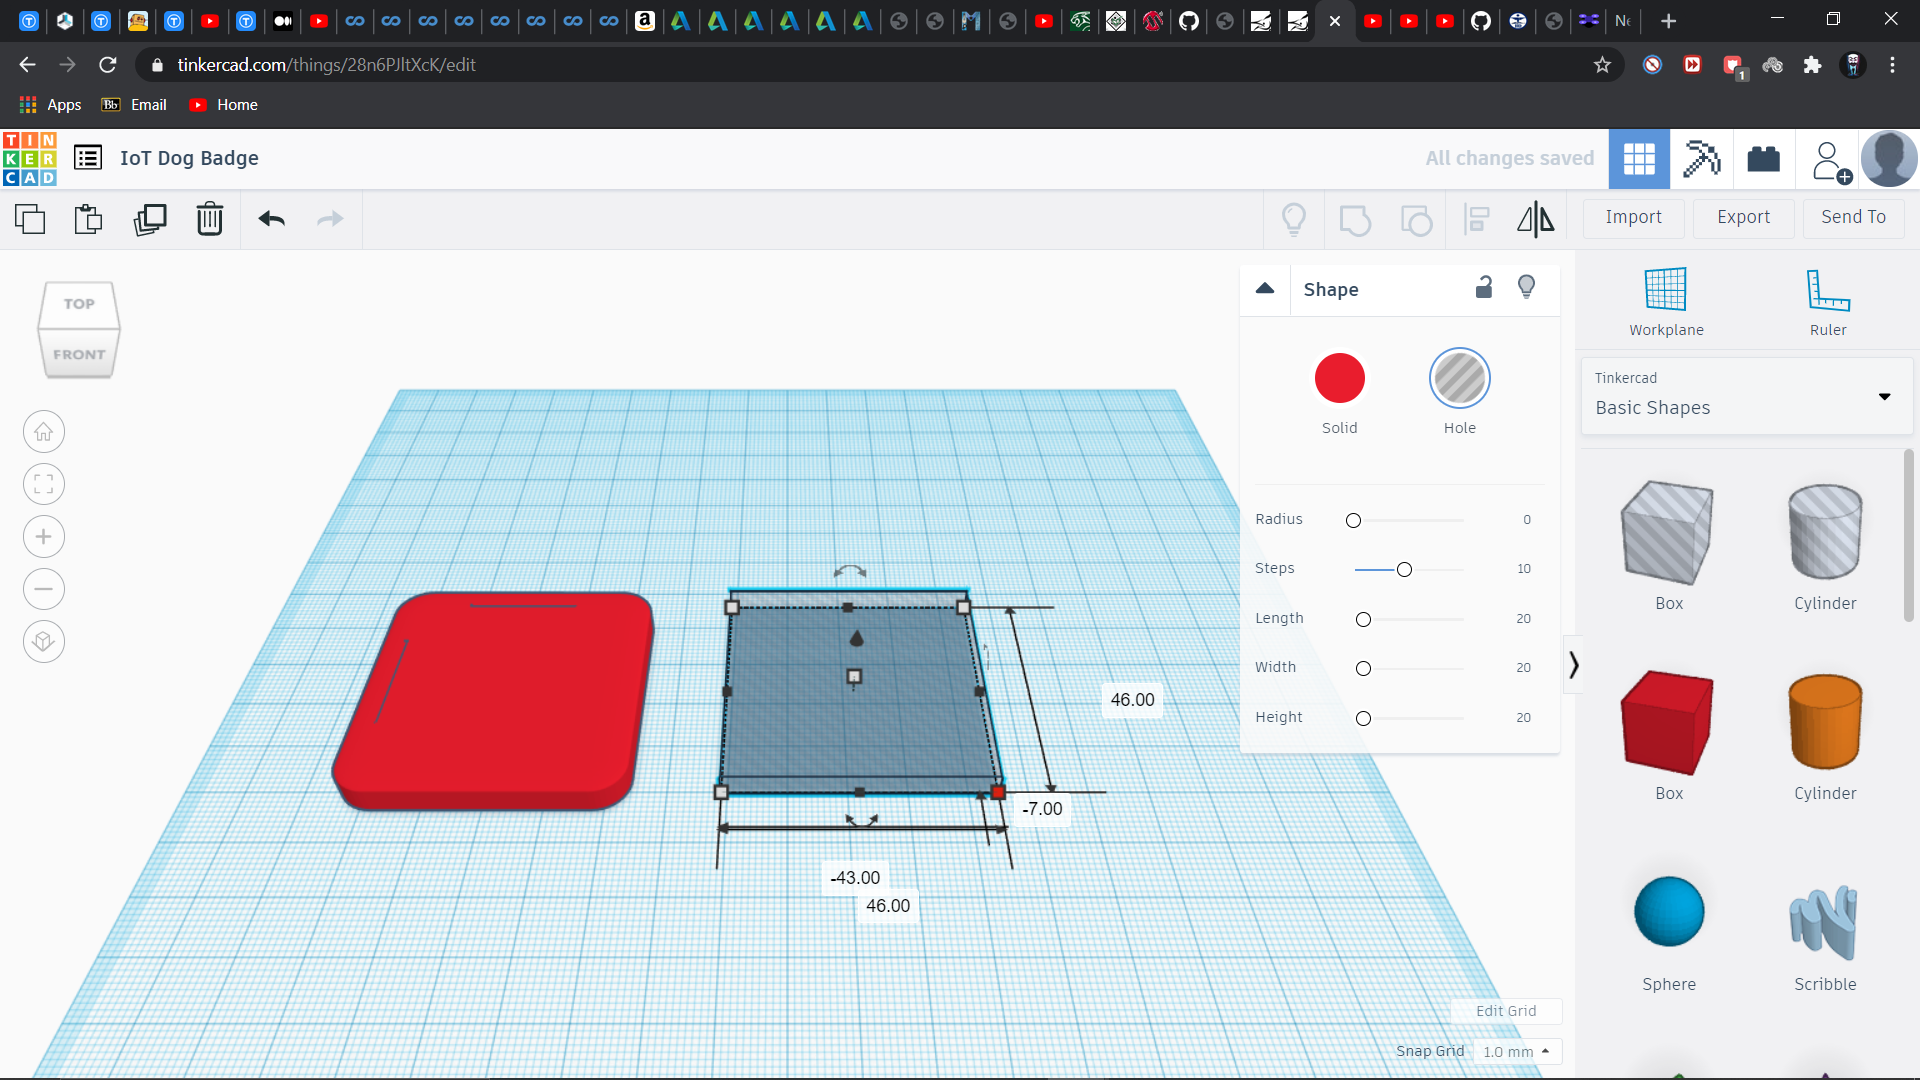
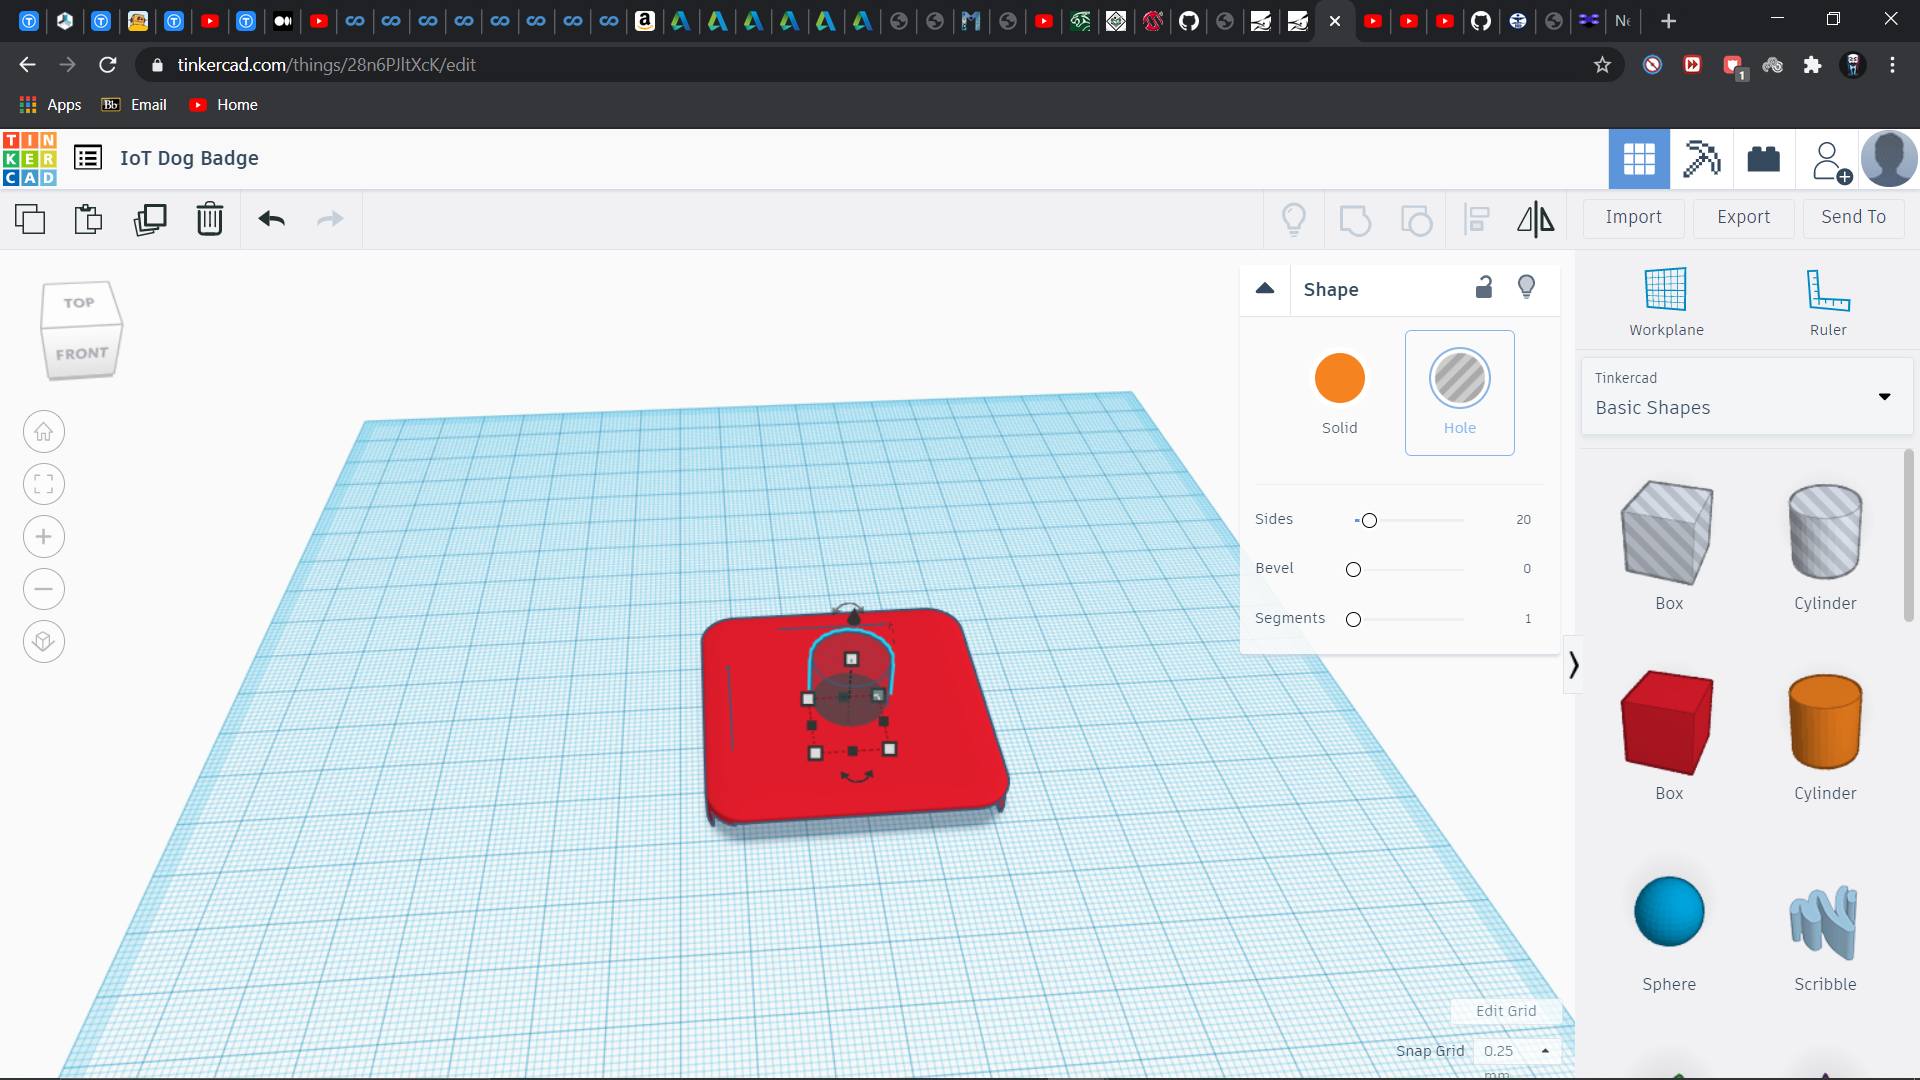
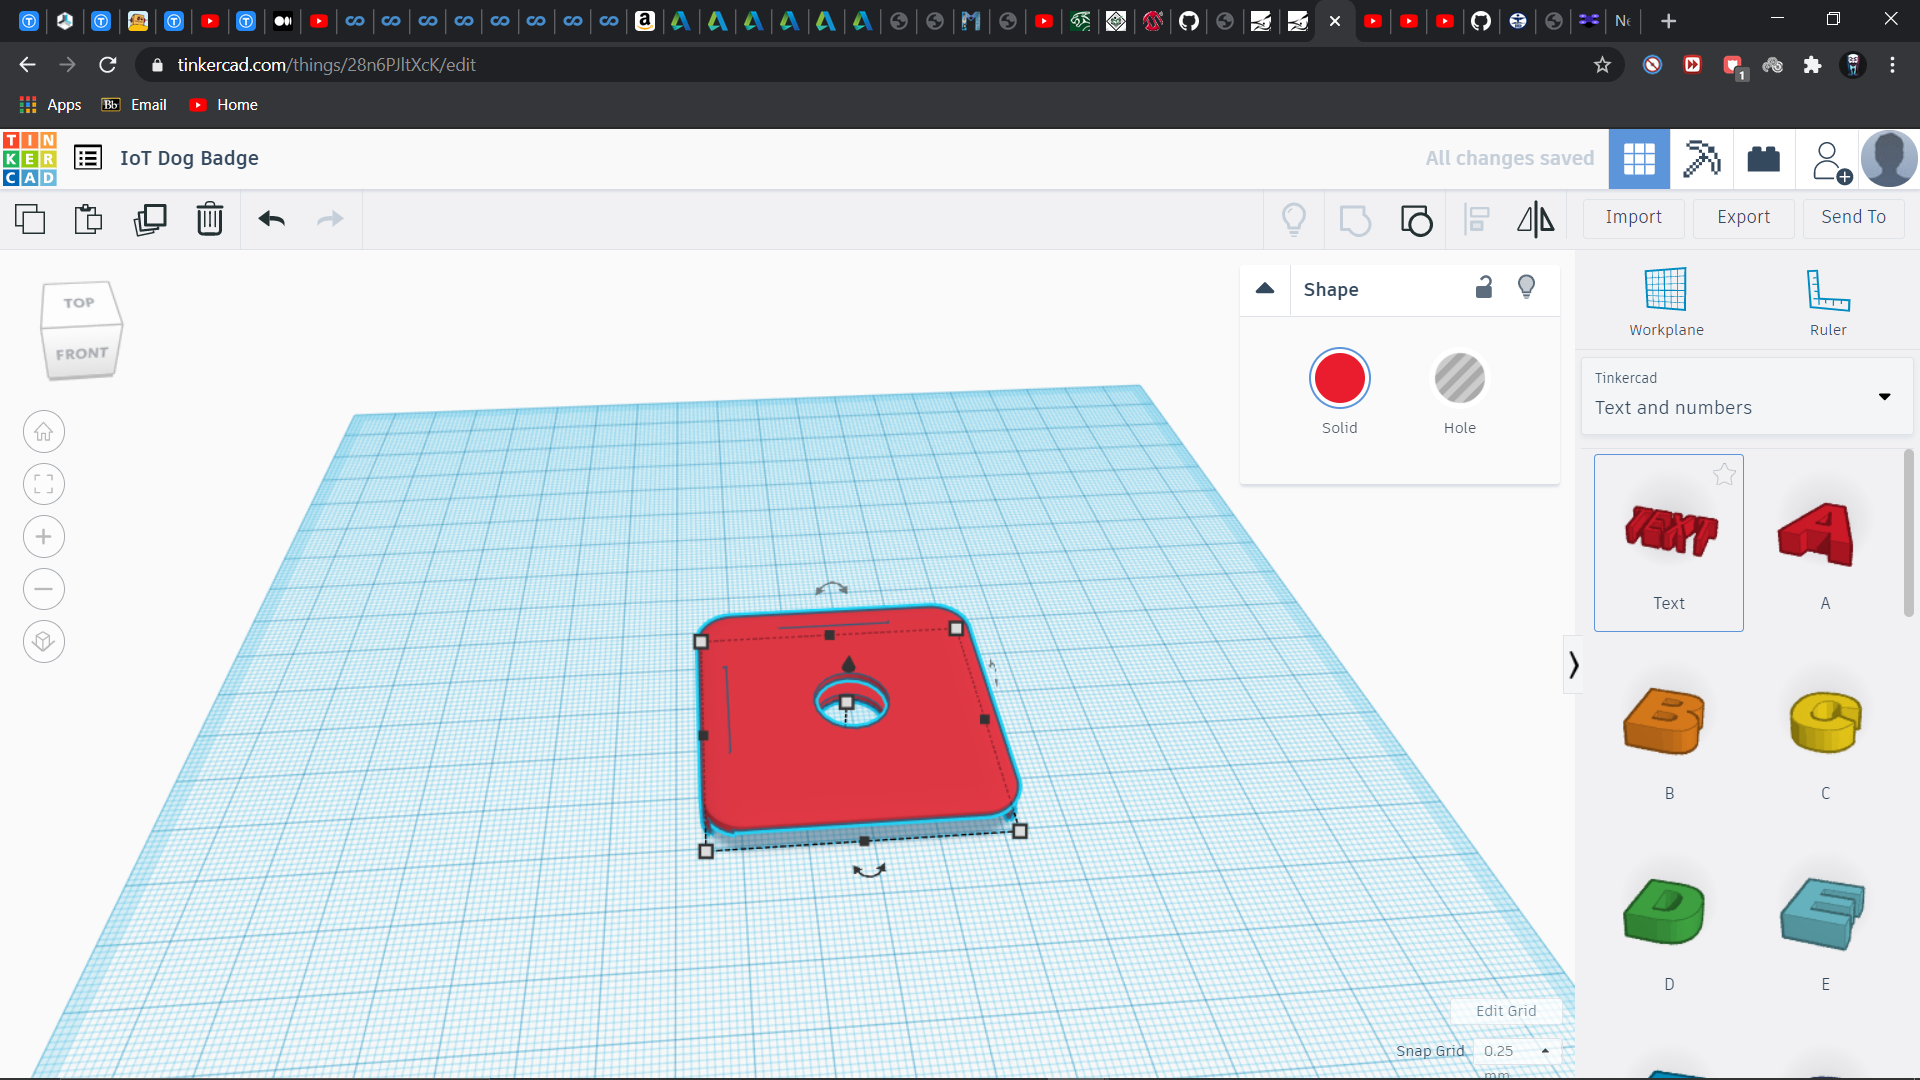
select the hole cylinder from Basic Shapes dropdown and just use your measurements to make a circular hole in the main workpiece.
The basic sleeve is now ready. It's time for making loops for attaching it to dogs collar band or dress.
we just have to select the Torus from Basic Shapes and adjust its size according to your model
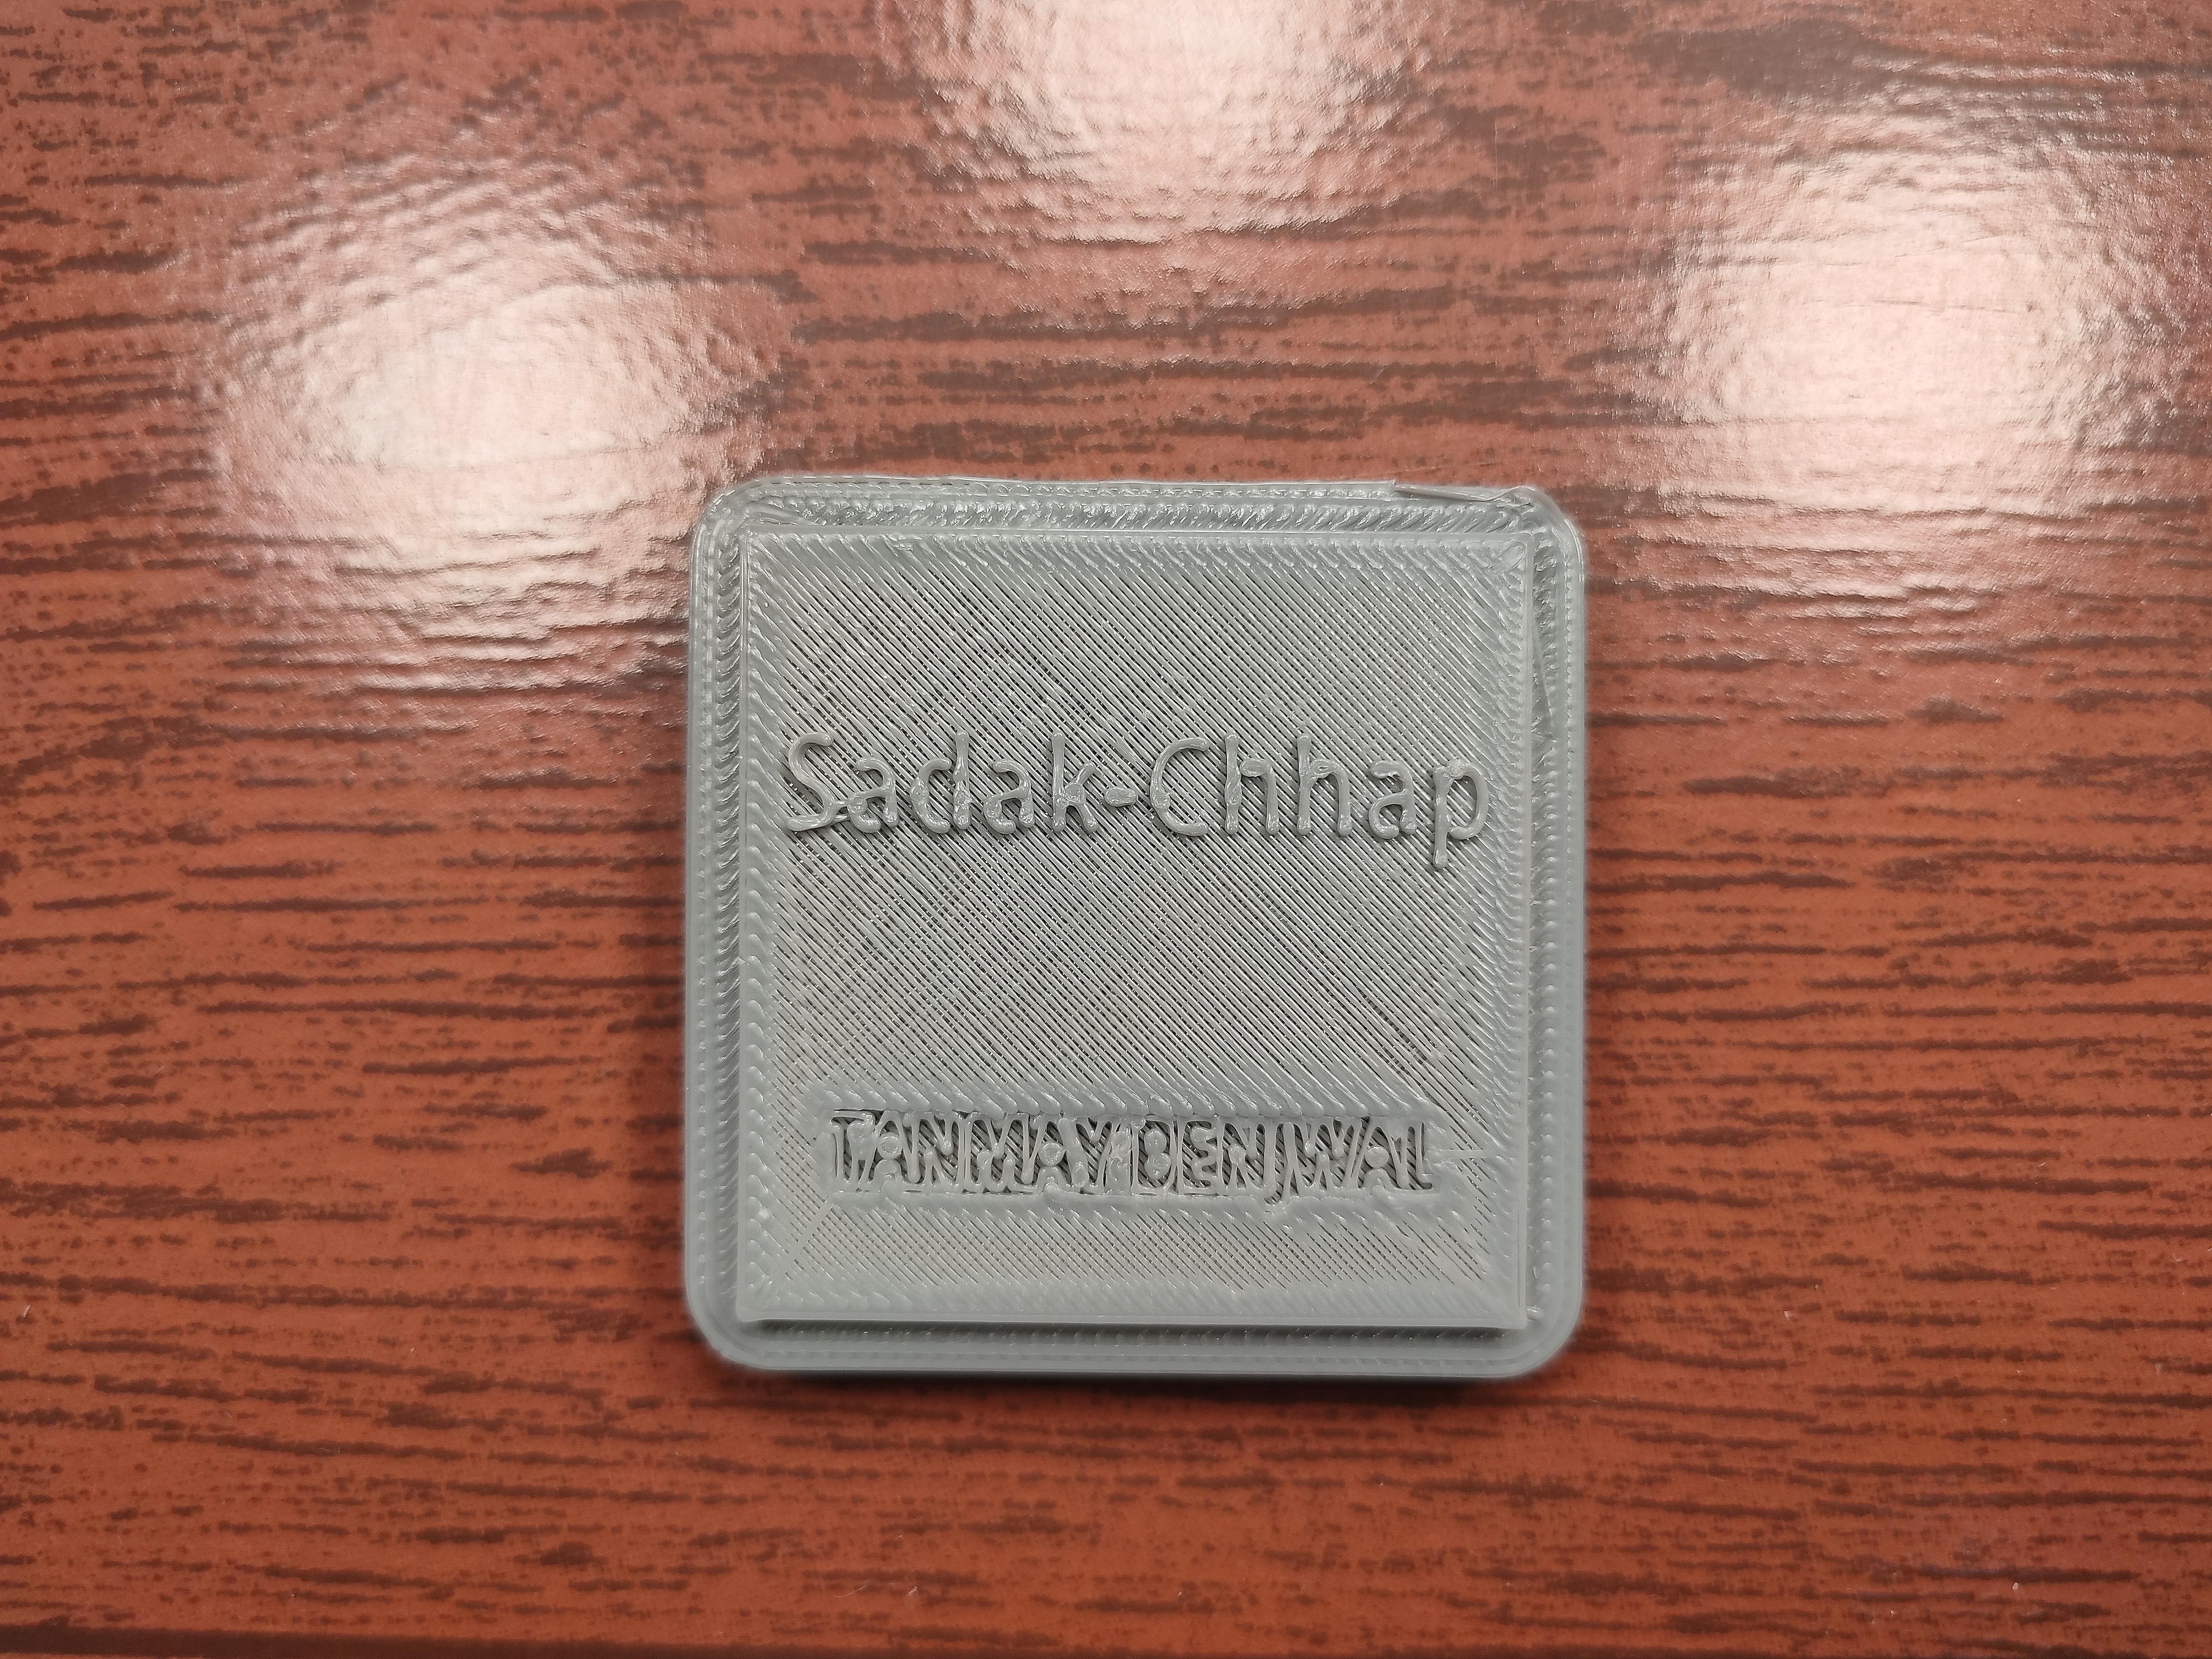
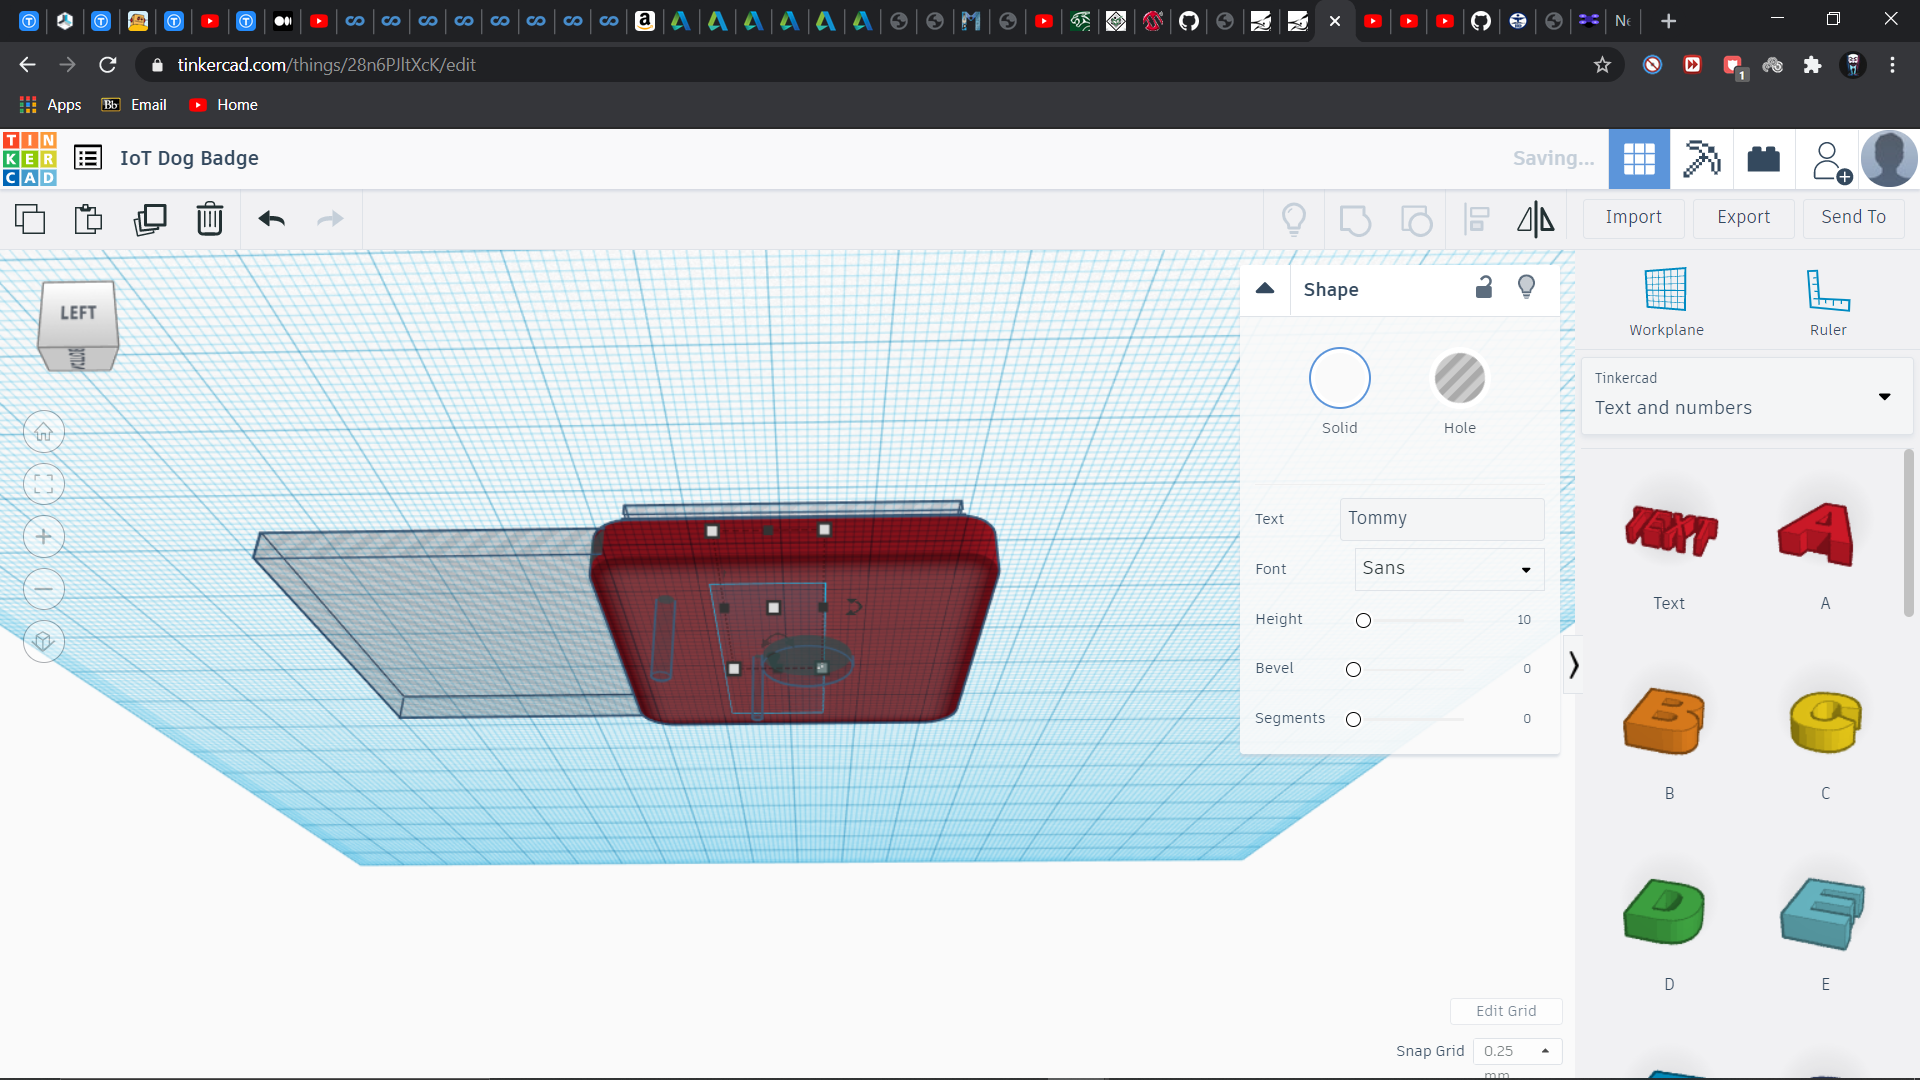
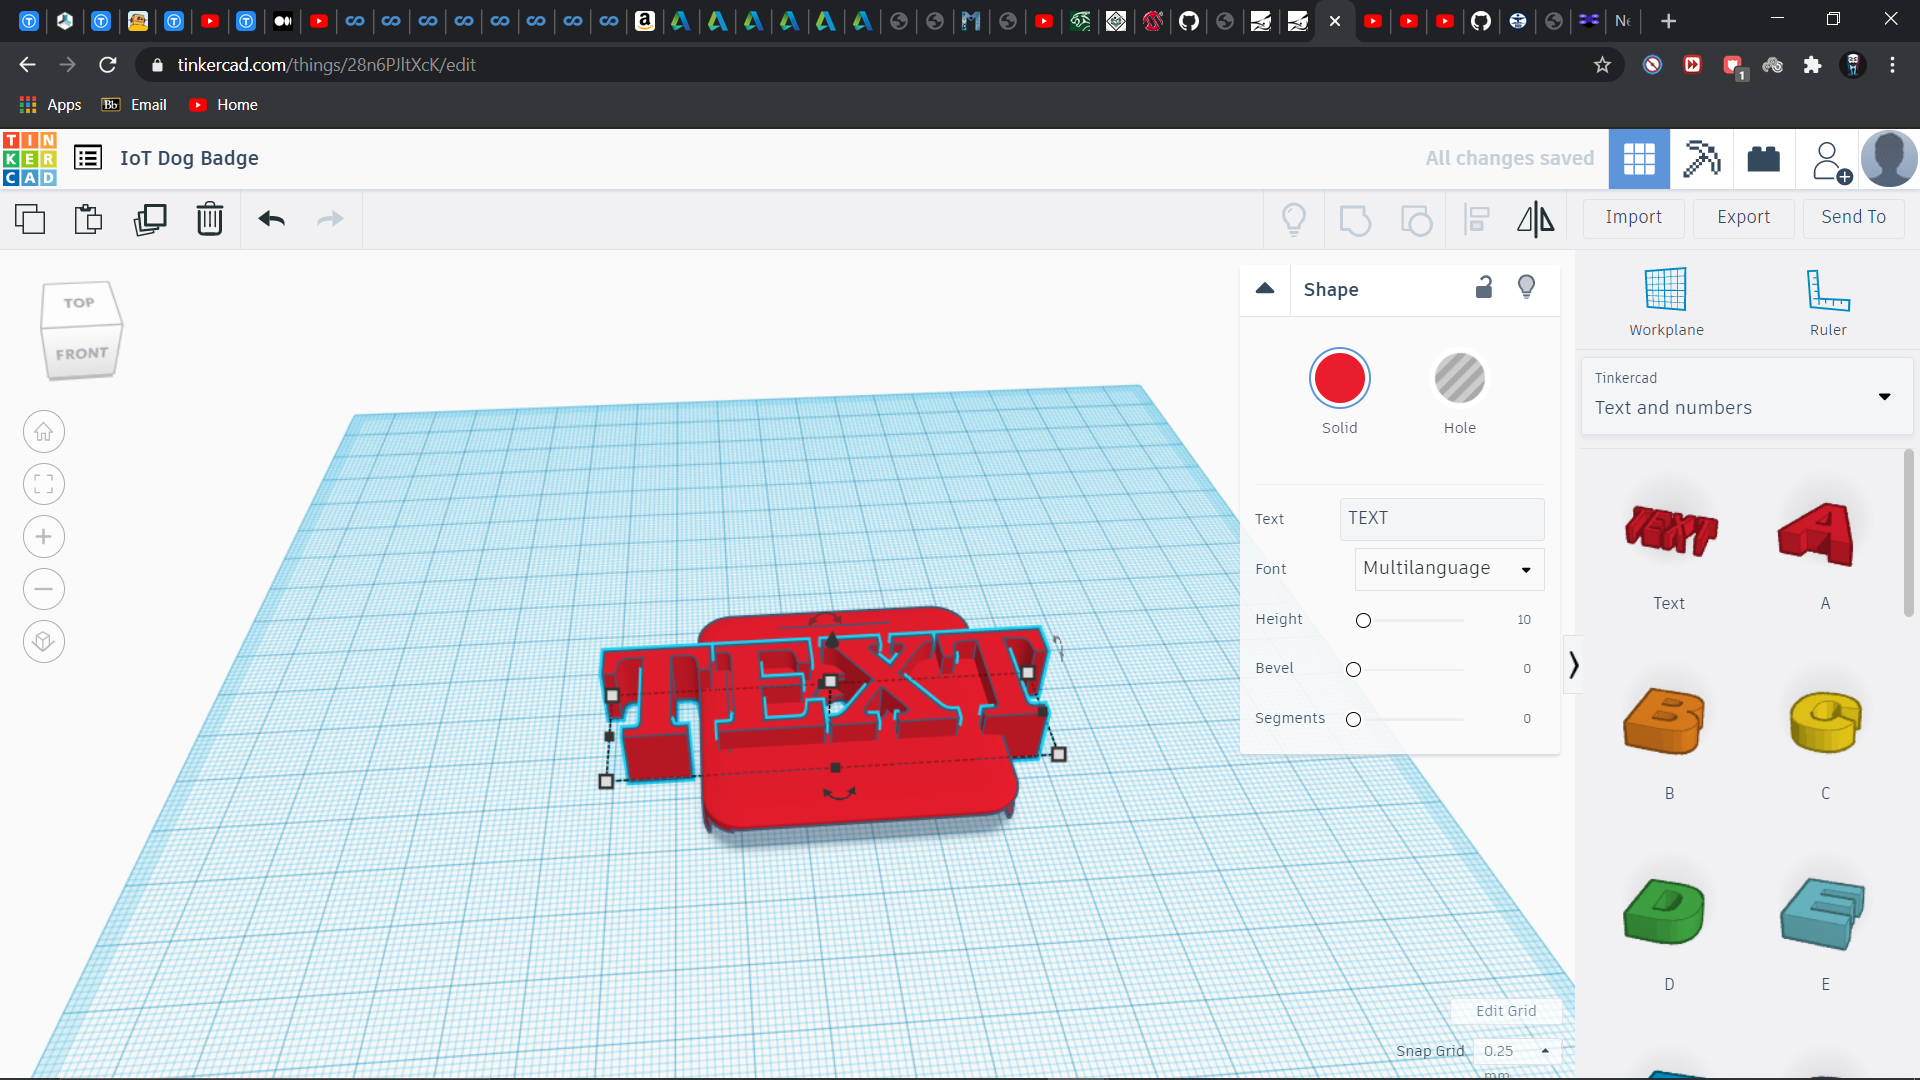
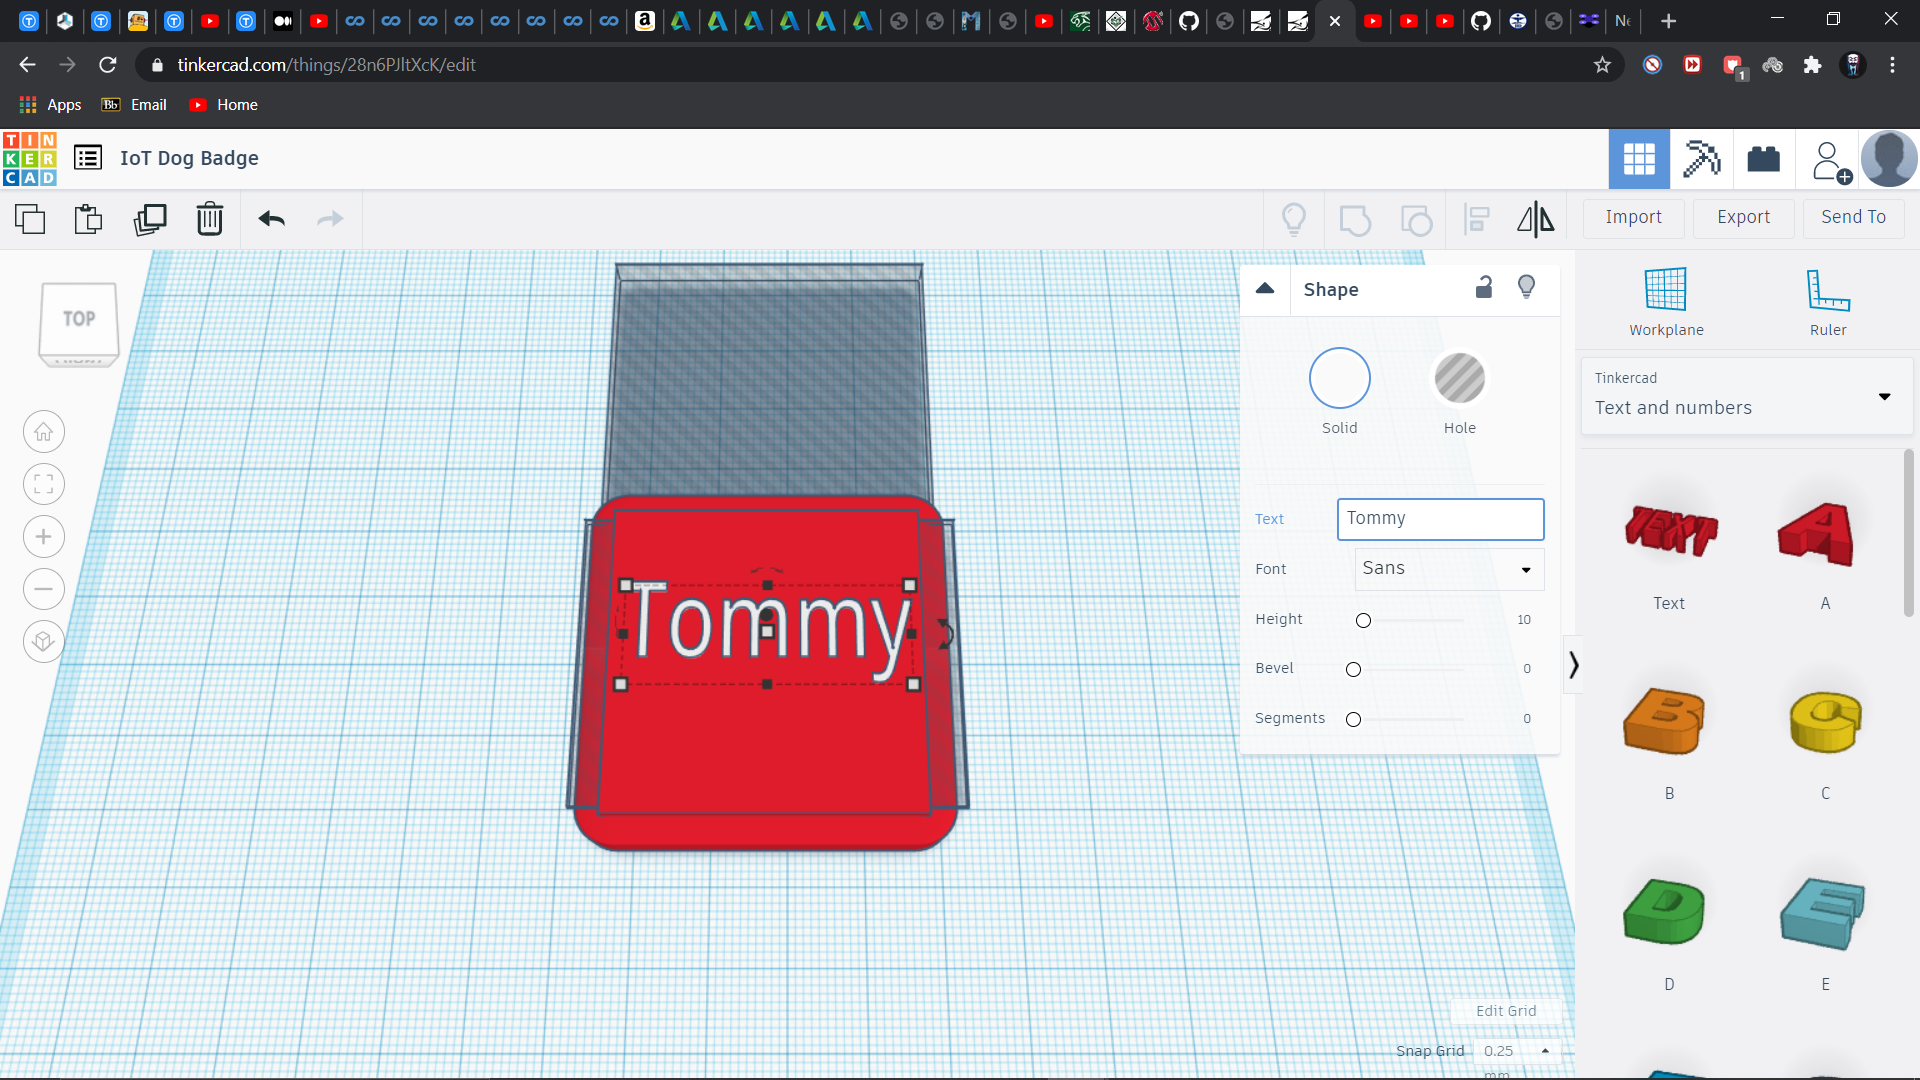
Write your desired name using Text under Text and Number and place it over the surface of the model.
Select all and Group them
now click Export and download the .stl files for 3D printing
PS: Please refer to the pictures uploaded for visual guide as well
3D Printing
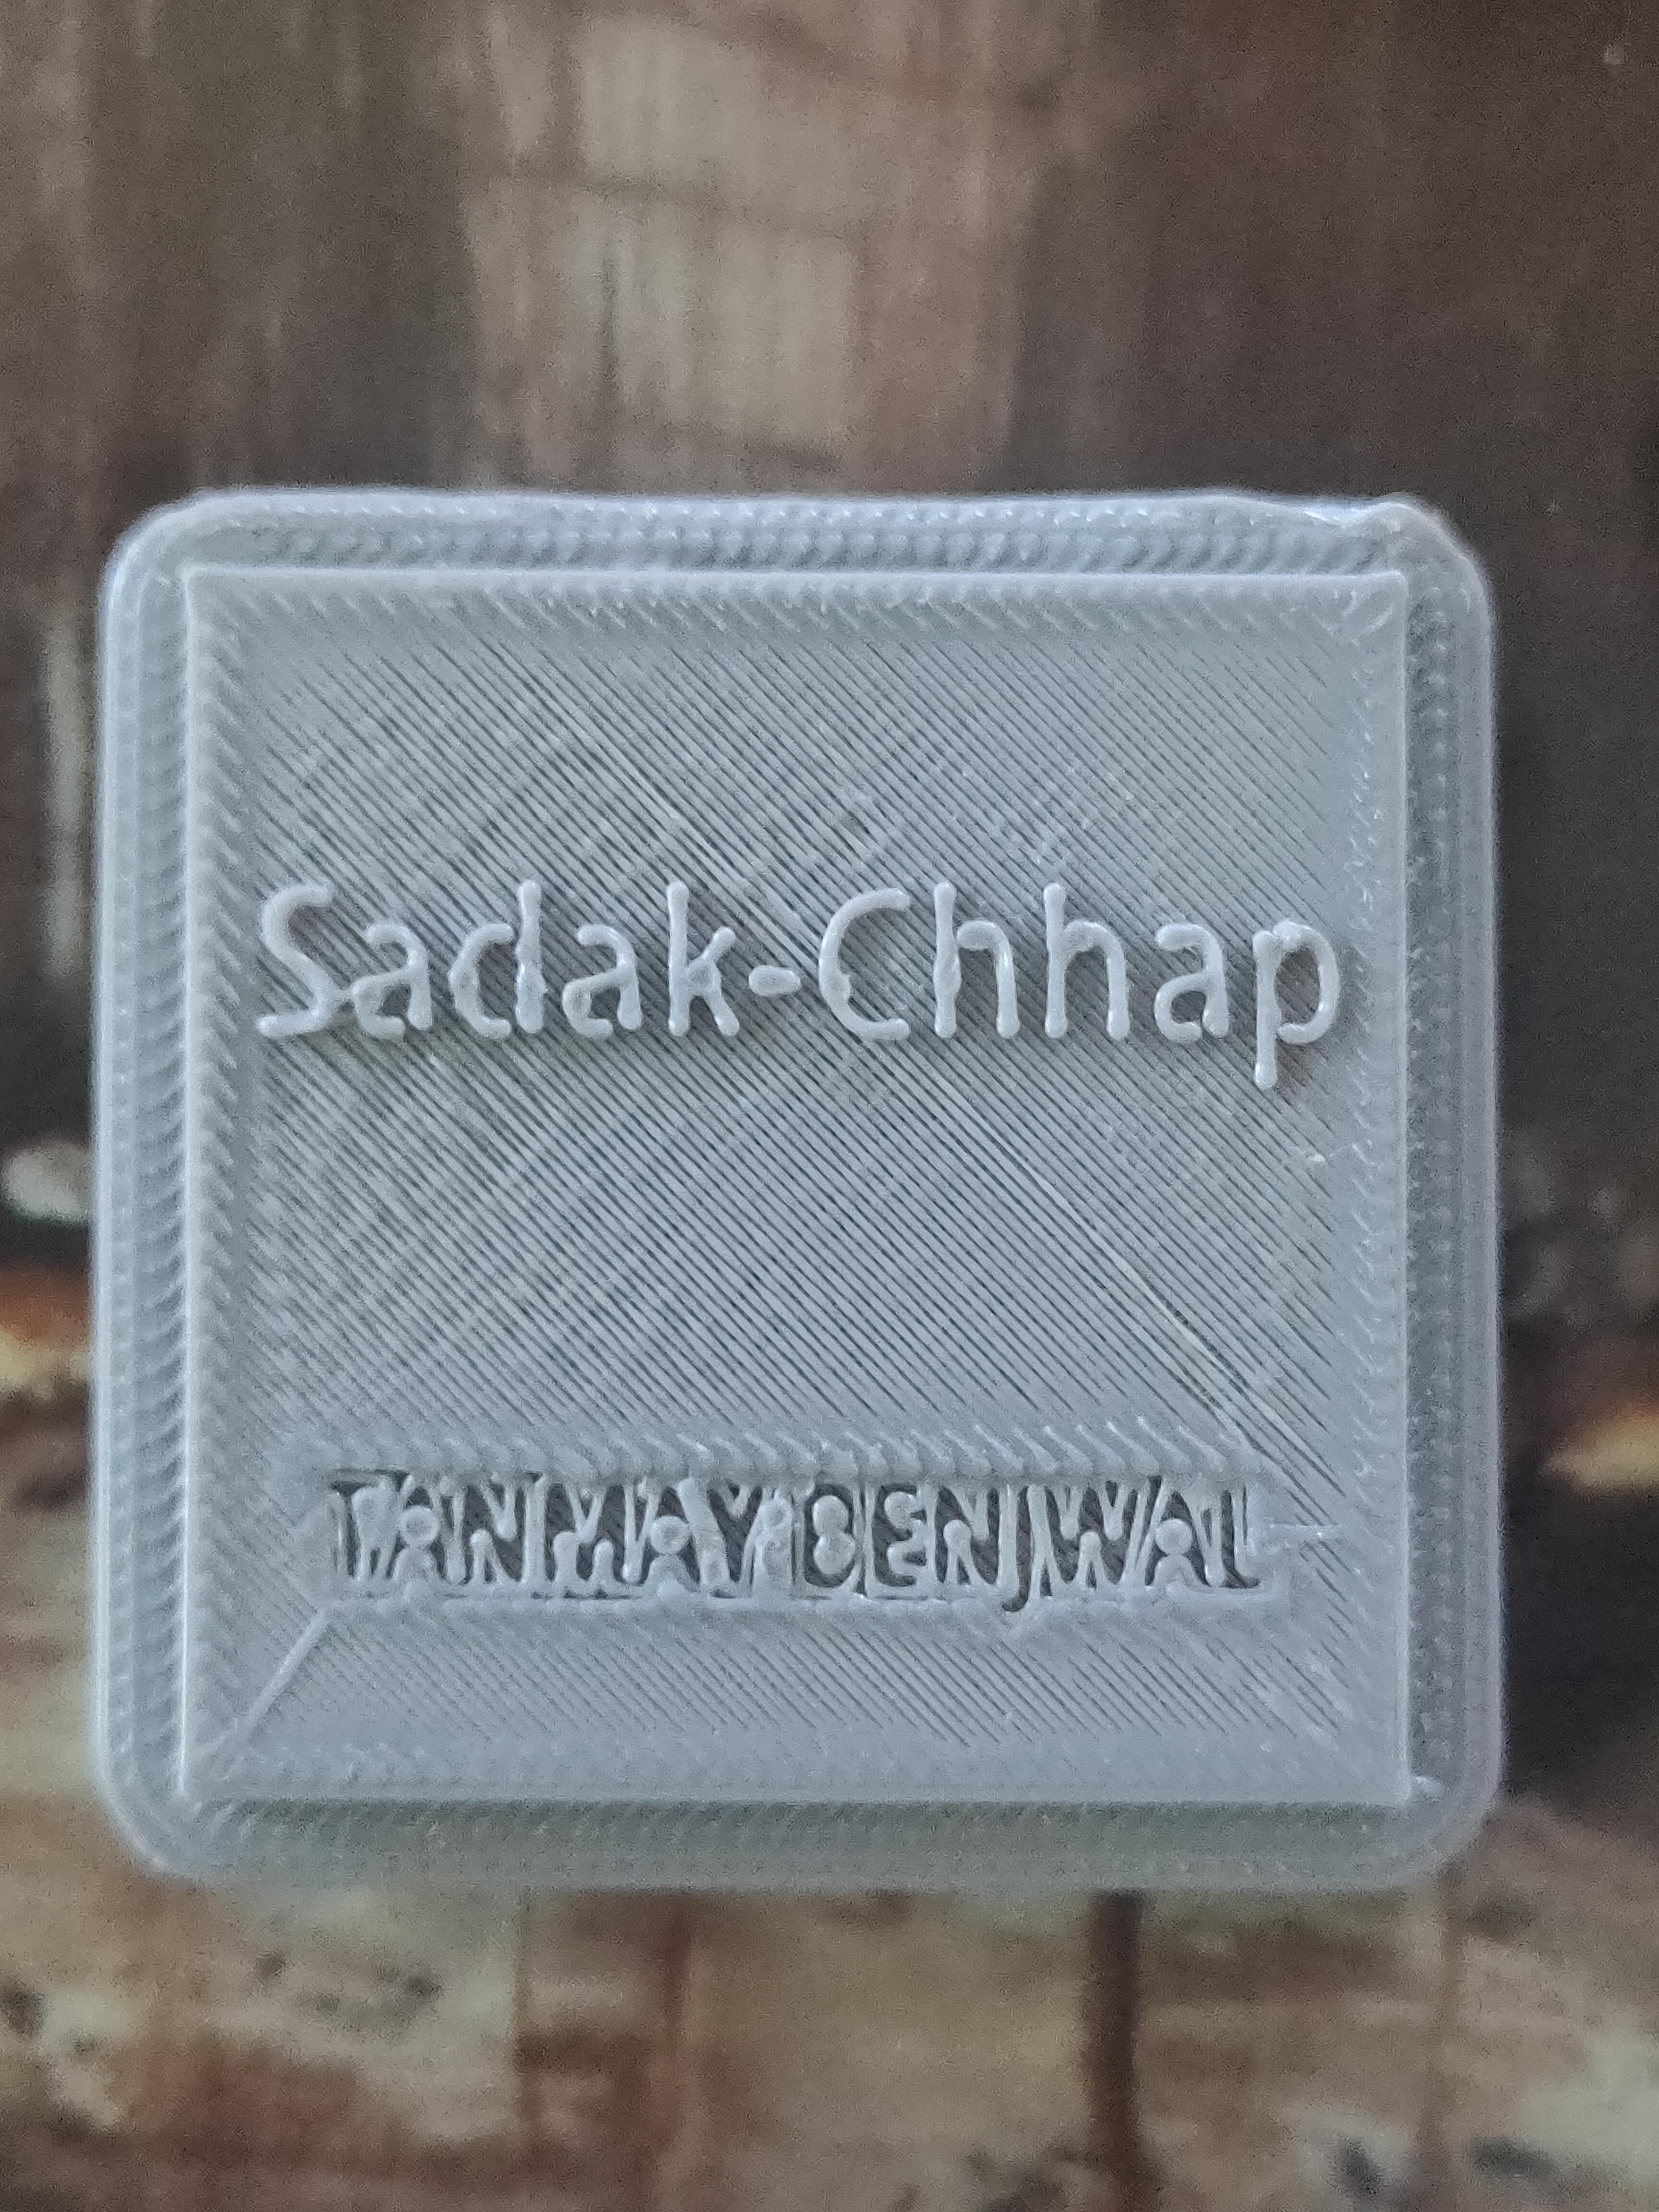
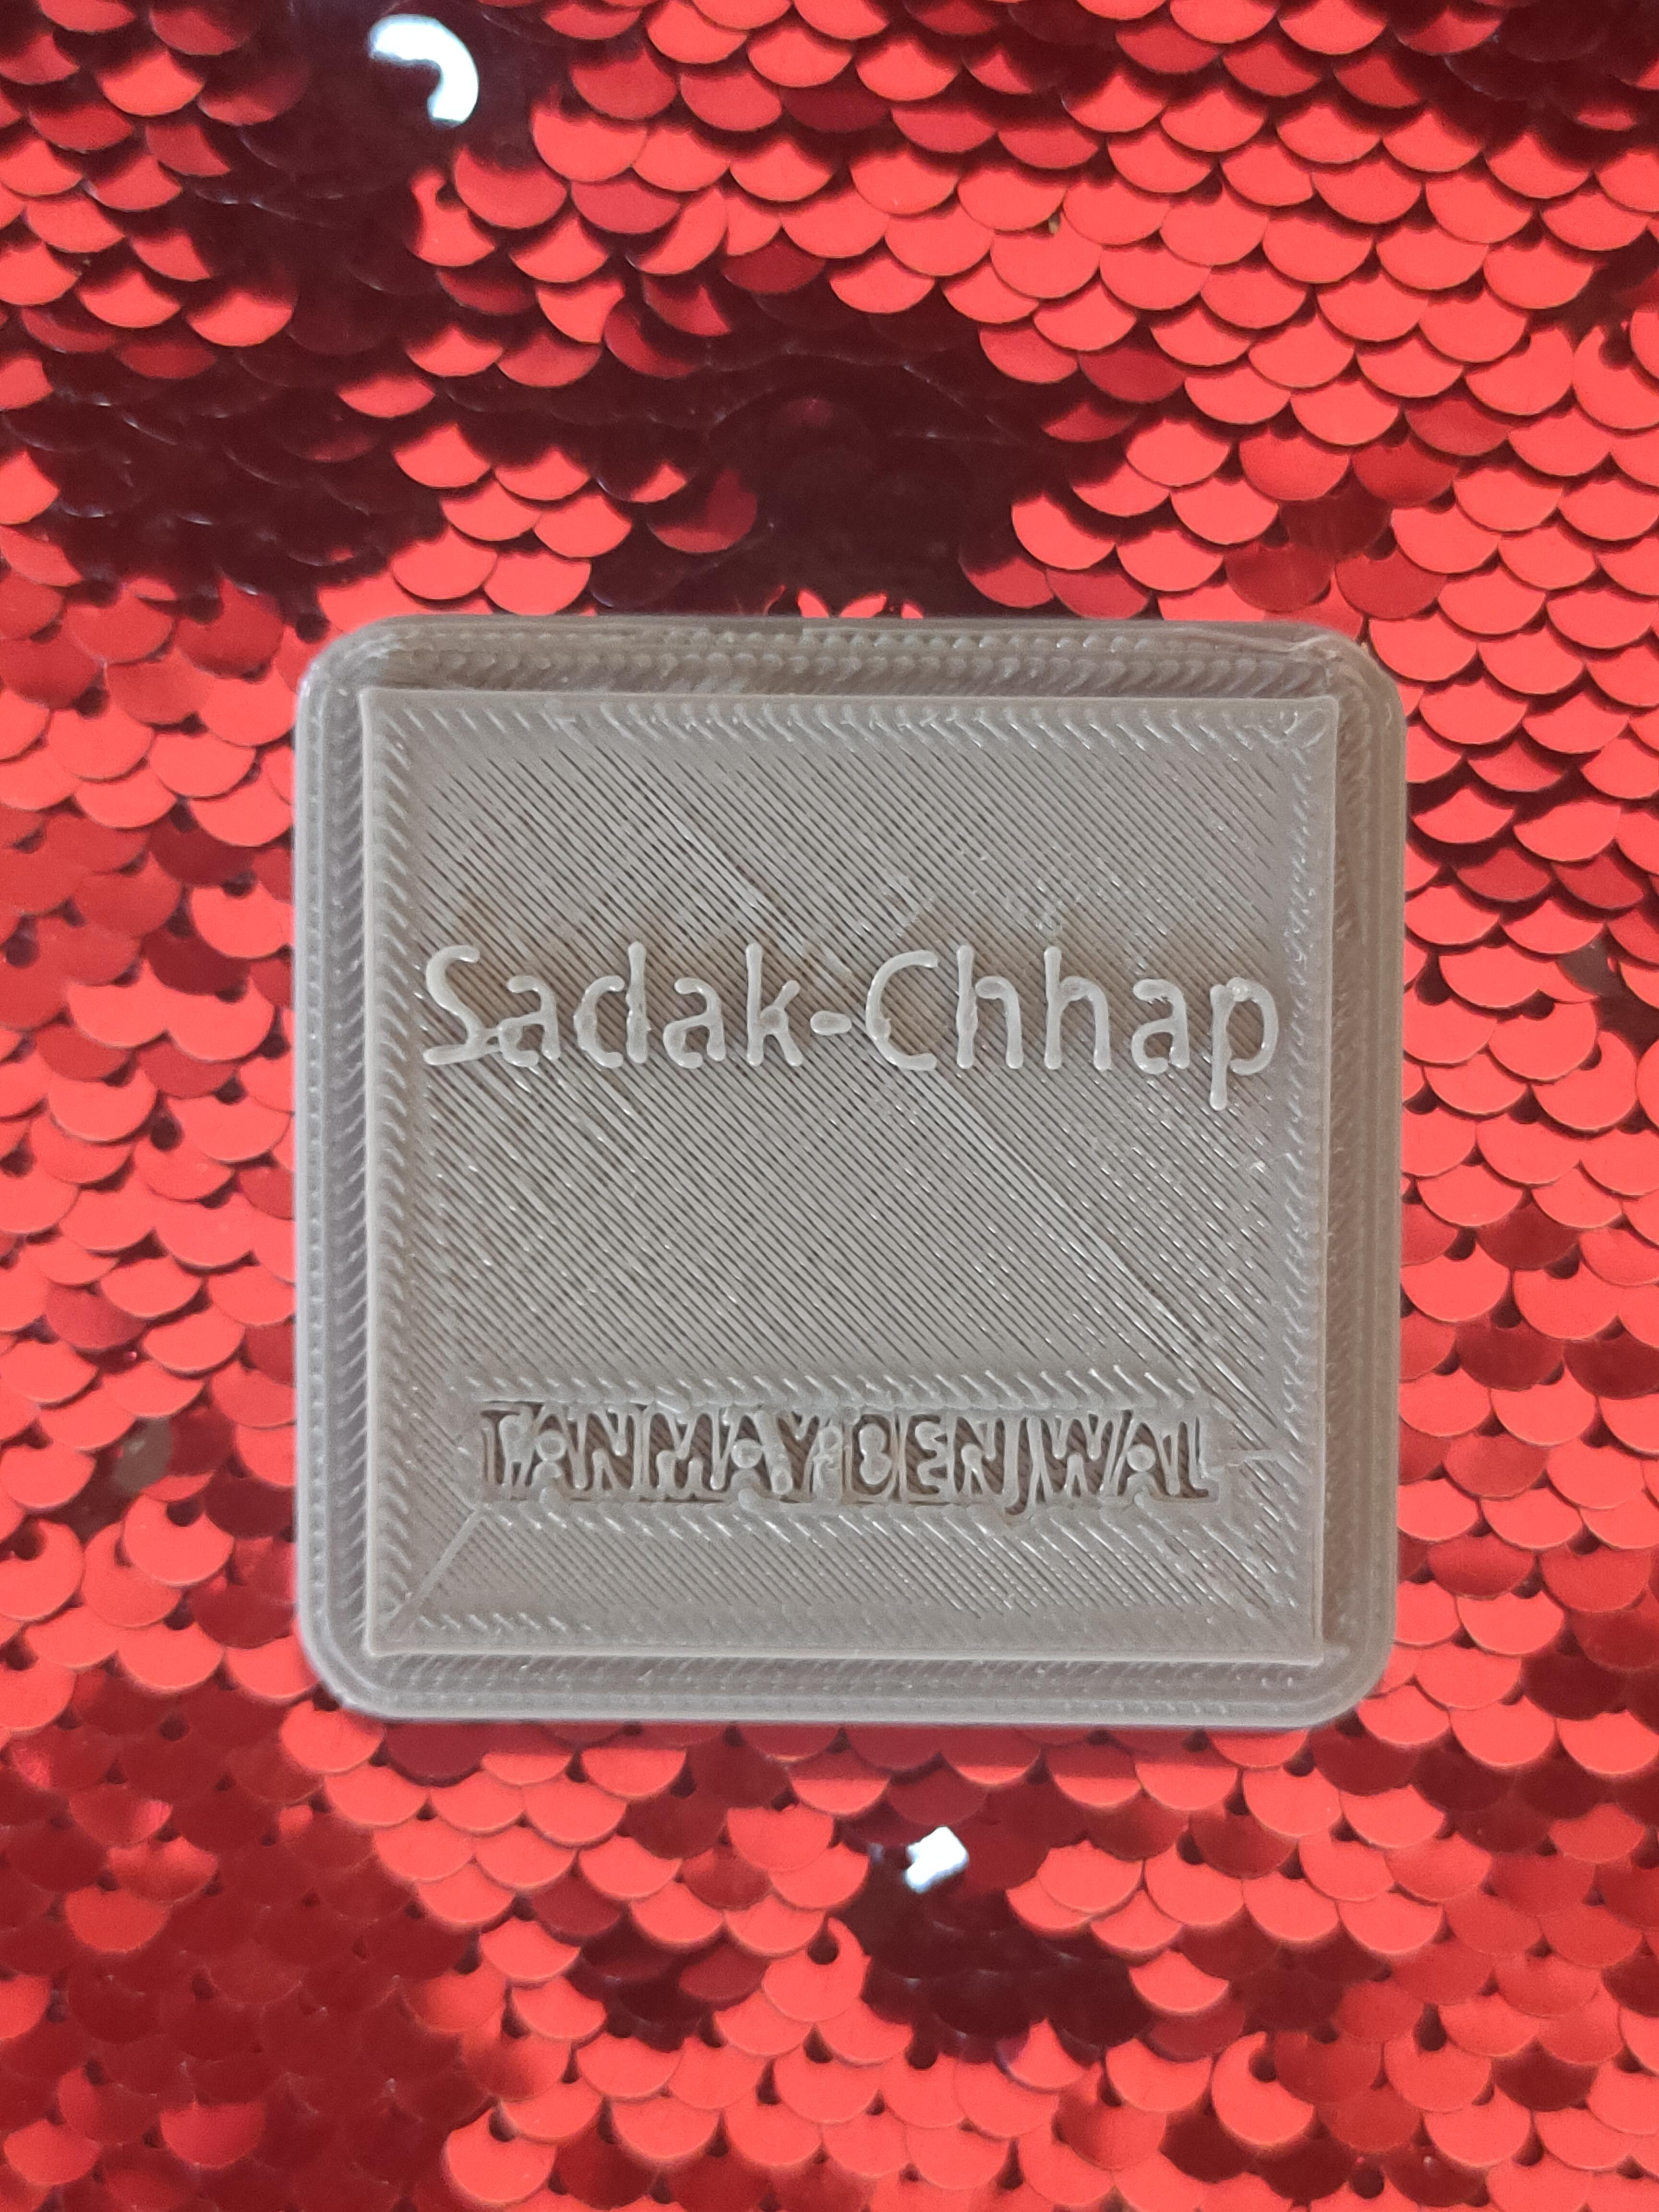
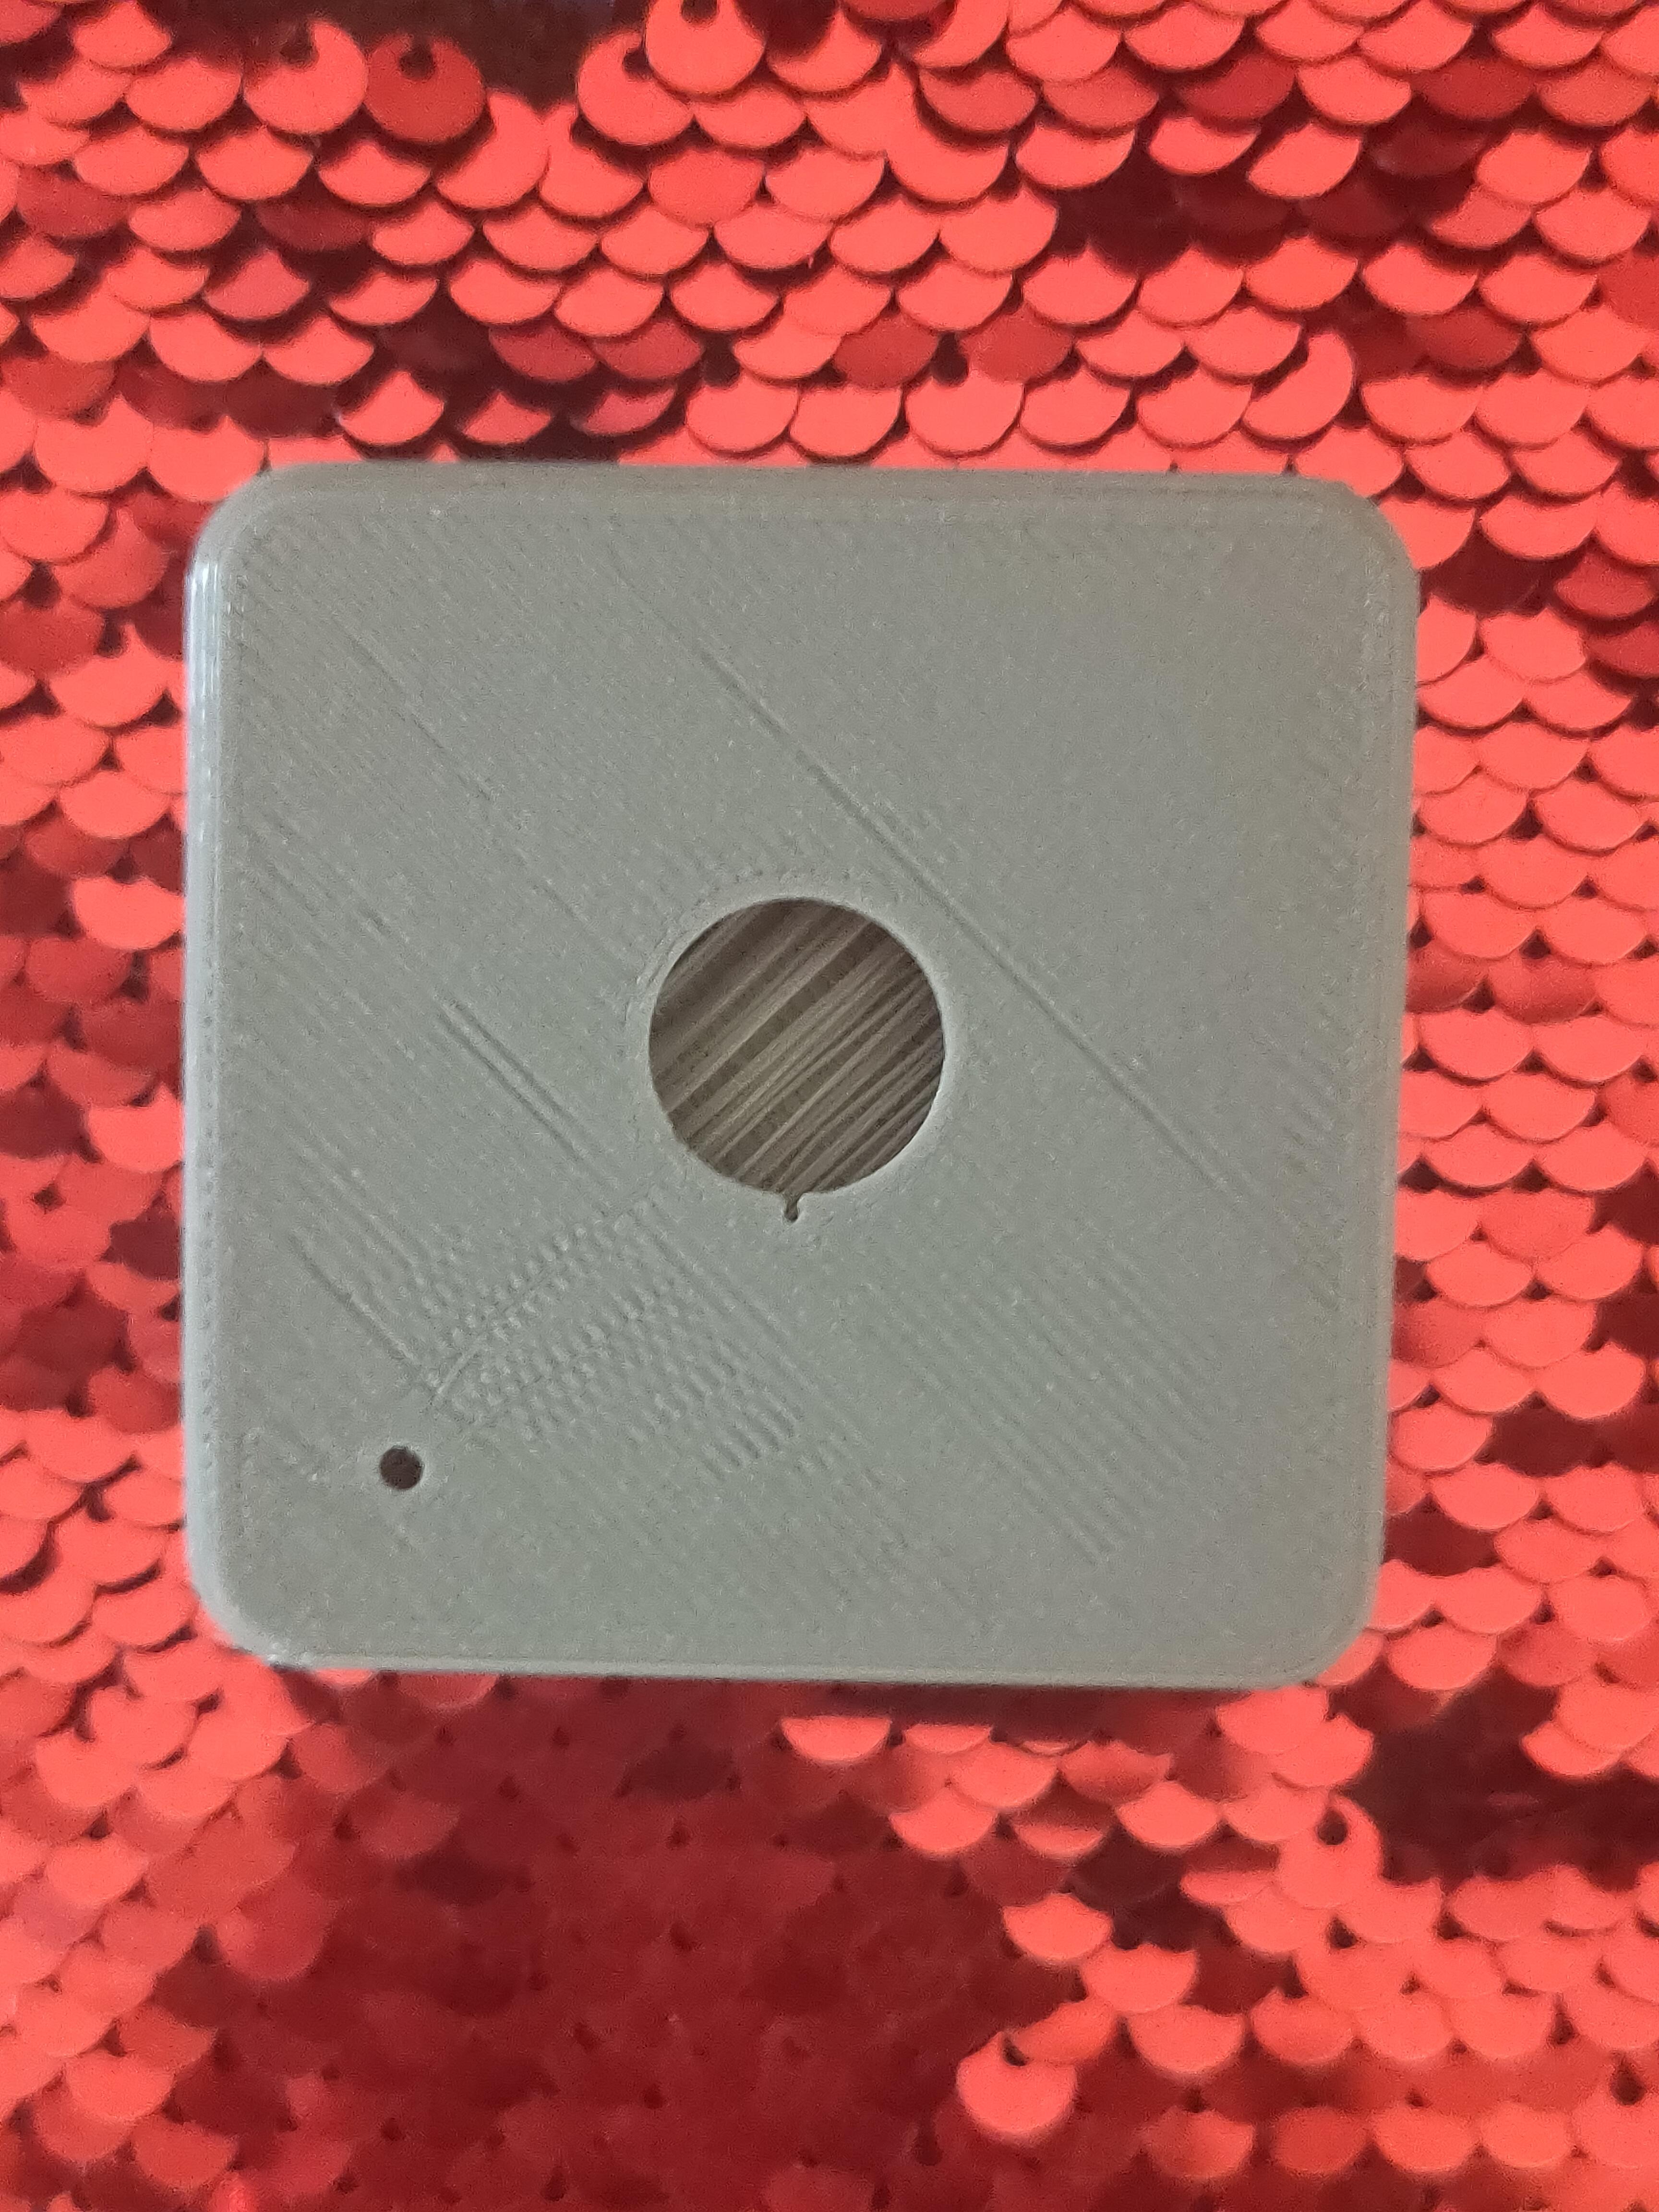
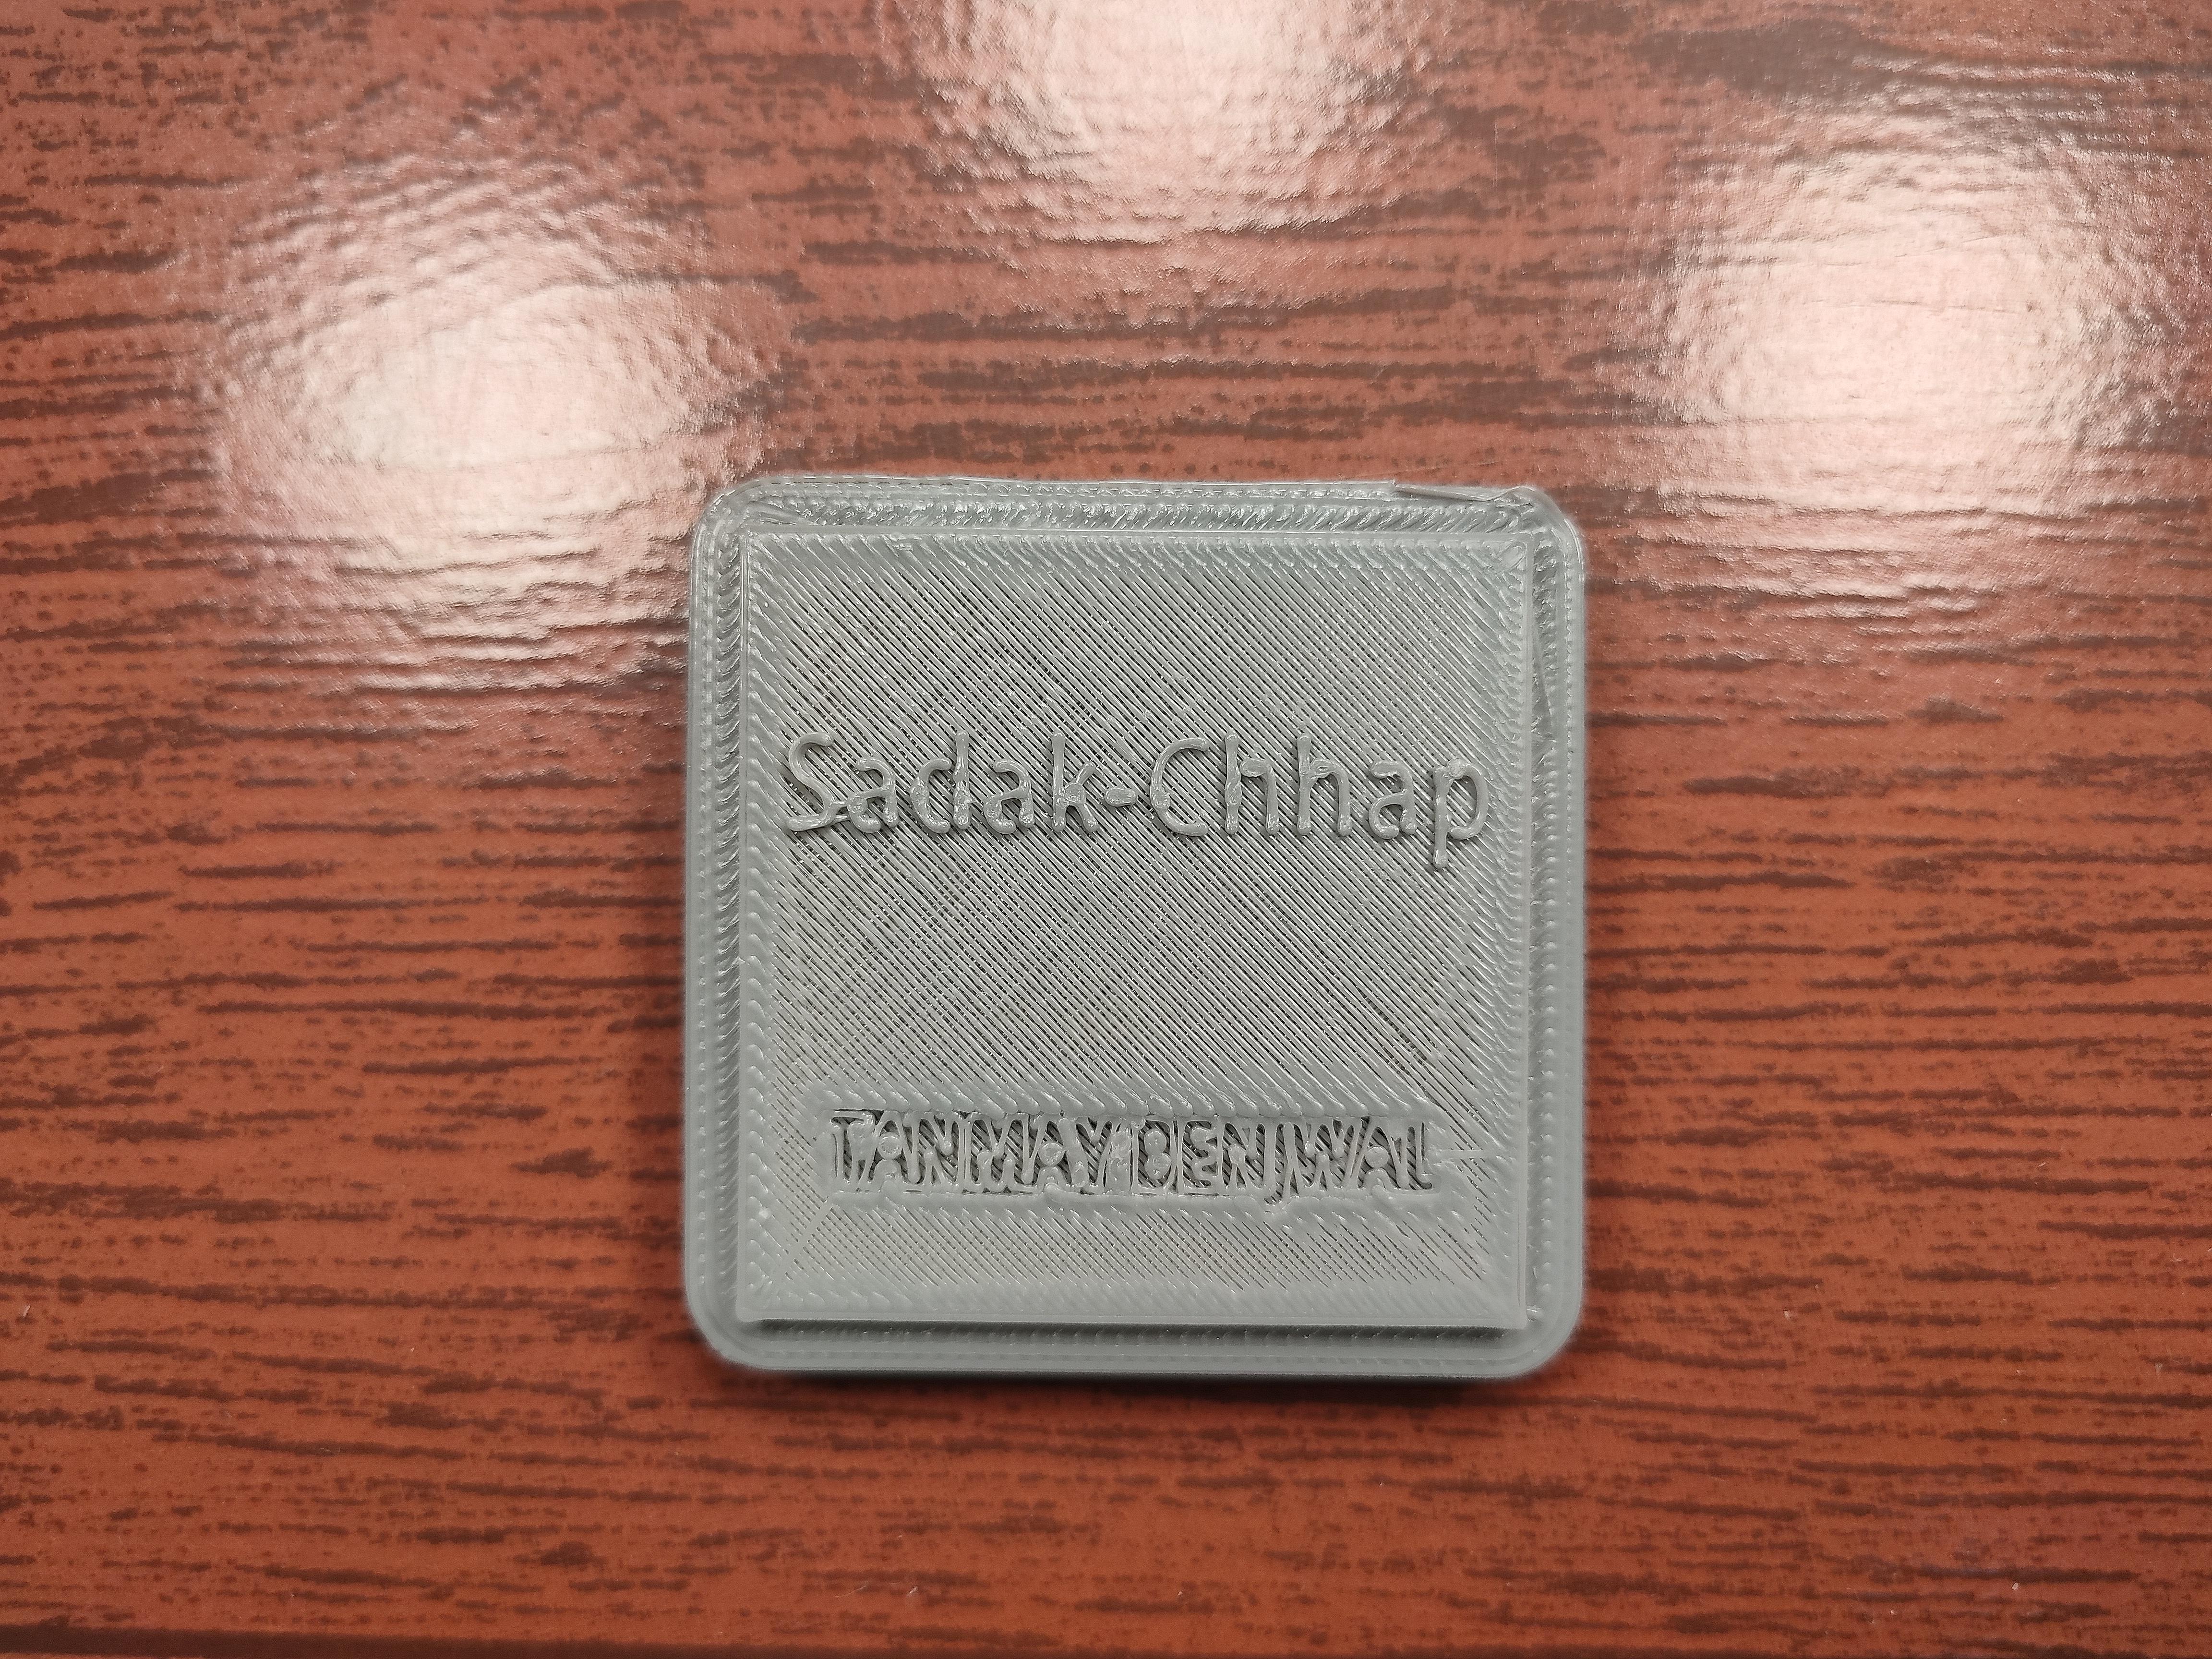
Now just open the exported files in your slicer software and keep all the setting to normal, there is no need to change anything
layer height- 0.2mm
speed- 80mm/s
no brim or support needed
Assembly
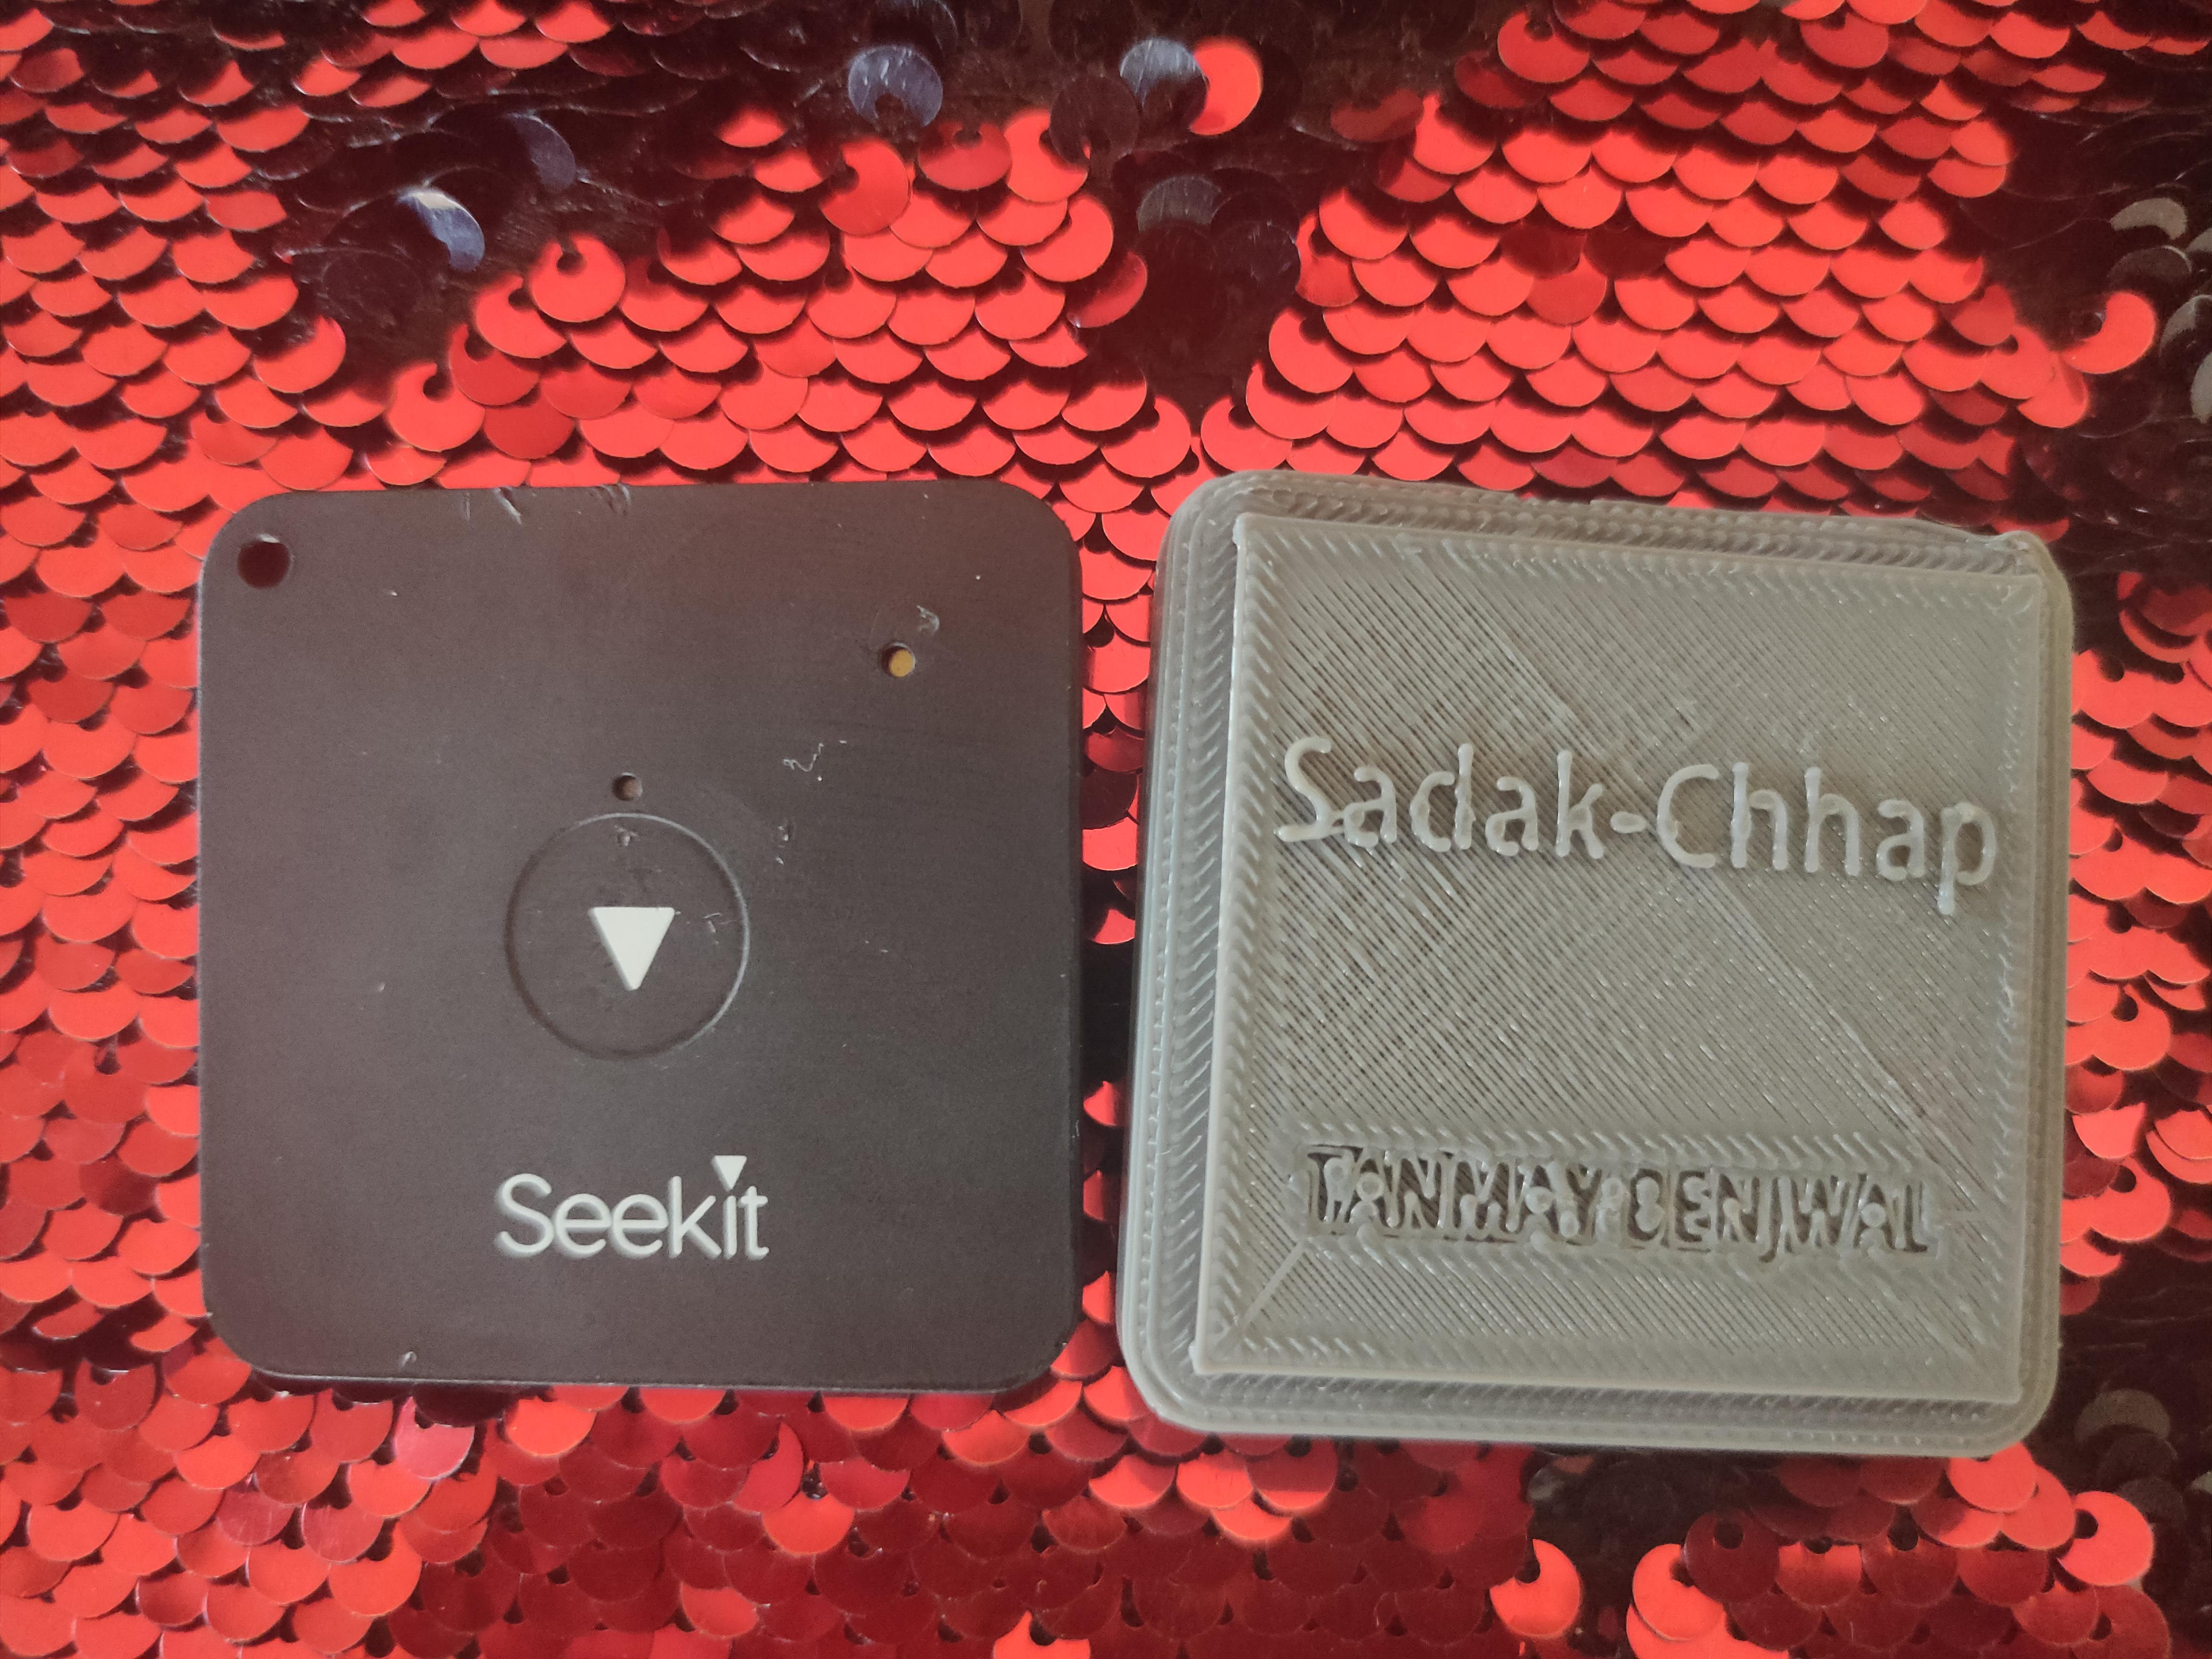
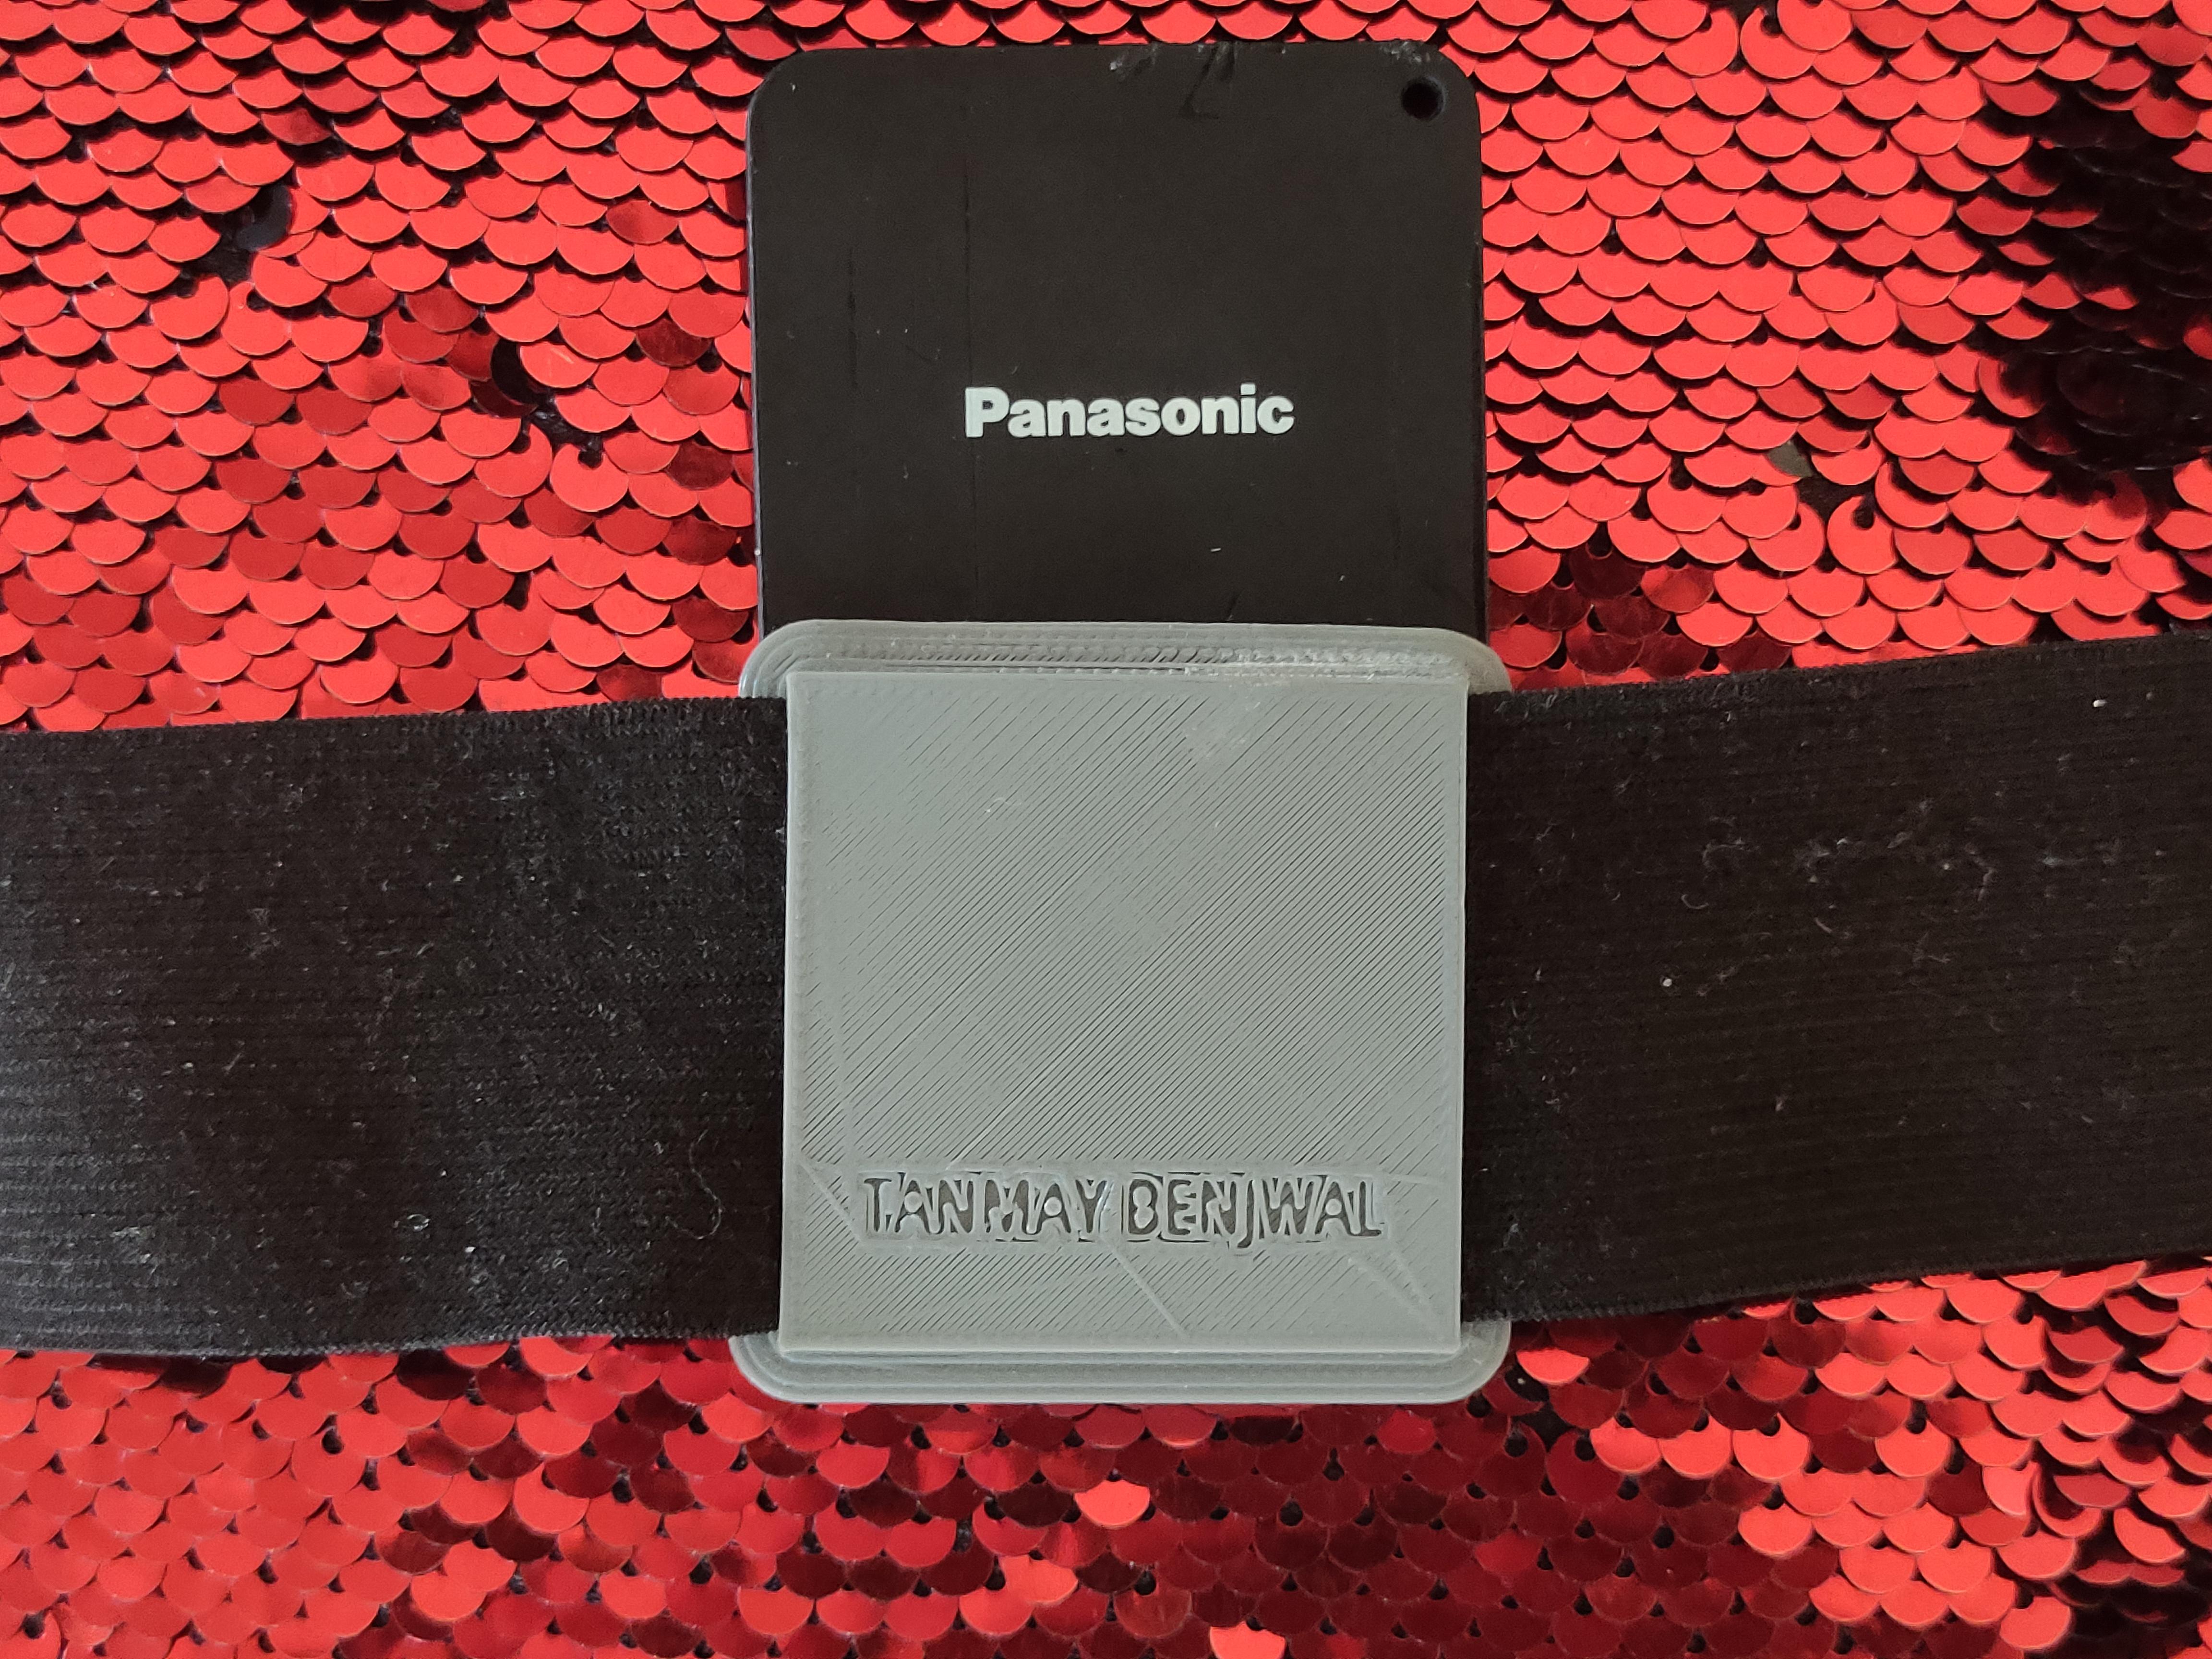
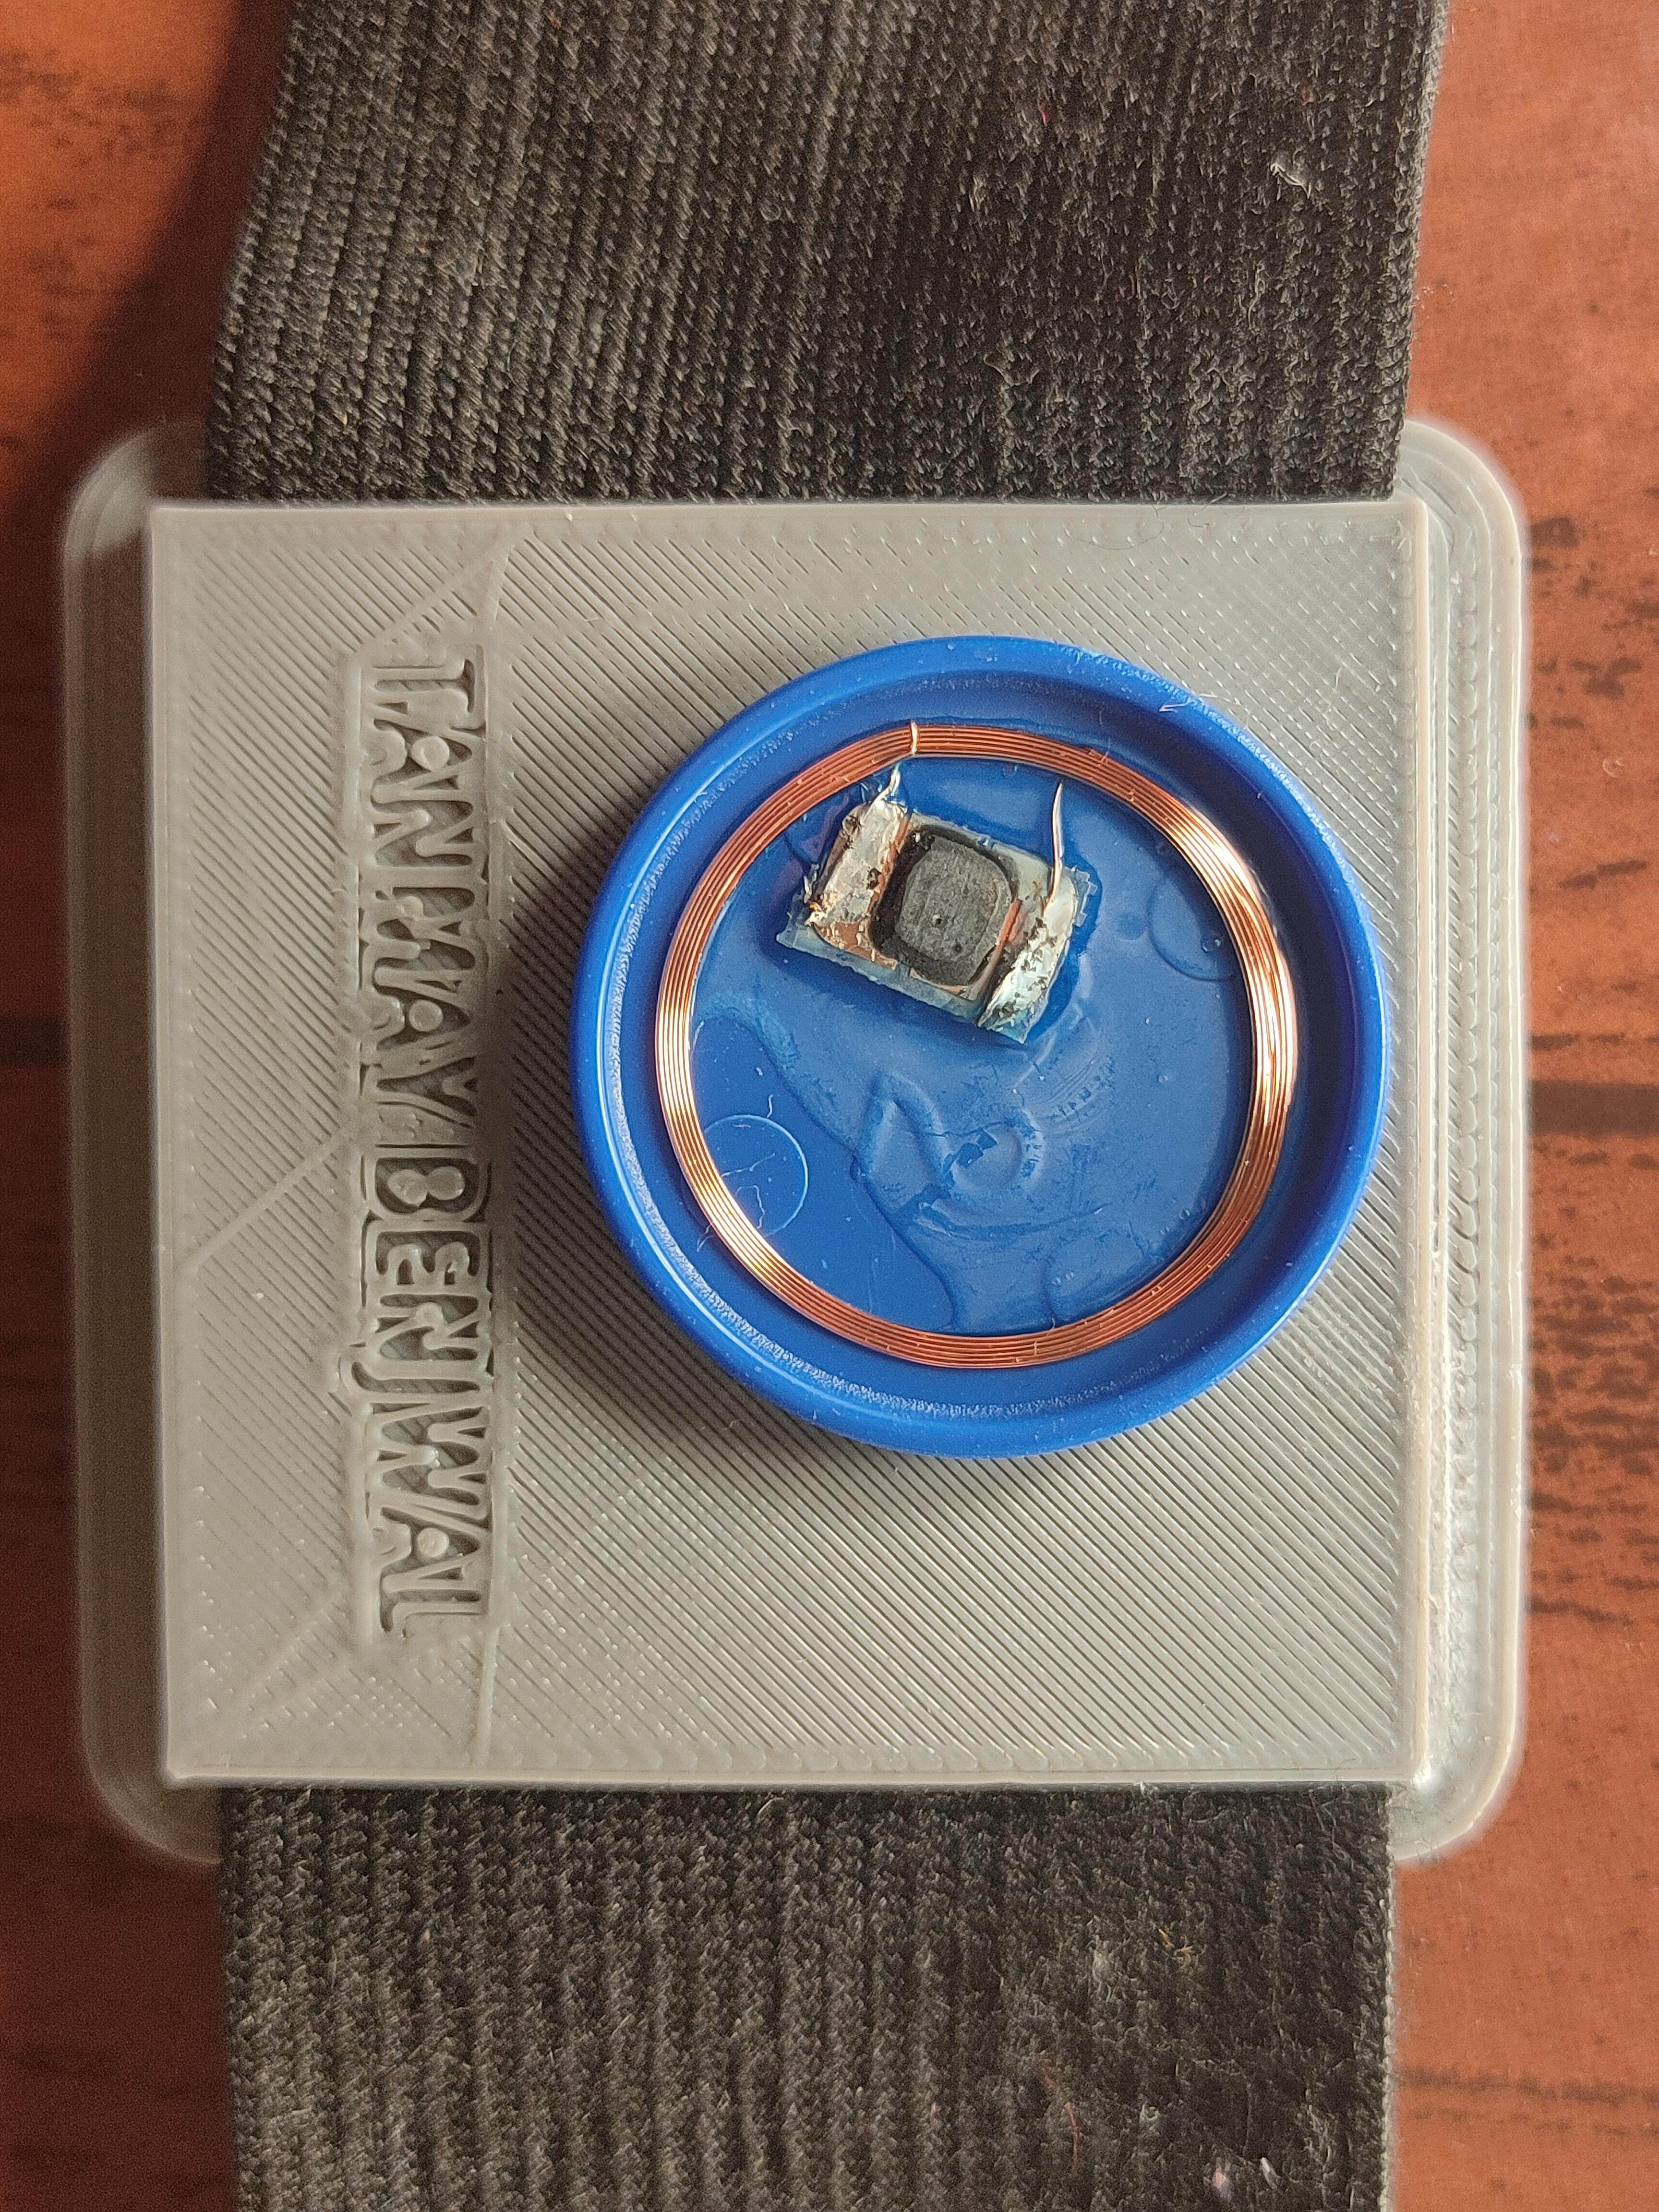
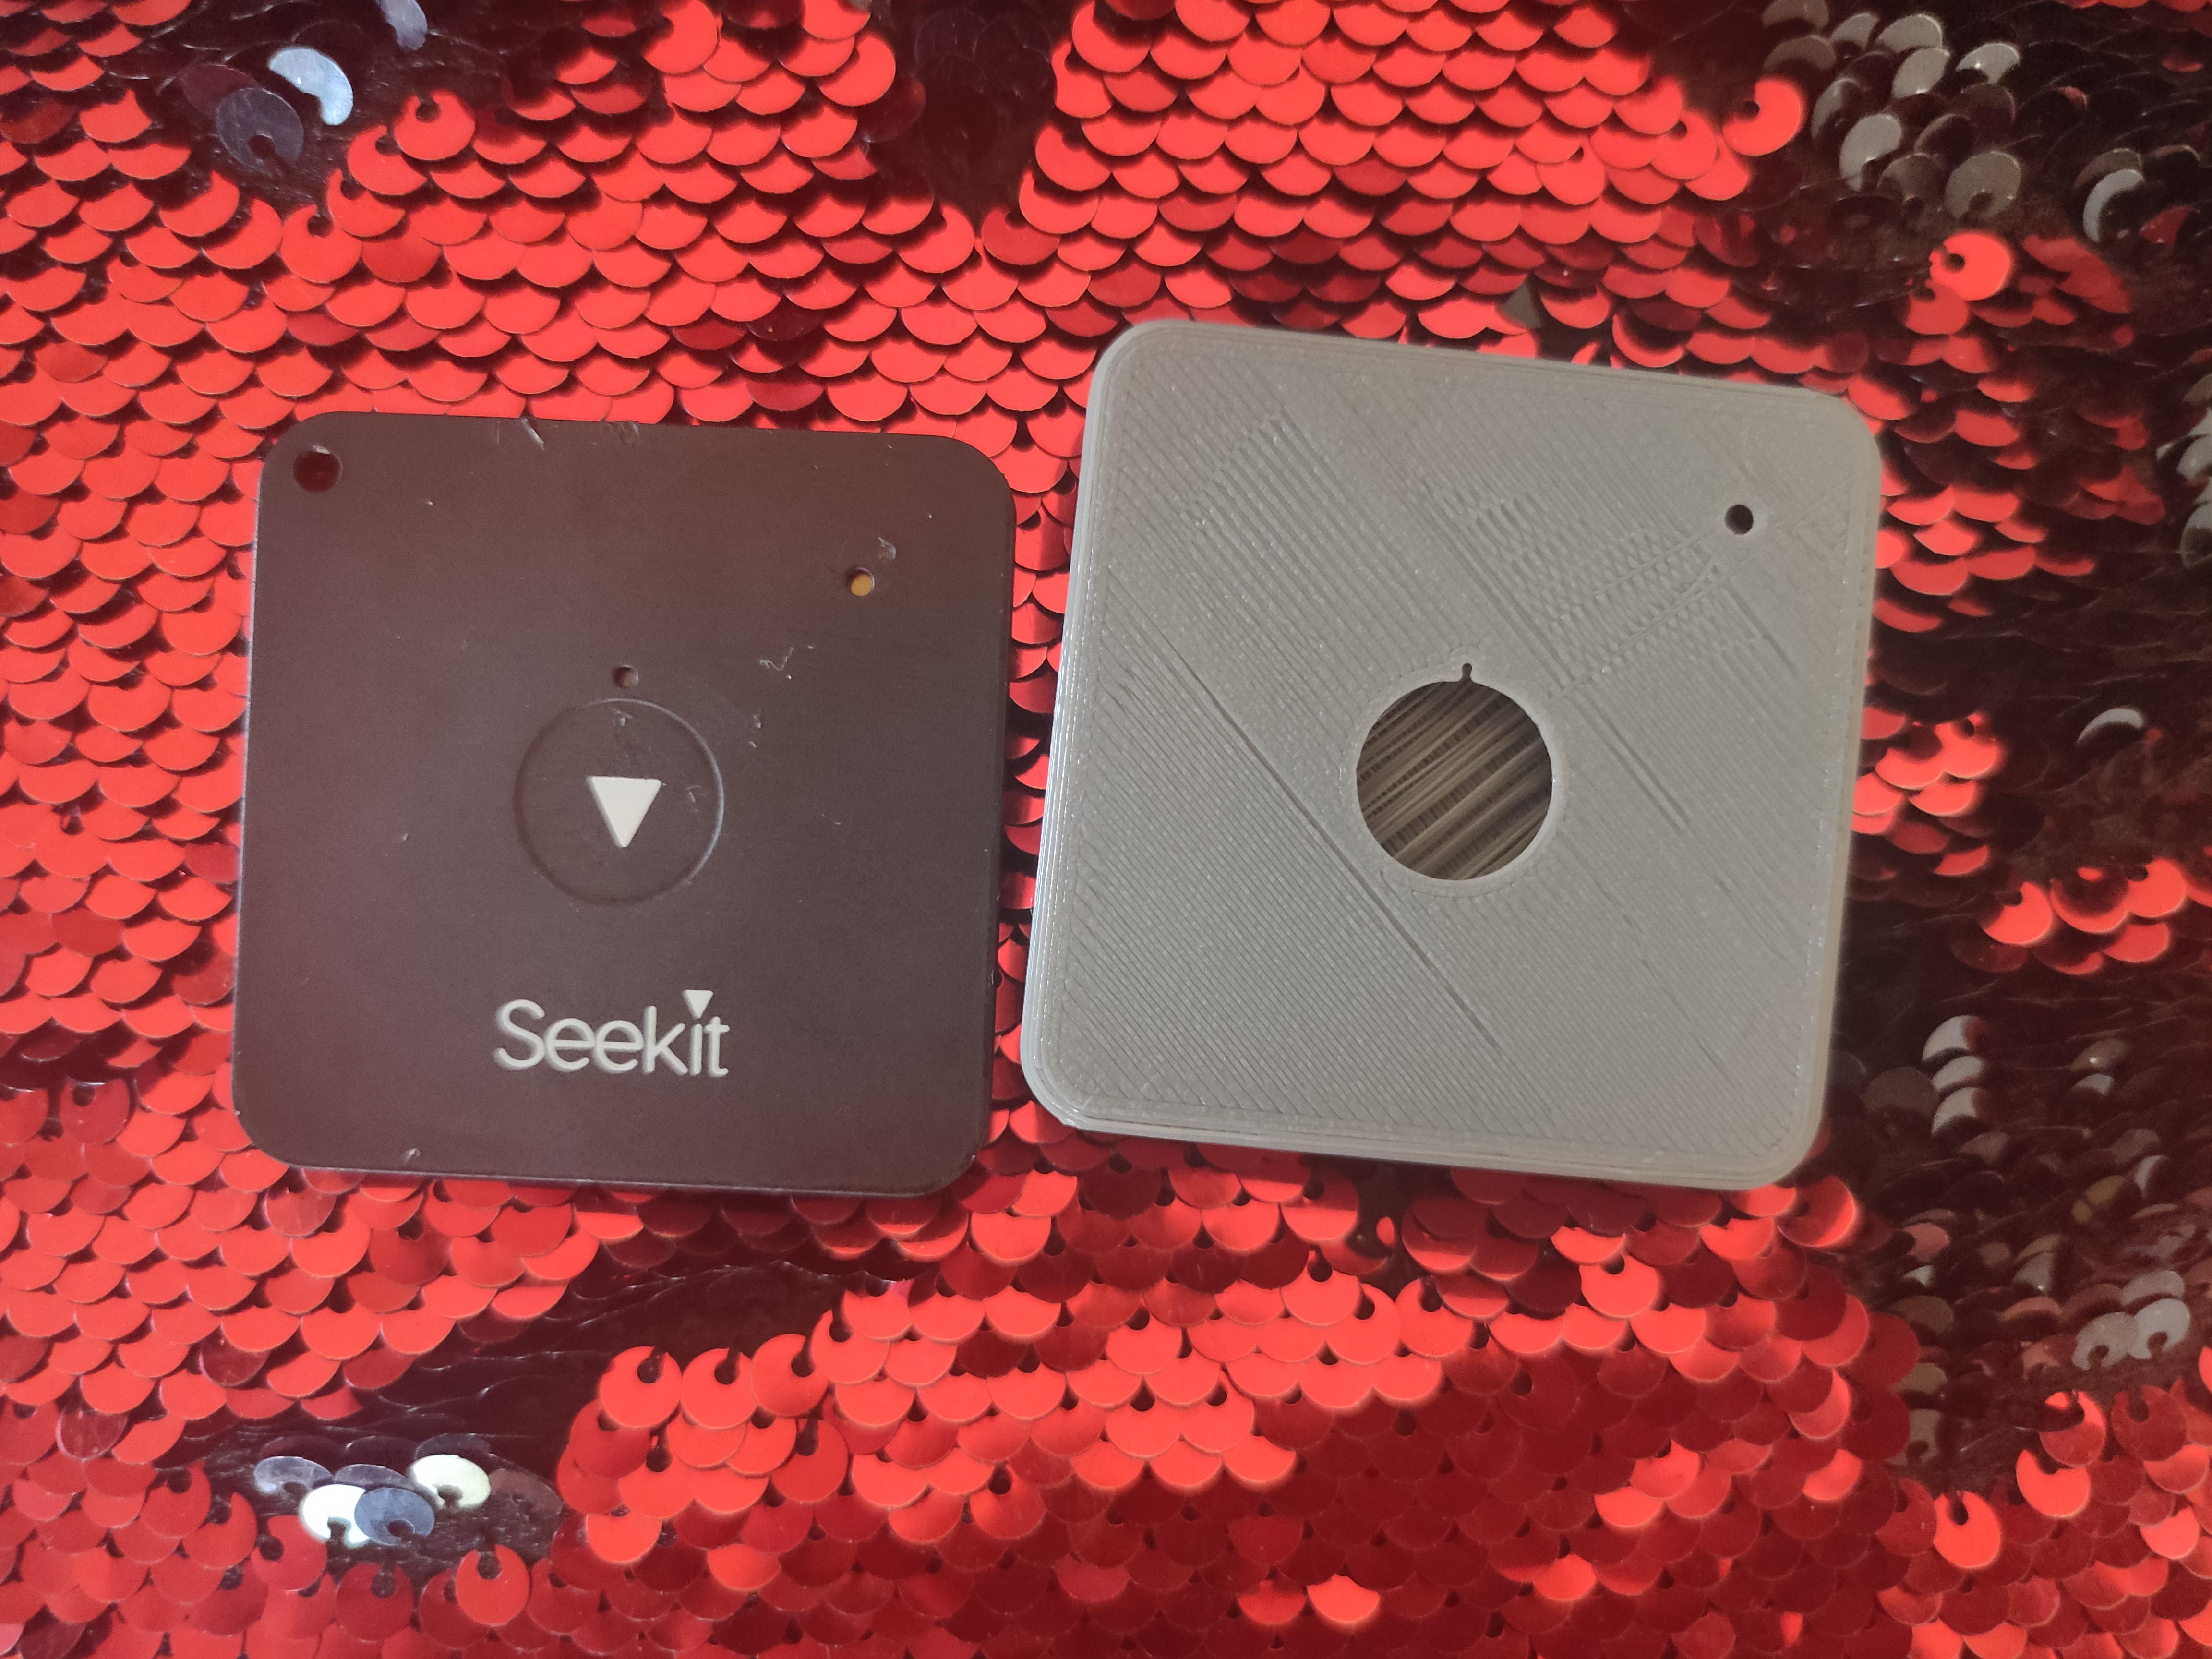
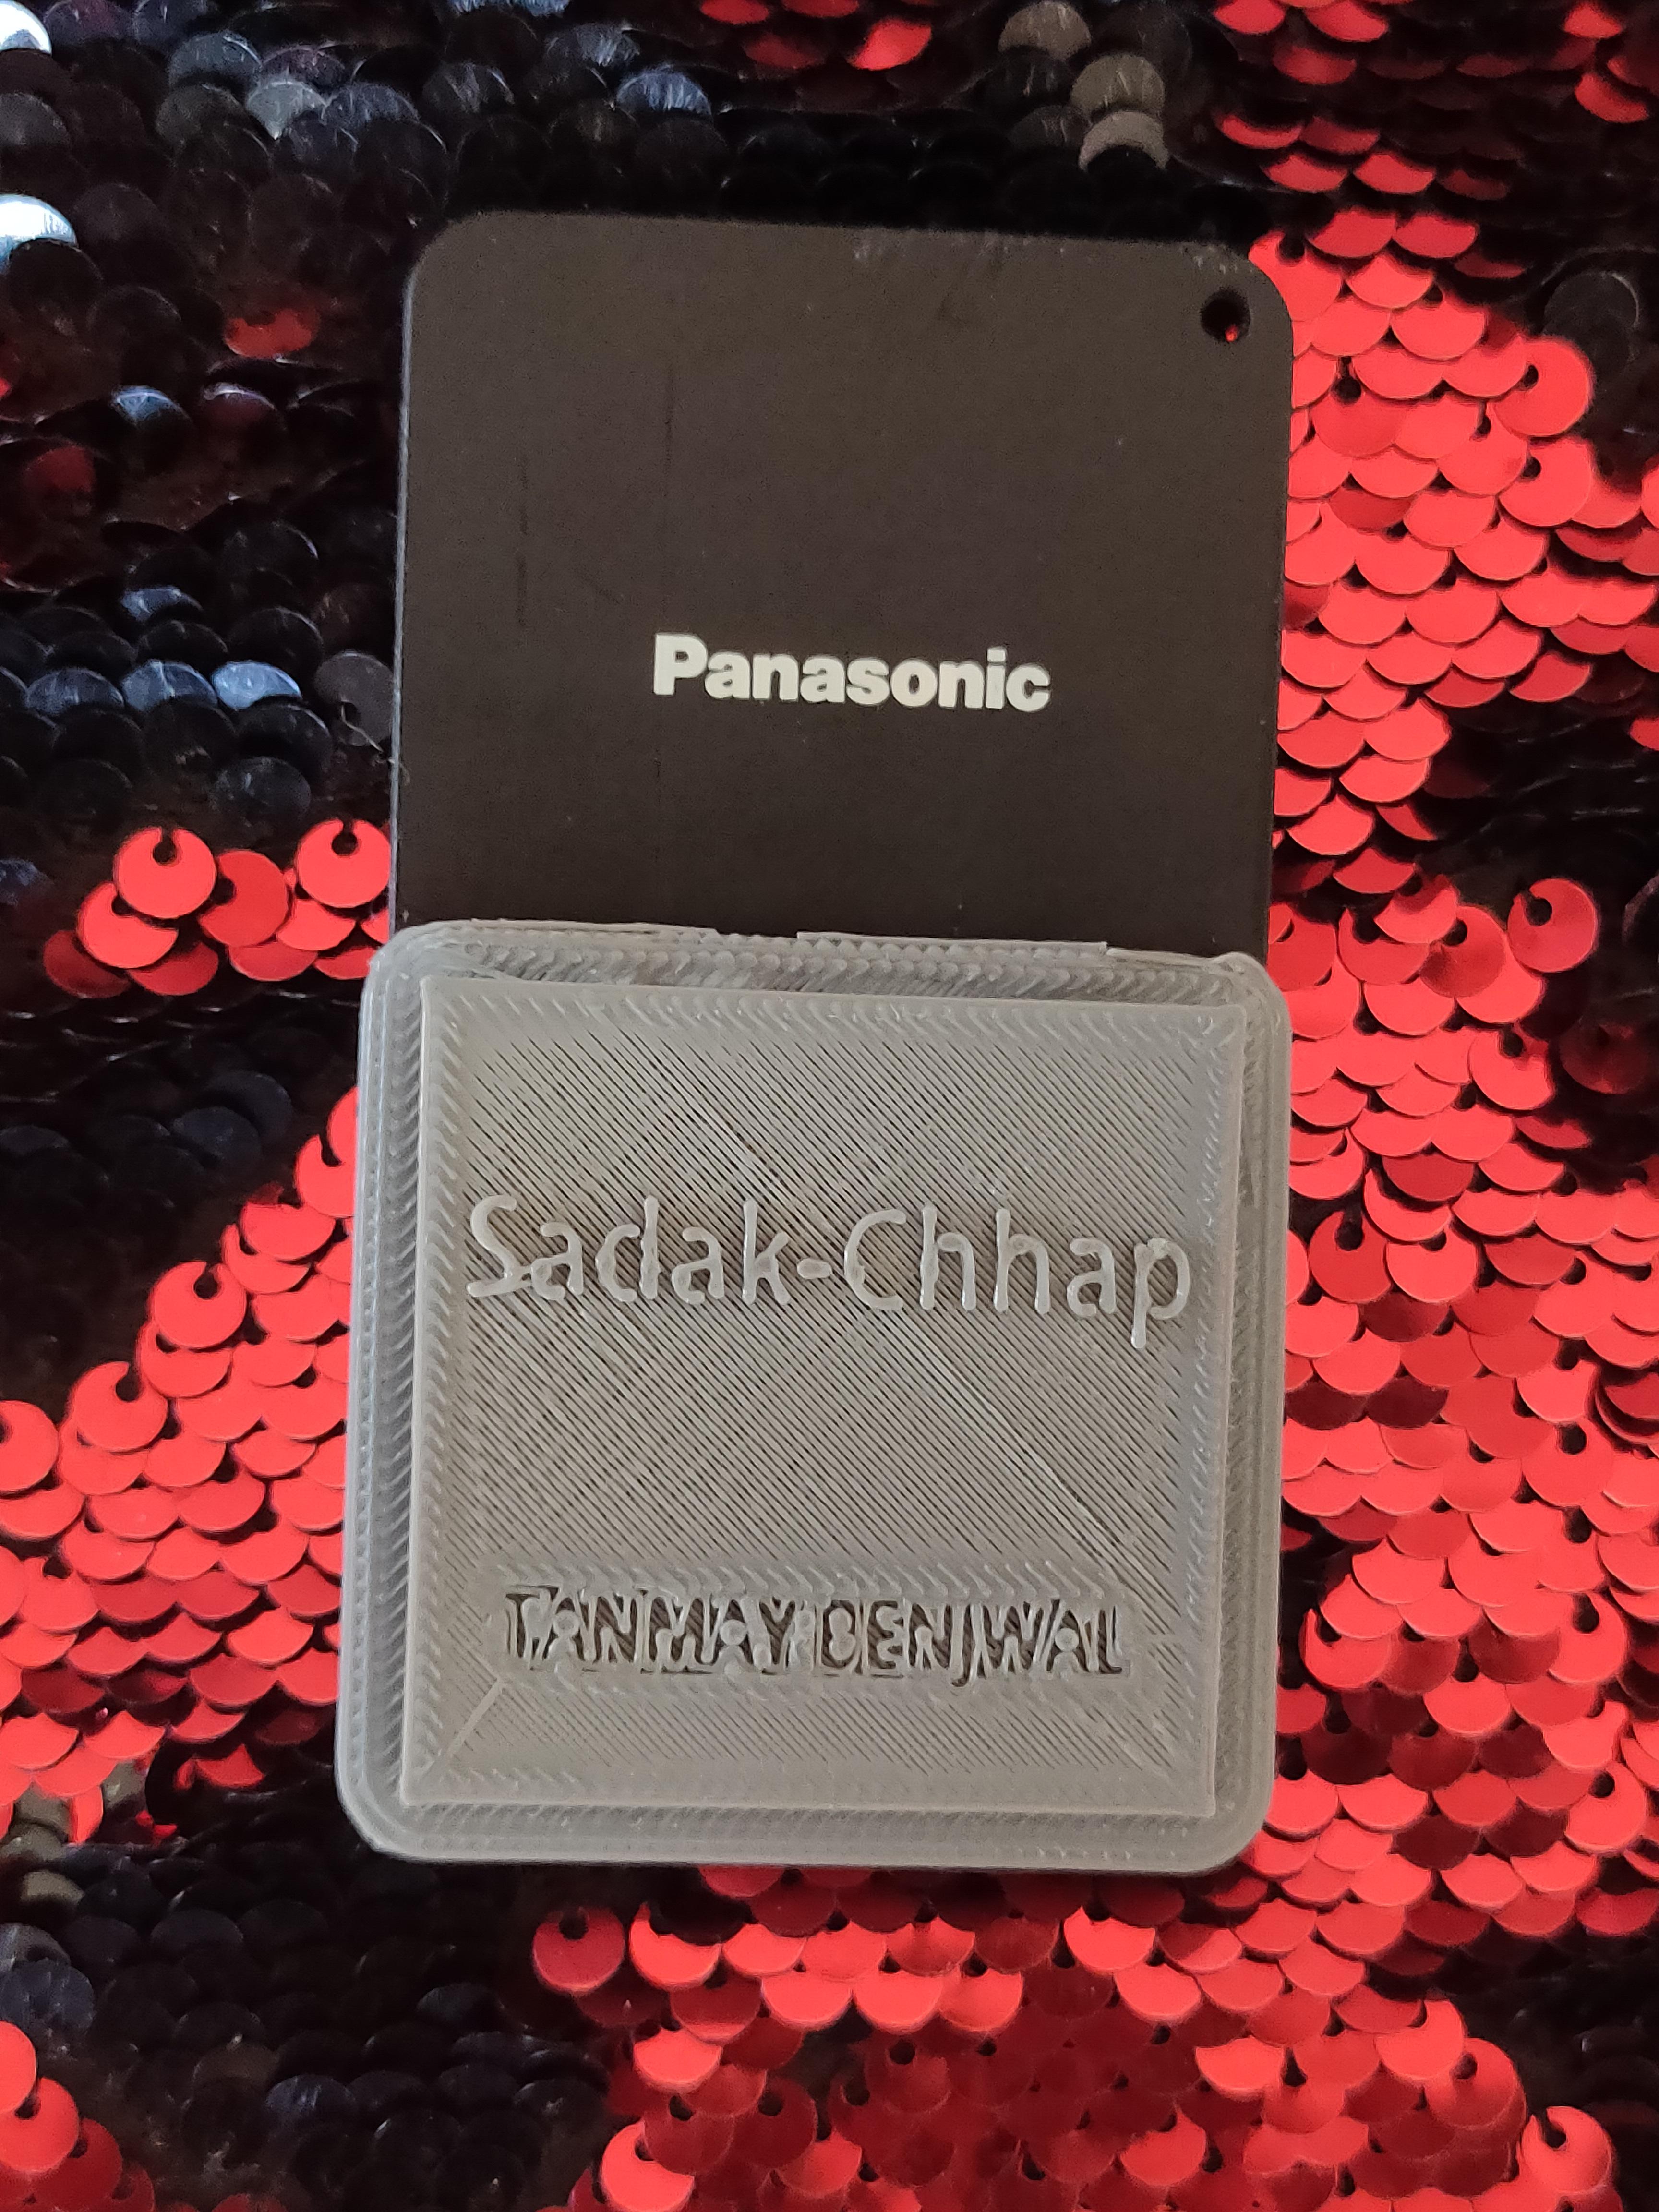
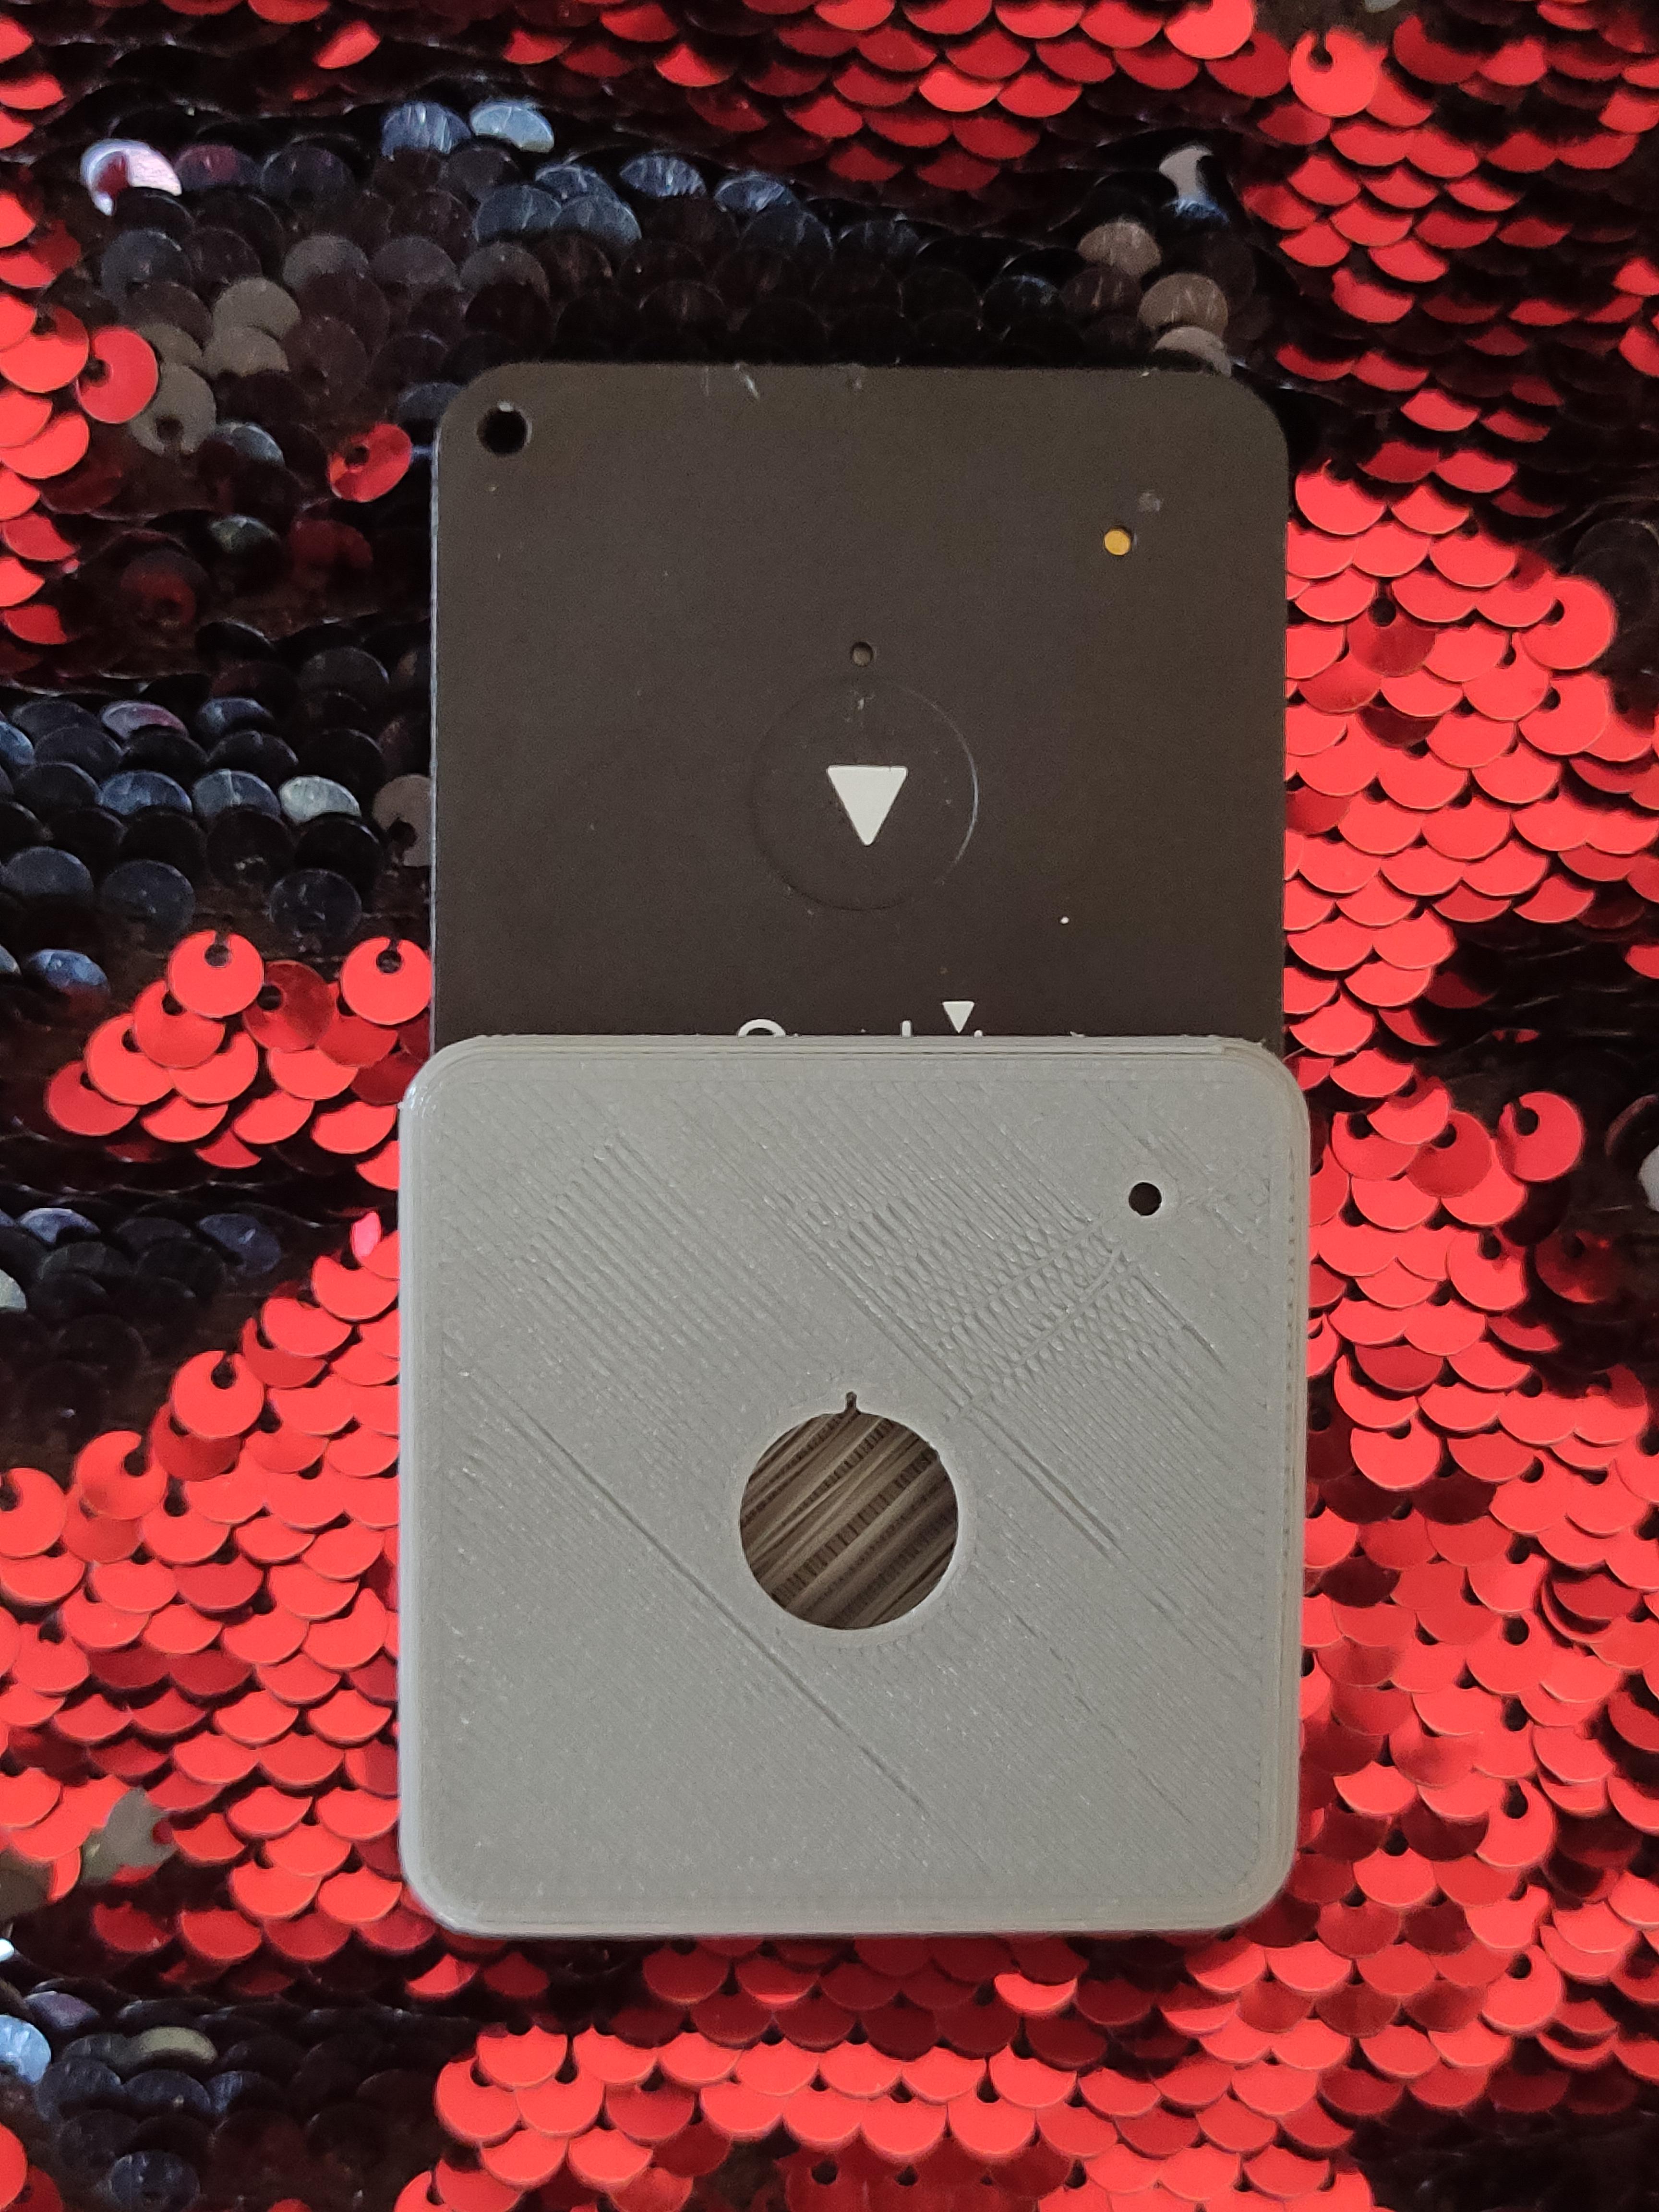
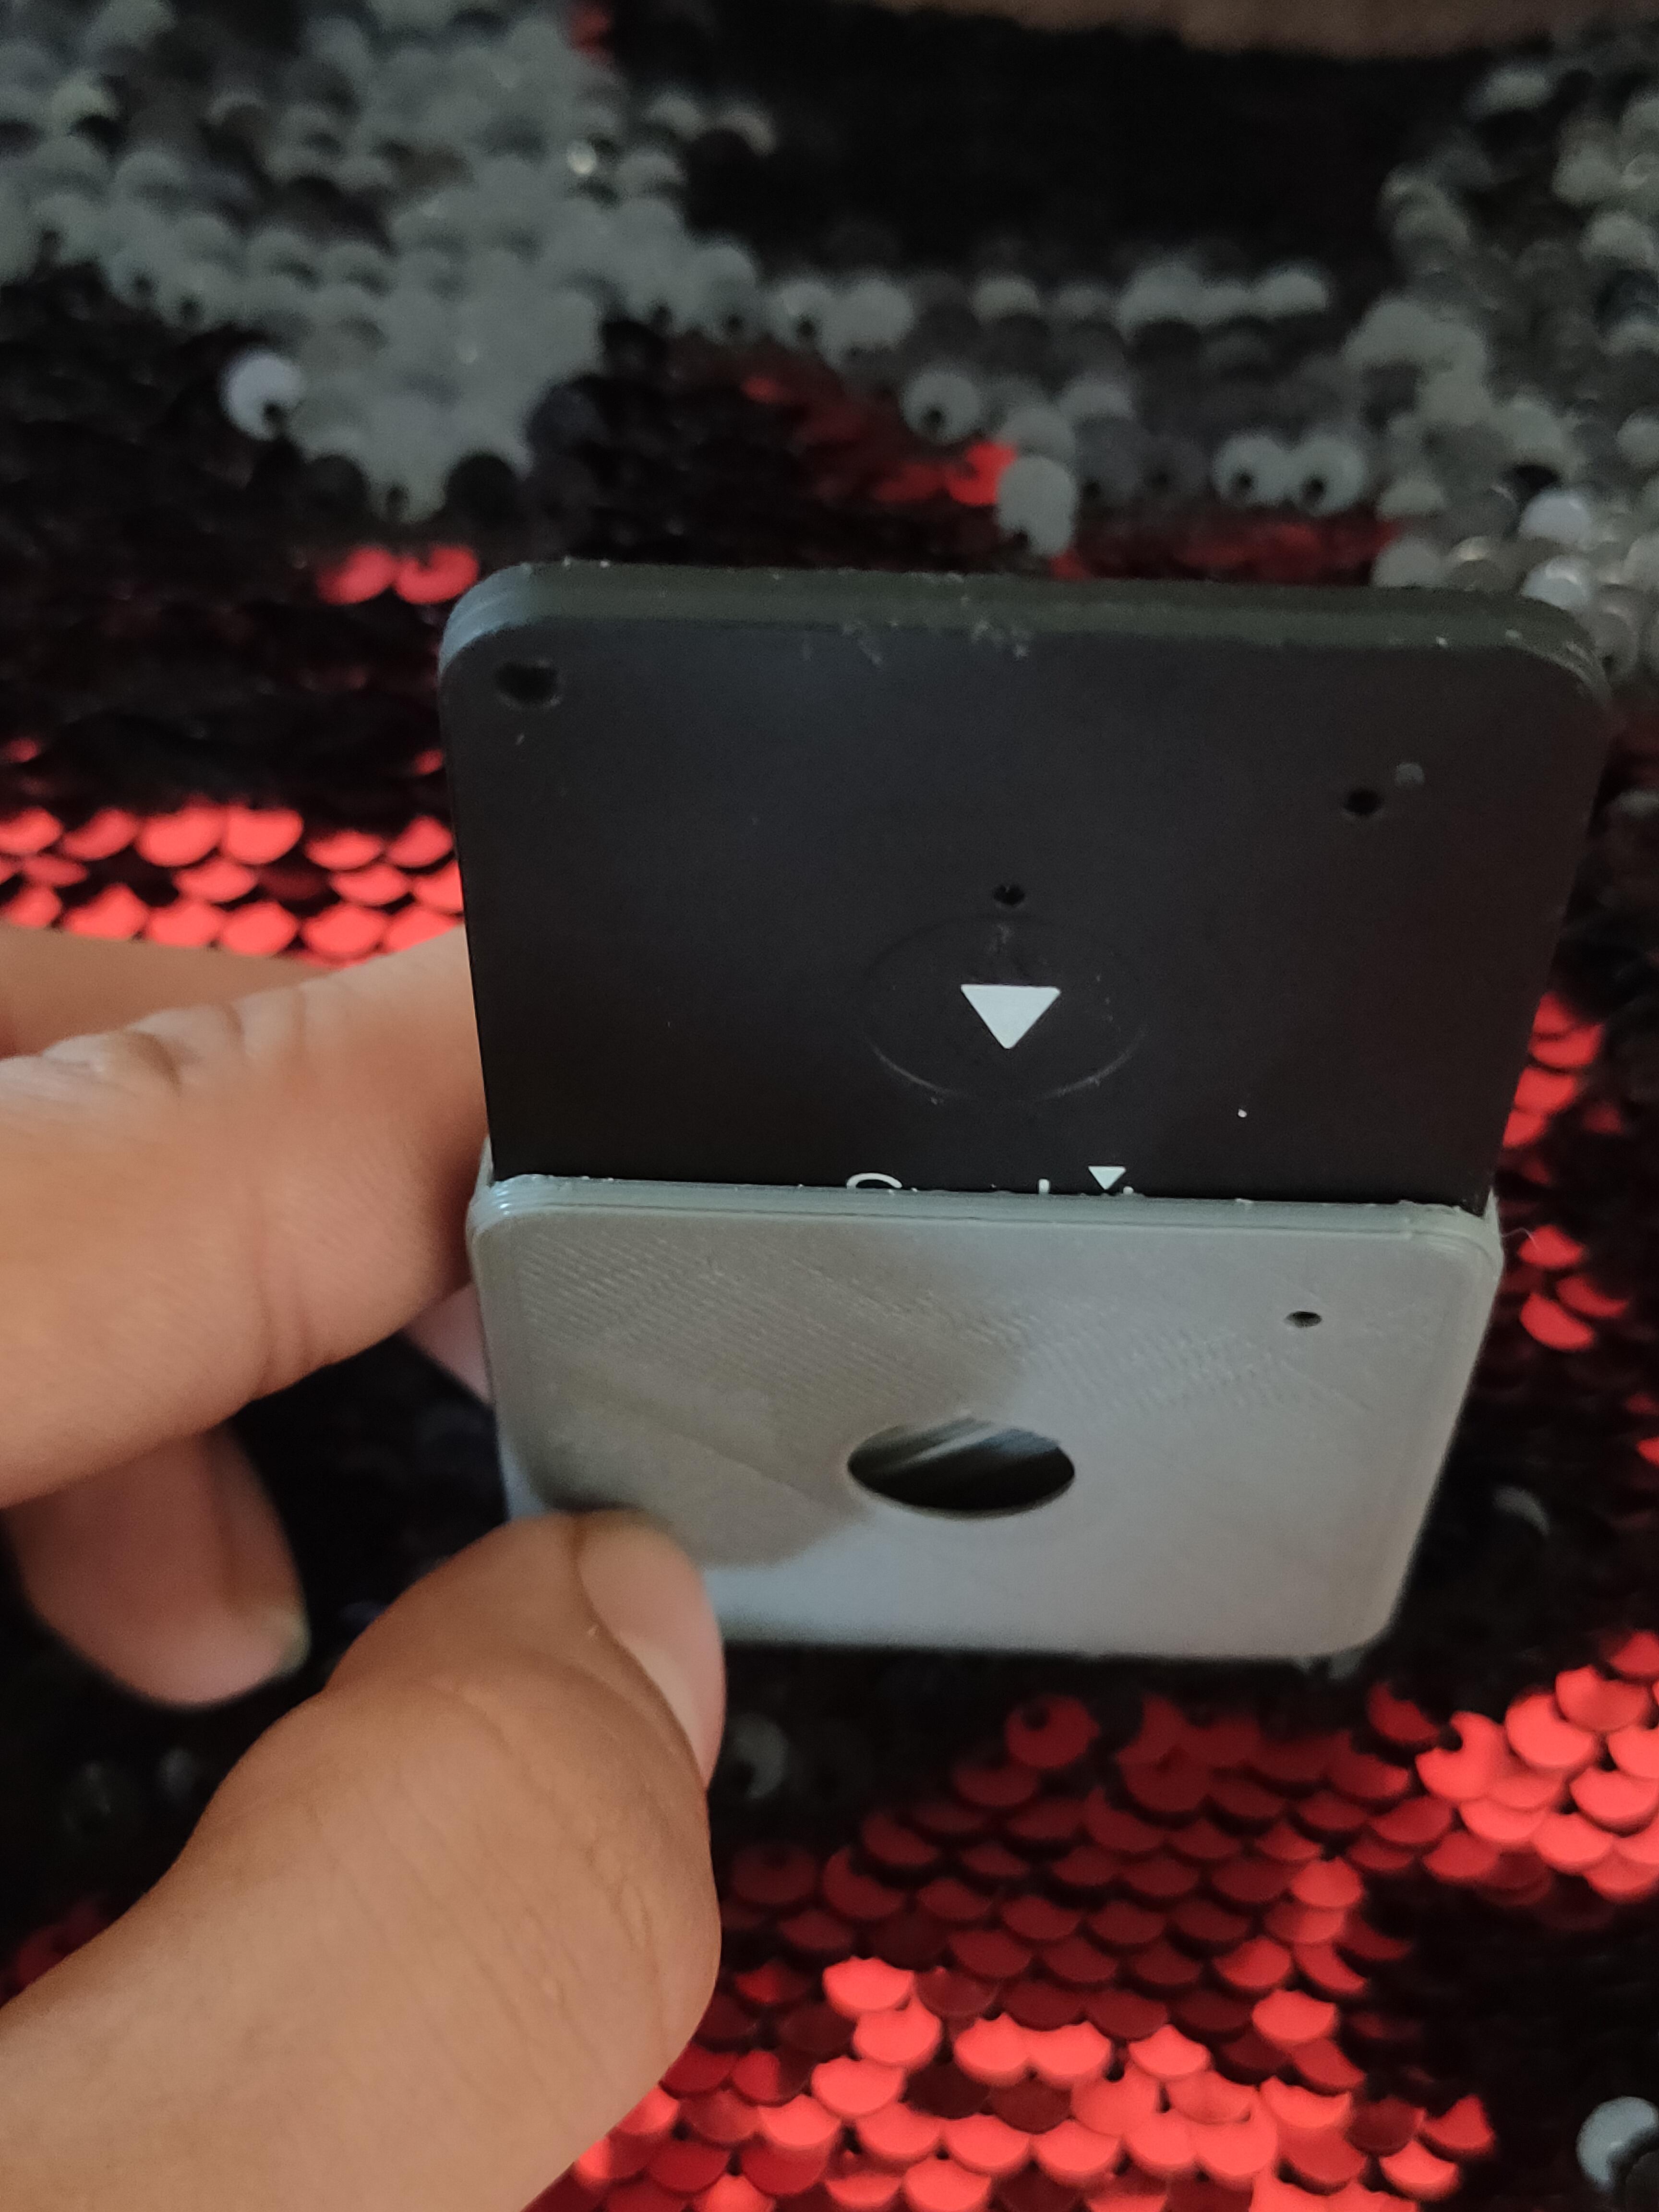
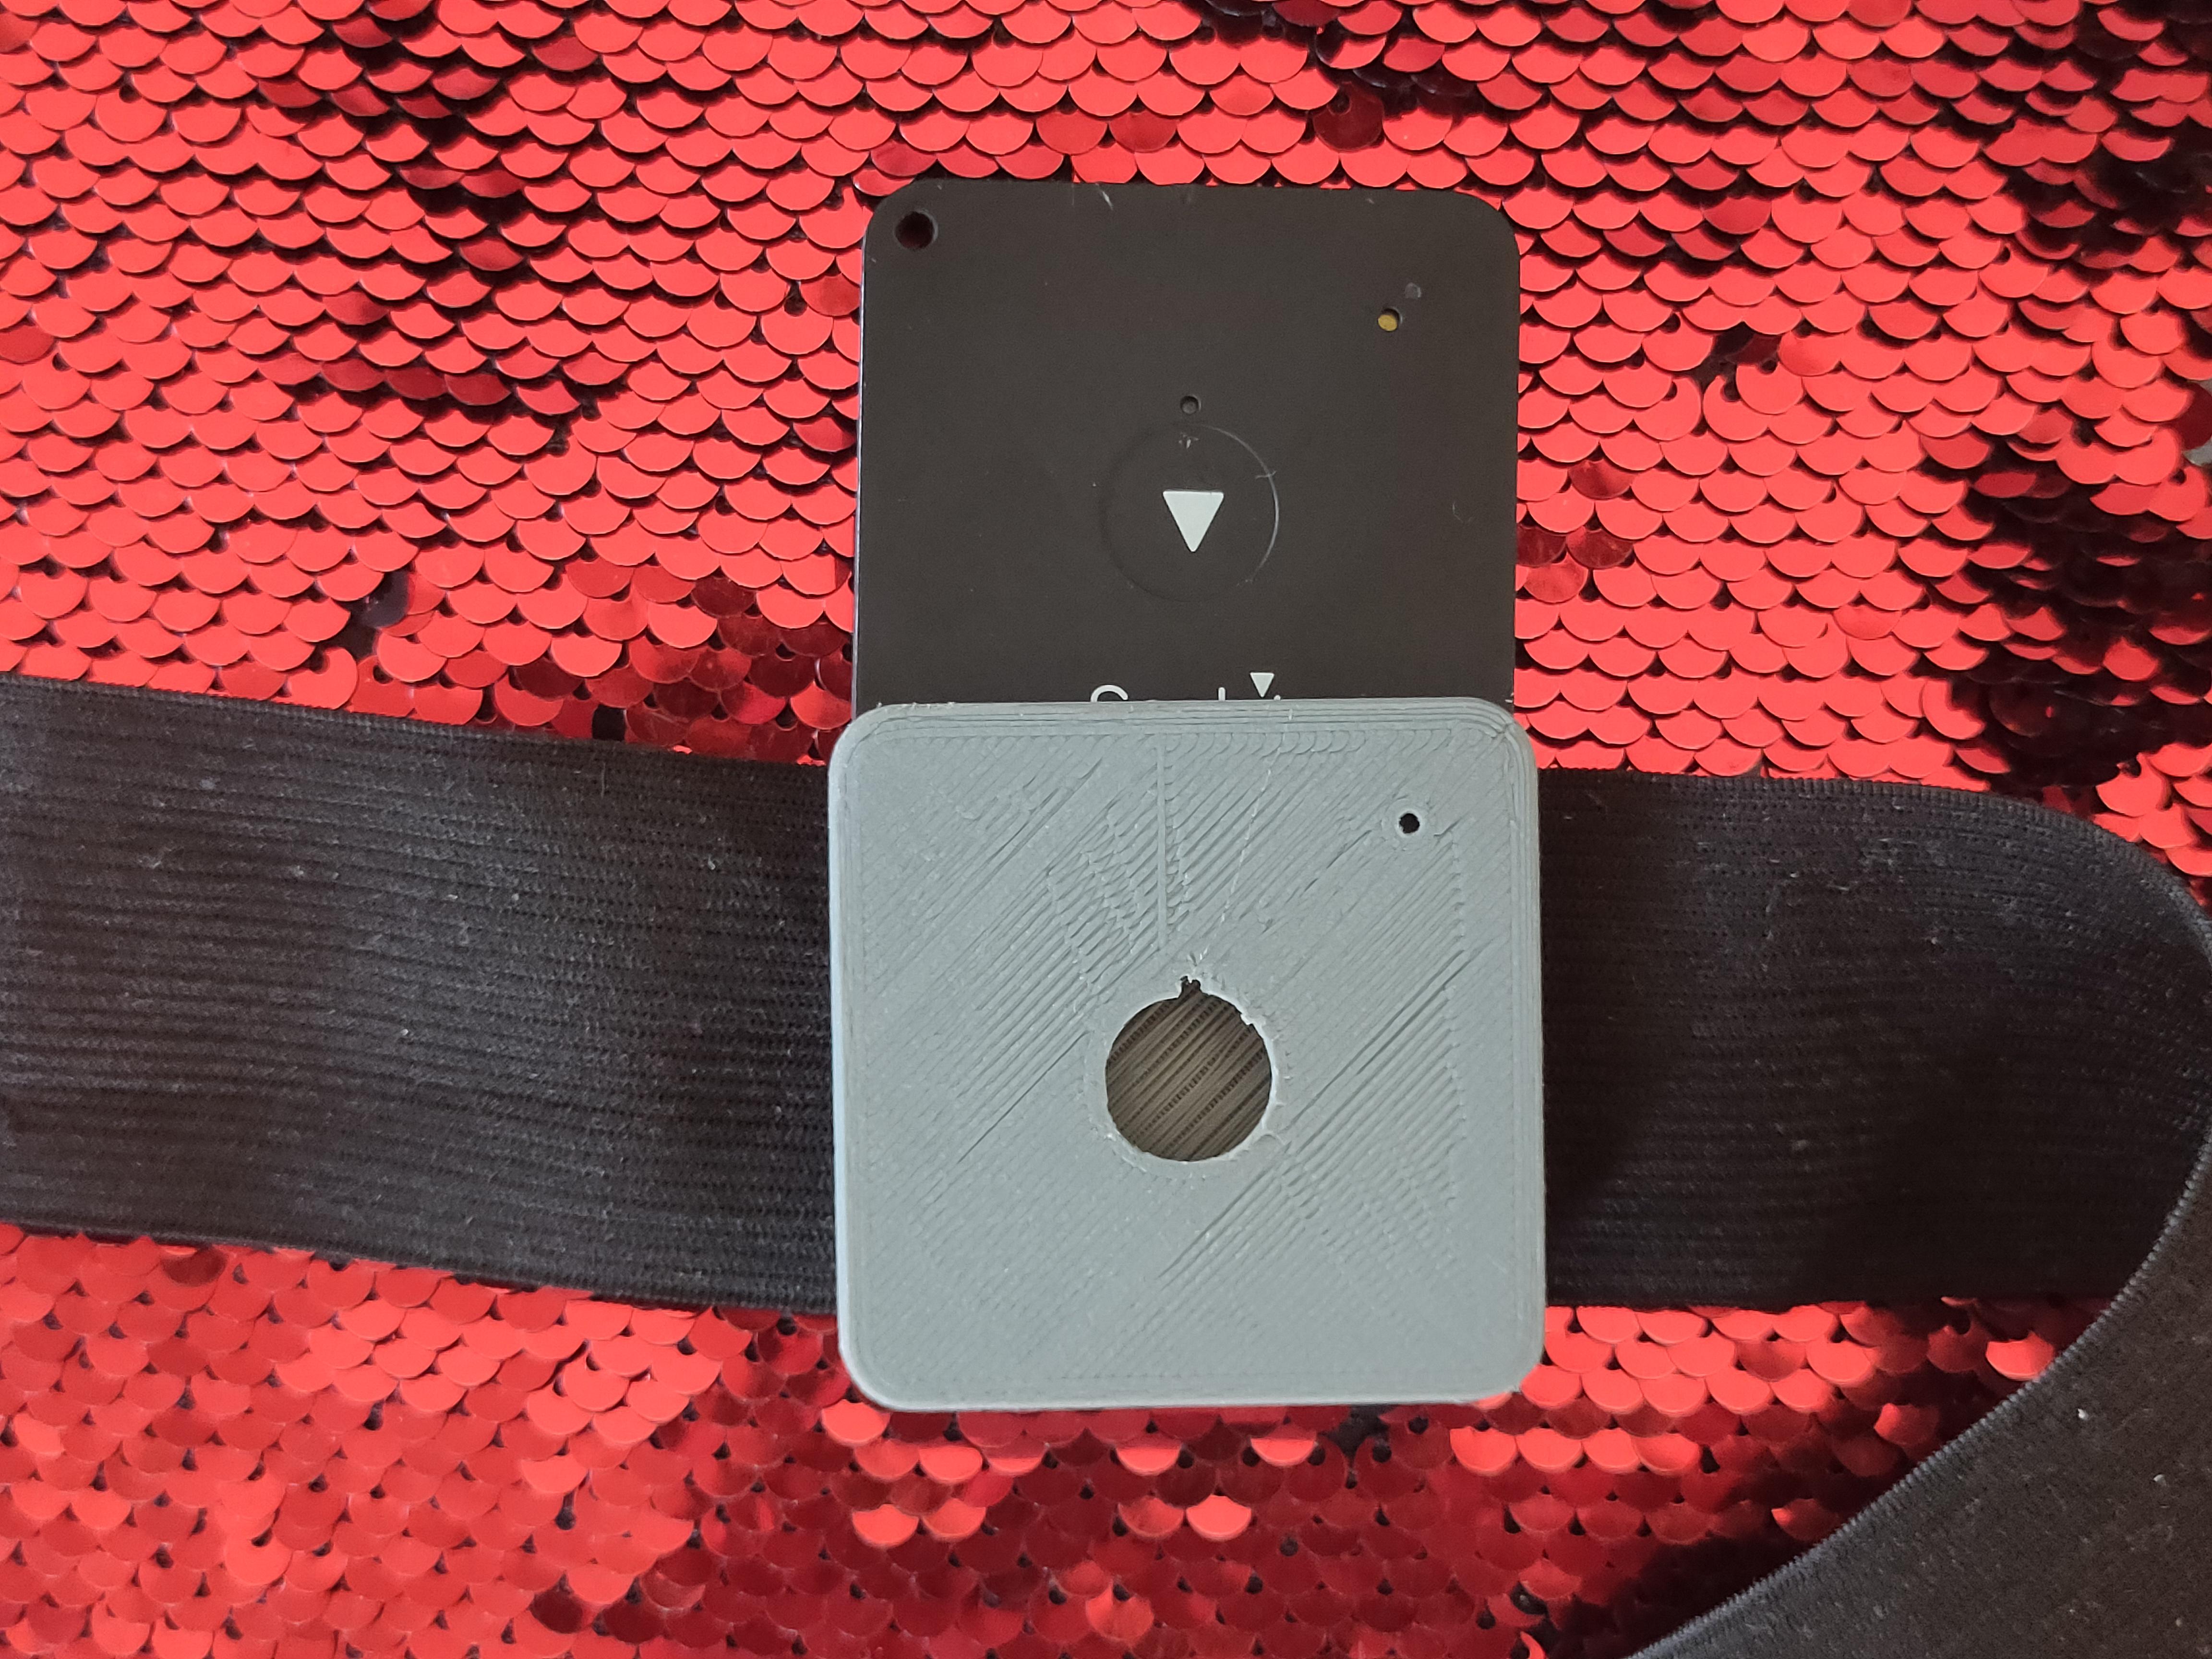
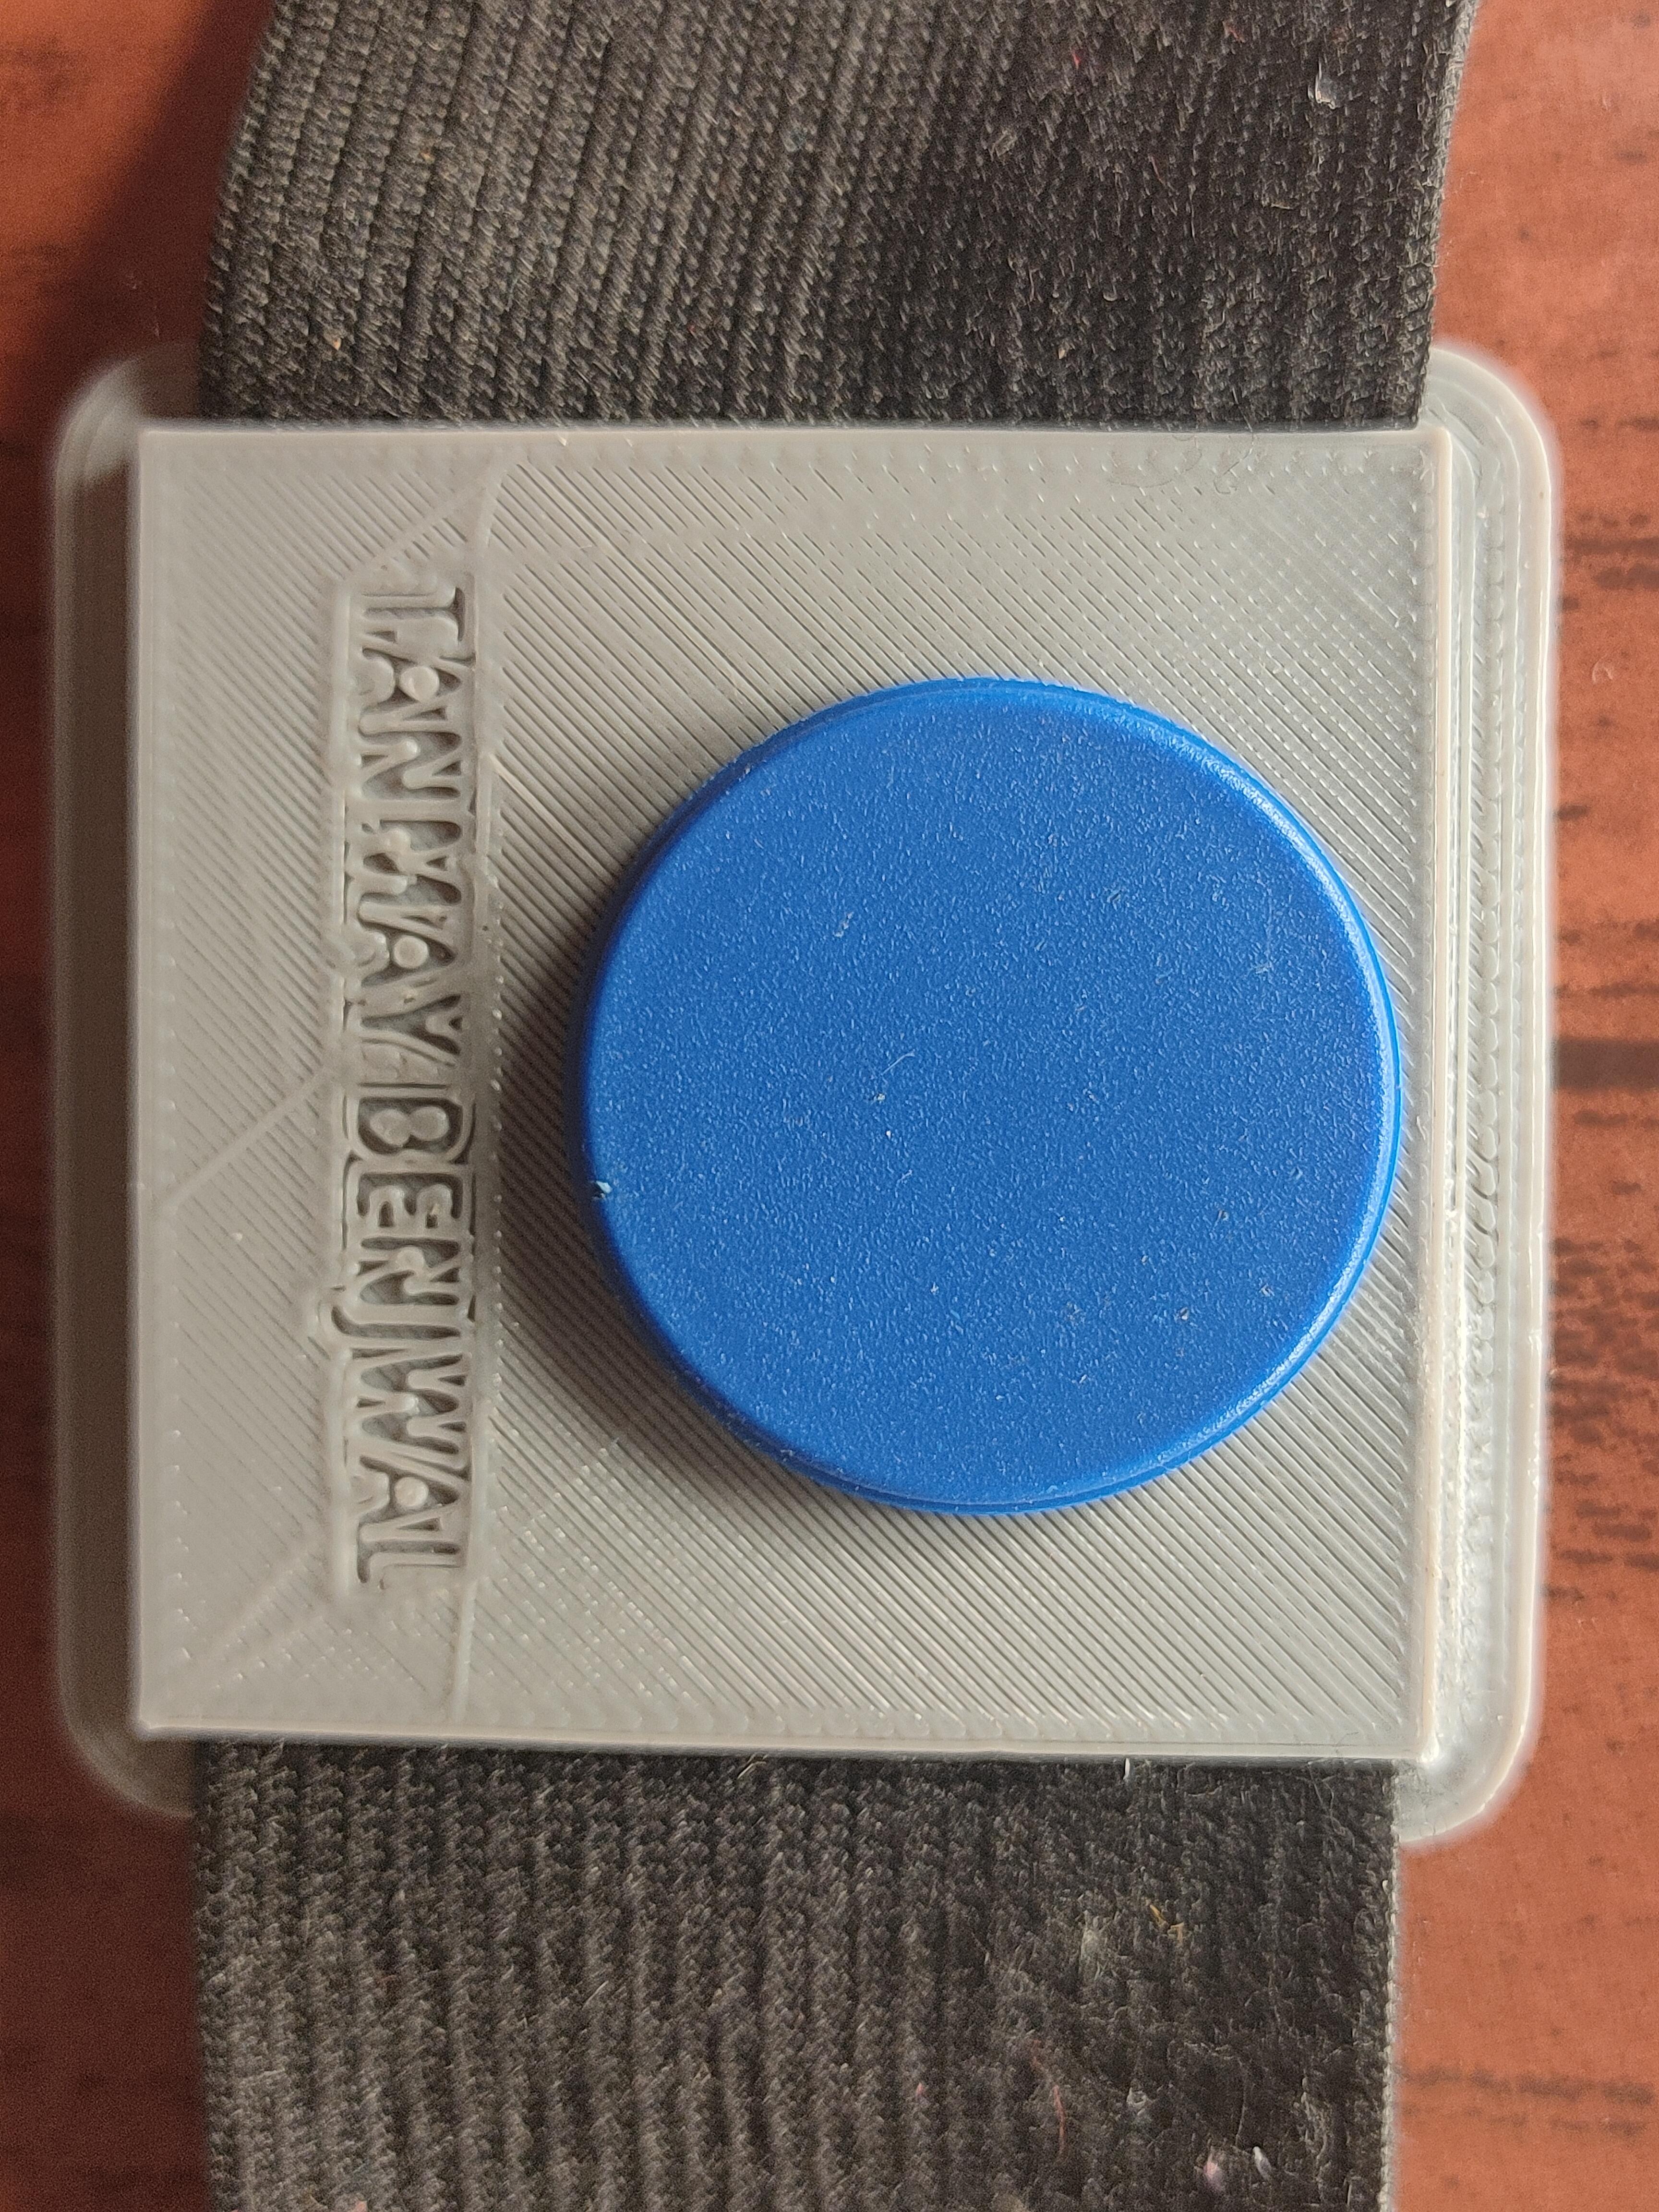
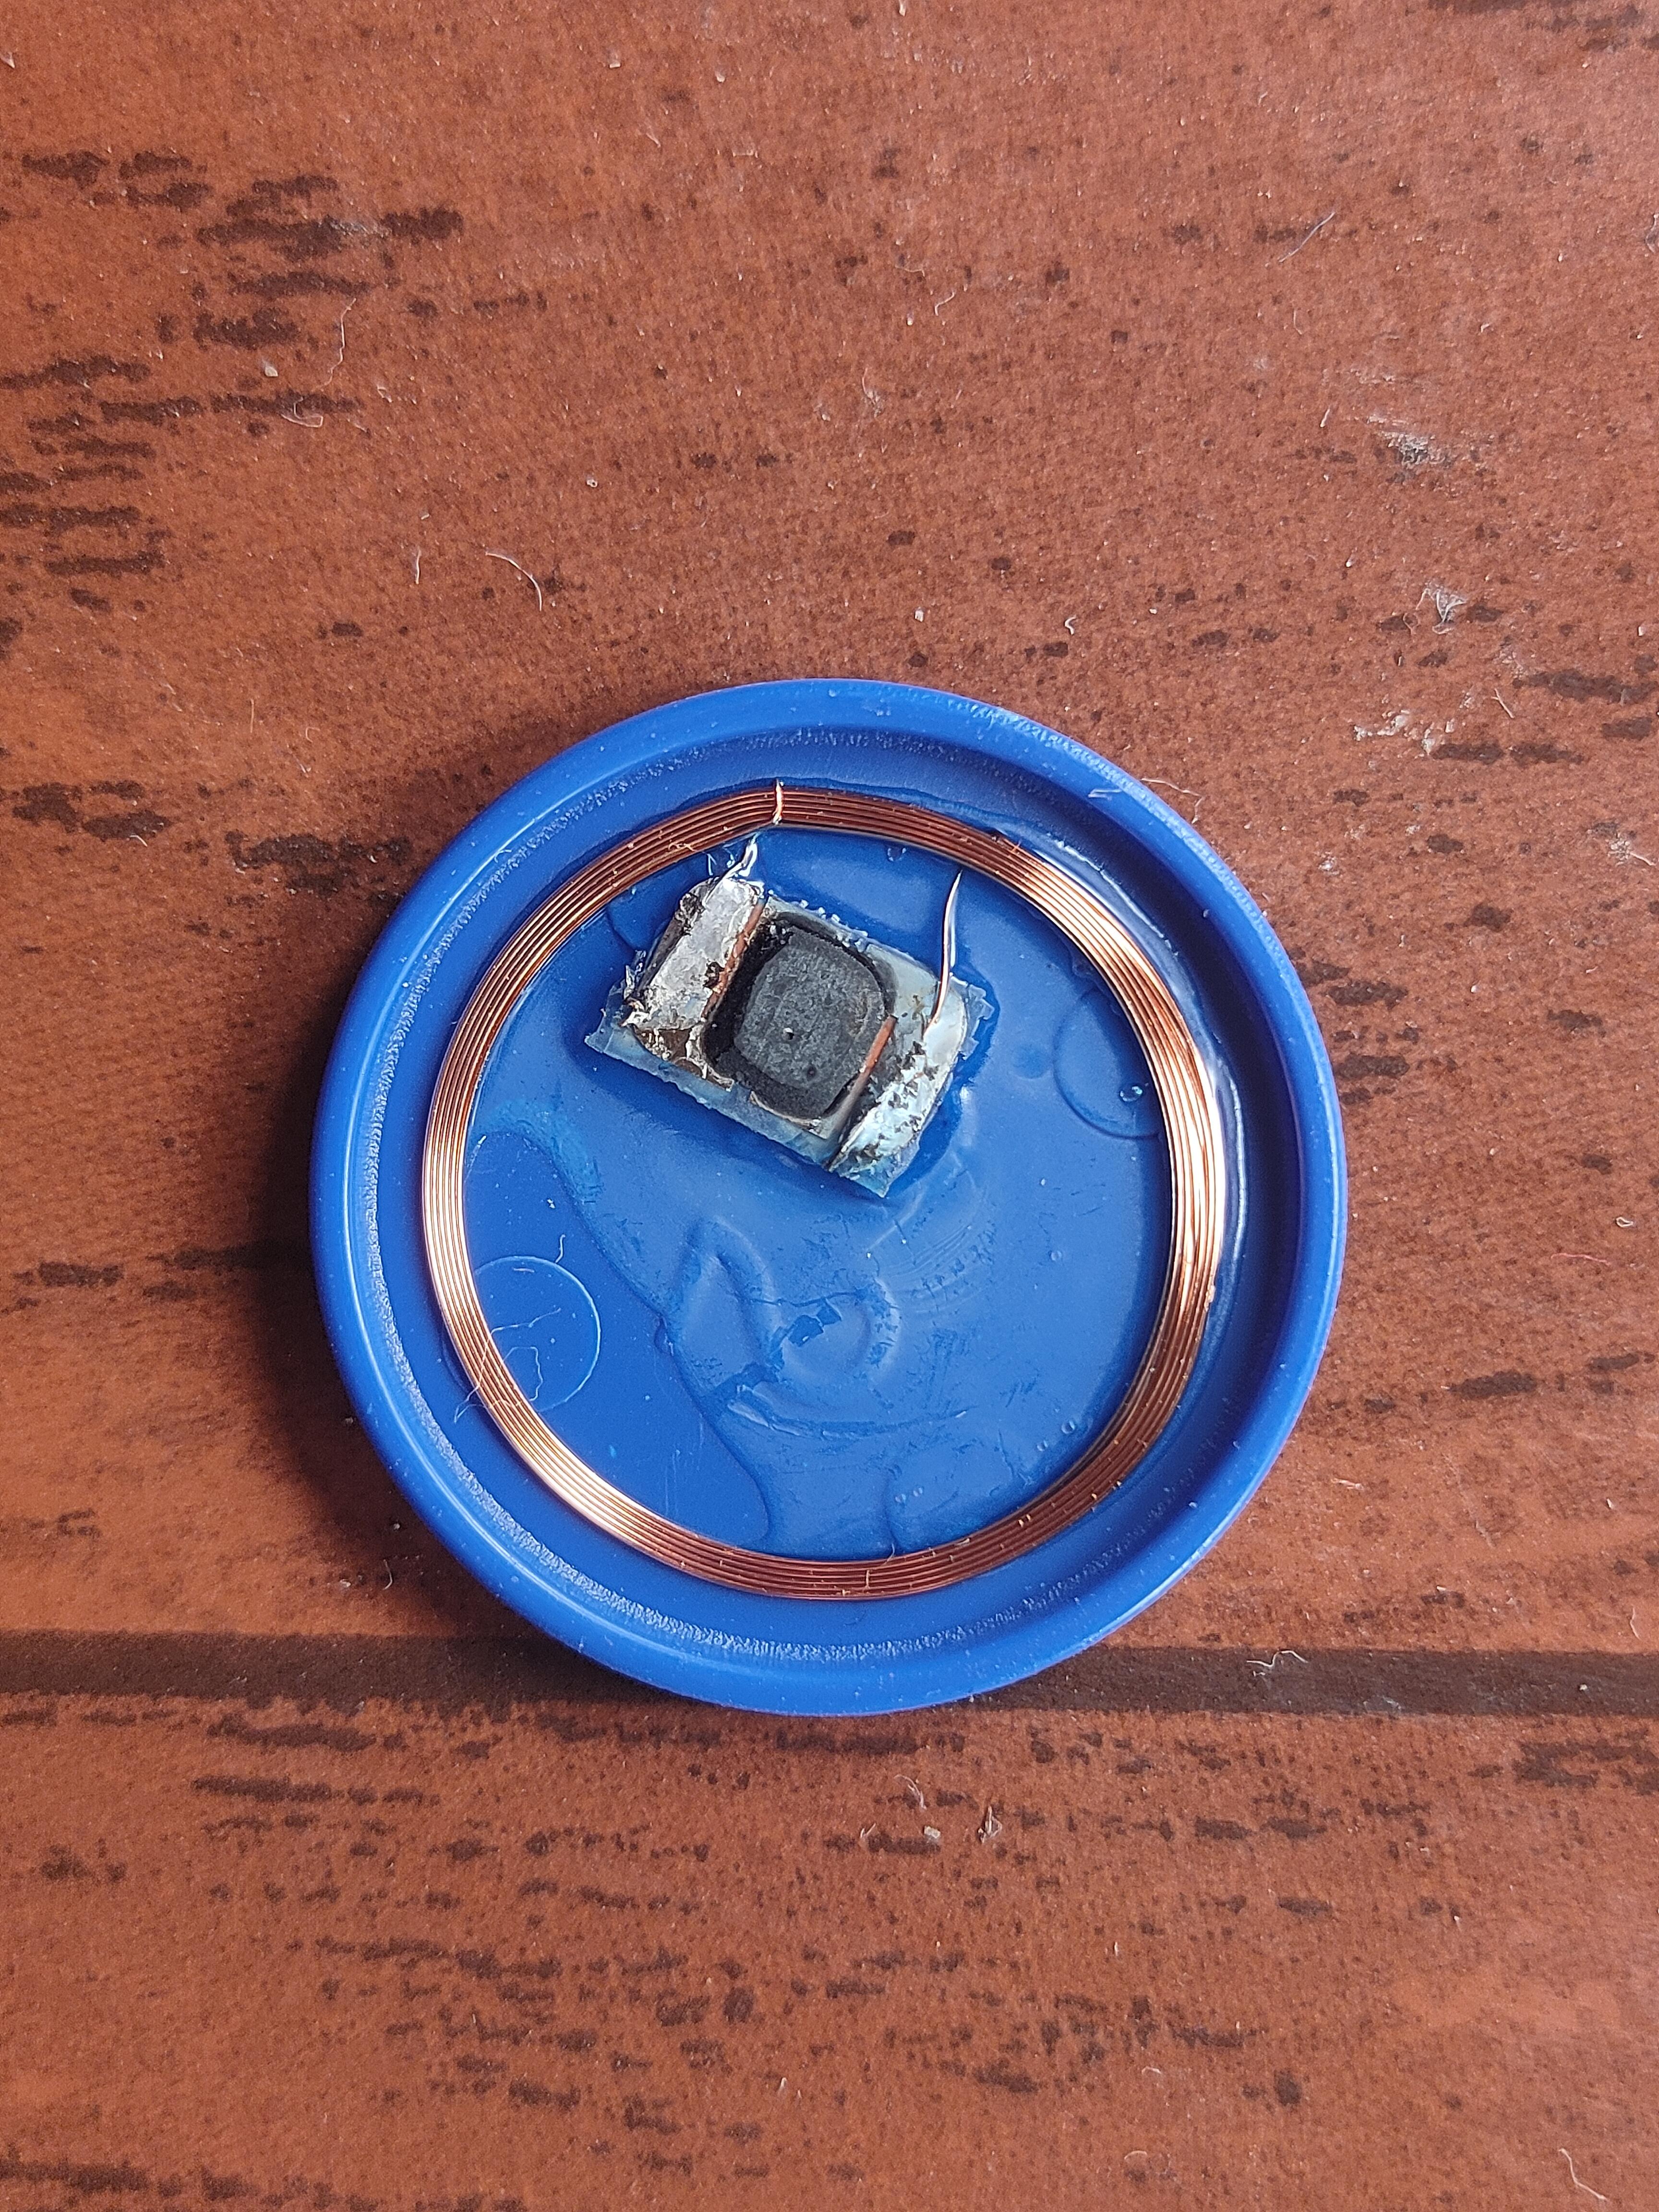
Now that we have all our parts ready, its time to assemble them together
take your SeekIt and slide it into your 3D printed sleeve
now take a RFID sticker and stick it under the 3D printed part( refer to pictures for reference)
Now take your dog collar hook and attach it with the 3d printed part
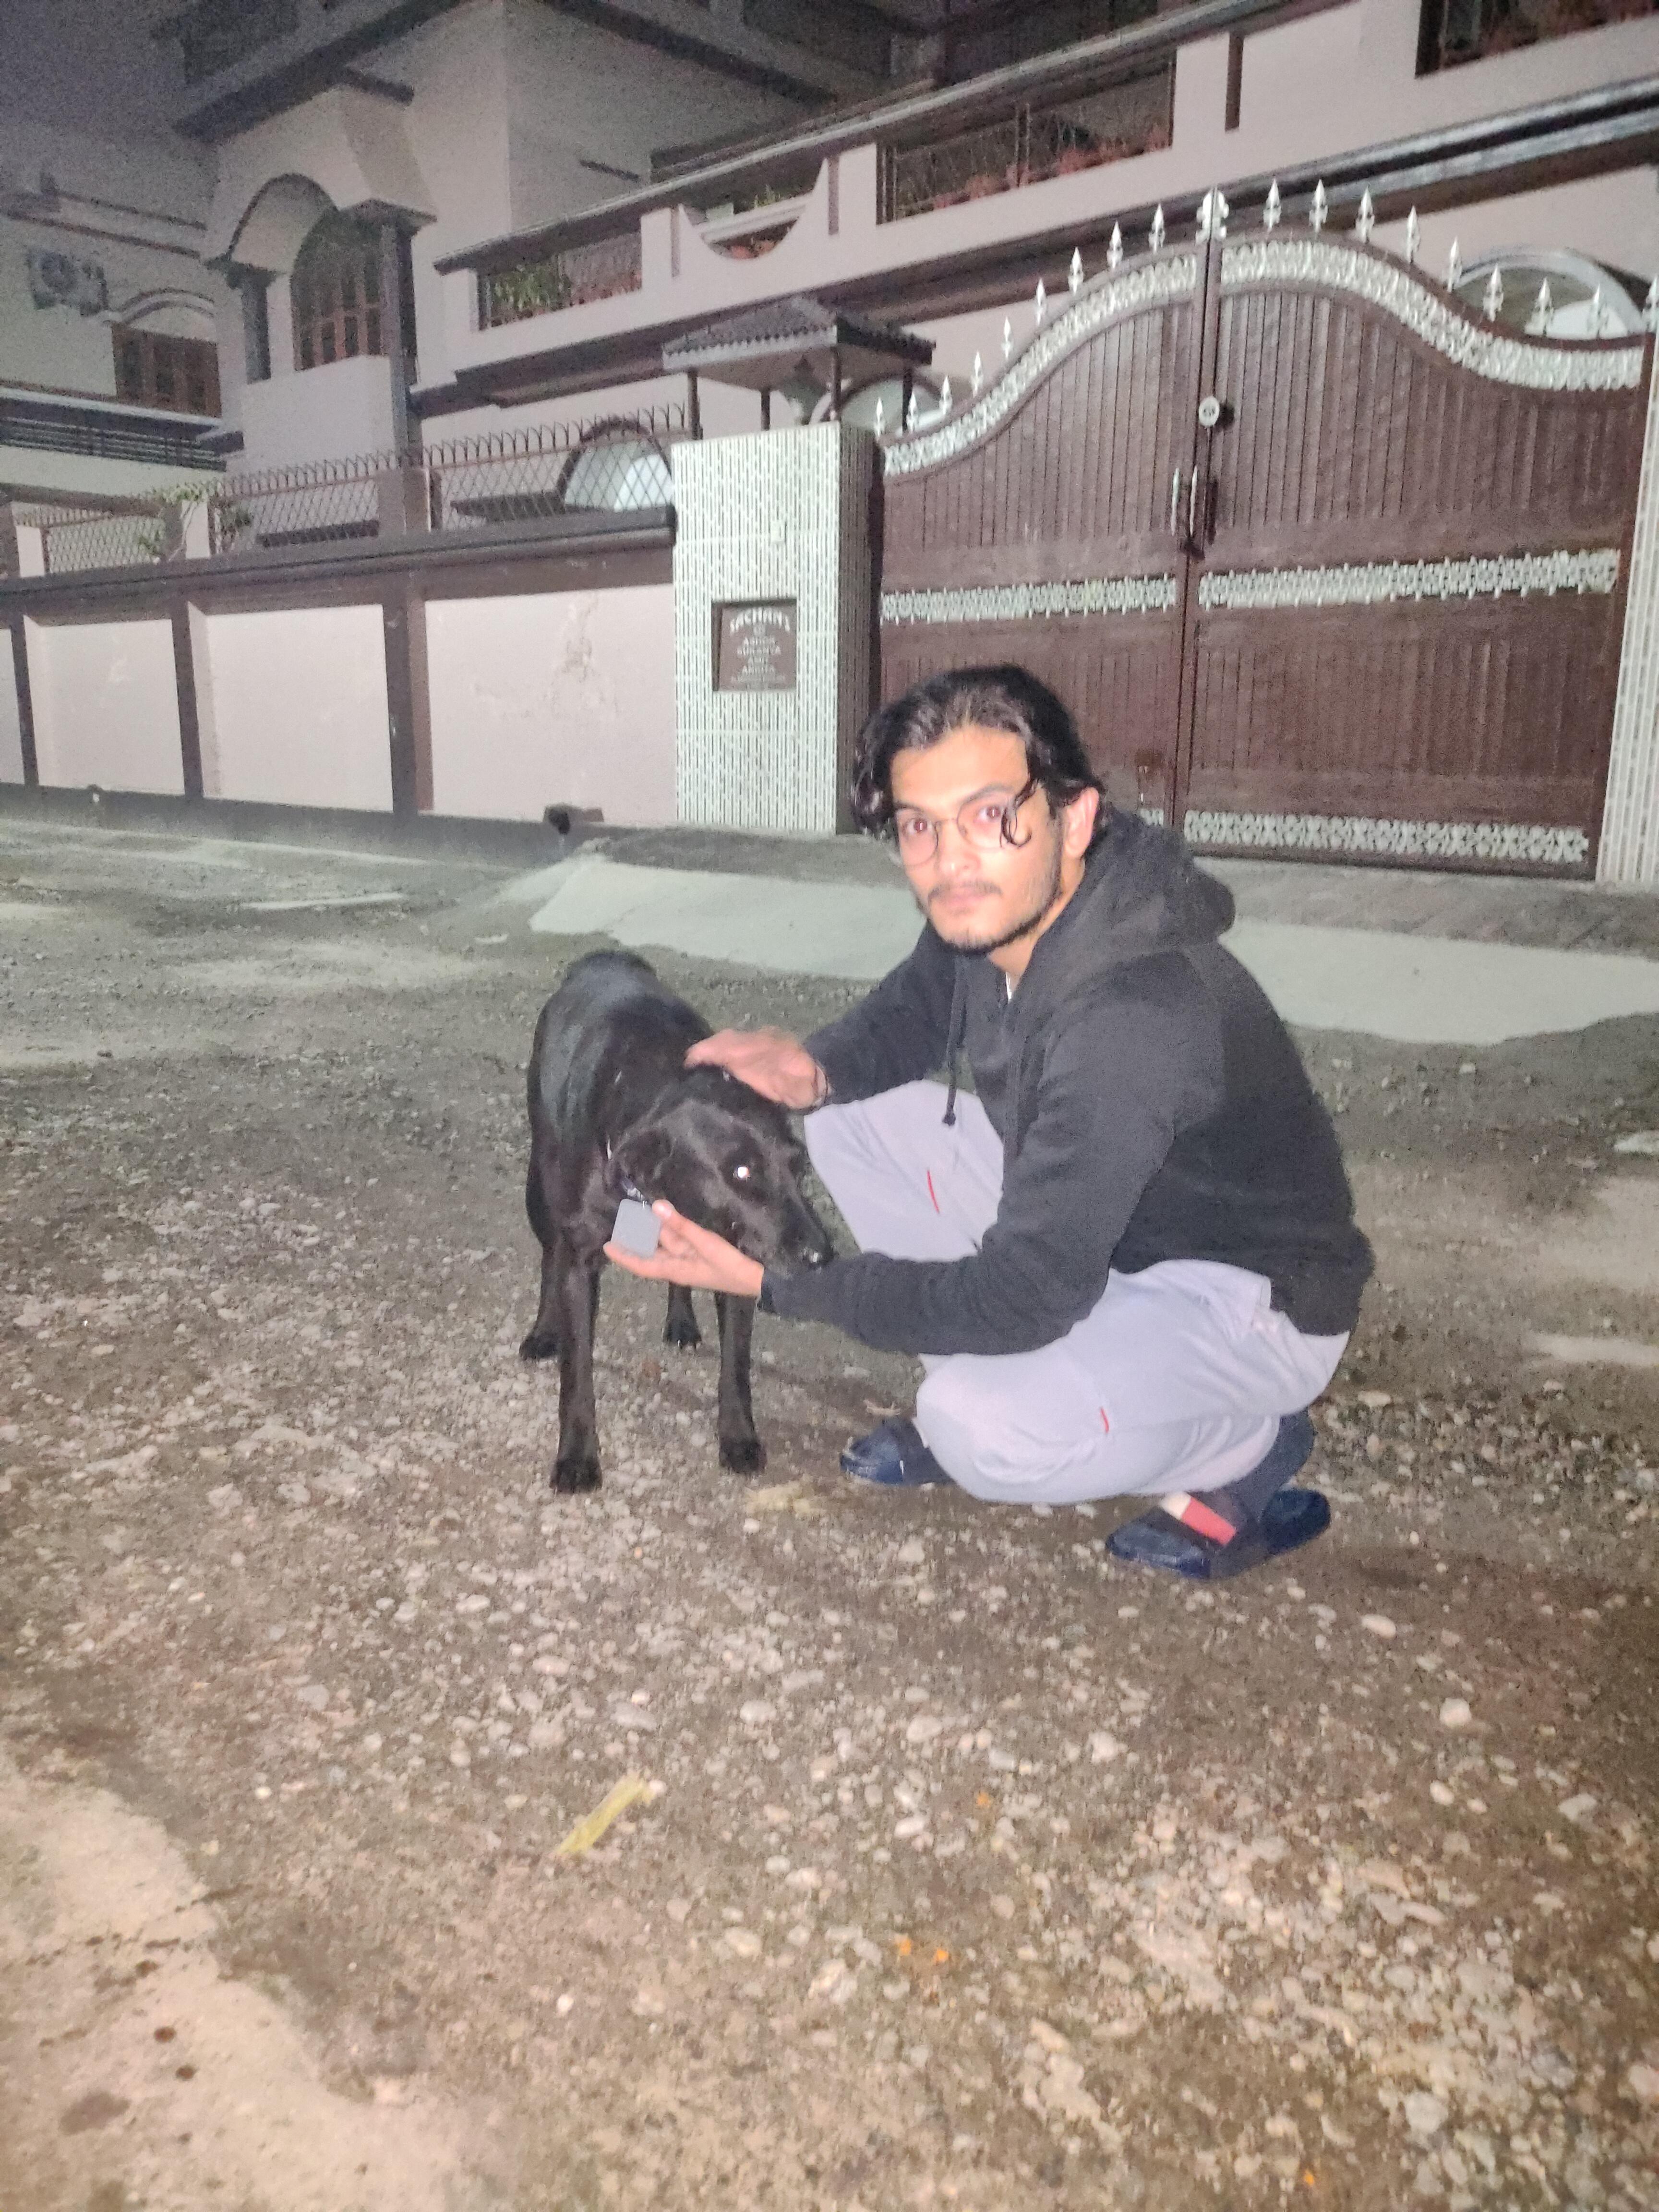
The IoT name tag is ready all we need to do now is to pair it with SeekIt mobile app and make the dog wear it.
Final Look
.jpeg)
.jpeg)
.jpeg)

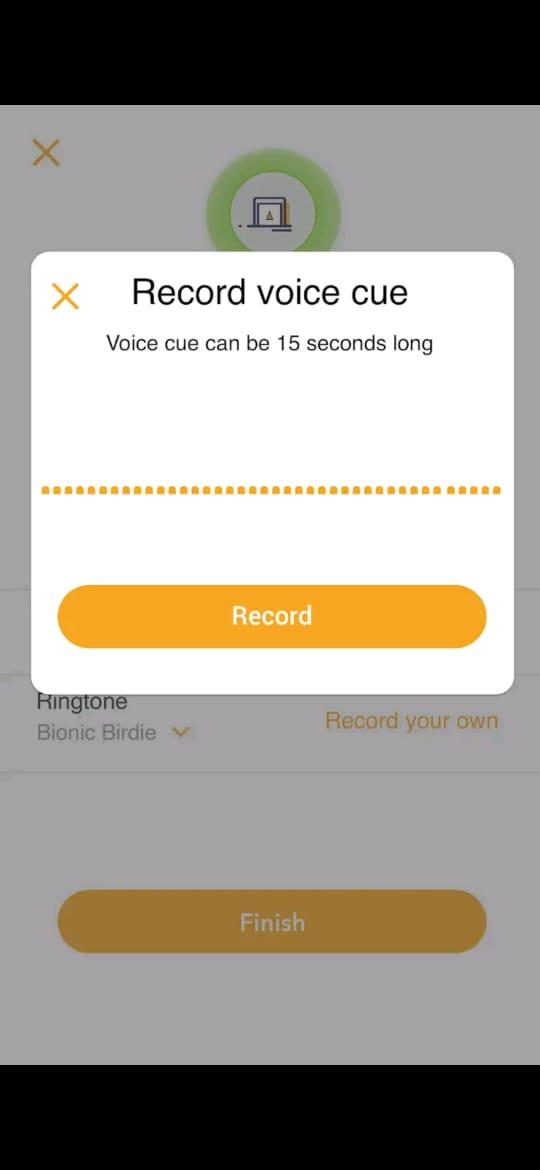
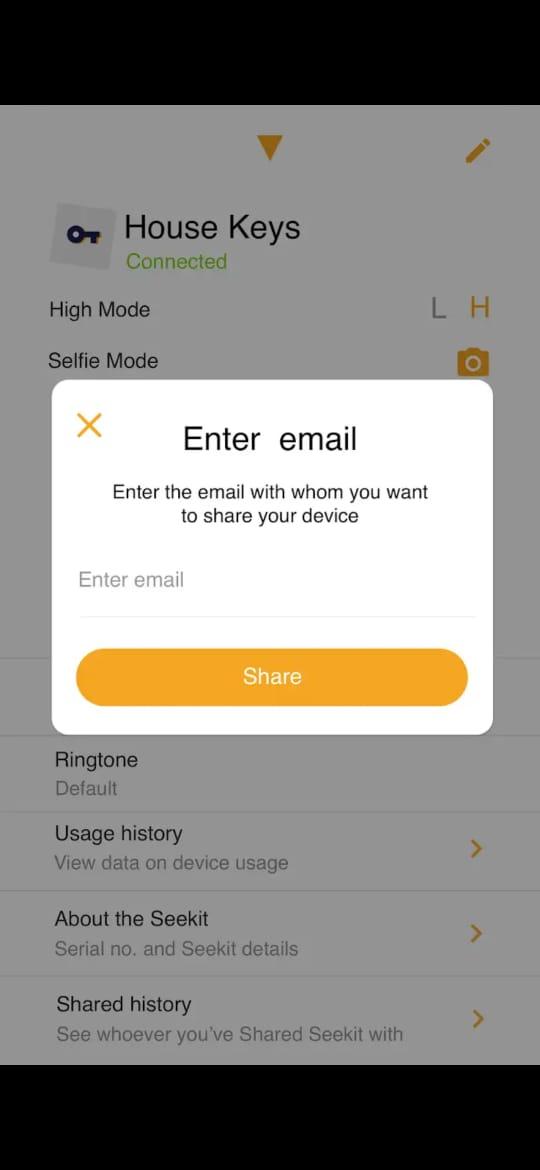
In the app you can set everything name your Iot badge in the app and select the notification sound and setting accordingly.
You can also train dog react to the sound from the buzzer of IoT Name Tag to come to you or that its his walk time whatever suit you and the dog.
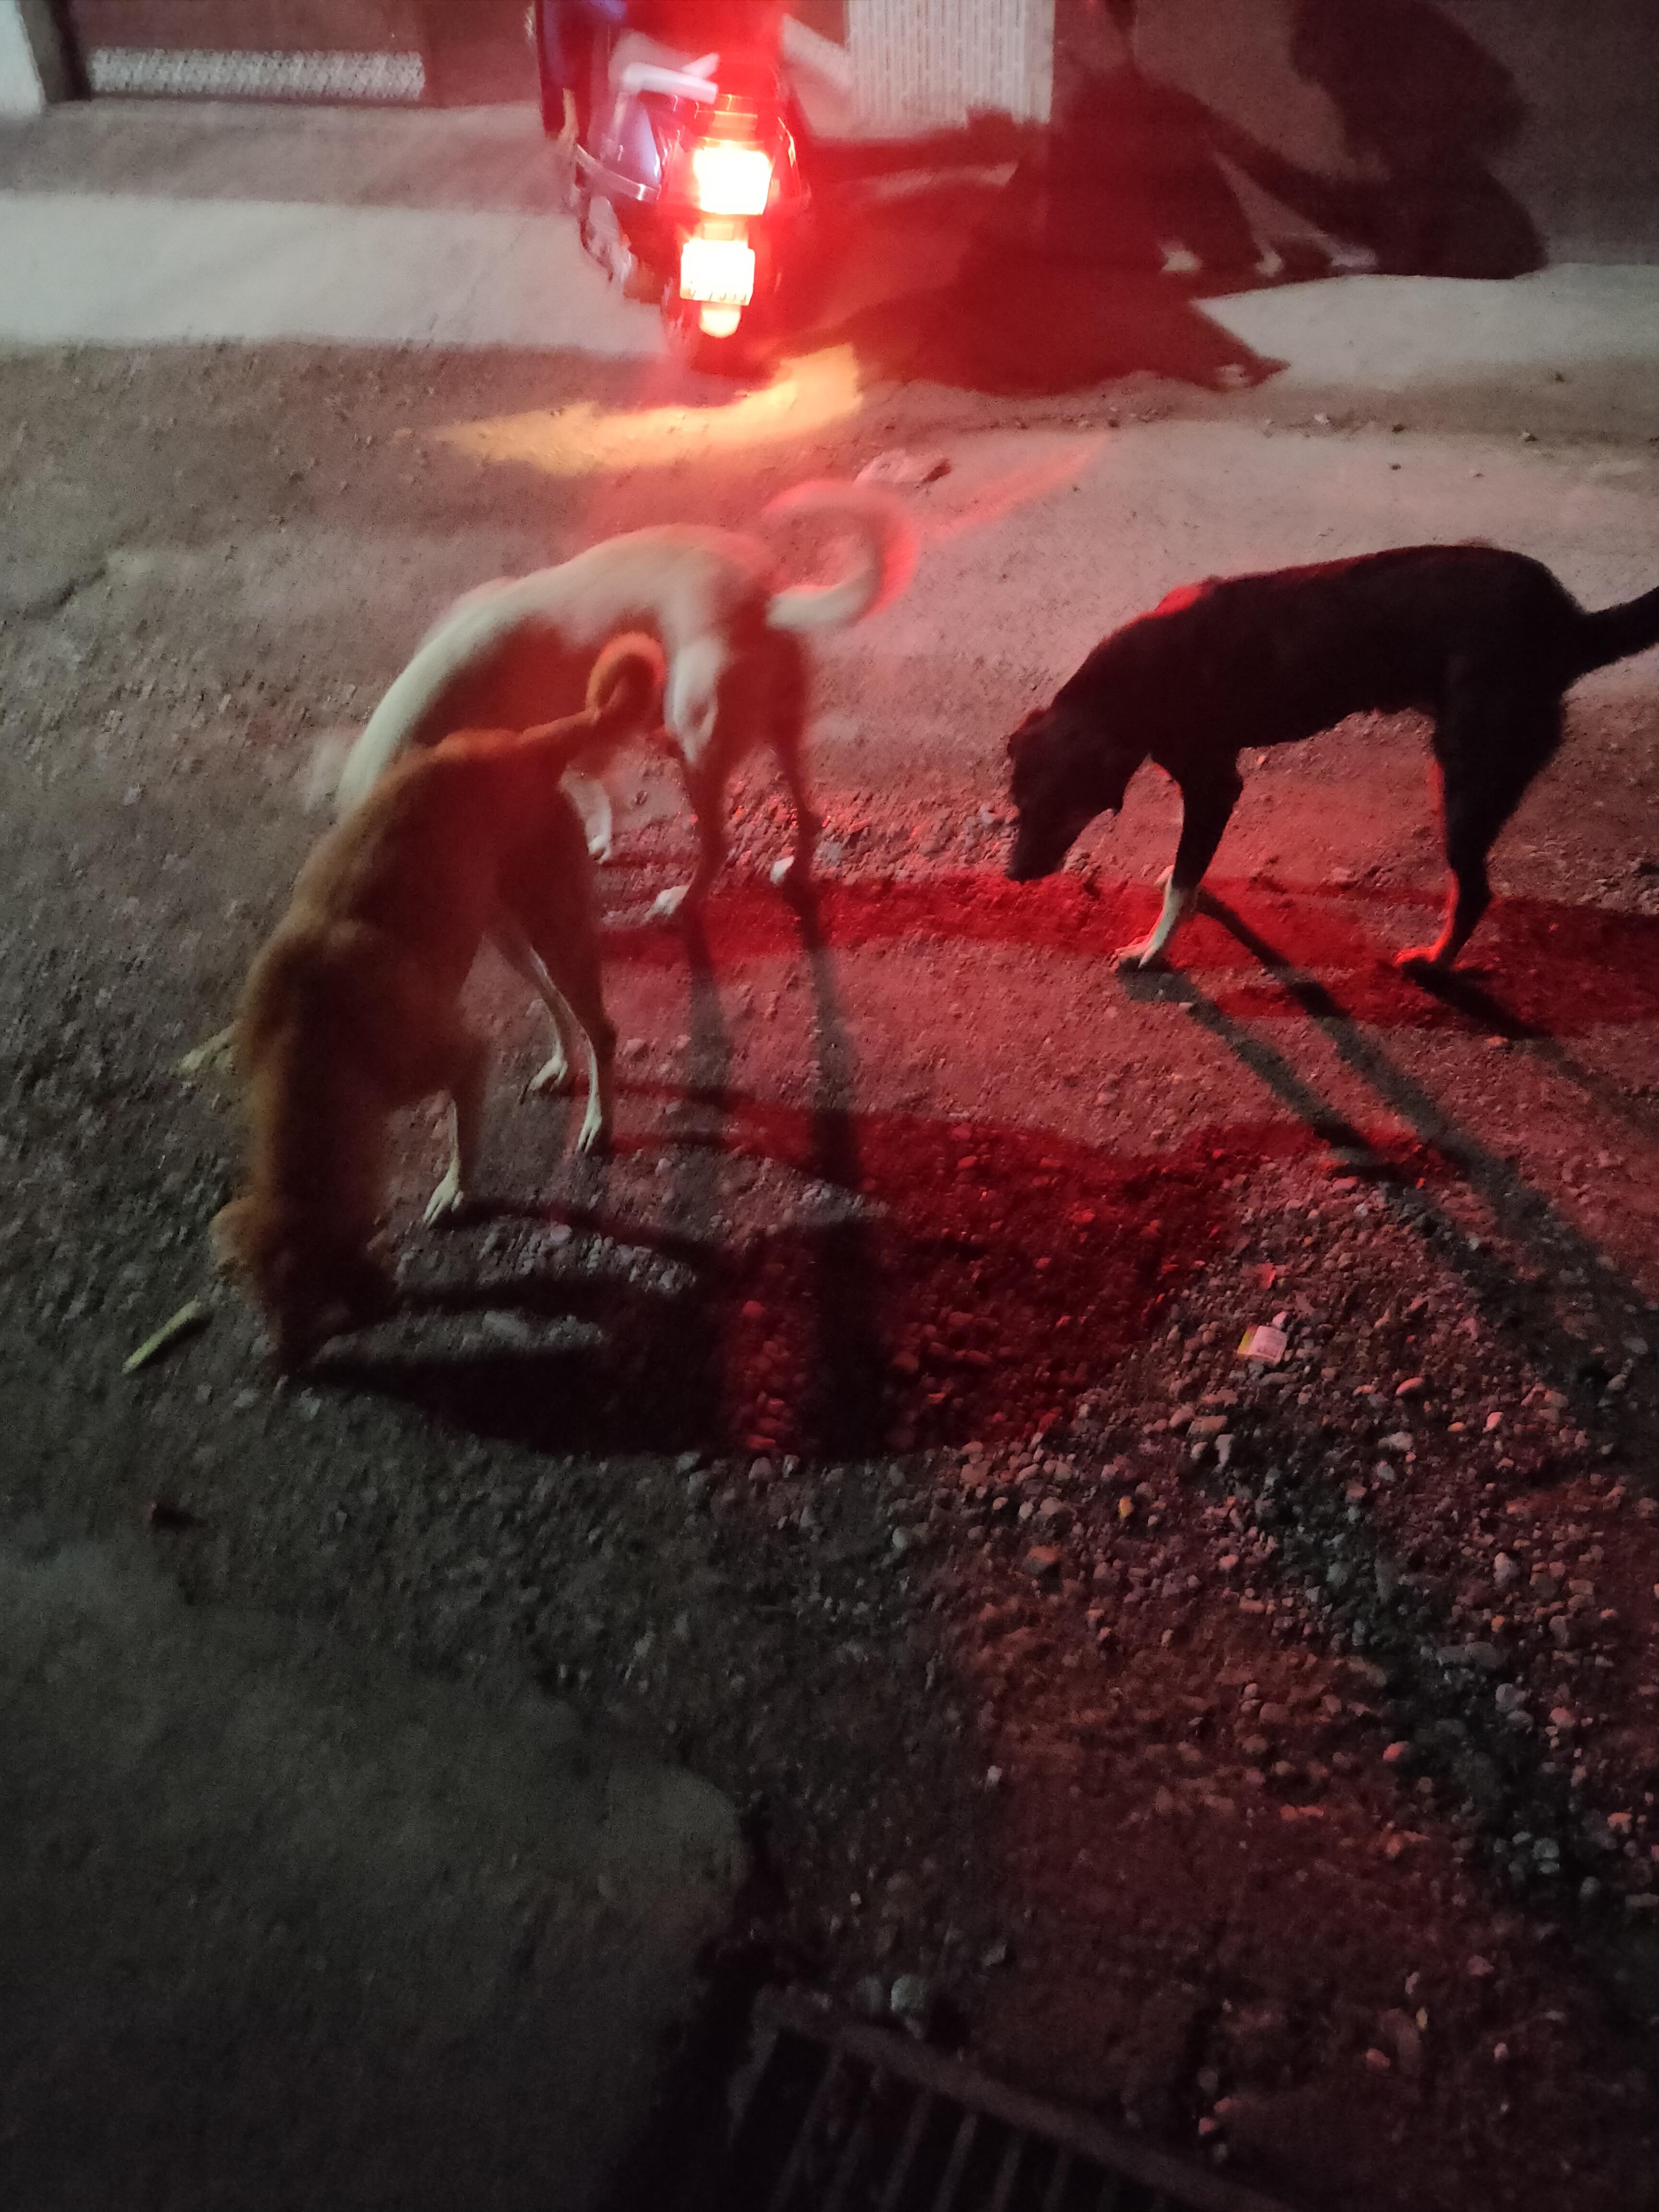
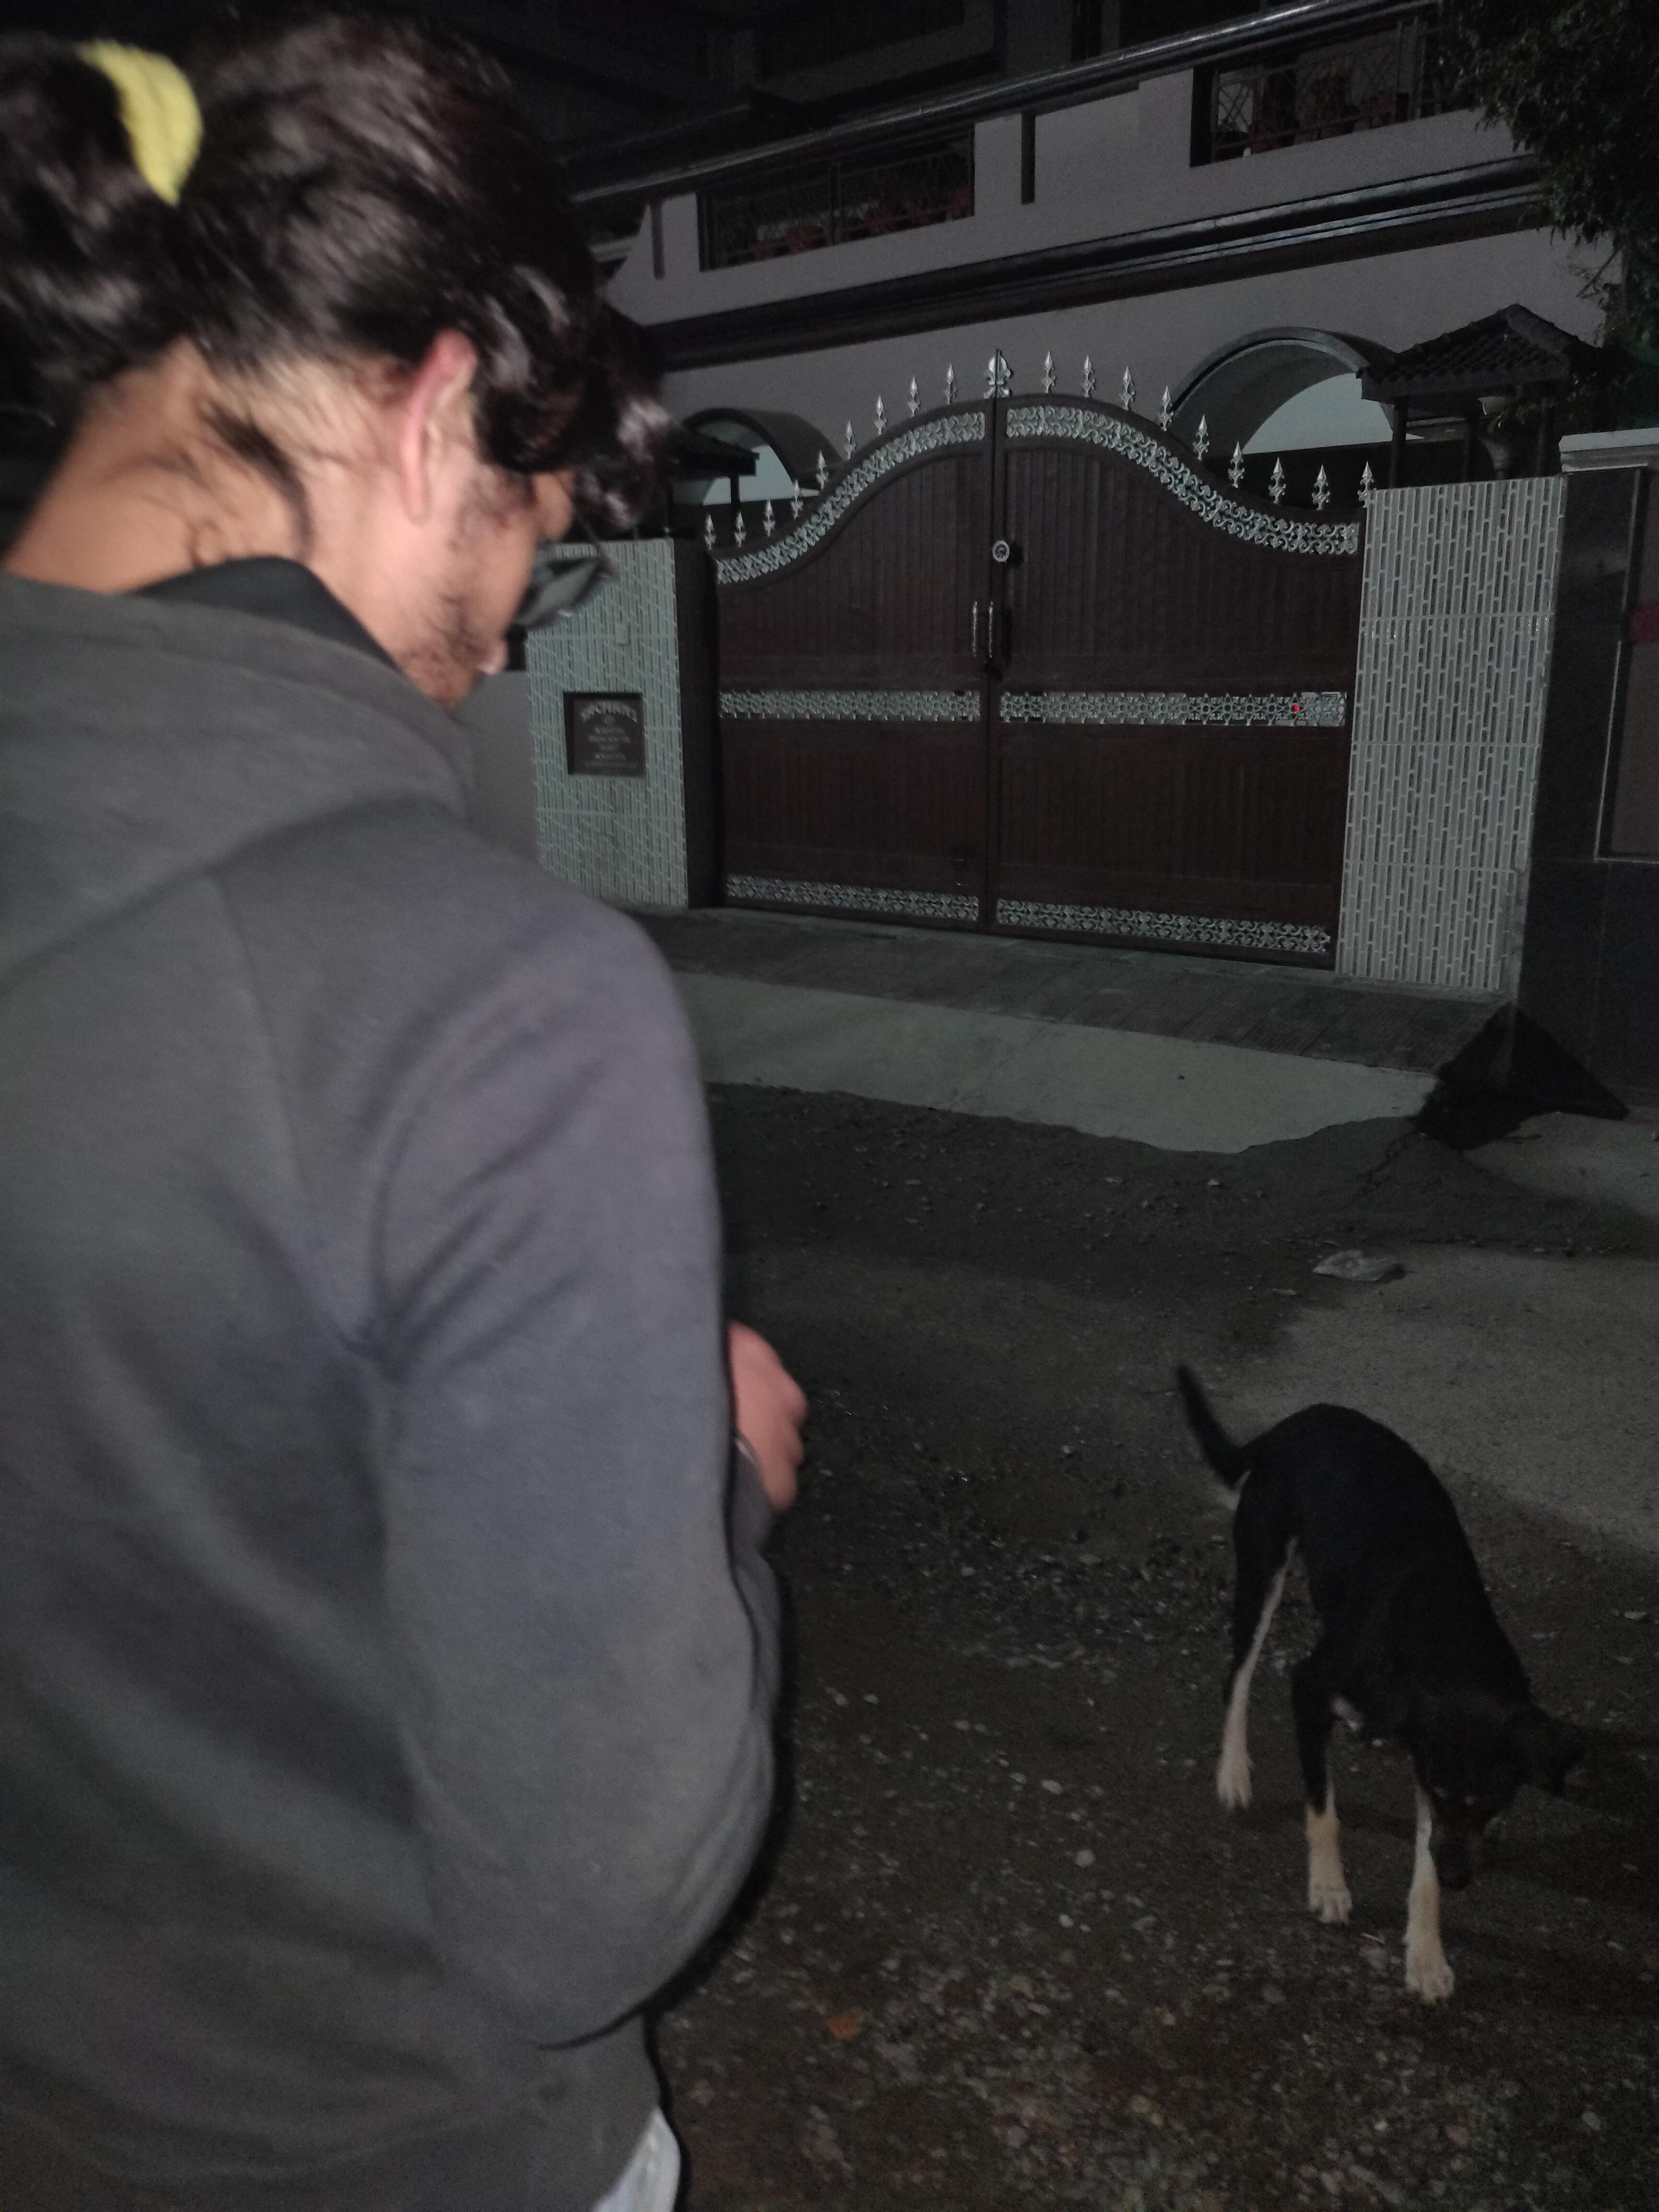
I have added some photos and screenshot from app.
Thanks for Viewing my Instructable.
If you have any question do comment down below, I will reply ASAP.