Project
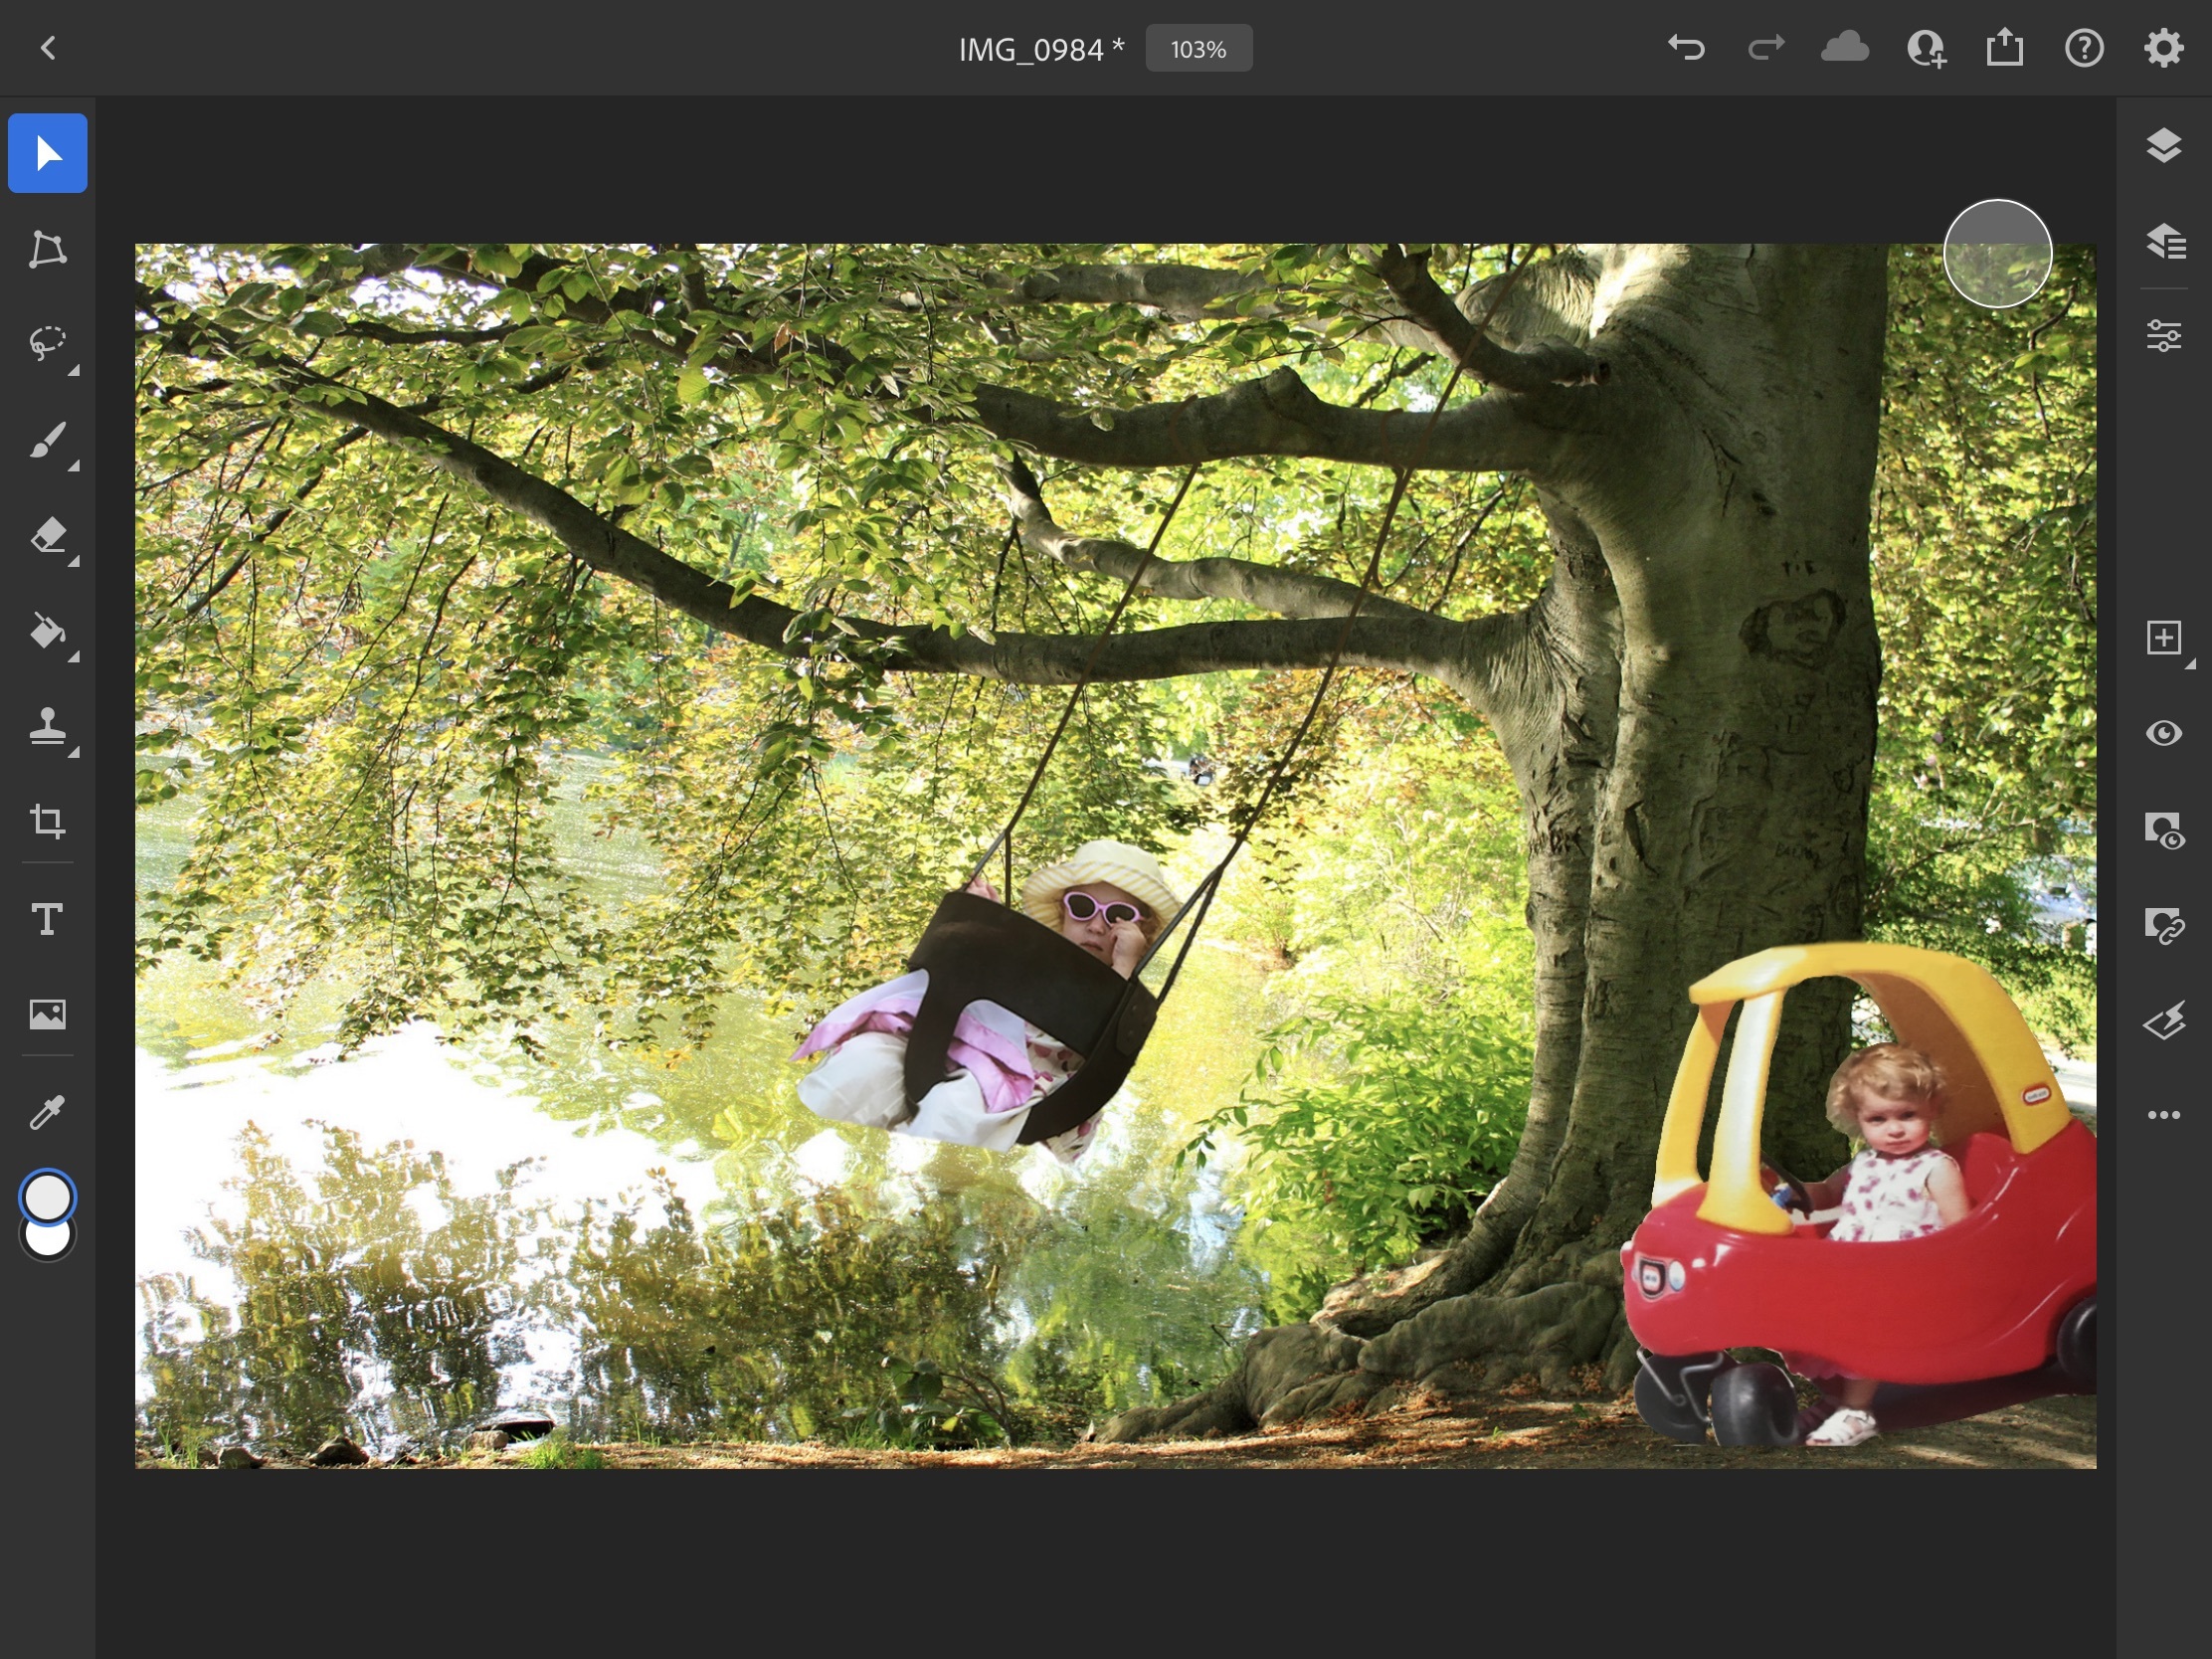
This tutorial will teach you how to create a very beautiful and tranquil scene using your beloved baby photos.
Supplies
- adobe photoshop
- apple pencil (if using an ipad; optional)
- baby photos
- background photo
Tools:
- lasso tool
- clone stamp
- eyedro
- brush
- adjustment layers
Step 1: Opening Up a Background
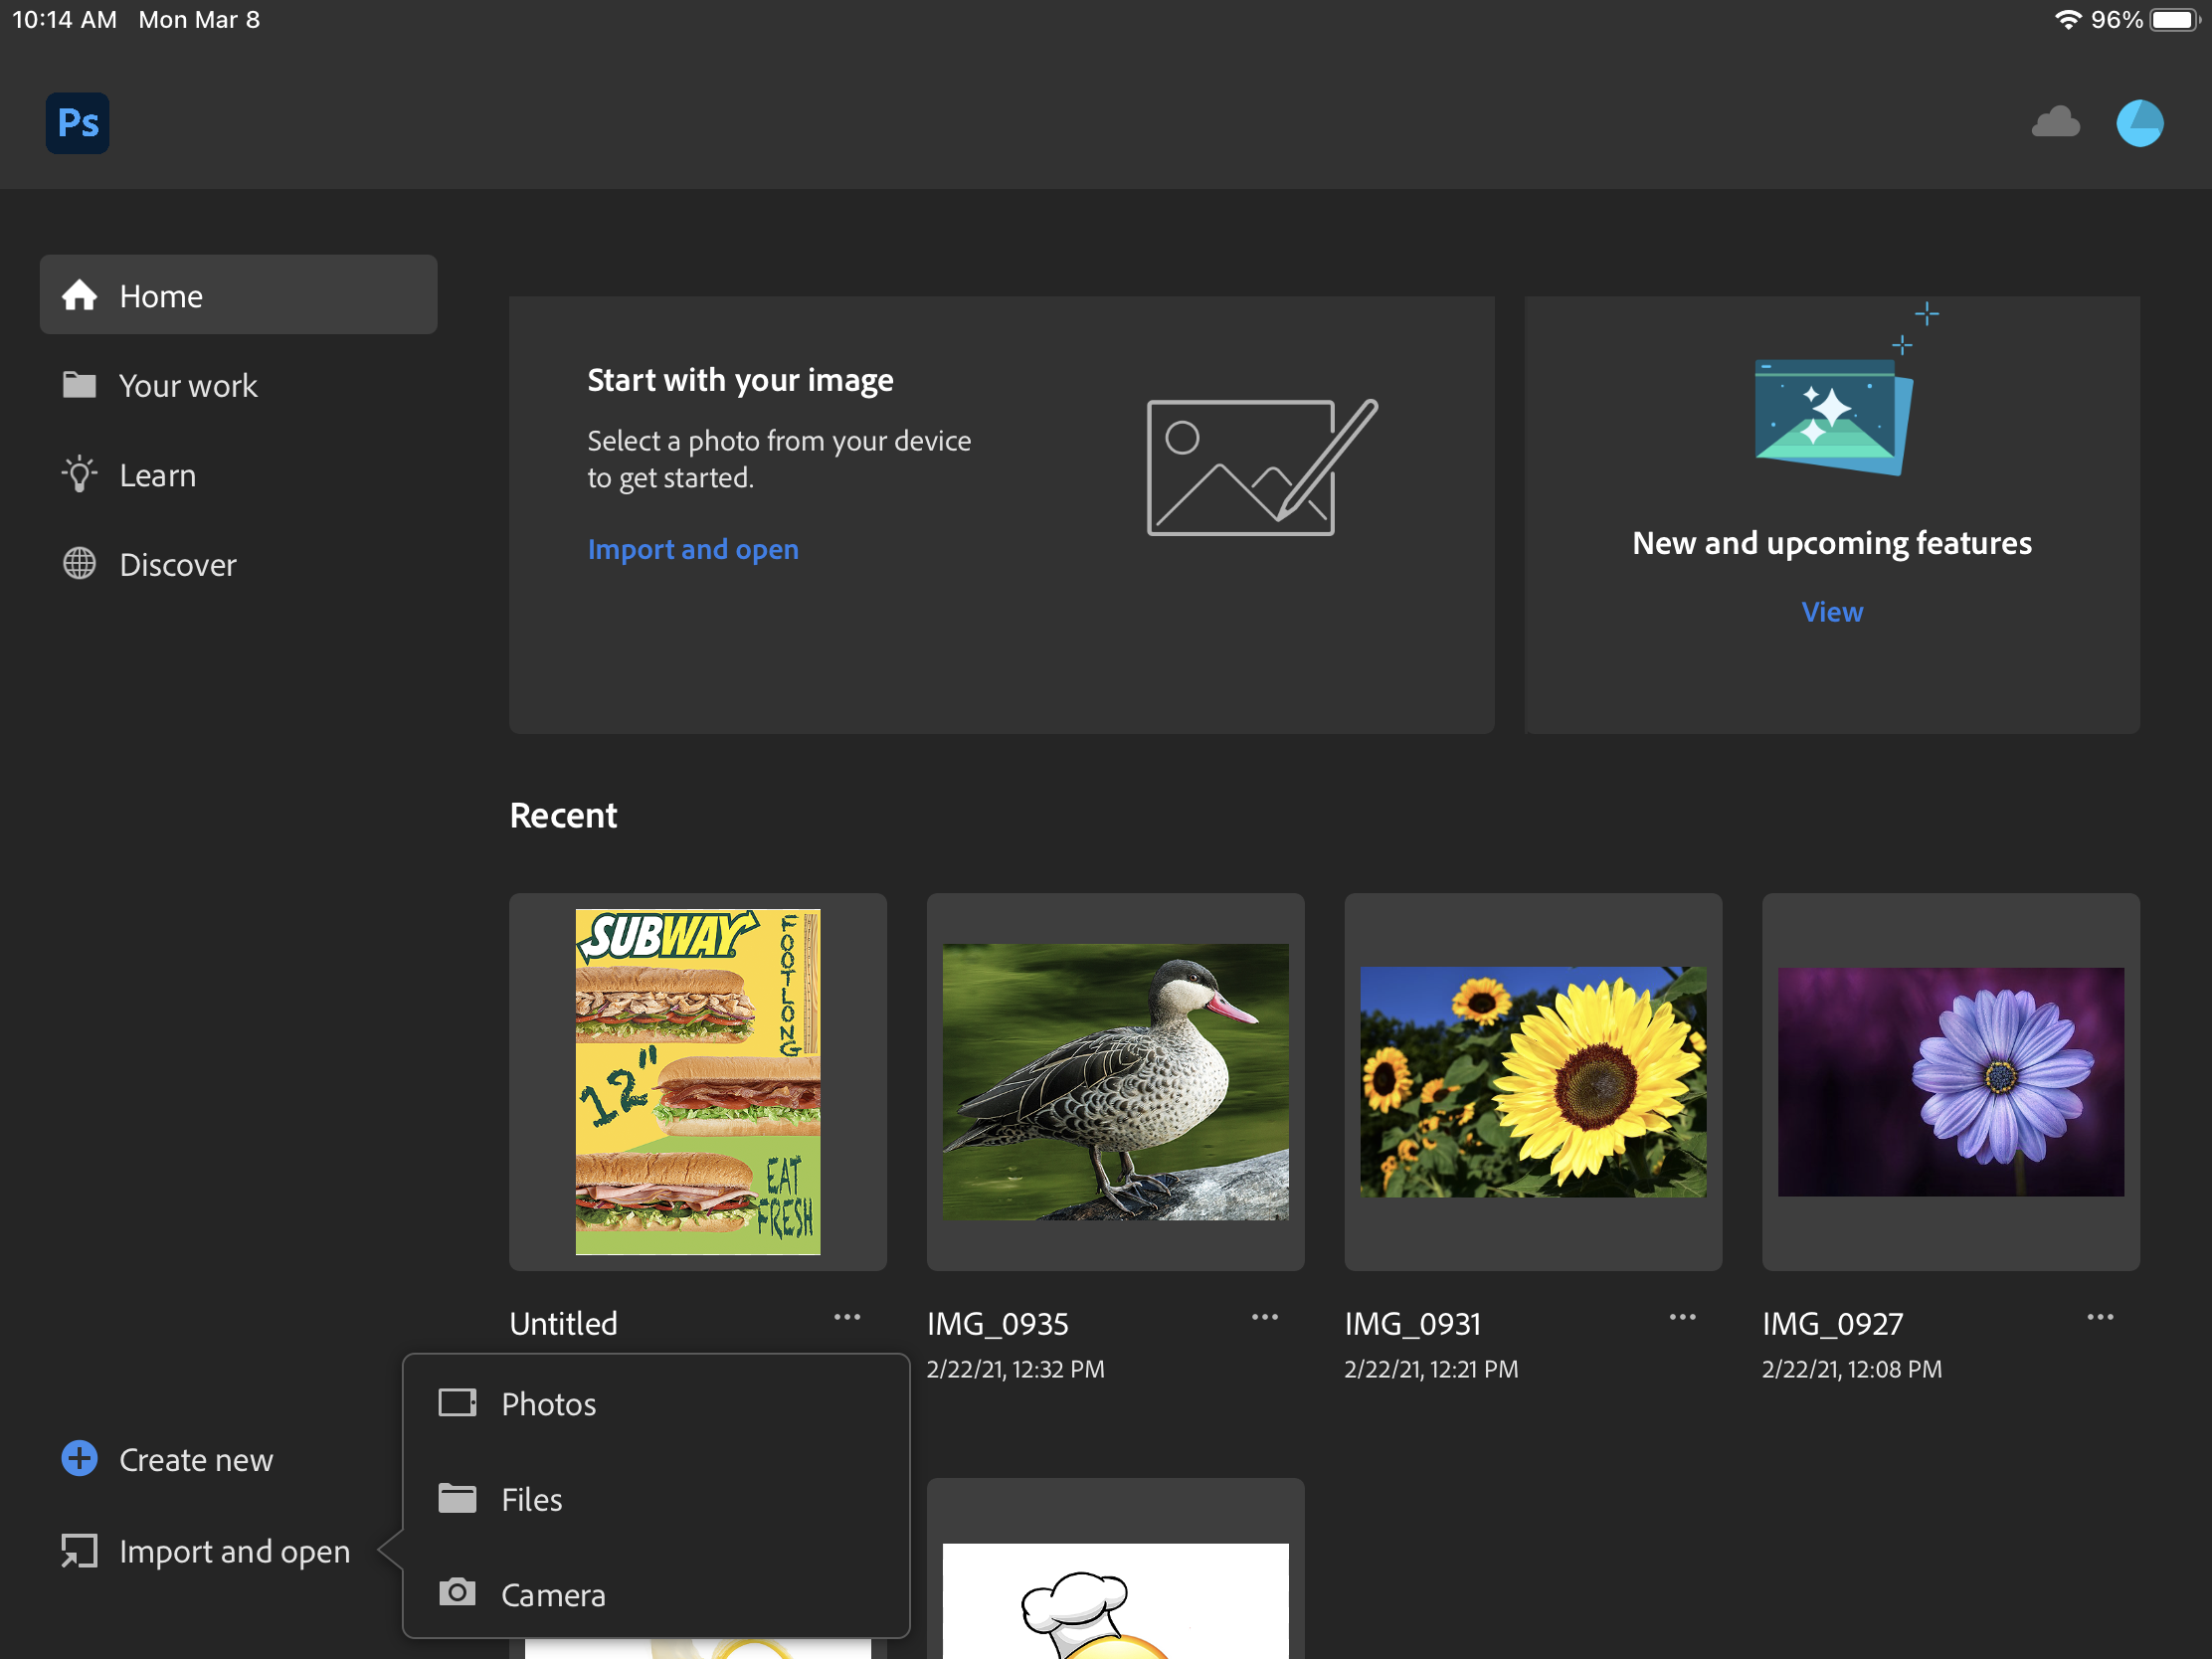
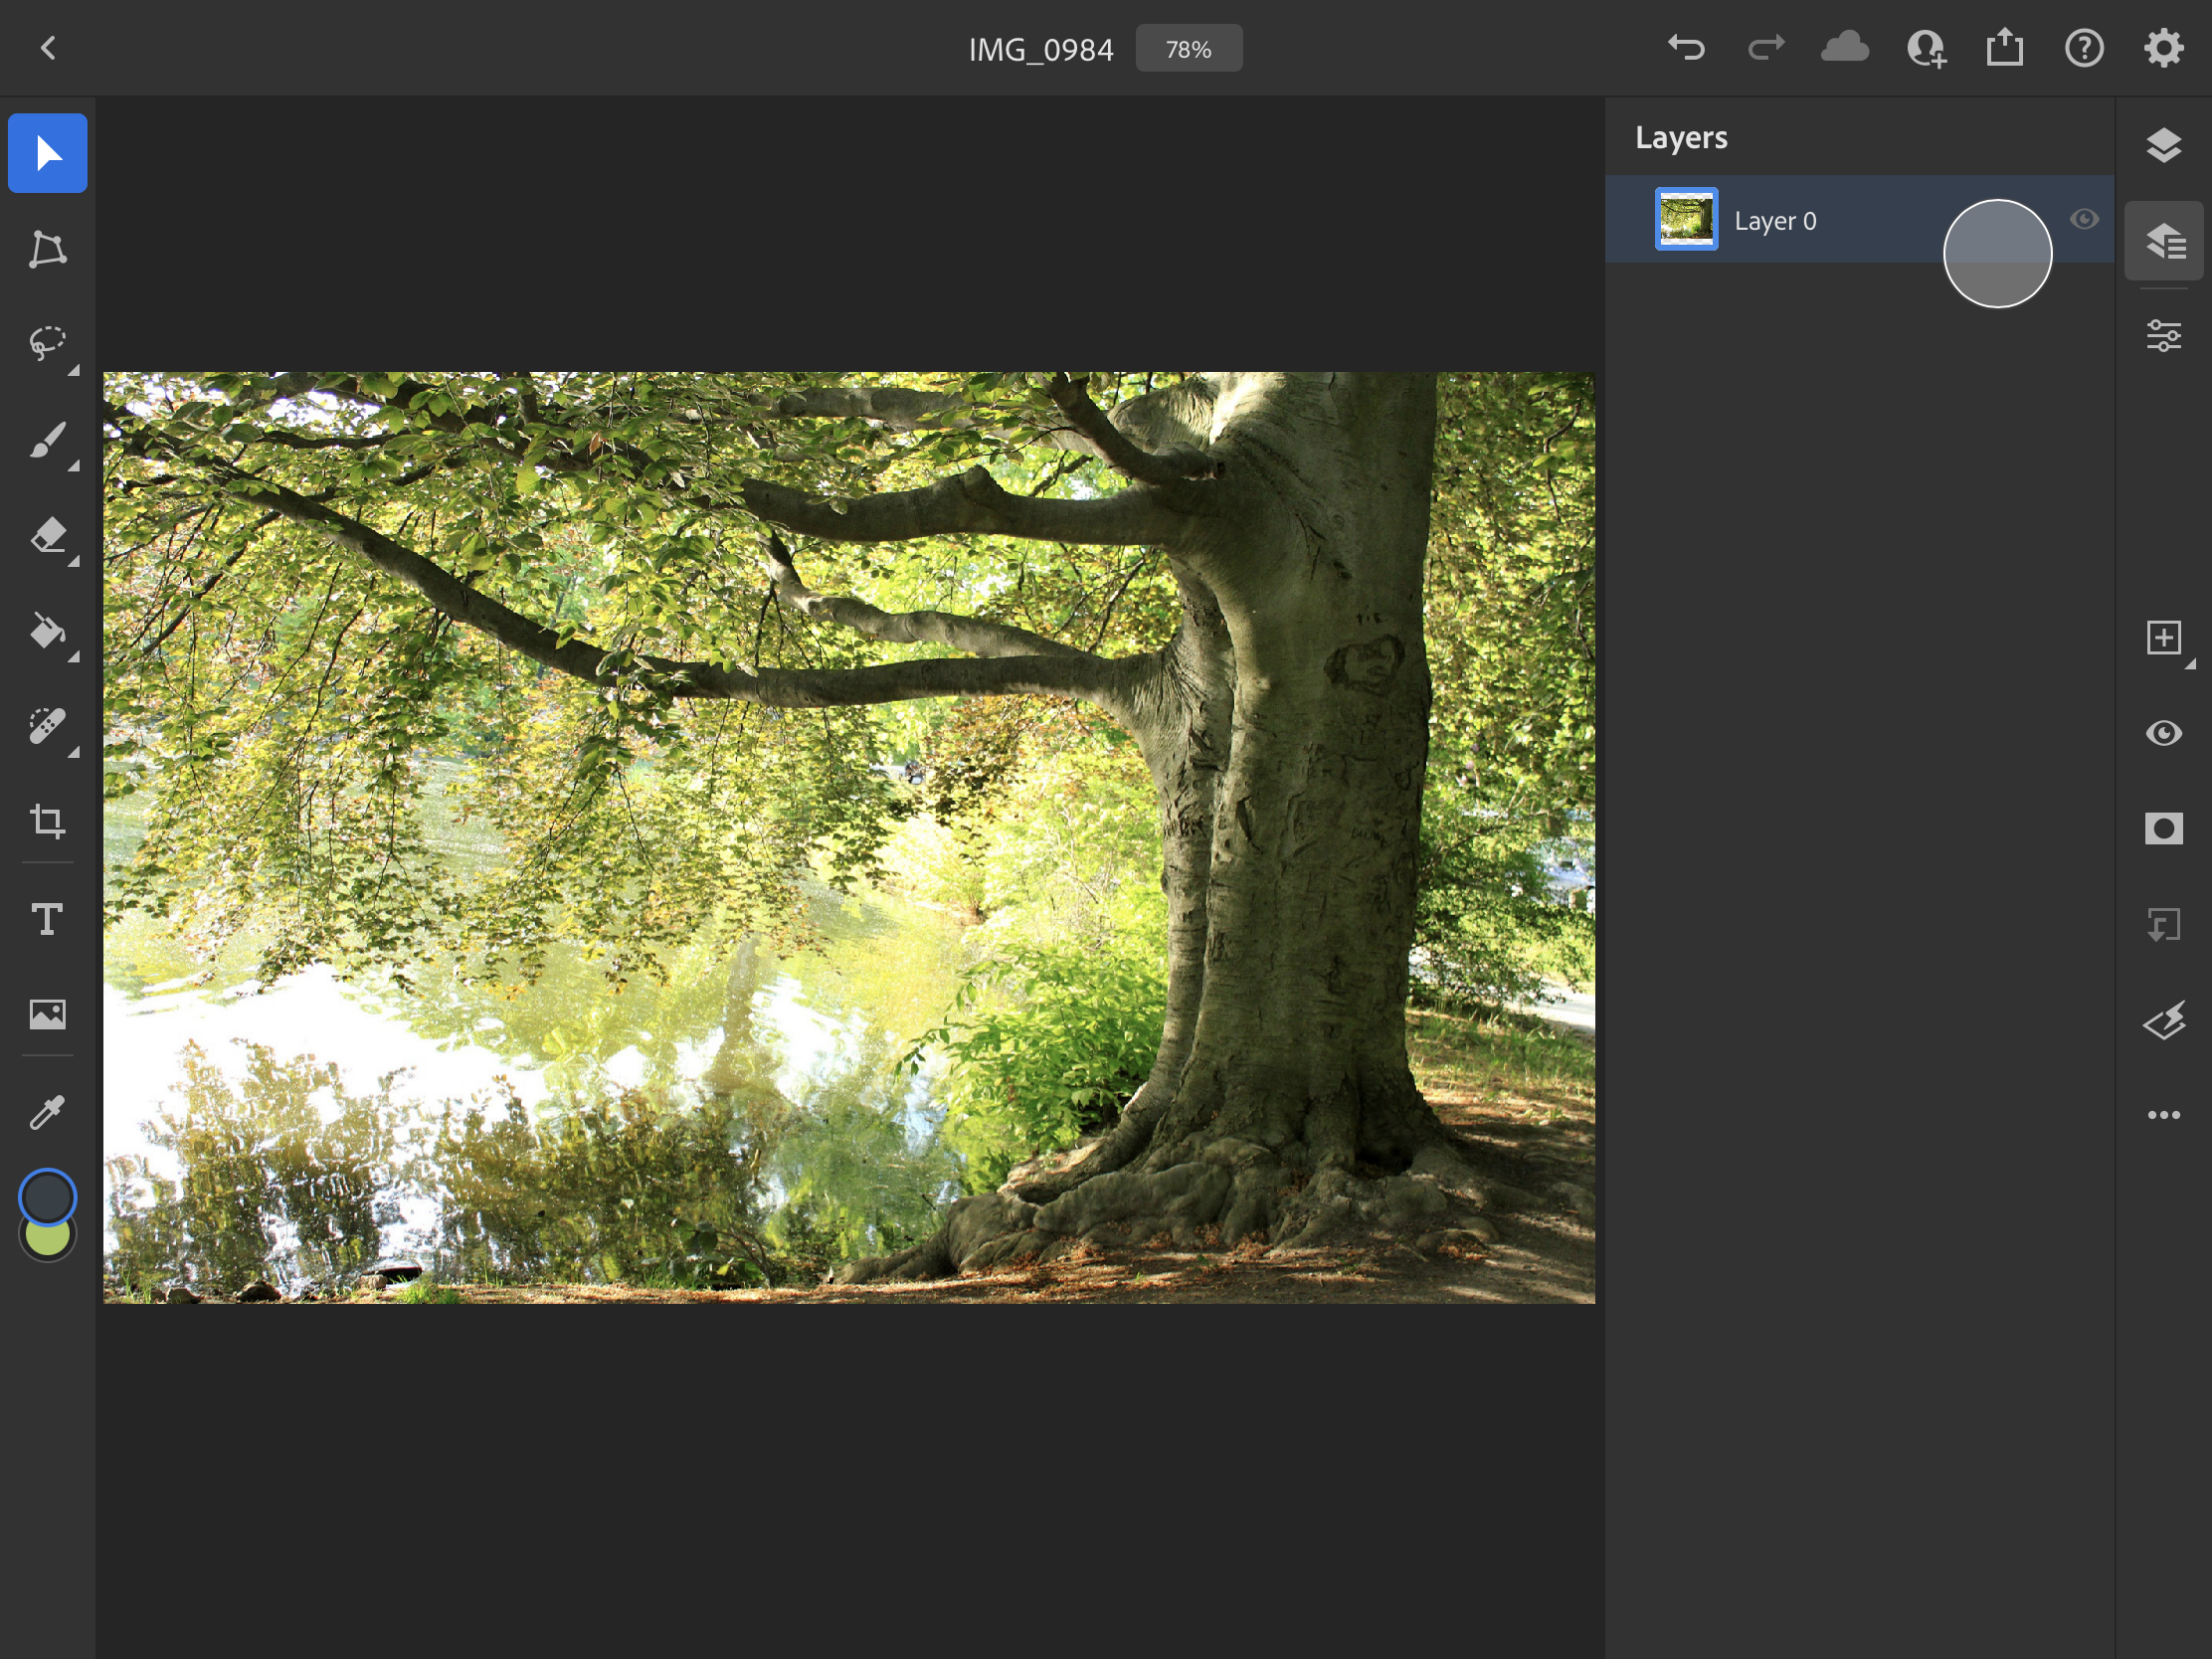
Once you have gathered all your pictures that you want to use, it's time to open up a background. click the "import and open" button on the lower left corner, and then click "photos". choose the photo that you want to use for your background. once the background is chosen, open it up and adjust the image to a size of your liking. make sure the image is high quality, so that it does not appear to be blurry or pixelated.
Step 2: Adding the First Picture
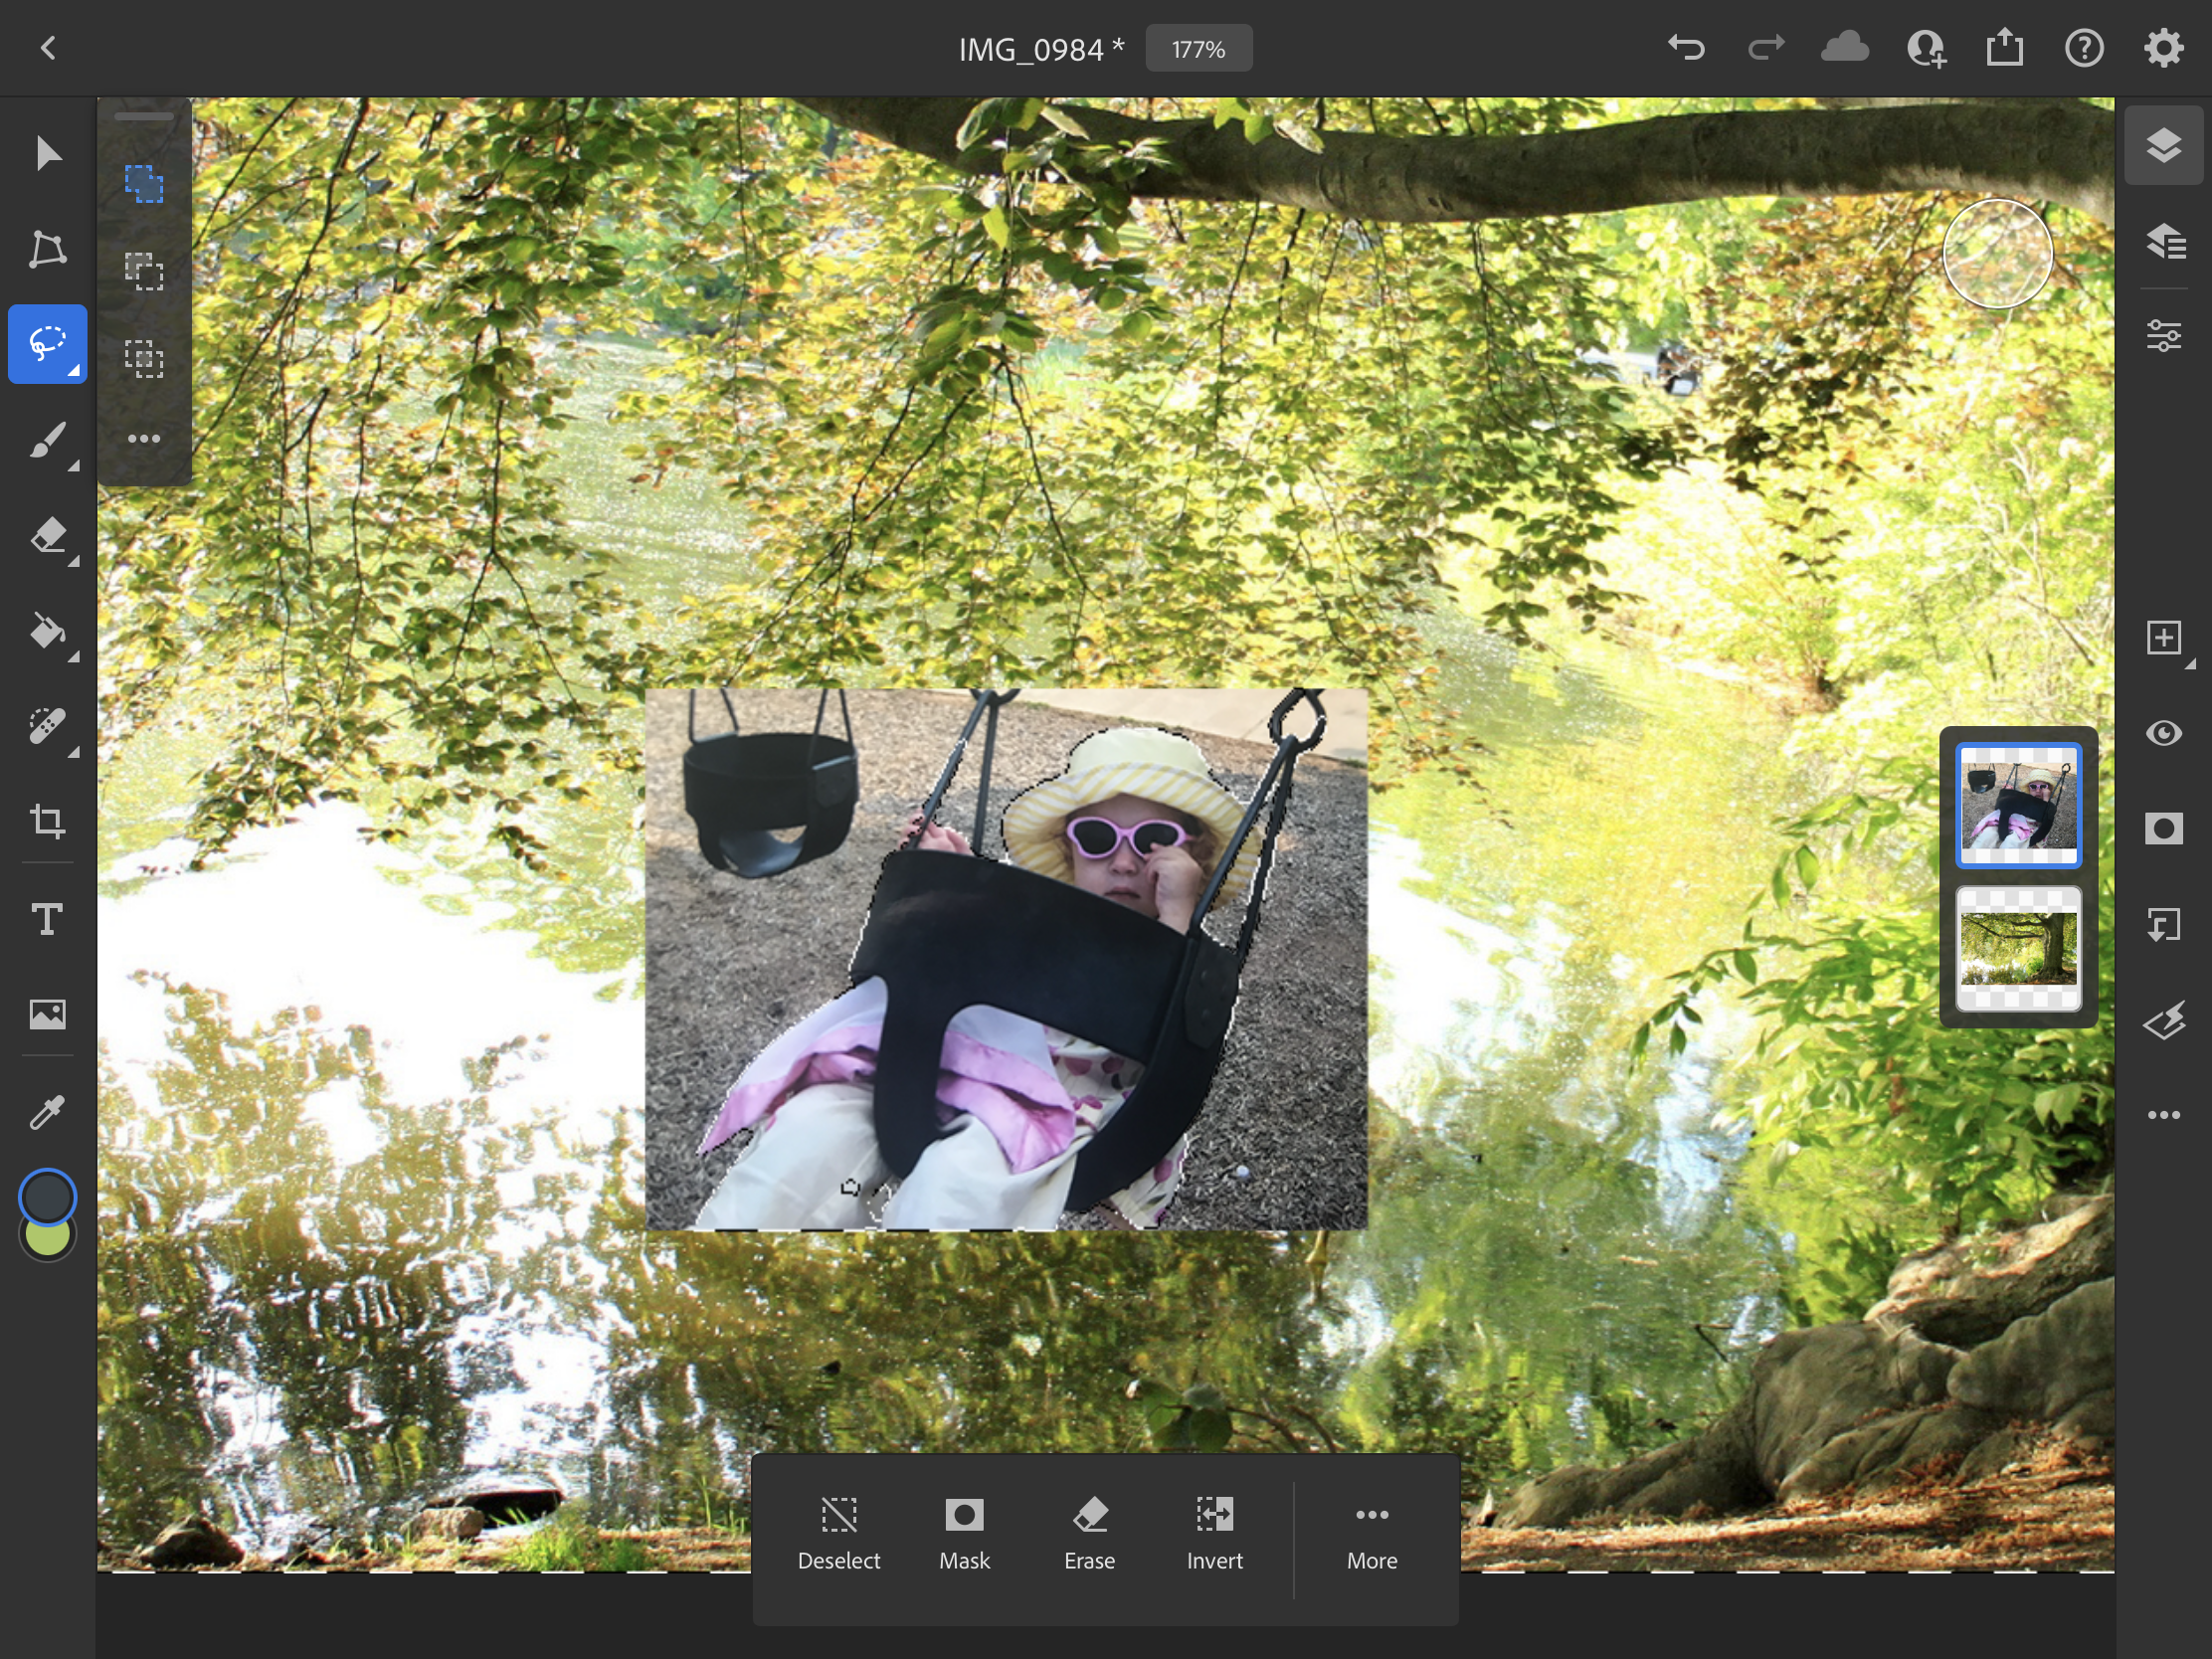
After you have the background set, it is time to add the first photo. click the picture icon on the sidebar located on the far left, and add the image of your choosing. make sure that the image does not appear to be blurry or pixelated.
Step 3: Making the Image Transparent
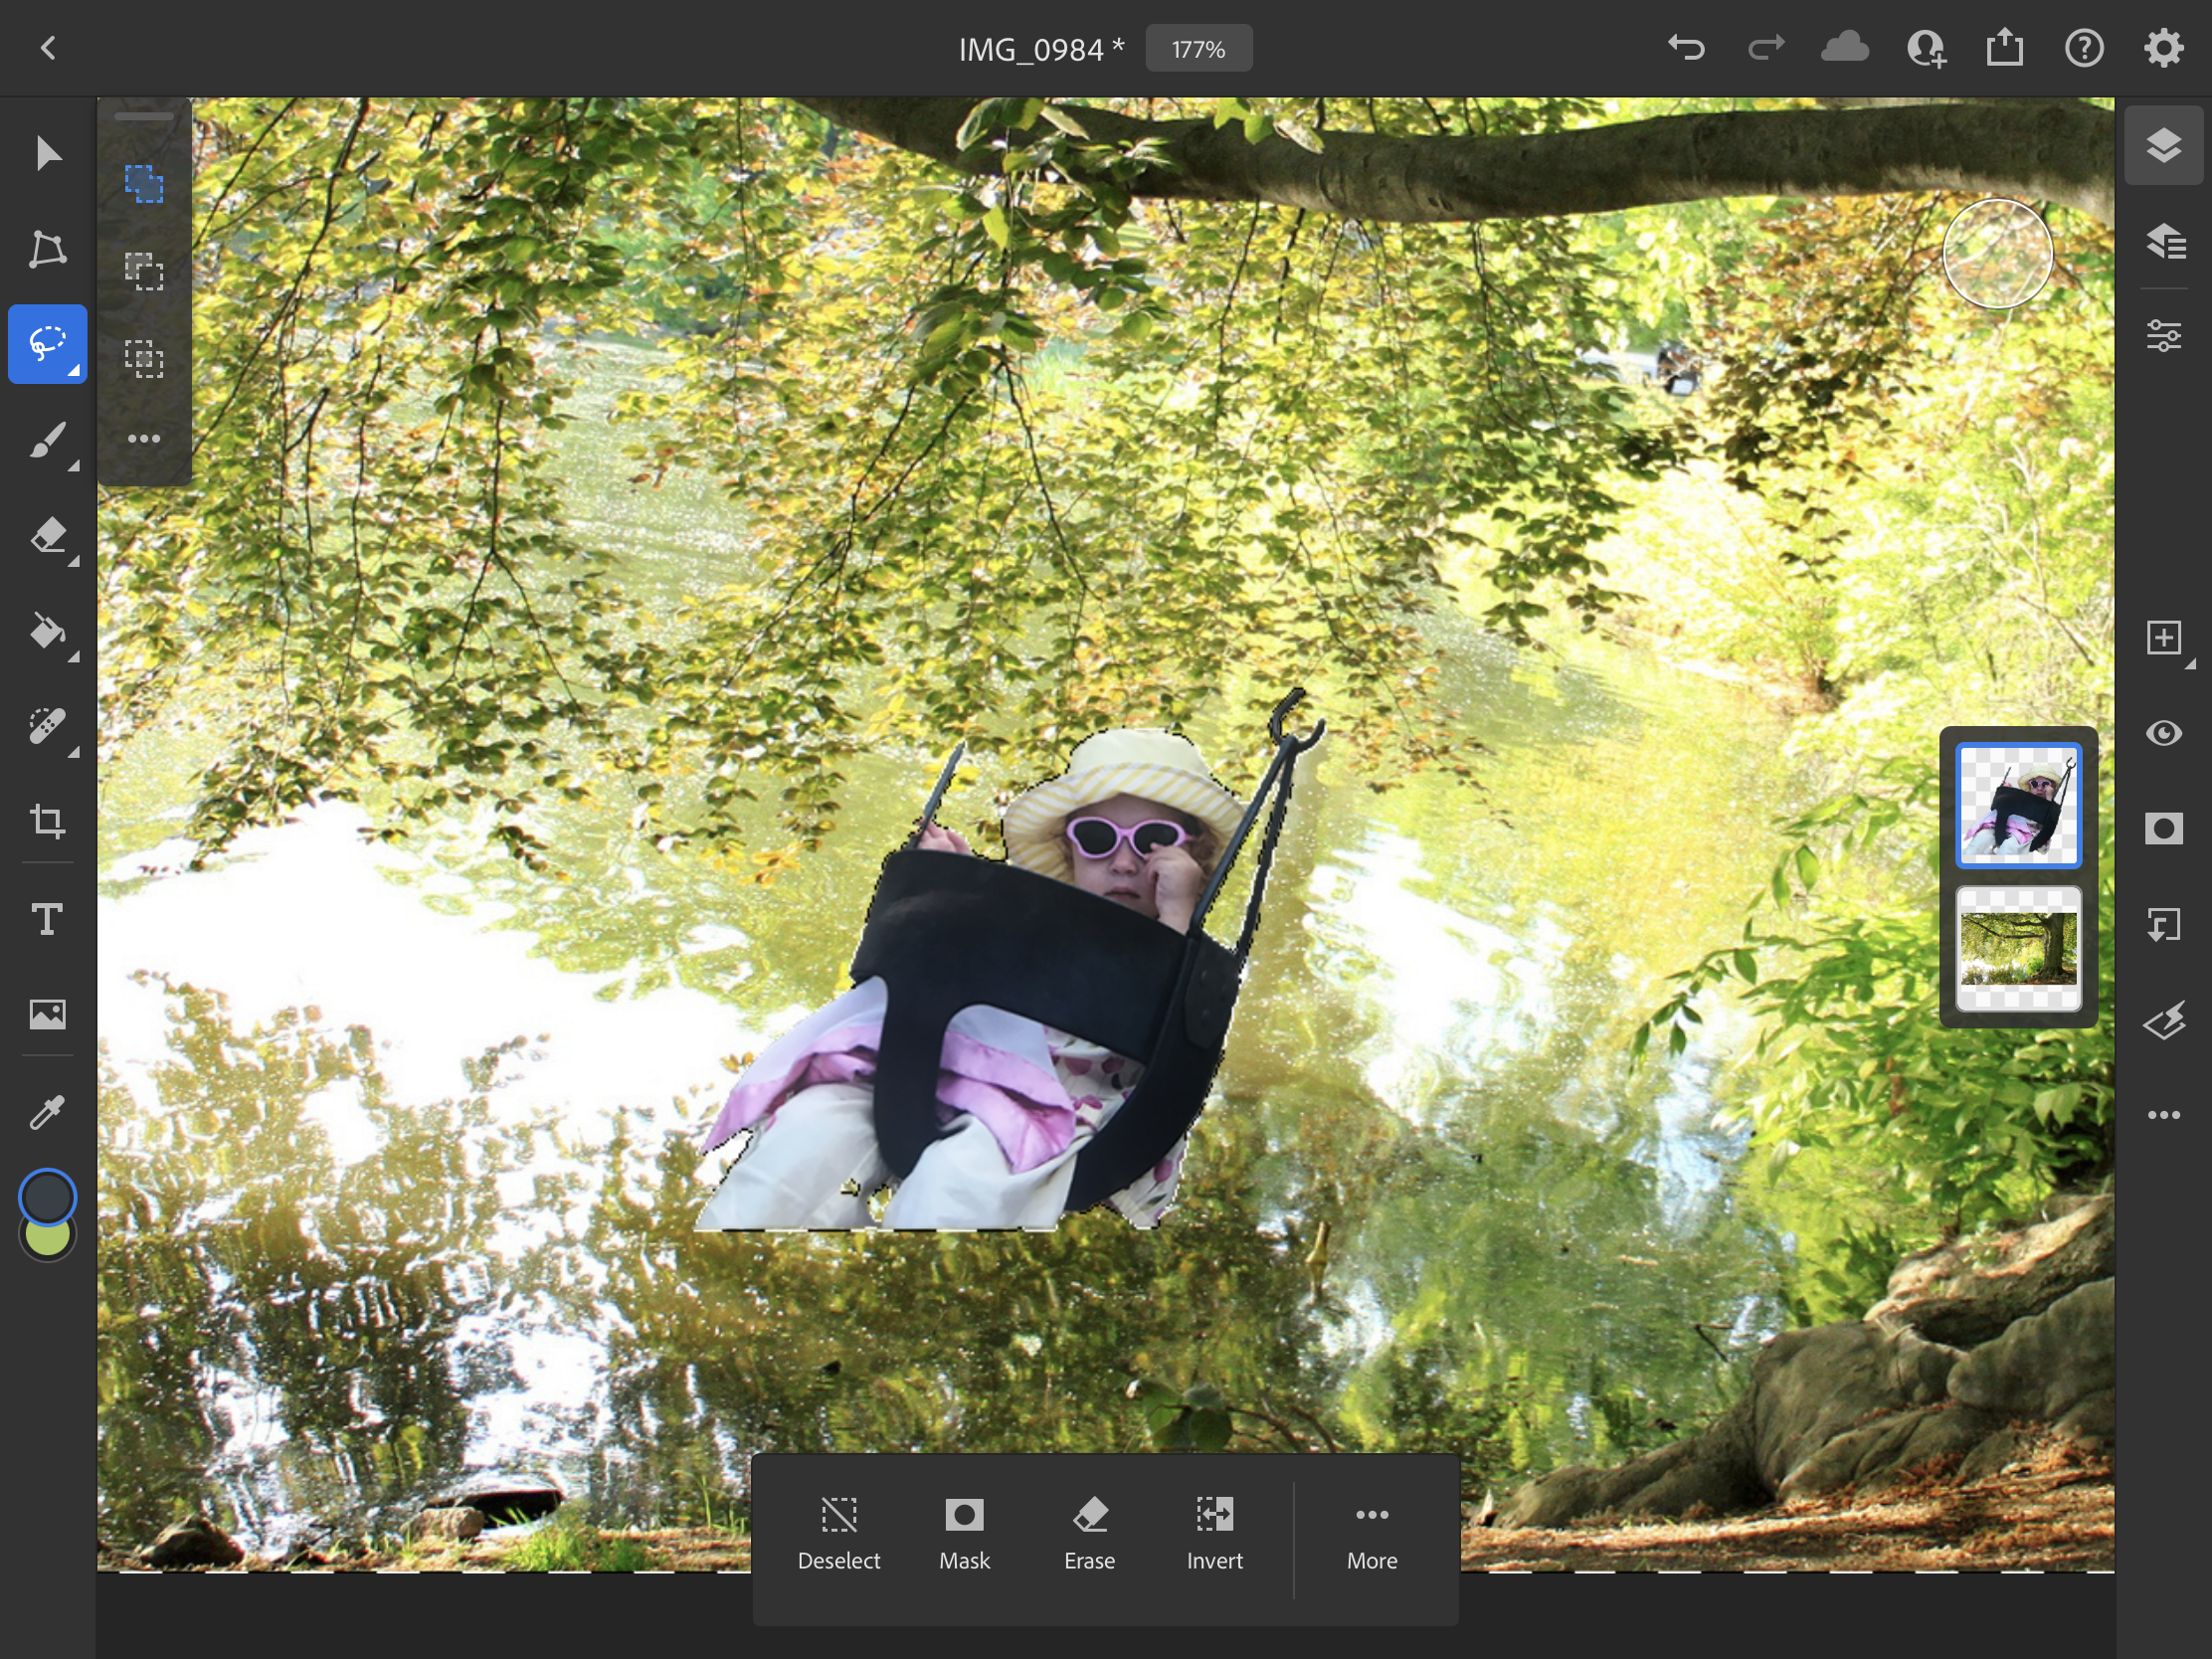
Once you have your desired image, you want to get rid of any unnecessary background element. in order to do this, we will use the "lasso tool". This tool looks like a lasso, and is located on the sidebar near the top. The lasso tool has multiple different options, but the easiest way to remove a background quickly is by using the "select subject" option. this makes it so a certain subject is automatically selected. Once your subject is selected (it will appear to have a white dashed line around it), you want to click "invert", which is located on the bottom bar once the subject is selected. Then click "erase". This will erase everything besides the selected subject, leaving the just the subject from the image. Once this is done, then adjust the image to a desired size using the movement tool.
Step 4: Adding a Clipped Adjustment Layer
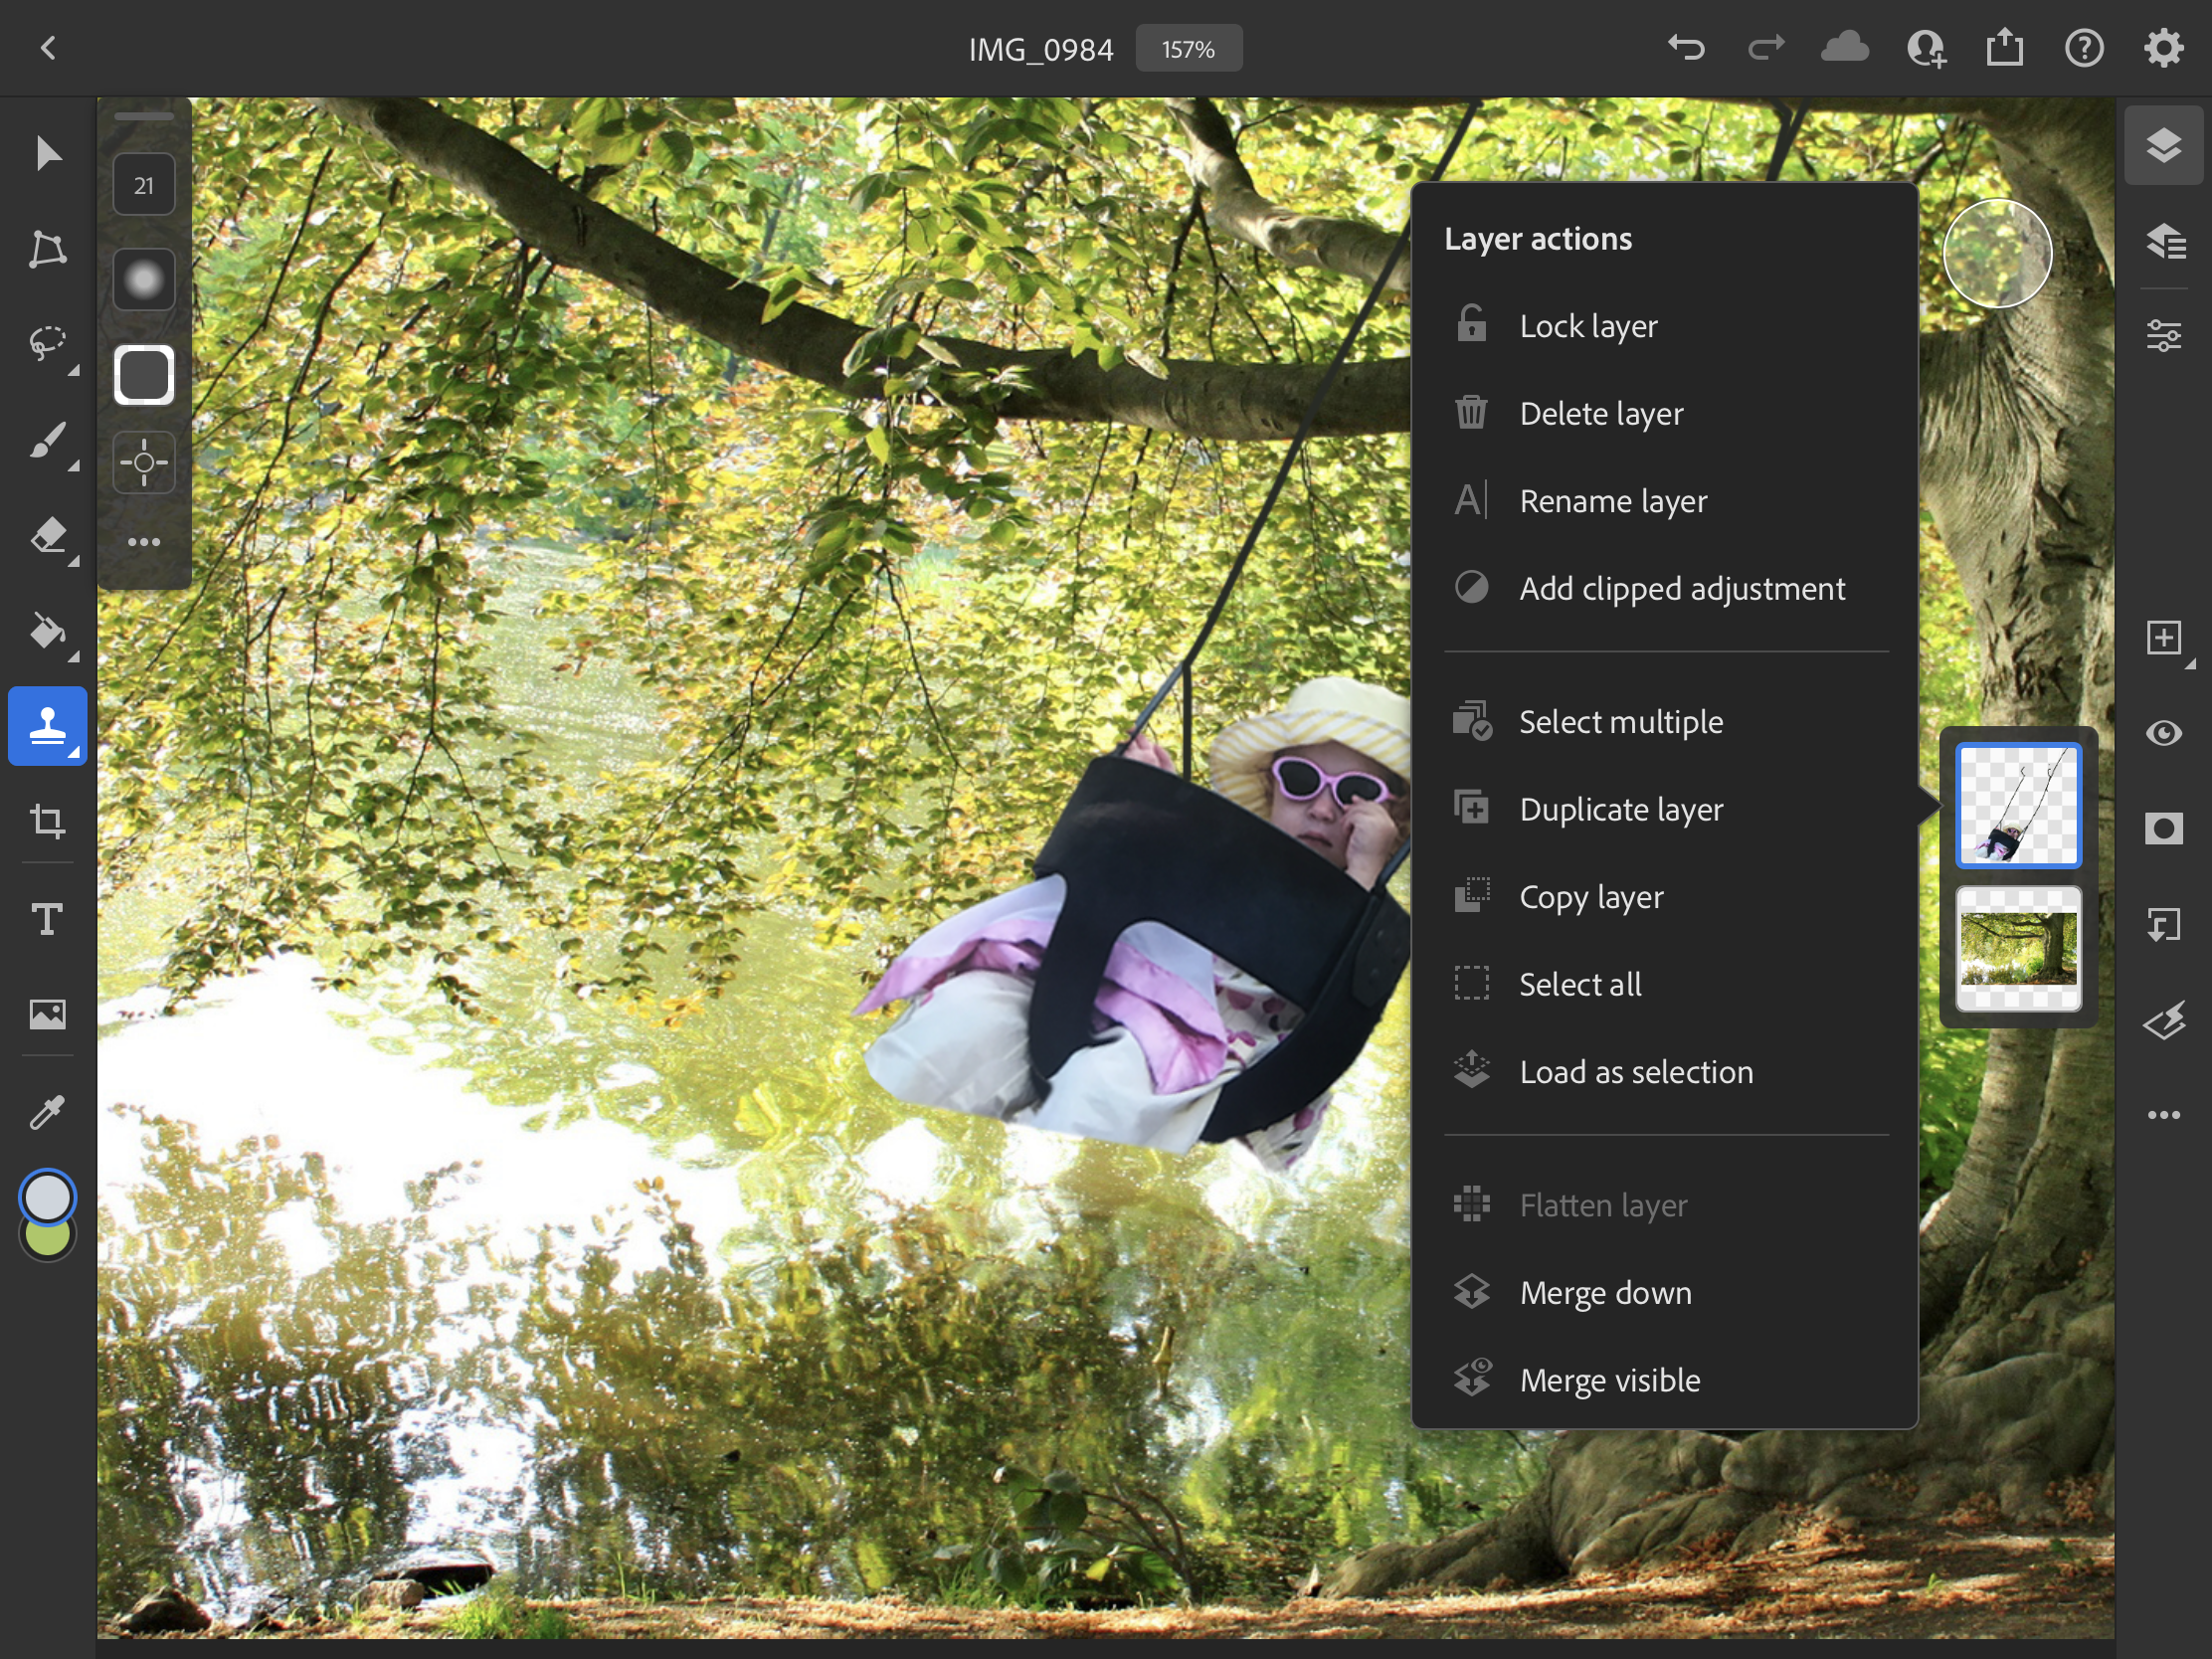
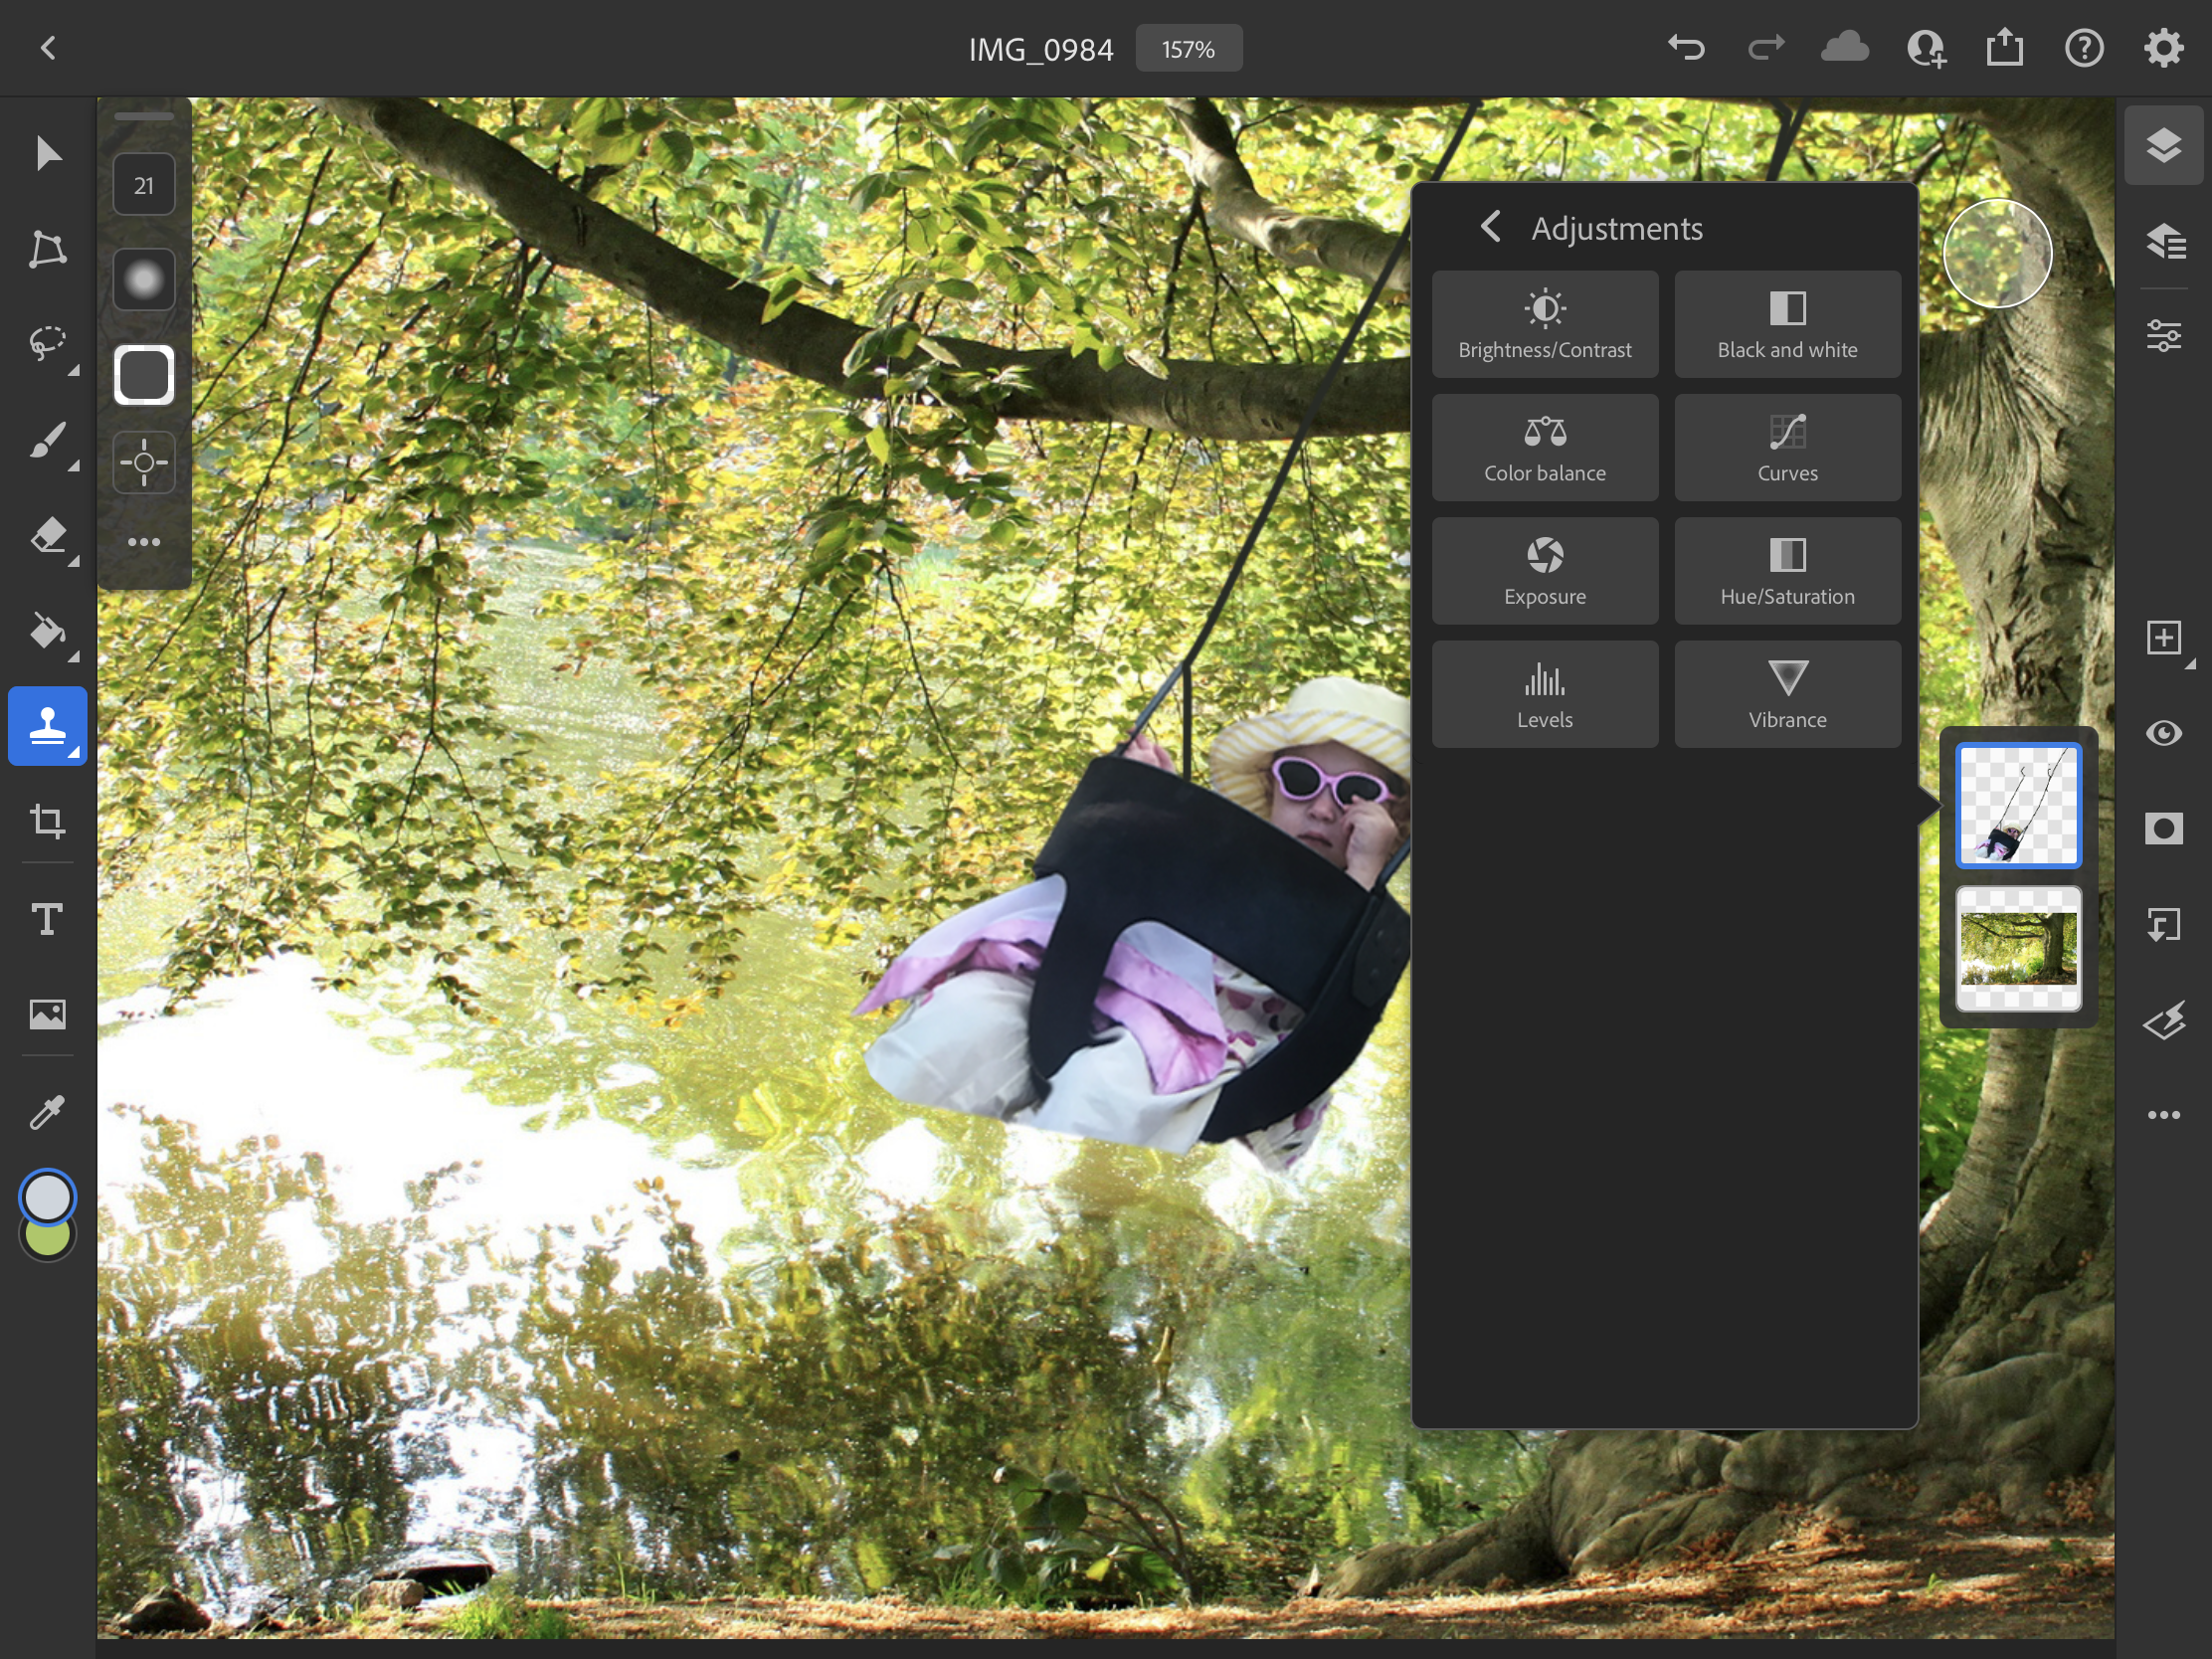
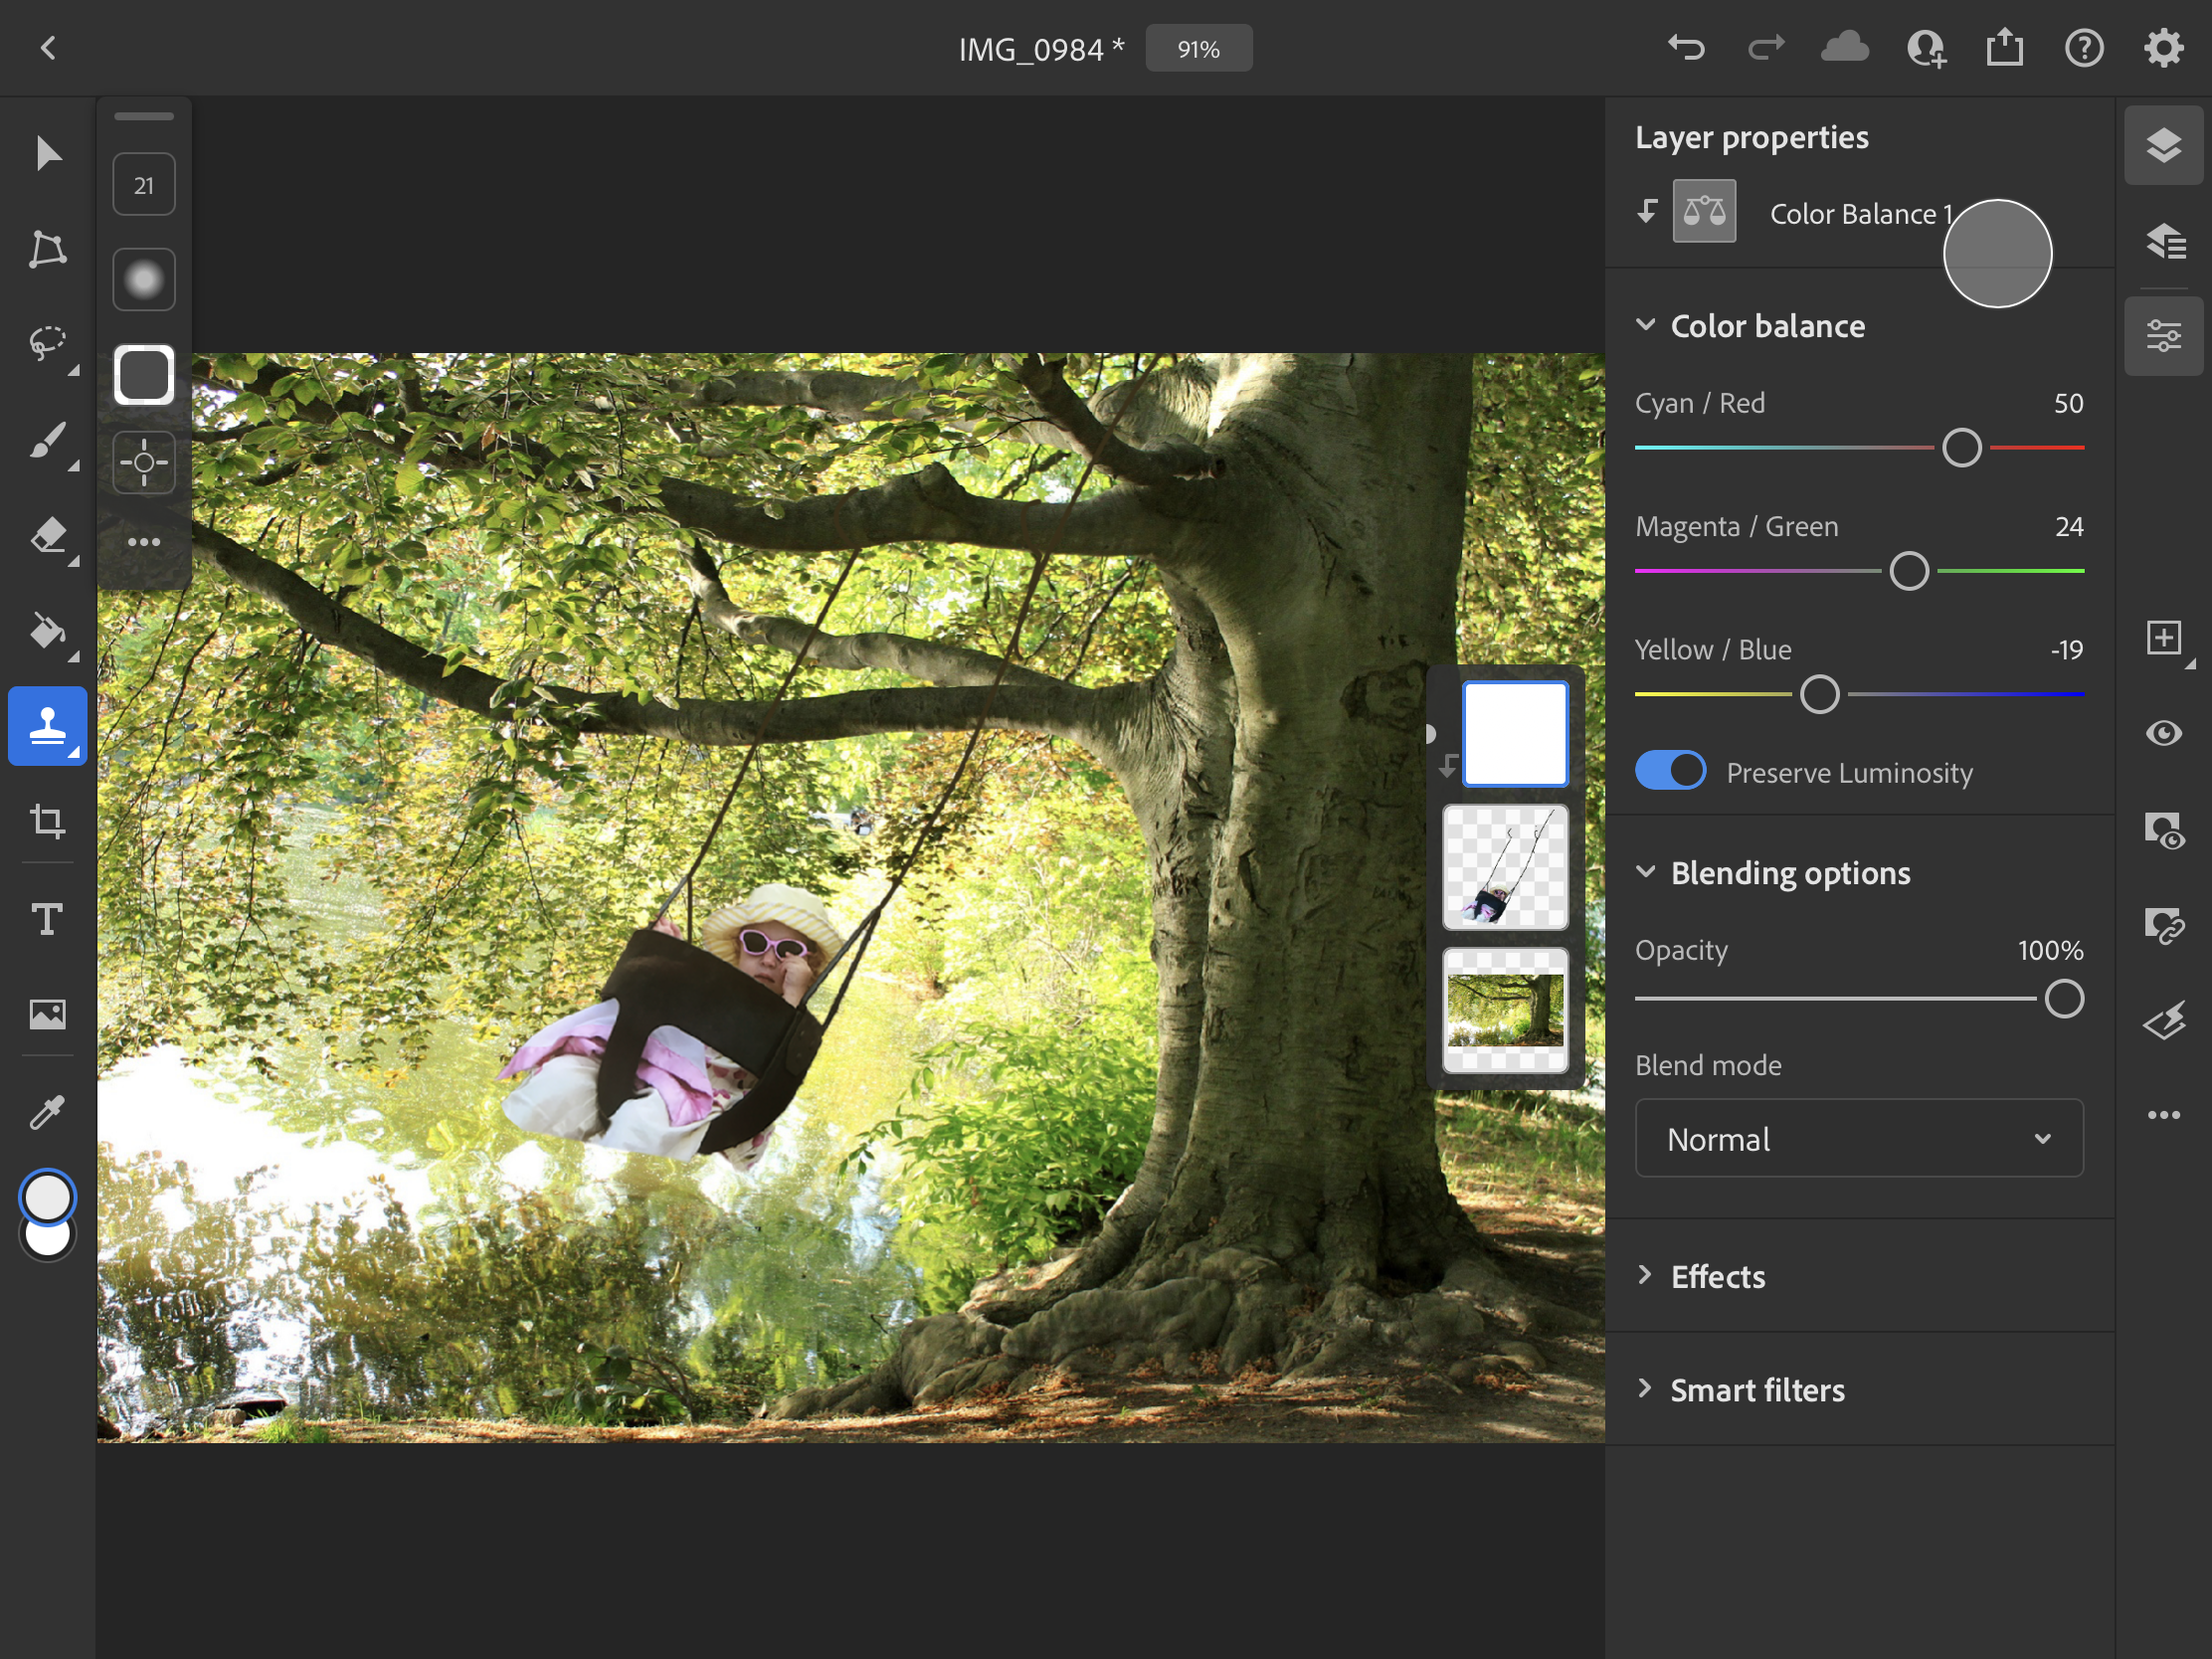
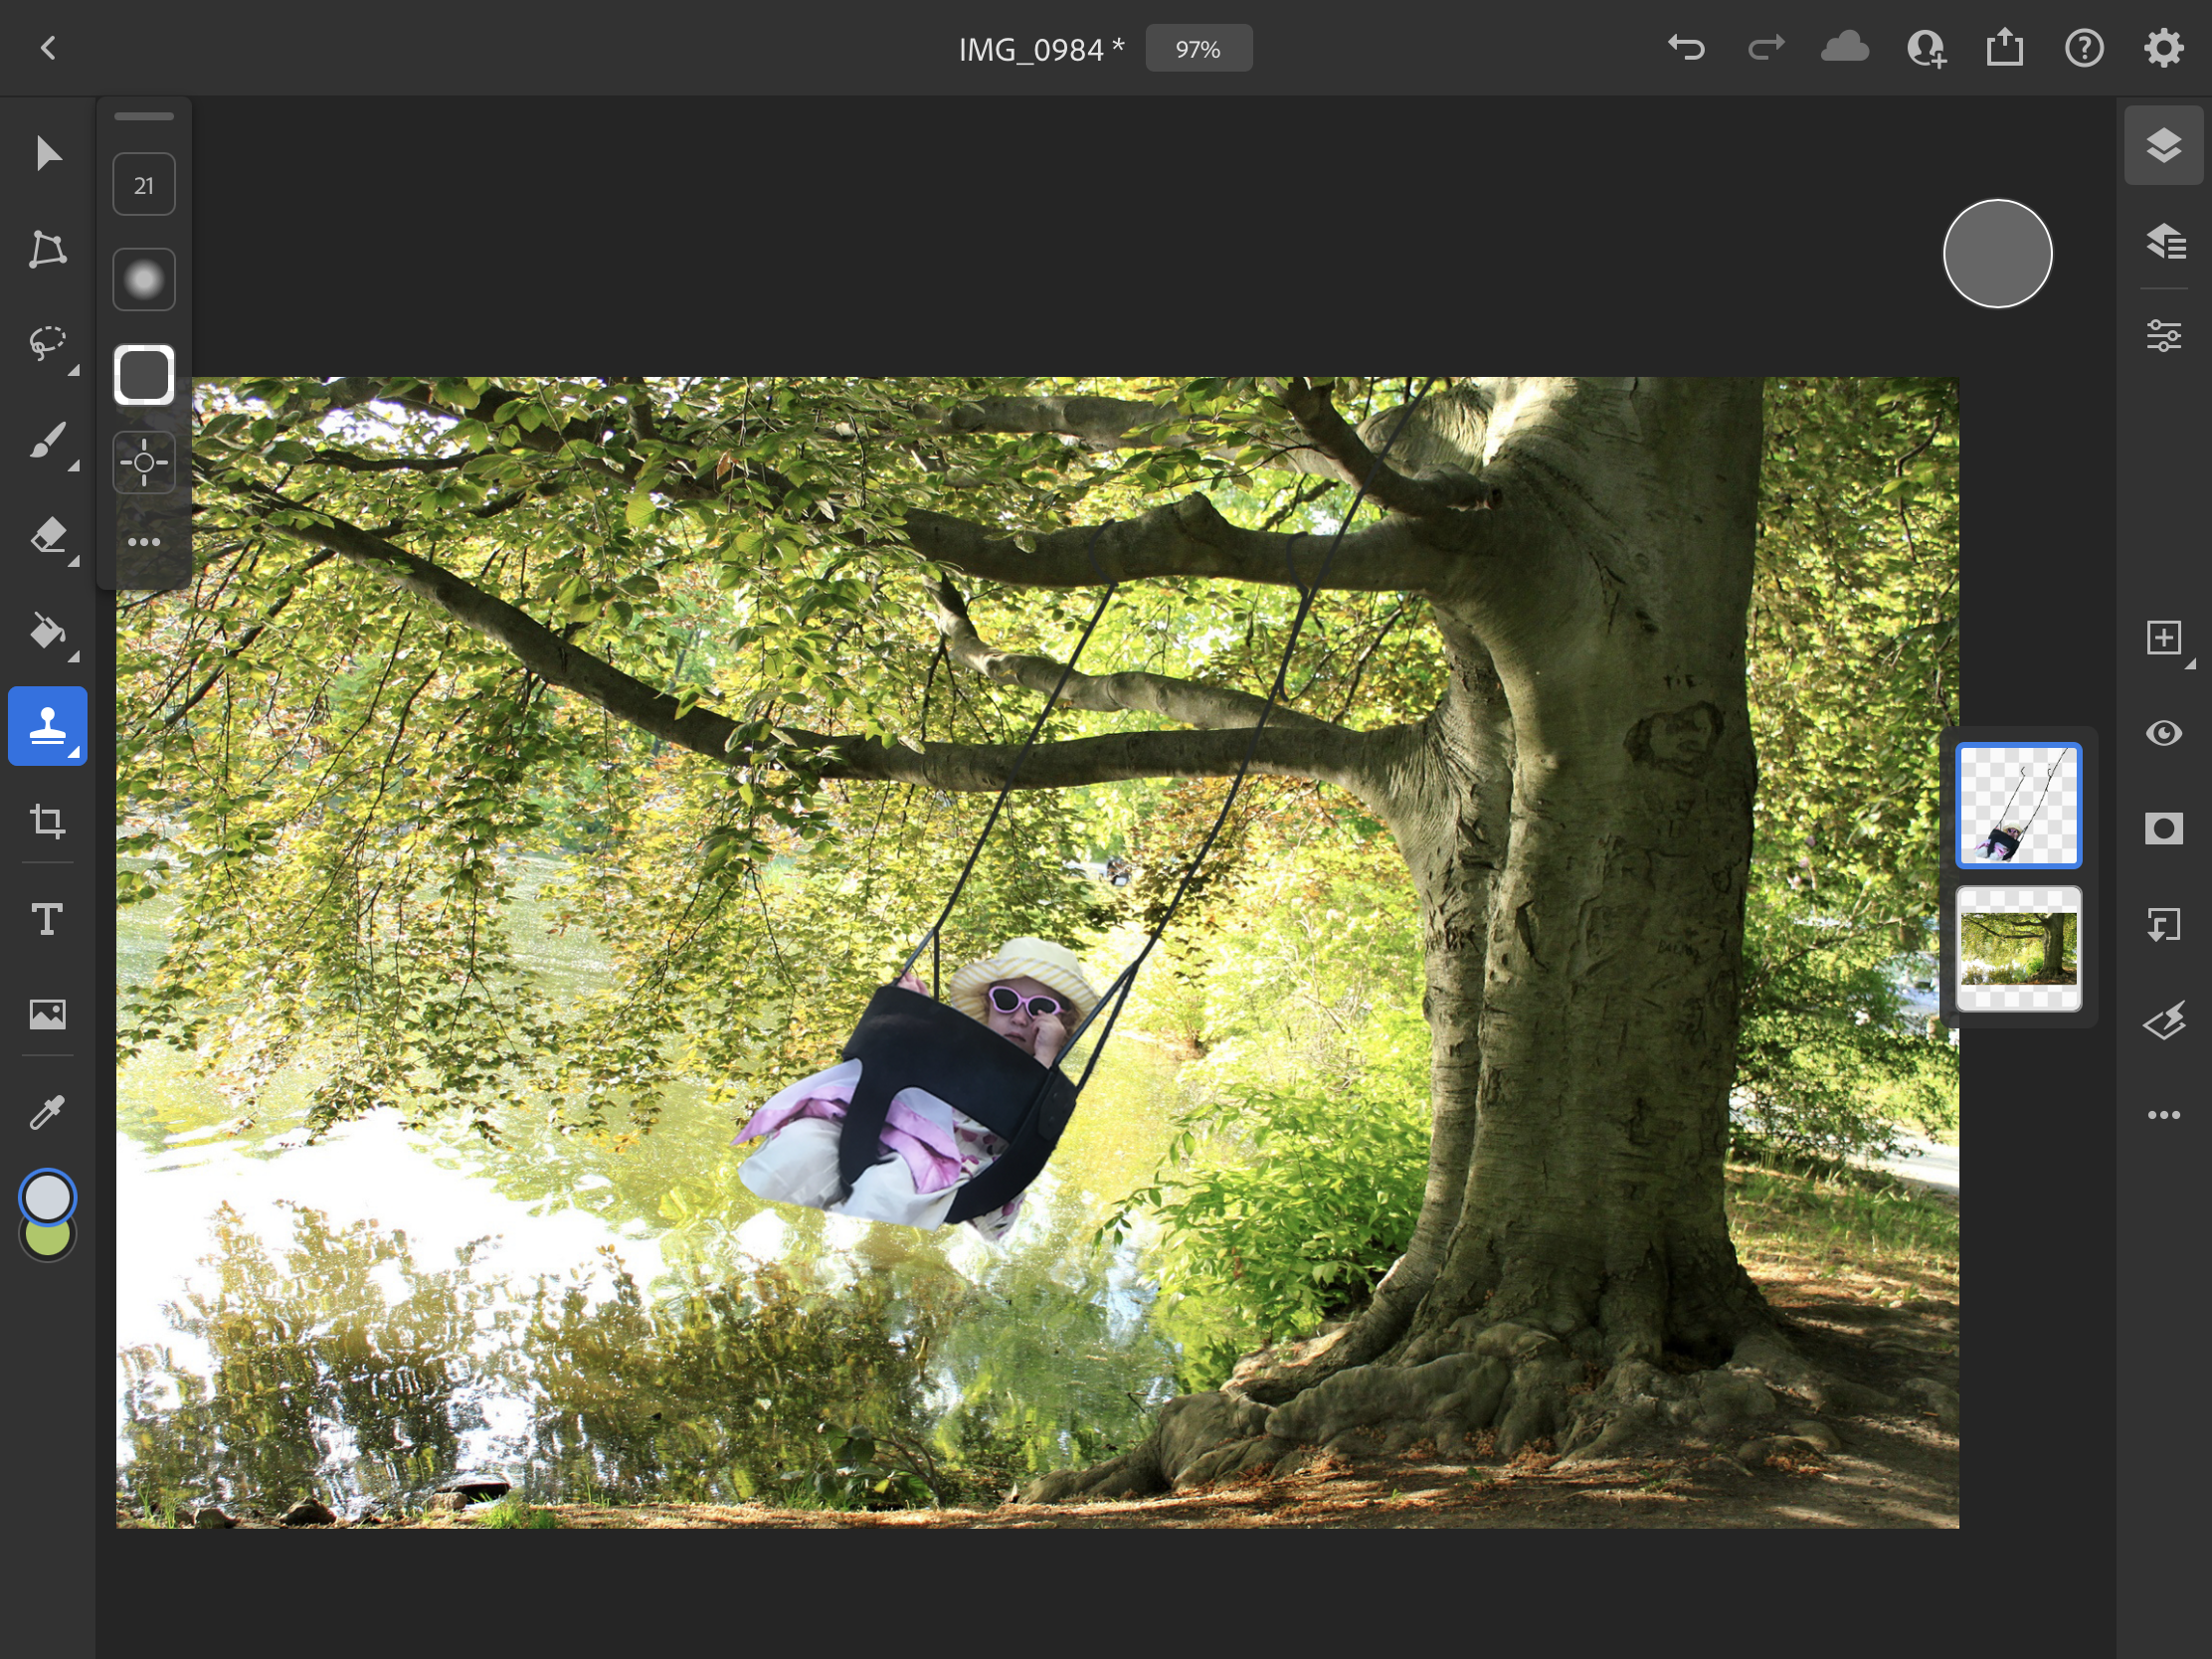
Once the image is in a good place, you want to make it blend in with the background, or make the image appear to be a part of the background. To make it look like the swing is hanging from the tree, use the clone tool to extend the swings bars. The clone tool will copy small parts of the image where the "+" is over. Then, to make the colors match the background, add a clipped adjustment layer. In order to do this, you want to select the layer that you want to add the adjustment to, and then click "add adjustment layer". This will take you to a menu with multiple different options on how to adjust the layer. make any necessary adjustments to make your image look less out of place. I used "color balance" and made my image have more greens and yellows in order to flow better with the colors of the background.
Step 5: Adding the Second Image.
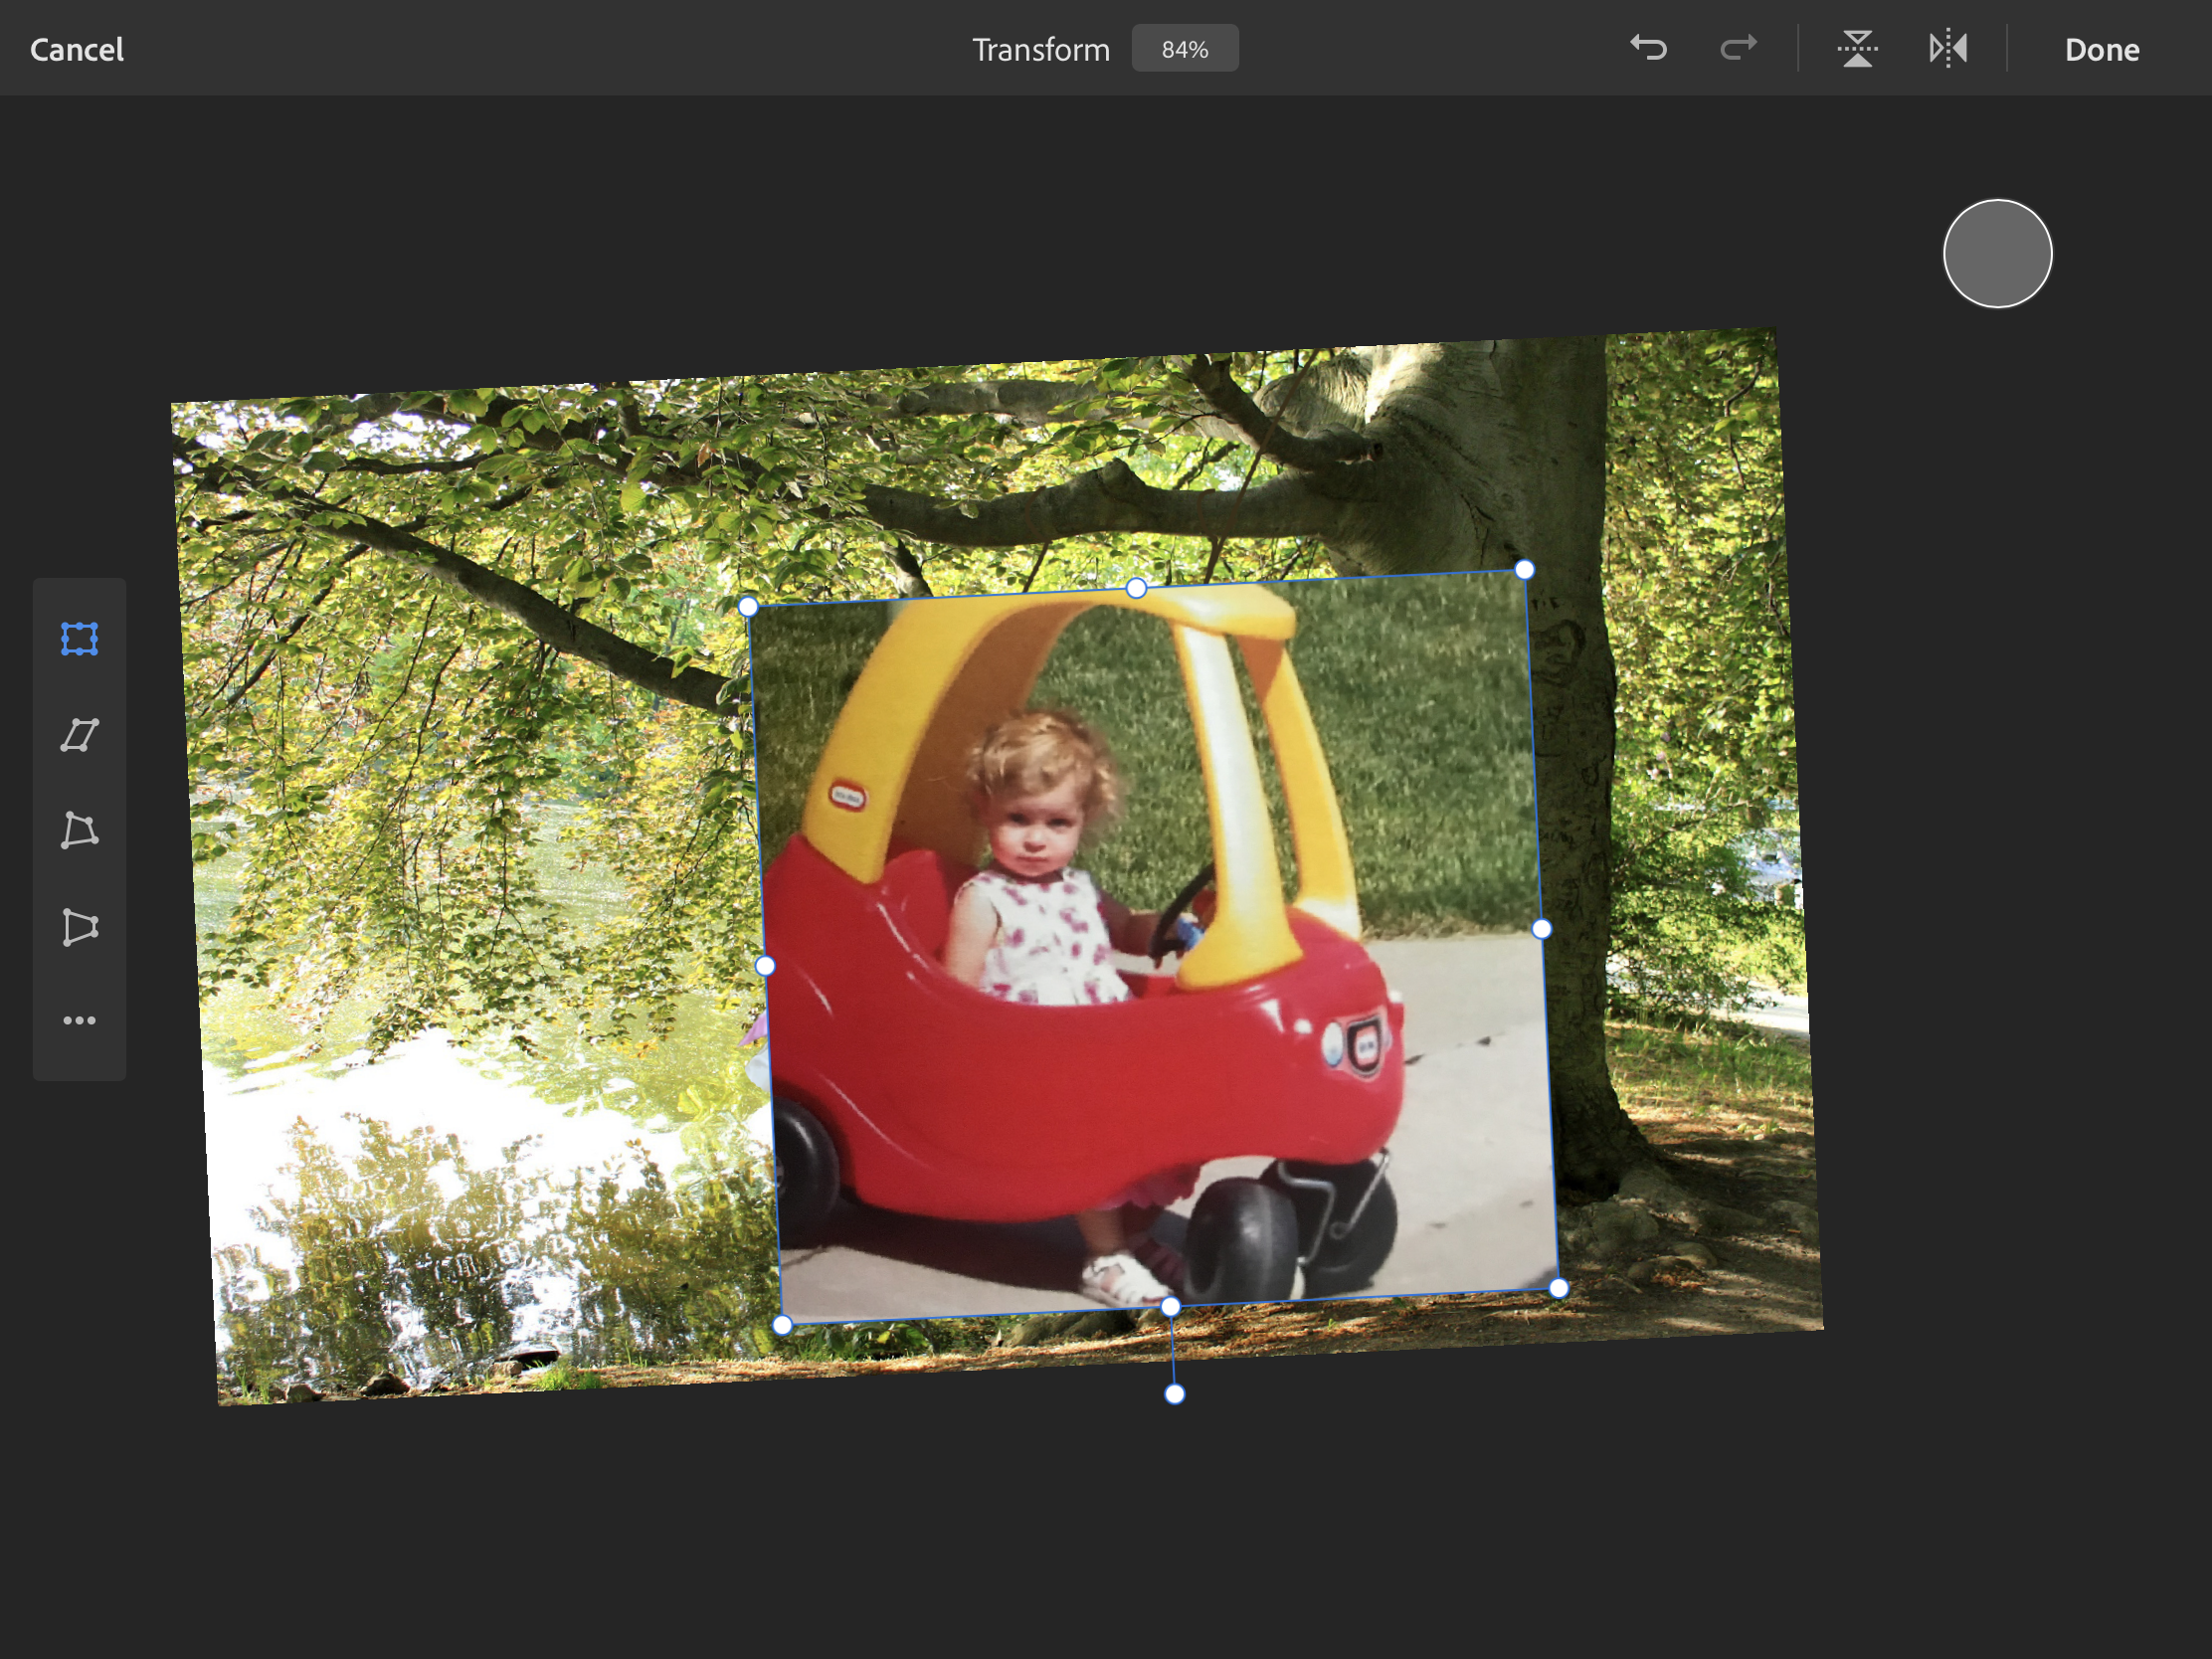
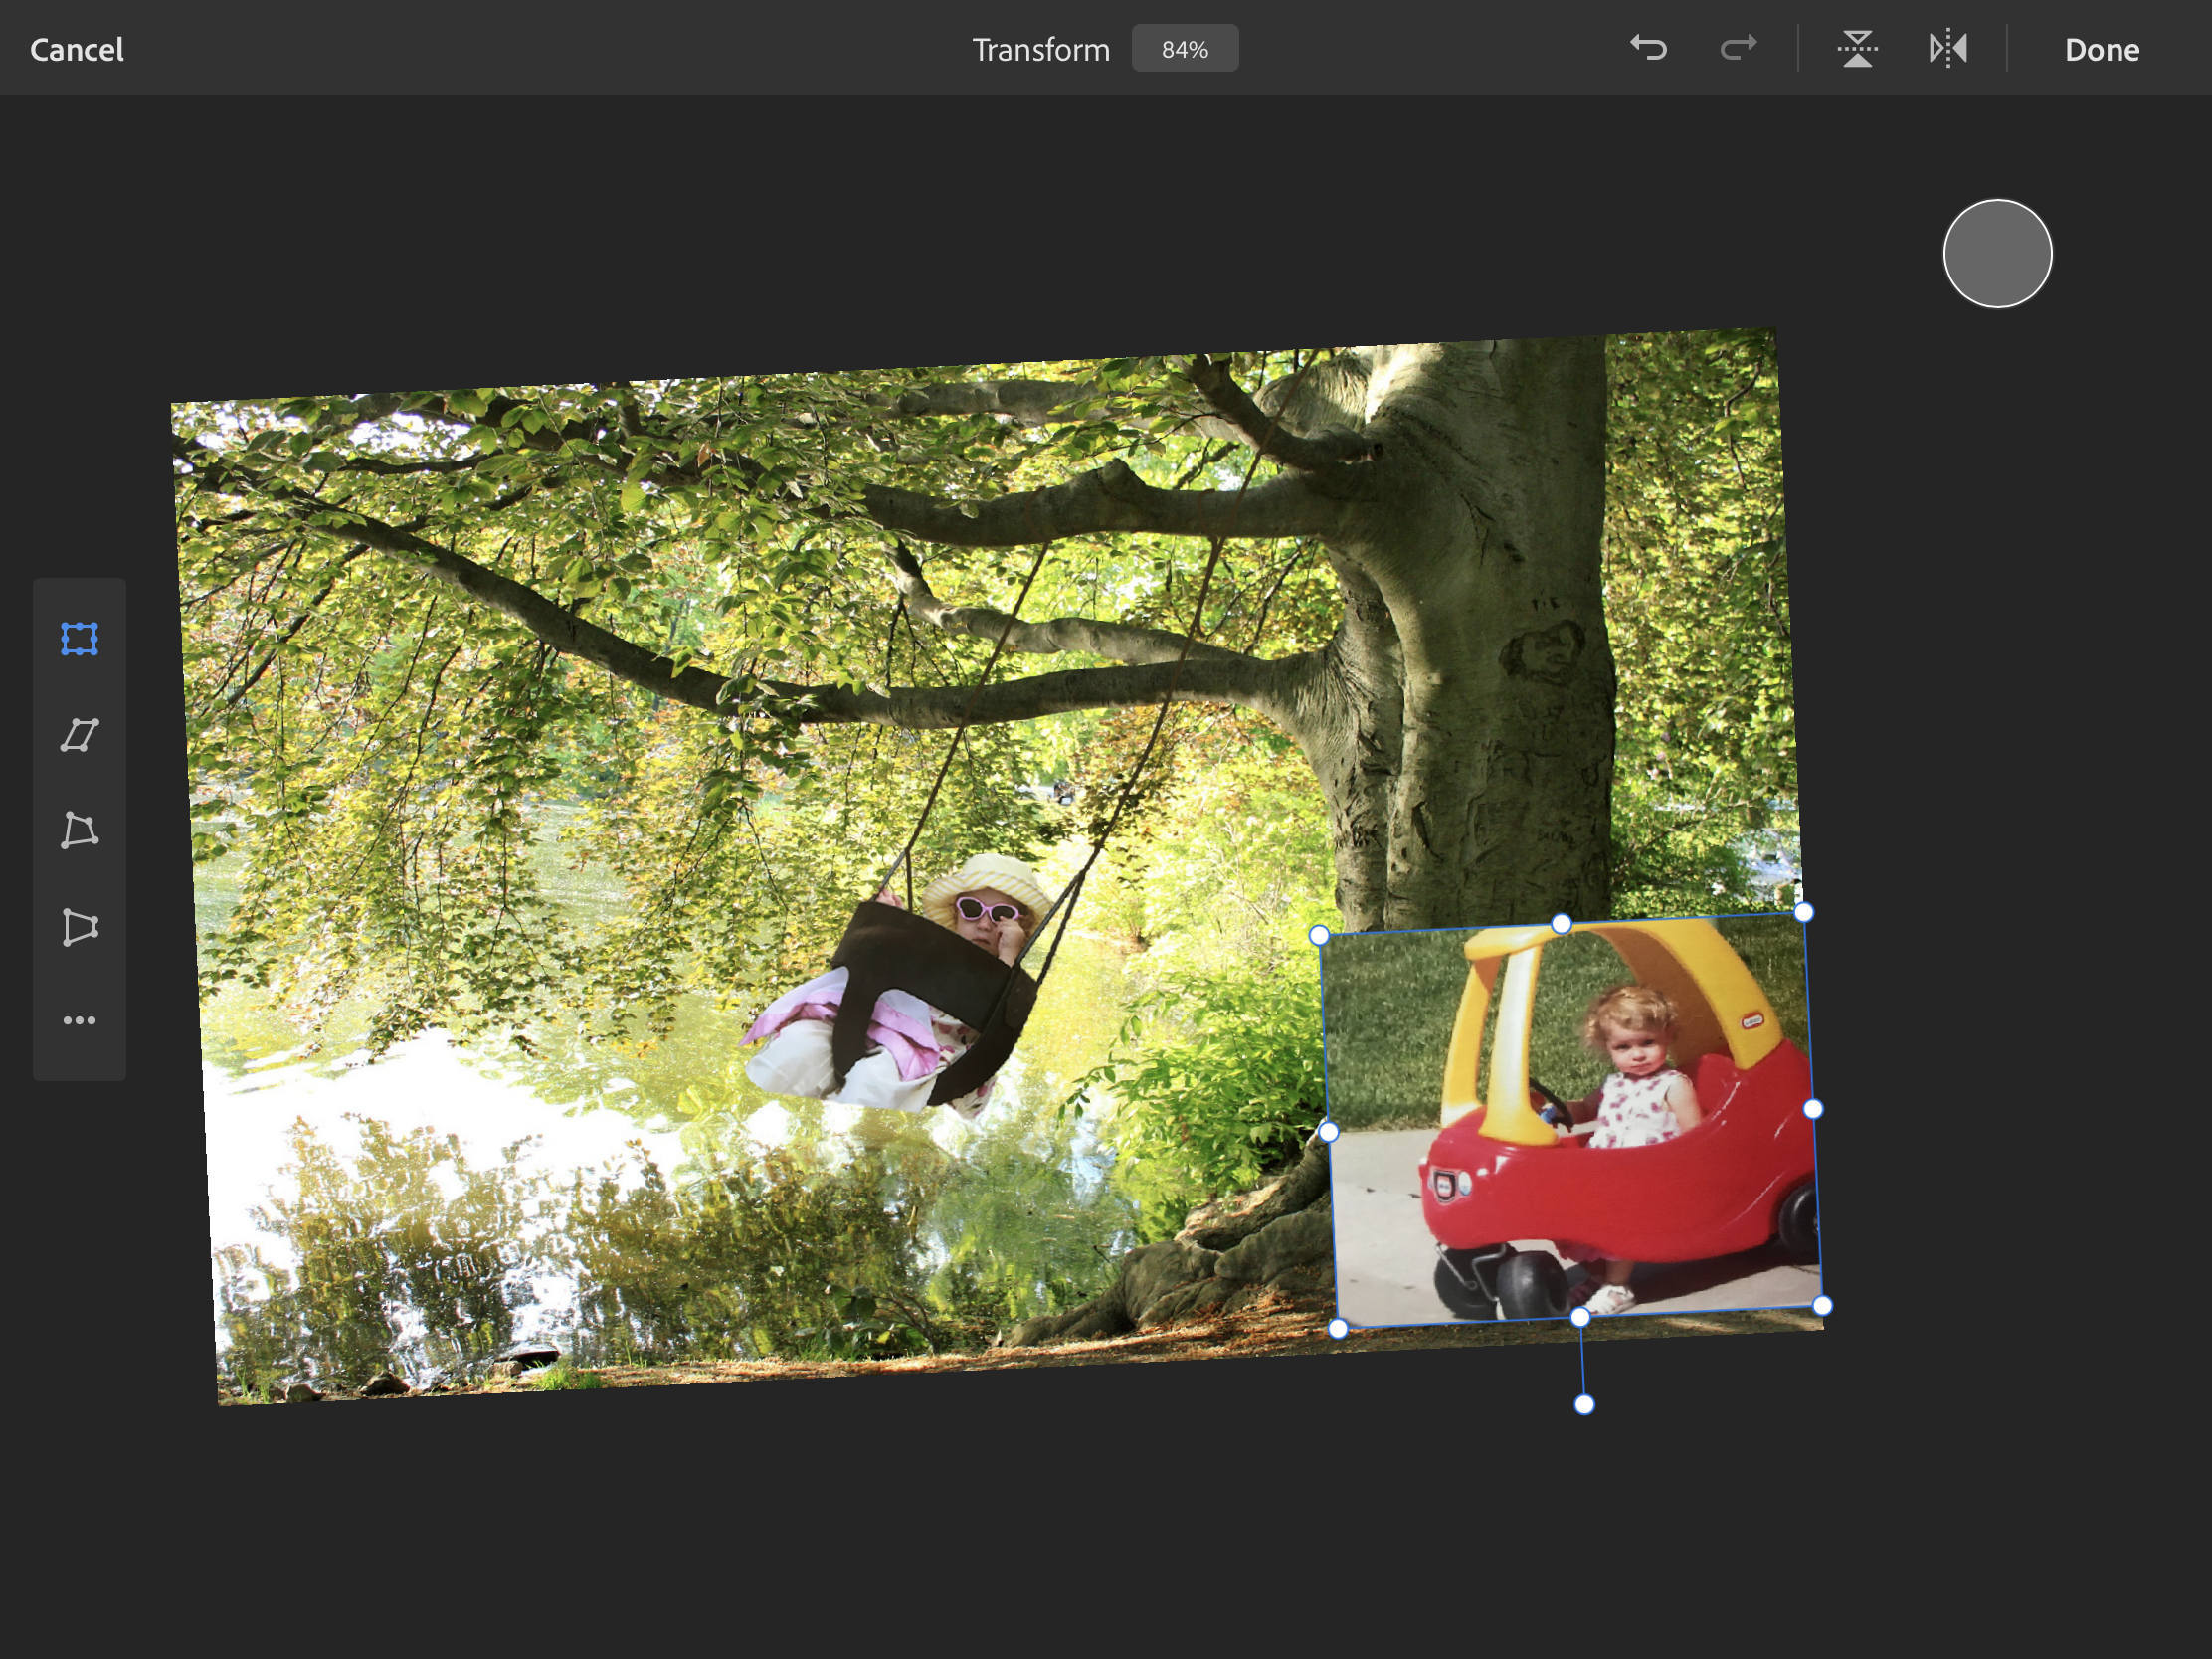
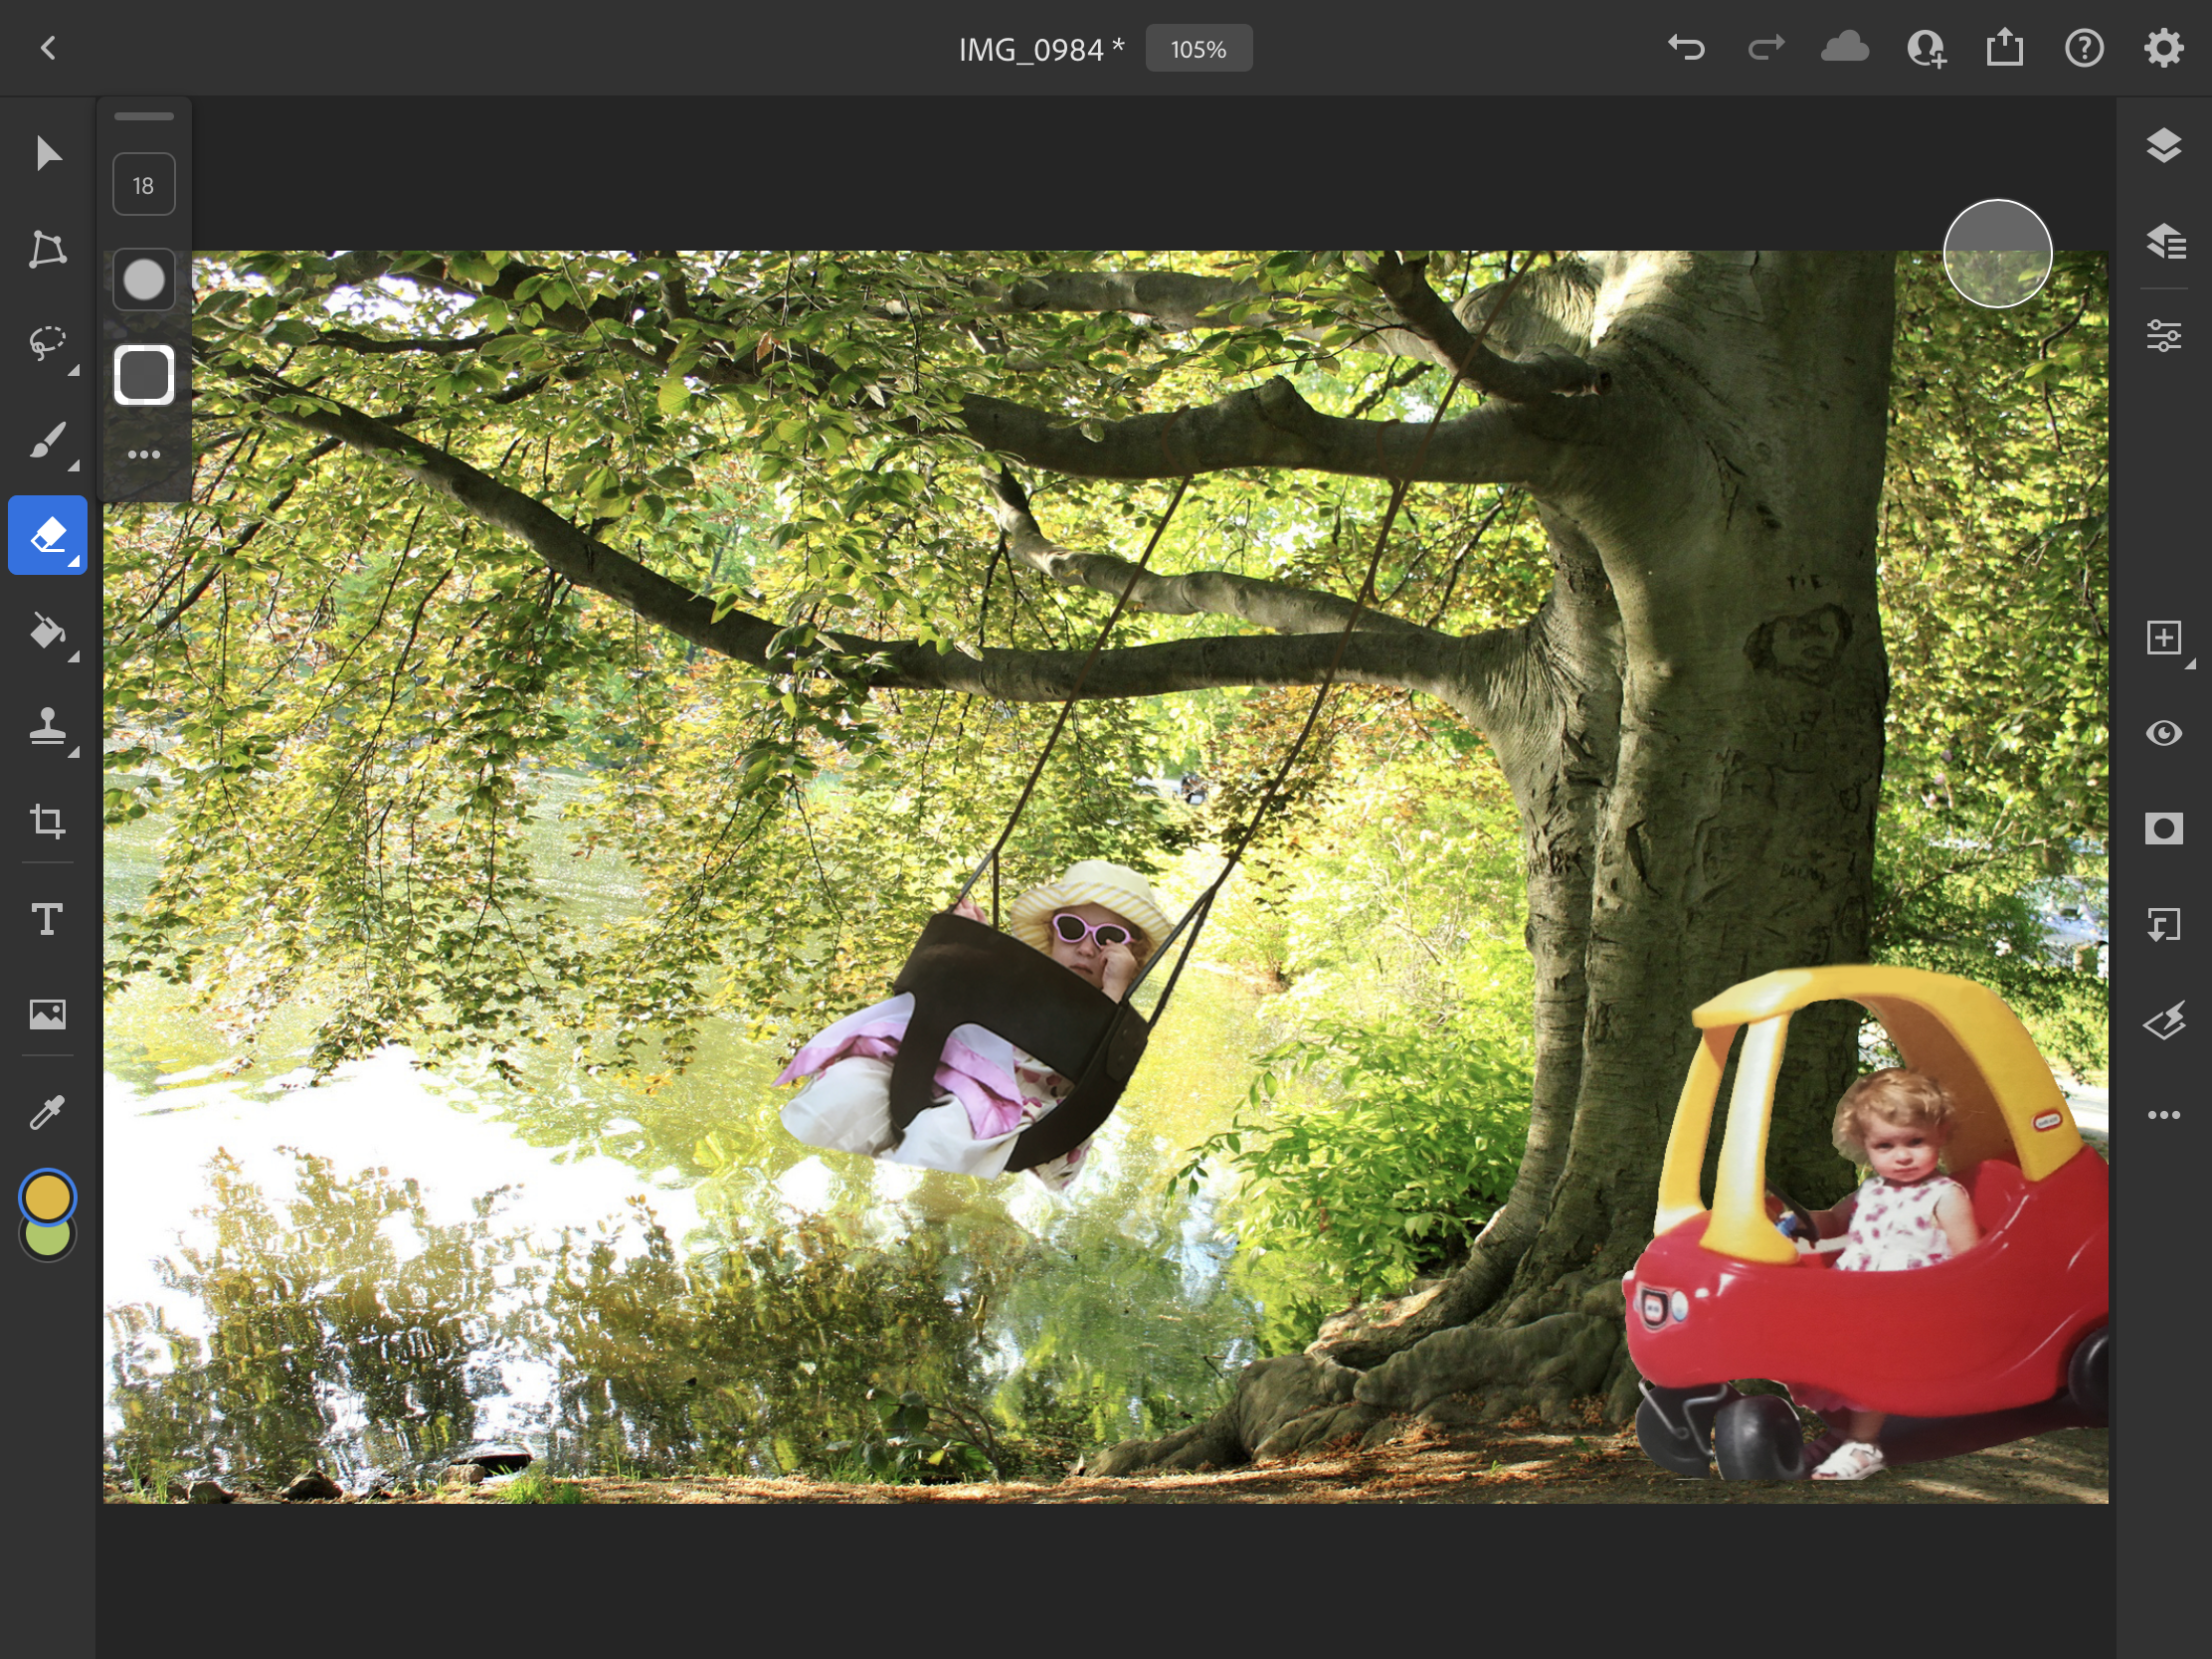
Now that you have your first image completed, it is time to add the second one. to do this, you will want to create a new layer. Create a new layer by clicking the layer icon located in the upper right corner, and then click "add new layer". Once a new layer is created, click the image icon, and choose your second image. Then, move the image to your desired location, and adjust it to a size of your liking. Again, you will want to get rid of any unnecessary background elements in the new image, so make the image transparent the same way you did in step 3. (Lasso + select subject + Invert + erase)
Step 6: Making It Flow
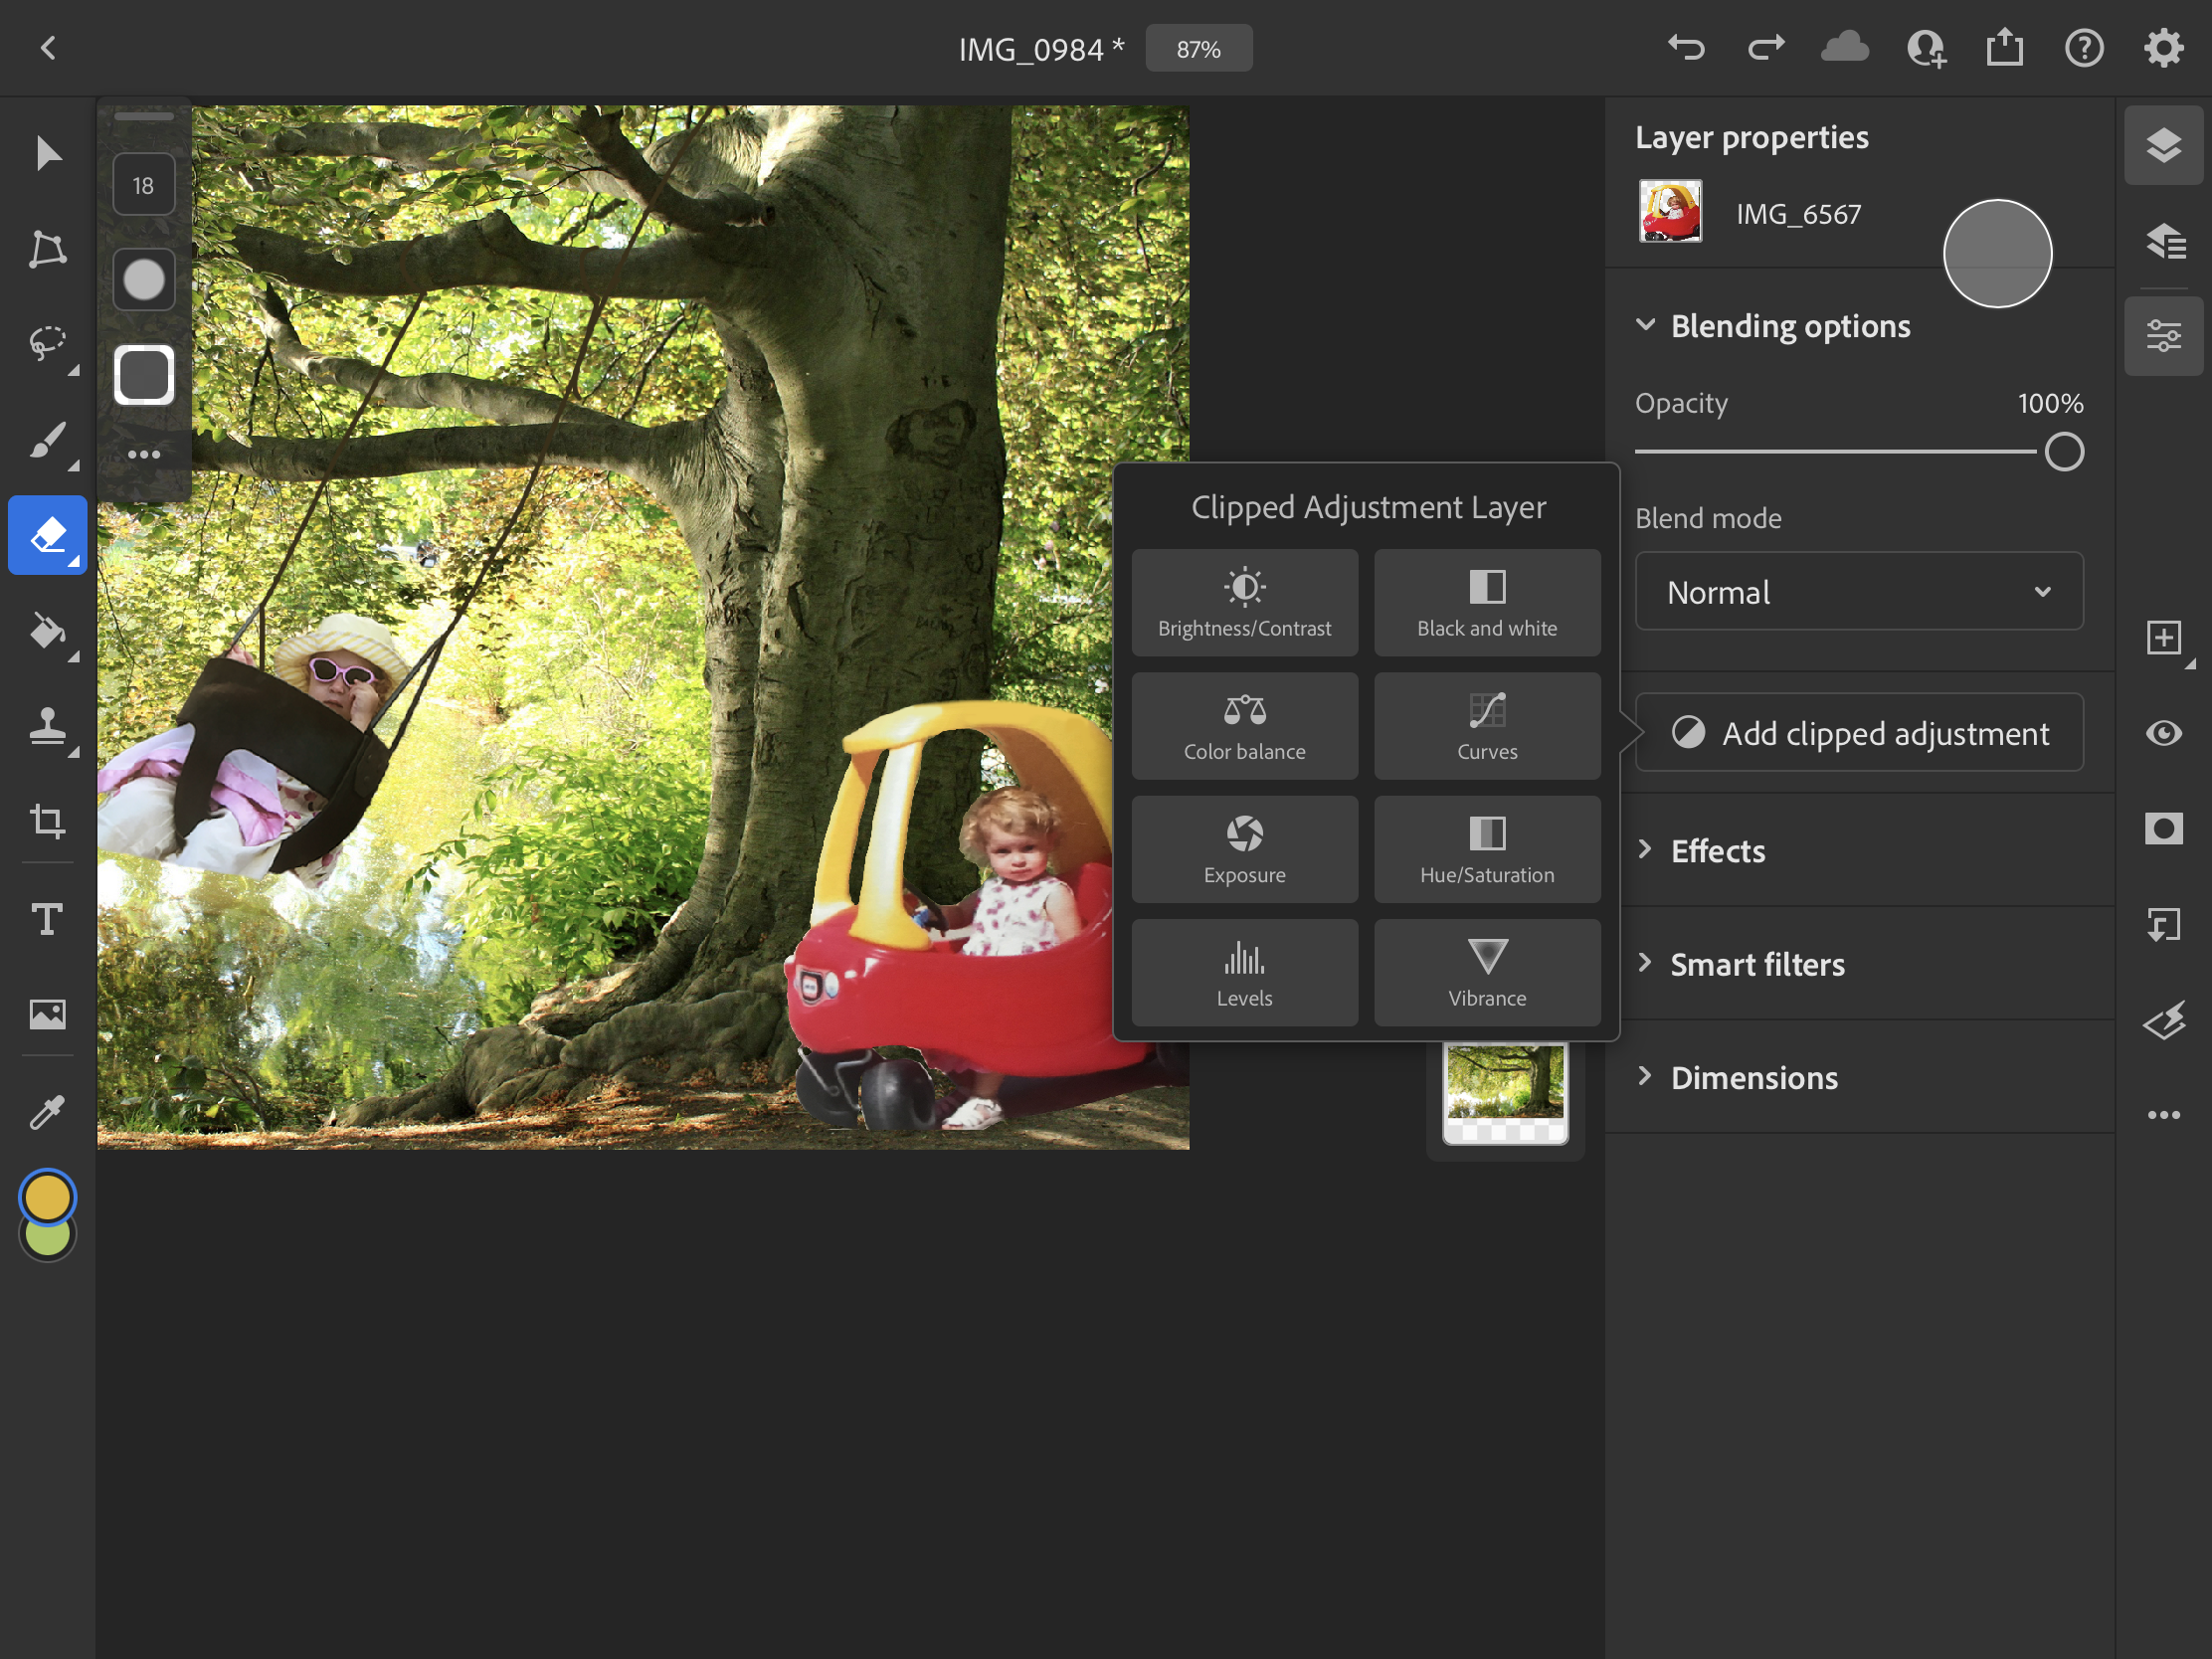
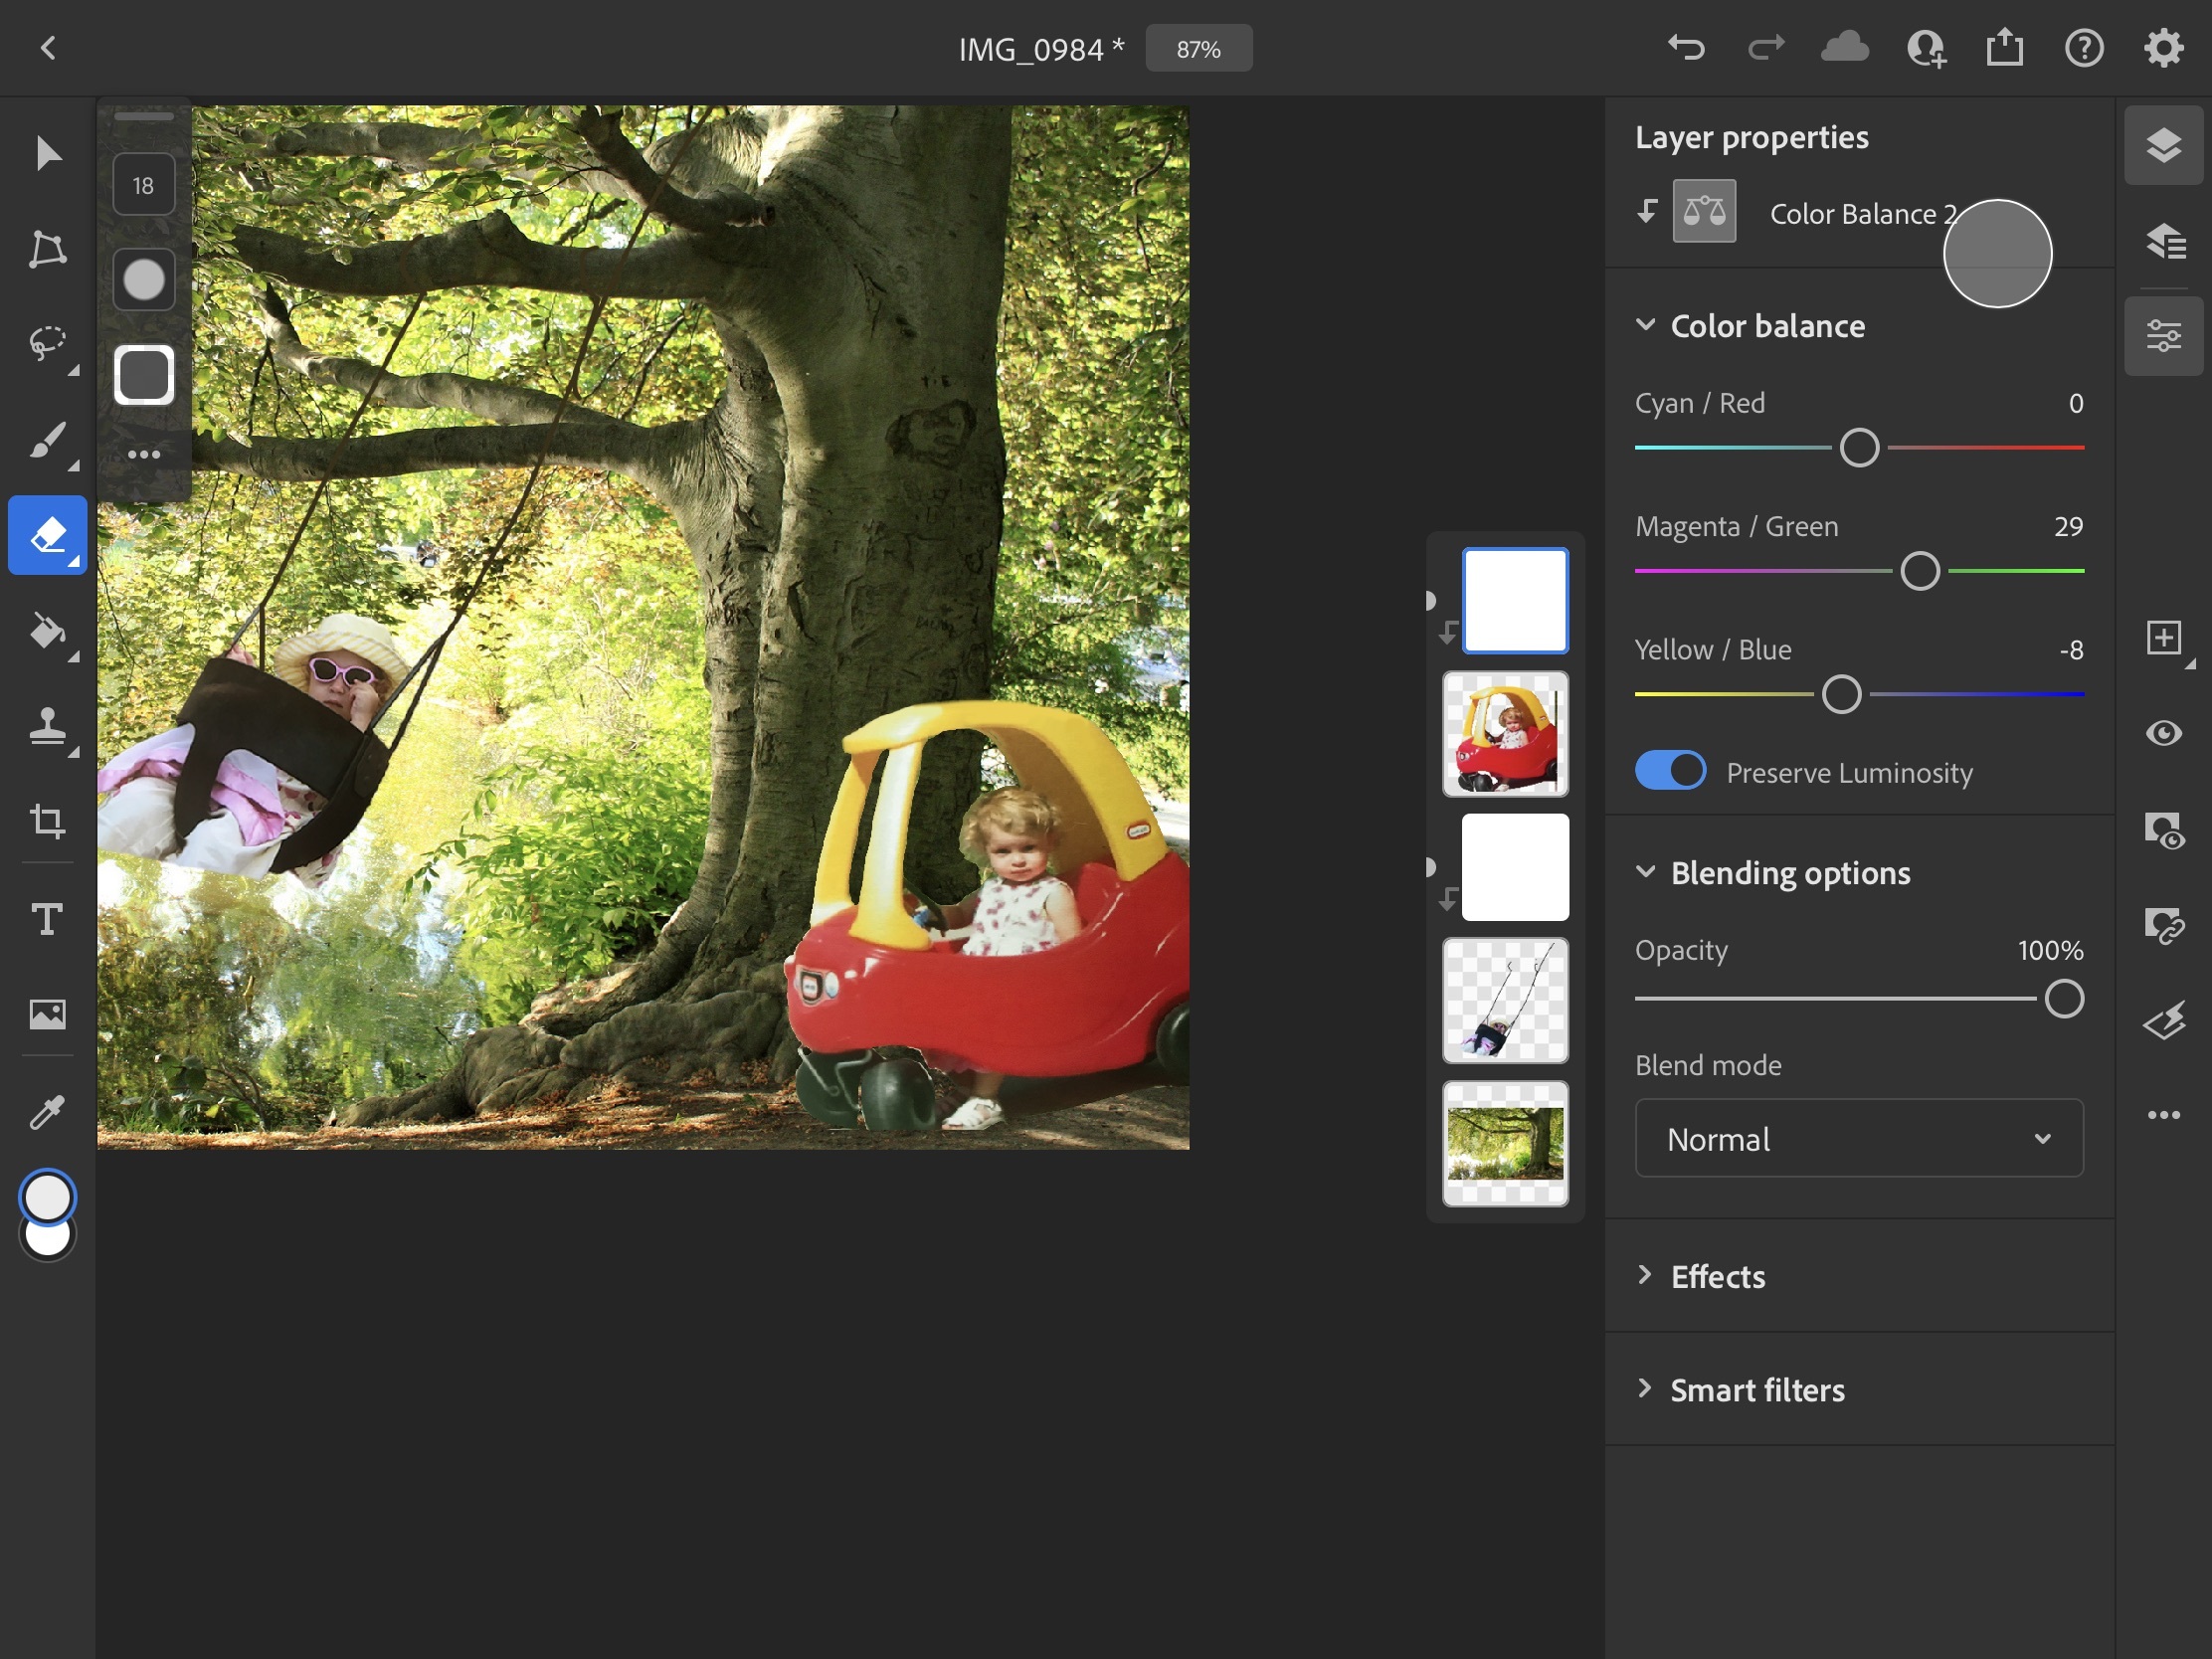
Finally, make the second image blend in with the rest. Add a clipped layer adjustment, and adjust the image to make it more subtle ( see step 4). Once the clipped layer adjustment is added, use the clone and paint tool to fix anything that may have not been properly selected when making the image transparent. Then, add shadows and highlights (using the clone and paint too).