Project 2: CPX Wearable Shark Helmet
by fishermills27 in Circuits > Wearables
443 Views, 2 Favorites, 0 Comments
Project 2: CPX Wearable Shark Helmet
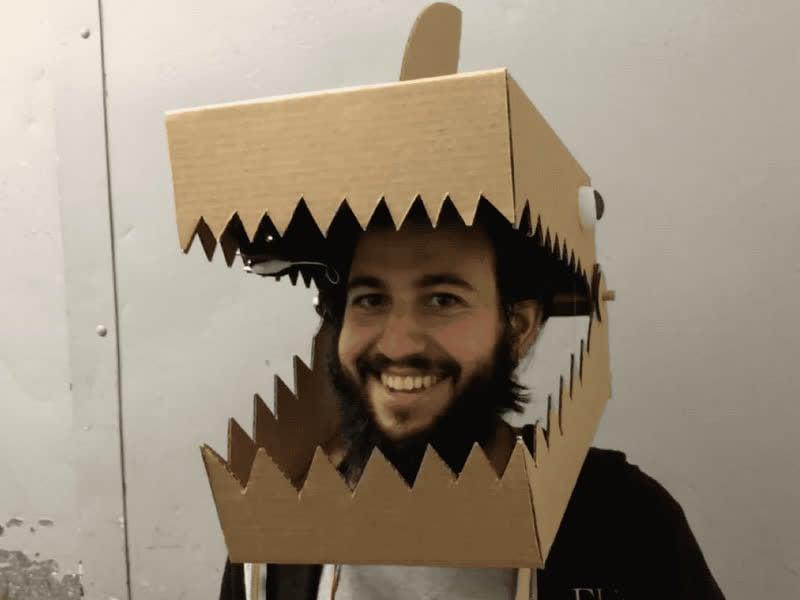
This project is an extension of our team's first project using a CPX to design a product. The product is a shark head where the lower jaw moves up and down using a string mechanism.
Supplies
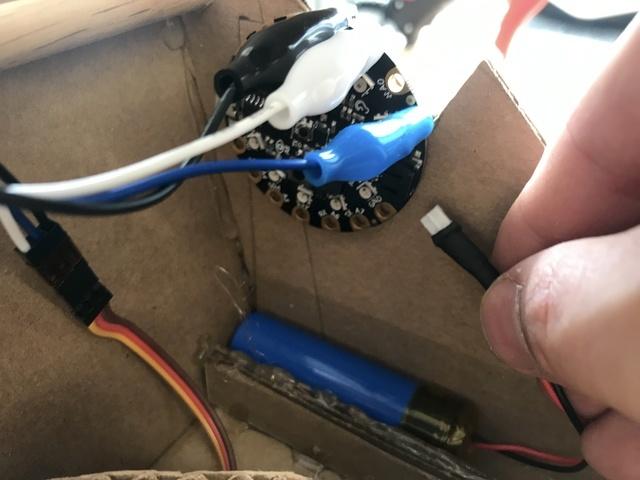
Adafruit Circuit Playground Express (CPX)
USB to micro B cable
Lithium-Ion Battery 500ma
Maker Bot PLA
Cardboard box
Fishing Line
Wooden Dowel
Getting Started With the CPX
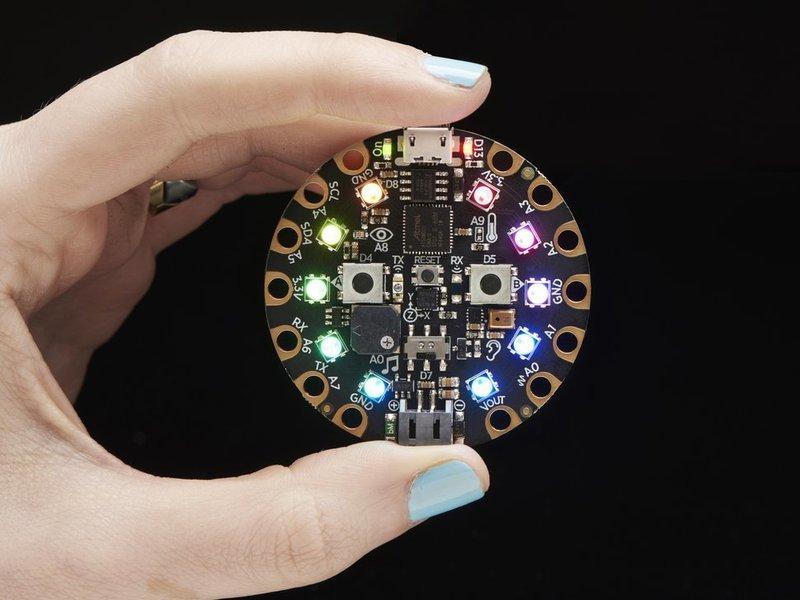
- You will need a Circuit Playground Express (CPX) for the movement aspect of our project.
- Next you need to make sure everyone's CPX is up-to-date and configured for their laptop and upload the driver (only Window users)
Circuit Python
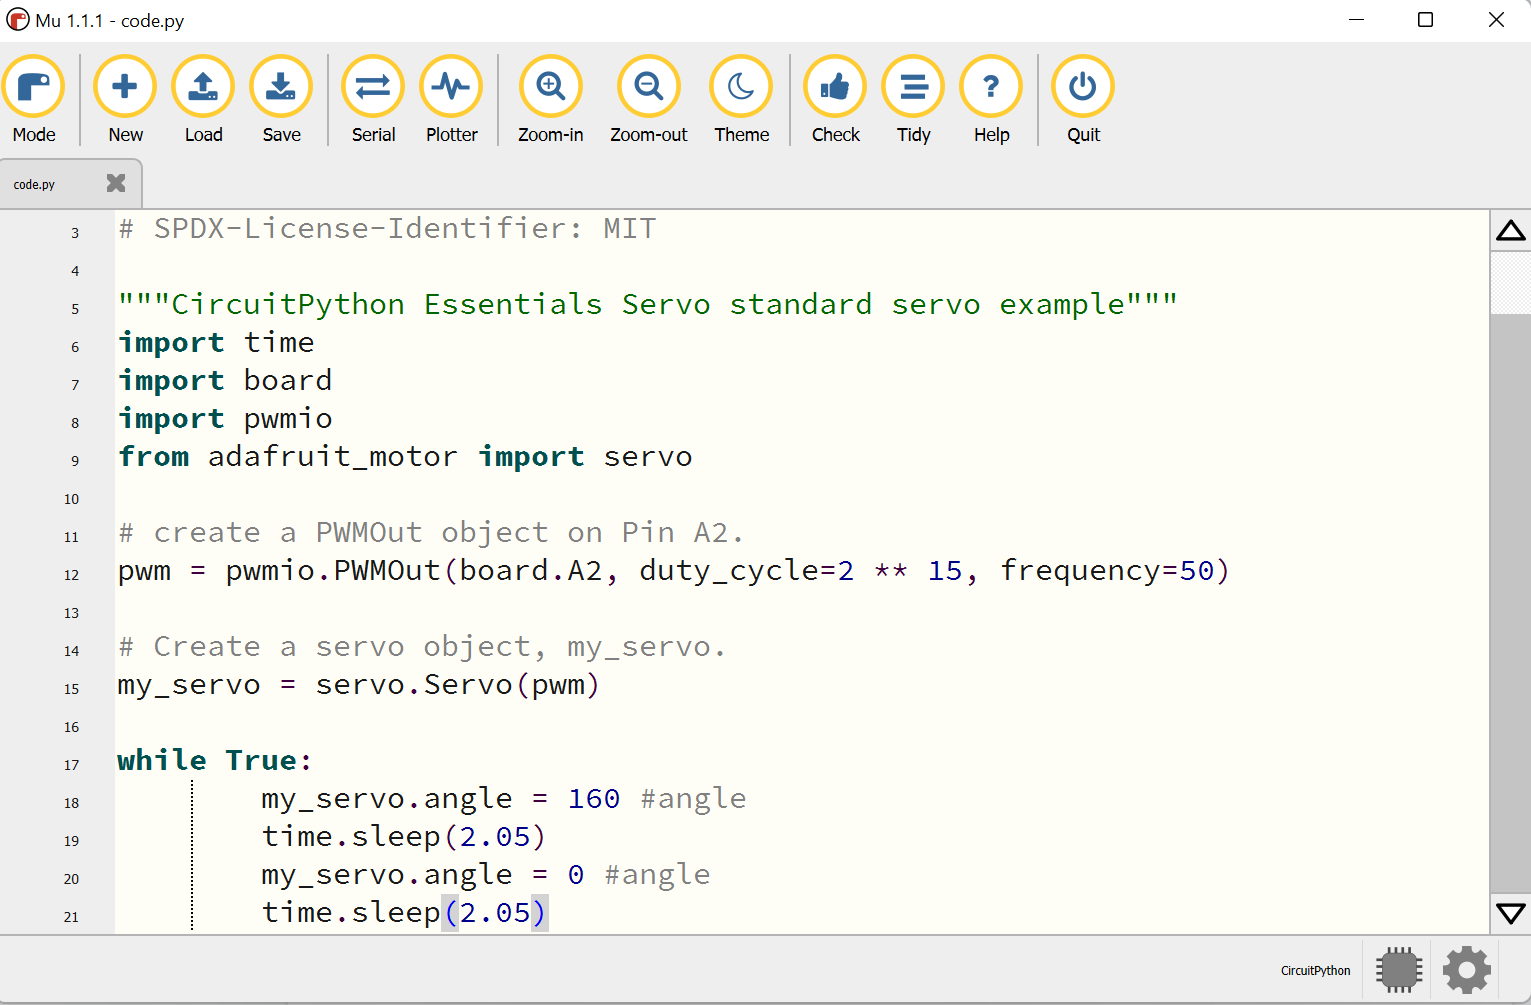.png)
- The CPX will need to use CircuitPython for the motor attachment to work.
- With the CPX plugged into your laptop;
- Download and install the Mu Editor: https://codewith.mu/
- Download CircuitPython Bootloader from https://circuitpython.org/board/circuitplayground_express/ and drag to your CPX (CPLAYBOOT), it will change to CIRCUITPY
- Then use the CircuitPython Library: https://circuitpython.org/libraries
- Extract the folder onto your own computer
- Find adafruit_circuitplayground & adafruit_motor in the lib folder and copy only those 2 folders into your CPX lib folder
- Next Open Mu Editor. Click Load and browse to code.py on your CPX
- Copy the CircuitPython Code for the Continuous Servo to code.py https://learn.adafruit.com/circuitpython-essentials/circuitpython-servo
- The CircuitPython Code for the Continous Servo will need to be edited to exactly match the photo above.
Construction of Cardboard Head (Top)
The Original step-by-step instructions can be found here: https://learn.adafruit.com/sound-activated-shark-mask/shark-helmet.
Steps:
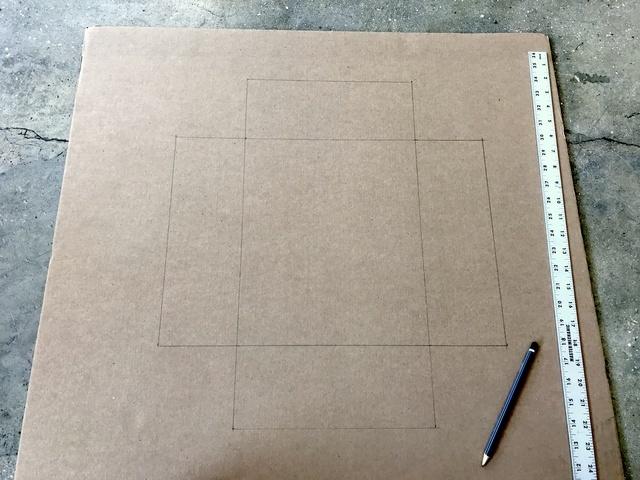
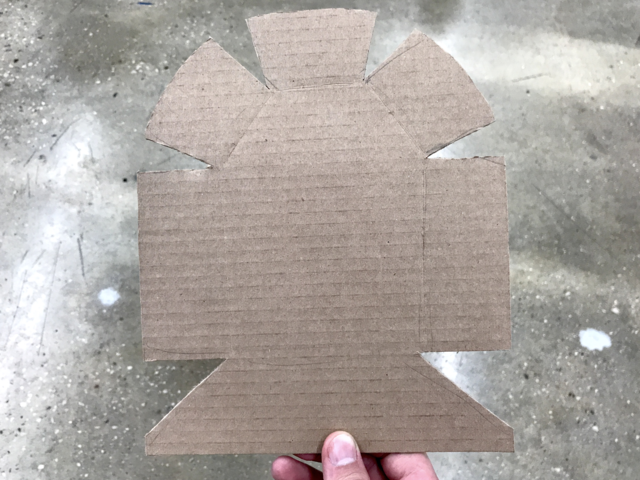
- Cut out the template for the top of the shark head:
- This should be a rectangle about 12" long by 10" wide, with 4" flaps extending outwards.
- Angle the side flaps downward slightly and extend the back flap back an extra inch. This will create the top section of our shark mask.
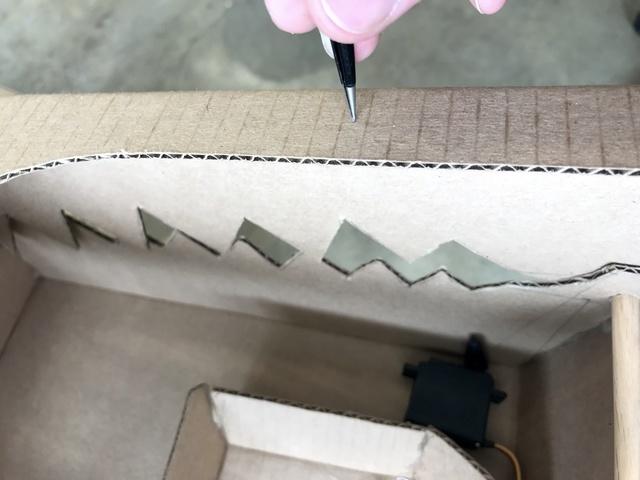
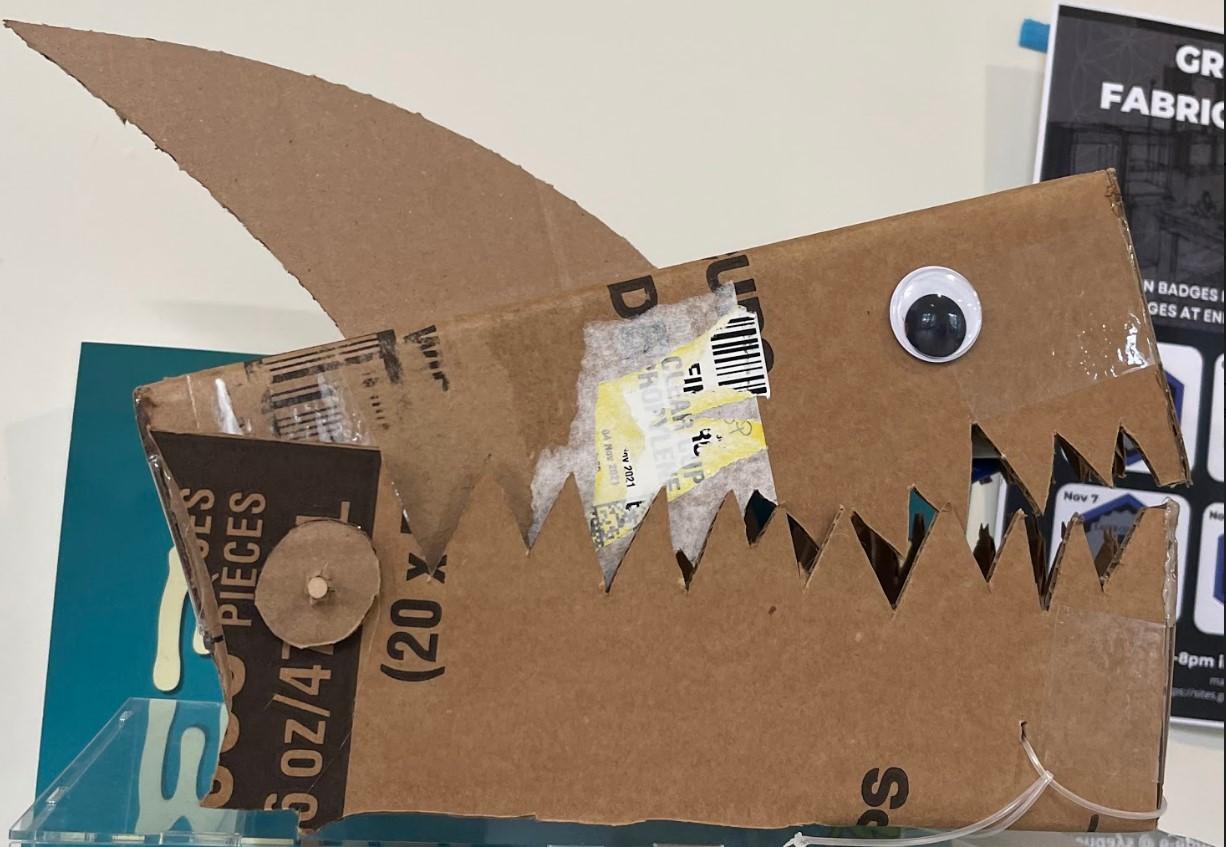
- Cut out some teeth. Make them big and fearsome. (Like in image 3)
- Fold up the flaps and use hot glue to hold them in place, creating a rigid boxy structure.
Construction of Cardboard Head (bottom)
The lower jaw:
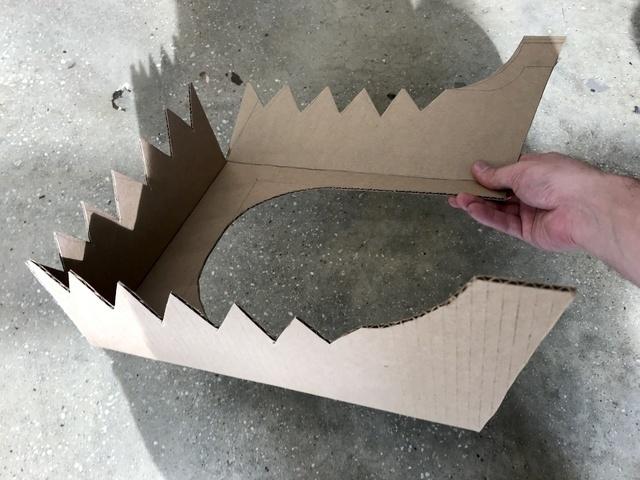
- Cut out a pattern for the lower jaw, keeping dimensions in line with the upper jaw. (Image 2)
- Unlike the top part, this one must include a large cutaway space to allow room for your head and neck while wearing it.
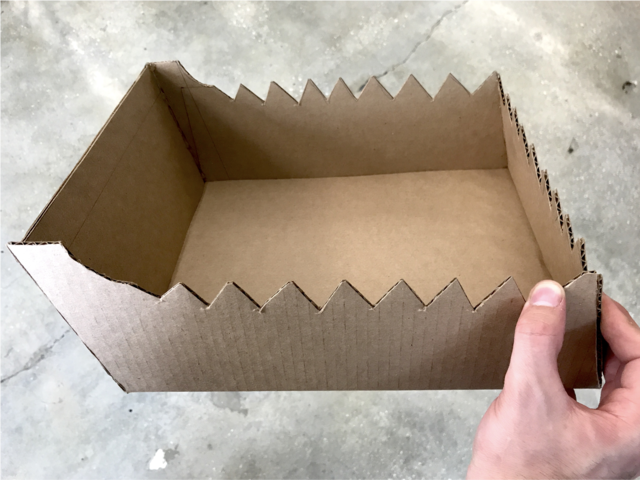
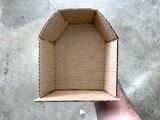
- Add teeth to the bottom jaw. (Image 1)
- Fold and glue the flaps of the jaw in place.
- Add a hinge. (A 3/8" wooden dowel works well for this purpose, but any sufficiently stiff rod will do)
Skull Cap and Fin
The skull cap is used so that the helmet will rest comfortably on your head.
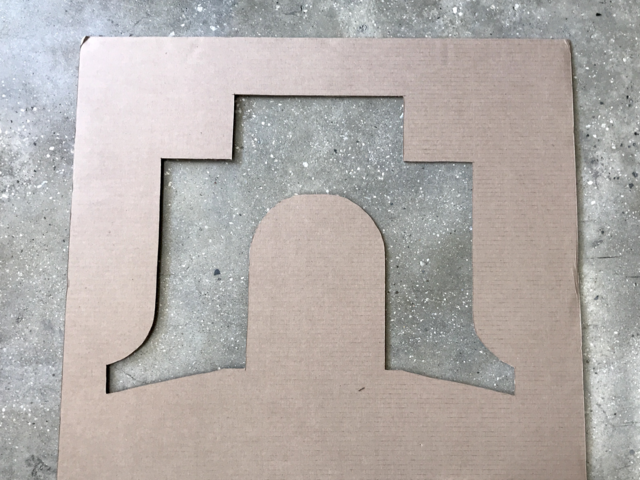
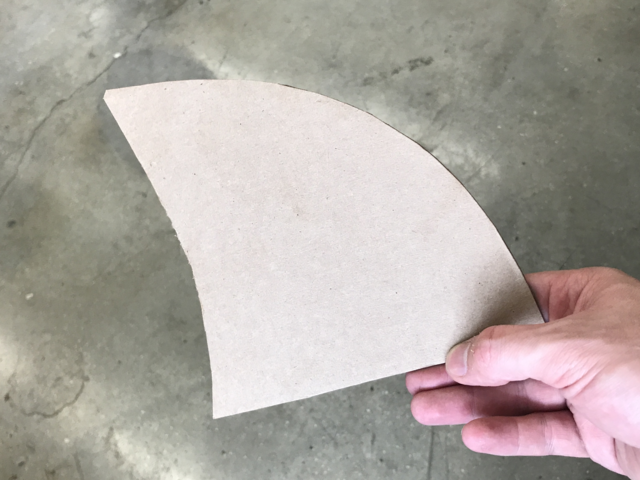
- Using measurements of your head, cut out a rectangular piece of cardboard and round out one side. (Image 1)
- Fold this into a small bowl shape and glue it together. (Image 2)
The Fin:
- Cut out a large shark fin and glue it to the top of the mask. (image 3)
String and CPX Additions to Helmet
Attachment of string to Shark head:
- Thread a piece of string or fishing line through the bottom edge of the lower jaw.
- Tie off one of the line ends with a knot and tie the other end to the servo arm.
Connecting motor to Shark head:
- Get the servo connector with the circular part and one arm. Attach it to the servo motor. You may need to make adjustments as the horn can fit in different positions.
- Glue servo motor inside the mask. A large dollop of hot glue or a piece of double-sided foam tape works well for this.
Final
Your Shark Head should now look like the one above!