Programming a Micro:Bit Robot & Joystick:Bit Controller With MicroPython
by ScienceOxford in Circuits > Robots
7012 Views, 12 Favorites, 0 Comments
Programming a Micro:Bit Robot & Joystick:Bit Controller With MicroPython
.JPG)
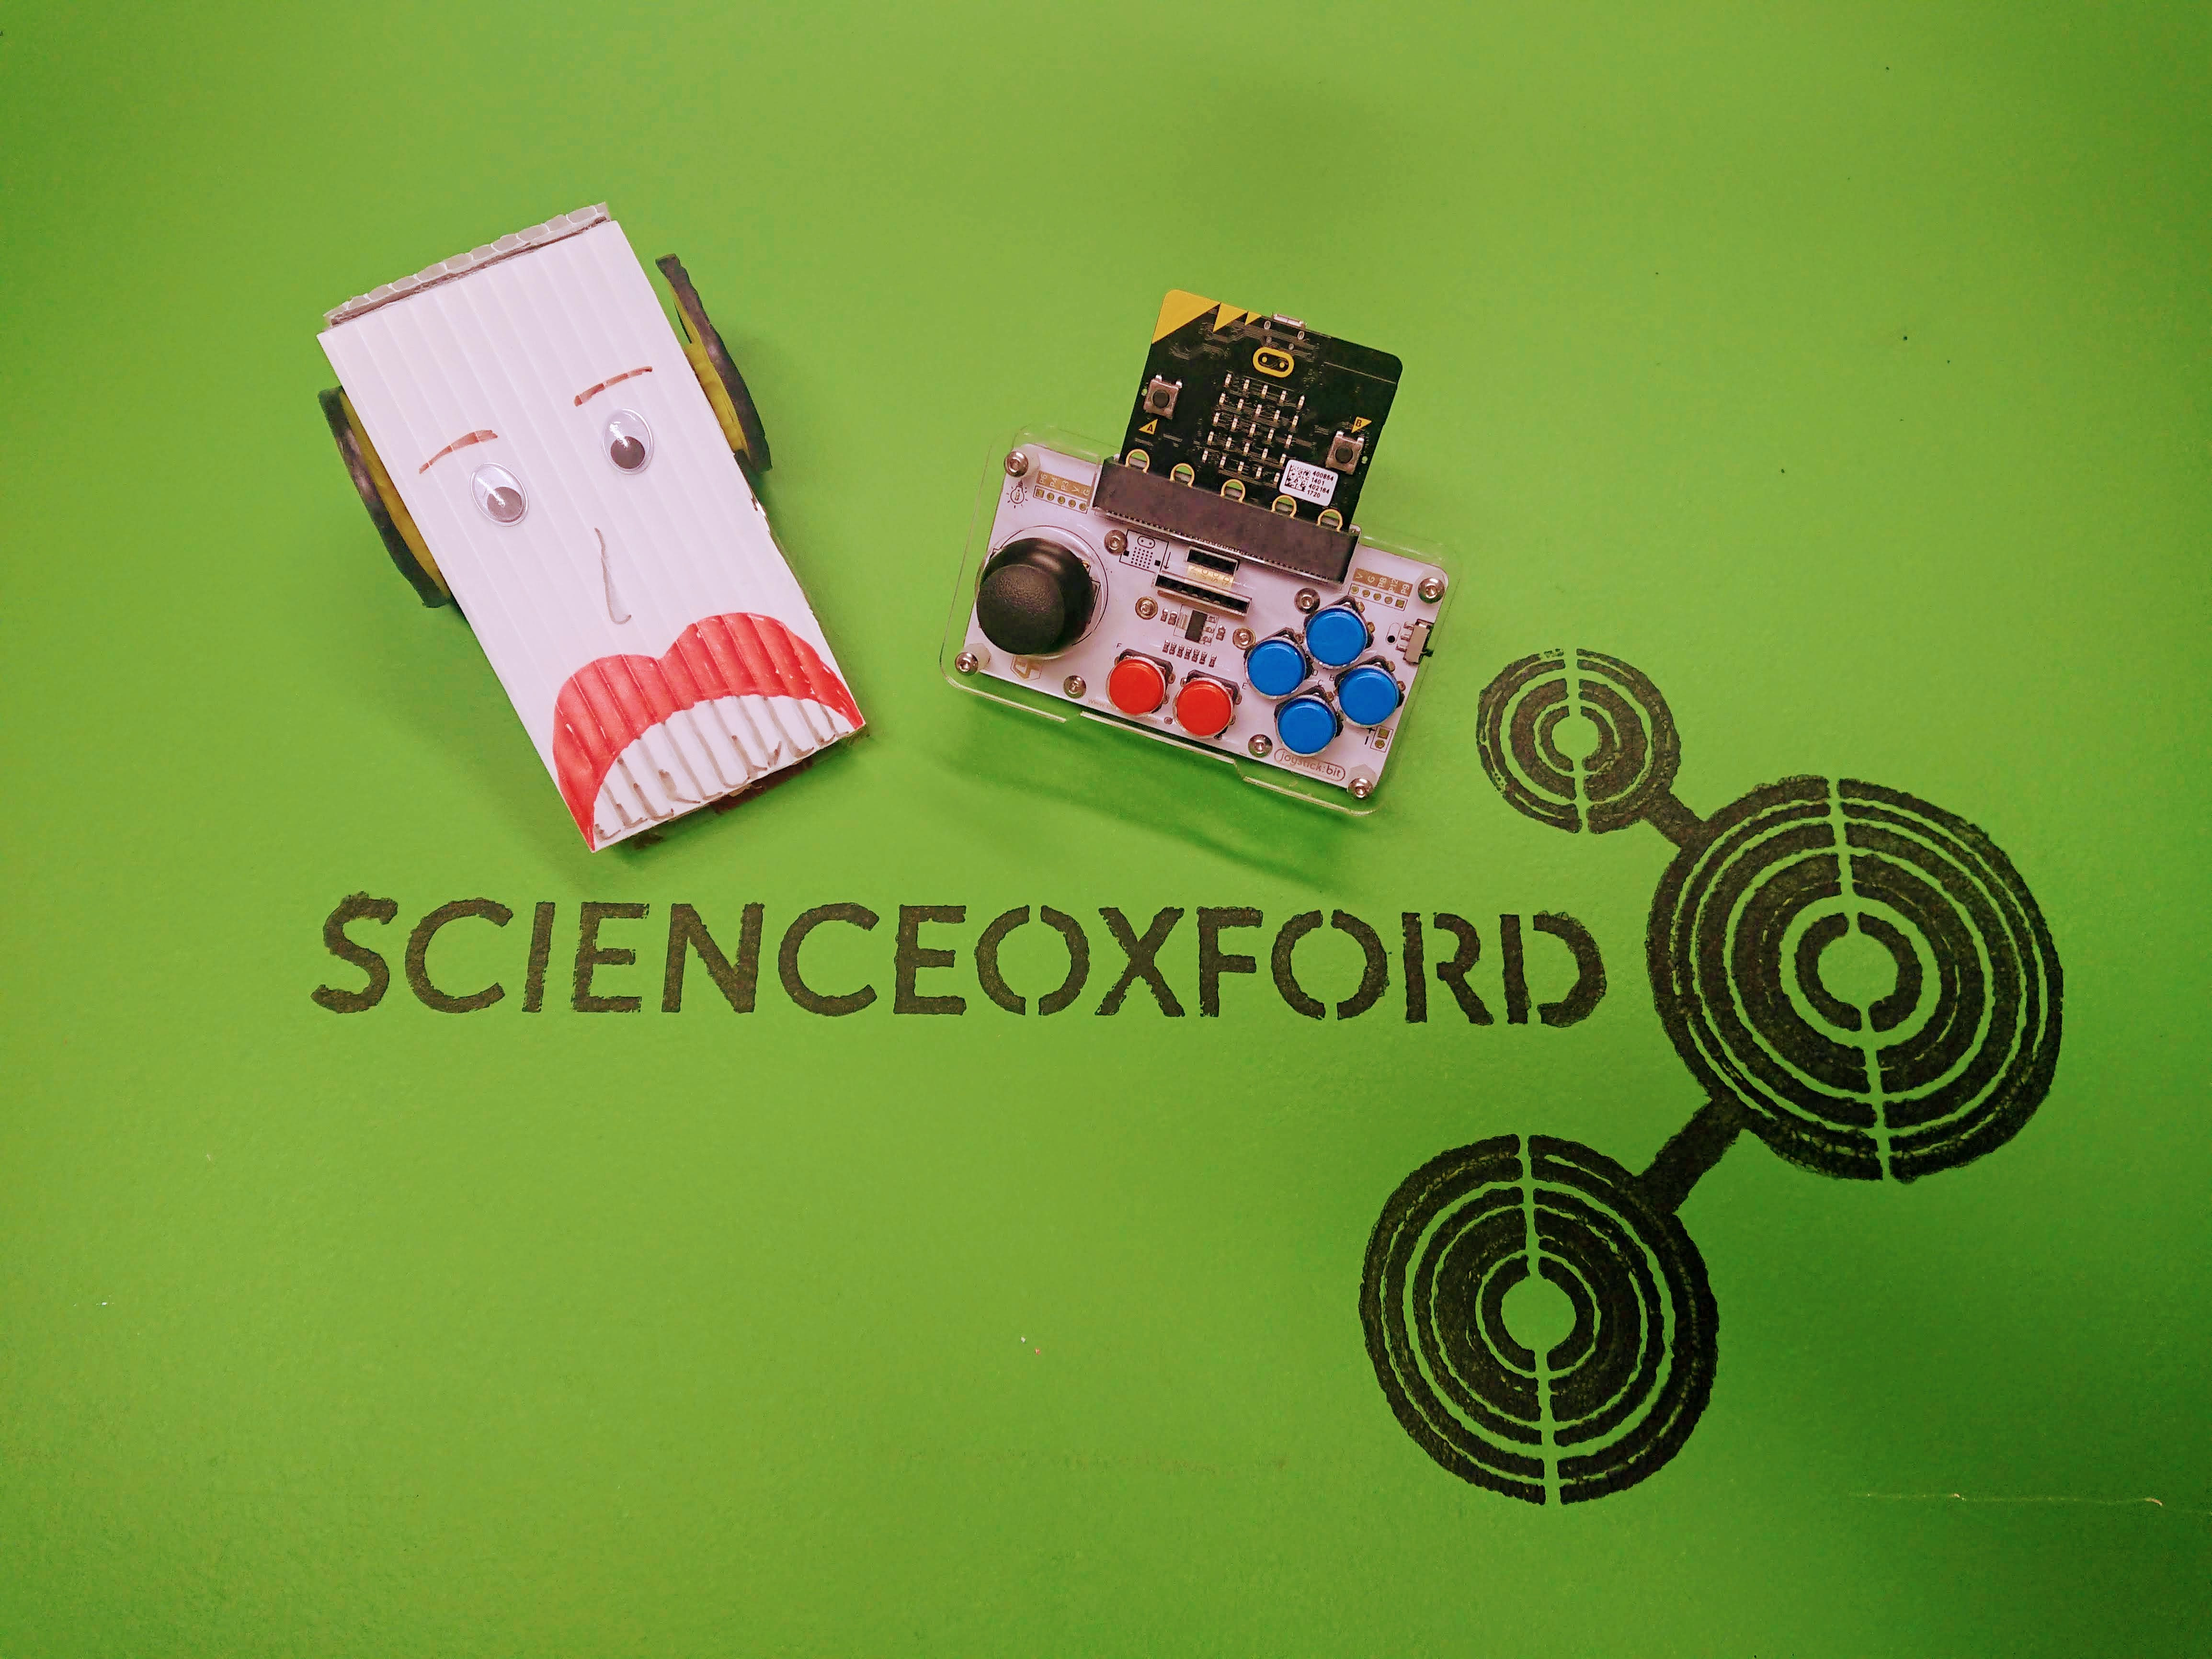
For Robocamp 2019, our summer robotics camp, young people aged 10-13 are soldering, programming and building a BBC micro:bit based 'antweight robot', as well as programming a micro:bit to use as a remote control.
If you are currently at Robocamp, skip to Step 3, as we have done the first two steps as a group!
This is a step-by-step guide to getting a micro:bit robot communicating with a joystick:bit controller.
It does not take the quickest route to get everything working, but tries things in small chunks so that you can test the code as you are going, put your own stamp on it, and understand why we're doing the things we're doing!
For this activity, we are using our own custom robot, but it will work with any robot using a similar motor driver, such as an L9110s.
Design files for our robot can be found here: https://github.com/ScienceOxford/micro-ant/tree/master/PCB-files
This guide is written for beginners, but if you have never used a micro:bit with MicroPython before, we recommend you try a simpler program first, such as our name badge Instructable: https://www.instructables.com/id/Felt-Microbit-Nam...
Supplies
2x BBC micro:bit
Robot that works with a BBC micro:bit (see explanation above)
joystick:bit controller (we got ours from Cool Components)
Robot Set-up
You have a few options for writing MicroPython code for your micro:bit:
- Mu, which you can download and install from here: https://codewith.mu/
- The online editor, which you can find here: https://python.microbit.org
These instructions assume you are using Mu.
Open Mu, and plug your micro:bit into your computer. Mu should recognise that you are using a micro:bit and select micro:bit 'Mode', but if it does not, change it manually.

Get a copy of the robot motor test code from here: https://github.com/ScienceOxford/micro-ant/blob/master/robot-code/motor_test.py
If you are not used to Github, it can be unintuitive! Two easy ways to get this code are:
- Save the Raw file to your computer, then Load it into Mu:
- Copy and paste all of the given code into a New file in Mu.

Now click the 'Flash' button from Mu's toolbar, to send your new code to the micro:bit.
This will not work unless the micro:bit is plugged in!
The yellow light on the back of the micro:bit will start to flash. When it has finished, your code has been transferred.
SETTING-UP THE MOTOR DIRECTIONS
This program will turn the motors on in different directions when you press the 'A' button on the micro:bit.
What you want to happen is:
- When 'A' is displayed, left motor forwards
- When 'B' is displayed, left motor backwards
- When 'C' is displayed, right motor forwards
- When 'D' is displayed, right motor backwards
This will probably not be the case, as it depends on how you have wired up your robot!
At the top of the code, you will find a list of variables, which determine which pin on the micro:bit control which motor direction.
If you are using one of our robots (files), swap the variable names around to make the robot move in the correct directions:

If you are using a robot of your own, check which pins the motor driver is connected to before editing the code.
TESTING THE DRIVE
Now check how your robot drives by replacing the test code in the main loop with some code of your own.
You tell the robot to drive by calling the drive() function. This takes two arguments - a value for the left motor and a value for the right motors, between 0 (off) and 1023 (max speed).
By calling drive(500, 500), for example, you are telling both motors to turn on, in the forward direction, at about half speed.
Try out a few options to get a feel for how straight it drives and how well it turns.
Hint: the motor tests were inside both a while True loop, and an if statement - the motors would not turn until you pressed the A button on the micro:bit, and it is forever checking whether you have pressed the A button.
Hint: the motors will not turn off until you tell them to! They will always continue to do their last instruction.
OPTIONAL: IMPROVING DRIVING IN A STRAIGHT LINE
If your robot will not drive in a straight line, one of your motors might be turning faster than the other.
After checking that there is nothing physically stopping the wheel from turning freely, you can edit the code in the drive function to reduce the speed of the faster motor.
Scroll up to find the definition of the drive function, and look at the top two instructions:
def drive(L, R):
    # Below is an adjustment to correct for motor speed discrepancy
    L = int(L*1)
    R = int(R*1)
These two lines currently take the value of L and R, multiply them by 1, then make sure they are still whole numbers (int).
For example, if your left motor is faster, change the *1 on its line to *0.9, and see if that improves things.
You will not be able to make it perfect, but you can keep adjusting until it drives straighter.
SETTING-UP THE RADIO
Now set up the radio, by adding the following lines to the top of your code:
import radio
radio.config(channel=7, group=0, queue=1)
radio.on()
This will allow your robot to receive instructions from another micro:bit, but at the moment it will receive instructions from any other micro:bit.
This is because channel 7 and group 0 are the default channels.
Change these numbers, choosing a channel between 0-82 and a group between 0-255. Now your micro:bit will only receive instructions from others with the same configuration information.
queue=1 means the micro:bit will only keep one incoming message at a time - this gives a slightly faster response time than the default, which is 3.
Now you need to edit your main loop code to, instead of running instructions when you press a button, wait for an incoming radio message and respond appropriately.
Try the following code as a test (it will not do anything until you have set up the joystick in Step 2):
while True:
    message = radio.receive()
    if message == 'forward':
        drive(500, 500)
Joystick Set-up
Unplug your robot's micro:bit, and plug in your joystick's micro:bit instead.
Get a copy of the joystick set up code from here: https://github.com/ScienceOxford/micro-ant/blob/master/controller-code/joystick_setup.py
Set up the radio using the same configuration (channel and group number) as you did for the robot - this will allow the two to communicate with each other.
At the end of the program, start your main loop:
while True:
    if button_a.was_pressed():
        radio.send('forward')
This code does not yet use the joystick:bit. It uses button A on the micro:bit to send a message.
Make sure both your robot and your controller micro:bits have power, then press the button to send your message.
If the message is successfully received, and your robot moves... well done! You are finished with the set-up instructions.
TROUBLESHOOTING TIPS
If you get an error message on your controller micro:bit... debug your controller code
If you get an error message on your robot micro:bit... your radio message was sent successfully! But the robot cannot understand it, so check that the message you sent, and the message you told the robot to listen for match.
If nothing happens at all...
- Make sure you flashed the correct code to each micro:bit - it is easy to accidentally flash the wrong one!
- Make sure your channel and group numbers match on each micro:bit
Checking the Joystick Values
The next few steps are all using the controller code.
Before you can use the joystick on your controller, you need to know what kinds of values you get when you push the stick.
Replace your main loop with the following code:
while True:
    joystick = joystick_push()
    print(joystick)
    sleep(500)
Flash this code to your micro:bit, then click the REPL button on Mu's toolbar. This will open a terminal in the bottom of the editor, which gives you a real-time link to the micro:bit.

This will not work unless the micro:bit is plugged in!
With the REPL open, press the reset button on the back of your micro:bit.

You should see some values bring 'printed' to your screen:

Push the stick of the joystick and see what happens to the numbers.
Make a note of the values given when the joystick is in the centre position - in my case (518, 523).
Click the REPL button on Mu's toolbar again to close it - you won't be able to flash new code to the micro:bit while it is open.
Adjusting the X and Y Variables
You want to change the values given by the joystick function, so that:
- in the centre it is zero
- up is positive
- down is negative.
This matches instructions the robot needs - a positive number to drive forwards, and a negative number to drive backwards.
Look at the numbers you got in the last step. The first number is x, and the second number is y.
Edit the joystick_push() definition that is already in the program, to minus your values from the original:
def joystick_push():
    x = pin0.read_analog() - 518
    y = pin1.read_analog() - 523
    return x, y
Use your own numbers, they might be different from mine!
Flash your new code, open the REPL, press the micro:bit's reset button and check your values.
Are you getting (0, 0)?
Converting X and Y Into Values for the Left and Right Motors
At the moment, this joystick won't be very useful to drive a robot with. Pushed forward all the way, you will get a value such as (0, 500).
If you gave these numbers to the robot, it would turn on the right motor but not the left one, which is not what you want to happen!
This diagram shows what happens to the x and y values when you move the joystick, and what we want the robot to do when you move the joystick.

You need to use some maths to mix the x and y values, to give you something more useful.
THE MATHS
Let's start by pushing the joystick all the way forward.
An example of the values you might get is:
x = 0
y = 500
To be useful to the robot, you want to get values like these:
left = 500
right = 500
Let's try adding x and y in different ways to see what numbers we get:
x + y = 0 + 500 = 500
x - y = 0 - 500 = -500
y + x = 500 + 0 = 500
y - x = 500 - 0 = 500
Now let's see what happens if we push the joystick all the way to the right.
An example of the values you might get is:
x = 500
y = 0
To make the robot turn right, you want the left motor to drive forward, and the right motor to drive backwards:
left = 500
right = -500
Let's try out our formula again:
x + y = 500 + 0 = 500
x - y = 500 - 0 = 500
y + x = 0 + 500 = 500
y - x = 0 - 500 = -500
Compare the two sets of formula to work out which option will give you the correct left value, and which option will give you the correct right value.
Try it with some of the values you get from your own joystick, to make sure the formula you pick works all of the time.
EXPANDING THE JOYSTICK FUNCTION
Expand and edit the joystick function to make two new variables for left and right, and to return those values instead of x and y:
def joystick_push():
    x = pin0.read_analog() - 518
    y = pin1.read_analog() - 523
    left =
    right =
    return left, right
Flash your new code, open the REPL, press the micro:bit's reset button and check your values.
Are you getting the values you expect?
If you need some more help, check out our example code here: https://github.com/ScienceOxford/micro-ant/blob/master/controller-code/joystick_left_right.py
Sending the Values As Radio Messages
Now you have some values ready to send to your robot.
Edit your main loop, so that it checks the values of the joystick, but then instead of printing the values, it gets them ready to send as a radio message.
while True:
    joystick = joystick_push()
    message = str(joystick[0]) + " " + str(joystick[1])
This won't actually send the message yet!
What is happening in this new line of code?
- joystick[0] means the first bit of information that comes out of the joystick function (left)
- joystick[1] is the next bit of information (right)
- str() converts both of these numbers into string format (text instead of numbers) - this is necessary to be able to send the information over the radio.
You will be used to seeing + to mean addition - it can both add numbers together and concatenate strings, which means it will stick the two bits of information together.
Example:
150 + 100 = 250
str(150) + str(100) = 150100
So concatenation will stick your left and right values together.
To force a separation between the two bits of information (so that the robot knows they are two bits of information), concatenate an extra string in between them using " ". The speech marks around the space mean that it is already a string.
Finally, extend your code to send this newly created message over the radio:
    radio.send(message)
    sleep(10)
The sleep slows down the sending of messages so that the receiving micro:bit doesn't get overloaded with too much information!
Flash this code to your controller micro:bit and debug any errors before moving on to the next step.
Receiving the Messages on Your Robot
Go back to your robot code from the beginning - remember to unplug your controller micro:bit so that you don't accidentally flash the robot code to it!
Scroll down to your main loop - remove the testing code and add this instead:
while True:
    message = radio.receive()
    print(message)
    sleep(100)
This sets a variable equal to the incoming message, and prints the message to the REPL - to check that the messages are coming through as expected.
Flash your new code, connected to the REPL, then push the joystick.
You should get something like this:

TROUBLESHOOTING TIPS
If you get an error message on your controller micro:bit... debug your controller code
If you get an error message on your robot micro:bit... your radio message was sent successfully! But the robot cannot understand it, so check that the message you sent, and the message you told the robot to listen for match.
If nothing happens at all...
- Make sure you flashed the correct code to each micro:bit - it is easy to accidentally flash the wrong one!
- Make sure your channel and group numbers match on each micro:bit
Using the Incoming Messages to Control the Robot's Motors
You are now getting two numbers being sent over the radio as a string.
You need to split this message into two strings, then convert the strings back into numbers again, and pass this into the drive function. Lots going on at once!
Before doing this, you need to check that the message you are receiving is in the correct format.
If no messages are being sent, you will receive 'None' instead. If you try and split this, you will get an error message.
while True:
    message = radio.receive()
    if message is not None:
        message = message.split()
        drive(int(message[0]), int(message[1]))
What is happening here?
- The new code will run if the message is anything other than 'None'.
- message.split() checks for a space in the message (which we added in the last step), and uses this to split the message in two.
- int(message[0]), int(message[1]) does the opposite of what we did in the previous step - gets each piece of information individually and converts it into an integer (a whole number).
- int(message[0]) is used as the value for the left motor in the drive function, and int(message[1]) is used as the value for the right motor.
Check that it works - do the motors turn when you push the joystick?
If not - time for some debugging!
If yes, fantastic! You have a working remote control robot!
Spend some time practising with your robot before moving on to the next step. Does it drive the way you expect?
The next steps will show you how to use the buttons on the joystick to add extra functionality to your robot.
If you want to see our version of this code so far:
Using the Buttons -- Receiving Additional Messages
At the moment, your code will try to split any message that is not None. This means that if it receives, for example, 'hello', then you will get an error message.
To allow your micro:bit to interpret other messages, it will need to check each expected message first, then split the message only if it hasn't been told to do anything else with it.
Expand your code like so:
    if message is not None:
        if message == 'hello':
            display.show(Image.HAPPY)
        elif message == 'duck':
            display.show(Image.DUCK)
        else:
            message = message.split()
            drive(int(message[0]), int(message[1]))
Firstly, it will check if it has received the message 'hello'. If it has, it will display a happy image, then go back to the top of the loop and check for the next message.
If the message isn't hello, it will next check if the message is 'duck'.
If the message isn't either 'hello' OR 'duck, it will do the last thing on the list, which is split the message and turn on the motors. It won't try to split the message if it has received 'hello' or 'duck', meaning you won't get an error message from either of these two messages.
The double equals sign is important - it means 'is equal to', compared to a single equals sign, which is setting something (so message = 'hello' means we are setting the variable to 'hello', message == 'hello' means we are asking if message is equal to 'hello').
Try it with just two options for now, to test it - you can add as many other messages as you like later.
Link to working code: https://github.com/ScienceOxford/micro-ant/blob/master/robot-code/robot_buttons.py
Sending Additional Messages Using the Controller's Buttons
Unplug your robot's micro:bit, and plug in your joystick's micro:bit instead.
Go back to your controller code to edit.
Similar to the robot code, we want the controller to check if you are trying to send any other messages, before sending the joystick values.
At the top of the loop, we still want it to check the current values of the joystick, but we also want it to check if a button is currently being pressed:
while True:
    joystick = joystick_push()
    button = button_press()
button_press() returns a value A, B, C, D, E or F depending on which button is currently being pressed (if nothing is being pressed, it returns None).
Now we can make an if-elif-else statement, as we did for the robot code - using two buttons, and sending the joystick value if no button is being pressed.
    if button == 'A':
        radio.send('hello')
        sleep(500)
    elif button == 'B':
        radio.send('duck')
        sleep(500)
    else:
        message = str(joystick[0]) + " " + str(joystick[1])
        radio.send(message)
        sleep(10)
When a button is pressed, send one of the messages that you told the robot to look out for in the previous step.
The message will be sent whenever the button is being pressed, and computers are much quicker than people! So it might send the message lots of times before you have managed to take your finger off the button.
The sleep after sending the message slows it down, so that it won't check the button again so quickly - try a few numbers in here to get the perfect amount of time for you - too slowly and it won't be responsive, too quickly and your robot will receive so many button messages that it might stop responding to the joystick!
Does it work?
If you are getting error messages, think carefully about what you have just changed, and what is happening.
If you get an error on the robot when you press a button on your controller - you know that the message is getting across, but it is confusing the robot. Check that the message you have sent, and the message you have told the robot to look for are the same.
Link to working code: https://github.com/ScienceOxford/micro-ant/blob/master/controller-code/joystick_buttons.py
Next Steps
You now have the knowledge you need to work with your robot's motors, and with your joystick:bit controller.
Use this knowledge to improve the two programs and make them your own. Some ideas below!
You have six buttons on your controller! What do you want them to do?
- How about programming a dance routine for your robot to do on command? Write an algorithm of drive() commands, separated by sleep() commands!
- Do you want to change the direction the robot moves in so that it can easily drive upside down? Think about the x and y values of your joystick. What do they represent and how might you manipulate them?
- Does your robot have (or could you add!) extra features such as LEDs, a speaker or sensors?
Ideas to improve the code
- Could you help your robot to cope with unknown messages by using try/except code?
- The maths used to calculate the left and right values from the joystick do not give us the full range of values (the robot's drive can accept a number up to 1023). Can you edit this code to get a better range?
- There are other methods of mixing the joystick values - can you come up with a better way of doing it?
Get creative, and let us know any cool ideas you have to make your robot even more awesome!