Programming Your Arduino Using Raspberry Pi
by Smart Technology in Circuits > Arduino
7492 Views, 37 Favorites, 0 Comments
Programming Your Arduino Using Raspberry Pi
In this tutorial, We will learn how to put and program Arduino and Raspberry Pi together , over USB and serial communication by installing the Arduino IDE on your Raspberry Pi so that you can write and upload programs into an Arduino! Let's get started.
Hardware components :
1. Raspberry Pi 3
2. Arduino Uno
3. Breadboard
4. Led
5. 220 Ohms resistor
6. Wires
Software components :
1. Arduino IDE
Installing Arduino IDE on the Raspberry Pi
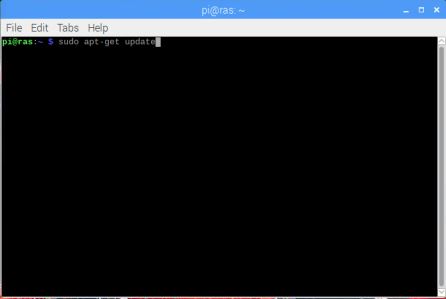
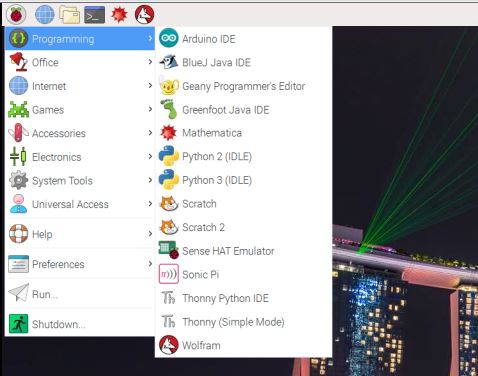
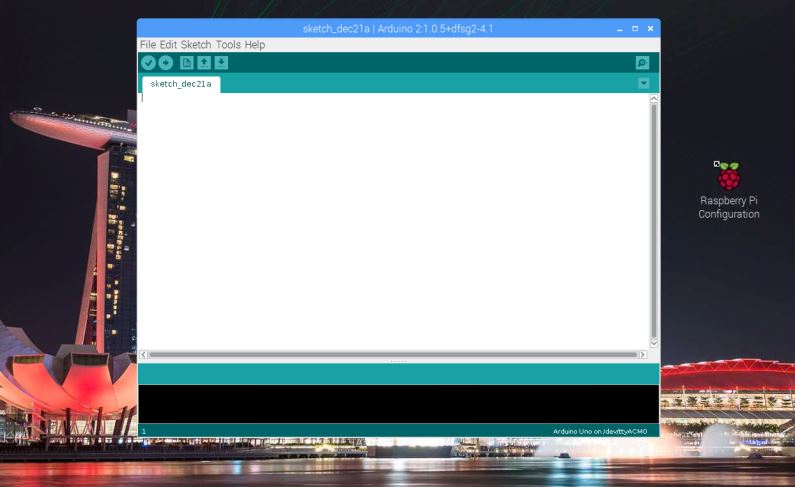
The perfect way to install Arduino IDE is from the terminal.
Before that we should being sure that Raspian jessie (Operating System of the Raspberry) is up to date so :
sudo apt-get update
sudo apt-get upgrade
Then we move on to installing the Arduino IDE :
sudo apt-get install arduino
Note: you must have an internet connection.
Watch the Video for More Details
Connect the Arduino

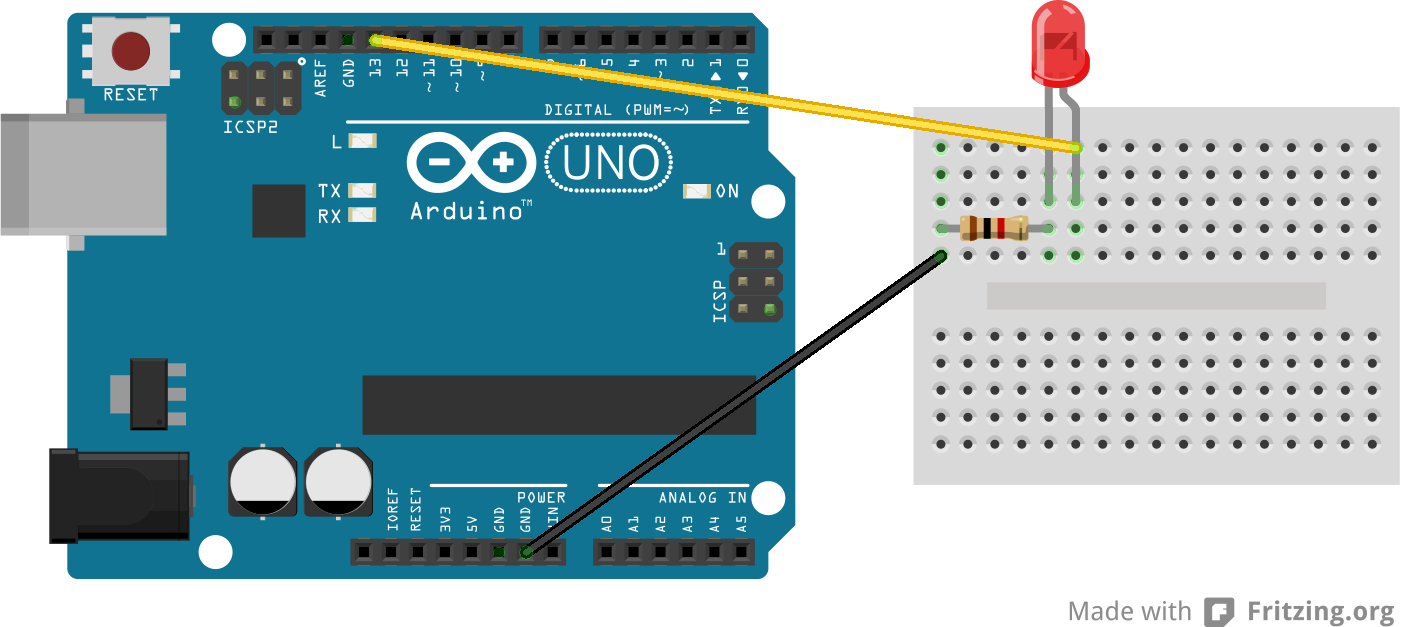

Start by programming the Arduino by connecting the USB Cable to your Raspberry Pi and opening the IDE,As you know the one of the basic project to start is with blinking an led using an Arduino Uno.
First,you need to determine what kind of Arduino you have and what port you are using.
Then,go to File > Example > Basics > Blink
int led = 13;
// the setup routine runs once when you press reset: void setup() { // initialize the digital pin as an output. pinMode(led, OUTPUT); }
// the loop routine runs over and over again forever: void loop() { digitalWrite(led, HIGH); // turn the LED on (HIGH is the voltage level) delay(1000); // wait for a second digitalWrite(led, LOW); // turn the LED off by making the voltage LOW delay(1000); // wait for a second }
Finally,we should upload the code to the Arduino.
For Support

You can subscribe to the my YouTube channel for more tutorials and projects. Subscribe for support.
Thank you.
Go to my YouTube Channel -link https://goo.gl/EtQ2mp