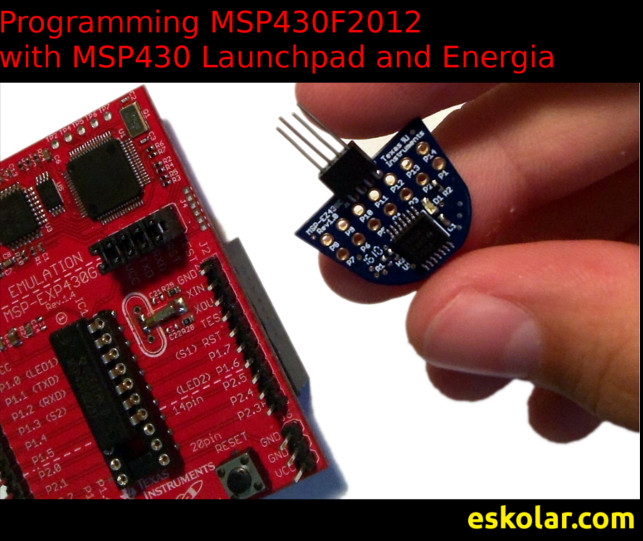
Programming MSP430-F2012 UC With Launchpad SBW
by bkb2 in Circuits > Electronics
7031 Views, 19 Favorites, 0 Comments
Programming MSP430-F2012 UC With Launchpad SBW
What Do You Need?
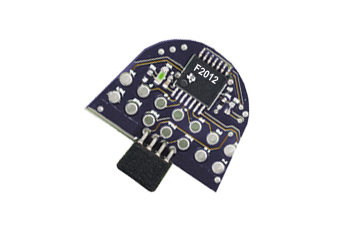
A MSP430F2012 uC -> sample from Texas Instruments, or buy from Digikey 2.37$
OR A BOARD EZ430-T2012 - MSP430 F2012 Board 3 pieces for 15$
A MSP430 Launchpad -> from TI stroe 10$
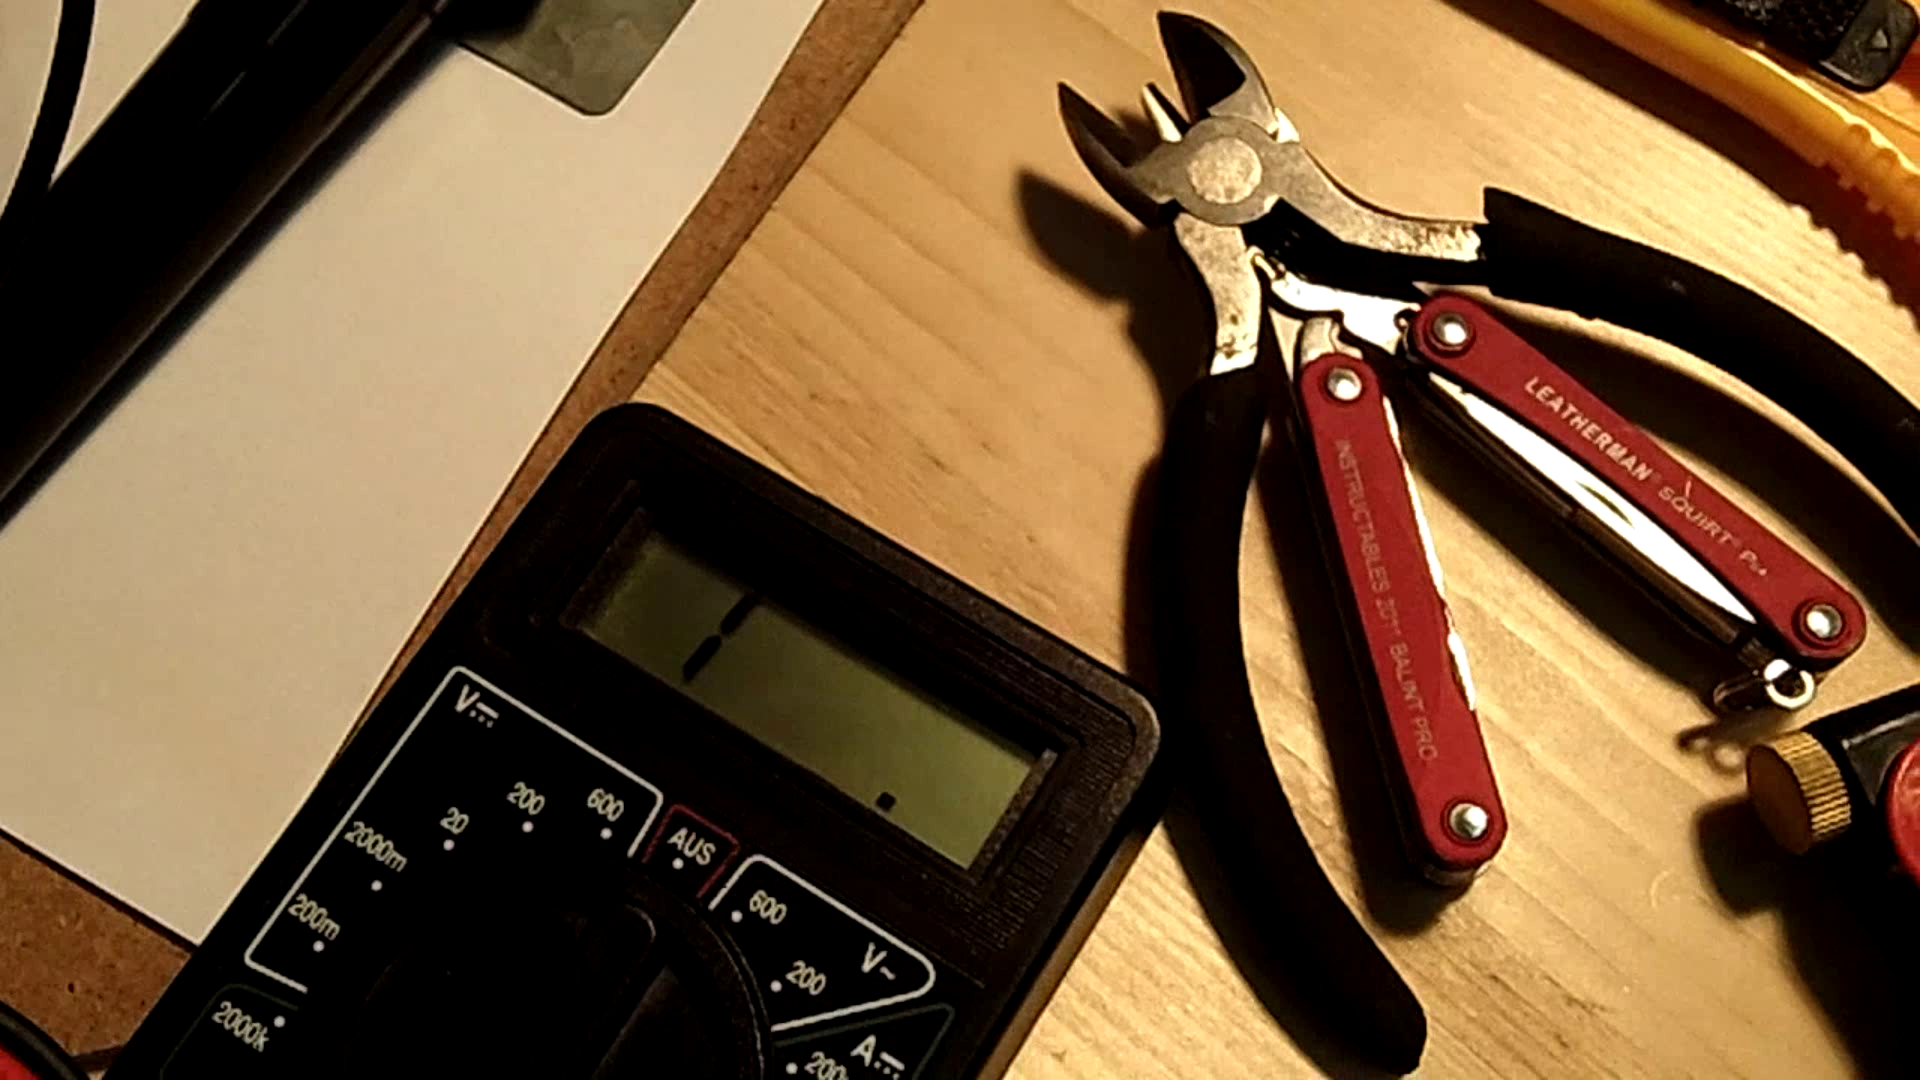
Soldering station
4 wires
Download Energia IDE software from http://energia.nu/download/
Mac OS X, Windows, Linux
OR A BOARD EZ430-T2012 - MSP430 F2012 Board 3 pieces for 15$
A MSP430 Launchpad -> from TI stroe 10$
Soldering station
4 wires
Download Energia IDE software from http://energia.nu/download/
Mac OS X, Windows, Linux
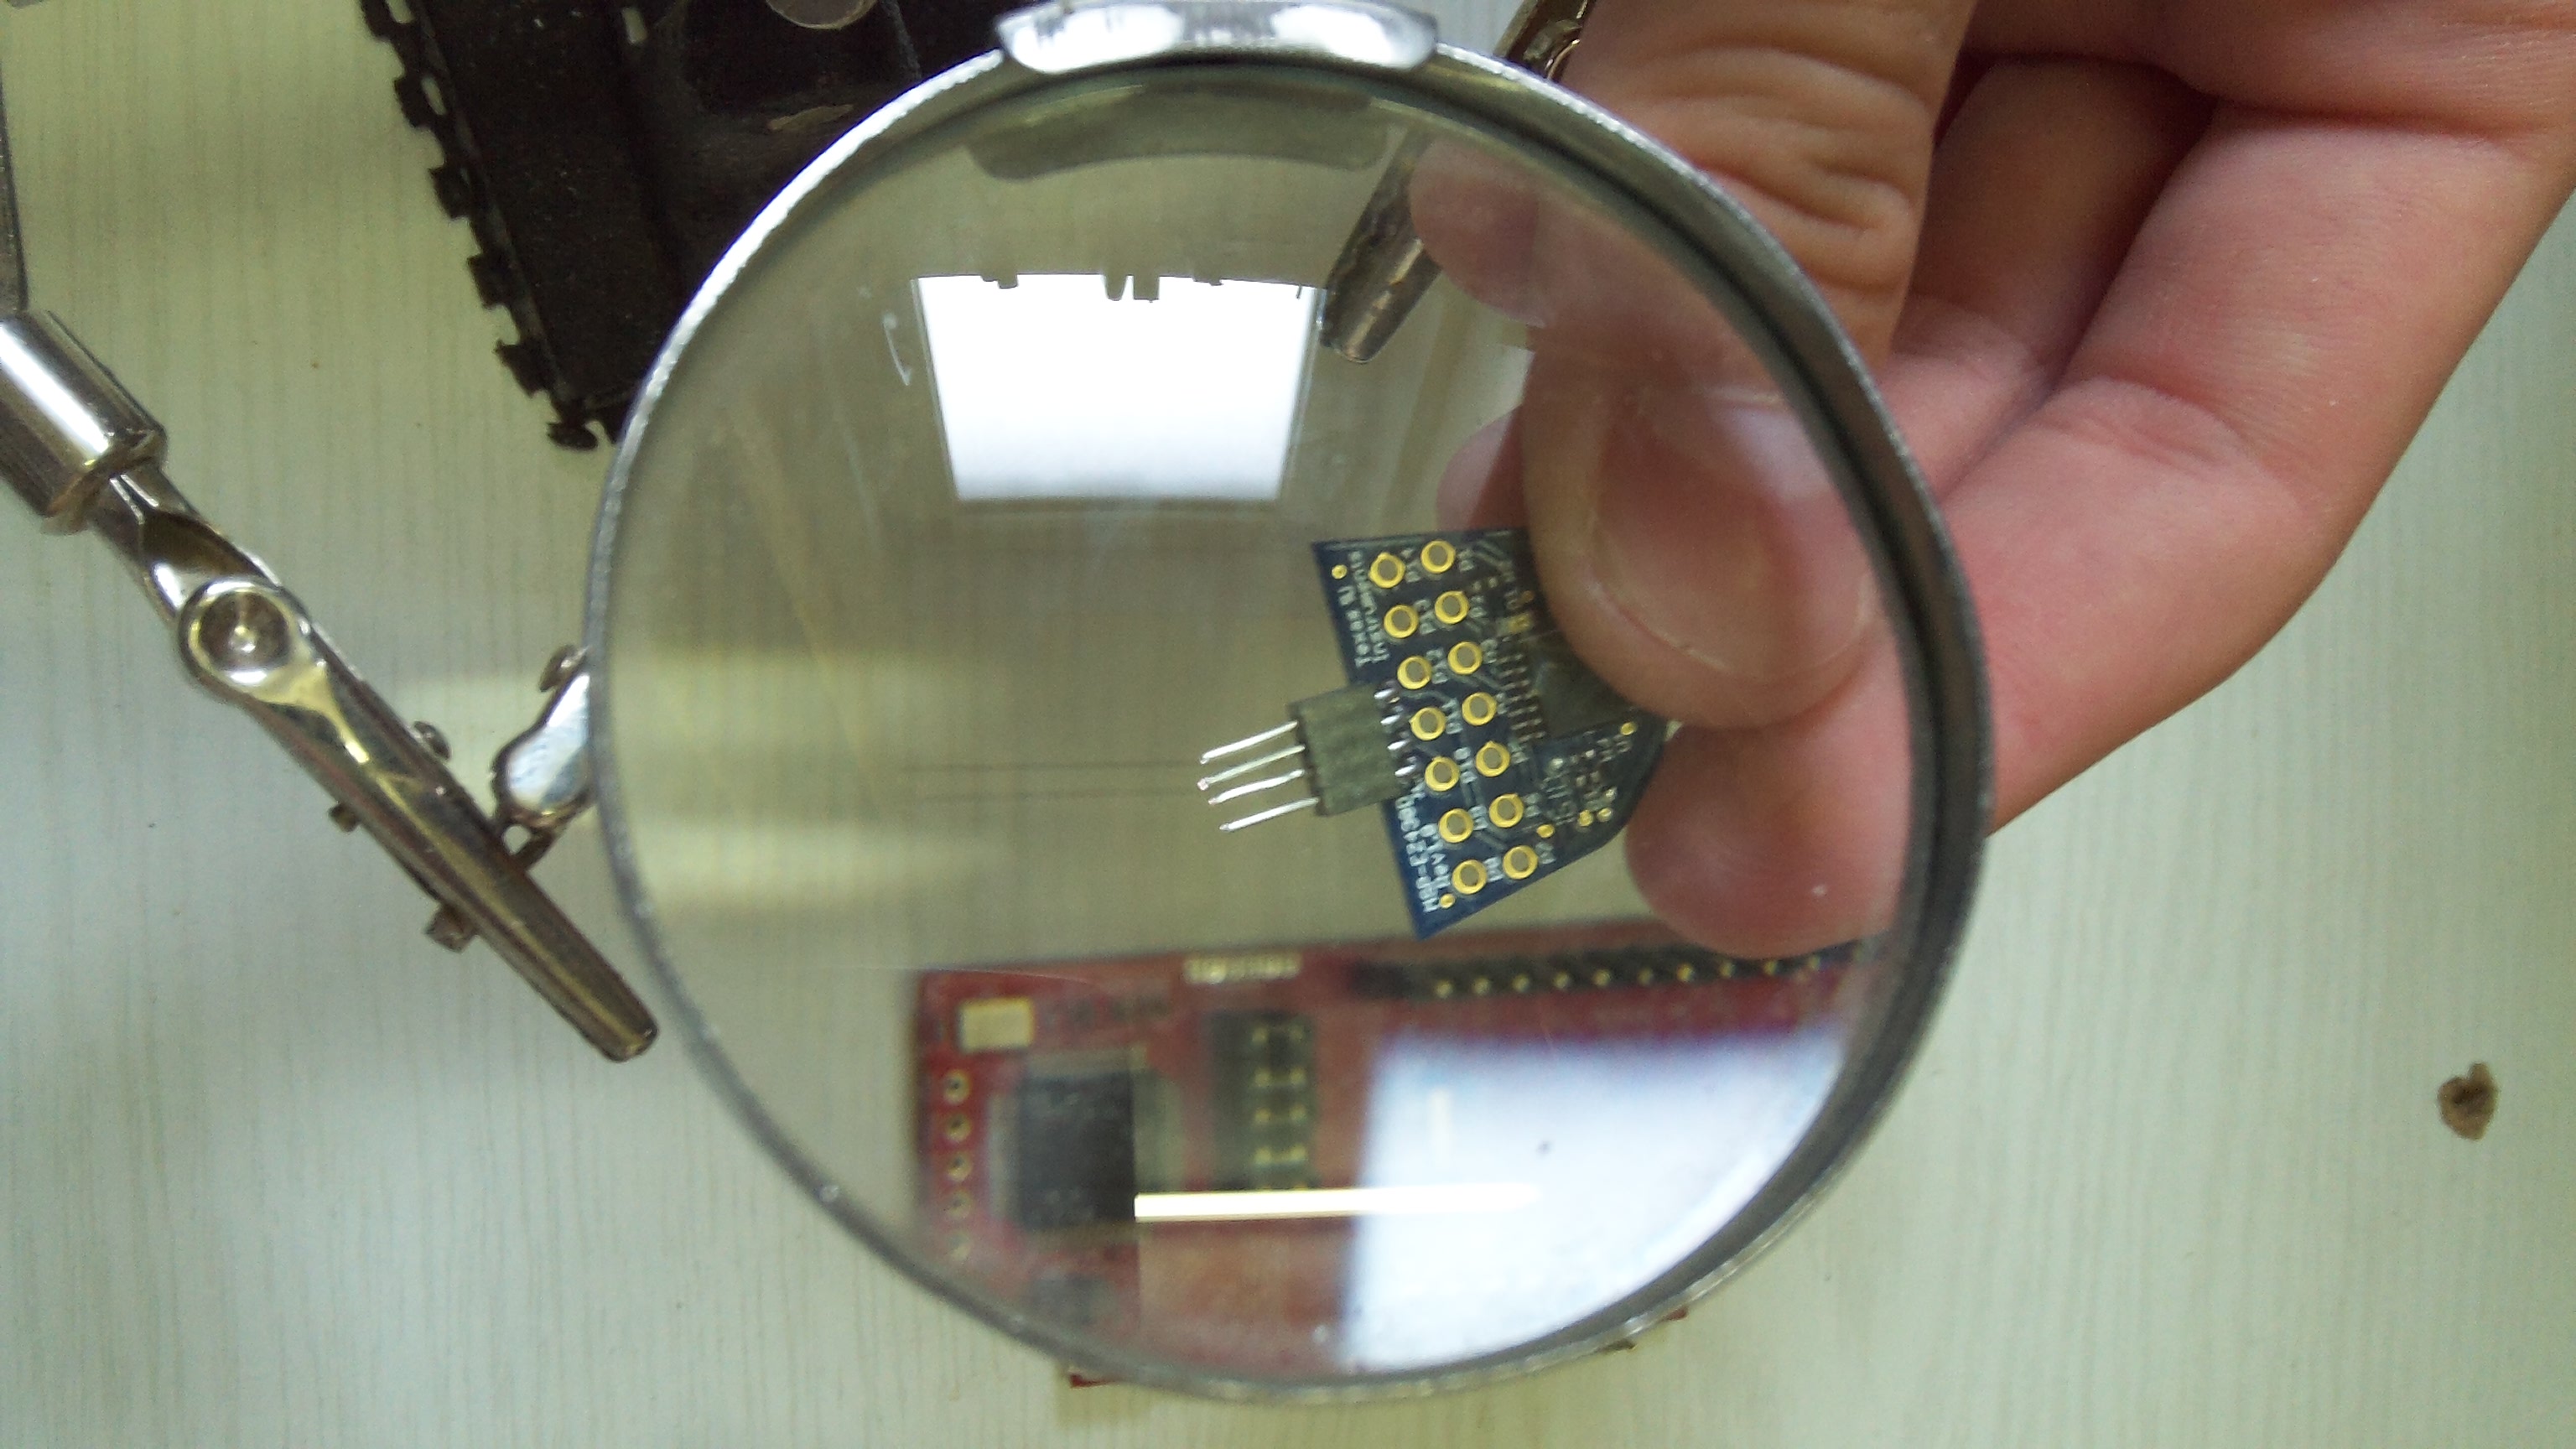
Soldering the Wires
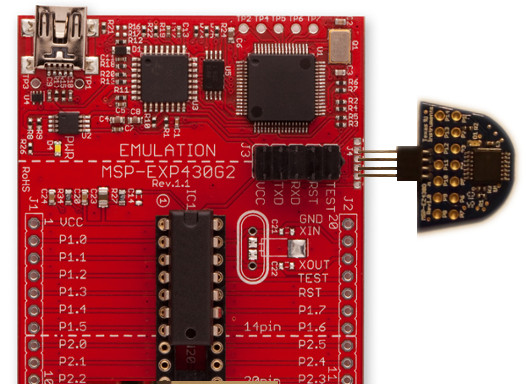
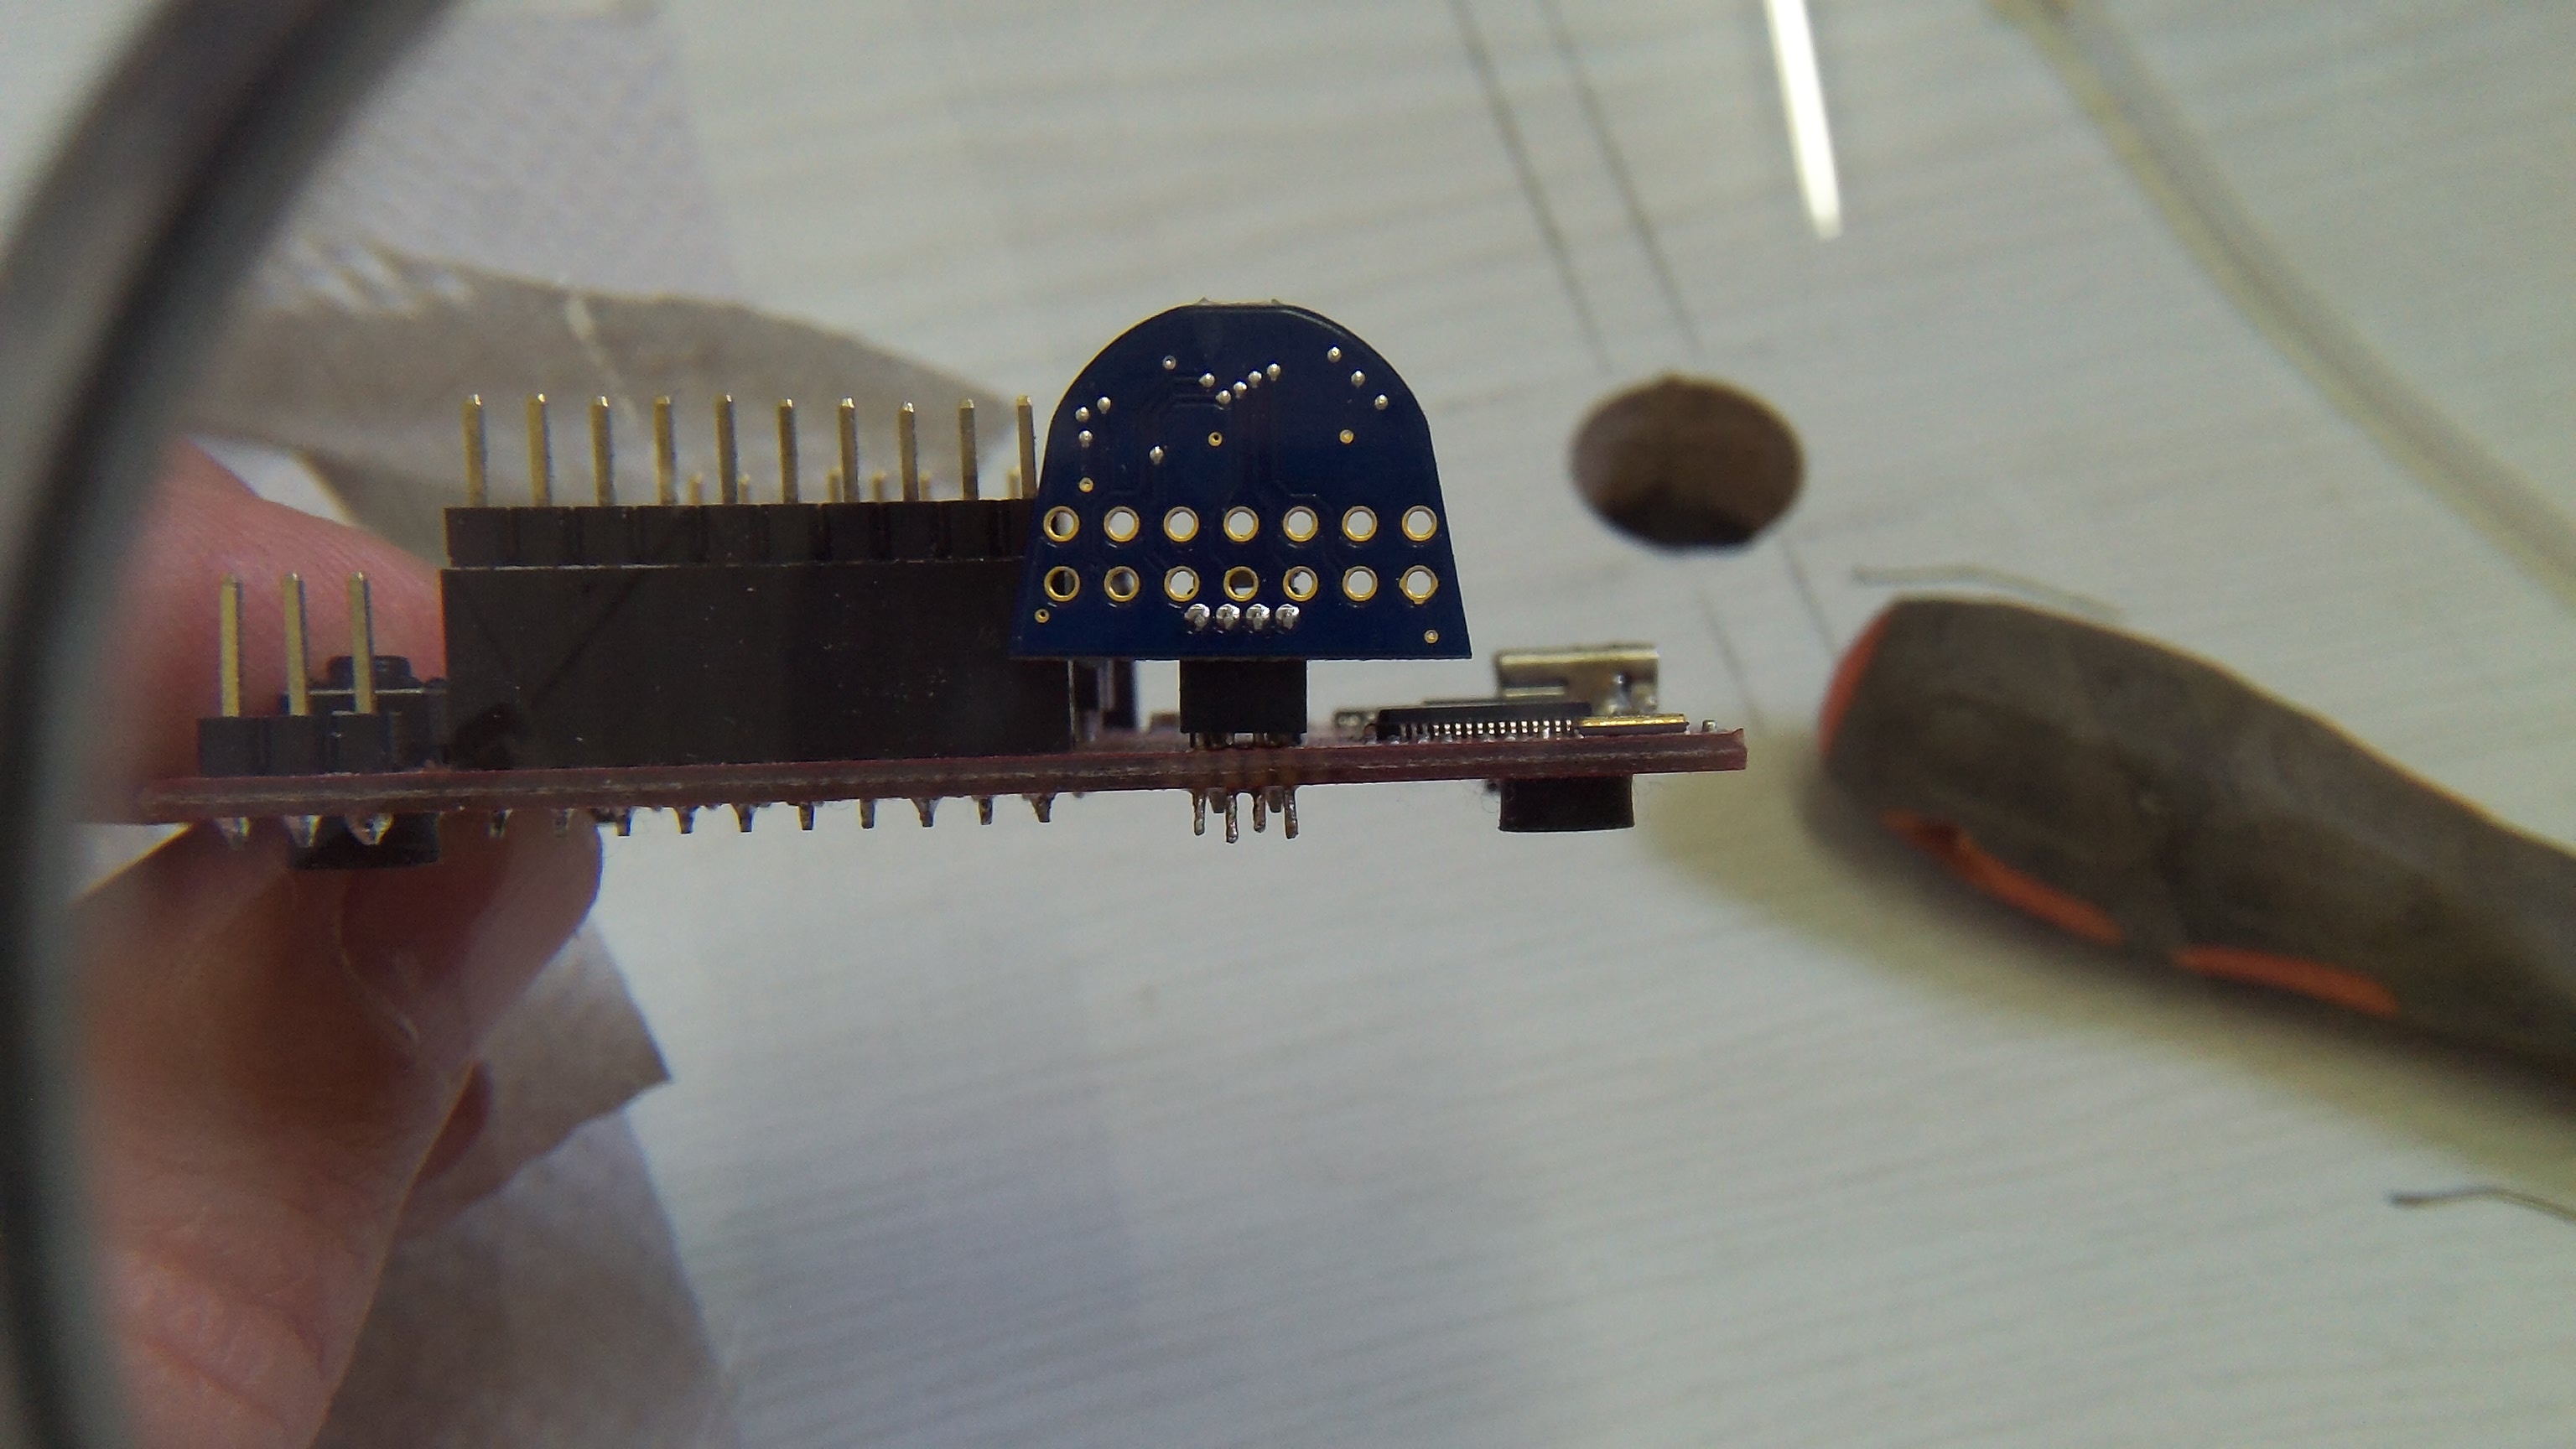
The Launchpad Spy-Bi-Wire interface hasn't a standard pin header. That is a half step header. I soldered 4 wires to the interface:
Launchpad F2012 board
o
o------------------------------------o
o------------------------------------o
o------------------------------------o
o------------------------------------o
o
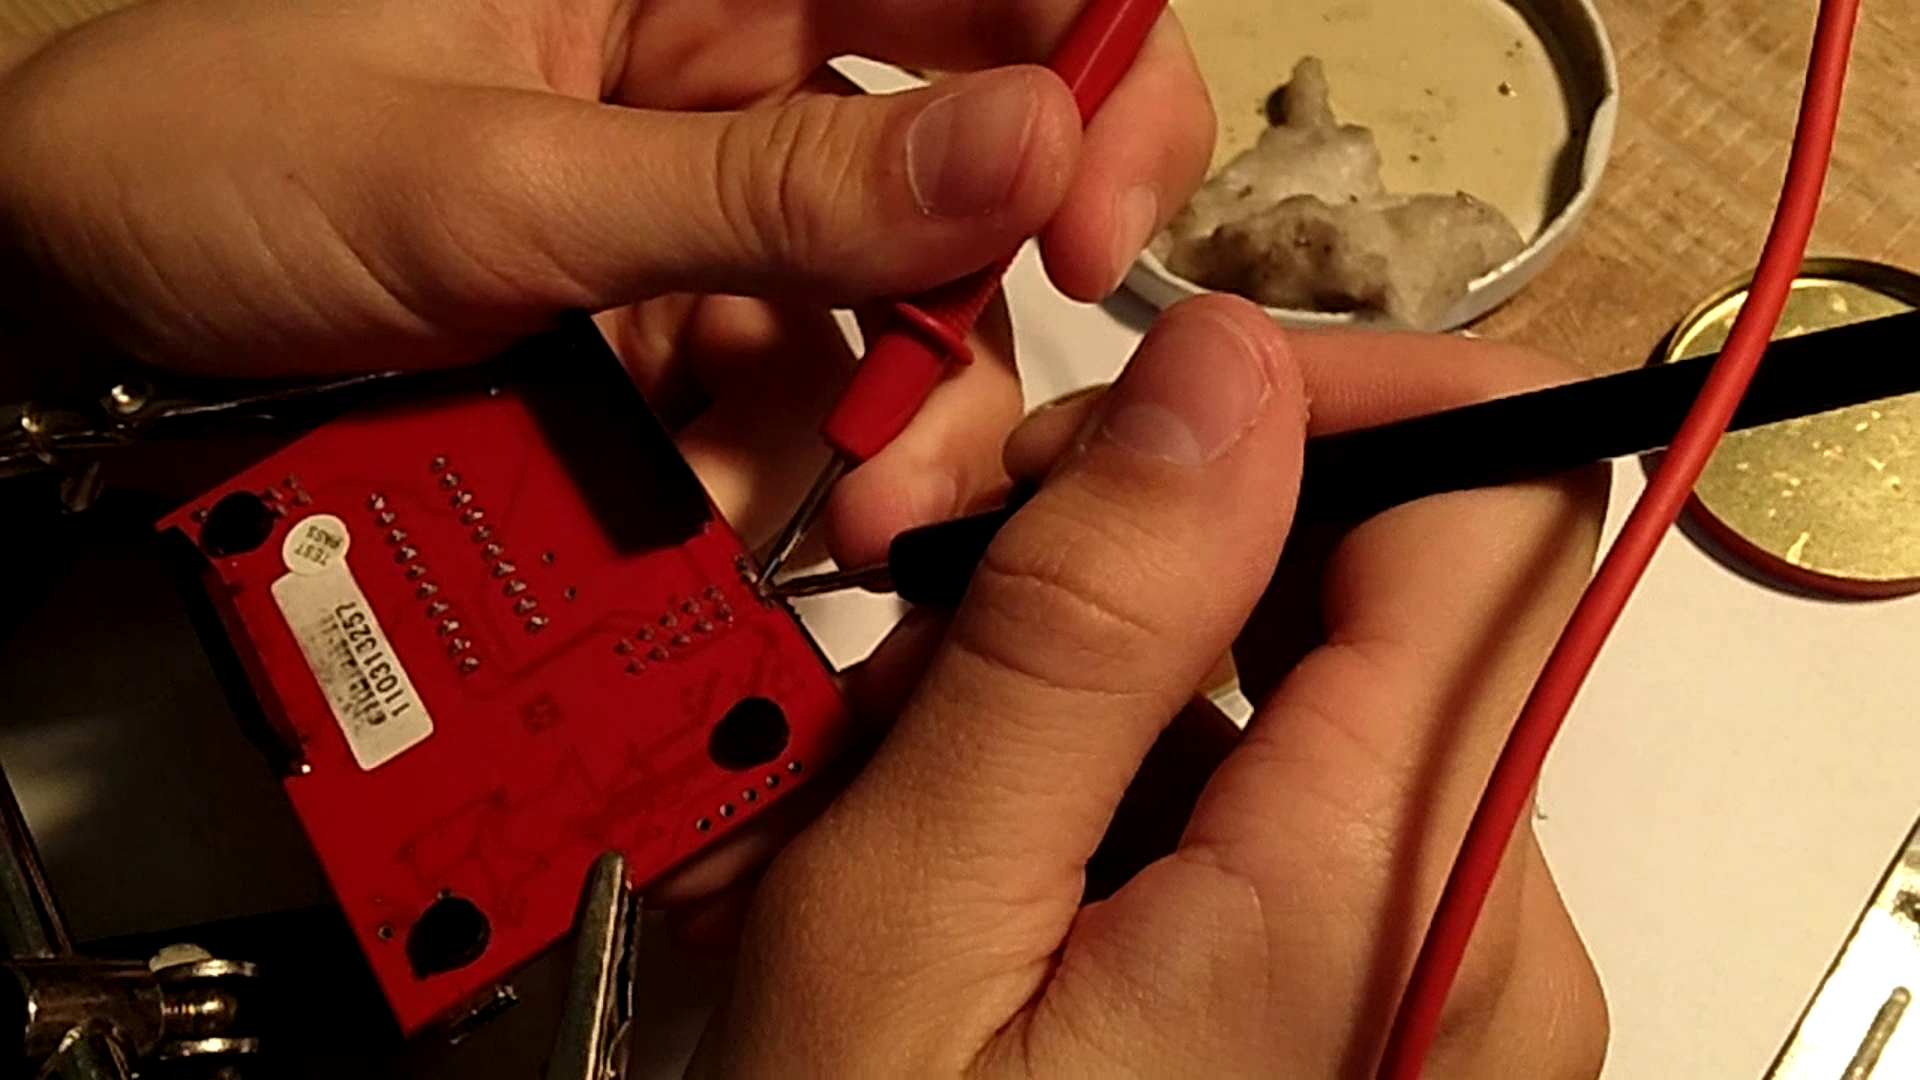
I used more Flux not to have a short on pins. Use a multimeter to verify Your work!!!
Launchpad F2012 board
o
o------------------------------------o
o------------------------------------o
o------------------------------------o
o------------------------------------o
o
I used more Flux not to have a short on pins. Use a multimeter to verify Your work!!!
Start Energia an Upload Blink Example

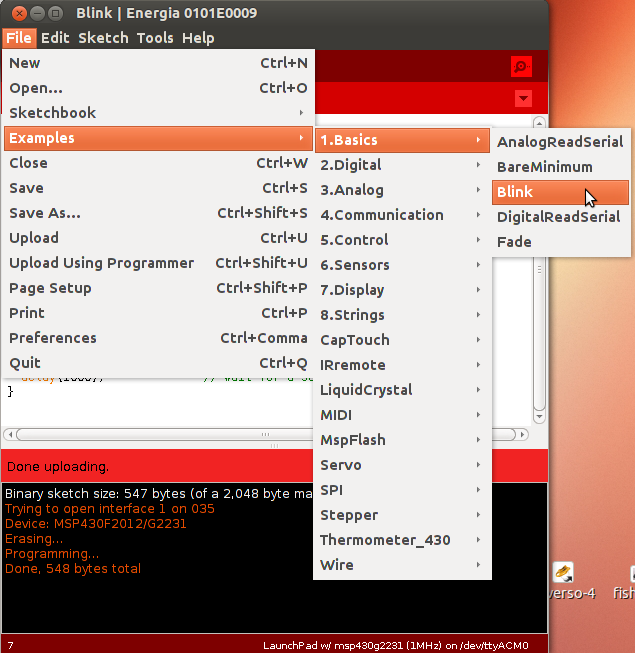
Energia is an ARDUINO like IDE for MSP430 Launchpad microcontrollers. It became popular because it is very easy to use, it has a lot of examples. It works on Mac, Win an Linux. You can program an MSP430 as easy as an Arduino.
It can be download for free from http://energia.nu/
After You have installed the Energia IDE.
1. Attach the MSP430F2012 to the Launchpad SBW interface.
2. Remove the RST jumper of the Launchpad
3. Start the ENERGIA
4. Open -> FILE -> EXAMPLES -> BASICS -> BLINK
5. Upload
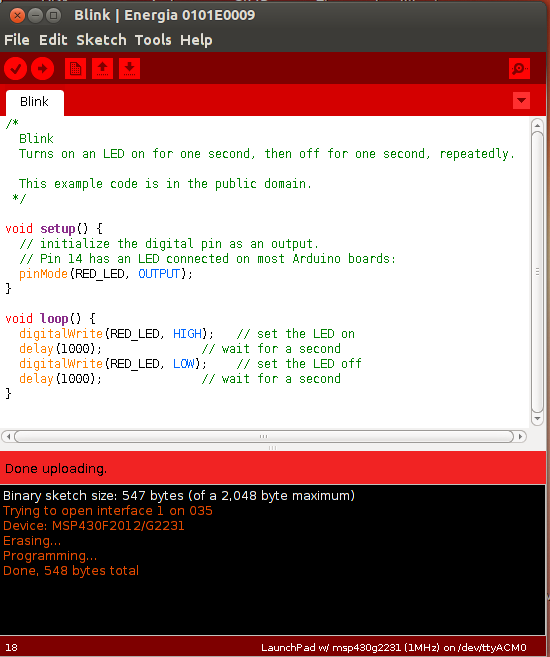
Upload BLink example:
/*
Blink
Turns on an LED on for one second, then off for one second, repeatedly.
This example code is in the public domain.
*/
void setup() {
// initialize the digital pin as an output.
// Pin 14 has an LED connected on most Arduino boards:
pinMode(RED_LED, OUTPUT);
}
void loop() {
digitalWrite(RED_LED, HIGH); // set the LED on
delay(1000); // wait for a second
digitalWrite(RED_LED, LOW); // set the LED off
delay(1000); // wait for a second
}
It can be download for free from http://energia.nu/
After You have installed the Energia IDE.
1. Attach the MSP430F2012 to the Launchpad SBW interface.
2. Remove the RST jumper of the Launchpad
3. Start the ENERGIA
4. Open -> FILE -> EXAMPLES -> BASICS -> BLINK
5. Upload
Upload BLink example:
/*
Blink
Turns on an LED on for one second, then off for one second, repeatedly.
This example code is in the public domain.
*/
void setup() {
// initialize the digital pin as an output.
// Pin 14 has an LED connected on most Arduino boards:
pinMode(RED_LED, OUTPUT);
}
void loop() {
digitalWrite(RED_LED, HIGH); // set the LED on
delay(1000); // wait for a second
digitalWrite(RED_LED, LOW); // set the LED off
delay(1000); // wait for a second
}
Be Happy
Running Your first programs on an F2012.