Programming Arduino With Sphero RVR
by Nolandog12 in Circuits > Arduino
2325 Views, 5 Favorites, 0 Comments
Programming Arduino With Sphero RVR
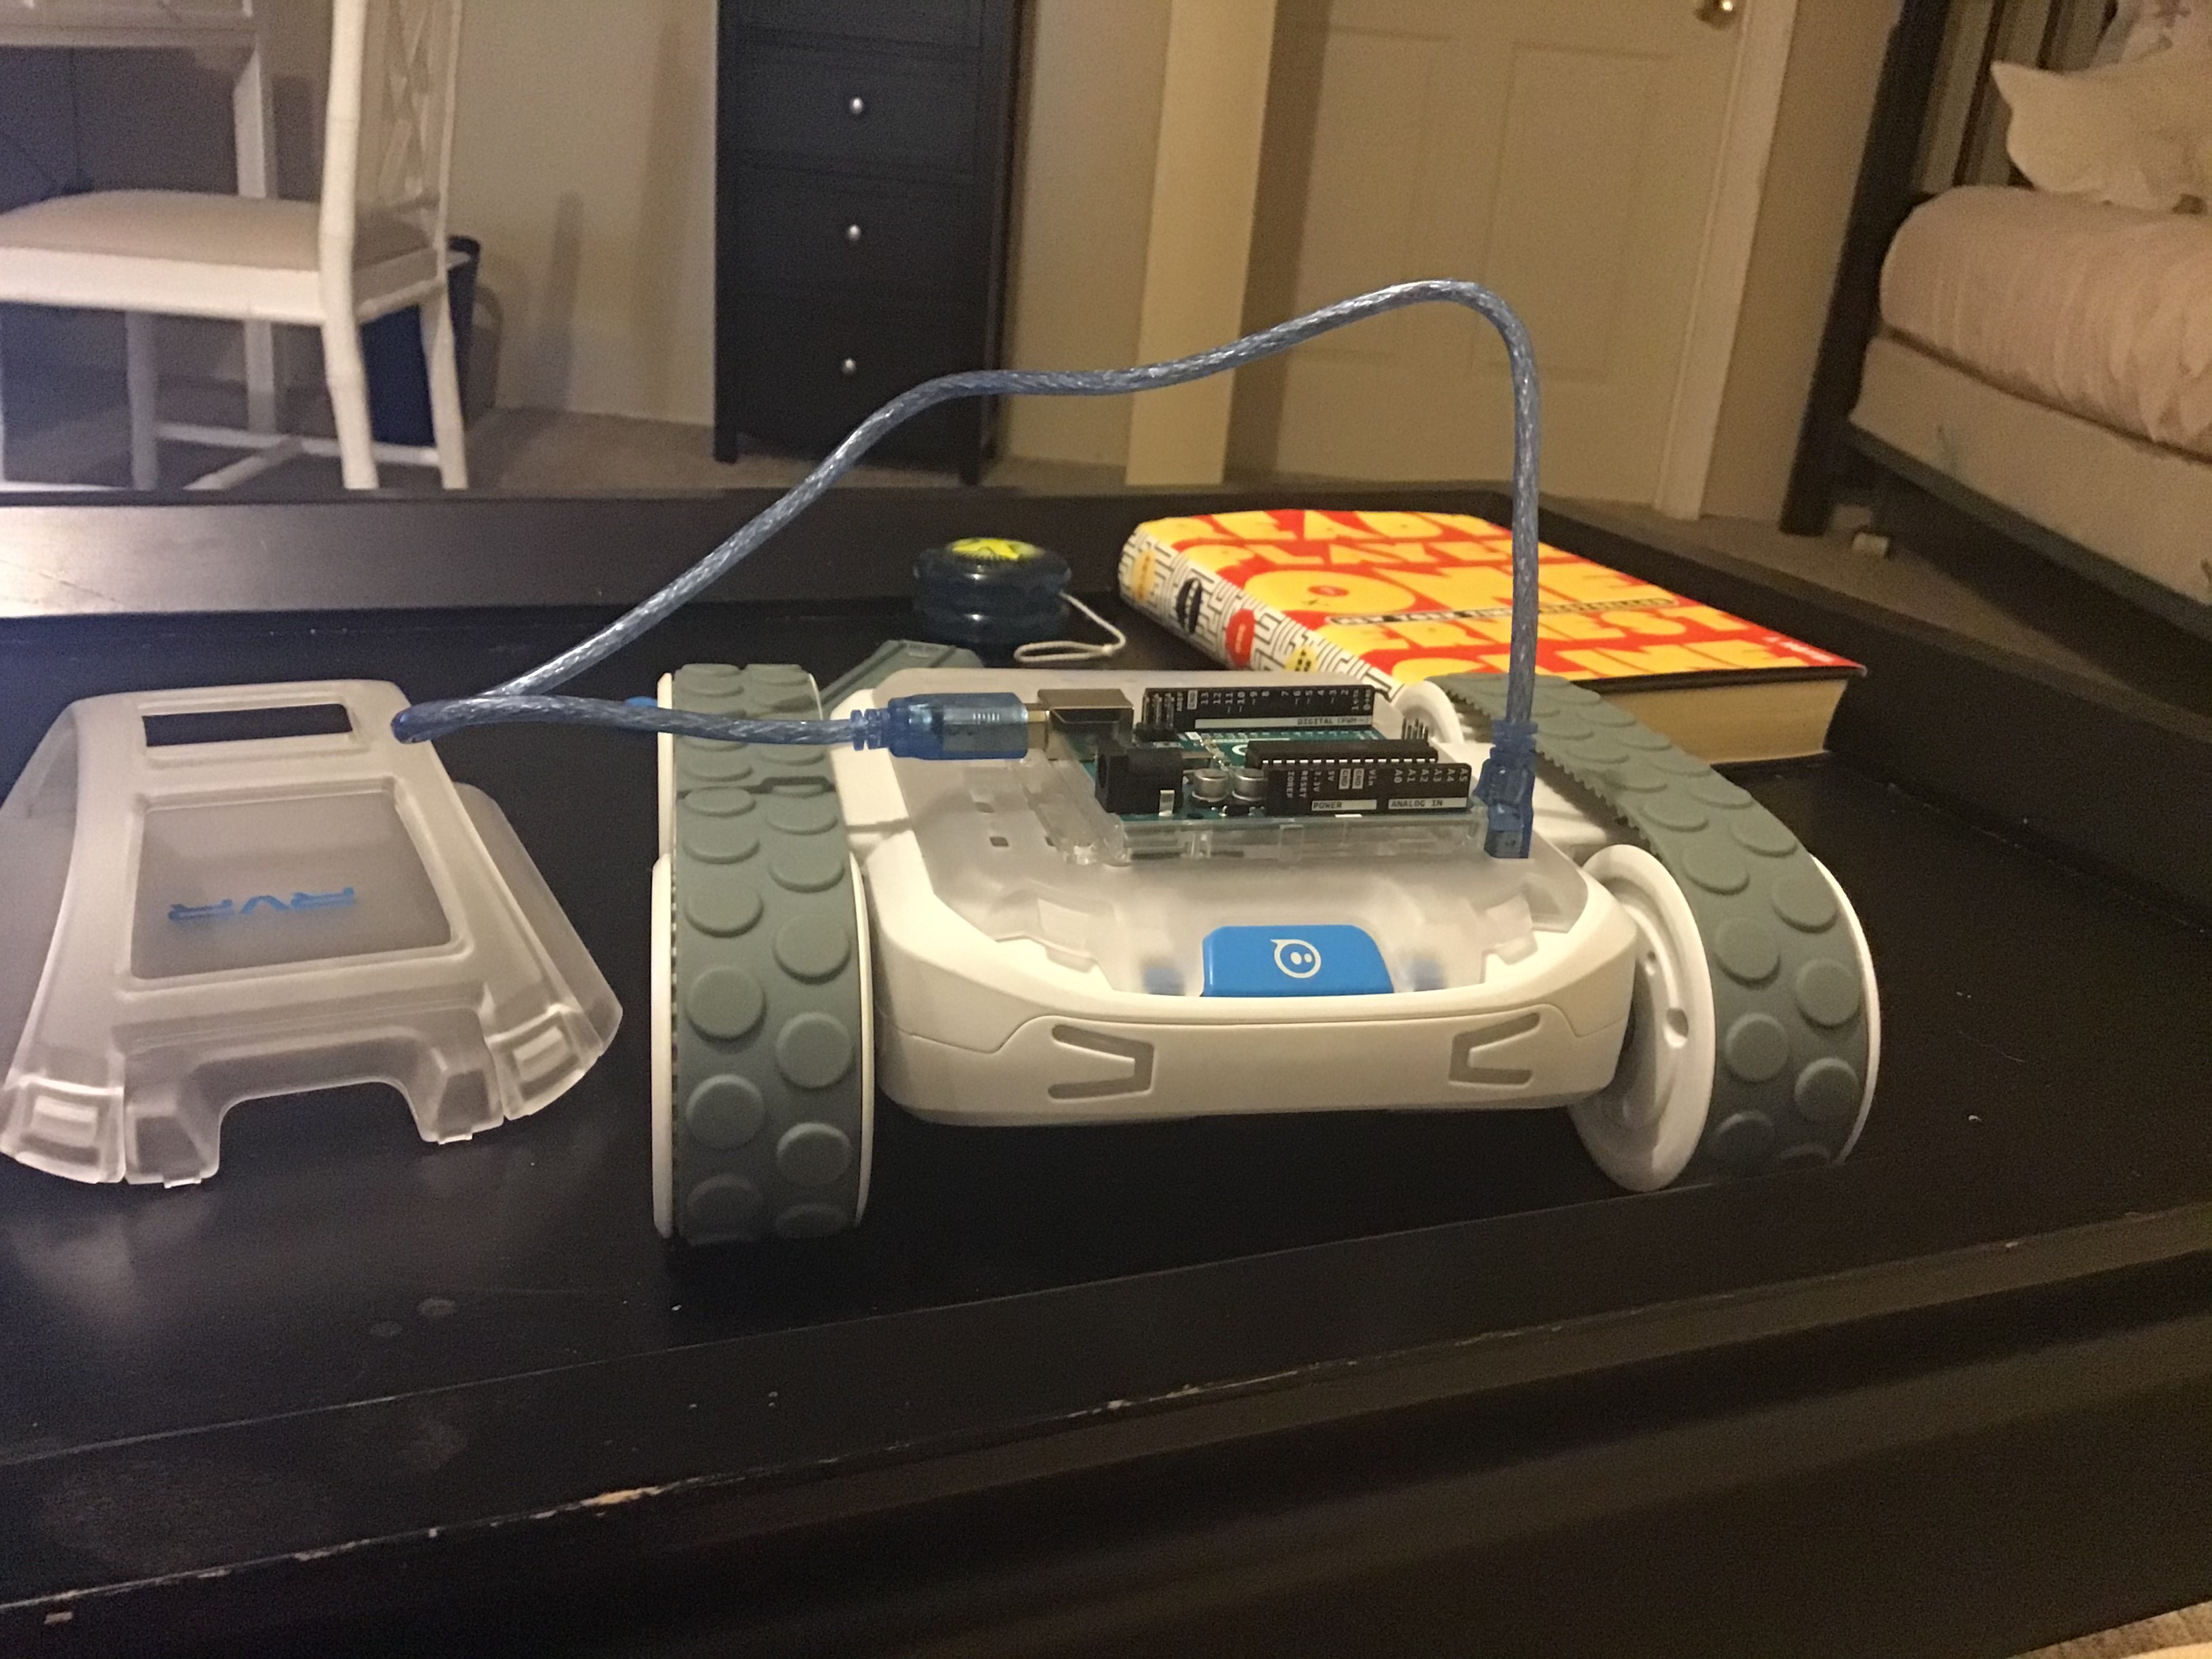
Last year in October, the Sphero RVR came out. This was a robot like no other robot. First of all, you could program it with Micro: bit, Raspberry PI, and Arduino. You could also make it do multiple different functions. The LEDs can change color also. And, its battery is rechargeable and not single-use battery-powered!
Back to the Arduino, people don´t know where to actually start. That's why I wrote this, I am showing you guys how to pair this with Arduino. This process is easier than you think and will take you less than an hour! Let get started!
Supplies
1 Sphero RVR
1 Arduino
Downloading the Software
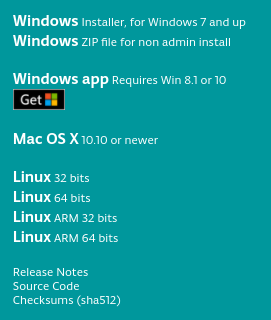

This step is fairly easy, all you have to do is go to this link. and download the file. Remember, your software must be Linux, Windows, or Apple.
Programming the Arduino


Once you have the software open and are ready to code, you start off by typing this code
#include
next, you have to type
rvr.configUART(&Serial);
so you have a connection with the Sphero
Programming the Sphero Continued (Callbacks and Controls)

Callbacks allow you to ask the Sphero to send you info instead of you sending it to the Sphero. For instance, using rvr.poll(); in a loop function, you will get something from Sphero. If you don´t include it, you won´t hear anything back.
Controls make it more simple for you to talk with the RVR using Arduino code by making commands that already have references to some of the commands so that you aren't having to dig through the code of the Sphero Arduino SDK.
Then, the rest is up to you! What do you want to make with your Sphero RVR?
Plugging It In
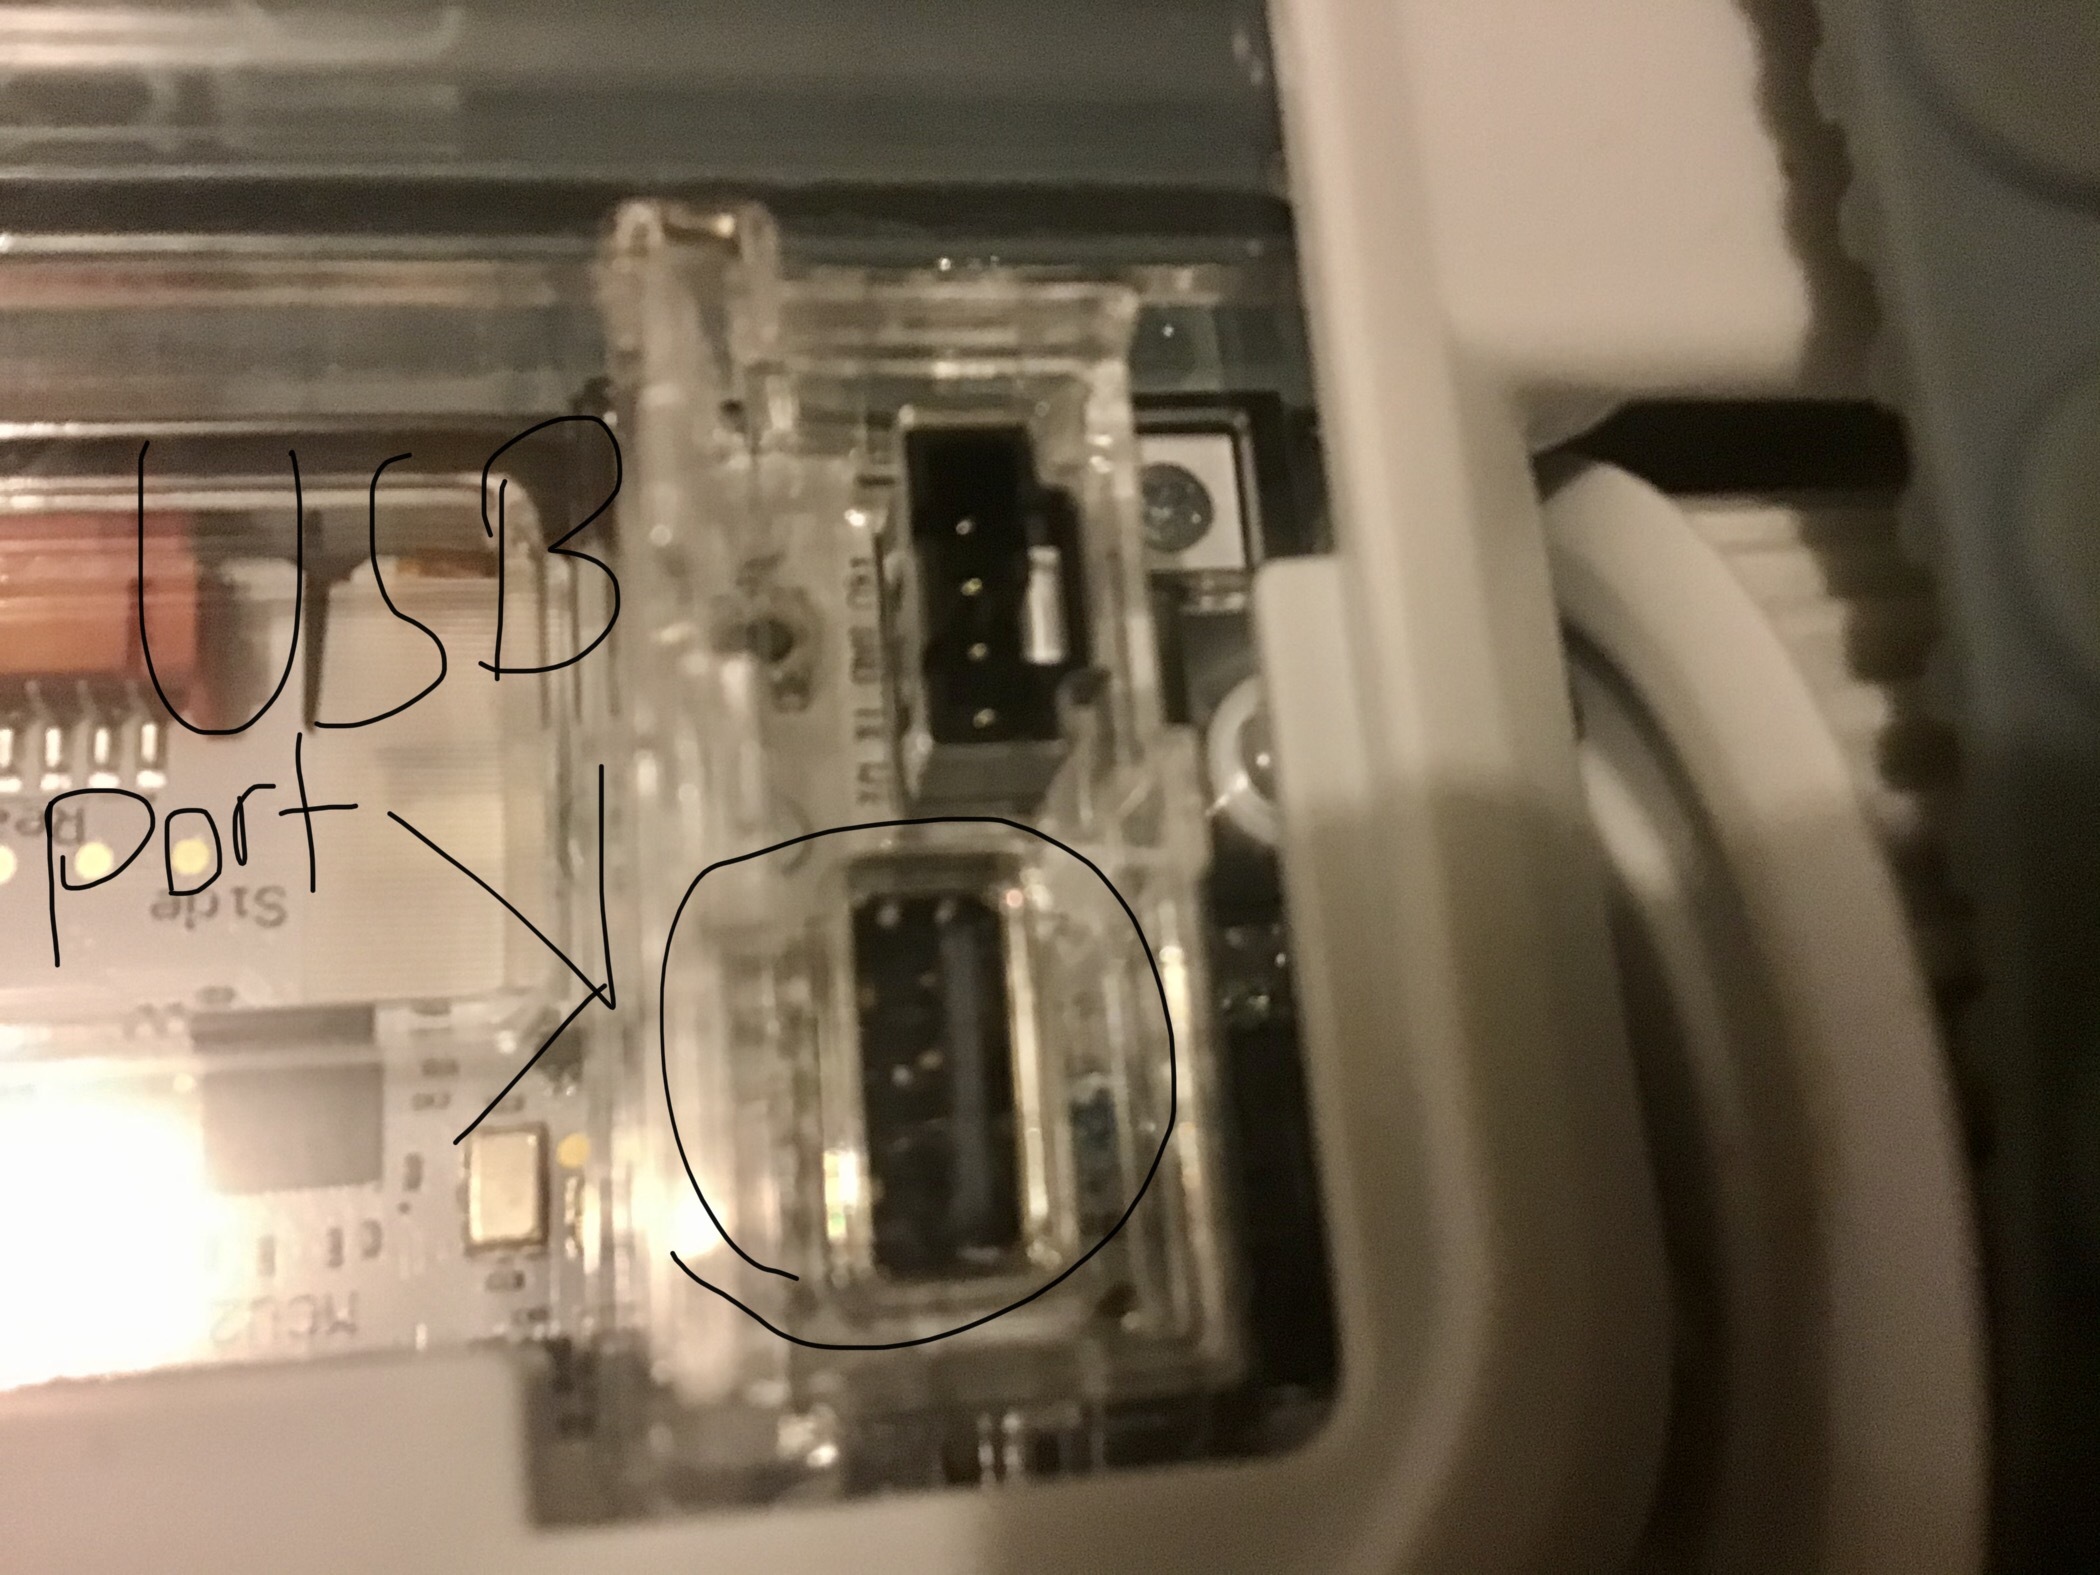
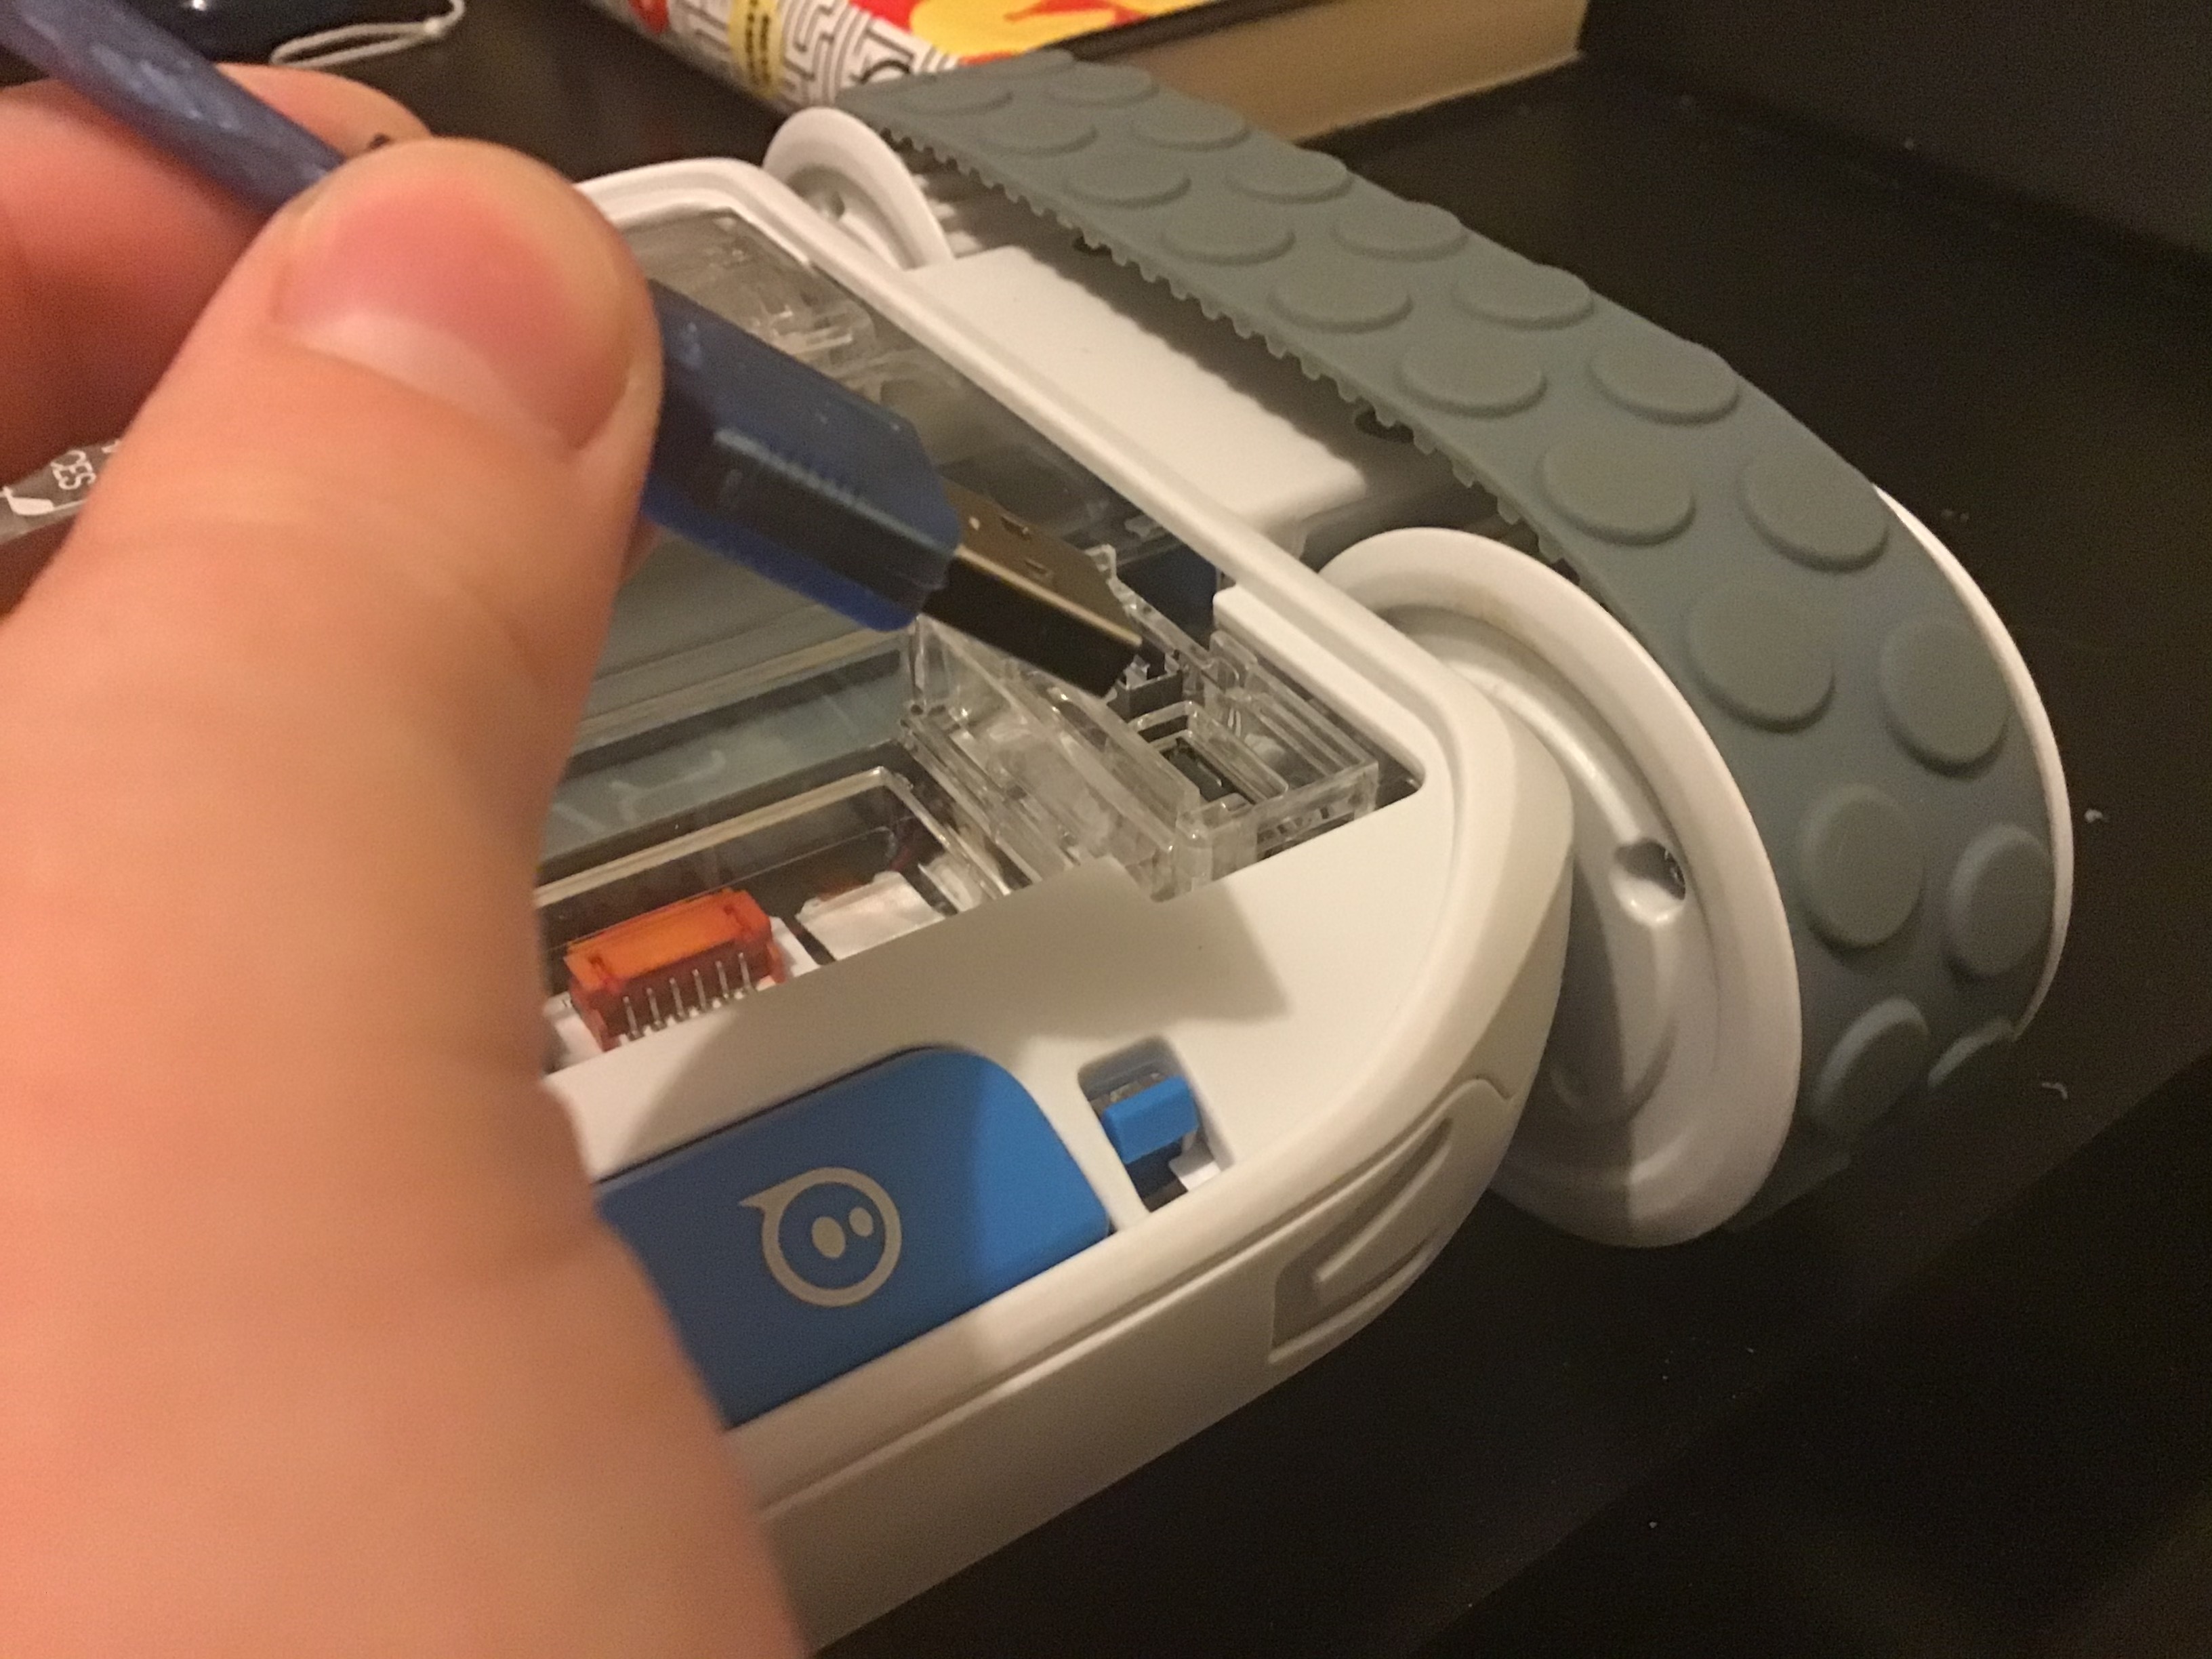
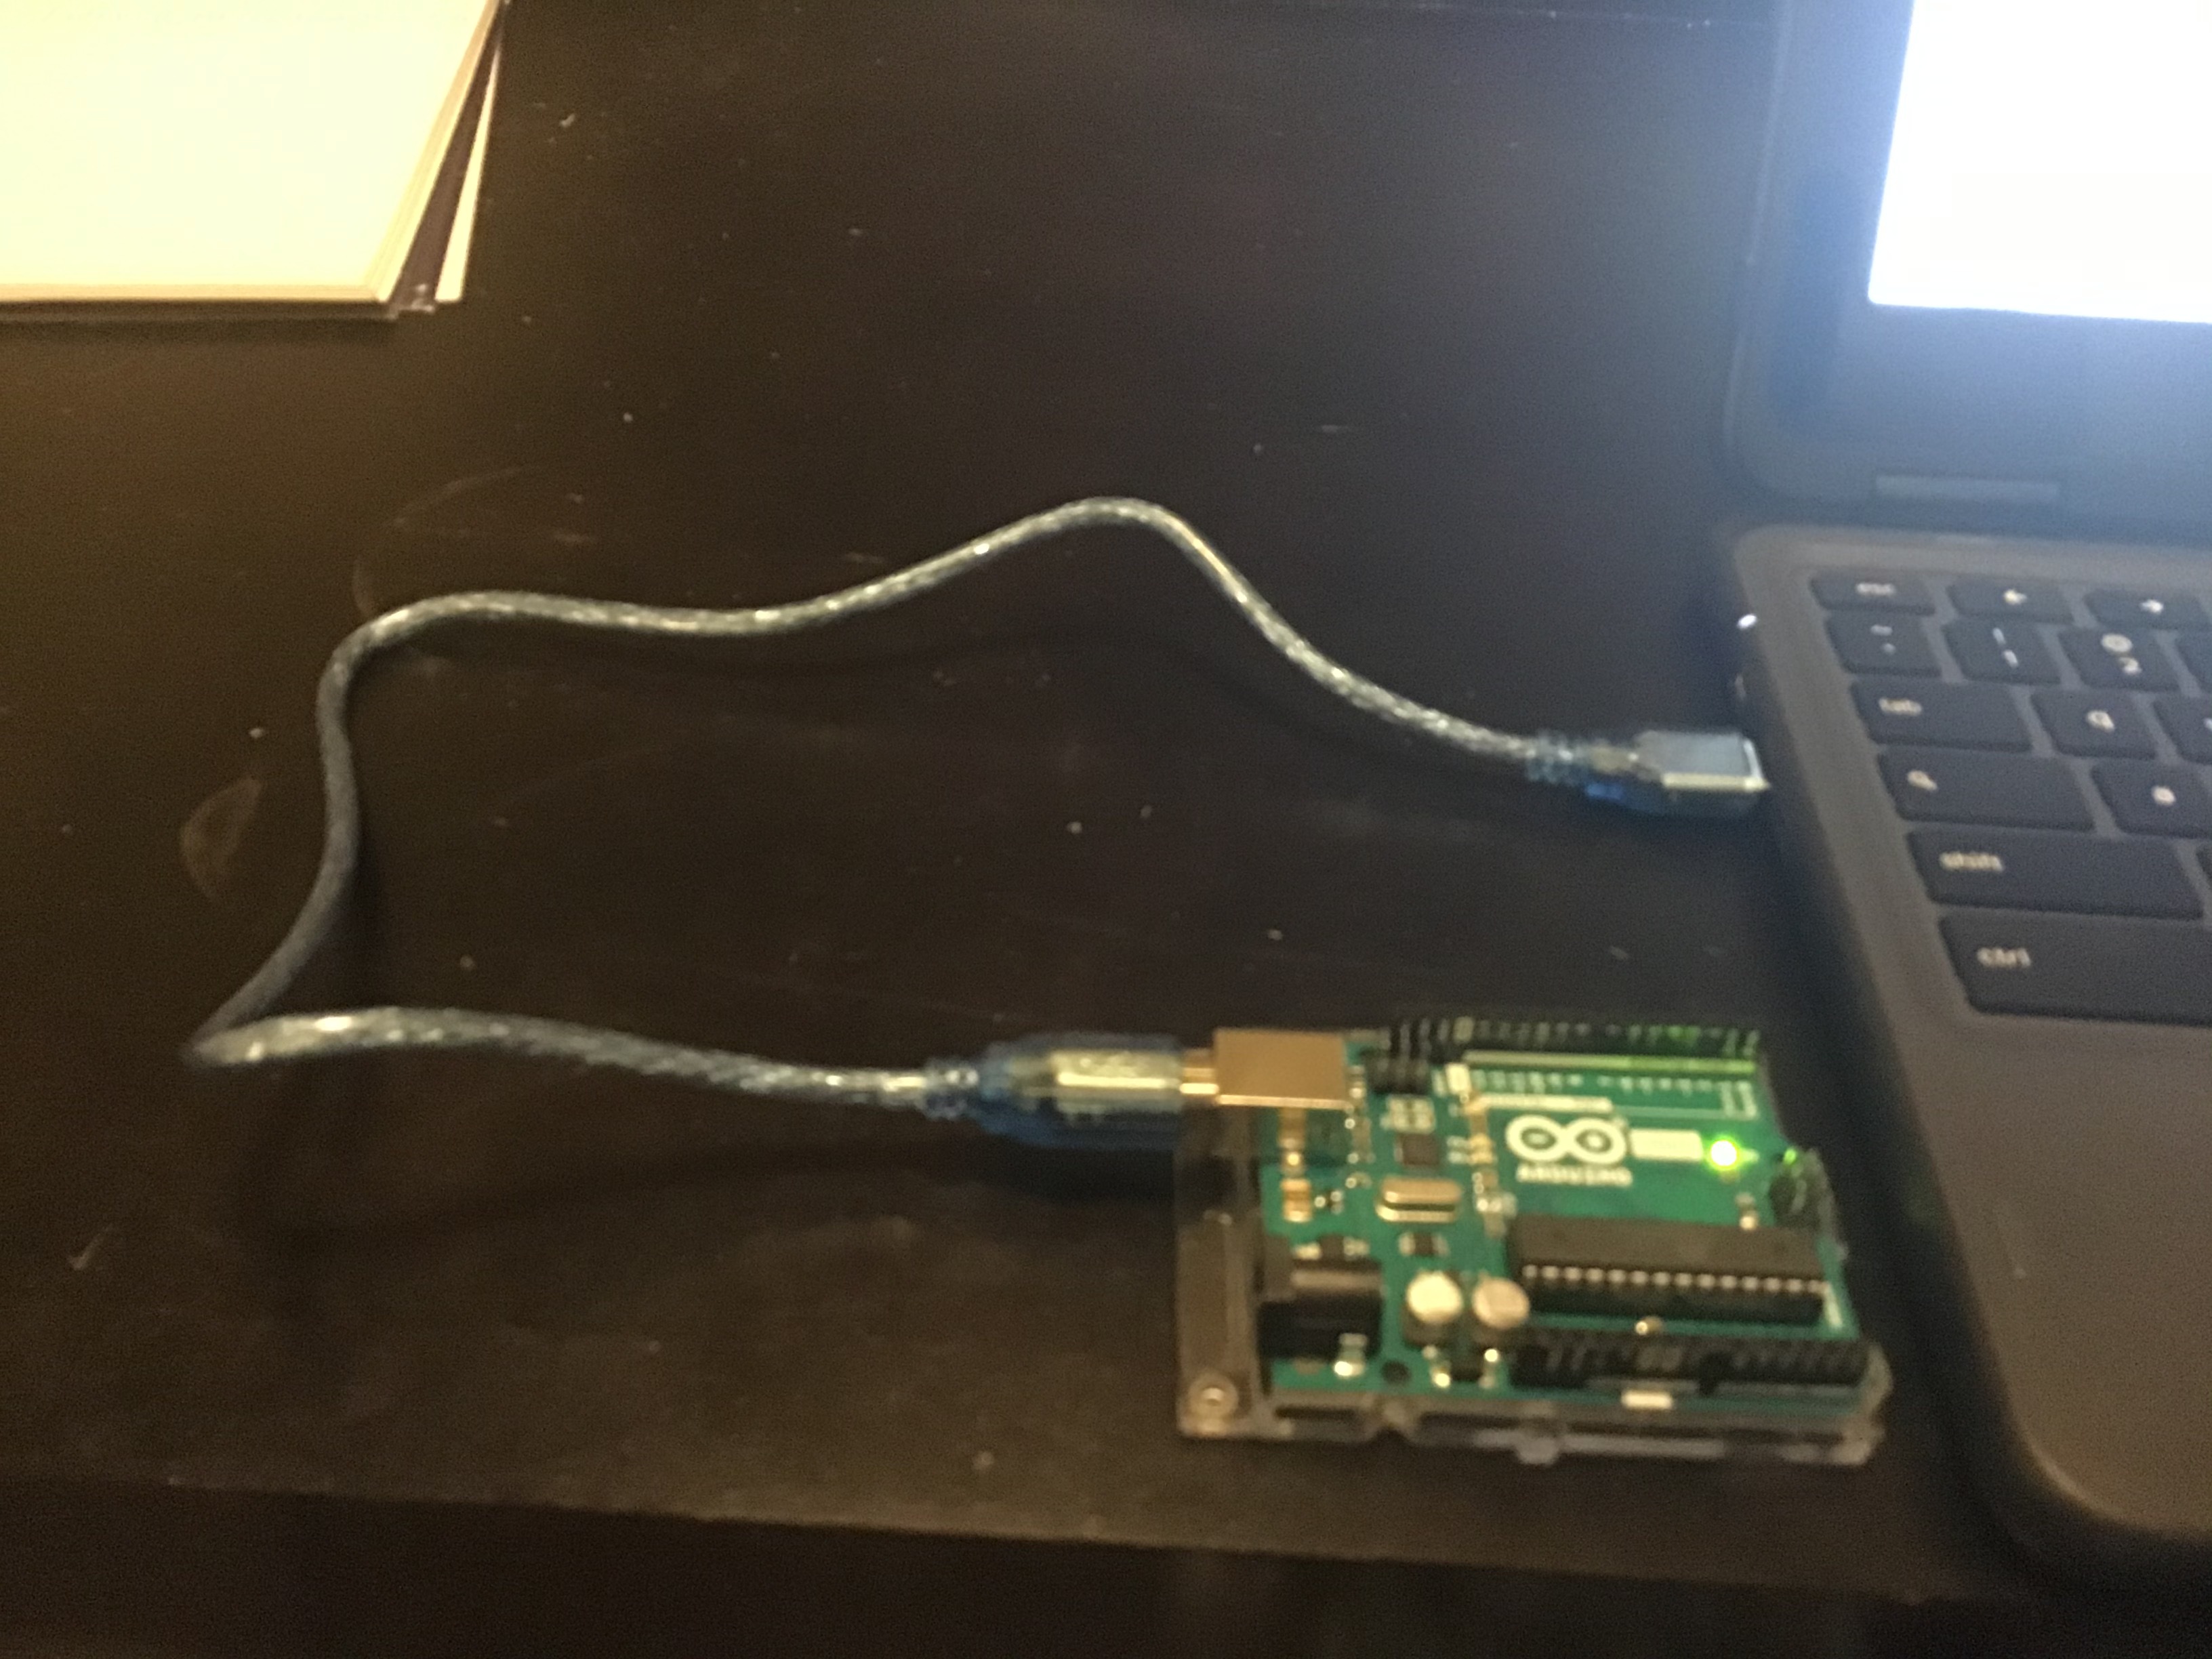
To finish it off, you plug it in. Then, run your Arduino´s program and see what you have made!
If you are having trouble, go to the Arduino and Sphero page. They probably did a better job of explaining than me. This is also where I got my research.