How to Upload Program Arduino Pro Mini 328P by Using Arduino Uno
by mybotic in Circuits > Electronics
4627 Views, 2 Favorites, 0 Comments
How to Upload Program Arduino Pro Mini 328P by Using Arduino Uno
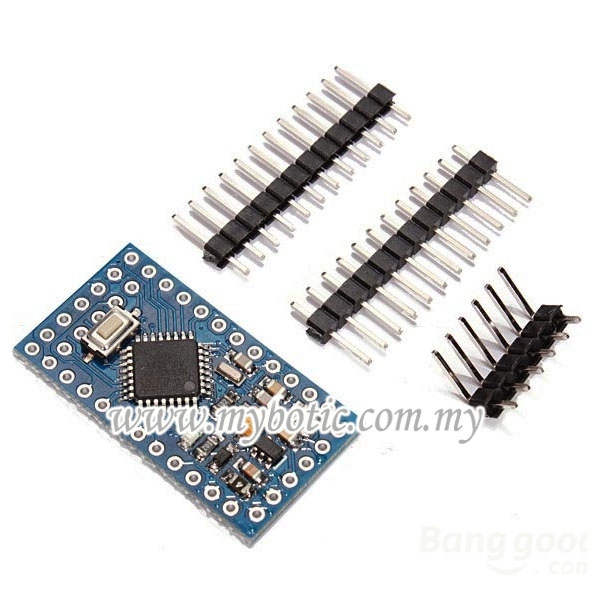
Arduino Pro Mini is the smallest chipboard that has 14 I/O pins, it's working in 3.3 volts - 5 volts DC and easy to upload the code in programming device.
Specification:
- 14 digital input/output ports RX, TX, D2~D13,
- 8 analog input ports A0~A7
- 1 pair of TTL level serial port transceiver port RX/TX
- 6 PWM ports, D3, D5, D6, D9, D10, D11
- Using Atmel Atmega328P-AU microcontroller
- Support serial port download
- Upport external 3.3V~12V DC power supply
- Support 9V battery power supply
- Clock frequency 16MHz
- Size: 33.3*18.0 (mm)
In this tutorial, we are using Arduino Uno as programmer to upload program or code to Arduino Pro Mini
Material Needed
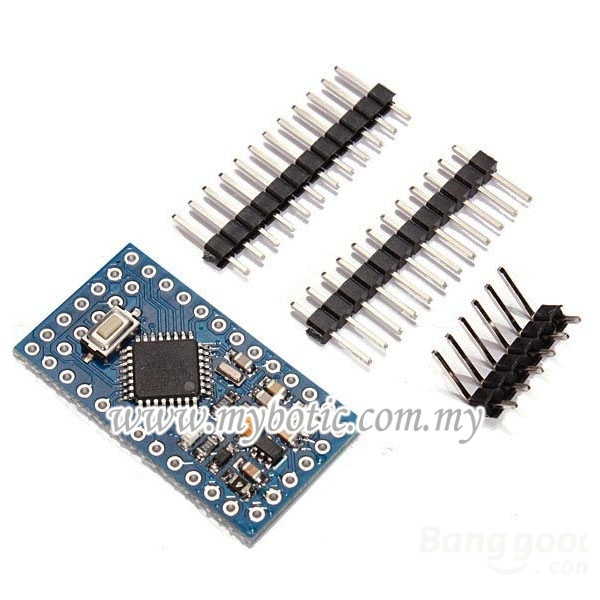
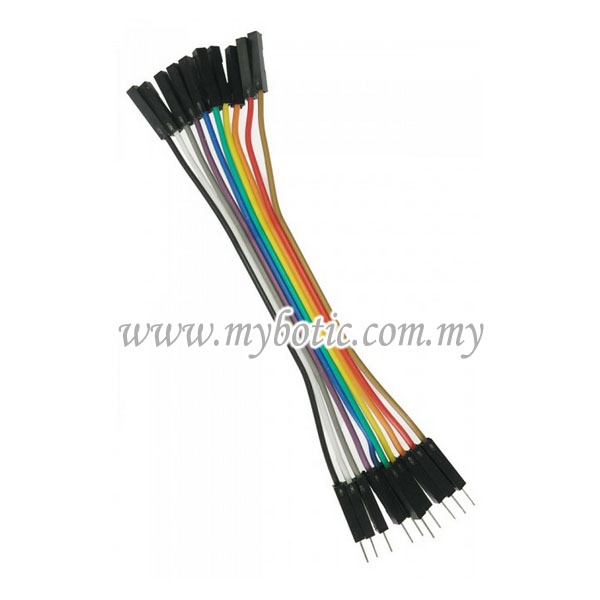
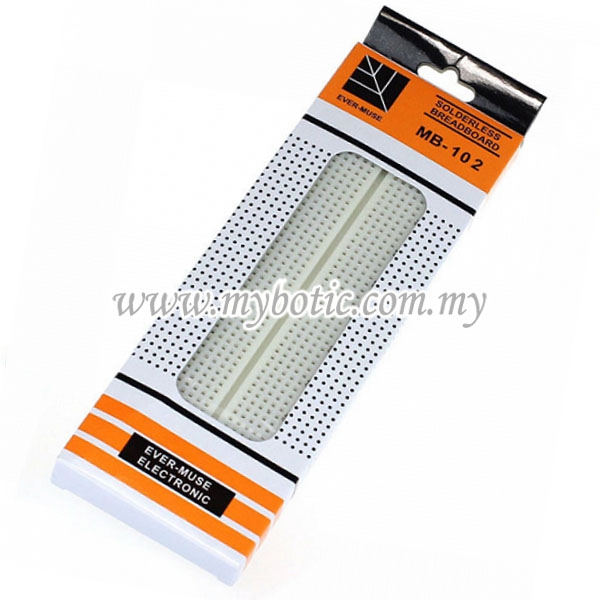
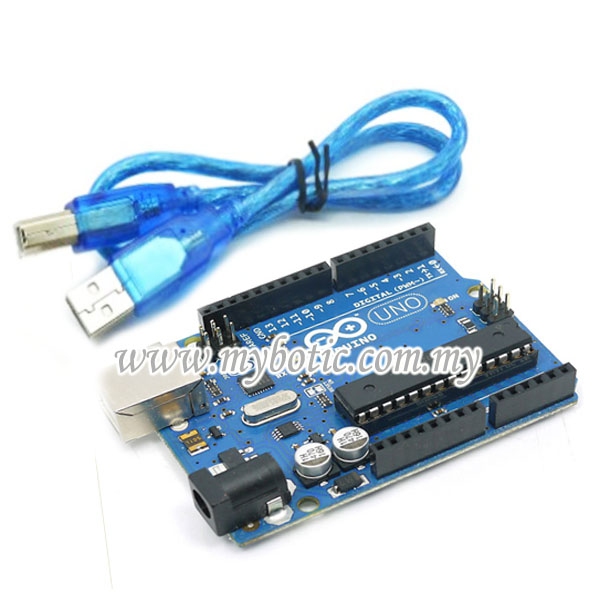
The item we need in this tutorial are as follow:
- Arduino Uno (Or any other versions with USB ISP support).
- Arduino pro mini 328P.
- USB cable.
- Jumper wires male to female
- Pin Header.
Set Up Your Pro Mini
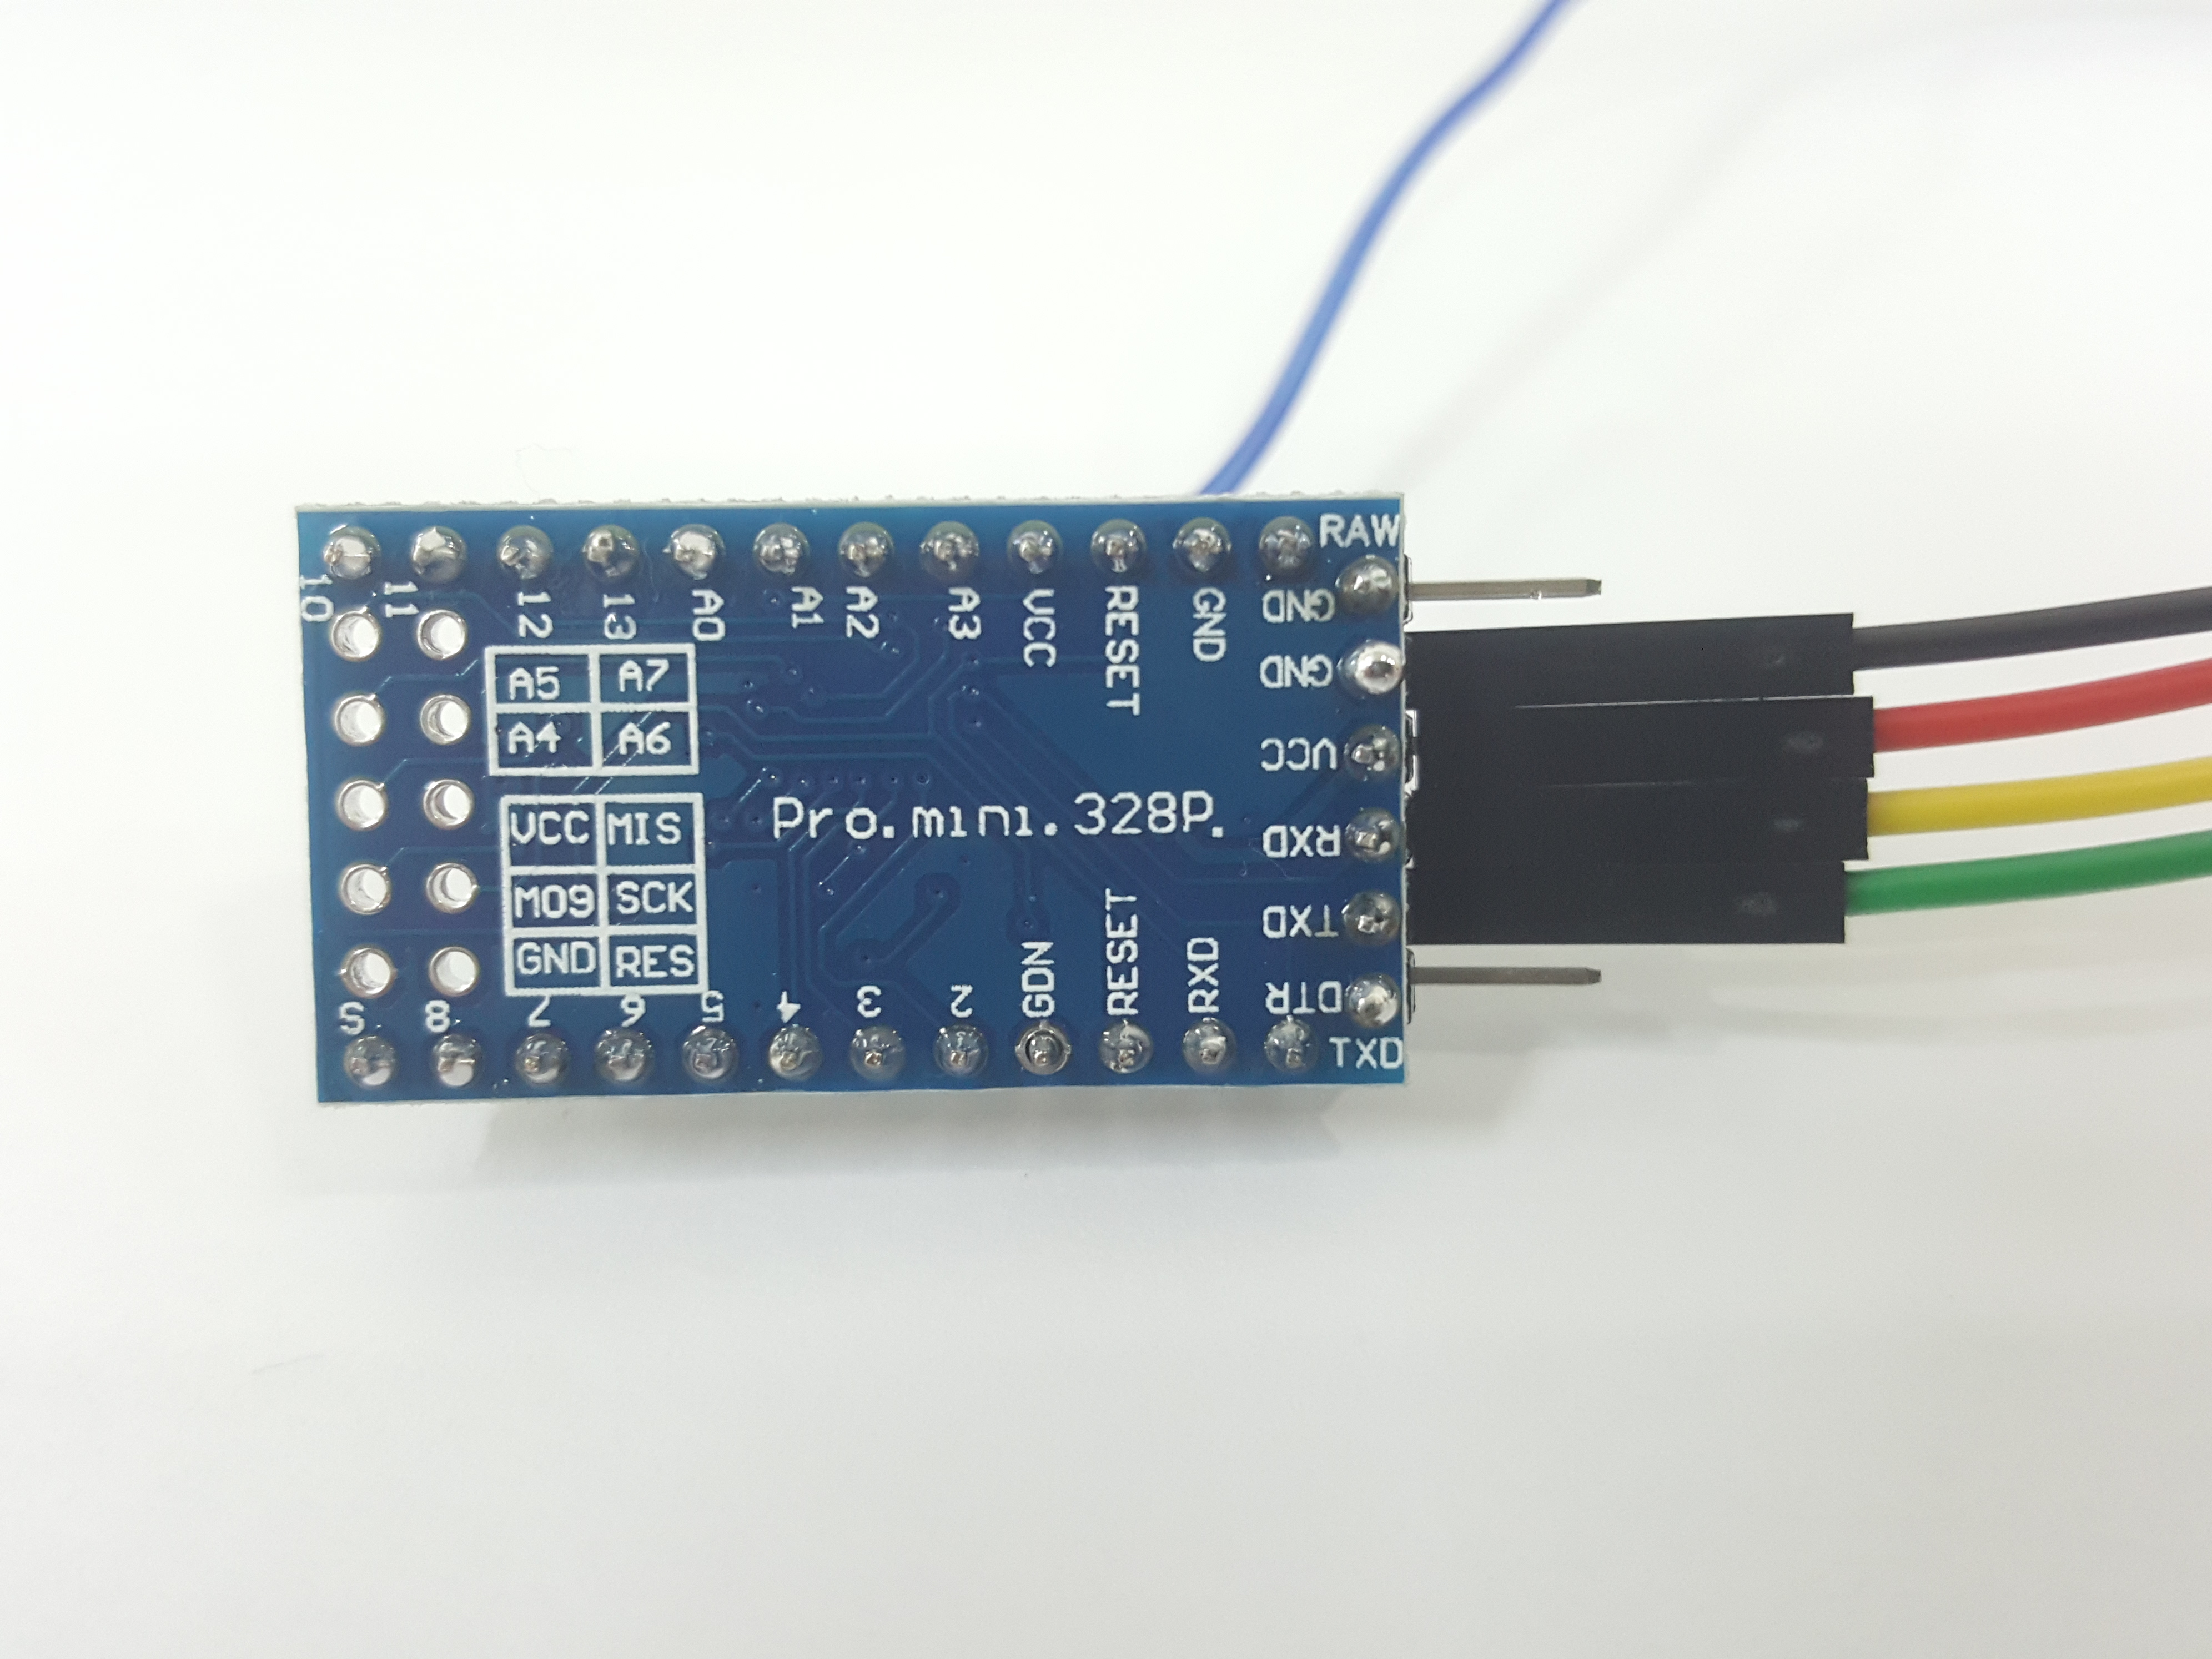
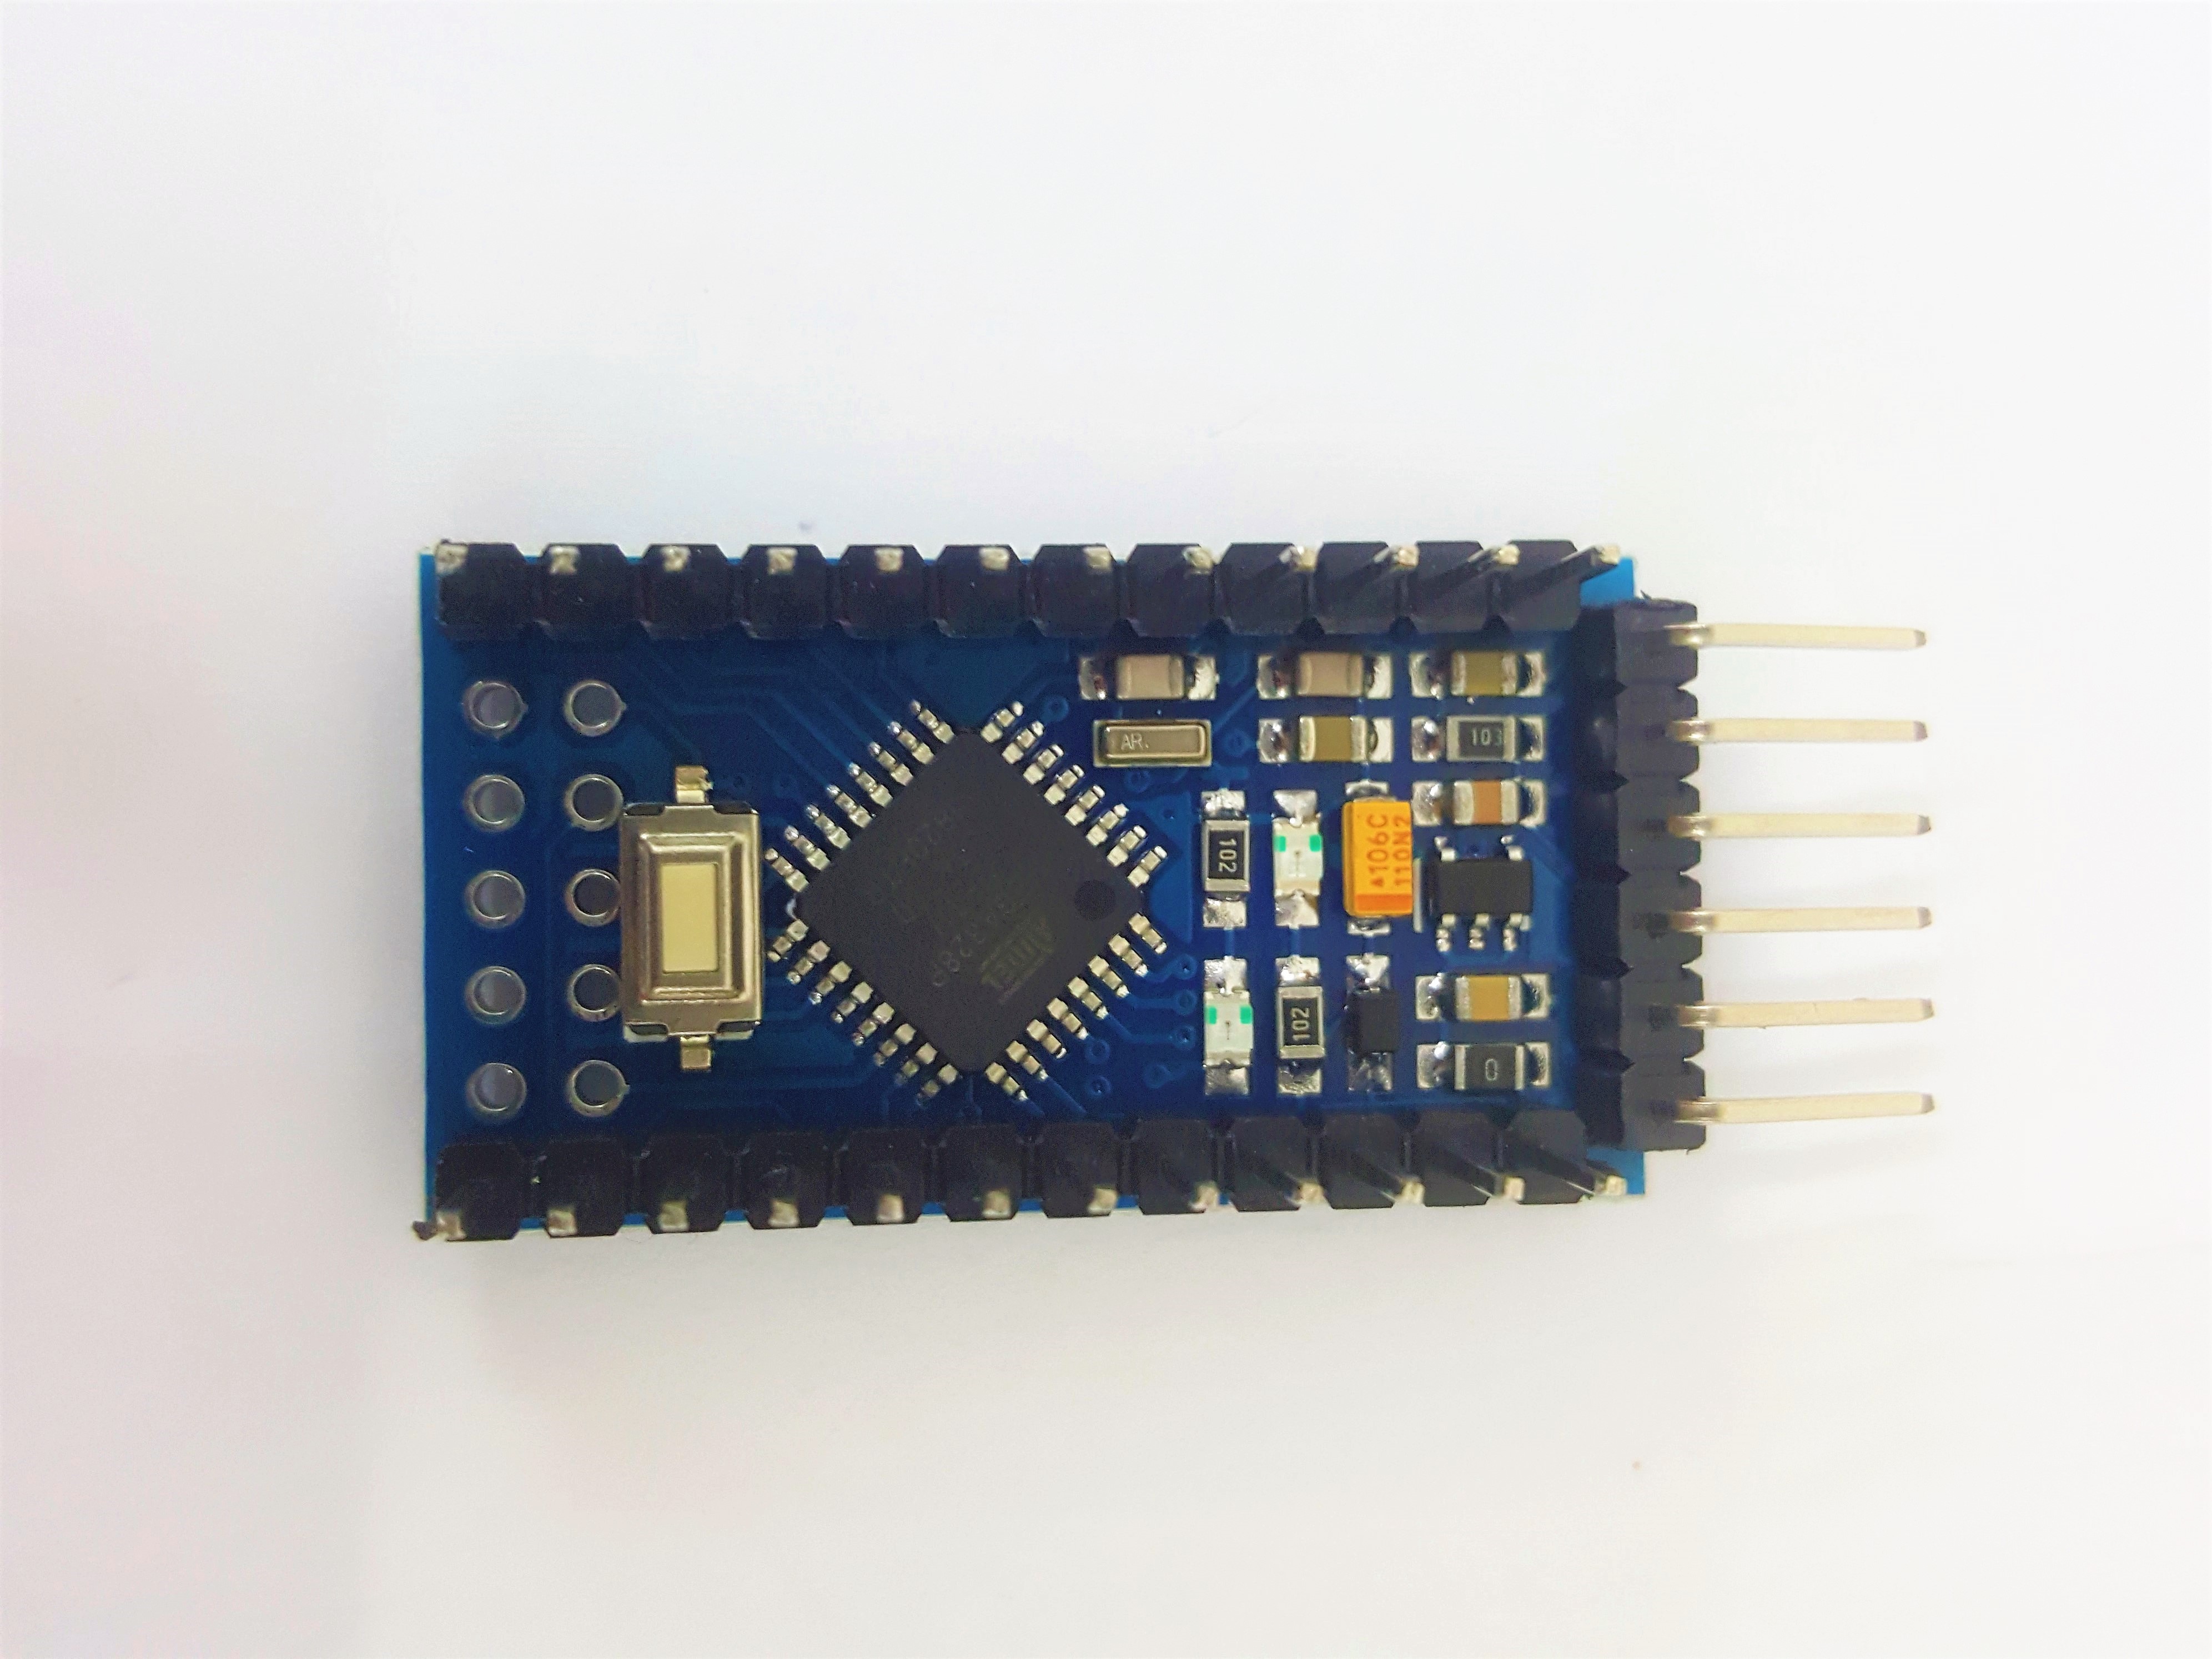
Before upload code to your Arduino Pro Mini, we need to do soldering (solder male header pin on the board) as there are no pins at the pro-mini.
For uploading the code, we need
- Vcc pin.
- Ground pin.
- Rx pin.
- Tx pin.
- Reset pin.
After done soldering, the board is ready for programming.
Set Up Your Uno
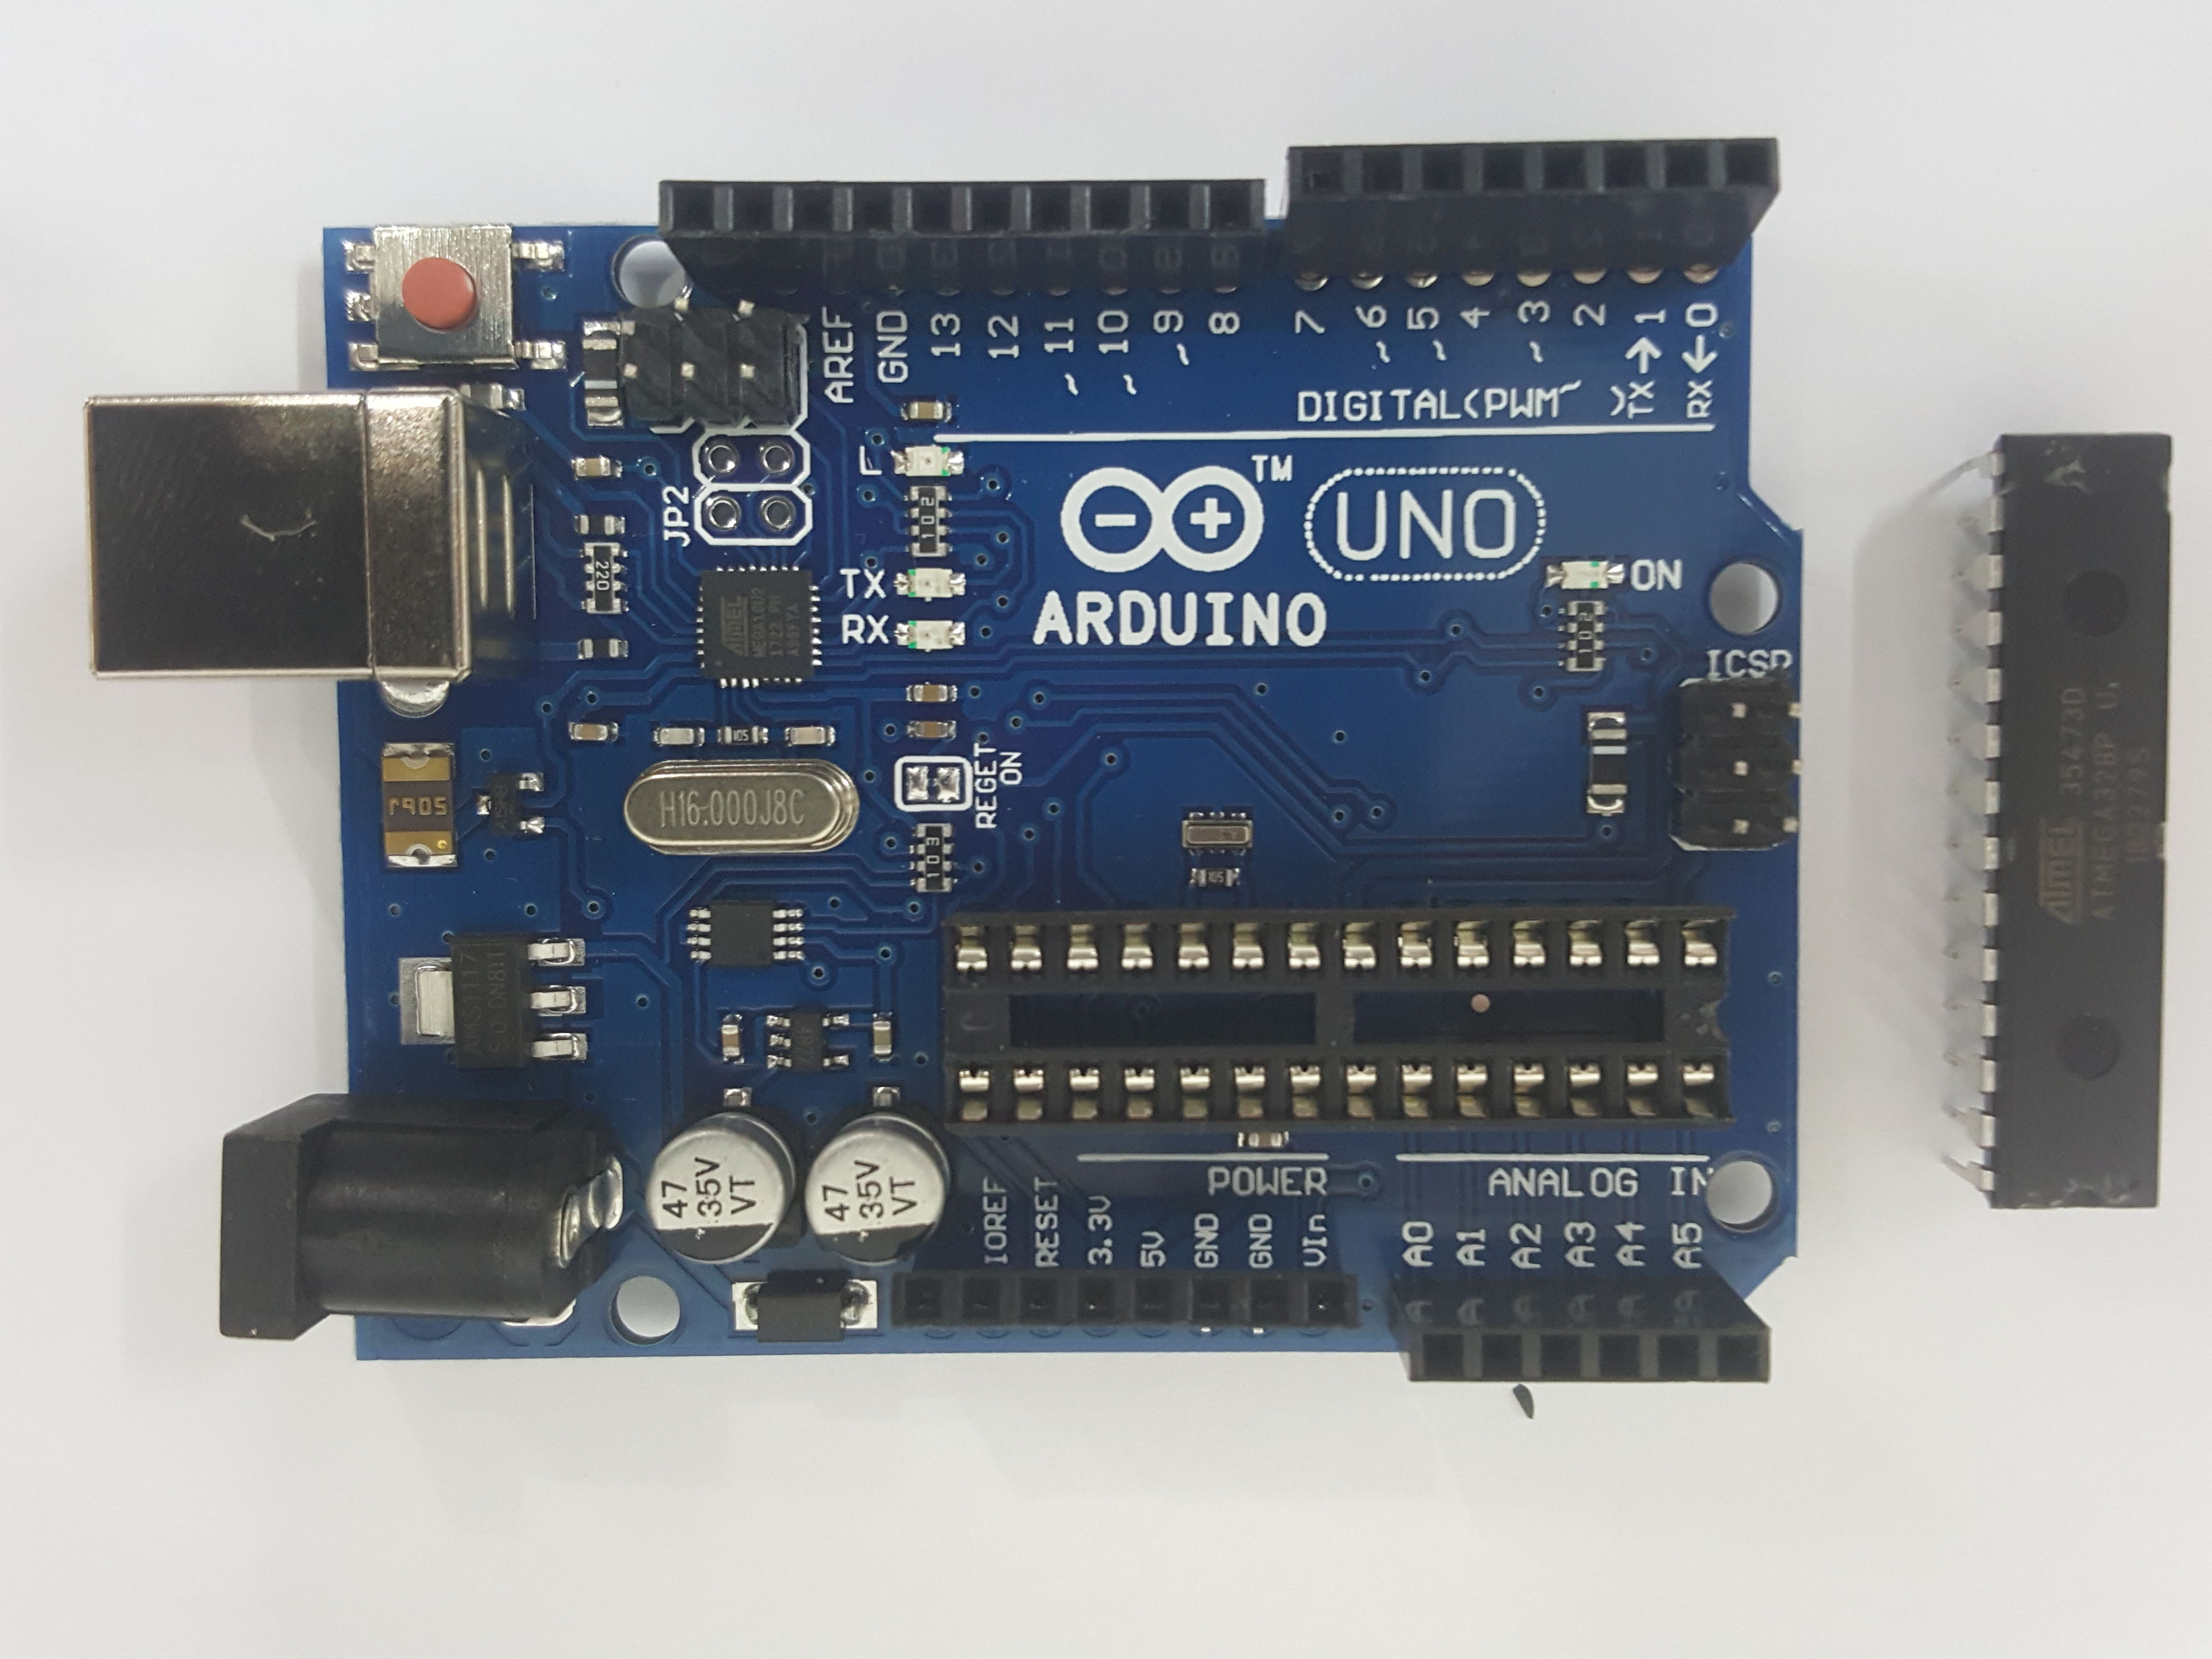
The Arduino Uno board is used as the programmer here.
First, we need to remove the ATmega 328P microcontroller from the board as it is no needed in uploading code into Arduino Pro Mini
Notice: please remove the IC carefully as the pins are easily bent or broken and may cause damage on it.
Connect Them Together
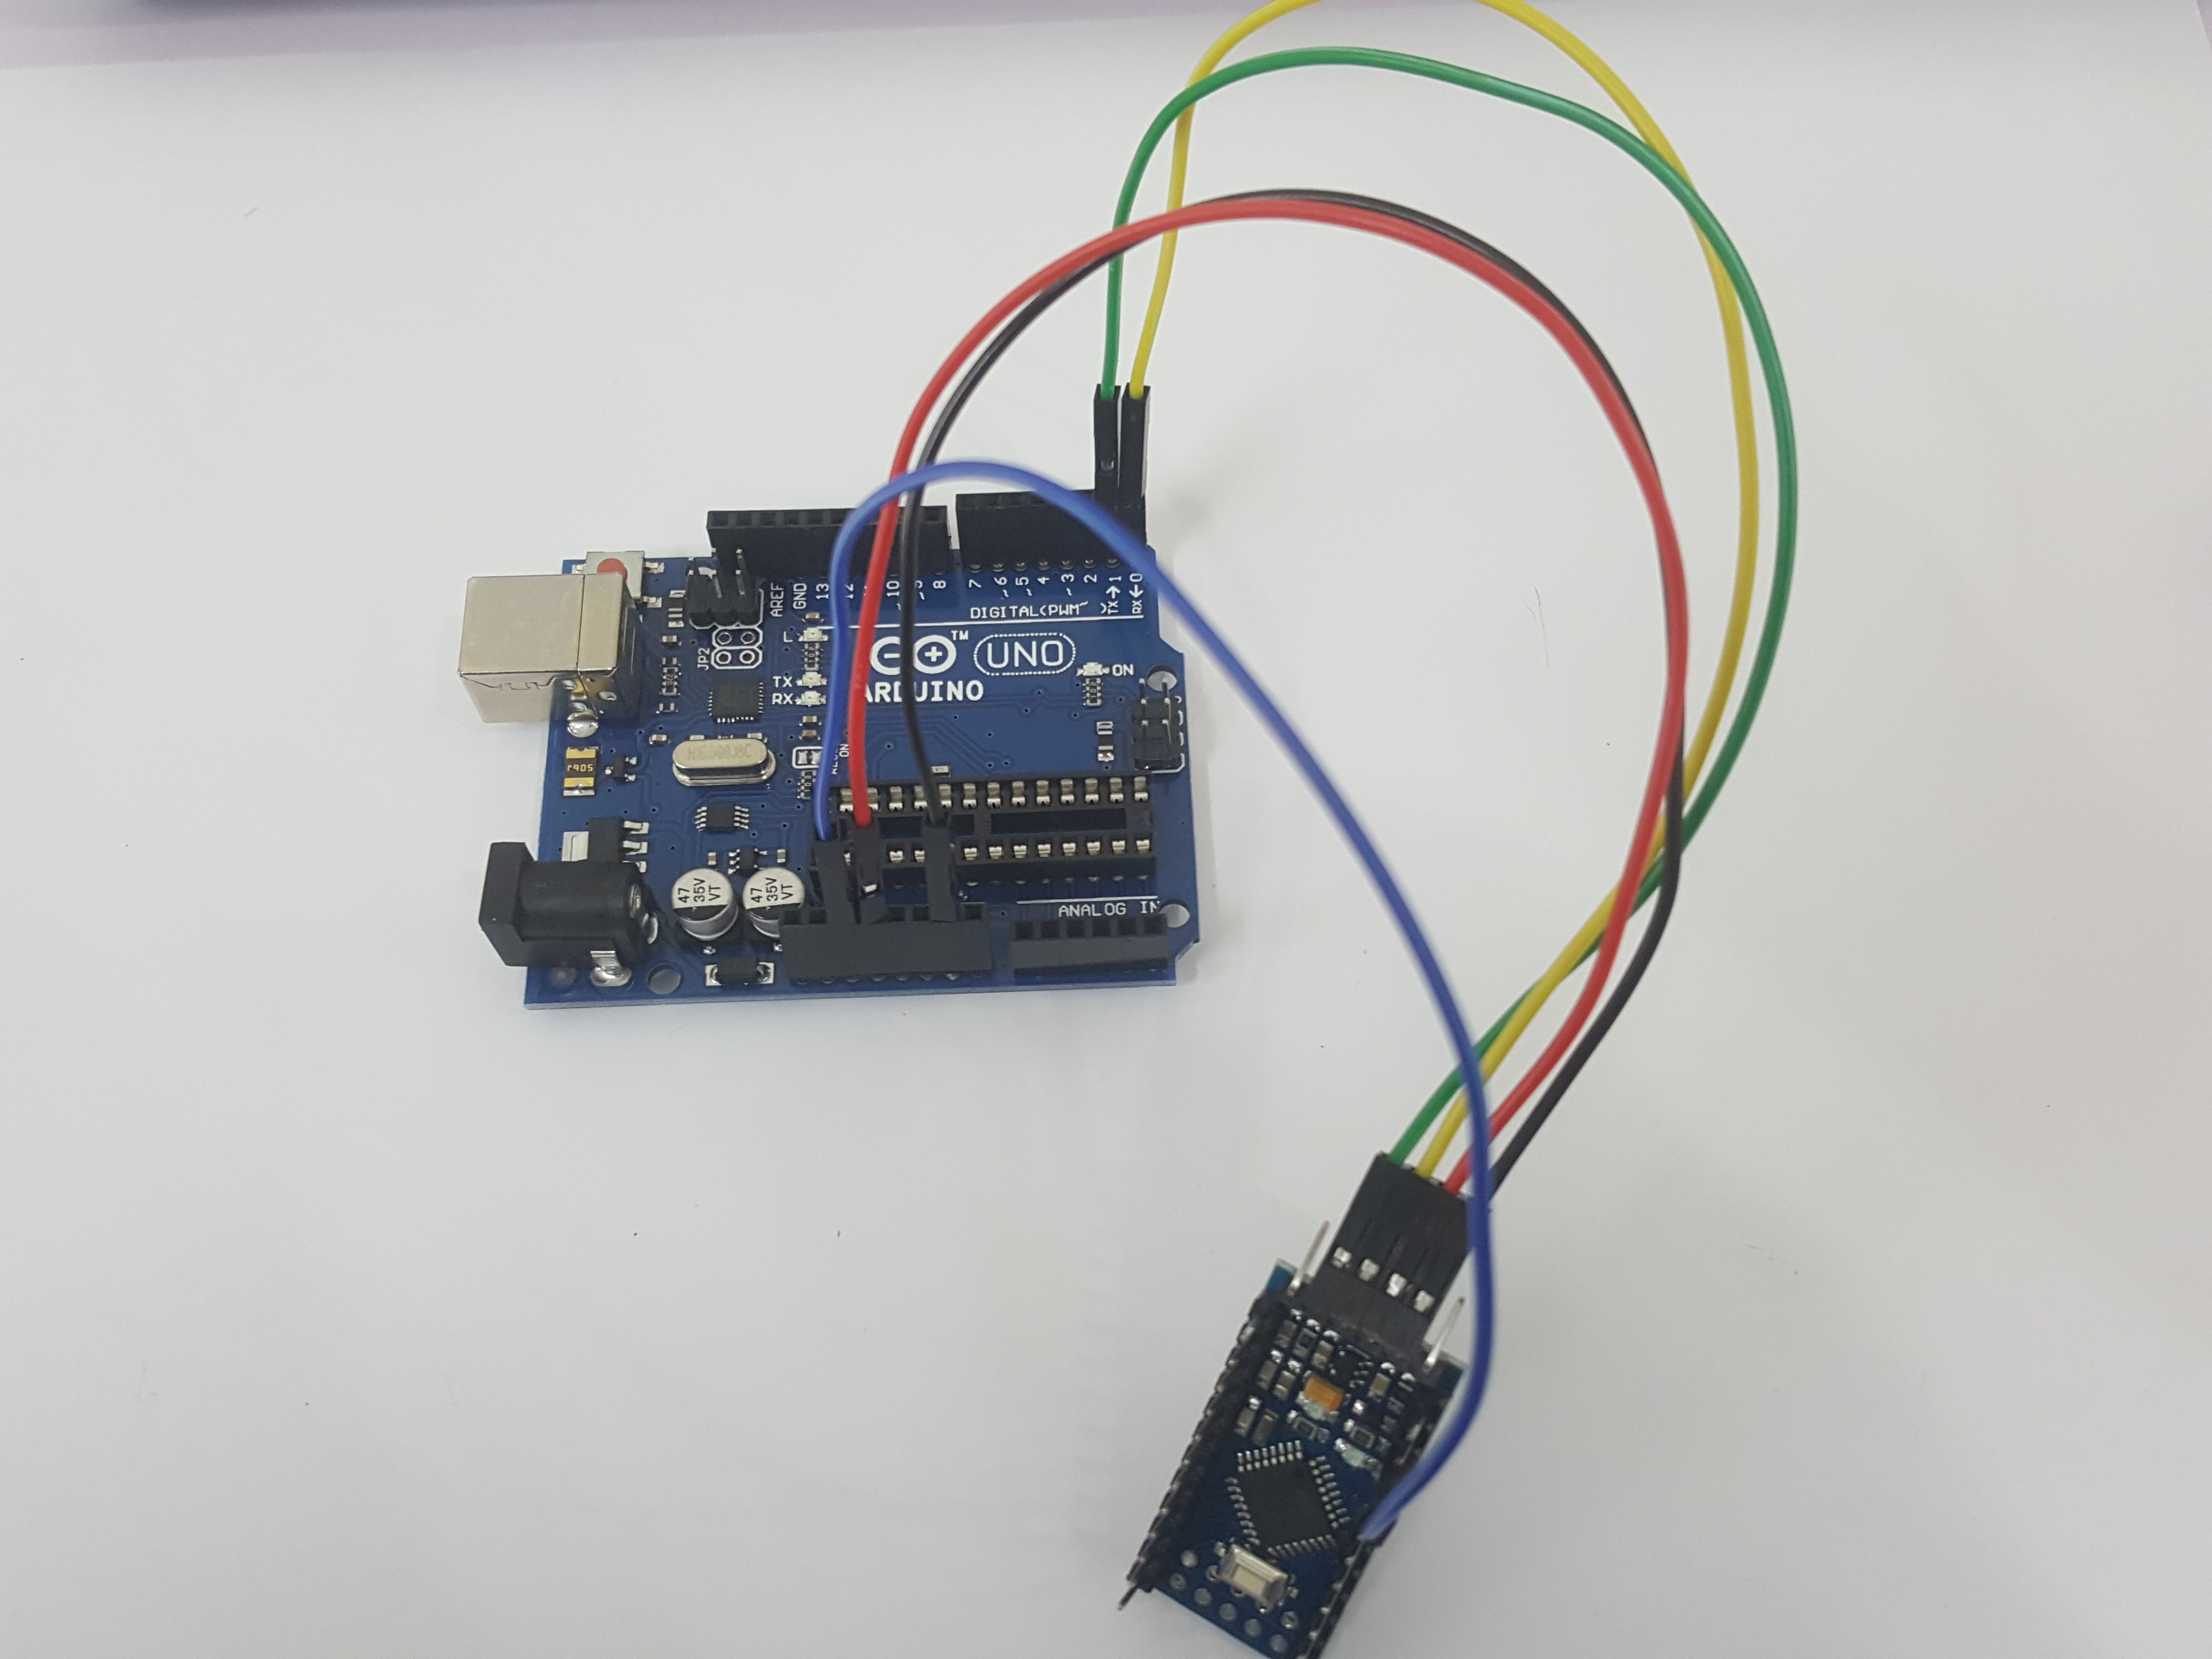
Next,
- Connect the Pro mini Vcc and Gnd to the Vcc and Gnd of Arduino Uno.
- Connect the Rx and Tx of pro-mini to Rx and Tx of Uno.
- Connect the Reset to Reset.
Upload the Code
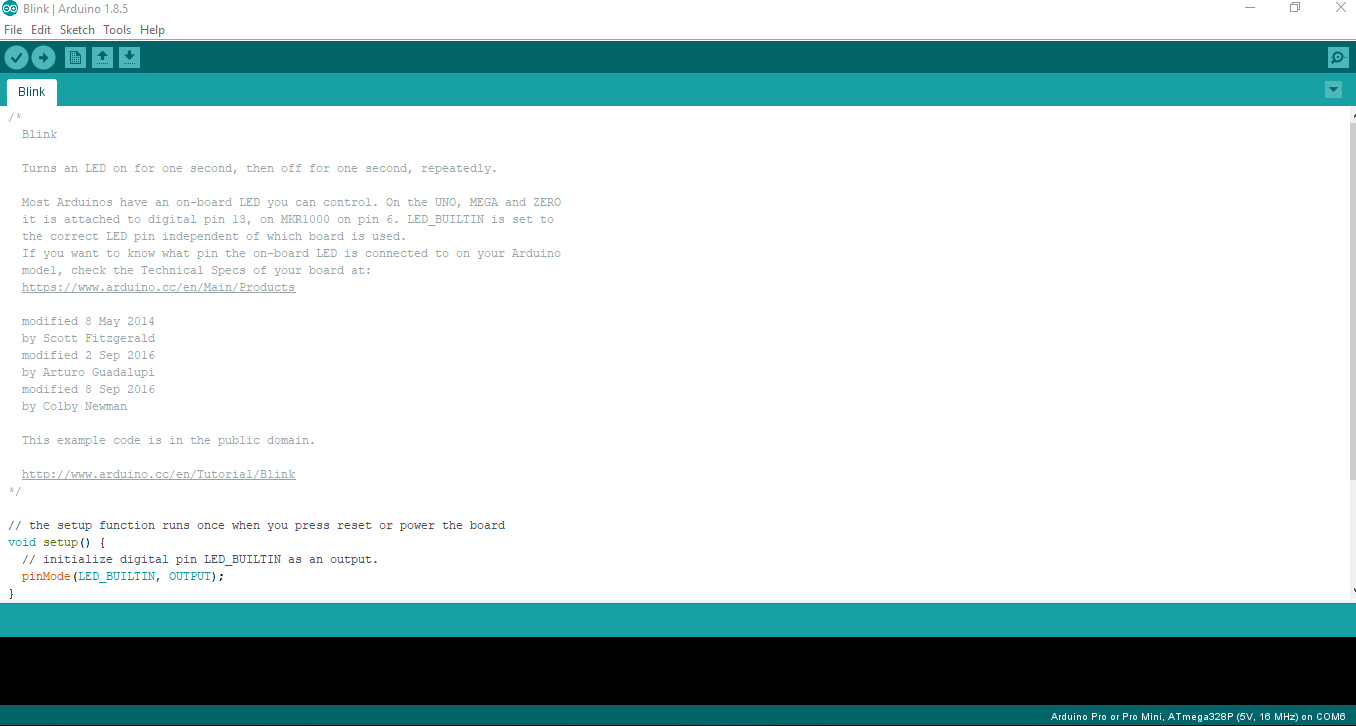
Secondly,
- Open the Arduino Software,
- Open the File, Click to Examples--> 01. Basics "Blink".
- From Tools-->Board, Select Arduino pro or pro mini.
- Now upload the code by clicking the upload button located at the left upper side. in Arduino IDE
Done
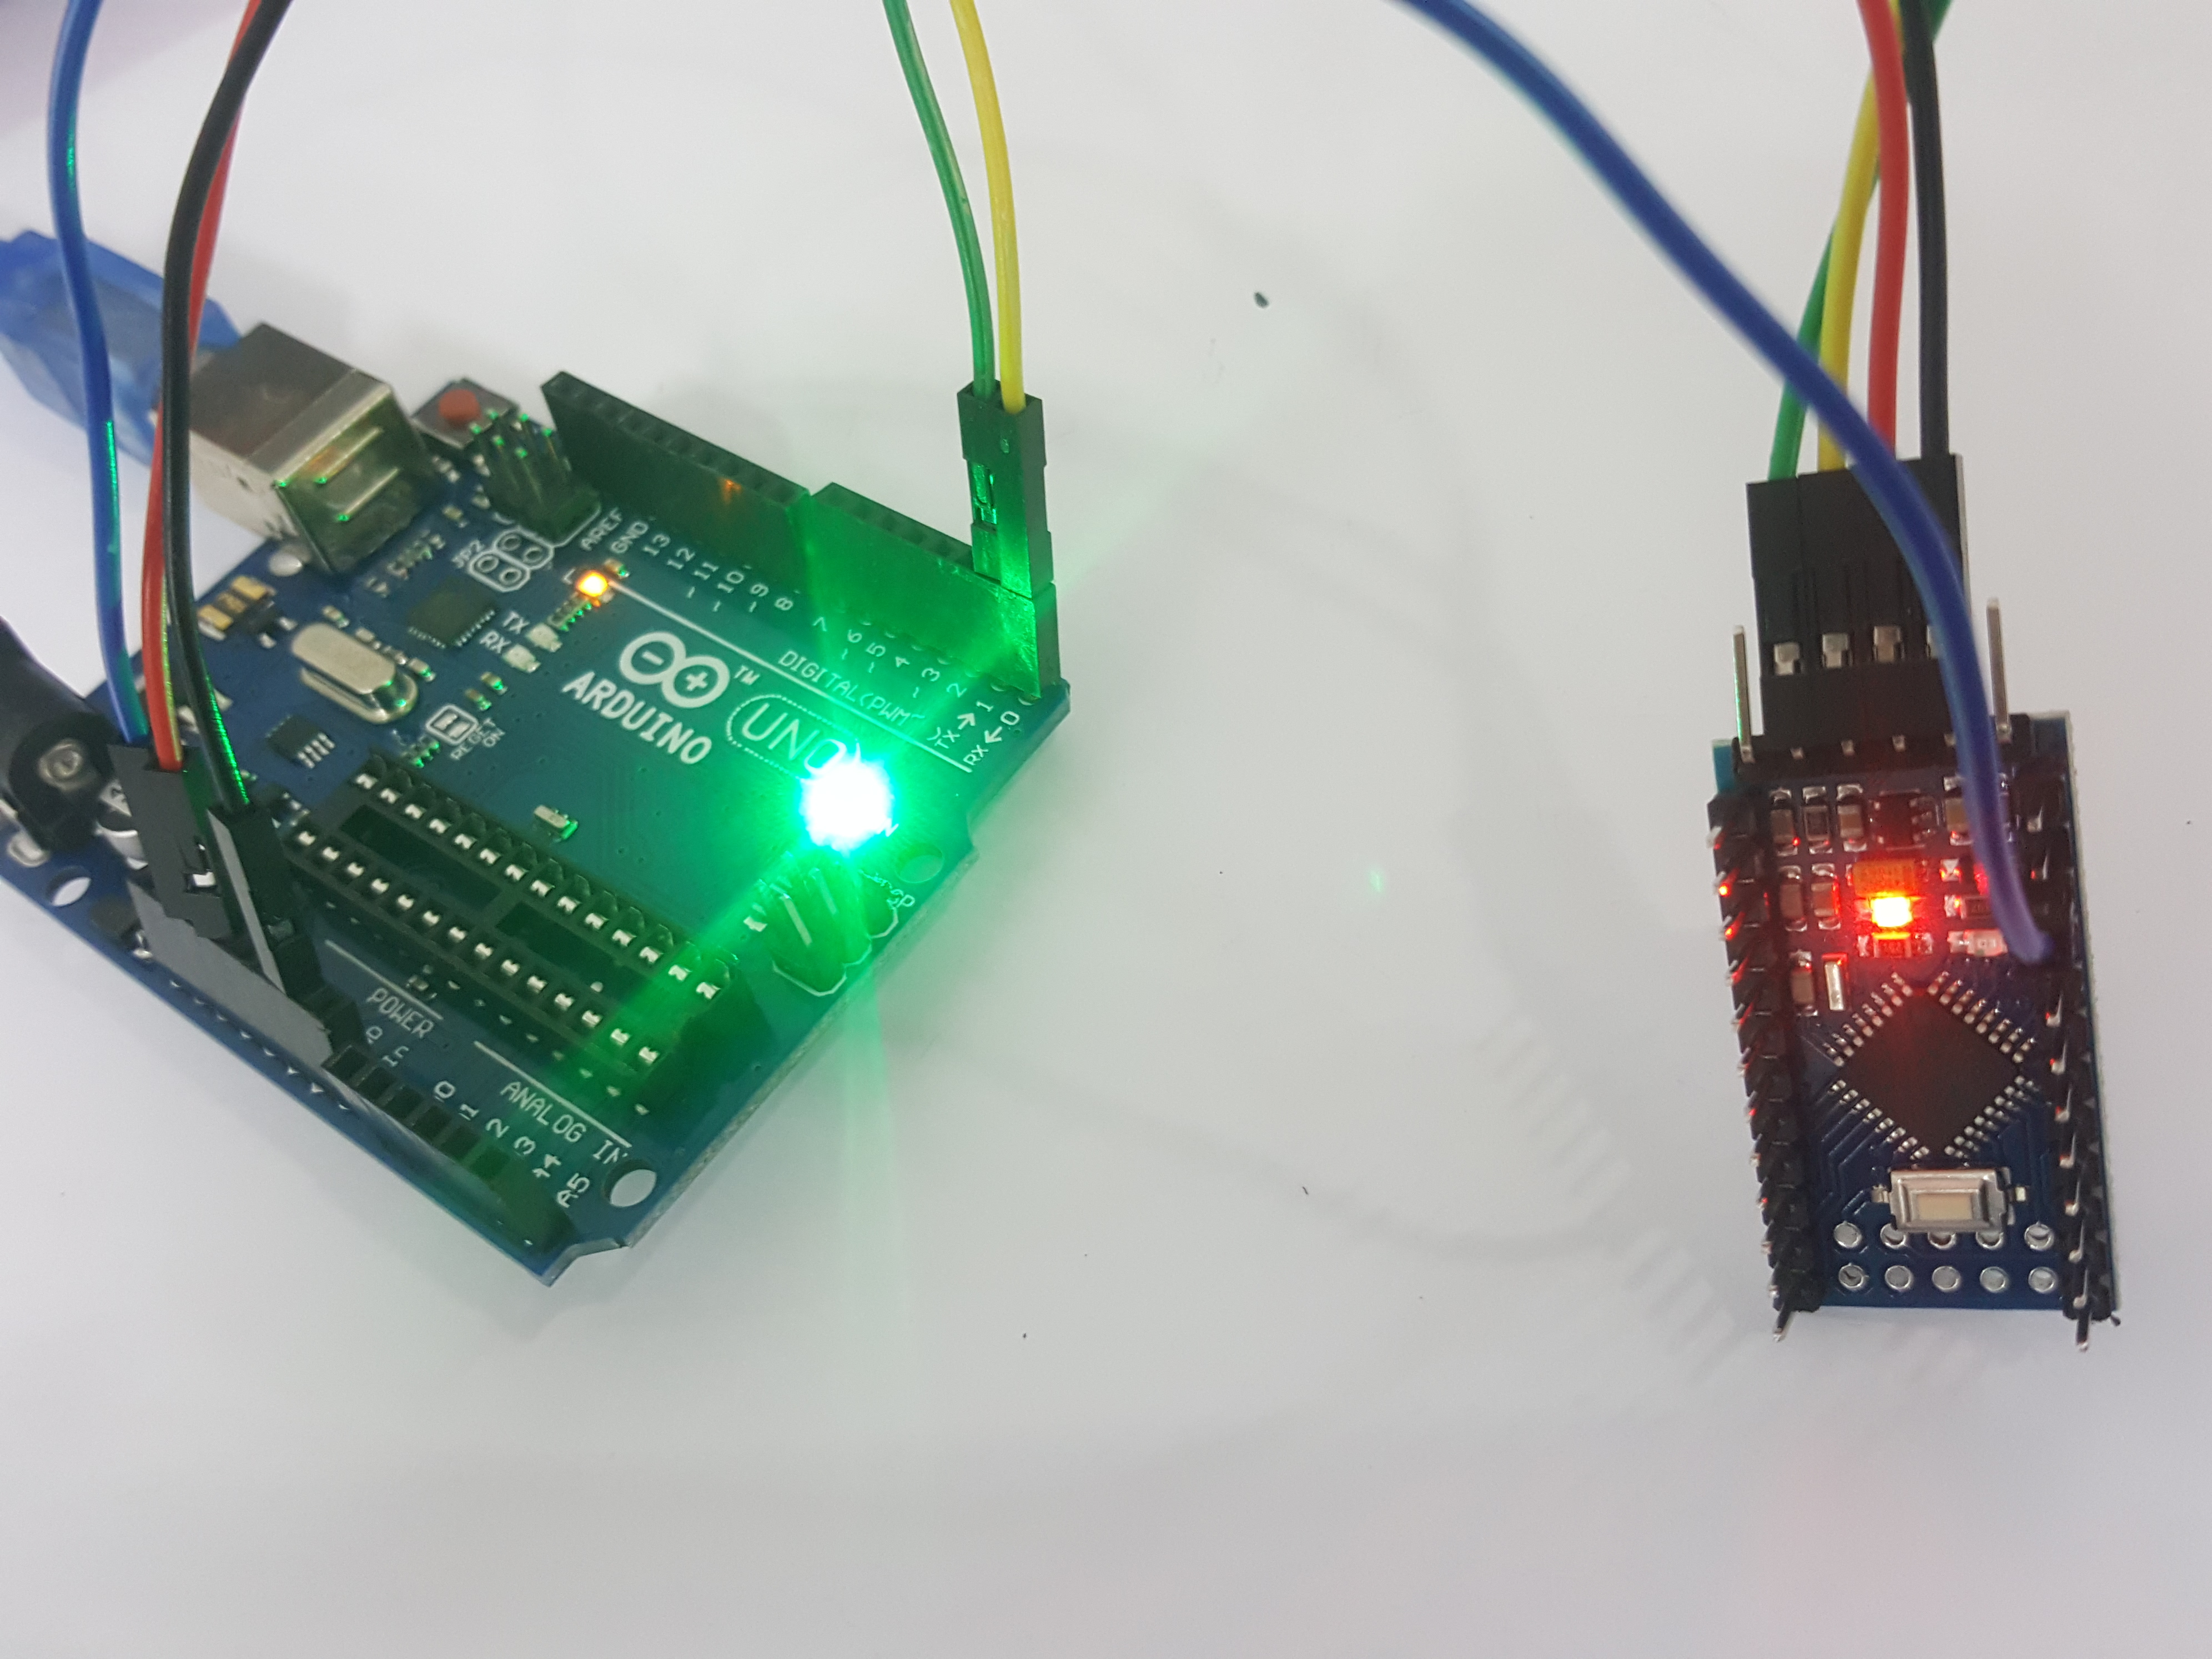
Wait until uploading done. Now, the LED on the pro-mini will start blinking.
That's all the simple steps to upload the code from Arduino UNO to Arduino Pro Mini 328P. I hope you all know to create your own creativity with pro-mini. Thank you! <3