Professional USB Xbox Controller
by WayUpYonder in Circuits > USB
9101 Views, 21 Favorites, 0 Comments
Professional USB Xbox Controller
In this instructable, I'm going to show you how to make the most professional looking USB Xbox controller. Now, let's get to it!
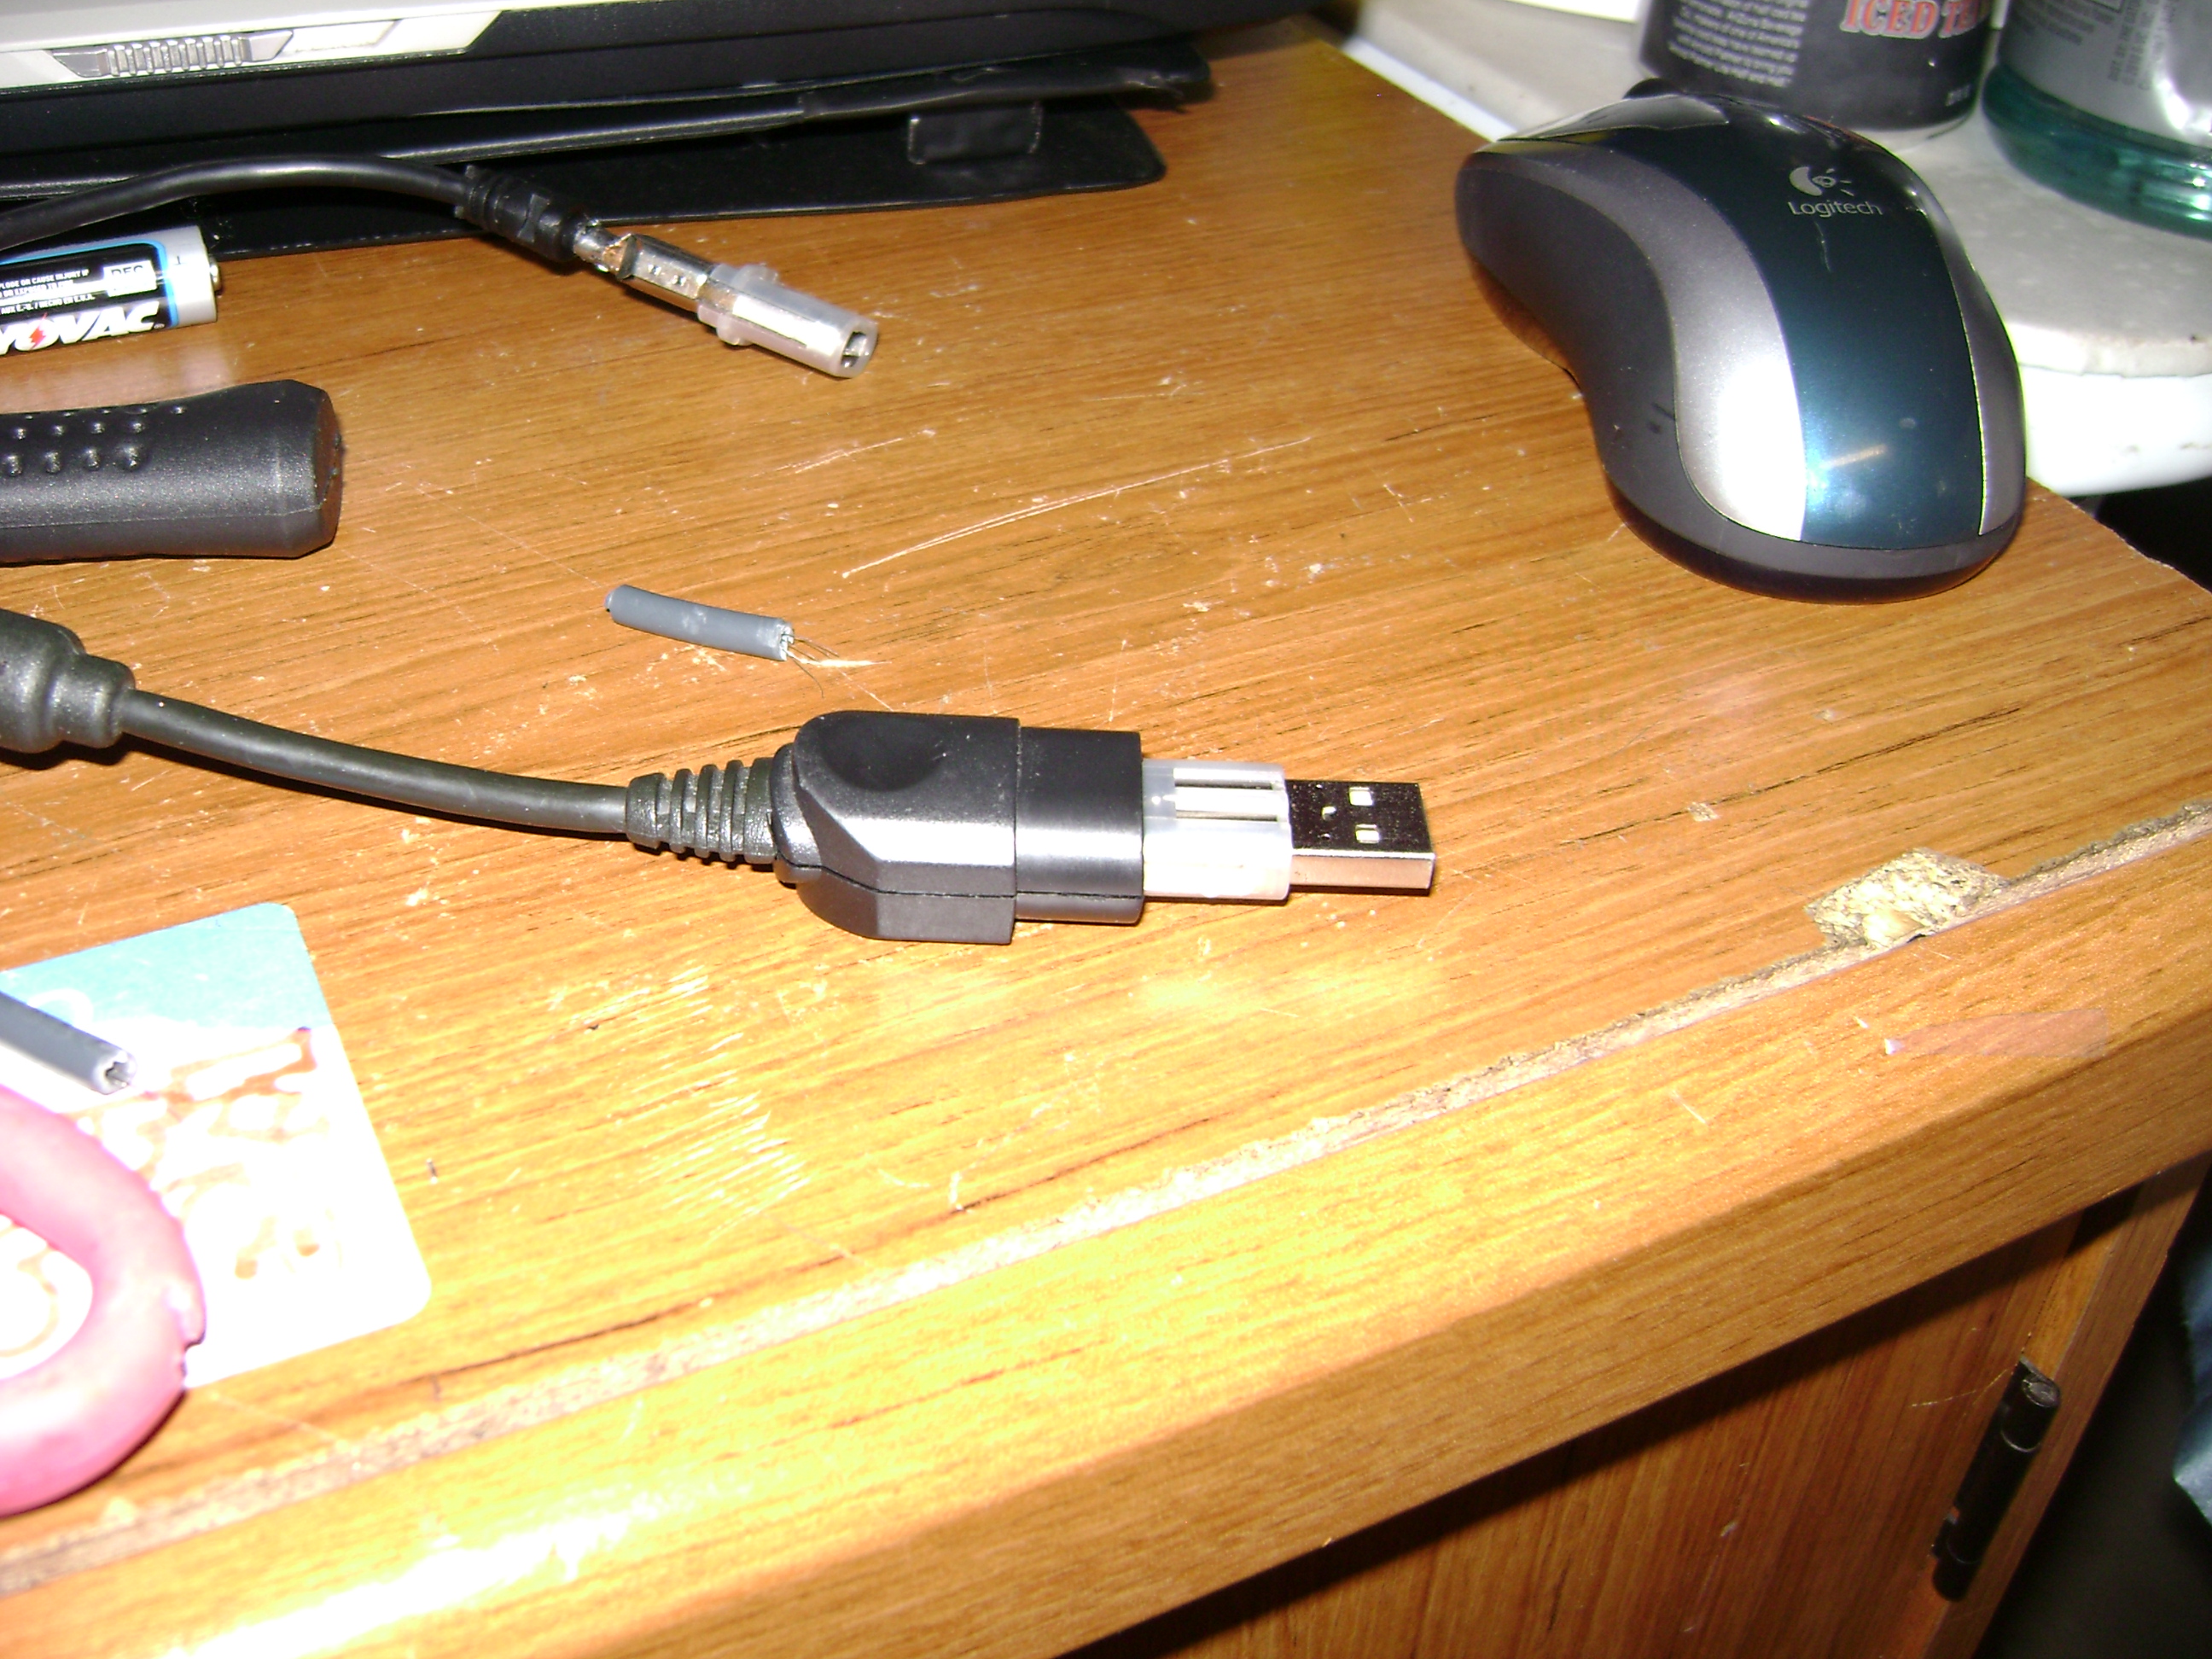
What You'll Need
Almost everything you'll need is tagged in the photo.
You'll also need:
Scissors or blade
Hot glue gun
Pliers or a Hammer
Electrical Tape
and a Needle screwdriver (razor blade will work)
You'll also need:
Scissors or blade
Hot glue gun
Pliers or a Hammer
Electrical Tape
and a Needle screwdriver (razor blade will work)
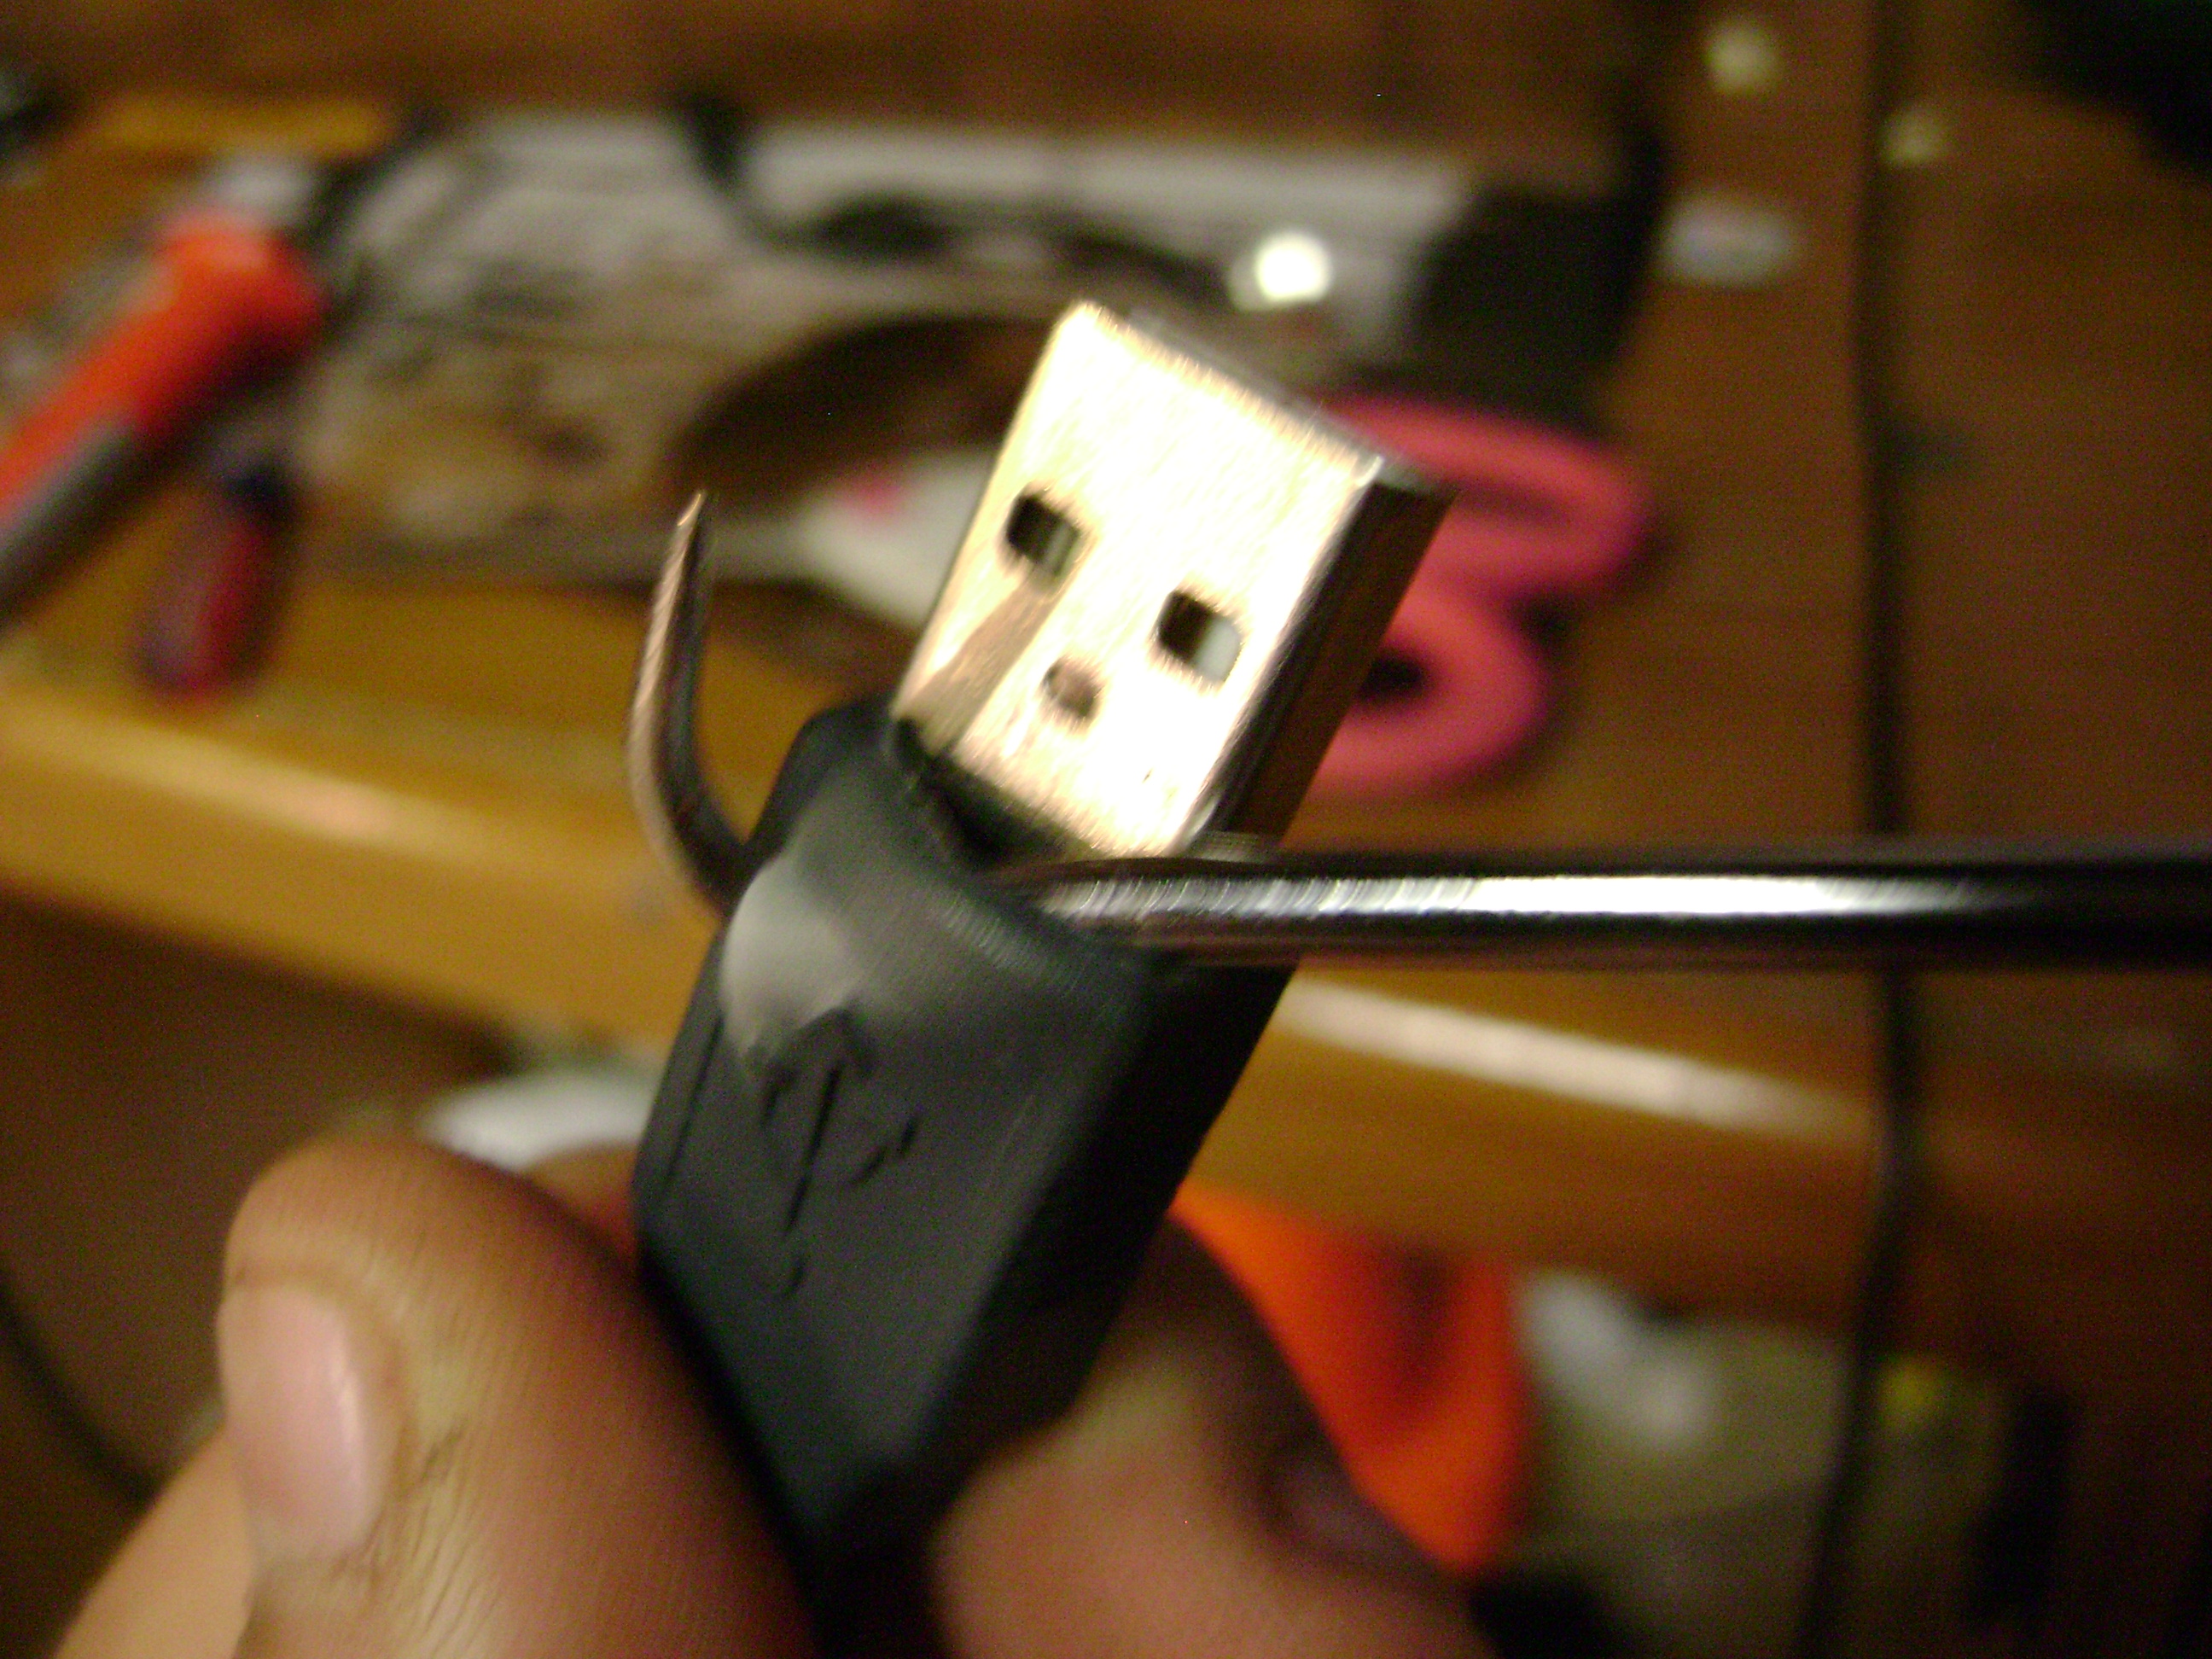
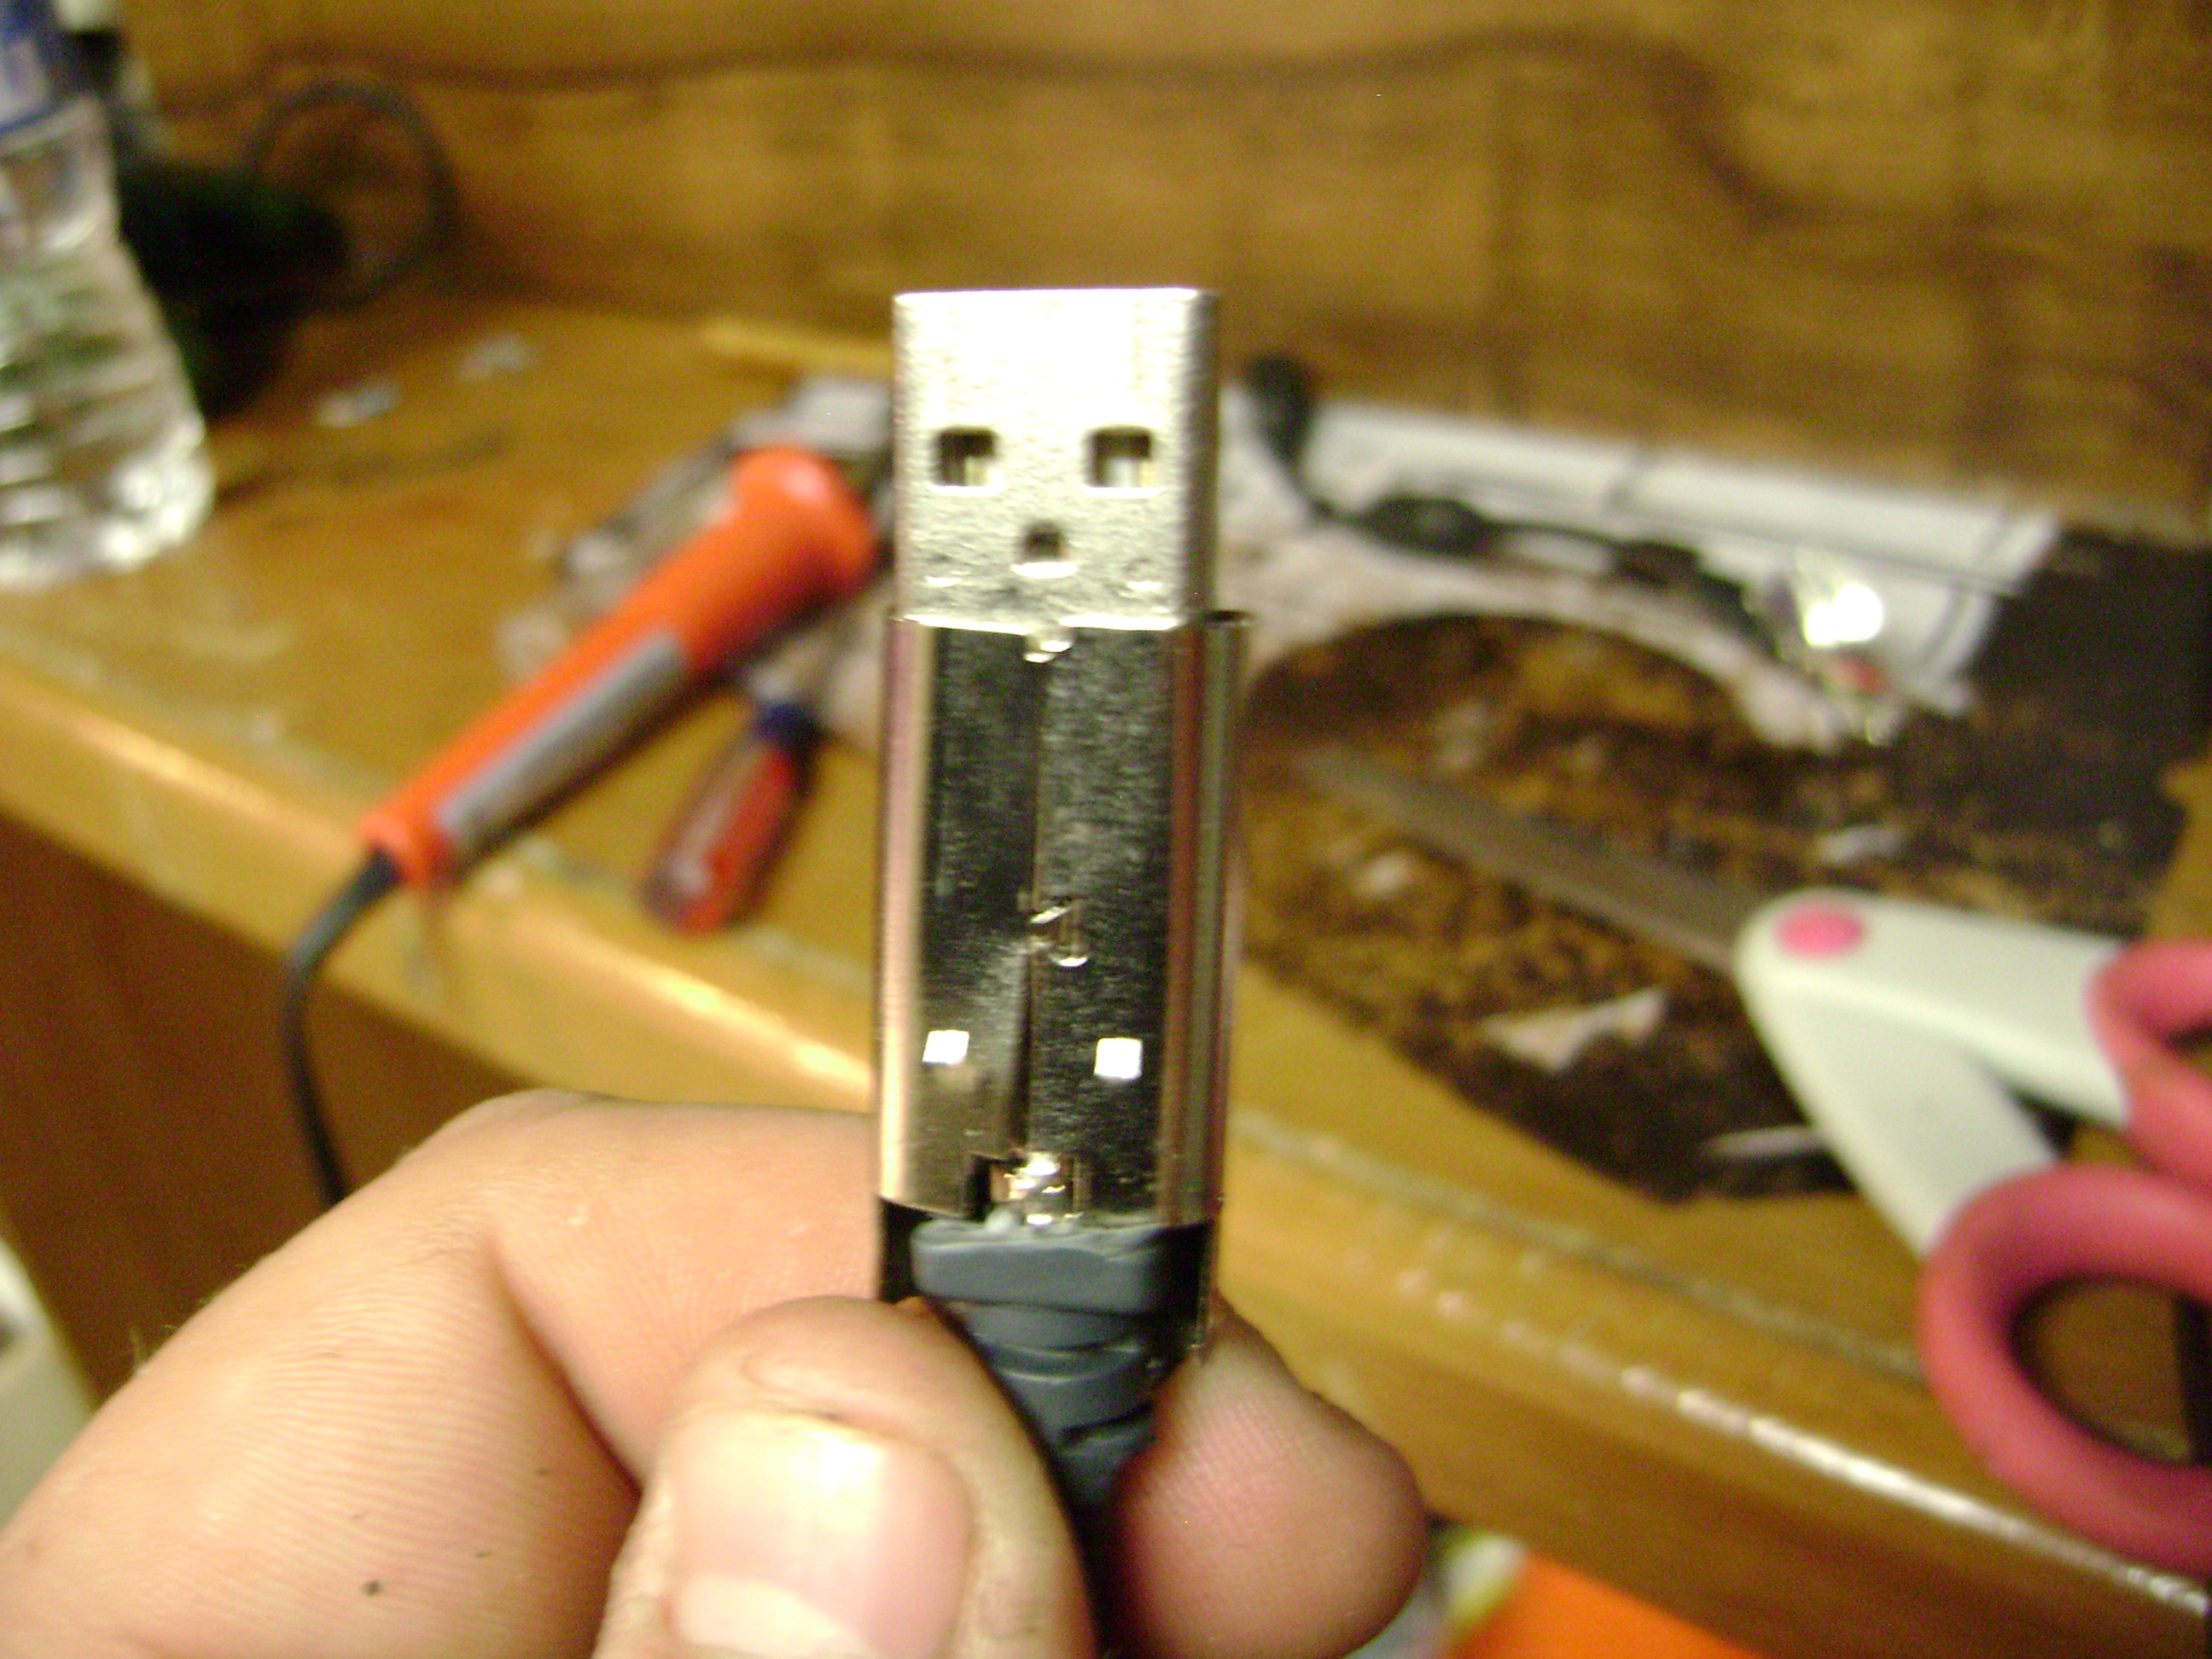
First Thing's First...
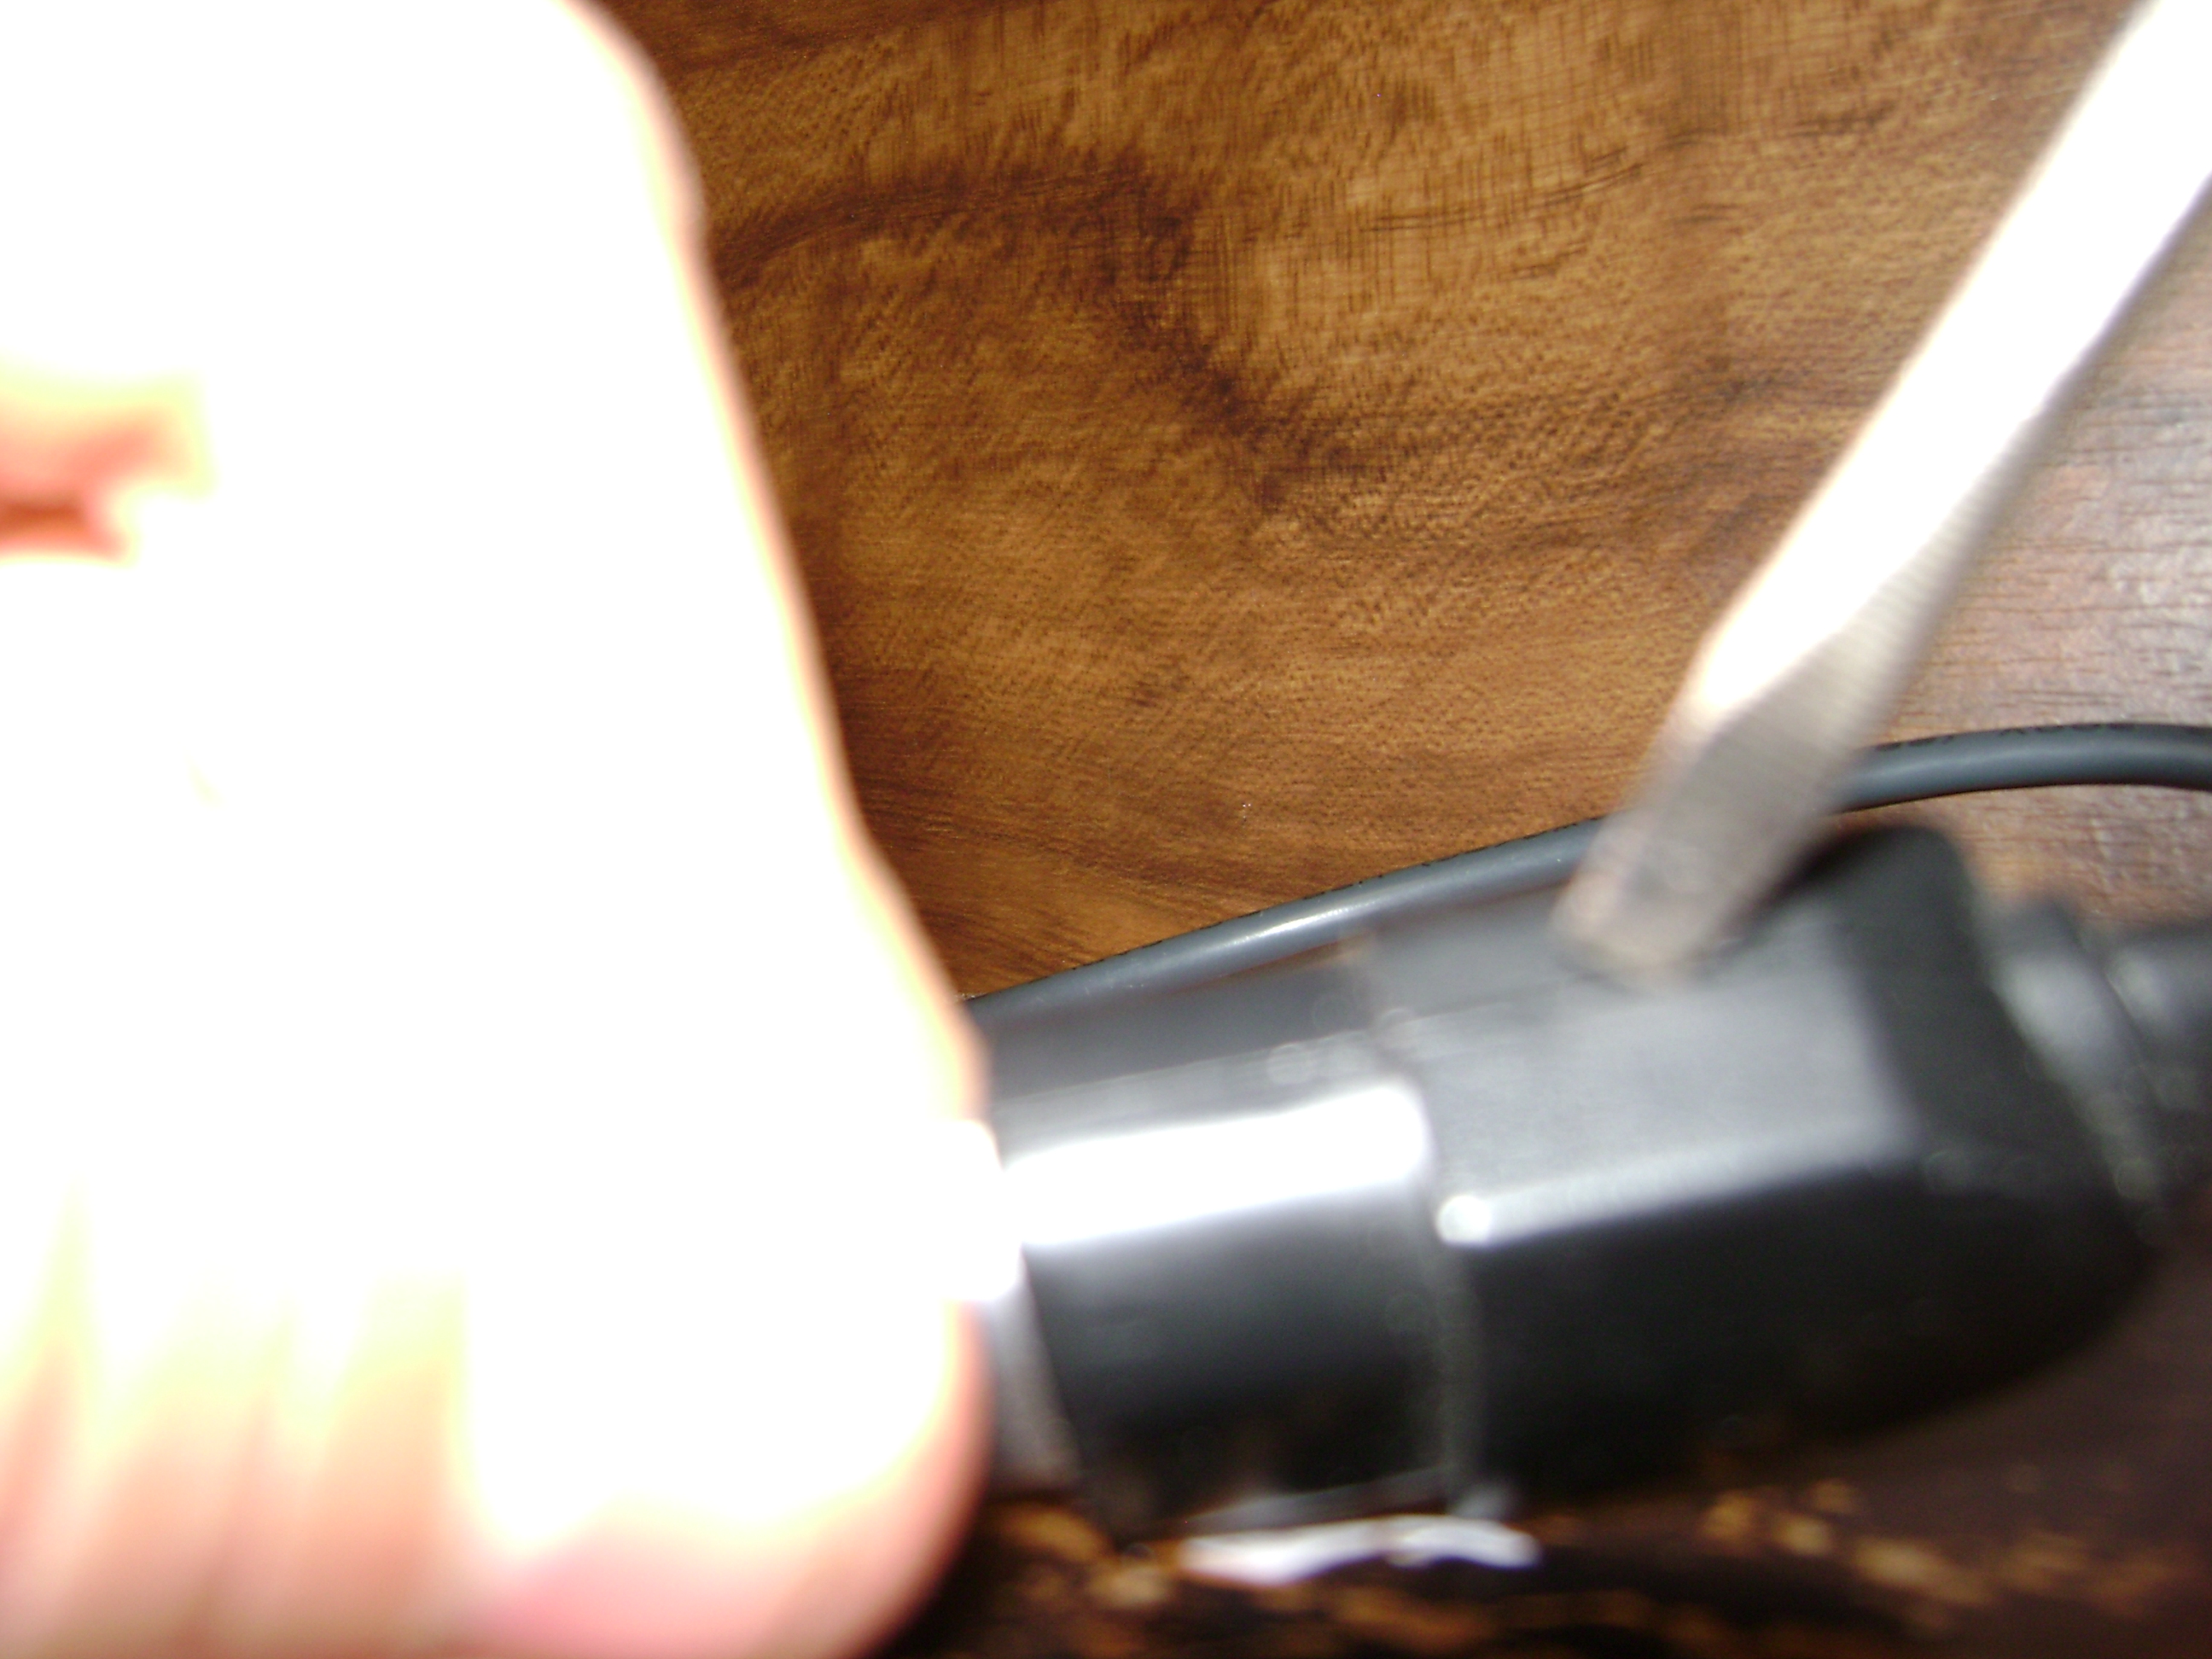
Grab the controller dongle. Take your screwdriver and pry it apart CAREFULLY. In the picture, I'm prying from the side, but pry from the front, as it's easier that way.
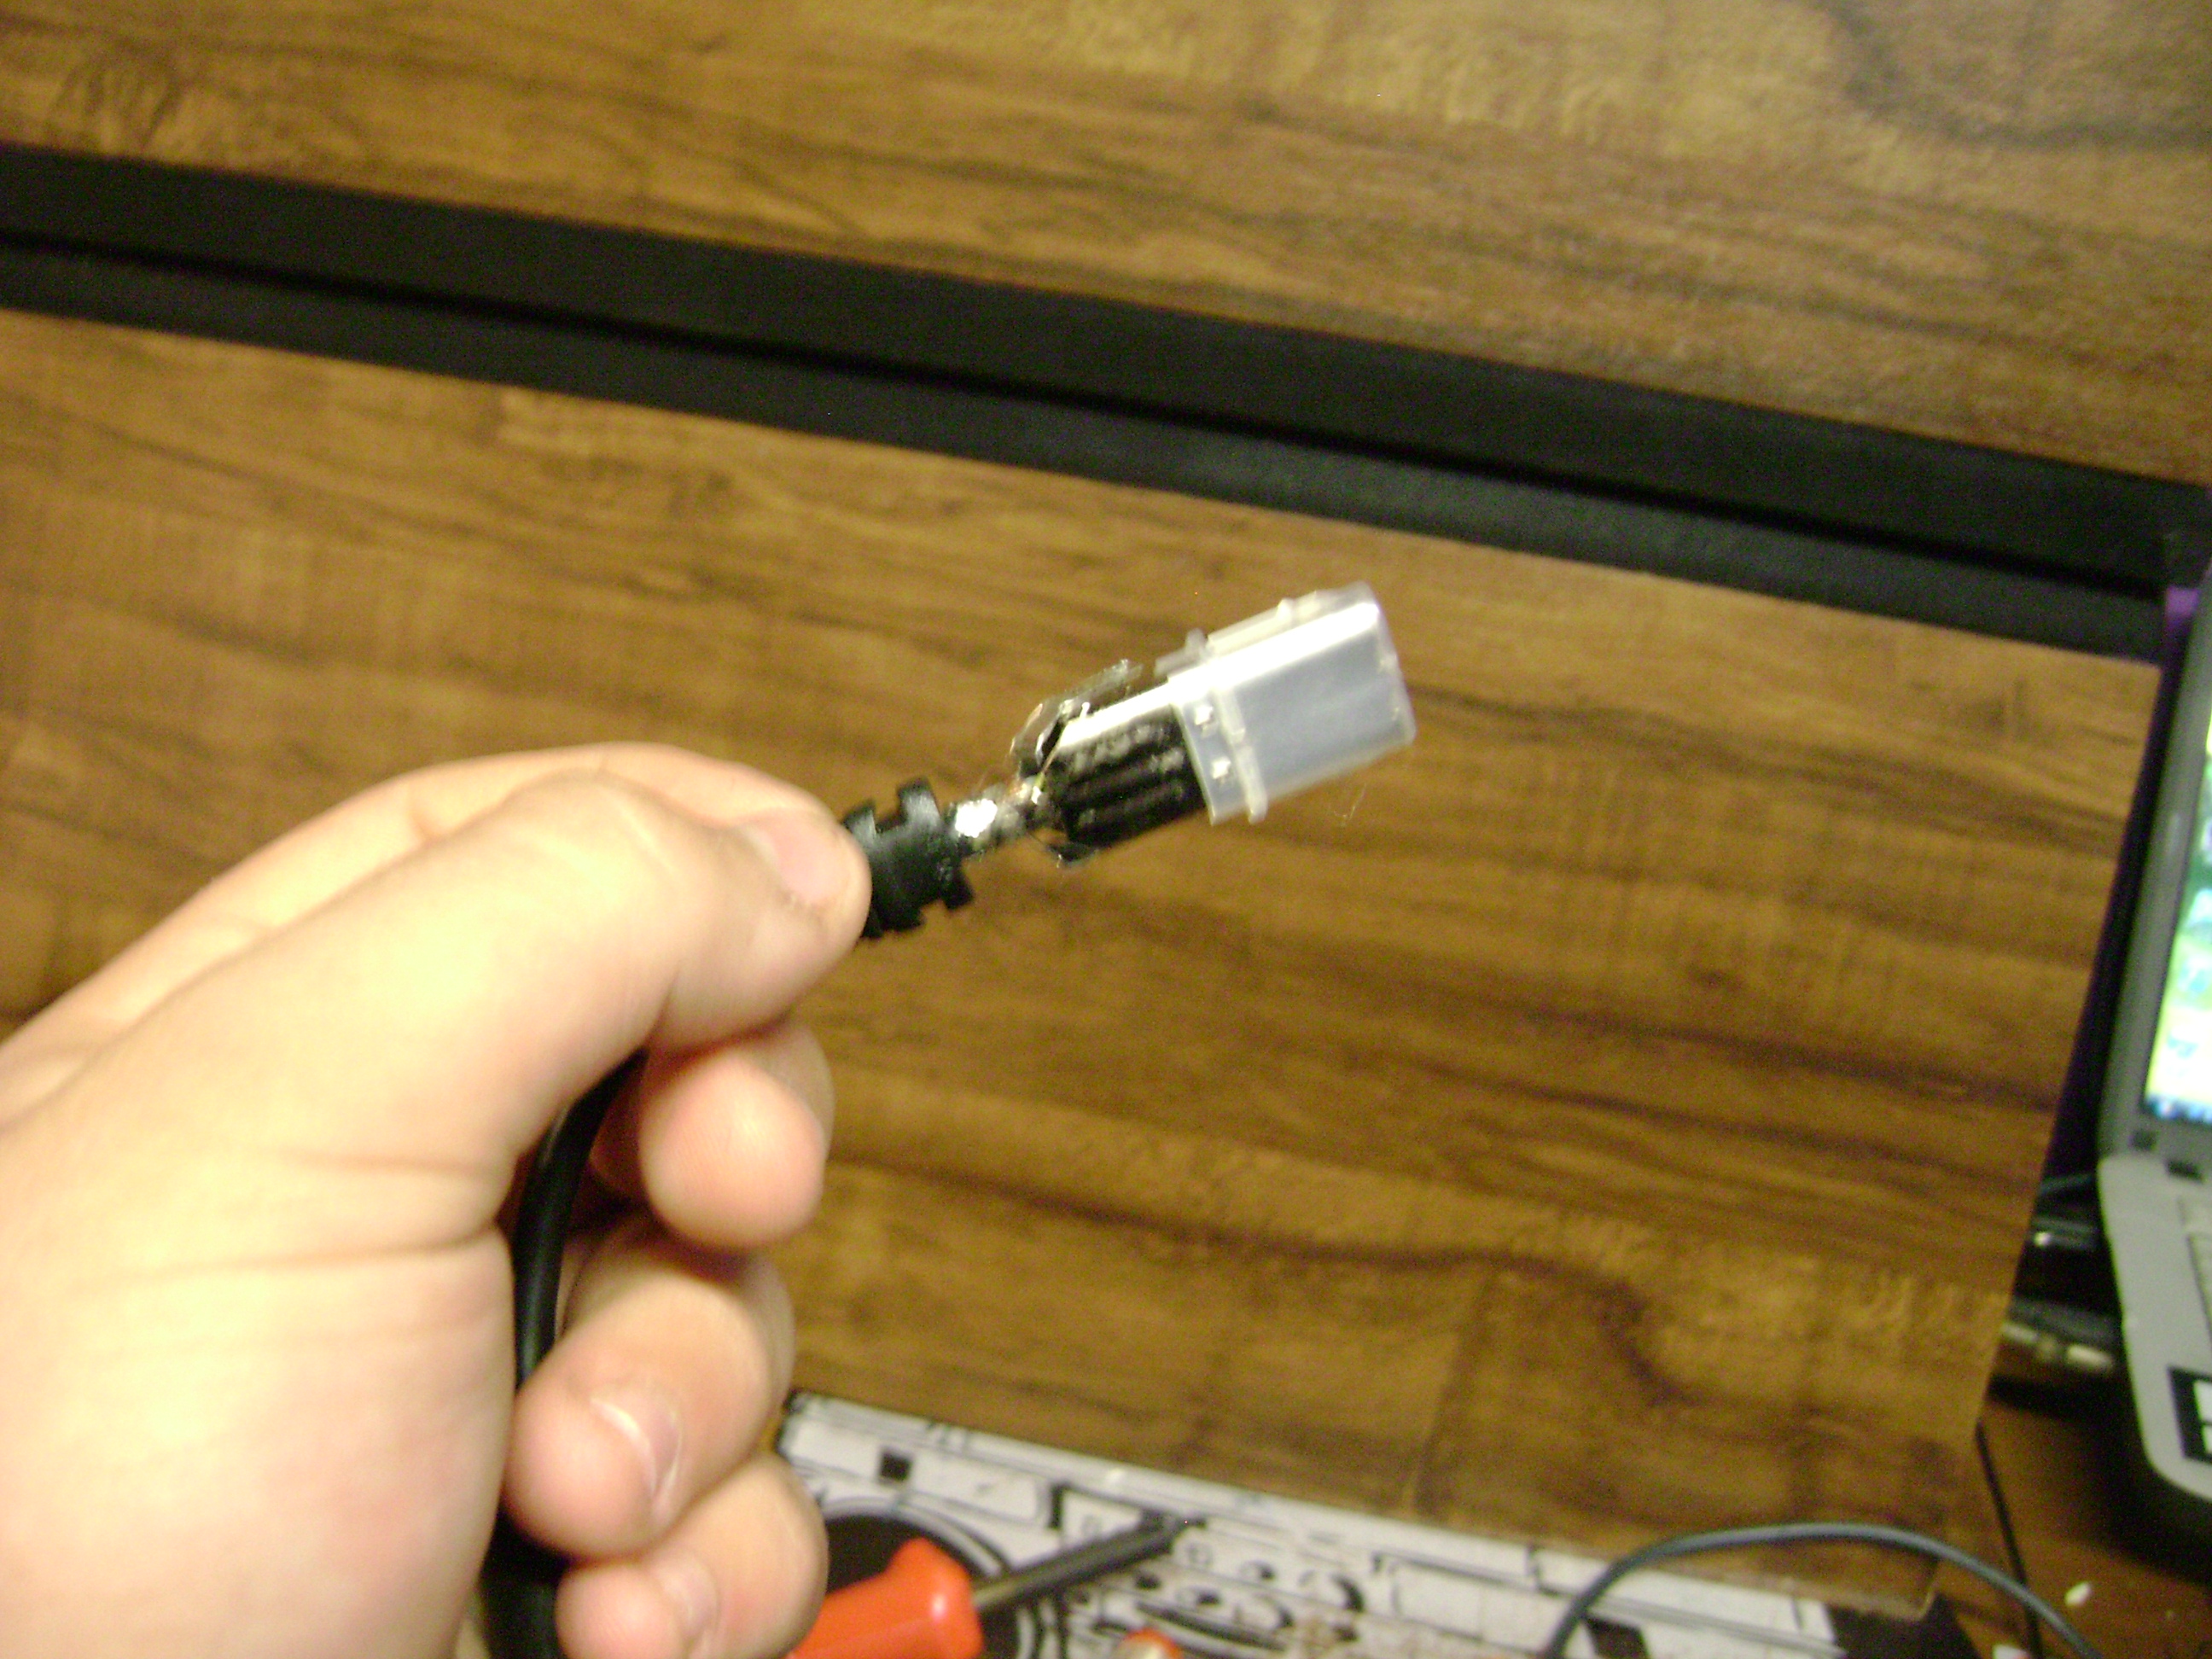
More Prying

Now, take the top metal piece, and pry it back and fourth until it breaks off. This will make it easier to work with.
Next...
You see those wires soldered onto the dongle? No, were not soldering over them, that's too hard with a fat soldering iron. Place your soldering iron on the connections, and pull the wires off.
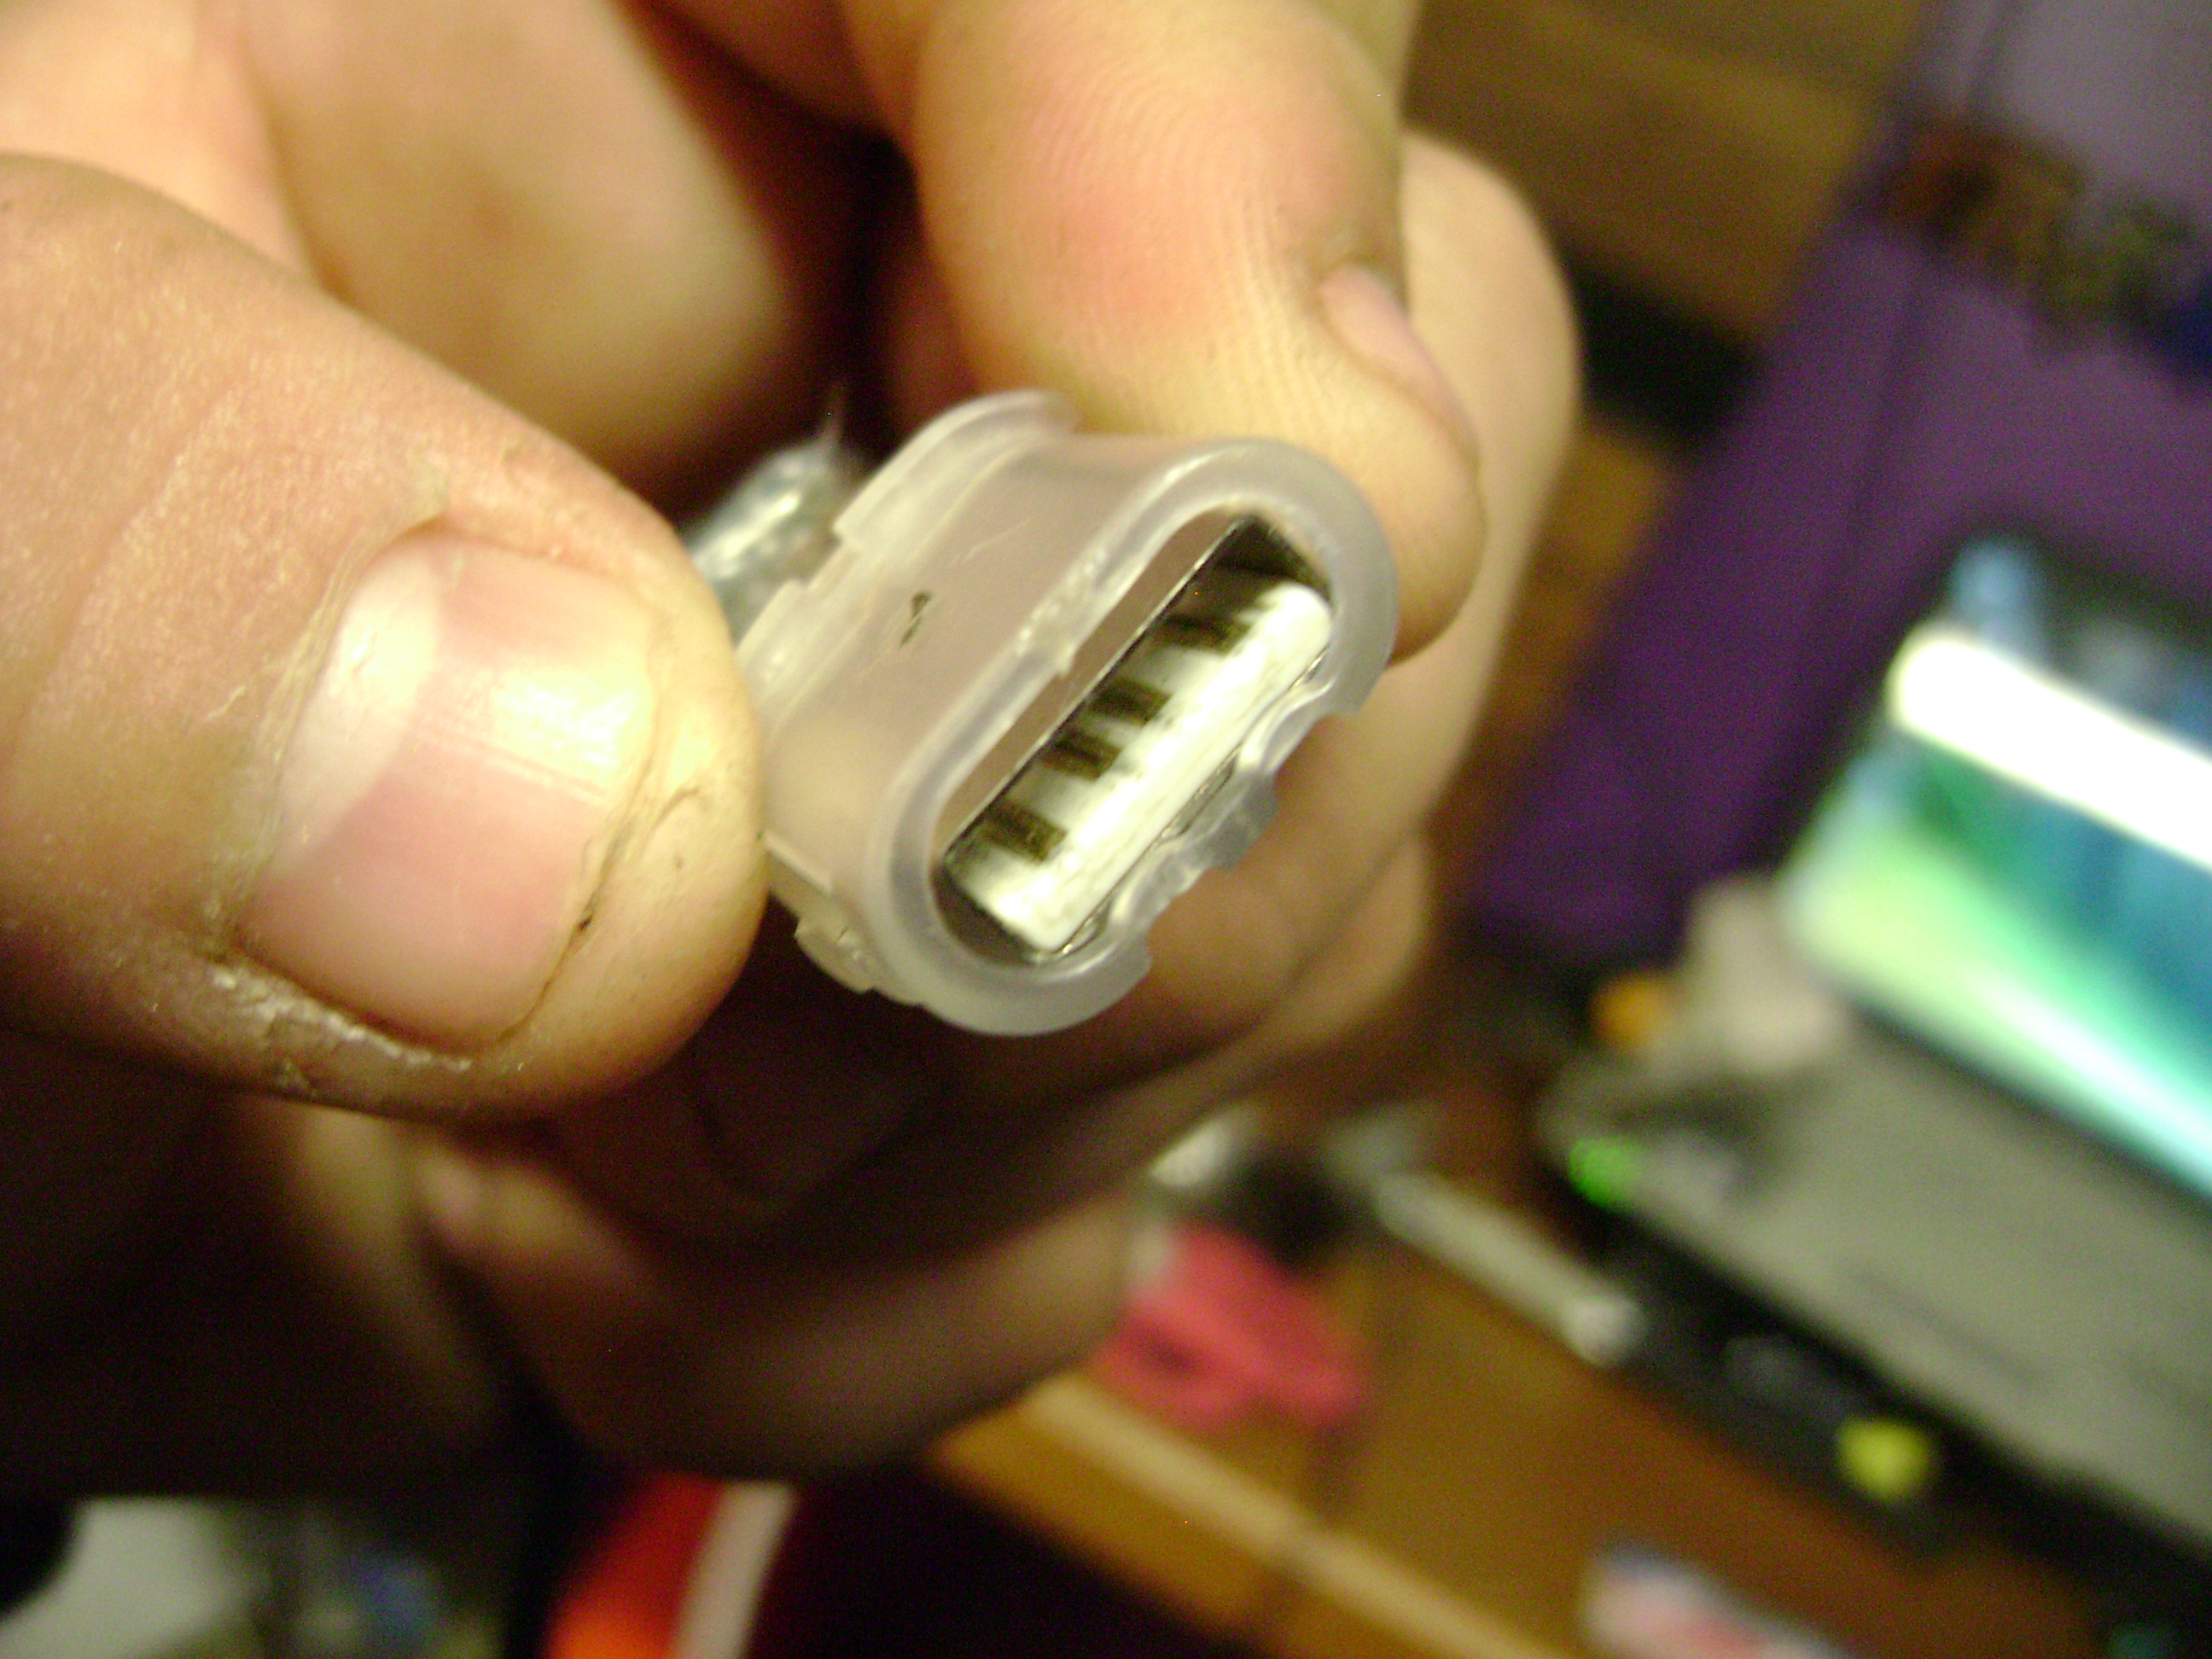
No More Wires...for Now.
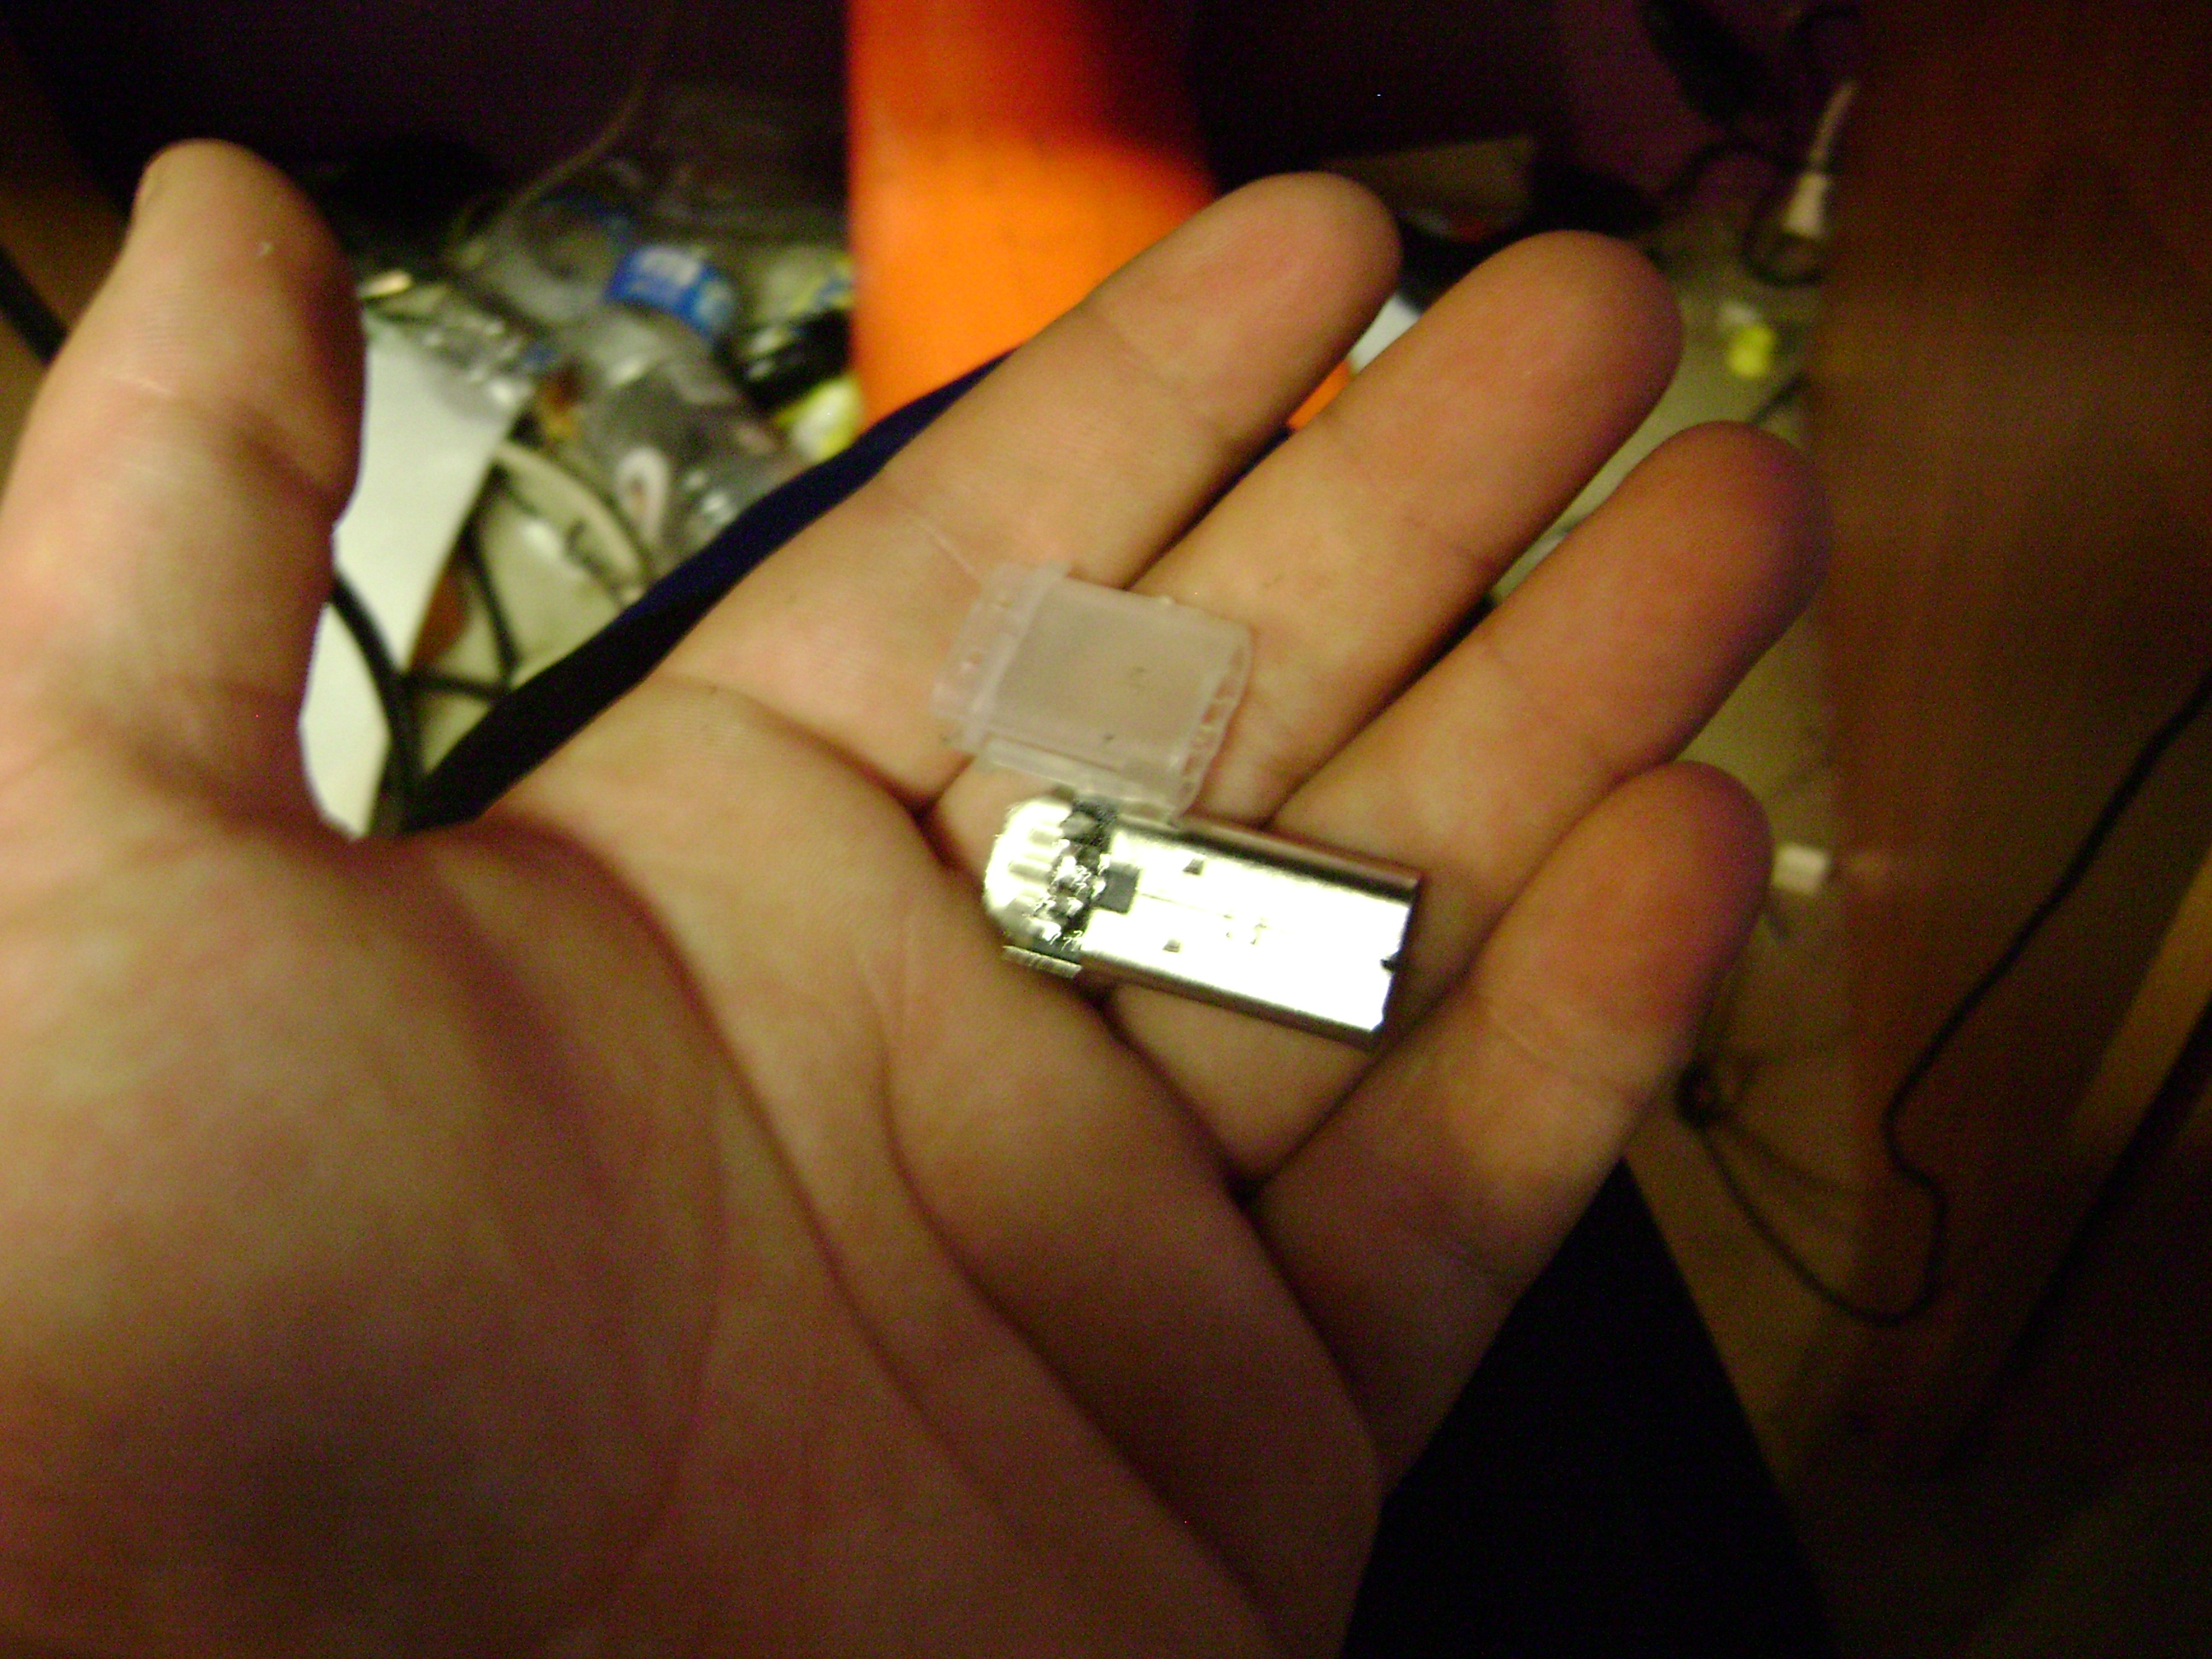
Now that the wires are off, you're going to need to pull that transparent/white thing off of the dongle. You will see that on one side of it, there are bumps in the metal that hold it in place. Wedge your screwdriver or blade under the plastic, and slide it forward and off.
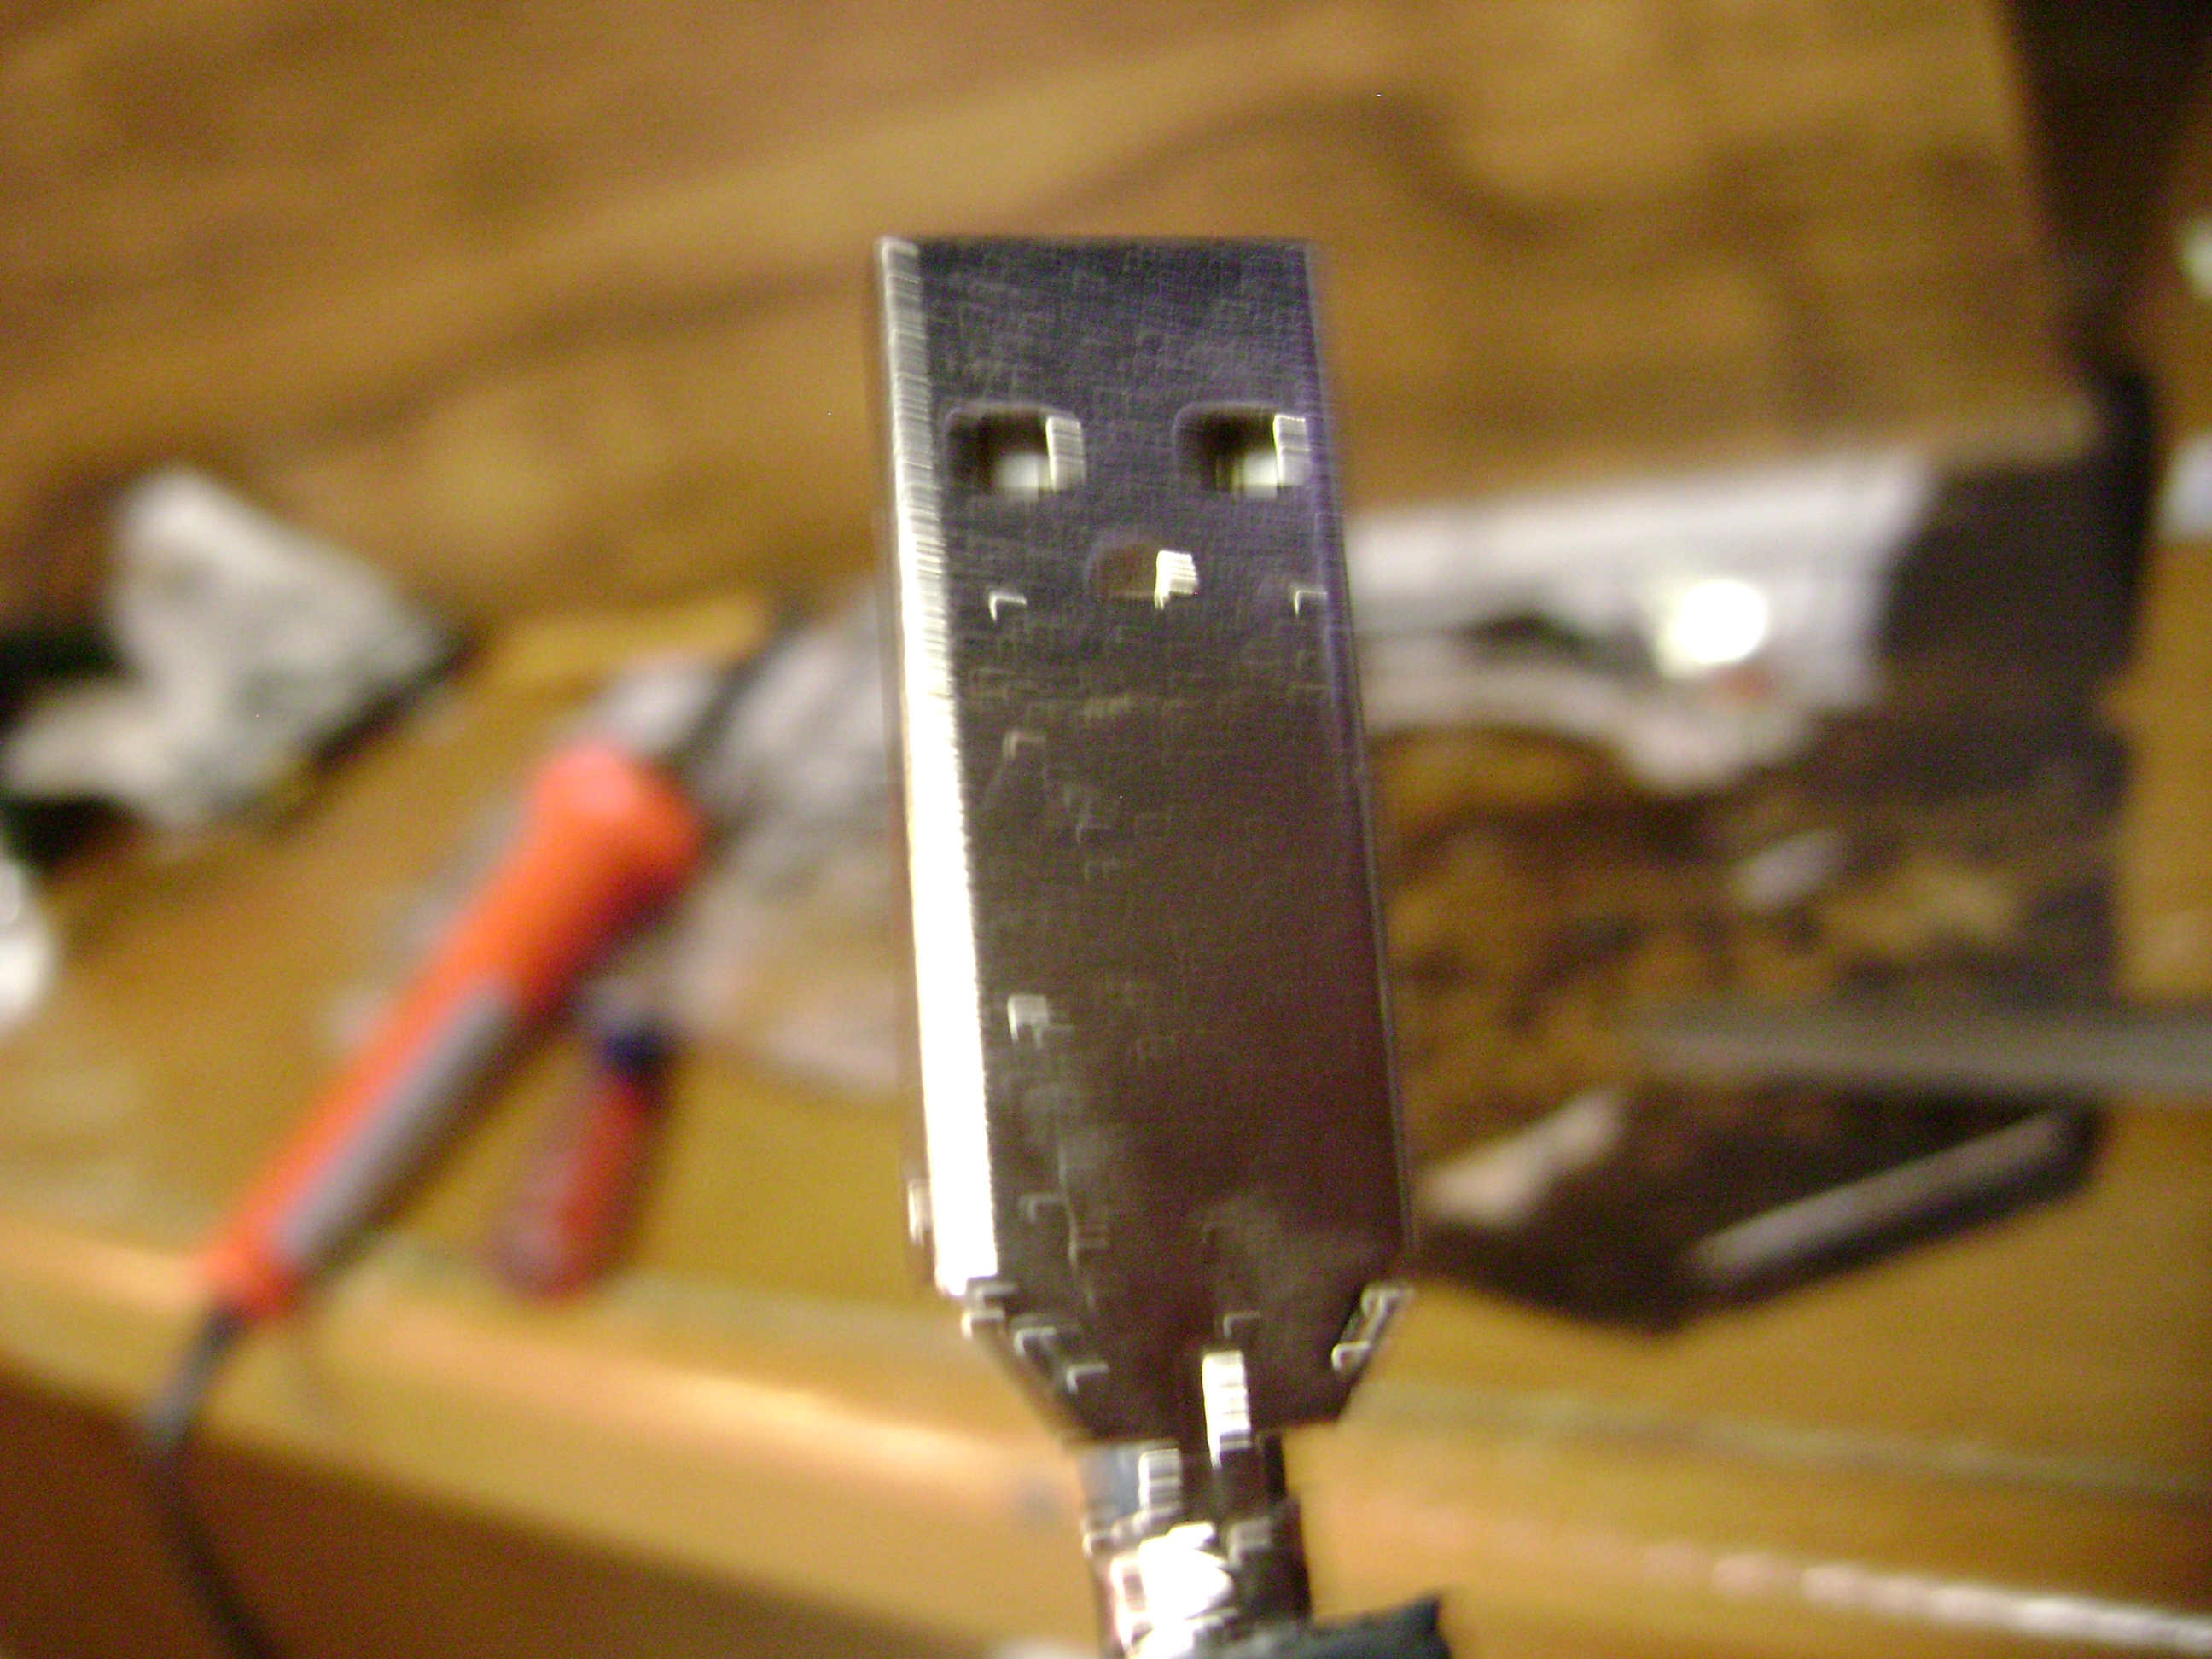
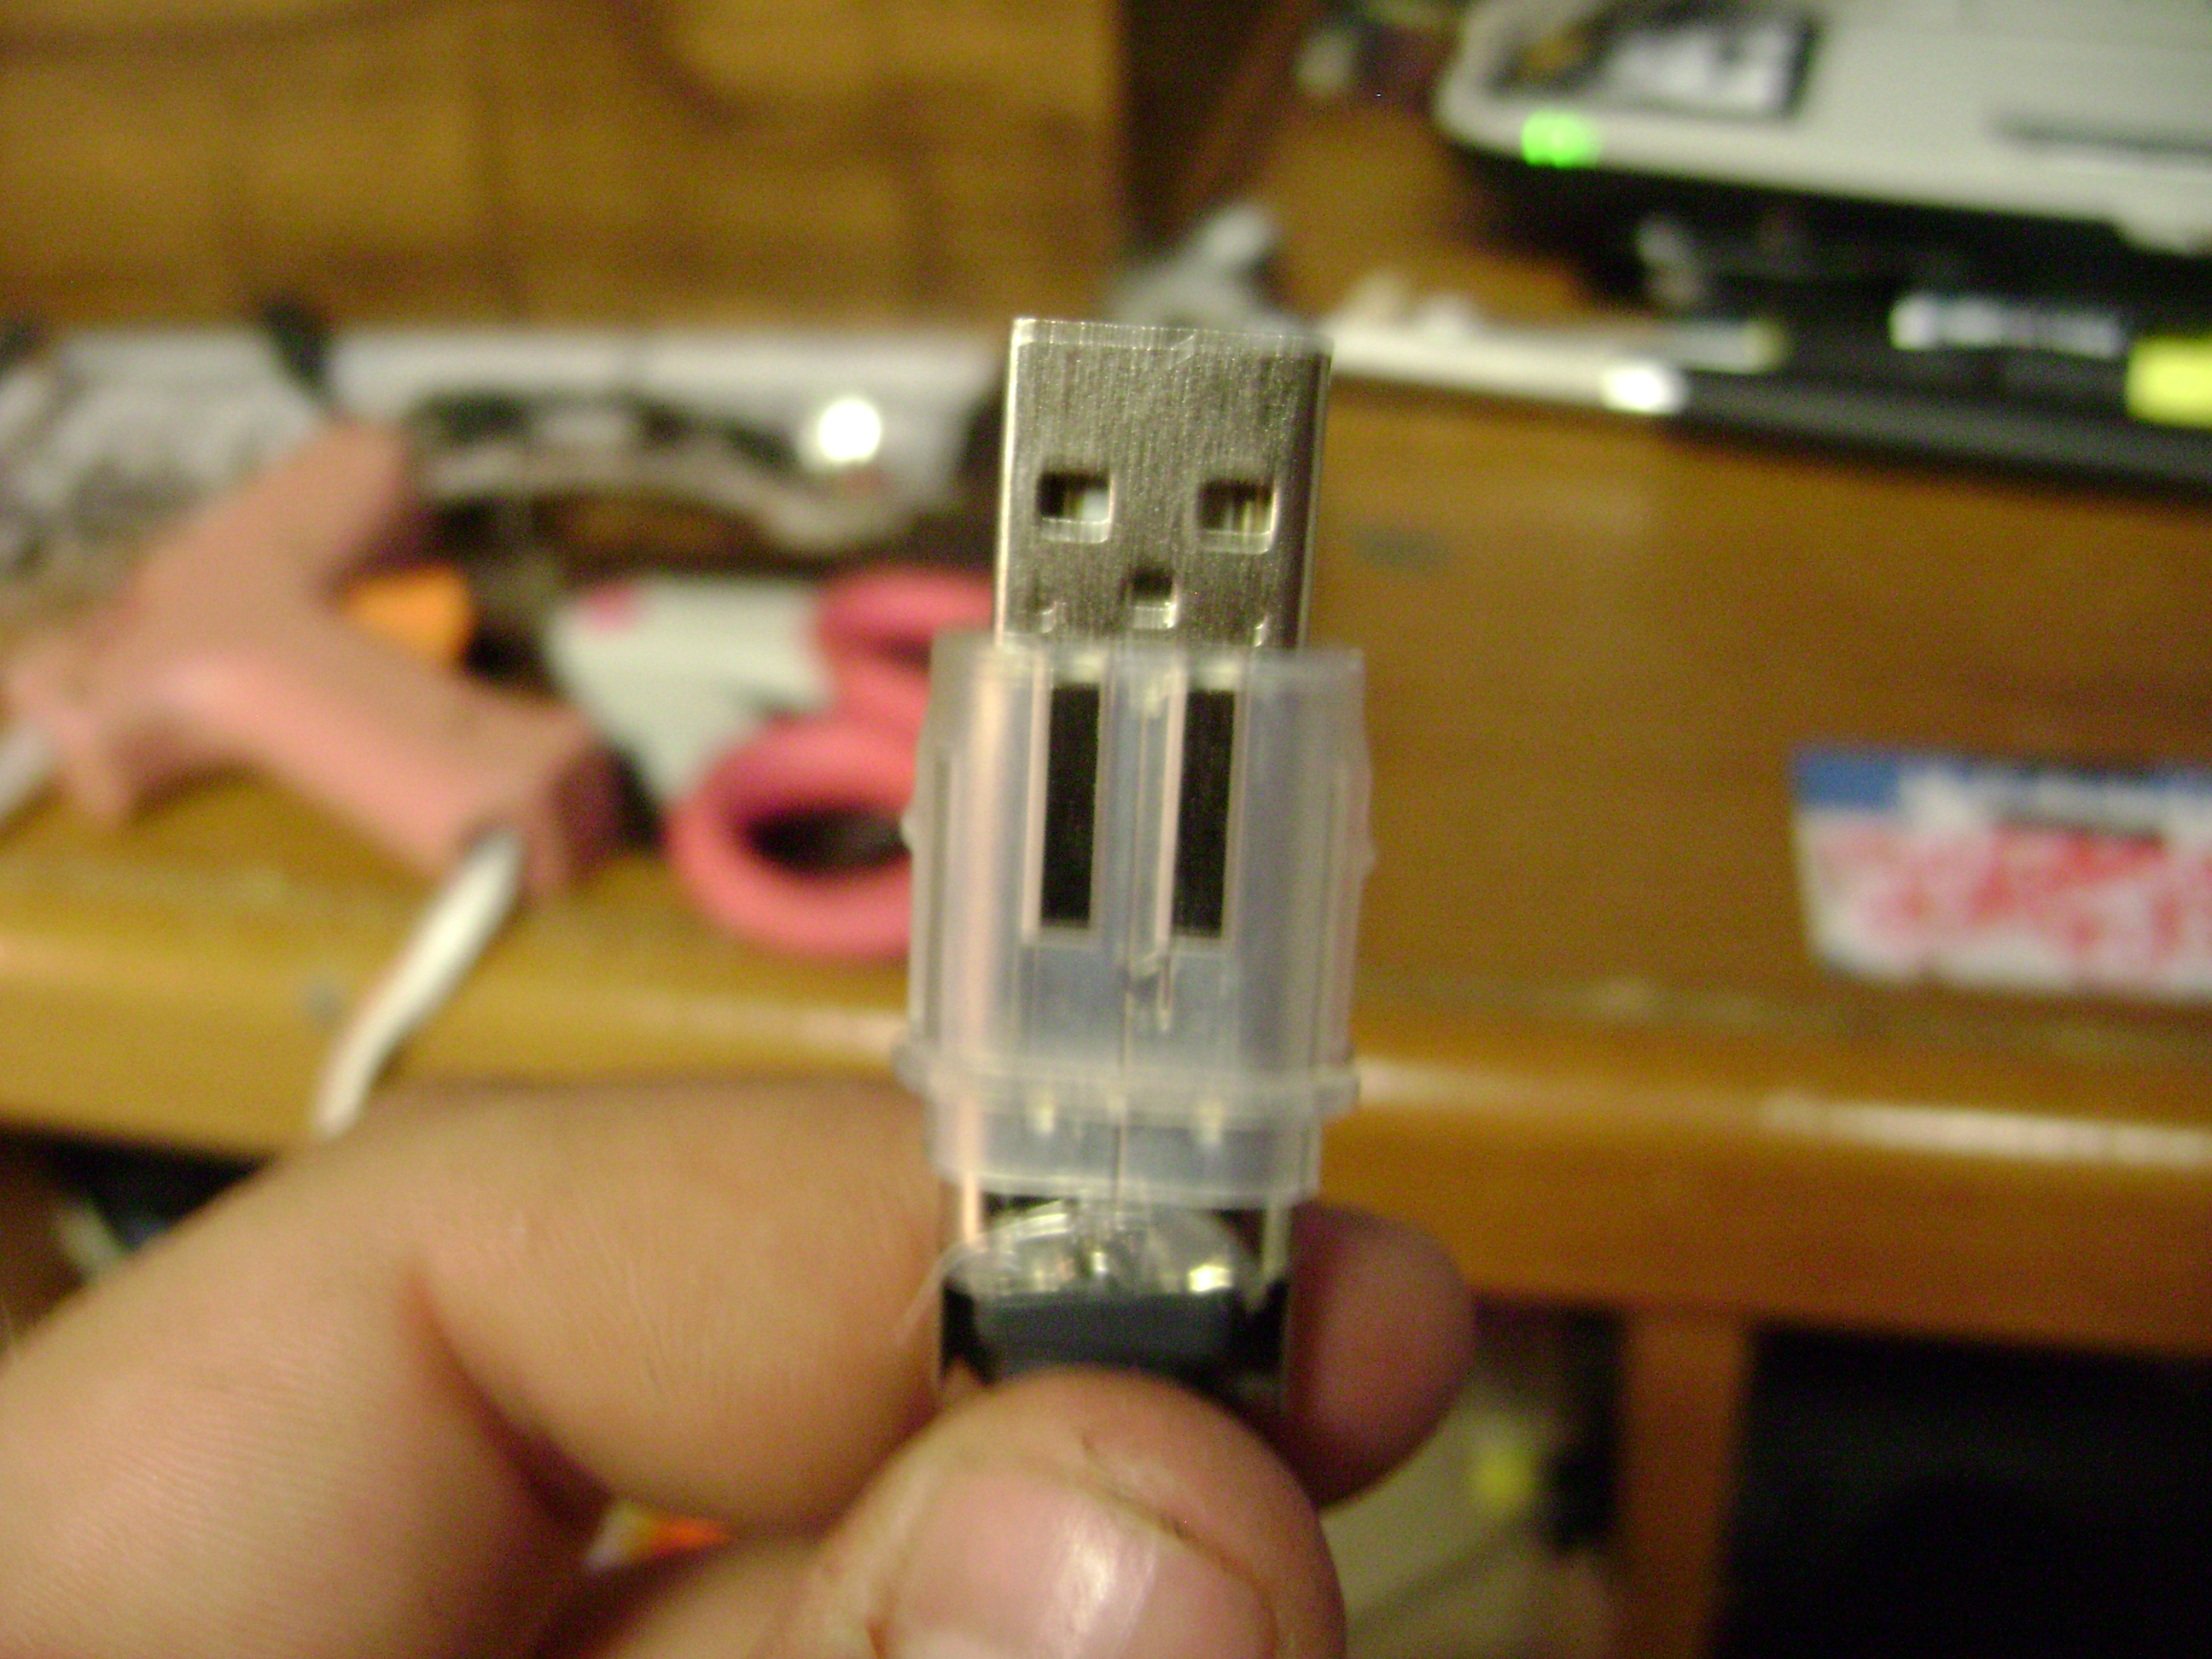
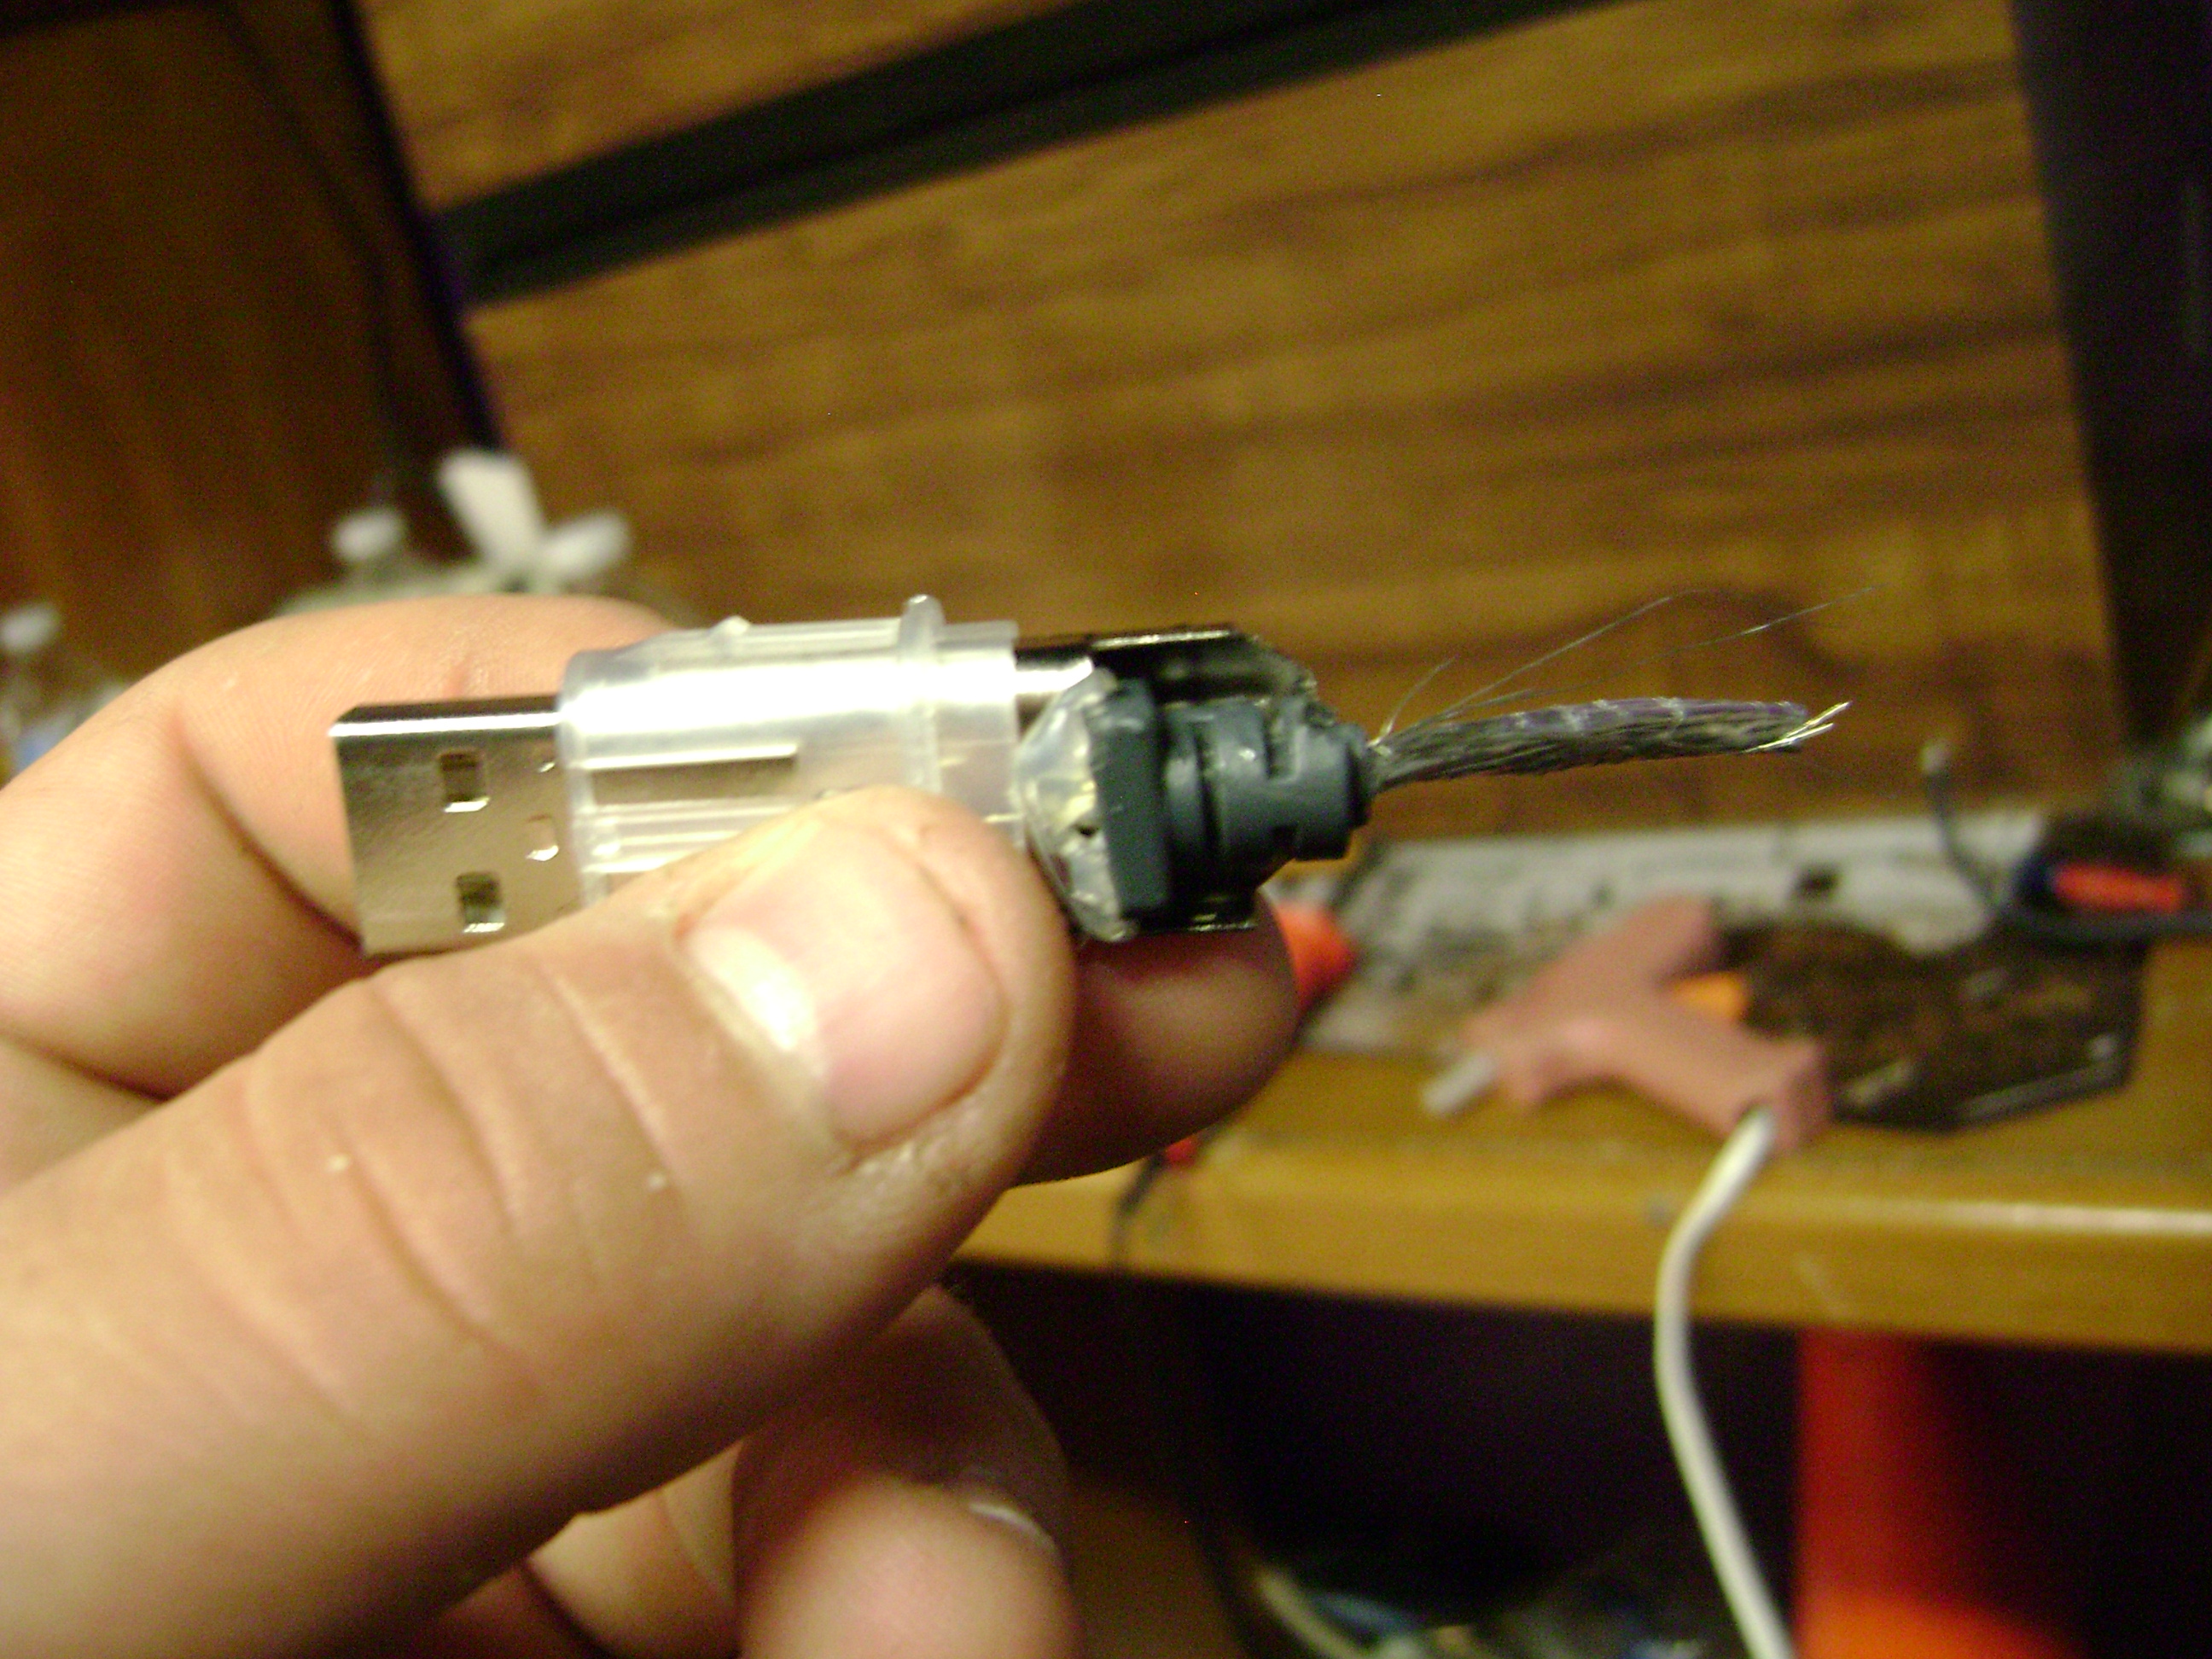
Now for the Metal...
The wires were connected to a black bar inside the metal casing...that needs to go. Were going to replace that with a usb male port. On one side of the metal, theres a tab in the center that fits the metal snug. What you need to do is take a blade and slightly pry the two sides up.
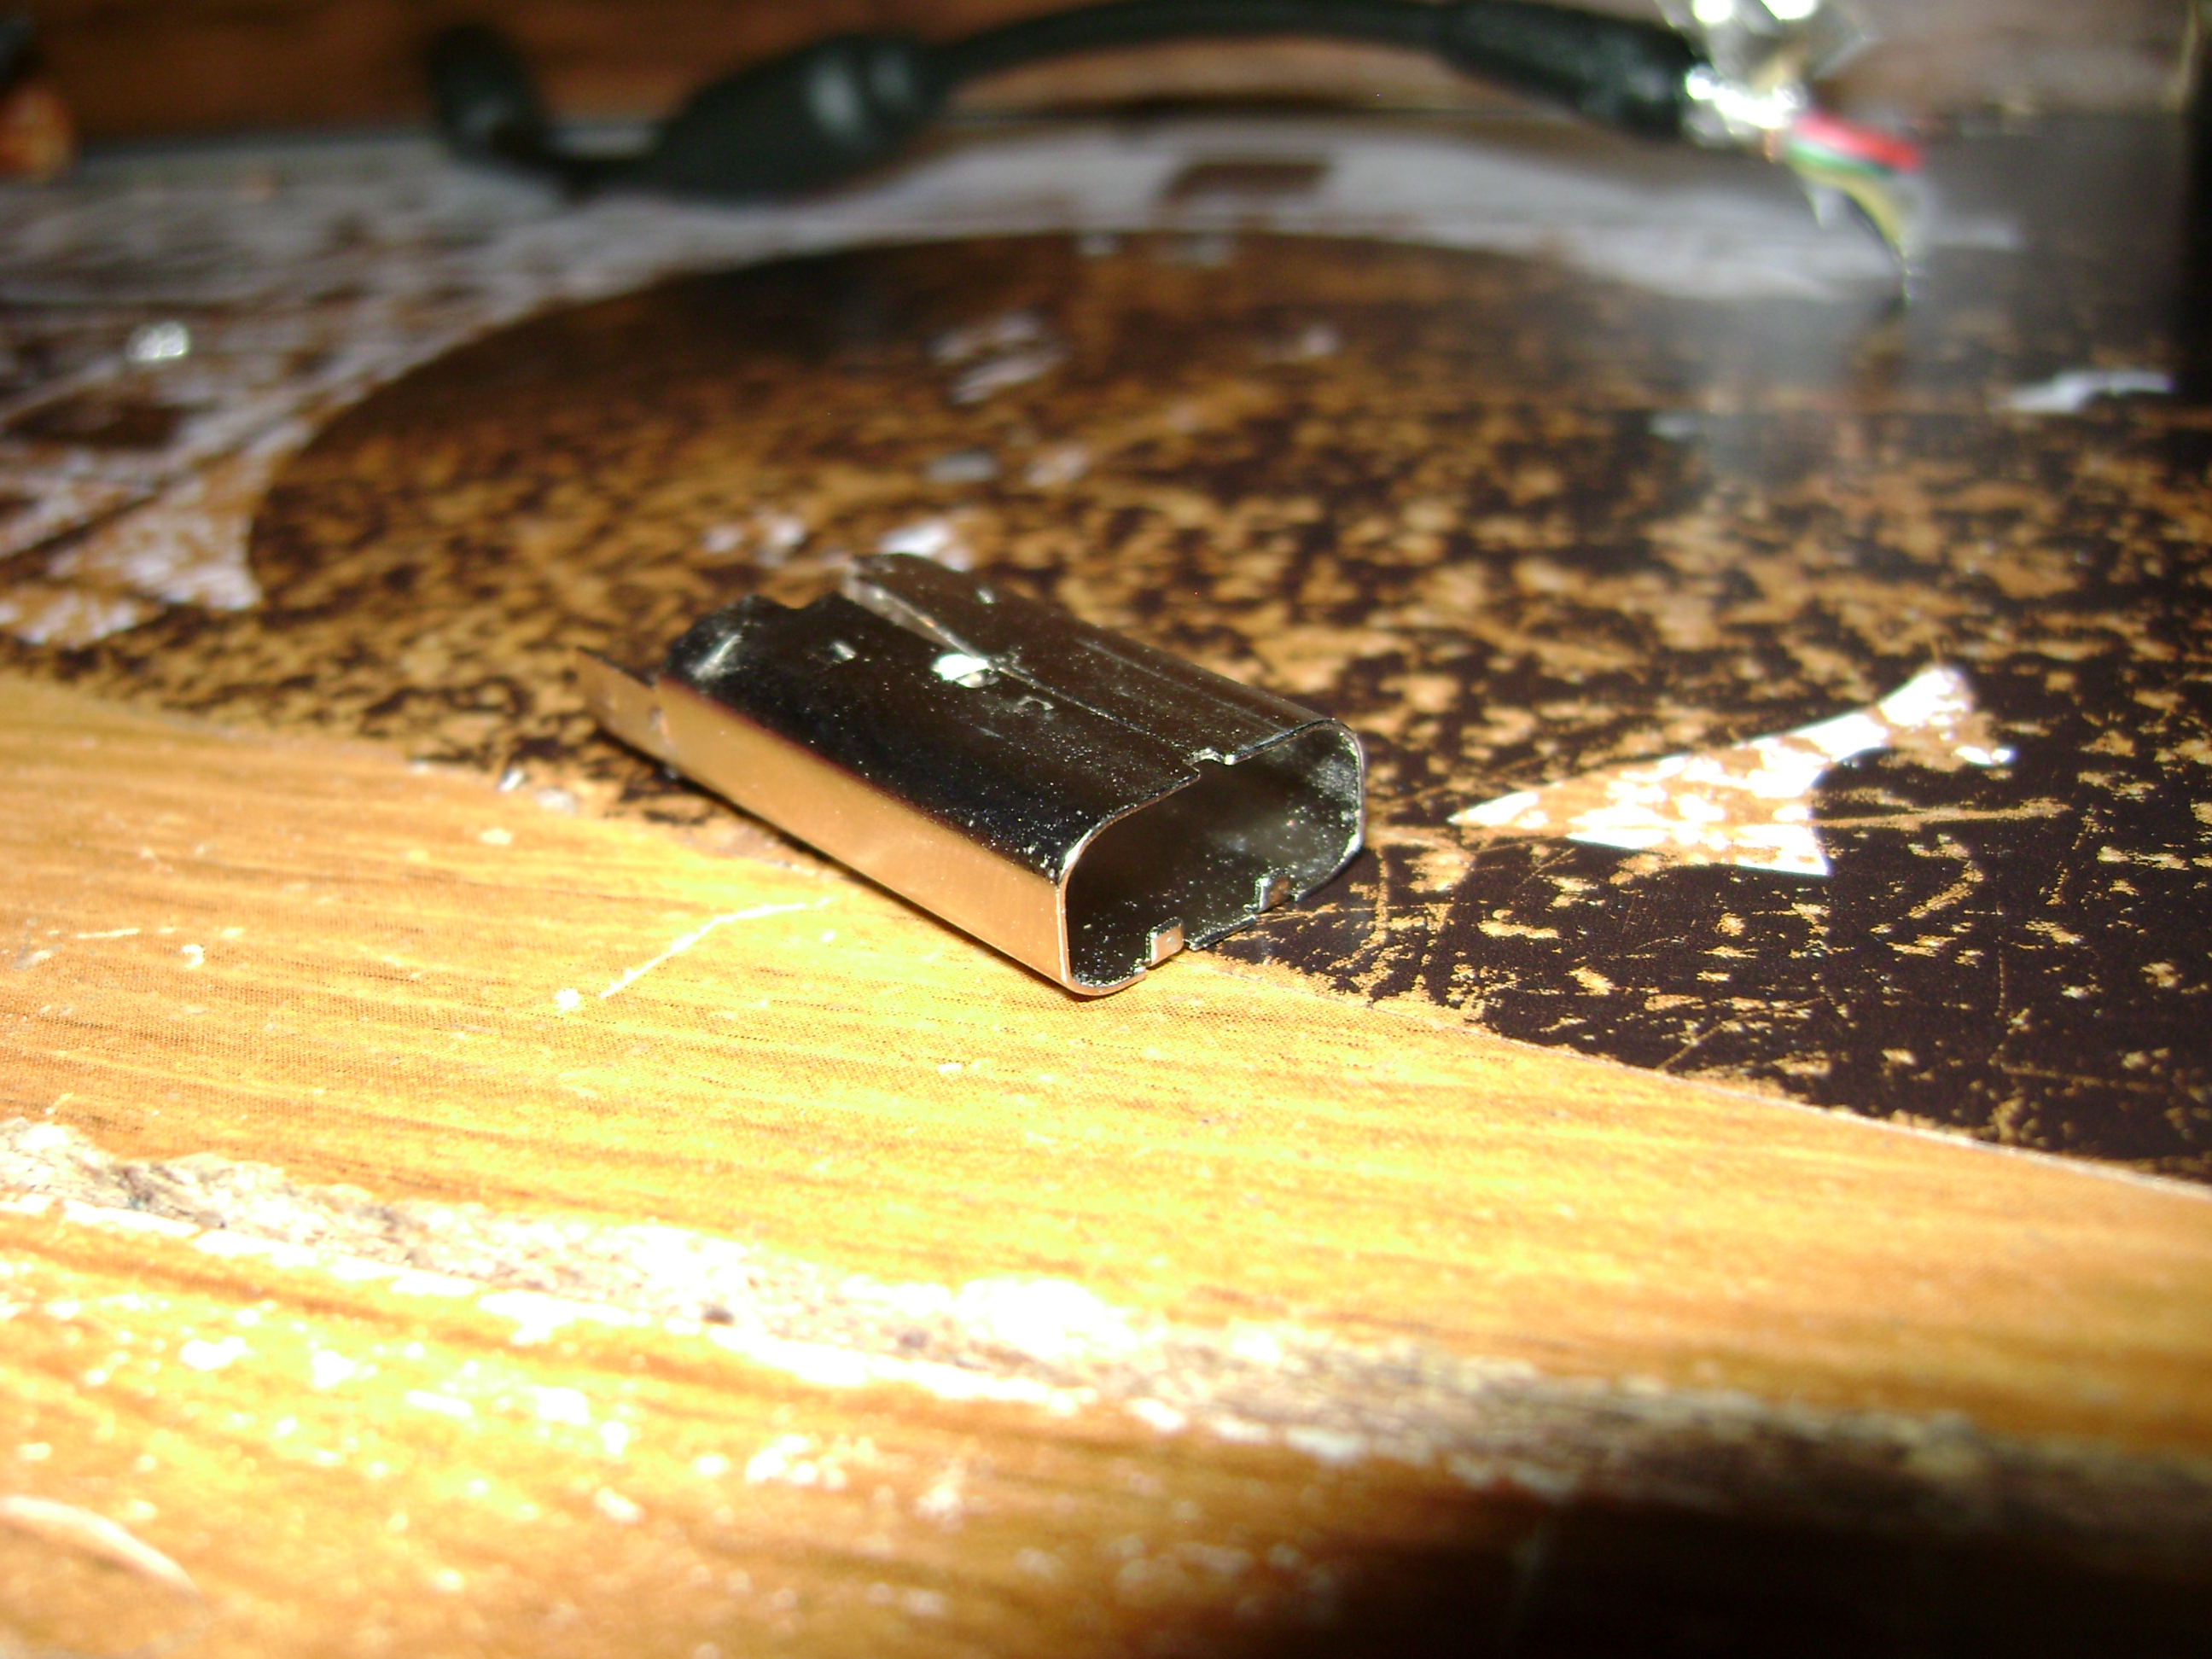
Slide It Out.
Now, simply grasp the black insides with one hand, and the metal casing with the other, and pull. it should slide out very easily. If not, push it from the other end with the screwdriver.
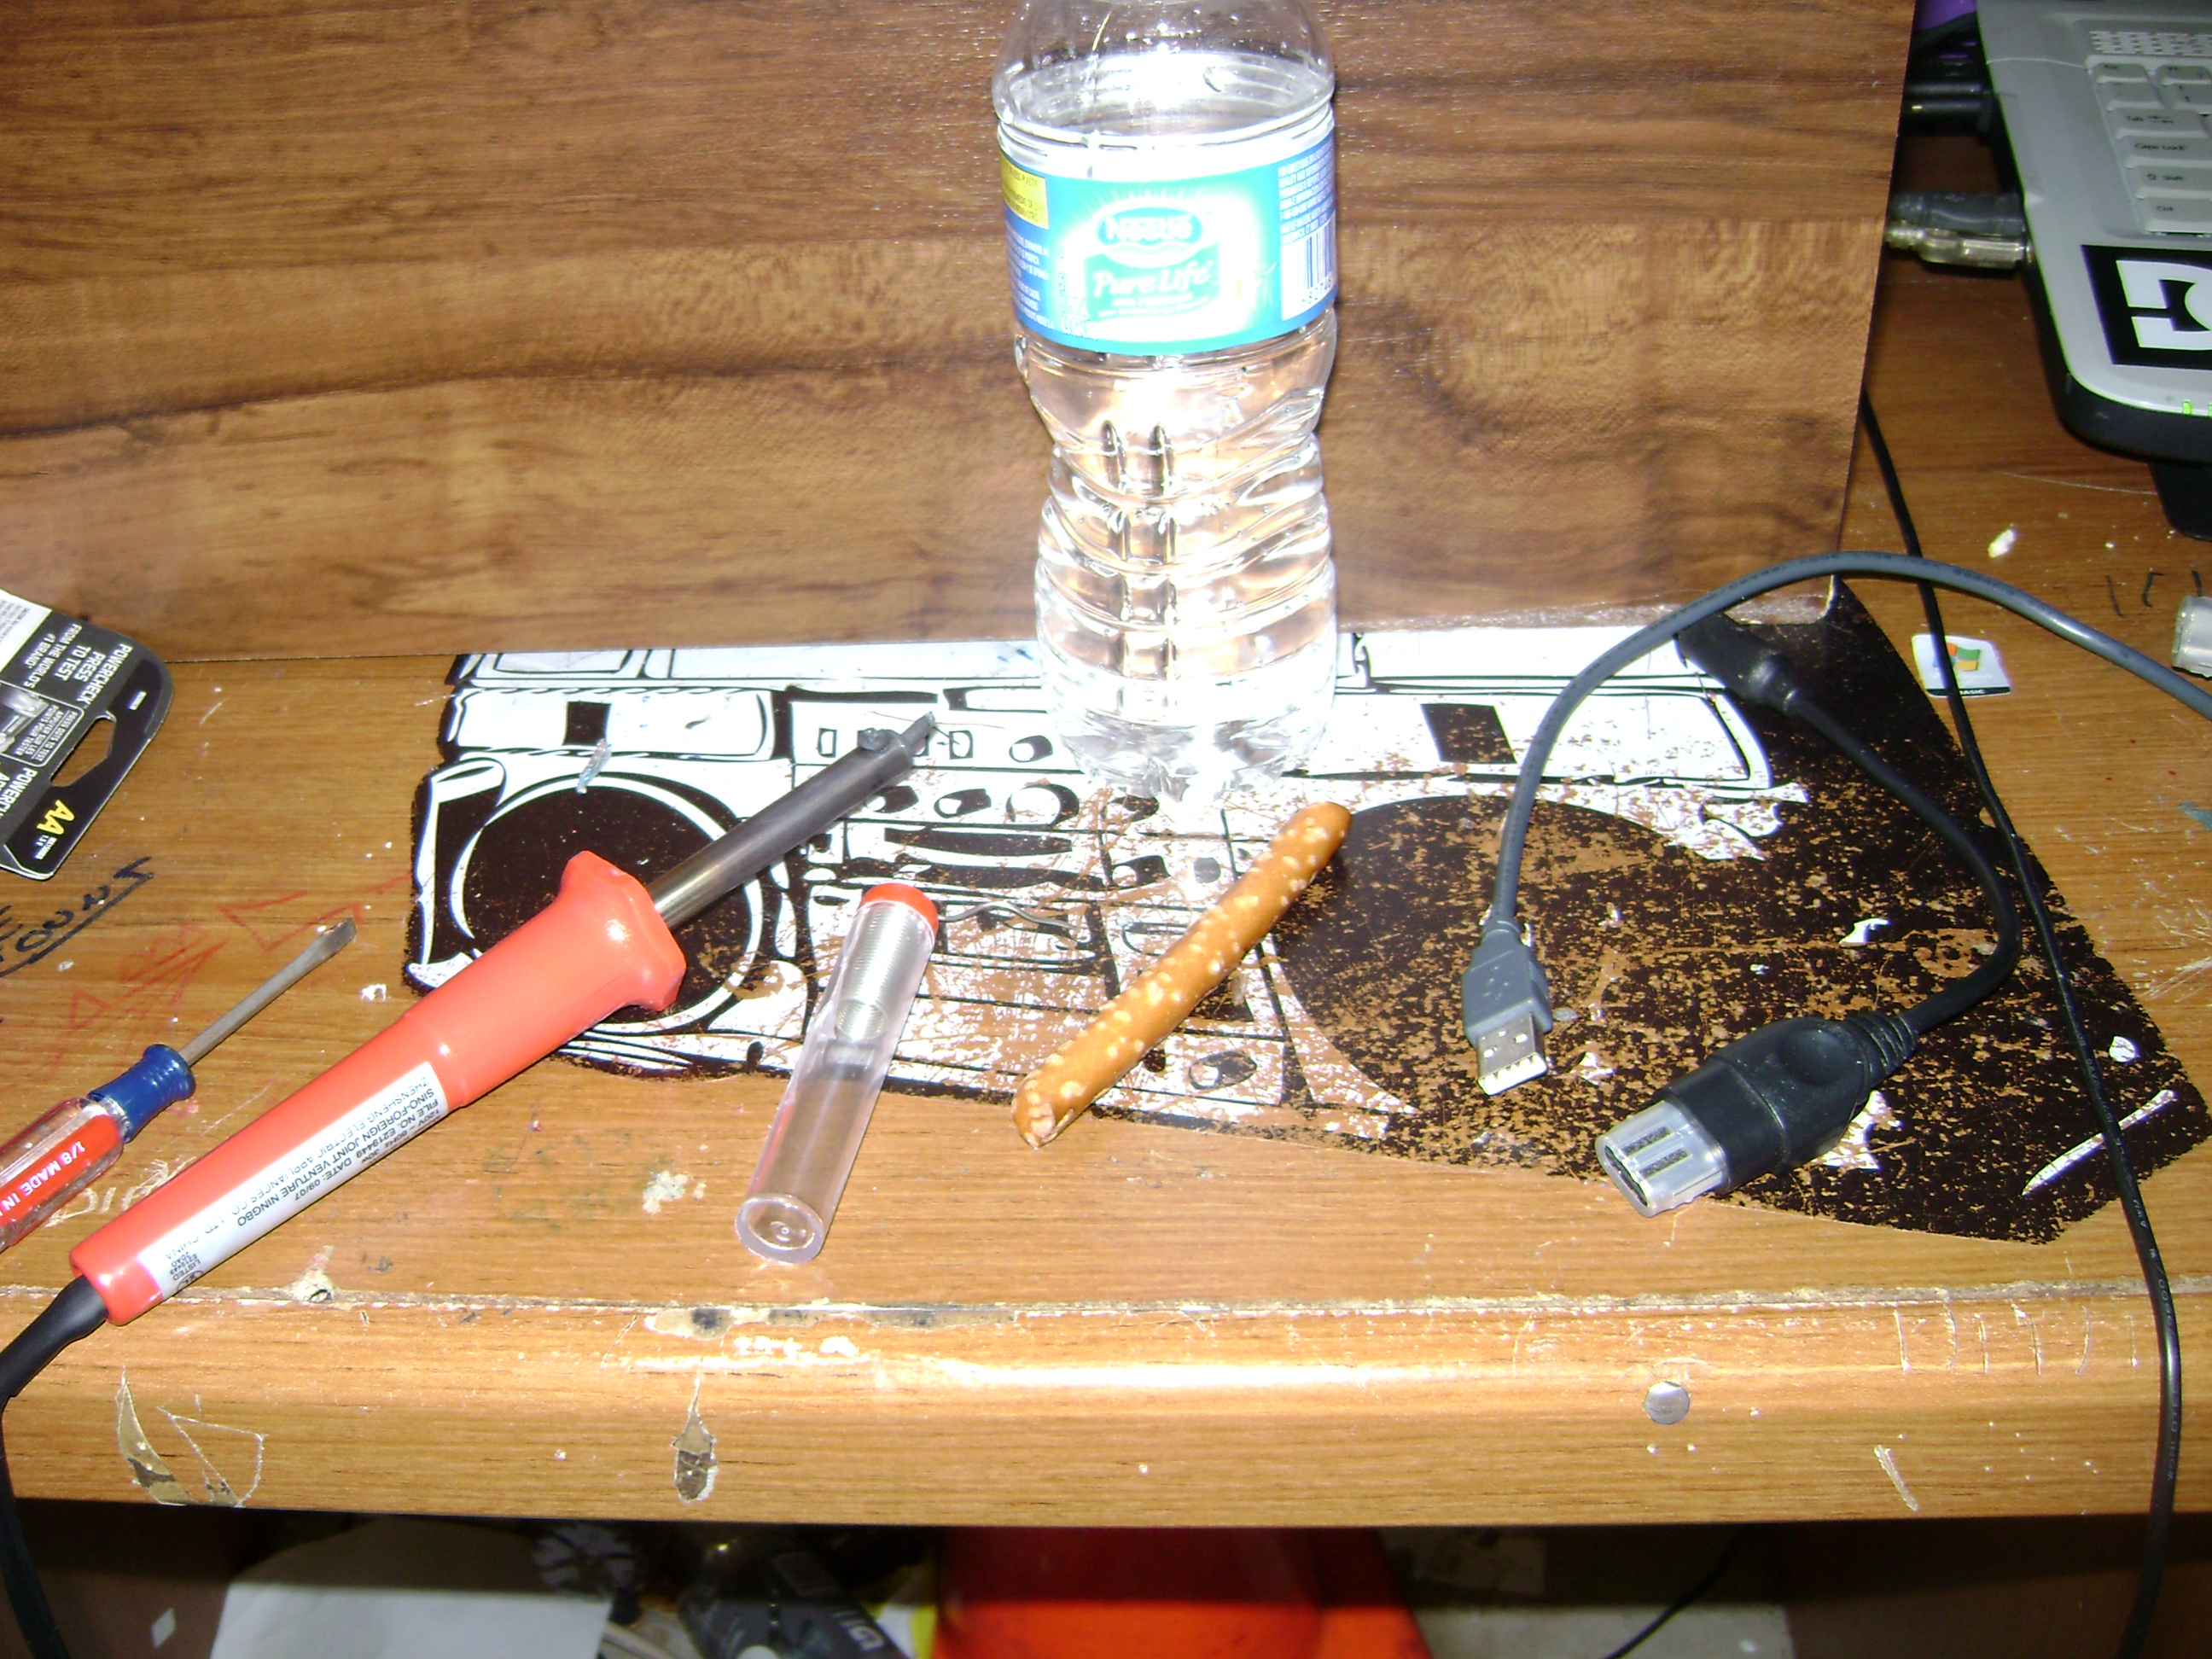
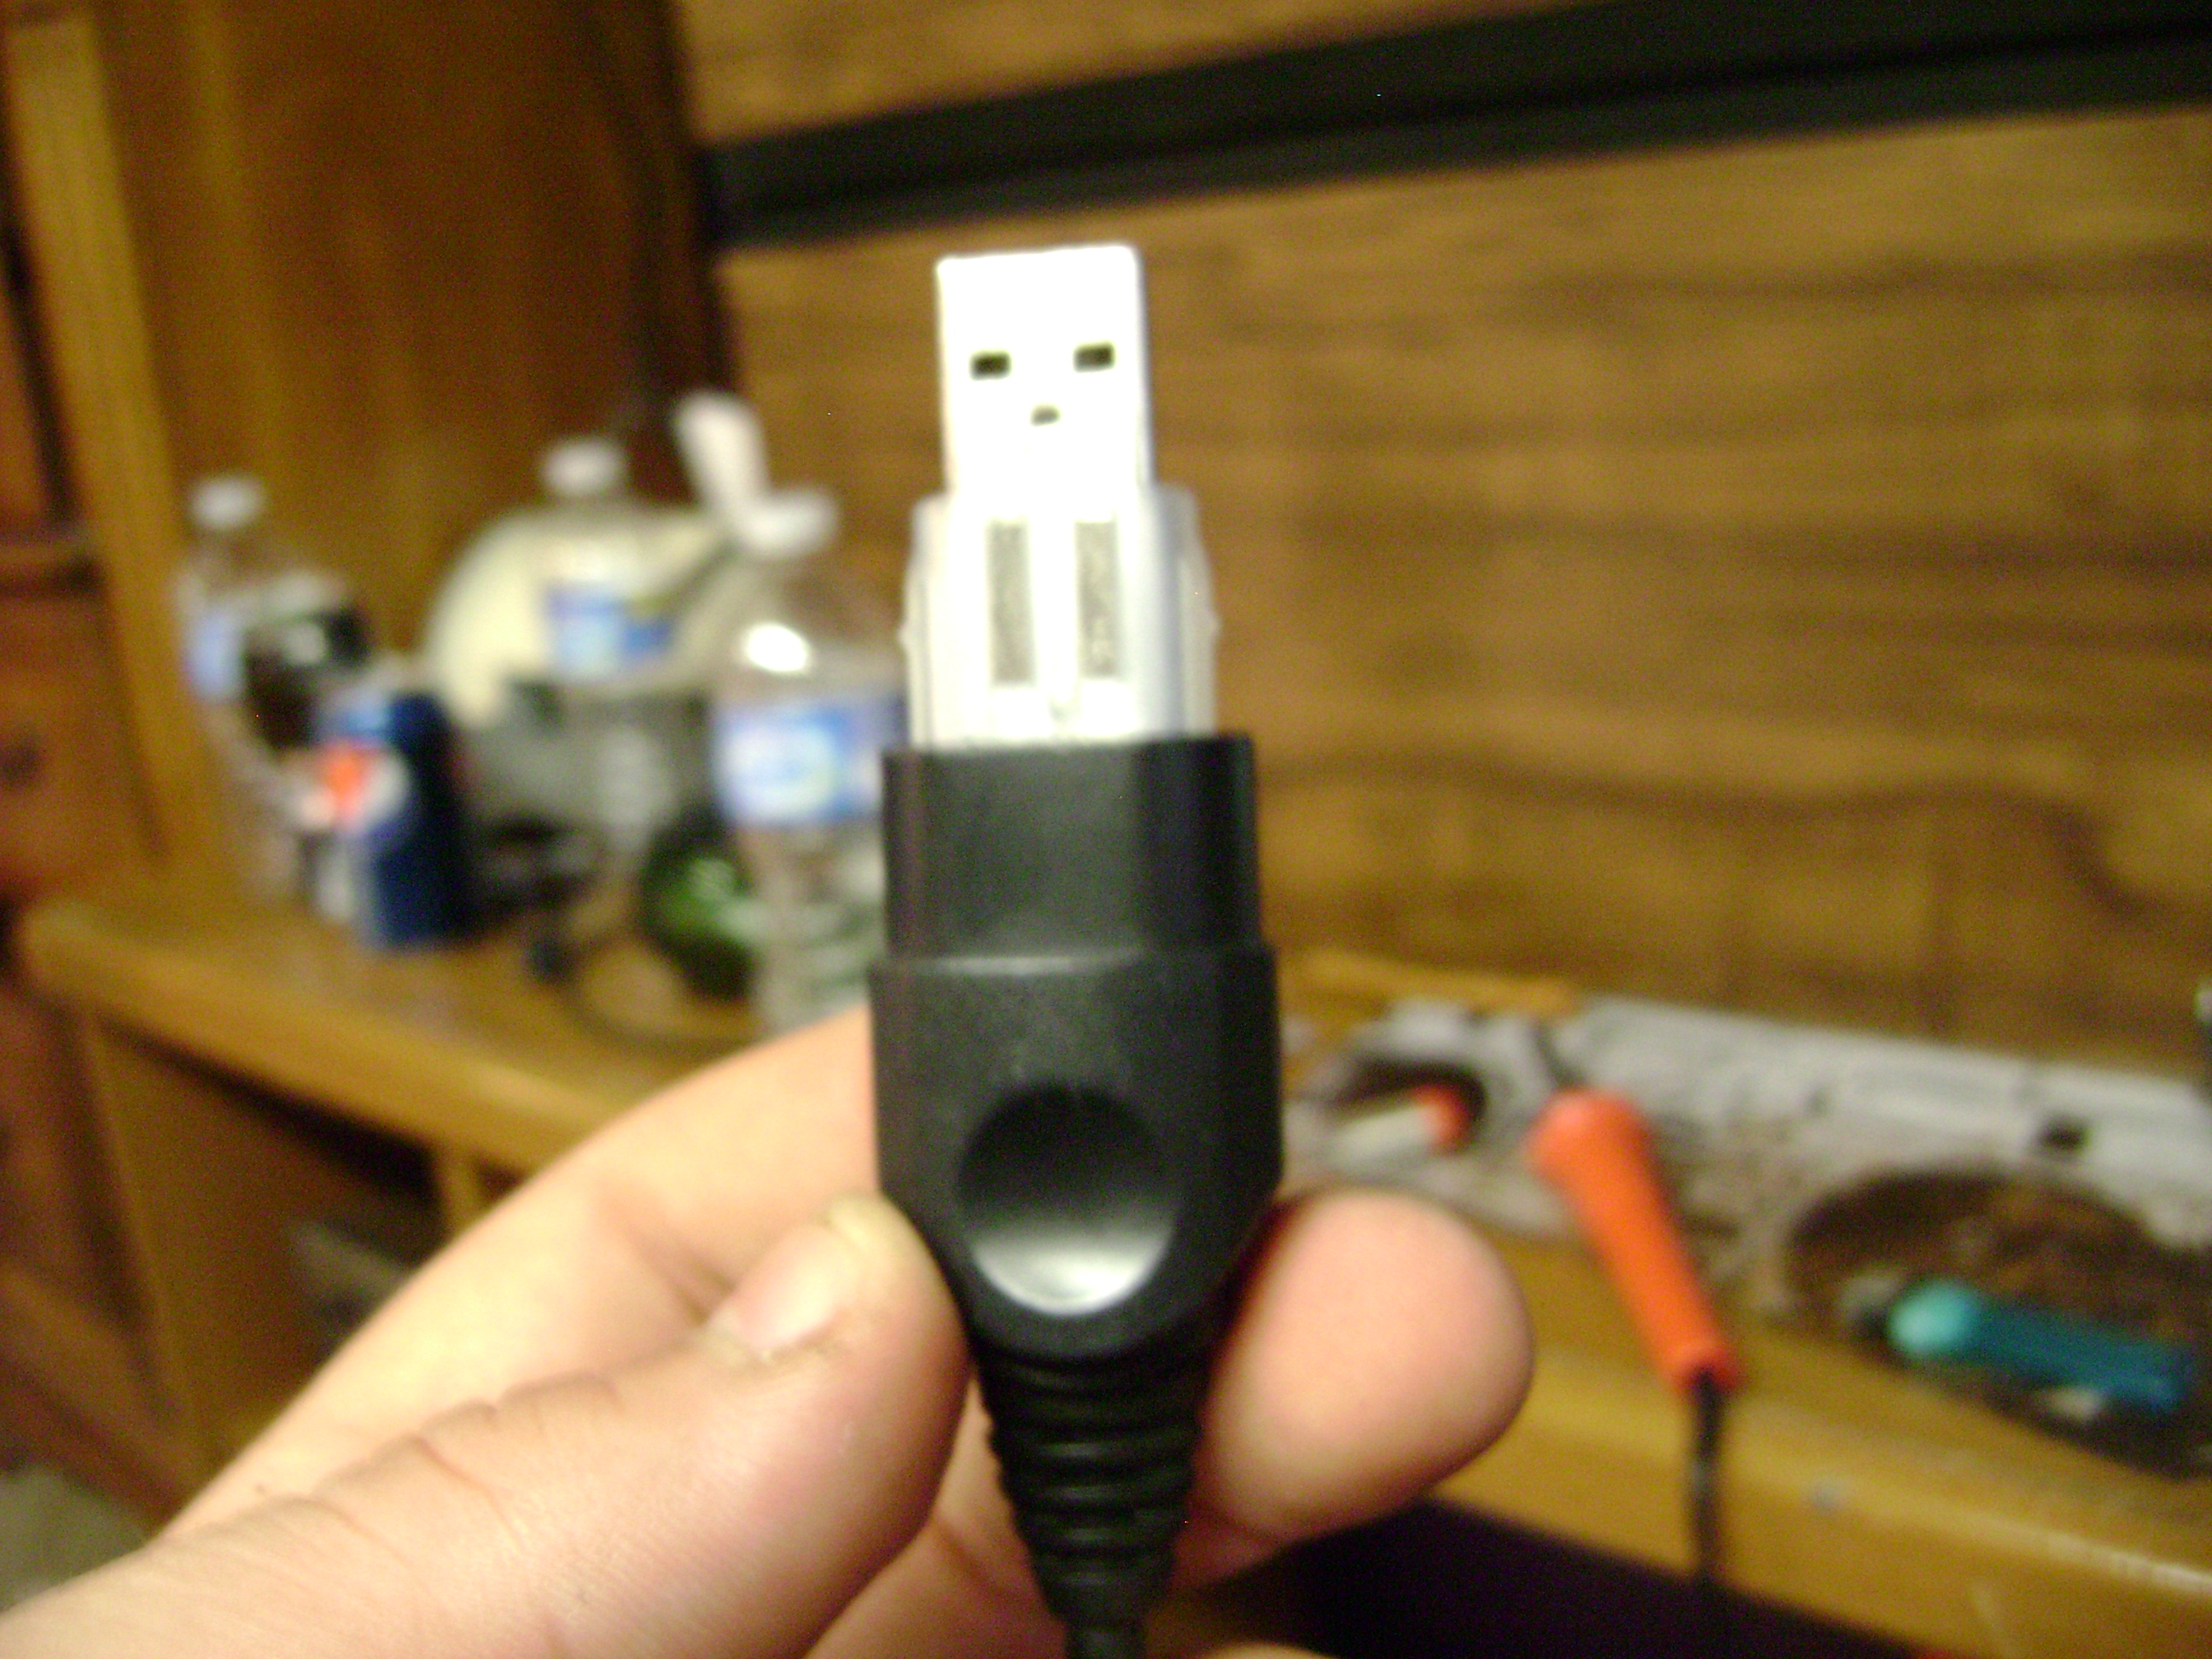
Now, to the USB
Go ahead and grab your USB male port. You're going to need to cut away at the rubber case to reveal solid metal. If the cover is solid, just pry it apart carefully. You can also cut away at the rubber that is left on the bottom for a better fit in the following steps. Tagged in the picture.
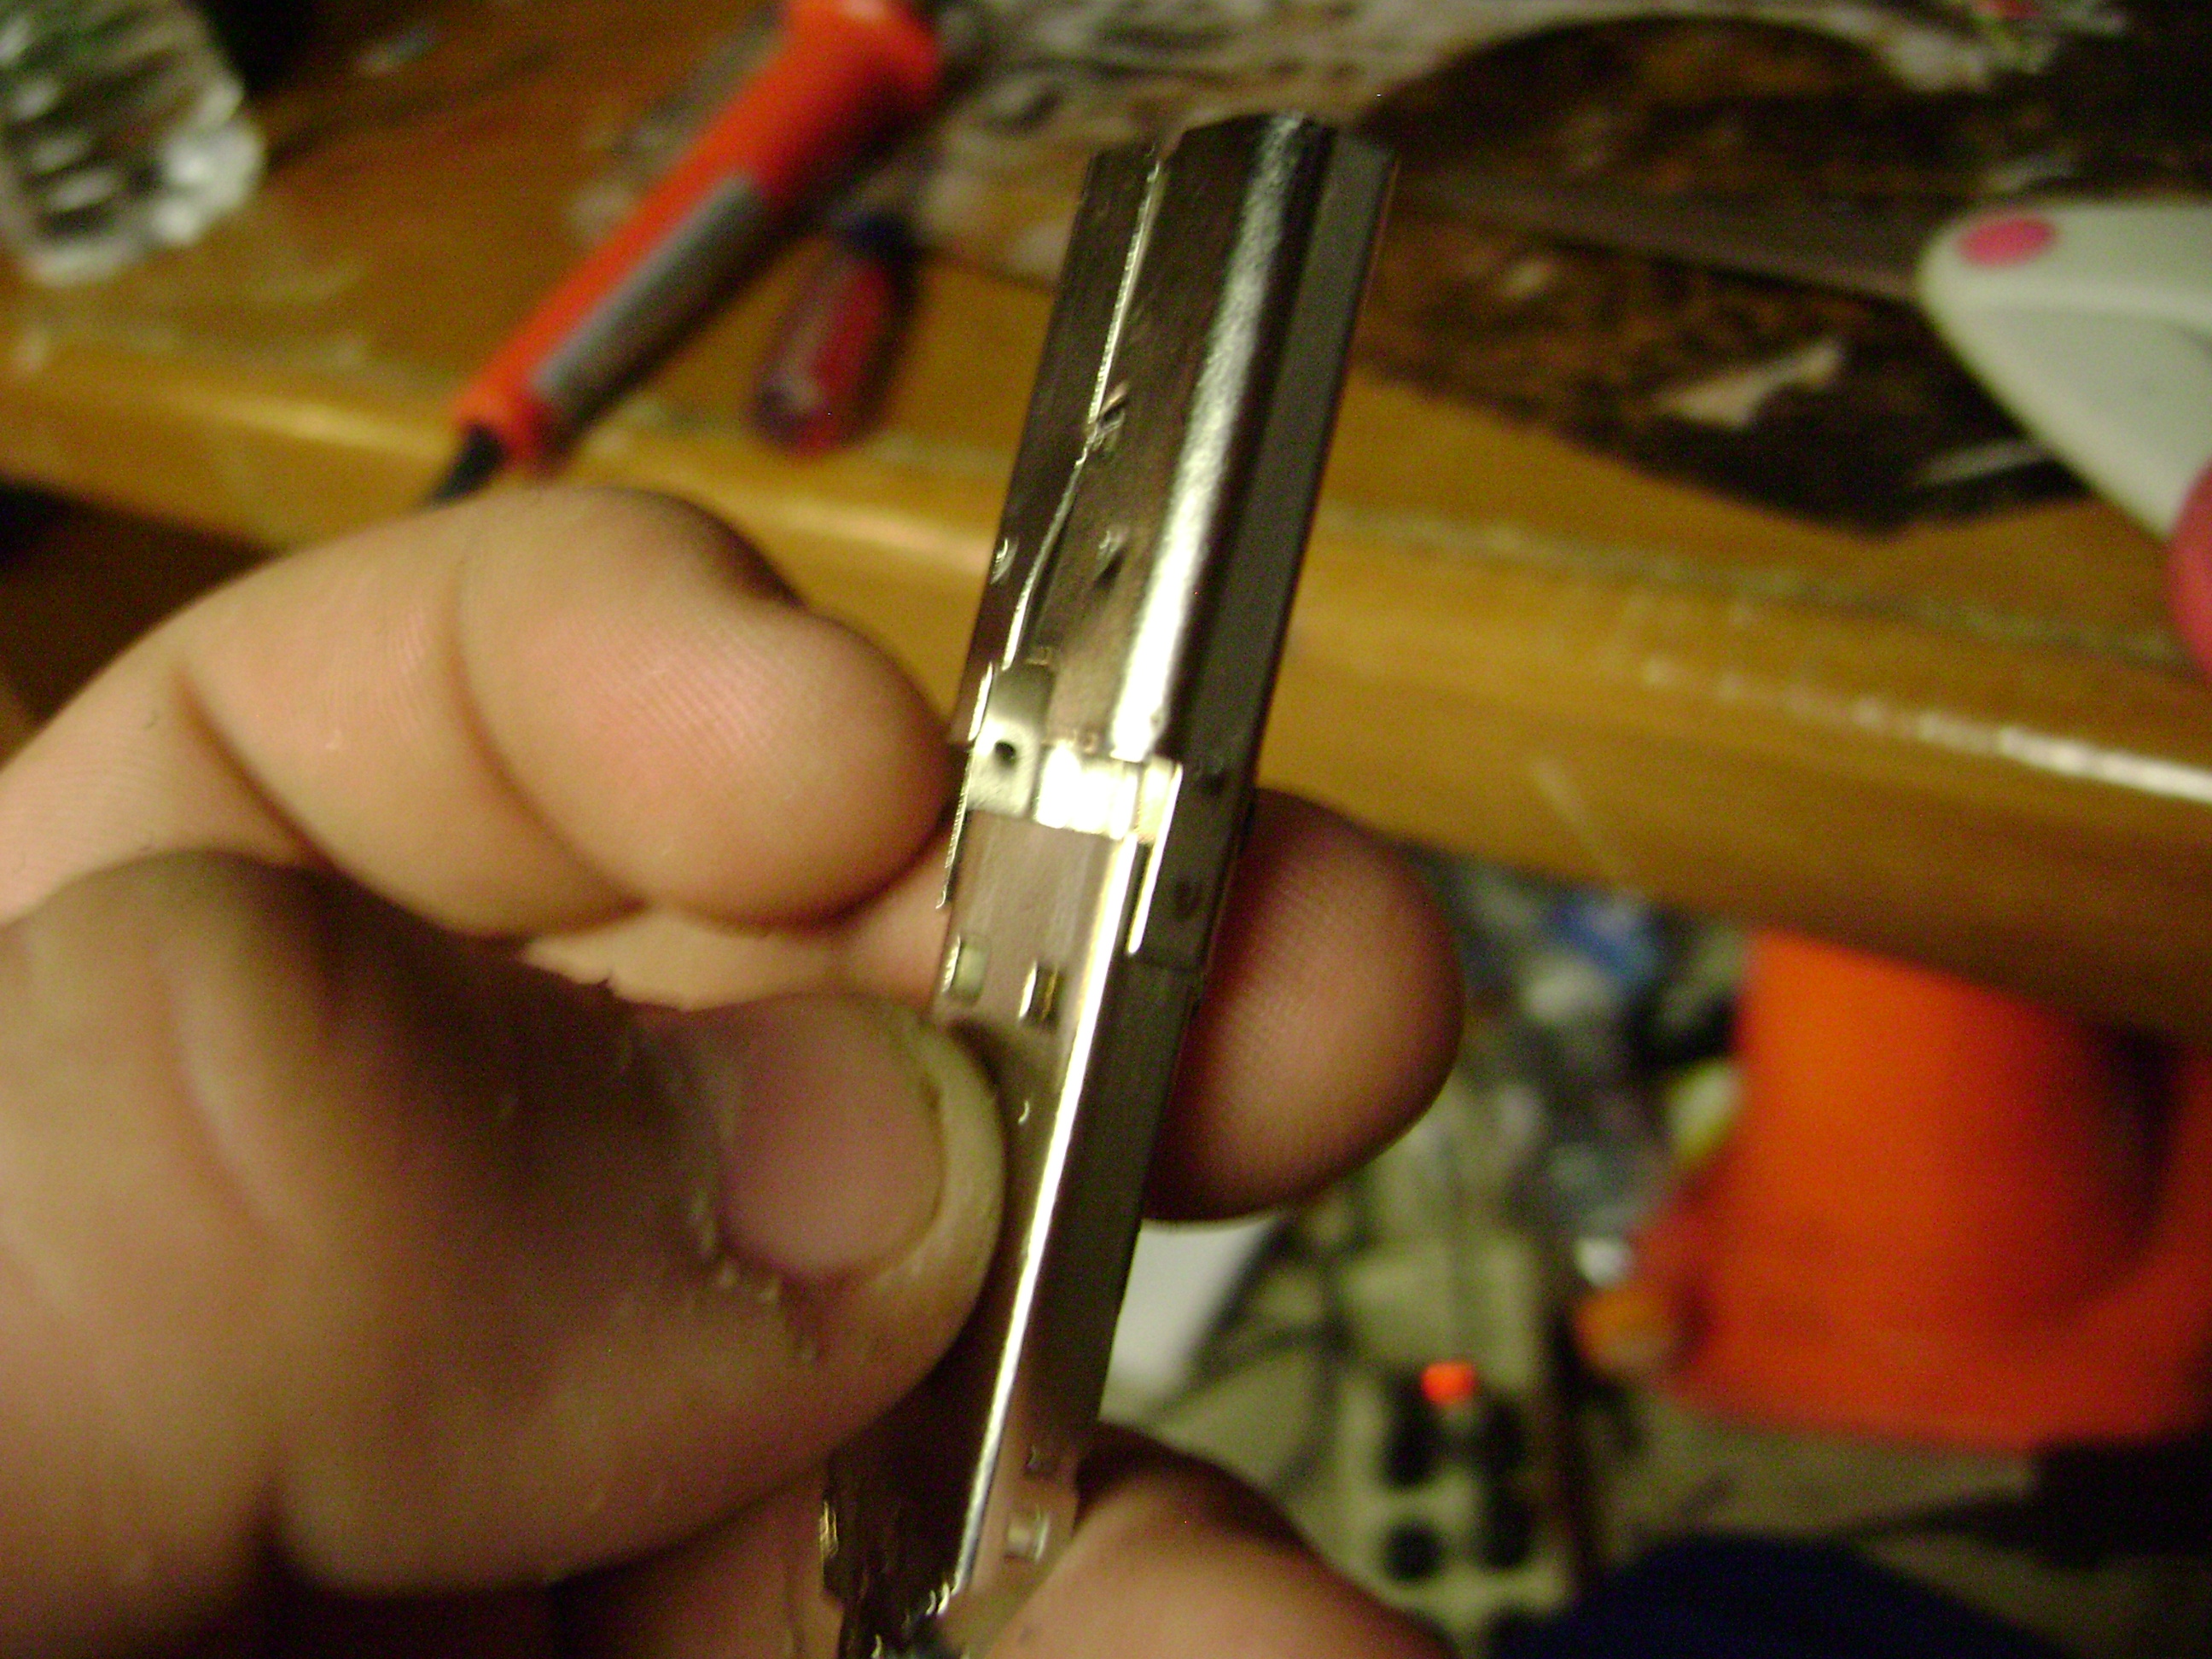
Damn Tabs...
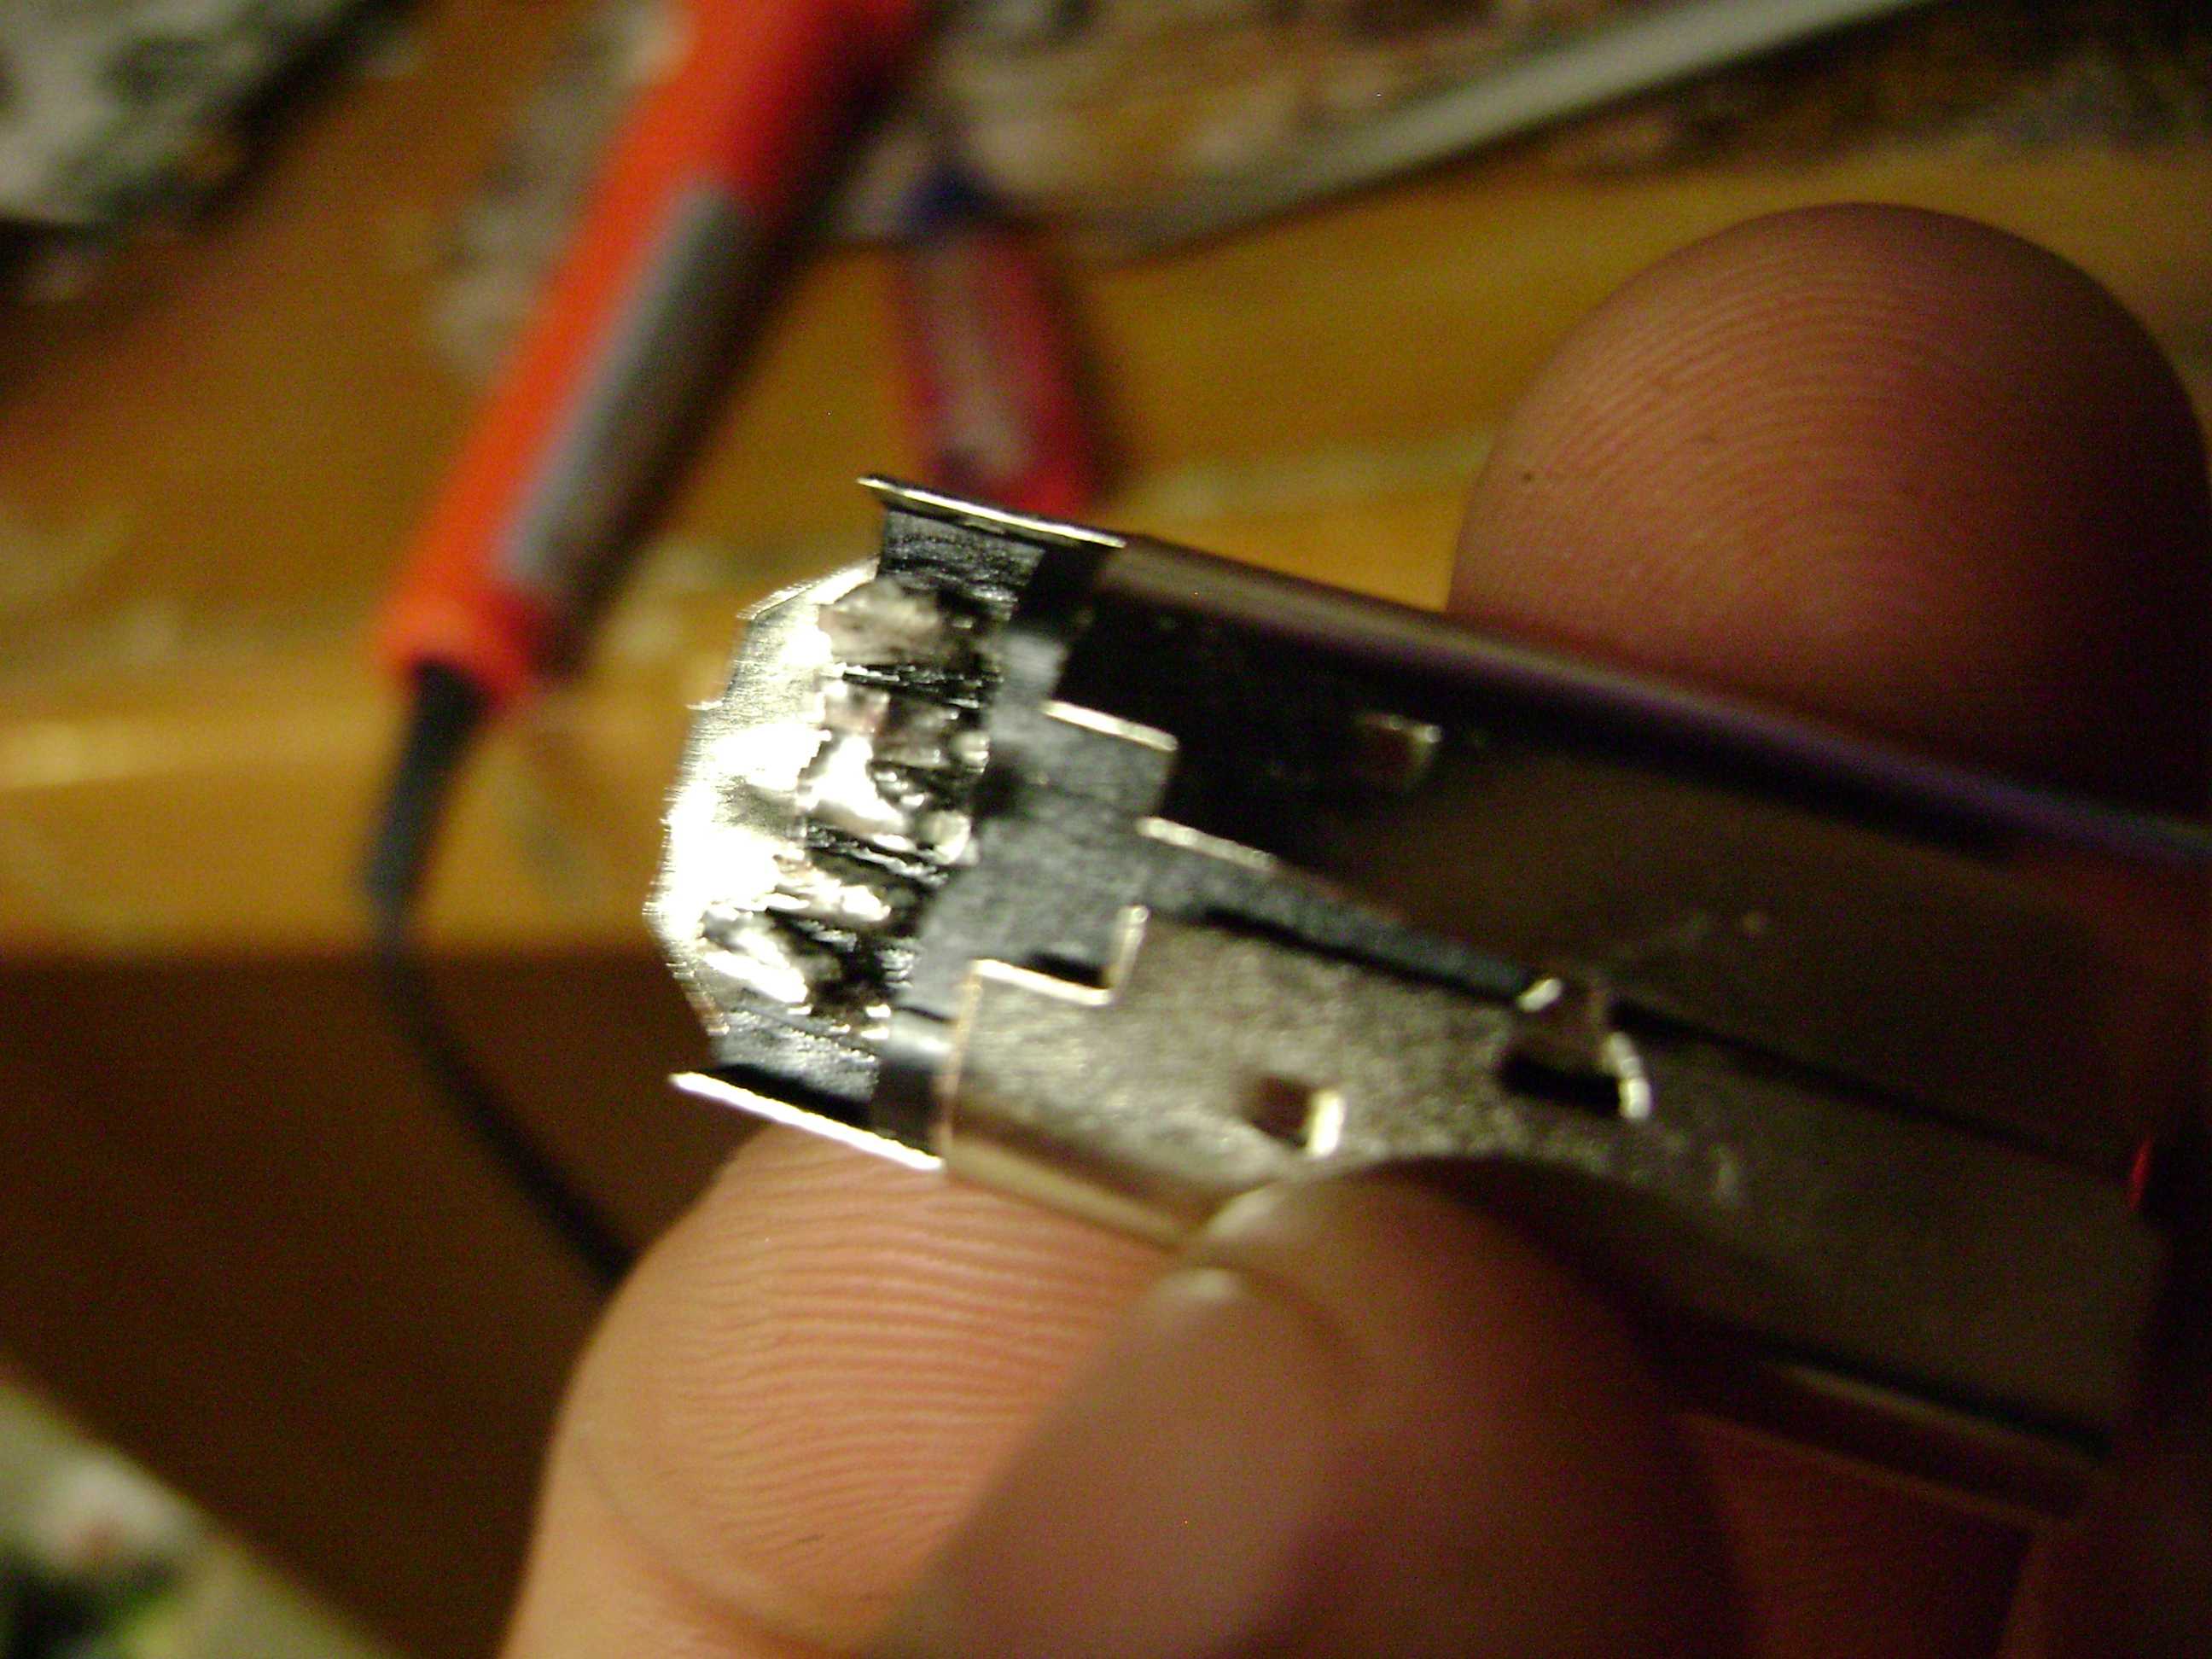
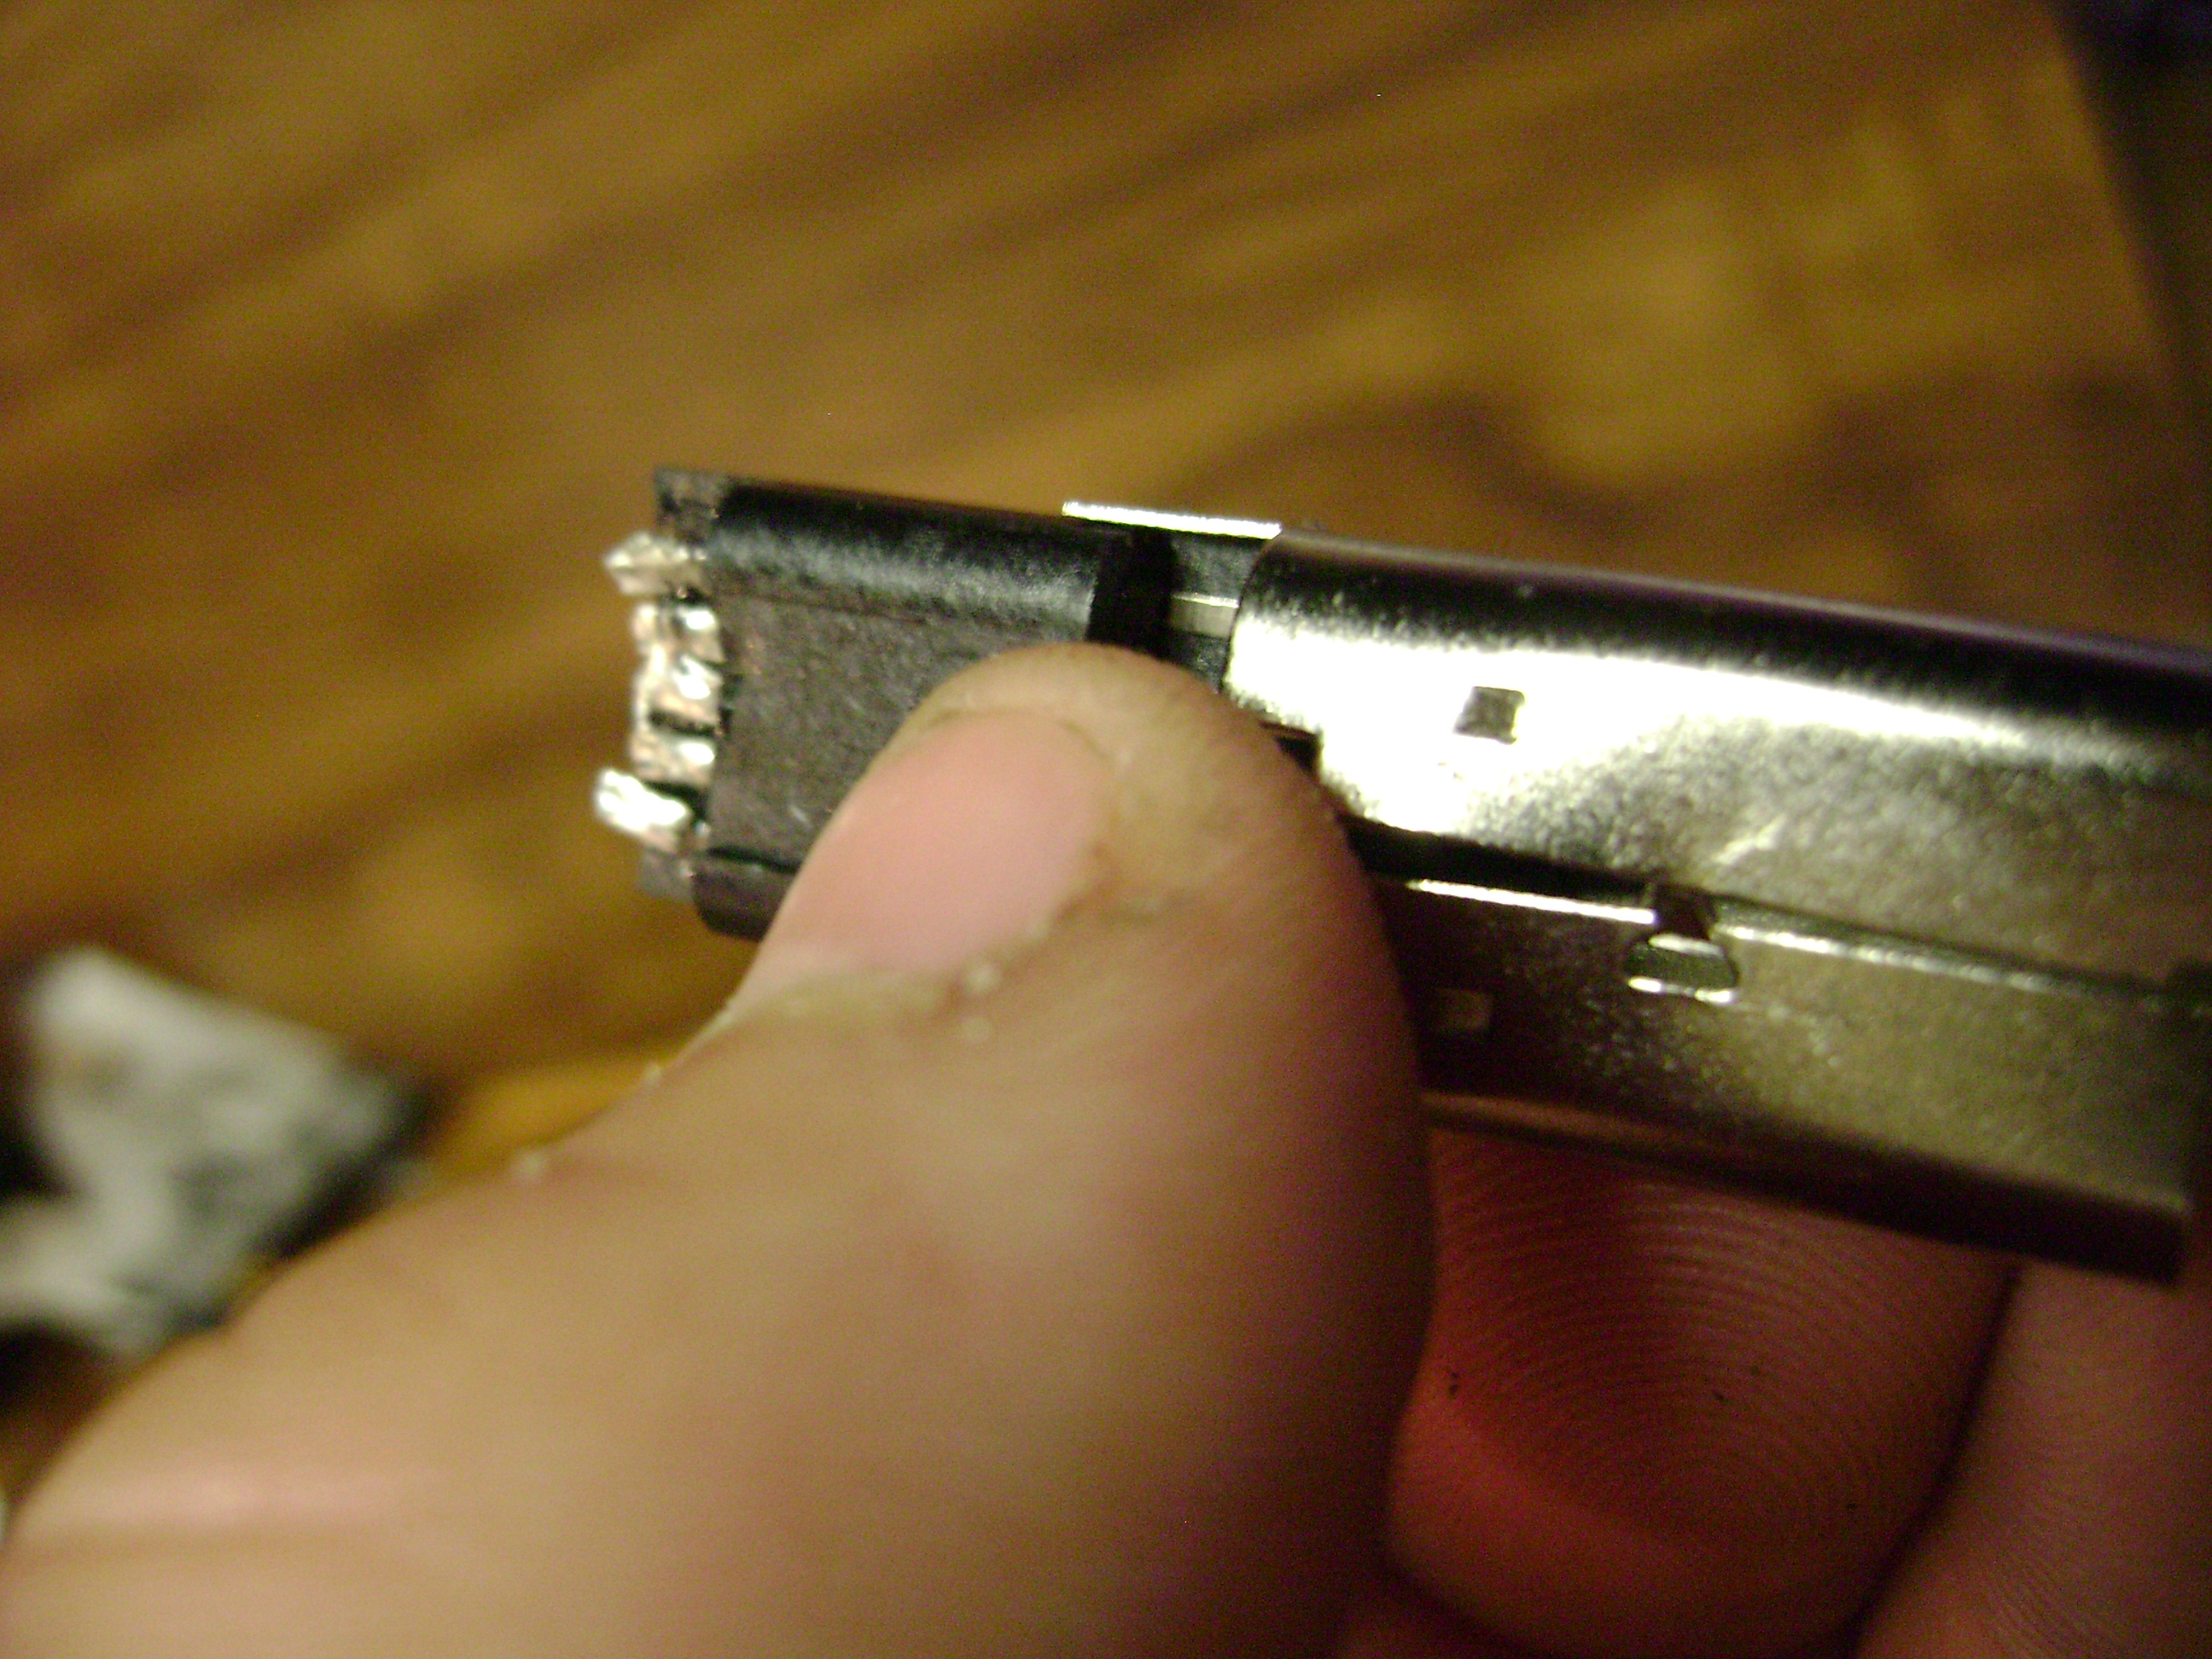
Go ahead and grab the metal casing for the Xbox dongle. You see those two tabs? they gotta go. They need to come off, for they will be in the way, if they're just bent onto either side.
Merging the Two...
Now, grab the now bare usb male port. Also, grab the bare Xbox dongle shielding. Go ahead and slide the USB into the Xbox dongle. Make sure it's the right way: Once all the way in, the actual port will be on the side that the tabs were. Check out the tags in the picture.
Some Touchups

Now that the USB port and the Xbox dongle are merged, use your pliers or hammer to flatten the two sides that you previously pried up in step 6. Then, take your Hot glue gun and glue the bottom of the USB port to the Xbox dongle shielding. The USB port have some play, but don't worry, that will be fixed later. Don't do any extra gluing!
Now, Reassembly
Go ahead and grab the white/transparent plastic thing you took of in step 5. You're going to need to put it back on. It won't at first want to fit over the USB port. You just need to find that "Sweet Spot" and it'll slide right down. Make sure you're putting it on the right way: The bumps in the metal casing need to match up with the "arcs" (for absence of a better word) in the plastic. To be sure it's on right, pull on it, it shouldn't move out of place.
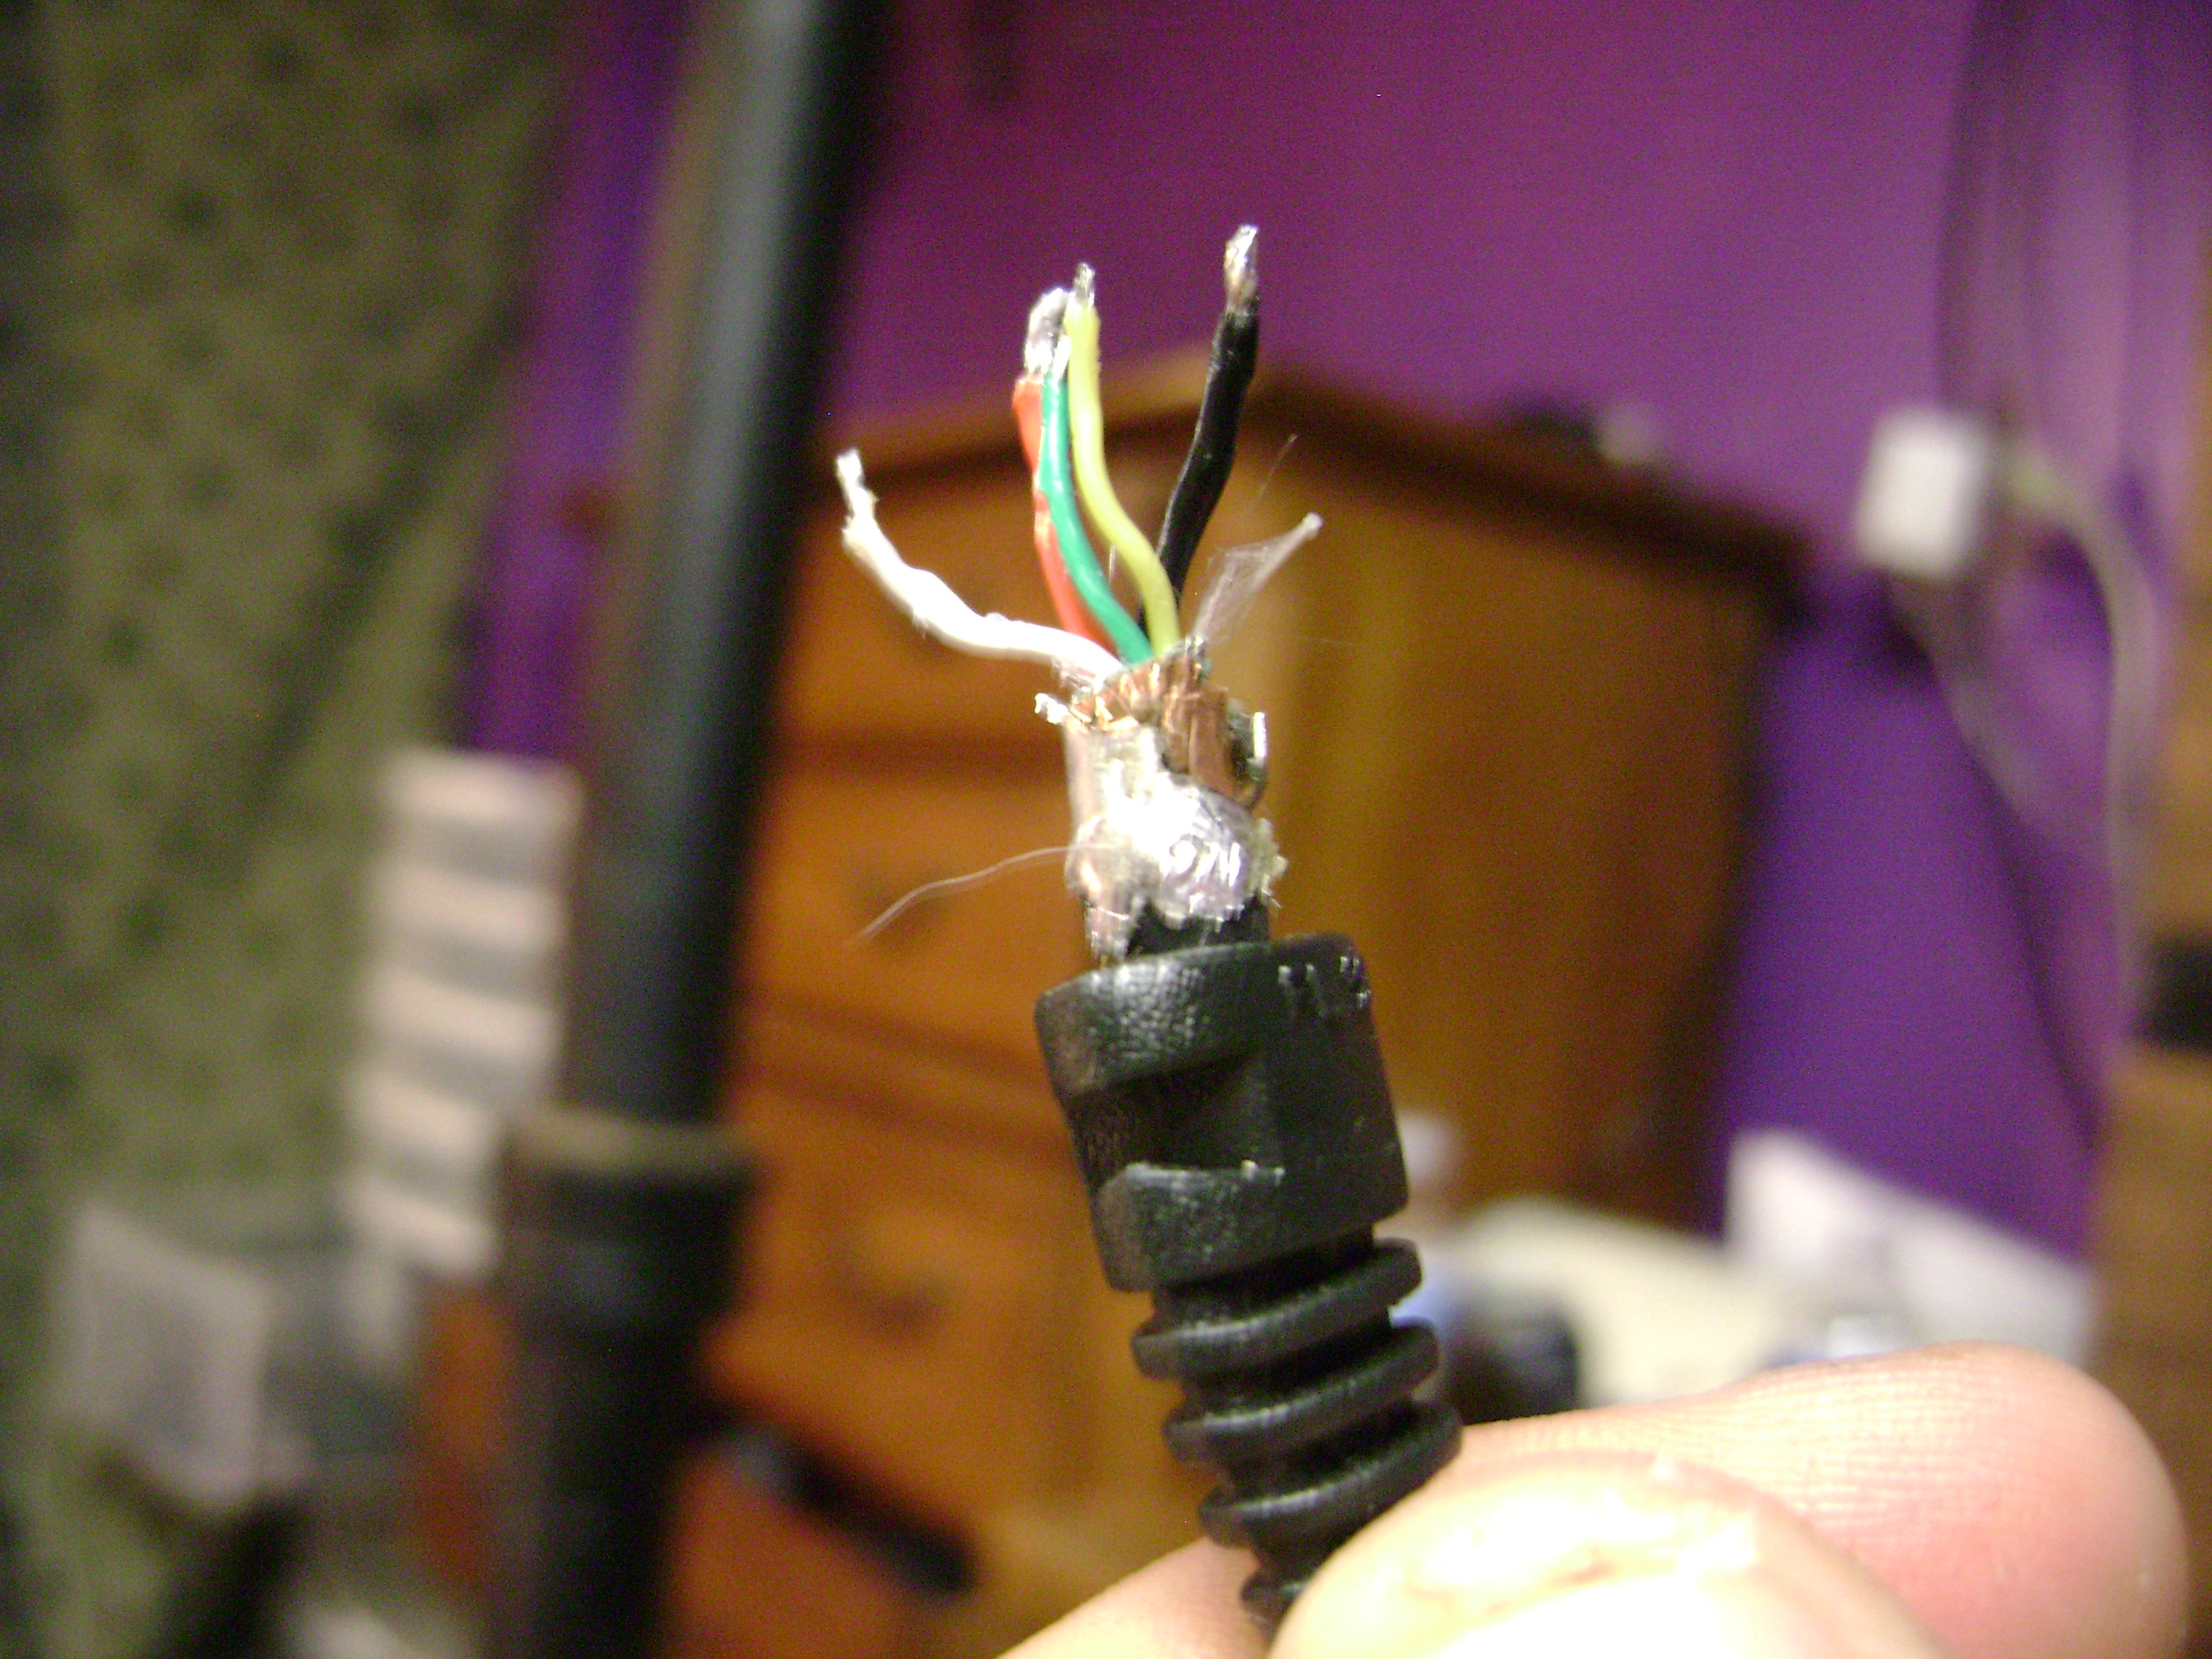
Stripping
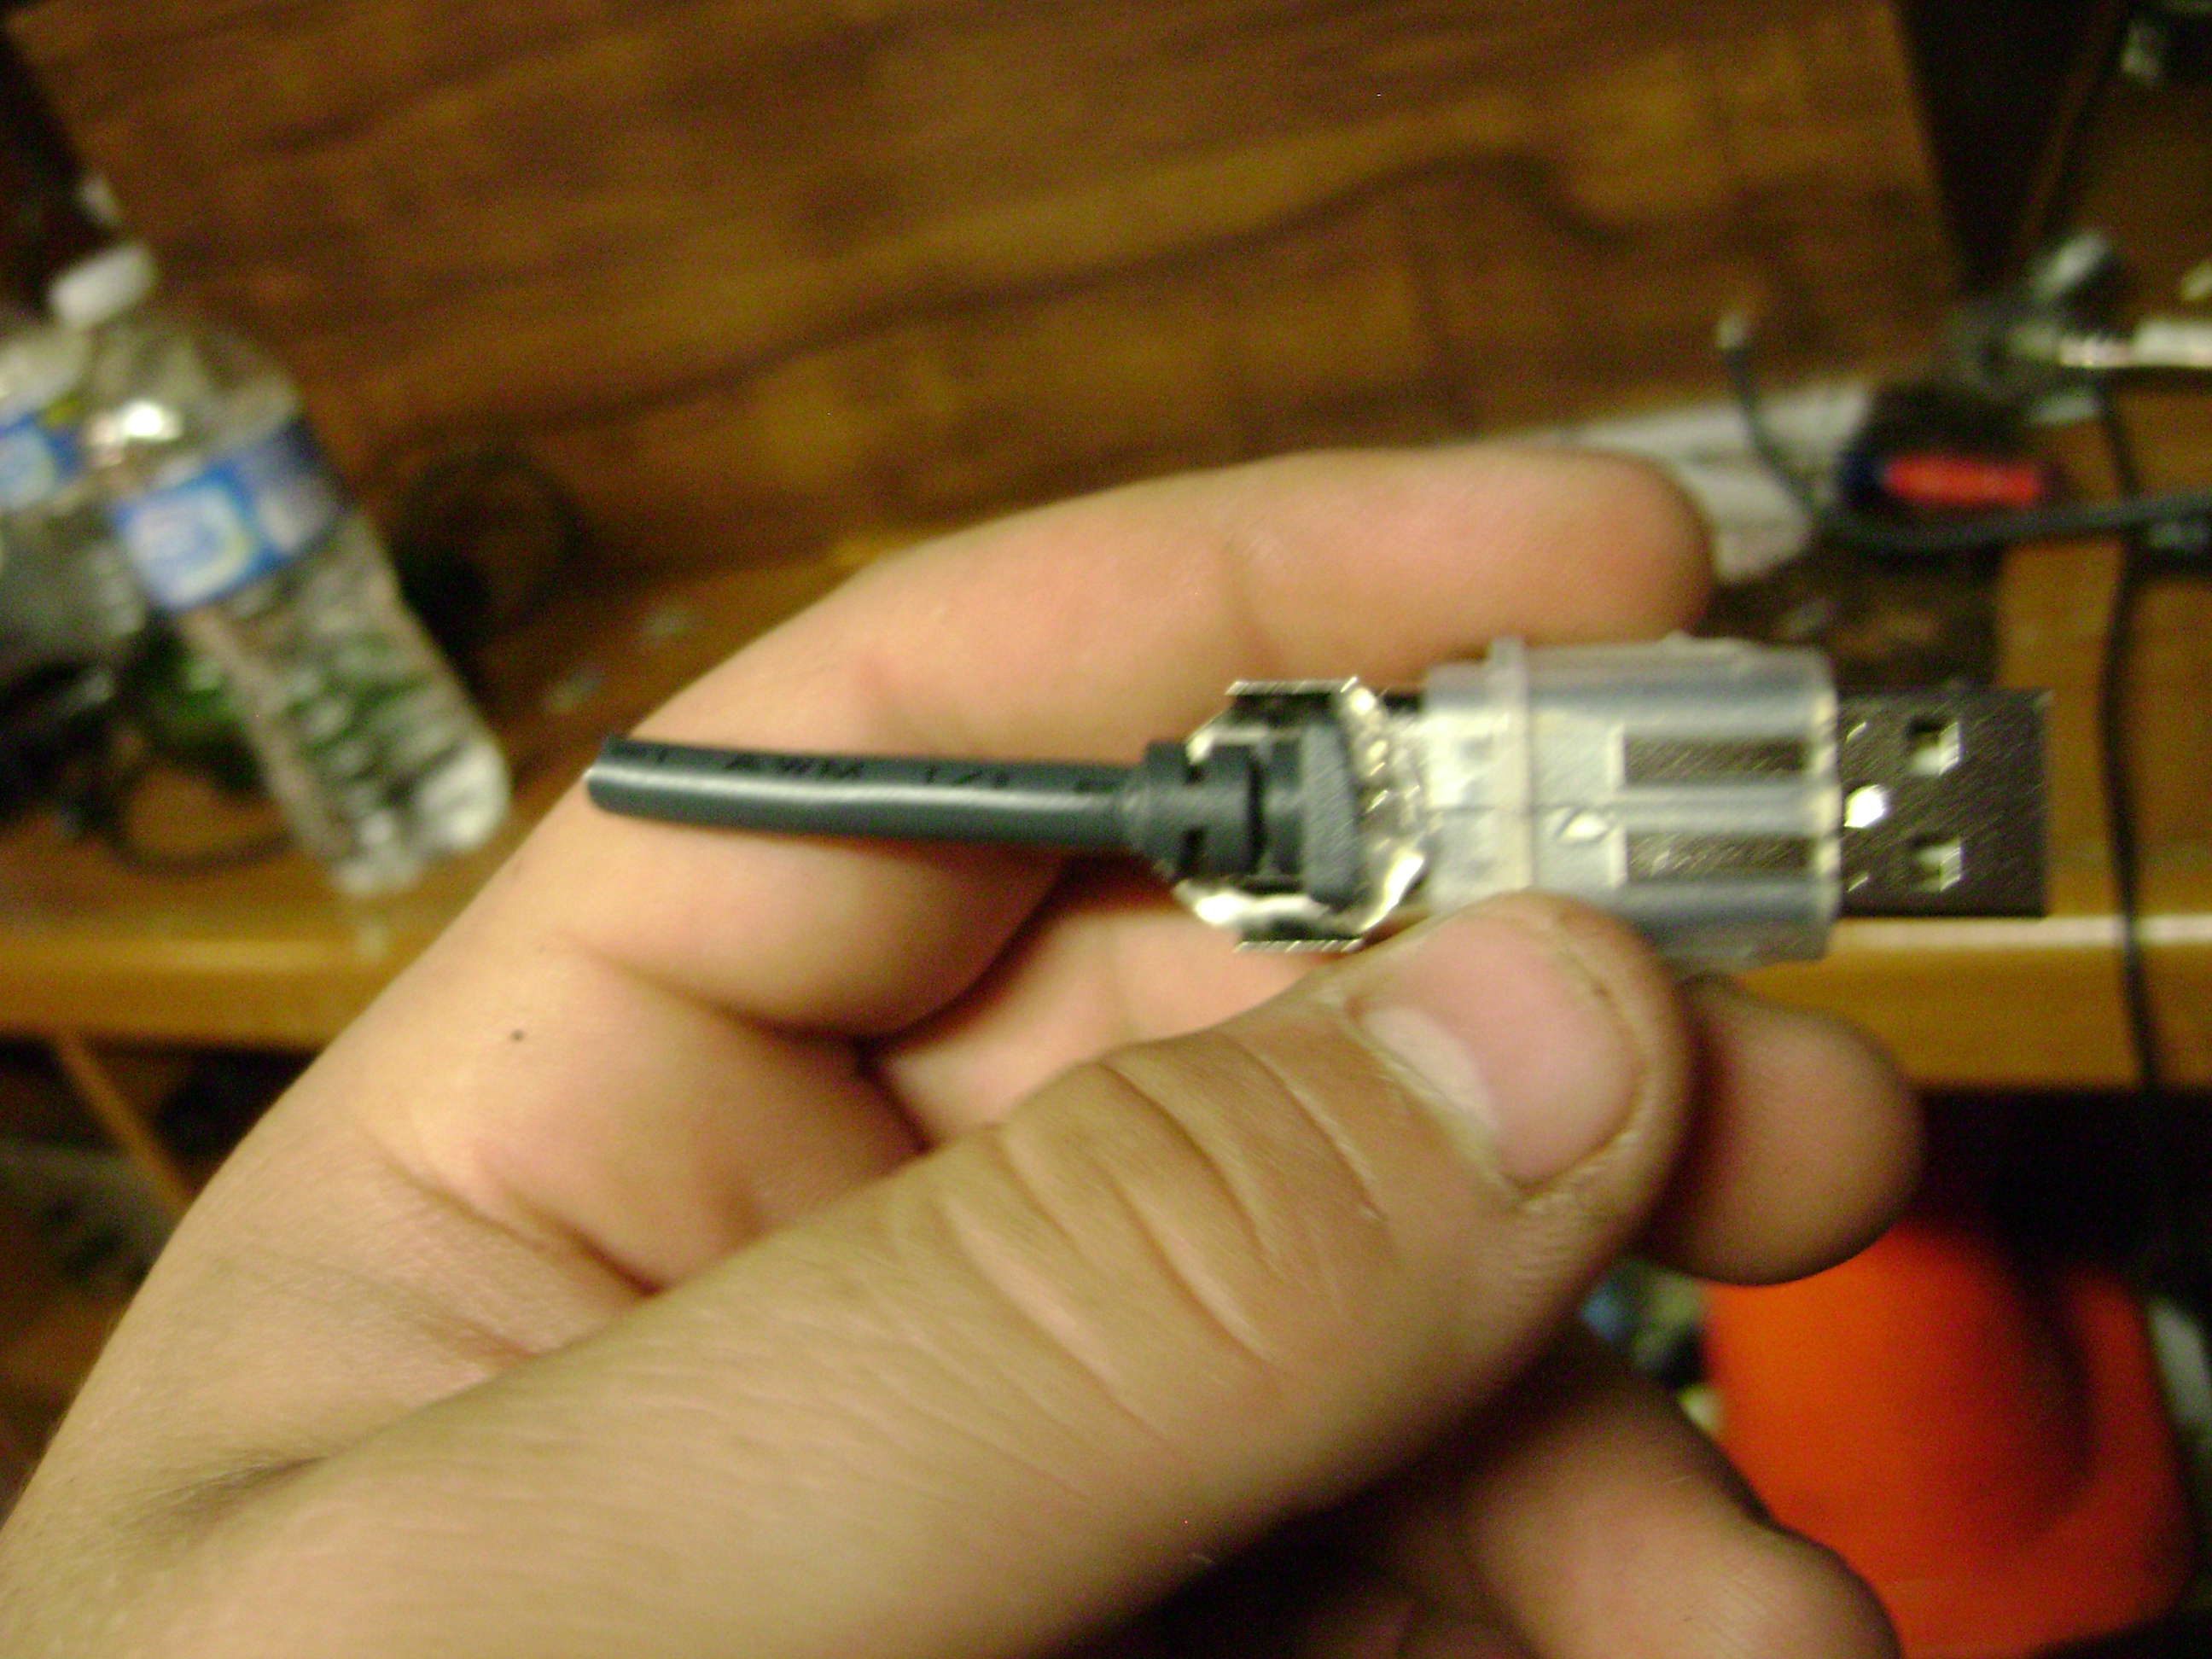
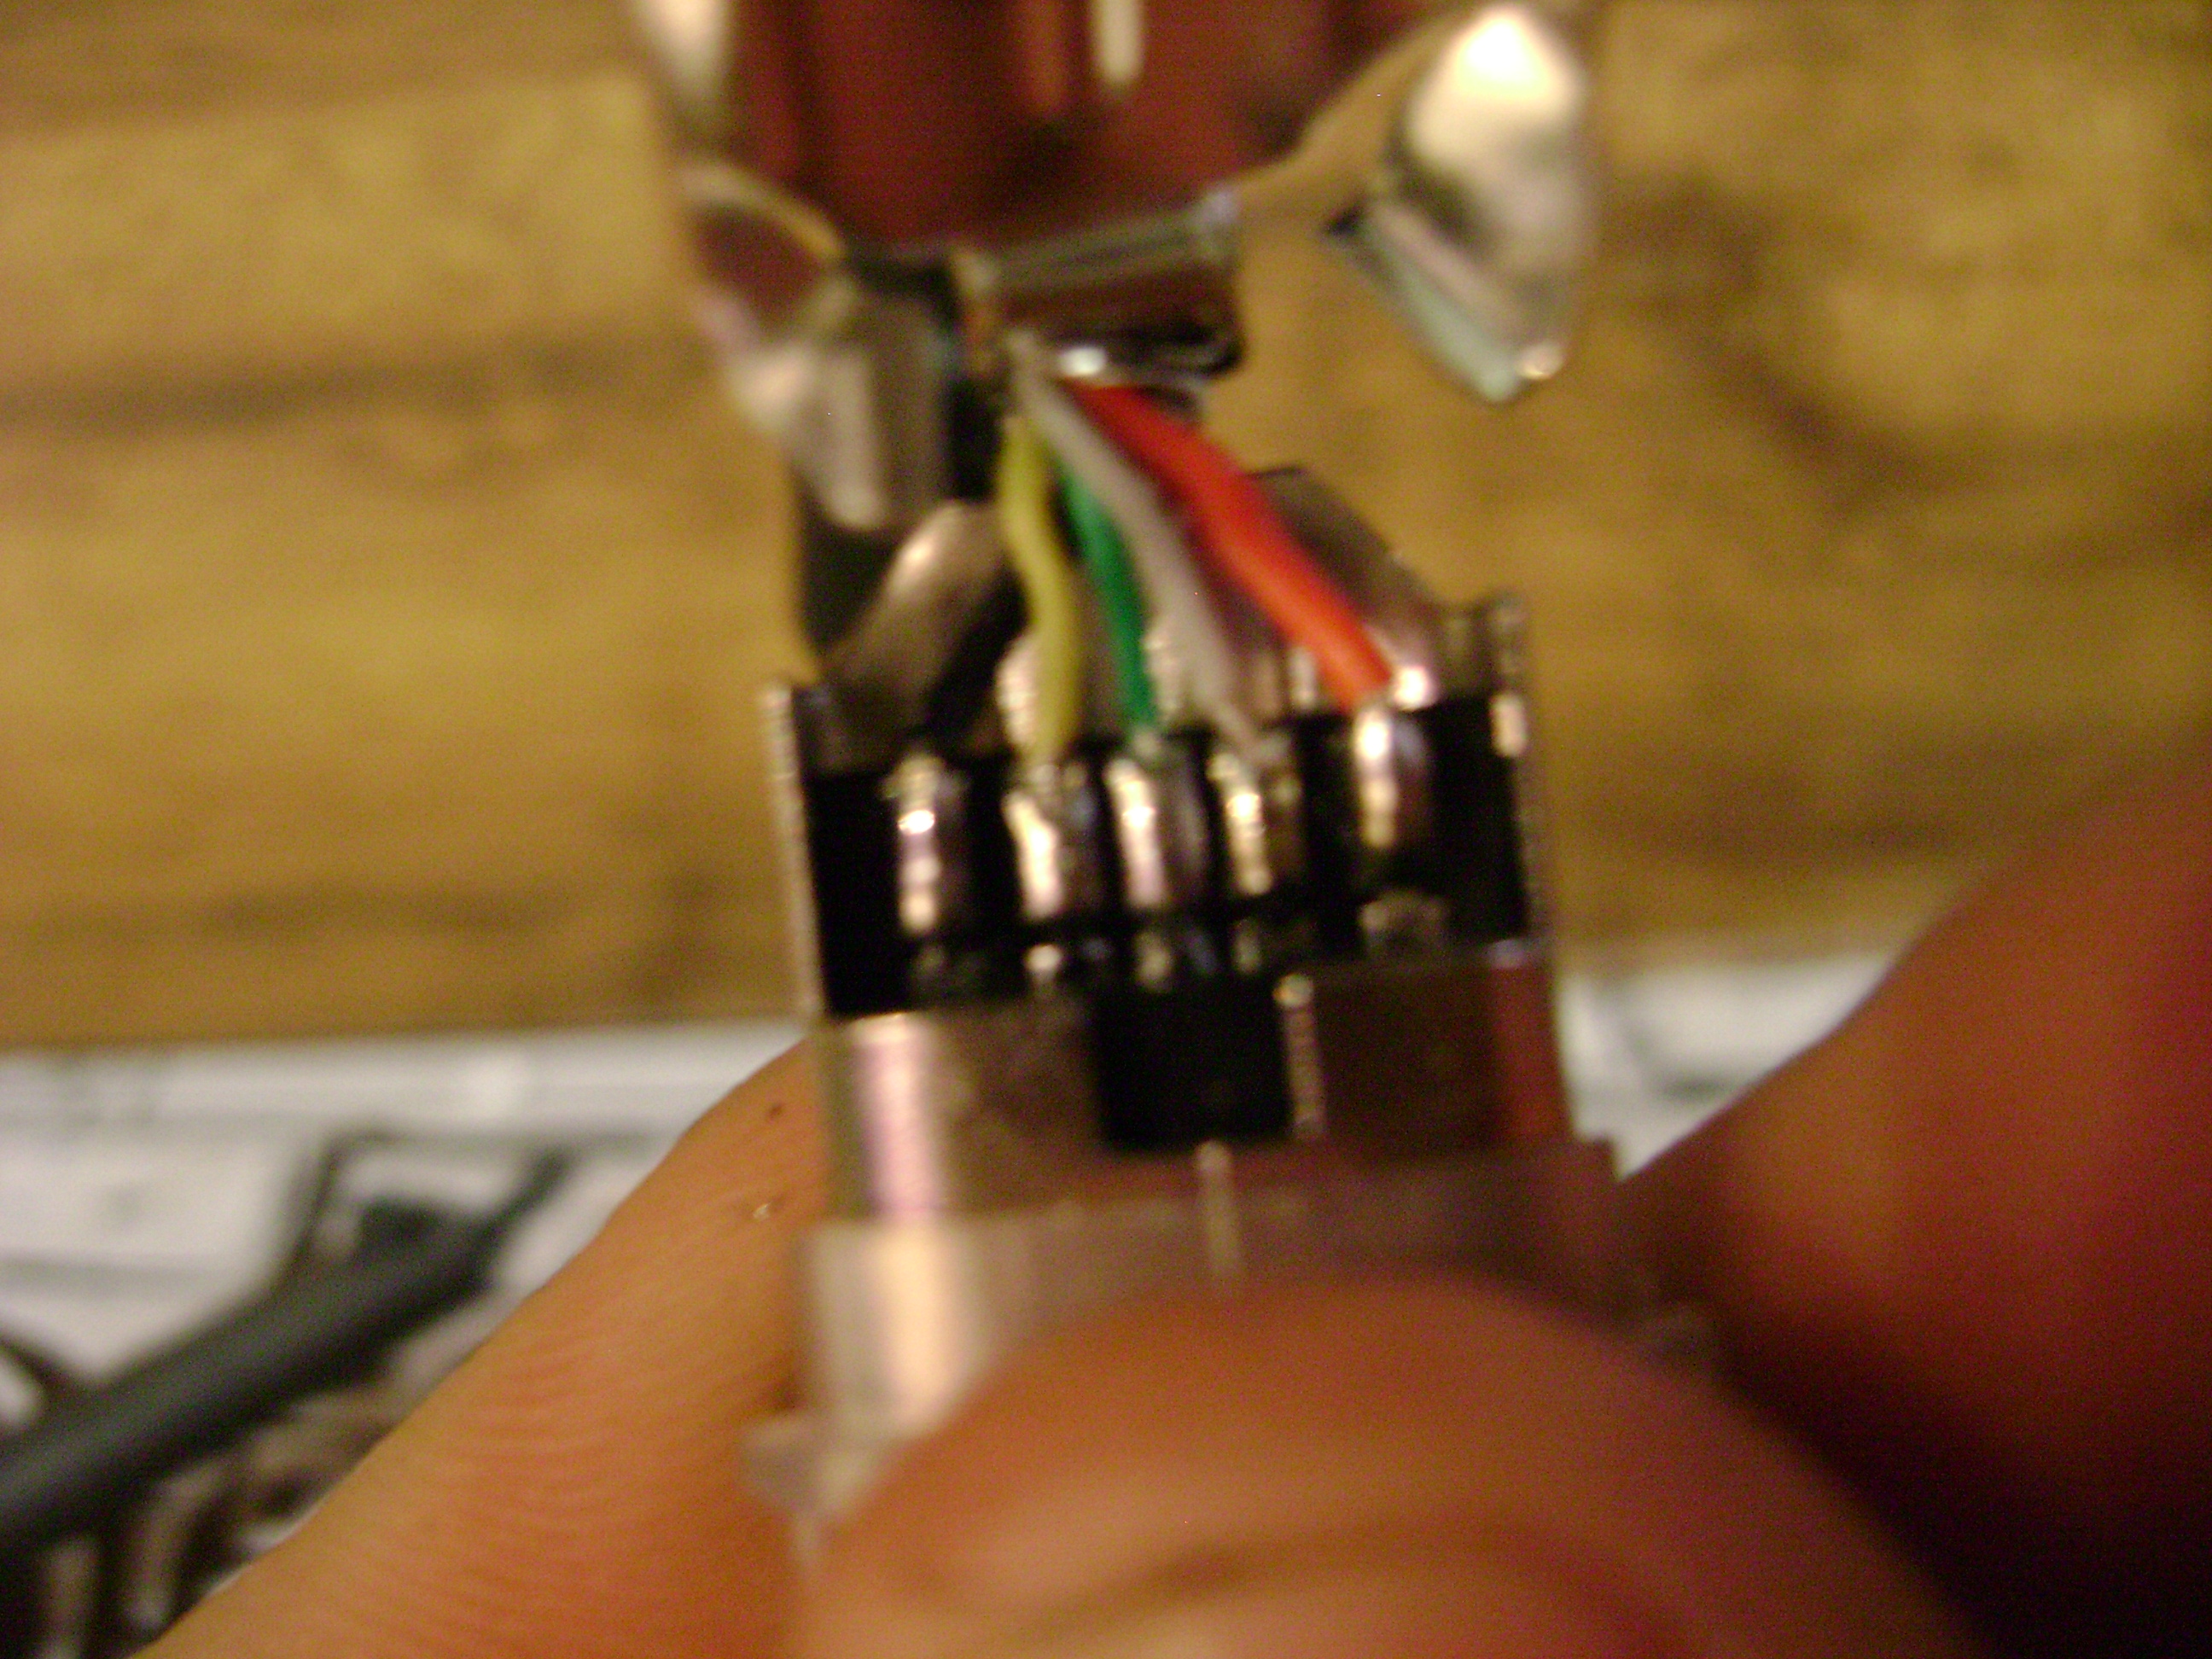
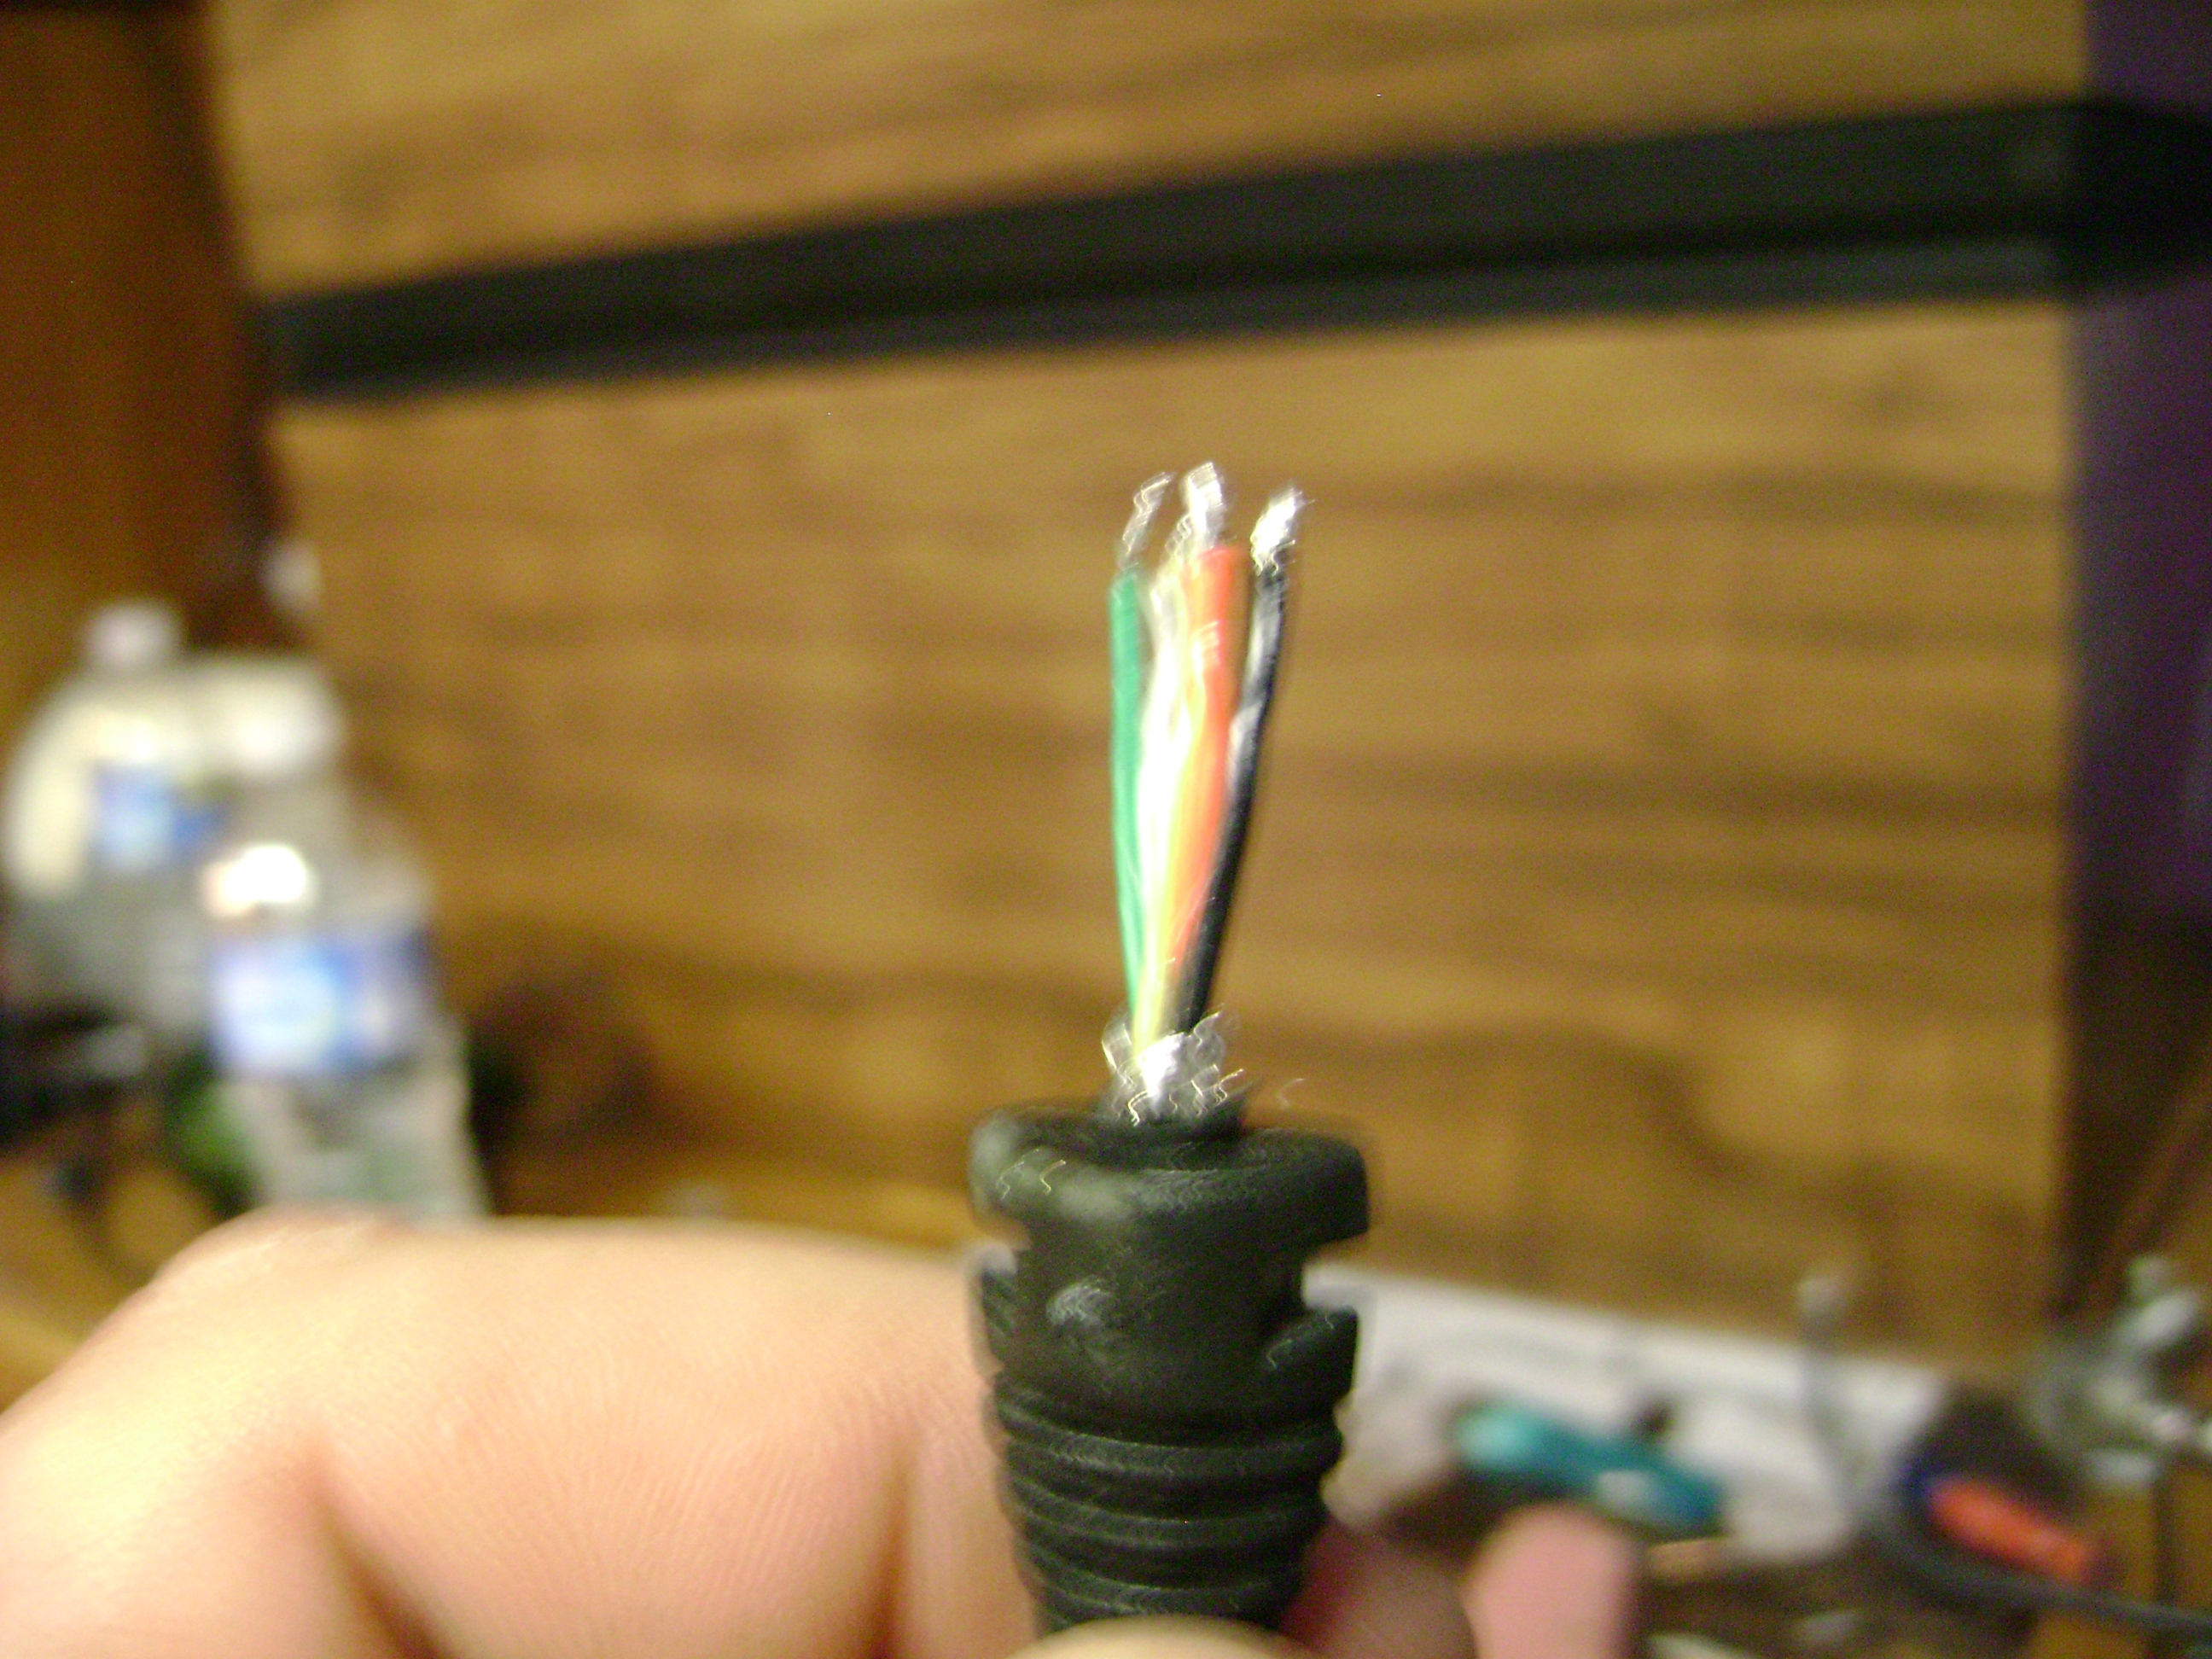
Now, you have the wire the end of the USB cable (I hope.) Cut that to about an inch. NO LONGER for it will not fit in the finished product. Then, strip the massive coating. BE CAREFUL, you don't want to cut any wires inside of this! Once stripped, cut off the braided metal wires, and the tin insulation, leaving just 4 wires: Red, Black, White, and Green. Then, strip all four wires, but not too long. Just enough.
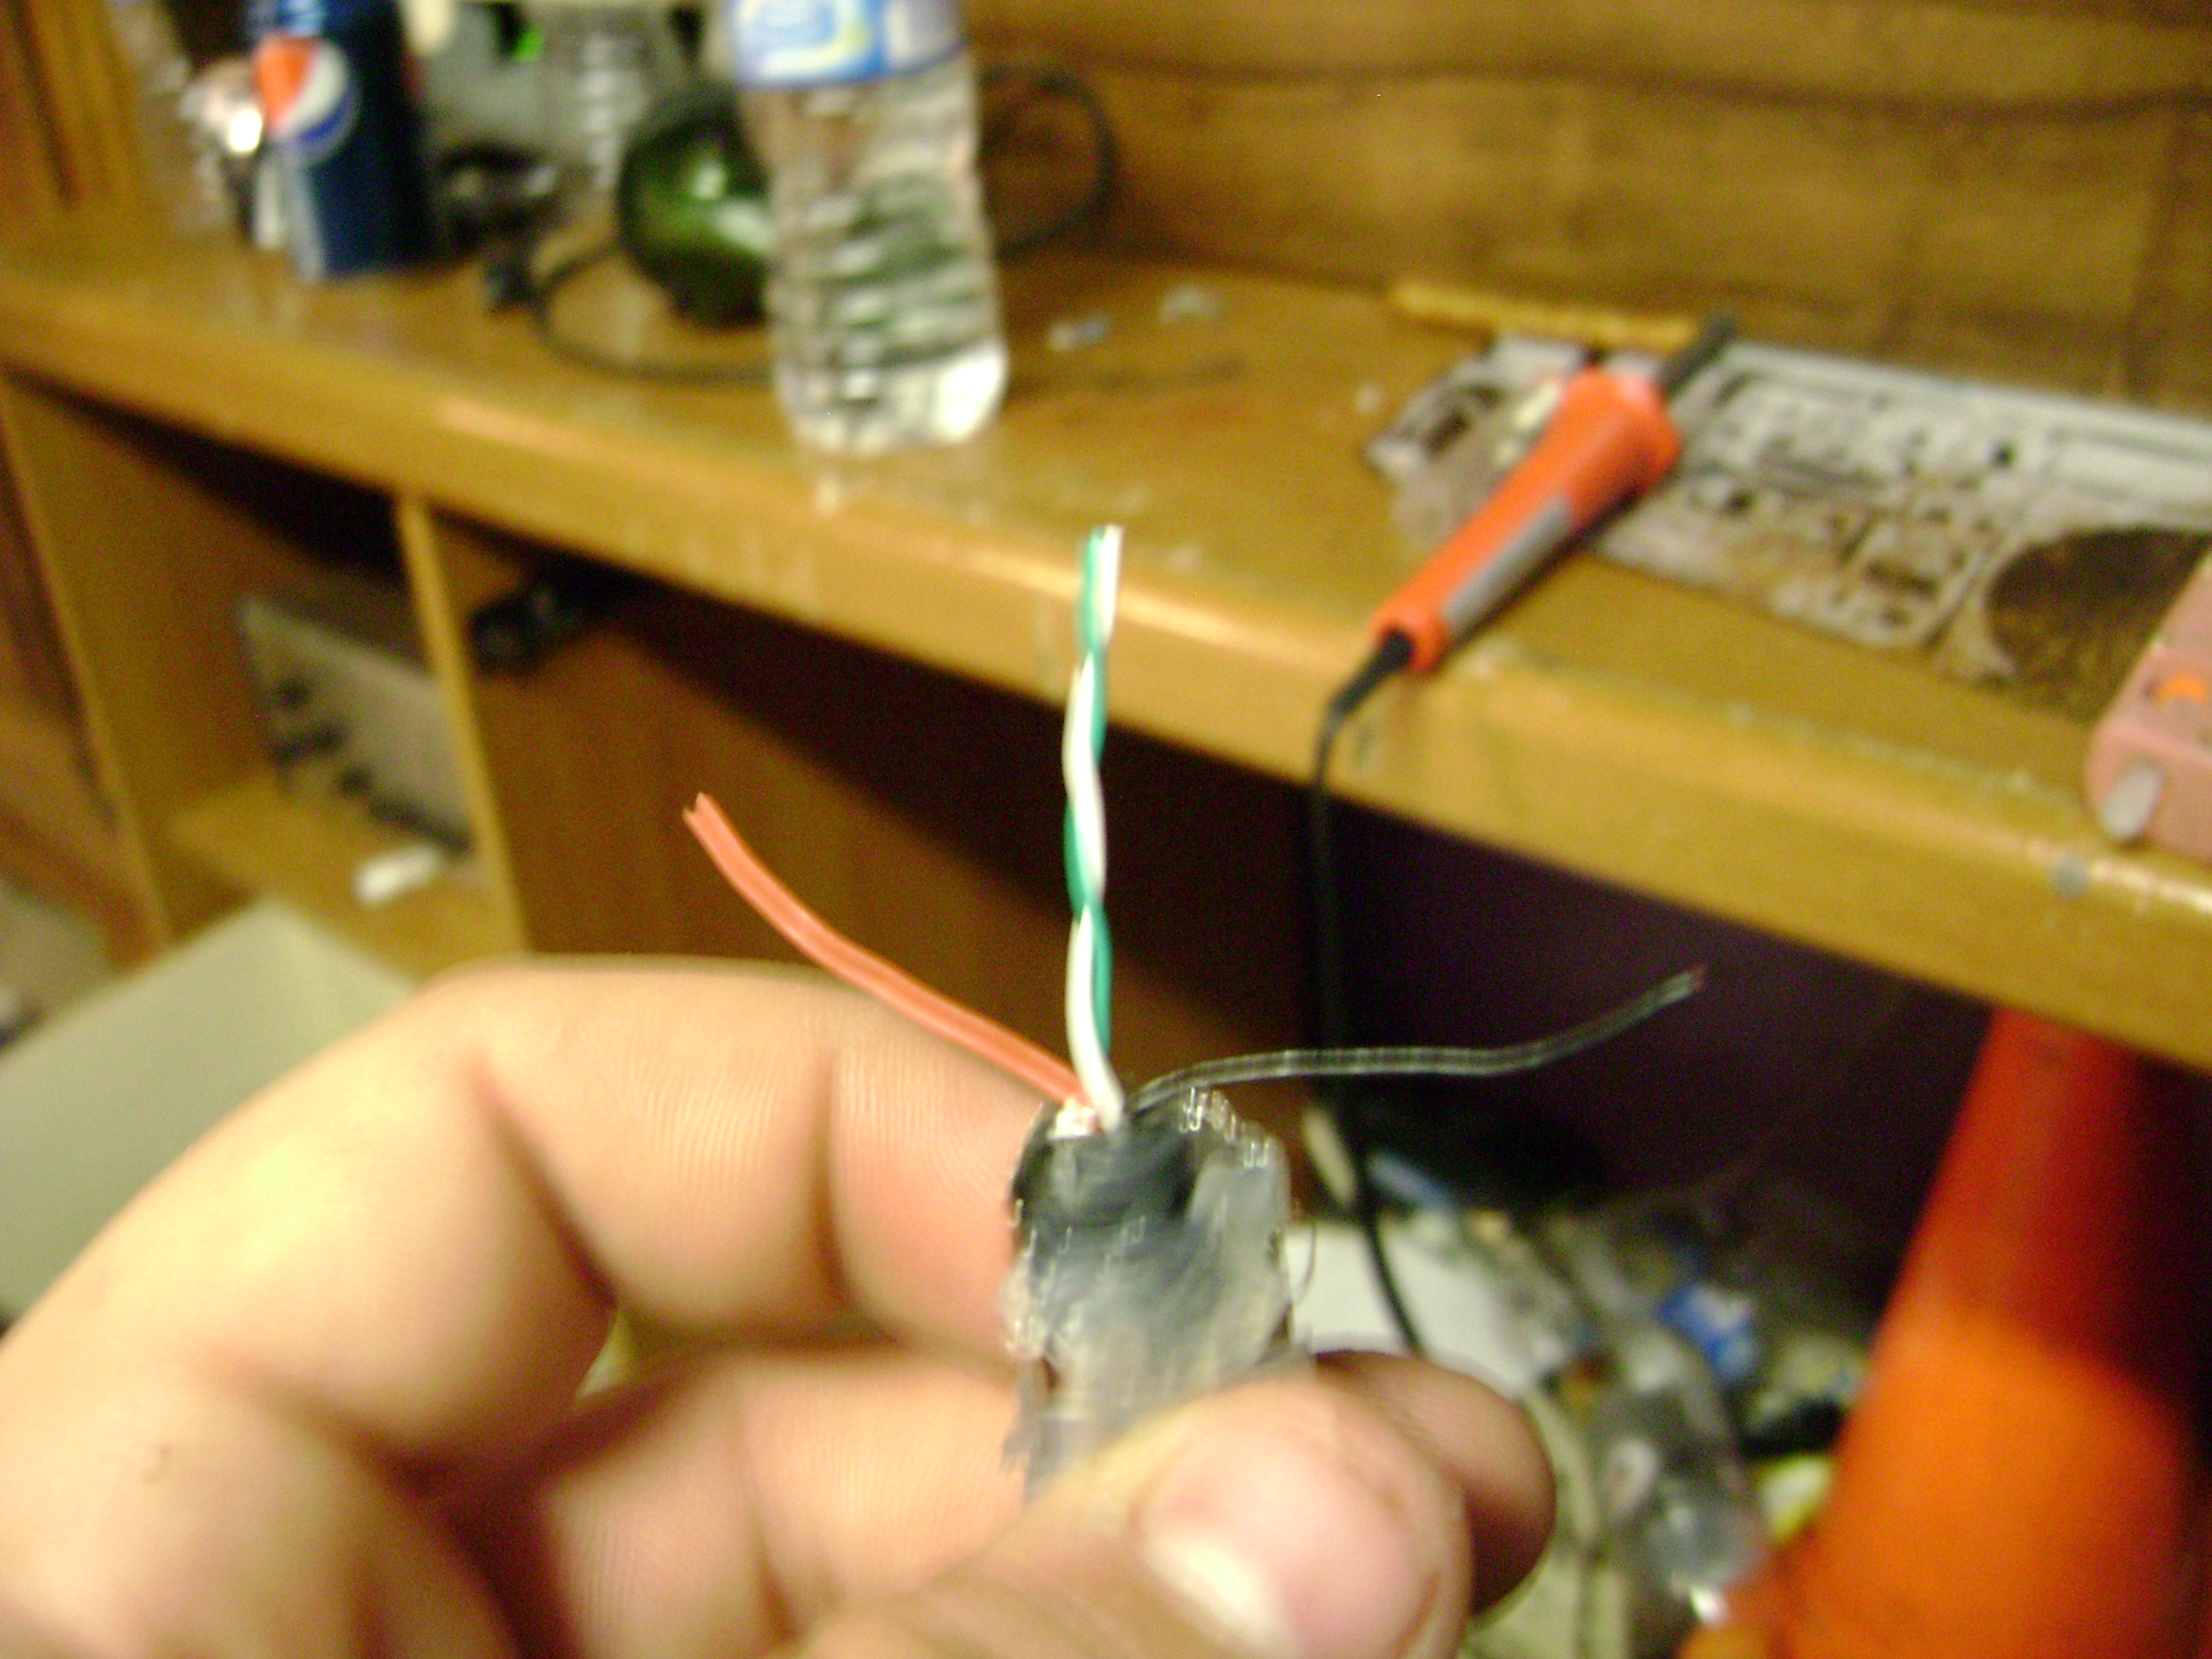
Cut the Crap!
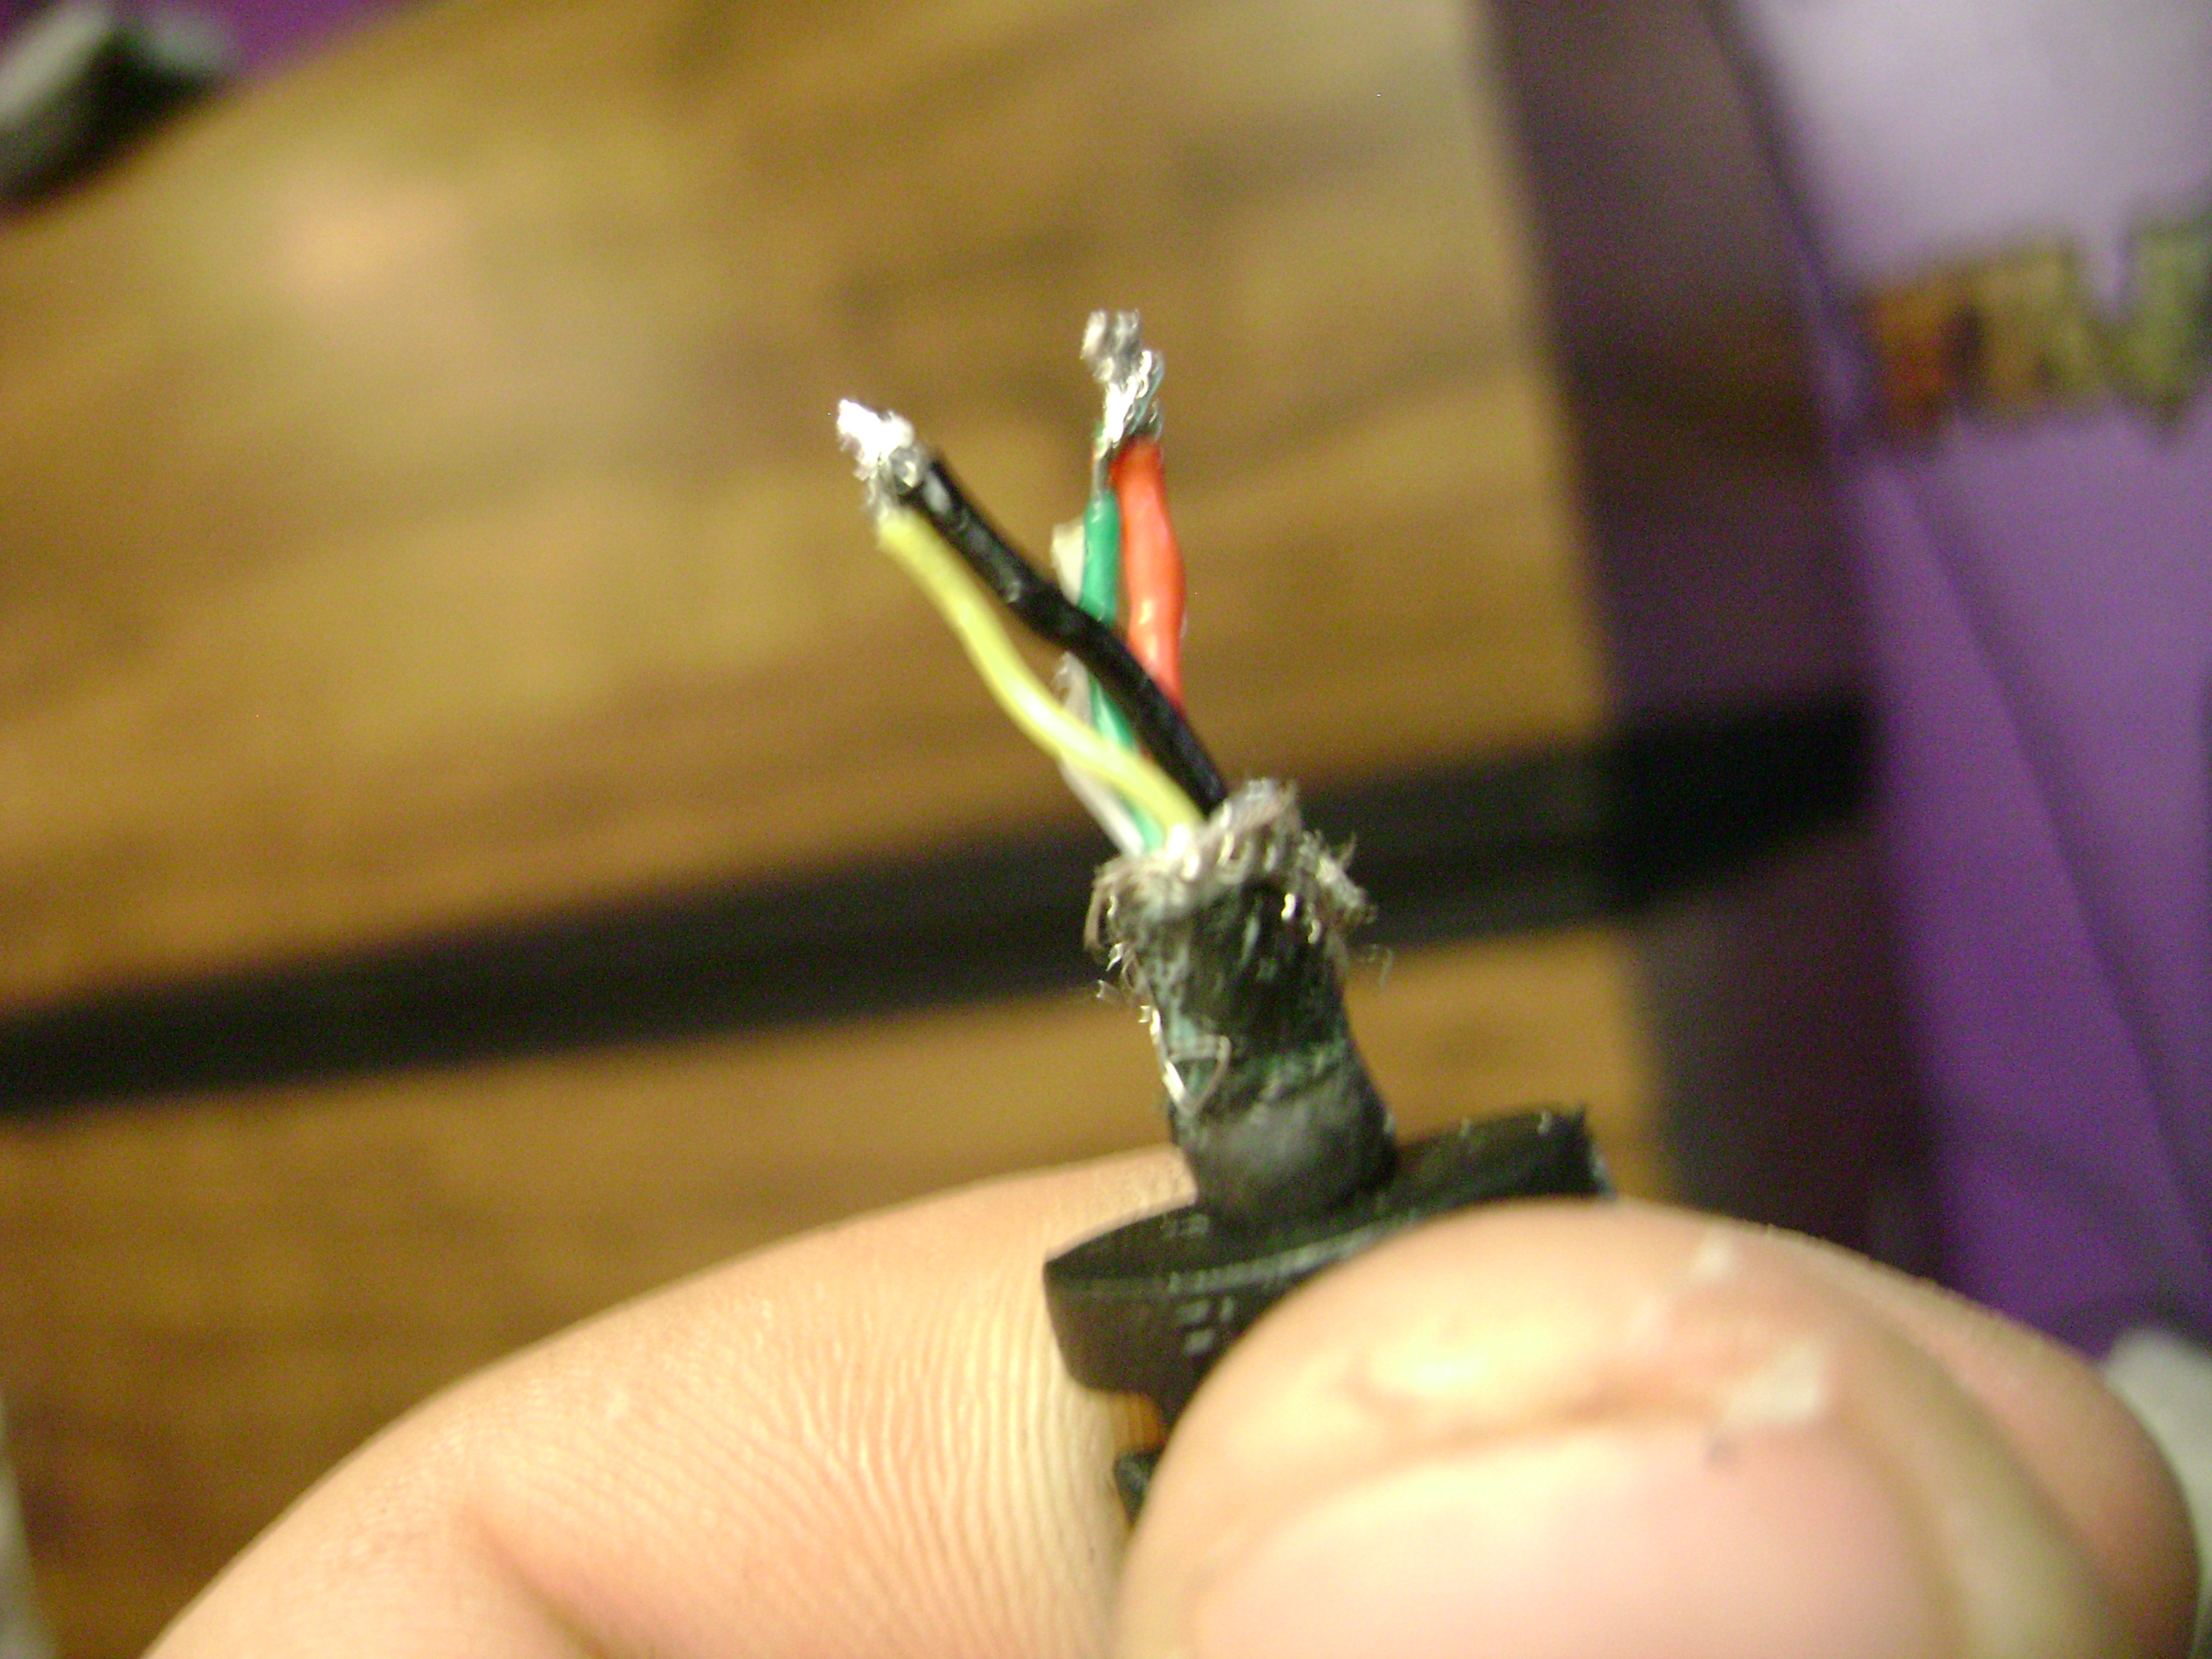
Grab the wiring from the dongle that we recently de-soldered from the board in step 4. That's not enough wiring for us to use! If you notice in Picture 2, there's a bunch of bullshit covering the black insulation of all the wires. What all this is, is part of the shielding you cut off in step 3, braided metal wire, and tin insulation. Us your pliers to take off part of the metal covering, and cut off the braided wire and tin insulation. Once that's finished, strip the black insulation to reveal more wire for us to work with. Then, cut off the yellow wire, for it's not needed, and strip the 4 other wires, just enough to twist to the ones from the USB port.
Splicing
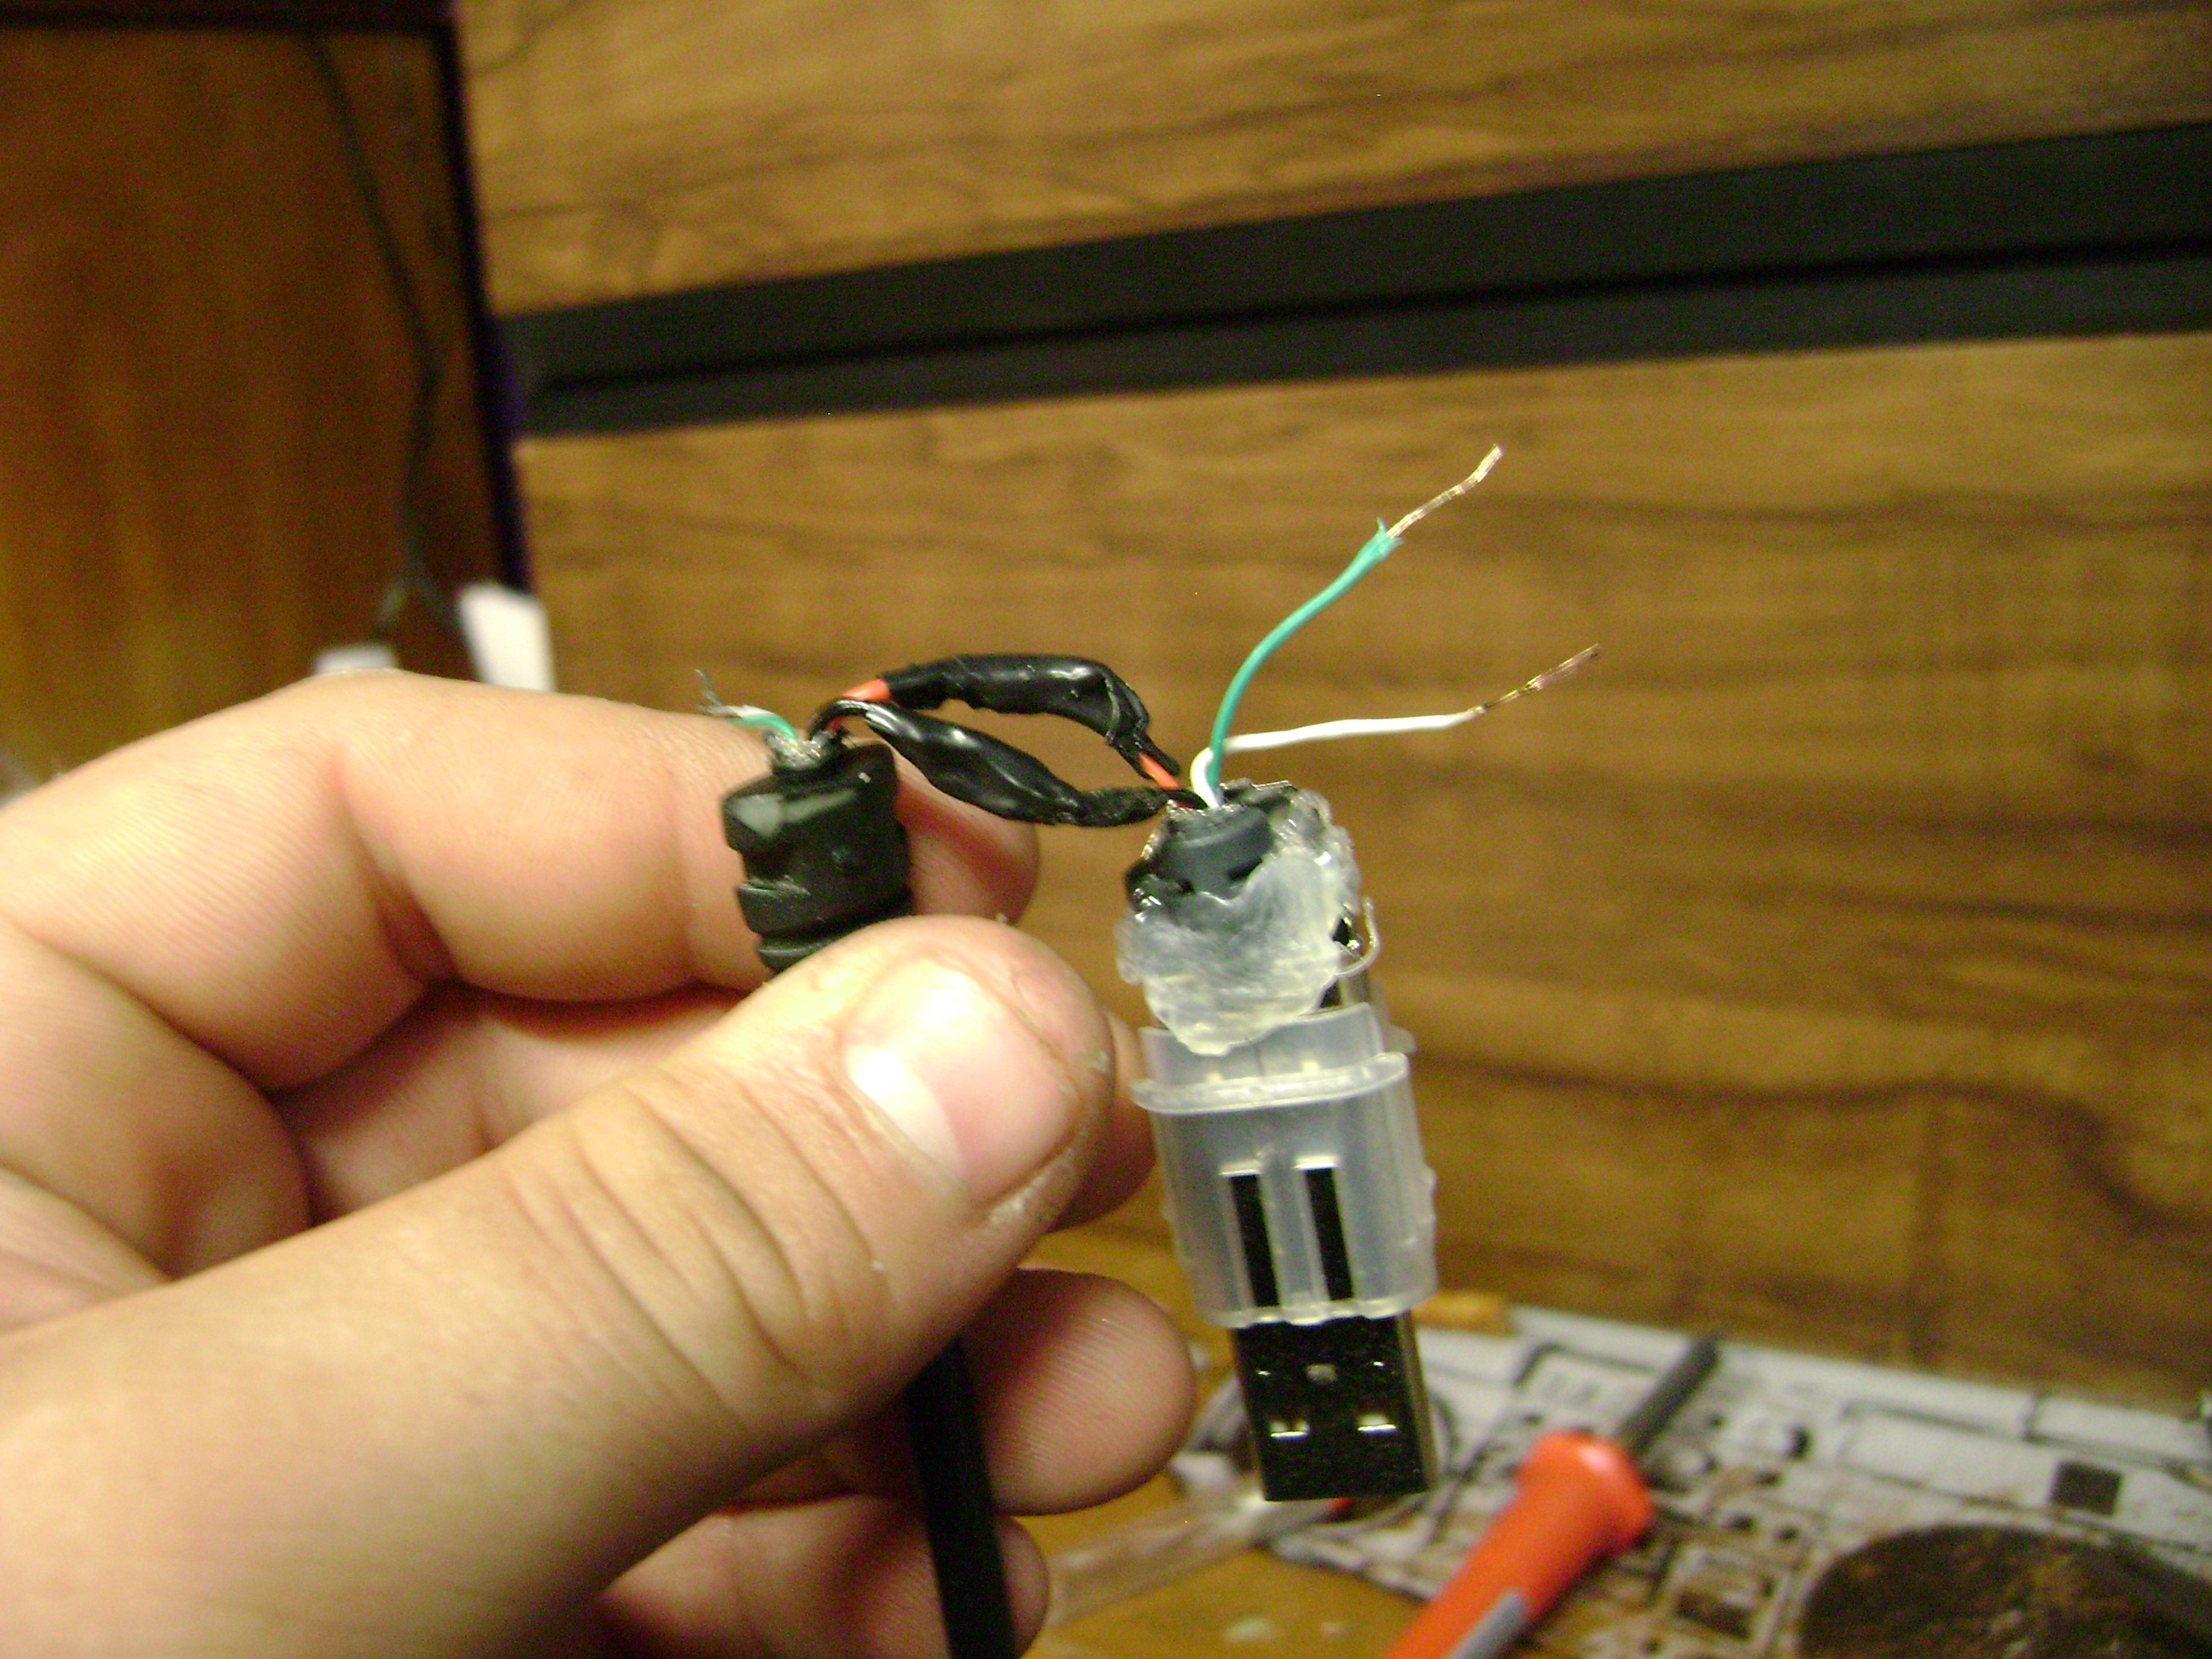

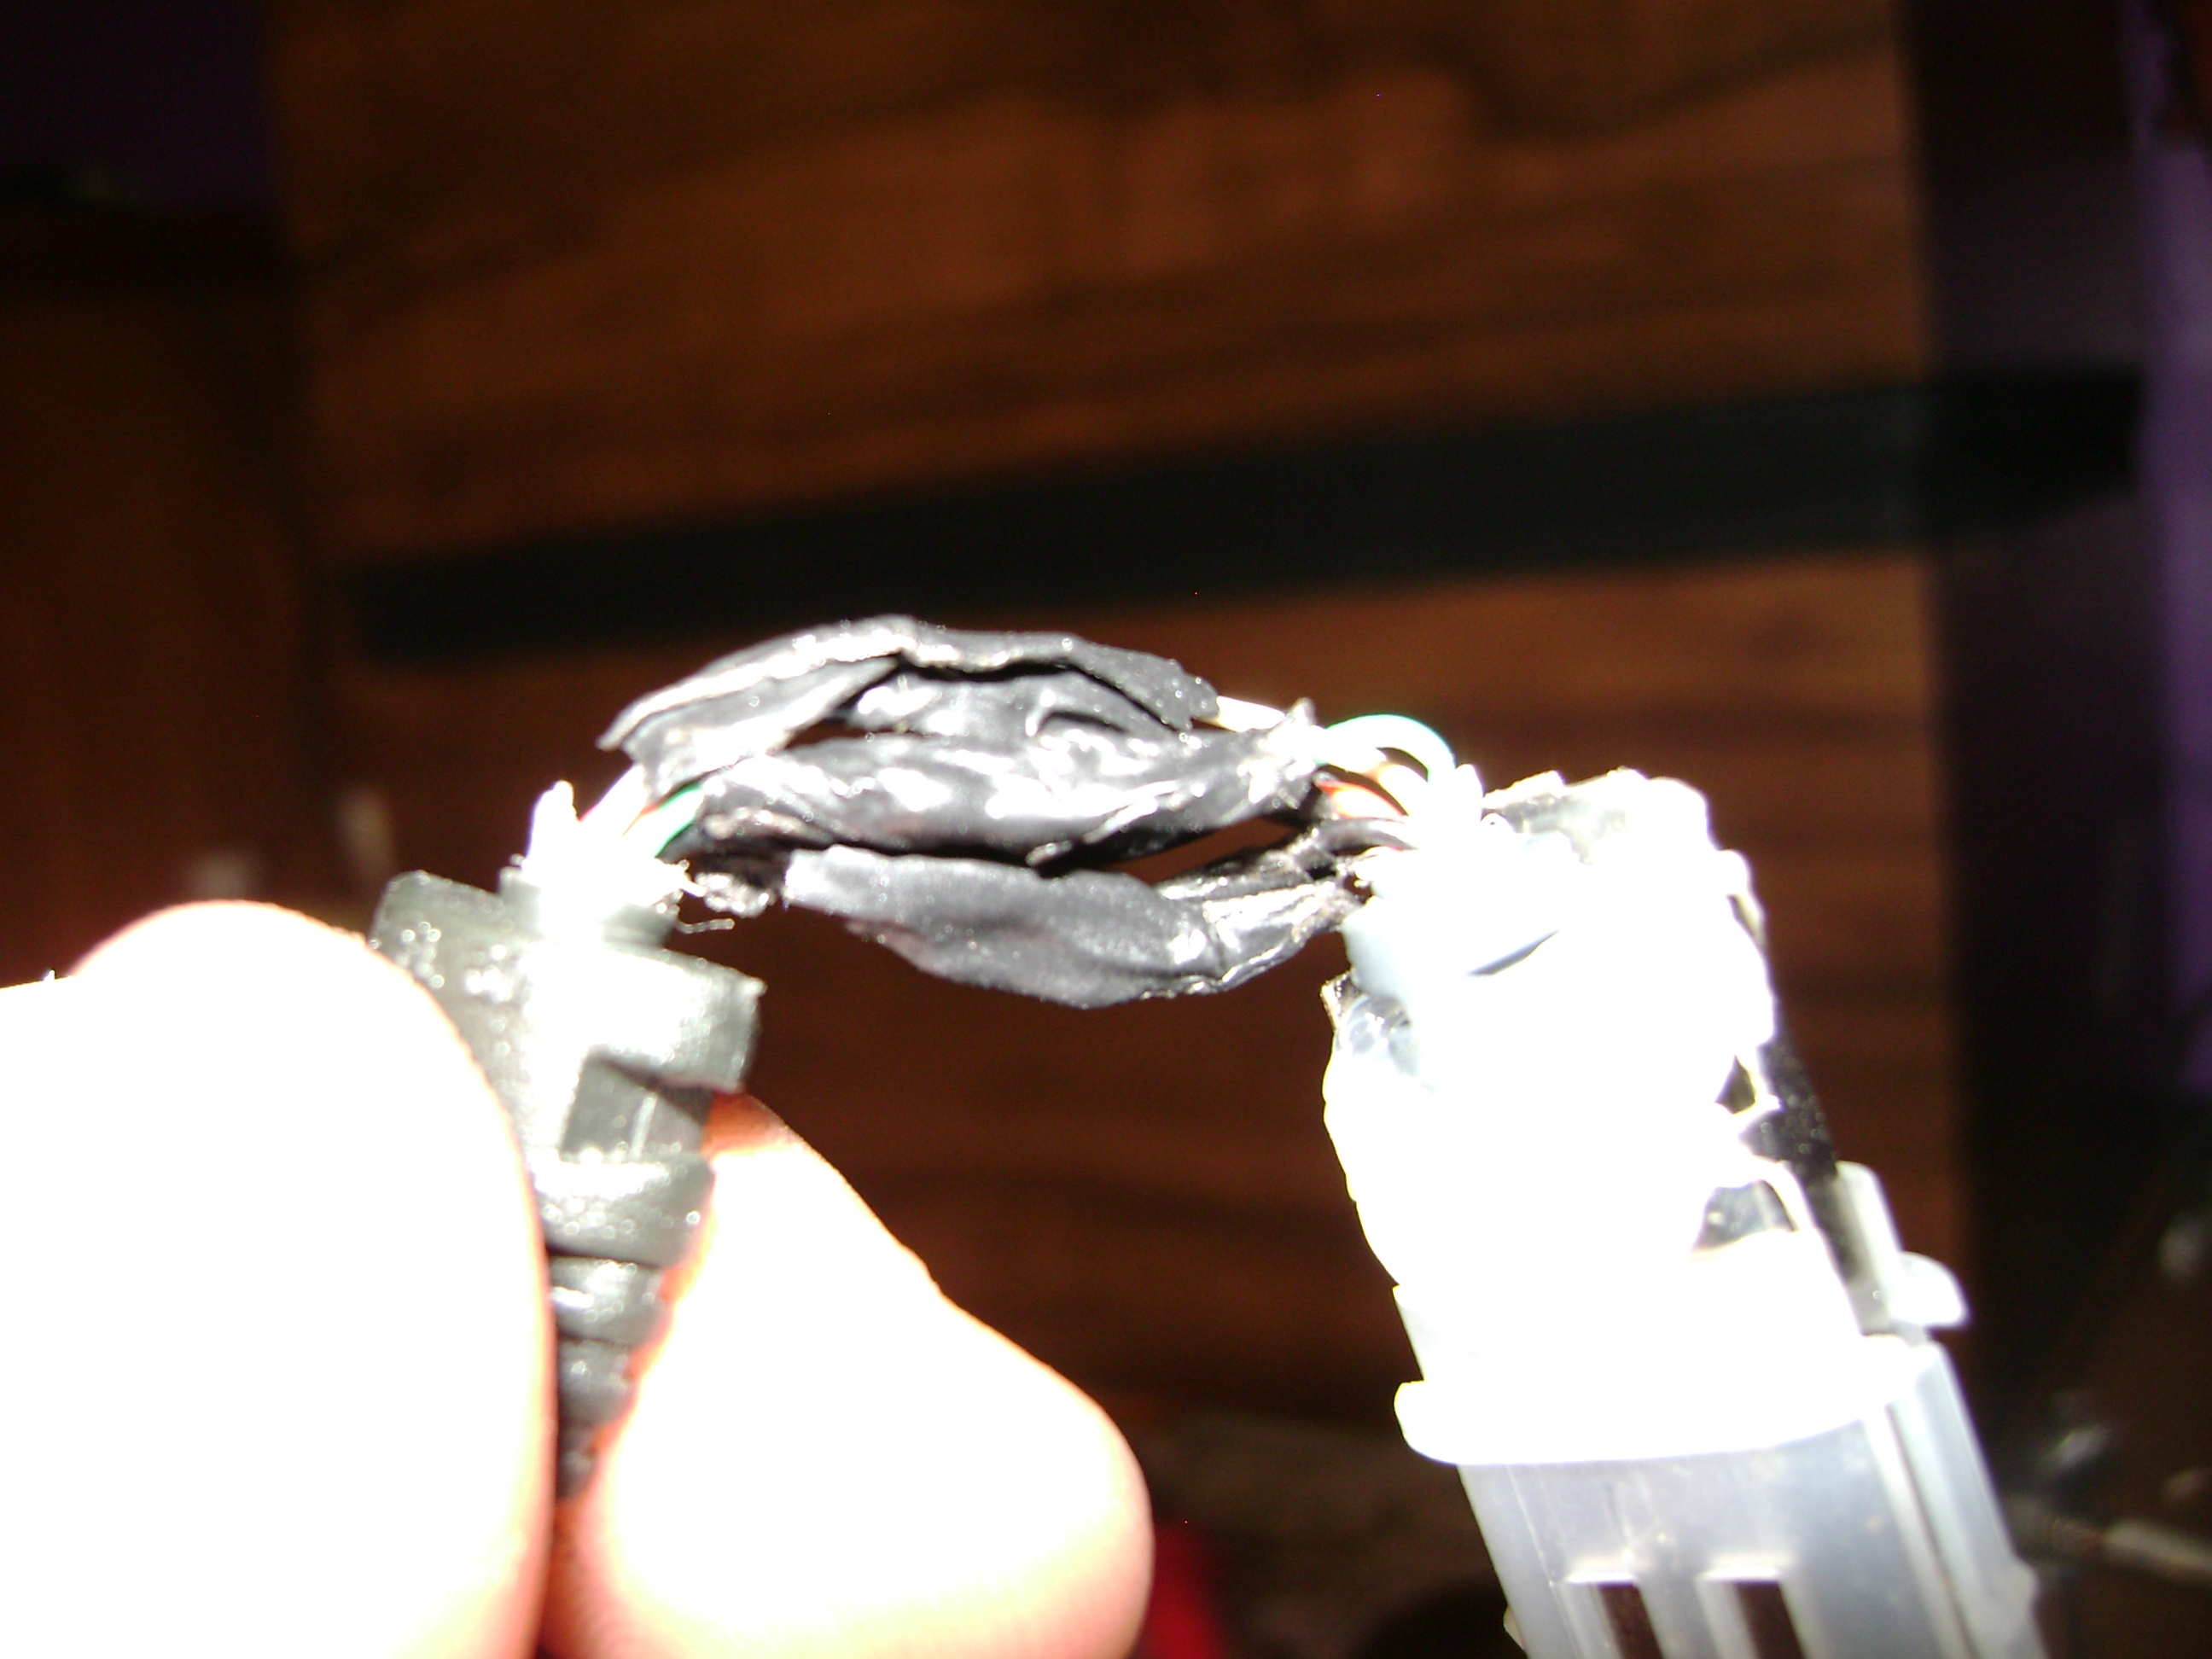
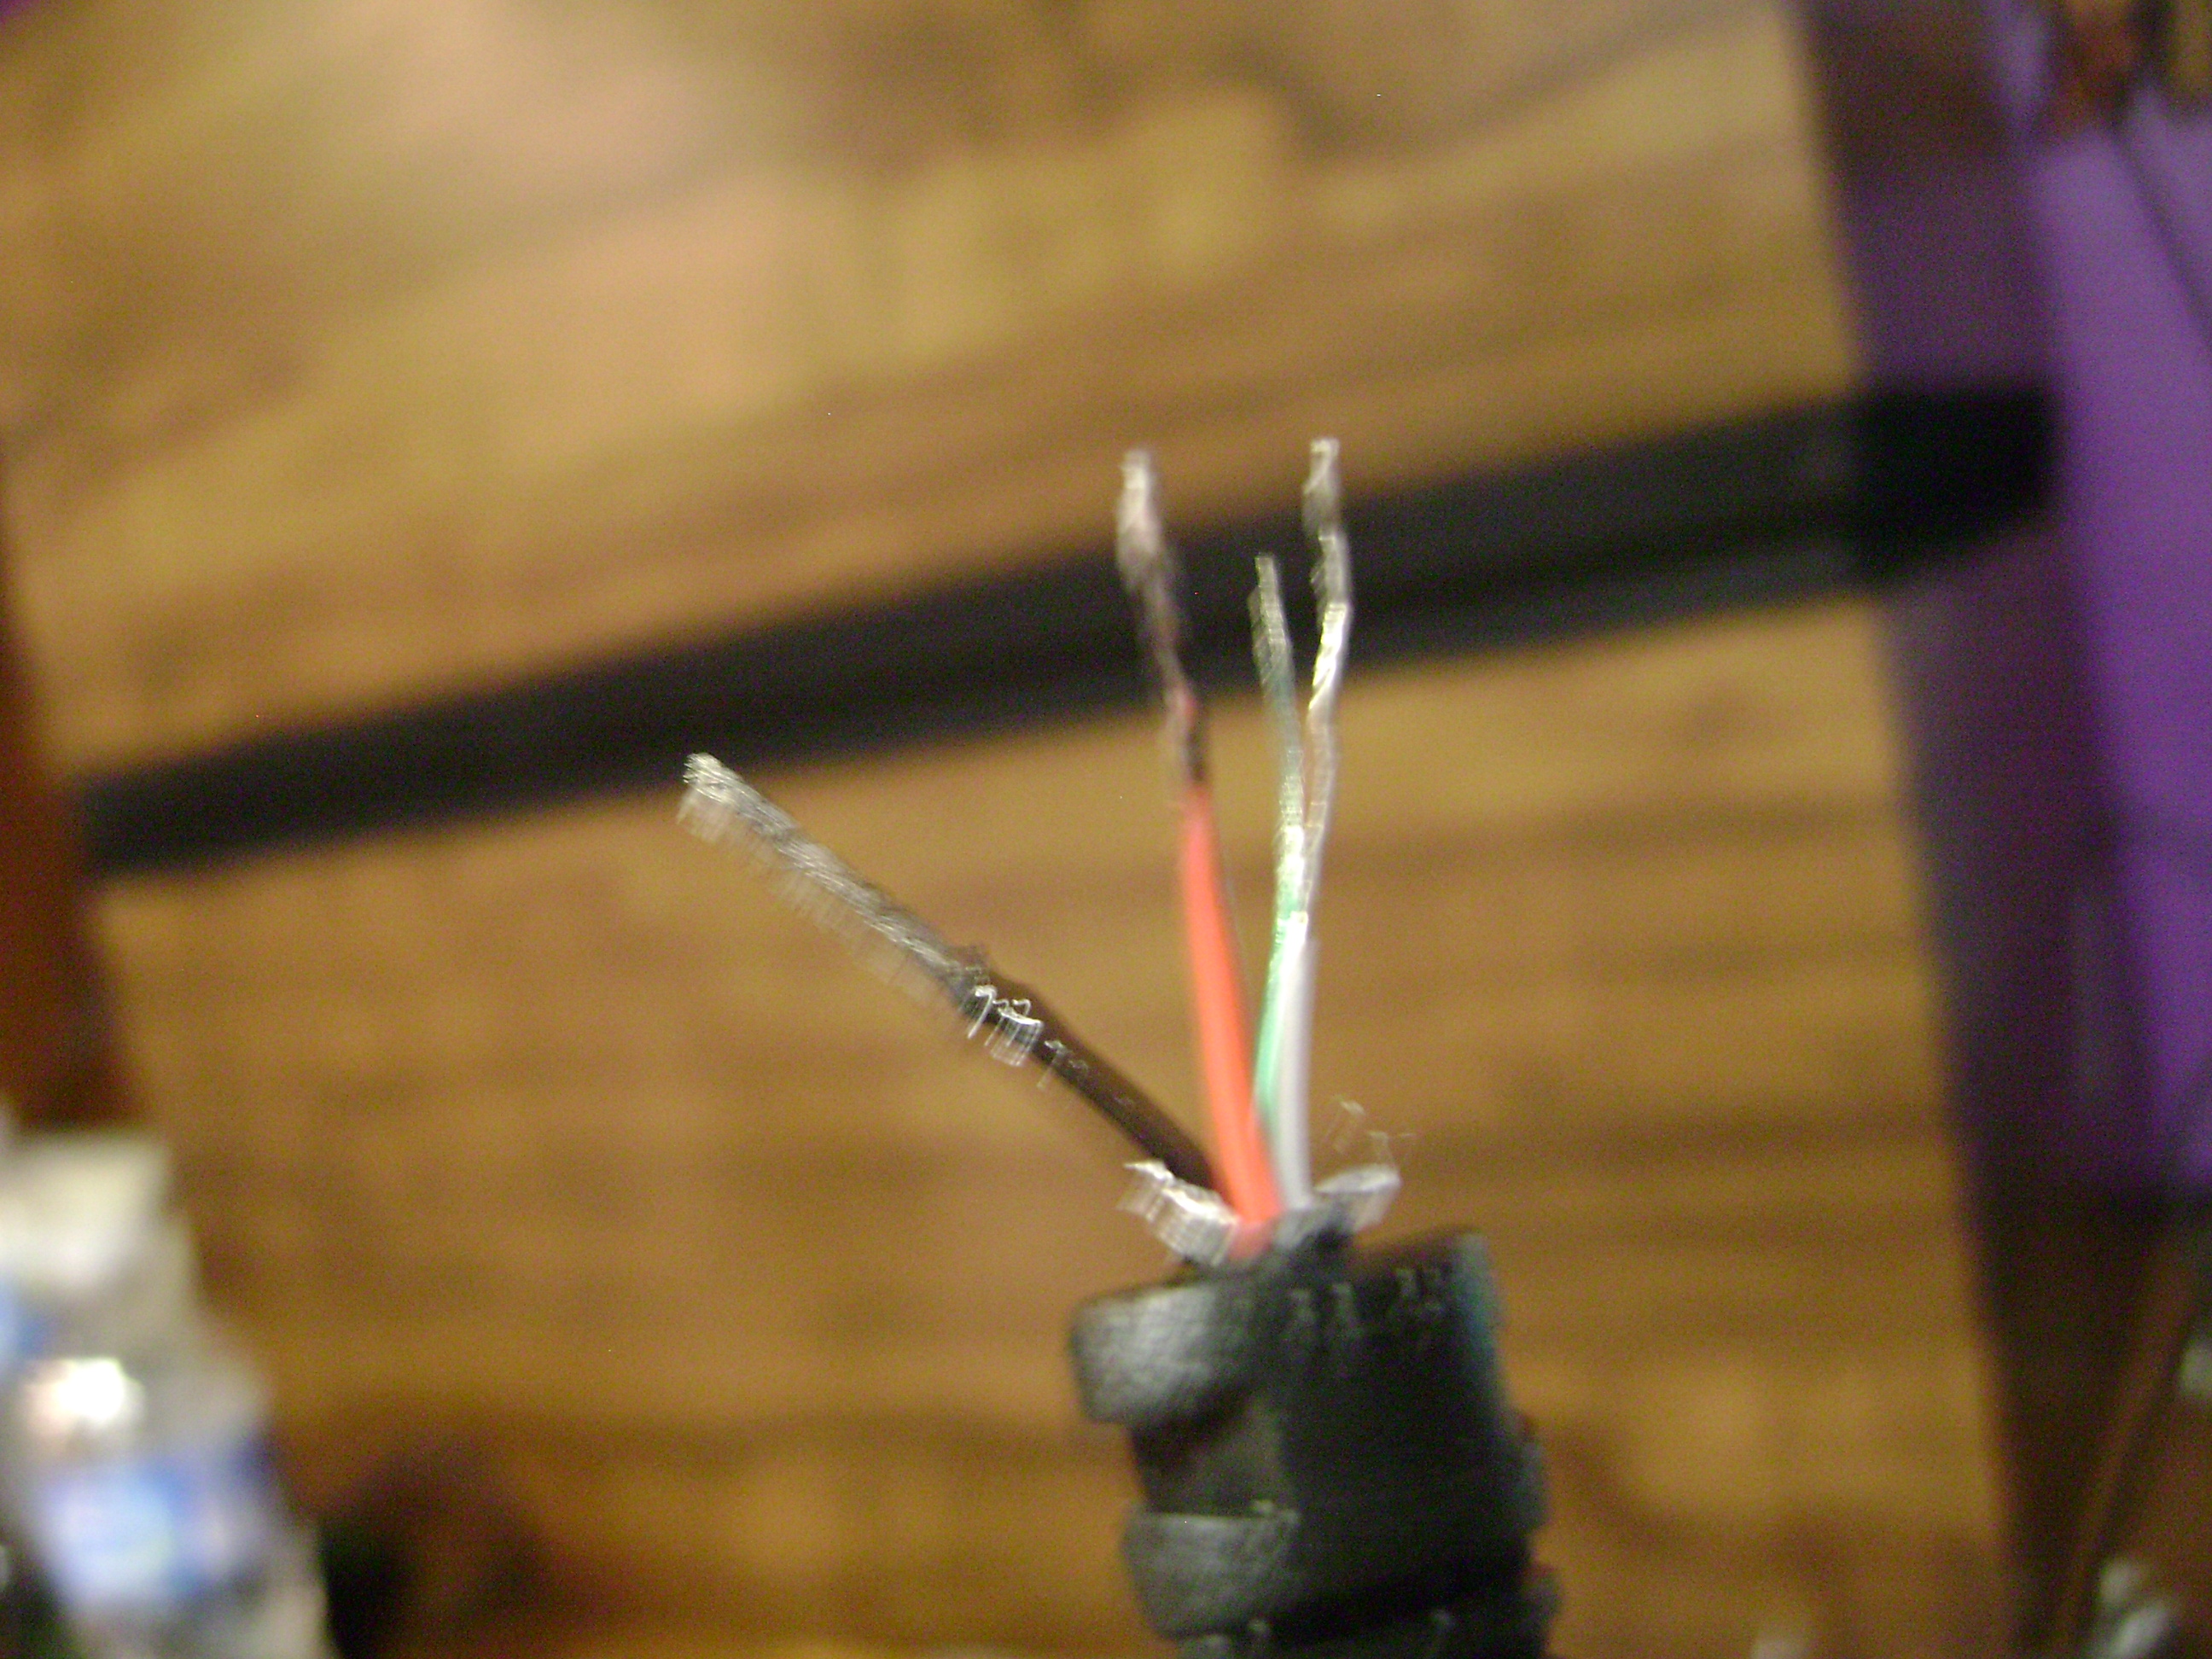
Grab both the usb dongle and the wire from the dongle. You should have them both stripped and ready to go. Now, simply twist the red from the USB to the red on the Xbox wire. Then, do the same for each color, solder together, and wrap with electrical tape. (P.S.: if you have heatshrink tubing, use that instead!)
Almost Done!
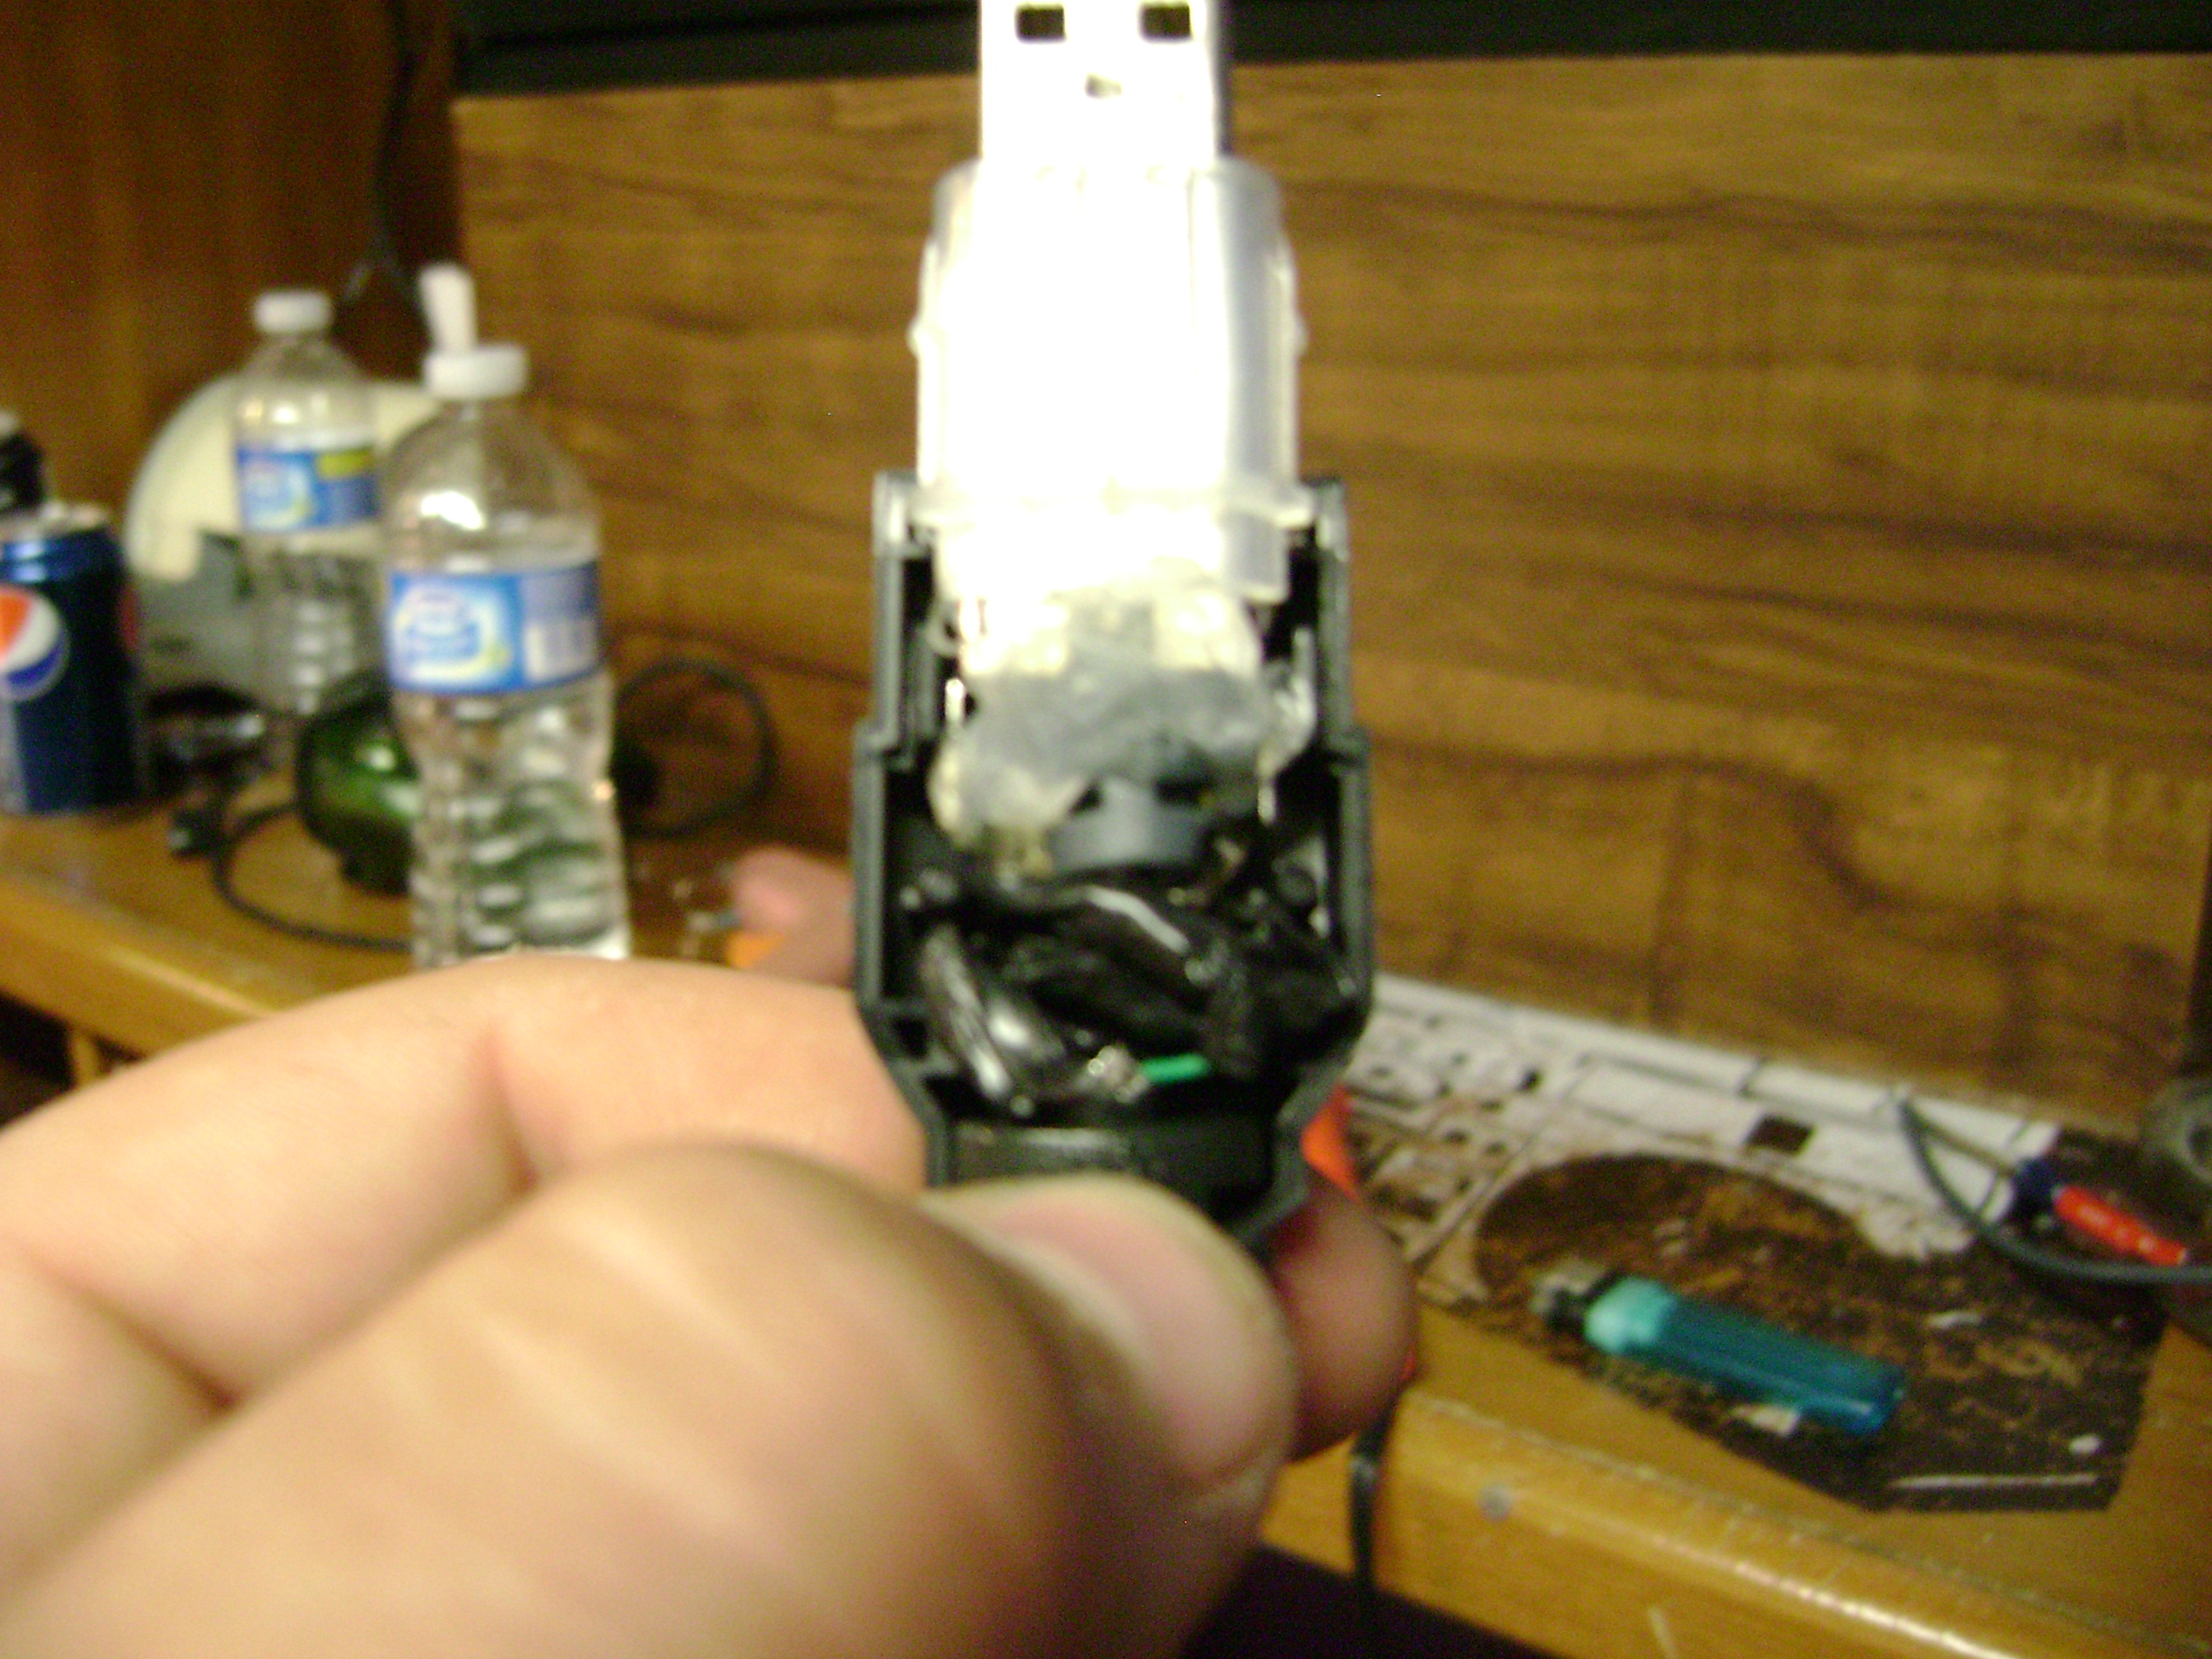
Okay. Now, pickup the black pieces that you popped apart in step 2. Put your new USB dongle inside of it. Note, it needs to go on right, don't force anything. Start with the bottom piece (The one without the bowl in the middle of it) Then, move the wires aside. Try to put them all in the center, for it will not close if they're blocking the closing mechanism in the pieces. Tags in picture on specifics.
Finally!
Pop the top on, and press the sides together tight, for it will lock on it's own. Congrats, your new USB Xbox Controller dongle is complete! The good thing is, if you have another dongle, the controller can still play on Xbox! Video of proof coming soon! Now, to use the gamepad on your PC: Download XBCD 1.07. It work on all Windows OS except Win7 (Not yet tested.) Vista x64 may have problems too, along with x32. Download and Install. It will say "Please restart or replug in the controller to finish installation." Plug the controller in and wait. on the bottom right of your screen, it will say "Windows is installing driver software." A screen may come up, saying the author is unrecognized, just click install anyway. If it asks where to search, click "Search online for driver software." It will find XBCD that you had just installed, and will tell you that it's ready to use.
Link here: http://dwl.xbox-scene.com/~xbox/xbox-scene/tools/drivers/XBCDv107.exe
Thanks for checking out my tutorial!