Product Turntable - NodeMCU


Hello, Makers!!
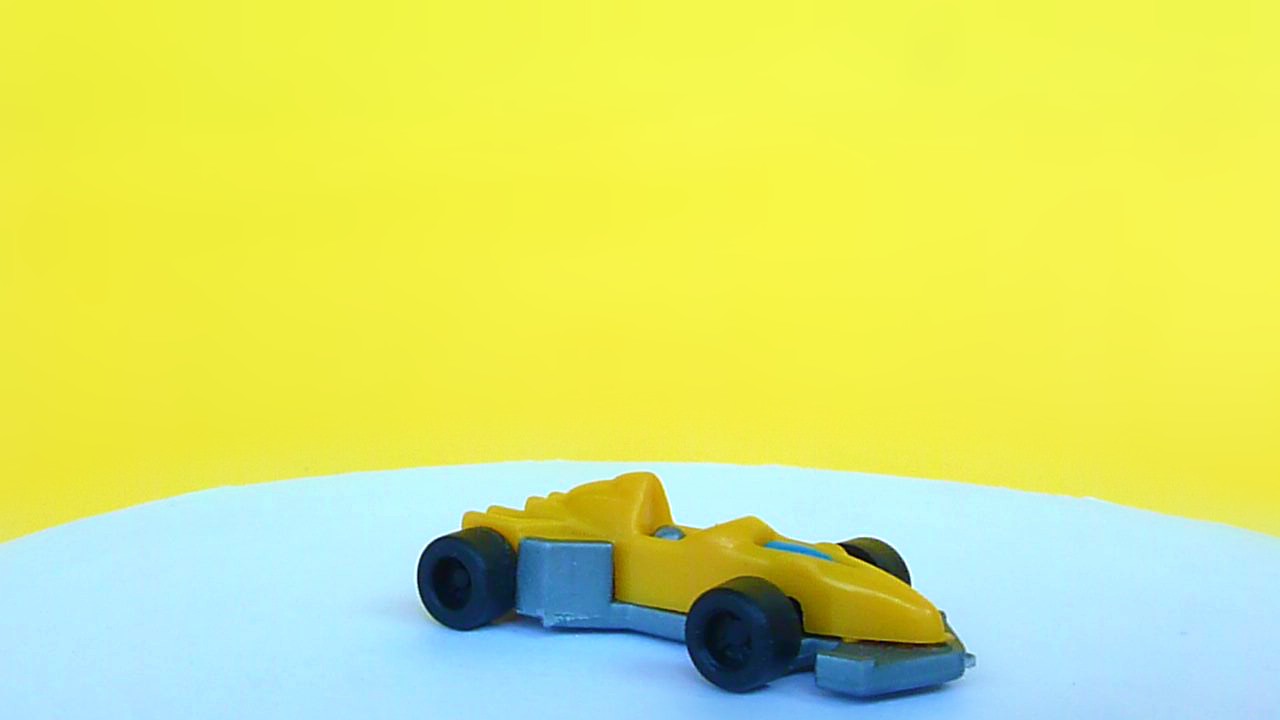
Product Turntable is a trend that's just starting to take off when it comes to landscapes and action shots but for product photography, 360-degree photography is something that's a little more common. By capturing a shot of a product from a variety of angles, a video can be compiled that allows those who are viewing the product to either move it around manually (if the video is interactive) or watch a short sequence where the product spins around automatically.
If you do a lot of basic product photography, you might want to check out this Instructable. In this, you’ll learn how to build and operate your own 180° product photography turntable, and it’ll only cost you 5$.
YES!! This Instructable is quite simple to develop using all reusable things.
Things You Need
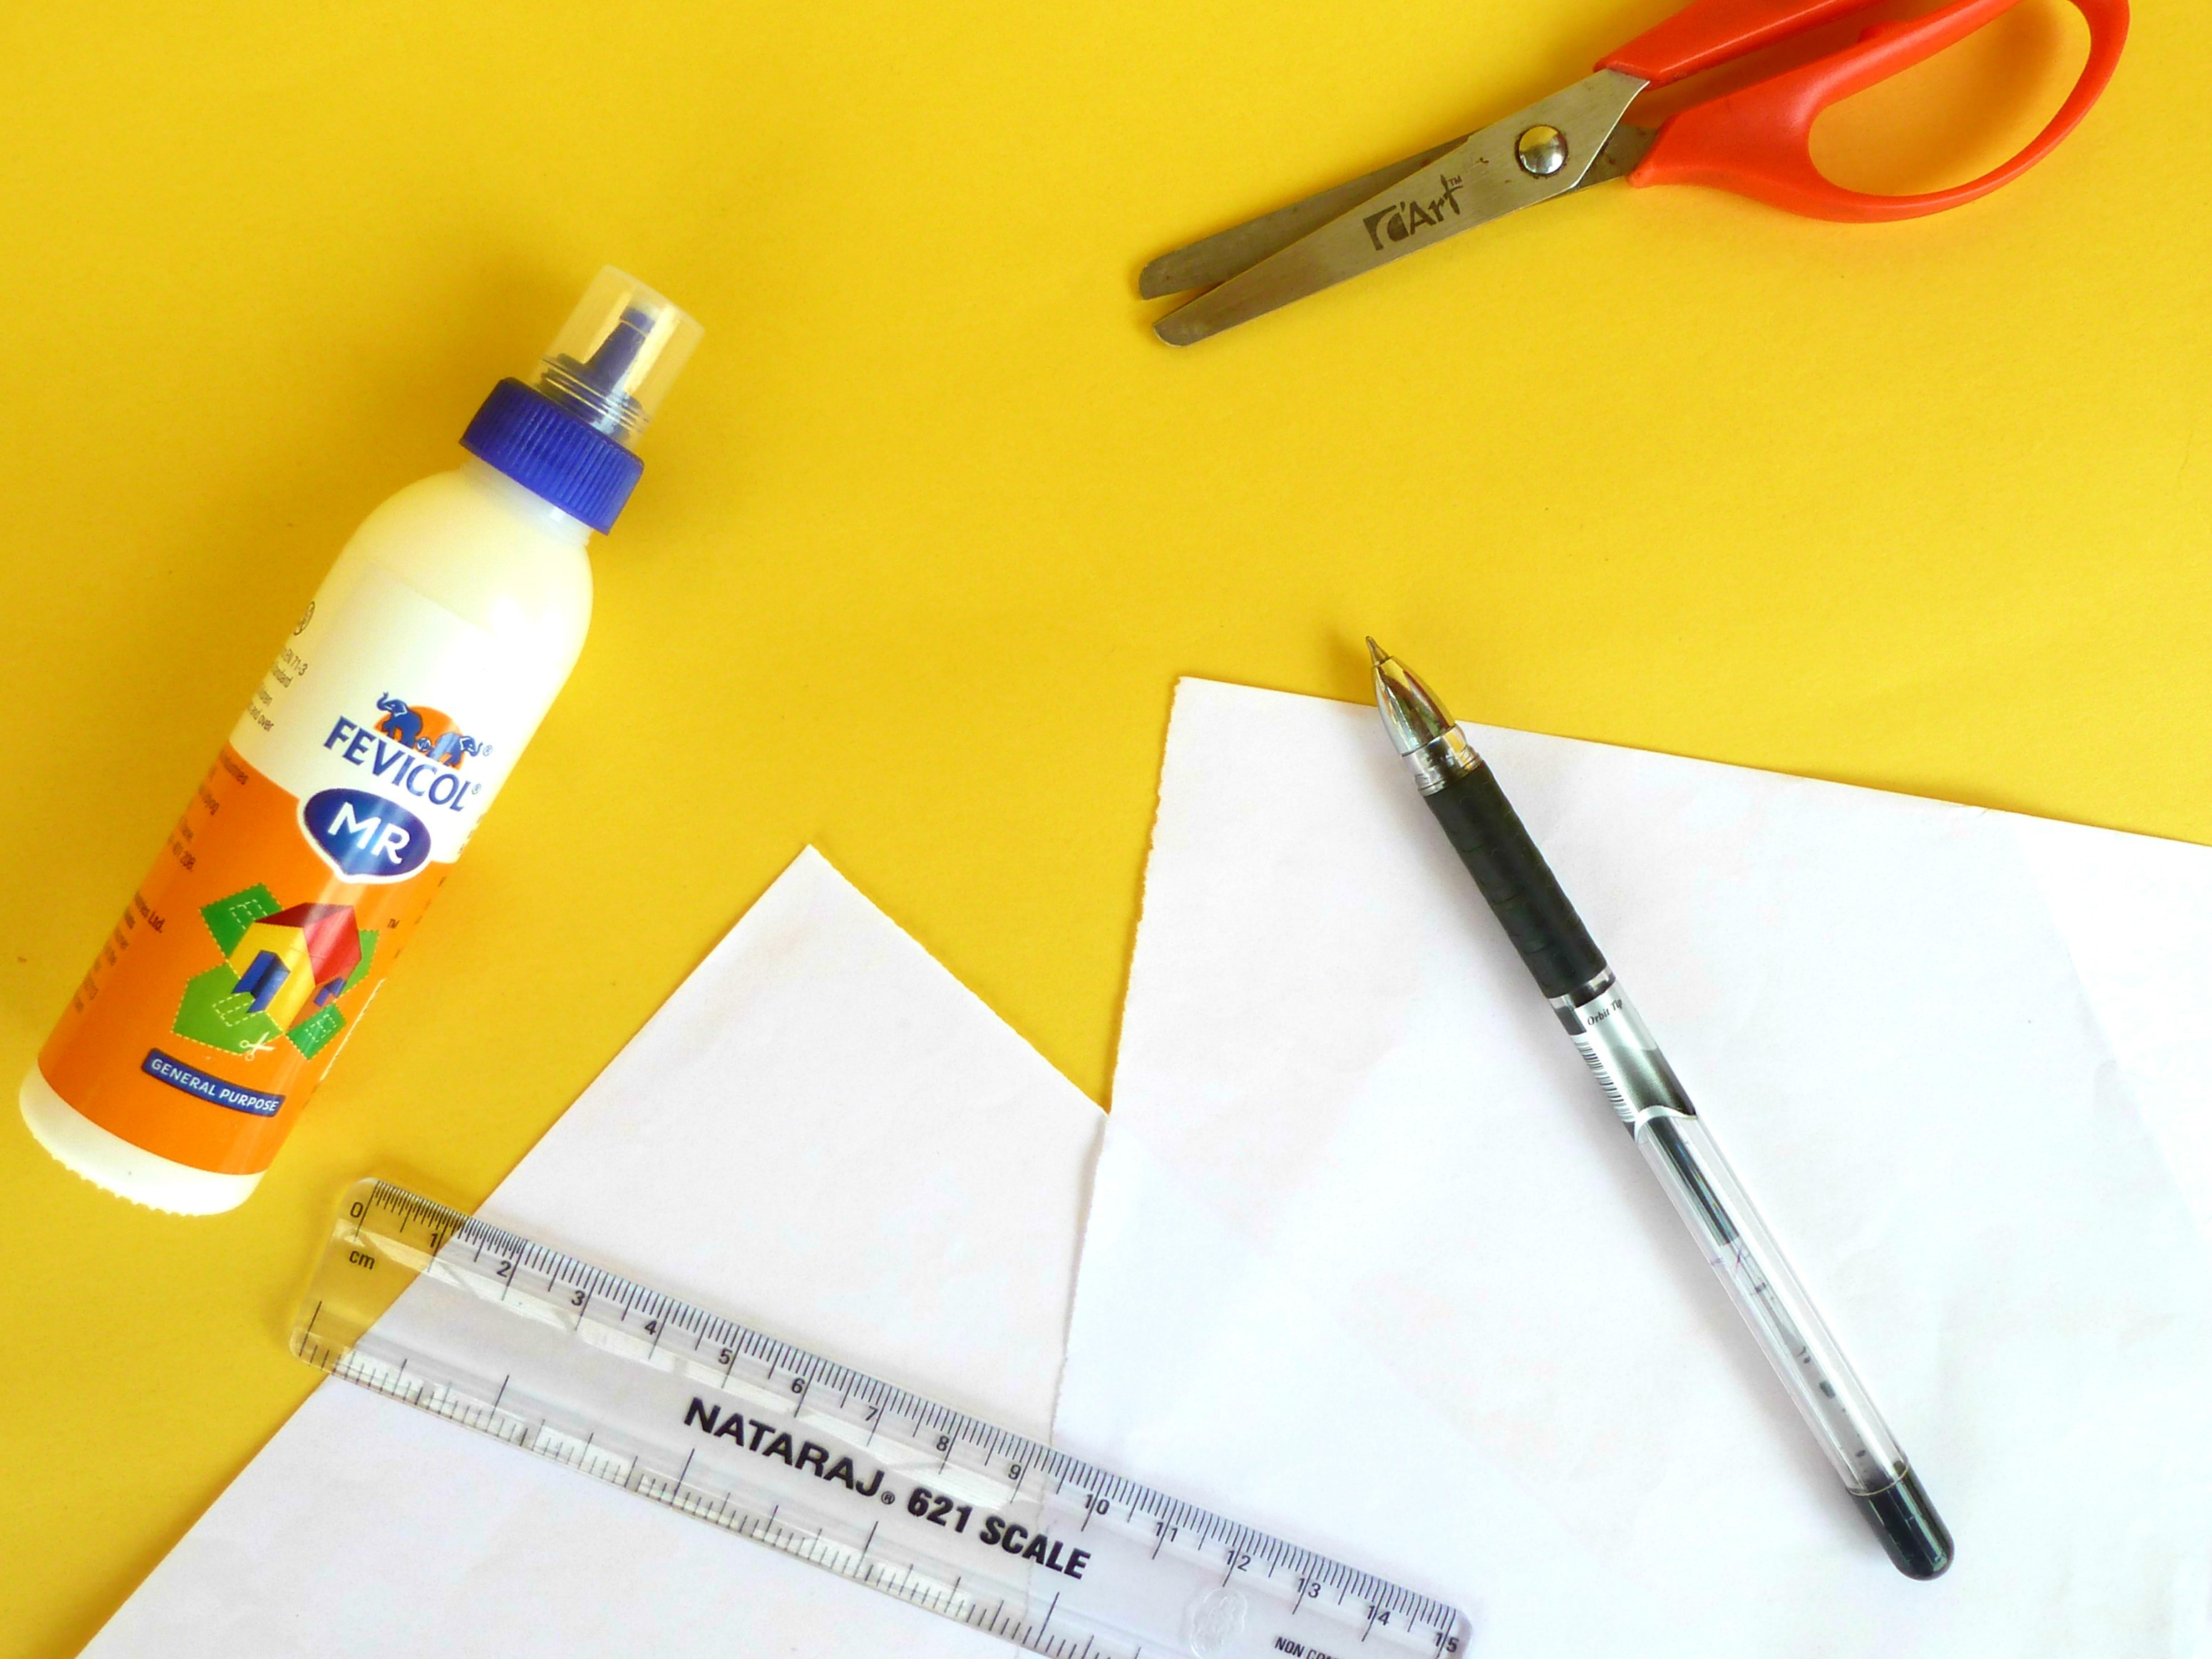
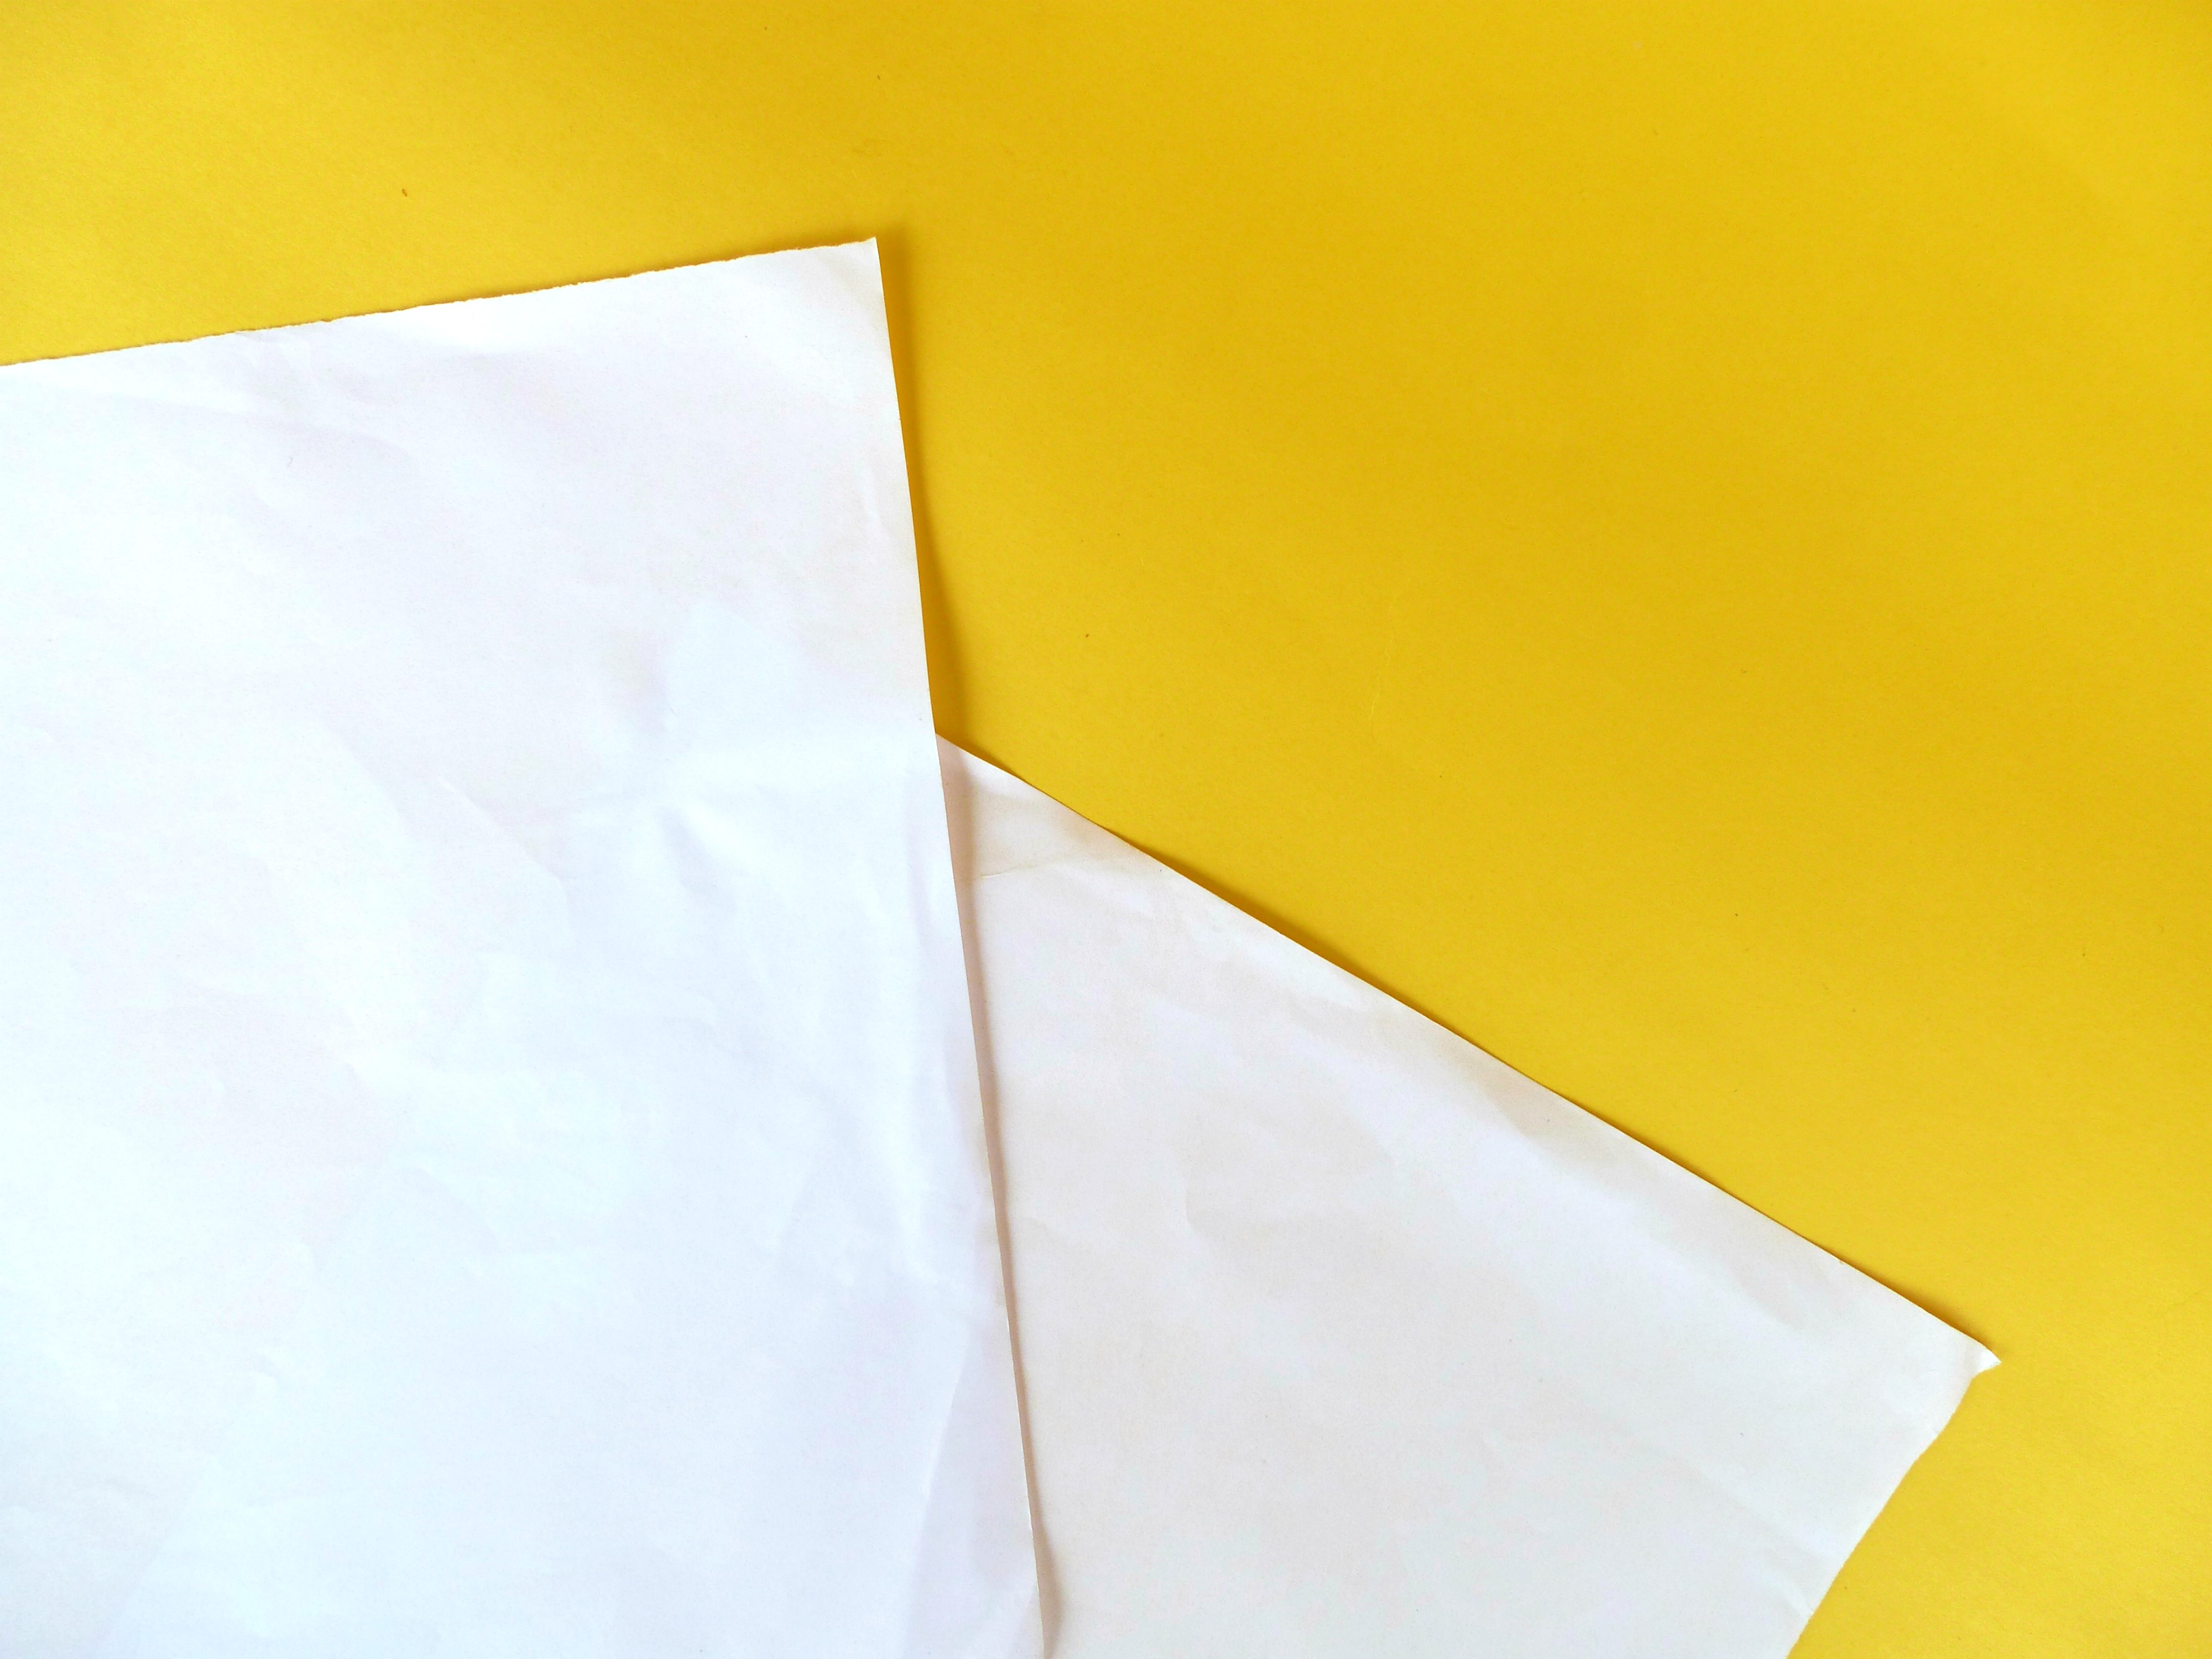
- A4 White Sheets
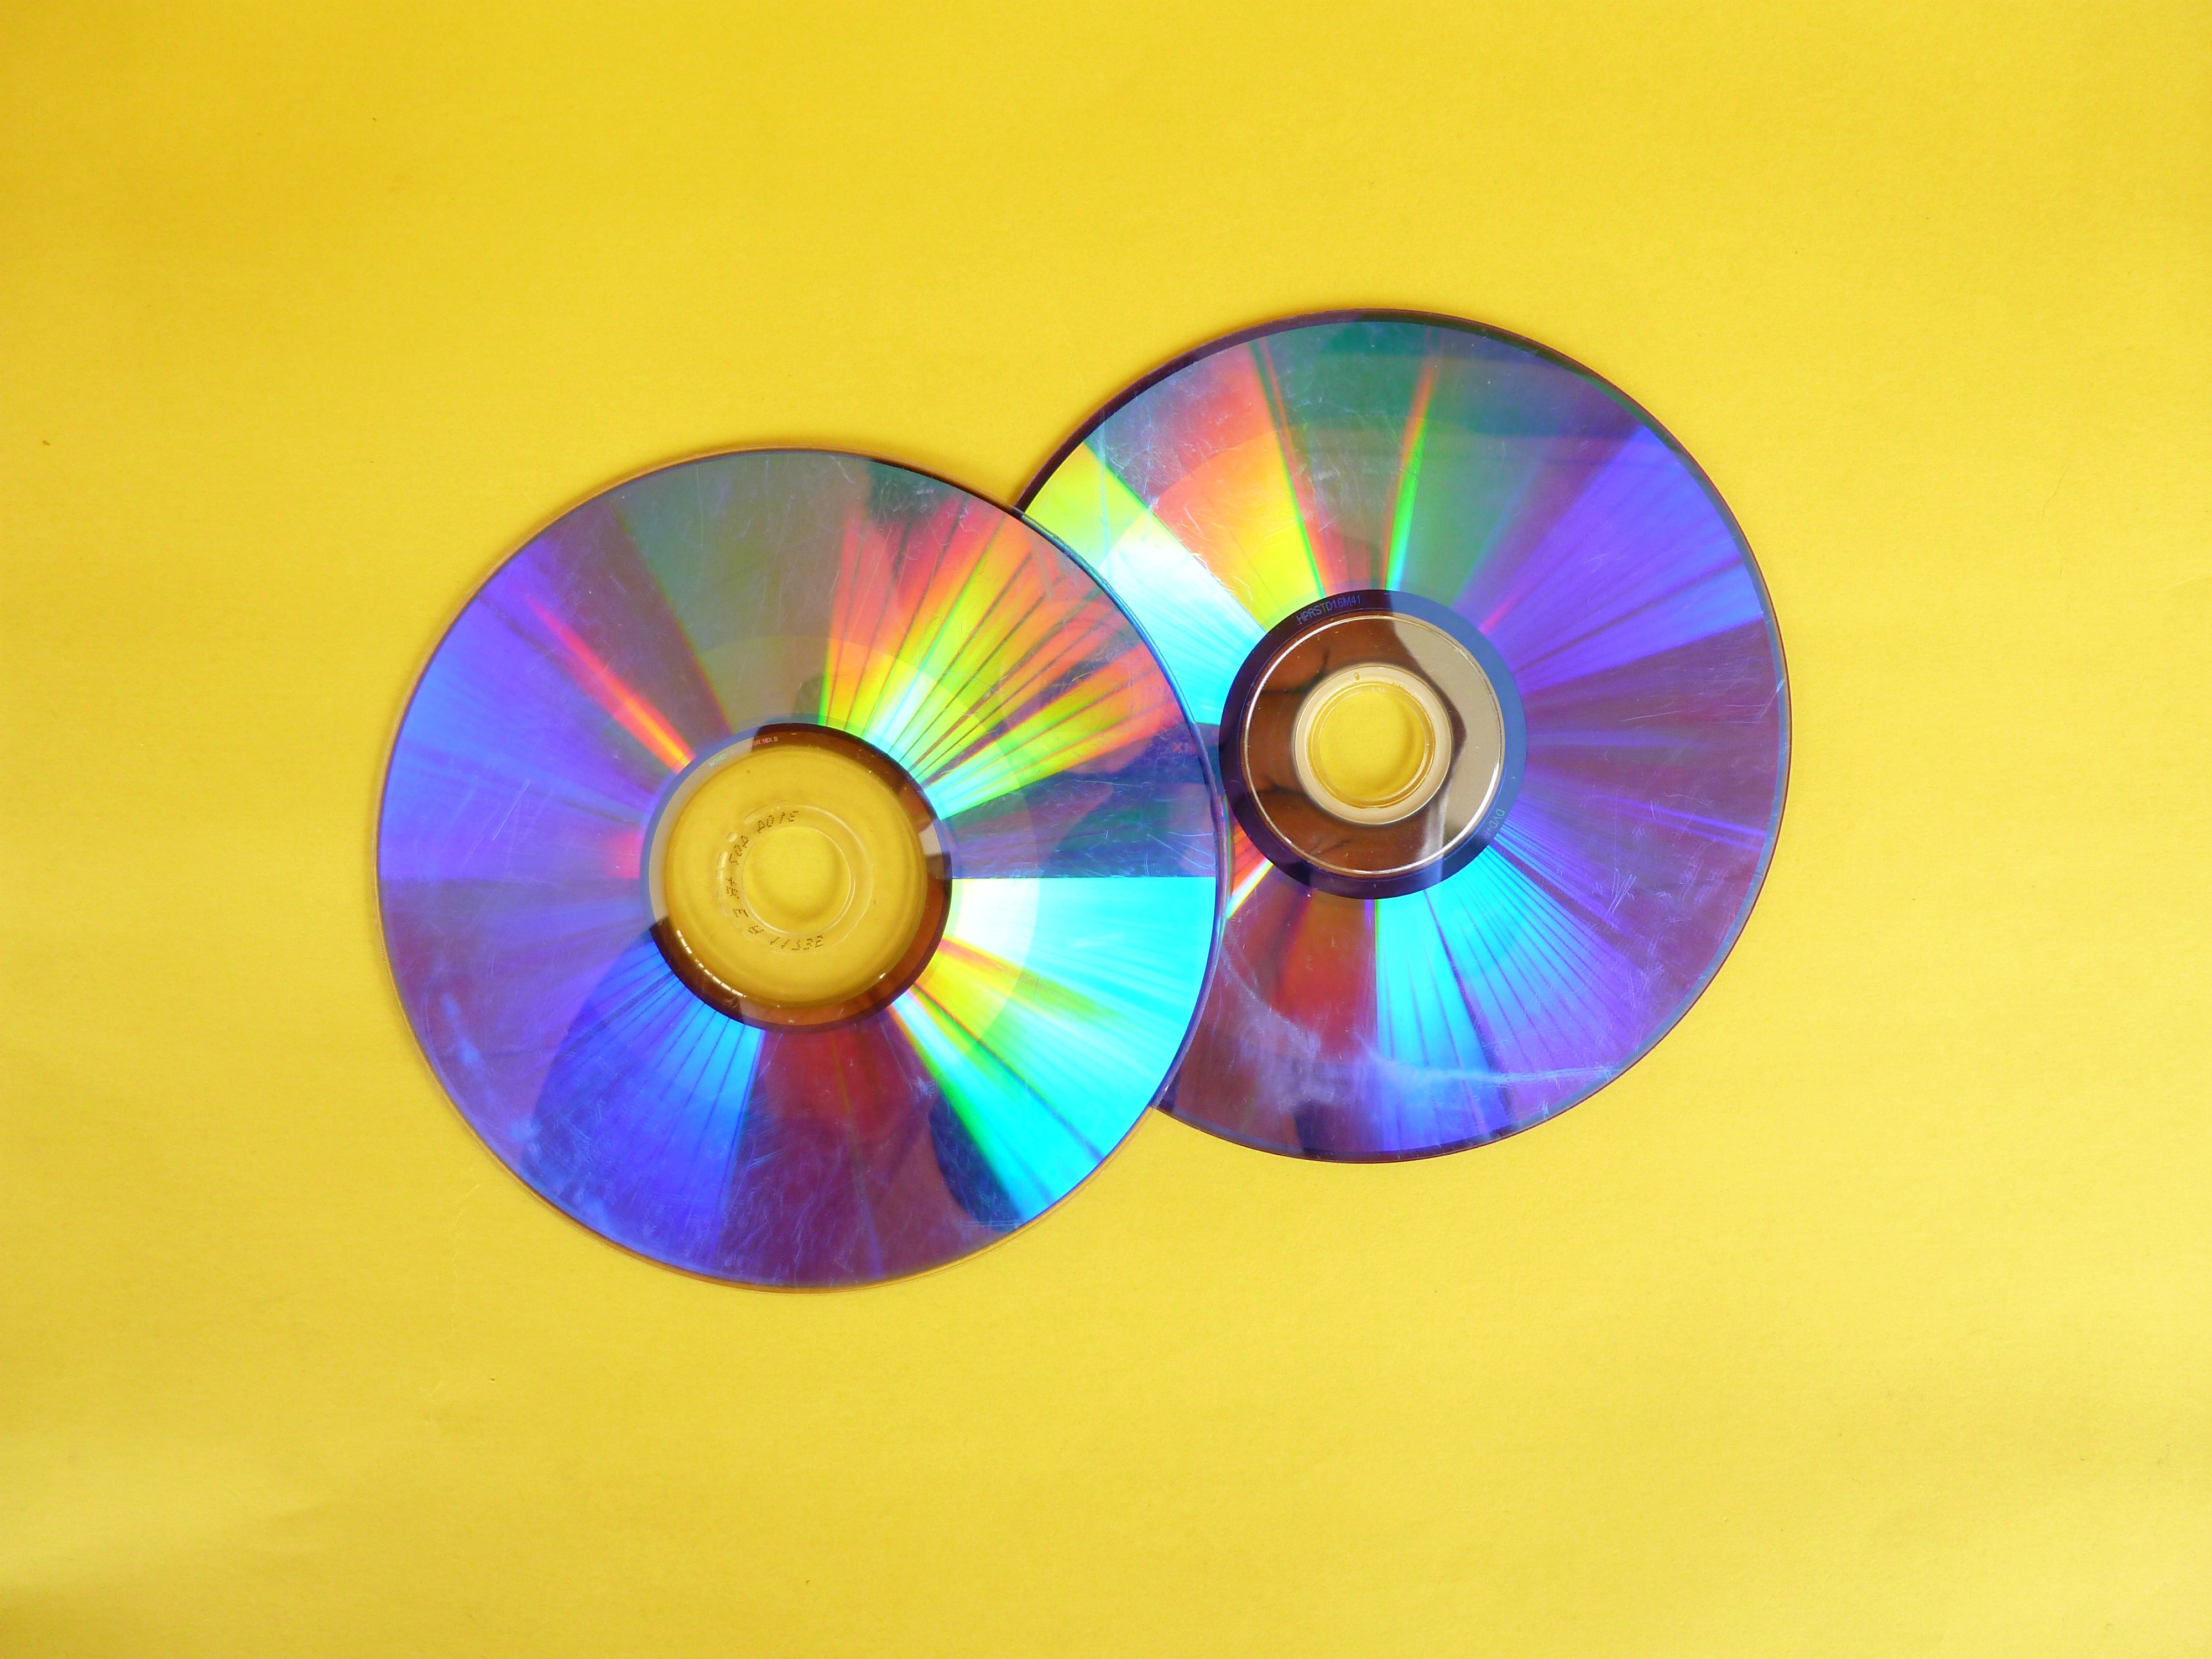
- Old CD's
- Pen/Pencil
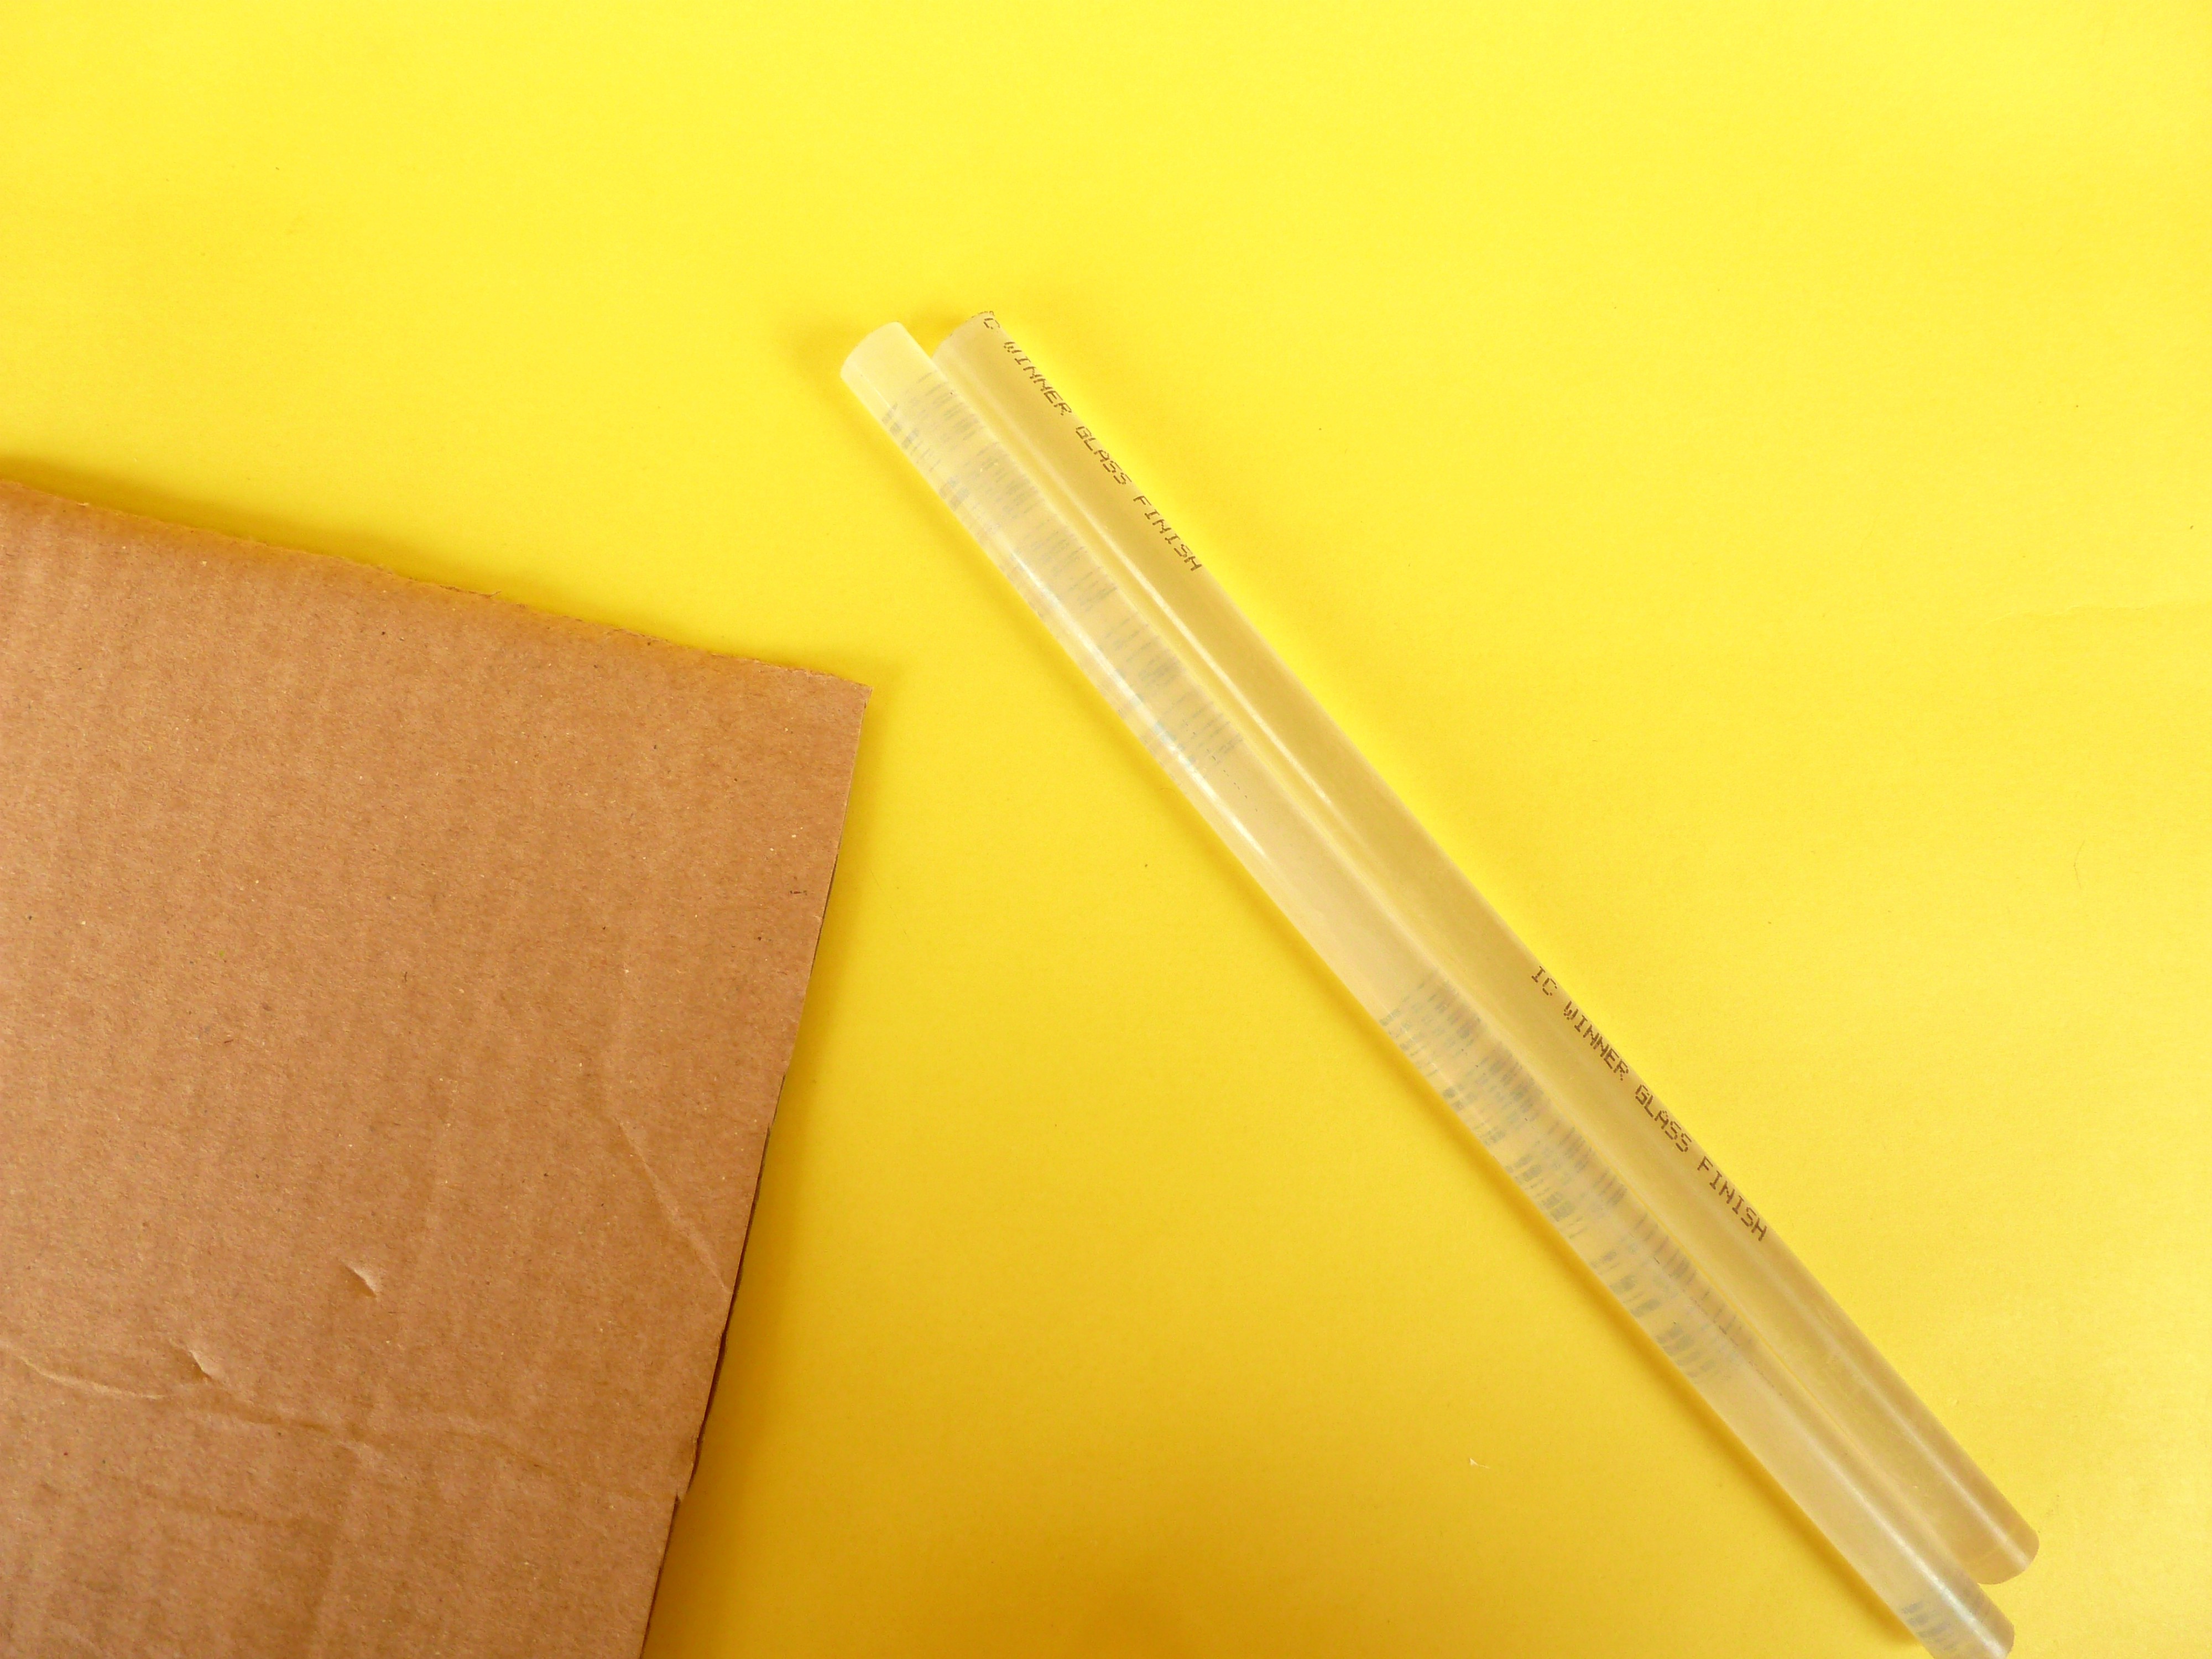
- Scissors
- Fevicol
- CardBoard
- Glue Stick
Components Needed
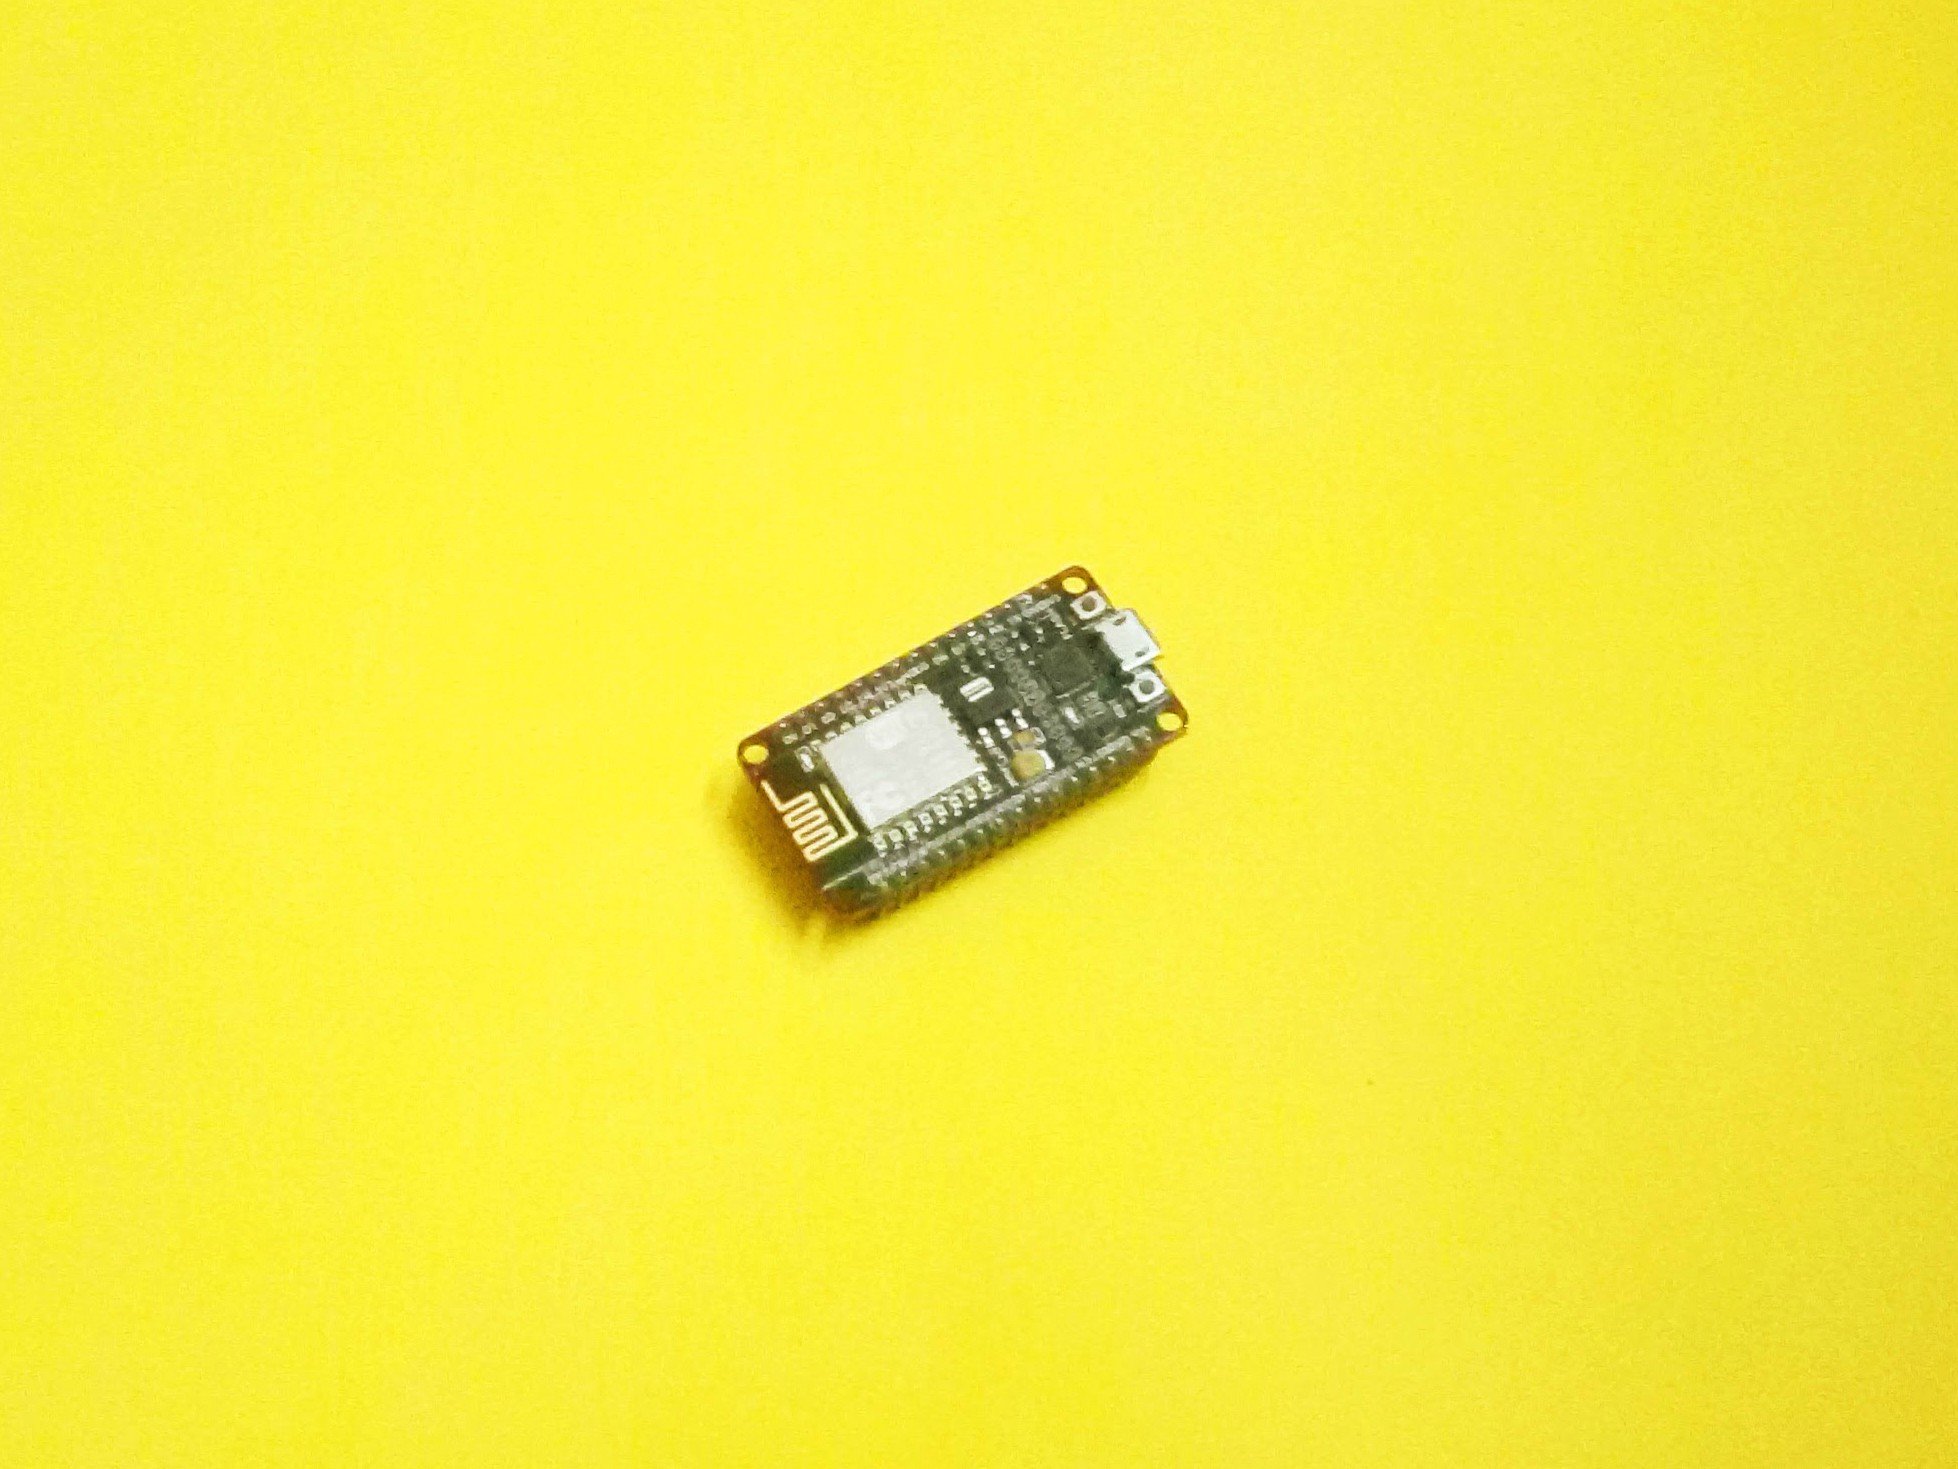
- NodeMCU
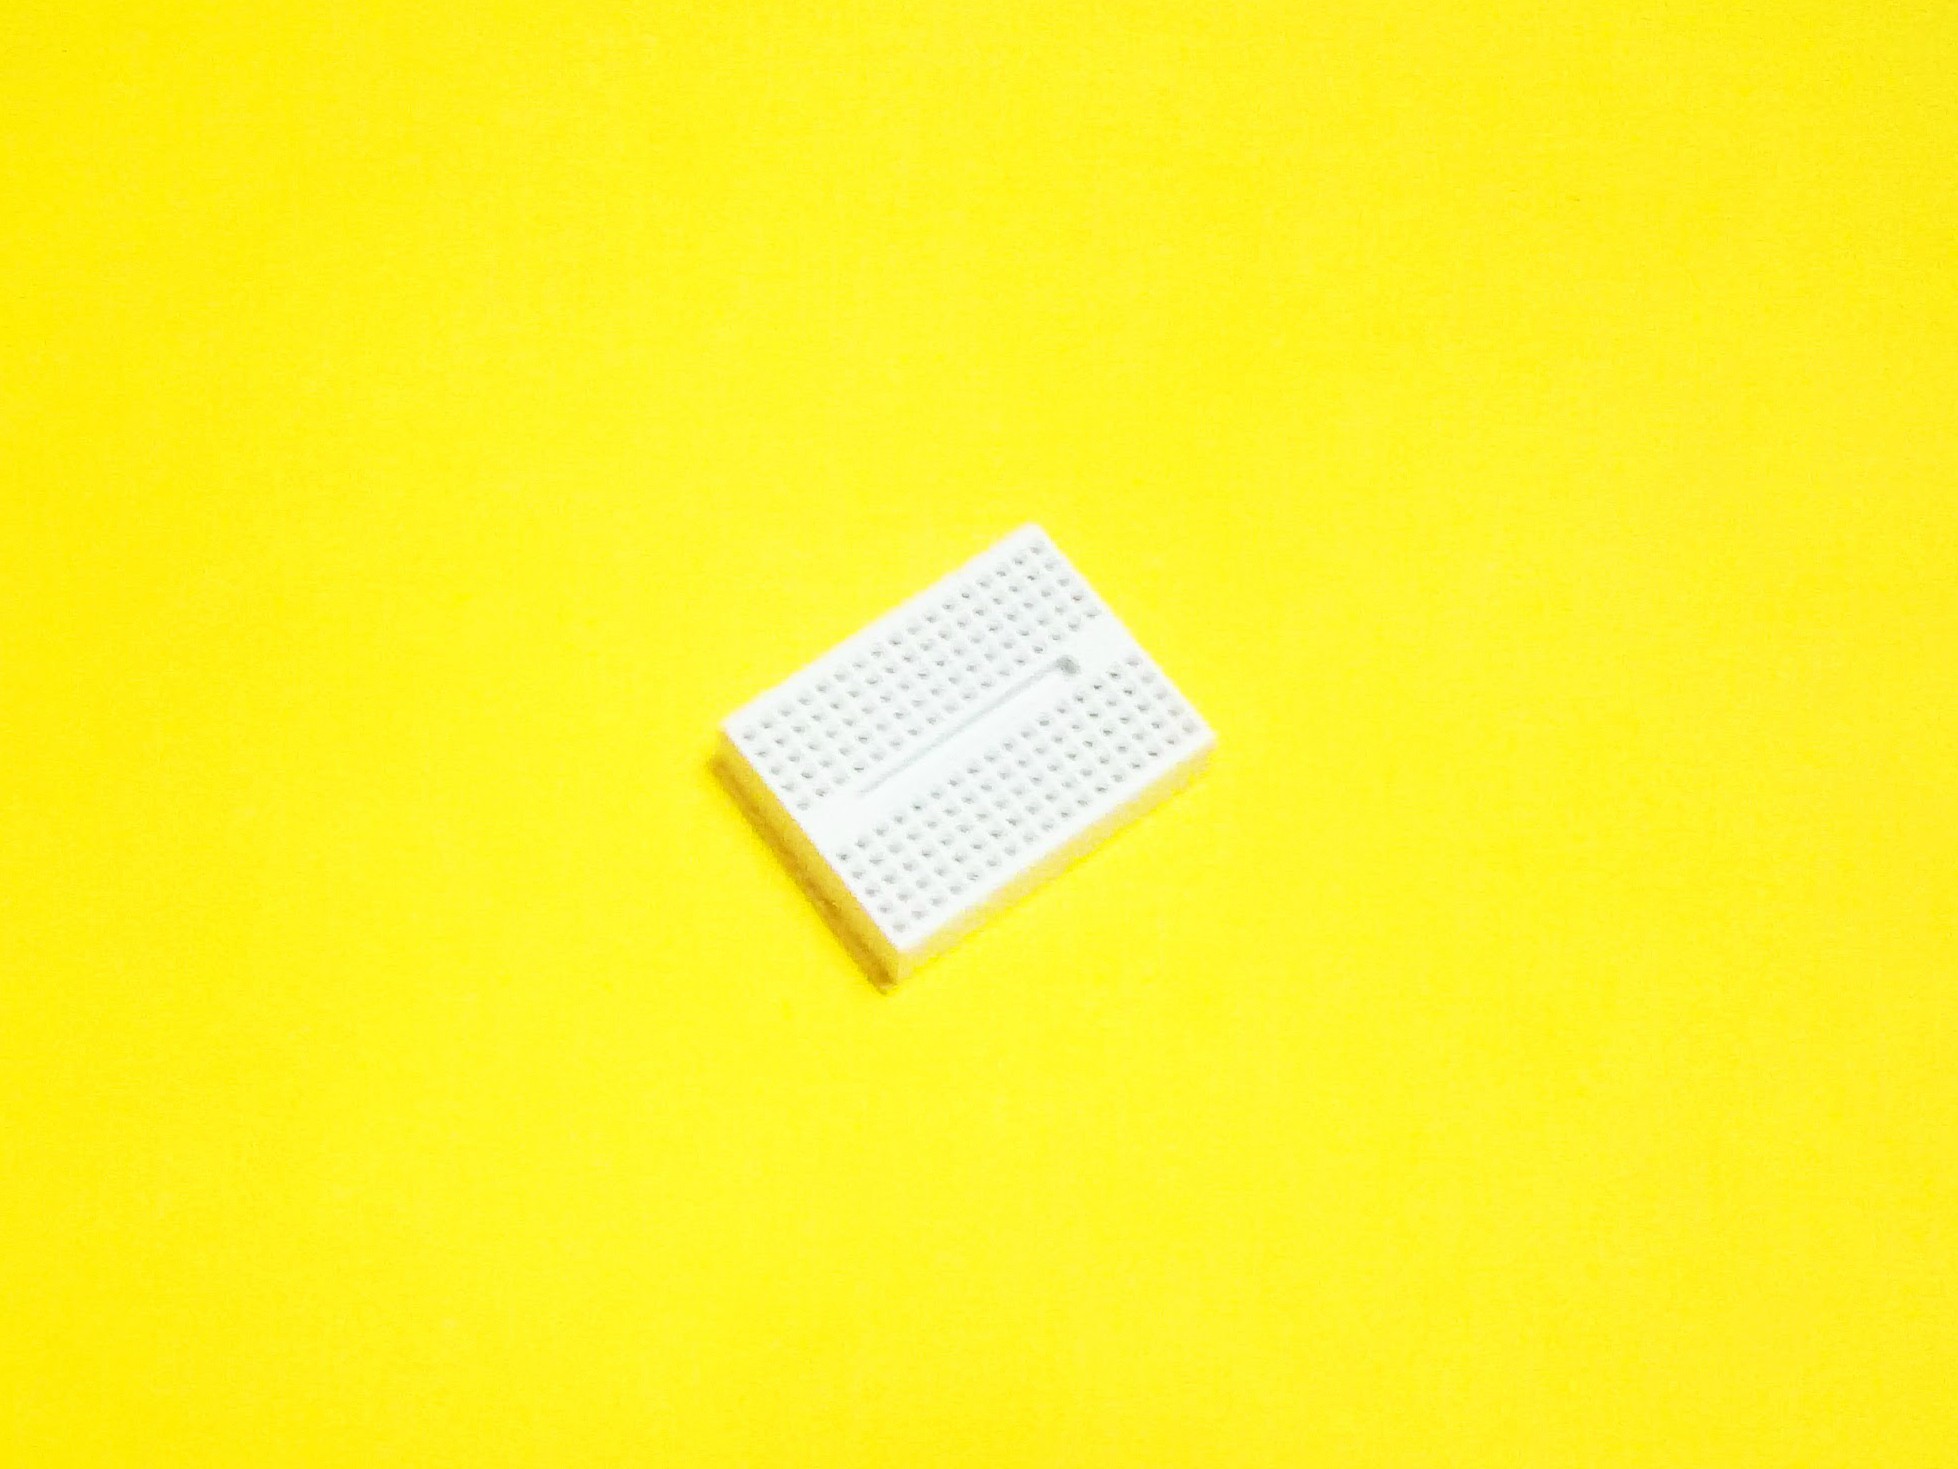
- BreadBoard
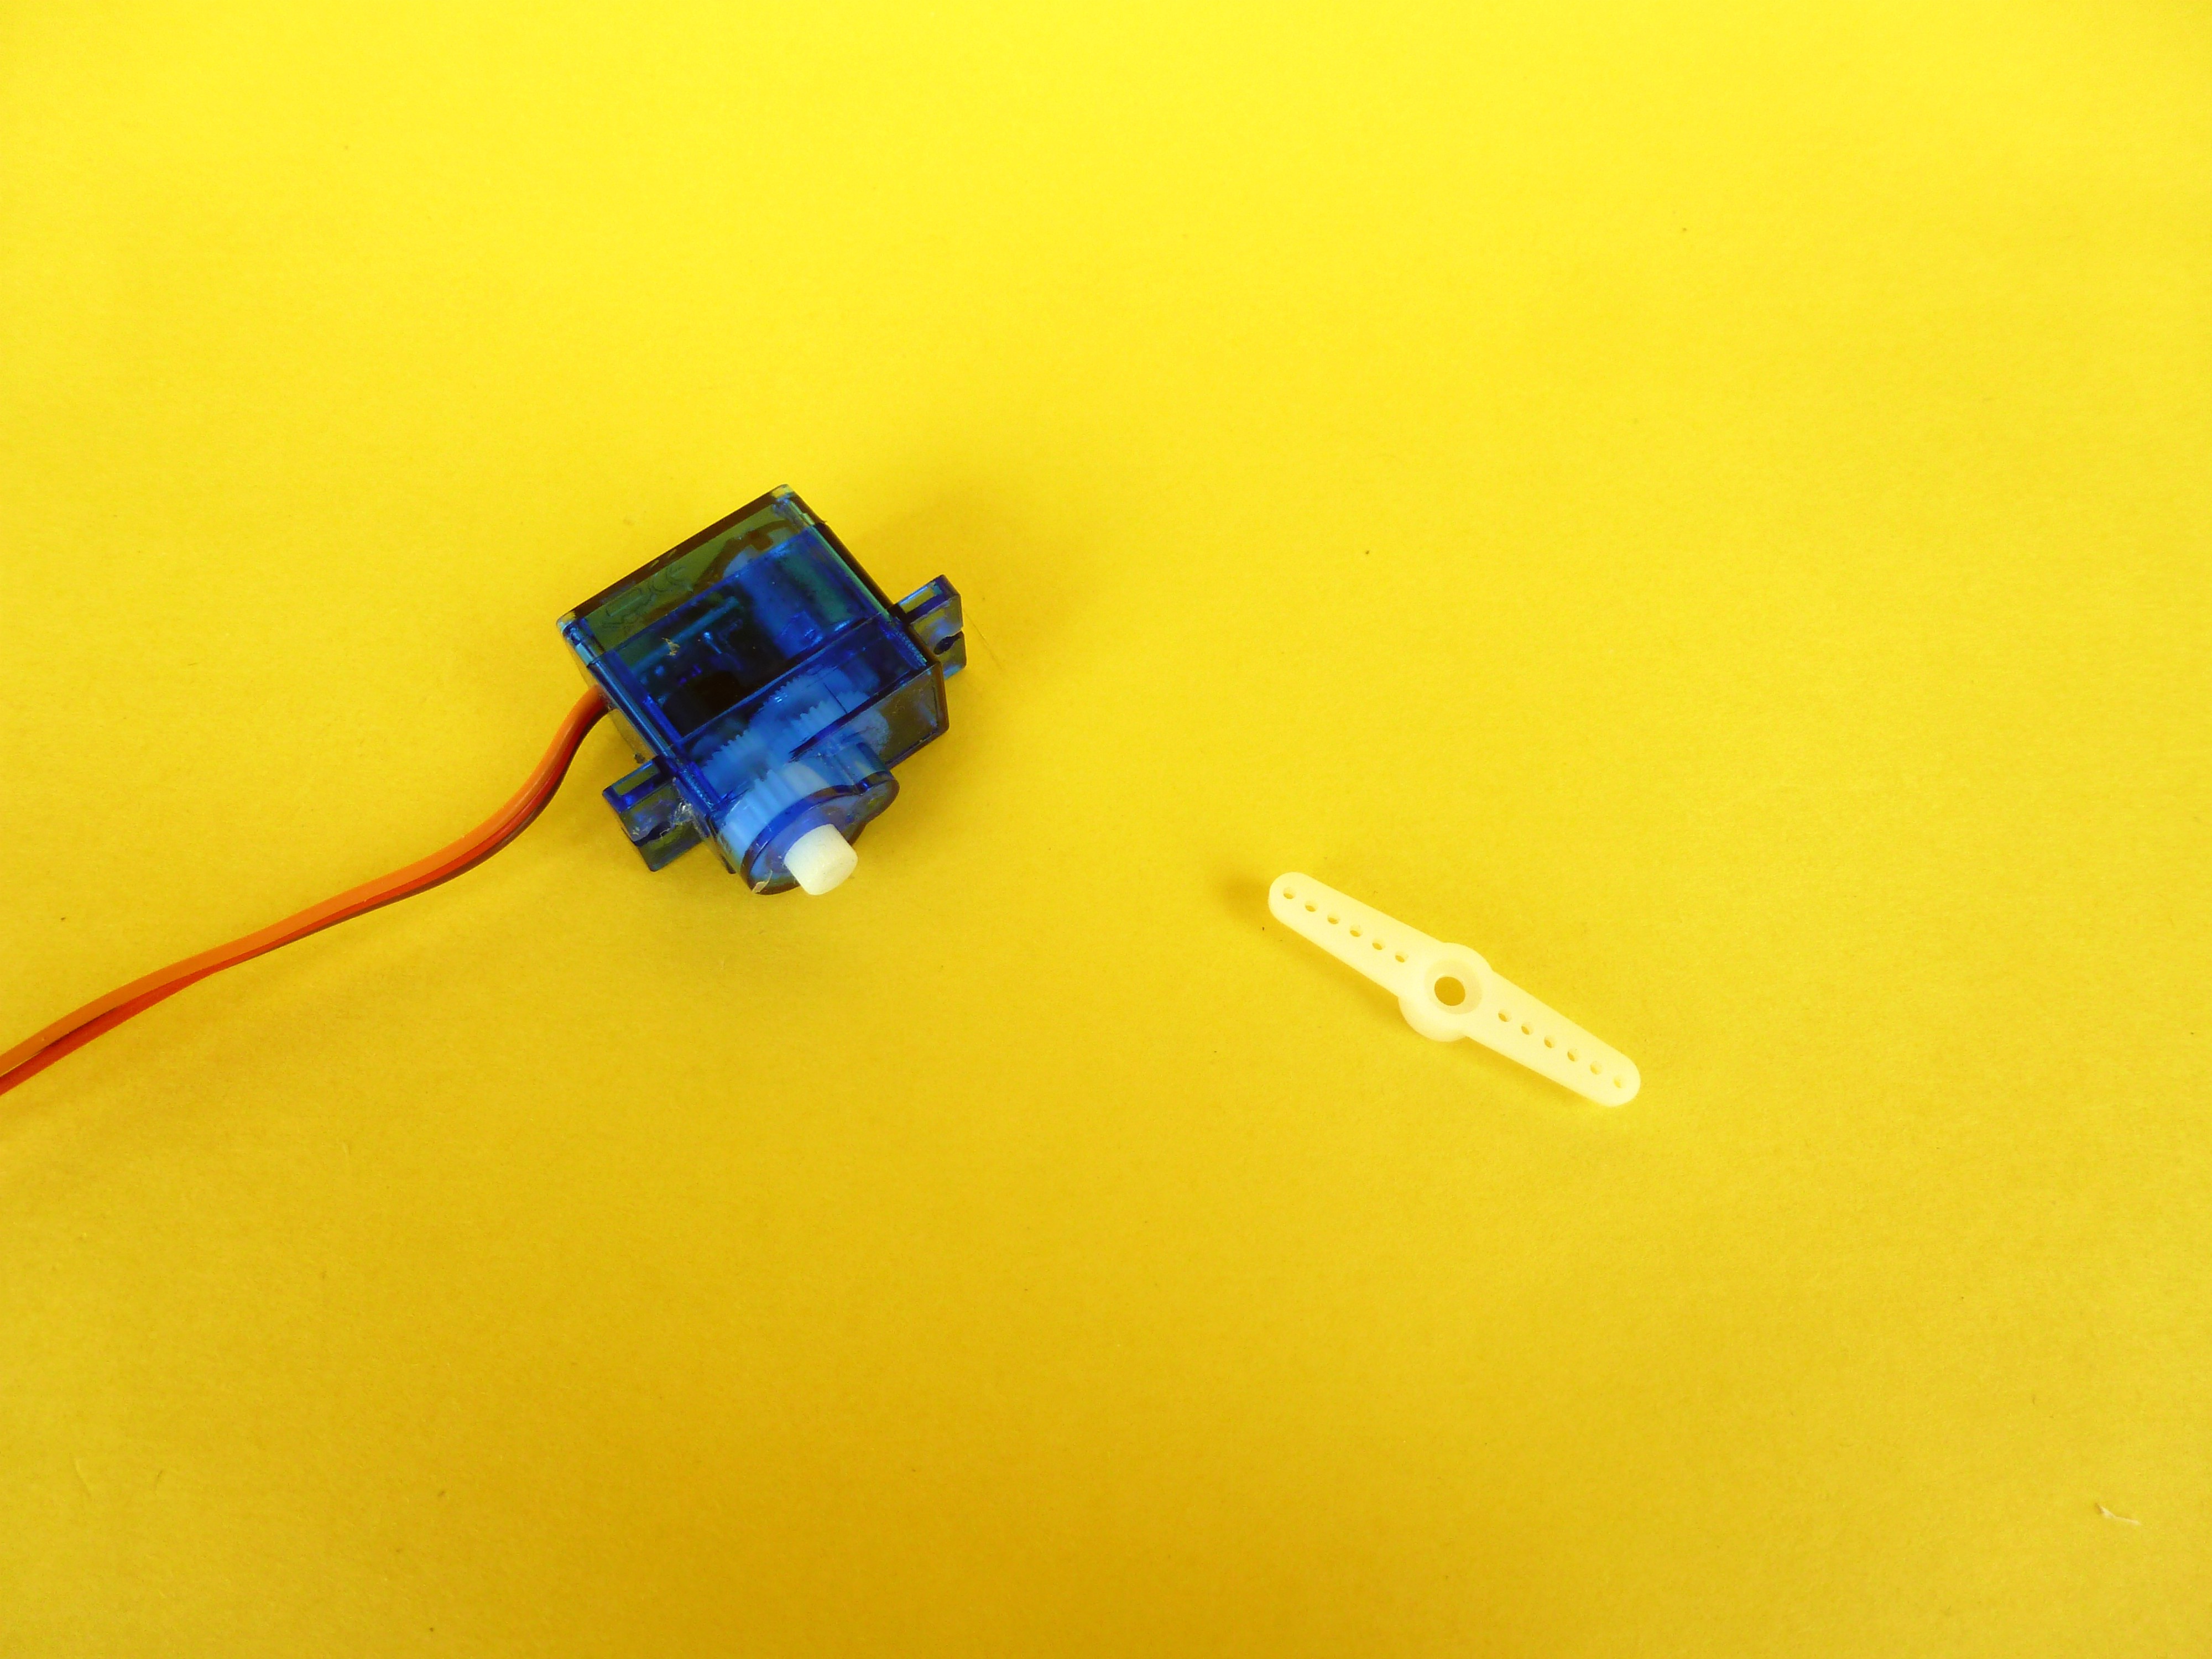
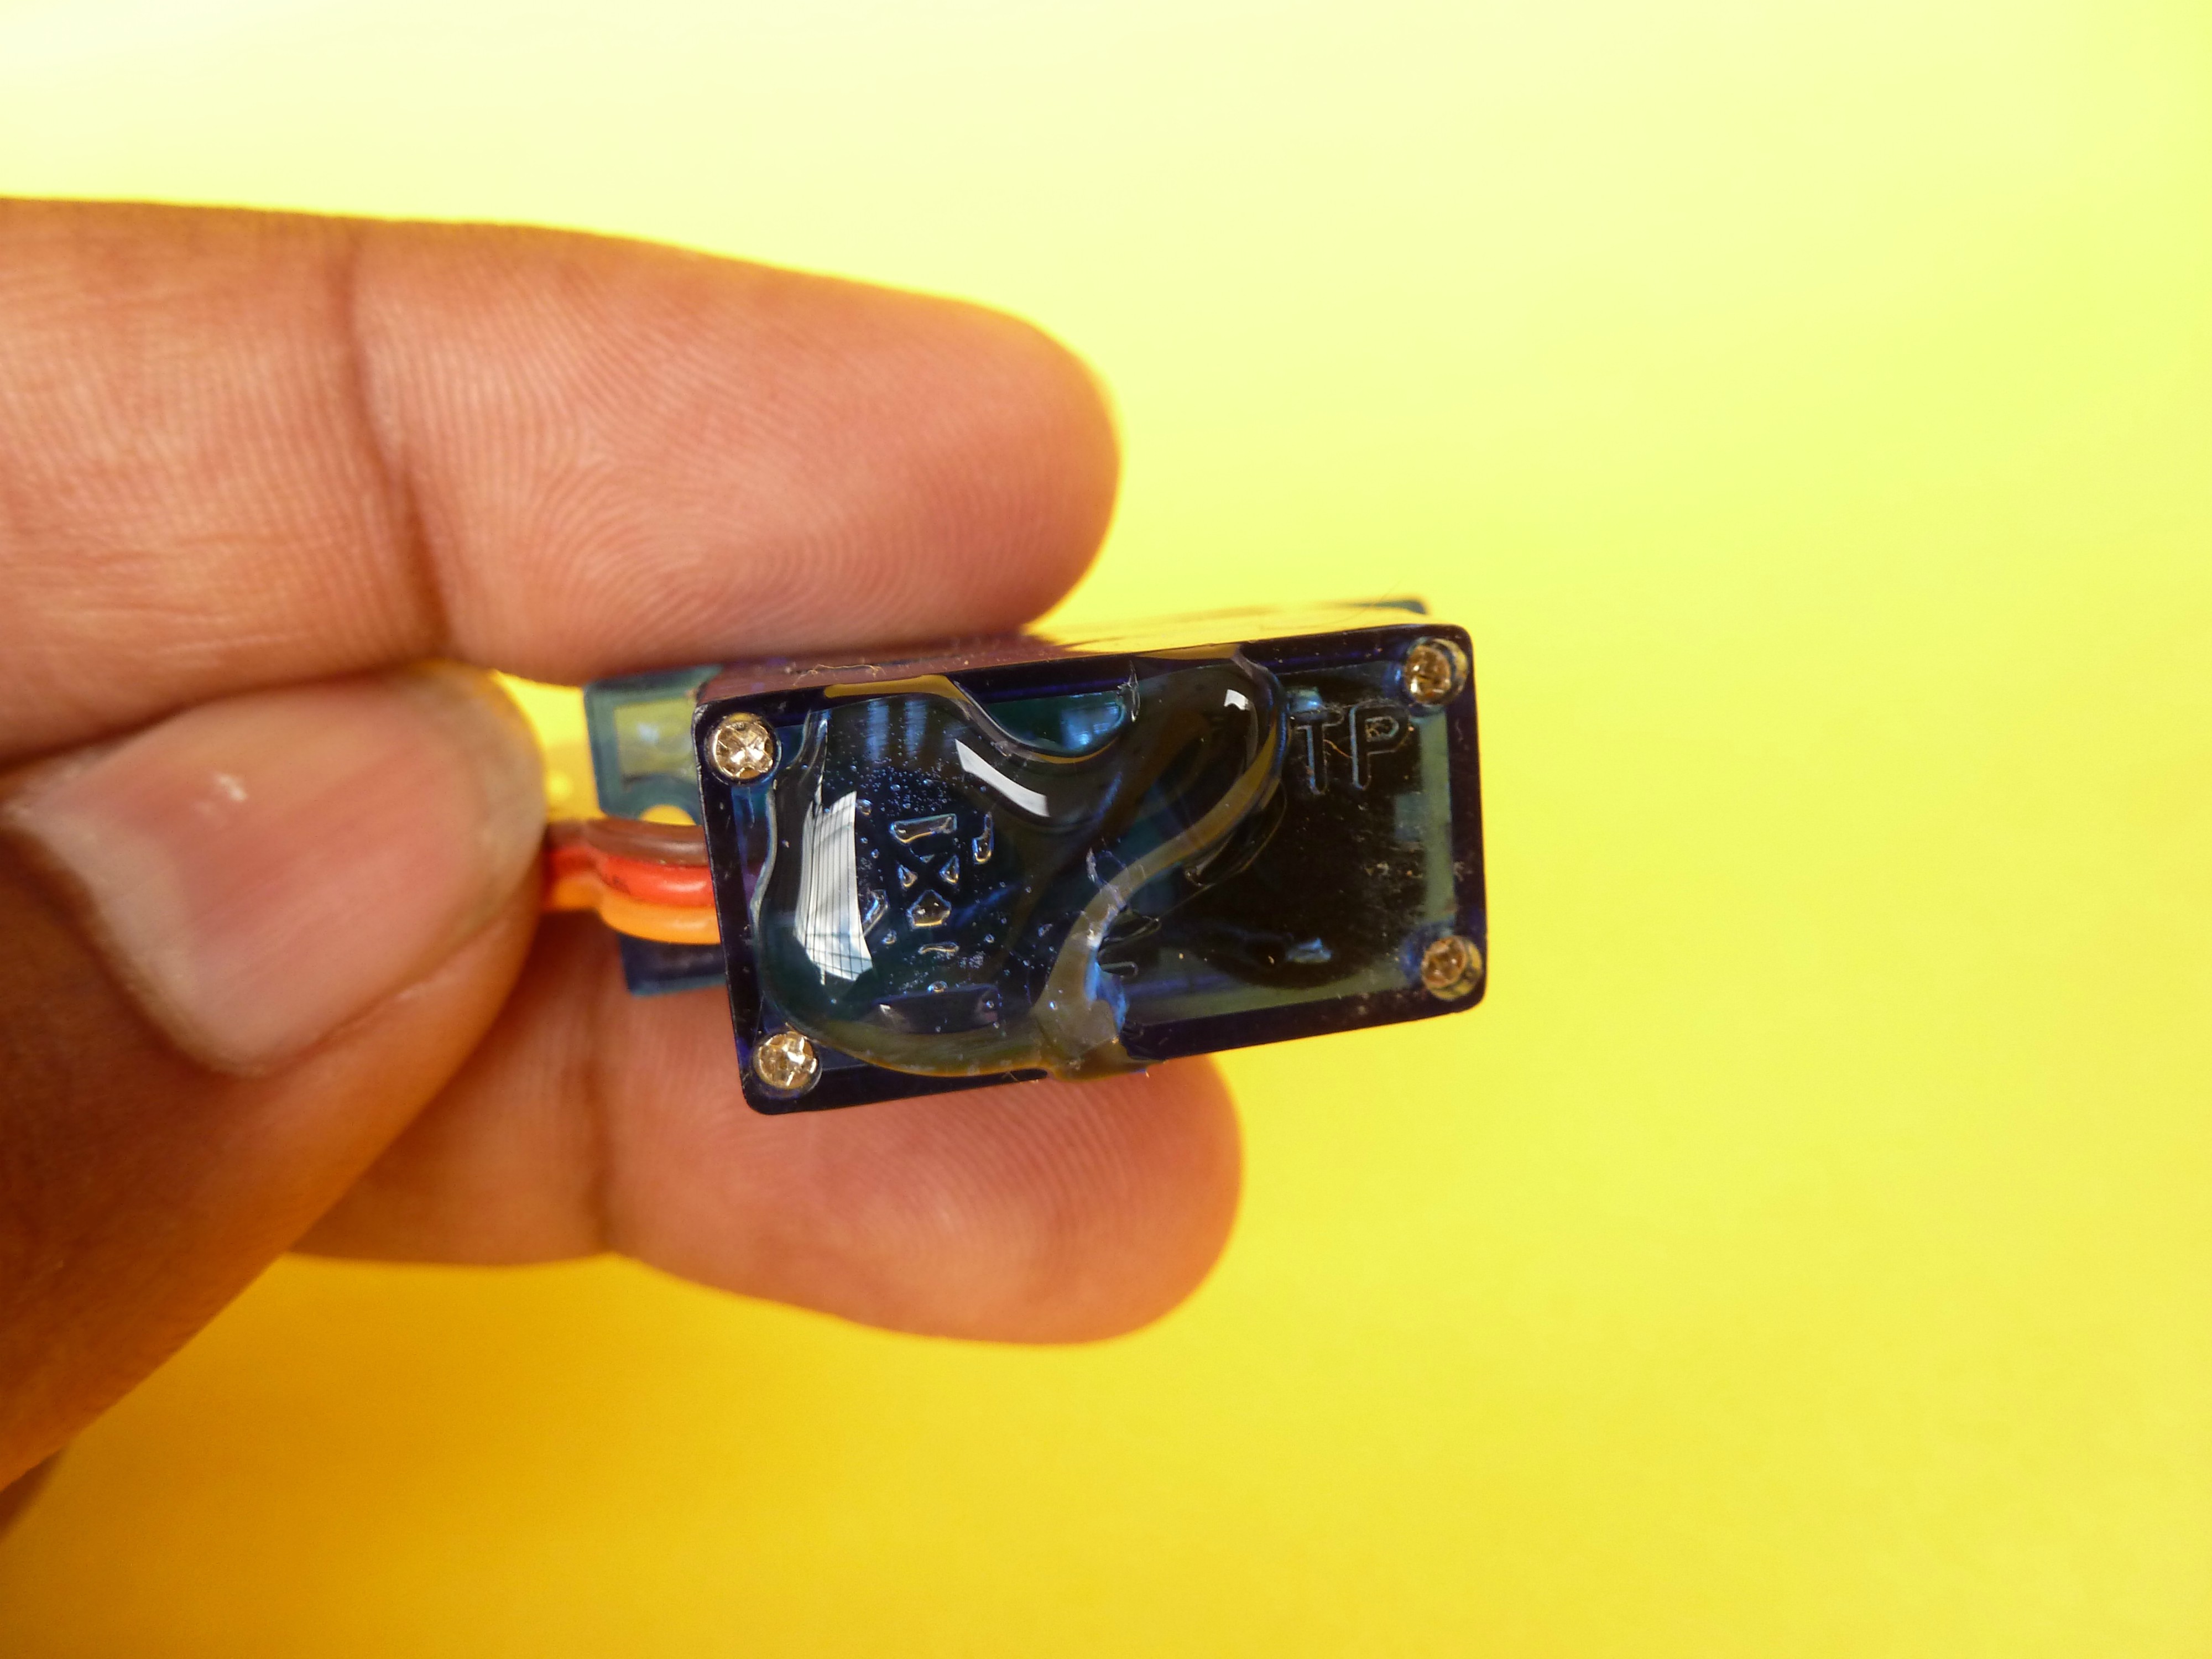
- Servo Motor
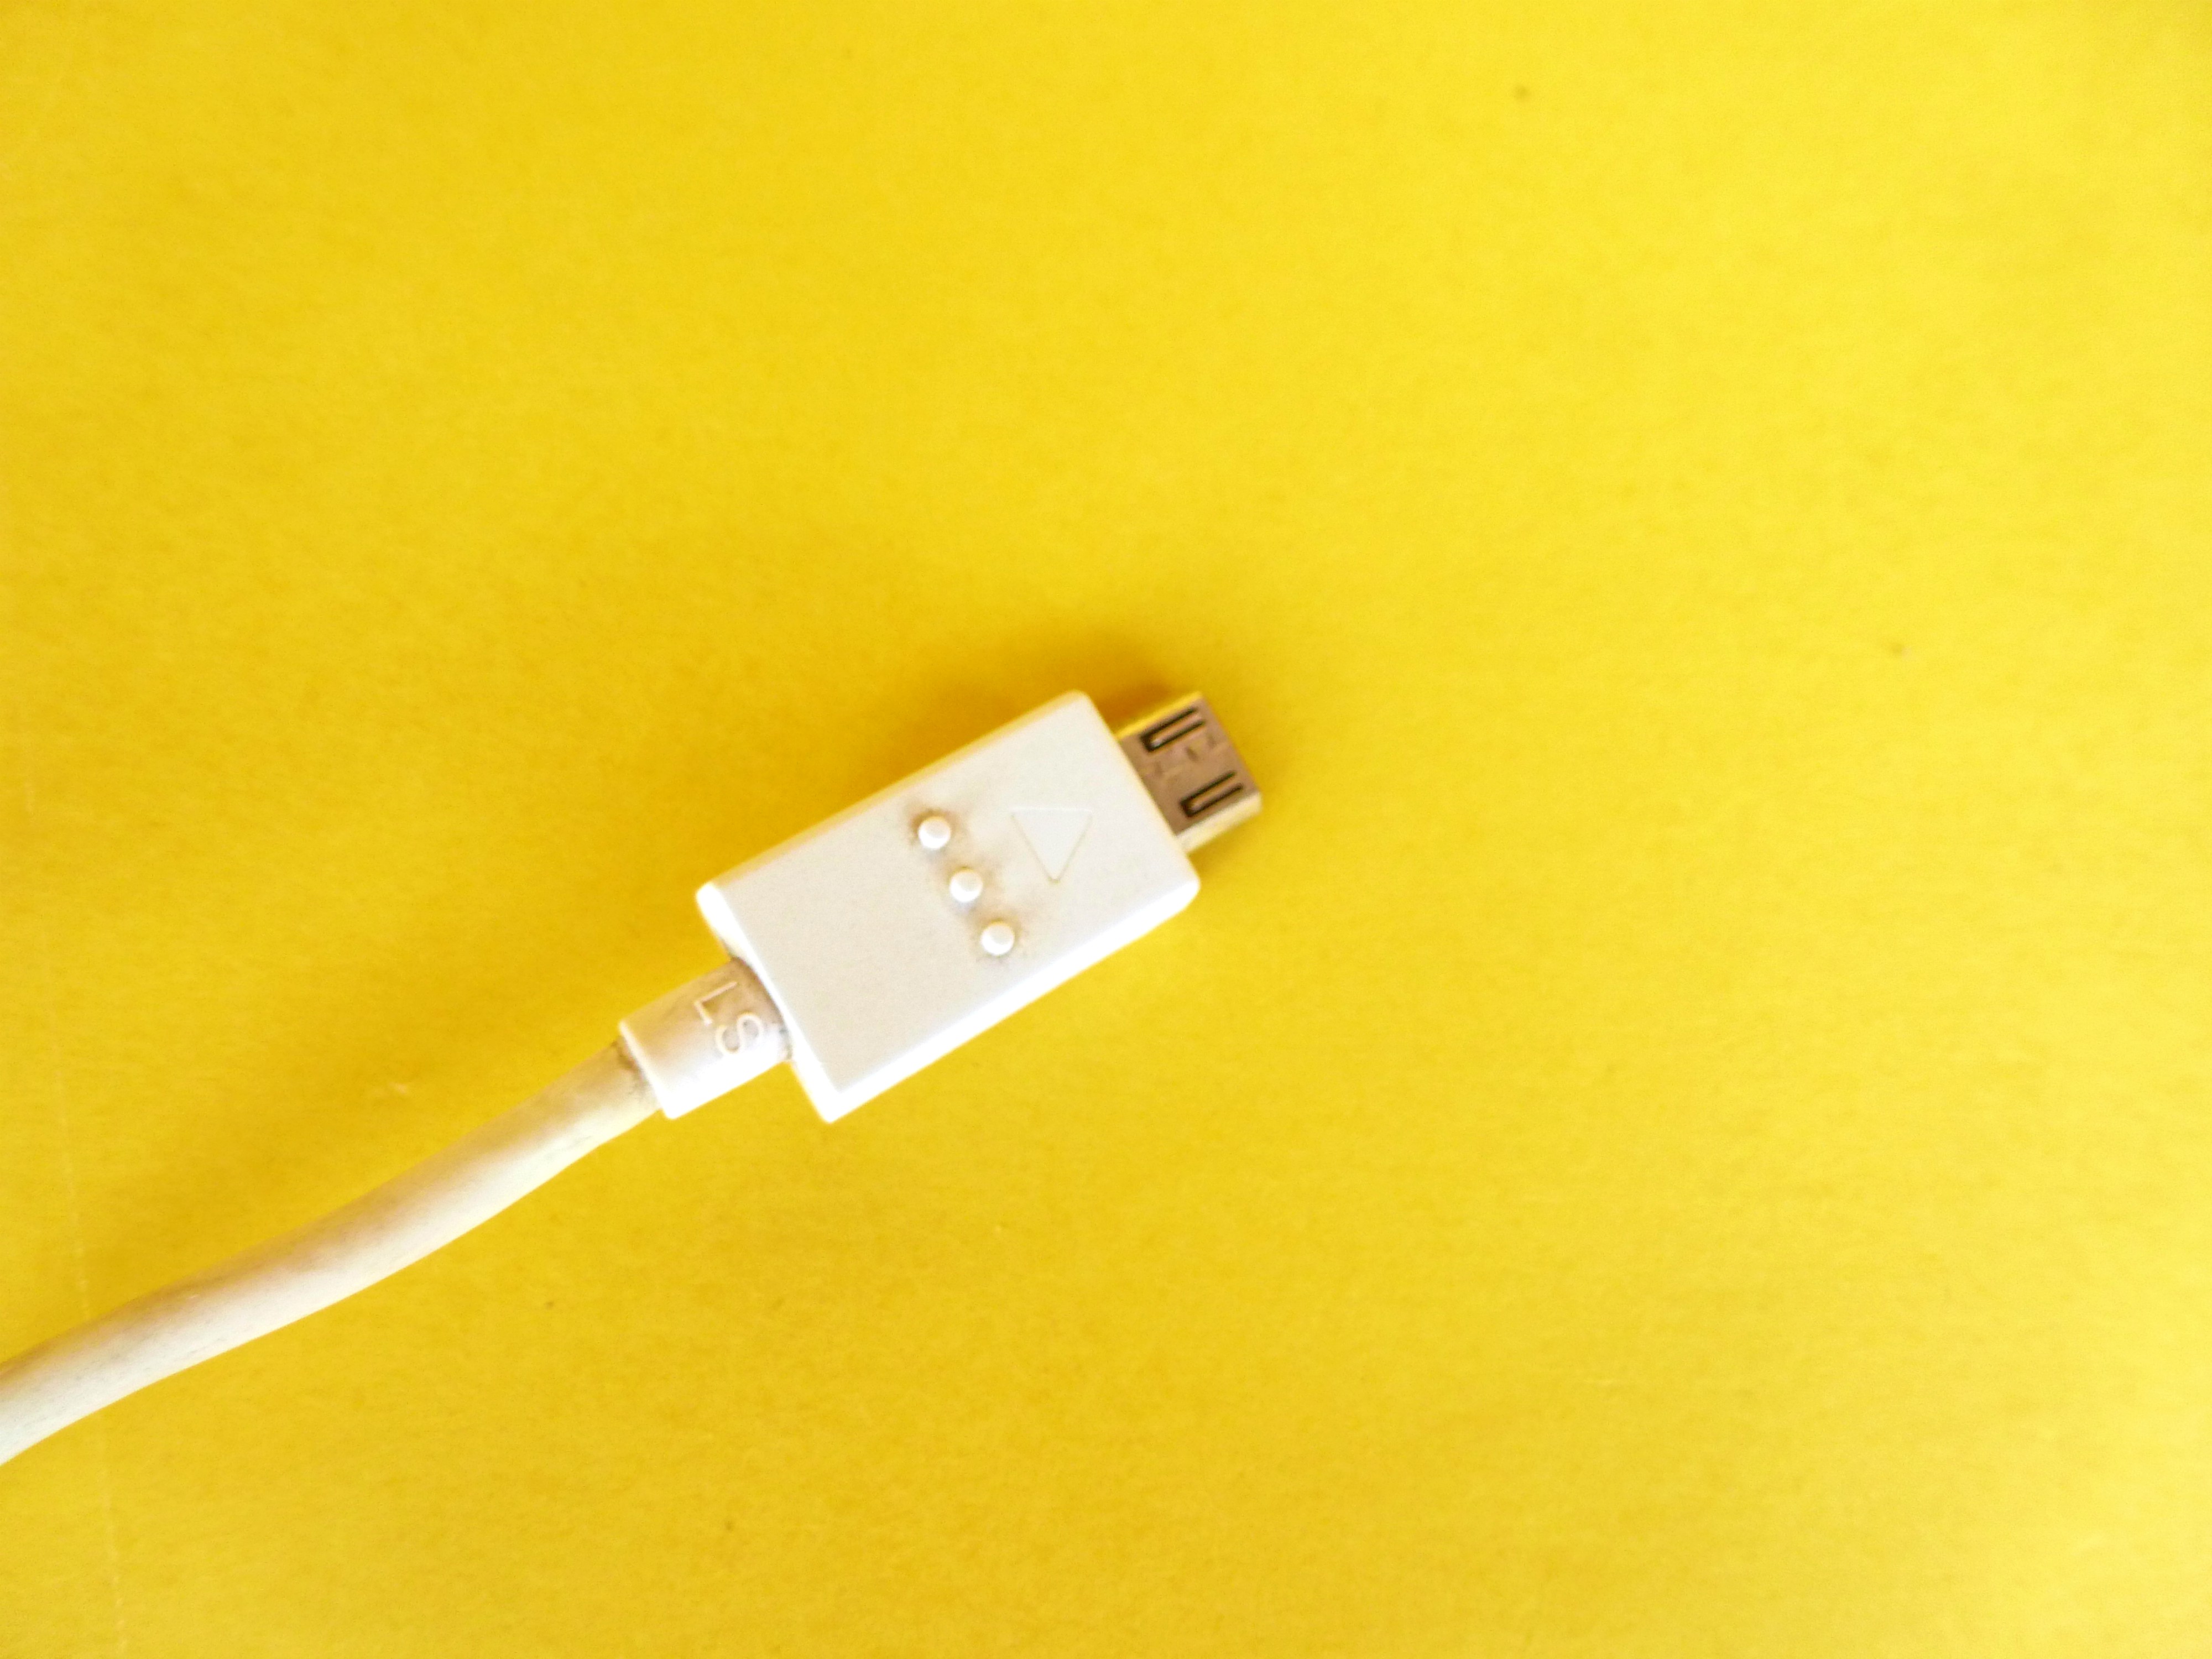
- Micro USB Cable
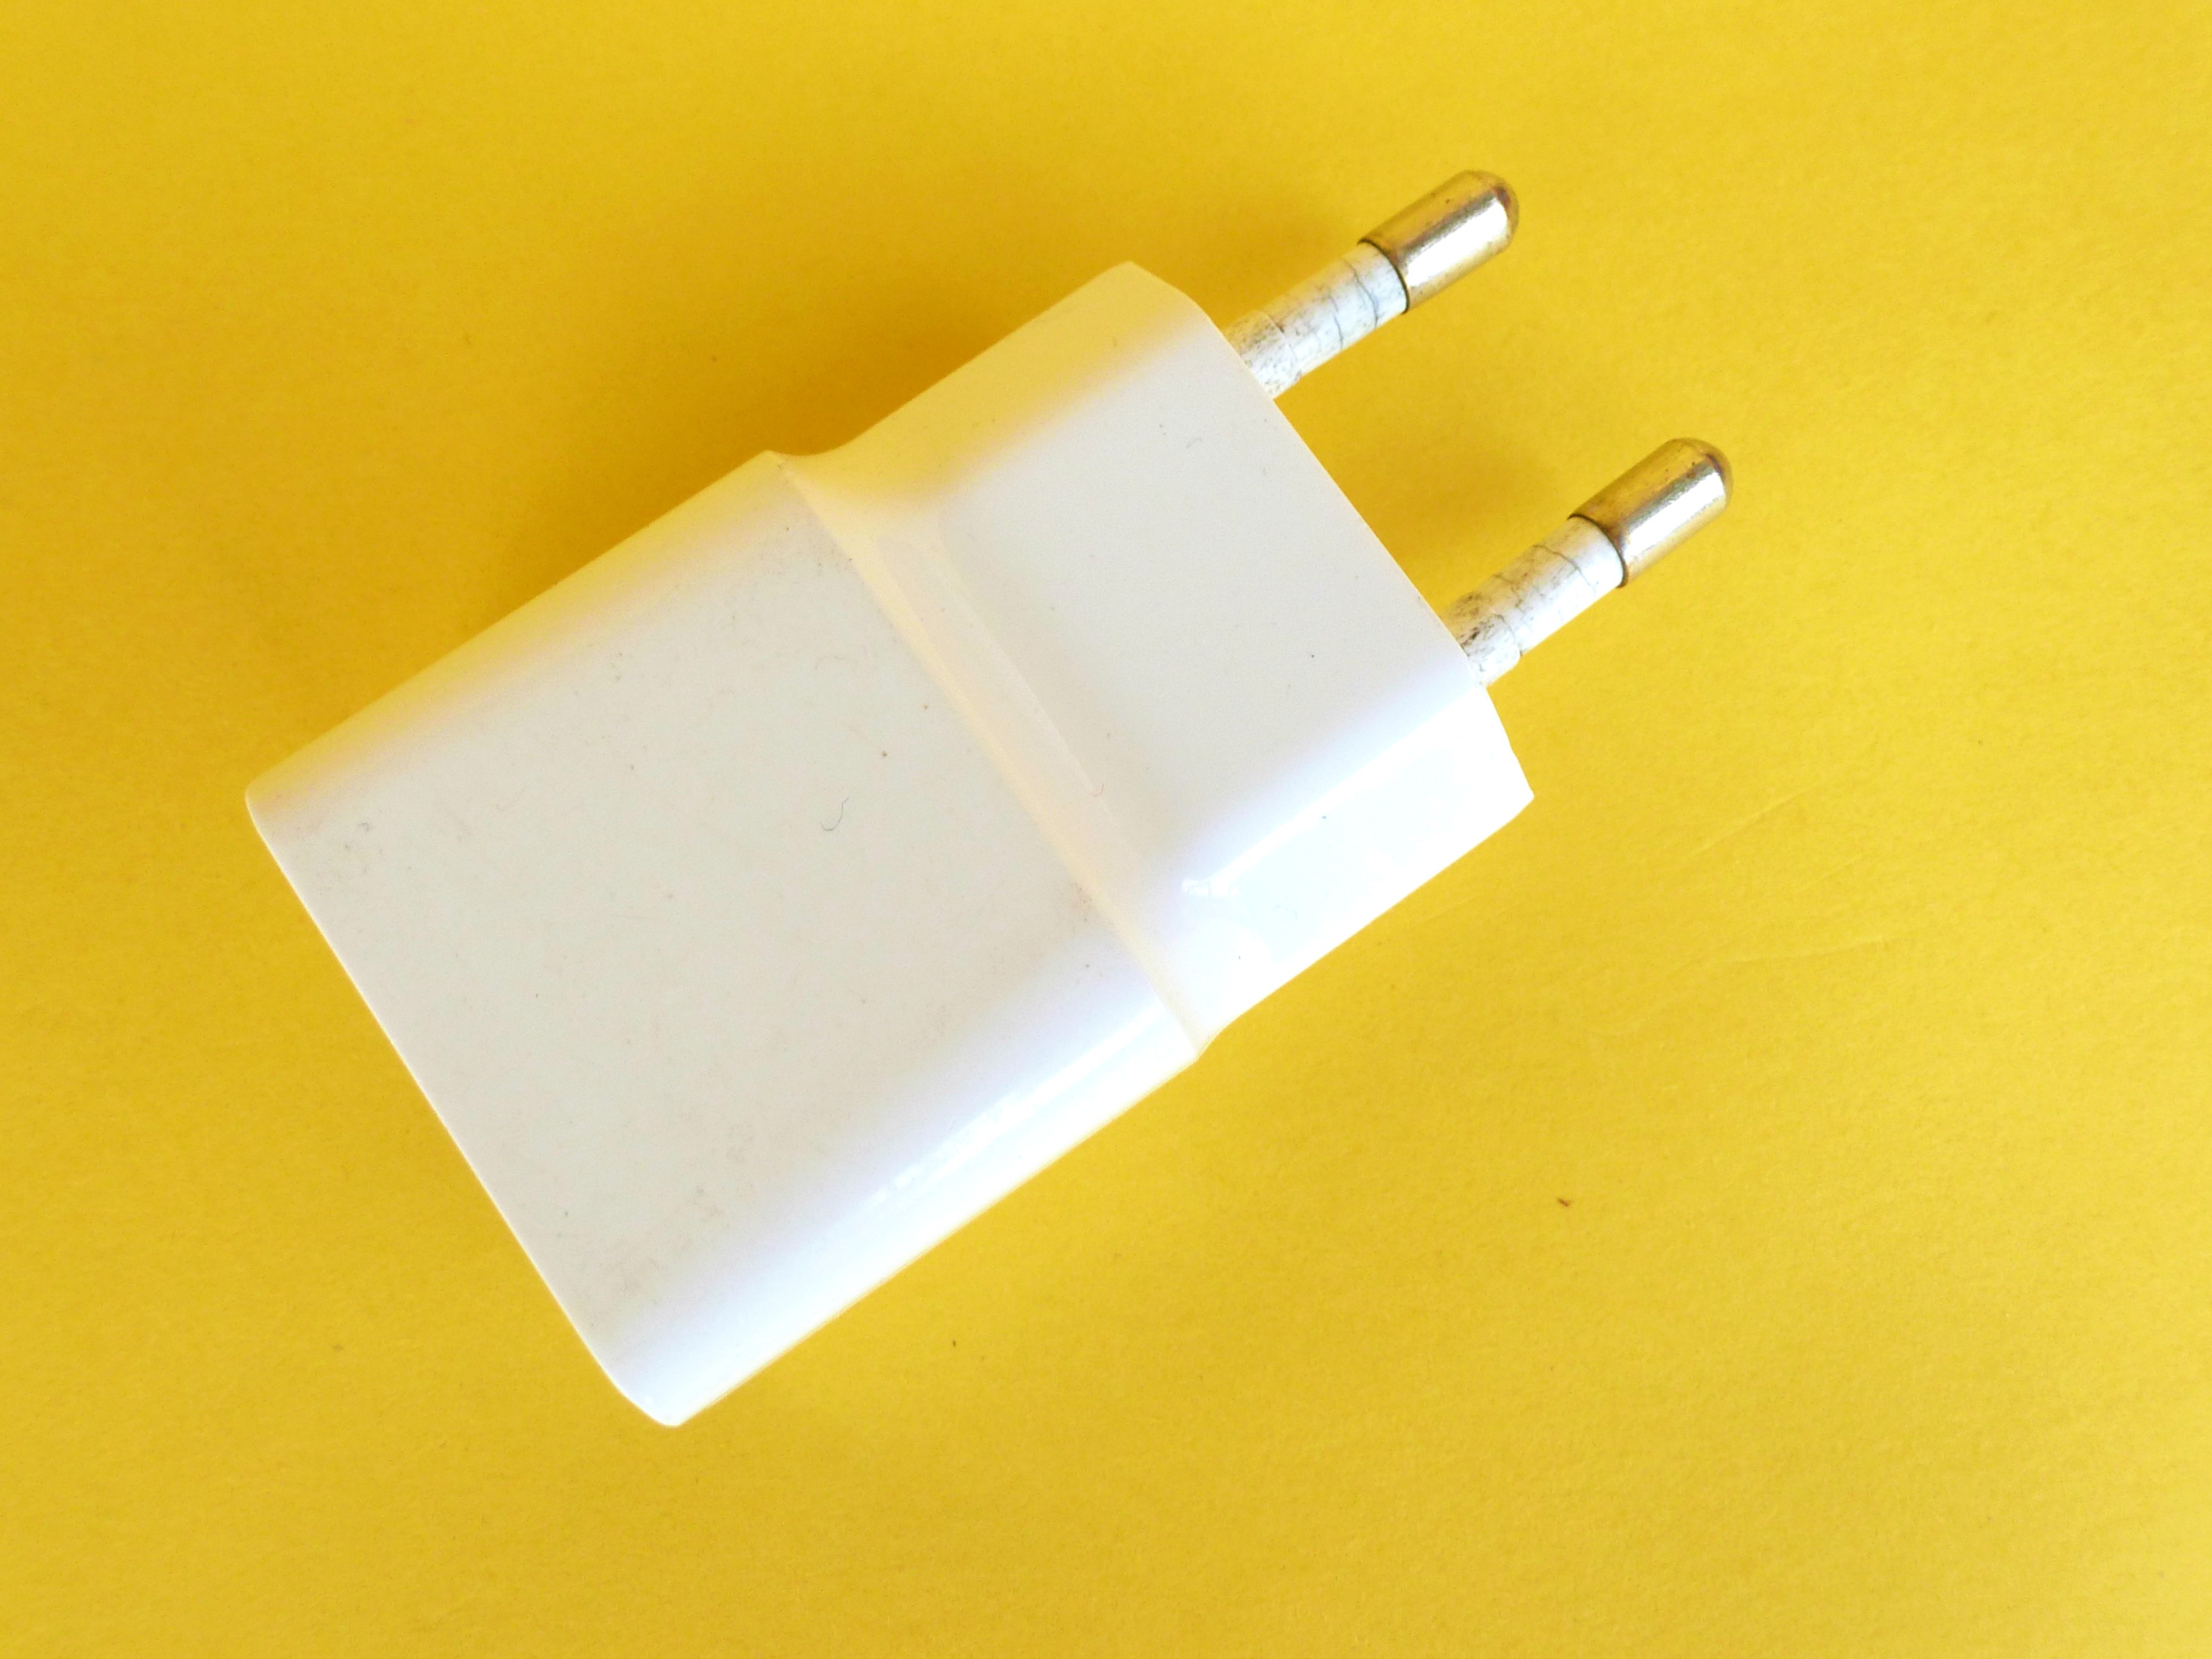
- 5v Adapter
#Mark #Cut #Glue
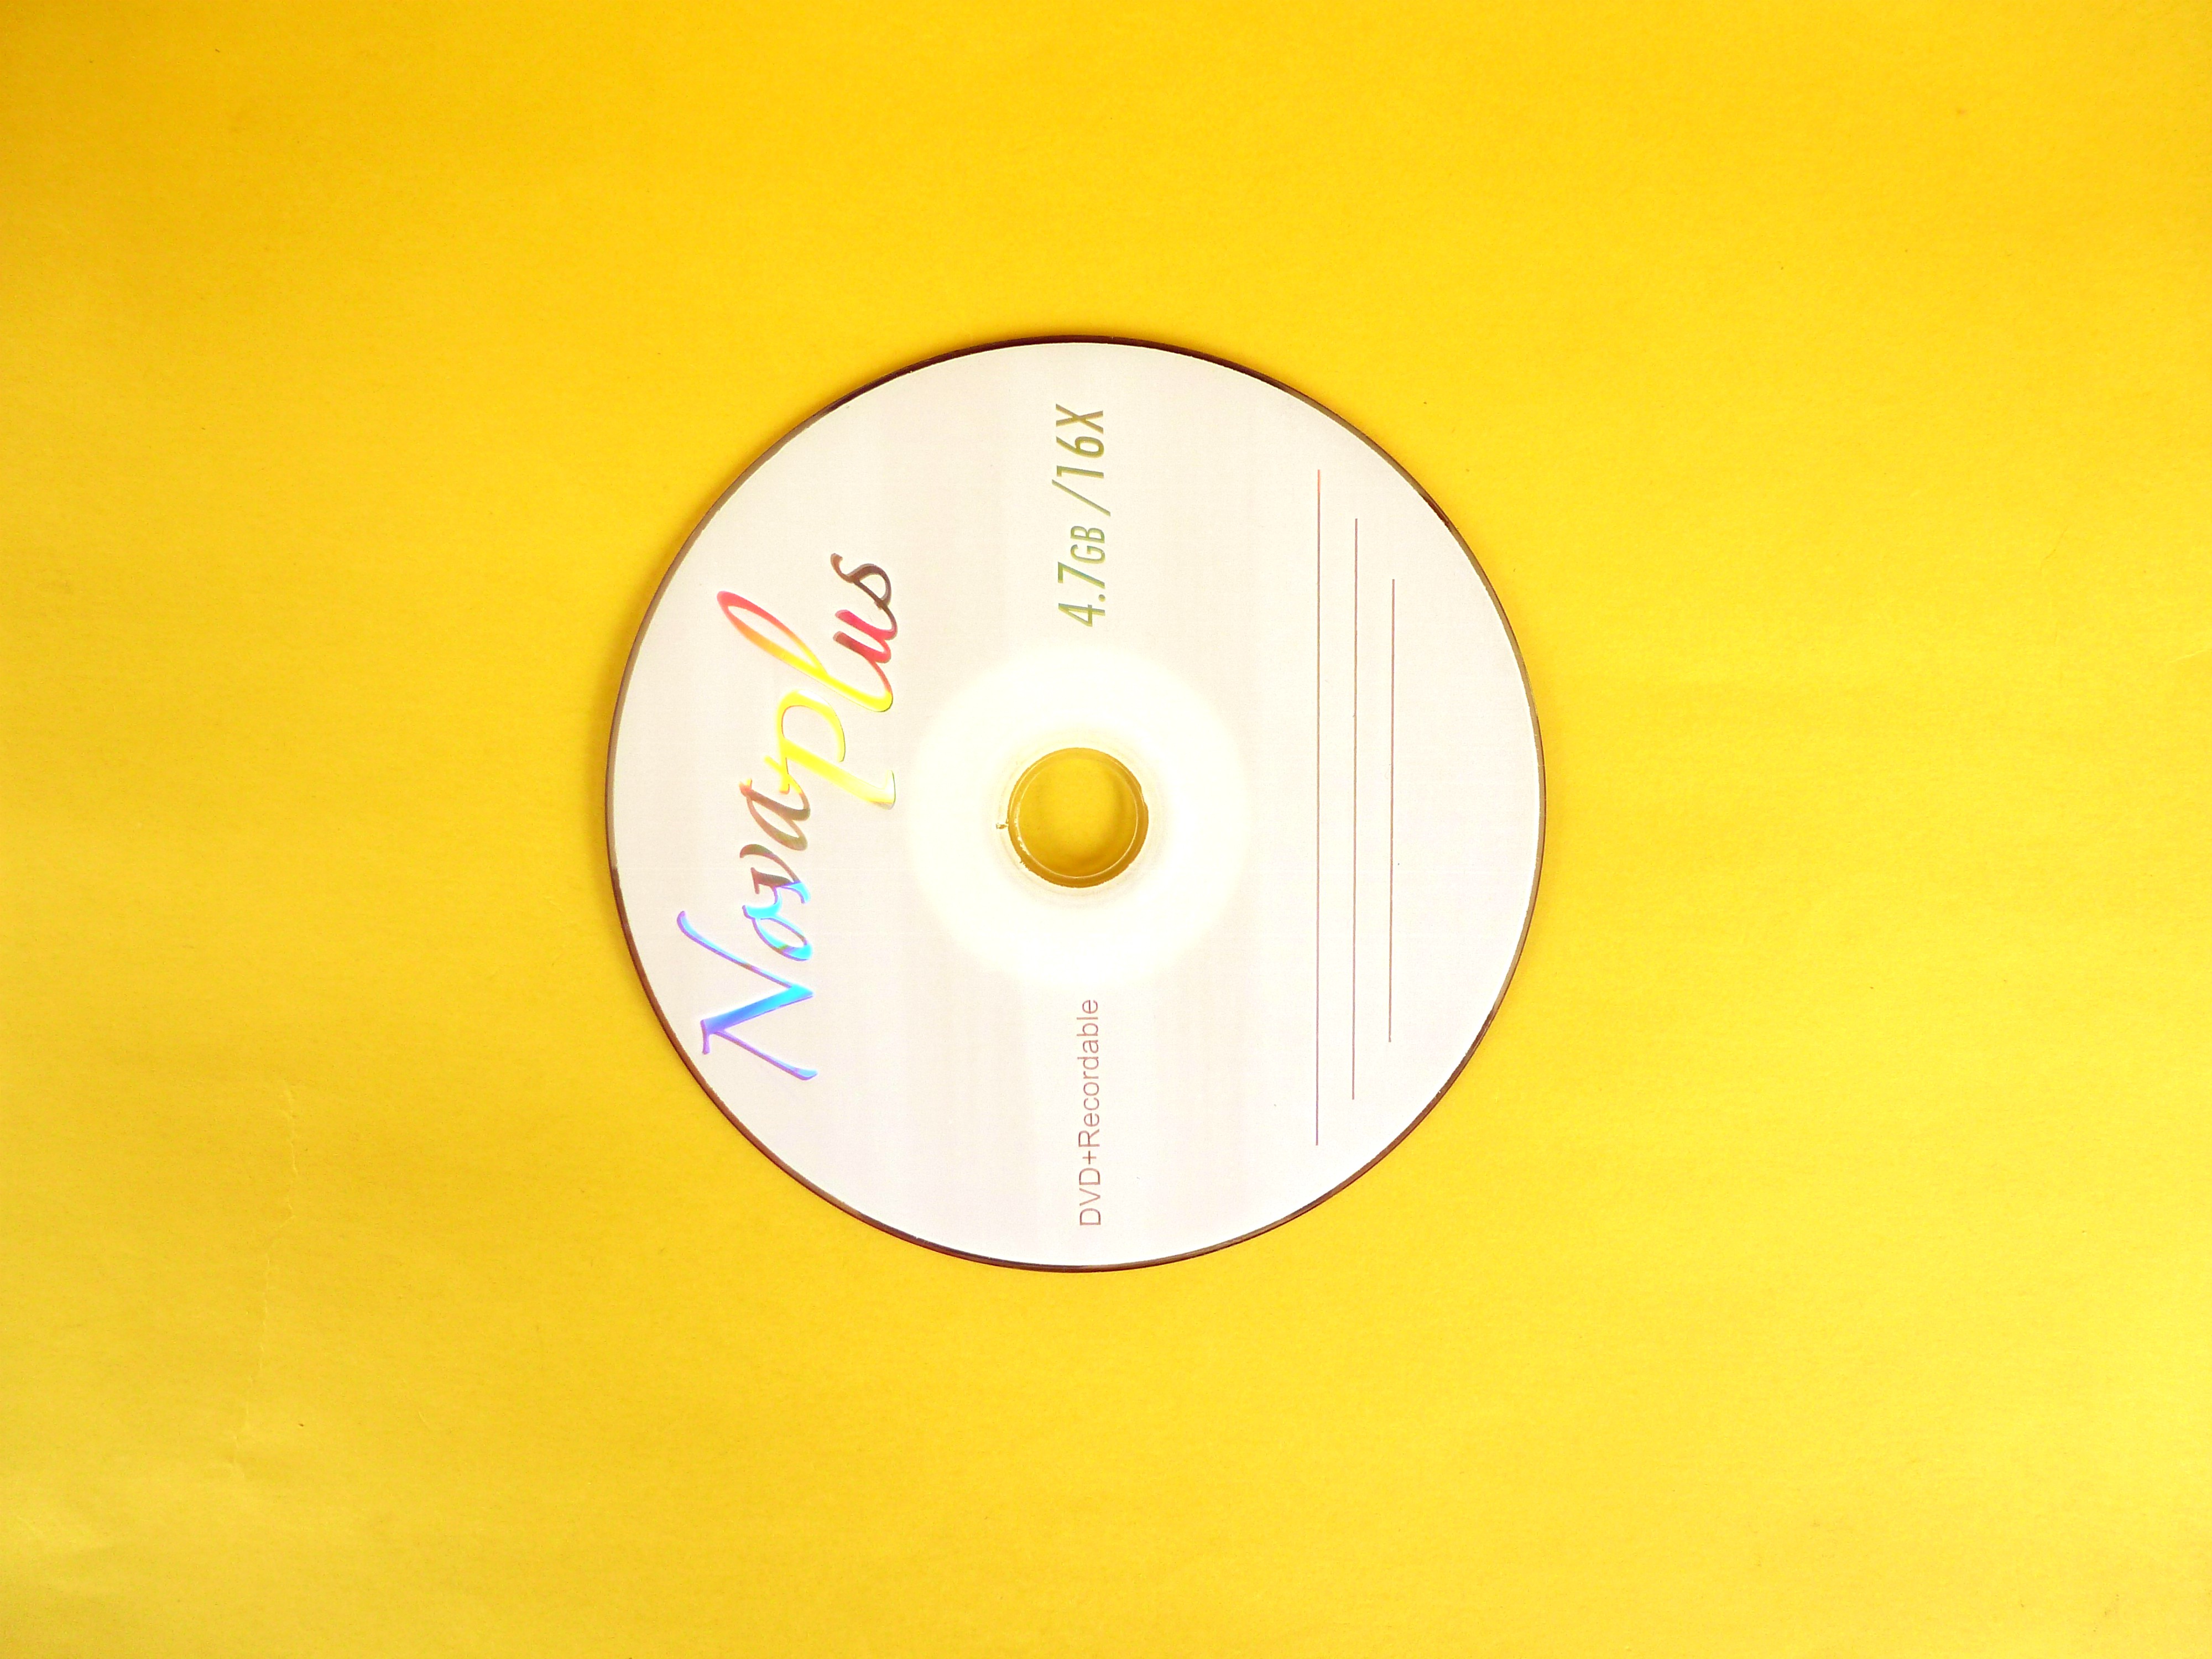
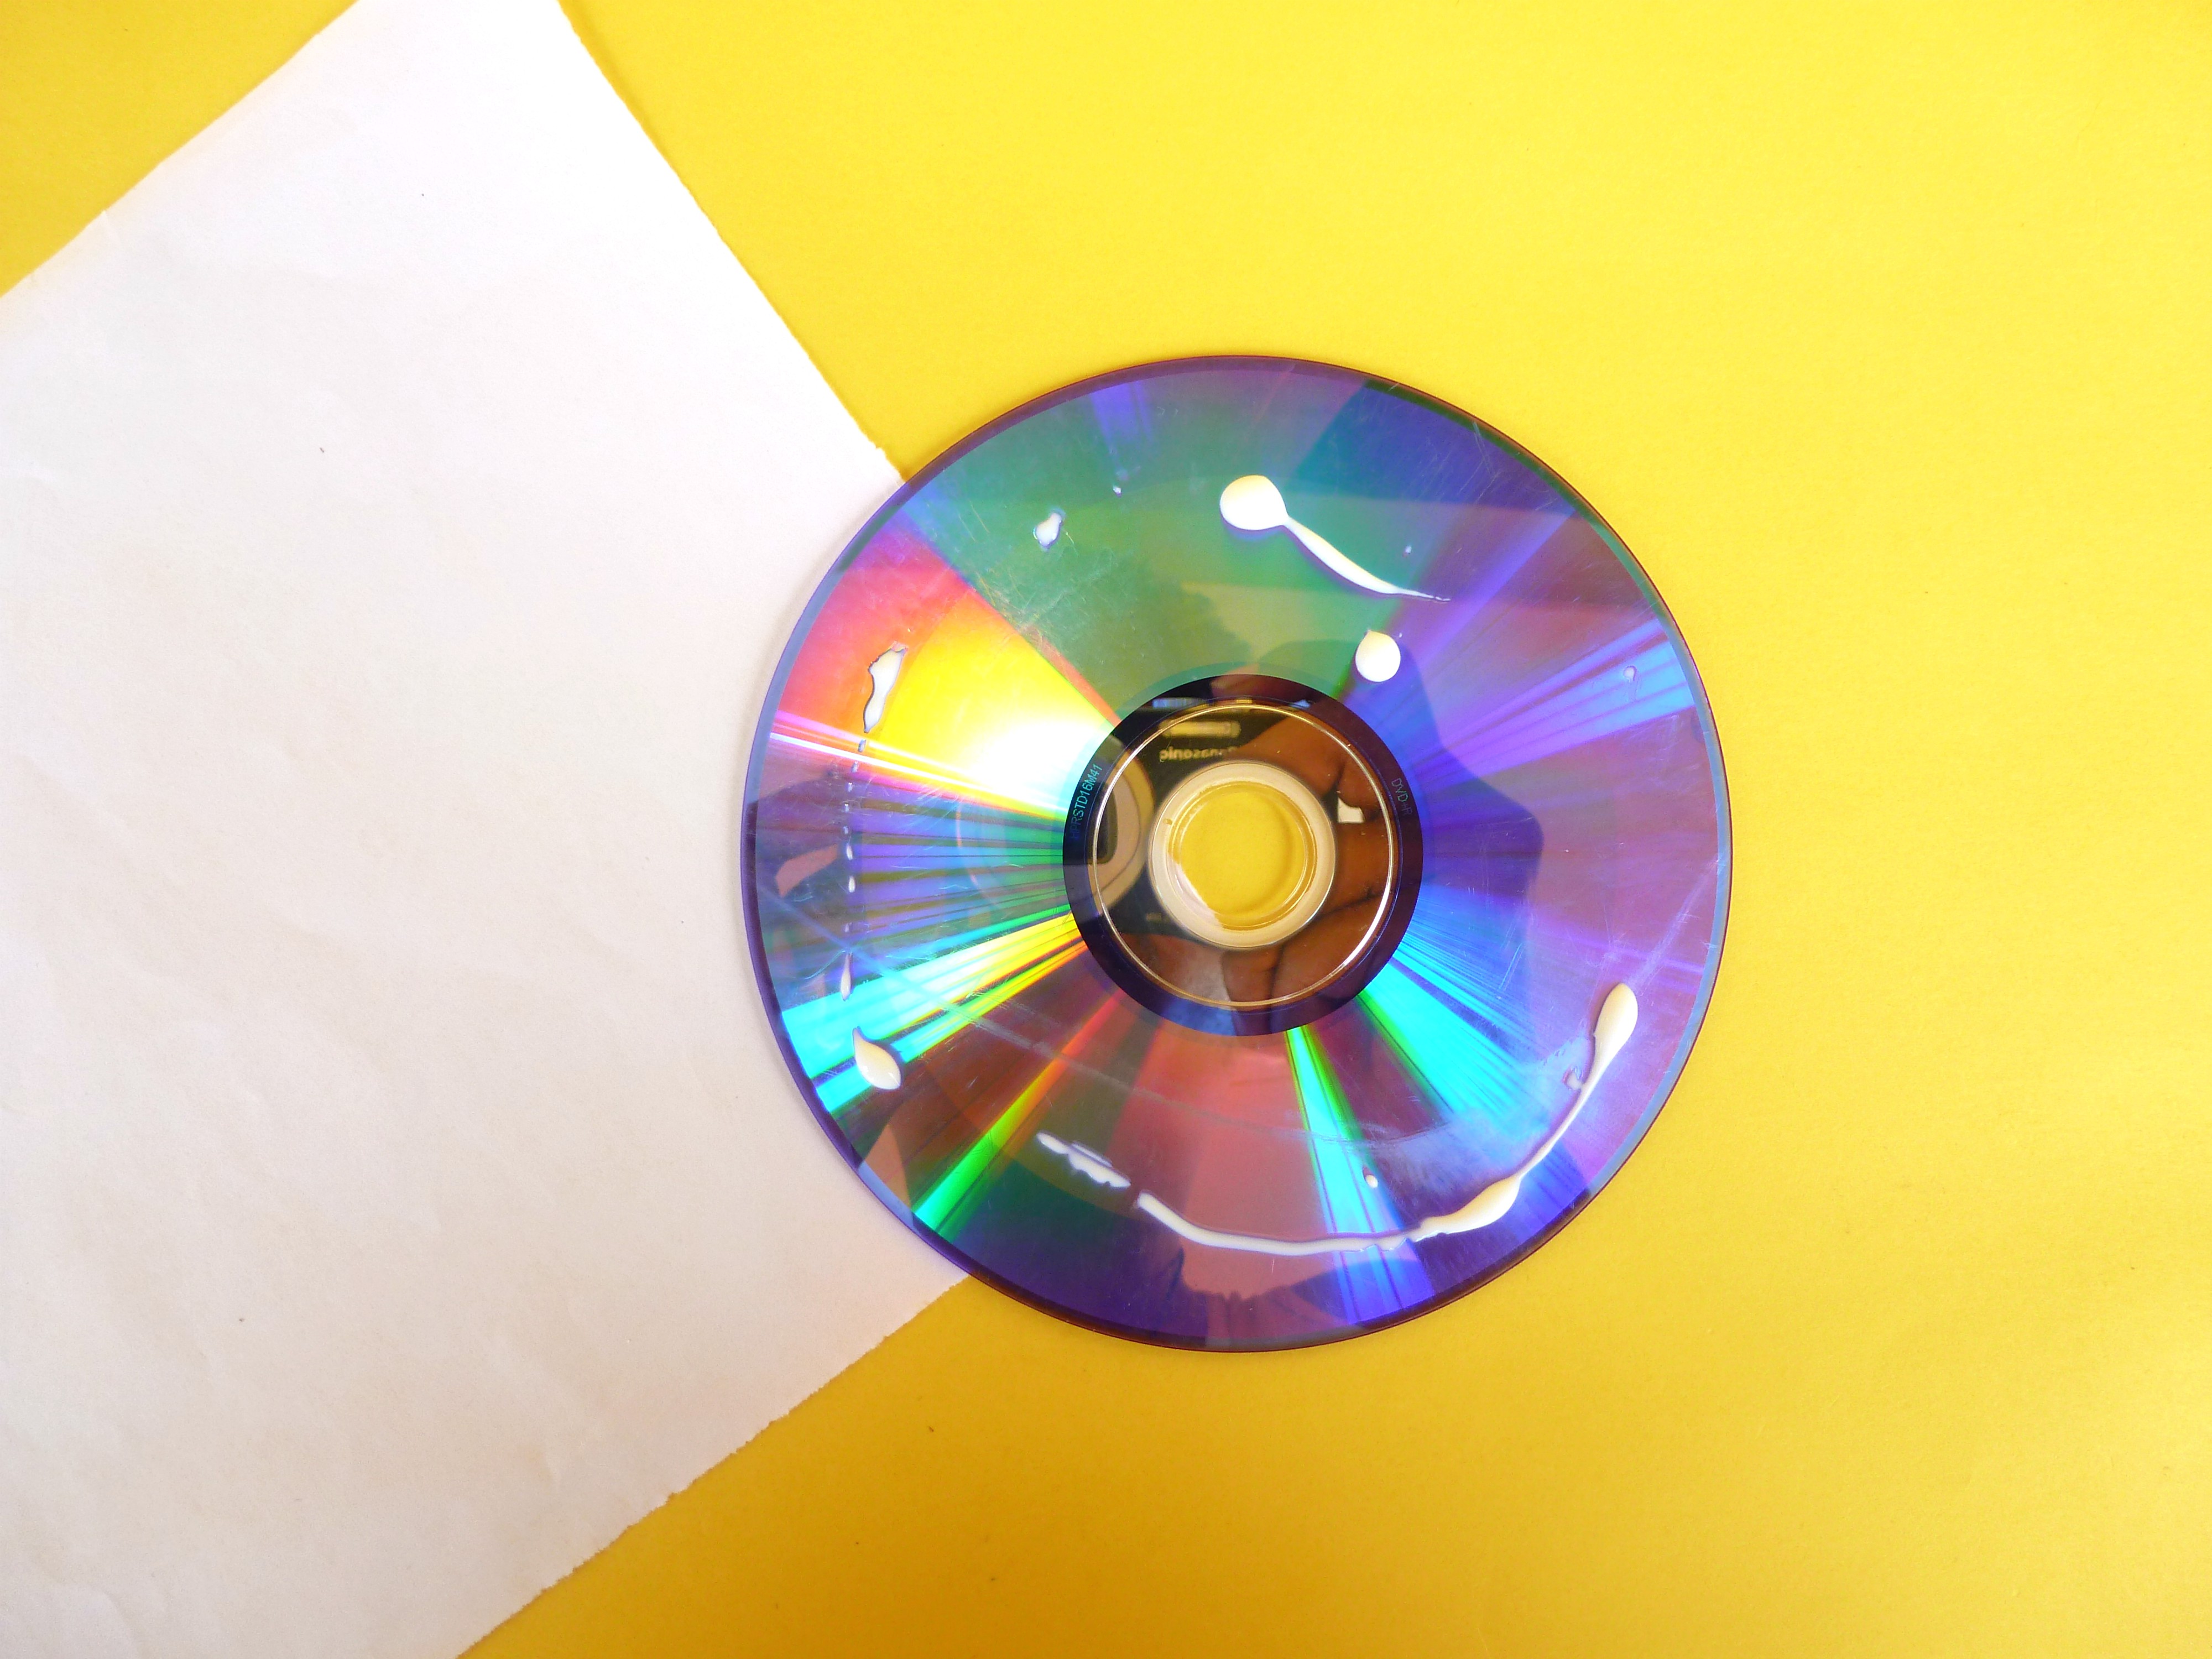
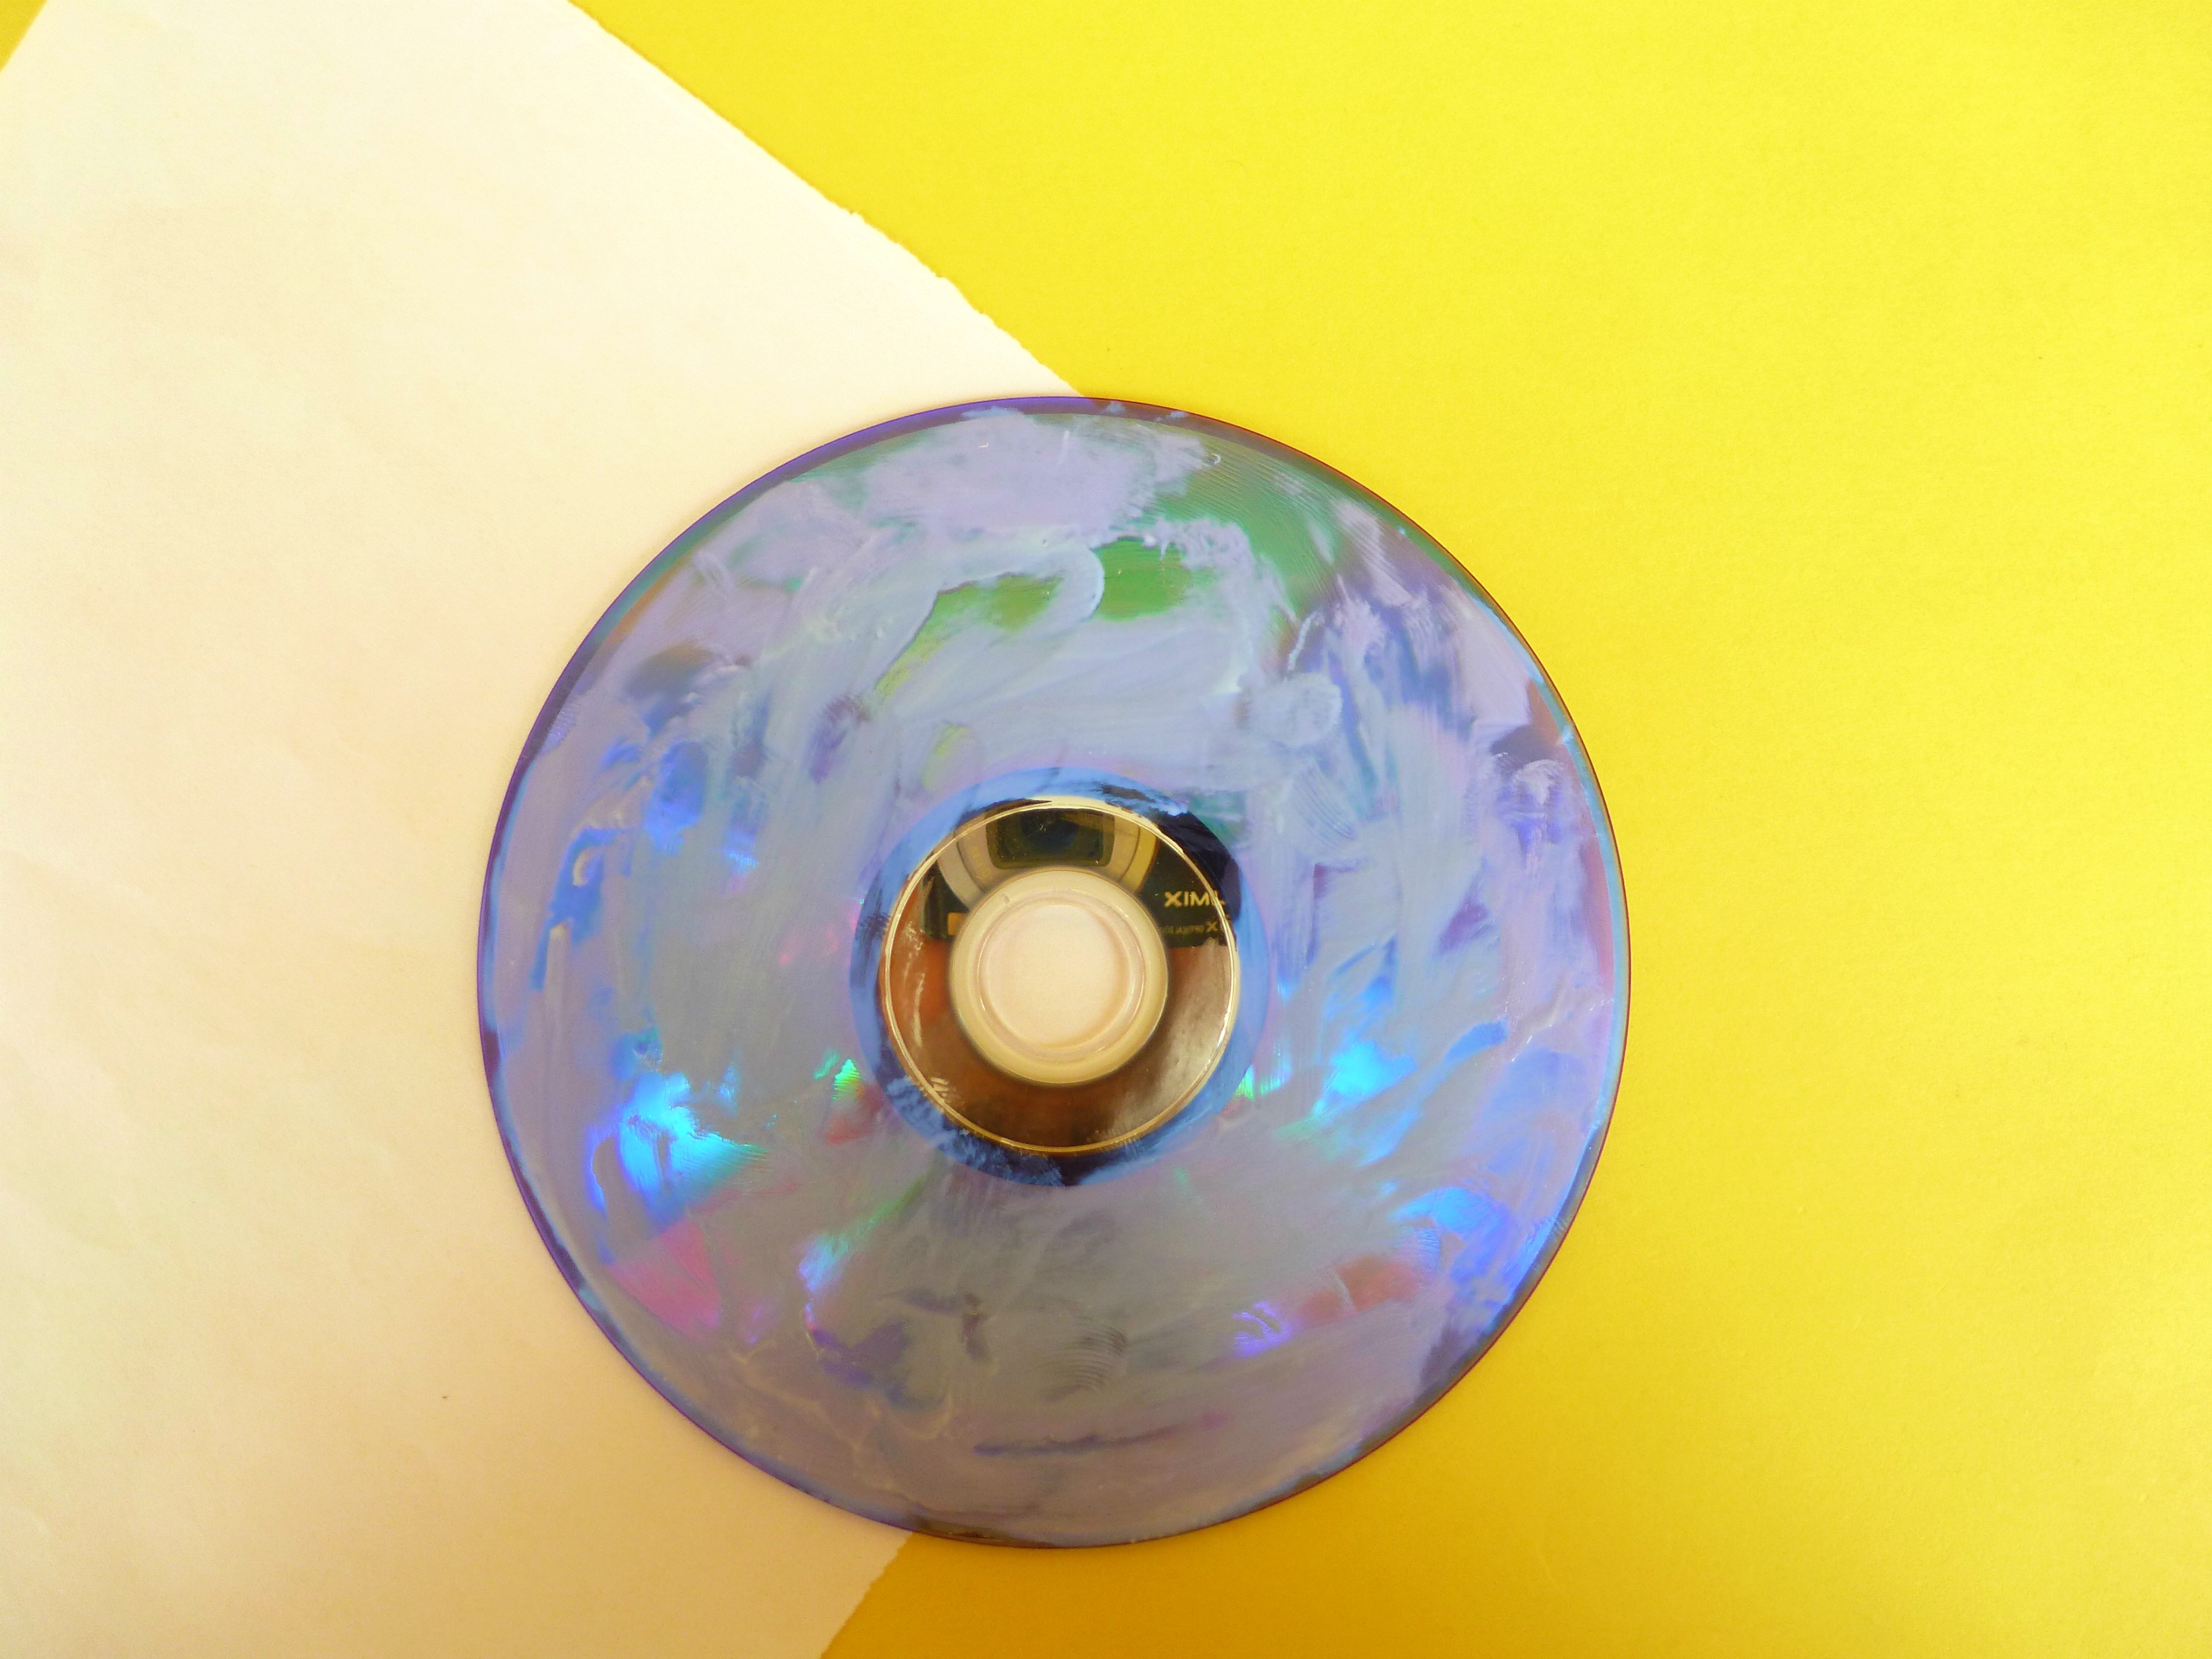
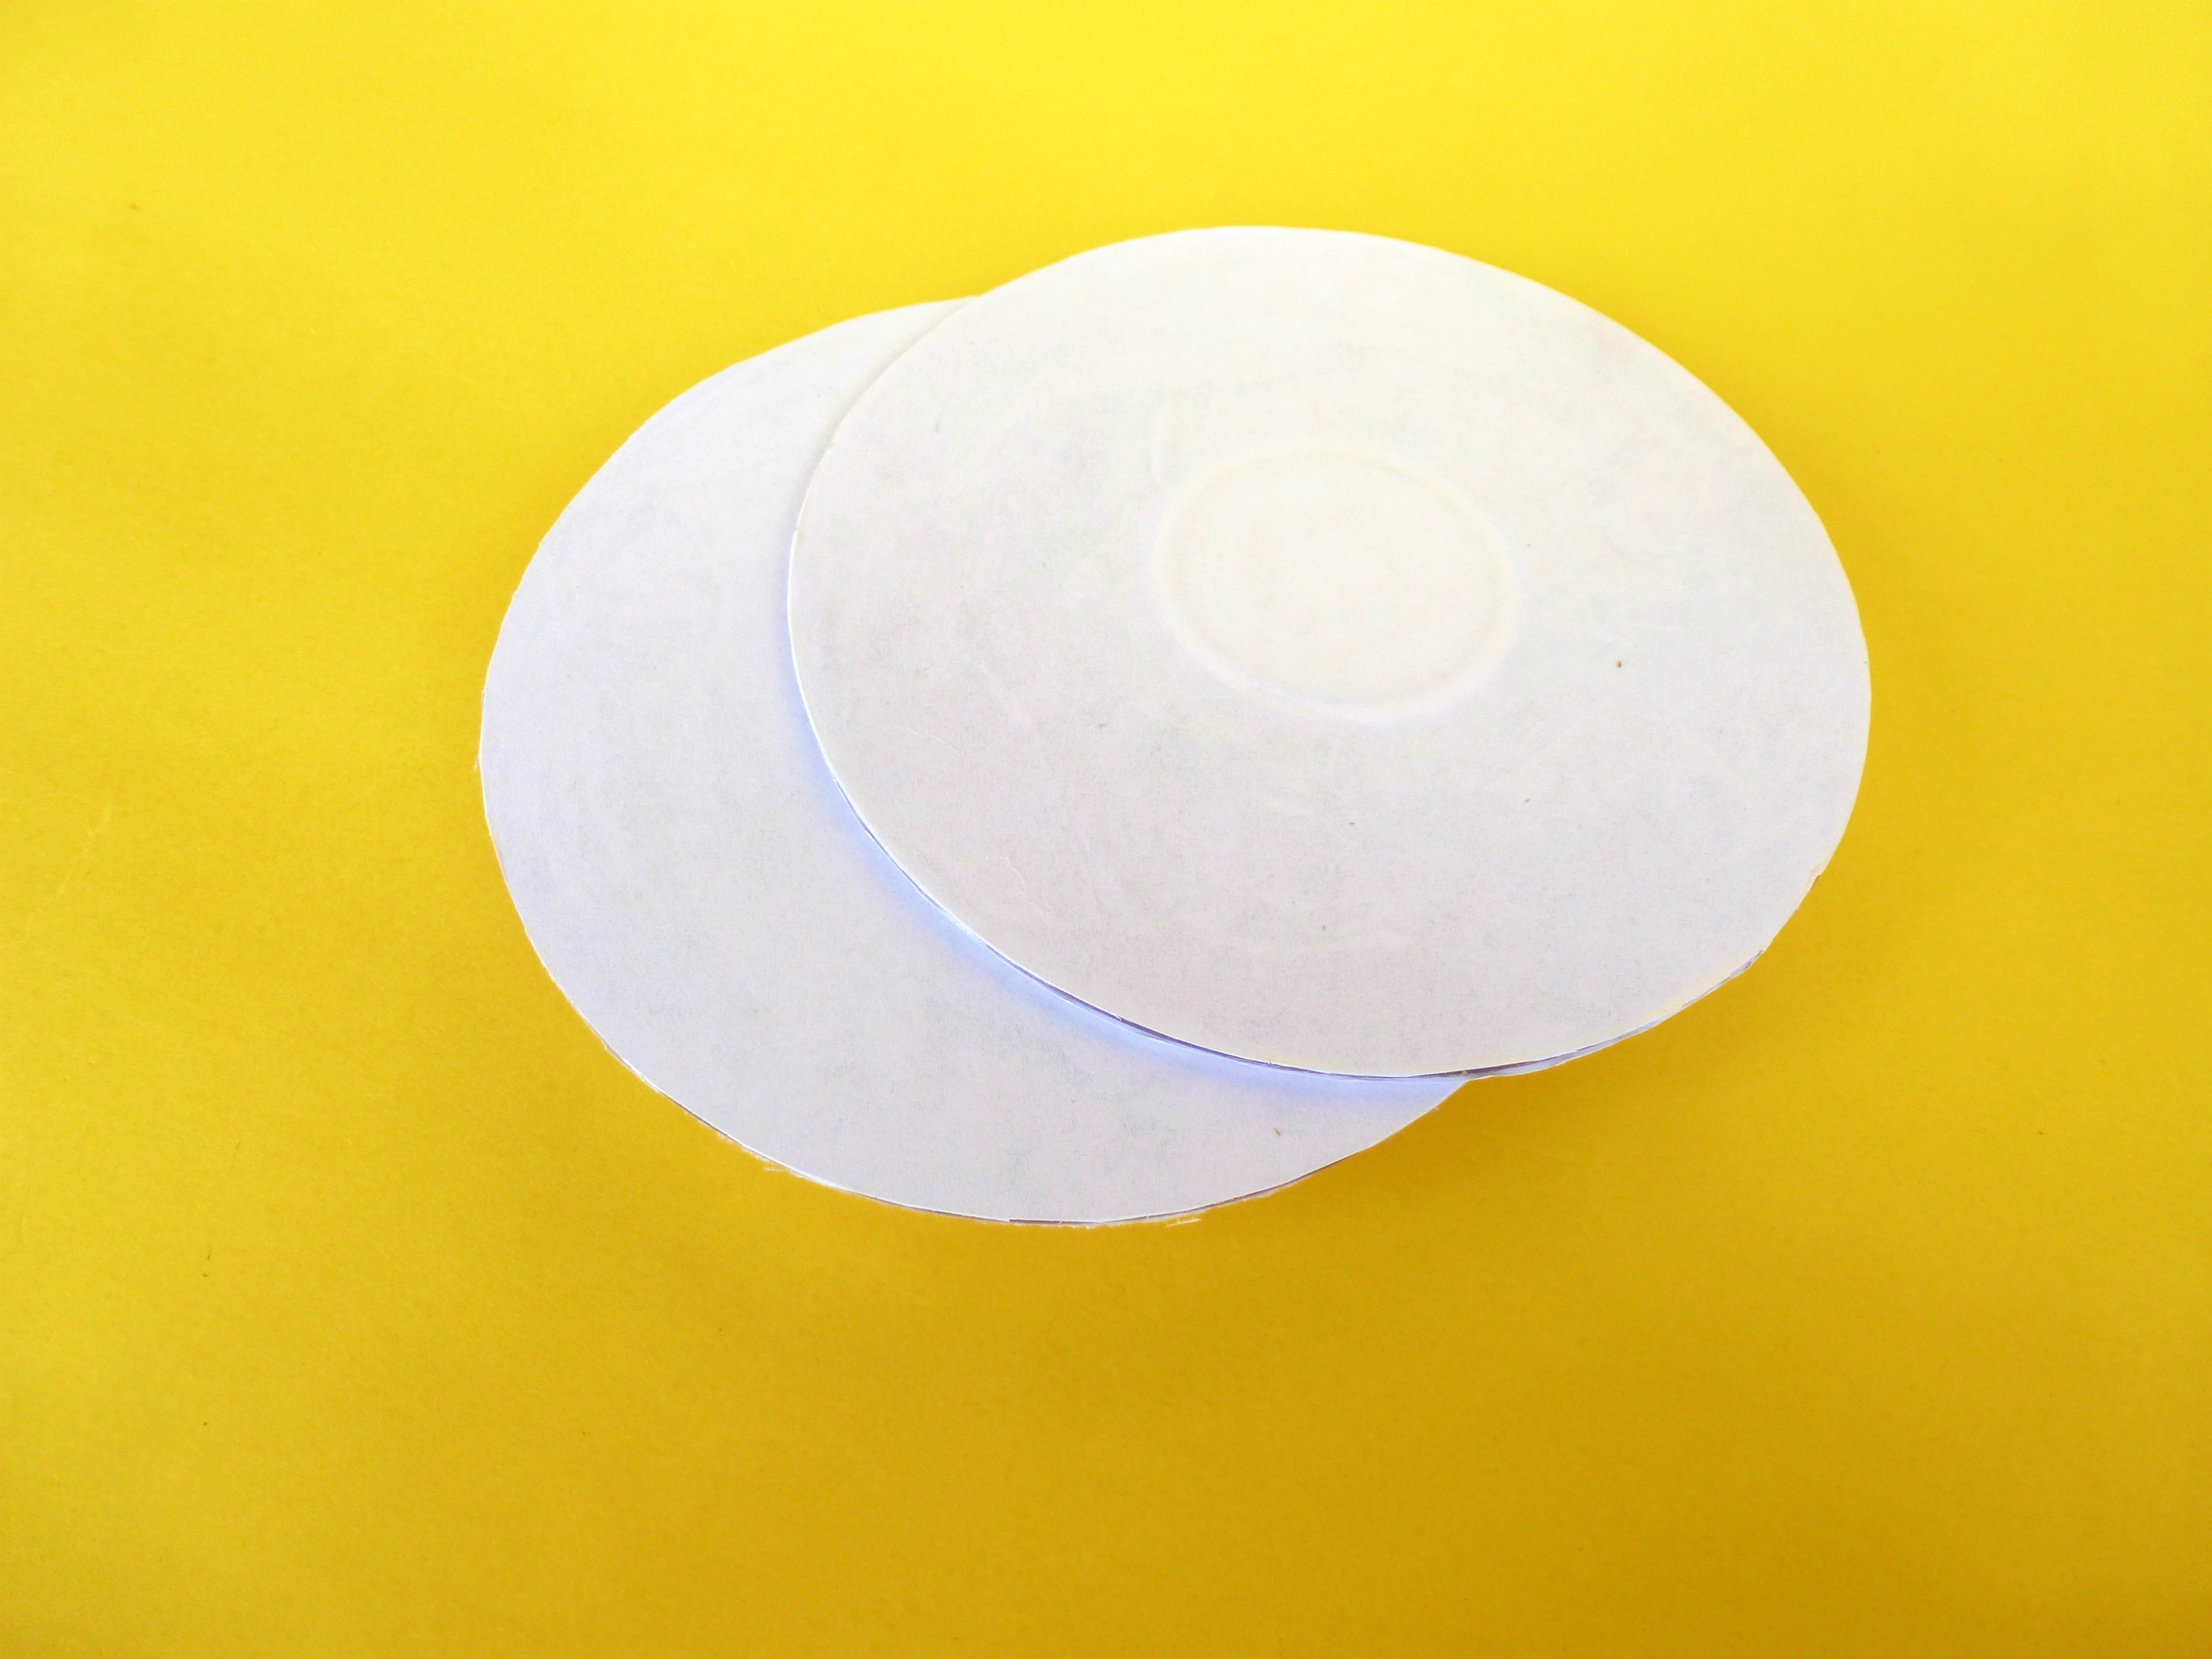
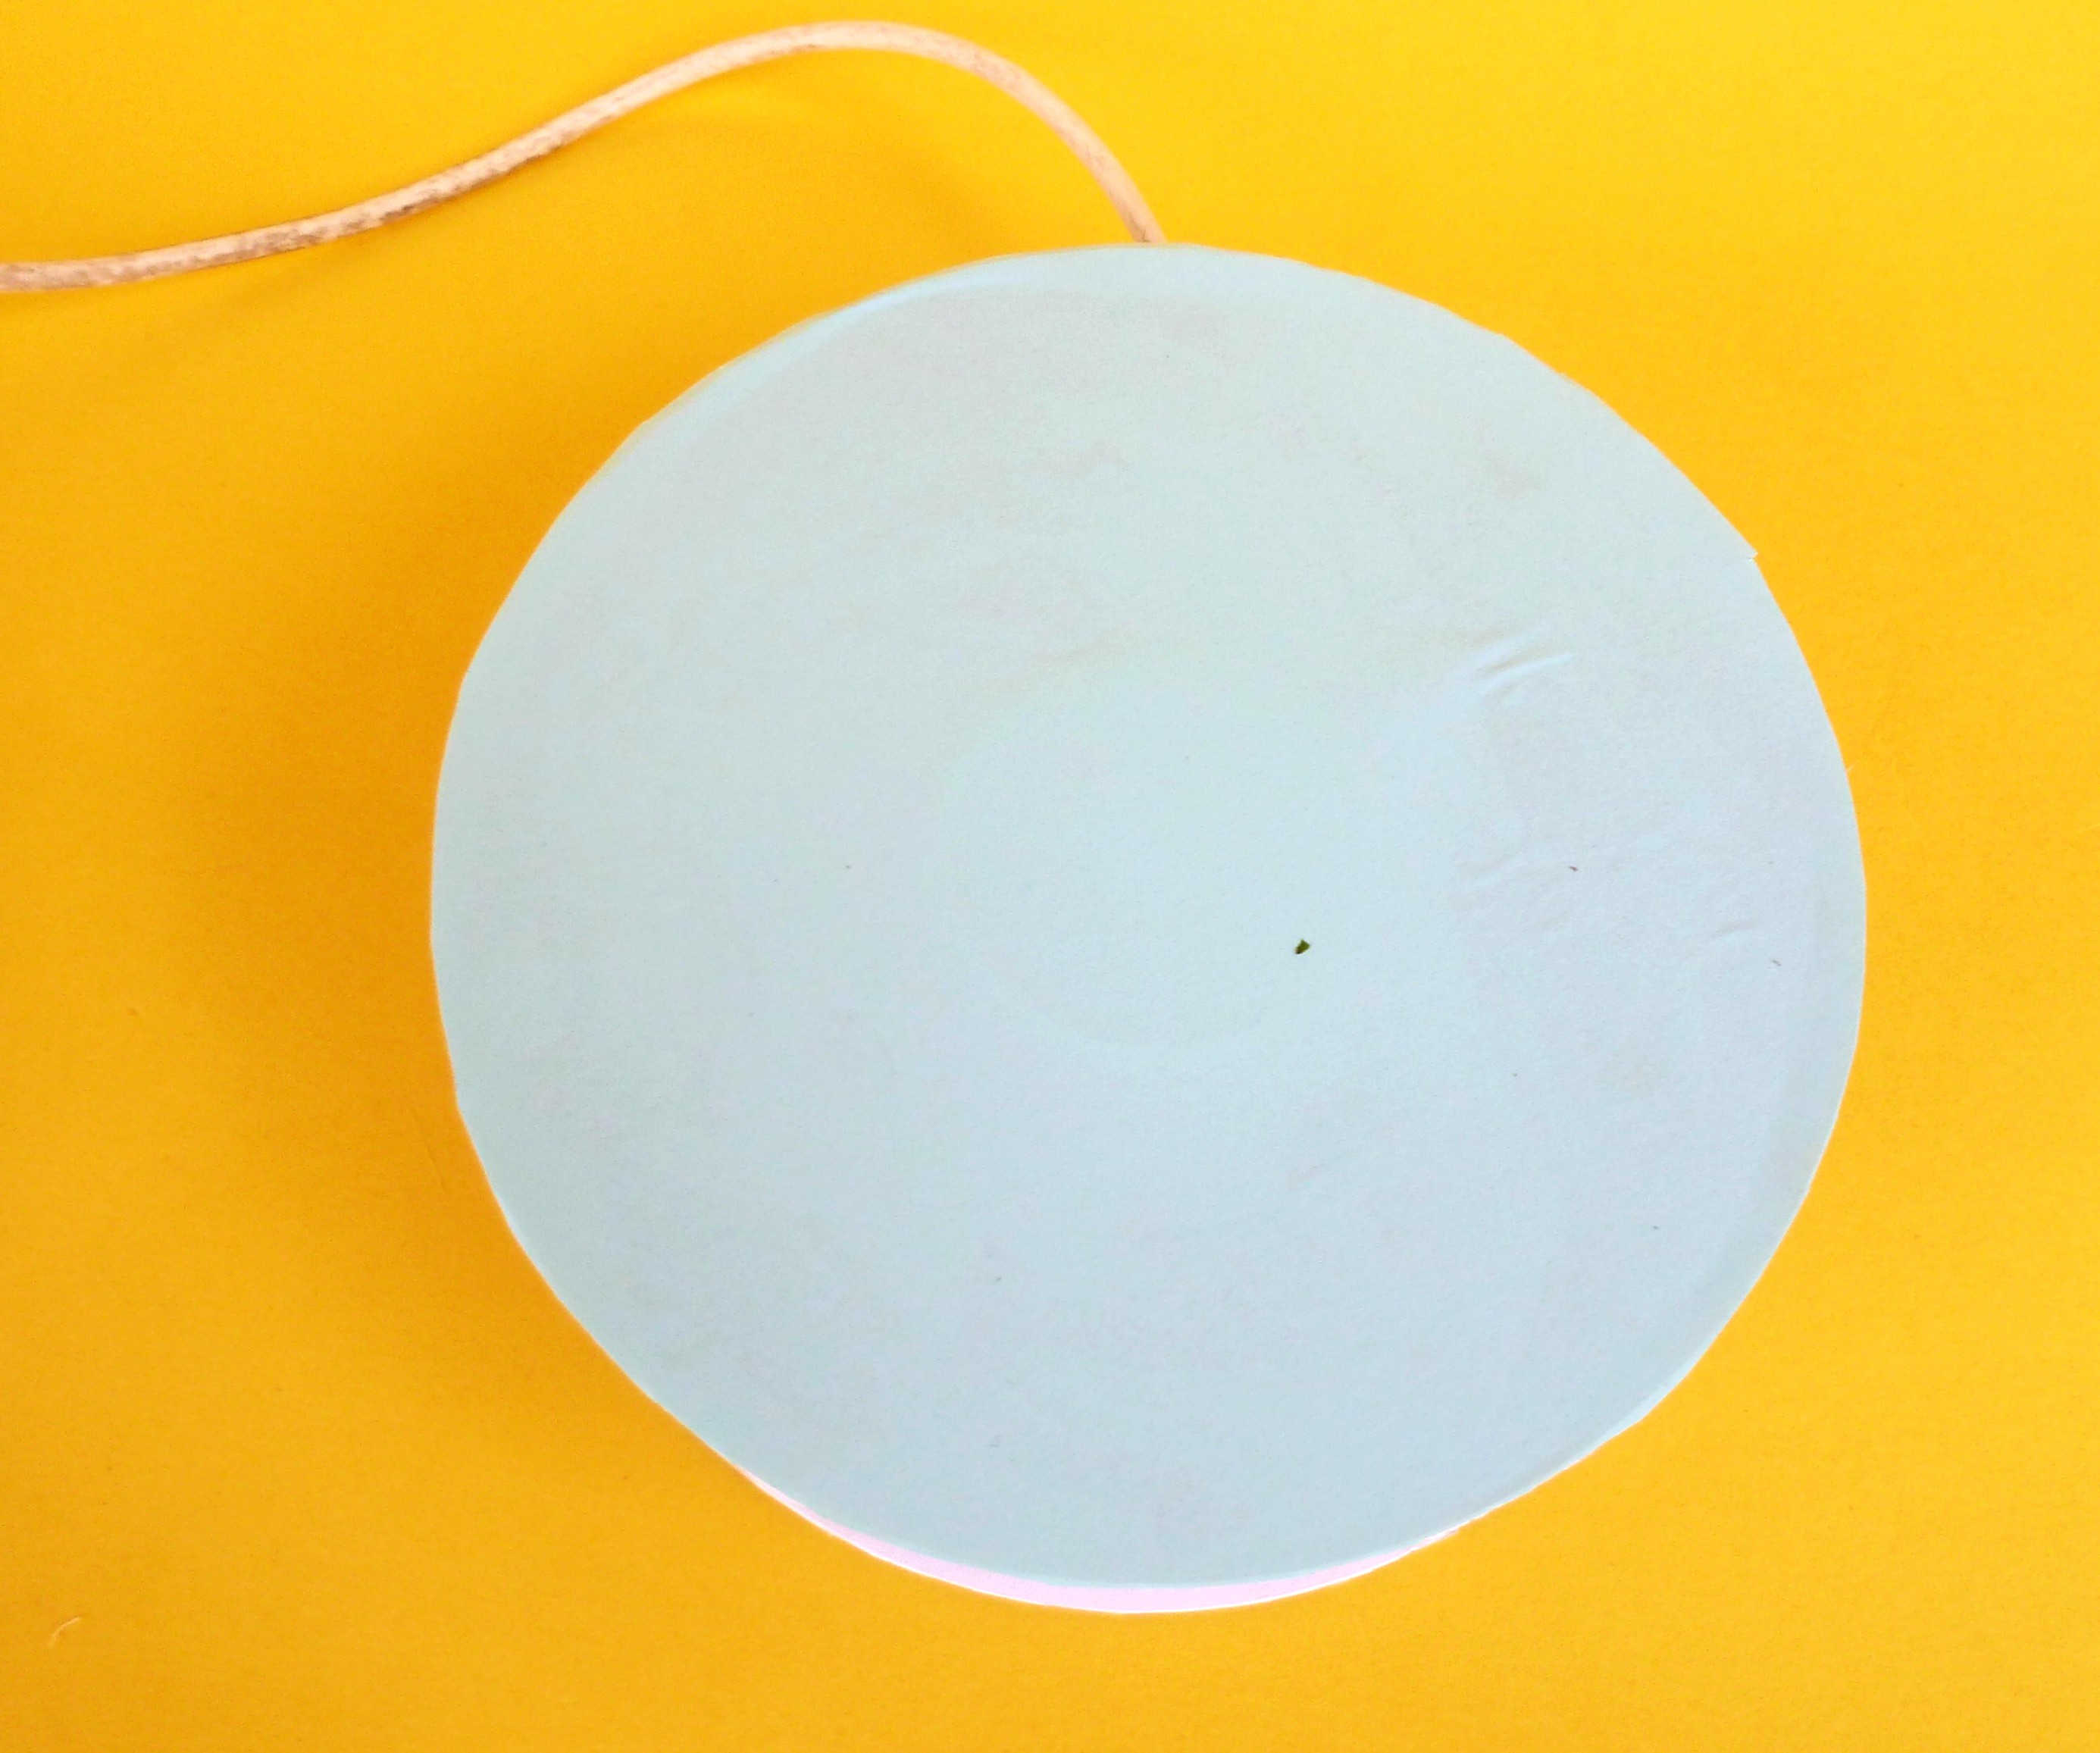
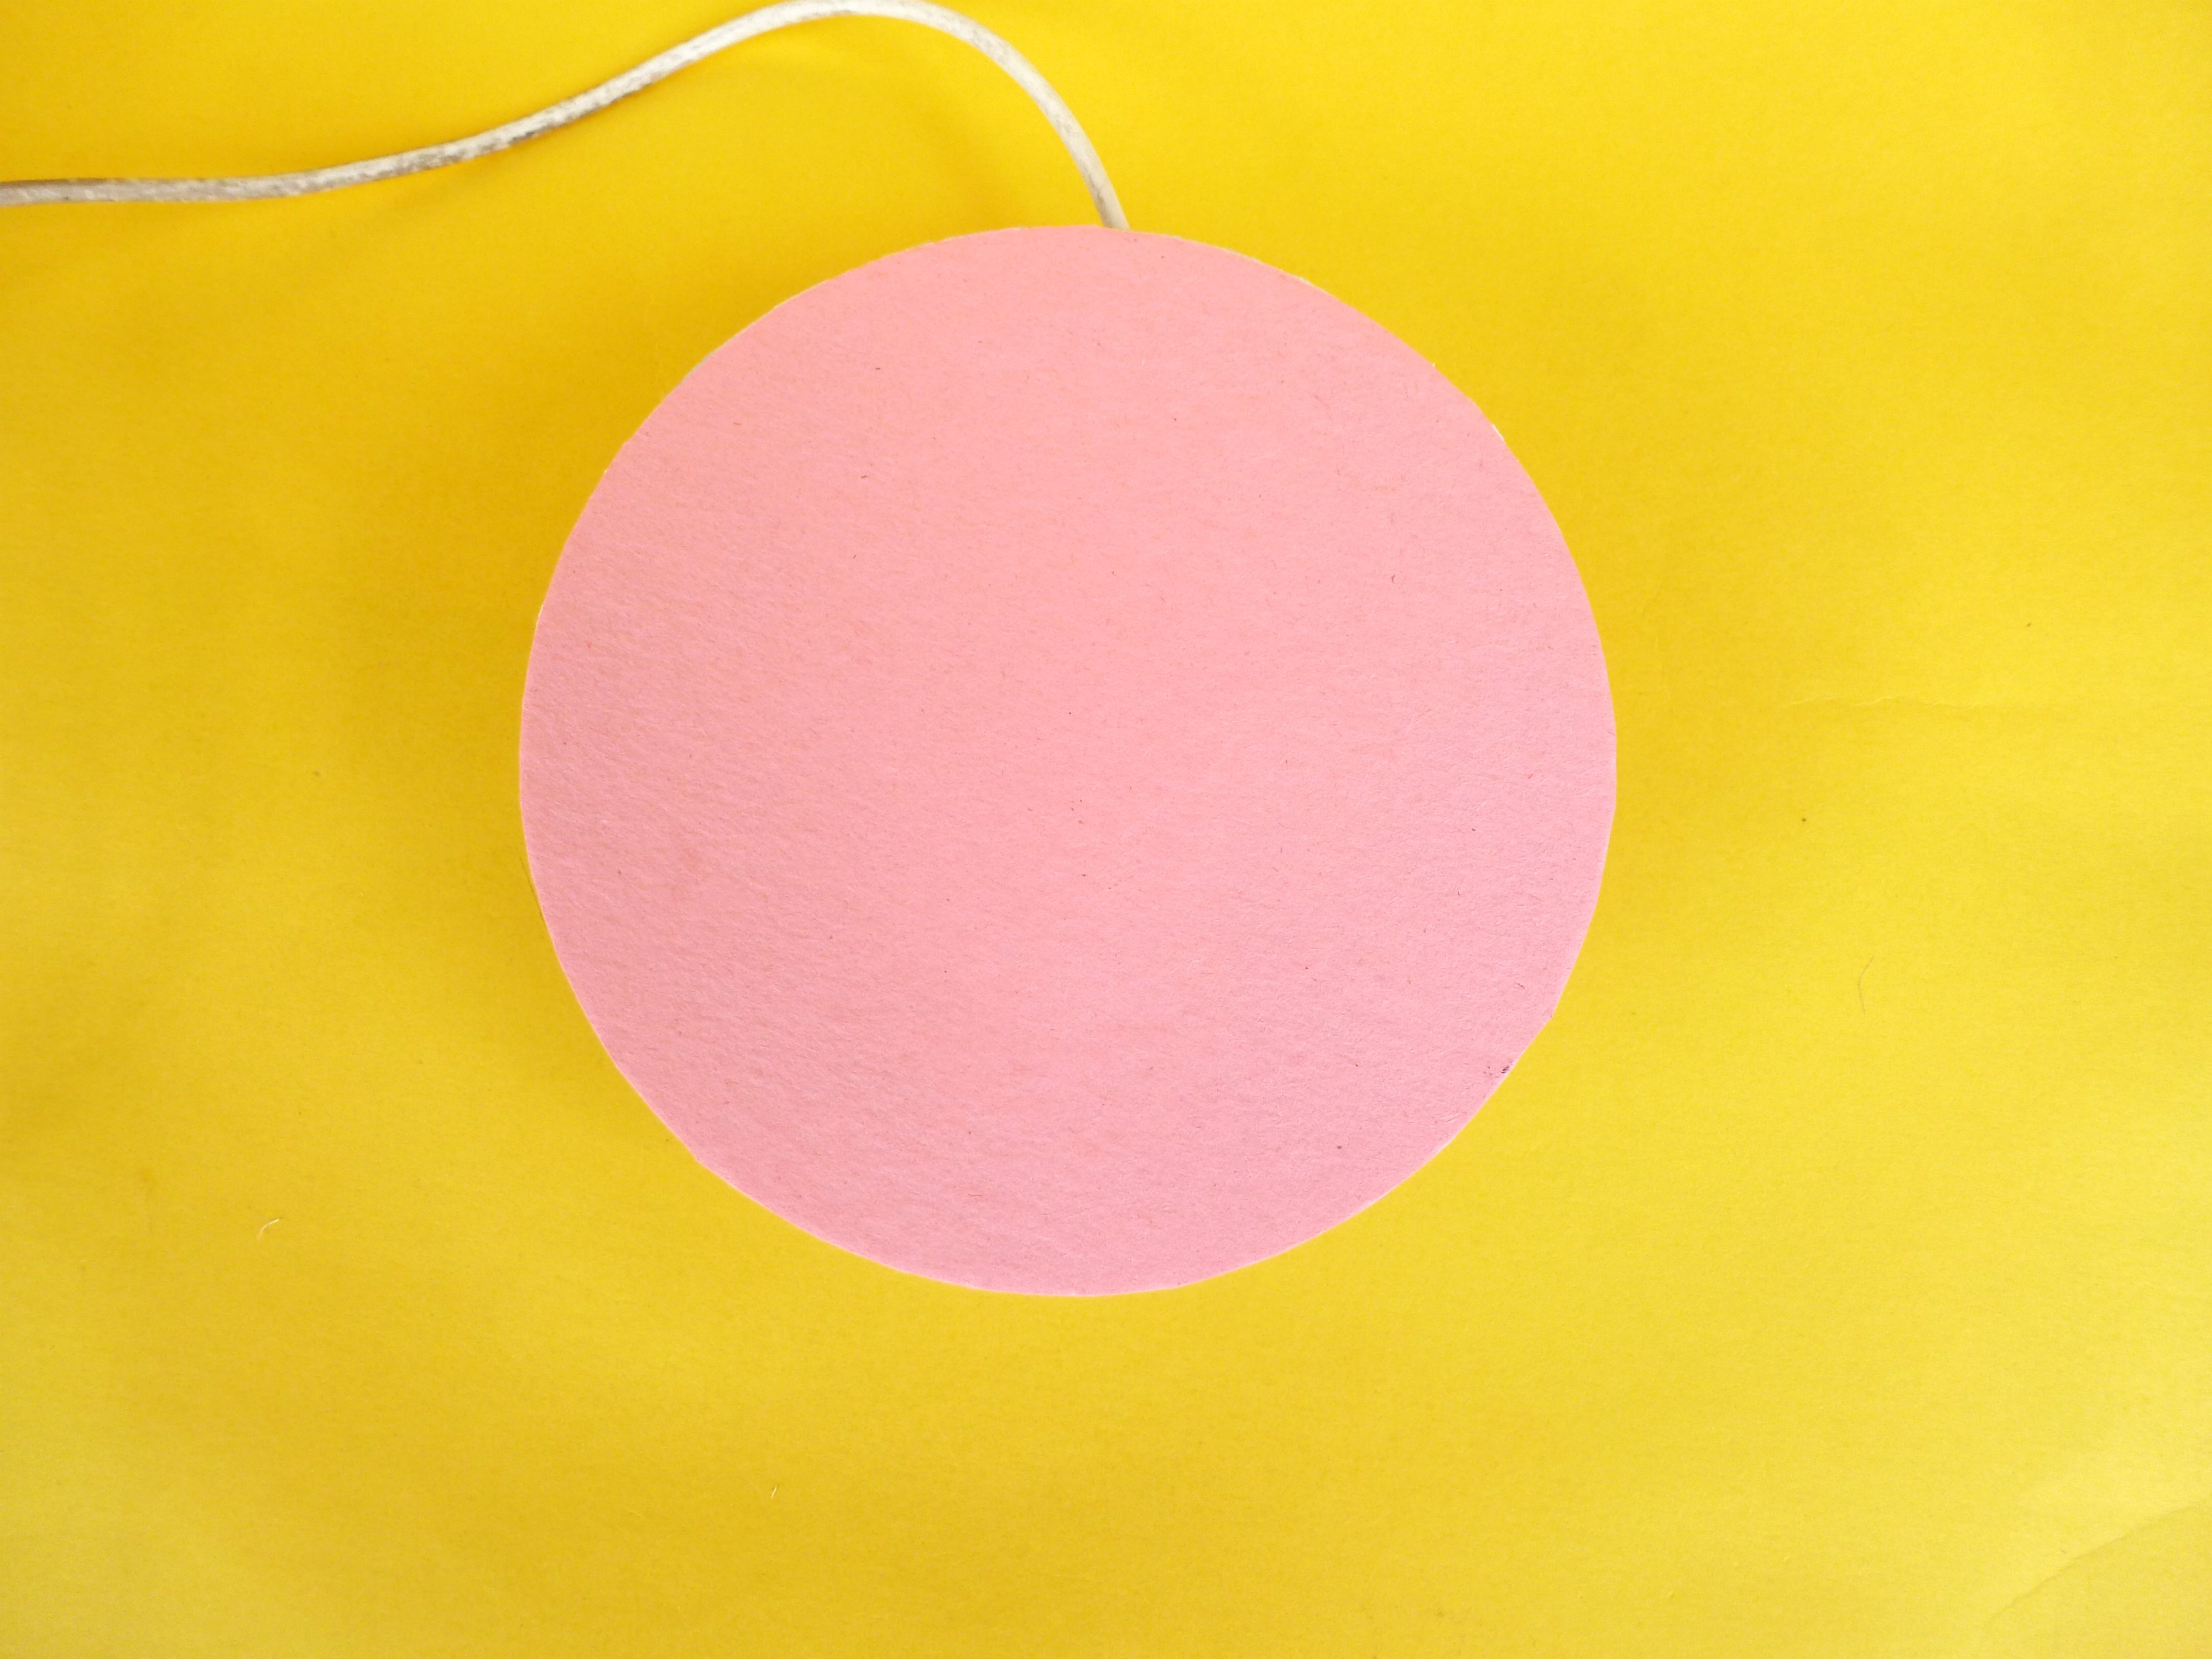
- Clean the CD with a piece of cloth, so that there is no residue on it.
- Take the CD and place it on the color paper, Outline using pencil or markers.
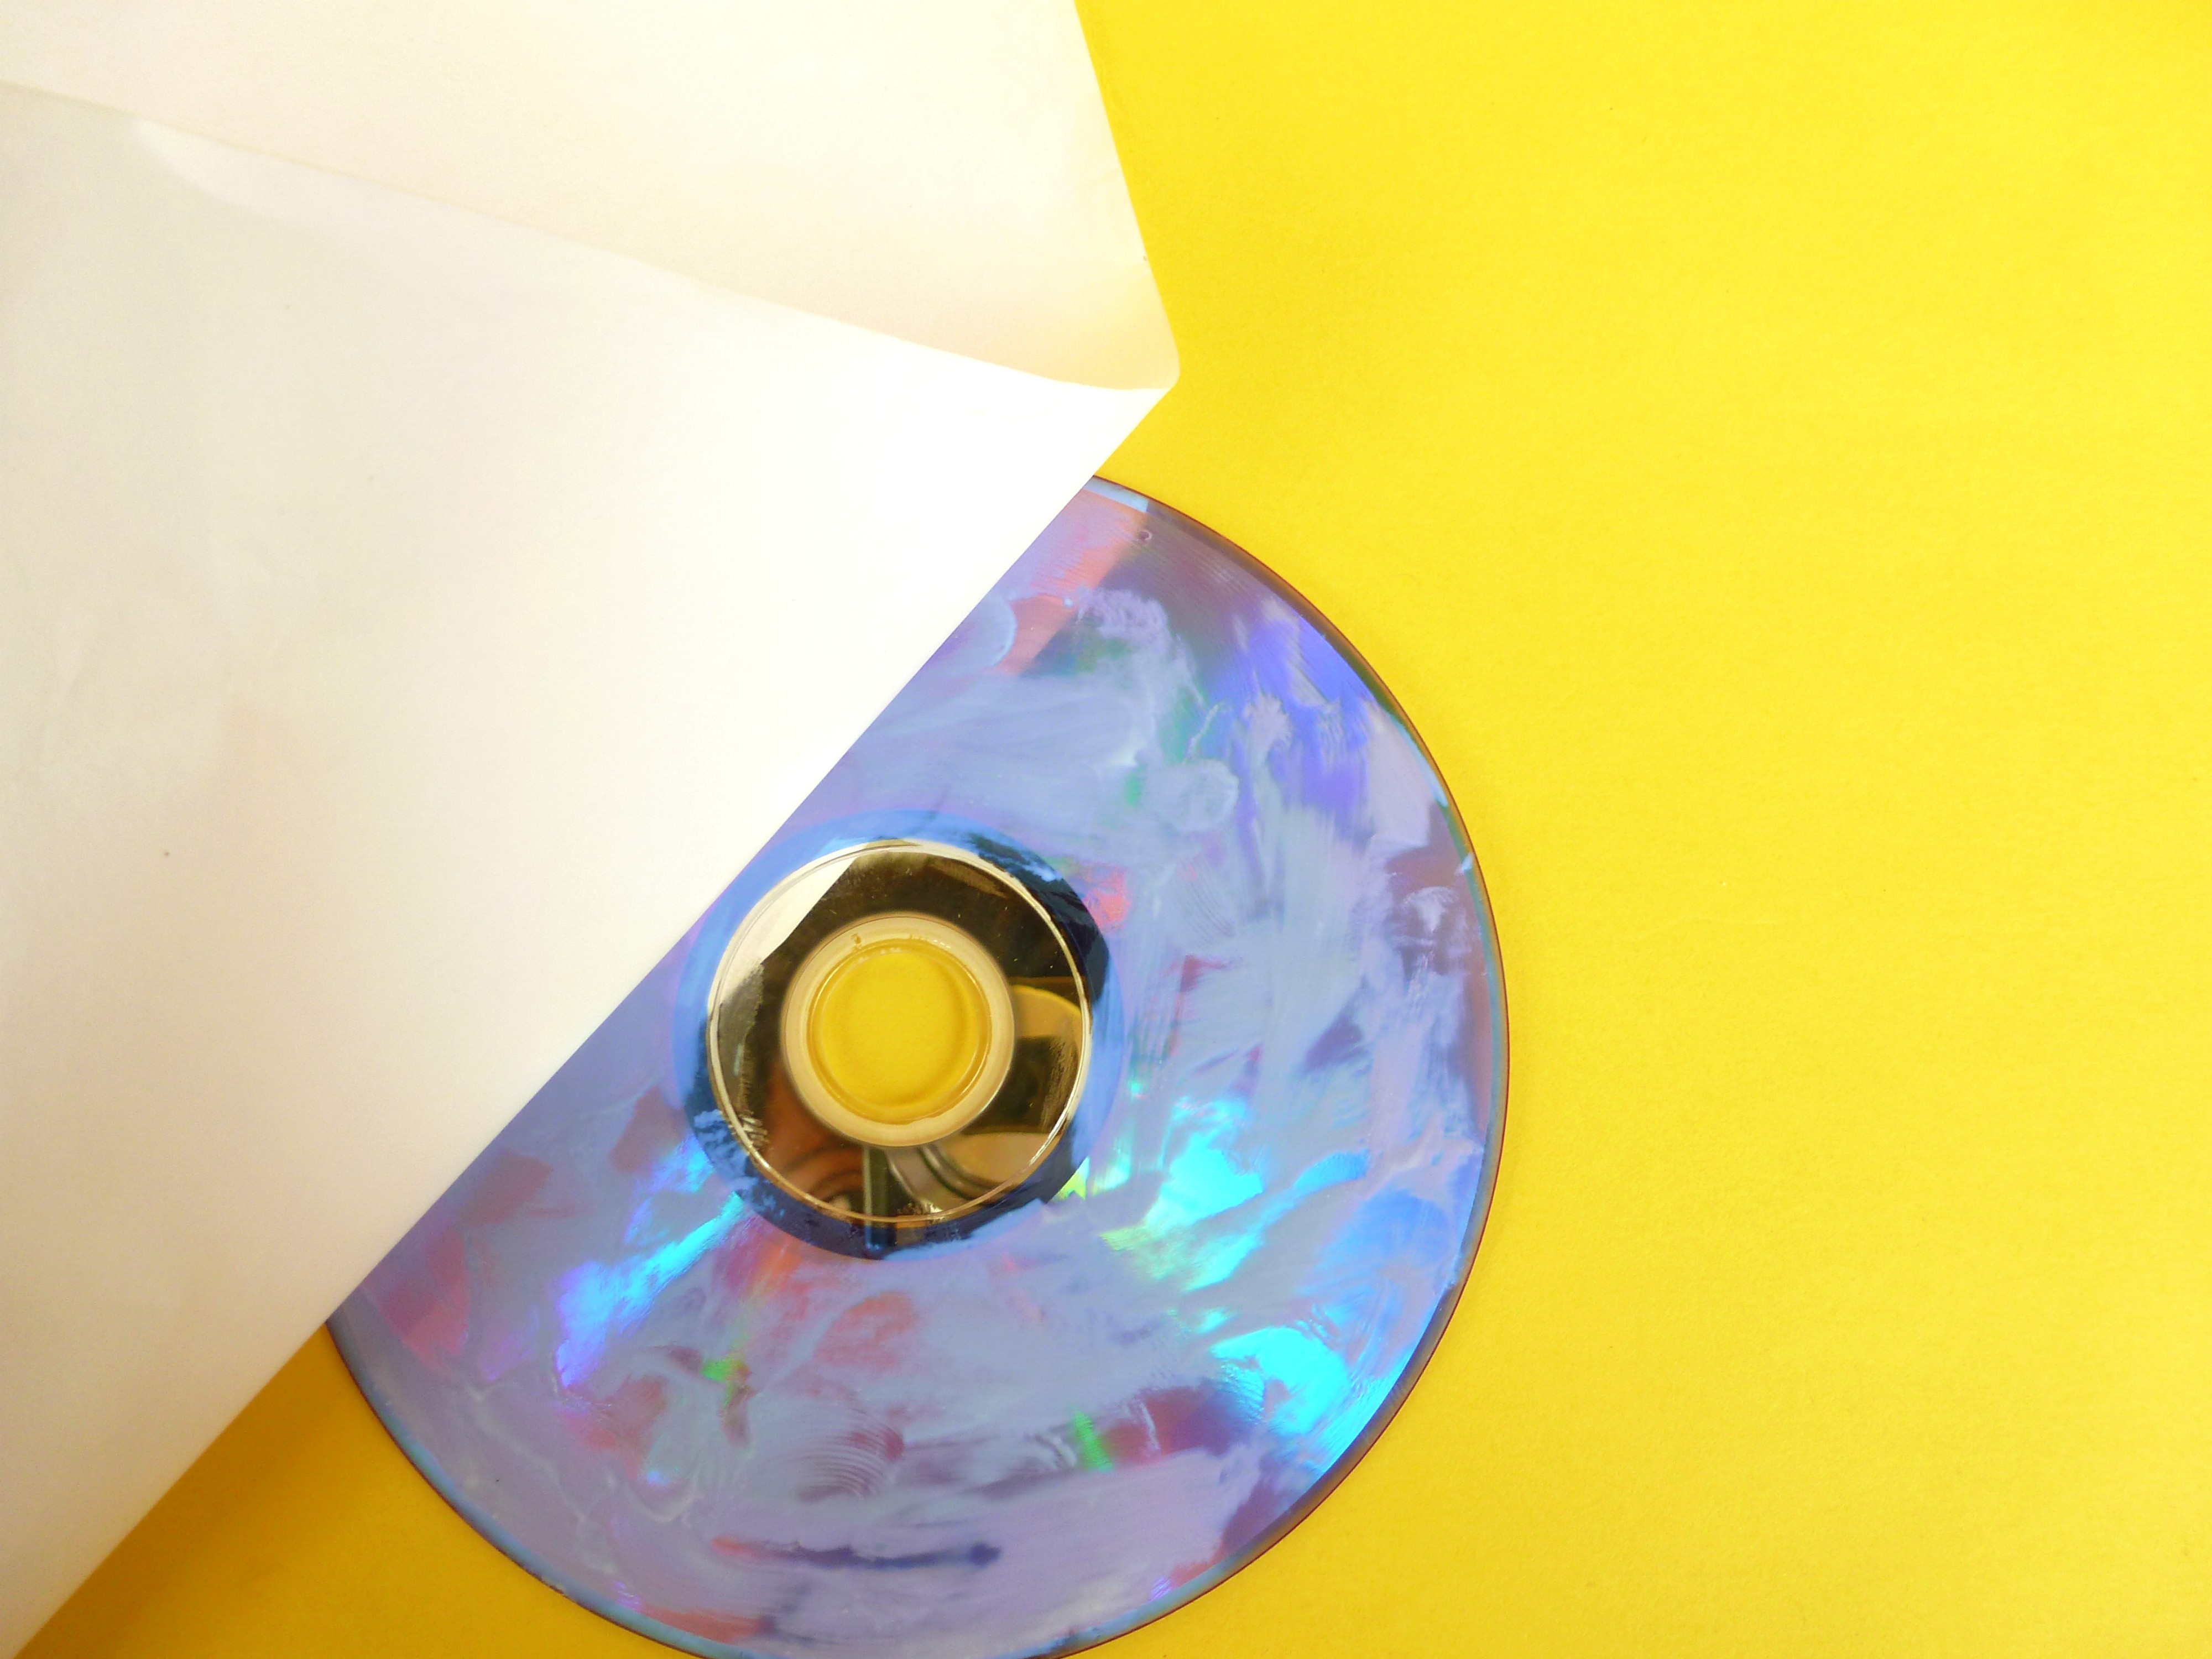
- Then glue the CD and paste it over the color paper (make sure you spread the glue evenly while sticking them together).
- At last cut out the remaining portion of the paper.
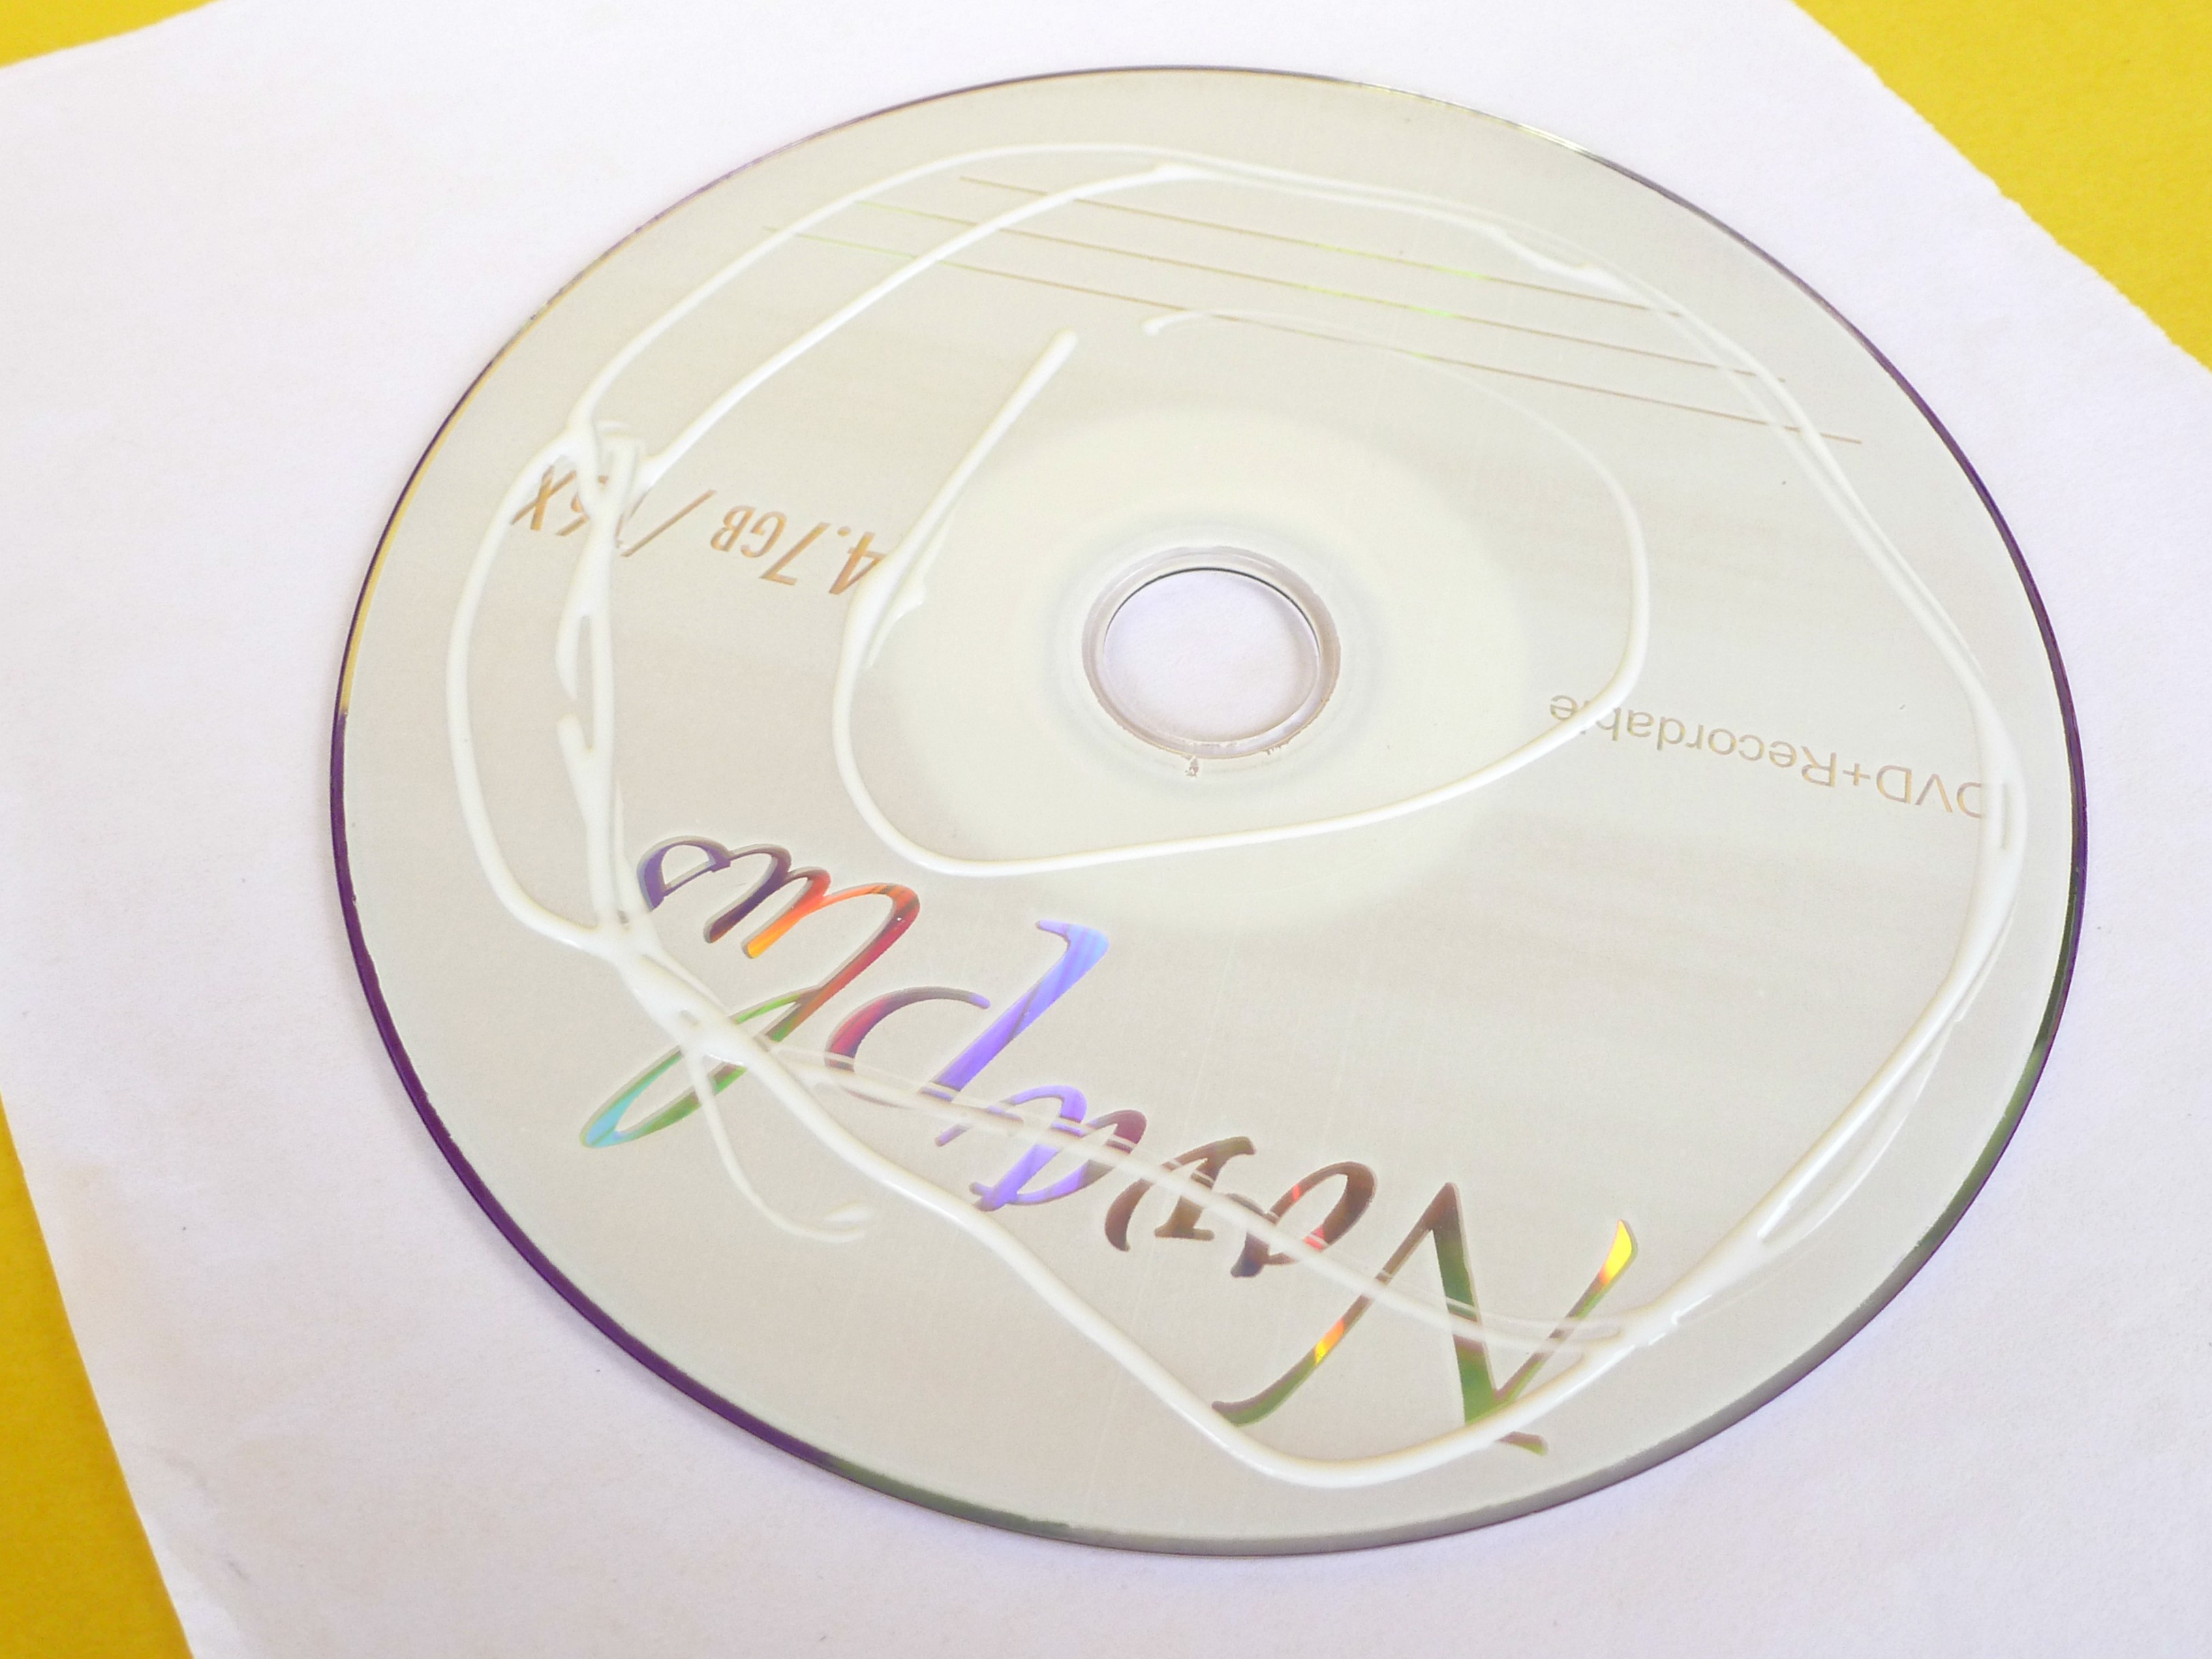
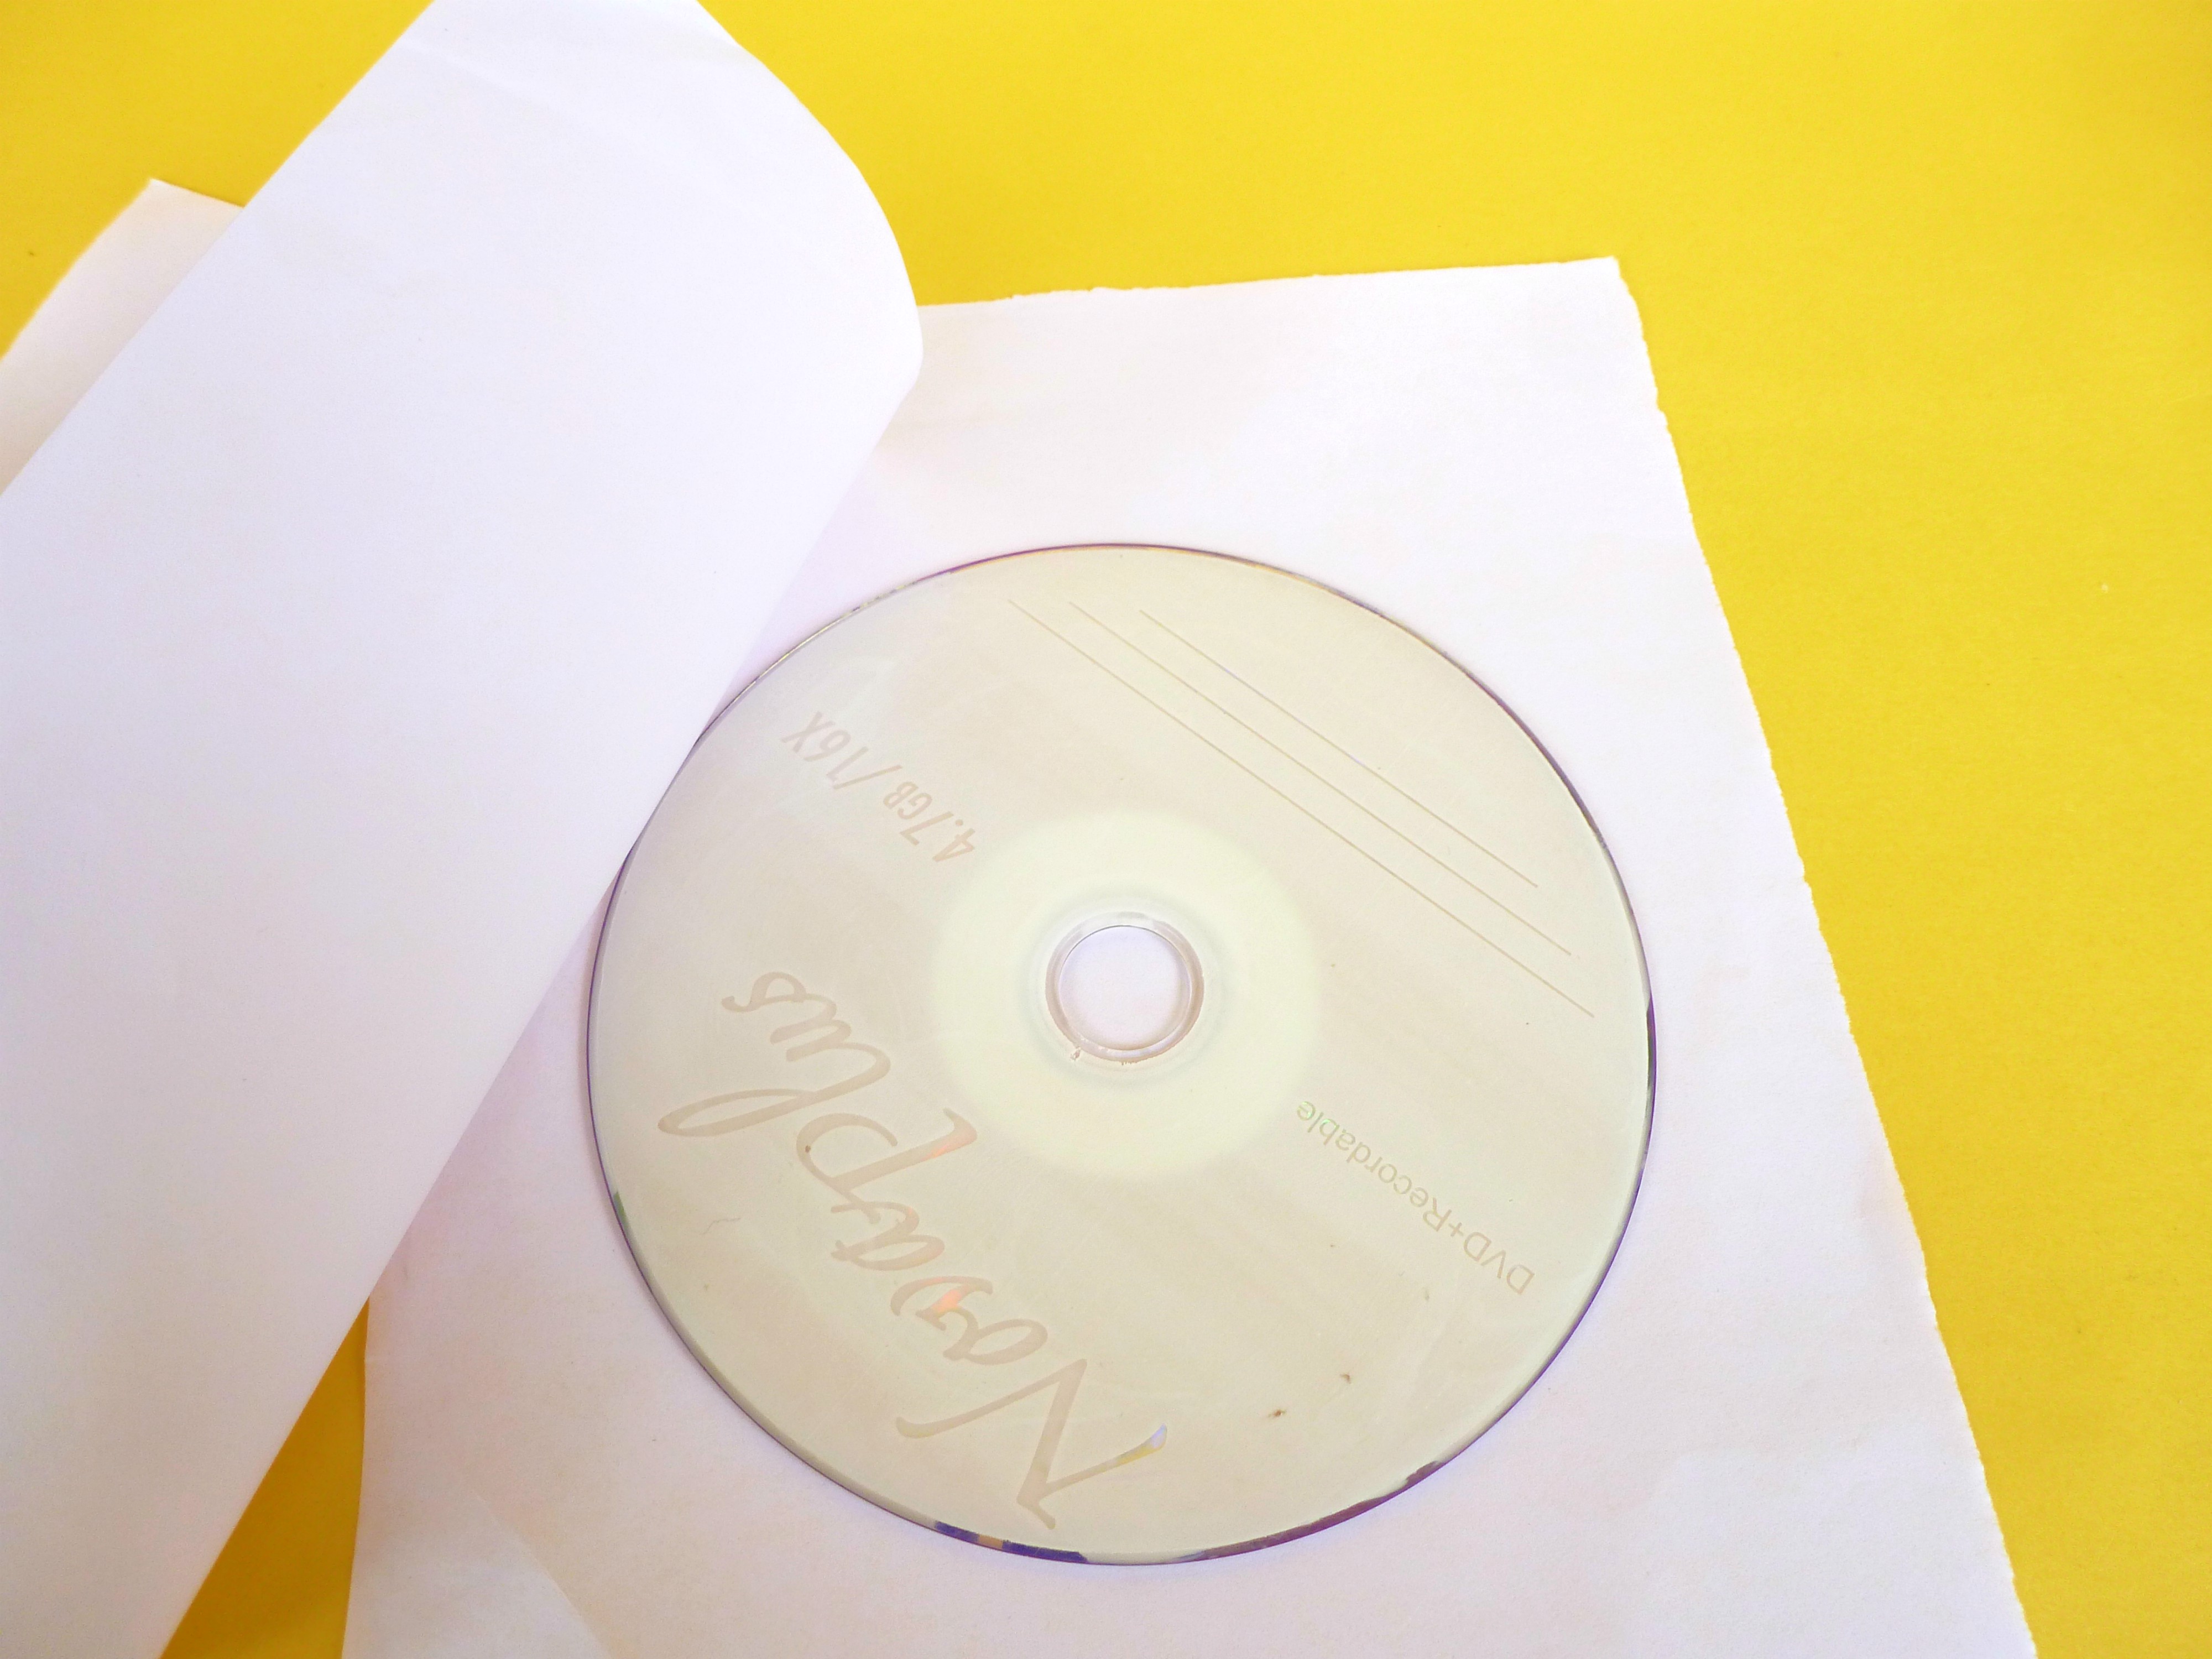
- Similarly, turn back the CD and glue it to the white paper.
- Repeat the same procedure using another CD.
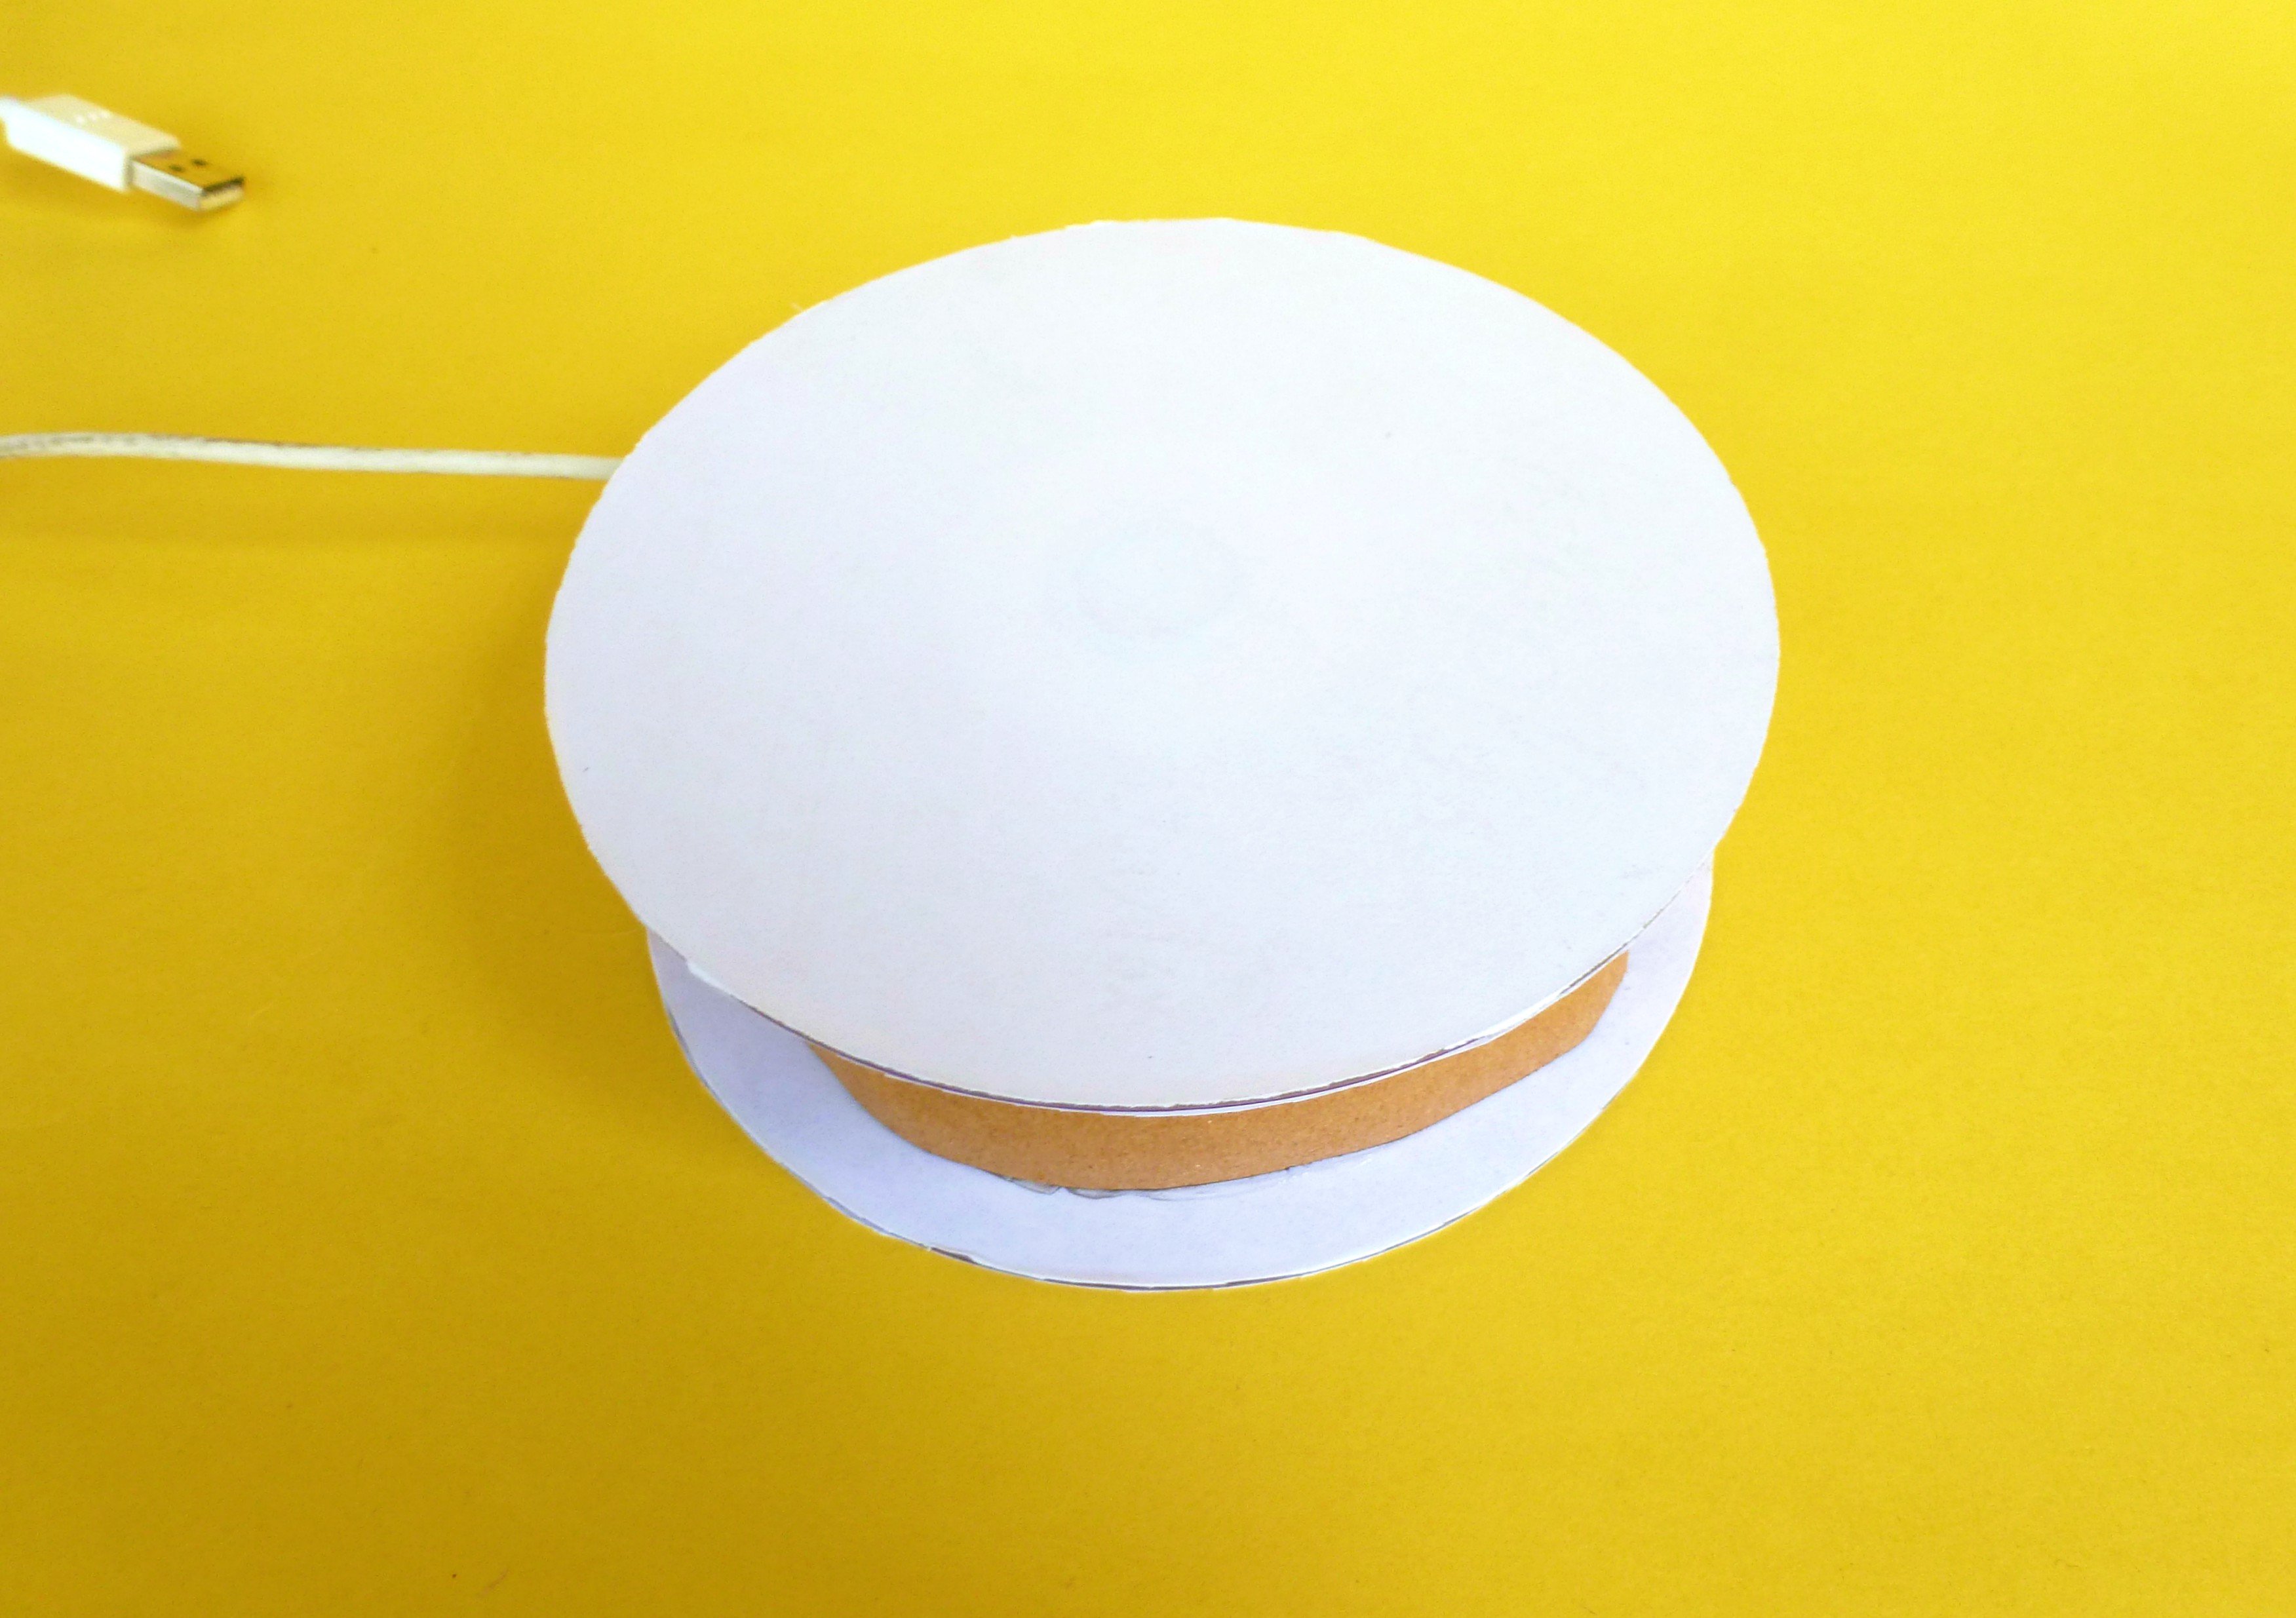
We have prepared two CD's, one is base disc and another is a rotating disc.
Measurements

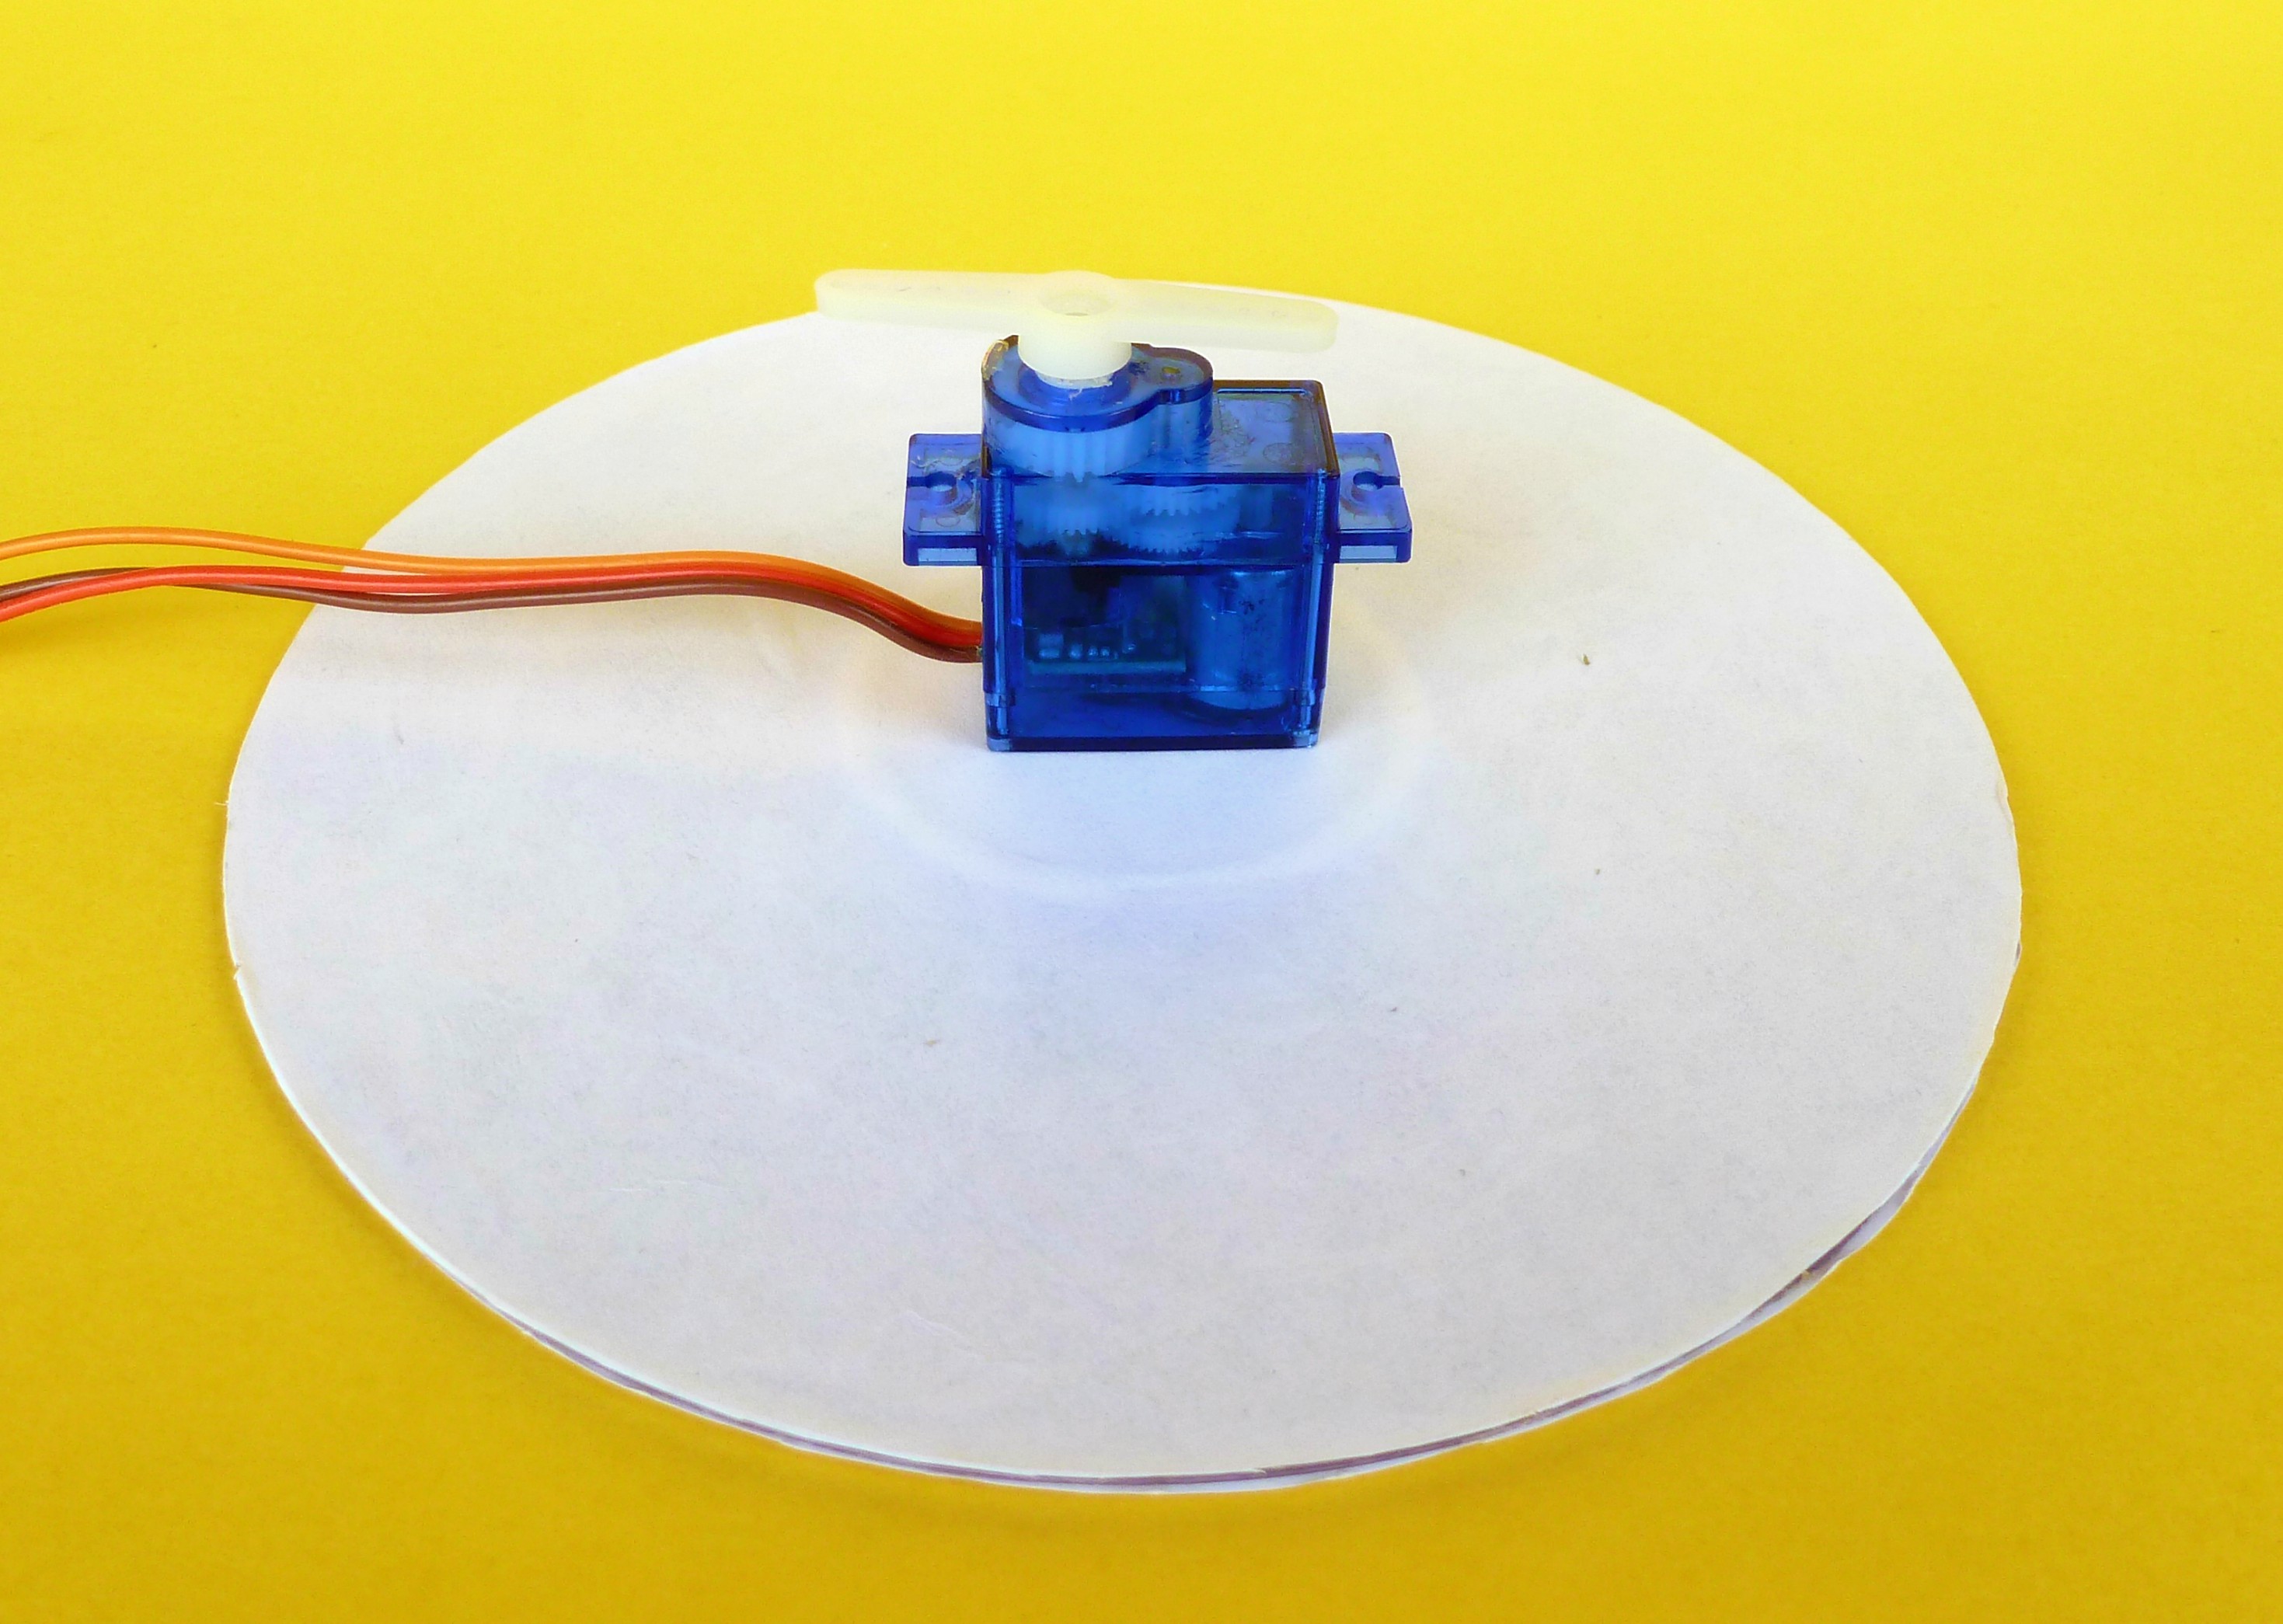
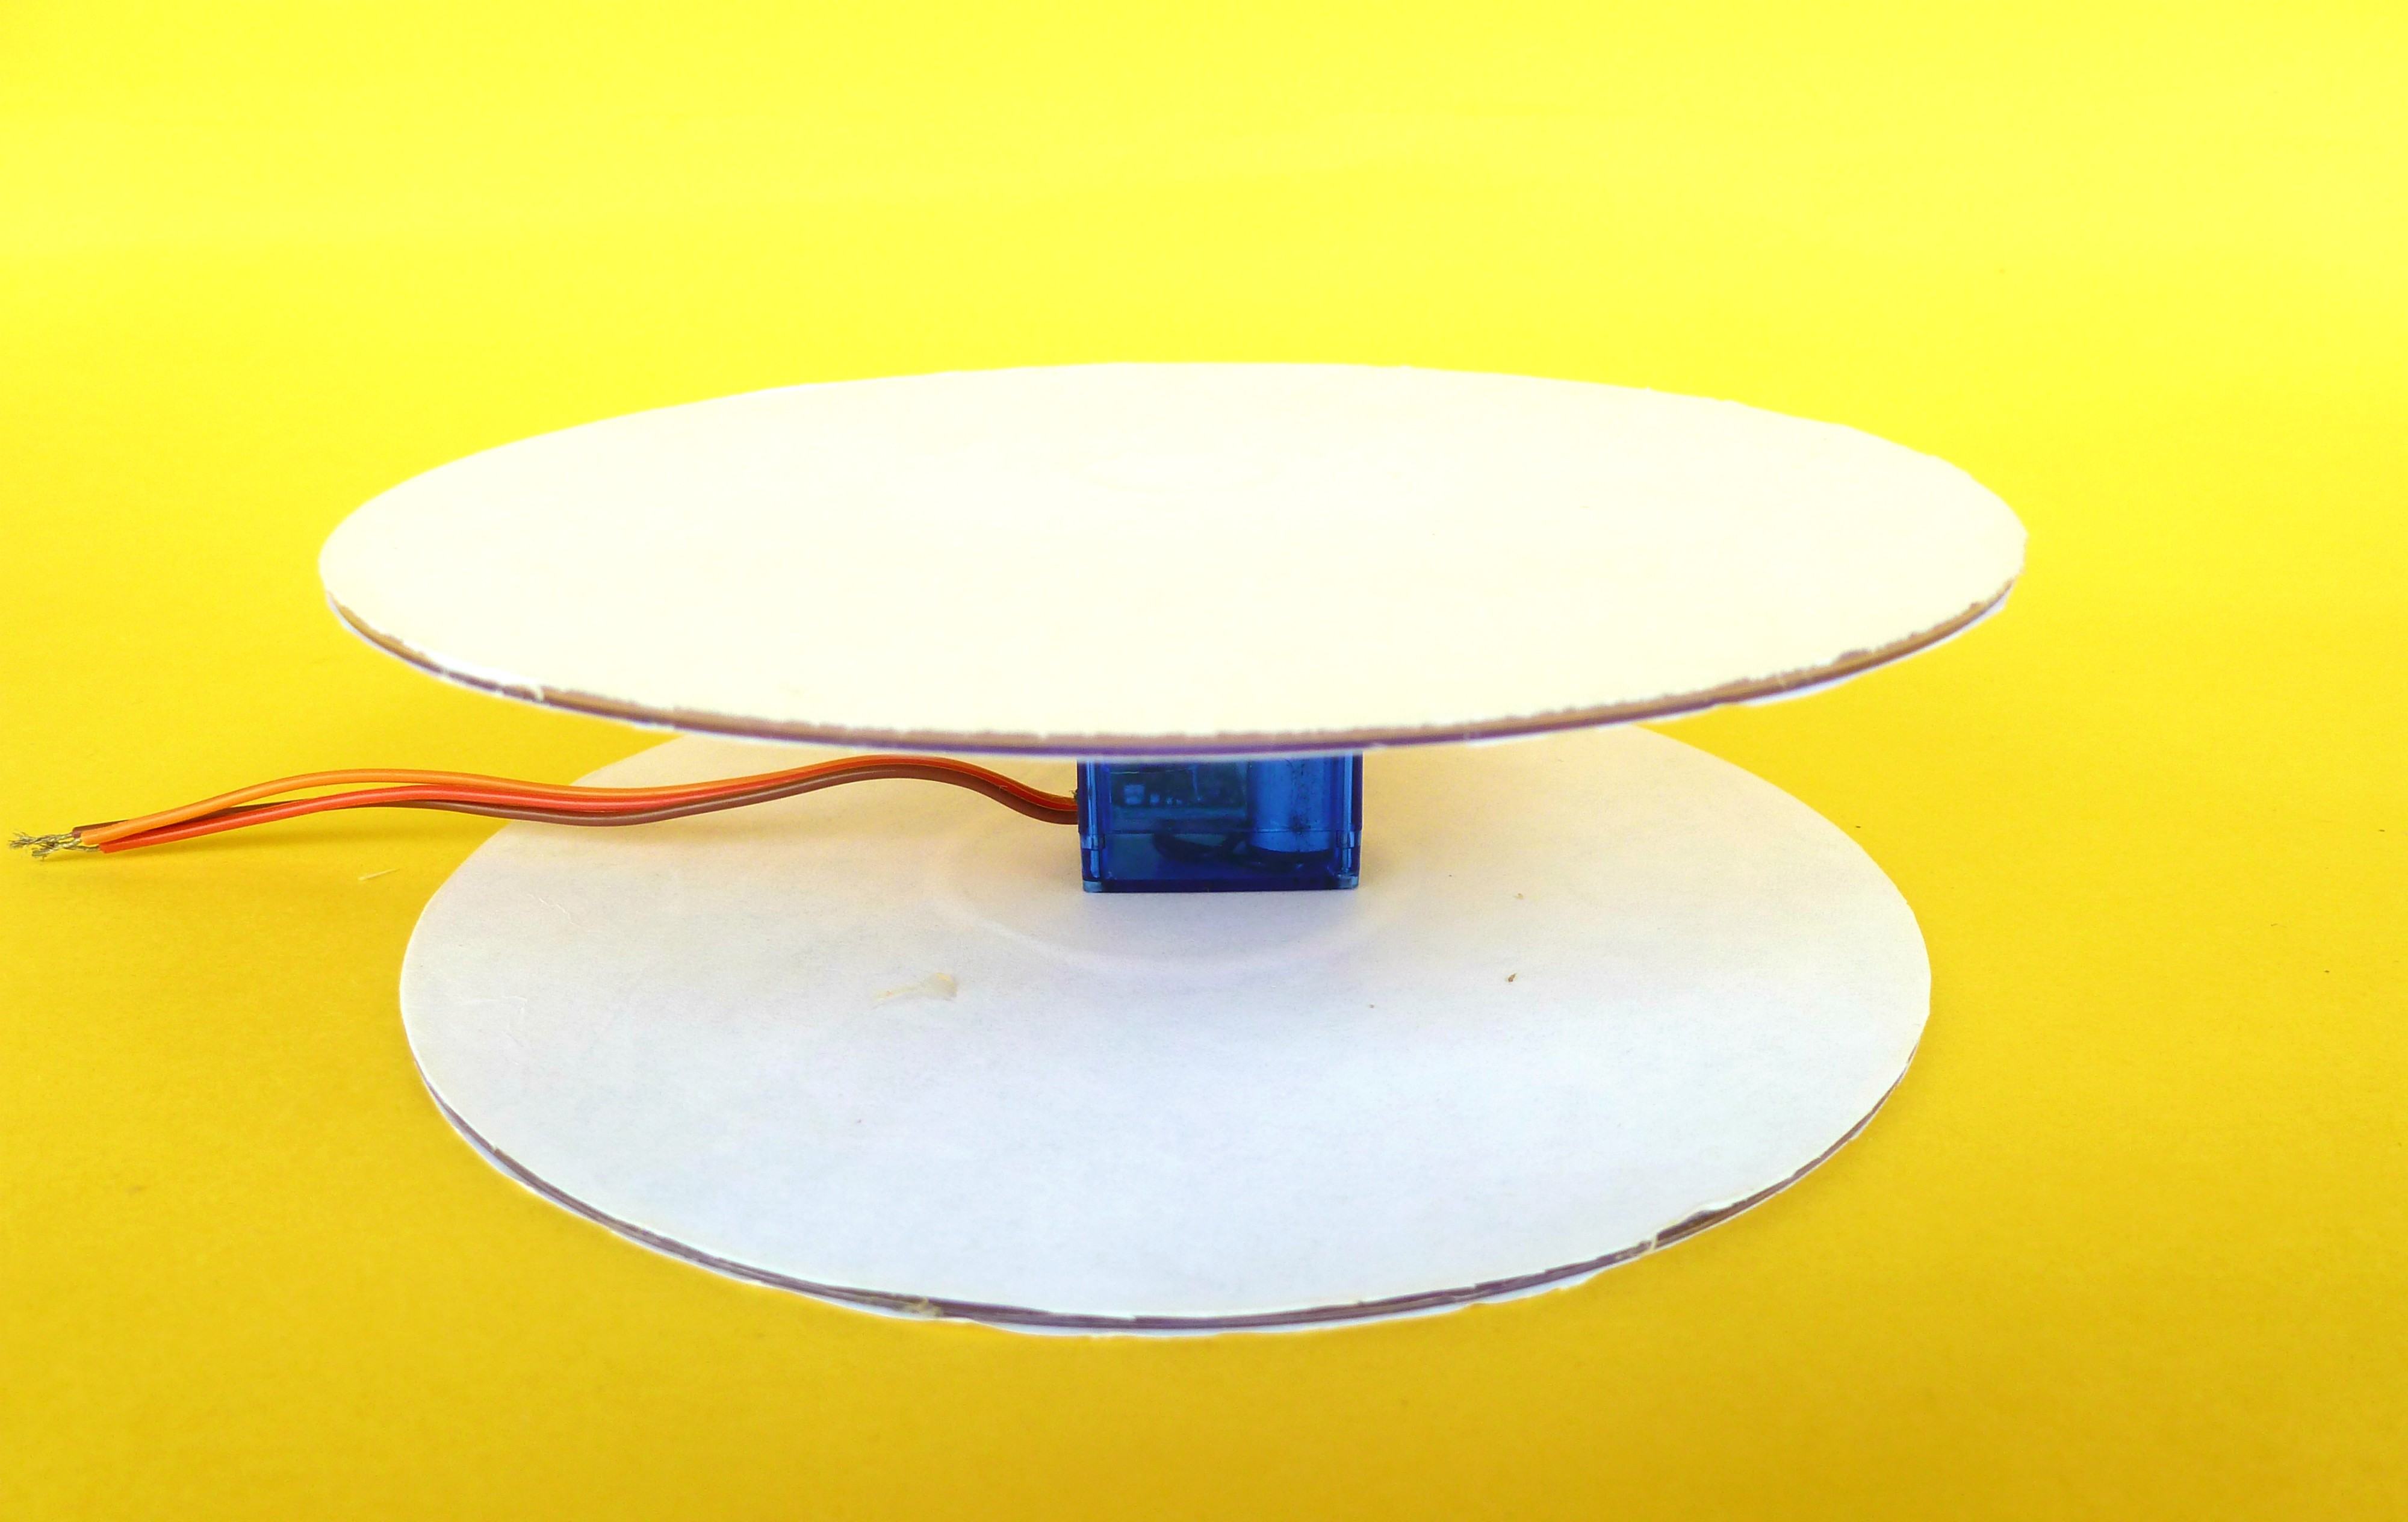
- Place the servo motor on the base disc and place the rotating disc over the servo arm.
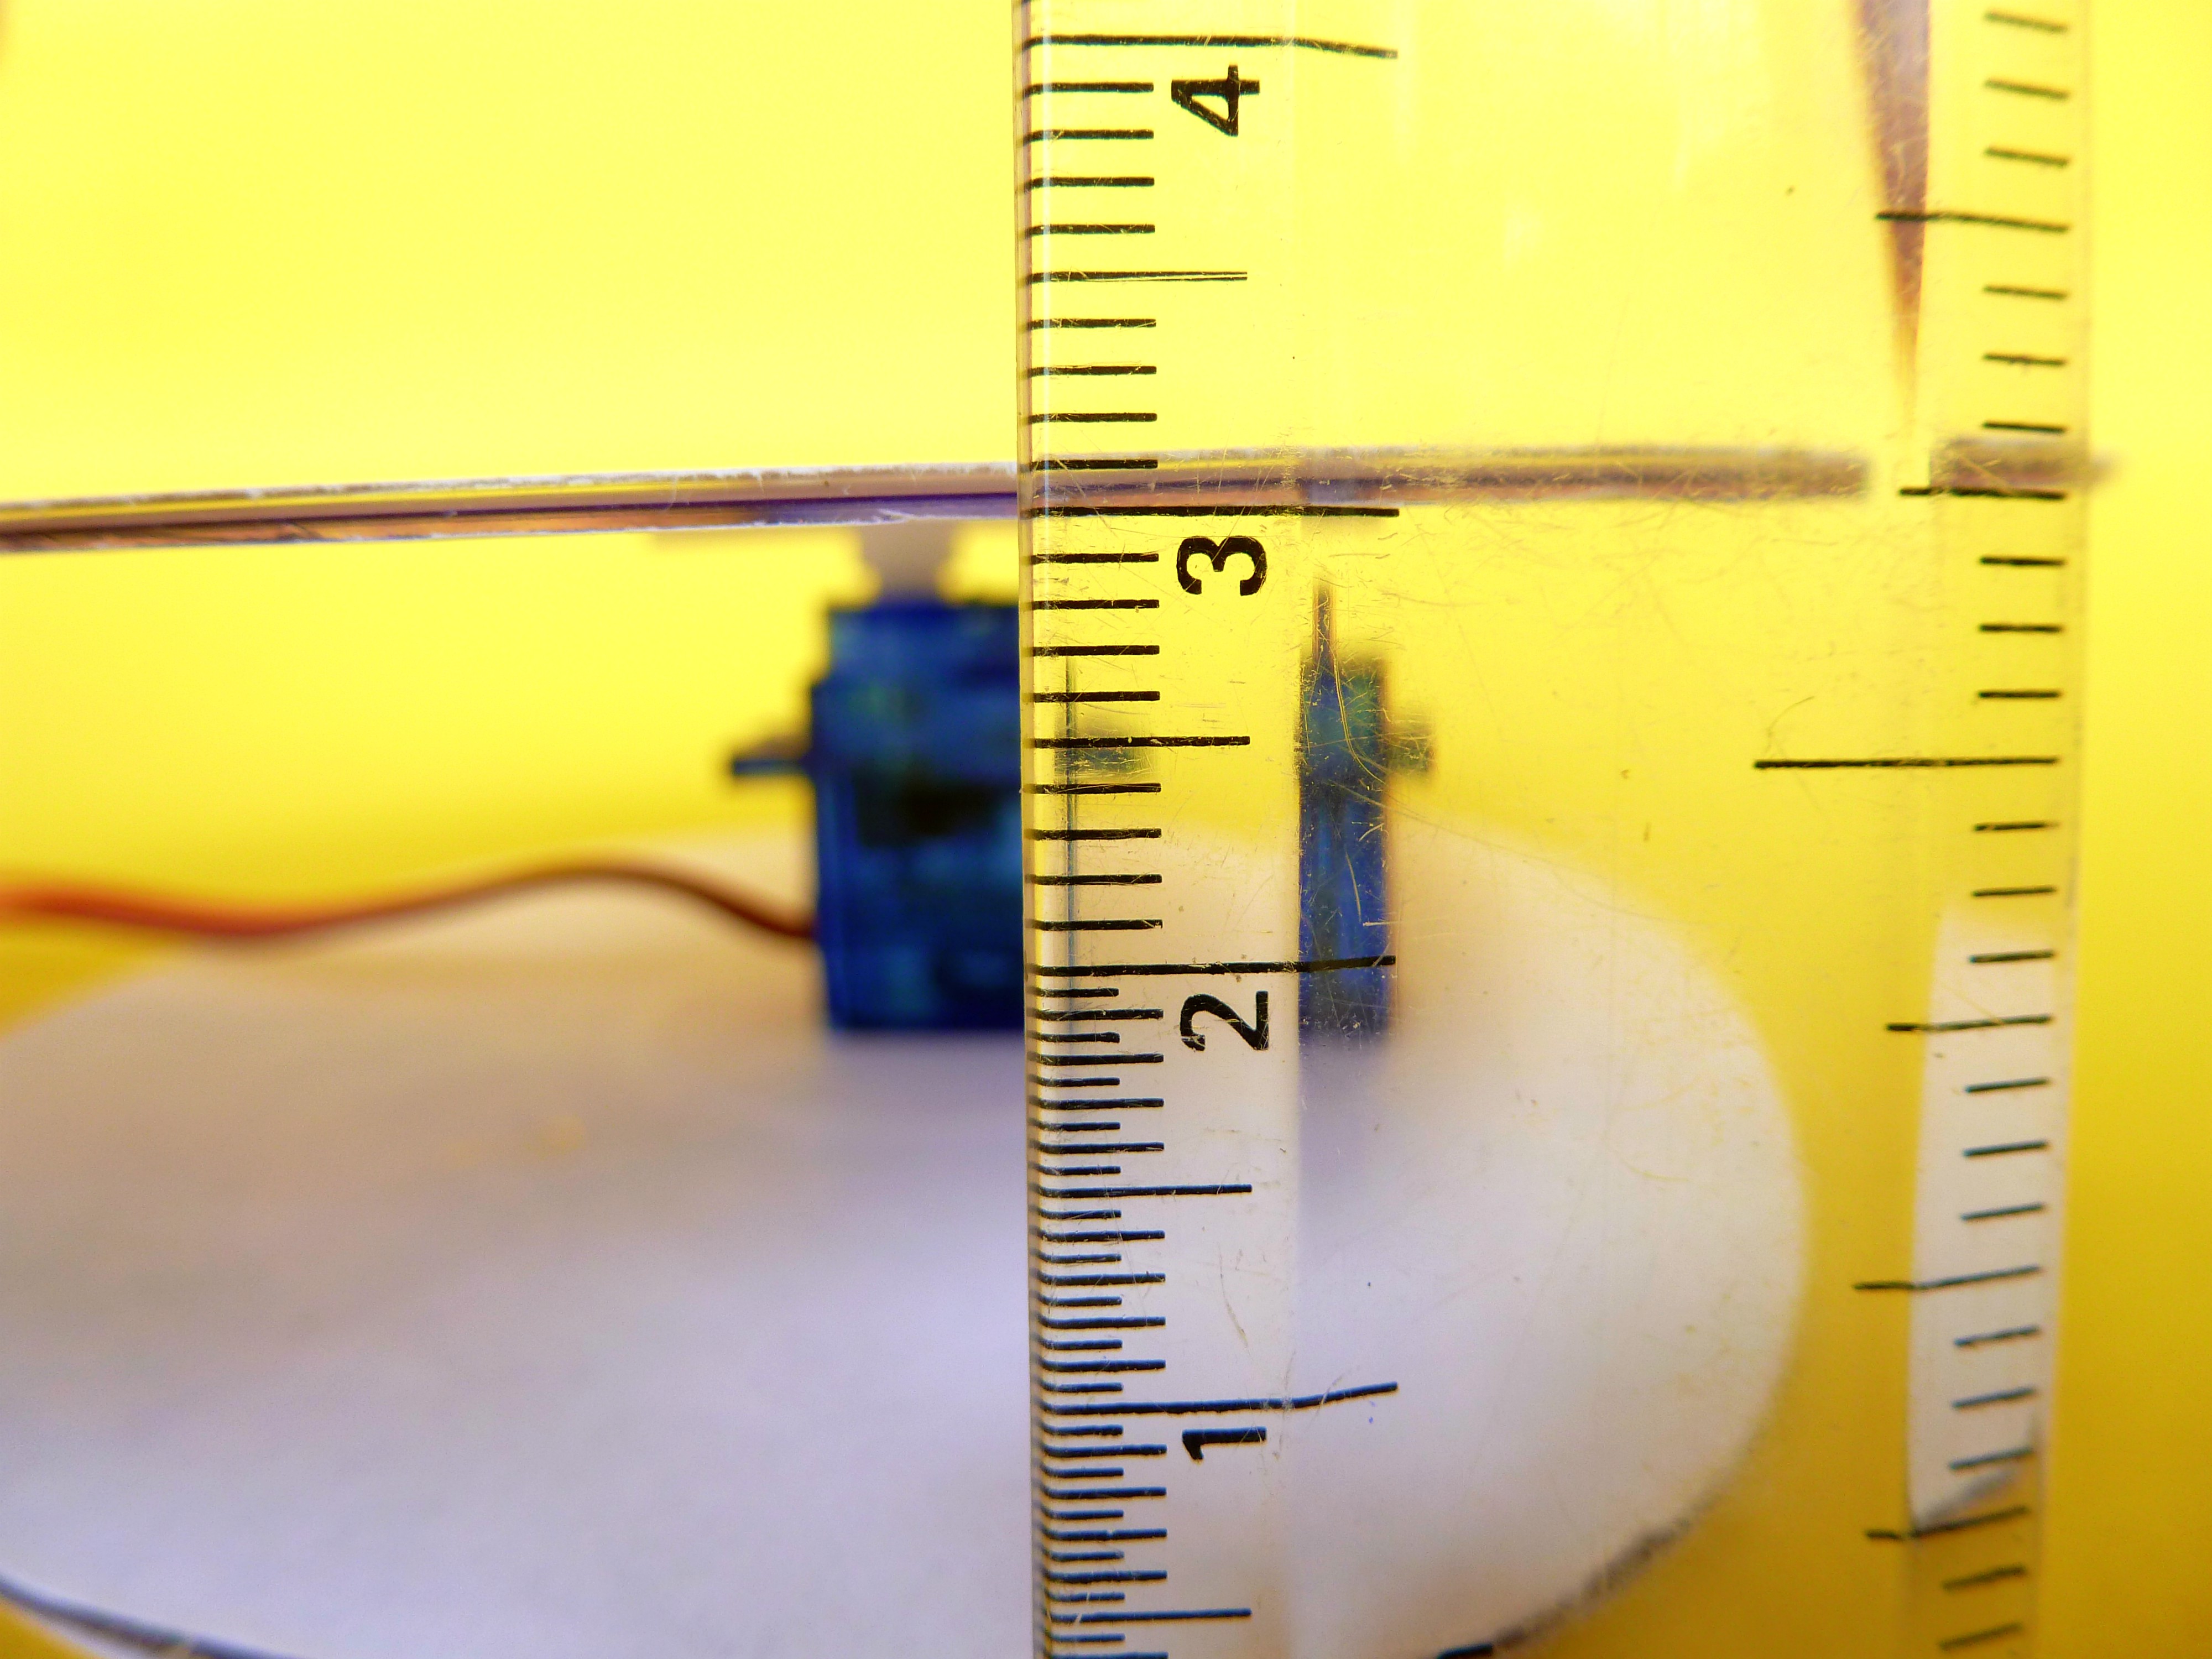
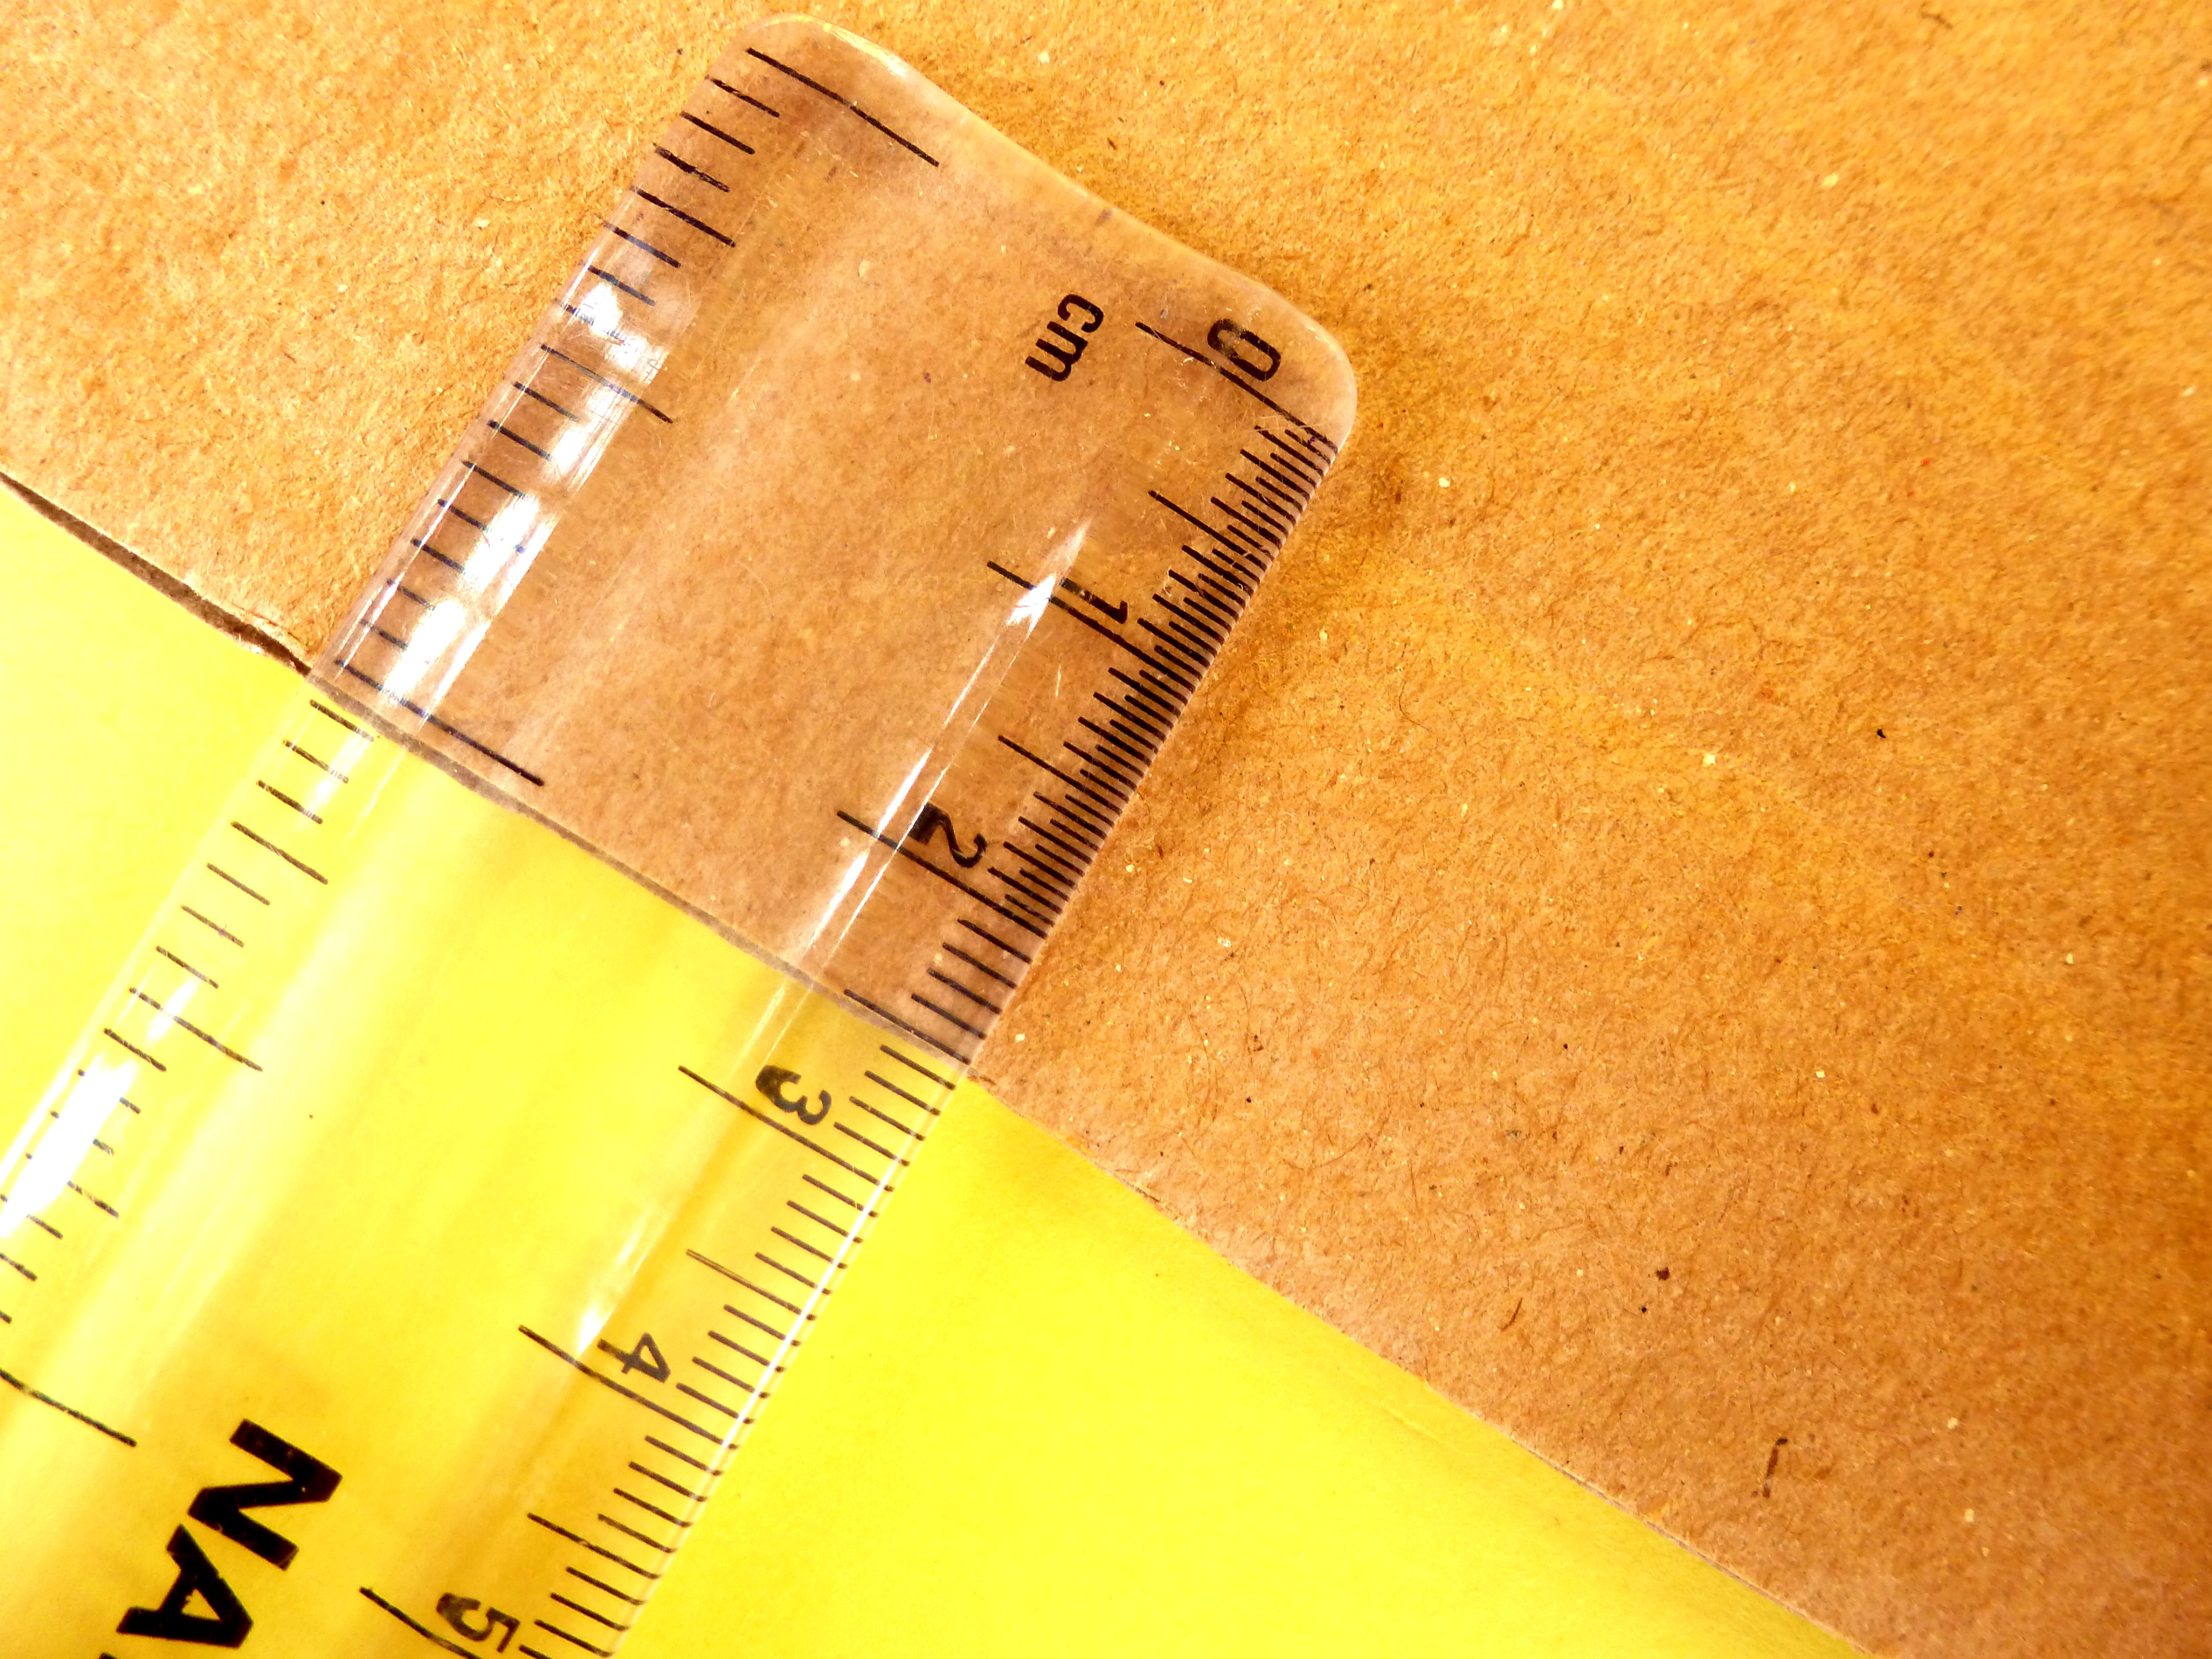
- Now, measure the distance between two discs.
- I got it as approximately 3cm.
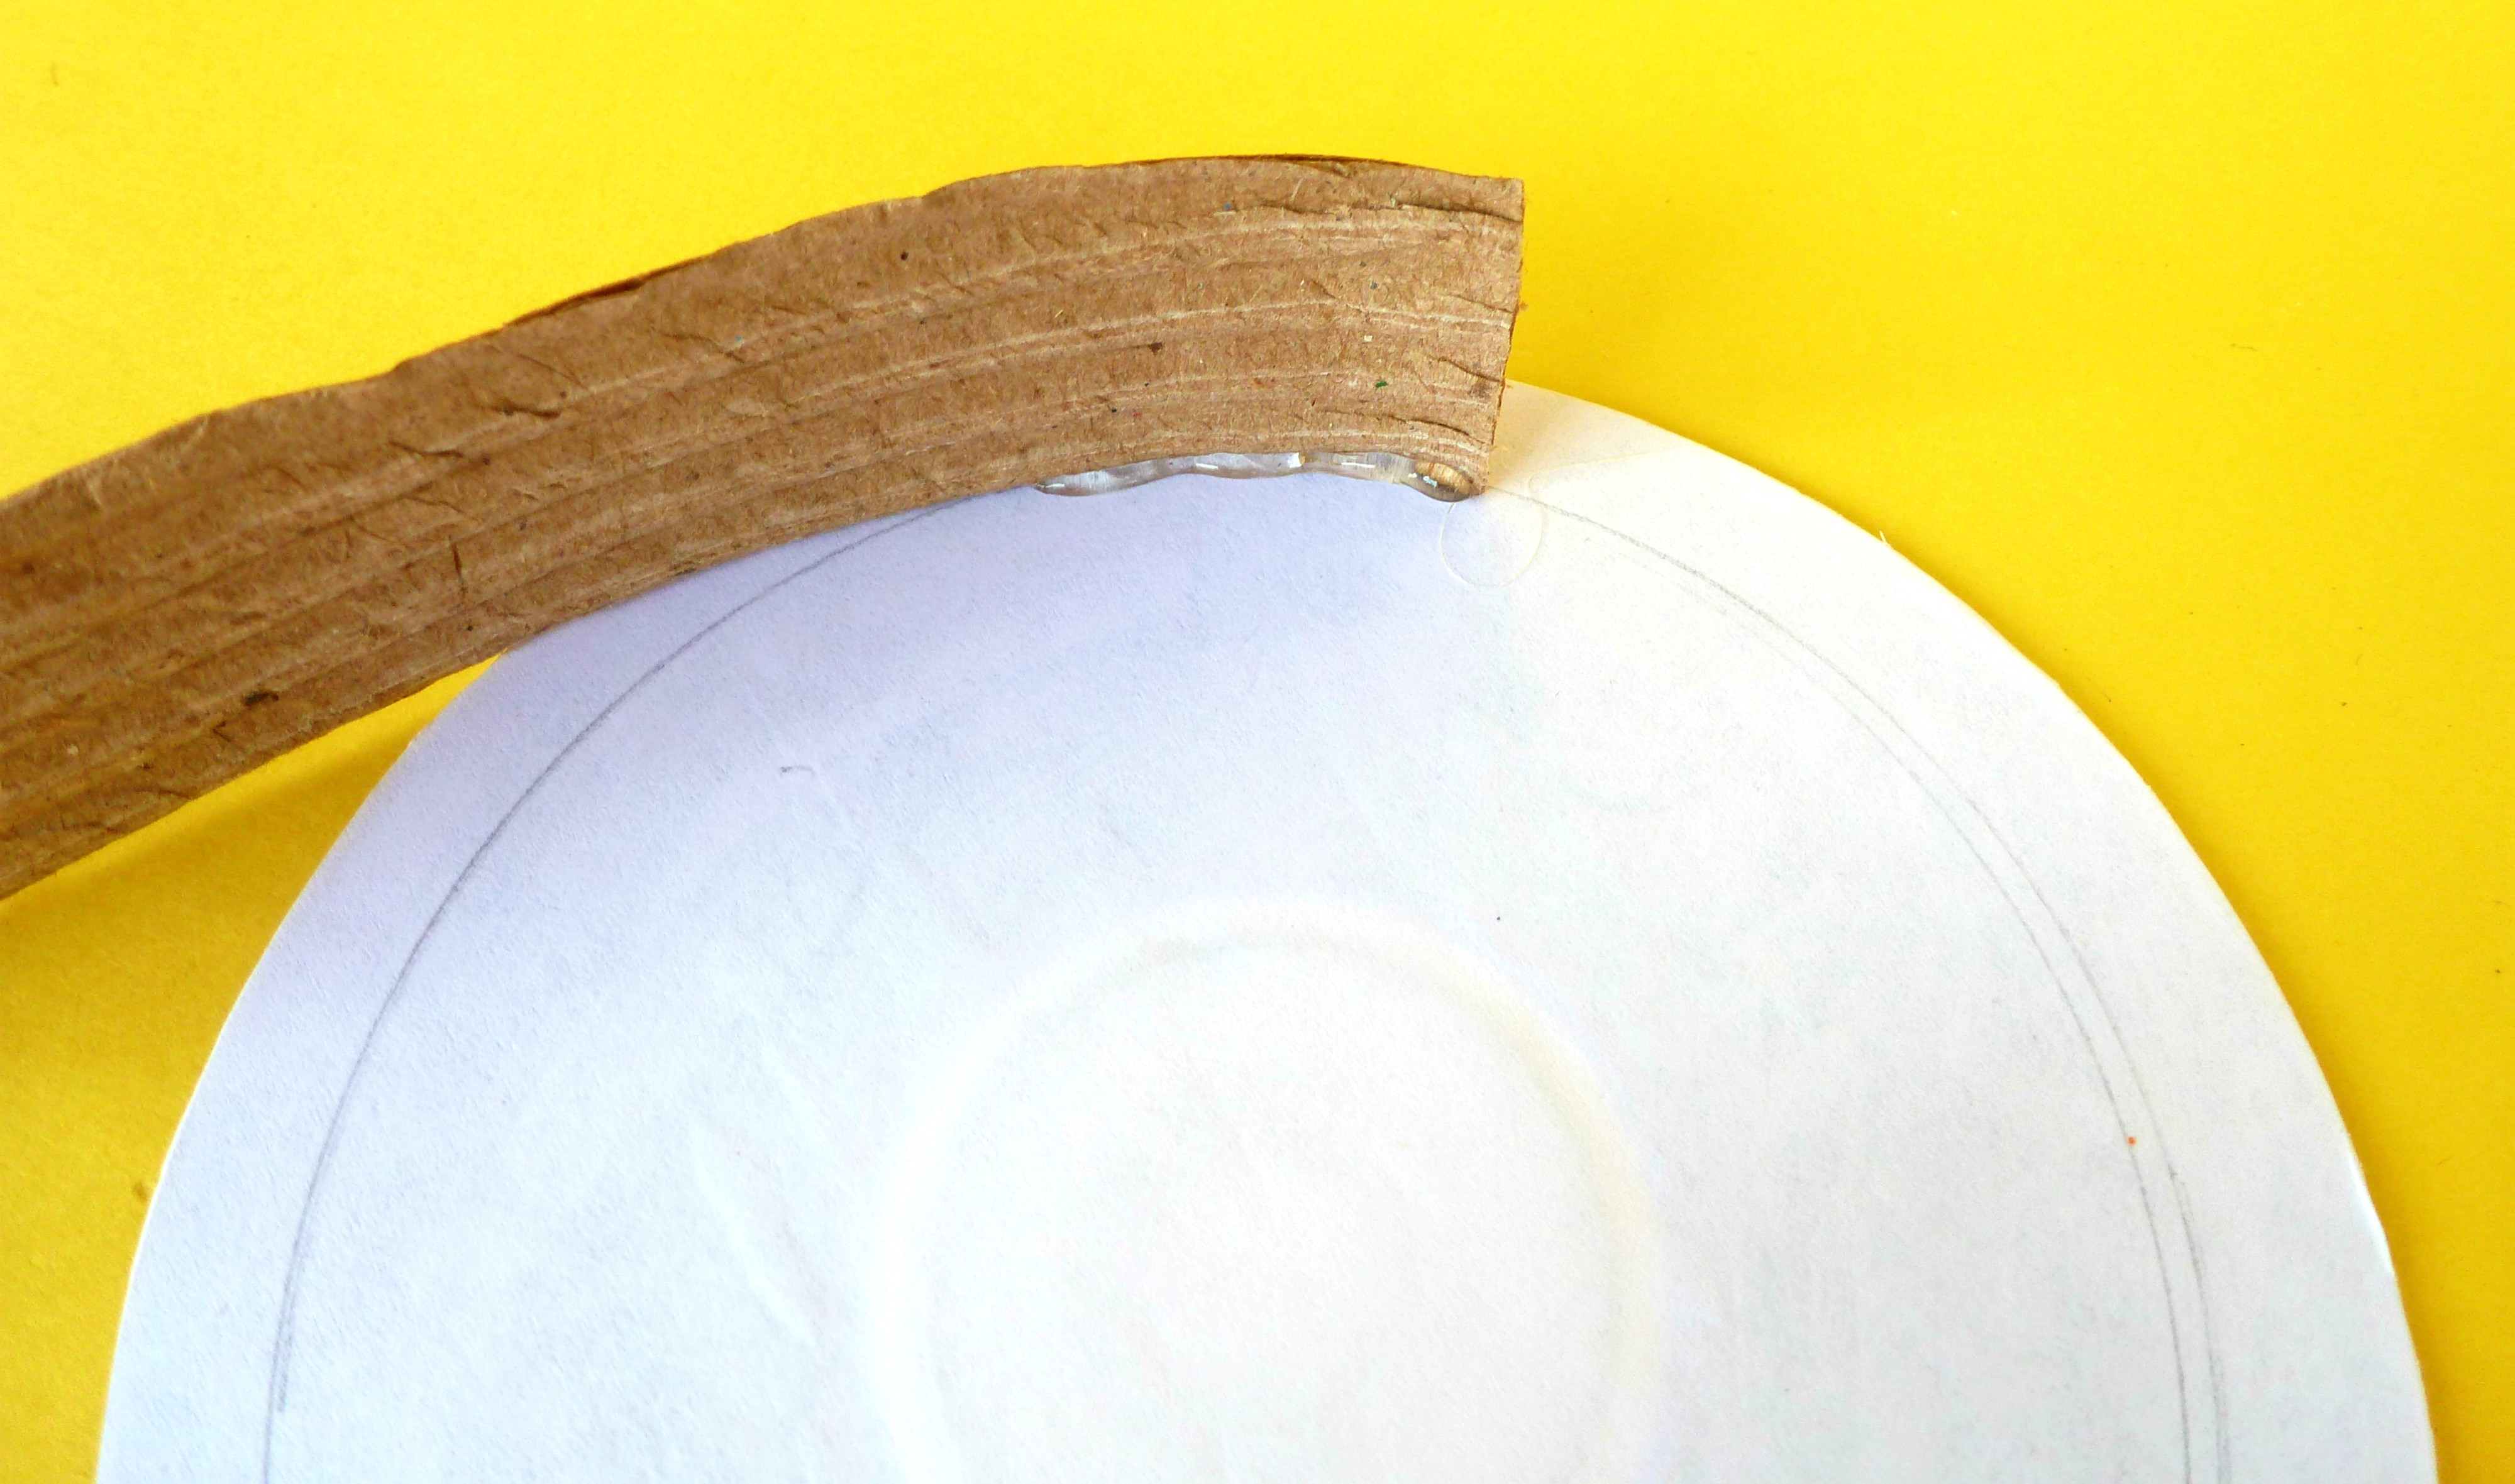
Design Lateral Body
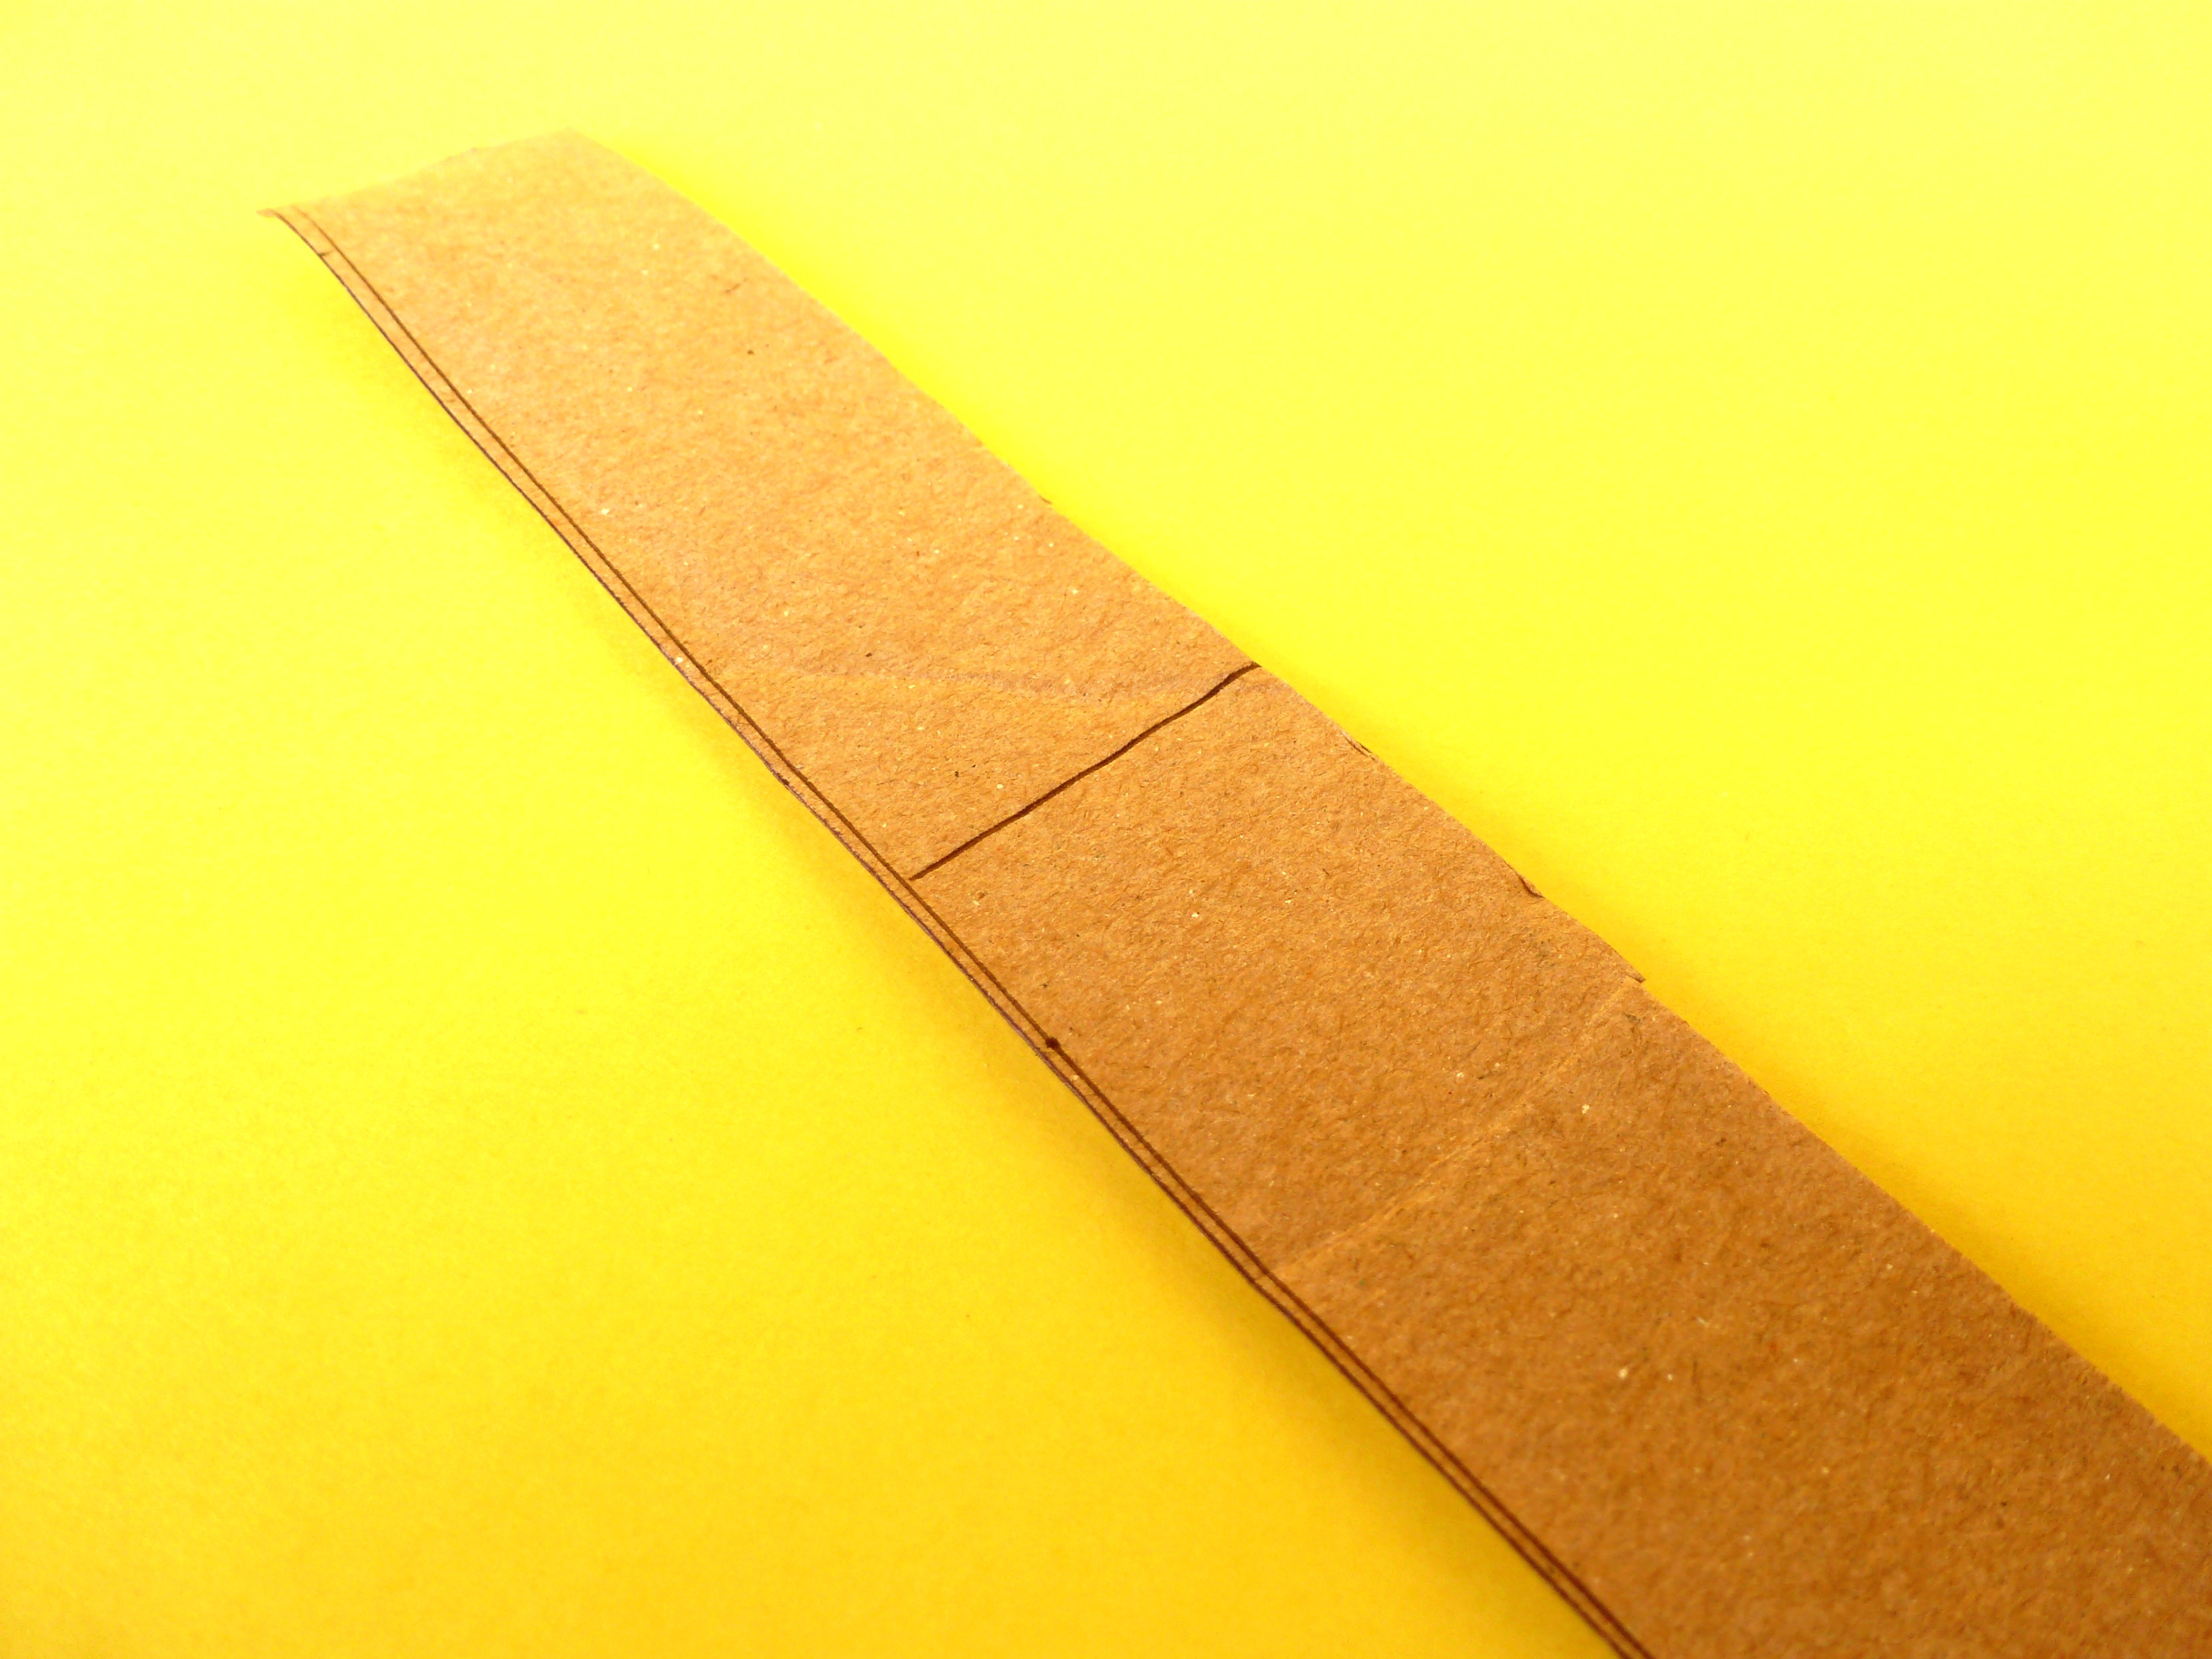
- After you measure the distance between two discs, cut cardboard with a width lesser than the distance between two discs.
- I took a width measurement of 2.5cm.
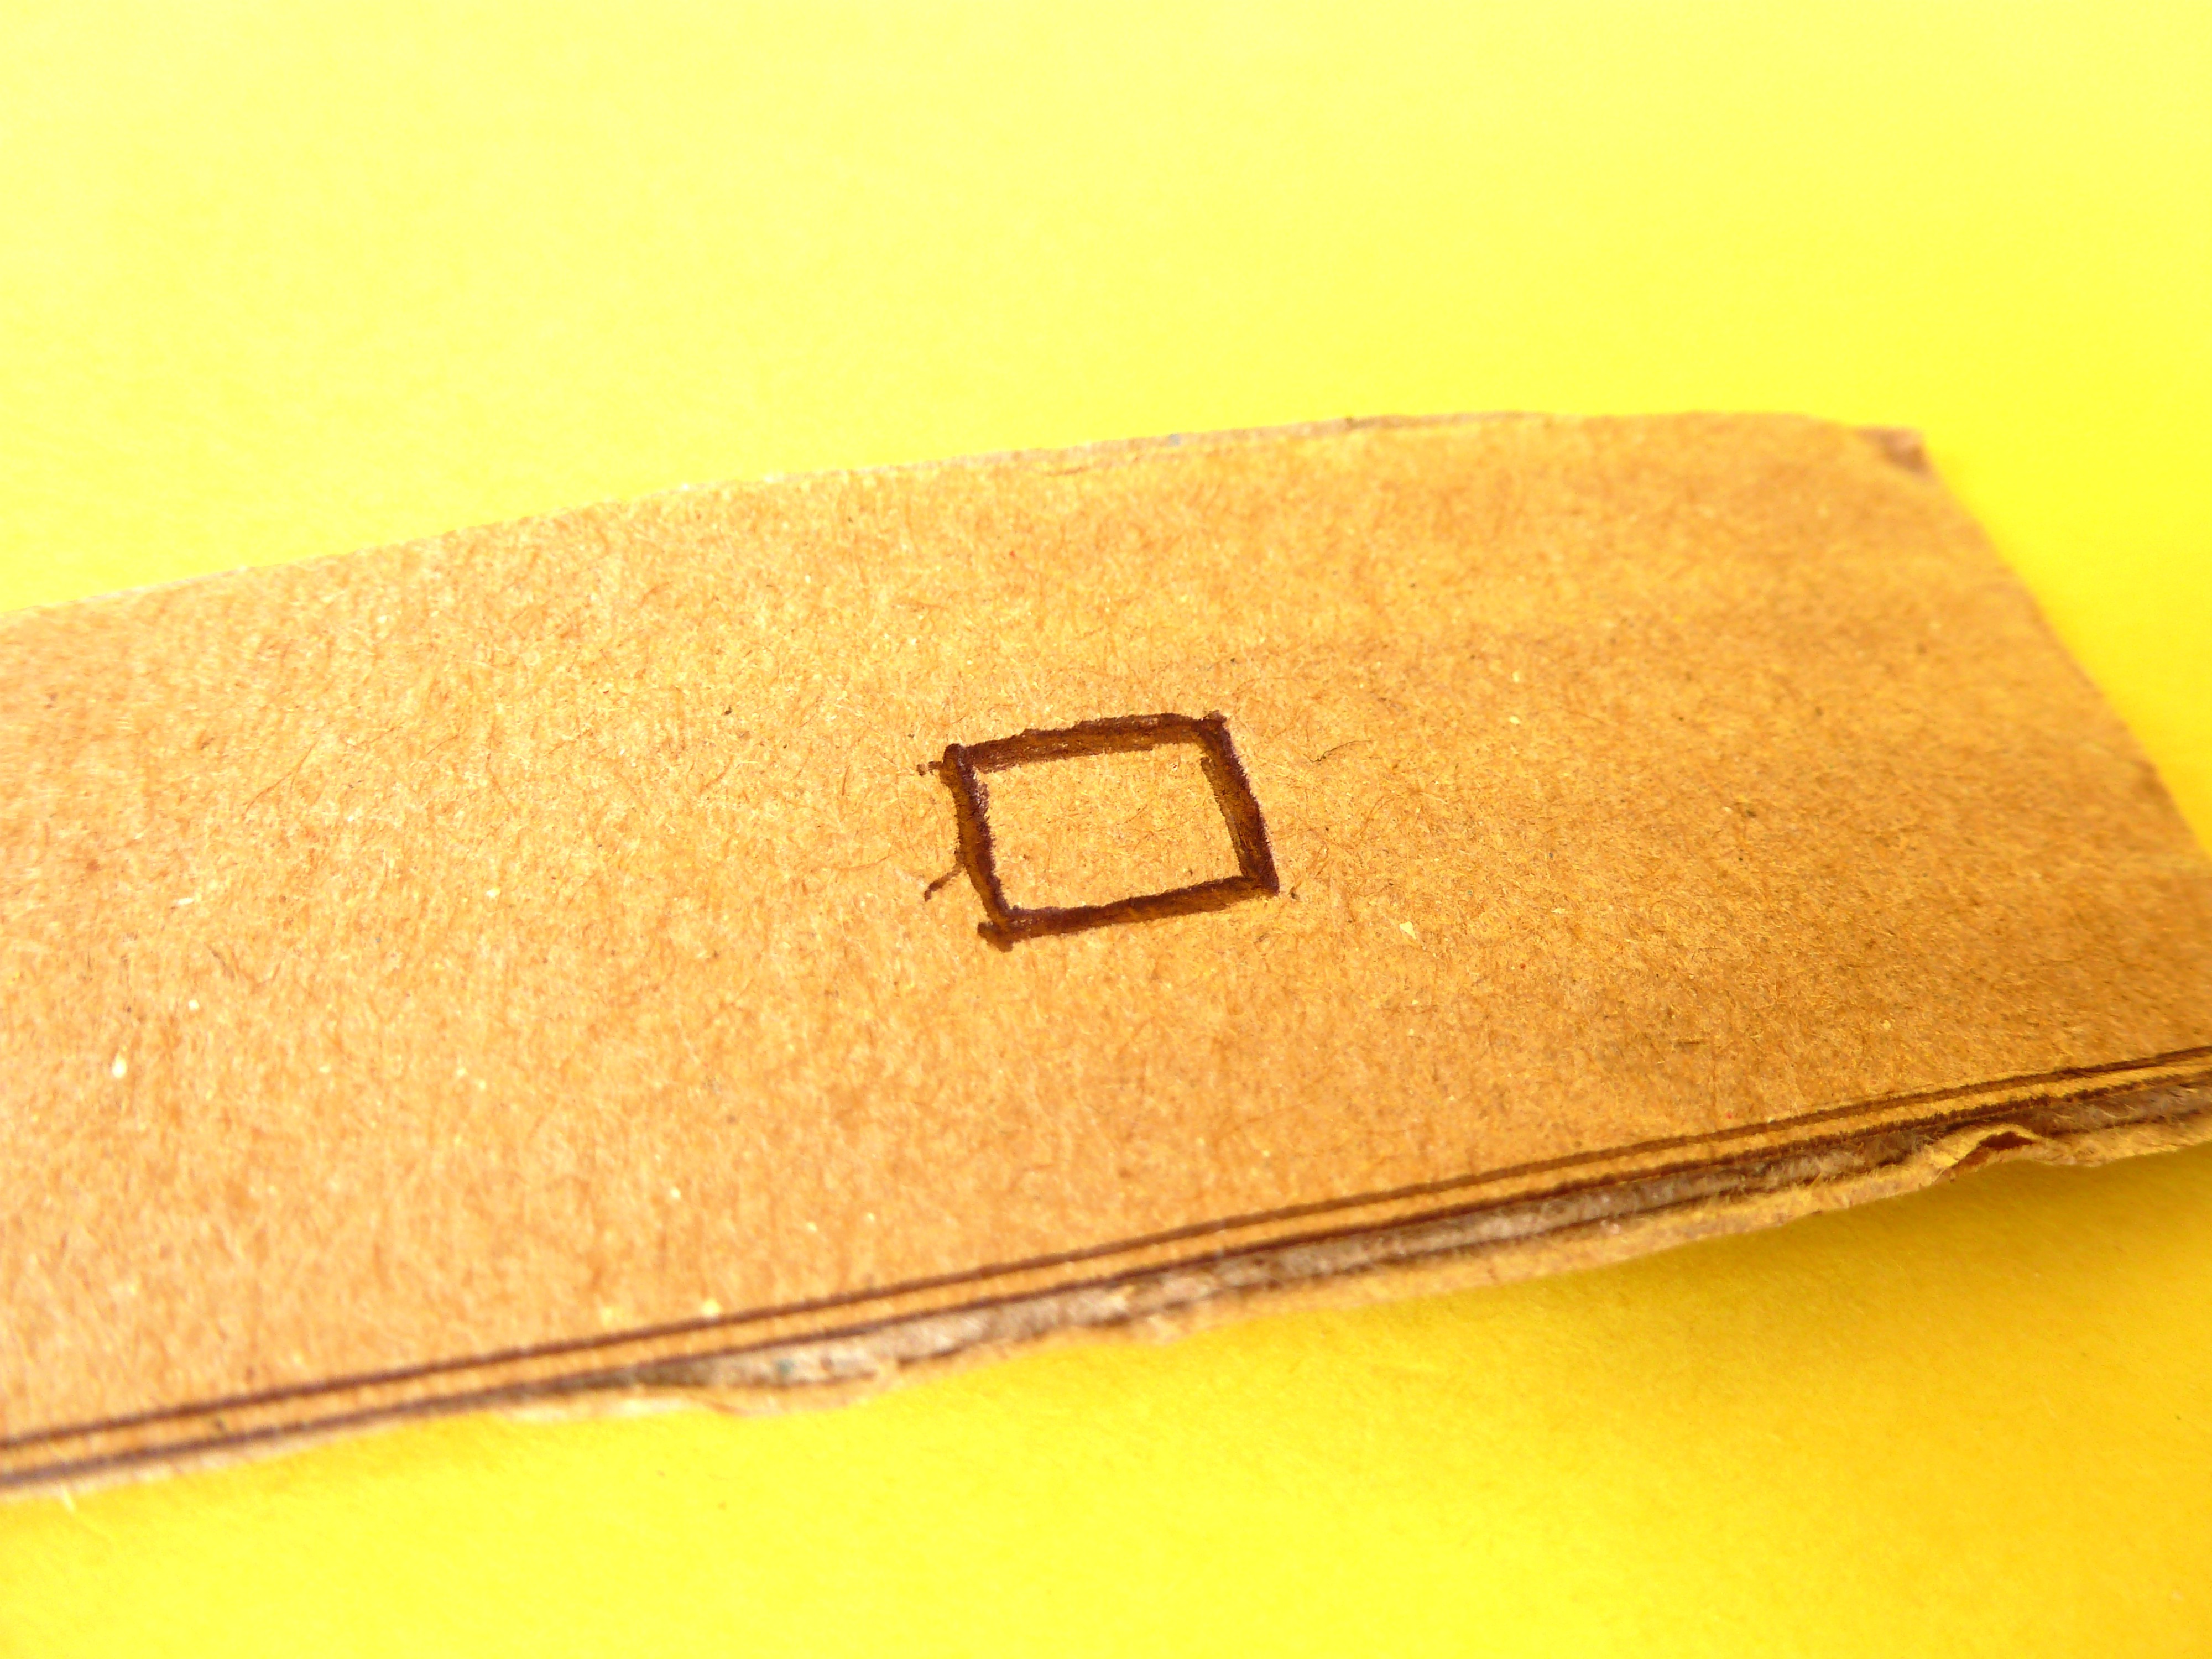
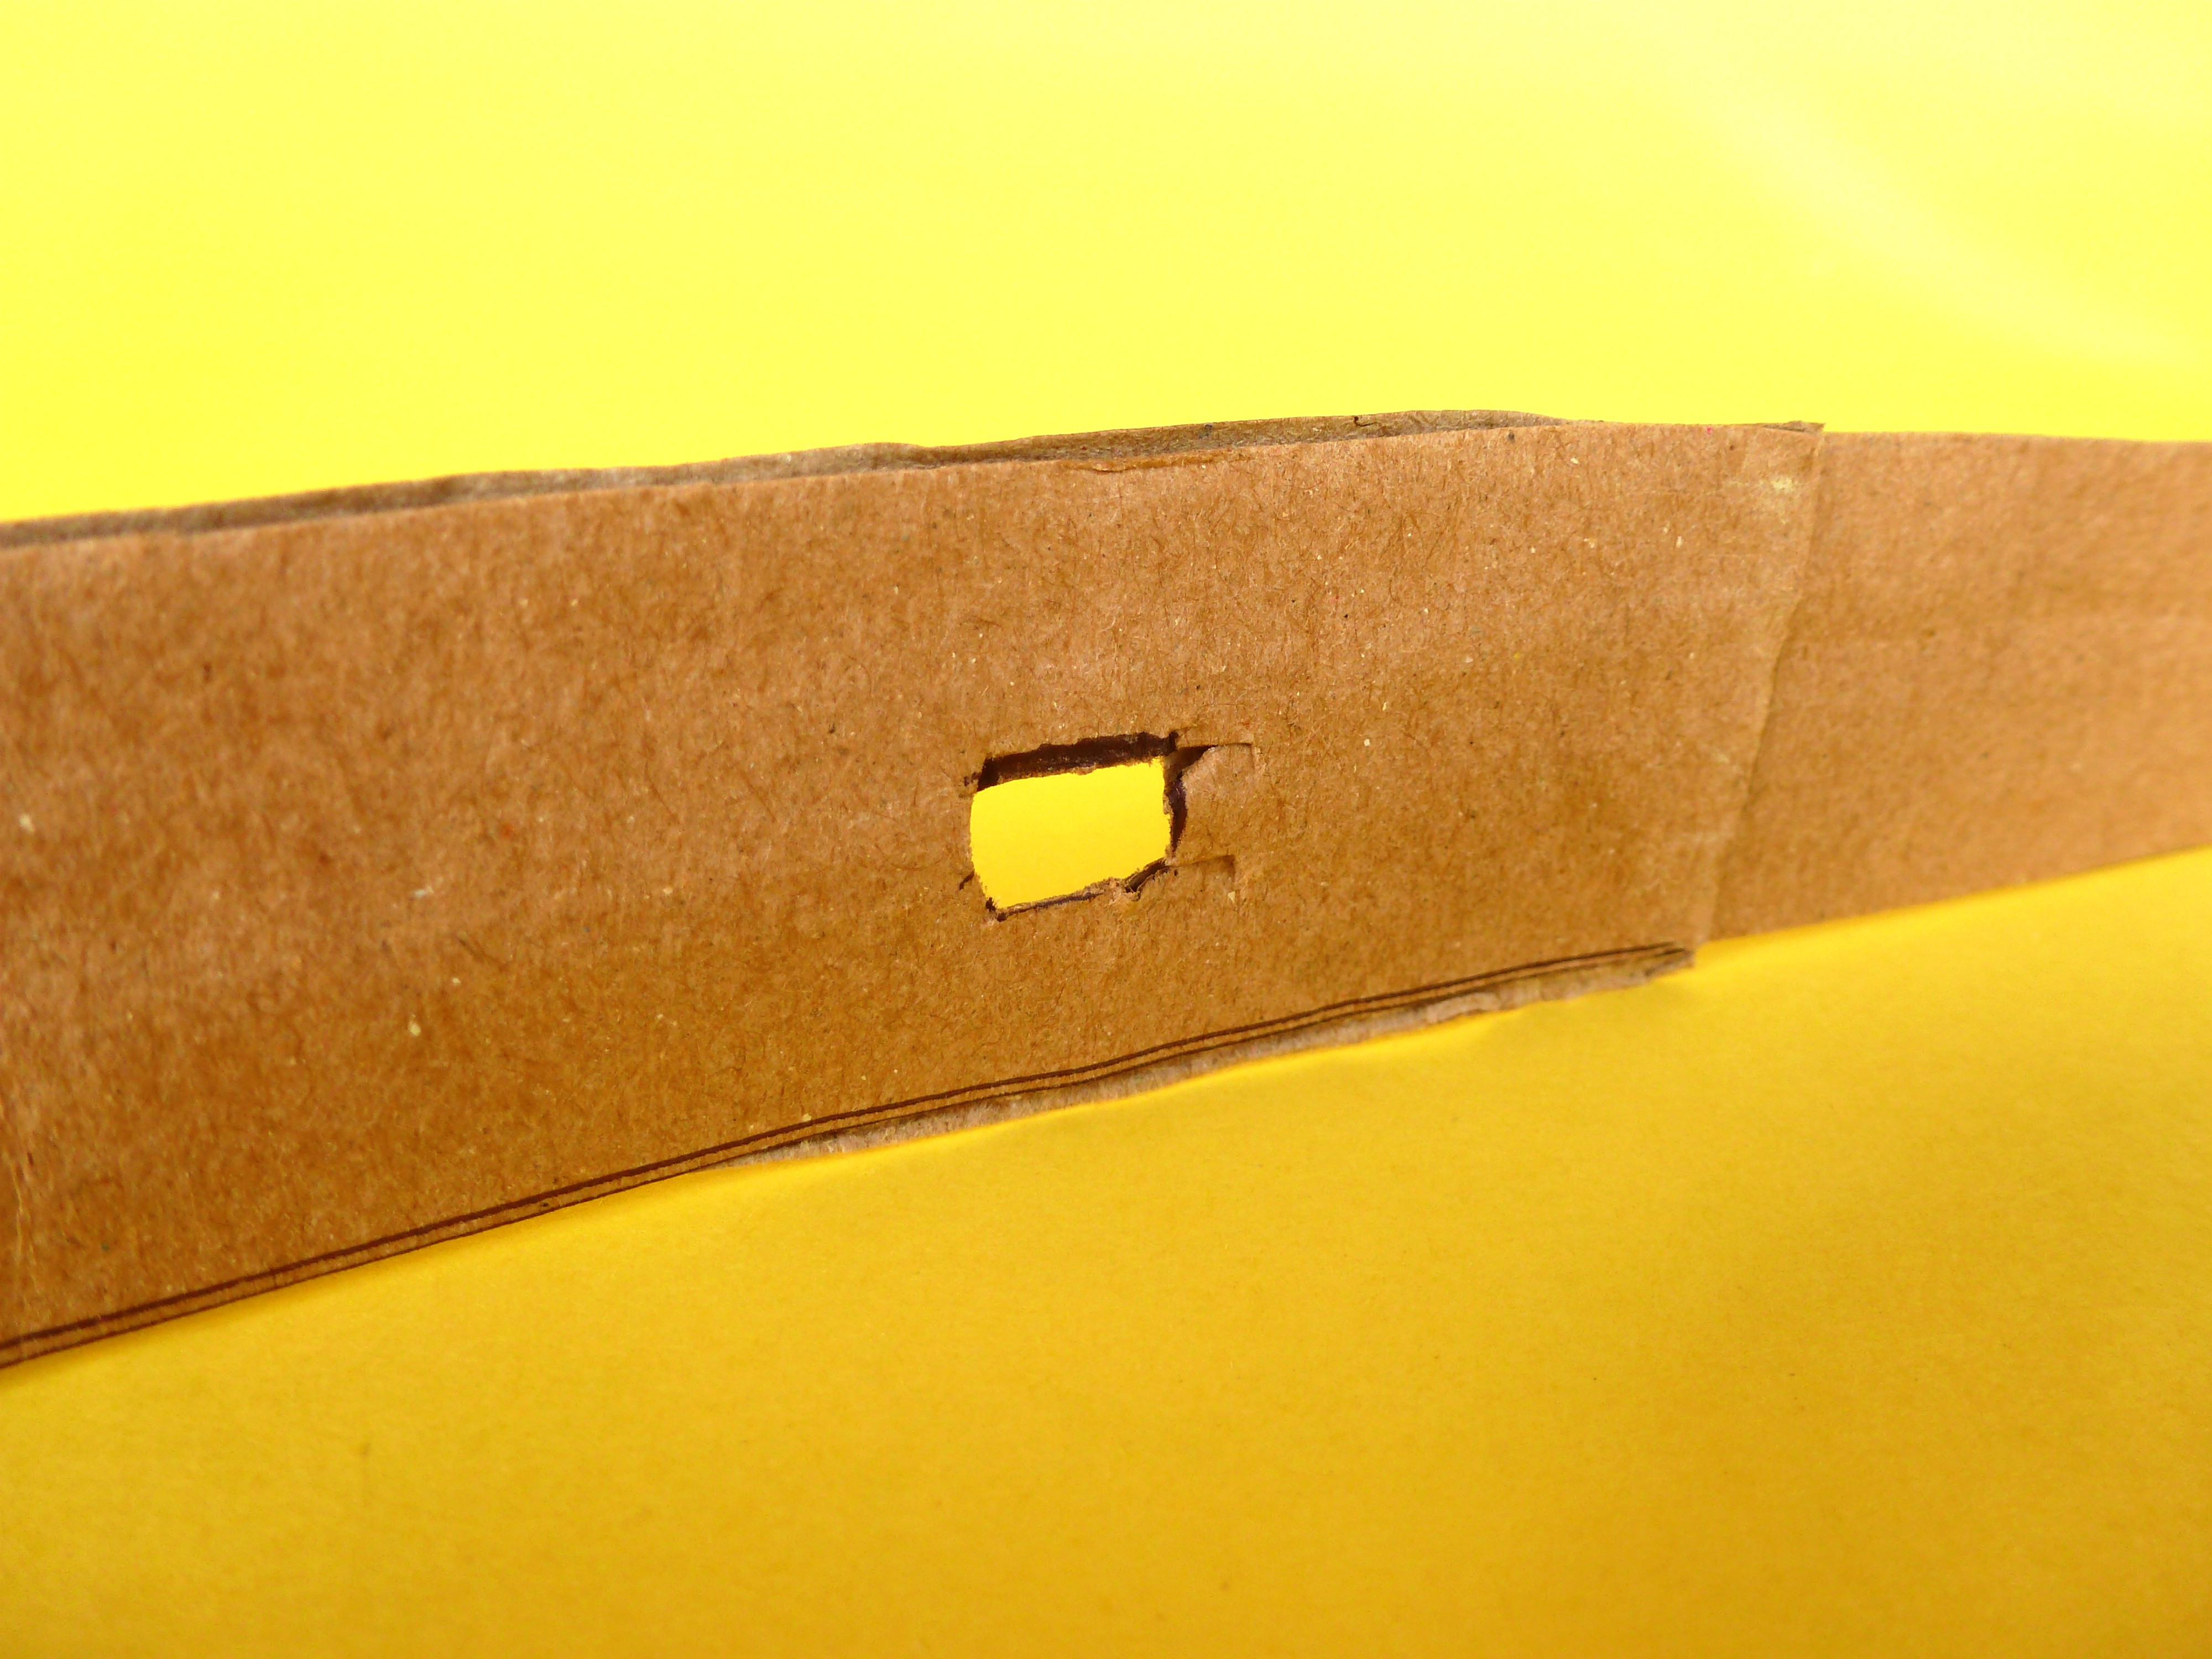
- Make a square cut in the cardboard to let the supply wire to power-up the device.
#Outline #Mark #Stick

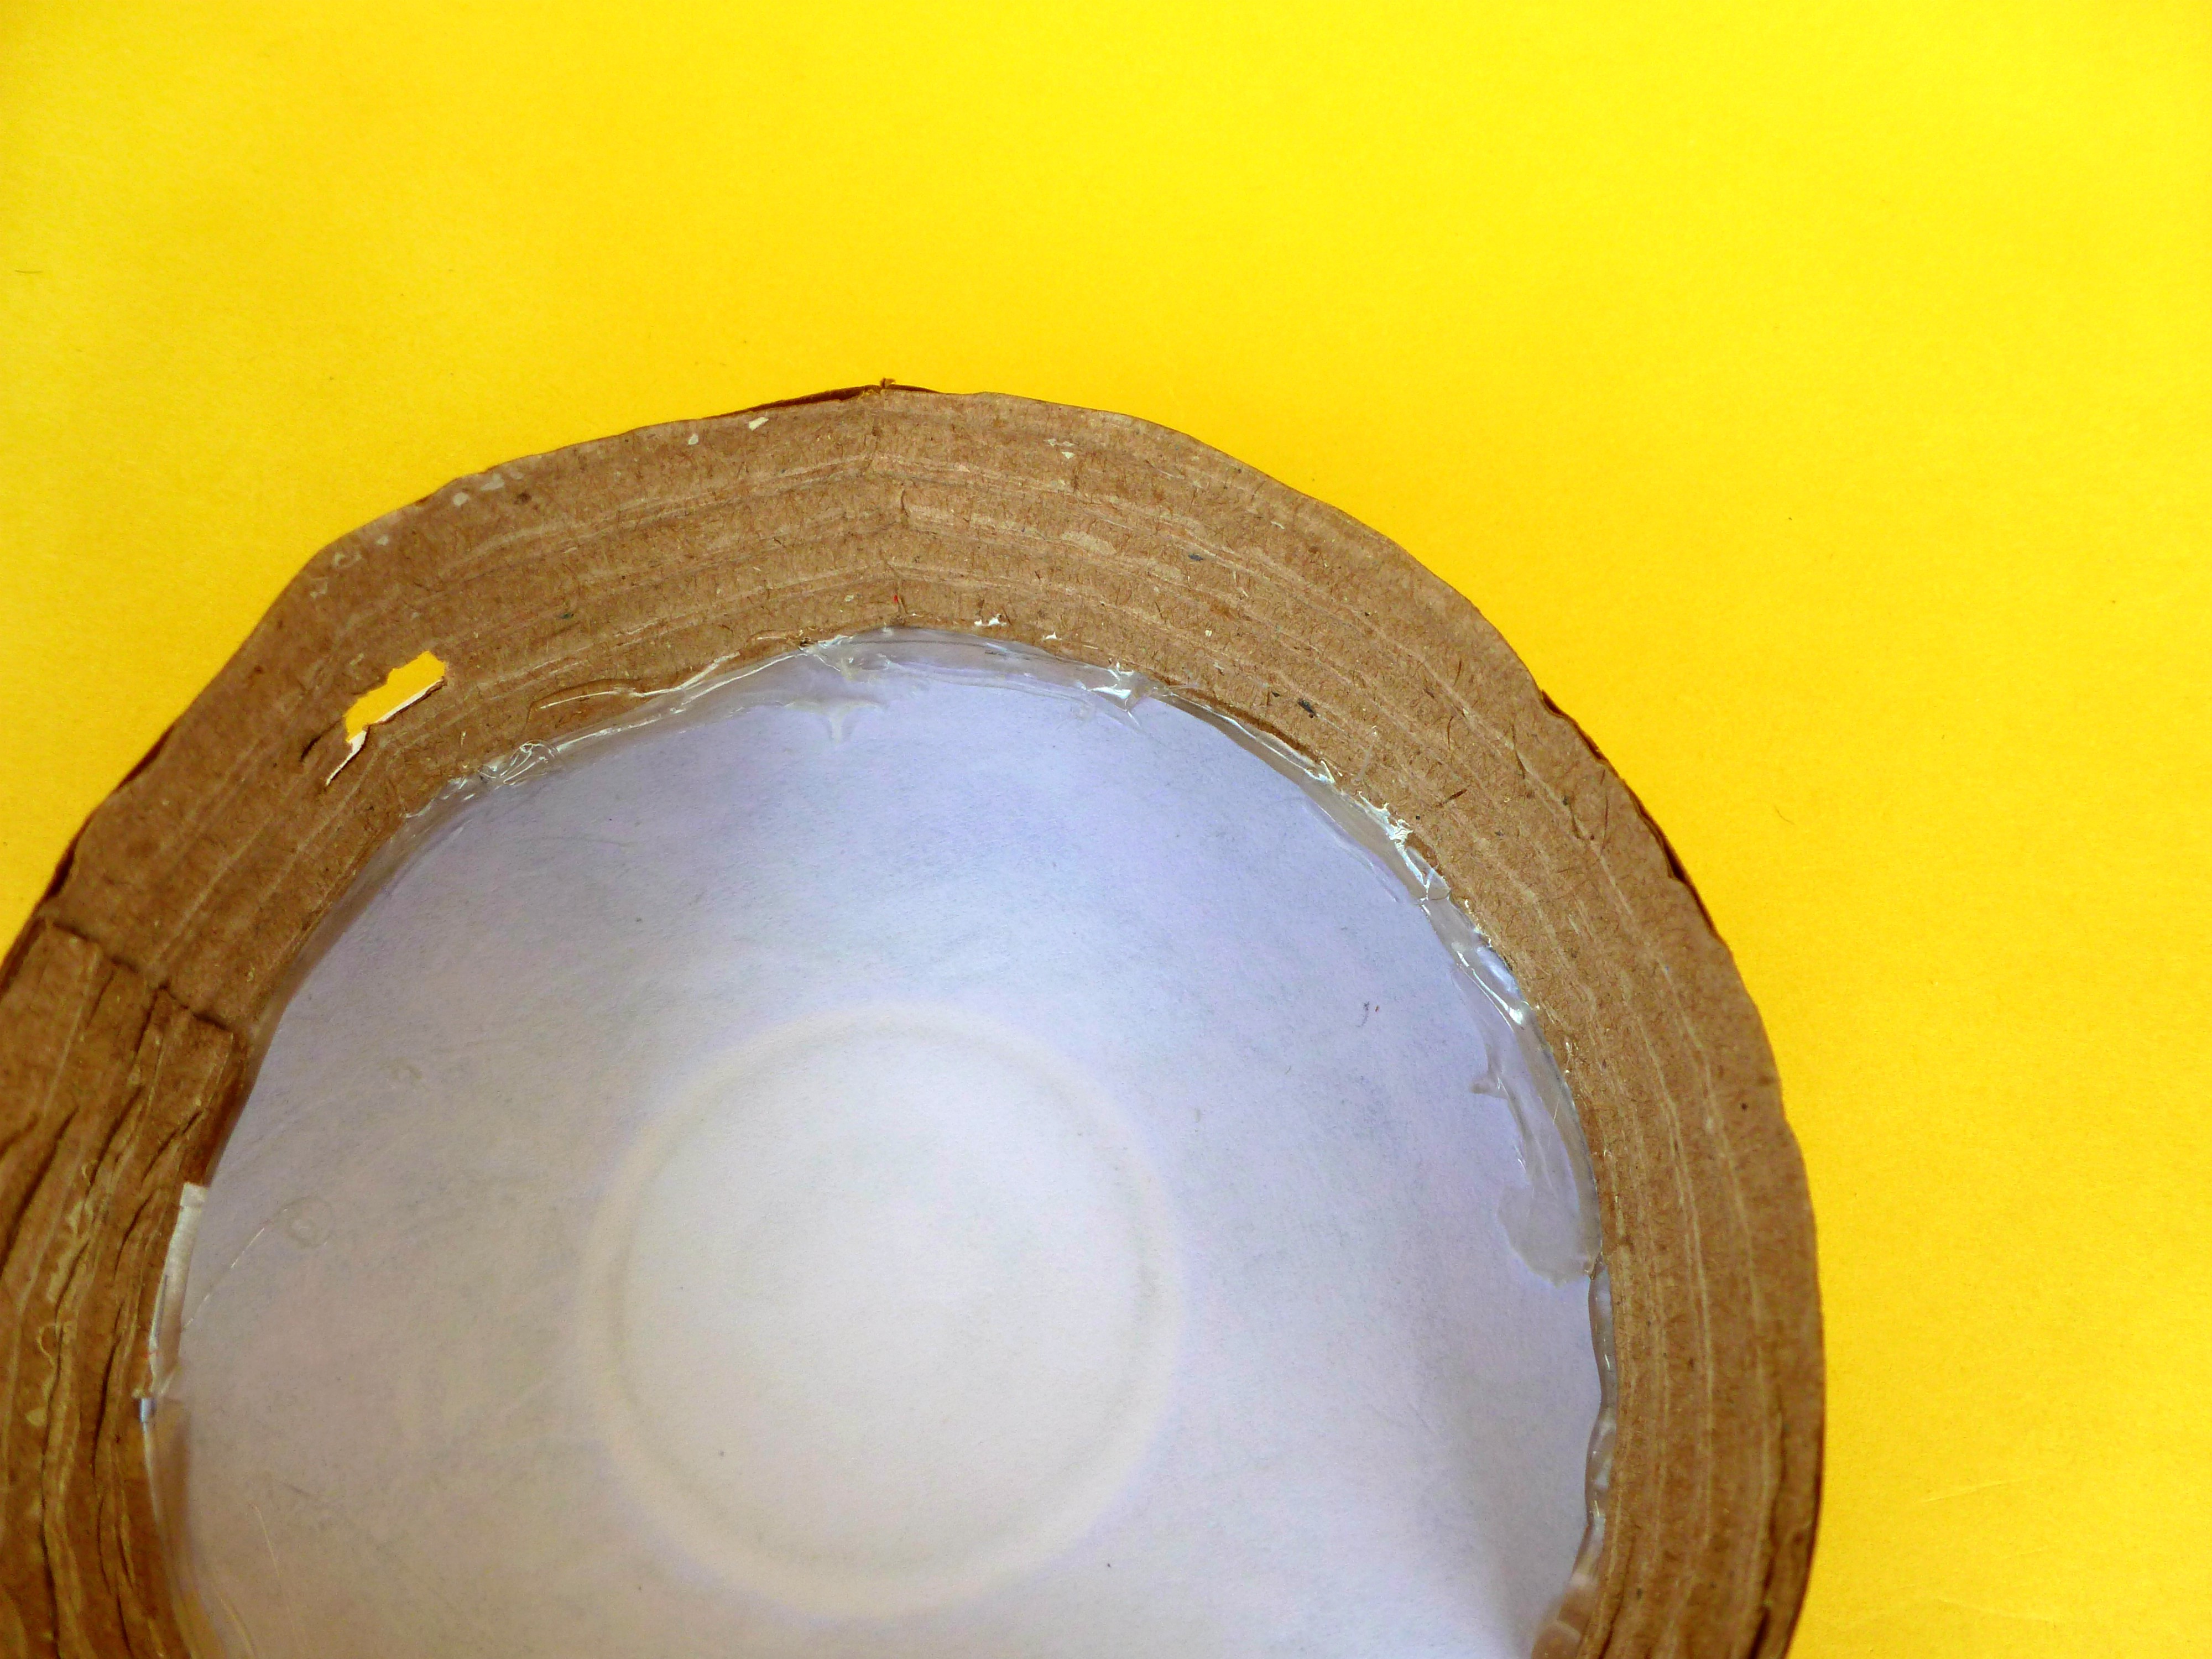
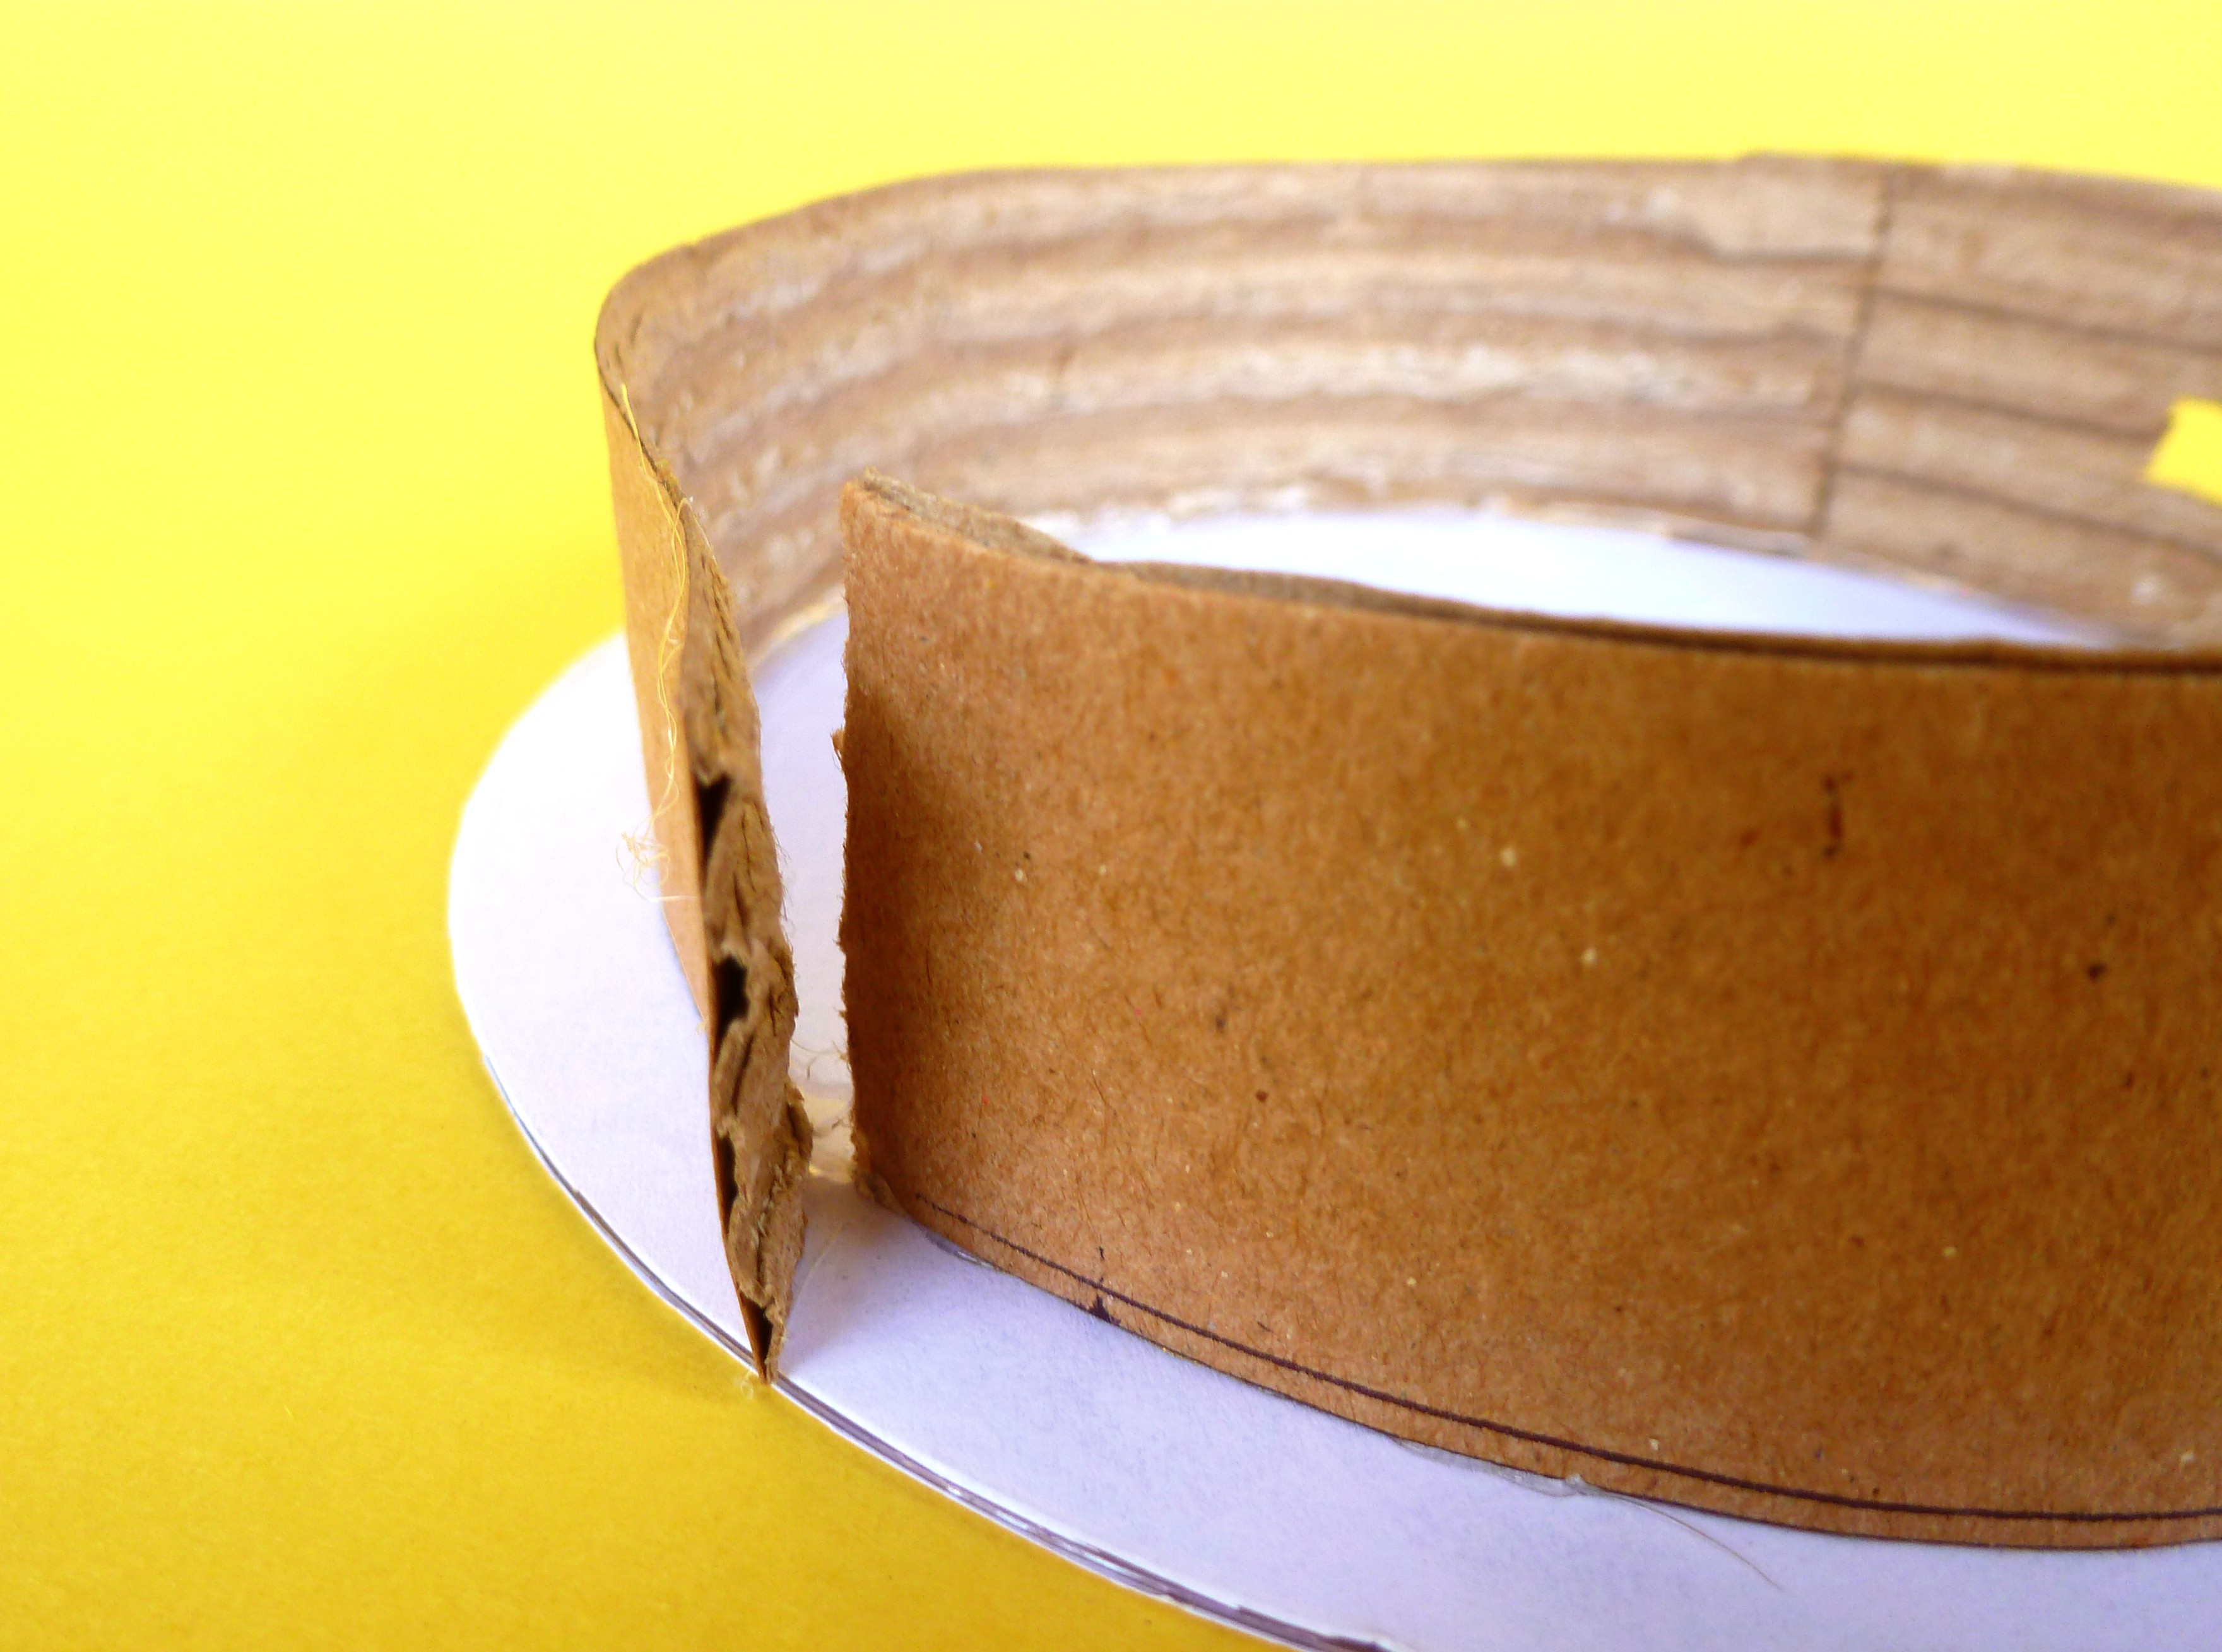
- Using the marker or pencil, outline the lateral body position to be stuck.
- An outline will depend upon the circuit size.
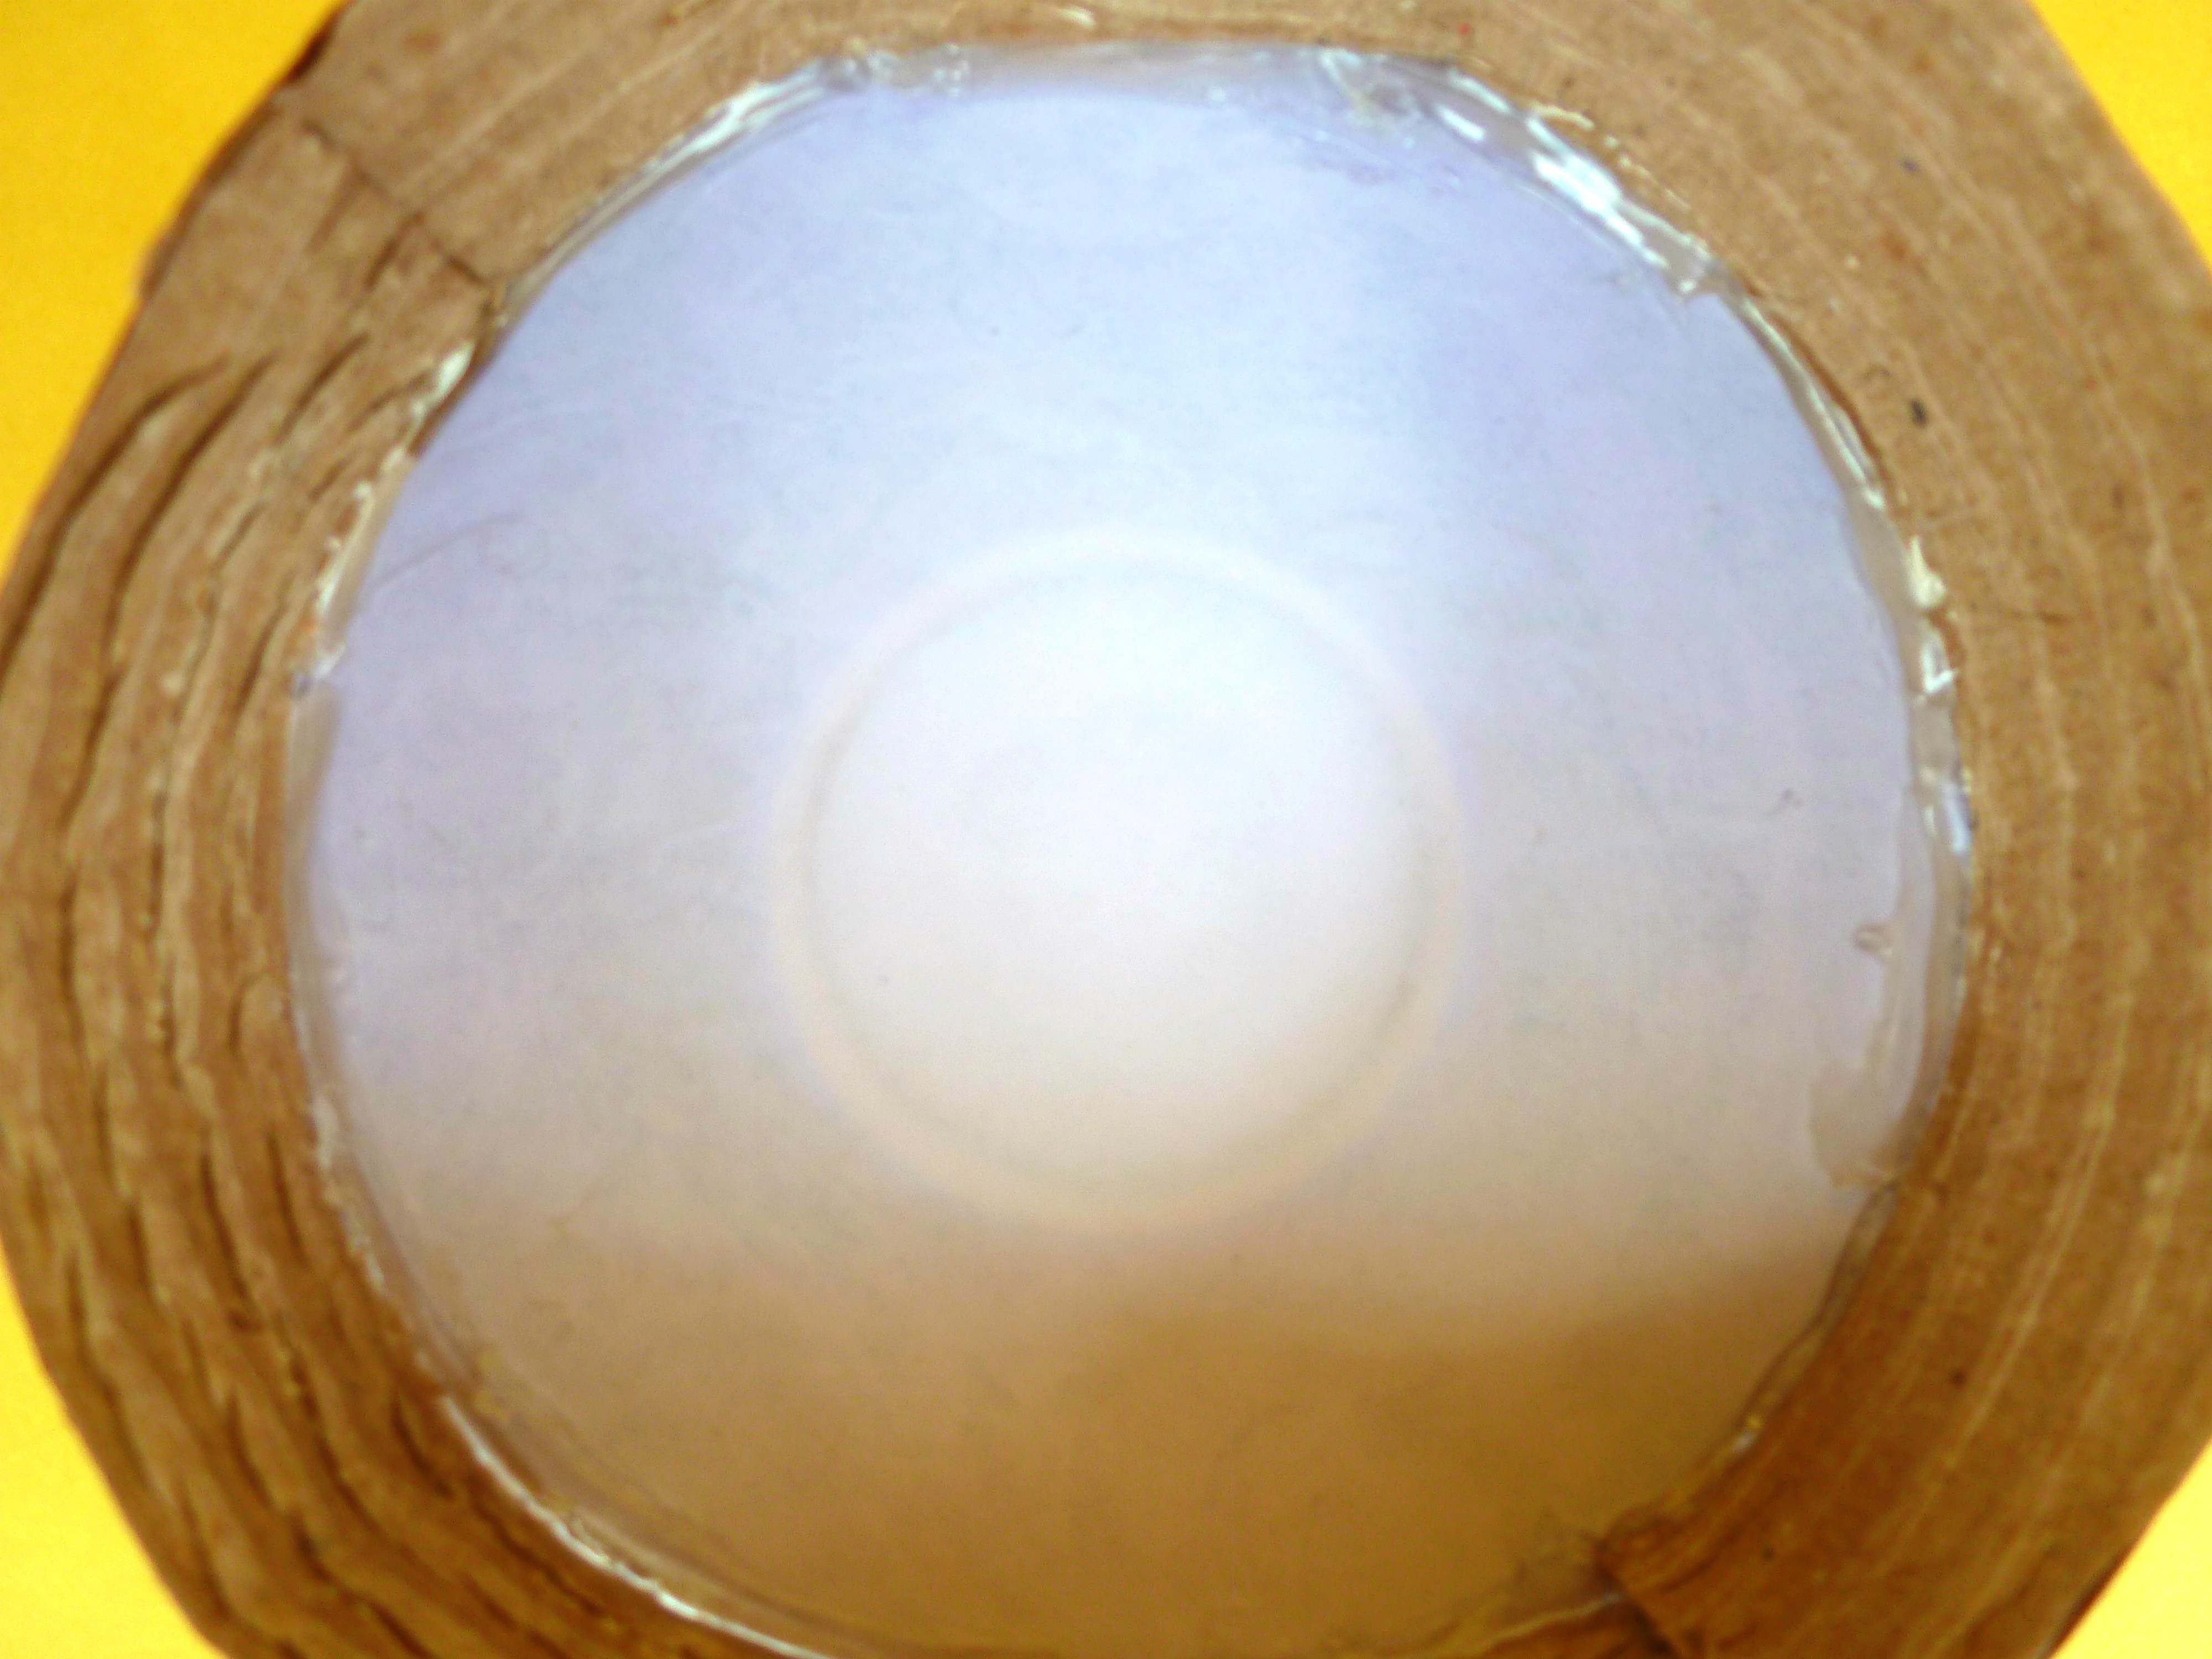
- Using glue-gun stick the cardboard over the base disc.
- Finally, glue the ends firmly.
Assemble the Circuit
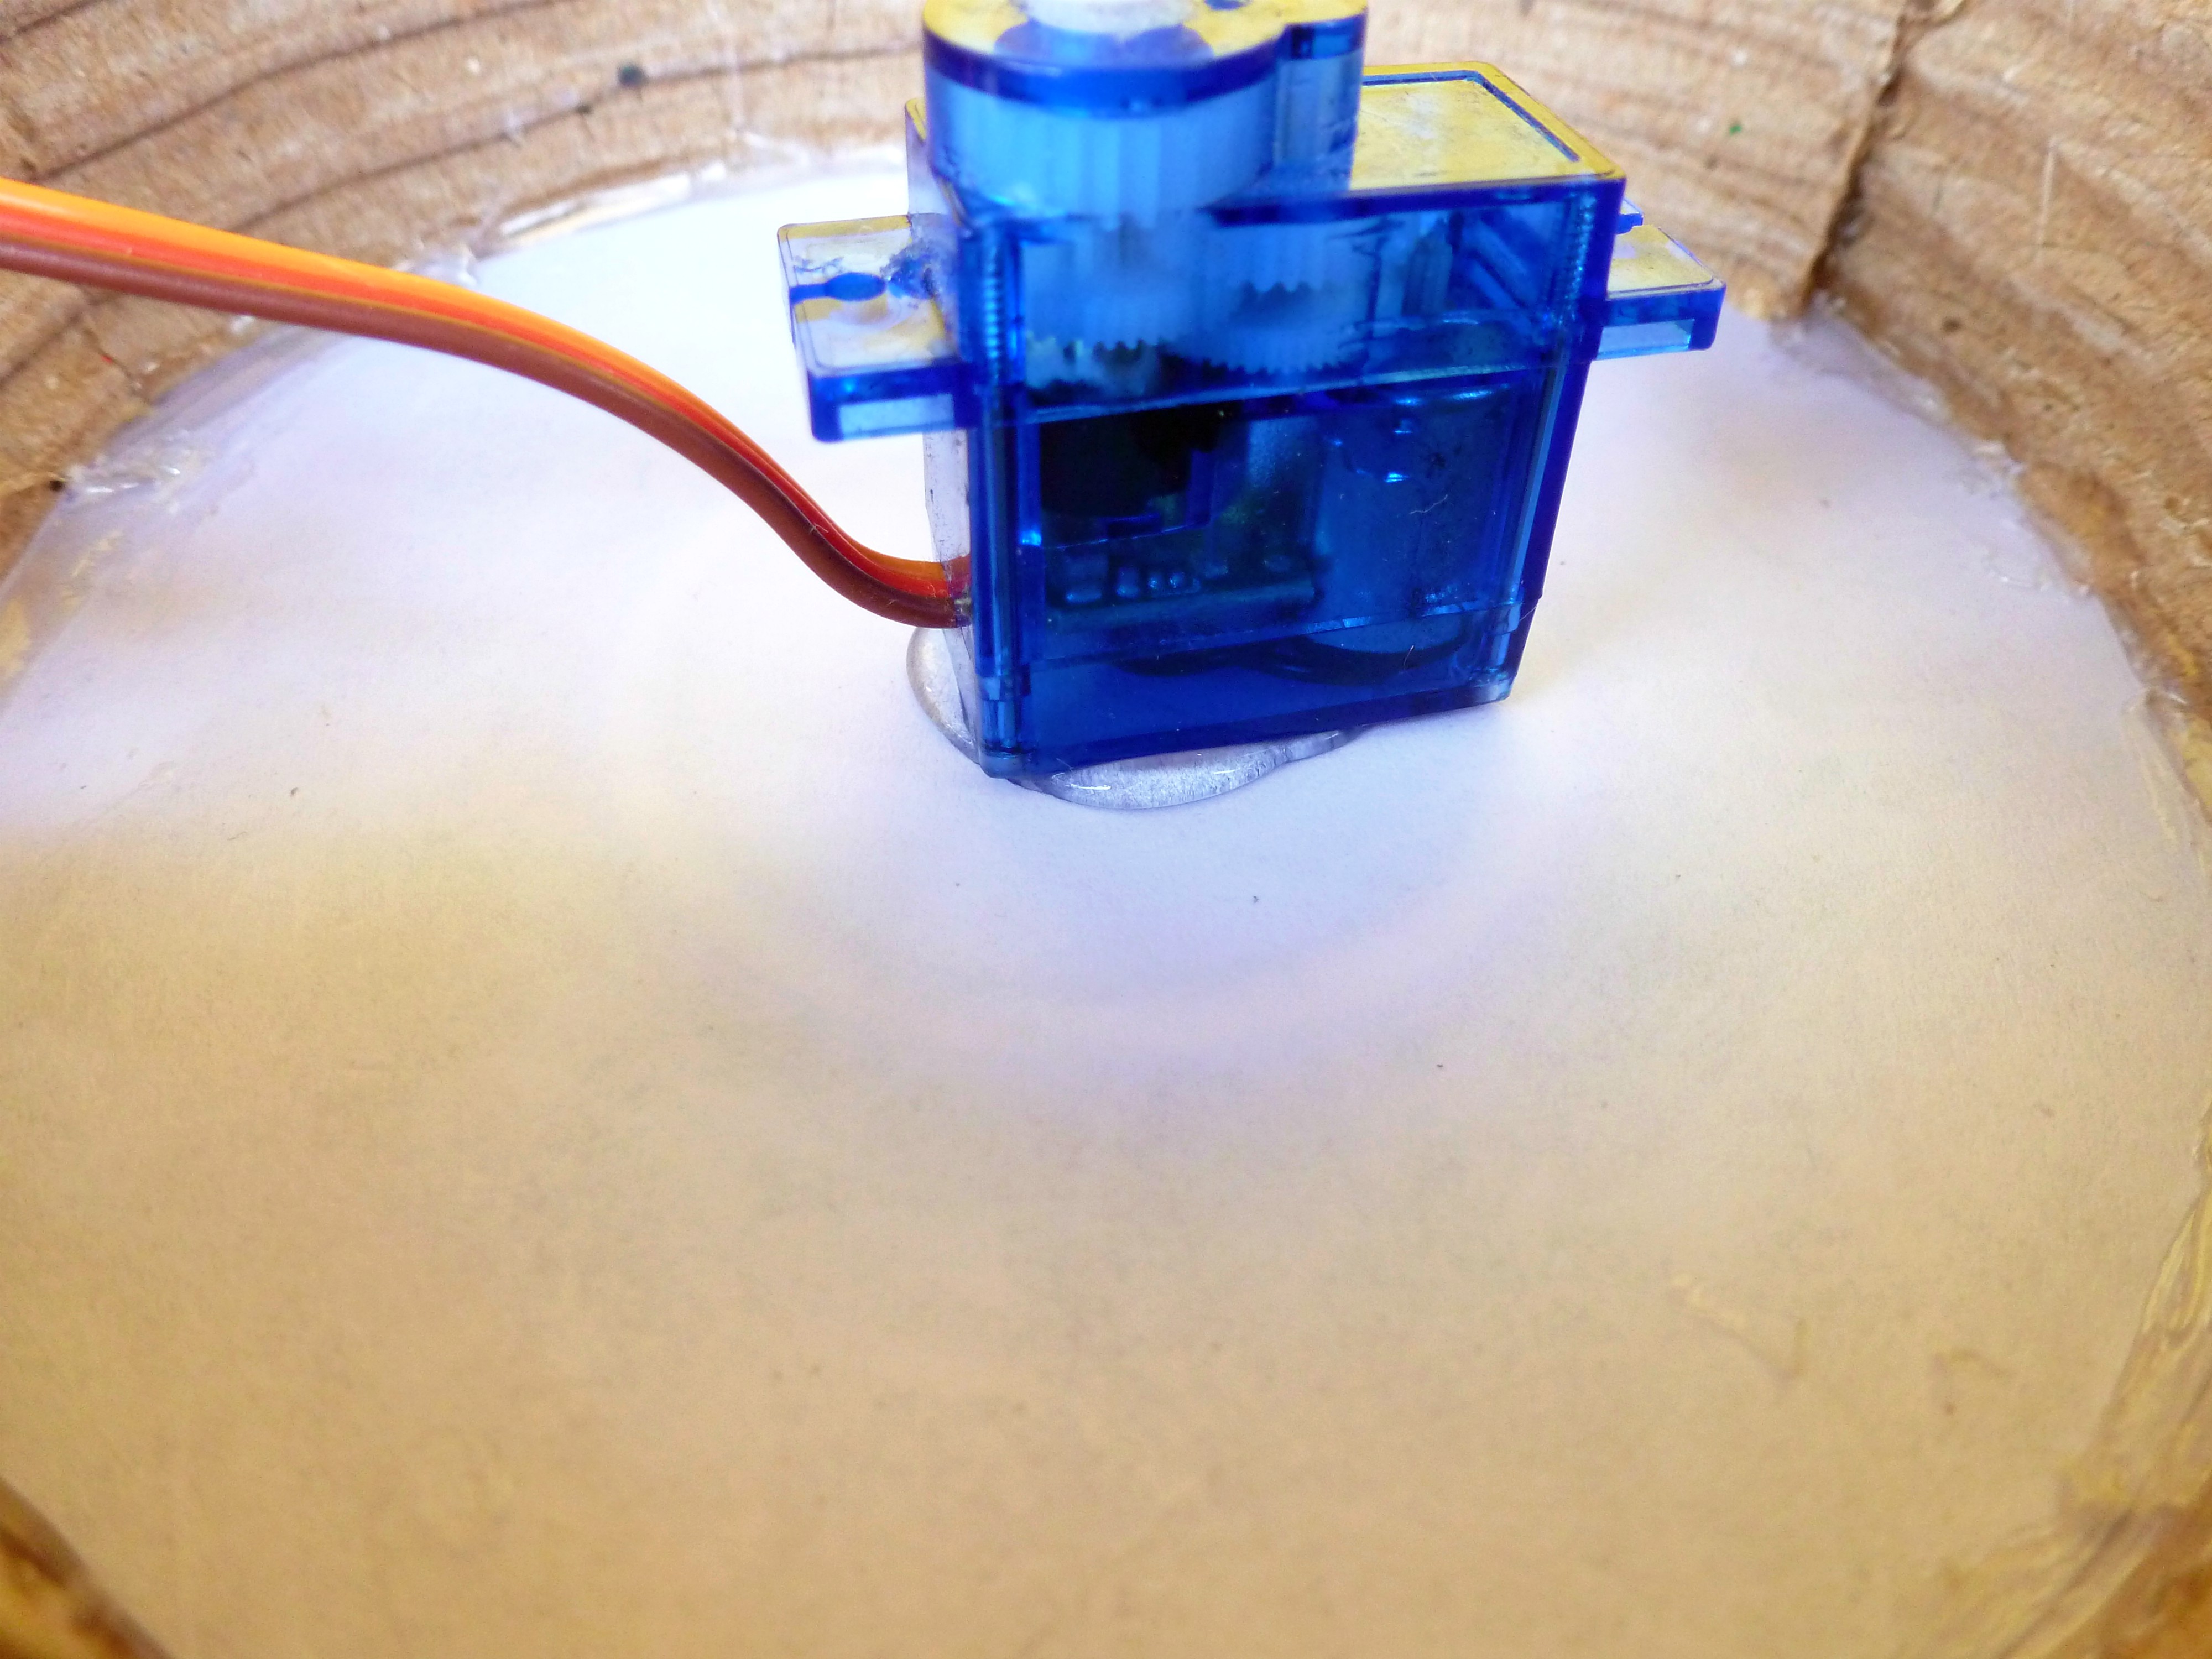

- Glue the servo and stick it to the center of the base disc, so it's exactly balanced to rotate the rotating disc.
- Place the NodeMCU board inserted on to a breadboard.
Circuit Connections
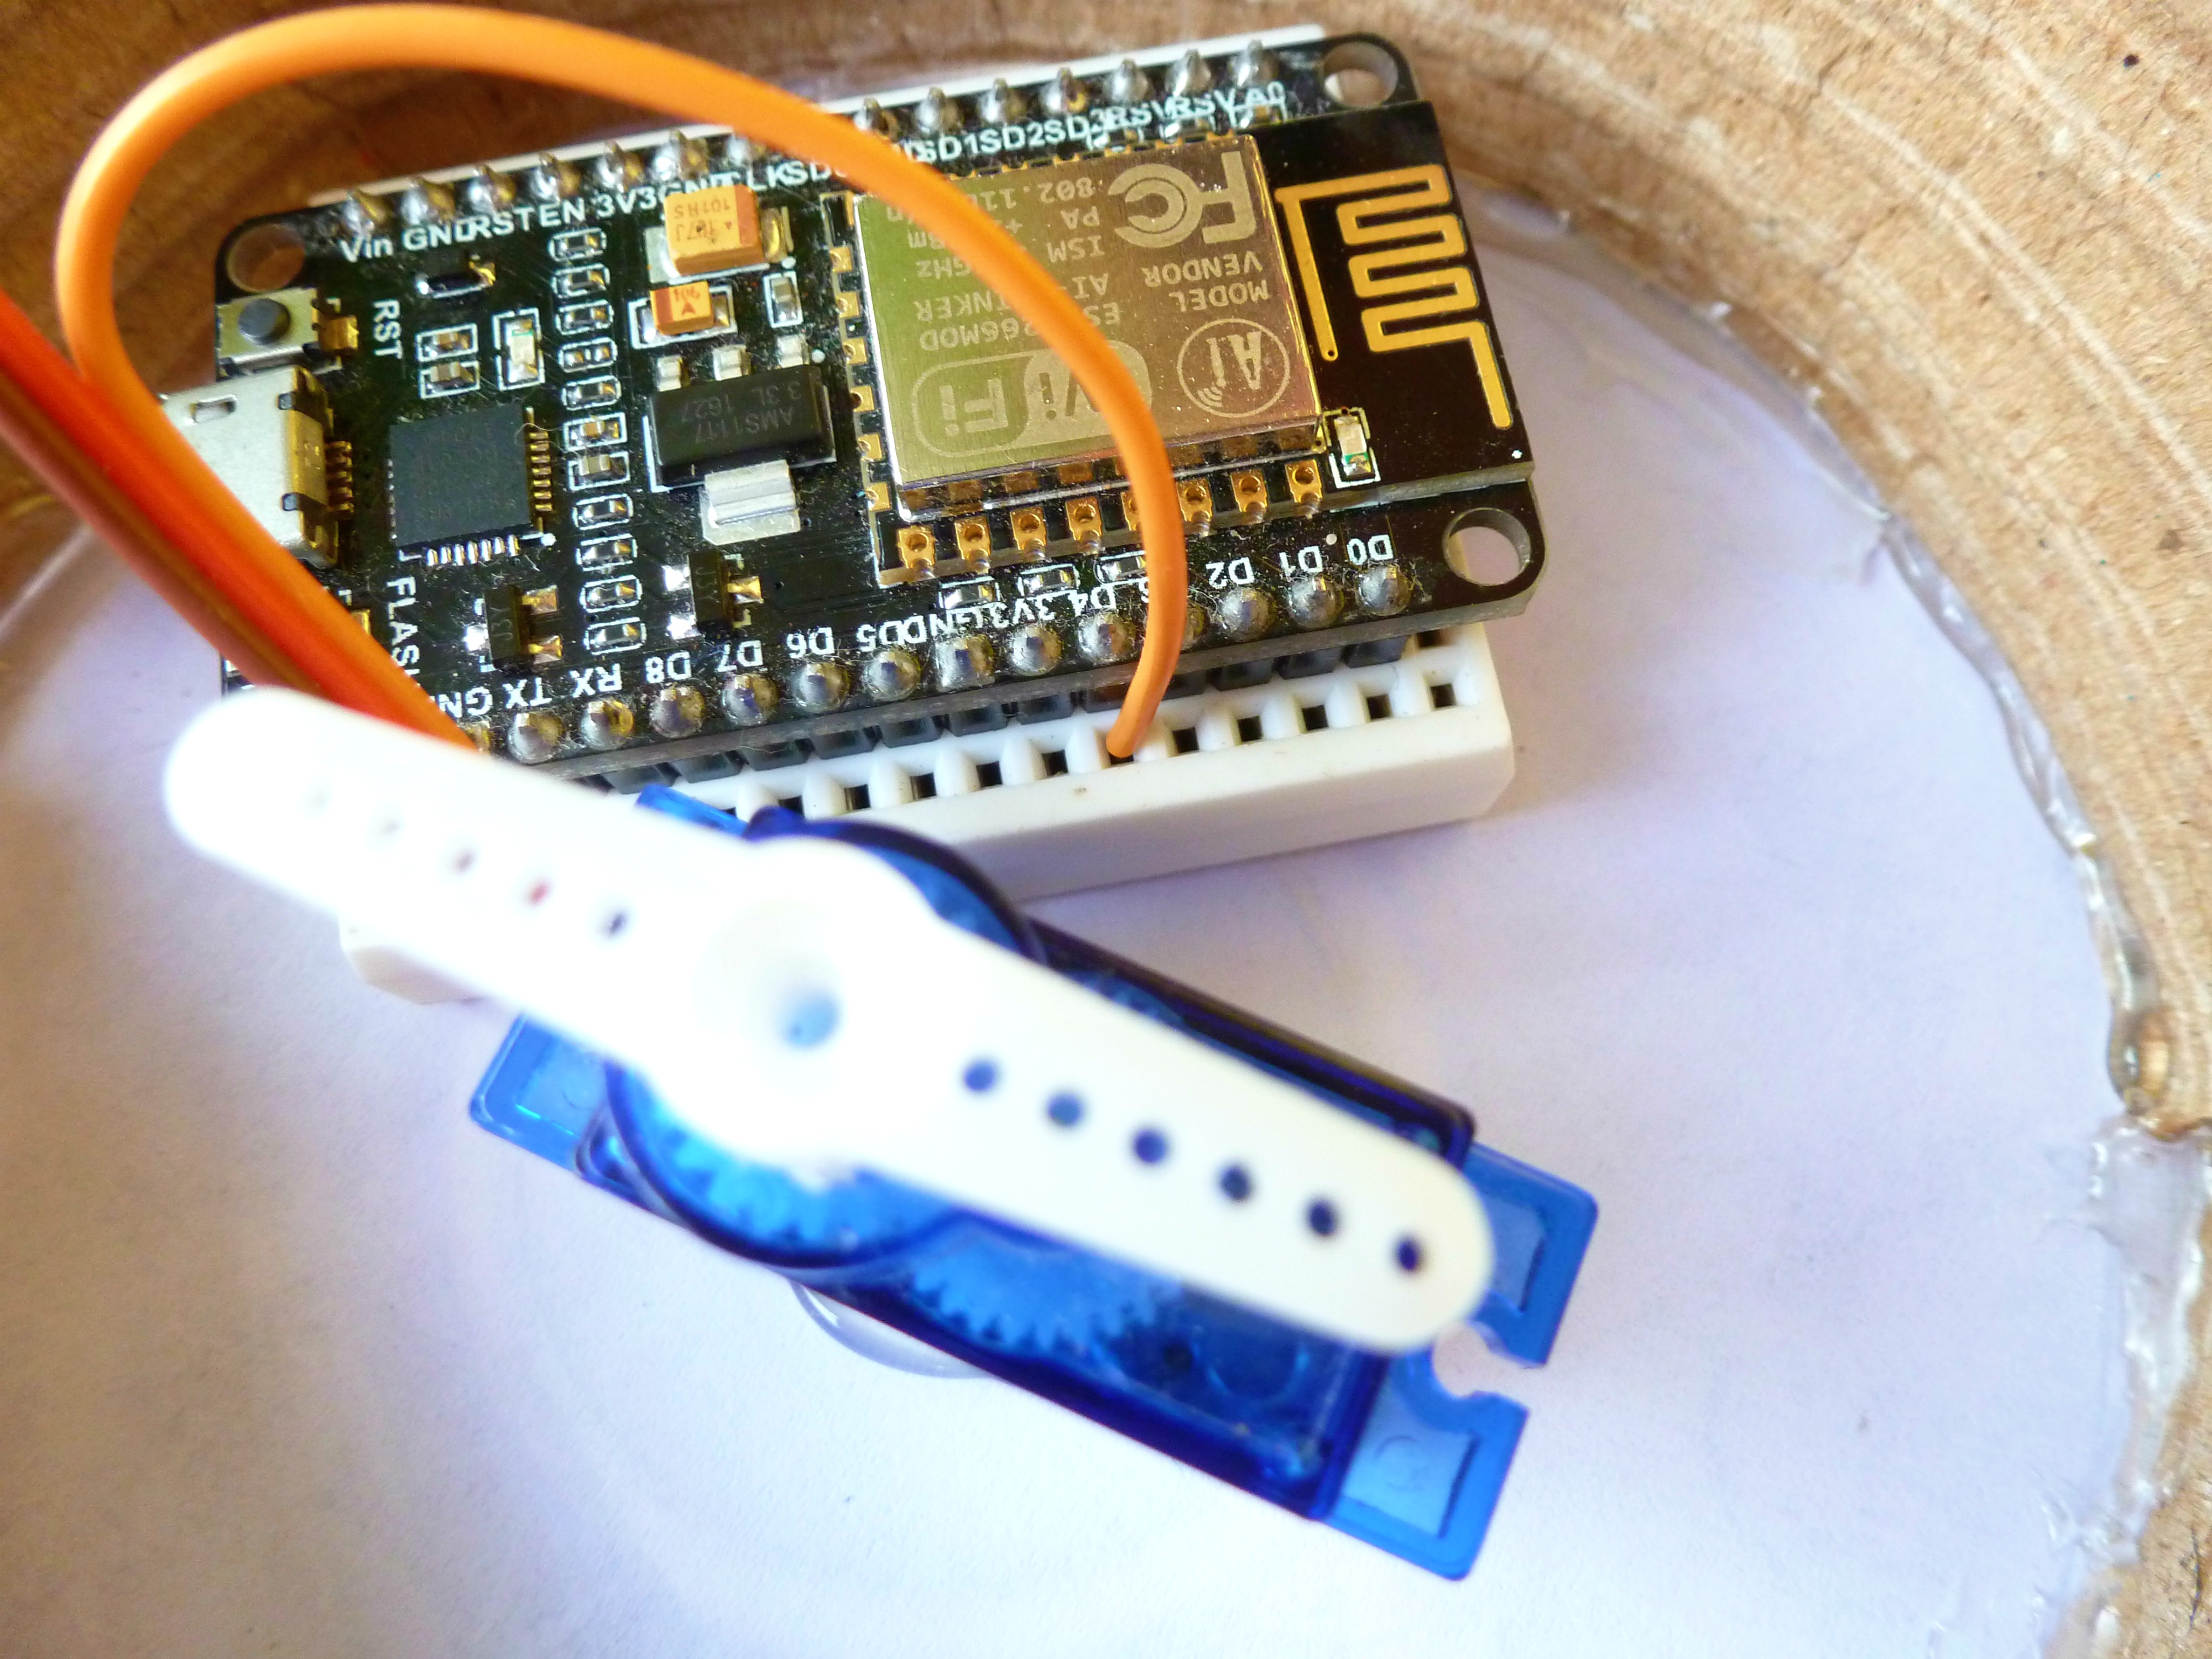
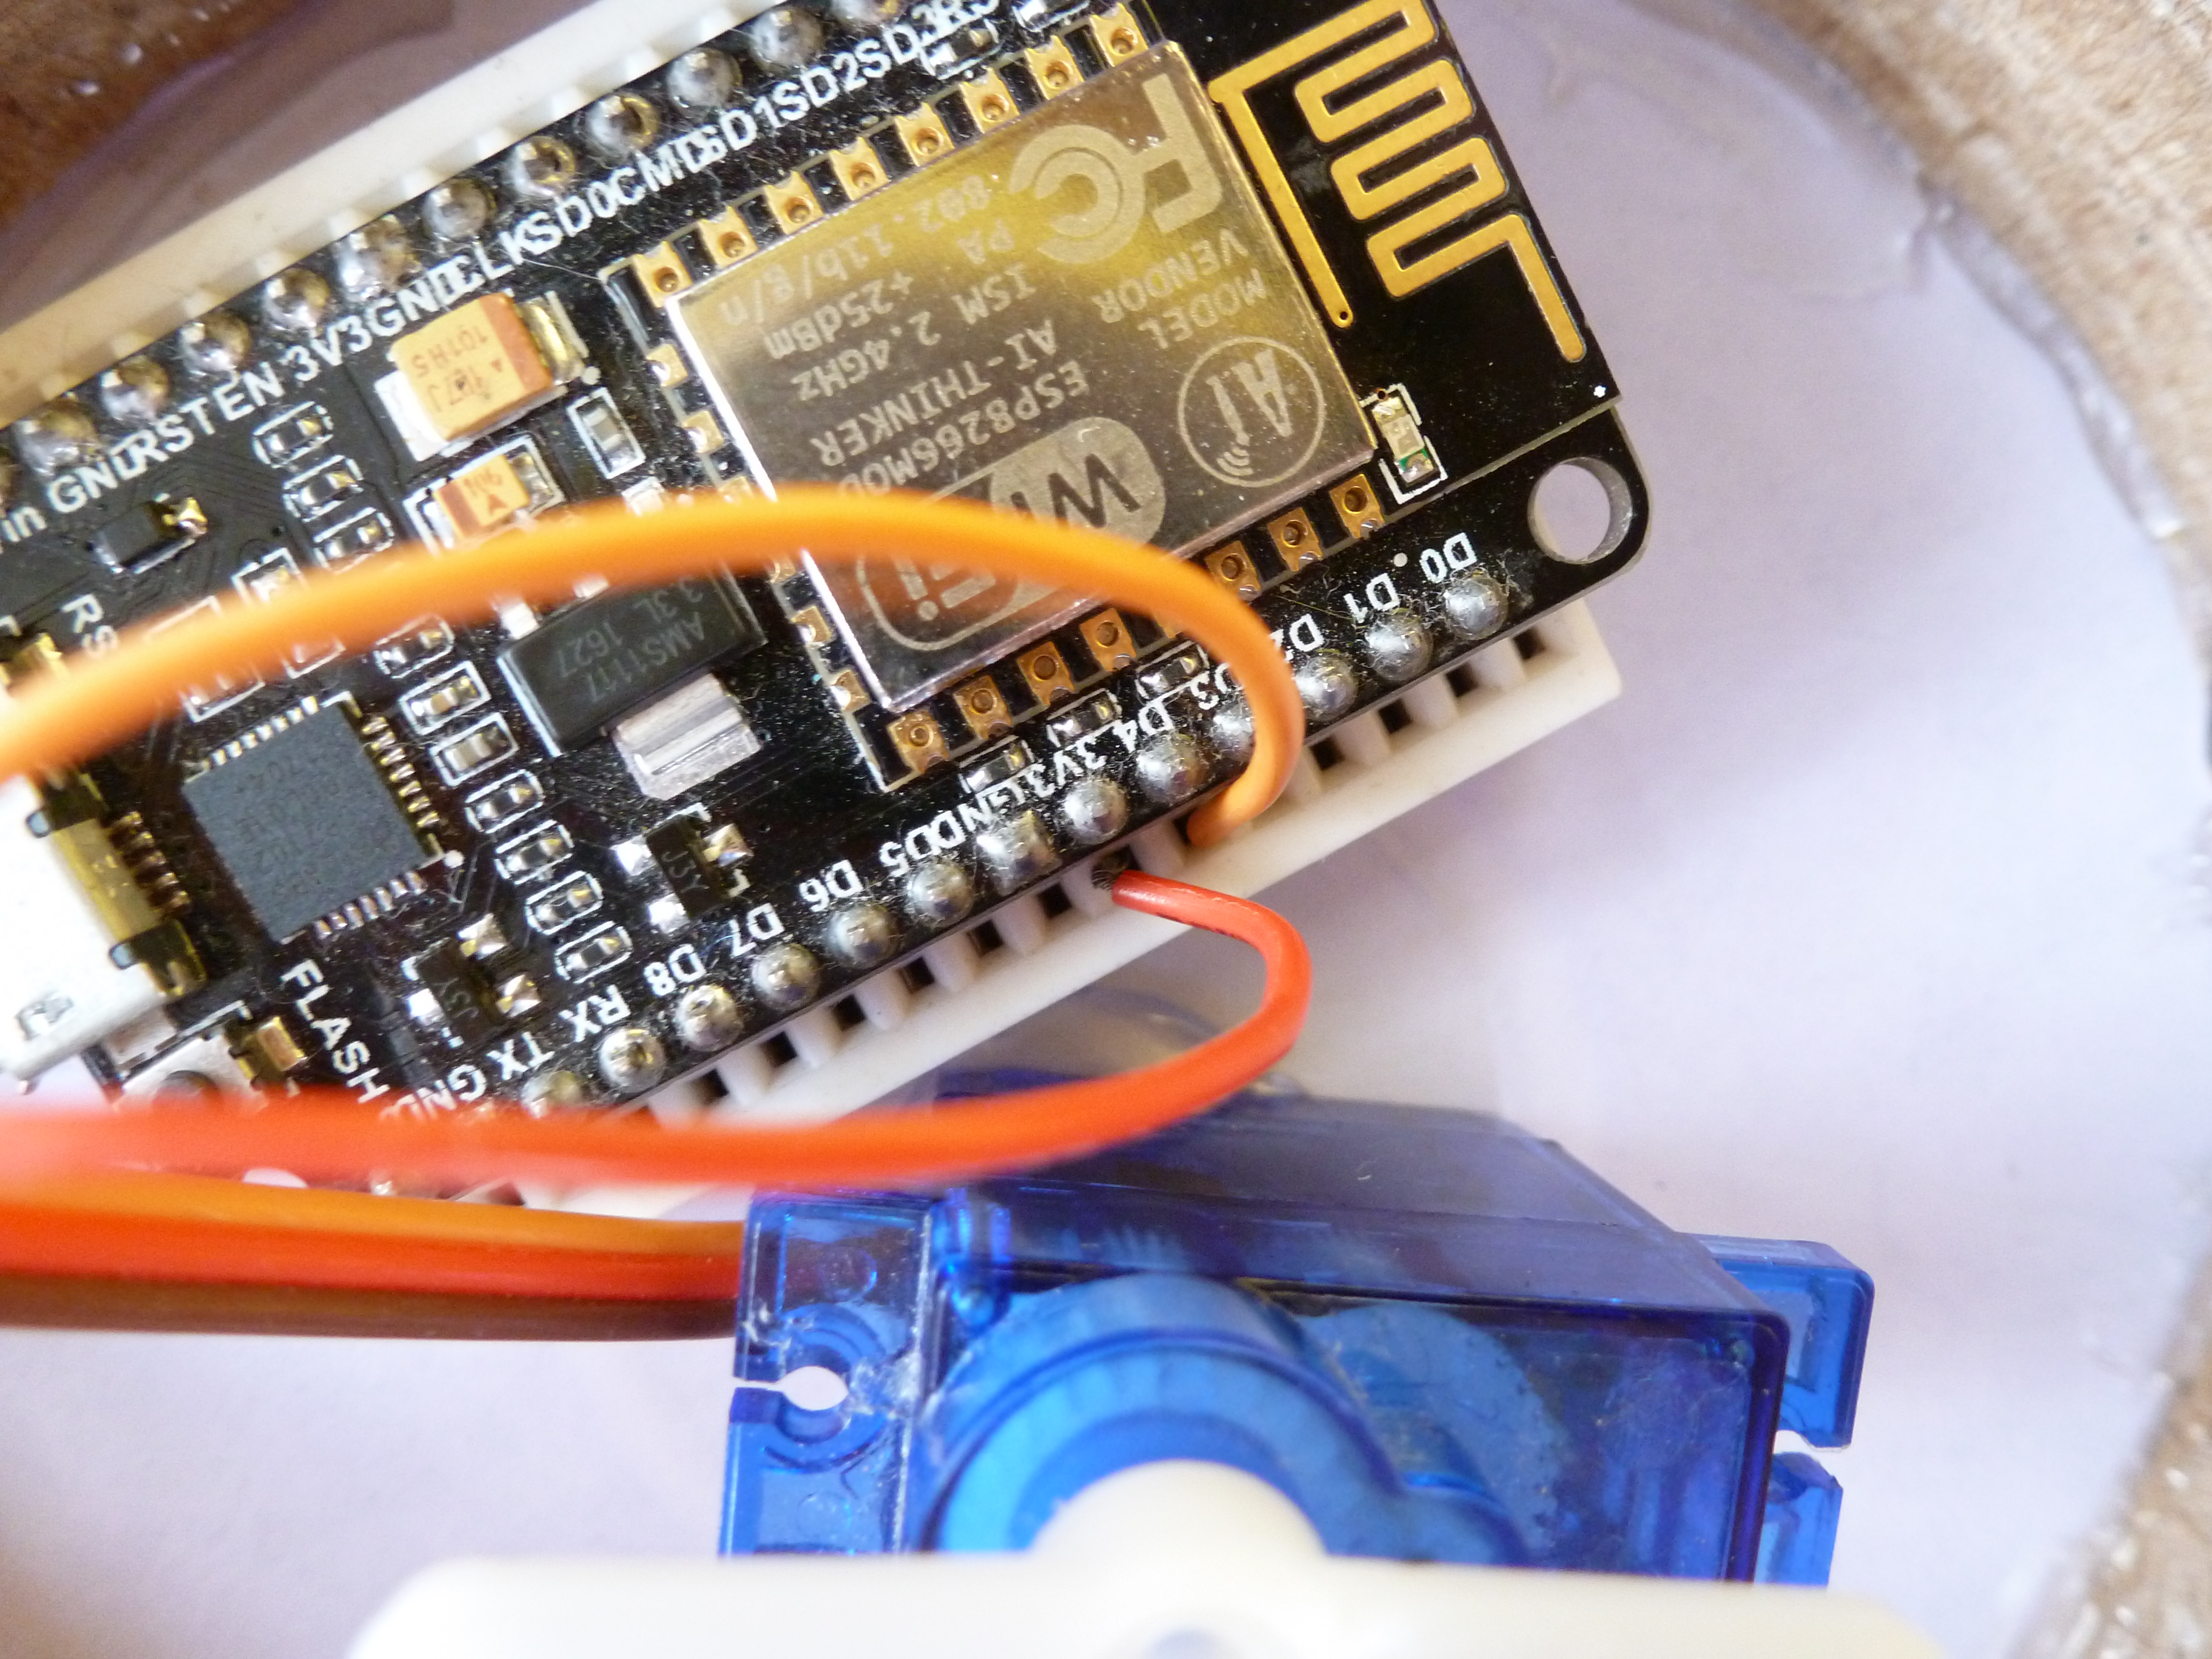
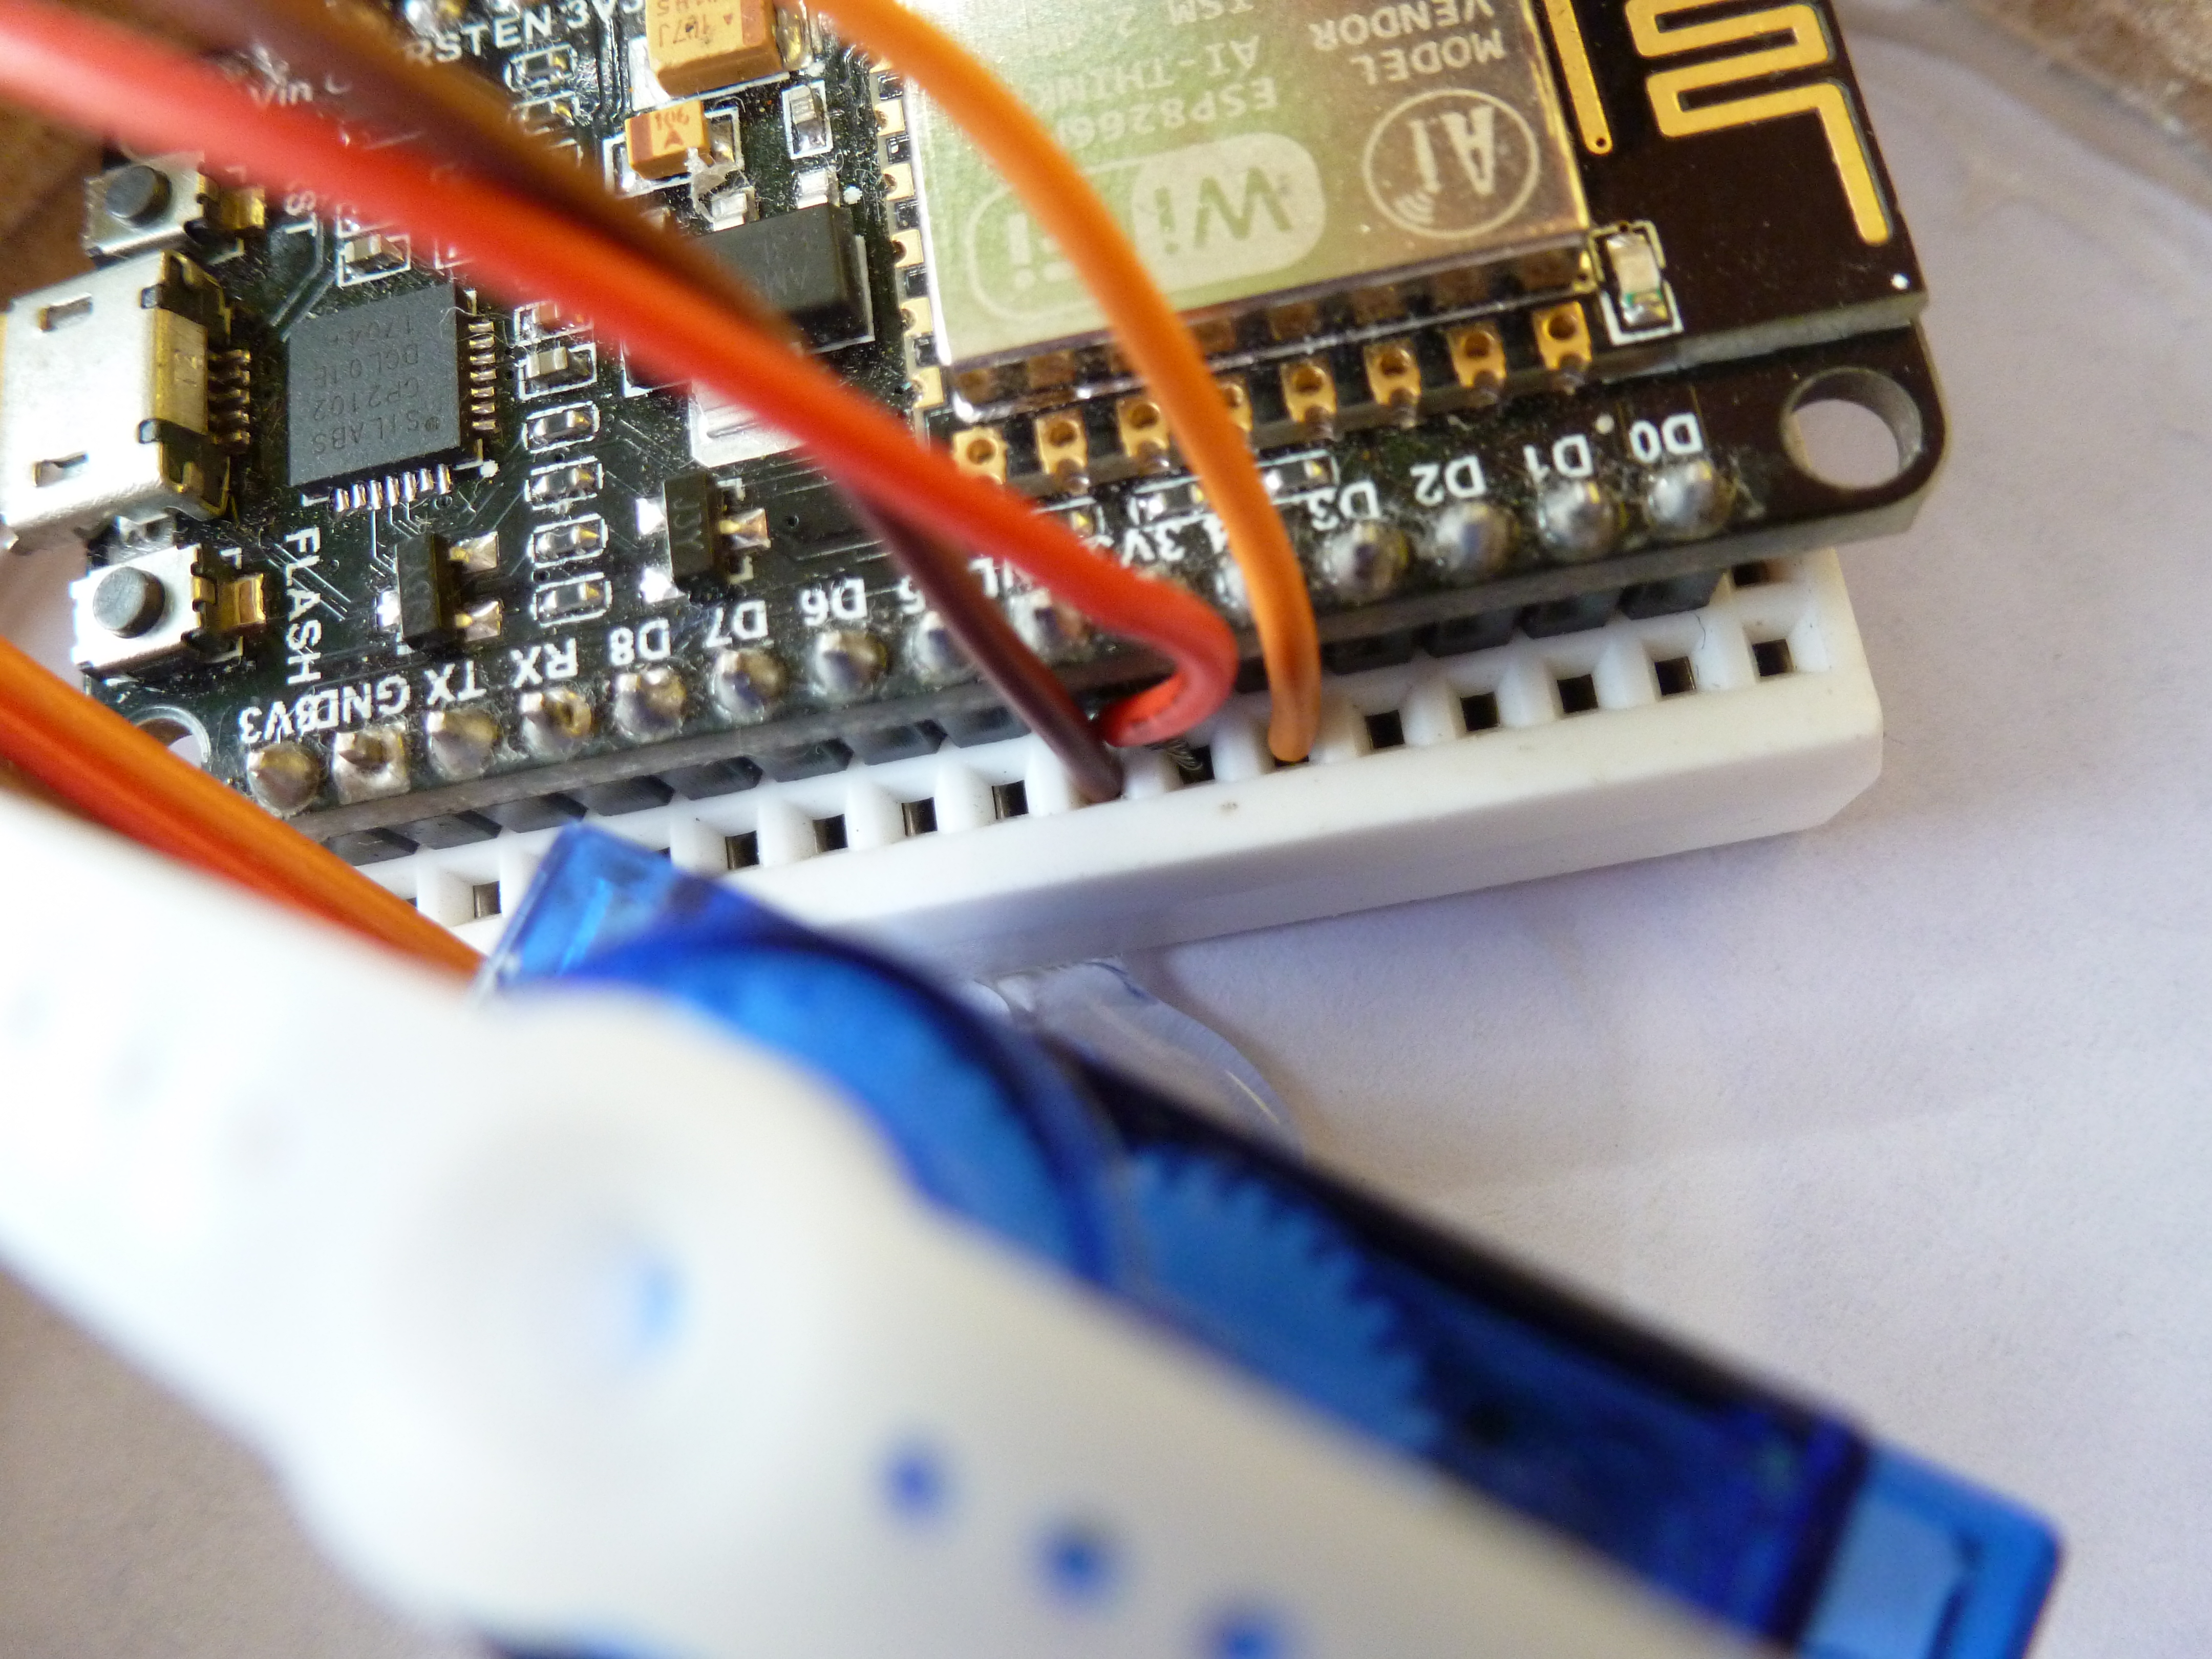

If your servo has Orange - Red - Brown wires, then connect it as follows
- Orange wire connects to Digital pin D4.
- Brown wire connects to GND pin.
- Red wire connects to 3V3 pin.
To know more about servo connections you can check my Instructable on How to Interface Servo Motor with NodeMCU.
#Coding Time
#include <servo.h>
Servo servo;
void setup() {
  servo.attach(2);
  int pos = 0;
  delay(2000);}
void loop() {
  for (int pos = 0; pos <= 180; pos++){
    servo.write(pos);
    delay(50);
}for (int pos = 180; pos >= 0; pos--){
    servo.write(pos);
    delay(50);
  }}
Downloads
Final Setup
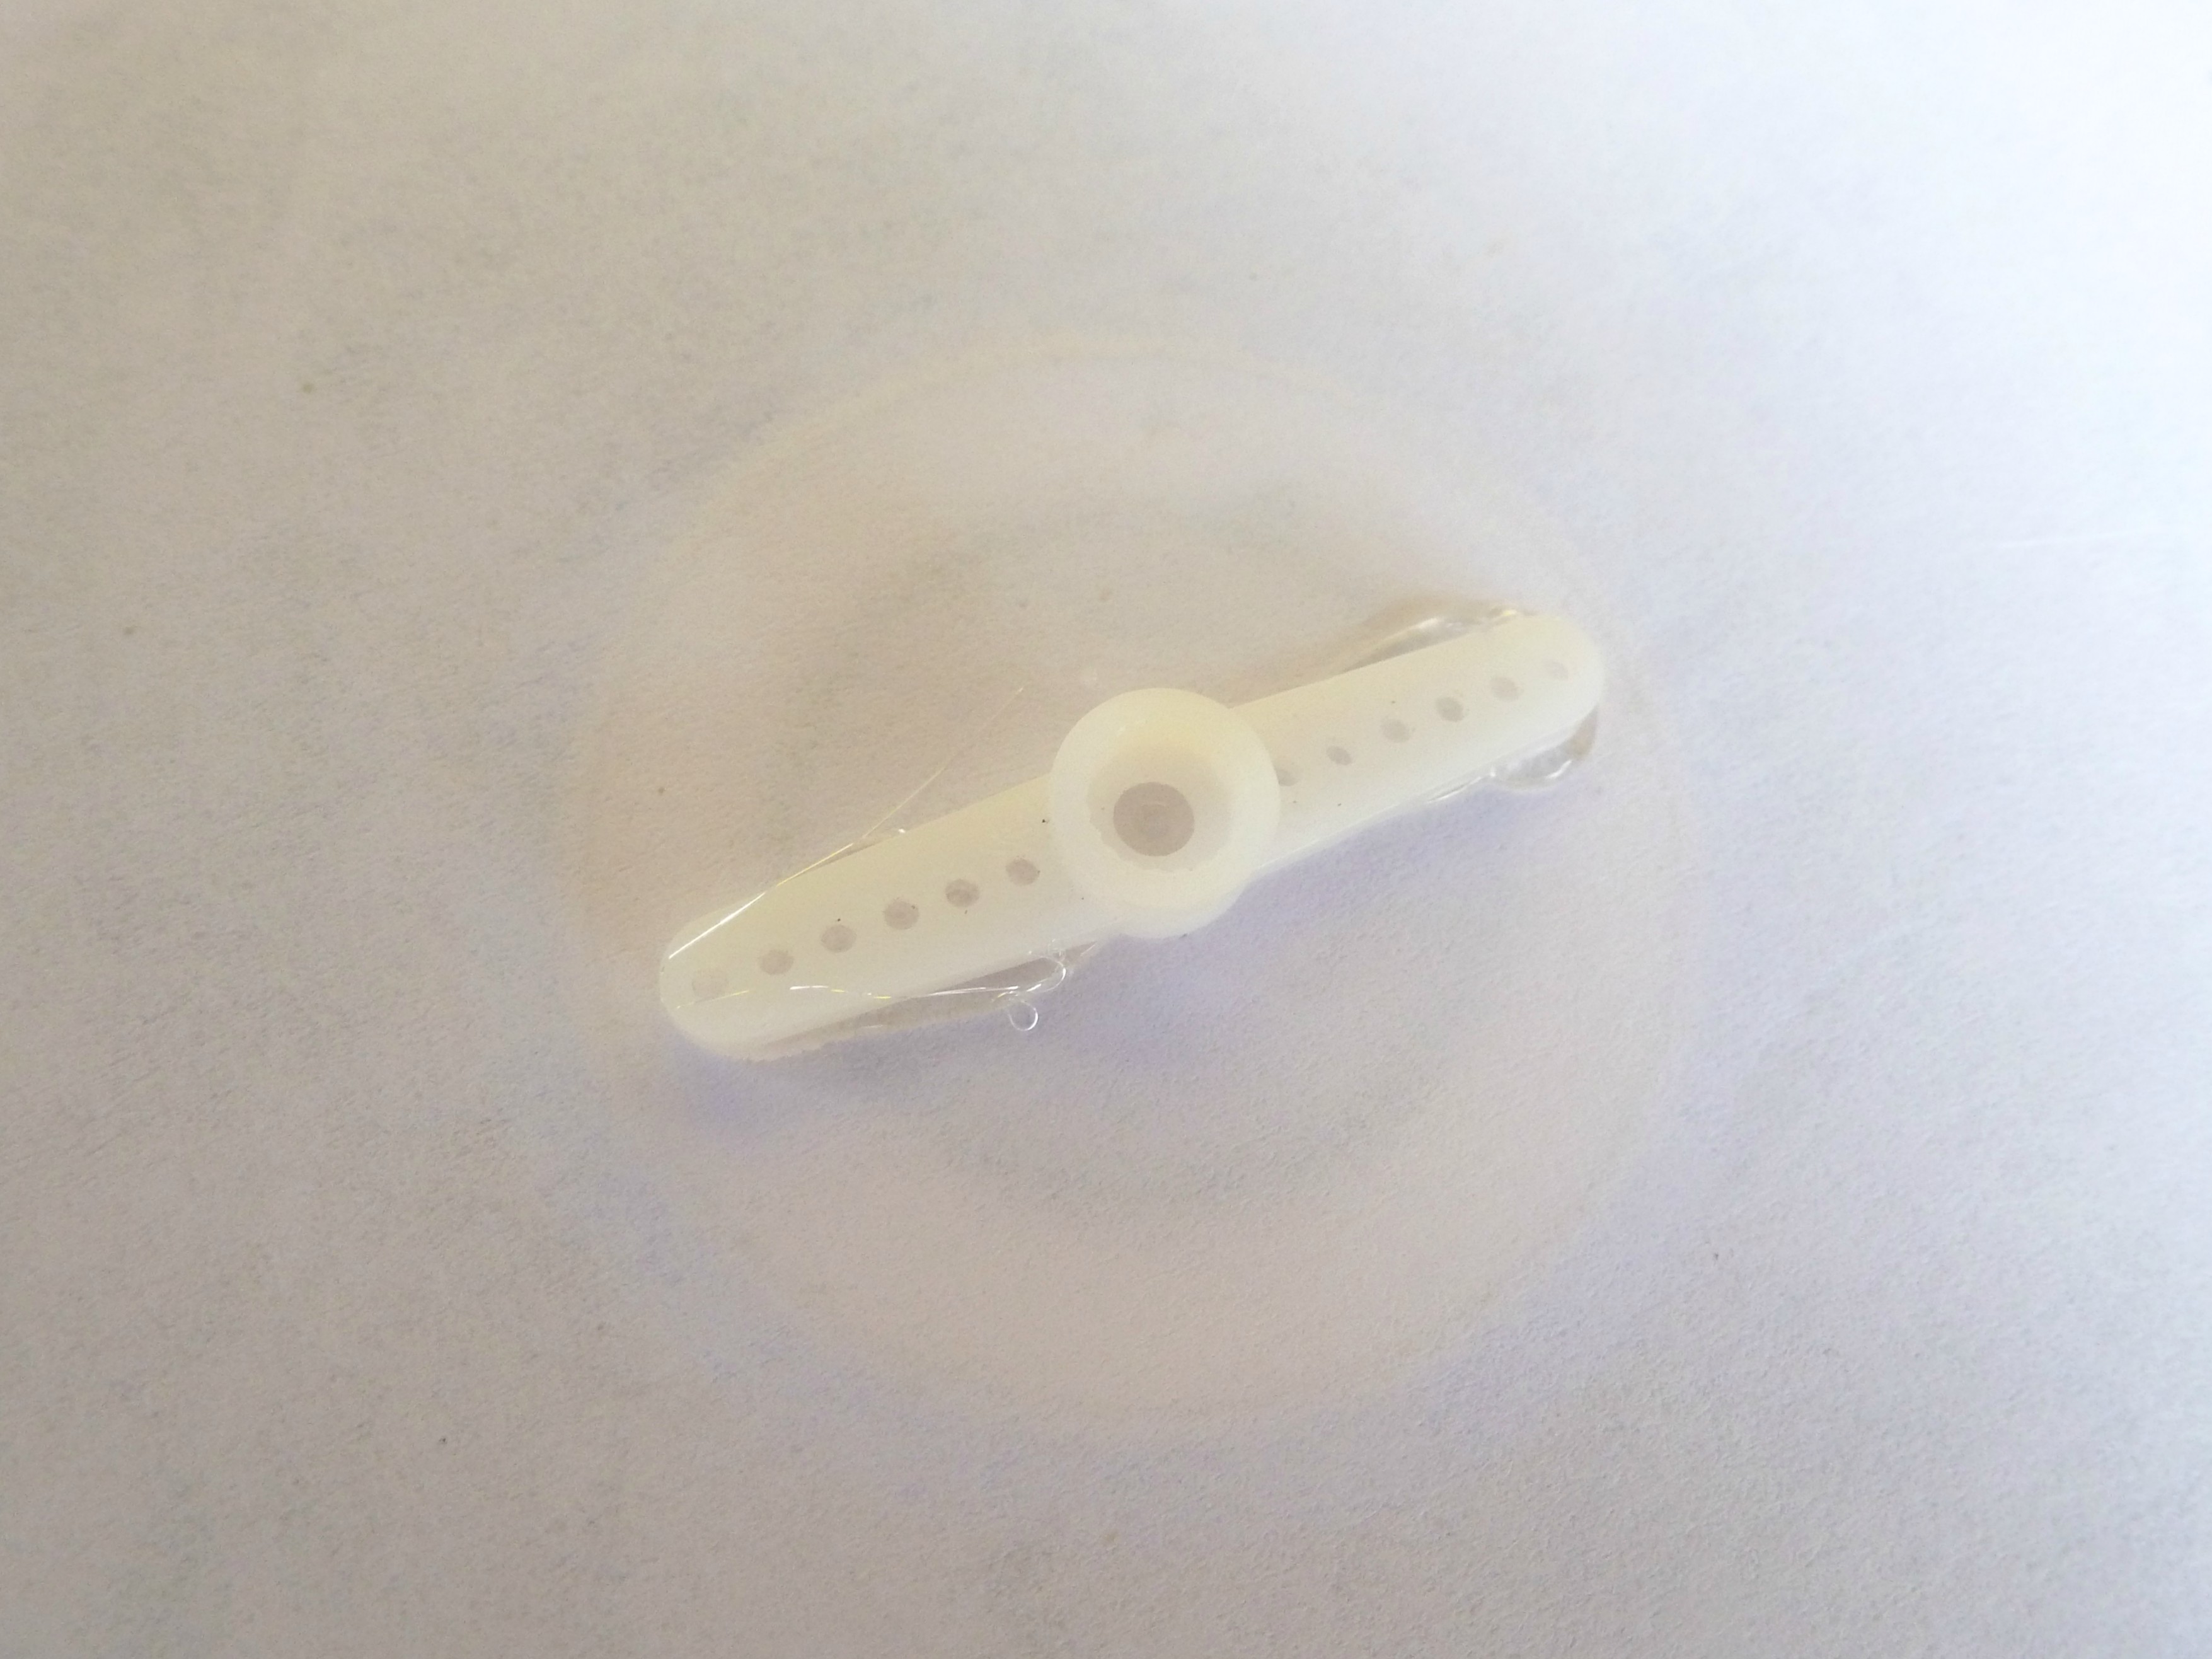
- Finally, after all the connections, glue the servo arm to the Rotating disc.
- Fix the rotating disc to the Servo gear.
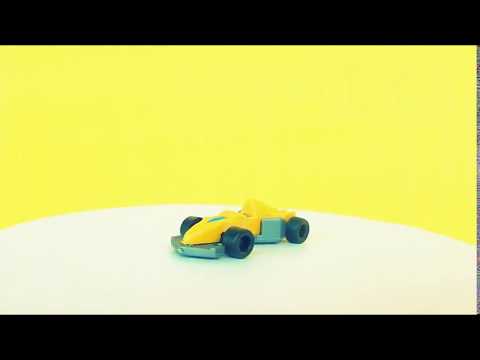
TADAAA!! The product is ready.
Connect It
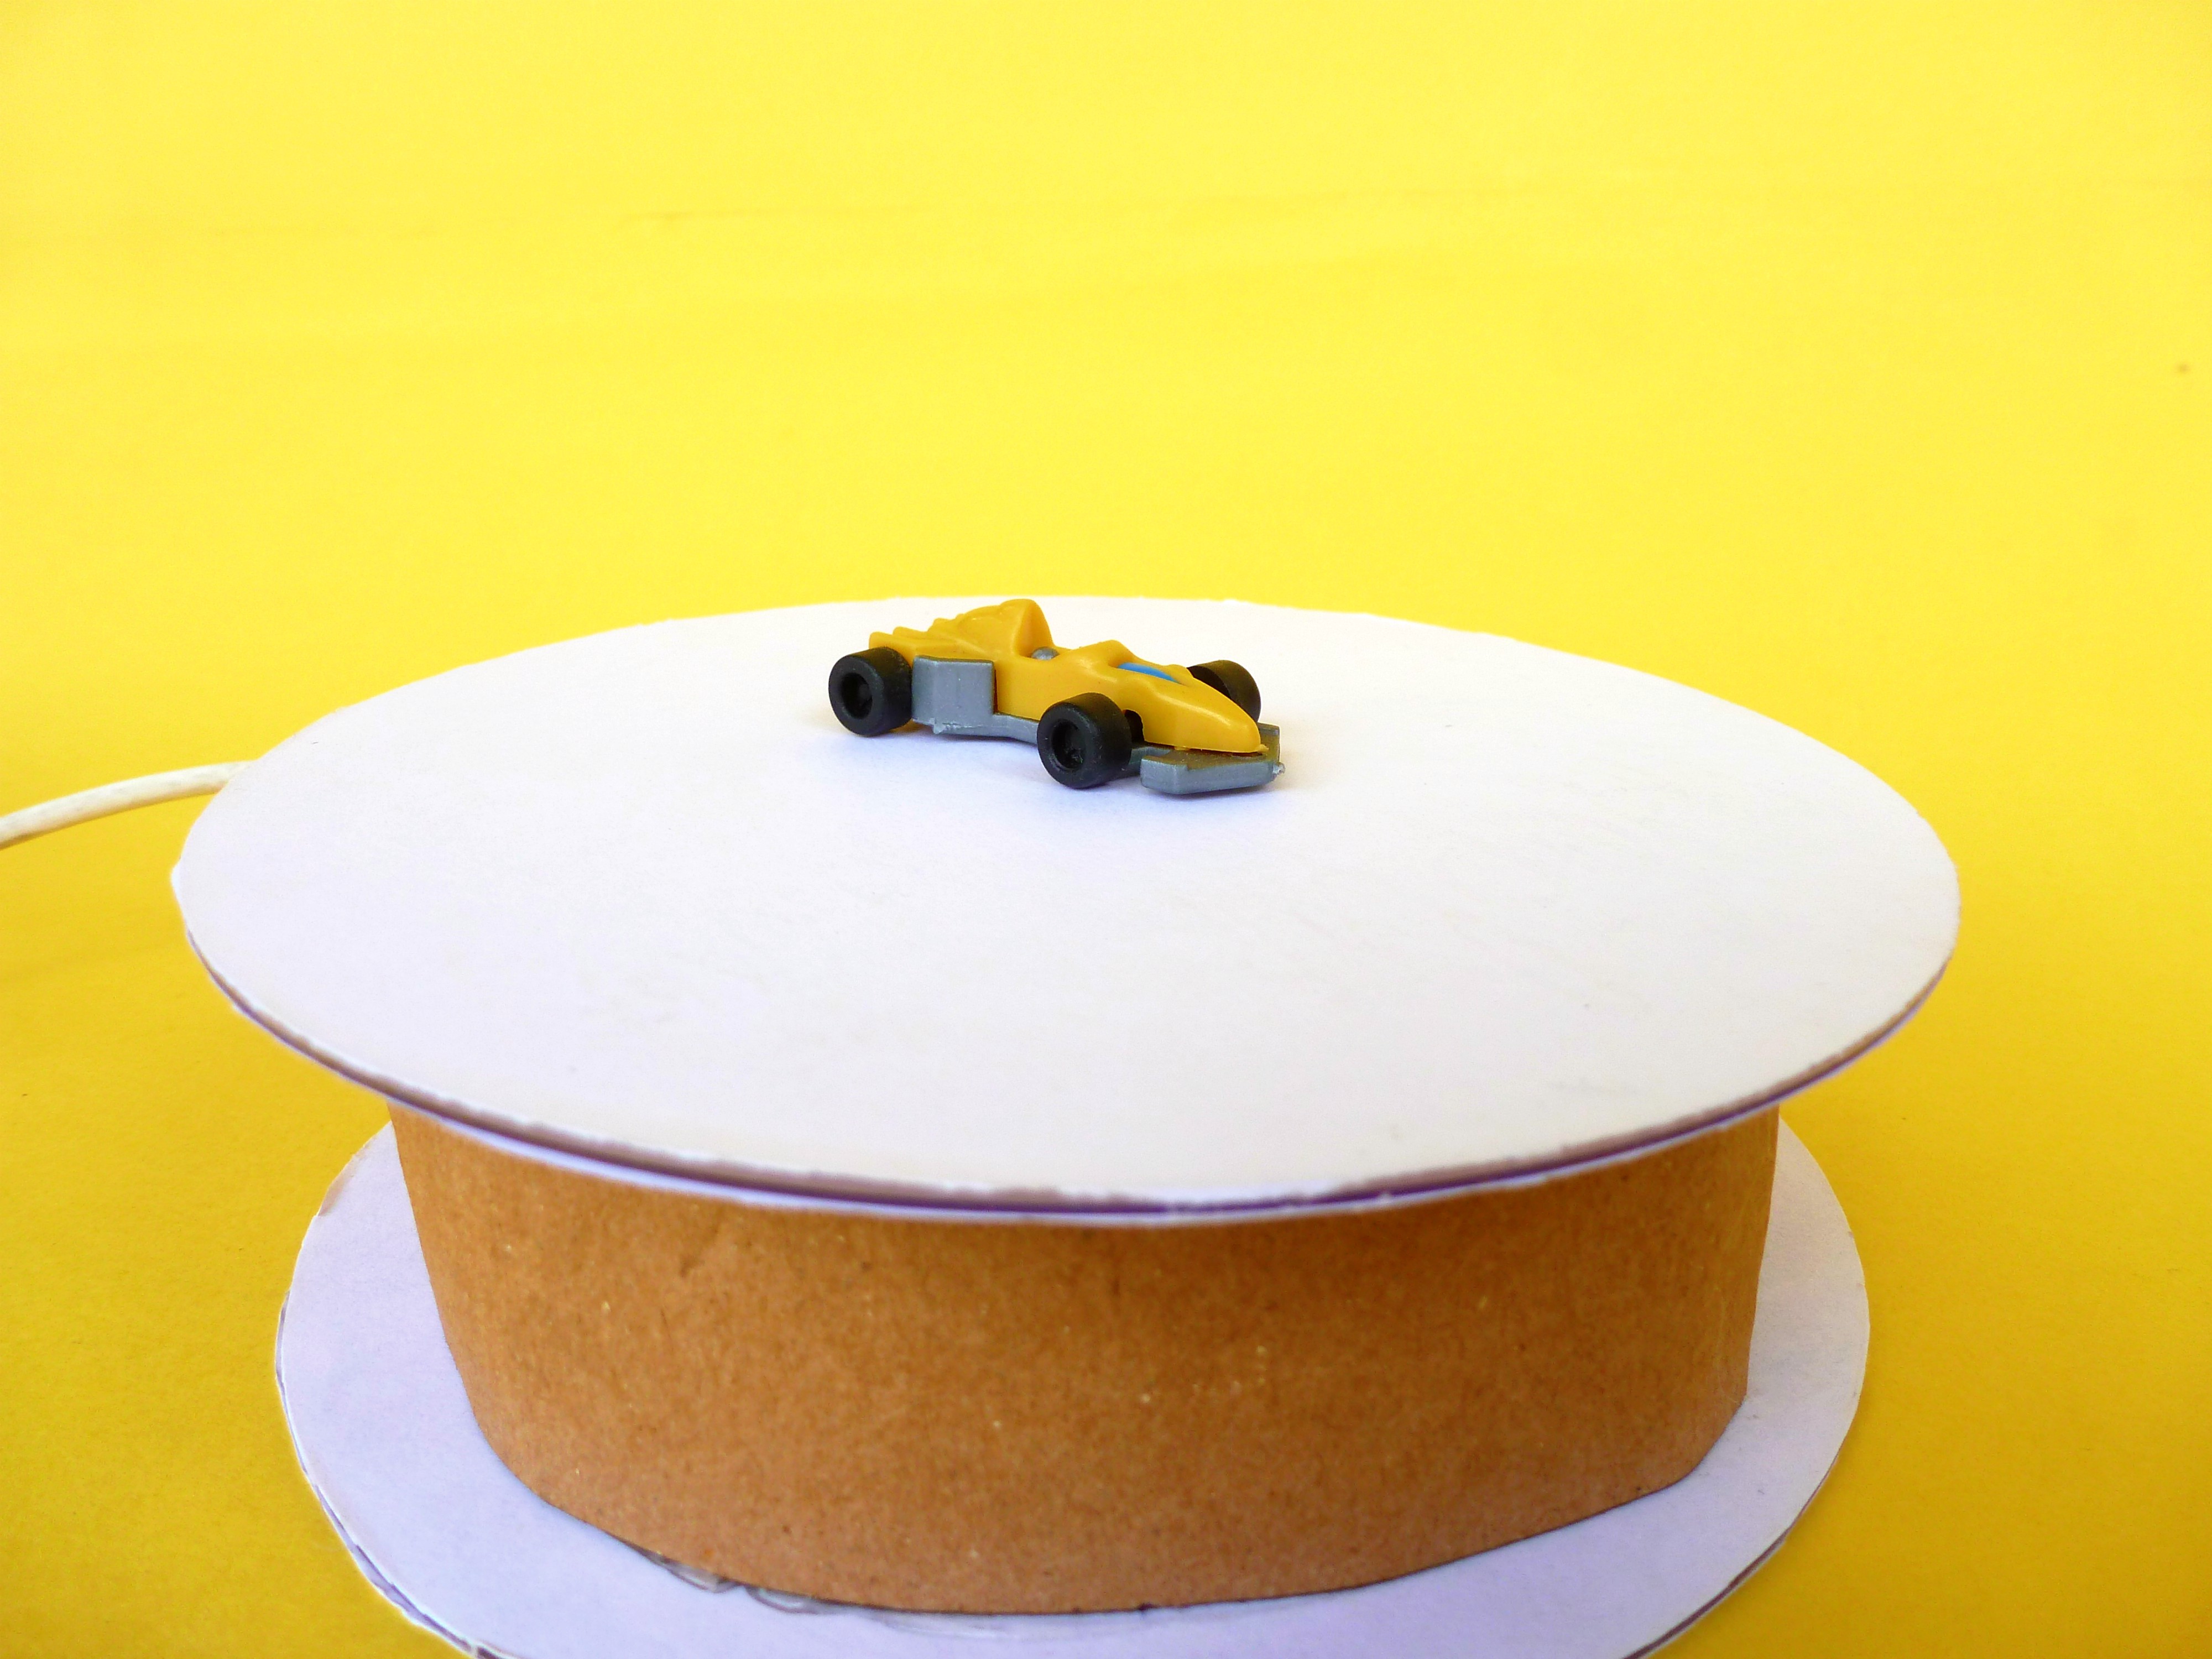
Connect the adapter to power up the device.
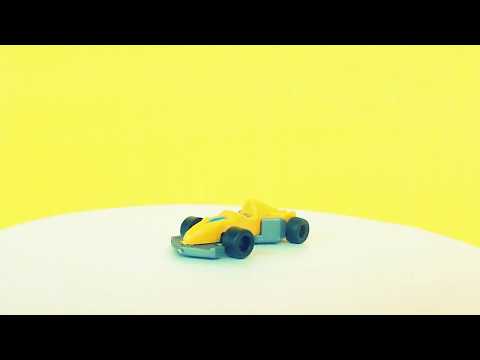
All Set!! You can watch the attached video to check how it works.
Add-Ons
You can also make such different rotating disc to make your photography awesome that suits your theme.
That's all Makers!! Hope you enjoyed and you'll try one for you.
Thank You : )
If you have any queries, feel free to leave a comment below or PM me and I would try to help you.