Producing a CNC Milled Tape Dispenser As a Project Based Learning Experience.
by matterbach in Teachers > 9
1528 Views, 12 Favorites, 0 Comments
Producing a CNC Milled Tape Dispenser As a Project Based Learning Experience.
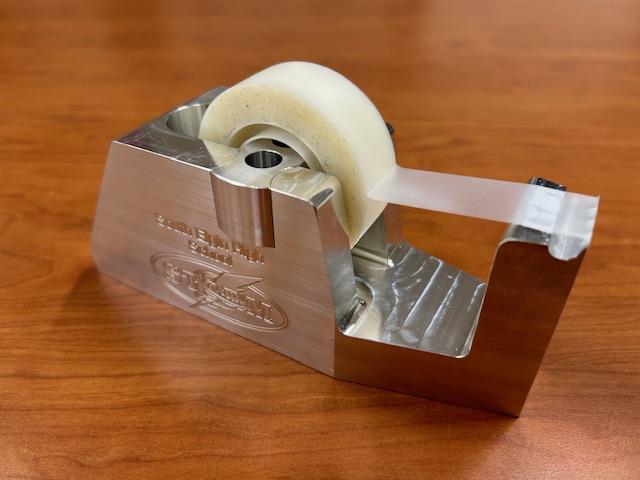


Build a tape dispenser using CNC milling techniques. Create toolpaths, CAM files, and production using Fusion360 software and create an item that can sit proudly on any desk in your school. Too often in the design and make process, we spend so much time on the design, that when it comes to production we simply 3d print a finished product and leave it at that. This project based learning opportunity puts the focus squarely in the production aspect of the project, a starting design is included, though there is the opportunity to add custom engraving. This project is intended to be a first exploration of the manufacture workspace in Fusion360, and is intended to provide the school program or makerspace with a really professional looking final product to be shared and show to program supporters, school board, counselors, and anyone else who need to know what your engineering/manufacturing/design classes do. This is intended to be a complete project with the opportunity to re-iterate or re-design parts after the project is completed to provide opportunities for students ahead of the class, or just to produce a project that fits your design aesthetic and program needs.
Customize the Engraved Surface
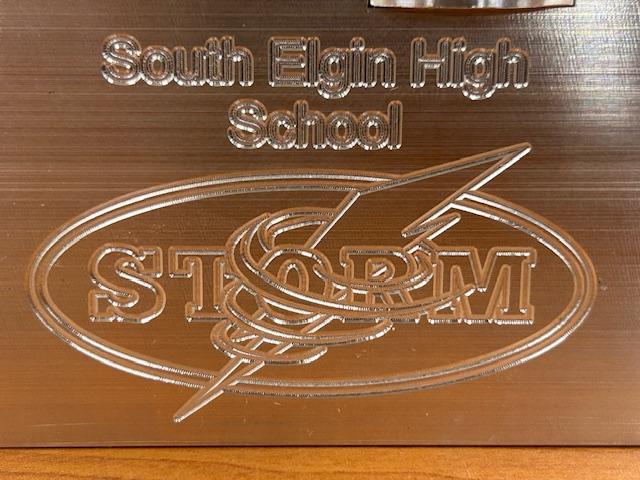
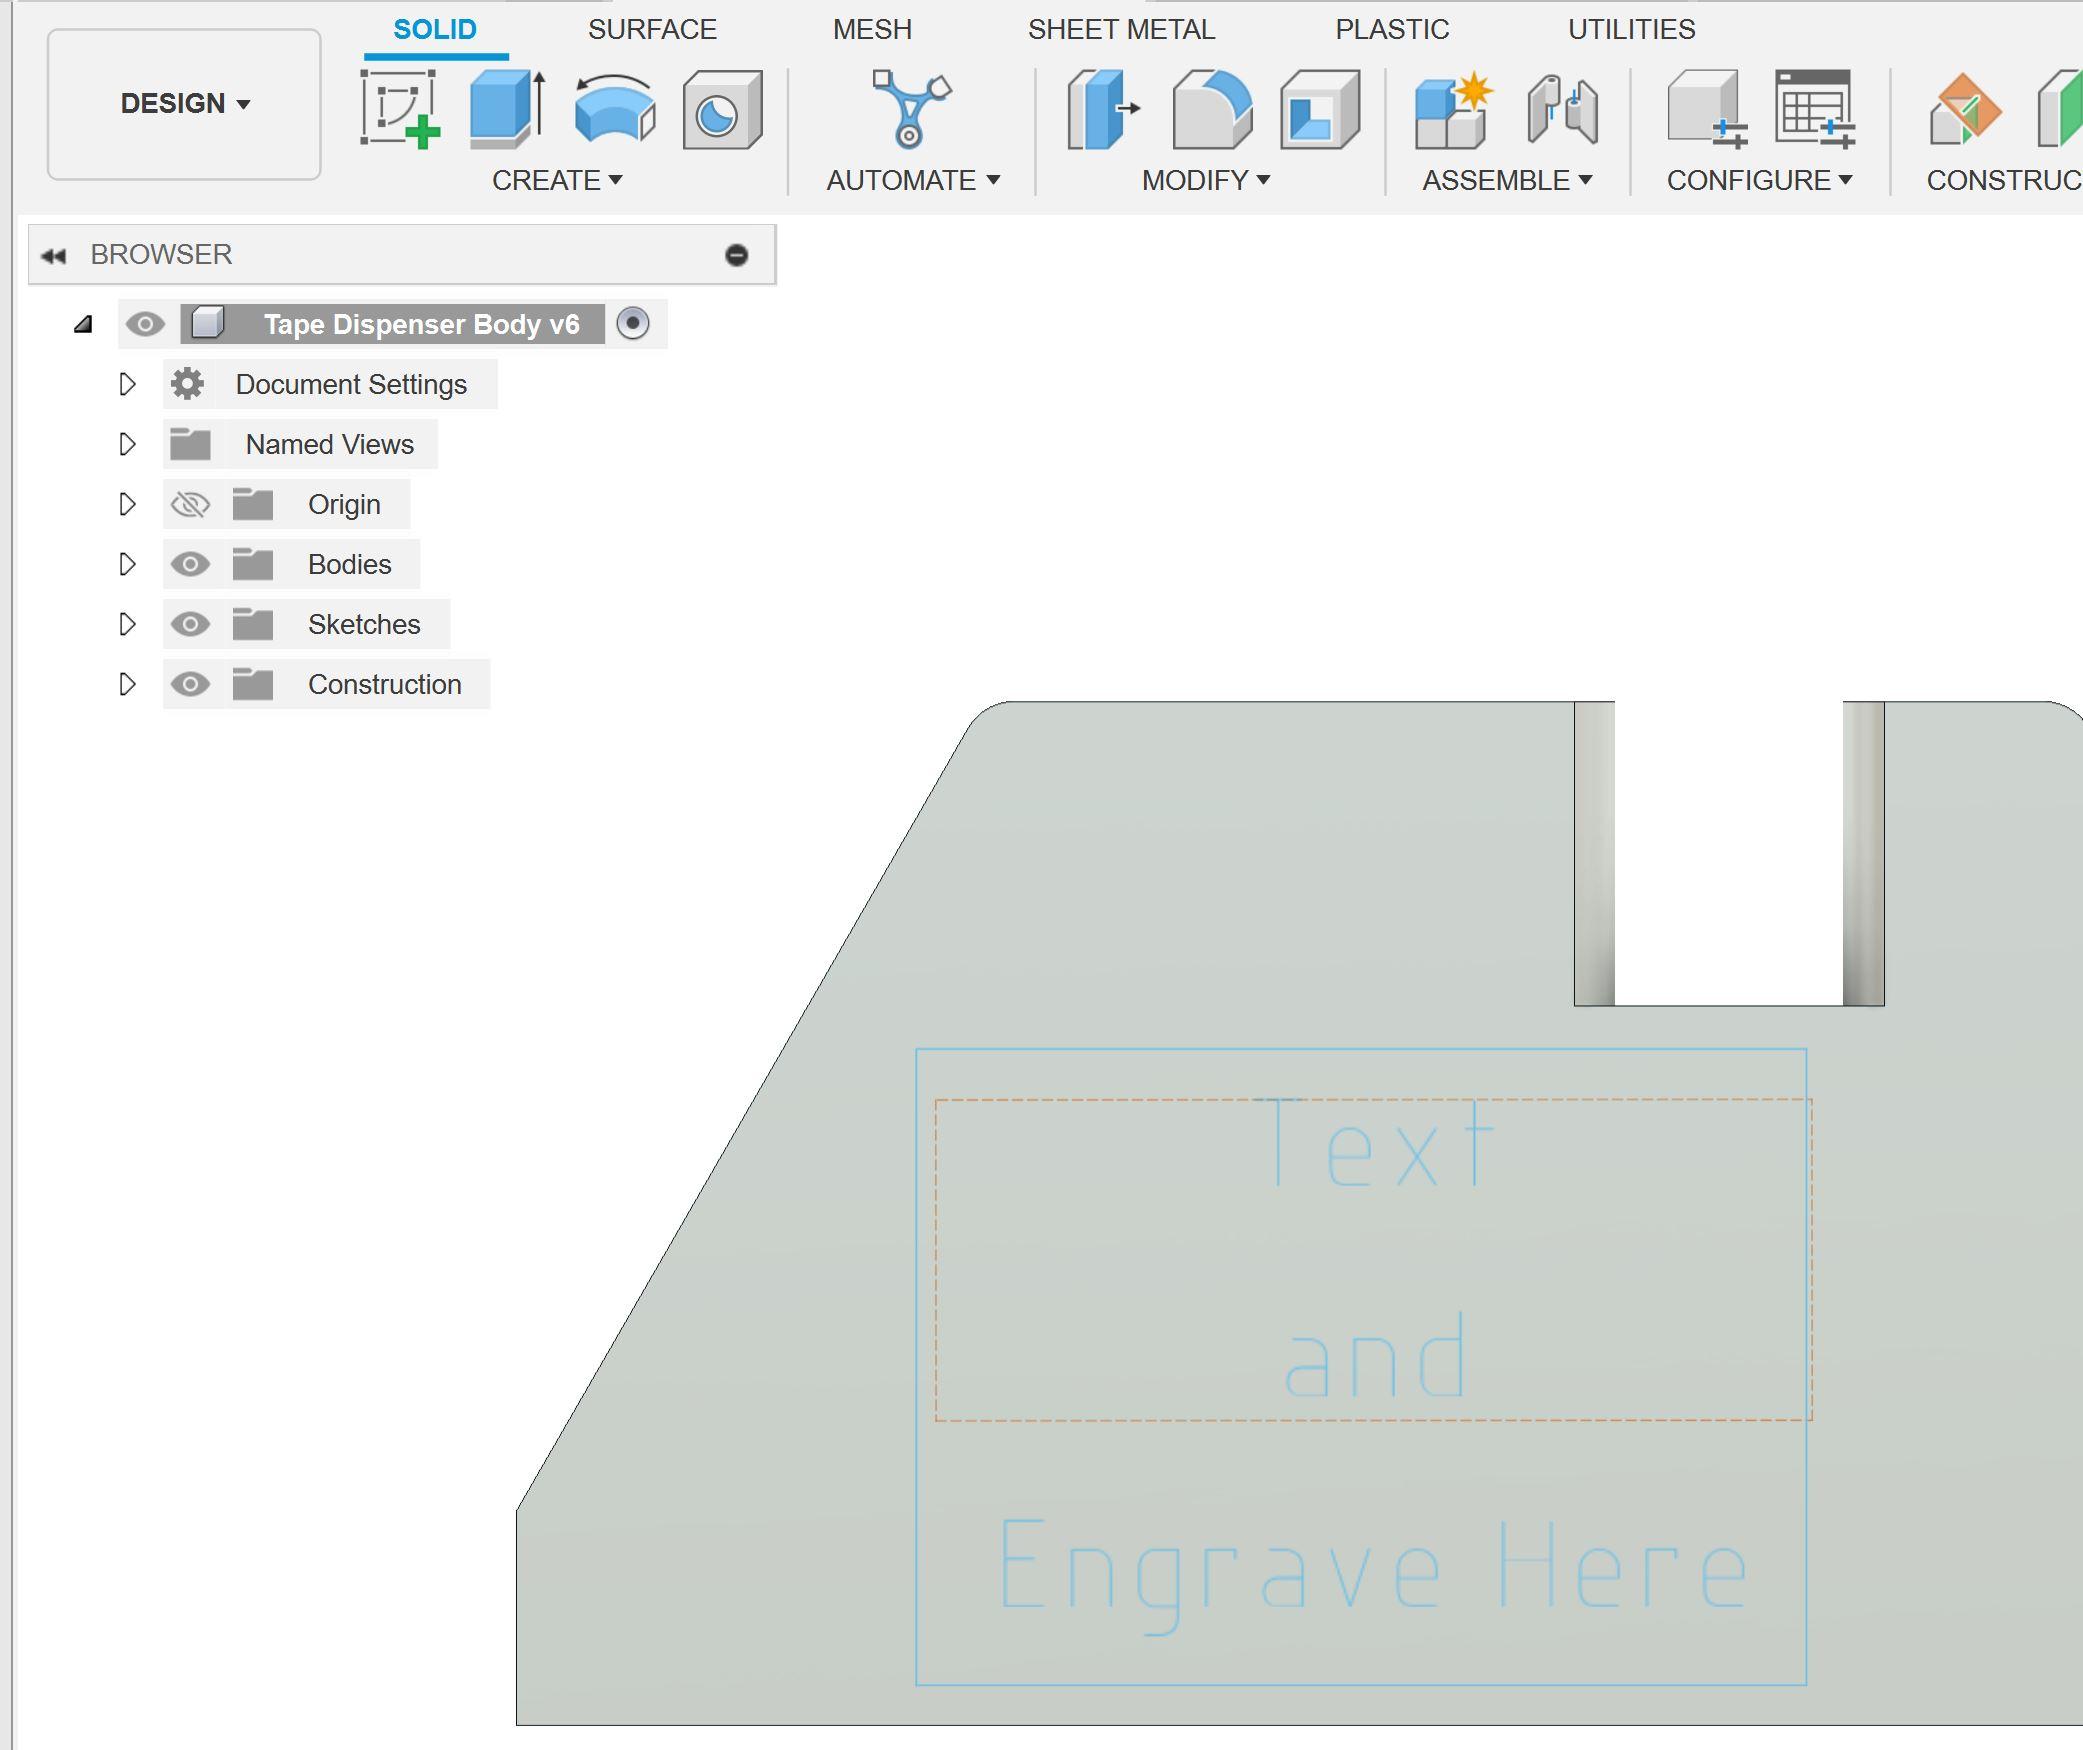
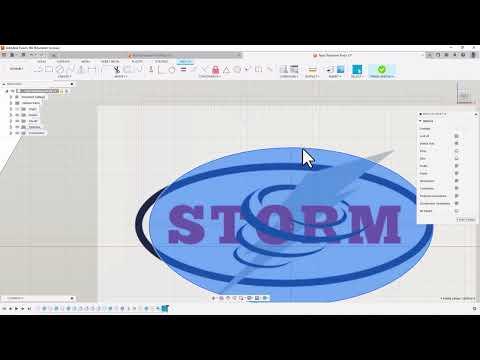
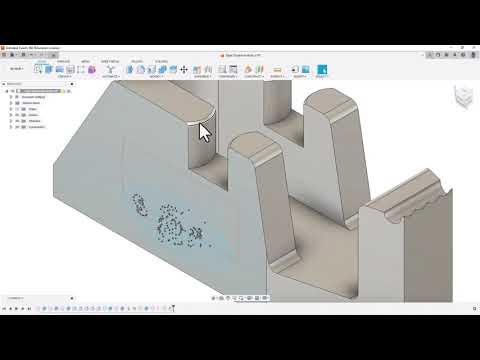
The project is pre-designed and ready to go except for the custom engraving on the side of the tape dispenser body. This step can be skipped, however it is highly recommended that the individual students create some form of customization on this surface. It really helps to promote your program by putting a school logo, made by information or any other details on this surface so anyone who looks at the finished project knows who made it.
- Download the Tape Dispenser v6.F3z file from this Instructable and upload it to your fusion360 account.
- Open the file in Fusion360
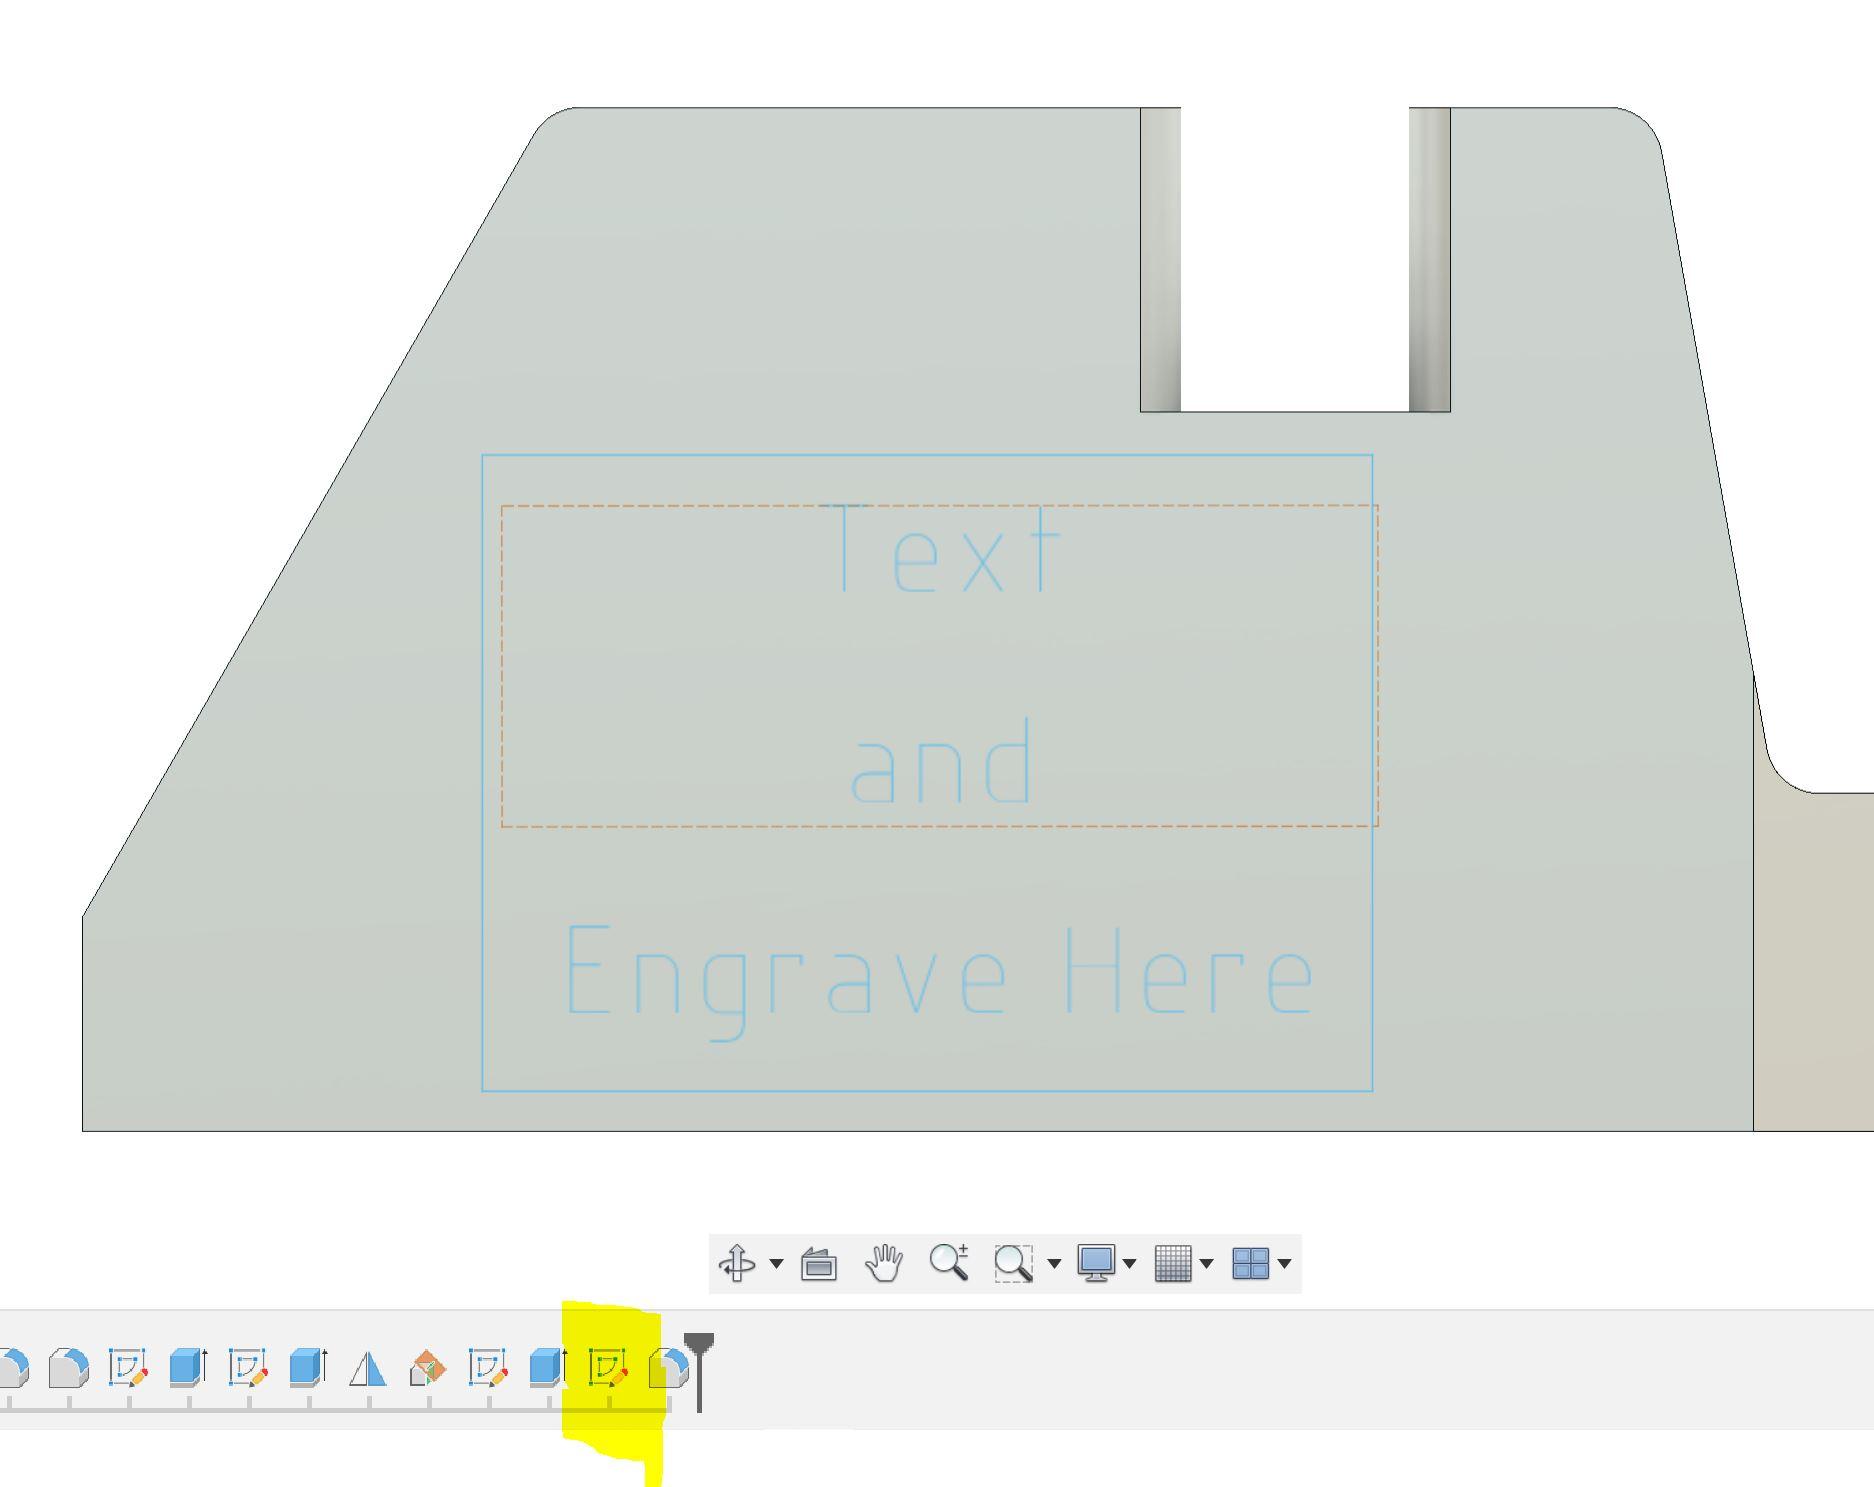
- Find Sketch 7 in the history ribbon at the bottom of the screen
- Right click on it
- Select Edit Sketch
- Change or delete the text on this side of the part.
- Consider adding significantly to this sketch to create an engravable image on the side of the project.
- All of the features one this sketch should be engravable as a least toolpath and last hold at the end of this project.
- Click on the Finish Sketch green check box when you have completed your engraving customizations.
Link to Support video on customizing the engraving in this project
Downloads
Create a Setup
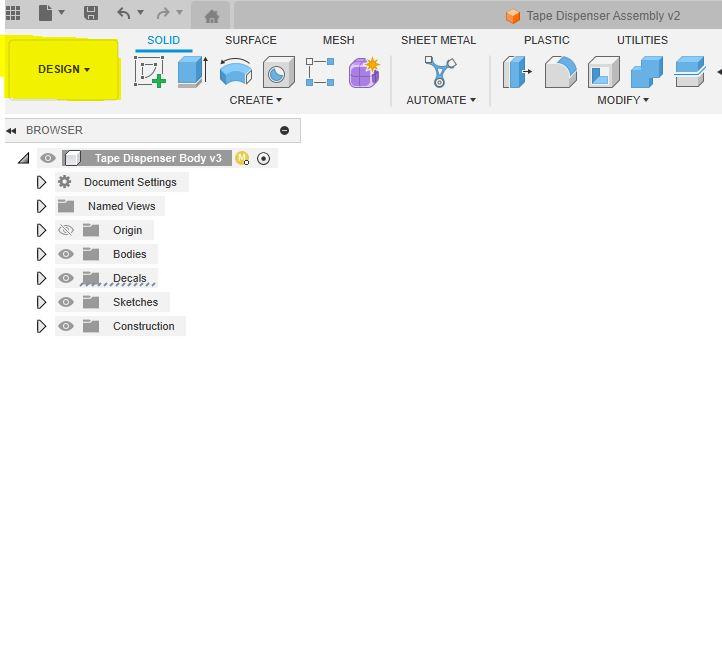
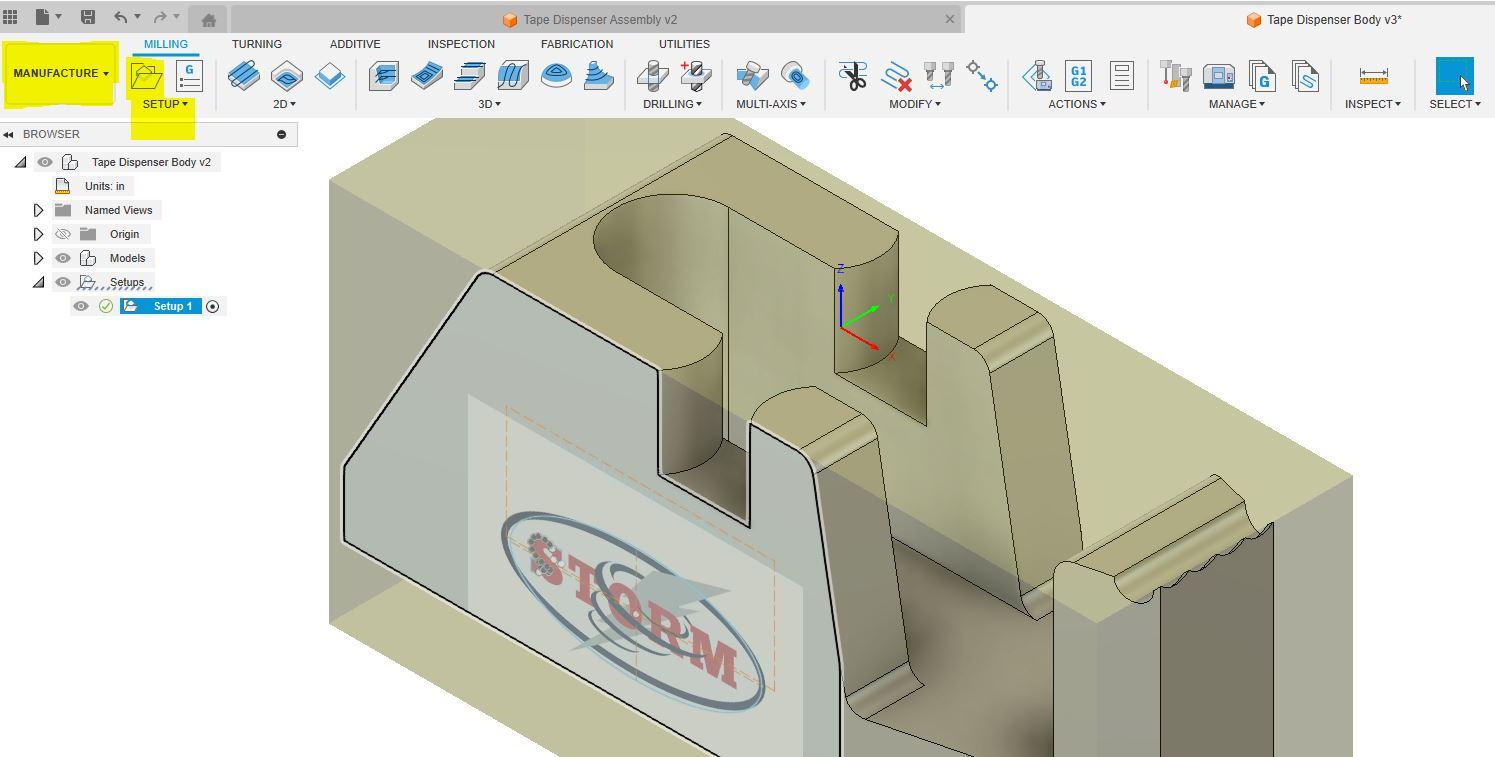
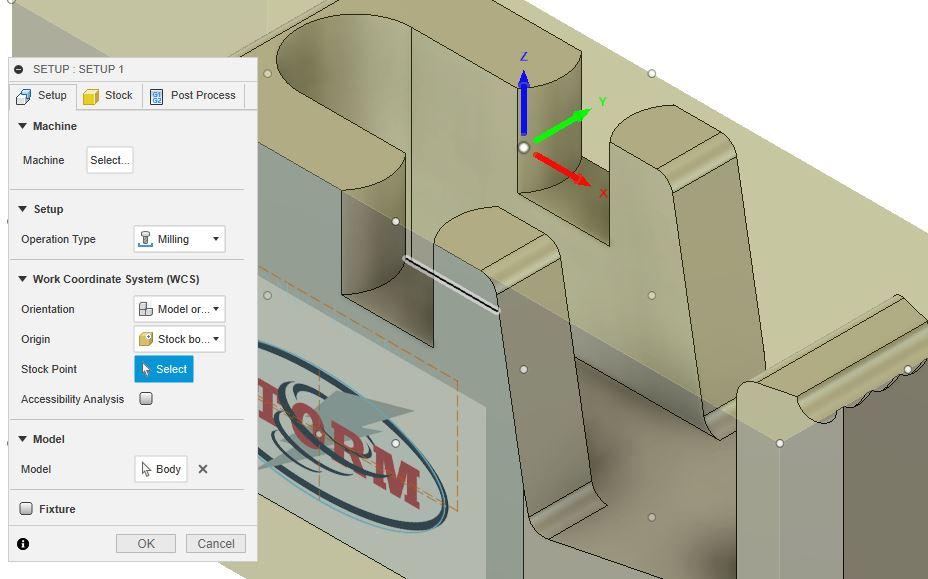
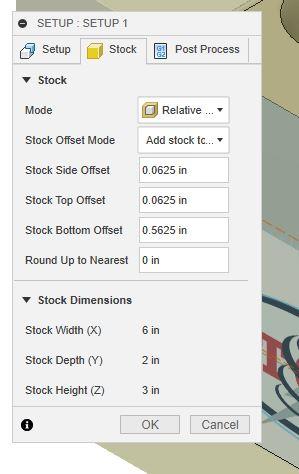
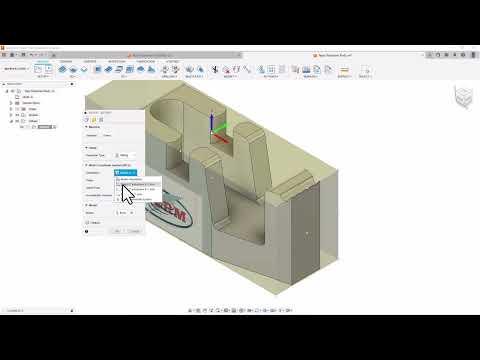
Creating a part setup is done to describe the origin location on the virtual stock block as well as describes how big the rough block of material is that is being put in the CNC machine.
Switch from the Design workspace to the Manufacture workspace in Fusion360
Select New Setup
Don't specify a machine yet- it will block your view of the part constantly so just leave the machine description blank.
Keep the orientation set to Model Orientation, the project is set up in such a way that you will not need to re-orient the WCS/origin.
- Select the stock tab to create stock
- Select Relative sized box
- add.0625 to all sides
- add .0625 to the top
- add .5625 to the bottom
Support video on creating the first setup in fusion360
Create a Tool Library
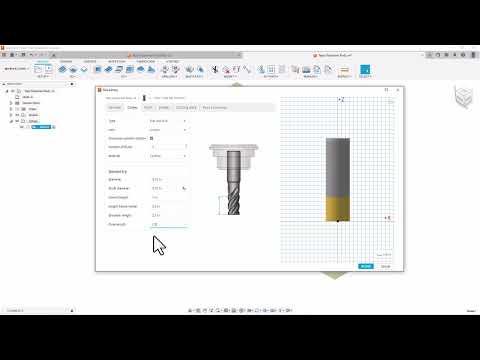
Once any customizations to the Tape Dispenser Body are complete you need to open the manufacture tab in the fusion360 project and start creating the cutting tools you will use to mill out this project.
Select the Tool library to begin creating your cutting tools.
Click on the local library area
Select the + icon on the top of to tool library to begin creating your tools
Use the tape dispenser tool list below to create the 5 tools needed to complete this project. This is the only time you will have to set up tools, all 5 holds over the two parts will work using this same tool list
Support Video on creating a tool library
Create Roughing Toolpaths
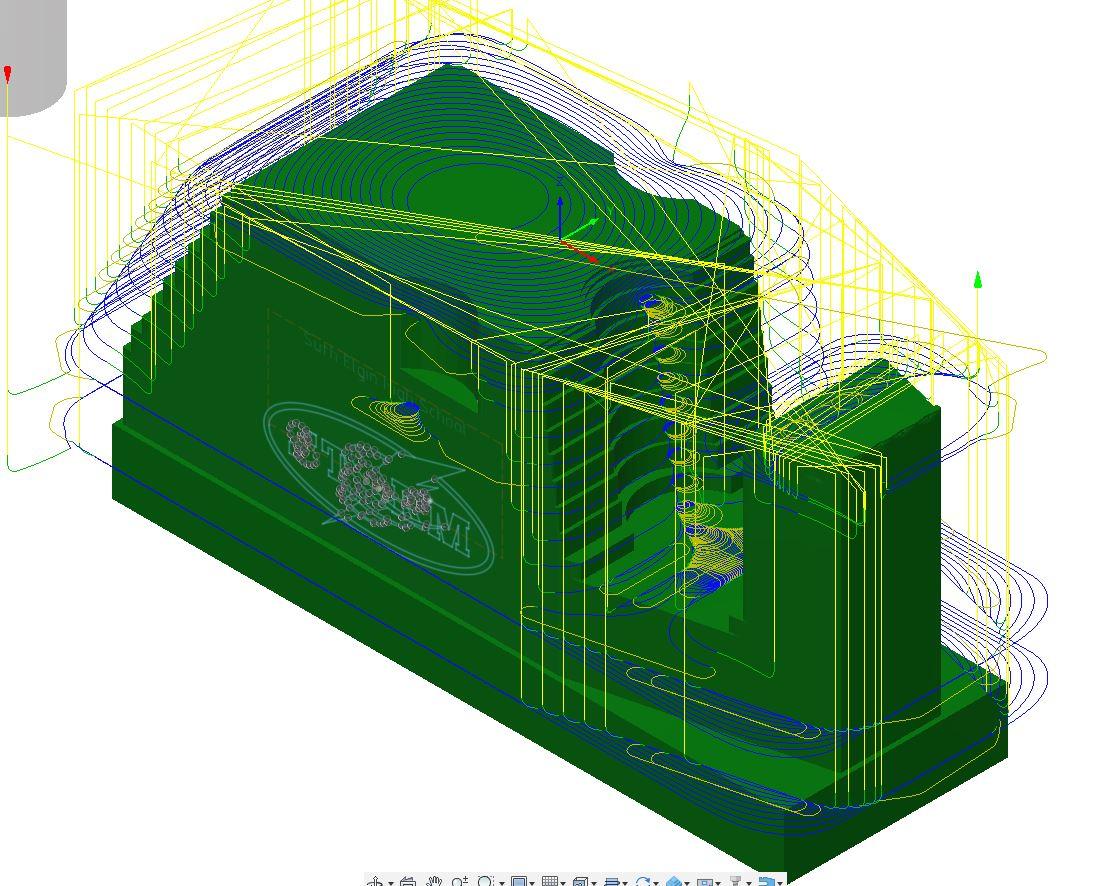
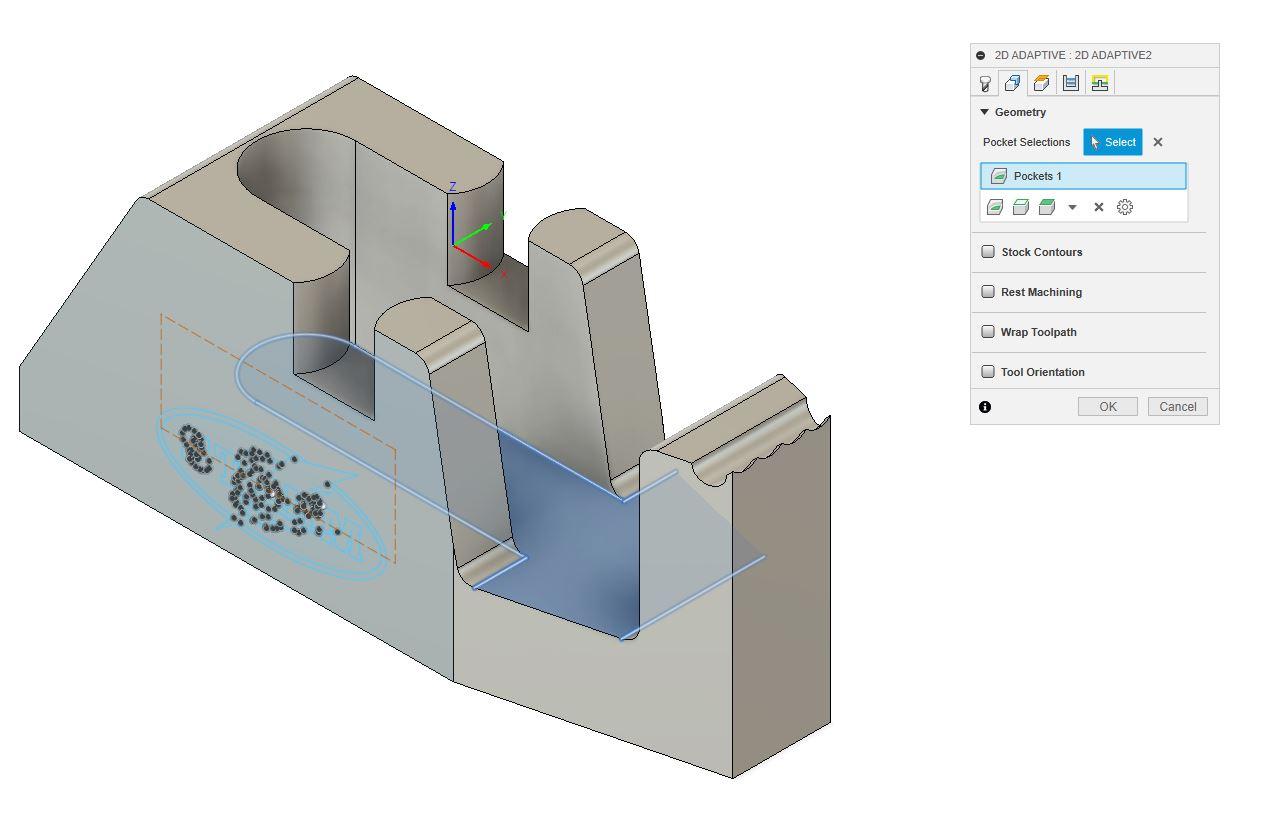
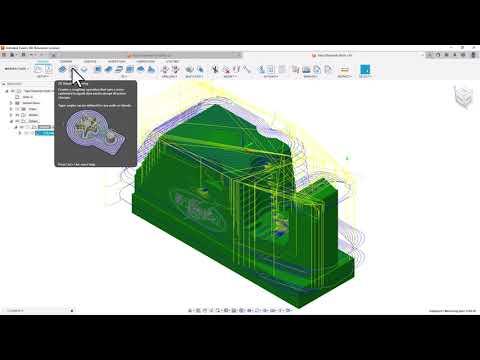
Once we have the setup and tools developed, we need to begin the process of removing all the material that we don't want to be part of the final part. The roughing operations are set up to remove the bulk of the material efficiently with only a small amount of material left over for finishing.
We need to do the roughing in 2 toolpaths to reach as many surfaces as possible.
- Begin by selecting the Adaptive clearing toolpath in the 3d area.
- Select tool 2, the 3/4 inch endmill
- Leave the machining boundary set to NONE
- Don't make changes to the default heights
- Change optimal load to .0375 so we can remove excess material using High Speed Machining methods
- Don't make any changes to linking.
- Click OK at the bottom of the panel to finish your first toolpath.
After this roughing pass is complete, there is still some material stuck in the middle of the part that the cutter could not reach.
- Begin by selecting the 2d Adaptive toolpath in the 2d area.
- Select tool 3, the 5/8 inch bull endmill
- Select the bottom edge of the central, deep internal pocket
- Don't make changes to the default heights
- Change optimal load to .0312 so we can remove excess material using High Speed Machining methods
- Don't make any changes to linking.
- Click OK at the bottom of the panel to finish your second roughing toolpath.
After this second pocket is rough cut into the part there is only one more area to trim up with rouging cuts before we are finished roughing on this setup.
- Repeat selecting the 2d Adaptive toolpath
- Select tool 4, the 5/16" inch flat endmill
- Select the two arched slots that the tape dispenser
- Don't make changes to the default heights
- Change optimal load to .0187so we can remove excess material using High Speed Machining methods
- Don't make any changes to linking.
- Click OK at the bottom of the panel to finish your third roughing toolpath.
Your roughing operations are complete for this project.
Video Link to demonstration of roughing operations for tape dispenser body.
Create Finishing Toolpaths: 2d Contour Cuts
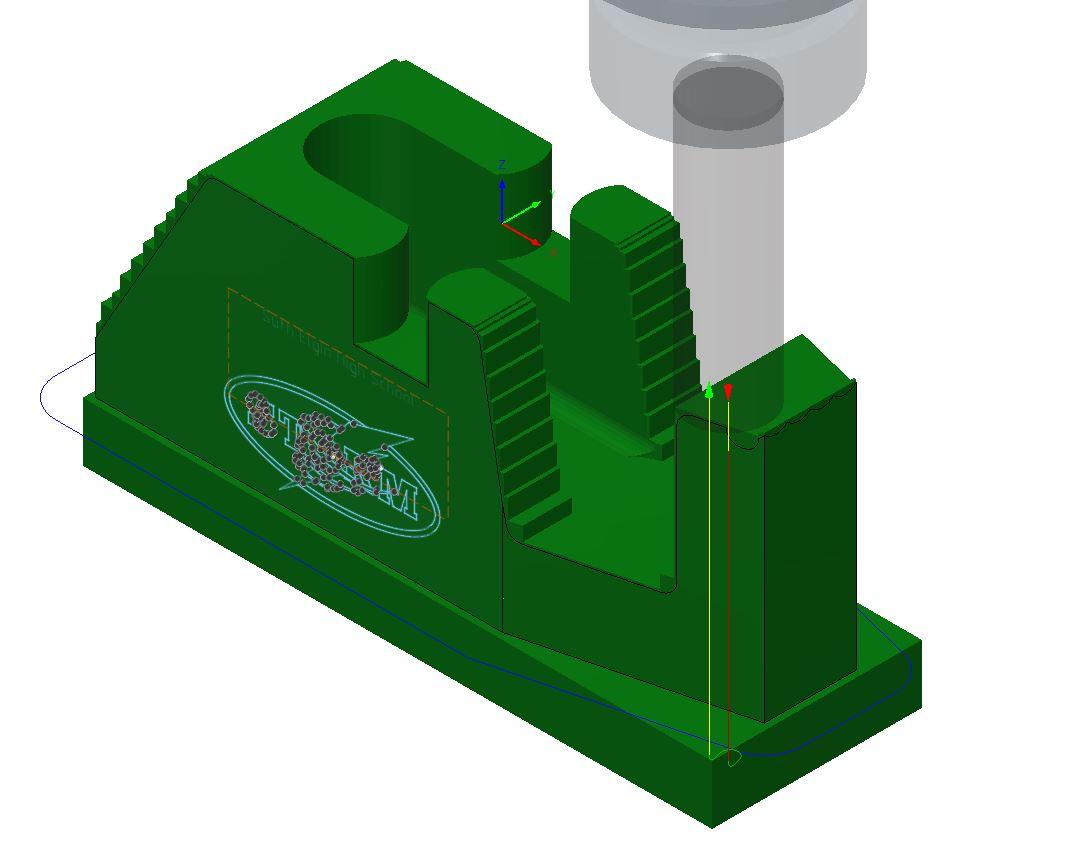
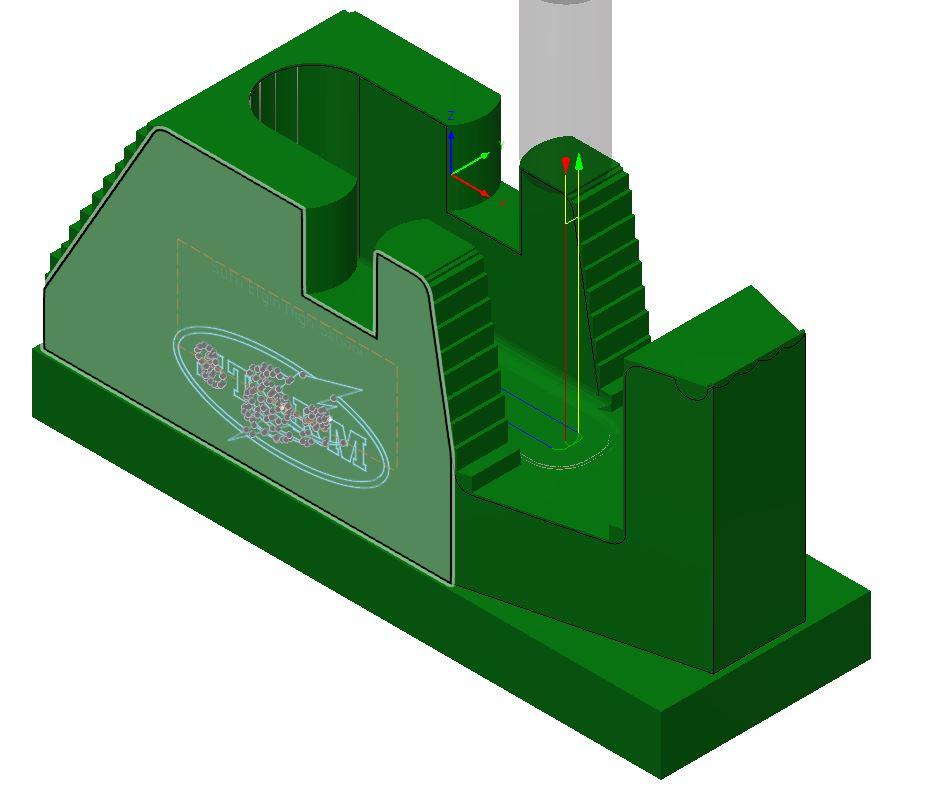
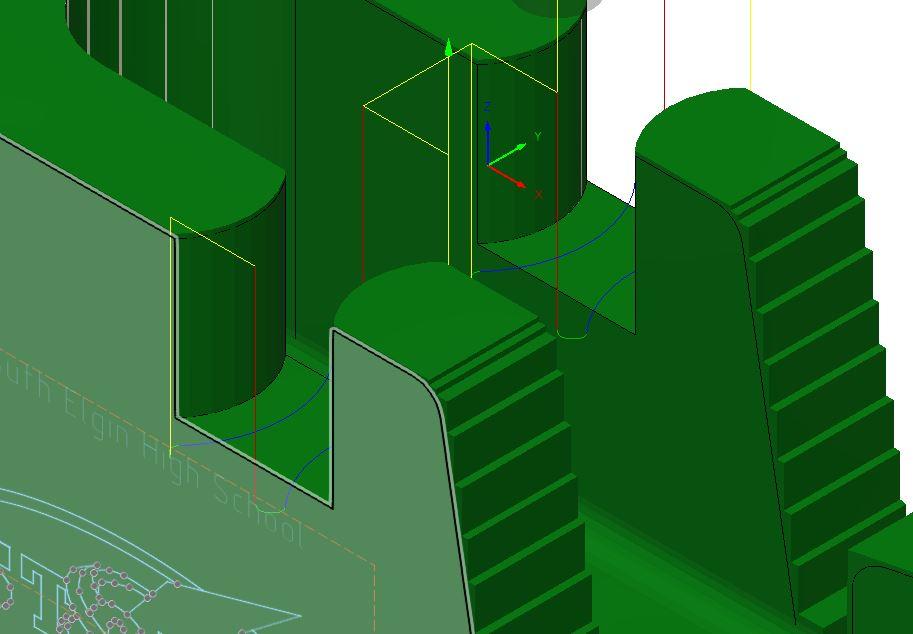
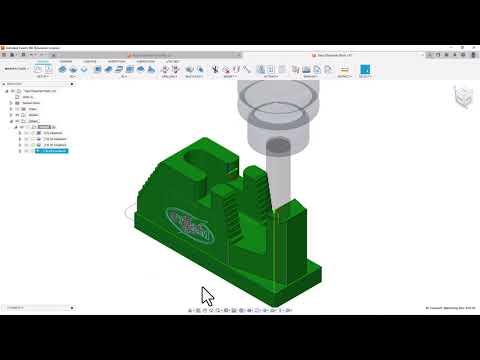
Making the final finishing cuts for this first setup is now possible, we will begin this process by using an endmill to 2d contour cut all the outside surfaces that are parallel to the Z axis.
- Cut the outside facing surfaces with tool 2 the 3/4" endmill, slow the feed rate to 20 inches per minute and repeat the finish pass
- Cut the tape wheel pocket with tool 3, the 5/8" bull mill. Slow the federate to 20 inches per minute and repeat the finish pass.
- Cut the tape dispenser axle slots with the 5/16" endmill. Slow the federate to 20 inches per minute and repeat the finish pass.
Support video for cutting 2d contours
Create Finishing Toolpaths: Steep and Shallow
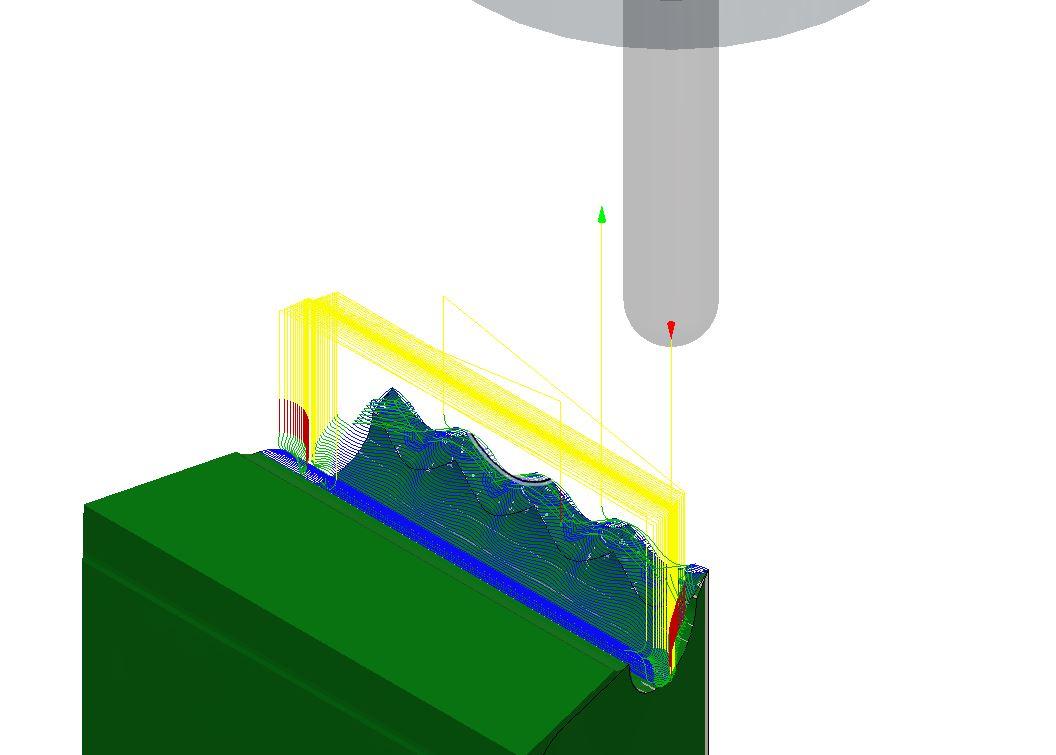
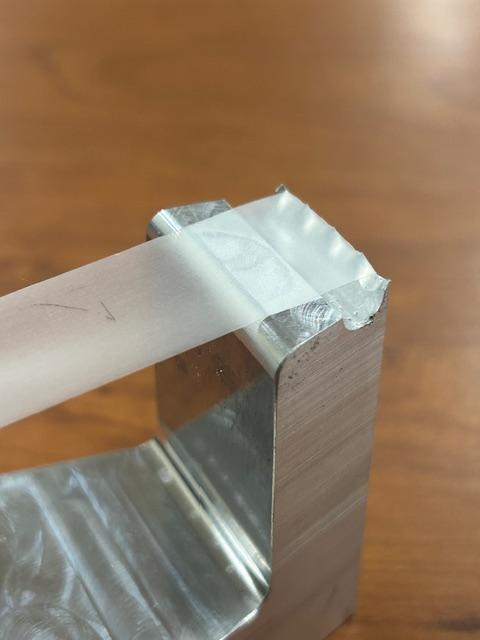
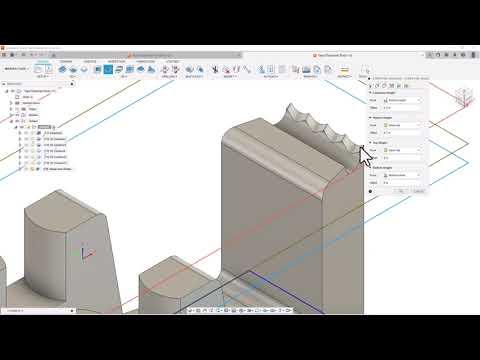
Creating the cuts necessary for the tape cutting blade are best accomplished using a ball endmill and the steep and shallow machining strategy. The steep and shallow machining strategy is part of the Machining extension, which is free to all educational users of fusion360. You will need to activate this extension every 30 days, but there is no cost. ONce the strategy is available under the 3d tool dropdown perform the following operation.
- Select the Steep and Shallow toolpath
- Select tool 6 the 3/16" ball endmill as your cutter
- Change your geometry to Selection, and click on the 4 teeth and the semi circular pocket that are the tape dispensers front cutting blade.
- Do not make any changes in the heights tab
- Change both the steep passes and shallow passes stepdown value to .005 inches in the passes tab
- Do not change any items in the multi axis or linking tabs.
Support Video for Using Steep and Shallow
Create Finishing Toolpaths: Flow and Horizontal
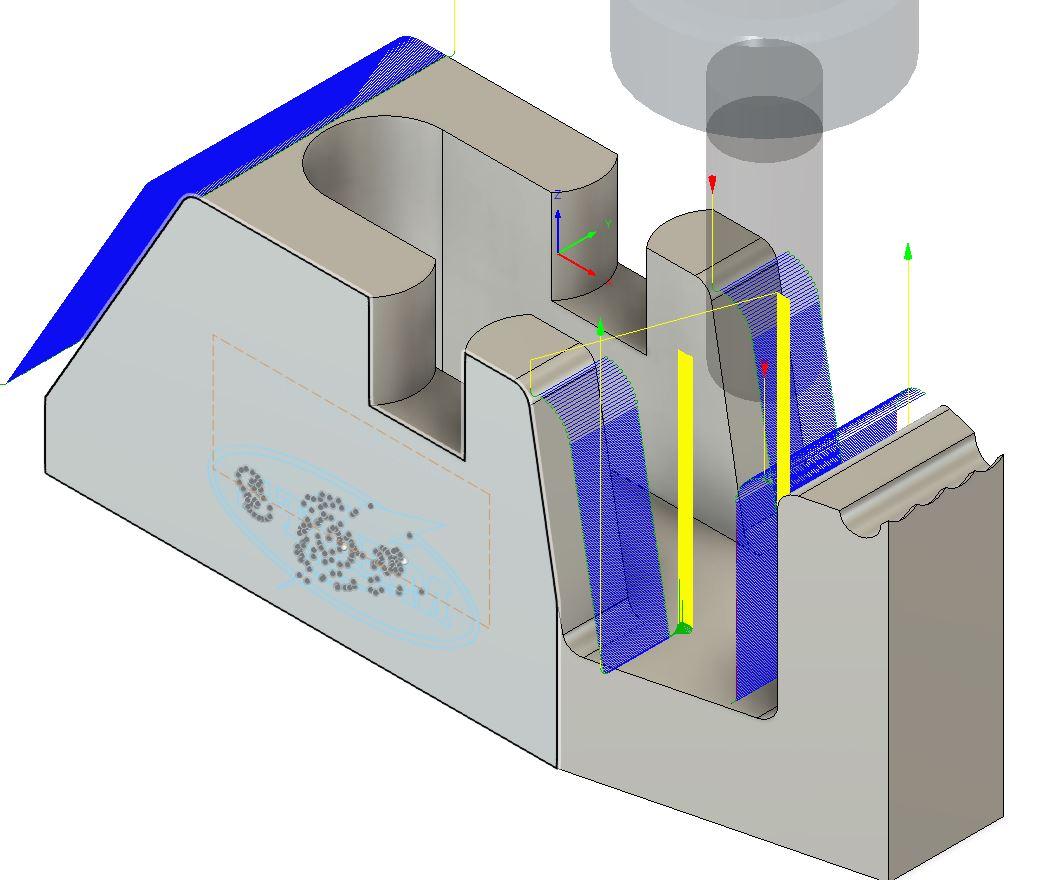
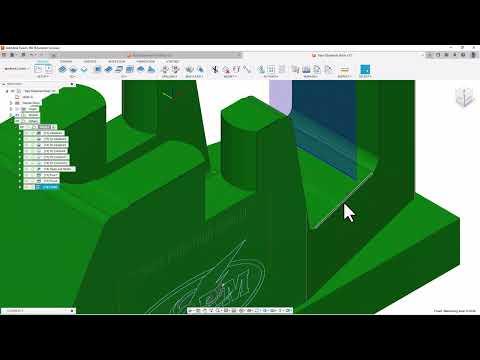
This operation is the last of the toolpaths for setup 1 on the tape dispenser body. The purpose of the flow toolpaths will be to smooth down all remaining surfaces on the part.
- Select the Flow toolpath
- Select tool 3 the 5/8" ball endmill
- Select the surfaces you wish to finish cut
- Make no changes to the heights tab
- in the passes tab change isometric direction to along V and set stepover distance to .01"
- Make no changes to Multi axis and linking tabs
Post Process Tape Dispenser Body: Setup 1
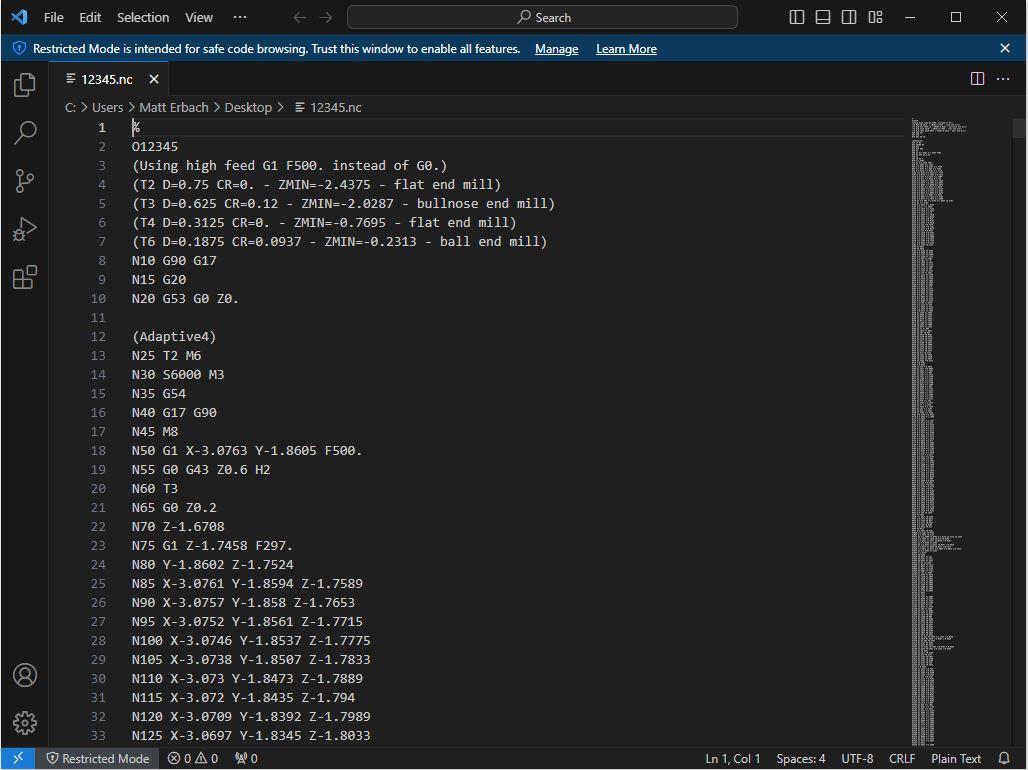
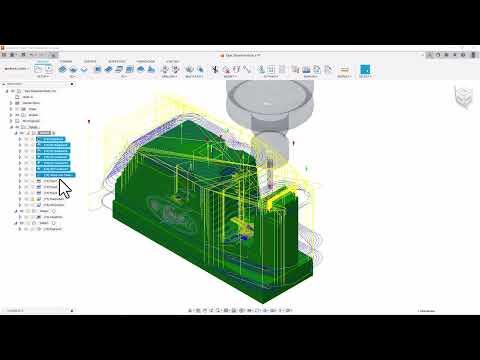
Creating the actual G and M code that a CNC machine will use is a simple procedure called post processing.
- Select the setup you wish to turn into machine code- in this case setup 1. Note that if you control click on specific operation in the browser you can write code for only those items.
- select the post processor option in the actions tab
- Find the post processor you need in the fusion360 library- locating the most specific post processor for you machine type insure that the generated code will be as perfect as possible.
- Give the program a 5 digit identifying number
- In the comment column give the code a title
- Change any necessary post properties to insure that optional extras on your machine work as intended thing like chip conveyor, programmable coolant etc.
- Click on the post key in the lower left hand corner.
- Click the blue View NC code link on the project menu that pops up- you will also need to download Visual Studio Code to actually view your post processed code.
- Within visual studio code click on file- save as- and save a copy of this file to a USB drive for use on your CNC machine.
Setup Your CNC Machine: Load and Preset Tools
If you use an edge finder to locate your workpiece in the vise, please refer to step 10 to combine work and tool setting.
If you use a tool setter to establish the length of all tools follow your tool setting process according to its specific procedure manual.
Setup Your CNC Machine: Locate Origin on Metal in the Machine
The CNC machine needs to be told where G54- workpiece home is located. This varies based on machine, but for most standard CNC machines there are 2 basic processes. Both are overviewed below, please follow the procedure required for your specific CNC machine.
Edge finder Method
- Load an edge finder into the spindle of your CNC machine.
- Set the machine to run at 700 RPM and jog the CNC machine by .001" until the edgefinder wiggler contacts and "kicks" on the edge of the workpiece.
- Highlight relevant X or Y axis on the the offset page in he G54 column.
- Pres the Zero Axis button.
- Key in the amount of distance needed to correct for the radius size of the Edge Finder.
- Correct the axis location by half the size of the block
- Repeat the above process for the other axis
- For Z axis you will be required to jog all 5 tools onto the top of the workpiece and press the tool offset measure button to establish the heights of every tool in relationship to the project.
Work Probe Method
- Electronic work probes can be configured to probe the top and all 4 sides of a block of material in one step
- Prepare the machine to probe 5 sides in one operation.
- Jog the tool probe to its designated starting position
- The probe will automatically enter all locations into the CNC machines control.
- Tools have to be probed using a separate tool probe in order to correctly establish Z length.
This process should be repeated every time a new part is loaded into the machine to insure that all projects run as intended even if a material block is loaded or cut differently.
Load Code and Cut Setup 1
This part of the process varies more than any other in the project, because it is based on the make, model and options available on the CNC machine you are using.
This project has been set up from the beginning to work on any full sized Haas Brand CNC machine from the Minimill all the way up the the VF series. The only assumption we are making on this project is that the machine will be run with coolant, and the tooling is all carbide and generally tuned for cutting aluminum. This means that if you have a high performance CNC machine you should be able to adjust feeds and speeds upward to shorten cycle time.
Load Post Processed code using USB stick or whatever system your machine uses.
Dry run code without material loaded to verify safe cutter heights.
Run project with the programmer under full supervision of the machine.
Create Setup 2 for Tape Dispenser Body
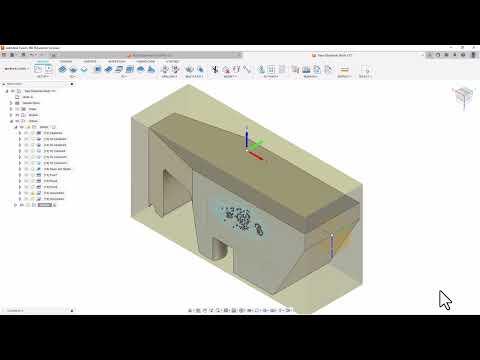
Creating the second setup and the second way of holding the part in a vise for machining is a simple and easy process. This second setup will flip the part upside down and use an endmill to remove all additional material at the bottom of the part, which is also know as a carrier. The video demonstration also includes adding in the one toolpath needed to complete this setup.
To remove the carrier on this part:
- Click on the setup icon in fusion to create a new setup
- Switch the WCS location from model to select Z and X axis
- Select a line on the part that represents the Z axis
- Select a line on the part that represents the new X axis
- Click the flip Z or flip X check boxes if needed to change direction of the various components to align the WCS correctly
- Open the stock tab and select From Preceding Setup
- Click OK to finish the setup.
To create the toolpath:
- Select 3d adaptive clearing toolpath
- Select tool 2 the 3/4" cutter
- Make no changes to heights
- change passes optimal load to .0375
- uncheck passes: stock to leave
- make no changes to linking
Support Video for setup and toolpaths for Tape Dispenser Body setup 2
Post Process Setup 2 for Tape Dispenser Body
The CNC machine needs to be told where G54 workpiece home is located. This varies based on machine, but for most standard CNC machines there are 2 basic processes. Both are overviewed below, please follow the procedure required for your specific CNC machine.
Edge finder Method
- Load an edge finder into the spindle of your CNC machine.
- Set the machine to run at 700 RPM and jog the CNC machine by .001" until the edgefinder wiggler contacts and "kicks" on the edge of the workpiece.
- Highlight relevant X or Y axis on the the offset page in he G54 column.
- Pres the Zero Axis button.
- Key in the amount of distance needed to correct for the radius size of the Edge Finder.
- Correct the axis location by half the size of the block
- Repeat the above process for the other axis
- For Z axis you will be required to jog all 5 tools onto the top of the workpiece and press the tool offset measure button to establish the heights of every tool in relationship to the project.
Work Probe Method
- Electronic work probes can be configured to probe the top and all 4 sides of a block of material in one step
- Prepare the machine to probe 5 sides in one operation.
- Jog the tool probe to its designated starting position
- The probe will automatically enter all locations into the CNC machines control.
- Tools have to be probed using a separate tool probe in order to correctly establish Z length.
This process should be repeated every time a new part is loaded into the machine to insure that all projects run as intended even if a material block is loaded or cut differently.
Set Origin for Setup 2 Tape Dispenser Axle and Perform Adaptive Clearing Toolpath
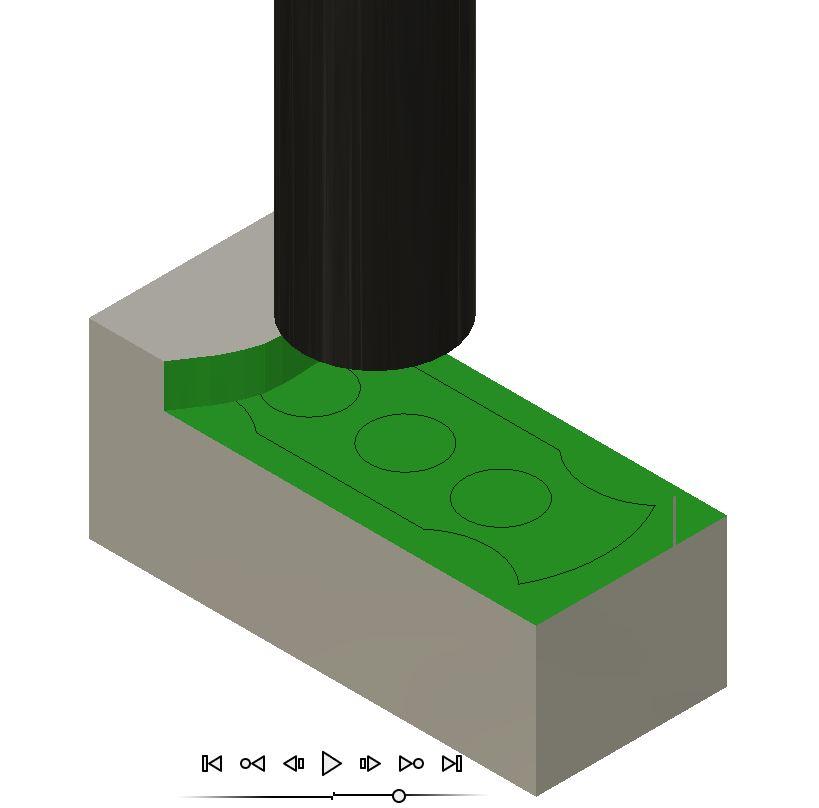
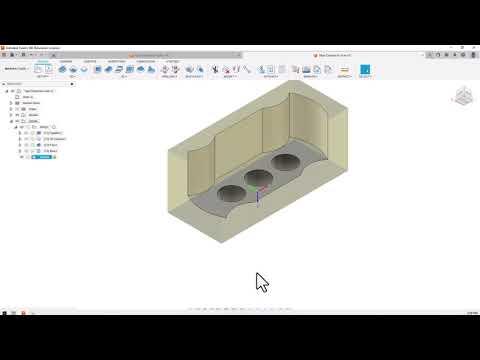
Cut Setup 2 on CNC Machine
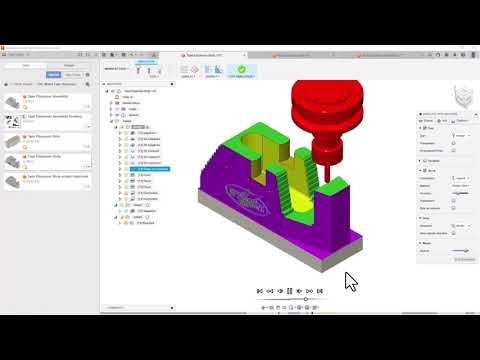
This part of the process varies more than any other in the project, because it is based on the make, model and options available on the CNC machine you are using.
Pay close attention to the initial approach of each tool, it should approach the part in the exact direction to the specific location you can see in the simulation. if what happen in the machine starts to differ from the simulation, stop the machine and try to determine what is going wrong. This is often due to an incorrect work probing or edge finding operation.
Download Part File for Tape Dispenser Axle
The Tape Dispenser axle is the next file we will be working on. please download it from the instructable below and upload it into your Fusion360 account.
Downloads
Create Setup 1 and Toolpaths for Tape Dispenser Axle
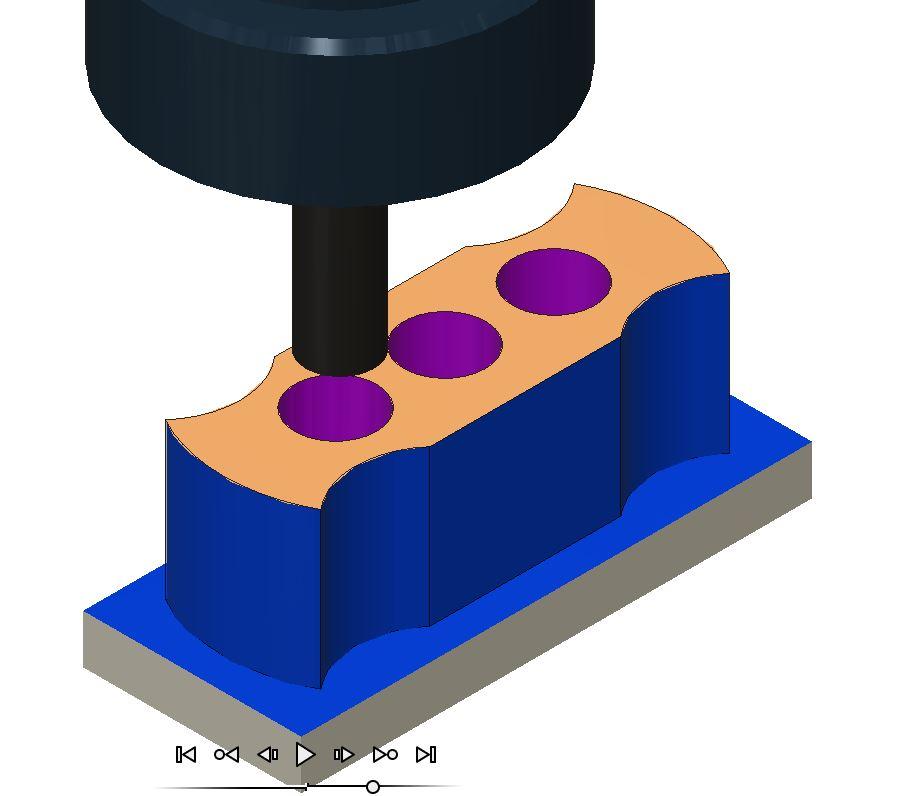
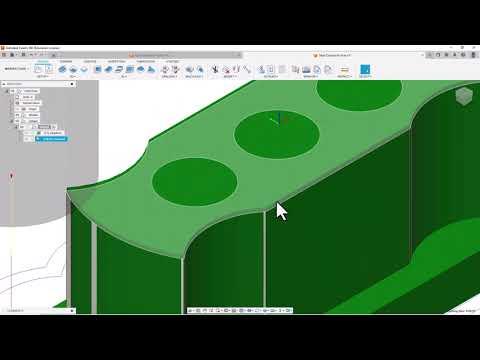
Creating the setup for the tape dispenser axle is similar to the setups you have done before.
- Open the Tape Dispenser axle in the Fusion360 manufacture workspace
- Click the Setup key
- Select the Z and X axis key to re-orient the WCS to the part
- Select the appropriate lines on the project to make the X axis on the part the longer overall direction
- in the stock tab select relative sized box for stock type
- Create a side offset size of .1435"
- Create a top offset of .0625"
- Create a bottom stock offset of .2245"
- Click OK to finish your setup.
There are 4 toolpaths to be added to this part.
Select 3d Adaptive clearing
- Select the tool 2 the 3/4" endmill
- Make no changes to geometry
- Make no changes to heights
- Change optimal load in passes to .0375
- Make no changes to linking
Select 2d Contour
- Select the tool 2 the 3/4" endmill, slow the feed rate to 20 inches per minute
- Select the bottom outer profile of the part for geometry
- Make no changes to heights
- Select multiple finishing passes and identify quantity 2
- Make no changes to linking
Select Facing operation
- Select the tool 2 the 3/4" endmill, slow feed to 20 inches per minute
- Select the top edge of the part in geometry
- Make no changes to heights
- Make no changes in Passes
- Make no changes to linking
Select the 2d bore operation
- Select the tool 4 the 5/16" endmill Slow feedrate to 20 inches per minute.
- Select all three holes on the top of the part, or one hole and check the select same diameter box.
- Make no changes to heights
- Make no changes to passes
- Make no changes to linking
Support video for Part 2 setup 1 Tape Dispenser Axle
Set Workpiece Origin for Tape Dispenser Axle Setup 1
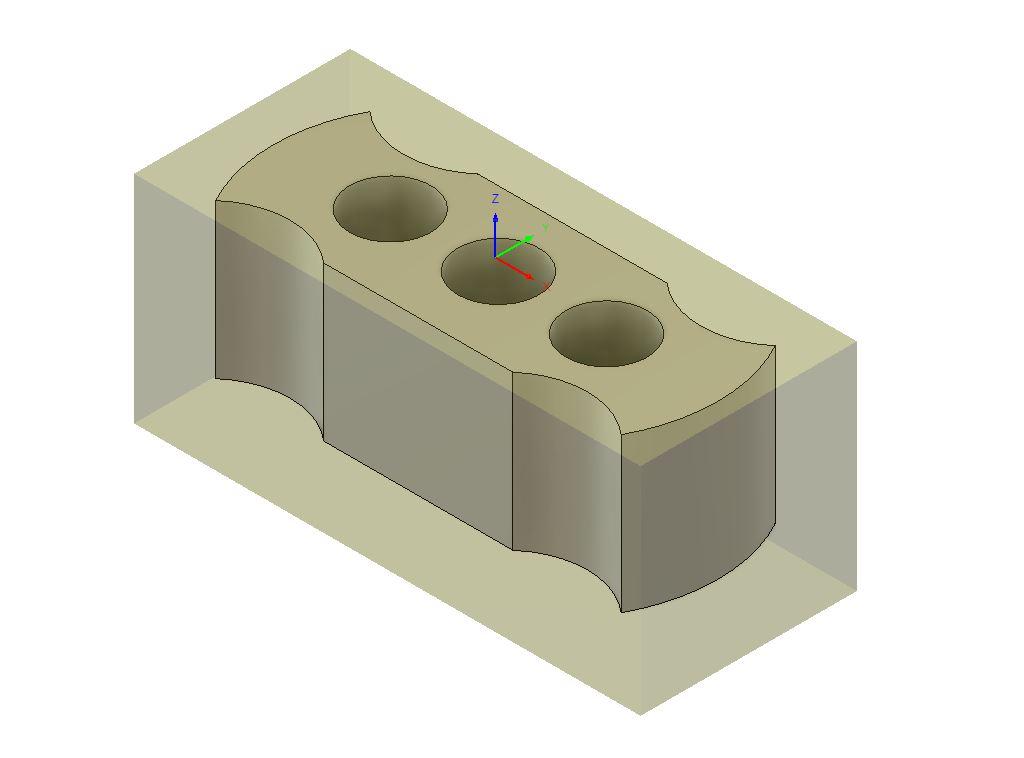
The CNC machine needs to be told where G54- workpiece home is located. This varies based on machine, but for most standard CNC machines there are 2 basic processes. Both are overviewed below, please follow the procedure required for your specific CNC machine.
Edge finder Method
- Load an edge finder into the spindle of your CNC machine.
- Set the machine to run at 700 RPM and jog the CNC machine by .001" until the edgefinder wiggler contacts and "kicks" on the edge of the workpiece.
- Highlight relevant X or Y axis on the the offset page in he G54 column.
- Pres the Zero Axis button.
- Key in the amount of distance needed to correct for the radius size of the Edge Finder.
- Correct the axis location by half the size of the block
- Repeat the above process for the other axis
- For Z axis you will be required to jog all 5 tools onto the top of the workpiece and press the tool offset measure button to establish the heights of every tool in relationship to the project.
Work Probe Method
- Electronic work probes can be configured to probe the top and all 4 sides of a block of material in one step
- Prepare the machine to probe 5 sides in one operation.
- Jog the tool probe to its designated starting position
- The probe will automatically enter all locations into the CNC machines control.
- Tools have to be probed using a separate tool probe in order to correctly establish Z length.
This process should be repeated every time a new part is loaded into the machine to insure that all projects run as intended even if a material block is loaded or cut differently.
Machine Tape Dispenser Axle Setup 1
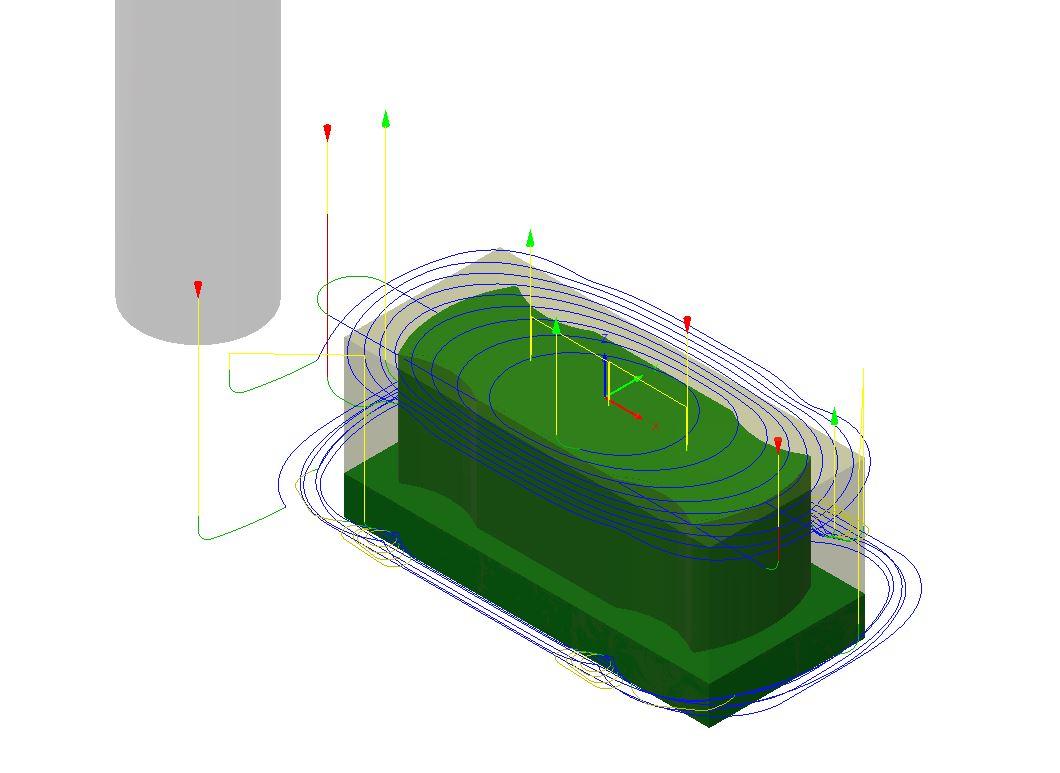
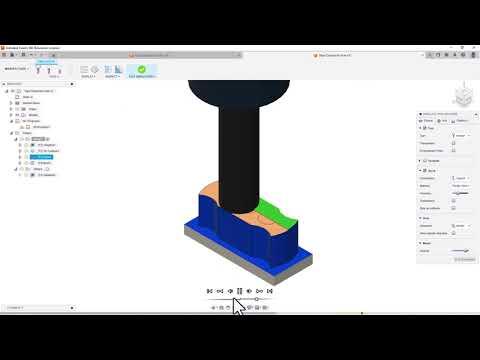
When machining setup 1 of the Tape Spindle, watch for he following things.
- Verify that the cutter approaches the correct corner of your part first, stop and assess if it starts heading somewhere unexpected.
- The first 3 toolpaths all use the same tool so if 1 is working the rest should work as well.
- Keep an eye on the bore toolpath. feed hold the machine to make sure that coolant is being sprayed into the working area on the cutter and hole before running all three holes.
Create Setup 2 and Cutting Toolpath on Tape Dispenser Axle
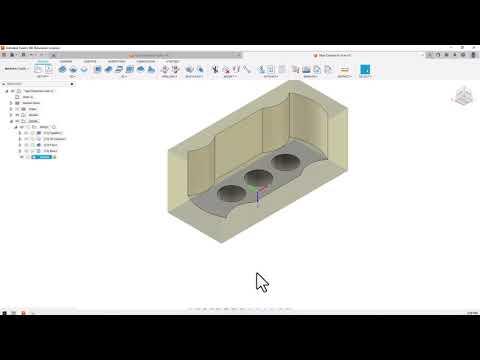
Creating the second setup and the second way of holding the part in a vise for machining is a simple and easy process. This second setup will flip the part upside down and use an endmill to remove all additional material at the bottom of the part, which is also know as a carrier. The video demonstration also includes adding in the one toolpath needed to complete this setup.
To remove the carrier on this part:
- Click on the setup icon in fusion to create a new setup
- Switch the WCS location from model to select Z and X axis
- Select a line on the part that represents the Z axis
- Select a line on the part that represents the new X axis
- Click the flip Z or flip X check boxes if needed to change direction of the various components to align the WCS correctly
- Open the stock tab and select From Preceding Setup
- Click OK to finish the setup.
To create the toolpath:
- Select 3d adaptive clearing toolpath
- Select tool 2 the 3/4" cutter
- Make no changes to heights
- change passes optimal load to .0375
- uncheck passes: stock to leave
- make no changes to linking
Link to support video- WCS and 1 toolpath, Tape dispenser spindle setup 2
Post Process Code for Setup 2: Tape Dispenser Axle
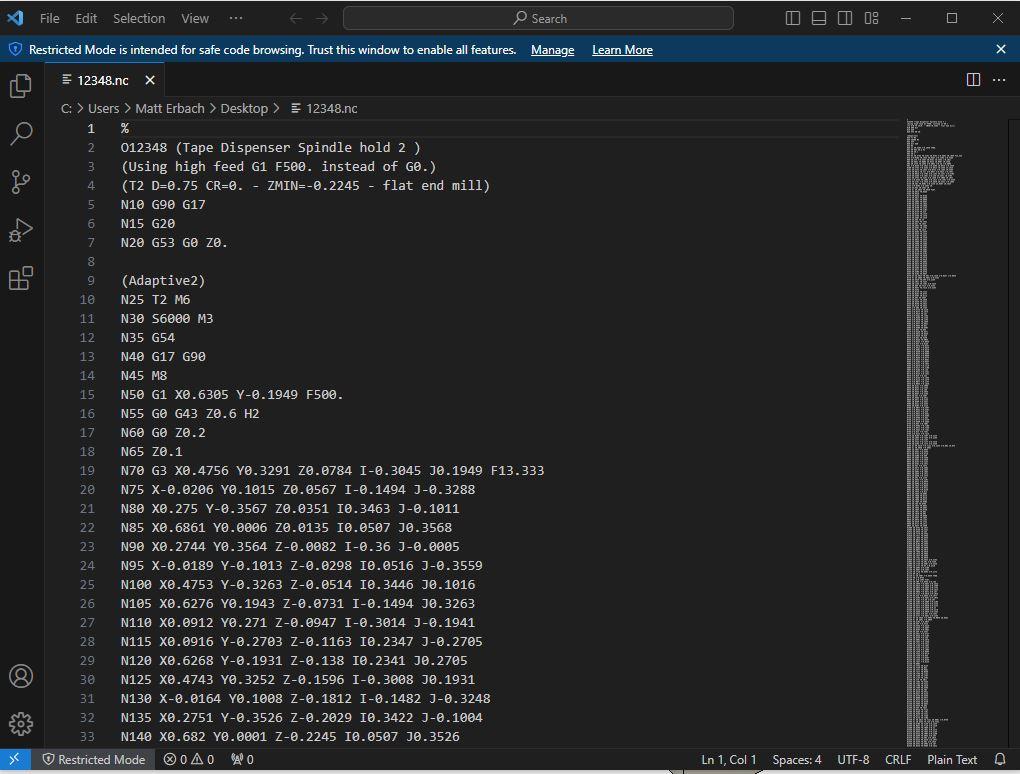
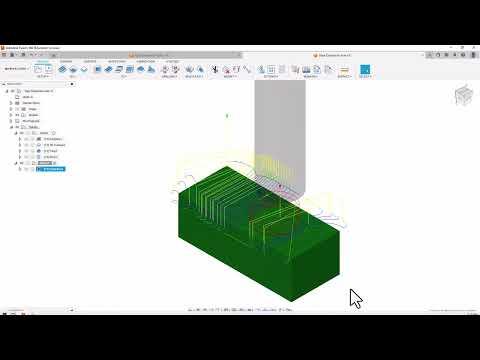
Post Processing this part of the project is identical to every other post process performed.
- Click on the specific operations you wish to turn into G and M code
- Click on the post Processor button
- Verify correct post and options are enabled
- Click the Post Key
- Save the resulting code to a location accessible by your machine- a USB drive normally works well
Create Workplace Origin for Setup 2: Tape Dispenser Axle
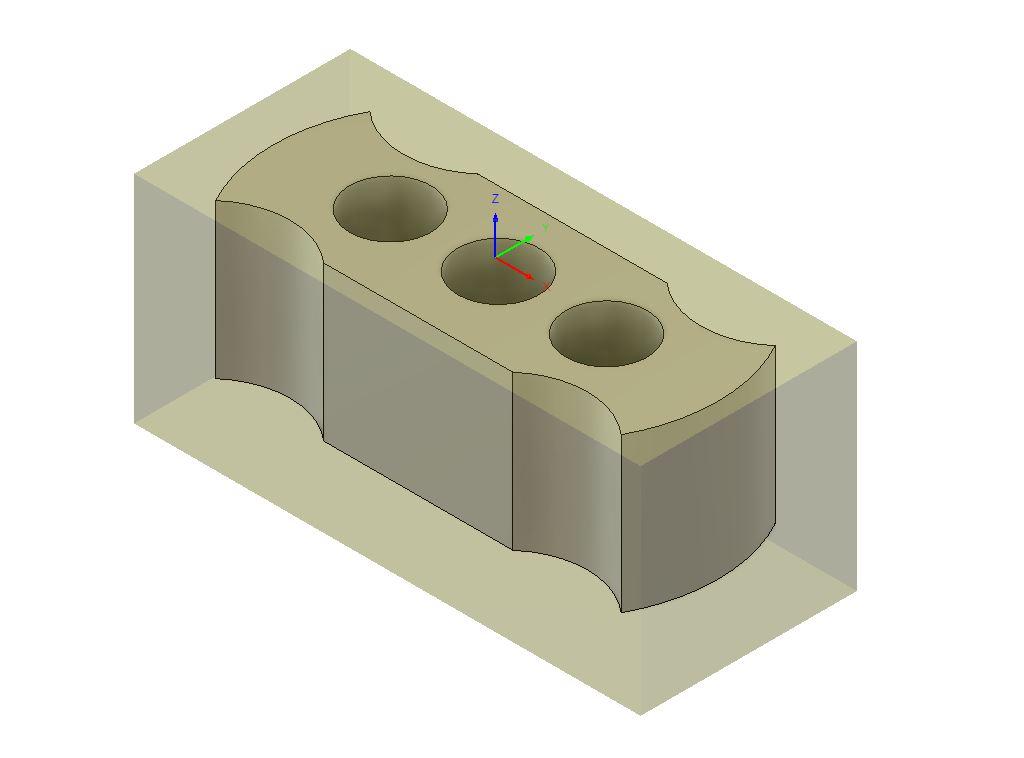
The CNC machine needs to be told where G54- workpiece home is located. This varies based on machine, but for most standard CNC machines there are 2 basic processes. Both are overviewed below, please follow the procedure required for your specific CNC machine.
Edge finder Method
- Load an edge finder into the spindle of your CNC machine.
- Set the machine to run at 700 RPM and jog the CNC machine by .001" until the edgefinder wiggler contacts and "kicks" on the edge of the workpiece.
- Highlight relevant X or Y axis on the the offset page in he G54 column.
- Pres the Zero Axis button.
- Key in the amount of distance needed to correct for the radius size of the Edge Finder.
- Correct the axis location by half the size of the block
- Repeat the above process for the other axis
- For Z axis you will be required to jog all 5 tools onto the top of the workpiece and press the tool offset measure button to establish the heights of every tool in relationship to the project.
Work Probe Method
- Electronic work probes can be configured to probe the top and all 4 sides of a block of material in one step
- Prepare the machine to probe 5 sides in one operation.
- Jog the tool probe to its designated starting position
- The probe will automatically enter all locations into the CNC machines control.
- Tools have to be probed using a separate tool probe in order to correctly establish Z length.
This process should be repeated every time a new part is loaded into the machine to insure that all projects run as intended even if a material block is loaded or cut differently
Cut Setup 2: Tape Dispenser Axle
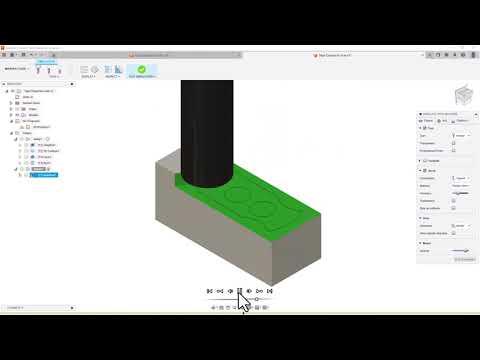
This process is similar to setup 2 on the tape dispenser body. Pay close attention to the cutters initial approach and make sure it is spiraling down to the part in its intended location. Once the CNC program finishes, clean off any excess chips, unclamp the workpiece and deburr with files as necessary.
Create Setup and Engrave Toolpaths on the Tape Dispenser Body
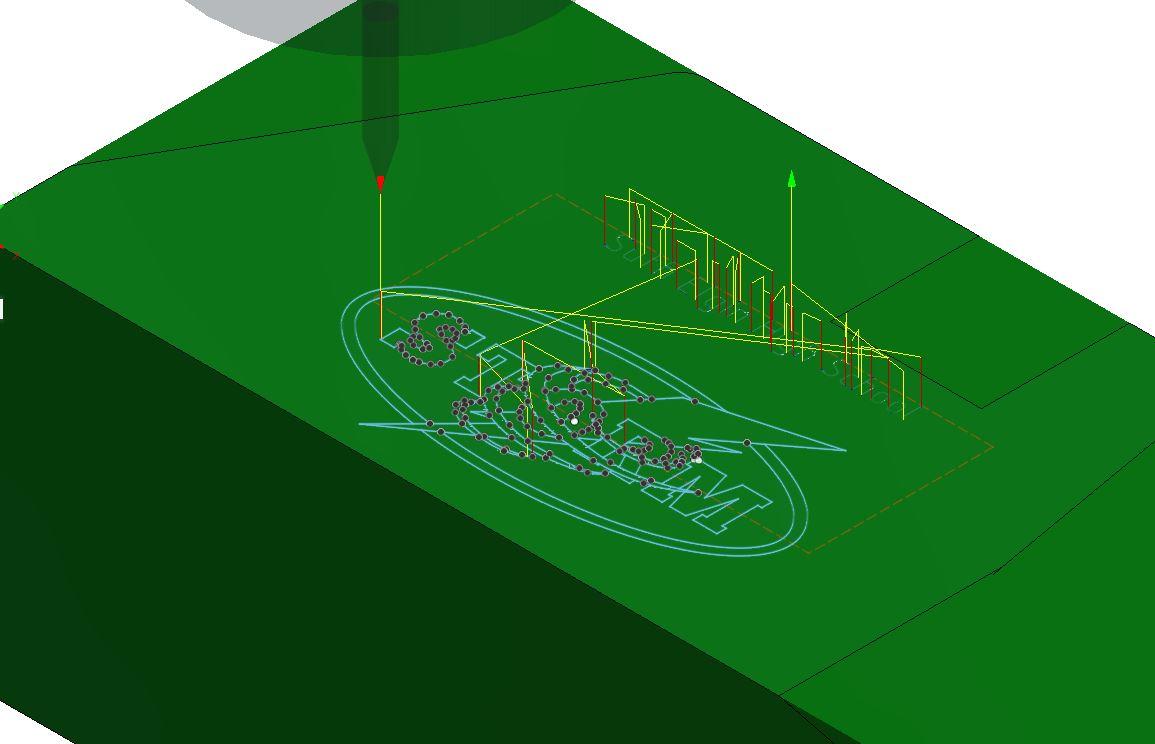
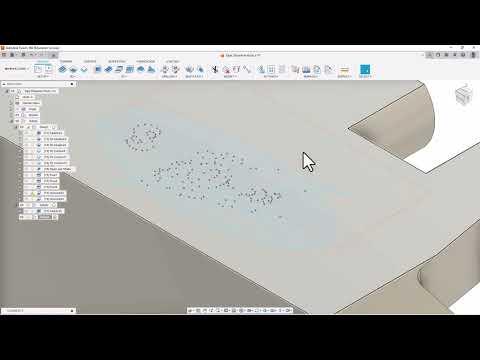
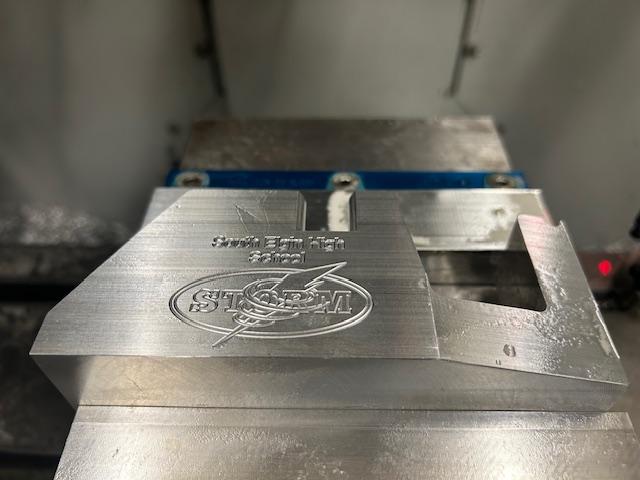
Post Process Setup 3: Tape Dispenser Body
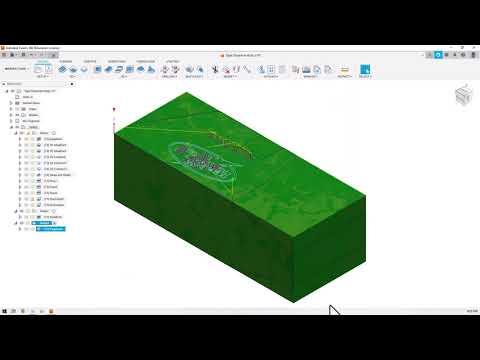
Create a G and M code file for your CNC machine using the Post Processor Tab.
Similar to the previous operations, simply create a file for setup 3 on the Tape Dispenser Body.
- Click on the specific operations you wish to turn into G and M code
- Click on the post Processor button
- Verify correct post and options are enabled
- Click the Post Key
- Save the resulting code to a location accessible by your machine- a USB drive normally works well
Establish Workpiece Origin for Setup 3
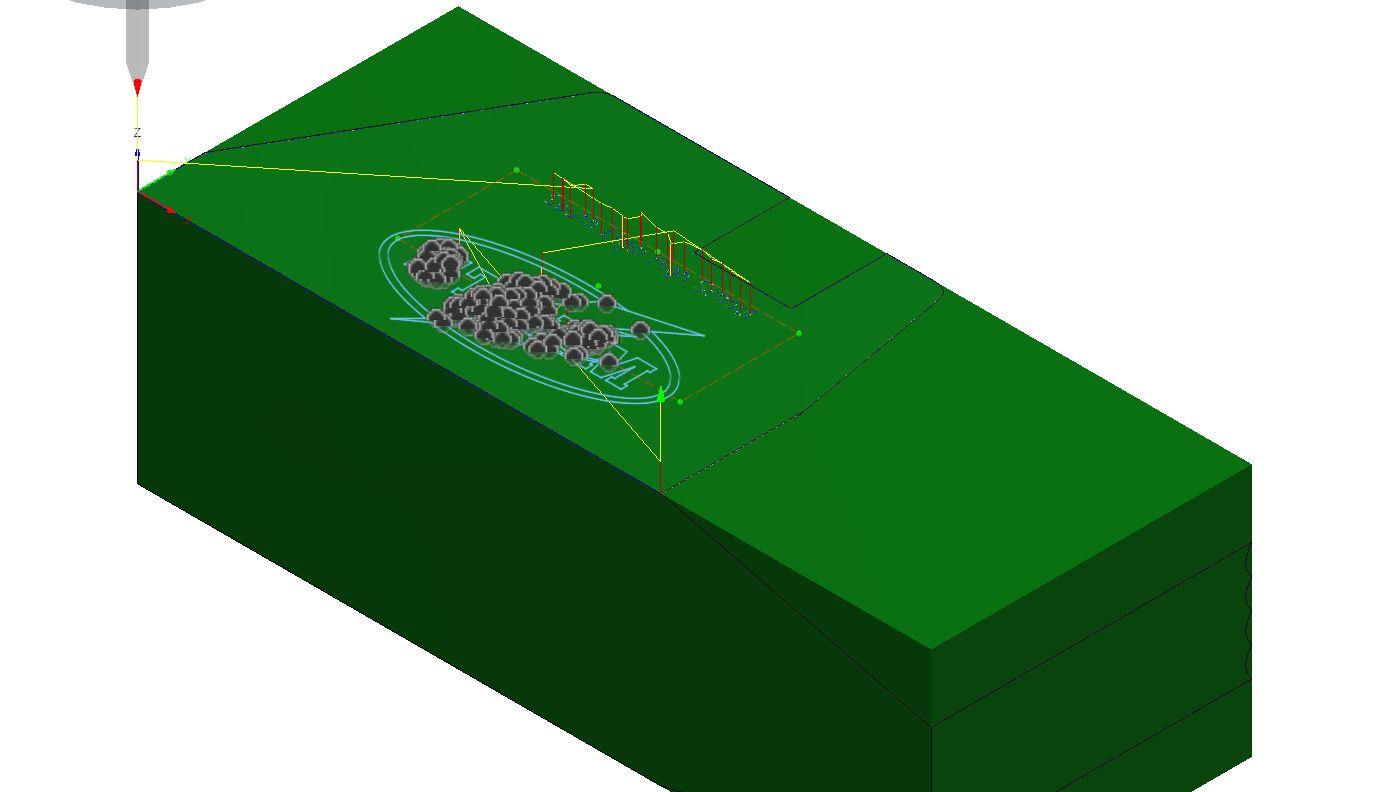
Setting up WCS origin for the last setup of the project is different than pervious operations. You will have to use the edge finder or work probe to locate the lower left hand corner of the project rather than the center top.
- Using and edge finder for this means not adding in a large correction factor to compensate for the distance between the edge of the part and the middle of the block, you just need to compensate for thee thickness of the edge finder.
- When using a work probing system, you either have to use 3 direction corner probing system, or probe the X, Y and Z locations of your workpiece individually.
Engrave the Tape Dispenser Body
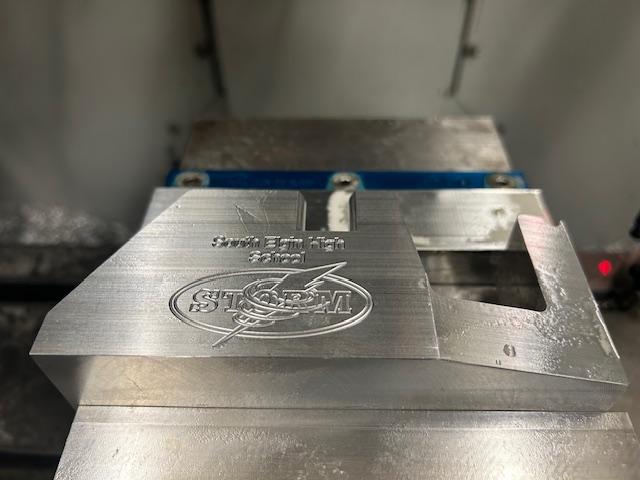
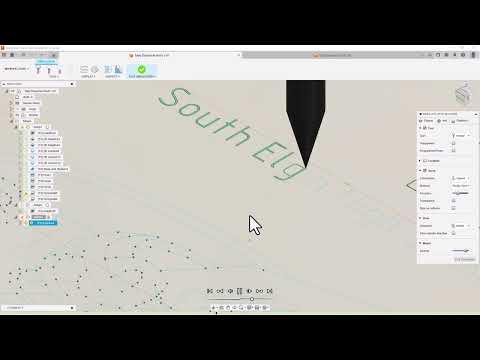
De-burr, and Assemble Your Completed Tape Dispenser
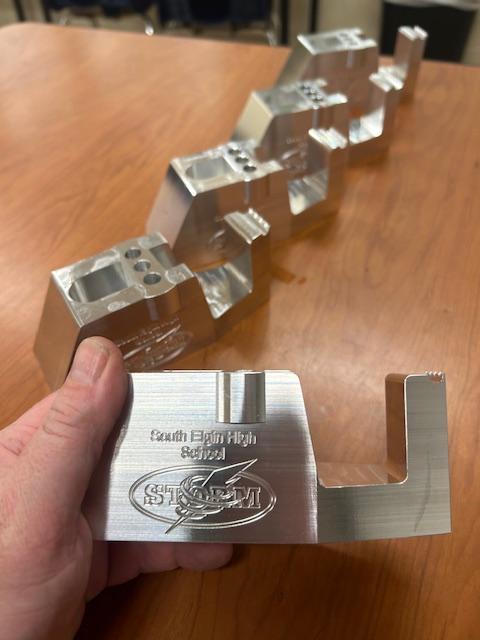
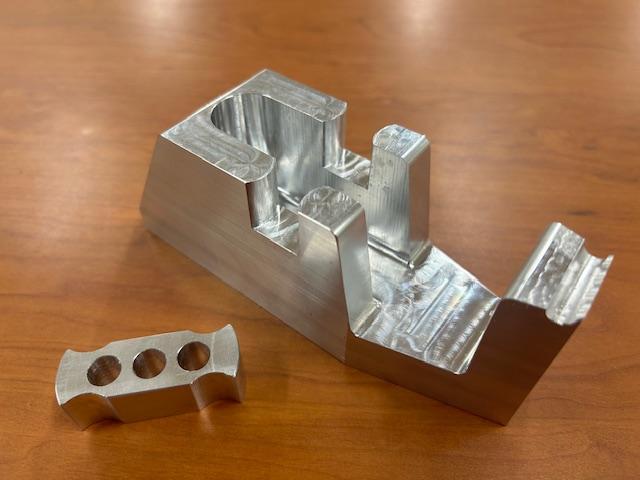
Once both parts are out of the CNC machines, give both of them a thorough check for burr edges that would be dangerous and remove those burrs carefully with a file while wearing safety glasses. Place a tape spool on the Tape Dispenser axle, and then slide the axle into place on the tape dispenser body.
You made a CNC project!
Project Improvement
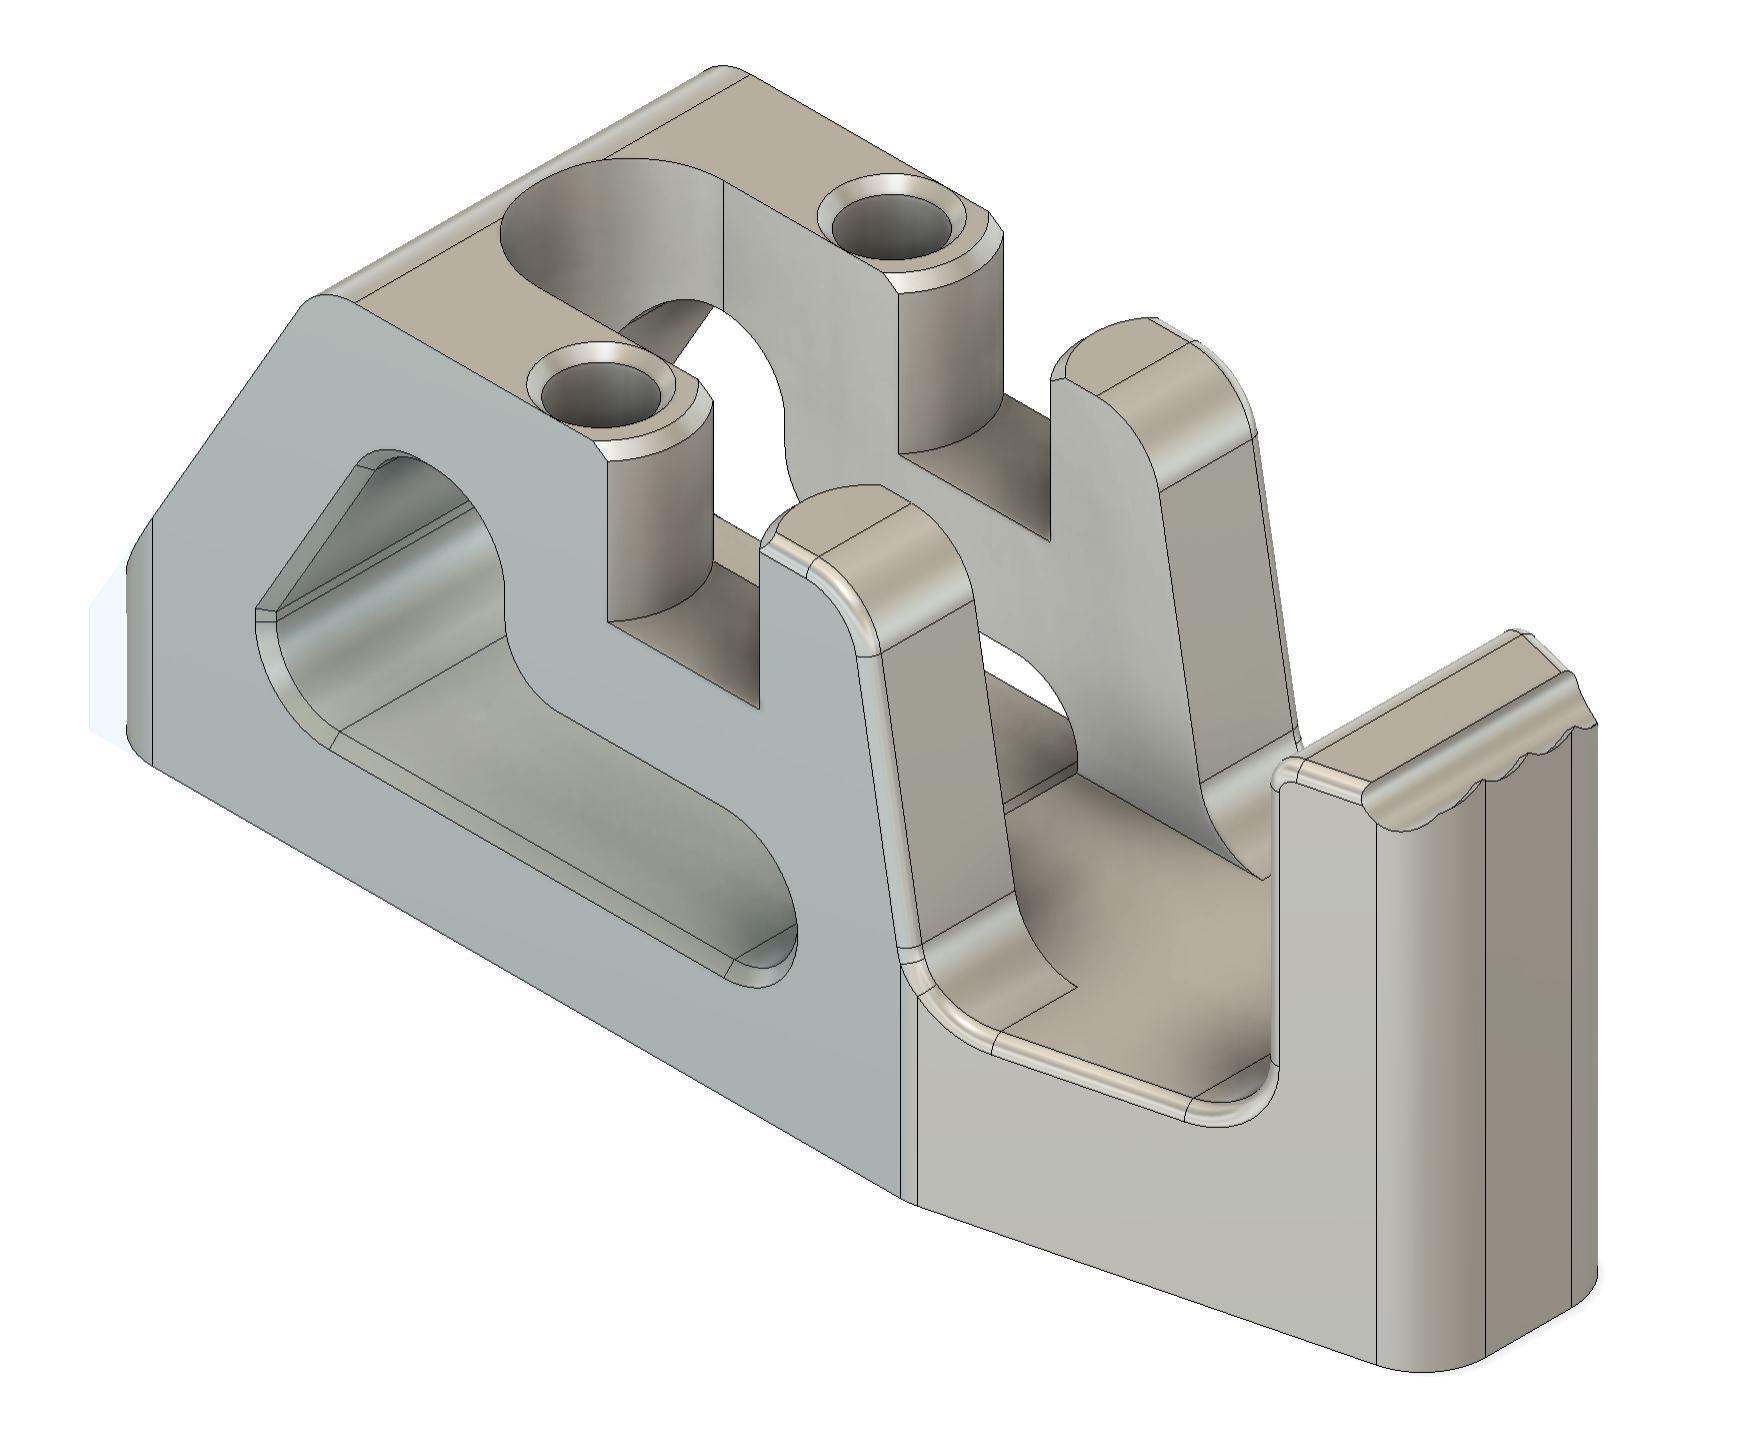
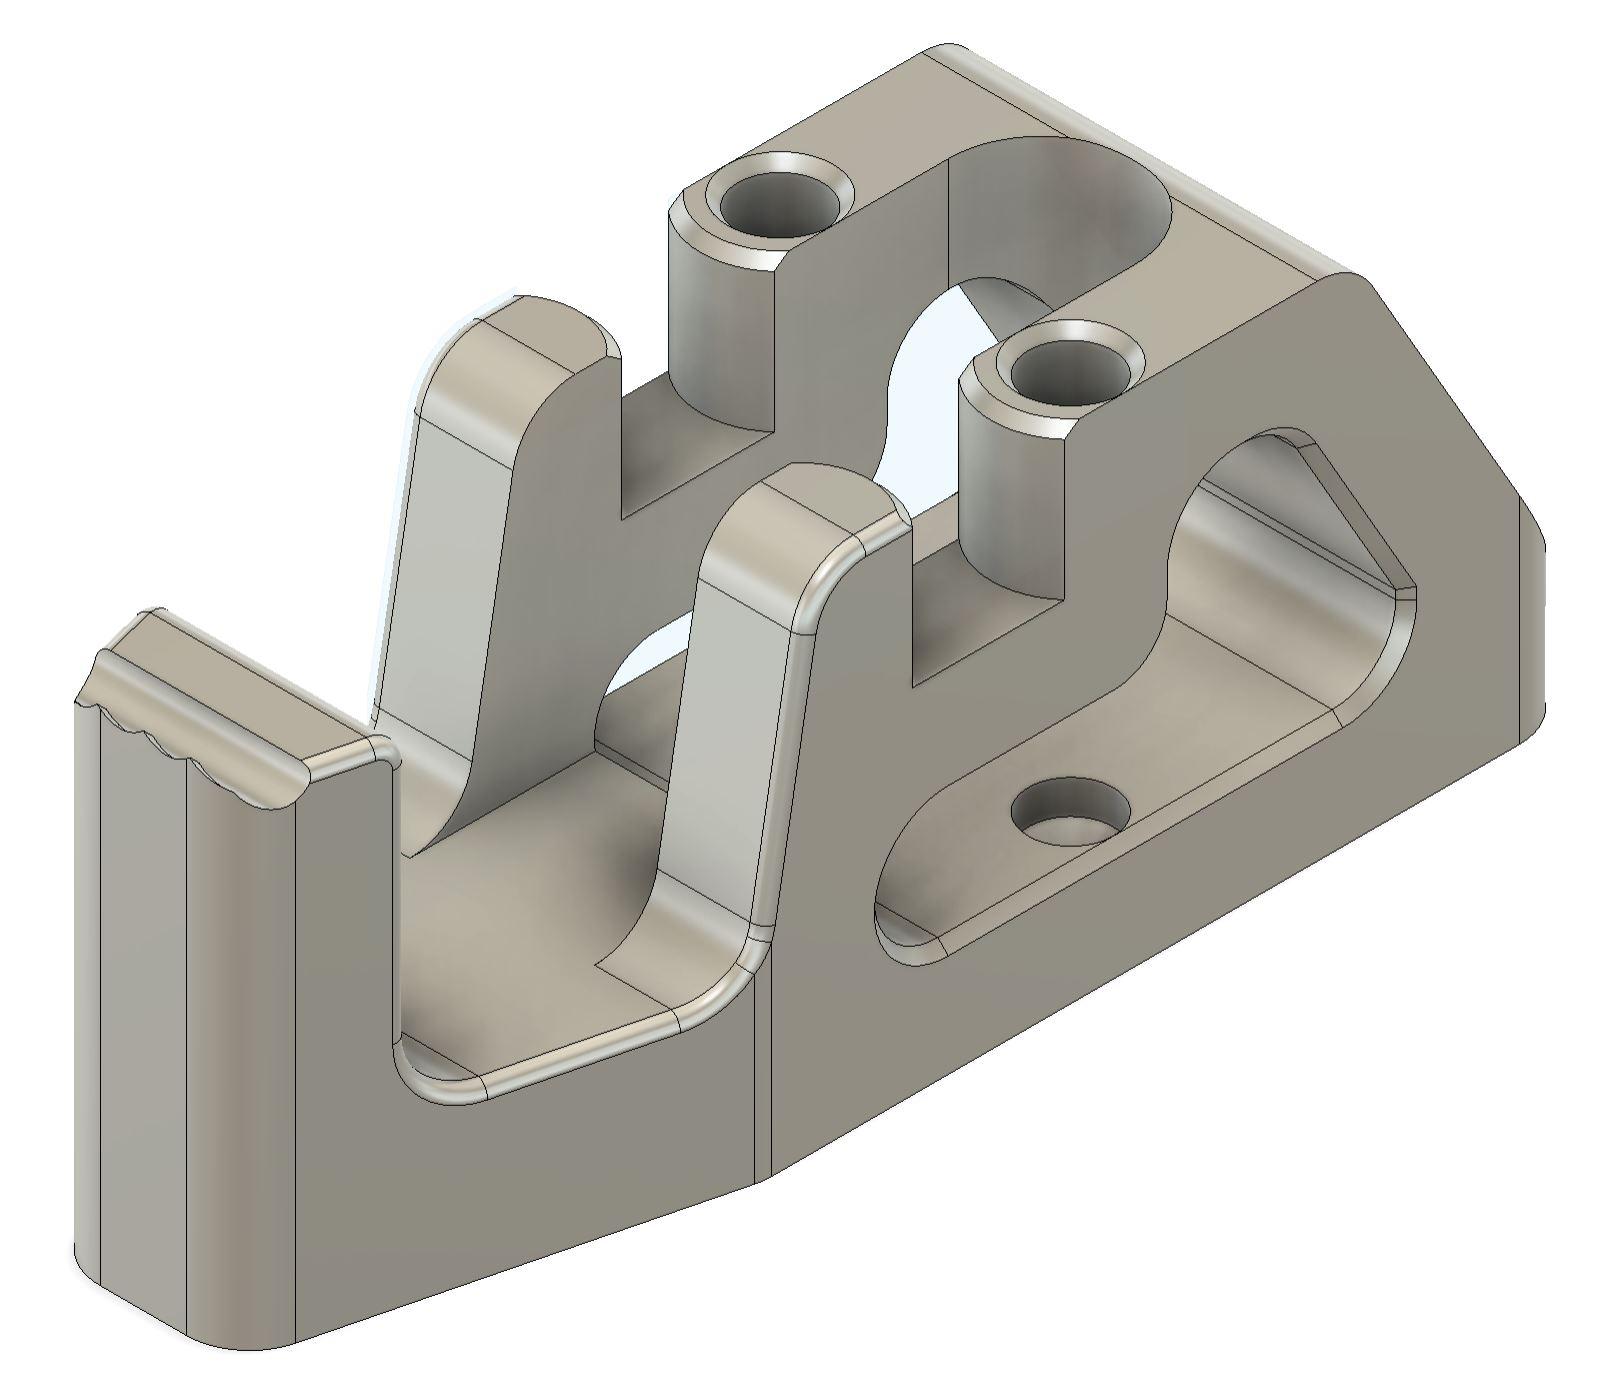
Needless to say, this is a simple design for a project and there are many areas in both design and manufacturing where this project could be improved.
There are plenty of ways to improve this project, both in process and in the project files themselves. Try something to improve the project or the process. Some ides might include:
- Editing the sizes of existing features
- Scale the part to be used on a different size of tape roll.
- add chamfers or additional pockets to cut weight
- add a hole to store a pencil or pen.
- Change toolpath types, like trying a parallell toolpath instead of flow
- Make the project with the smoothest possible surface finish, or find ways to make the project faster
- Explore how to make the machine deburr the part before it finishes a setup
In short make this project better, and make it your own. Every school will have a different perspective on how to do this project improvement, if you don't know where to start consider using an engineers notebook to brainstorm improvements, use a decision matrix to identify the best options for improvement, and then modify the project or process accordingly.
I hope this Instructable showed you how to use some features in the manufacture area of Fusion360, and that you have a 1 of a kind tape dispenser to show for it!