Private TV-channel for the Elderly
by SebastiaanJansen in Circuits > Raspberry Pi
4168 Views, 27 Favorites, 0 Comments
Private TV-channel for the Elderly

.jpg)

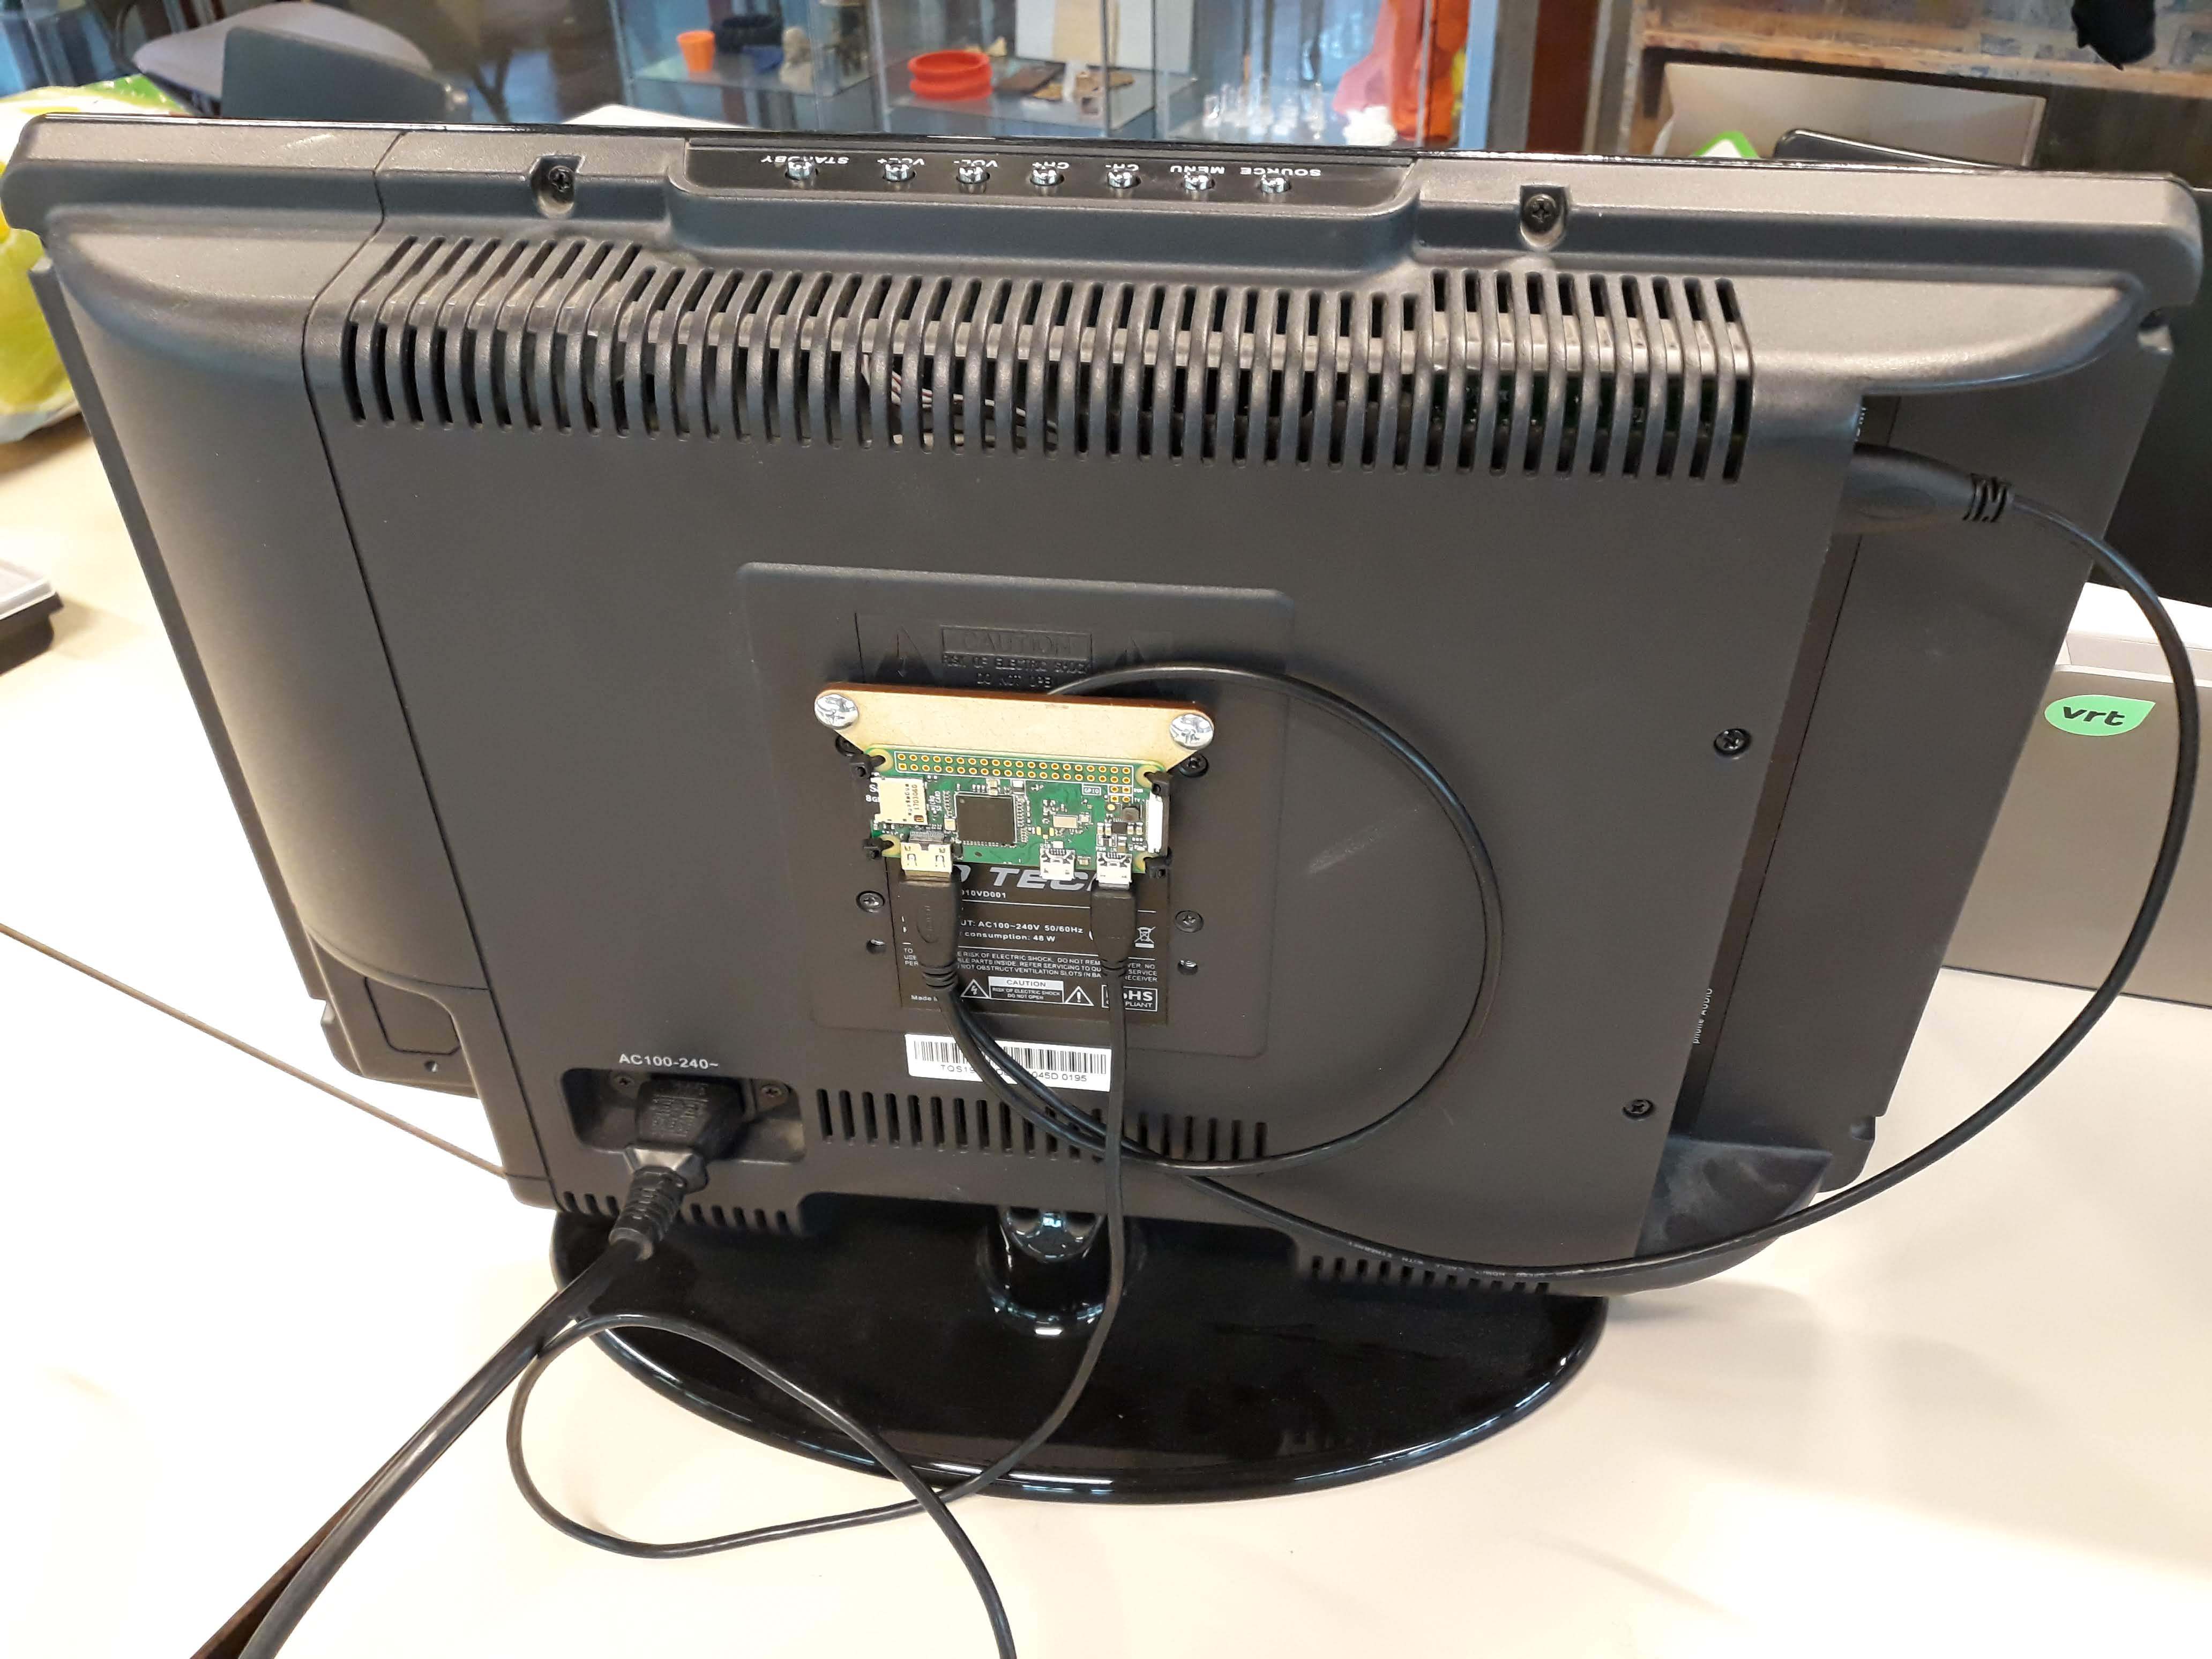
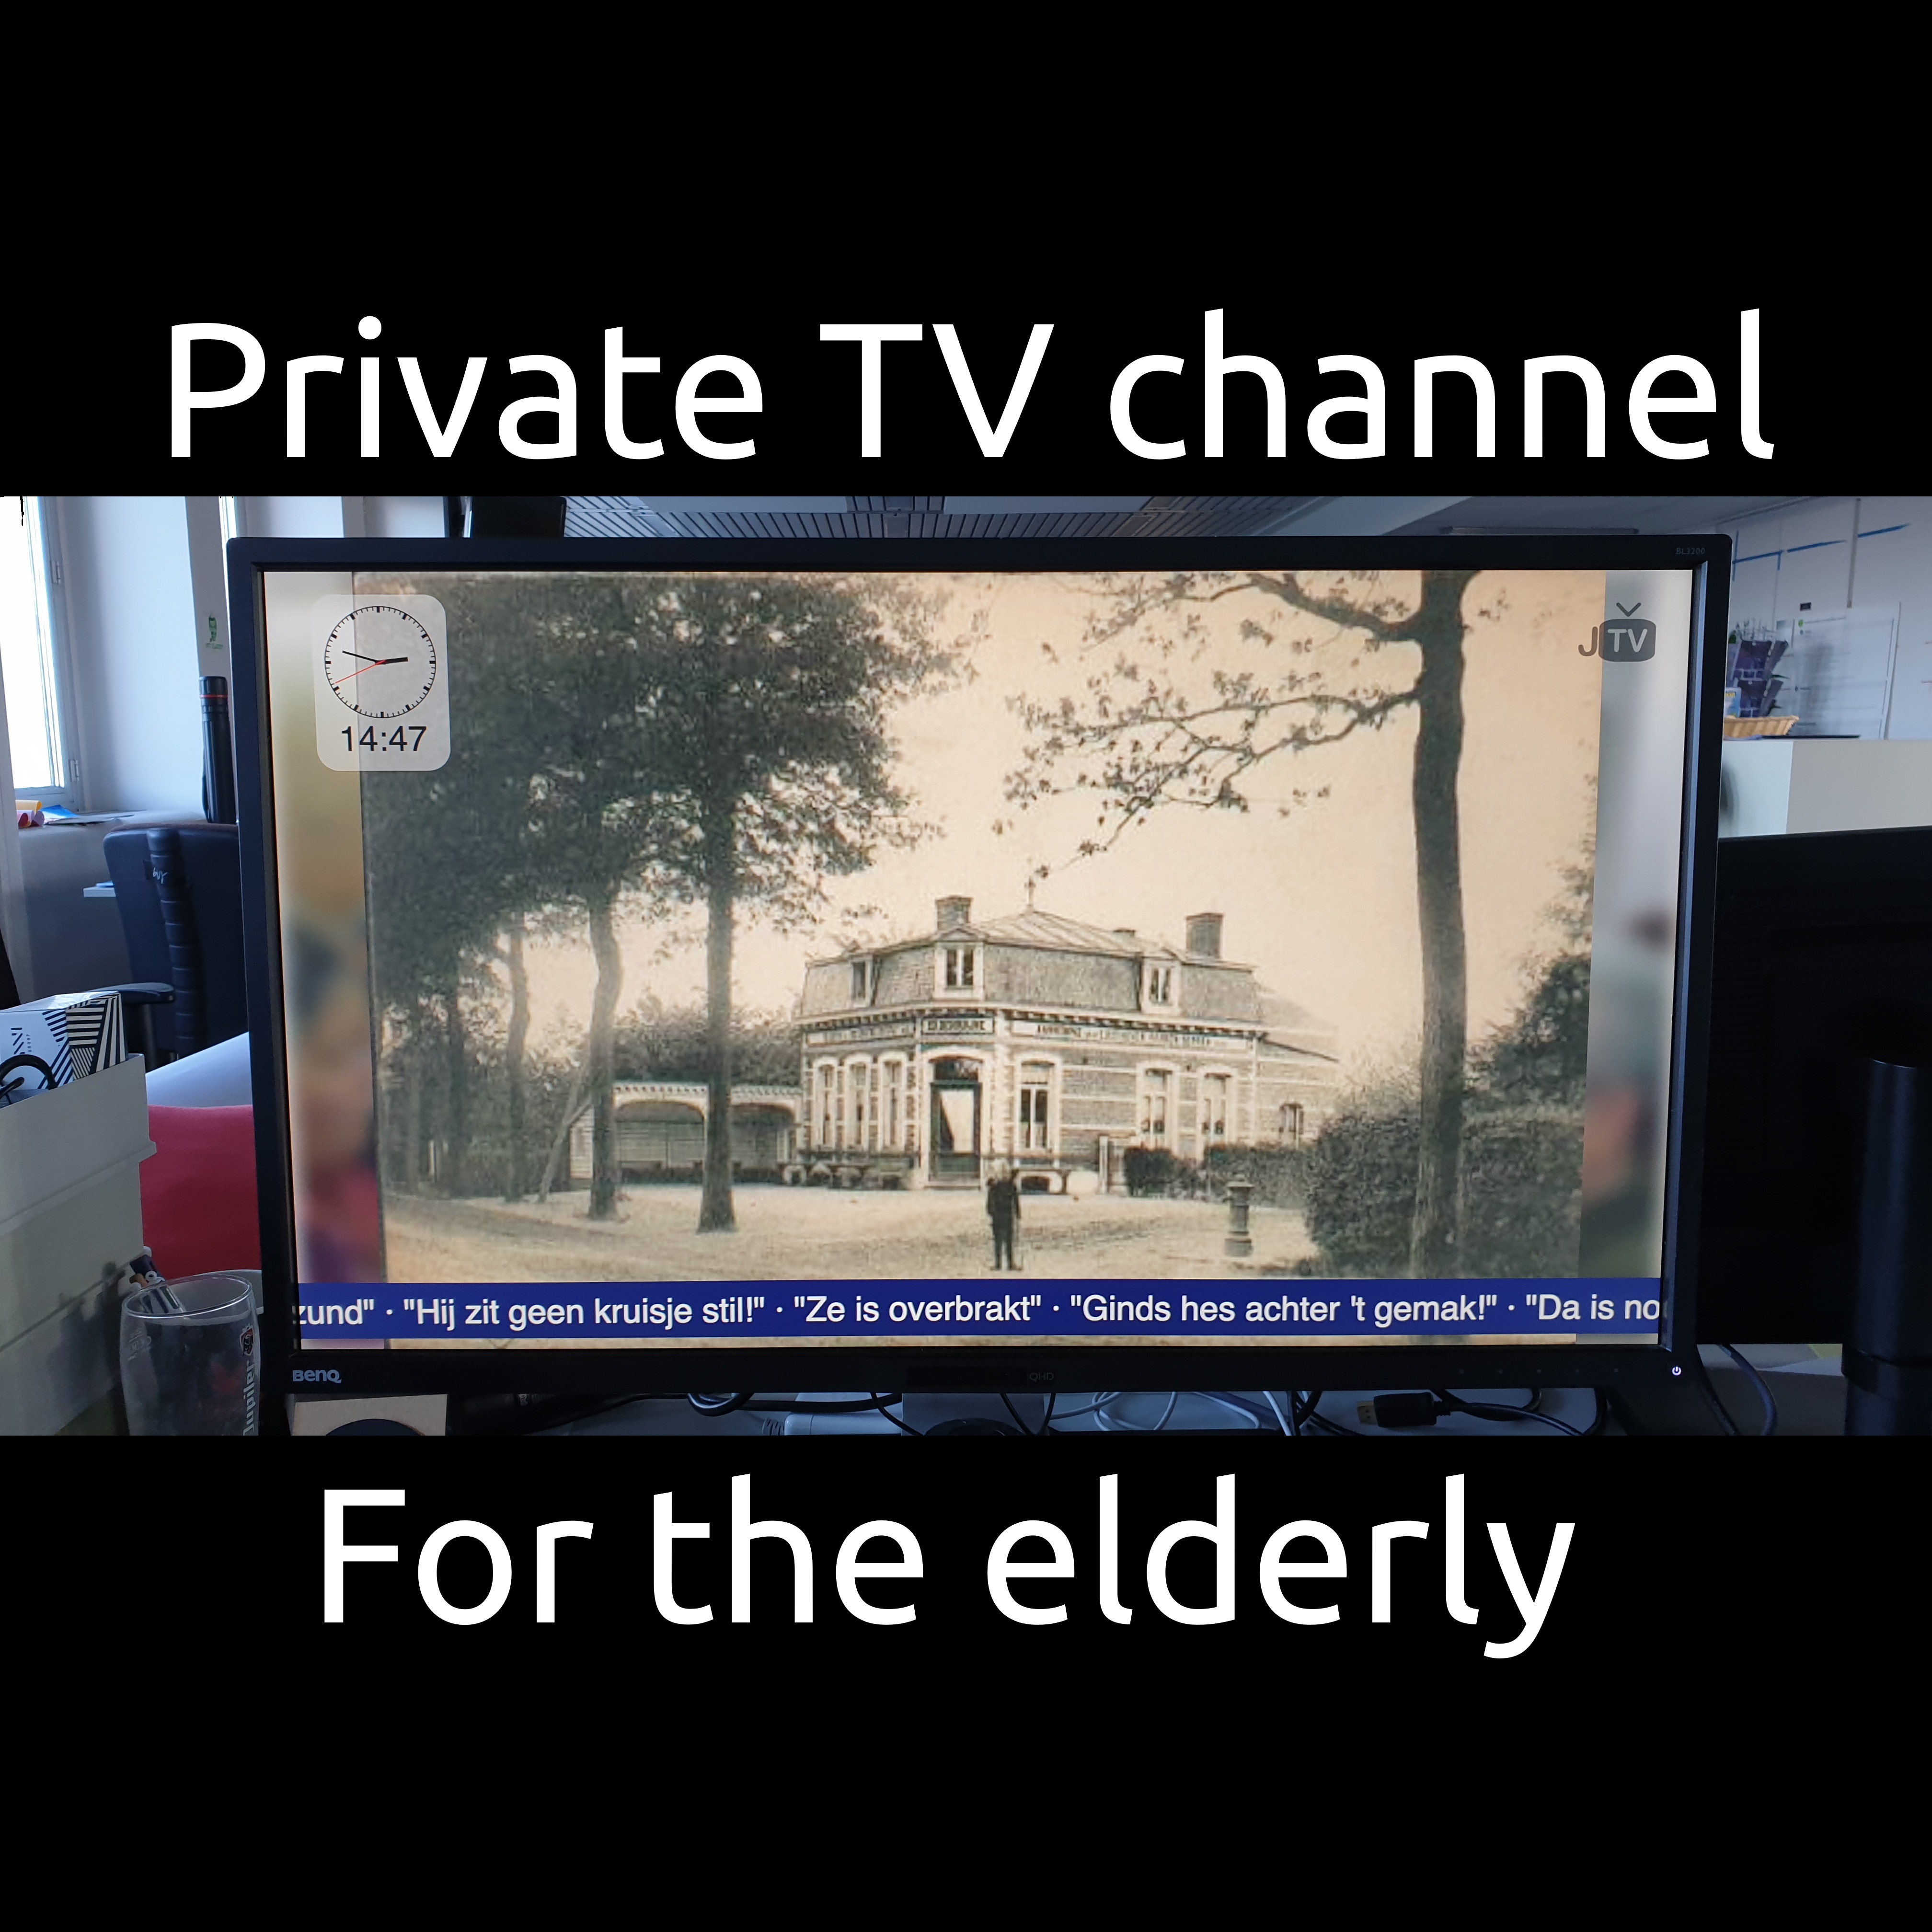
Memories are a tricky issue for my grandmother who is turning 94 years old this year. So I added a tv-channel to her television set to help her remember family members and key moments in her life. For this I've used a free Dropbox account, a Raspberry Pi and a VCR, but the VCR is optional depending on your usecase.
With this system my family members can add their pictures to a shared Dropbox folder and they'll automatically show up on the channel.
So the flow is as follows:
- The Raspberry Pi has a fullscreen Chrome browser and is connected to the TV.
- The Raspberry pi is connected to the local Wi-Fi network.
- The Chrome browser loads the webapplication.
- The webapplication talks to Dropbox and requests a random picture from a specific folder.
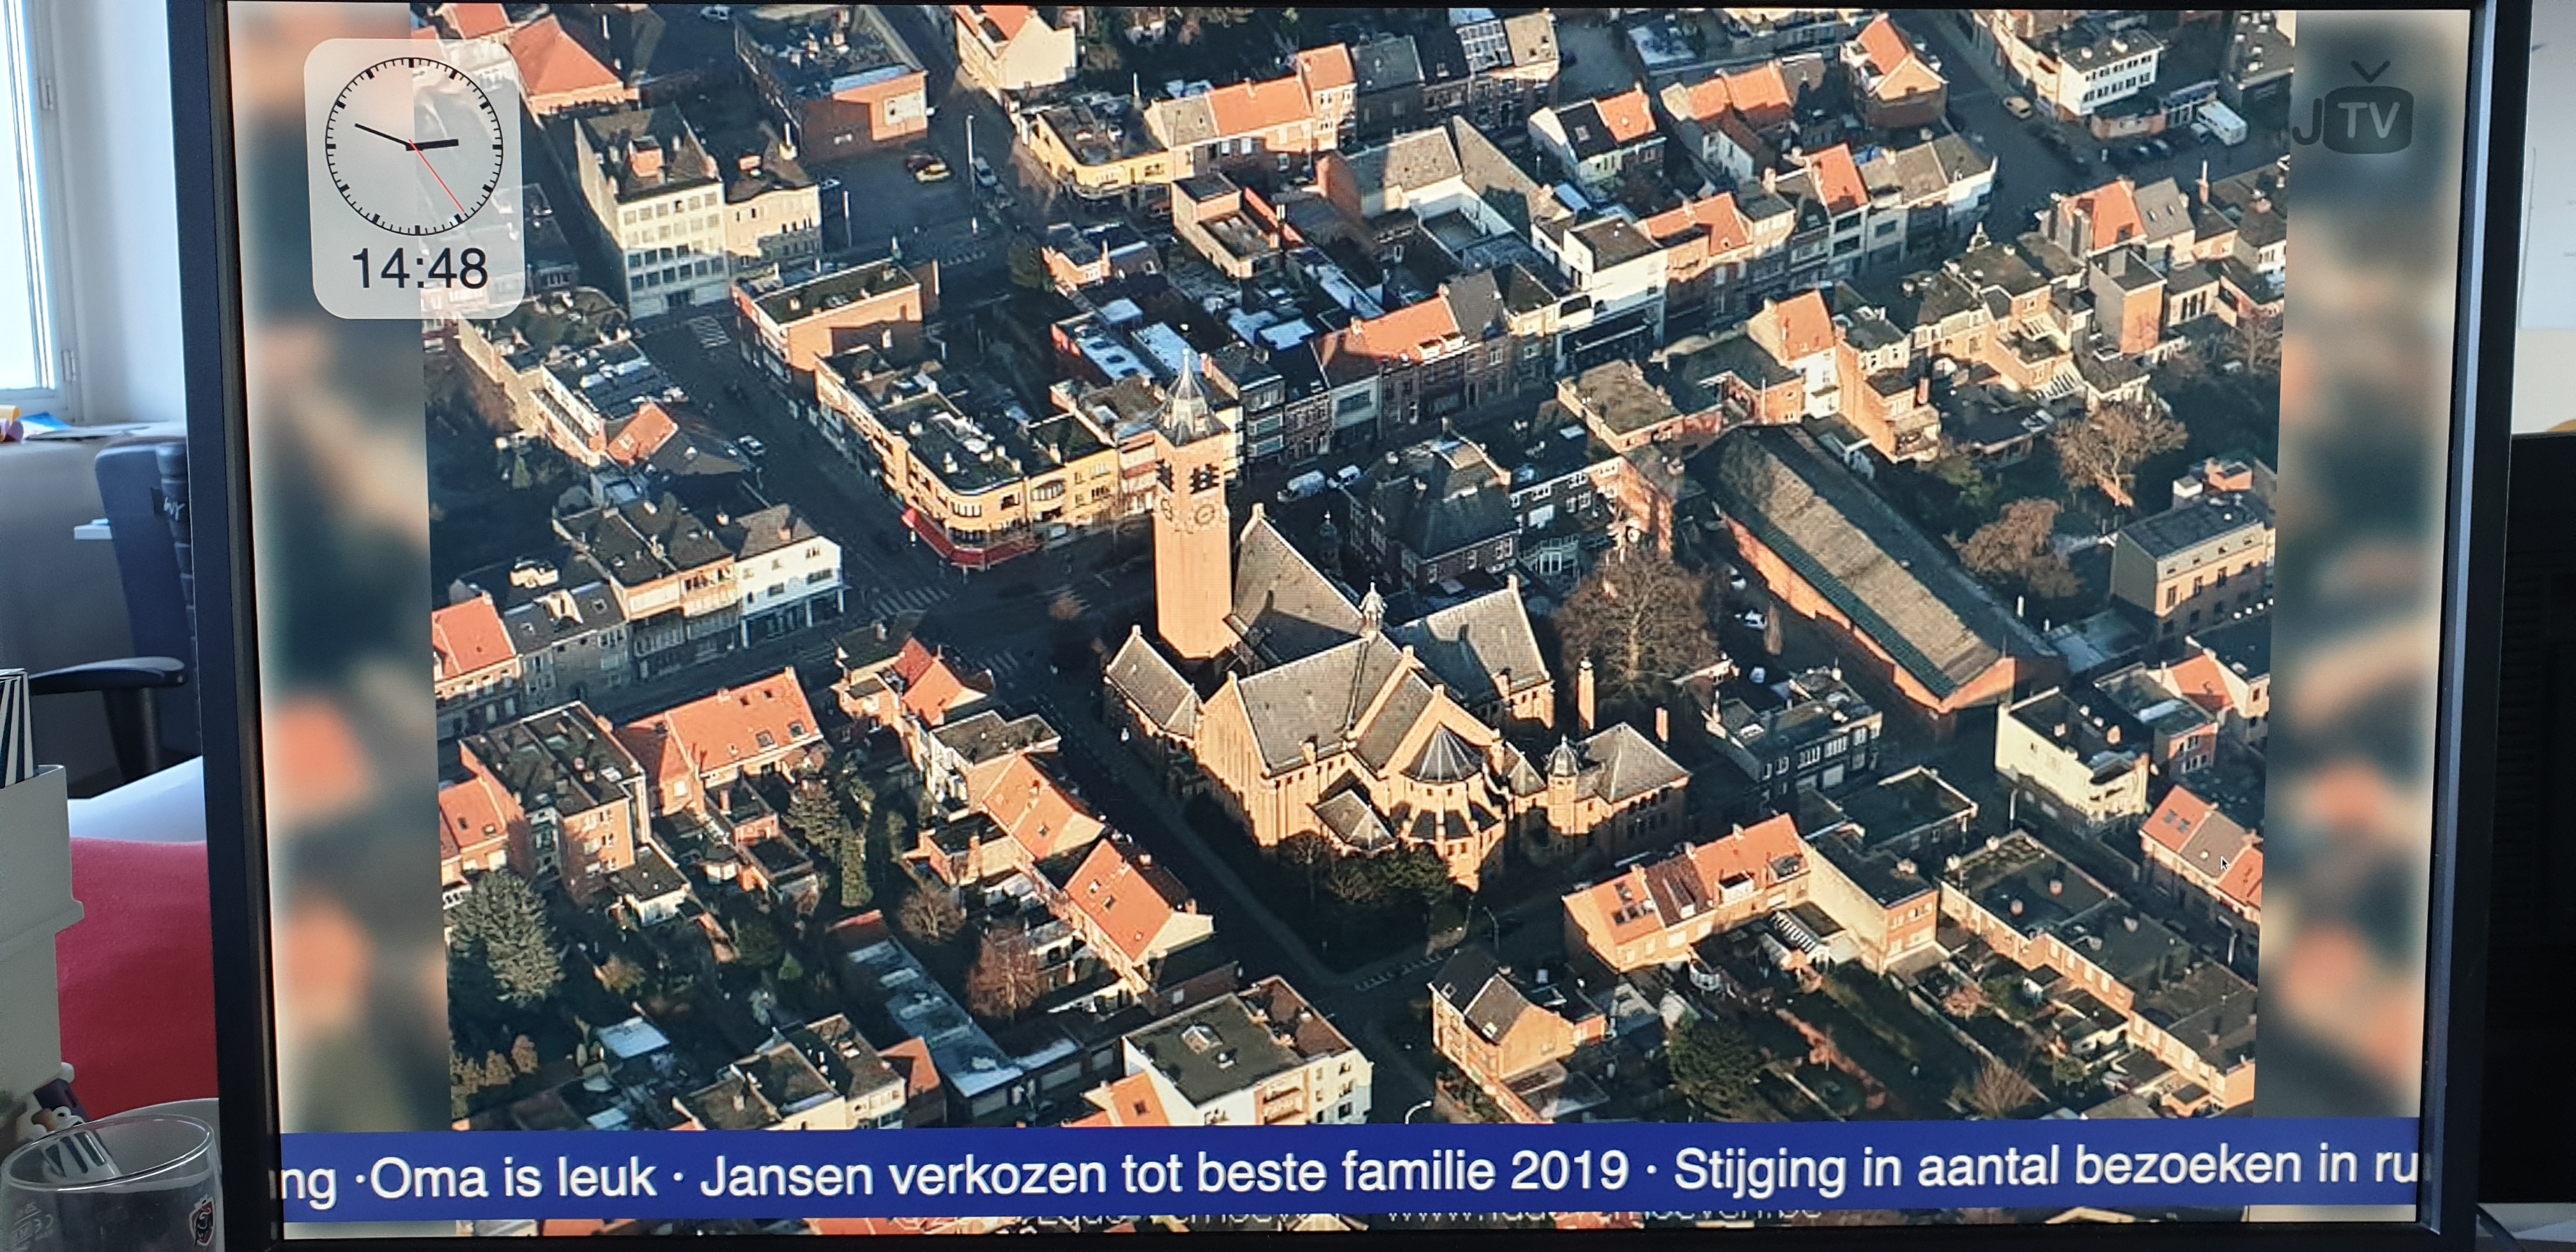
- The webapplication shows the picture in a nice interface together with the clock and a news ticker.
You can either connect the Raspberry Pi directly to the TV using HDMI and use that as an input source, or you can use a VCR to make it create your own channel. Details on that will be explained in the last step.
The project is completely open-source and the source code can be found here on my GitHub page.
Supplies
- Raspberry Pi, doesn't matter which version
- HDMI cable
- (Free) Dropbox account
- Optional: VCR
Setup DietPi on the Raspberry Pi
Why am I using DietPi instead of regular Raspbian? Dietpi is a more optimized operating system for multiple single board devices and includes a handy software configurator, including a fullscreen webbrowser.
To install DietPi on your Raspberry Pi you can follow the instructions here.
If you prefer a video tutorial, here's a YouTube video highlighting the basics of installing DietPi and software.
But the gist of it is as follow:
- Download the latest release from their website.
Unpack the downloaded archive - Download and install Etcher
- Insert the microSD card in your computer
- Use Etcher to write the extracted image to the microSD card
- Go To "my computer", select the SD card and open it.
- Locate the file called dietpi.txt and open it with wordpad.
- Set AUTO_SETUP_NET_WIFI_ENABLED=1
- Open dietpi-wifi.txt and open it with wordpad.
- Change aWIFI_SSID[0]='MySSID' and aWIFI_KEY[0]='MyWifiKey'
- Save changes to edited files
- Plug the microSD card in your raspberry pi, but leave it off for now, we'll set it up later.
Now you've installed the operating system Dietpi!
Setup Dropbox
Go to Dropbox.com and create a free Dropbox account with 2GB of storage. Then add a new folder where you want your pictures to be stored and add a few as a test.
Now for the hard part, setting up the access token. We need this to securily get the pictures from your account and display it in the webapplication.
- Log in to your Dropbox account and follow this link: https://www.dropbox.com/developers/apps
- Click on the blue button with the text "Create app"
- Select the option Dropbox API.
- Select the option "Full Dropbox"
- Fill the most creative name you can find in the "App name" input.
- Click on "Create app" to submit.
- In the middle of the page there is a section Generated access token, click on "Generate".
- Copy the generated access token and save it in a text file somewhere, we'll need it later
- Get a rush of adrenaline because you're building something cool!
If you want to new ticker on the bottom like I have, add a file called "ticker.txt" to your pictures folder. Each line in that txt file will then be displayed next to eachother.
Install the Full-screen Webbrowser
Now that you have a working Raspberry Pi, it's time to make it display the stuff we want!
If you have an external monitor and keyboard, you can directly work on the Raspberry pi, otherwise you'll need to set it up over the network with SSH. Follow the instructions of step 4 on this page to set up your SSH client. When that's done, find the IP address using the instructions on this page. Follow the same steps as if you directly have a keyboard connected.
NOTE: The hostname is not raspberrypi.local but dietpi.local for DietPi.
Log in with username "root" and password "dietpi", without the parentheses. You then get the infamous bash shell, but don't be scared! It's just as scared of you as you are of it. Once you get to know the ins and outs of the daunting white-on-black screen, you'll realise how powerful it really is. But for now, we'll stick to just a couple of commands to install our good ol' chromium browser.
- enter the command "dietpi-software" and press the enter key.
- On the blue and gray screen you move your cursor using the tab and arrow keys. You select using the enter key.
- Select "Search" and press the enter key.
- In the prompt enter "chrome" and press the enter key
- In the search results select the "chromium fullscreen browser" and press the spacebar key.
- go to "Ok" and press the enter key.
- Select "Install" and press the enter key.Database
- Now the browser is installing! After that's done all we need to do is set the link to our photoframe webapp and tell DietPi to automatically start on boot. We'll do that by following these steps:
- By now you're presented with the bash shell again, you know? The one with the black background and white letters.
- Enter the command "dietpi-config" and press the enter key.
- Go to "Autostart Options" and press the enter key.
- You're now presented with a list containing "chromium fullscreen browser". Select it and press the enter key.
- You're now prompted the enter the url of the photo app. Remember that access token from the previous step? We'll need it here.
- The url is as follows: https://sebastiaanjansen.be/dropbox-photo-frame/?accessToken=YOUR_ACCESSTOKEN_YOU_COPIED_BEFORE
- Press the enter key to exit out of the autostart options and then again to exit the options program.
- Enter the command "reboot" and behold your very own digital-photo-frame-with-own-pictures-that-are-connected-to-dropbox, or Digital Photo Frame for short.
Congratulations! You made it to the end! So what you've configured is a raspberry pi which contains the linux kernel, which contains a lot of linux programs to start the chromium browser, which starts are webapp. Couldn't be simpler, right?
Just between you and me? You did great! I'm sure it's the bestest photo-framiest photo frame in the world and you should be very proud of yourself, I sure am!
Optional: Set Up the VCR


Oh, so using HDMI isn't good enough for you? Fair enough, it wasn't good enough for me either, because I wanted to use the built-in tv tuner to really make it a part of the TV experience. My goal was that it really came up as a legit tv-channel.
So since I work at the Flemish national broadcaster VRT I asked a colleague how he would do it, expecting a very high-tech and maybe expensive piece of equipment. He dryly answered that it could be done with most VCRs! At least that's the case here in Belgium.
Most VCRs have a composite input, that's the yellow barrel connector and the raspberry pi also has that connector, it's hidden inside the audio jack. You can use adapter cables to connect it then directly to your VCR. So if you hookup your VCR, instead of directly plugging the coax input cable of your provider inside your TV or decoder, you connect it to your VCR first and then using a second coax cable, connect it to your TV or decoder. The VCR will create a new channel based on the videotape, or in our case, the raspberry pi composite input.
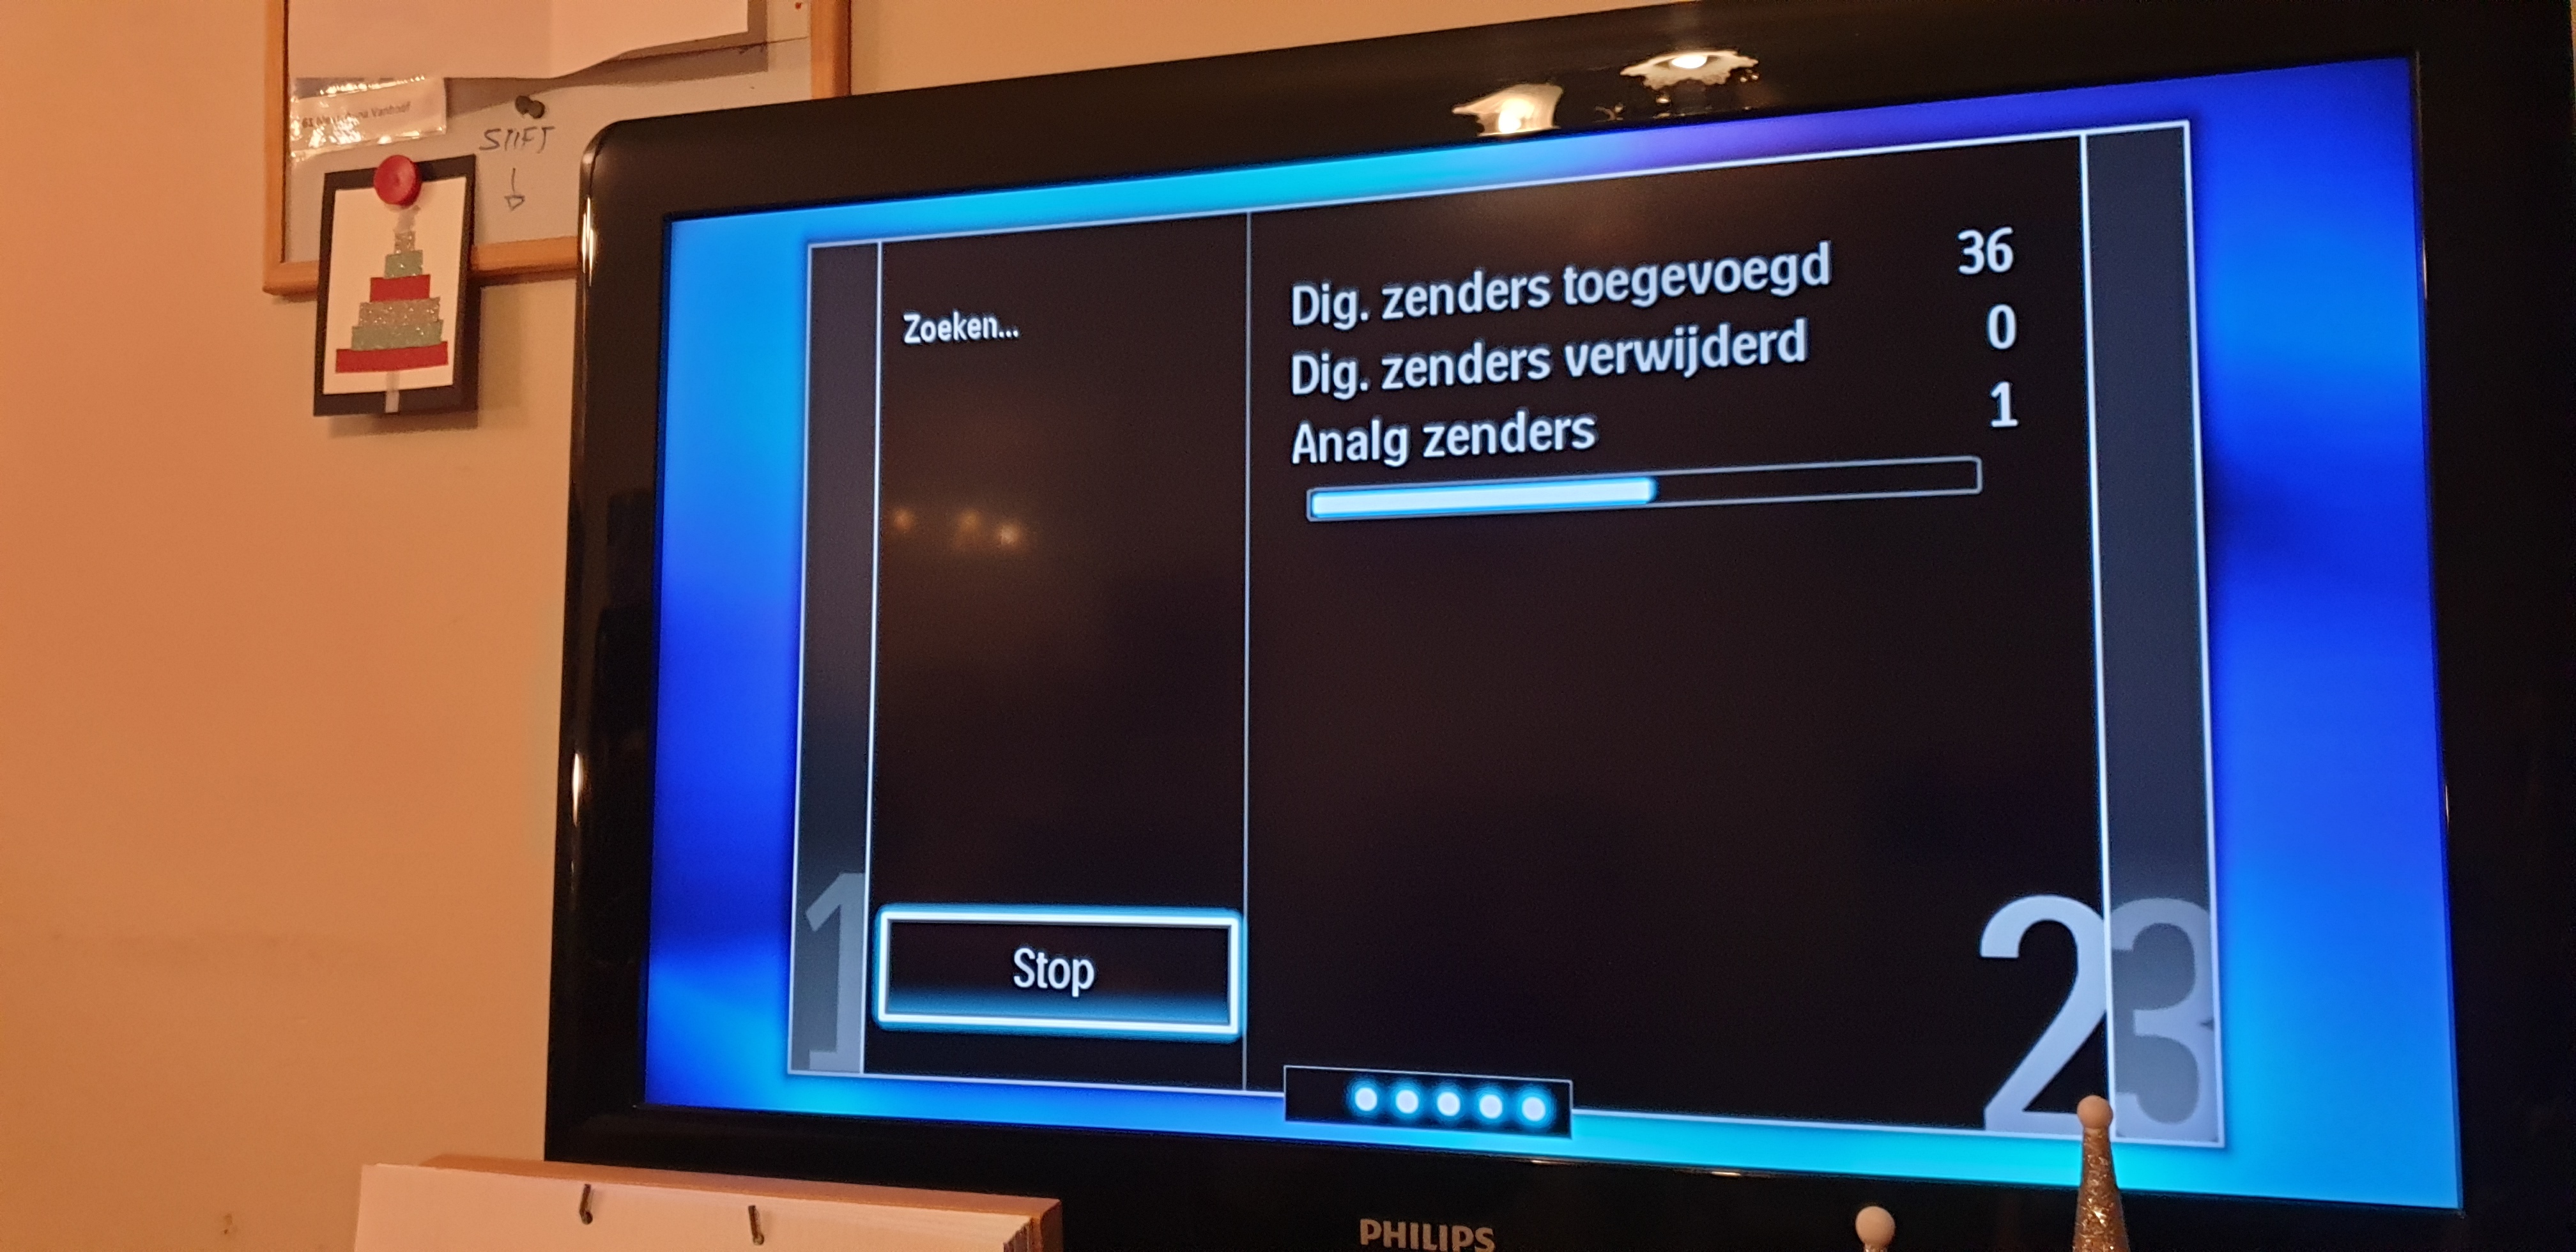
All that rests is using the scan function on your TV to look for a new analog channel and it should pop right up!
I'm very curious to see how this can be handled around the world, so please don't hesitate to comment on how you would do it!