Printmaking: Drypoint
![8extra.jpg](/proxy/?url=https://content.instructables.com/F8N/ZVZ0/KNSW9O2Q/F8NZVZ0KNSW9O2Q.jpg&filename=8extra.jpg)
![materials.jpg](/proxy/?url=https://content.instructables.com/F7N/L8ZU/KNSW9O1S/F7NL8ZUKNSW9O1S.jpg&filename=materials.jpg)
![Tools.jpg](/proxy/?url=https://content.instructables.com/FFE/EJI7/KNSW9O28/FFEEJI7KNSW9O28.jpg&filename=Tools.jpg)
![tools2.jpg](/proxy/?url=https://content.instructables.com/F7X/5MGR/KNSW9O29/F7X5MGRKNSW9O29.jpg&filename=tools2.jpg)
Materials:
Plastic container or laminated cardboard*
Paper
Chalk or powdered makeup
*try drink cartons, milk jugs, produce containers
Tools:
Towel or old shirt
Scissors
Spoon
Bowl of water
Pushpin*
*Or screw, needle, nail
![1.jpg](/proxy/?url=https://content.instructables.com/FHZ/POVB/KNSW9NX2/FHZPOVBKNSW9NX2.jpg&filename=1.jpg)
Cut out 2 squares of equal size from a smooth part of your carton. One square will be the printing plate. The second square will be the blanket.
![2a.jpg](/proxy/?url=https://content.instructables.com/F52/A3MF/KNSW9NXI/F52A3MFKNSW9NXI.jpg&filename=2a.jpg)
![2b.jpg](/proxy/?url=https://content.instructables.com/FUF/ZMRL/KNSW9NXL/FUFZMRLKNSW9NXL.jpg&filename=2b.jpg)
Sketch a design onto one square. Use a pushpin to etch the design. This is your printing plate.
![3a.jpg](/proxy/?url=https://content.instructables.com/FRT/4B1N/KNSW9NY2/FRT4B1NKNSW9NY2.jpg&filename=3a.jpg)
![3b.jpg](/proxy/?url=https://content.instructables.com/FN3/A8IB/KNSW9NYO/FN3A8IBKNSW9NYO.jpg&filename=3b.jpg)
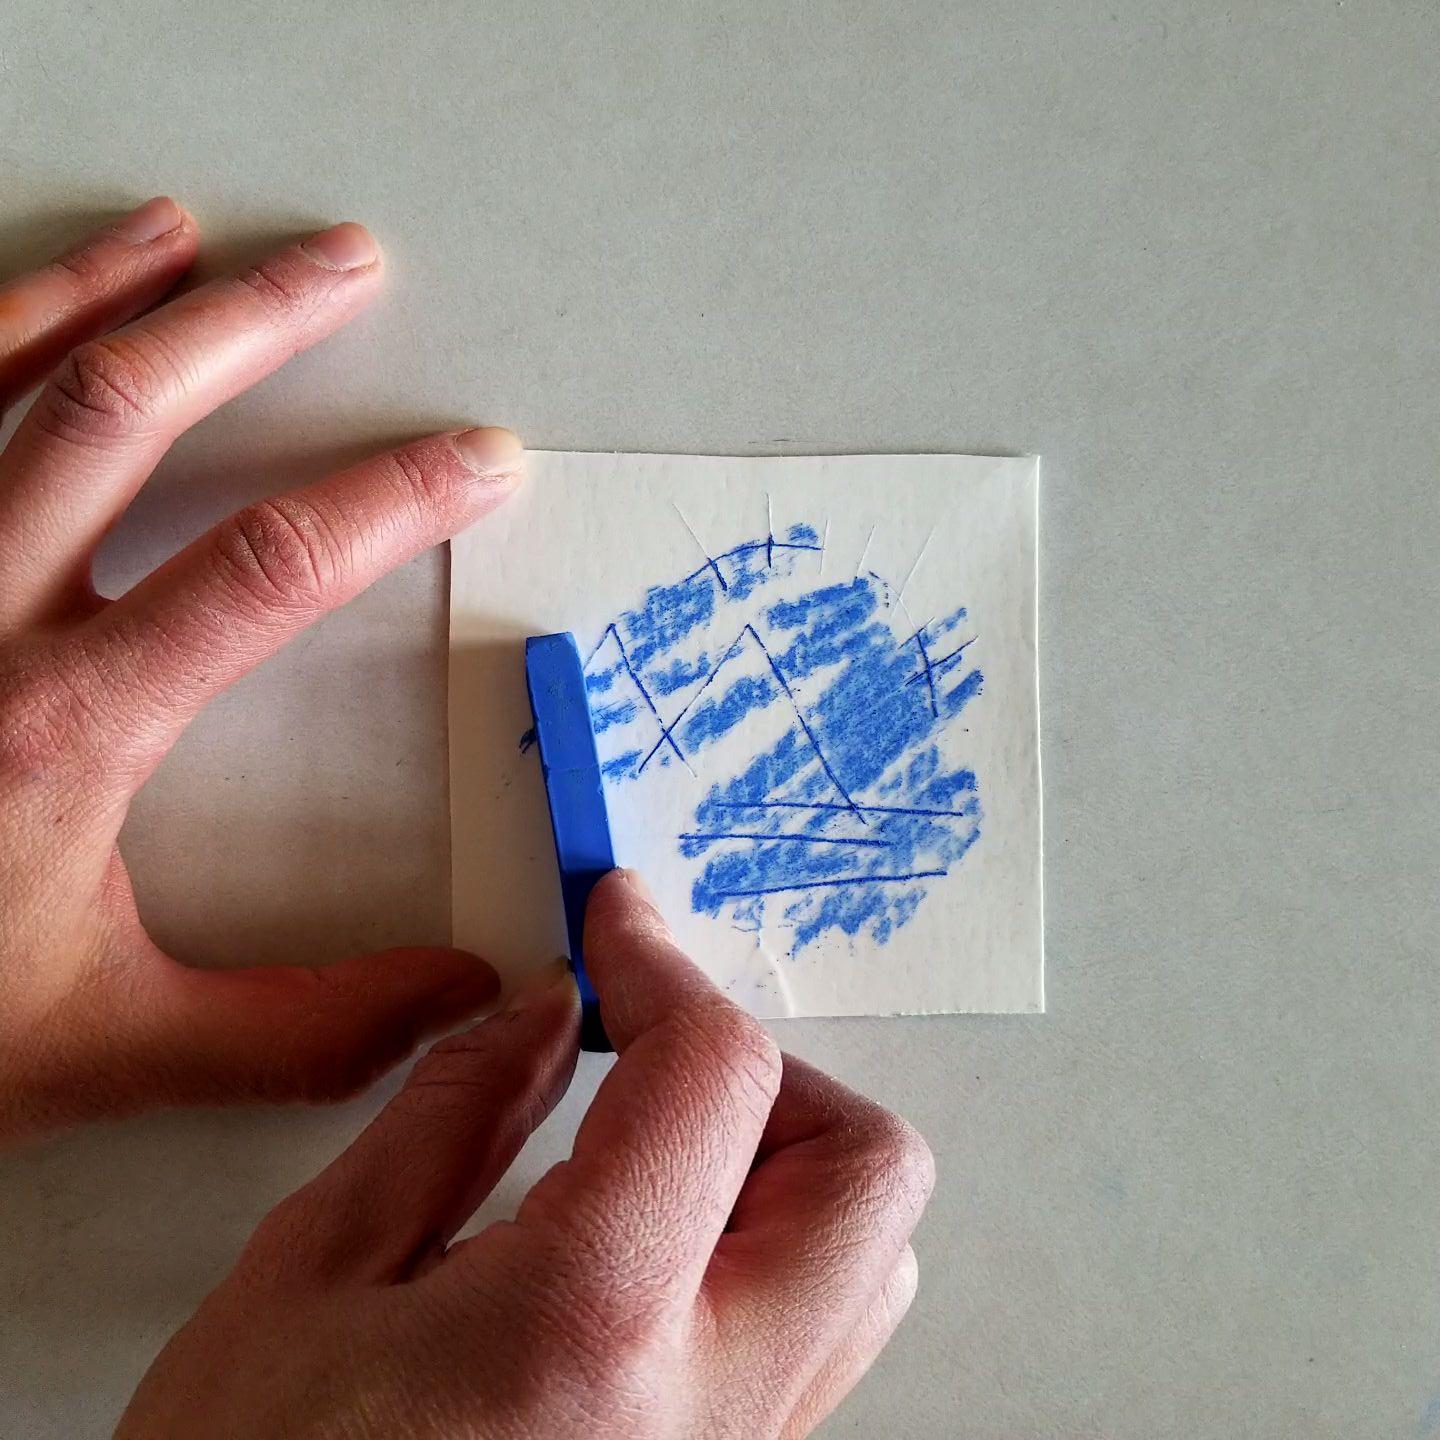
Rub chalk onto your etched design. The powder should fill the lines. Use your fingers to spread the chalk and wipe away any excess around the lines.
![4.jpg](/proxy/?url=https://content.instructables.com/FSI/55CX/KNSW9NYY/FSI55CXKNSW9NYY.jpg&filename=4.jpg)
Put the printing plate face up on the towel.
![5a.jpg](/proxy/?url=https://content.instructables.com/F22/7WRK/KNSW9NZ0/F227WRKKNSW9NZ0.jpg&filename=5a.jpg)
![5b.jpg](/proxy/?url=https://content.instructables.com/F9Z/Z2I9/KNSW9NZG/F9ZZ2I9KNSW9NZG.jpg&filename=5b.jpg)
Cut a piece of paper the same size as the printing plate. Dip your paper into a bowl of water. Let it soak for a few seconds. Remove the paper and shake off the excess water. The paper should be damp, but not dripping and soggy. This may take some trial and error.
![6a.jpg](/proxy/?url=https://content.instructables.com/F39/A7GJ/KNSW9NZH/F39A7GJKNSW9NZH.jpg&filename=6a.jpg)
![6b.jpg](/proxy/?url=https://content.instructables.com/F6S/L2UA/KNSW9NZJ/F6SL2UAKNSW9NZJ.jpg&filename=6b.jpg)
![6c.jpg](/proxy/?url=https://content.instructables.com/F0K/89G0/KNSW9NZN/F0K89G0KNSW9NZN.jpg&filename=6c.jpg)
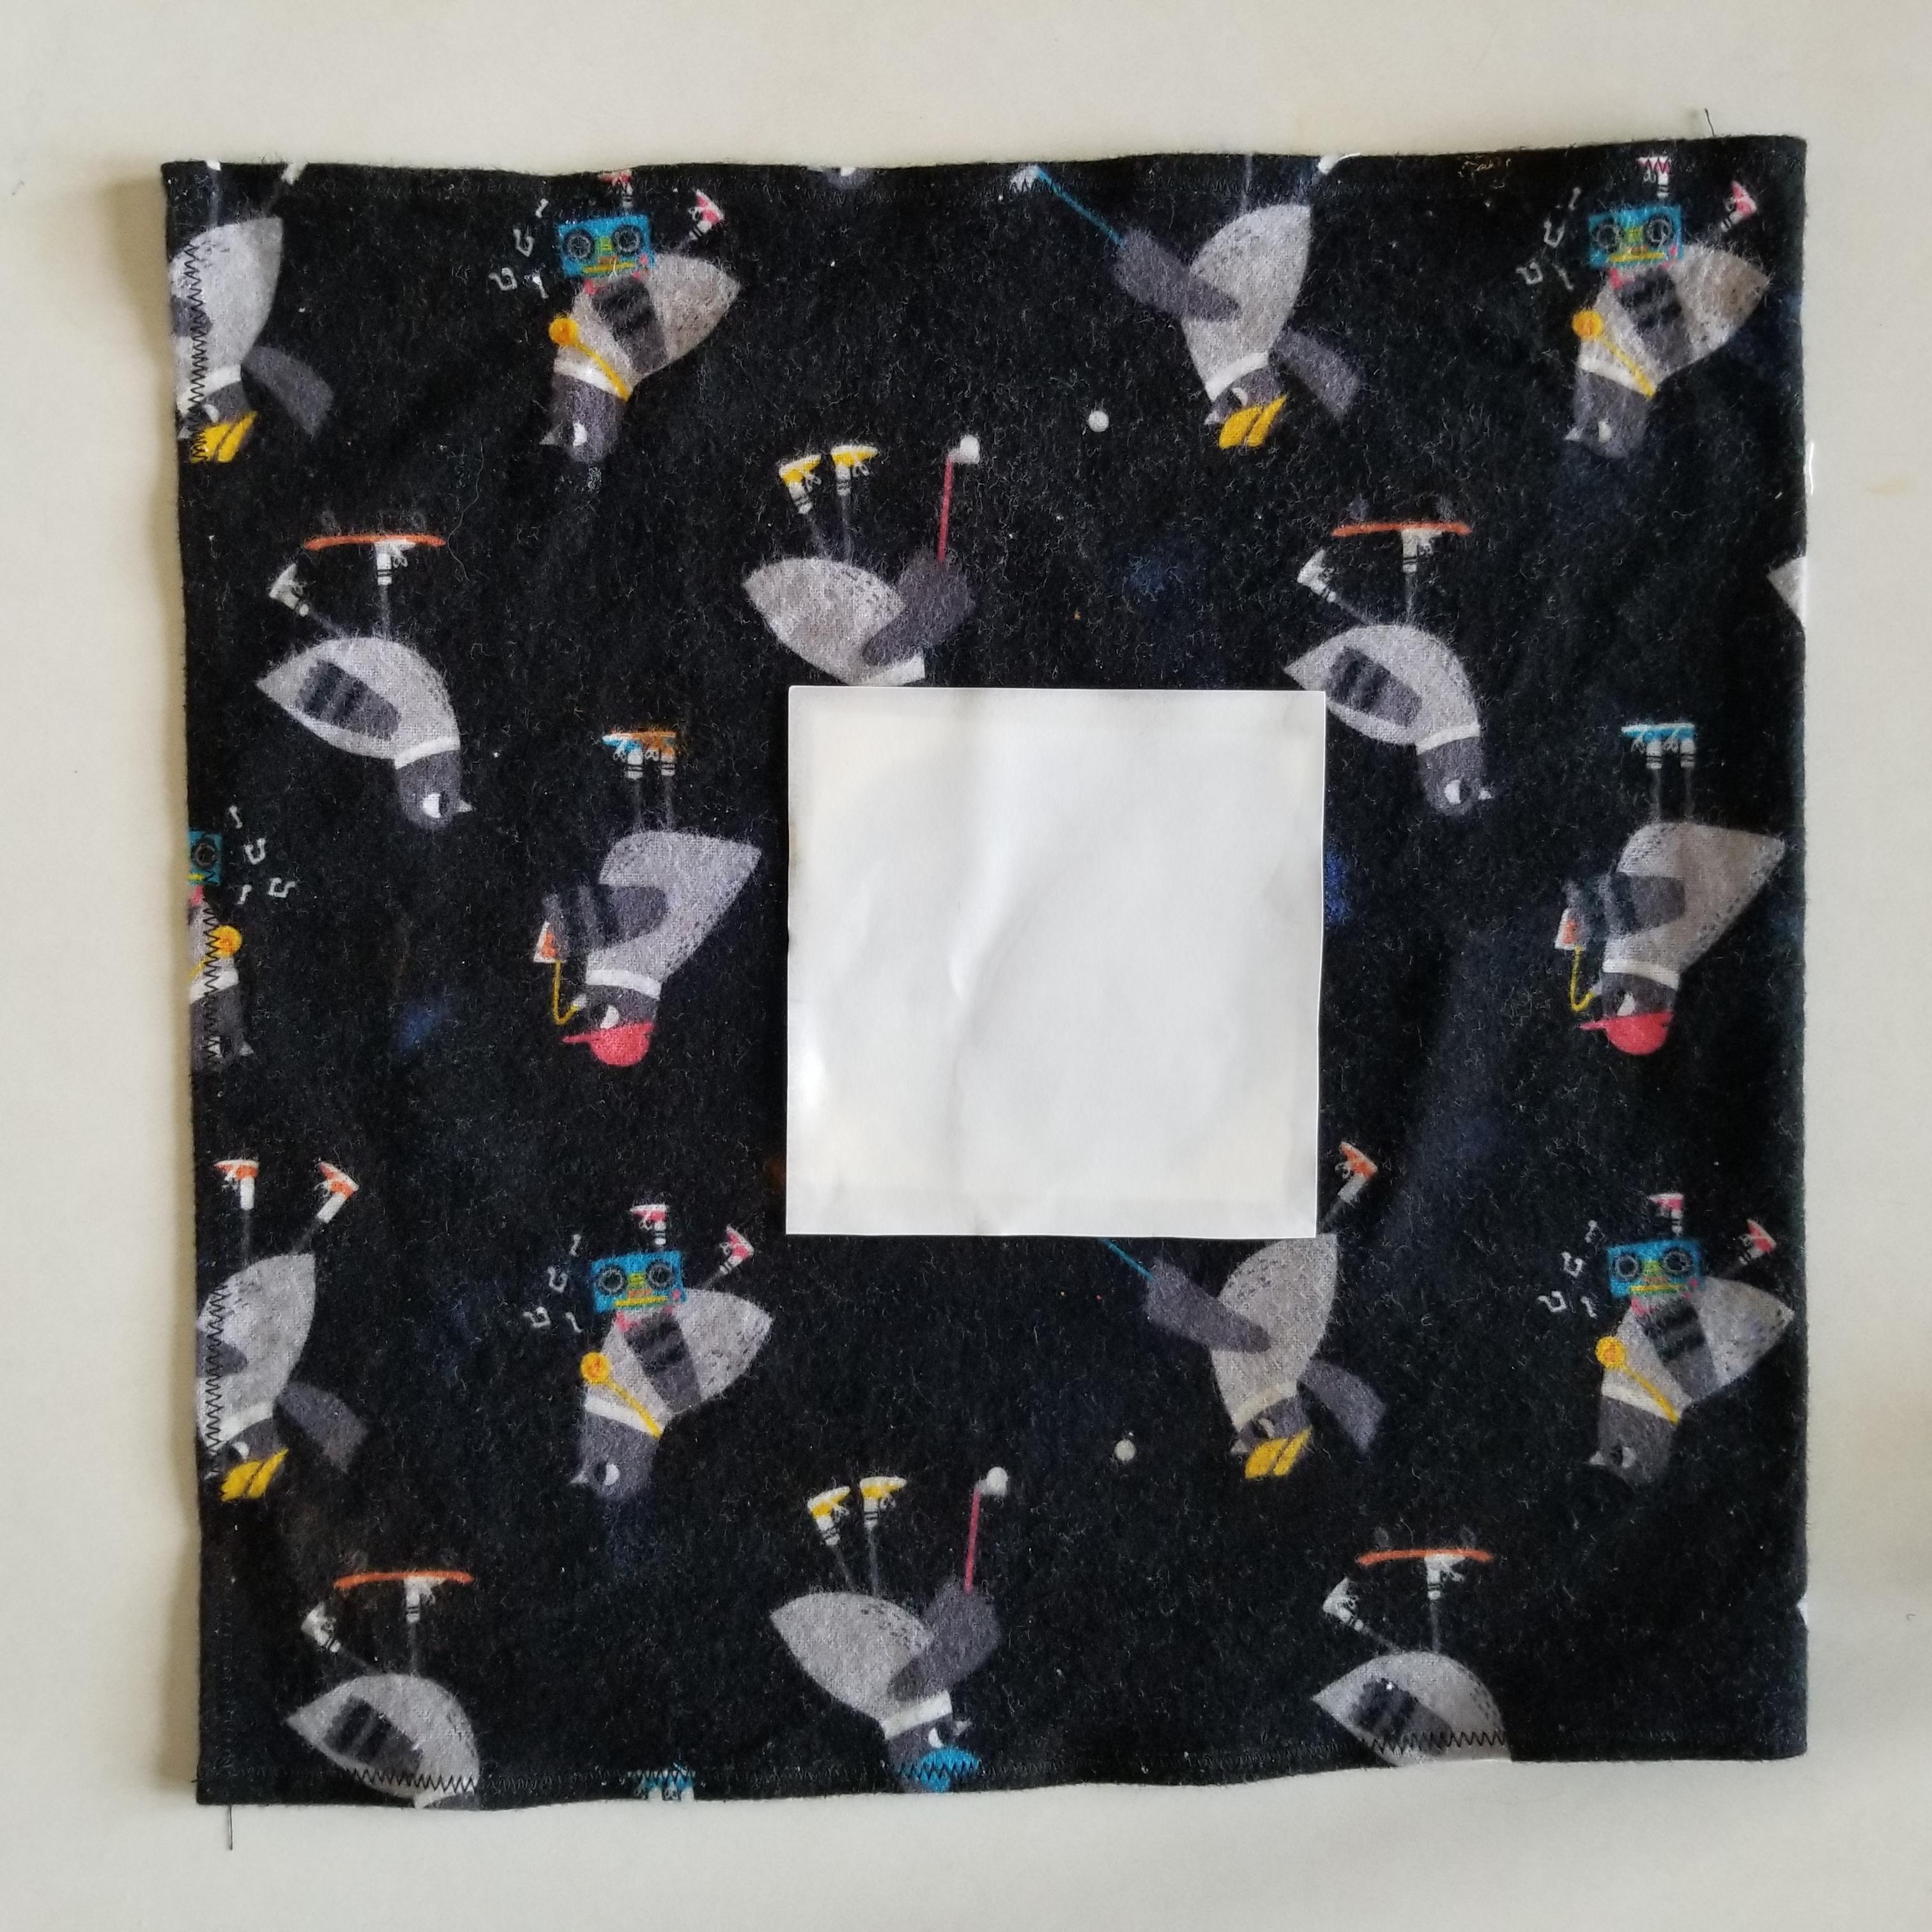
Place the paper over the printing plate. Take the blanket square and place it over the paper.
![7.jpg](/proxy/?url=https://content.instructables.com/F1H/WT7A/KNSW9O09/F1HWT7AKNSW9O09.jpg&filename=7.jpg)
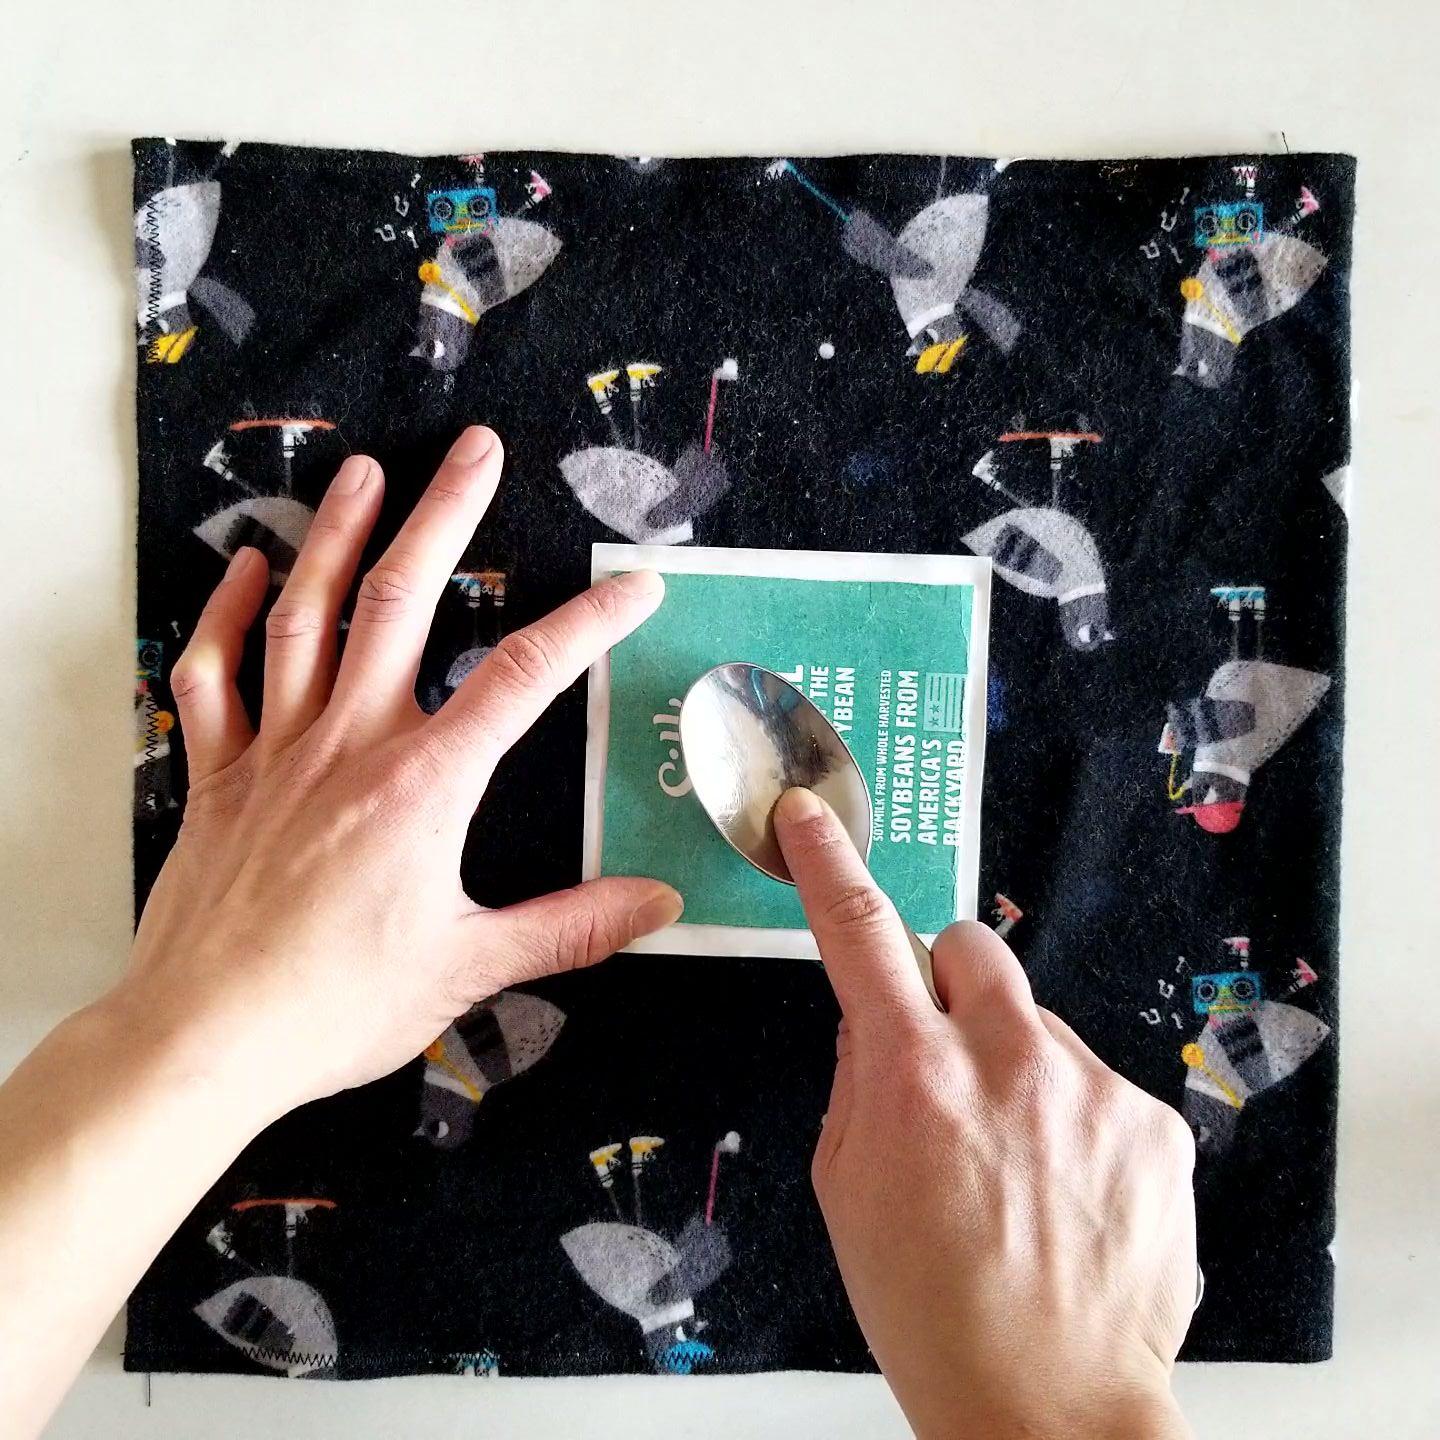
Take the spoon and rub it back and forth across the blanket. Apply pressure while rubbing.
![8a.jpg](/proxy/?url=https://content.instructables.com/FLL/KGSN/KNSW9O0A/FLLKGSNKNSW9O0A.jpg&filename=8a.jpg)
![8b.jpg](/proxy/?url=https://content.instructables.com/FZW/4J0L/KNSW9O0Q/FZW4J0LKNSW9O0Q.jpg&filename=8b.jpg)
Peel off the blanket and paper to reveal the print! Rinse off and reuse the printing plate. Tip: To reduce wrinkling, lay the print between a towel and stack books or other heavy objects on top until it is dry.
Experiment
![Experiment.jpg](/proxy/?url=https://content.instructables.com/FGF/DNPV/KNSW9O0X/FGFDNPVKNSW9O0X.jpg&filename=Experiment.jpg)
Embellish your print!
Draw or color on your print. Print on patterned paper. Try different printing plate shapes.