Drybox for Printing From Your Old Cardboard Box
by faig_baghirov in Workshop > 3D Printing
715 Views, 6 Favorites, 0 Comments
Drybox for Printing From Your Old Cardboard Box
I've converted the filament package (cardboard box) into a dry box too keep my filaments dry while printing.
First of all, why do you need to dry your filament out? Because most of the printing failures appear because of the filament being wet: stringing (approx. 80% of the stringing effect should be gone if you dry your filament out), non-sticking layers, overall durability and so on.
Why to keep it dry? Because drying it out is a bit expensive and time consuming. Usually, you need to keep it in the oven (or some drying equipment) for up to 36 hours at various temperatures depending on the material. You definitely don't want to do this often.
So, we have two problems:
1) How to dry the filament out.
2) How to keep it dry for a long time.
This instructable is about the second problem.
Storing filament in the dry box is good practice but, what about the printing process? Filaments get wet while being used as fast as when they are being stored on a shelf.
Note: These instructions are mainly for the Creality's Ender 3/pro/v2 printers and all the other ones alike, but you could do appropriate modifications suitable to your equipment.
Supplies
- Cardboard box with proper dimensions (depends on your equipment).
- Silica gel.
- A knife.
- Filament (PLA or ABS or PETG or any other) to print the 3D models.
- A 3D printer (of course).
Printing the 3D Models
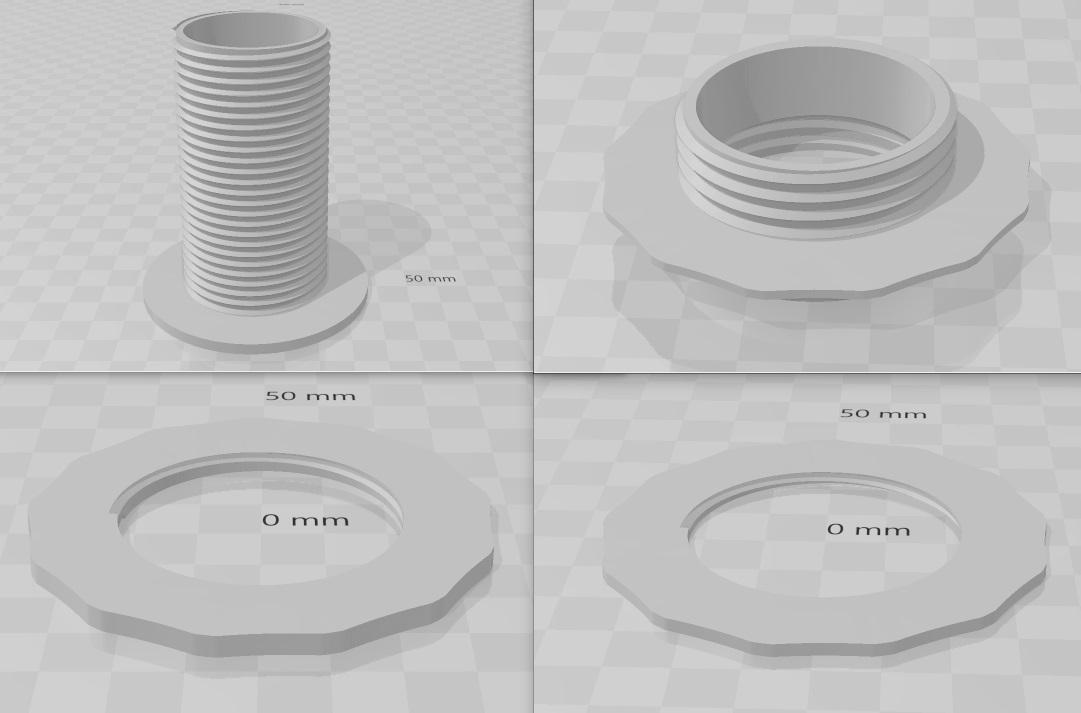
Start the printing process of the 3D models that are attached to this step. I've attached the source file (f3d - Fusion360 format) in case if you want to make some root changes.
Little trick: Instead of printing the "Fastener ring slim" print normal "fastener ring" with gyroid infill and stop it in the middle, it will have nice aesthetic look as mine does.
Printing profile:
Layer height - 0.2
Nozzle: 0.4 (0.6 worked good as well)
Infill: 25% should be enough
Infill pattern: gyroid
Material: PLA is enough, but you can use PETG or ABS if you want (or any other filament type)
Prepare the Box
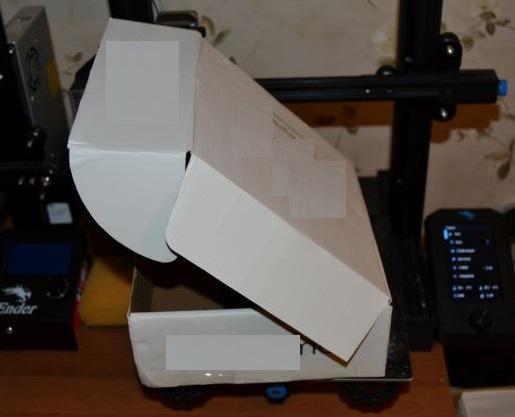
While the 3D models are being printed, prepare the cardboard box itself. It could be any cardboard box with proper dimensions, but I used one of my filaments package boxes. I suggest you do the same.
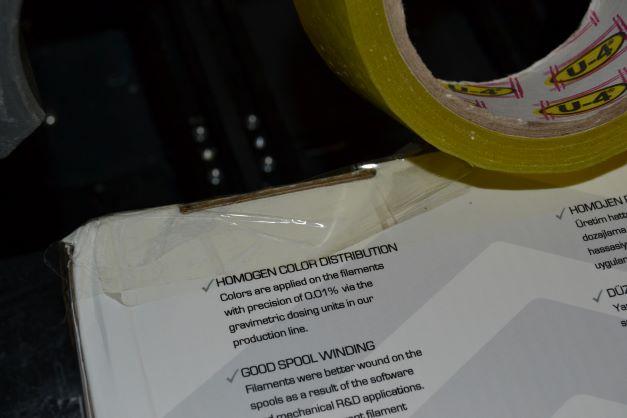
Close all unnecessary holes and cracks on the board with a duct tape to prevent the air to get inside.
Cut a Hole for the Filament Wire

Cut very small hole for the filament wire like one on the picture. Don't make it large. Filament wire should sit very tight in it to prevent the air to come through it. You could cut a "+" symbol with your knife and push the filament wire through it. One may want to put some DIY filter there to clean the filament from dust and other small particles (they affect the print quality as well, especially the layers adhesion).
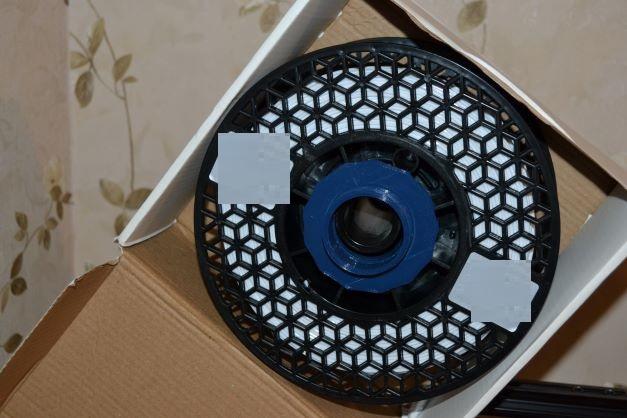
Cut Two Large Holes
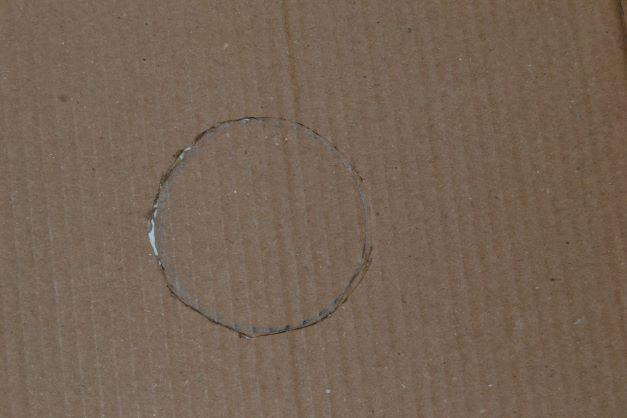
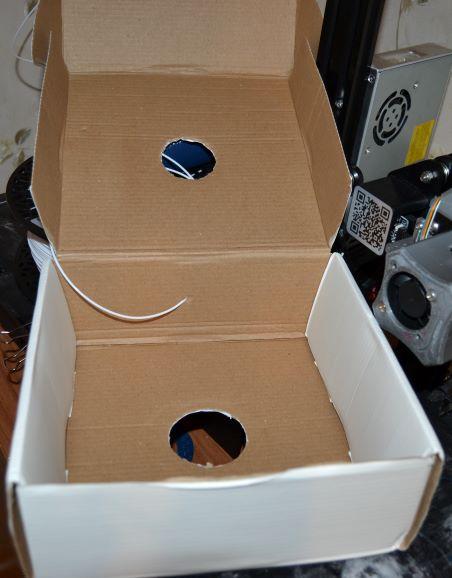
Cut two round holes on both sides of the box (one on the basement and one on the lid) to put the main part through them. Place the filament spool into the box, to decide where to cut them.
You could wait for one of the parts to get printed to use it as a tool for measuring the hole diameter. It should be 47 millimeters.
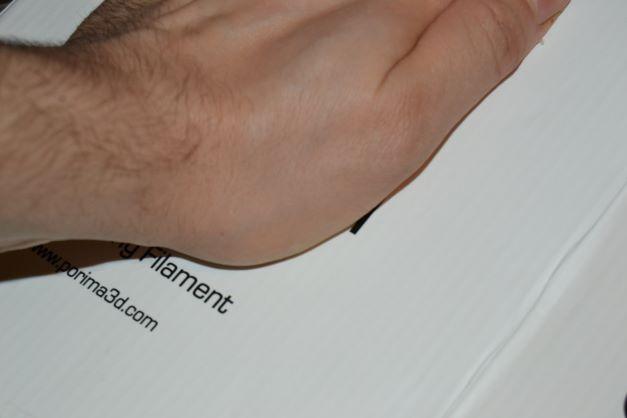
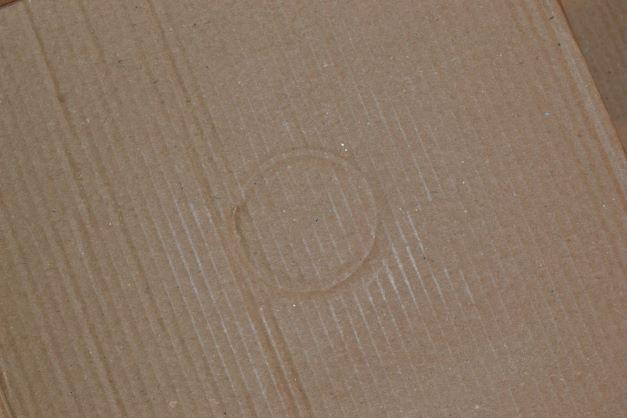
If the main part is got printed already use it as a marking tool as well, by placing it under the side that is to be cut and press on it with your palm like I do on the picture.
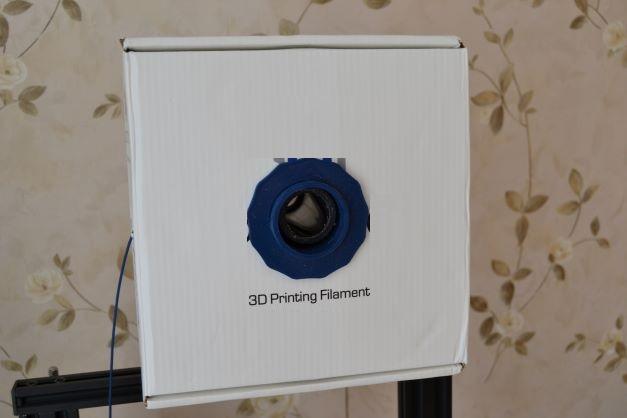
Fasten the Main Part

Put the main part into the hole and fasten it with "fastener ring slim".
Place a Filament and Put the Cap On
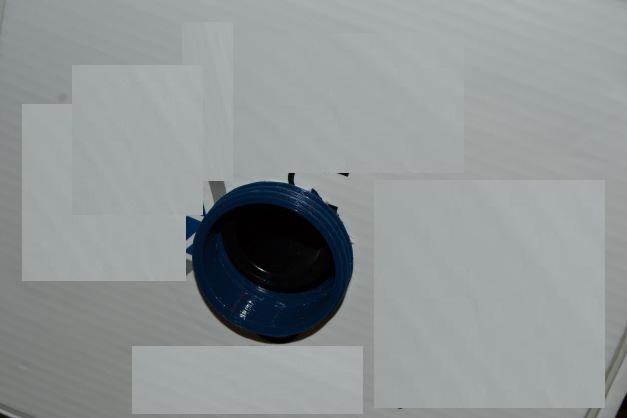
Place the filament which you want to print with next (the dry one of course). Pass the filament wire through the small hole from the 3-rd step.
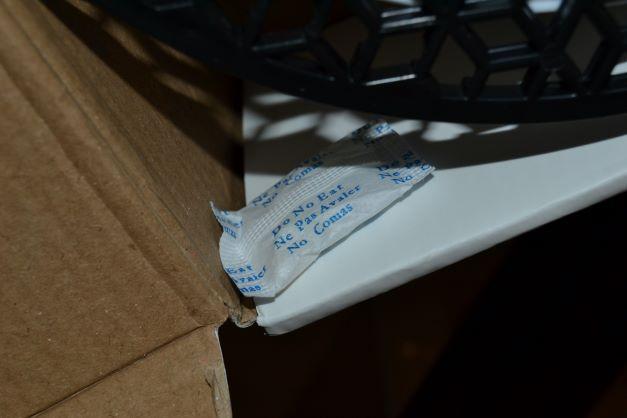
Don't forget to place there a silica gel to get rid of moisture inside the box.
Screw the cap's larger end on the main part and close the box. Cap's other end should go through the second hole of the box (the one on the lid).
Seal the Box

Screw the fastener ring tight to prevent the air to come through and you are all set to start printing without your filament getting unnecessary moisture from the air while printing.
Thank you for your attention and have nice prints.