Print in Place, Compliant Mechanism, Post-it Paper Airplane Launcher
by olmsteadv5 in Workshop > 3D Printing
930 Views, 7 Favorites, 0 Comments
Print in Place, Compliant Mechanism, Post-it Paper Airplane Launcher

Hi, my name is William Olmstead, I'm a high-school sophomore at Wilton High School in Connecticut submitting my design on behalf of the Singularity Technology Robotics Team. Recently, I've been super interested in how compliant mechanisms work. As a result, I've used Fusion 360 to design and invent my very own Compliant Mechanism Paper Airplanes Launcher. I hope that you gain the same interest as I have in compliant mechanisms. In the meantime however, have fun printing and launching mini paper airplanes with my design!
Supplies
Supplies you will need for this project include:
1) 3D-Printer. All 3D printers will work, even resin printers! I have the Elegoo Neptune 3 Max, and that is what I used to print this project.
2) Filament. You do not need much filament for this project, so you can use the remaining filament from your favorite spool. I used PLA, but any filament, except for flexible ones will do.
3) 3 by 3 Post-it-Notes. You need at least one note.
Slicing the File
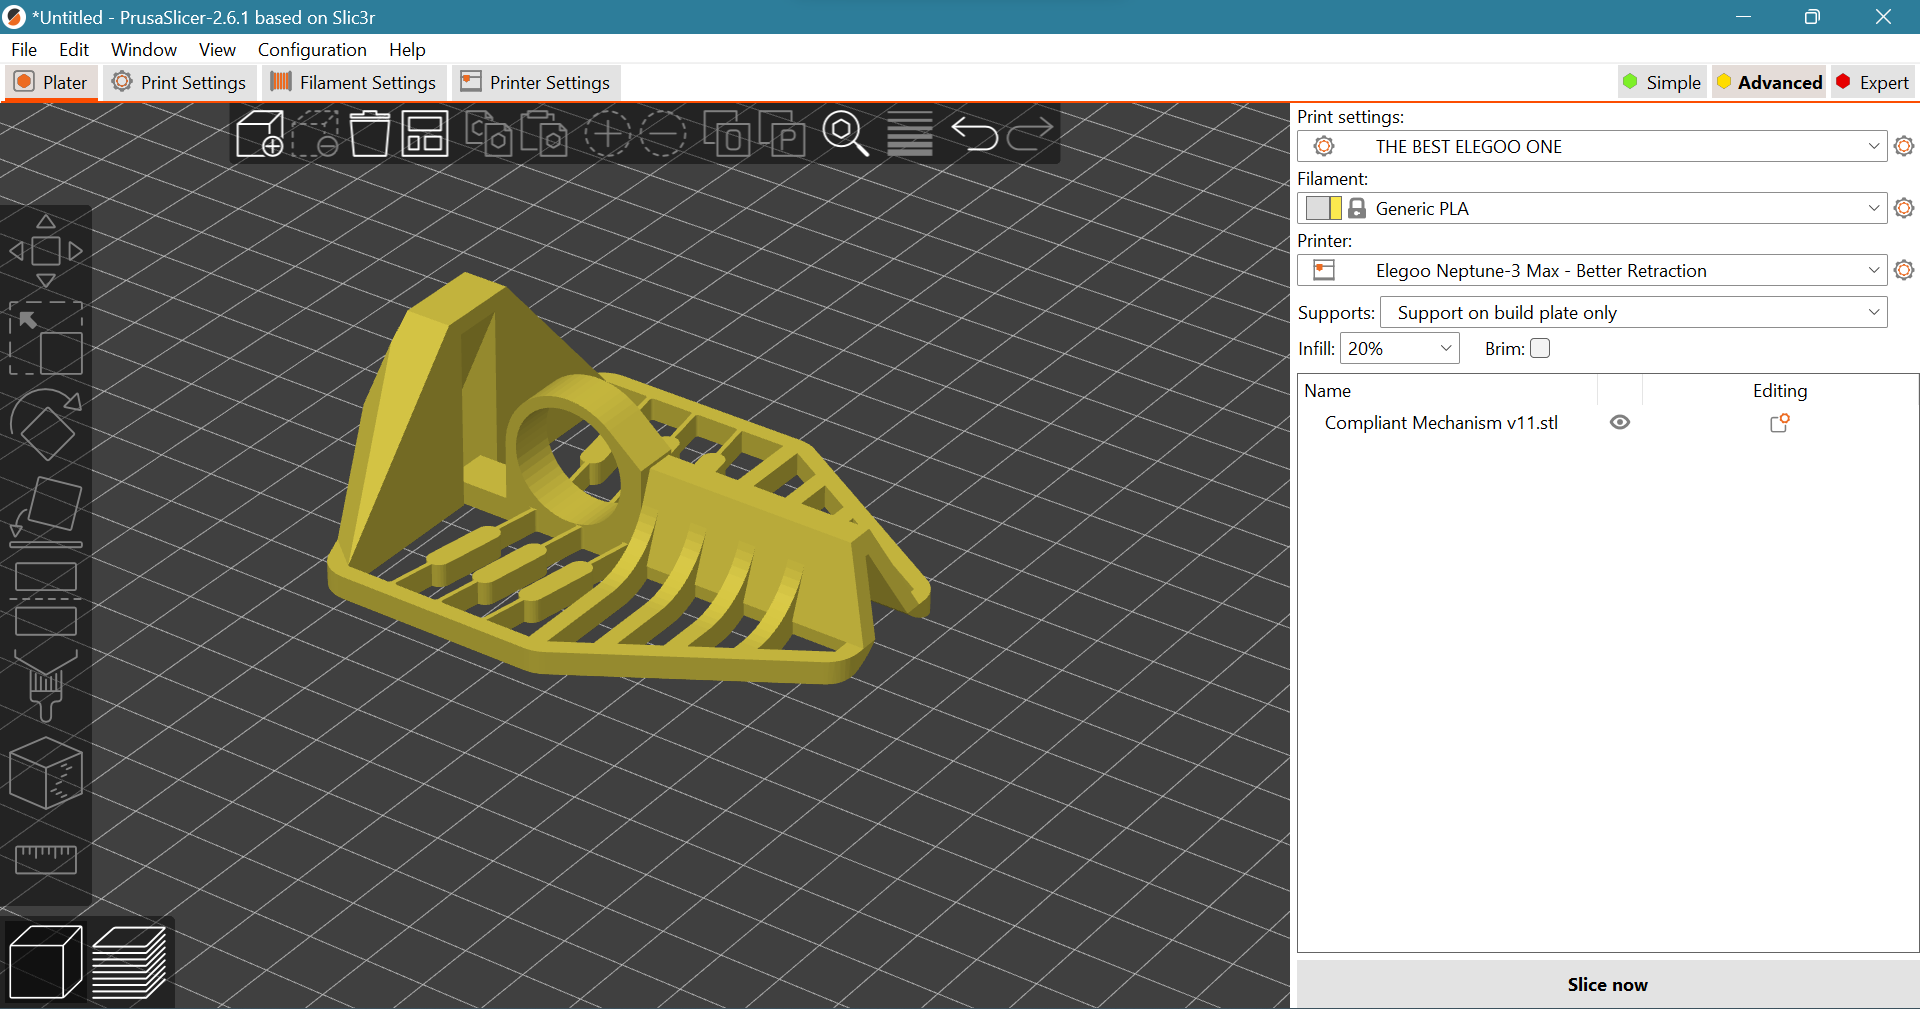
It is time to slice the file! Open up your favorite slicer. I personally use Prusaslicer, but you can also use Cura, Chitubox, Lychee, or any other slicer.
Once you have downloaded and placed the stl file in your slicer use these settings:
Nozzle: 0.4mm
Layer height: Anywhere between 0.12 and 0.28 works.
Perimeters: 3
Top Layers: 7
Bottom Layers: 5
Supports: None
Infill: 5-20%
Infill Type: You choose! (I like to use Gyroid or Rectilinear)
Skirt: Yes, minimum 2 loops.
Now You are ready to slice the file! Export it and load it into your printer.
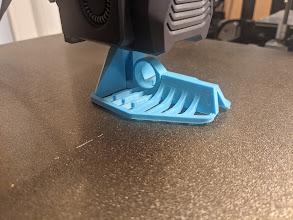
Now it is time to sit back, relax, and watch your printer do the work. Since it is a relatively small object, it shouldn't take more than 2-4 hours, depending on your printer and settings. When your printer finishes printing, wait 10-20 minutes for your bed to cool, so that you don't warp the print when removing it from the print surface.
Once you have removed the launcher from your printer, try pinching the back of the launcher with the trigger, the compliant mechanism (the trigger and 6 joints) should slide back and forth. If they don't, use clippers to cut the points where the slider has fused with the other parts of the launcher
Making the Paper Airplane

It is time to make your airplane!
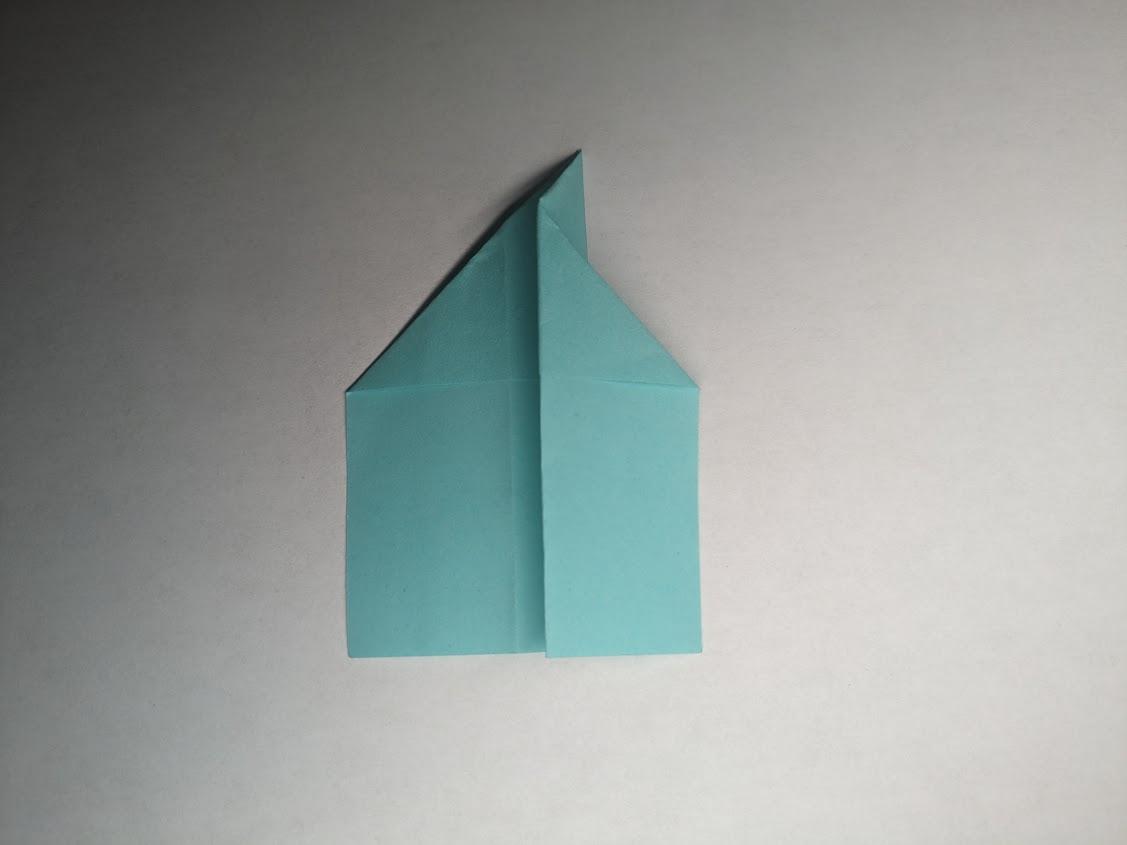
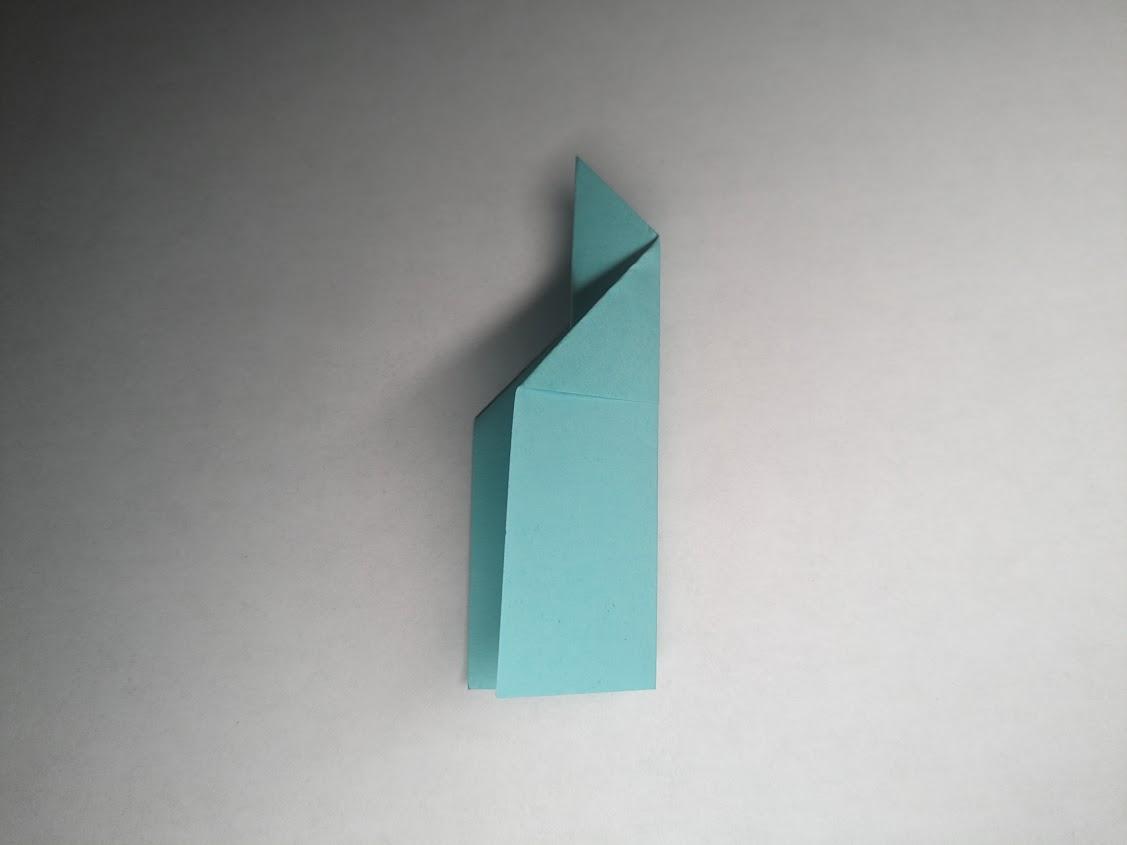
Follow the pictures or these written instructions:
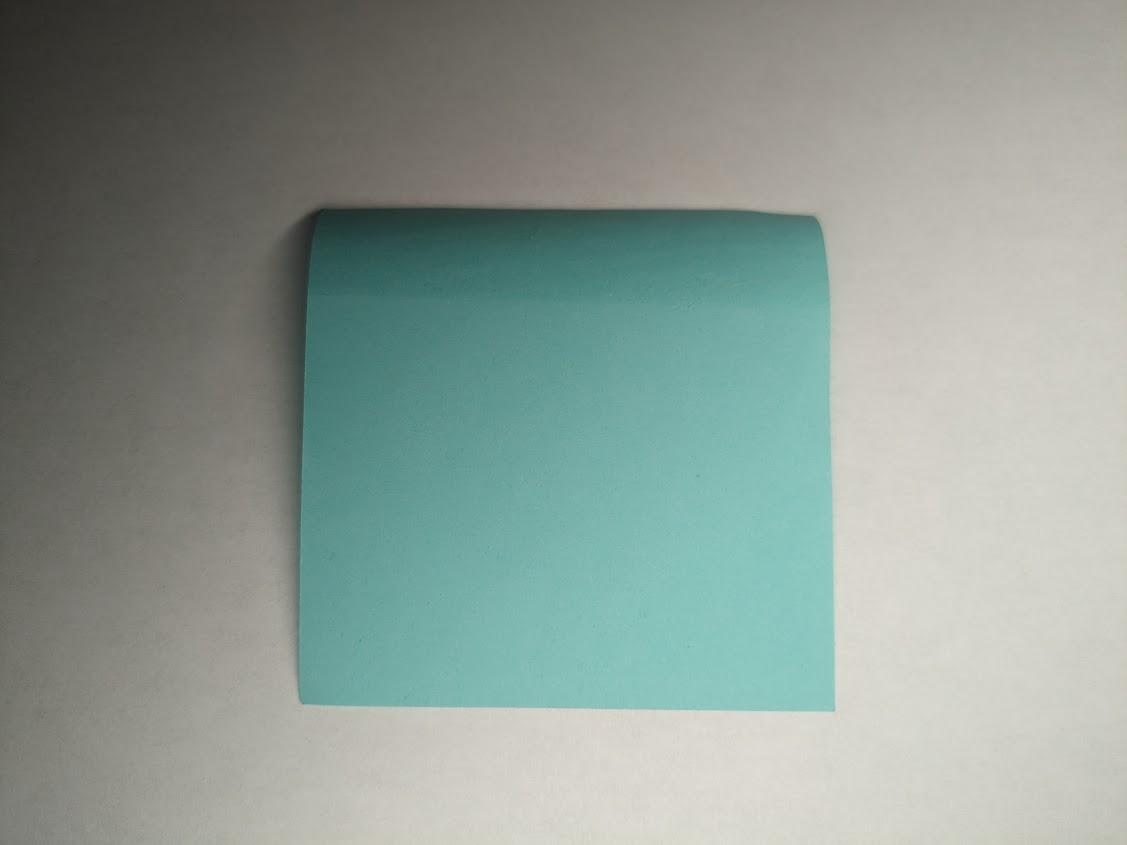
Step 1: Take one Post-it note and place it so that the sticky part is face up and on top.
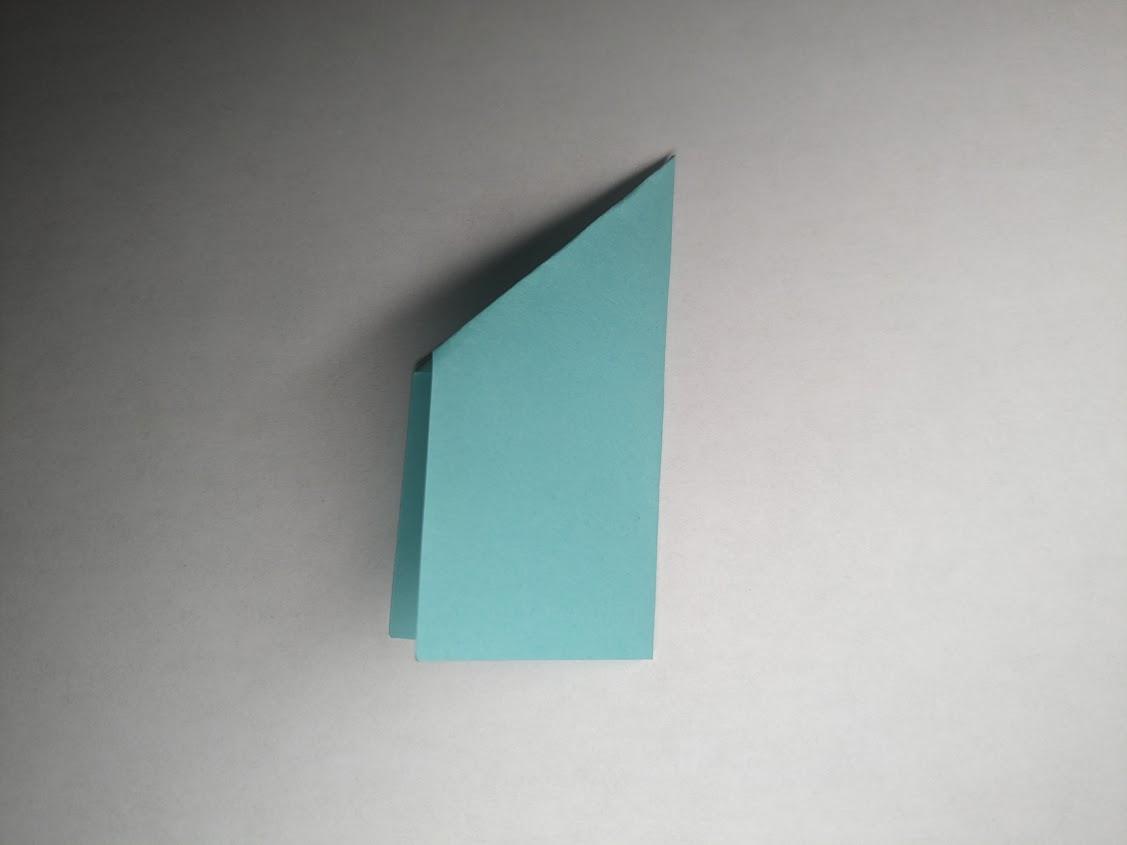
Step 2: Fold the top two corners so that both sides are symmetrical and the inside edges align.
Step 3: Fold the paper airplane in half, along the line of symmetry.
Step 4: Take one of the two flaps and fold it in half.
Step 5: Repeat step 4 for the other half.
This creates a very simple paper airplane, if you want to make a more complex one, go ahead! Experiment!
Loading the Paper Airplane

Now it is time to load your paper airplane into the launcher. To do this follow these steps:
Step 1: Take your pointer finger and put it into the trigger hole.
Step 2: Take your Thumb and press it against the back of the launcher.
Step 3: Pinch your Thumb and pointer finger together, until you can't pinch them any further.
Step 4: Load the paper airplane onto the track in the front of the launcher, so that the back of the airplane is touching the pin
Note: If you make your paper airplane shorter, with a different design, the paper airplane might balance/fit a little better,
Launching
Now that you have everything set up just right, you need to launch the paper airplane in a specific way. You can't just release the trigger because your finger will slow down the pin that launches forward. Instead, slide your finger out of the trigger while still pinching. When you do this correctly, you should hear a click and your paper airplane will launch 2-5 feet.
Redesign
Now it is your turn to redesign the launcher! Below, I have provided 3 file types in hopes that you can have fun improving on my design! I designed this Fusion 360, so I recommend that you redesign it in there, but you can also use Tinker cad if you are more familiar with that. Have fun!