Print and Then Laser Cut, a Quick Tutorial
by AzzysDesignWorks in Workshop > Laser Cutting
9817 Views, 53 Favorites, 0 Comments
Print and Then Laser Cut, a Quick Tutorial
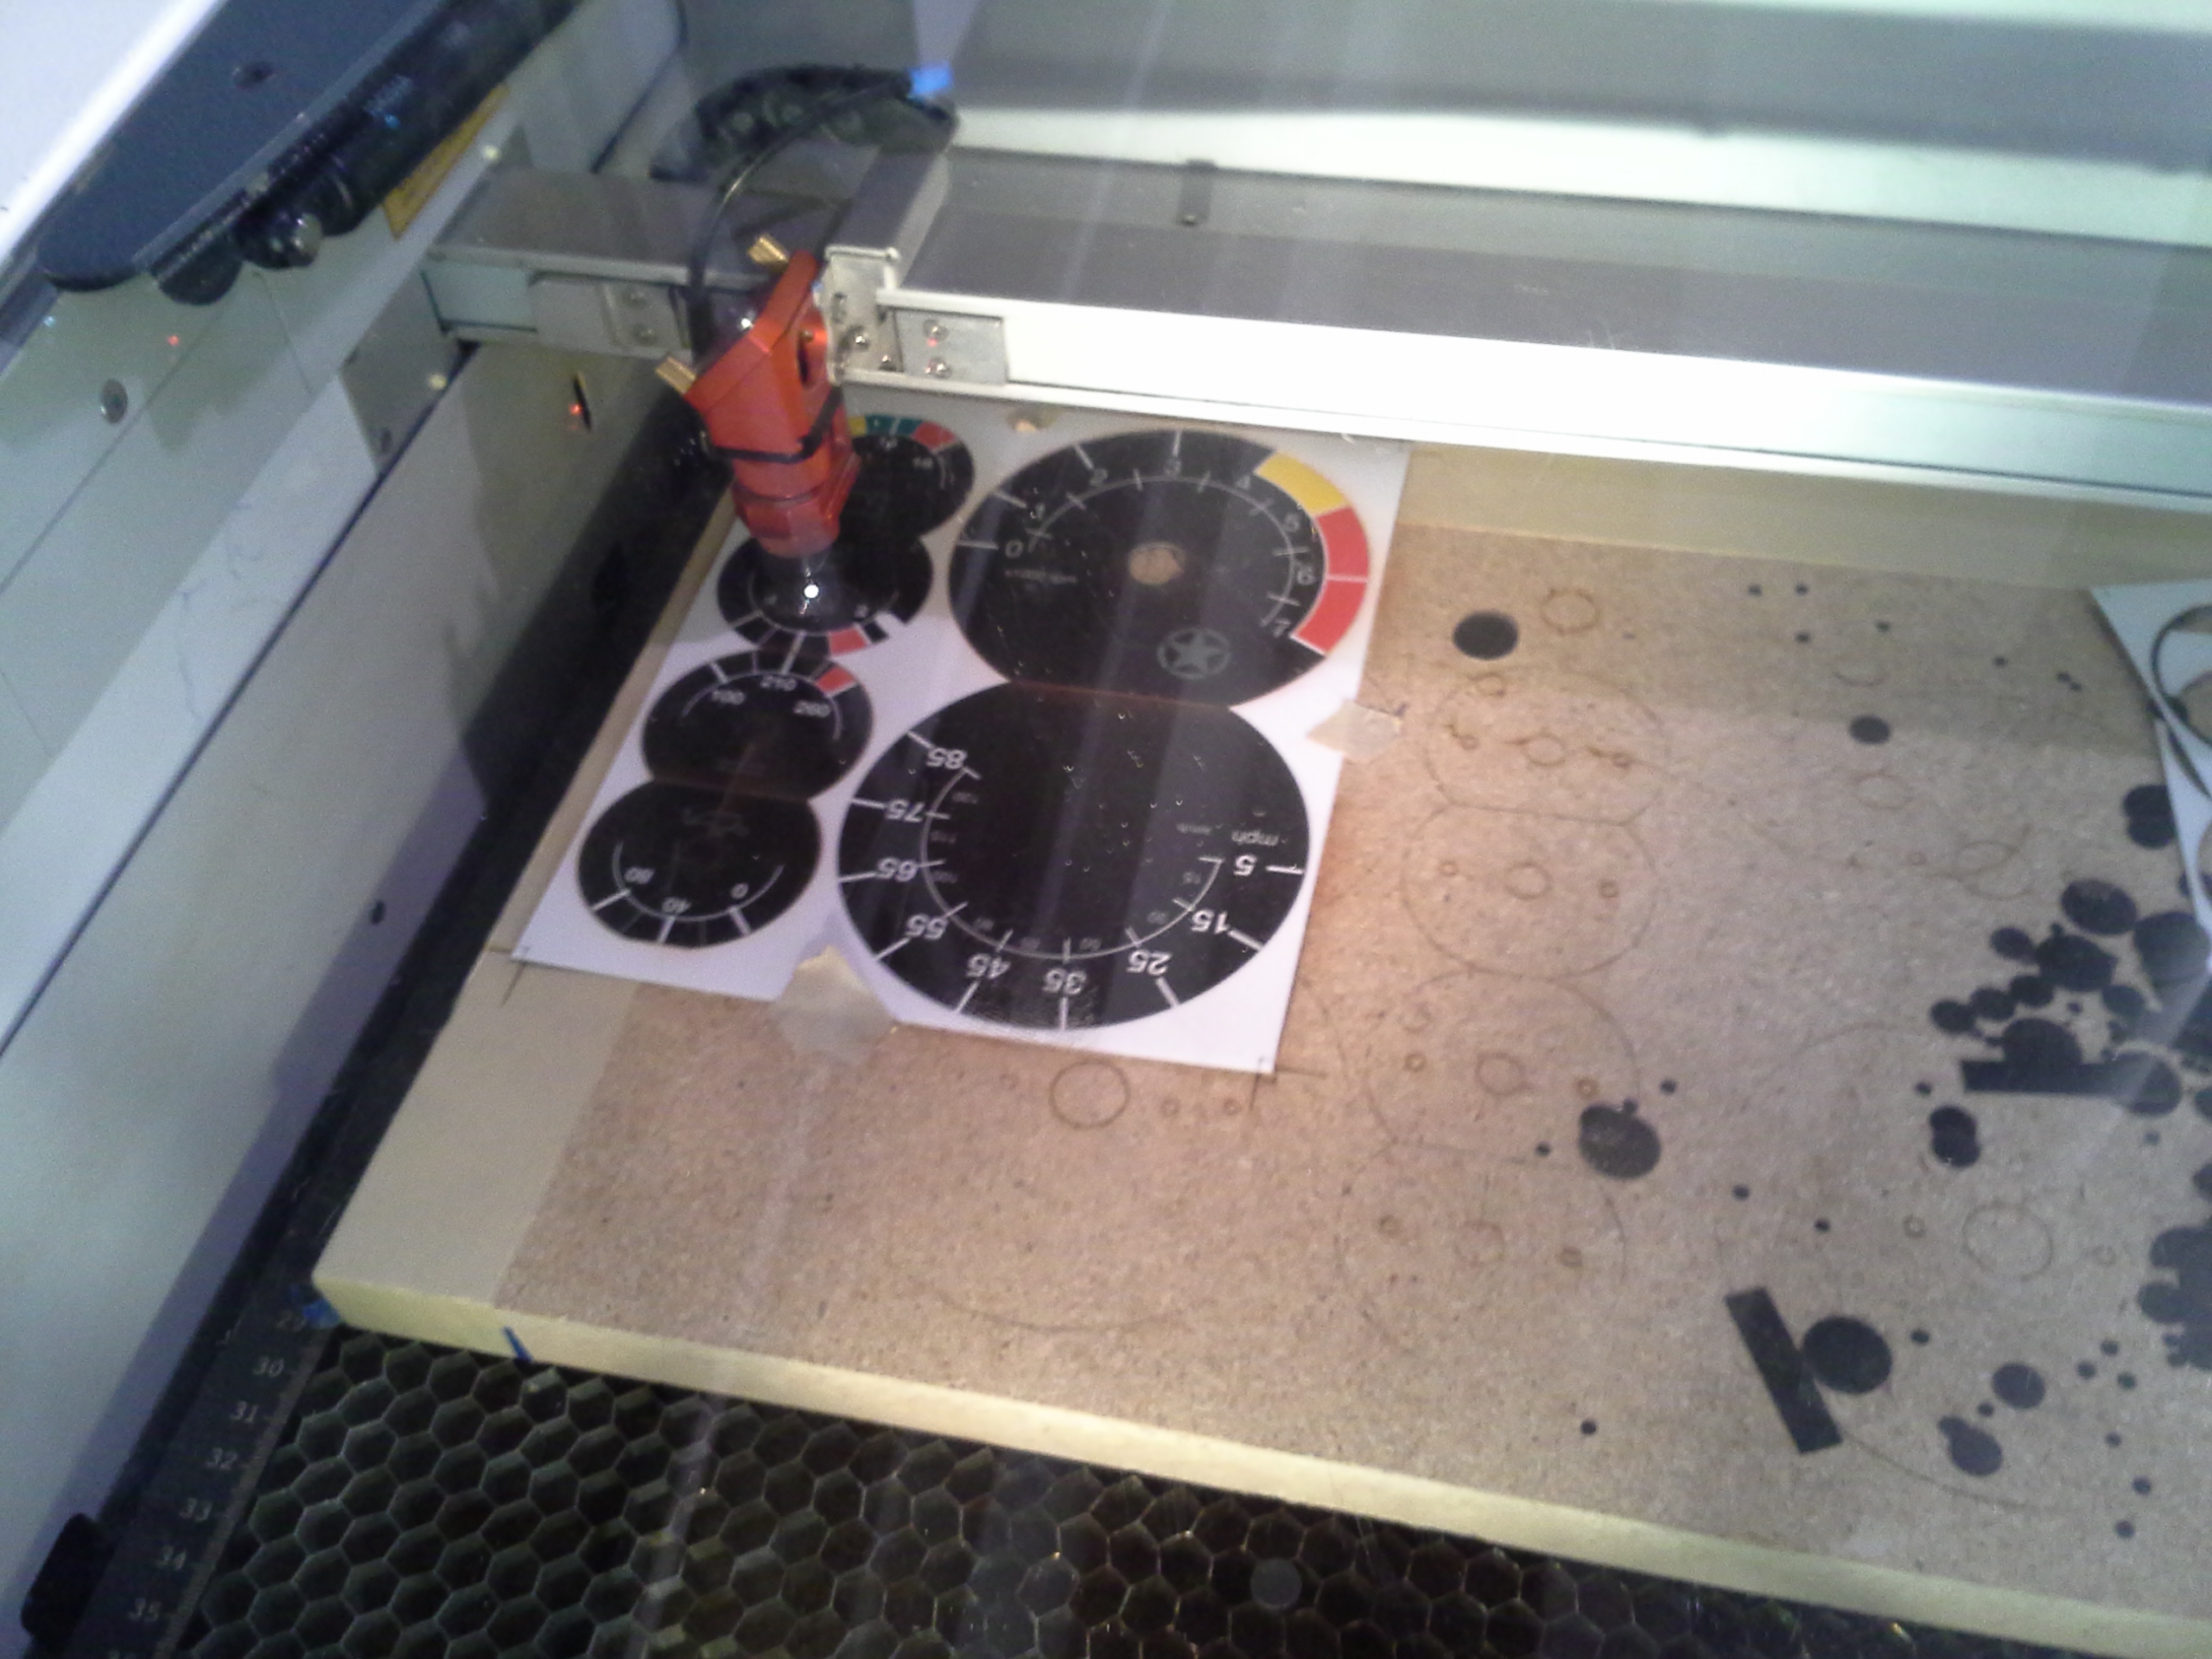
We've had lots of people down at Pittsburgh Techshop ask how we were able to print pieces out, and then laser cut them with the accuracy that we have gotten. Its fairly simple, and requires just a bit of setup. This is the way we cut out our base level gauges for the ADW Store.
Why do this when you can cut by hand? Well, when you have a quantity of them, cutting by hand is not as exact, and it gets tiring. Using a plotting style cutter, such as our MaxxAir is possible, but slower with how tough some materials are that we use in house.
For reference, these pieces are double matte laminated printed plastic, printing done on a HP Z3200 42" photo printer. We shot the photos on a Trotech Speedy 100 at Techshop, but now use a Full Spectrum 5th Gen hobby to do the same thing in house.
Downloads
Prep Is Key
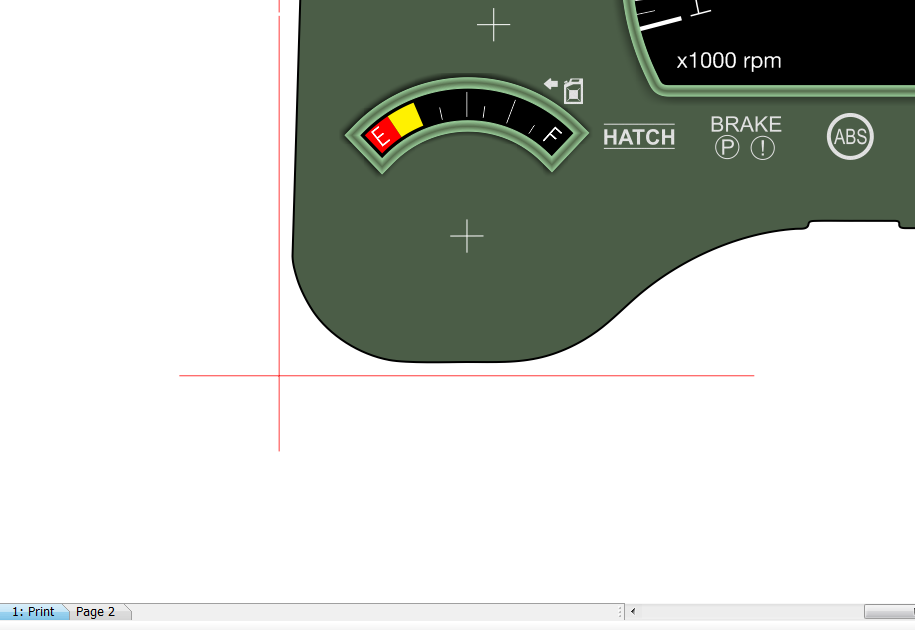

First, prep your artwork. You should have multiple pages / layers, for what is needed to print, and what is needed to cut. They should line up 100% in the file for this to work. That should be understood without saying, but it is key.
As you can see from the screen shots, I add an external cross-hair pattern, this reference mark is added at all 4 corners. As with many laser cutters, it is hairline vector art, and RGB red. The color should be different for the reference marks than it is for the final cut pattern.
Trim so the reference marks are to the very edge. I make mine long
and cut through. The edges do not have to be the best, we only care about the finished parts.
(no pic of this step, just trimming)
Sacrificial Board!
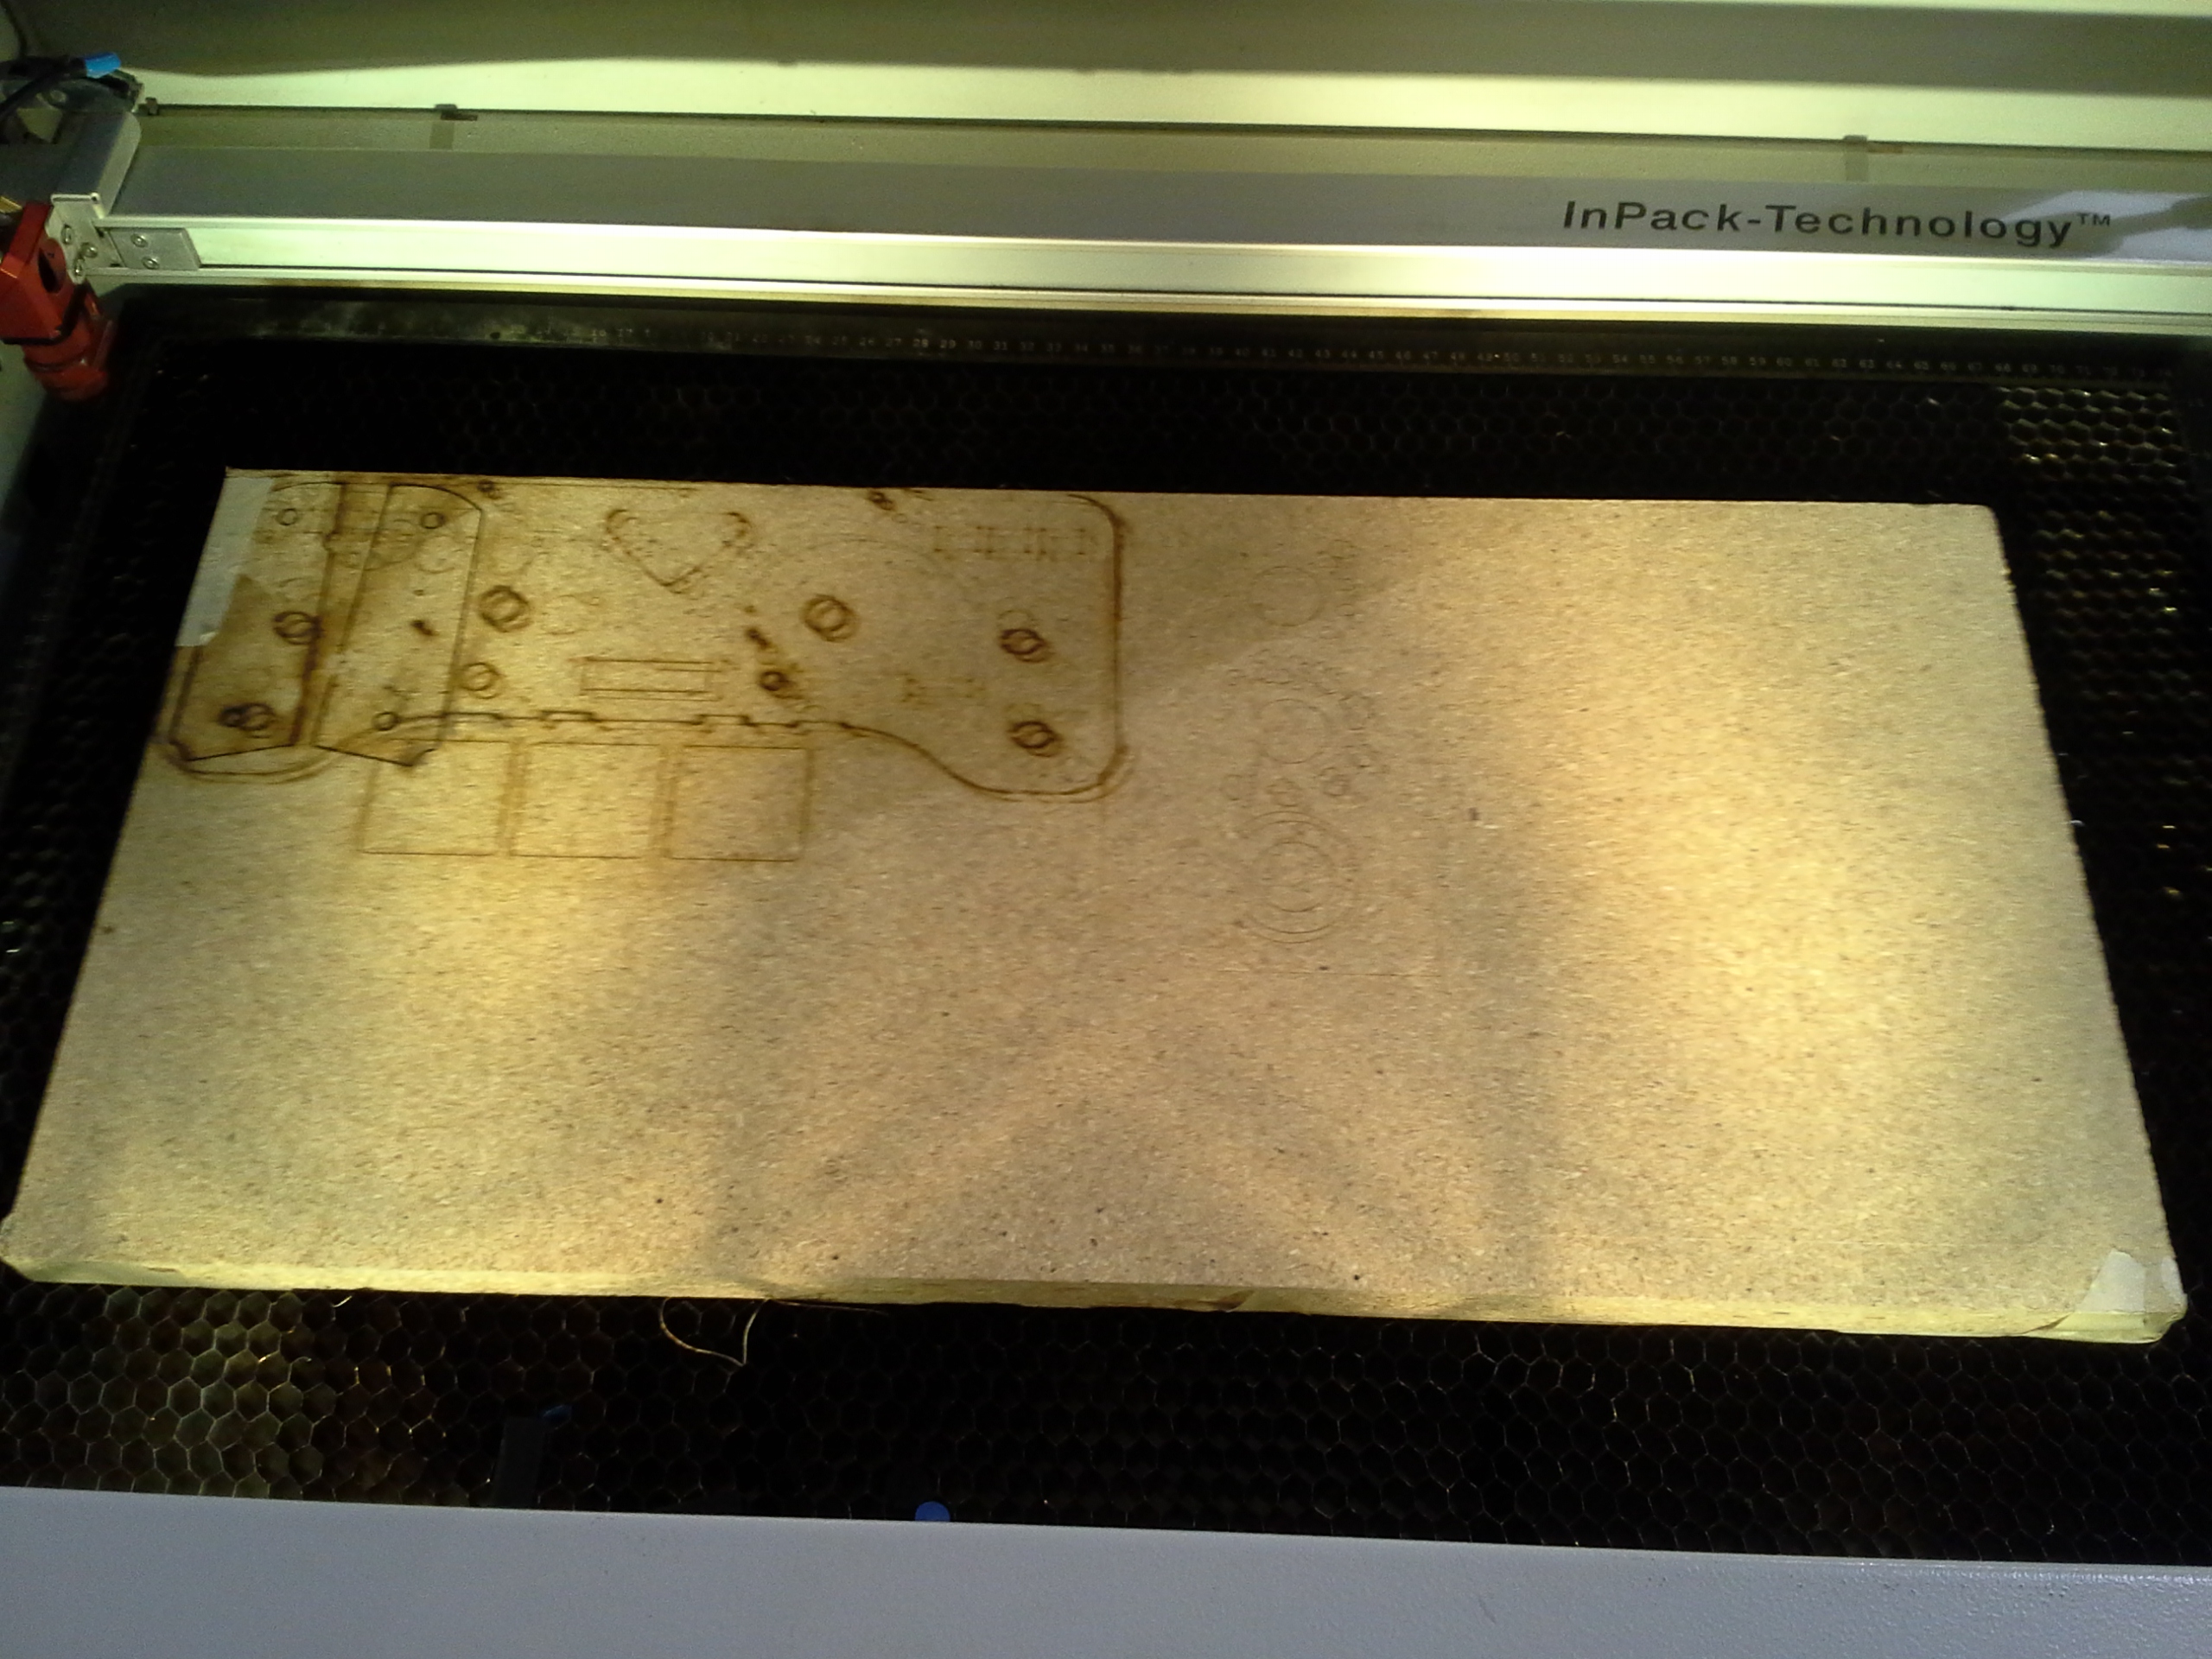
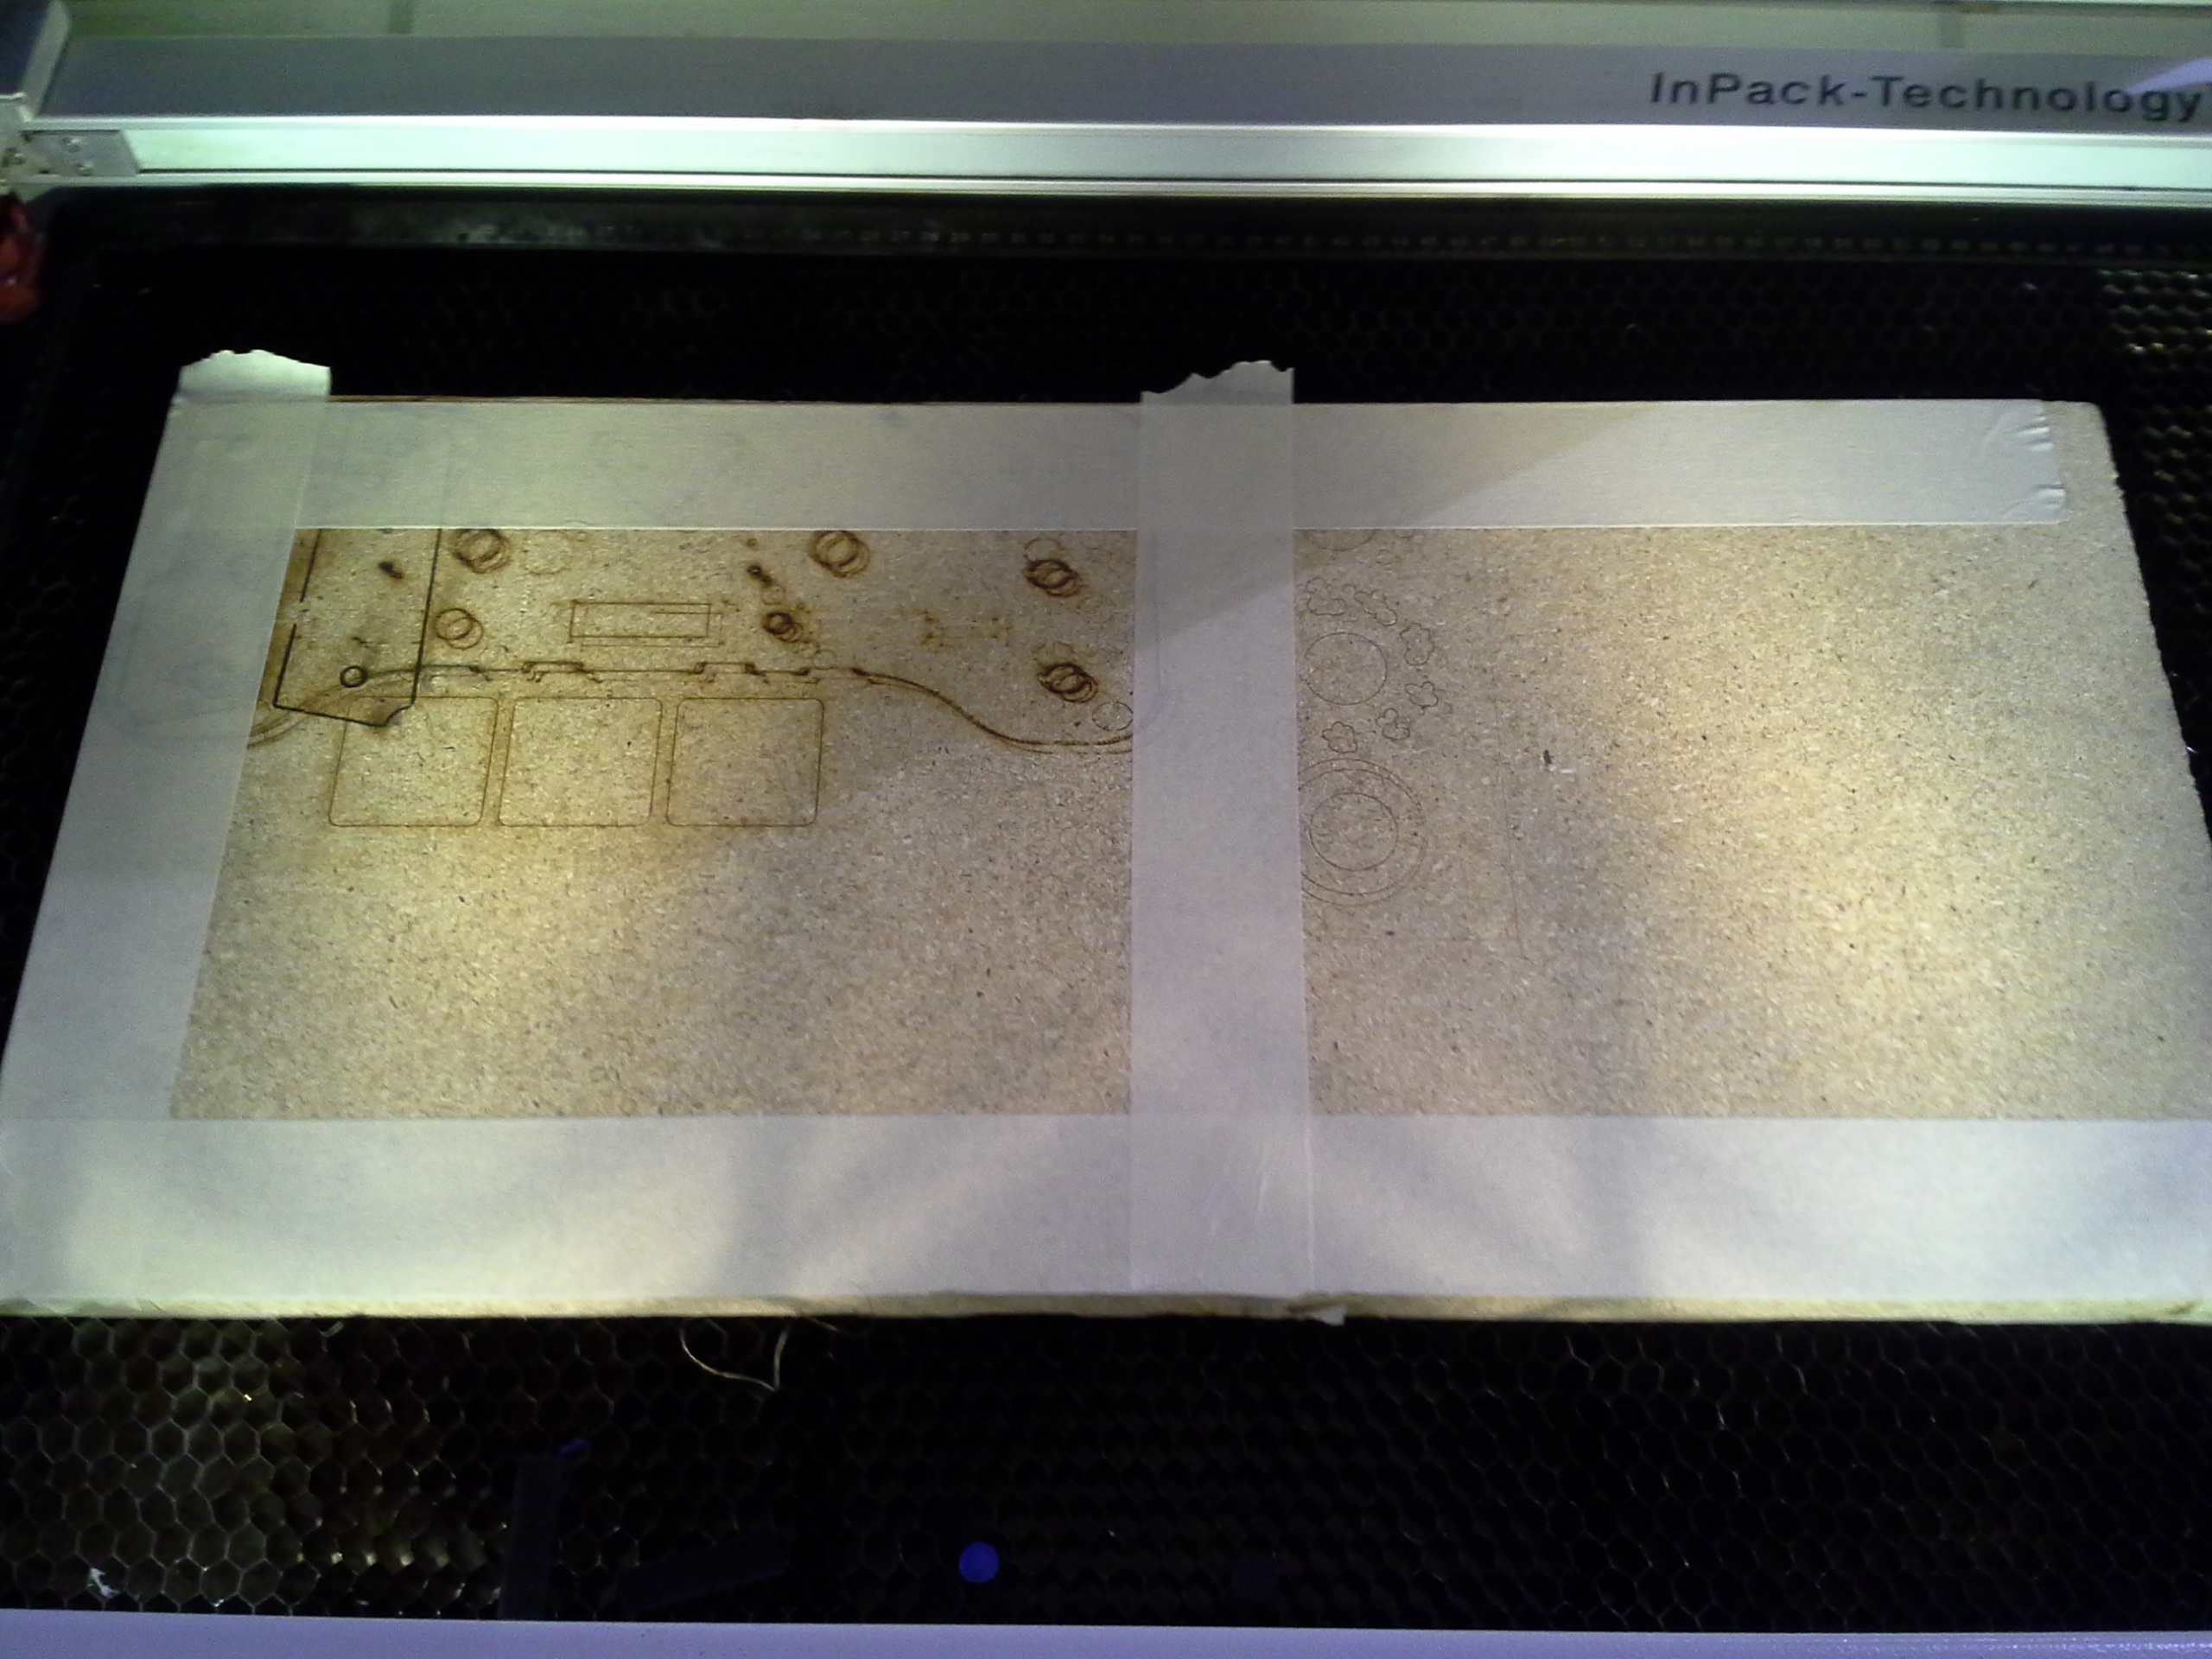
Find a board that will fit. the one above now has TONS of burn marks from hundreds of sets being cut and processed. It should last a while. Since we re-use the board, our reference marks will only work one time in the wood. That's why here, we lay down some tape. Add it everywhere approximately where your reference lines will be.
Time to Start Cutting!
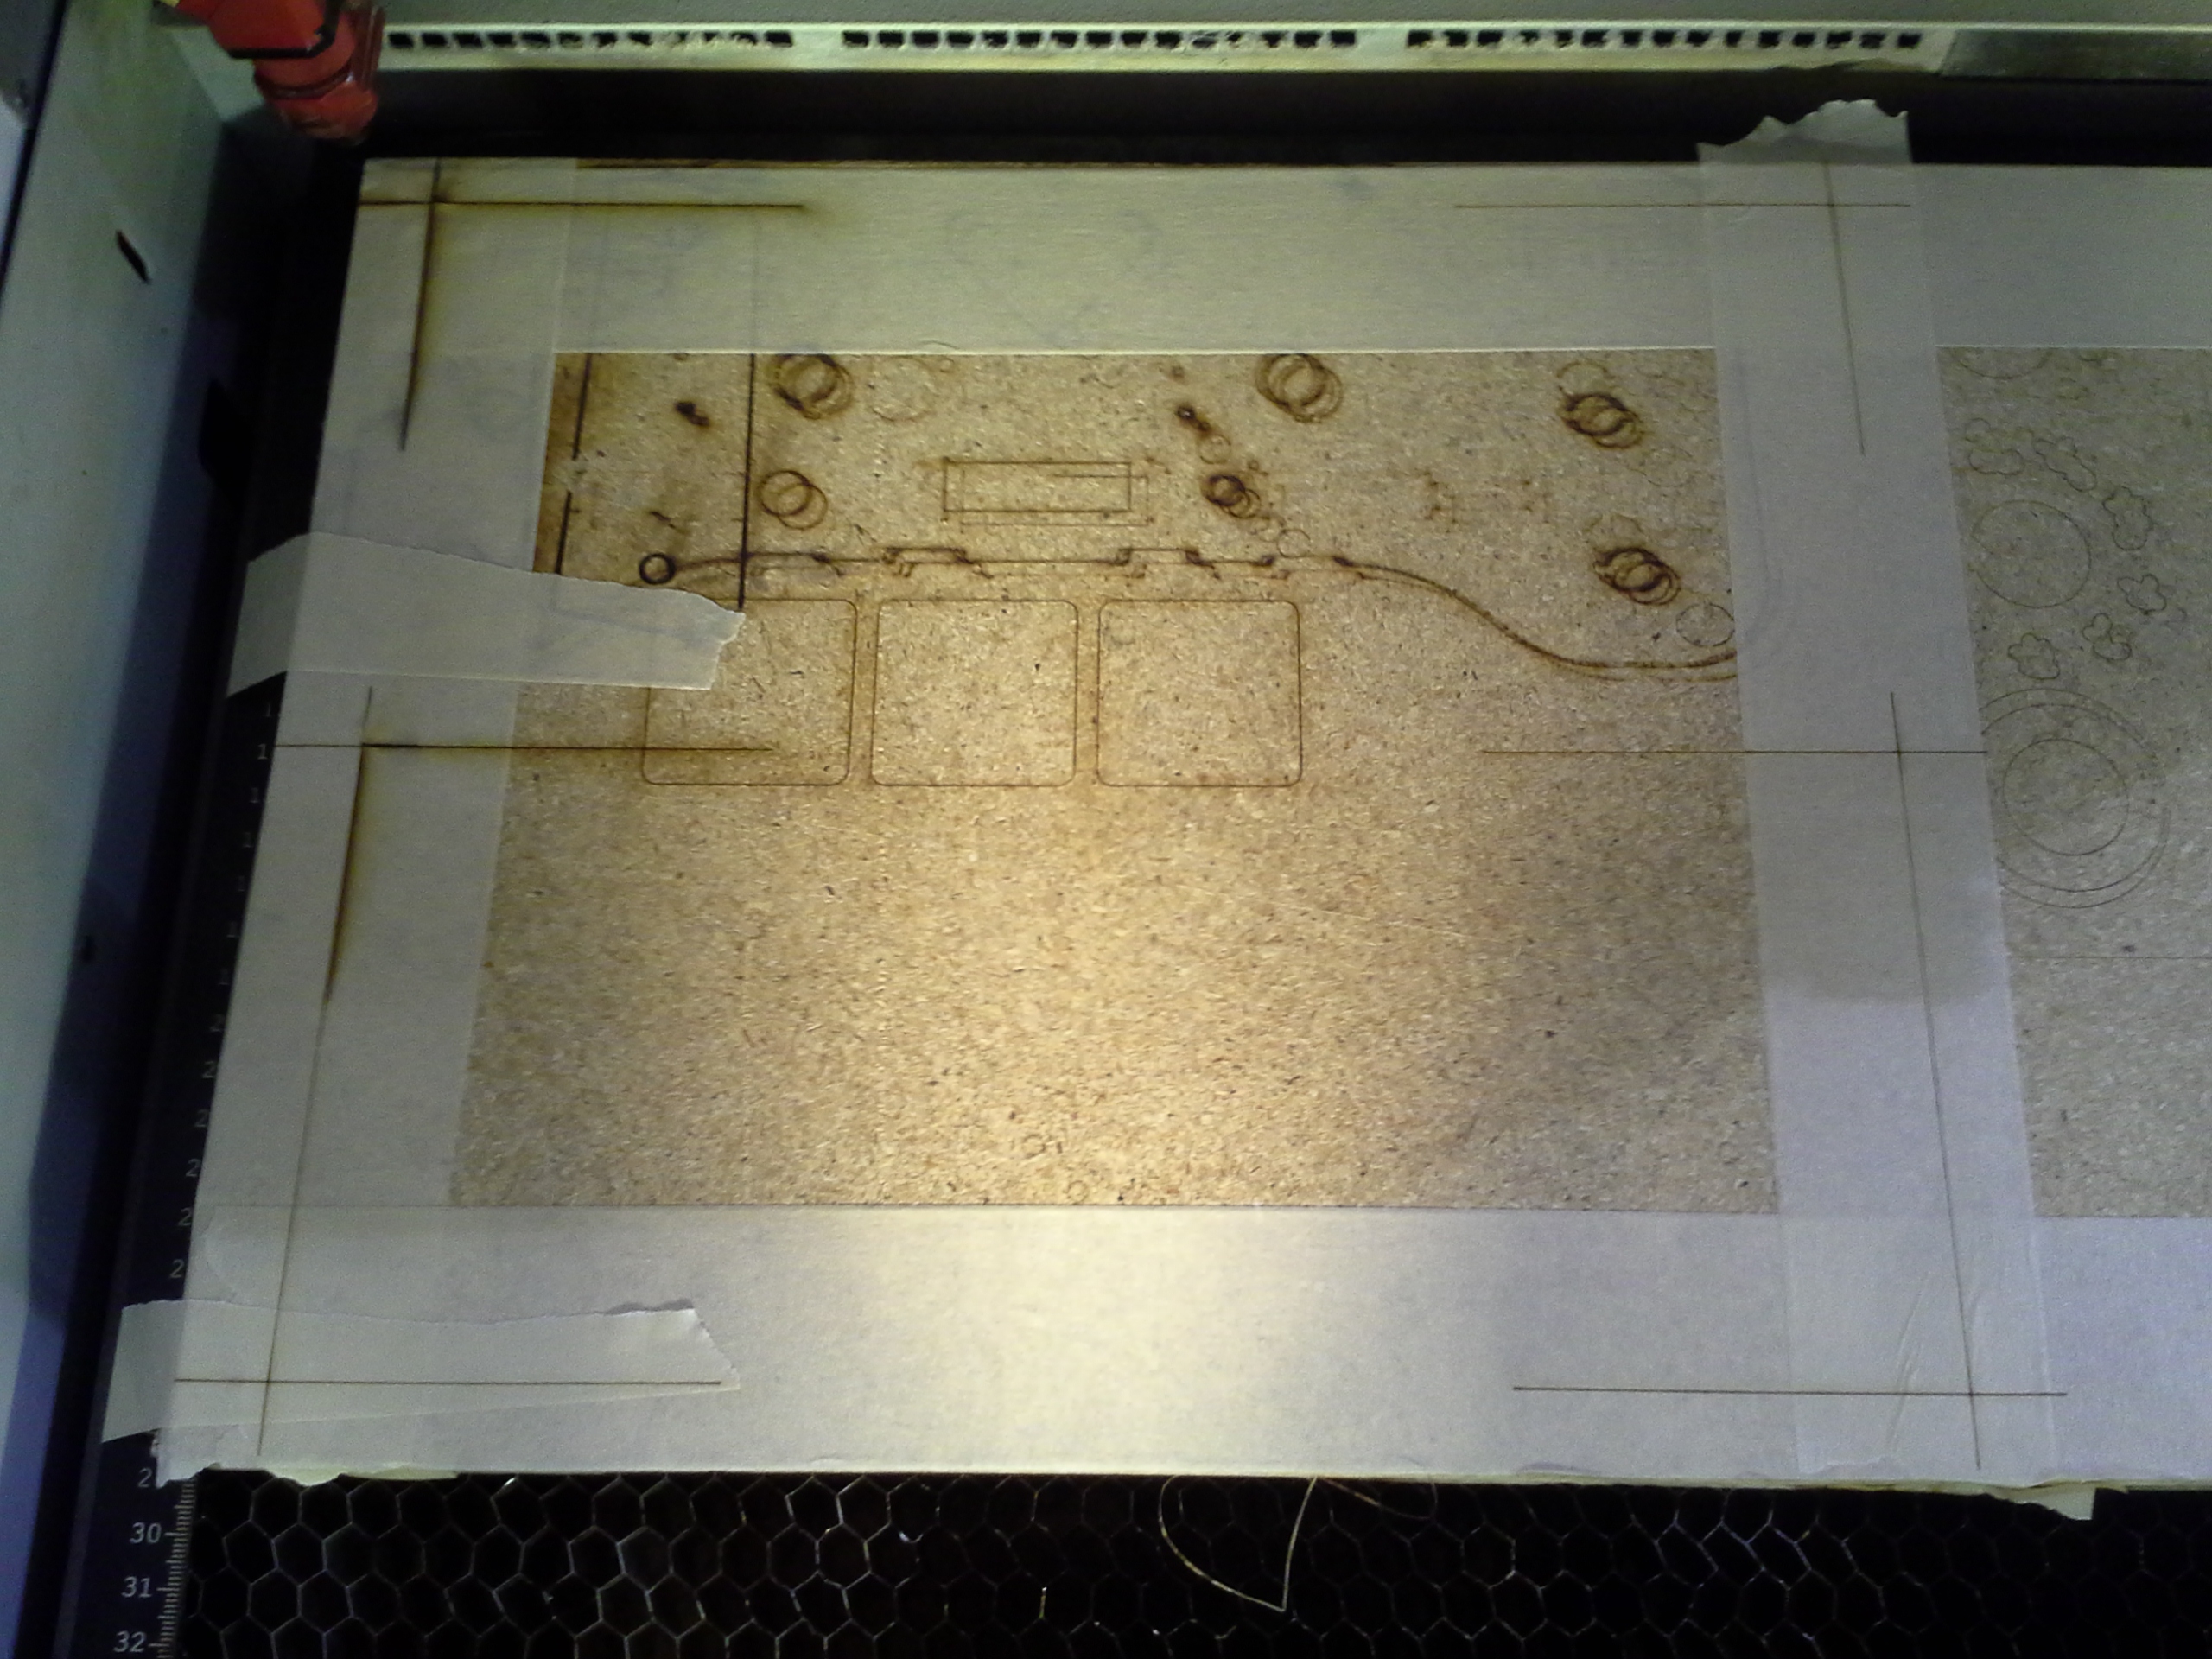
Since this Techshop uses Trotec Lasers, this specifically applies to them, but can be said of others as well. It will work on our in house Full Spectrum unit, and should on others.
Send your full pattern, marks and all. For the first run through the laser control software, turn off the vector pattern for the final cut lines. We want to burn quick lines in the tape to get reference marks.
Cut Away!
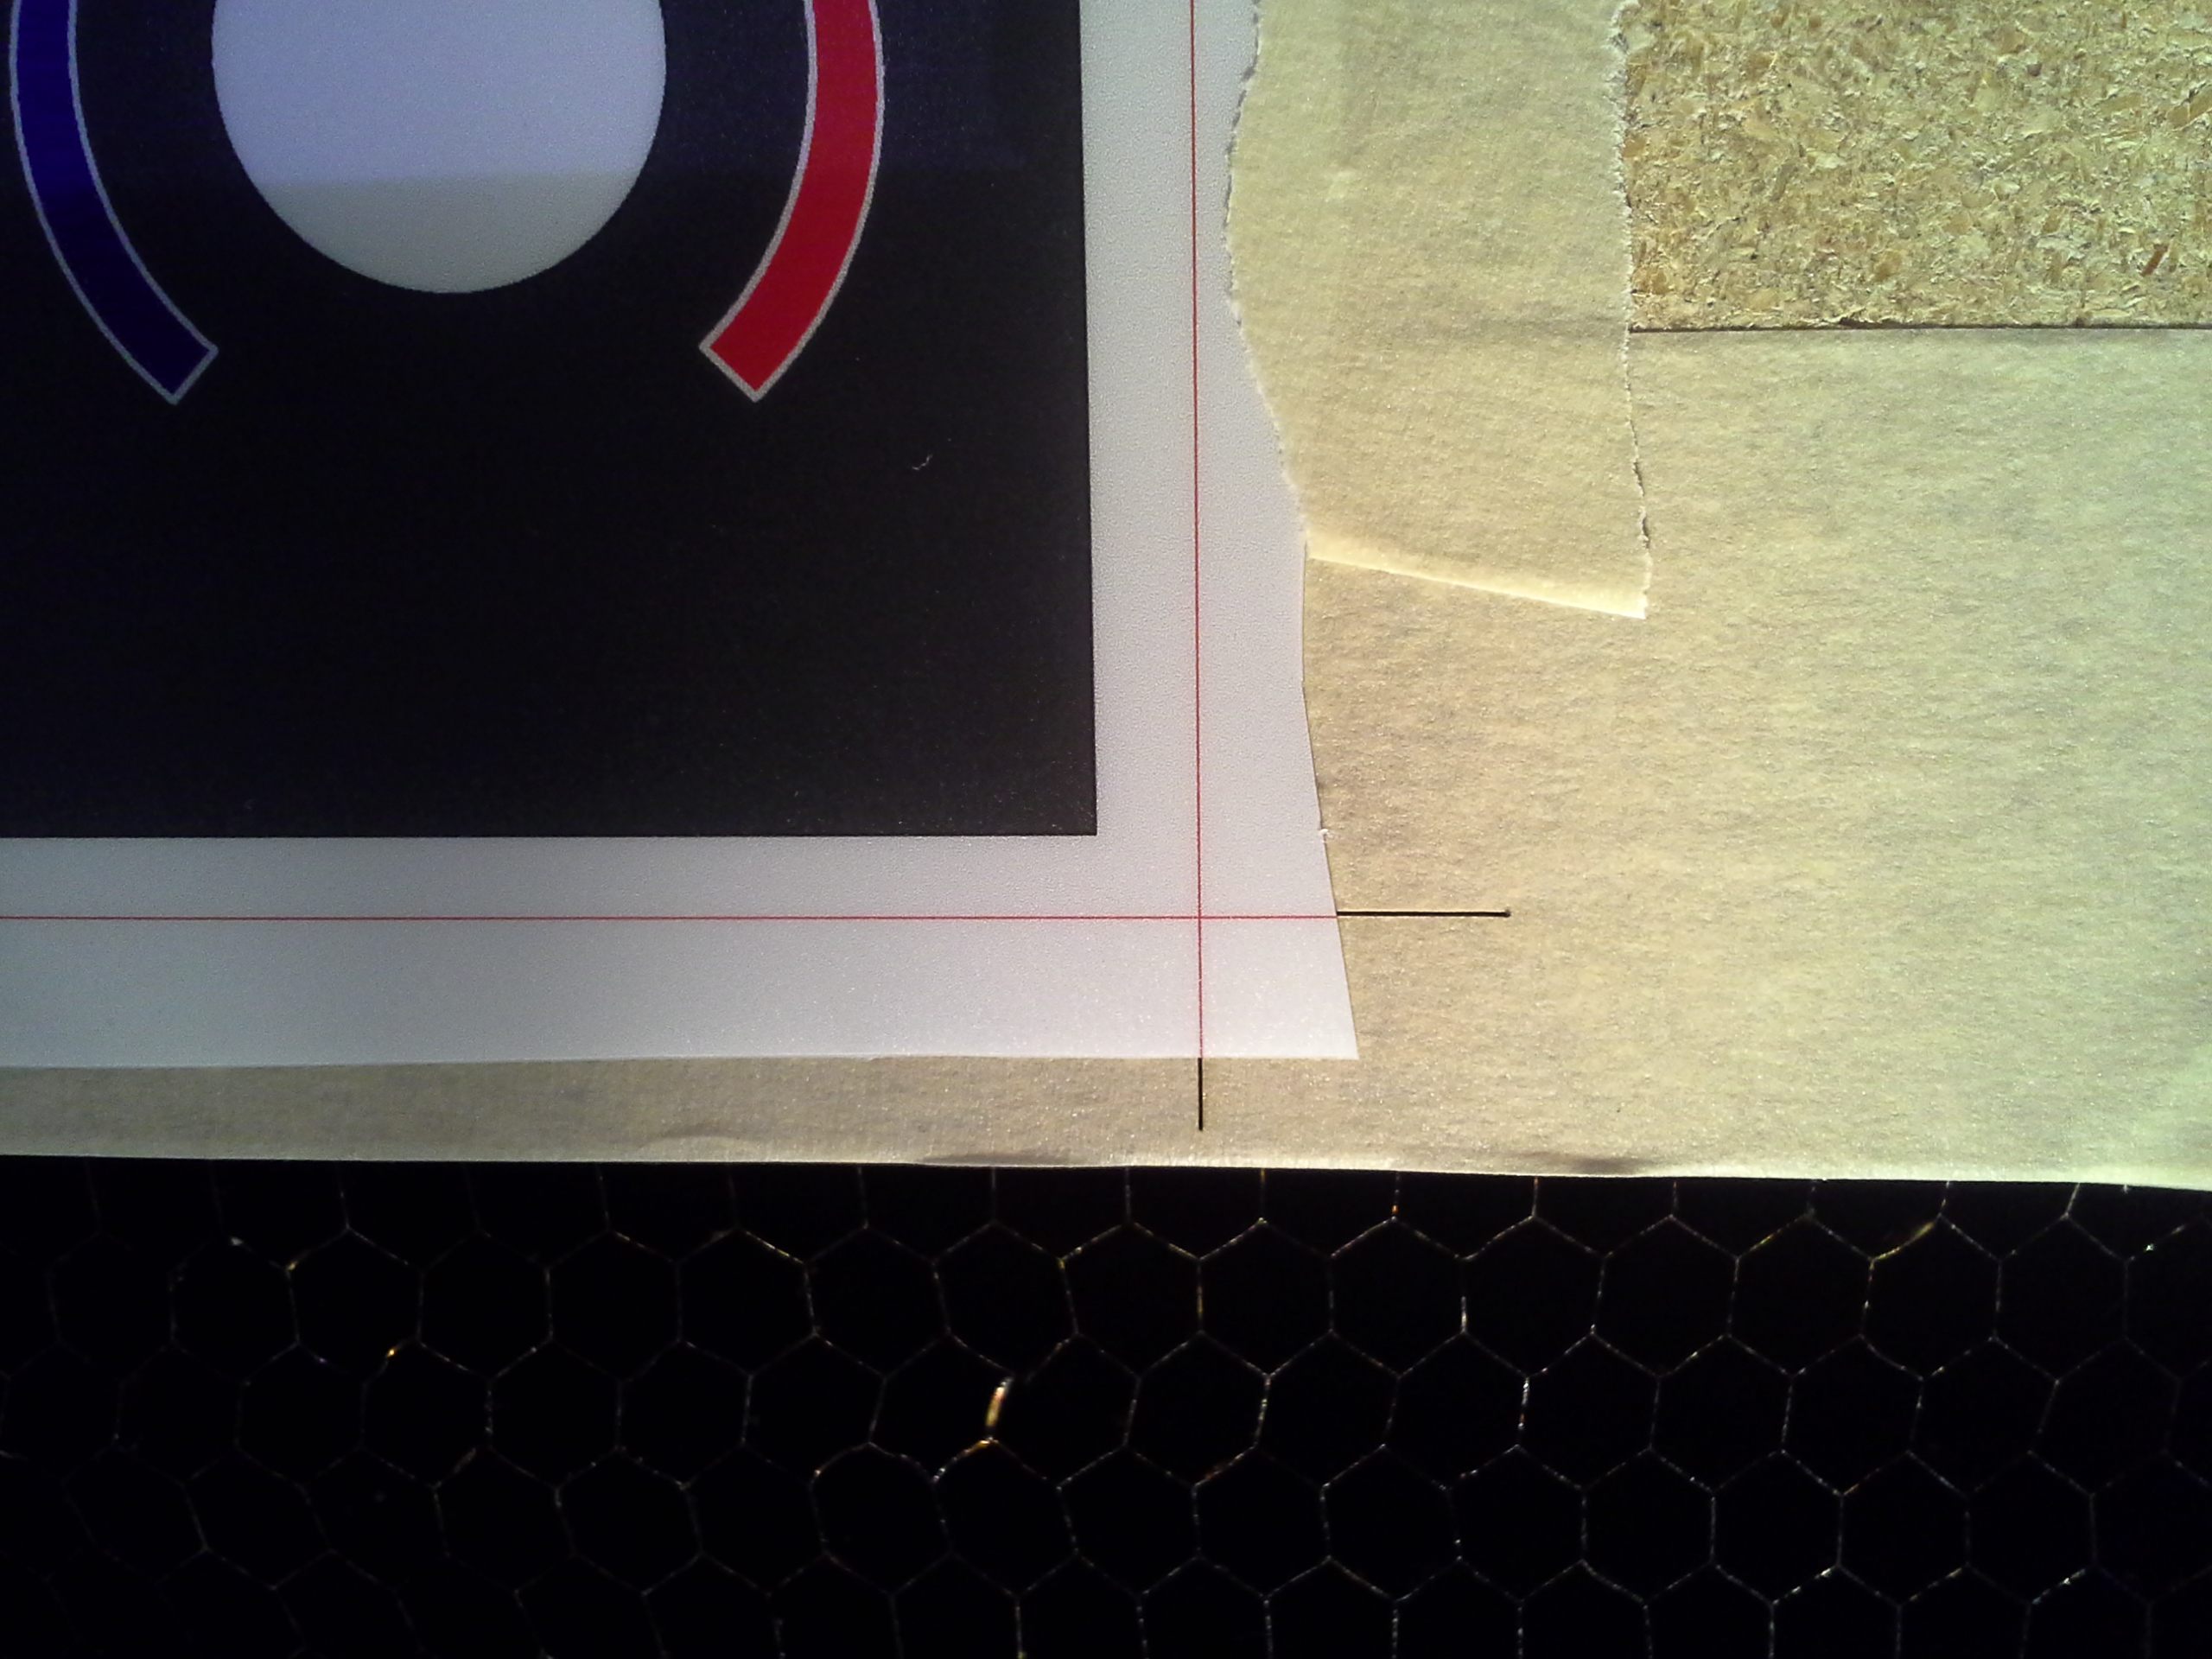
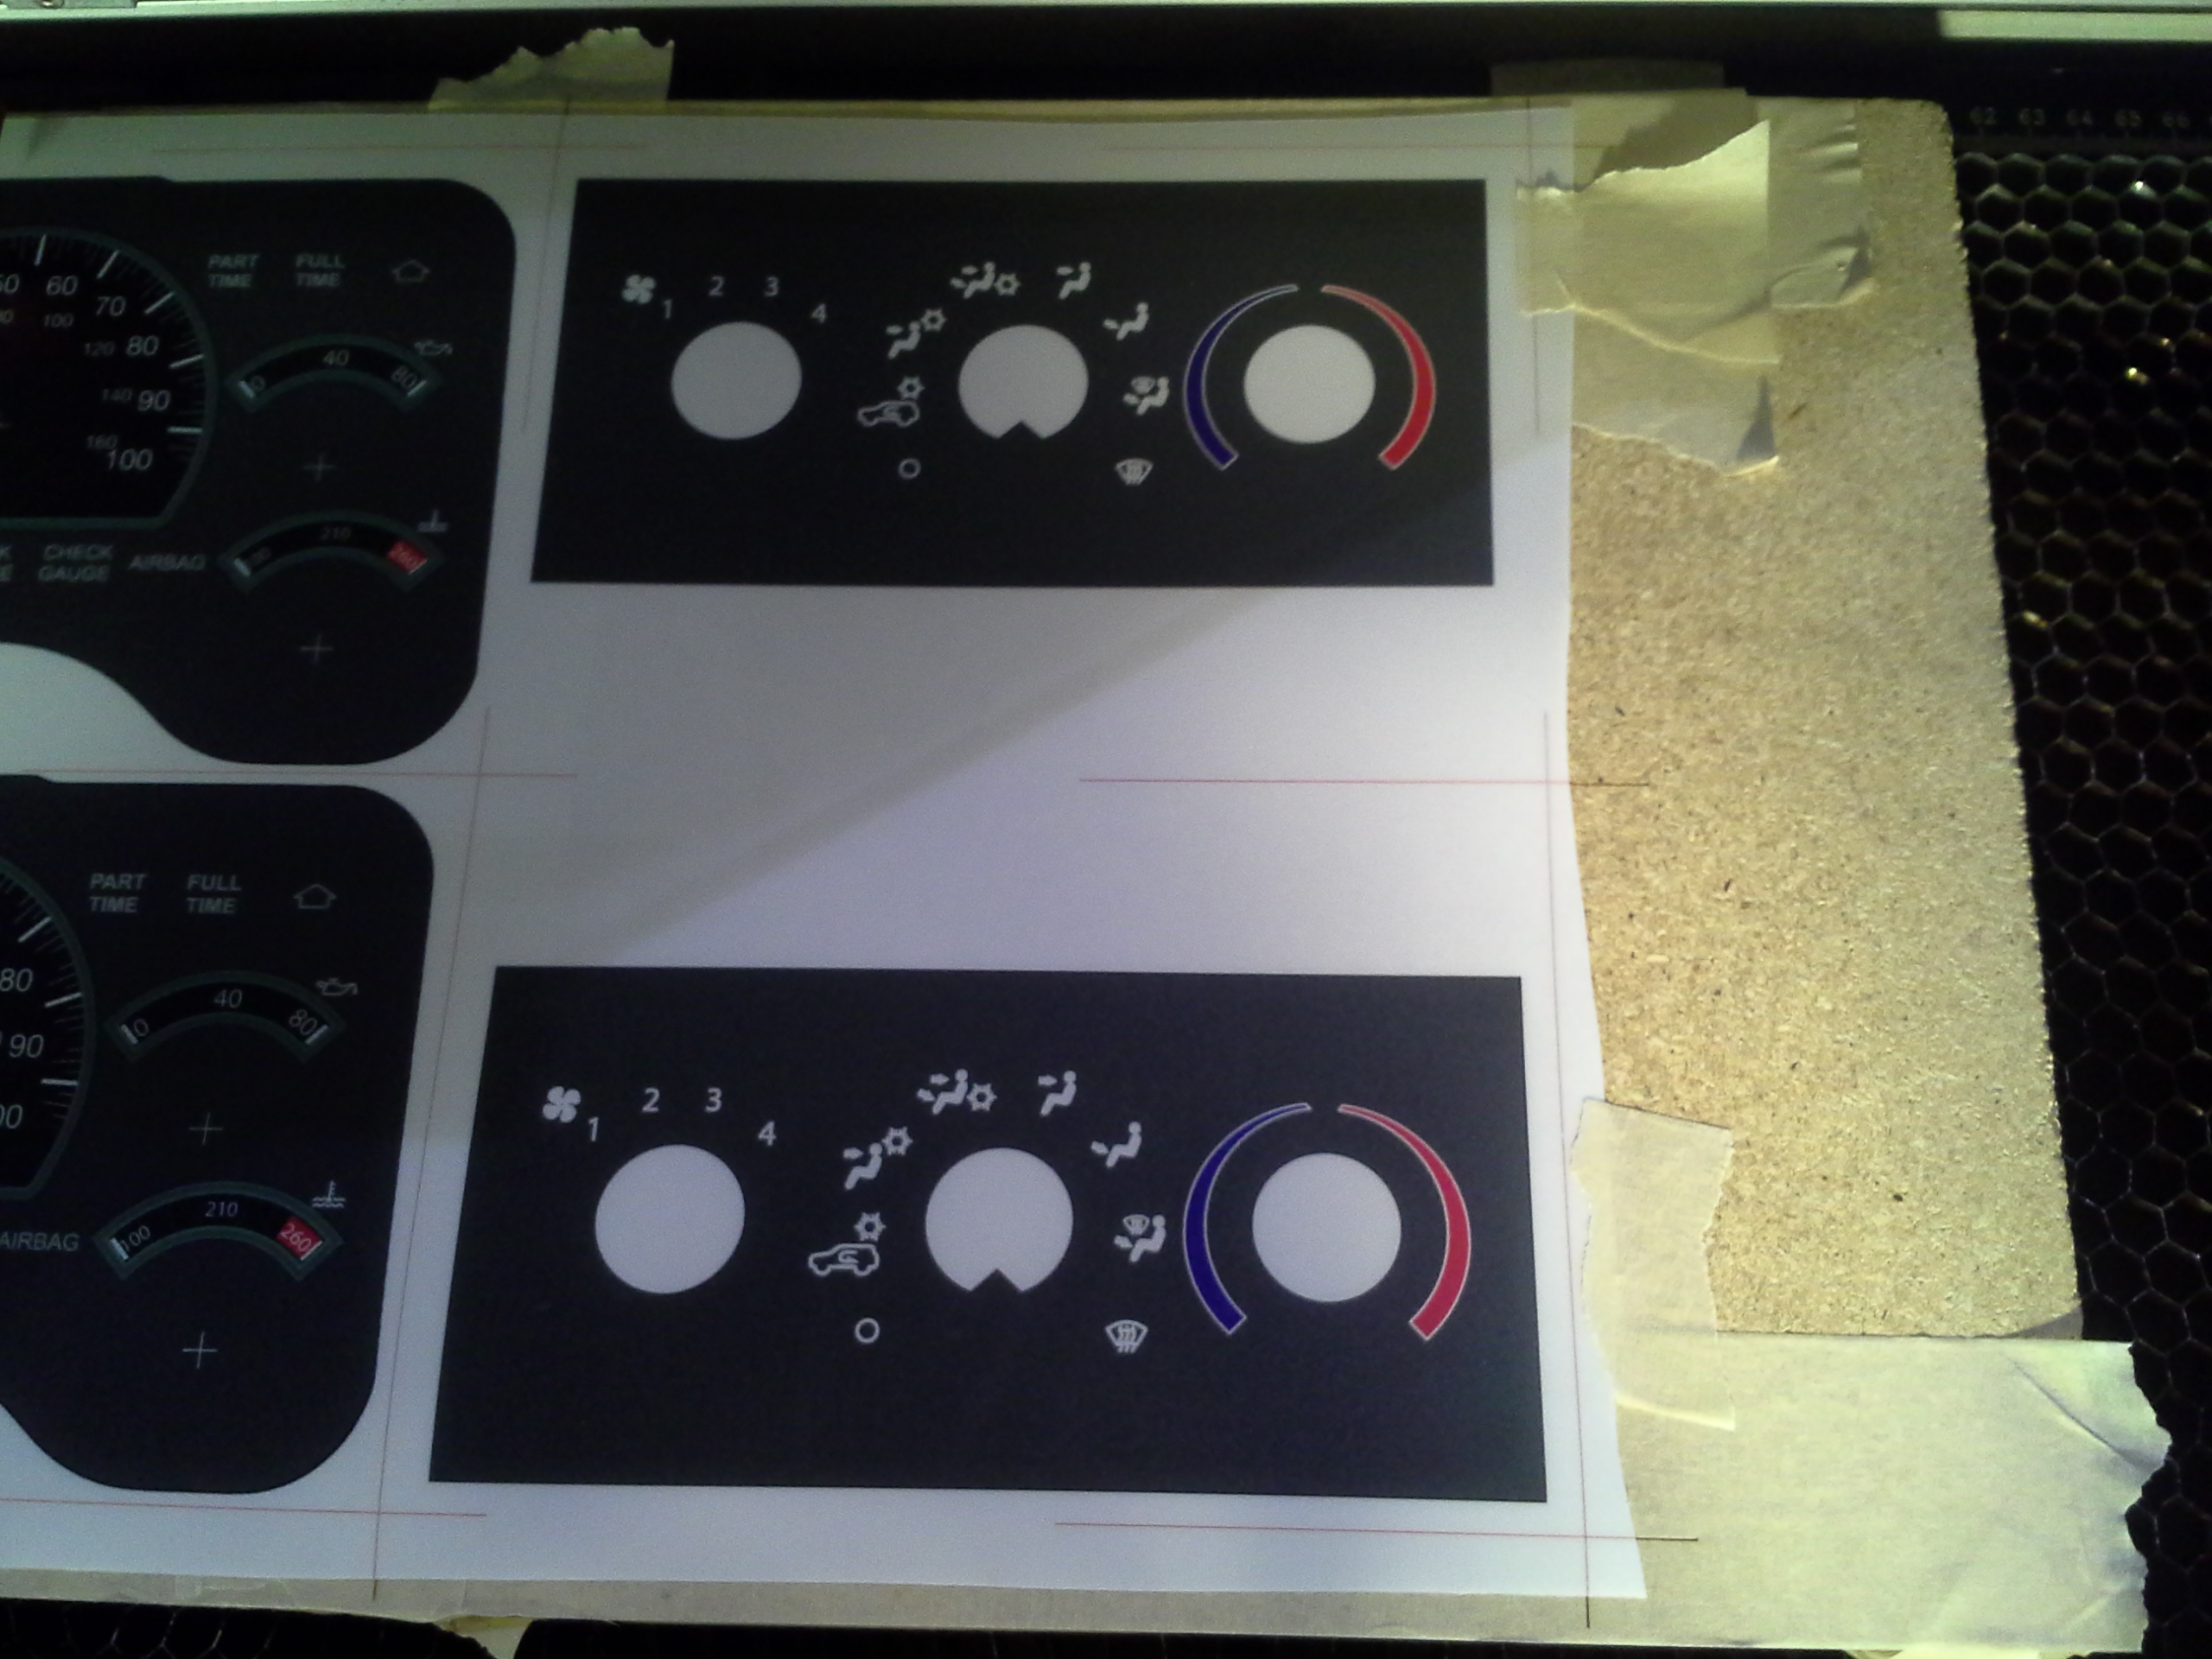
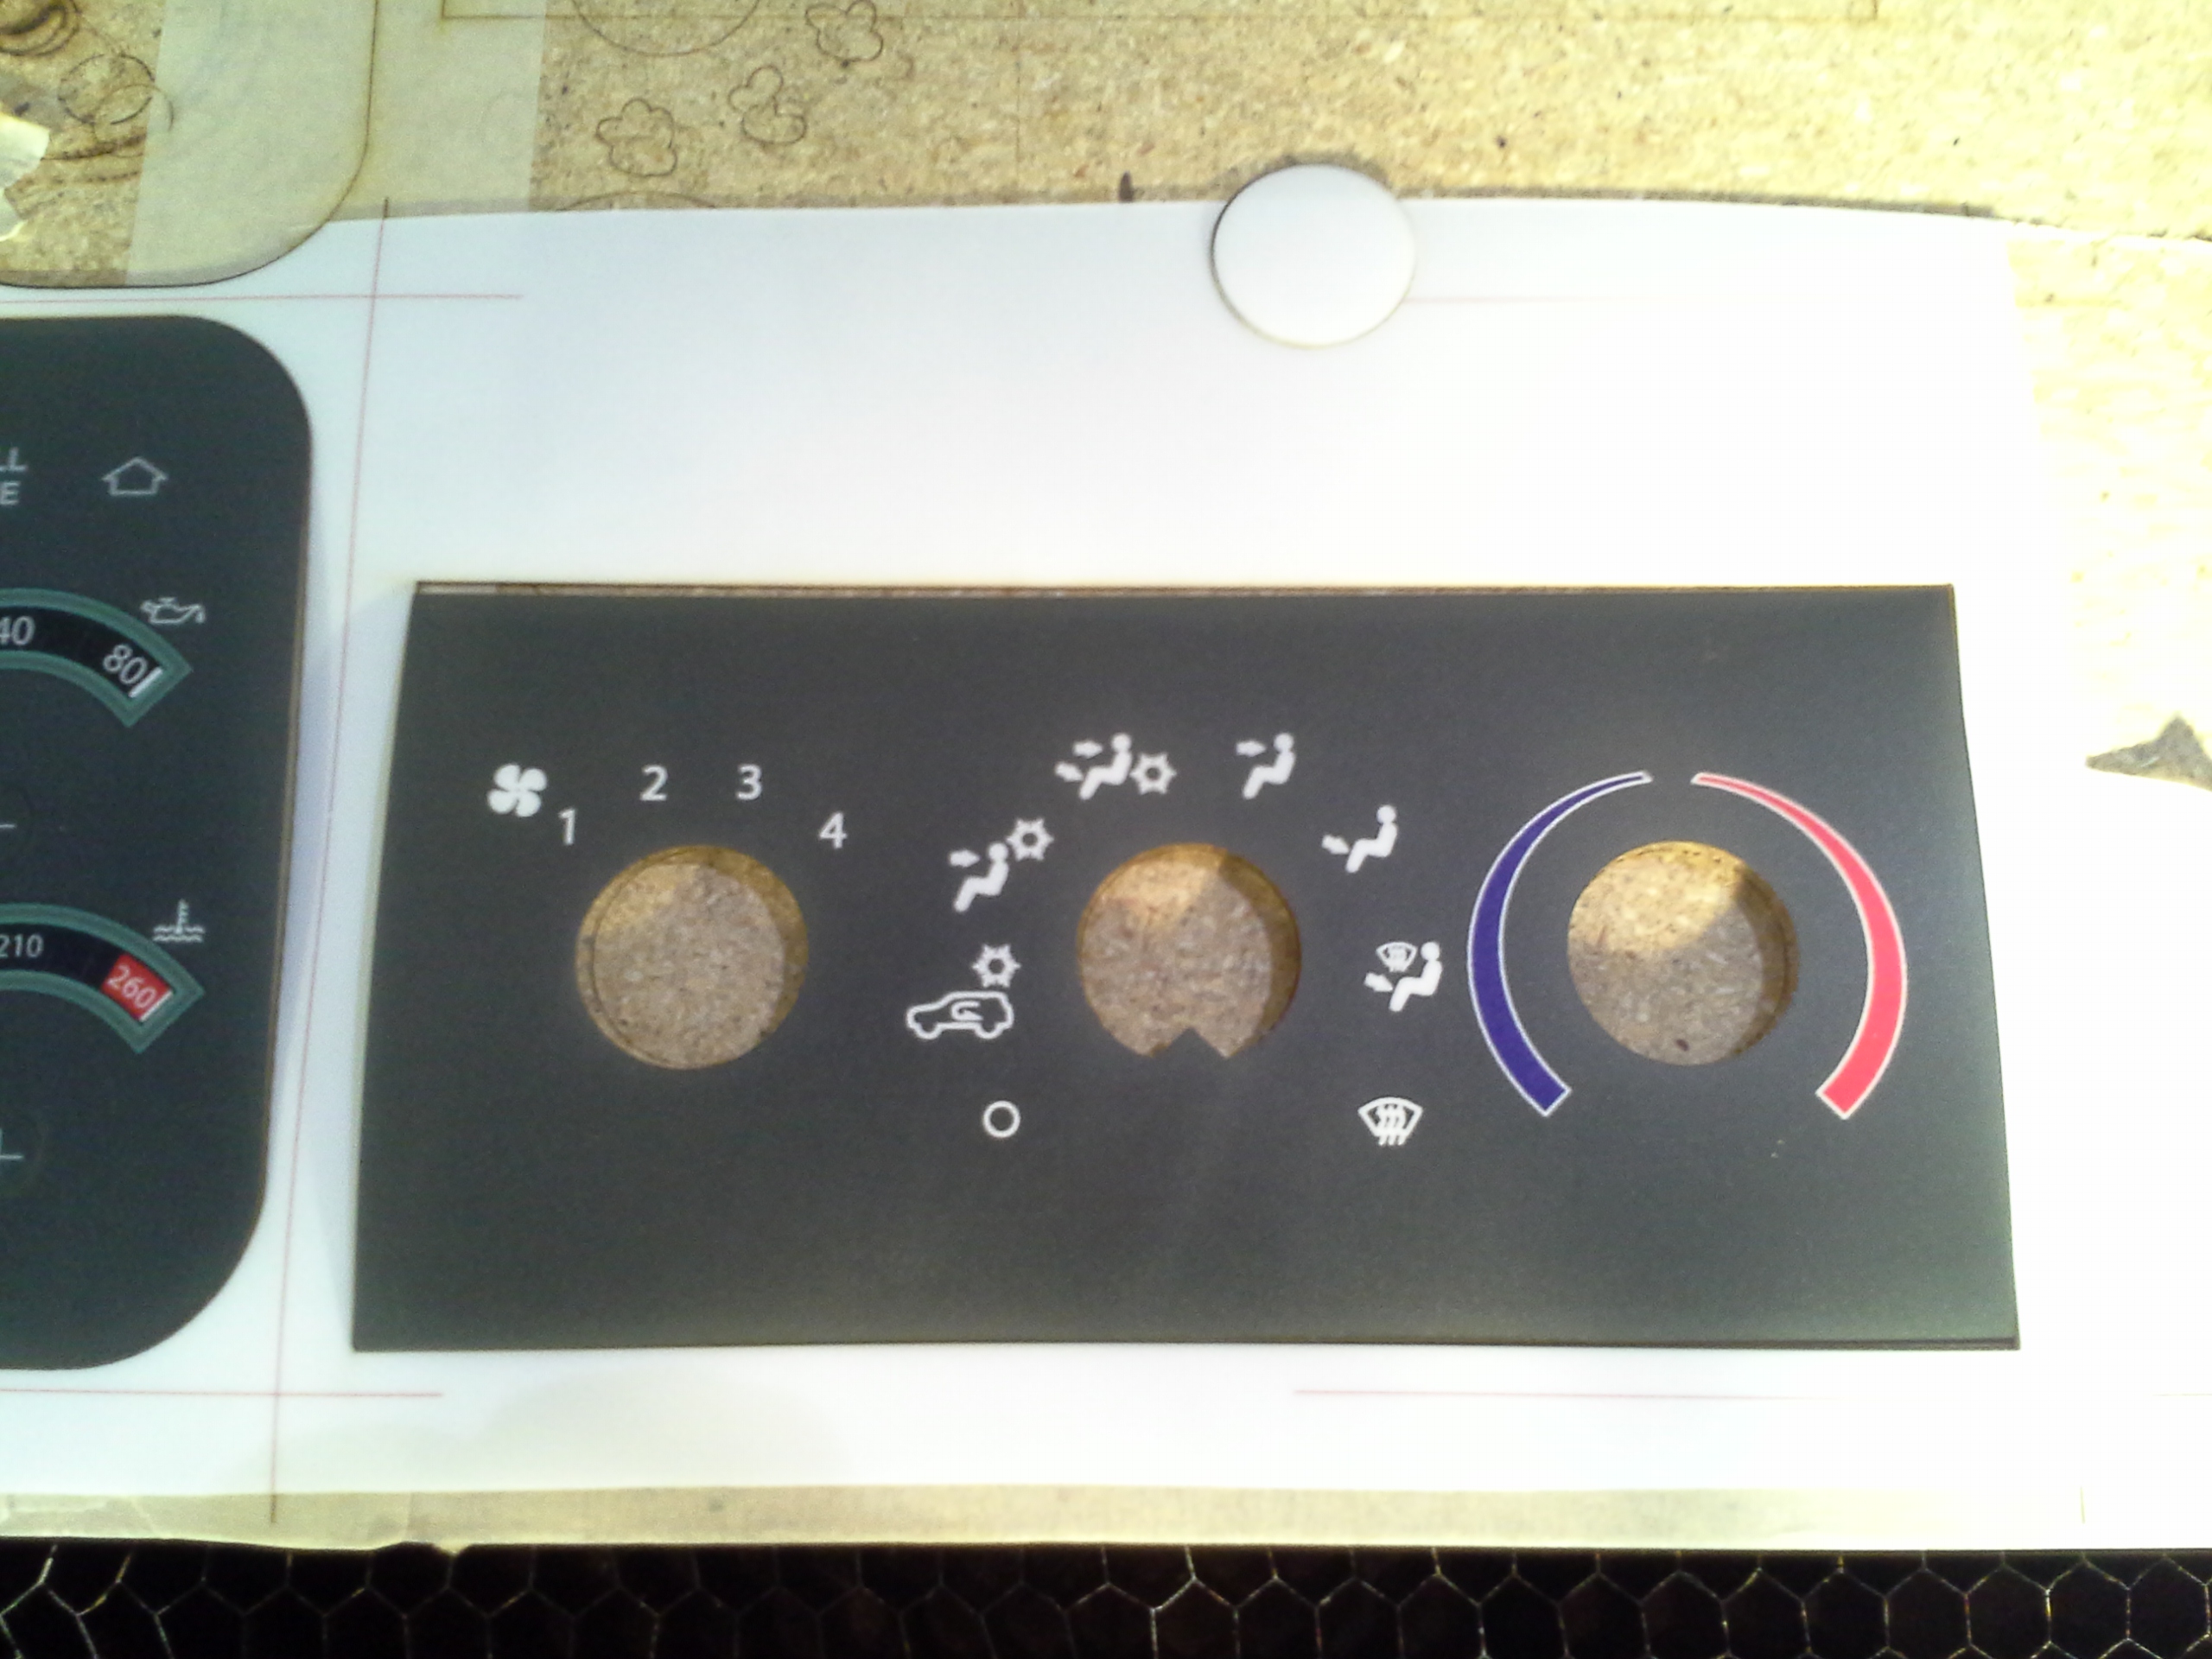
One you have your reference lines cut into the tape (fast passes, run multiple times, should be enough to burn easily readable lines into the board / tape), line up the print, as seen above. Make sure at least 3 corners line up. Fluctuations in temp, humidity, etc from your print environment to your cutter environment may make the material expand or shrink, so you will have to average that out a hair.
Once lined up, in the laser control software, run the same pattern again, but with the reference line color turned off or set to 0 passes. Most control software will keep the positioning and then you will be able to just keep lining up and cutting your path on multiple sheets, as long as the board does not move. We usually taped the board to the honeycomb anyhow, just in case, with masking tape.
Thats It!
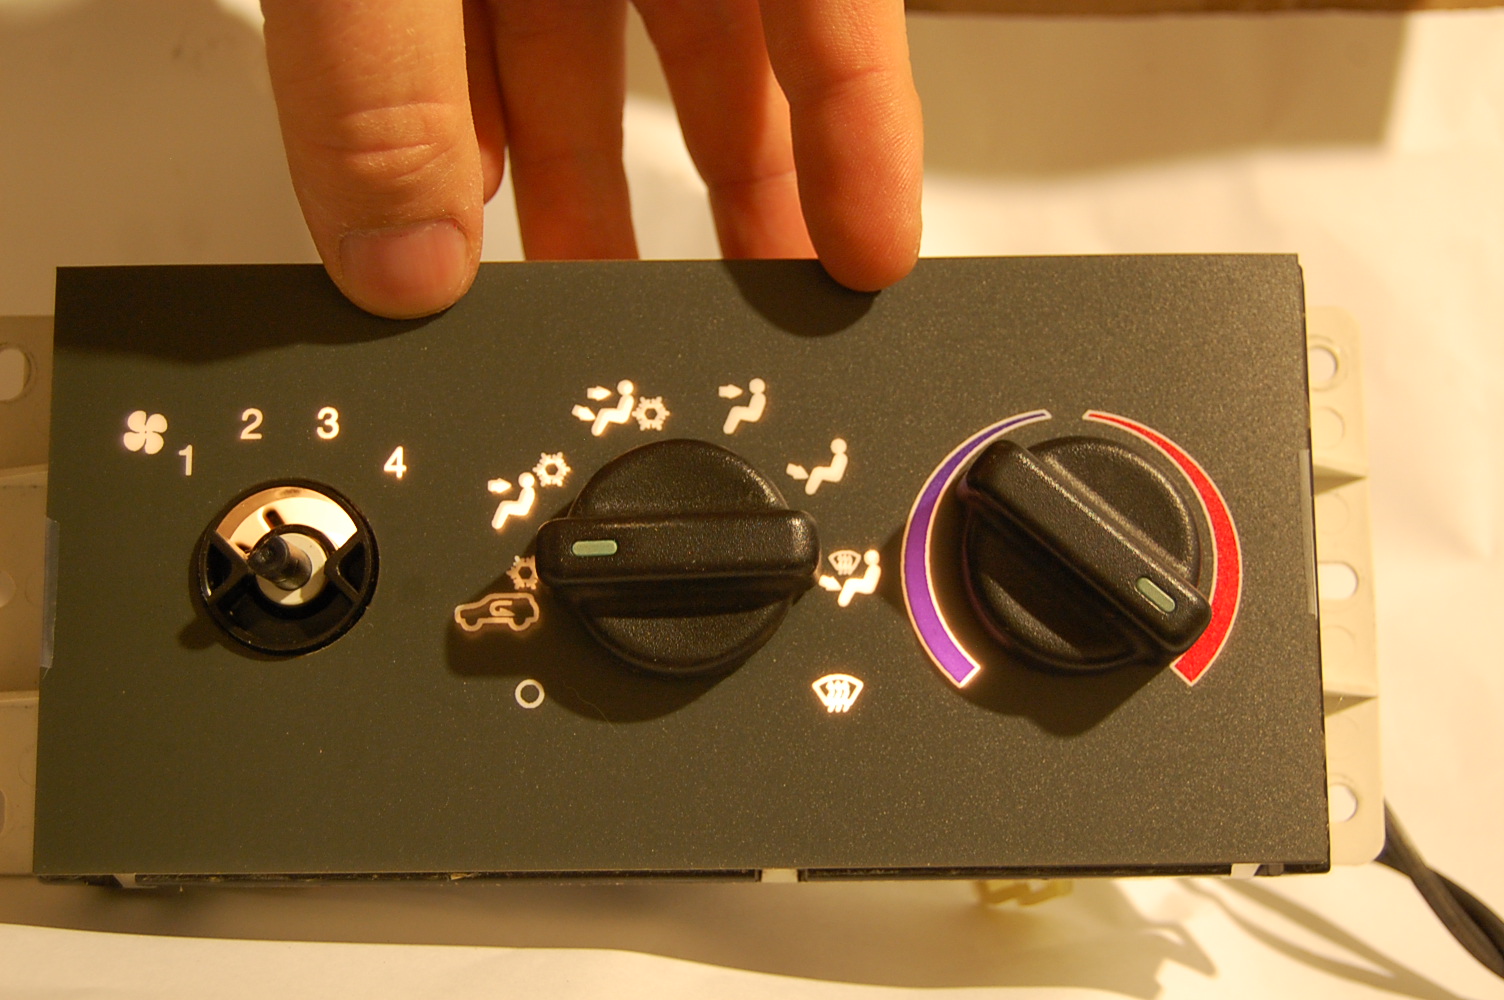
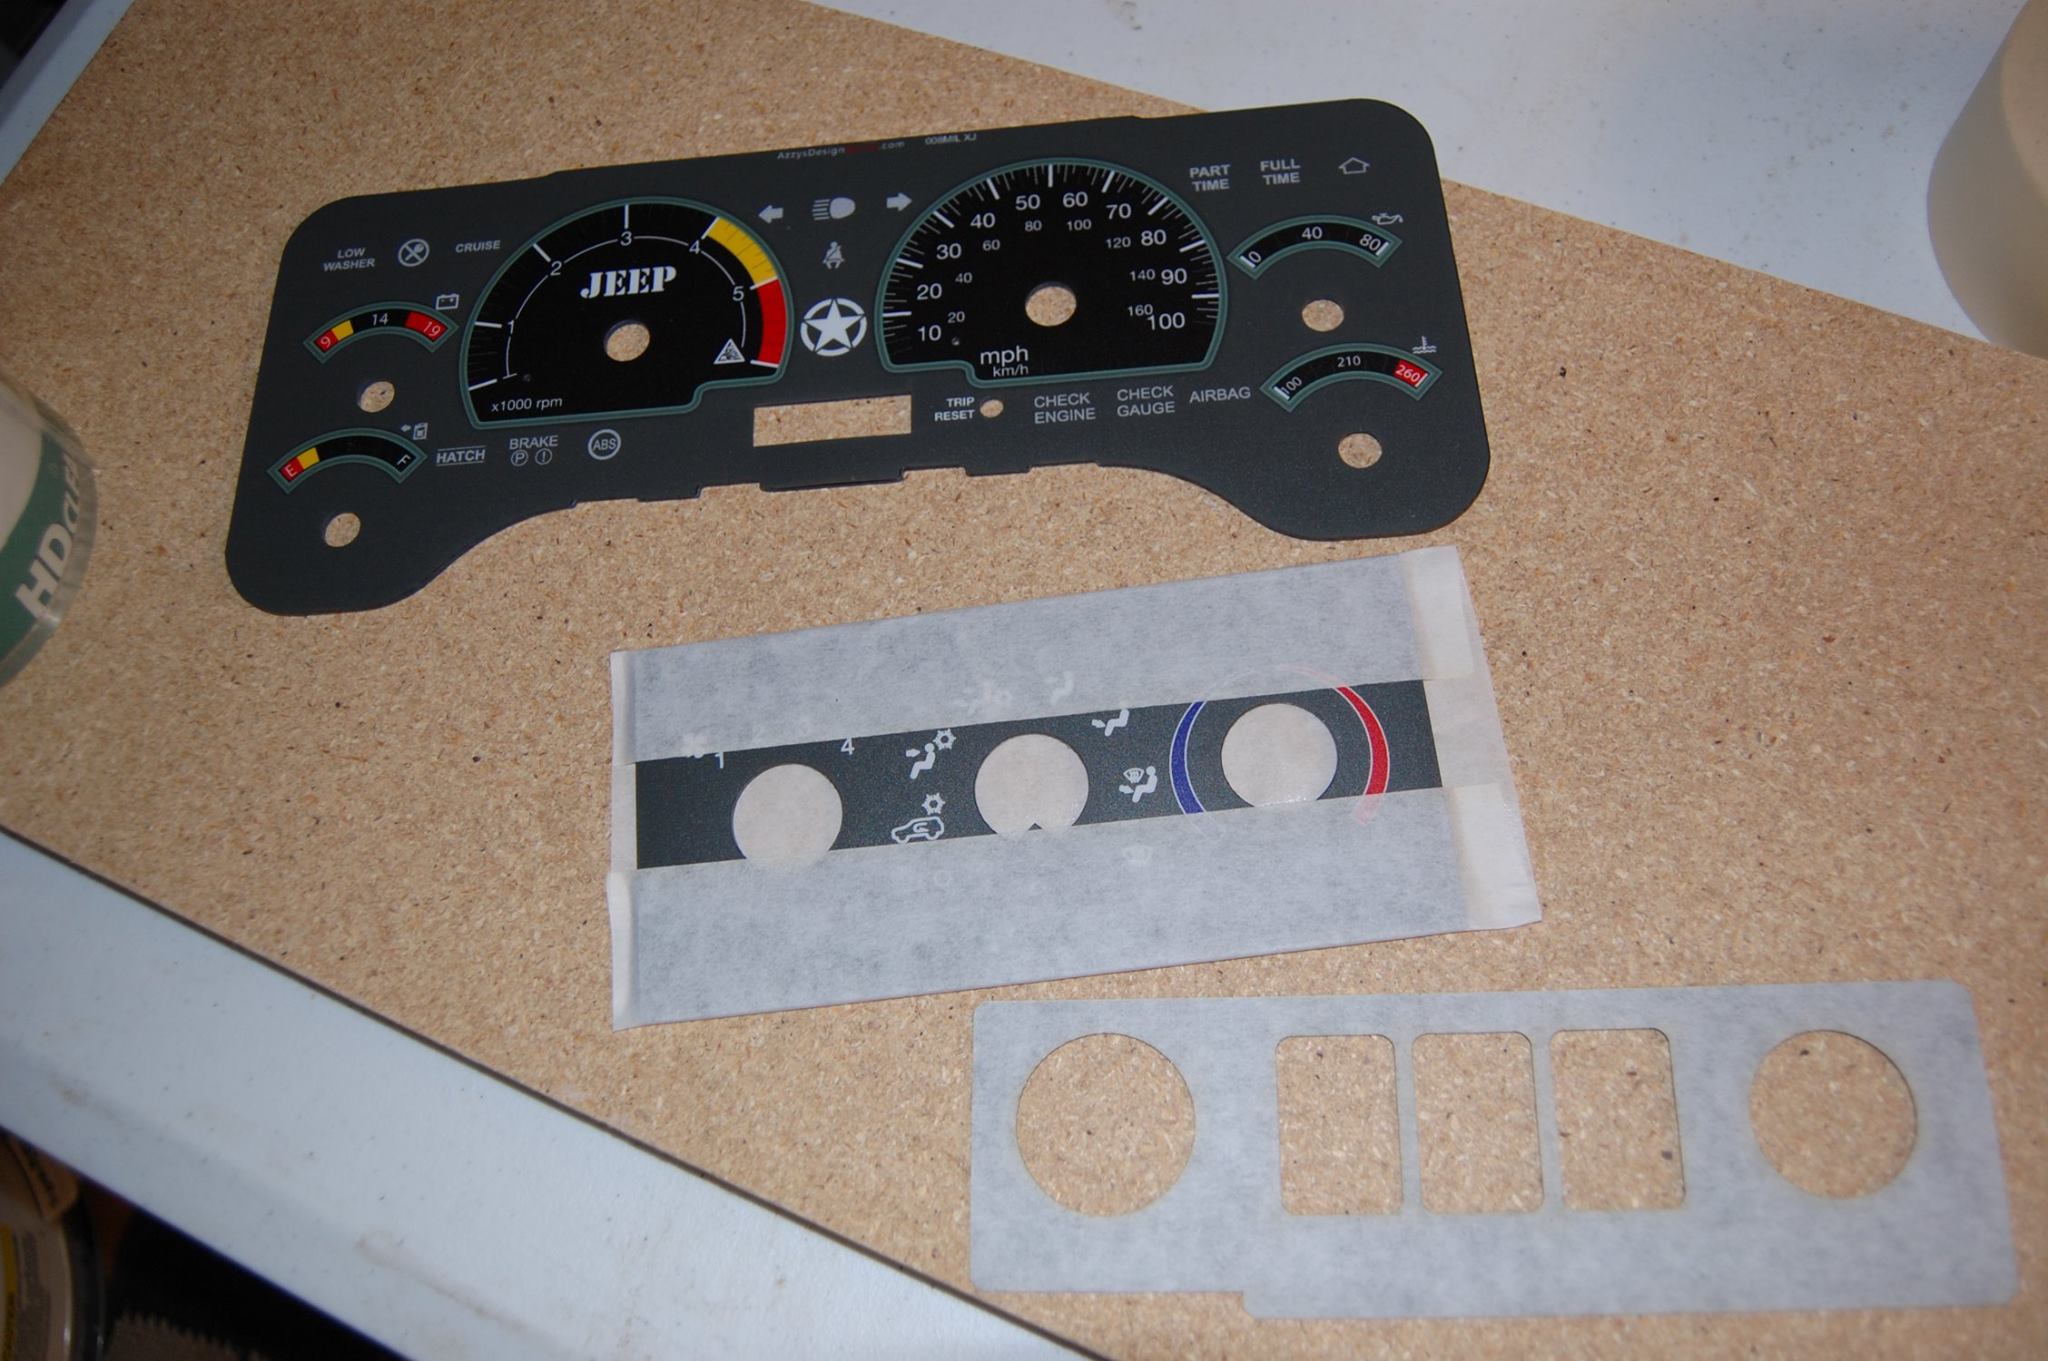
You can use this for all sorts of applications, just remember to test your material beforehand, make sure there is no vynil / PVC or other harmful materials in your print media, and have fun.
Helpful hint. If you find your prints come out with a film after cutting, overlay them with application tape (made for applying vinyl graphics) before cutting.
Comment and link to your projects if you try it out, we would love to see them!
( Follow us on facebook too, if you dont mind )