Print and Cut Stickers With Cricut
by Made Studio in Craft > Paper
2186 Views, 37 Favorites, 0 Comments
Print and Cut Stickers With Cricut
In this tutorial, you will be learning how to use the Cricut and Printable Sticker Paper to print and cut your own custom stickers!
Supplies
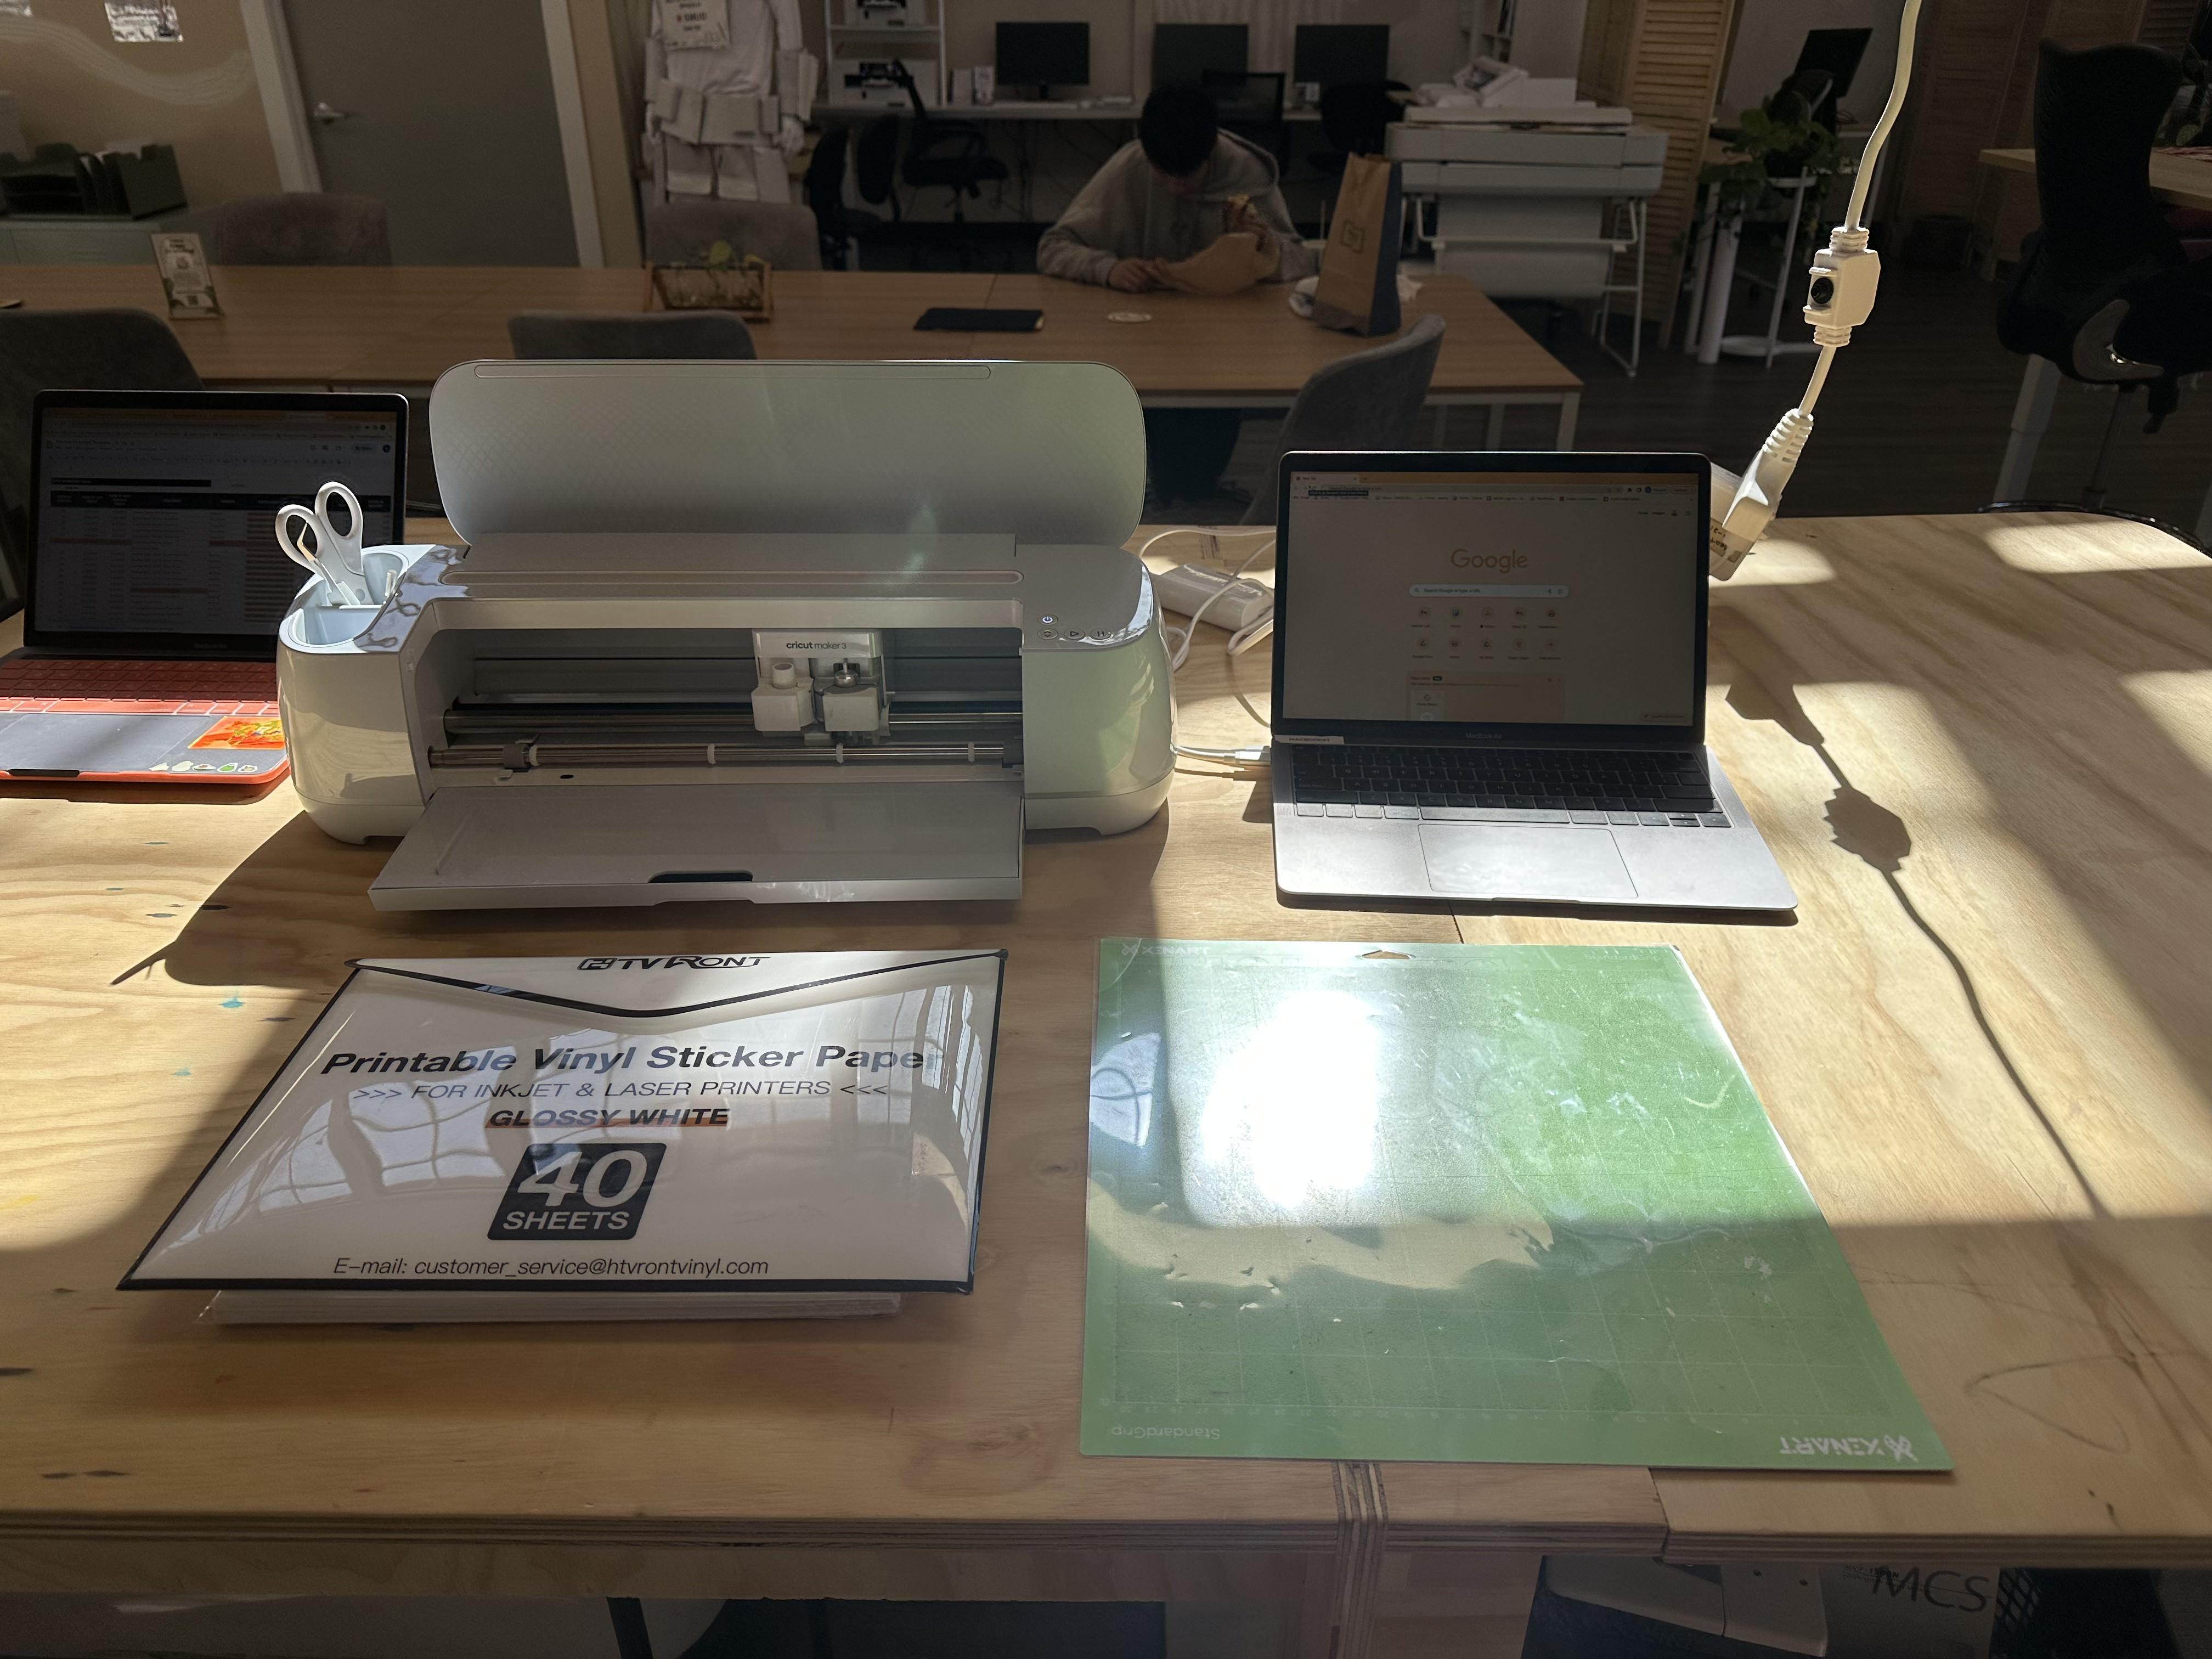
Cricut Maker 3
HP DesignJet Inkjet Printer
Sticker Mat
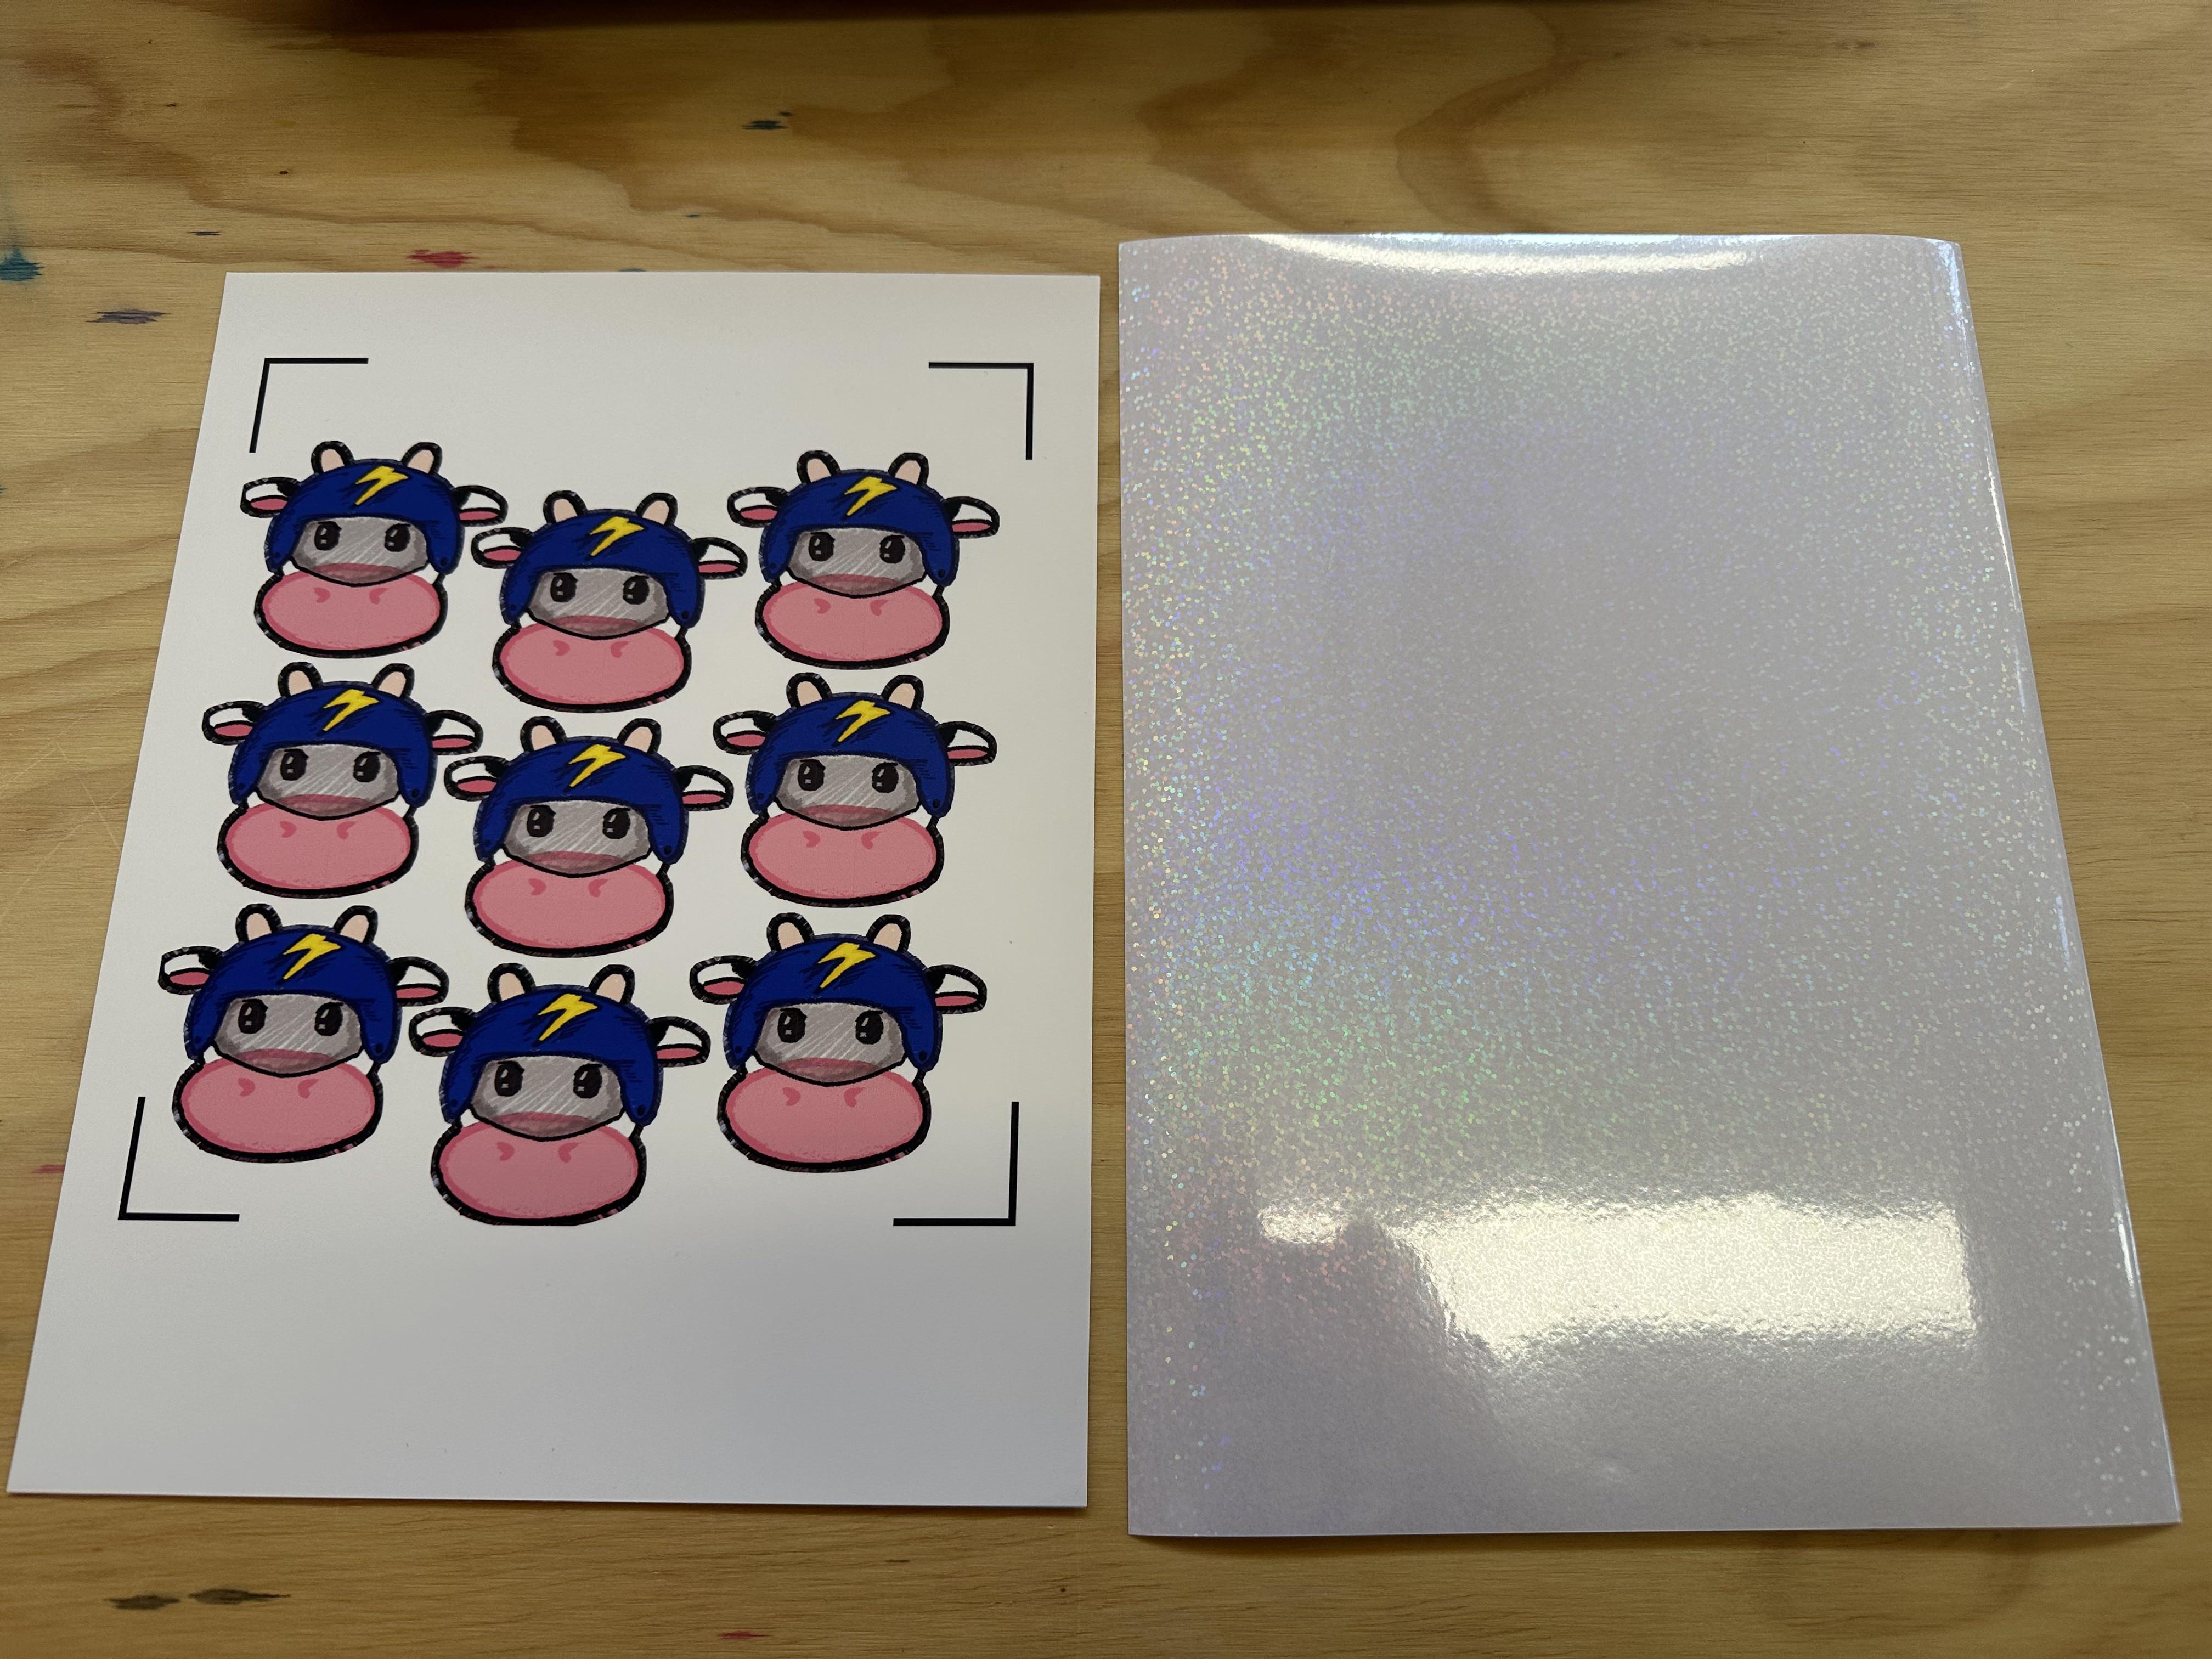
HTV RONT Printable Sticker Paper and Laminate
Laptop with Cricut Design Space Software
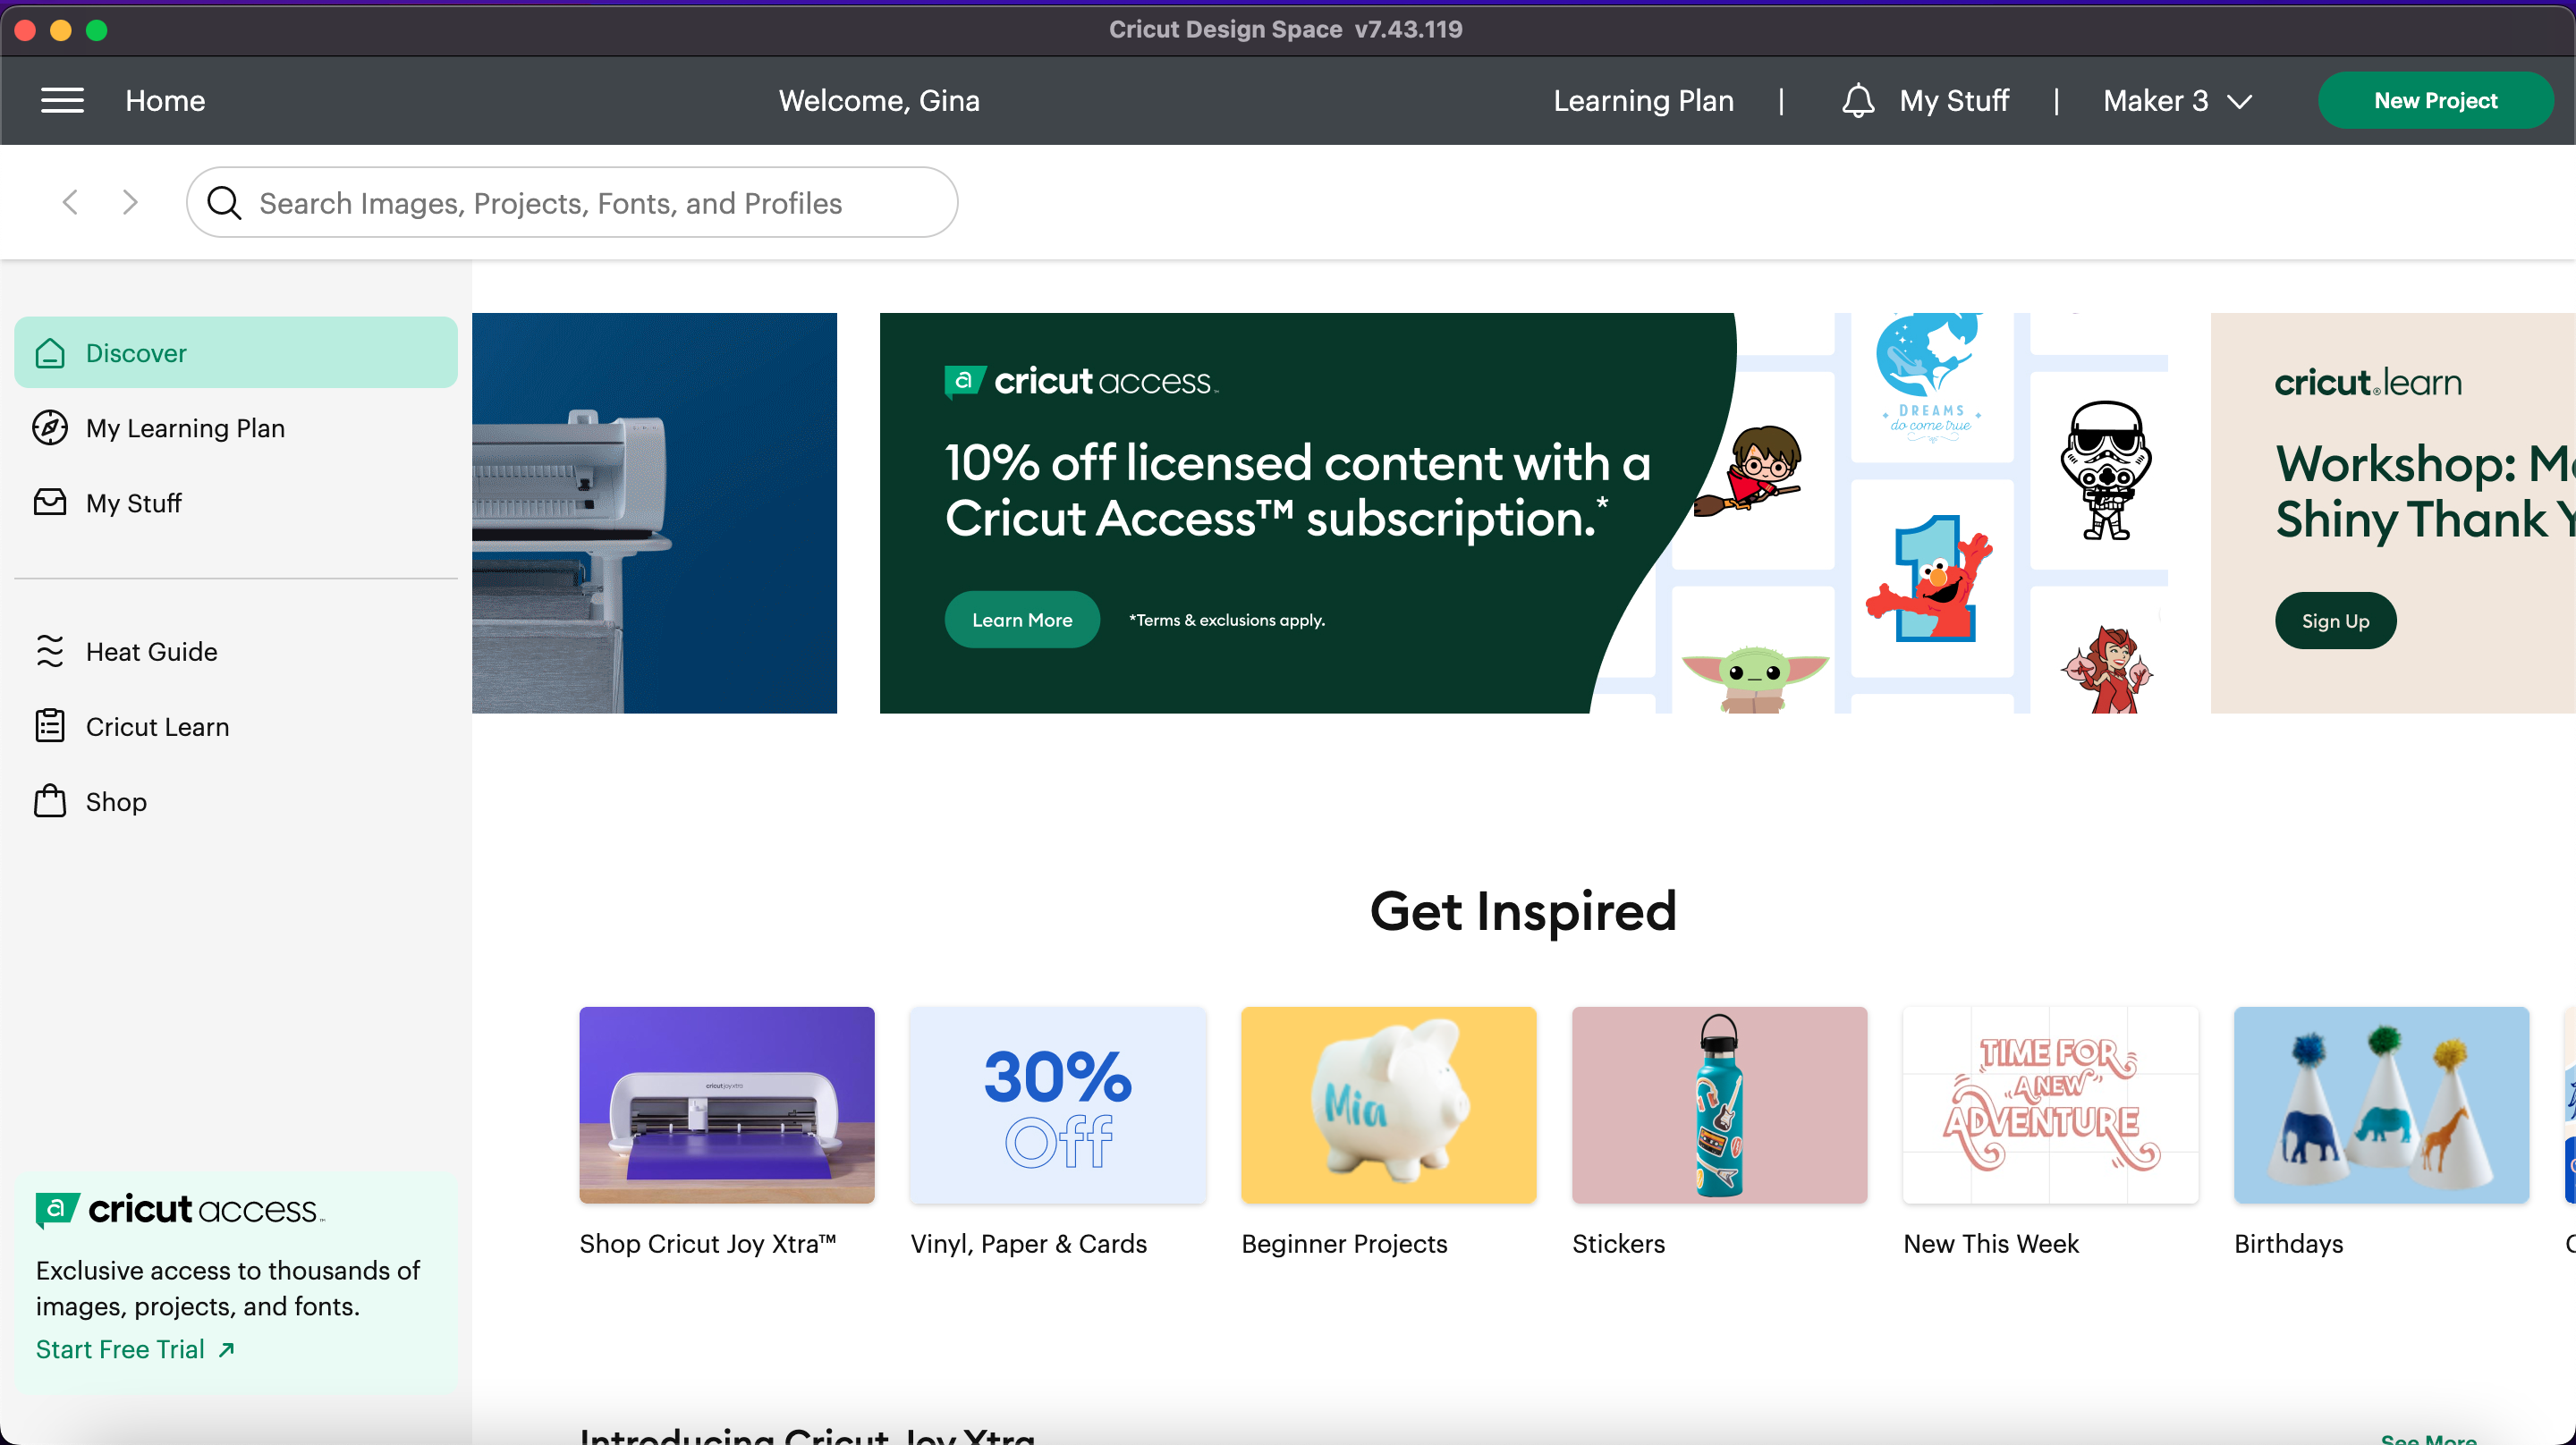
Start by Opening Cricut Design Space and Click "new Project"
Before starting this project be sure to download "Cricut Design Space"
This can be done here: https://help.cricut.com/hc/en-us/articles/360009428814-Downloading-and-Installing-Design-Space
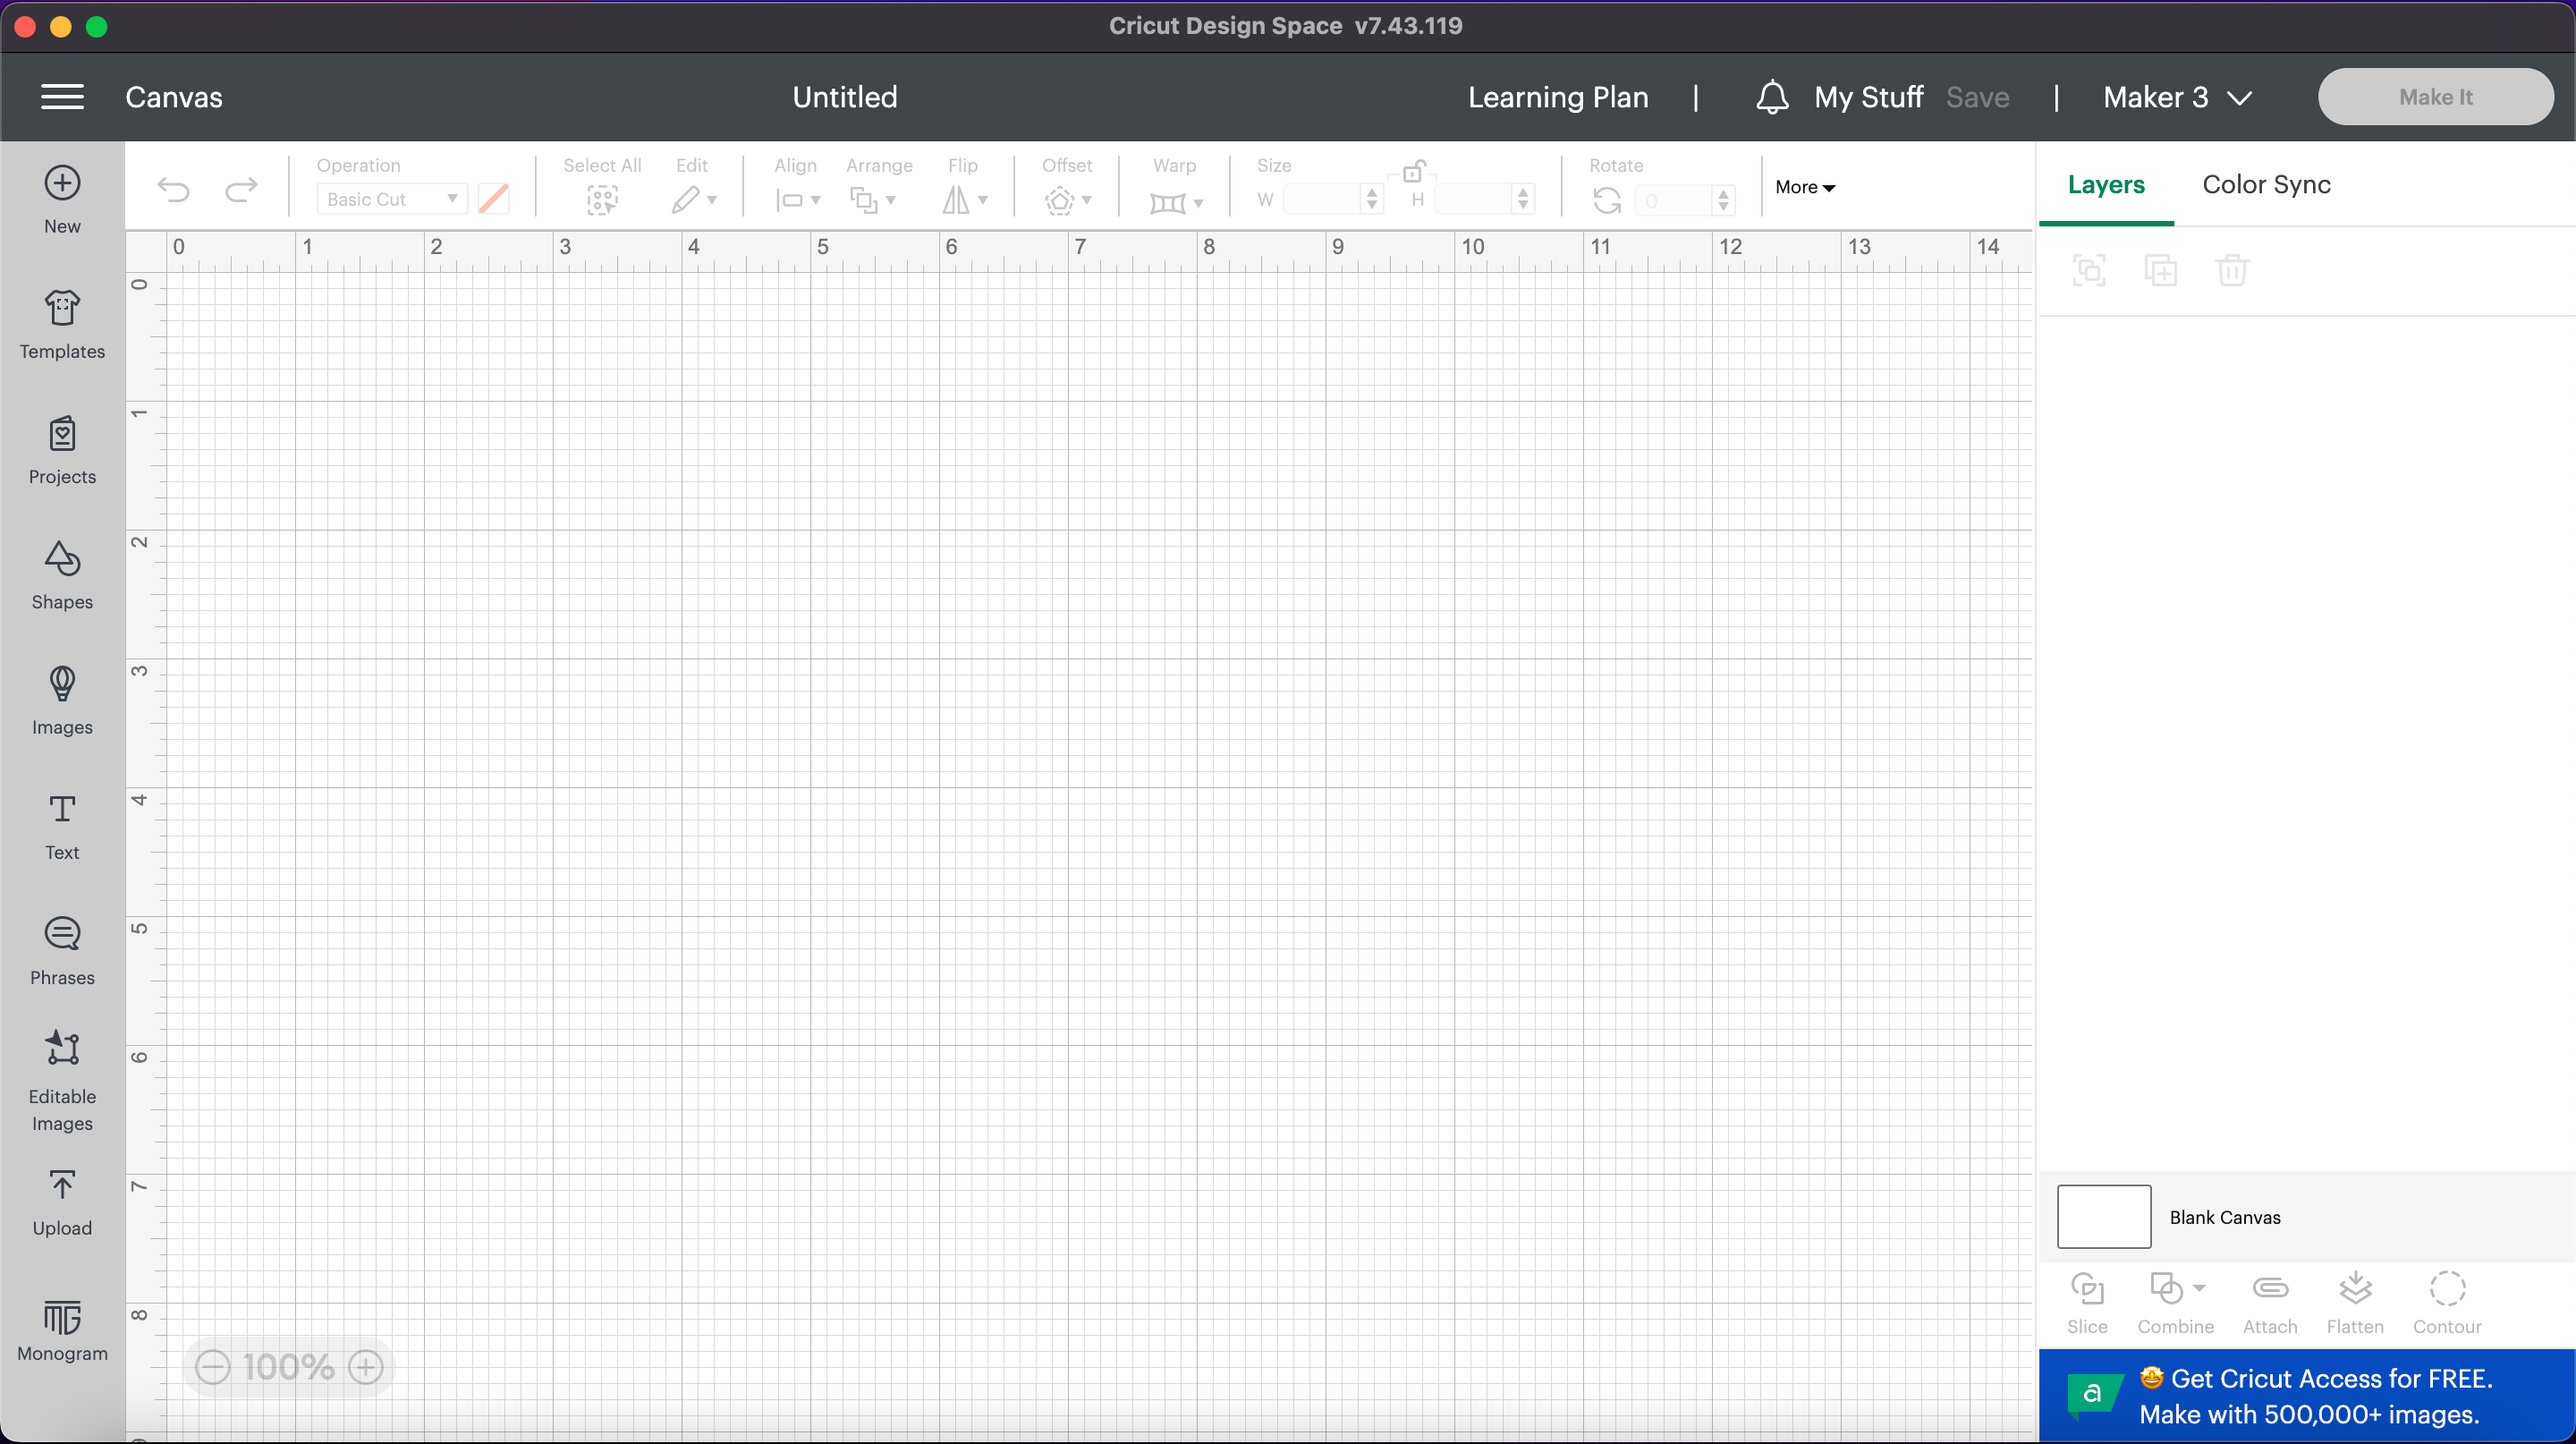
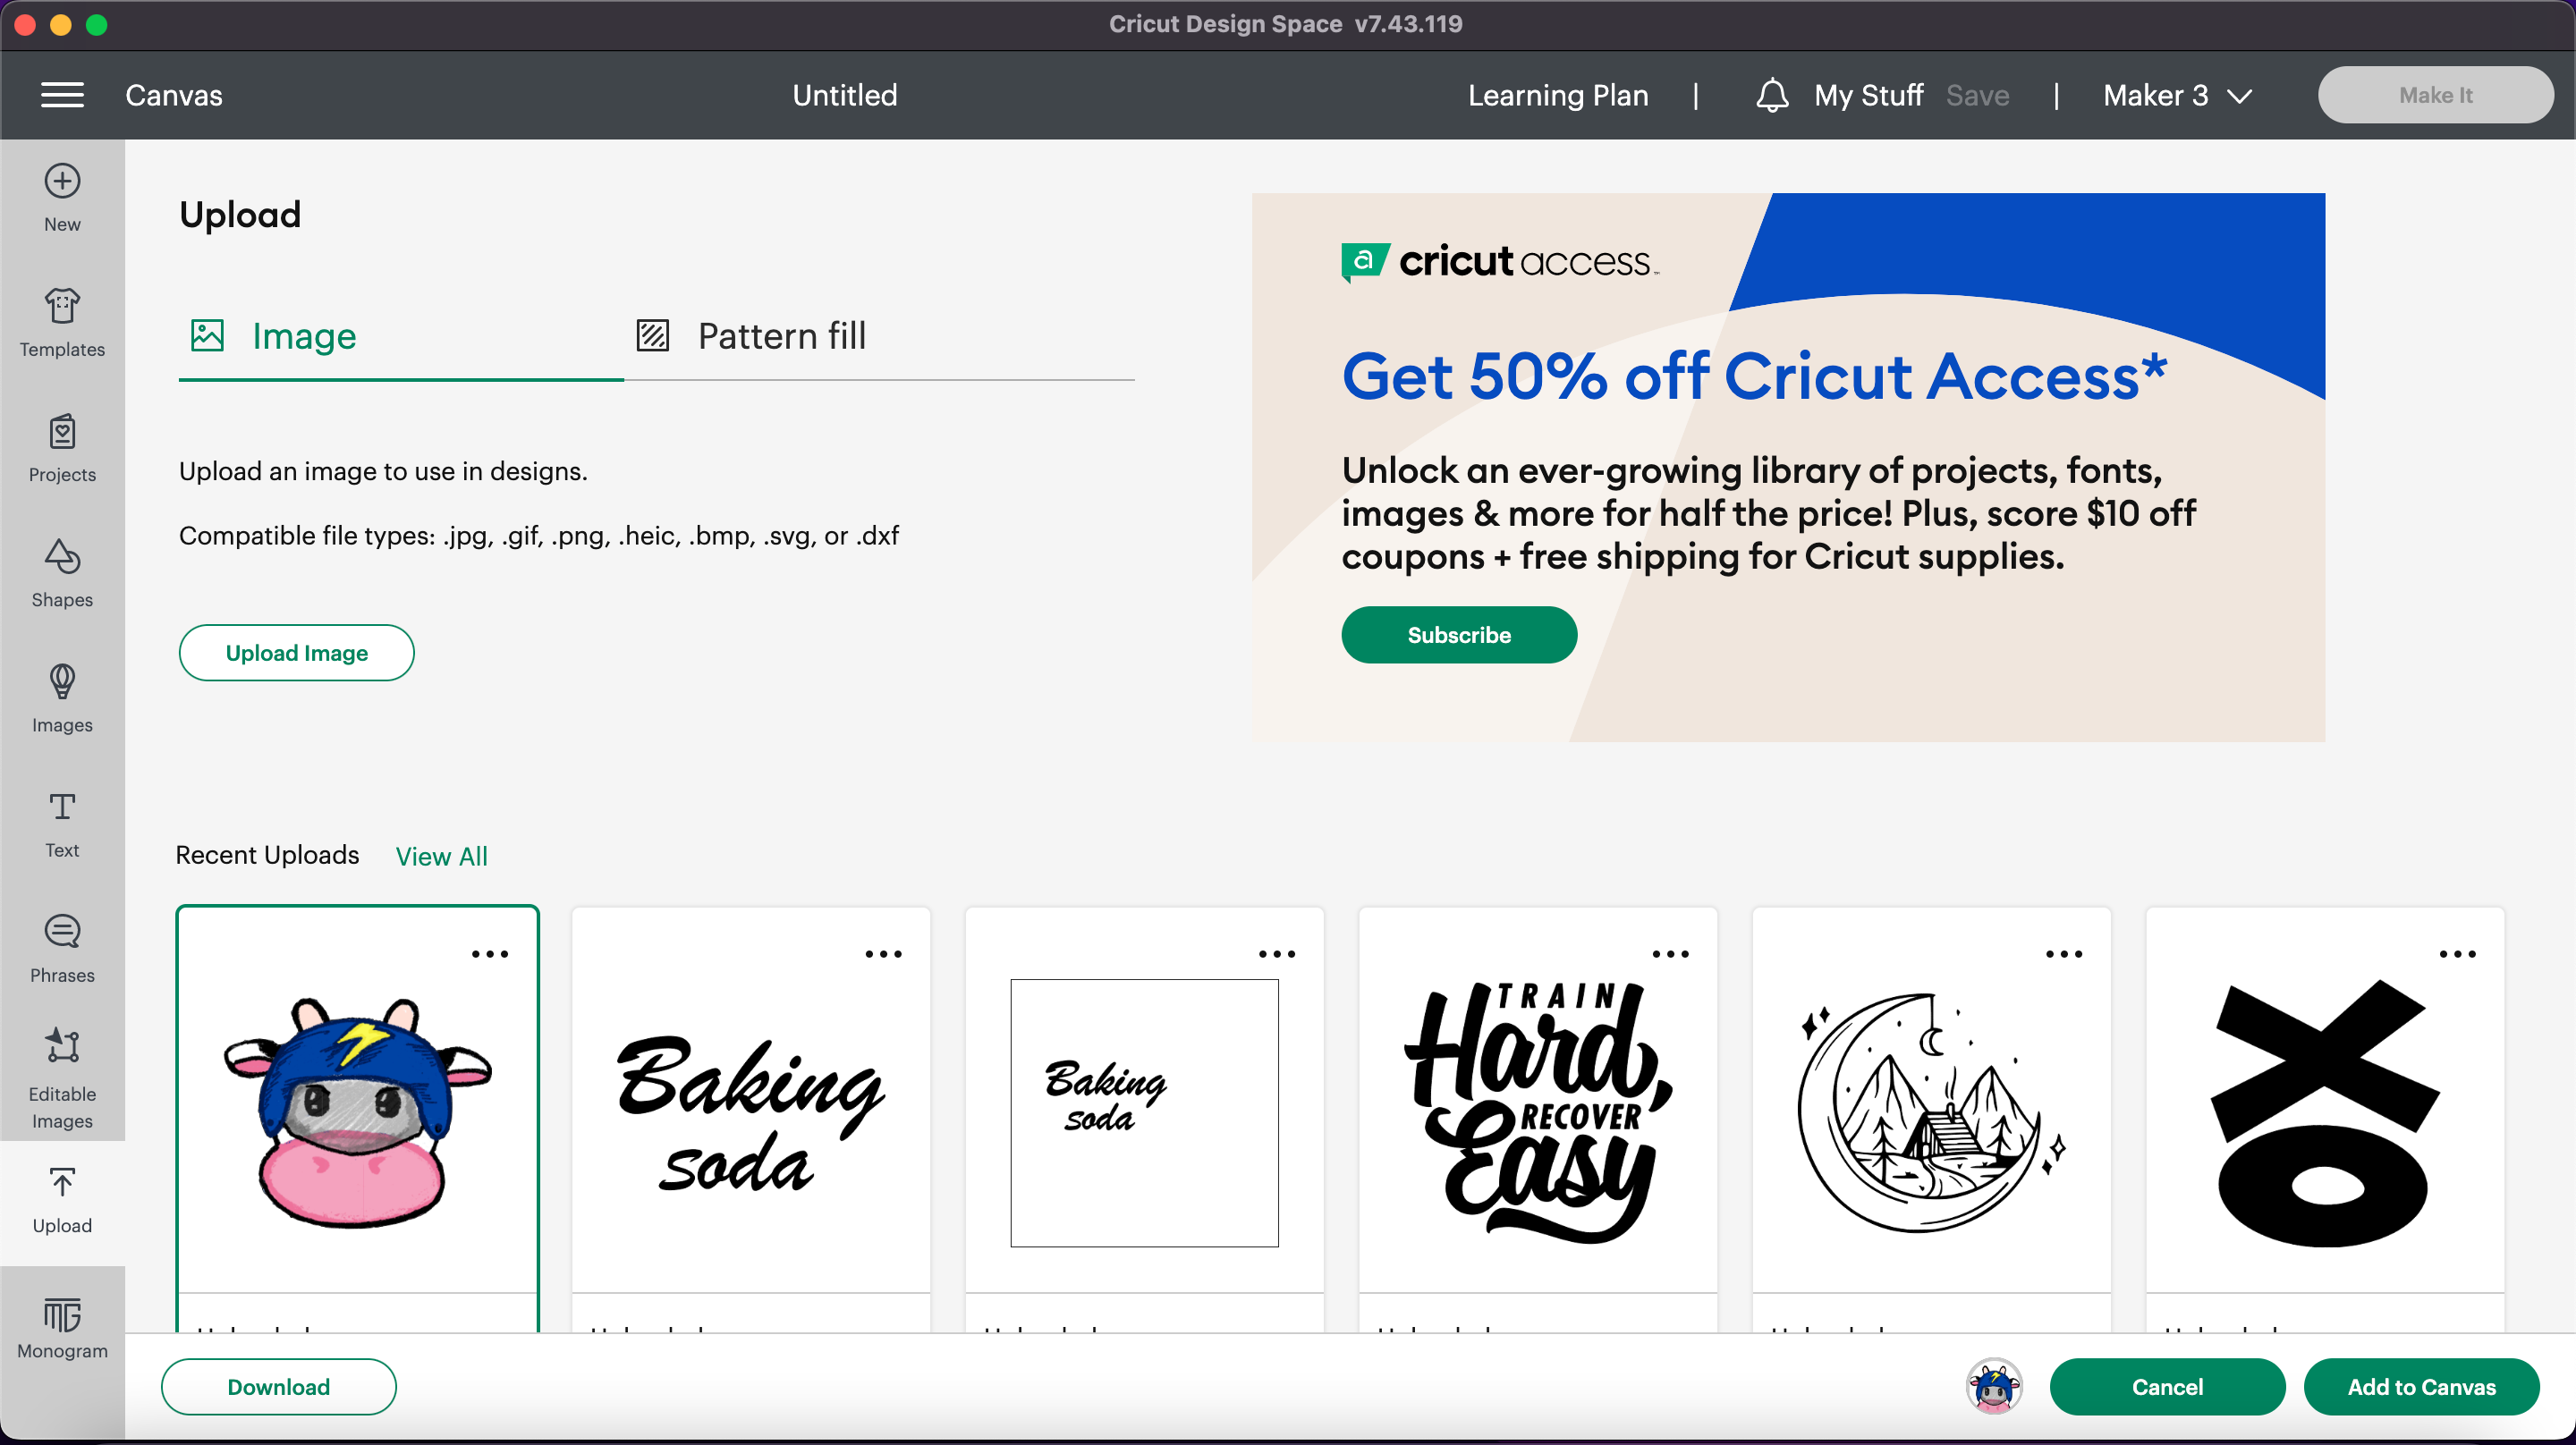
In the Empty Canvas, Click "Upload"
Click "upload Image"
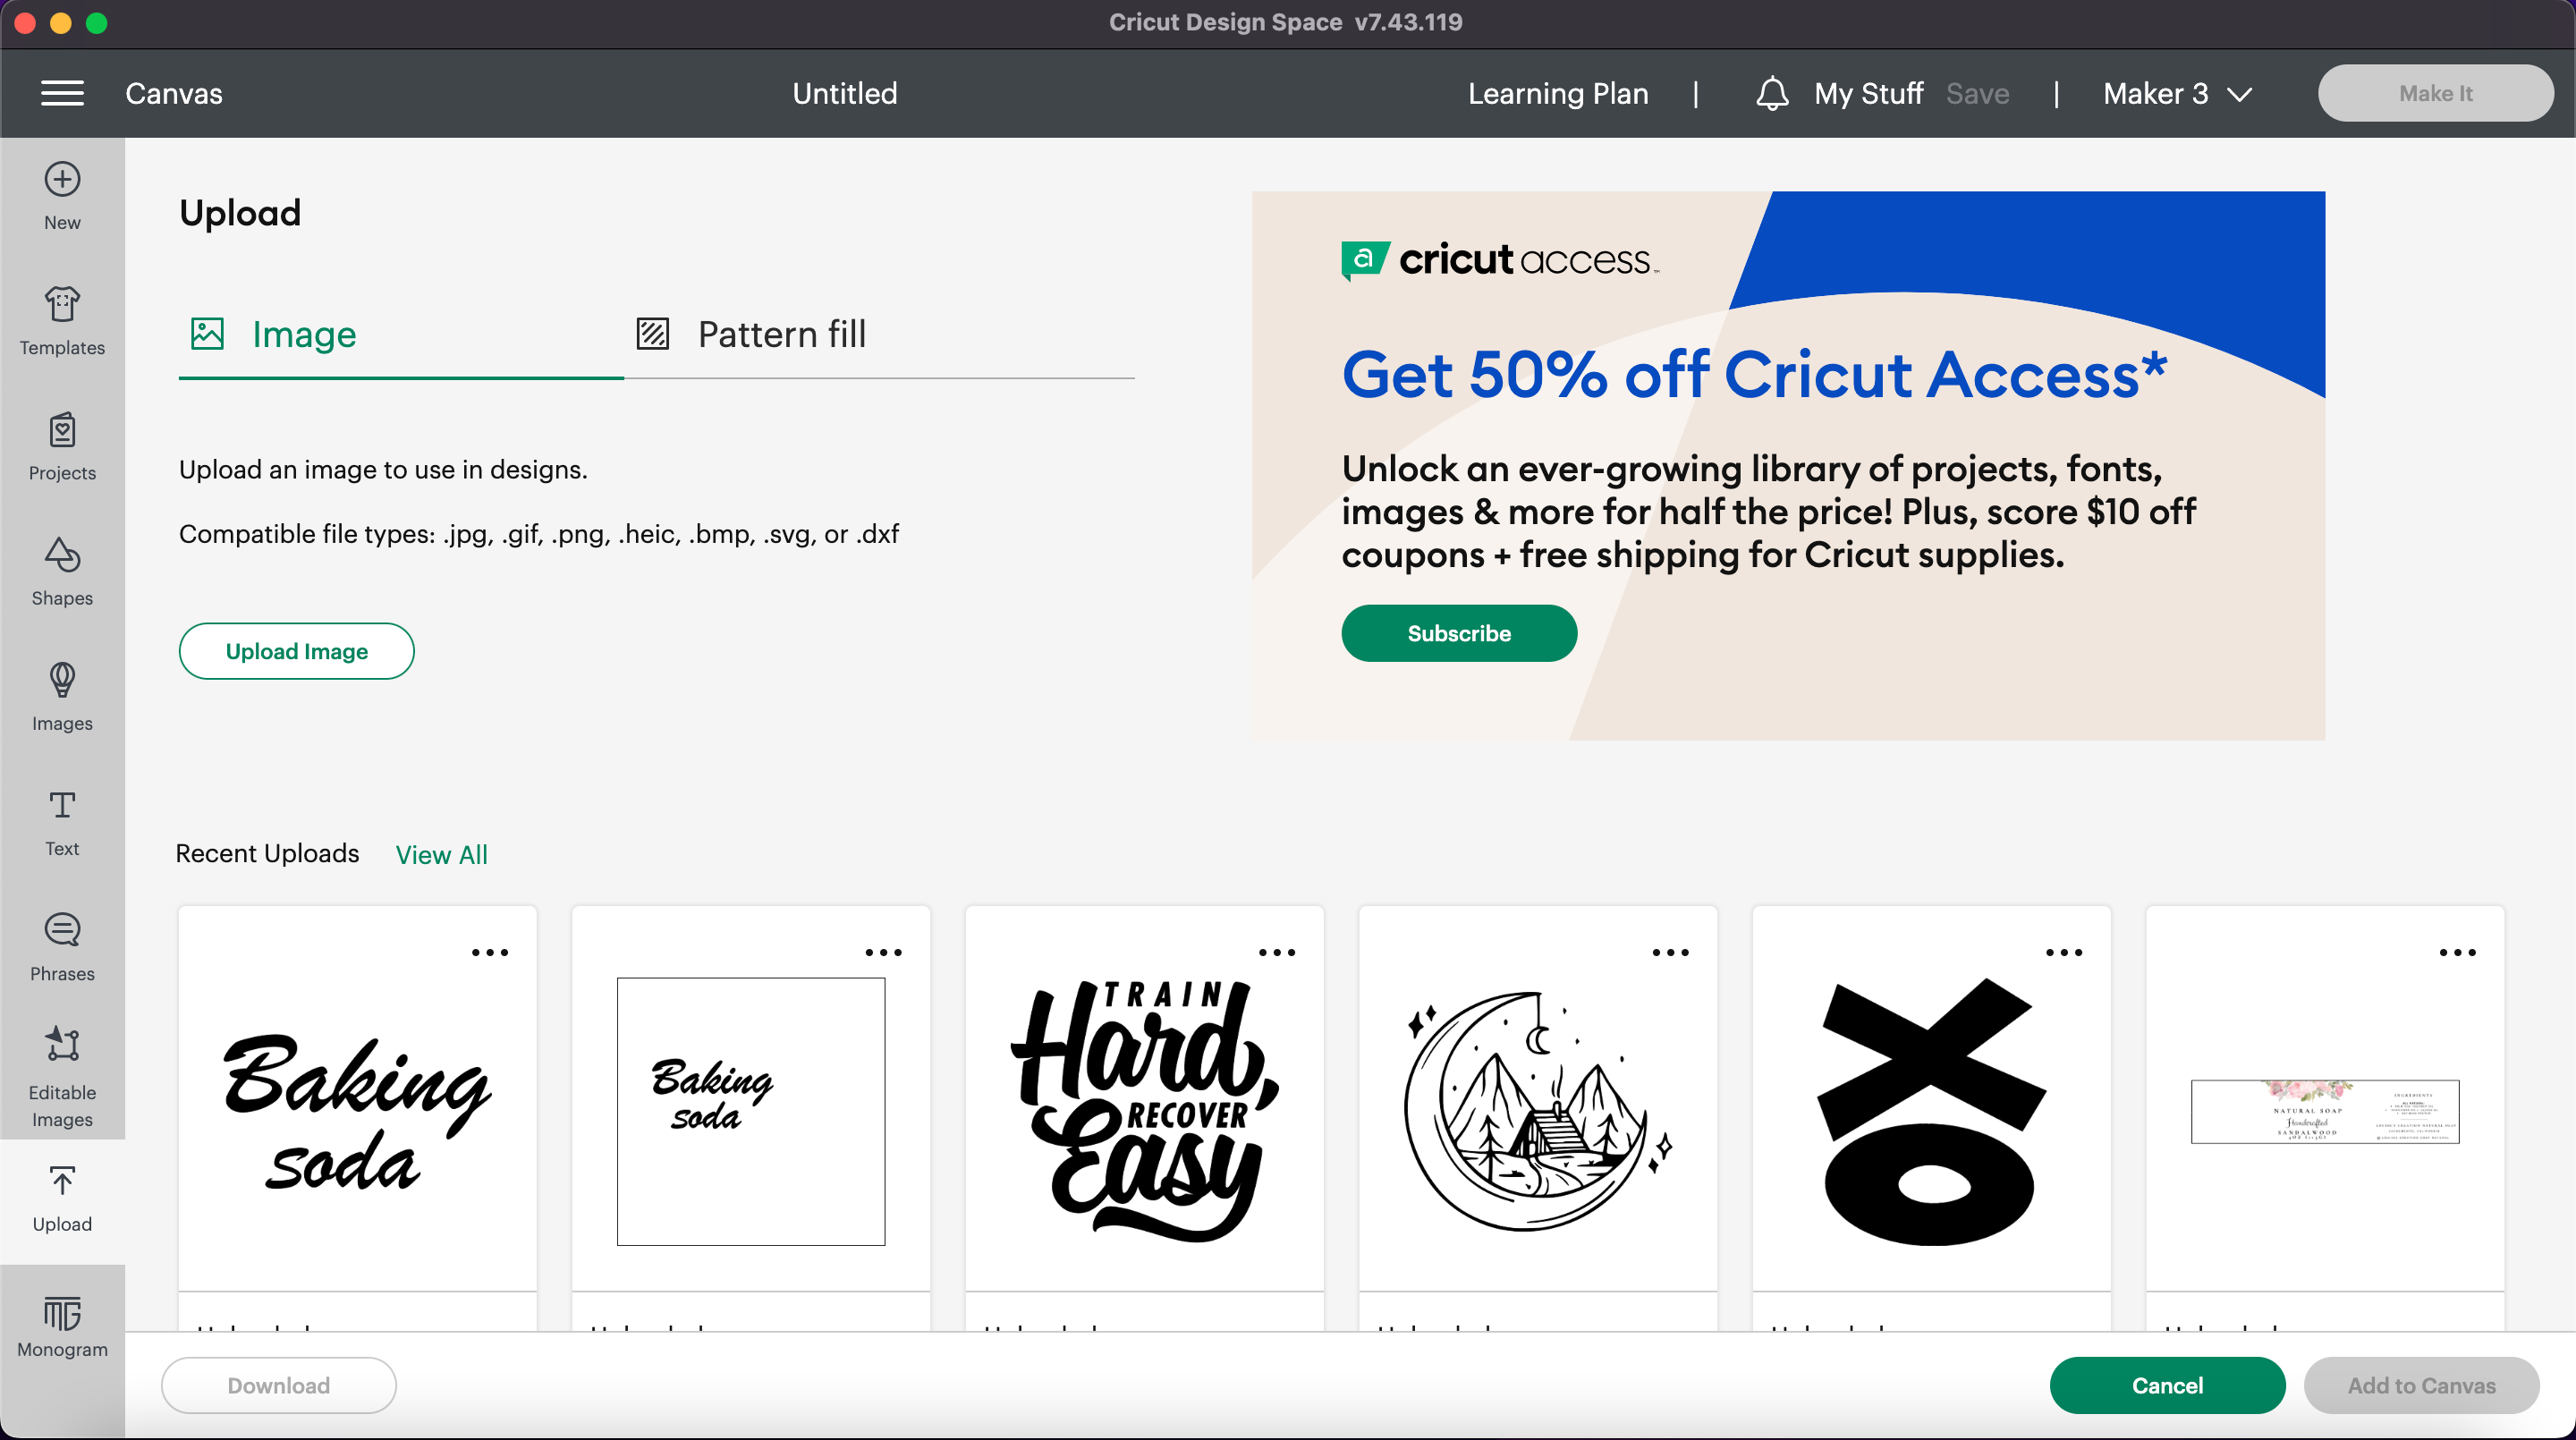
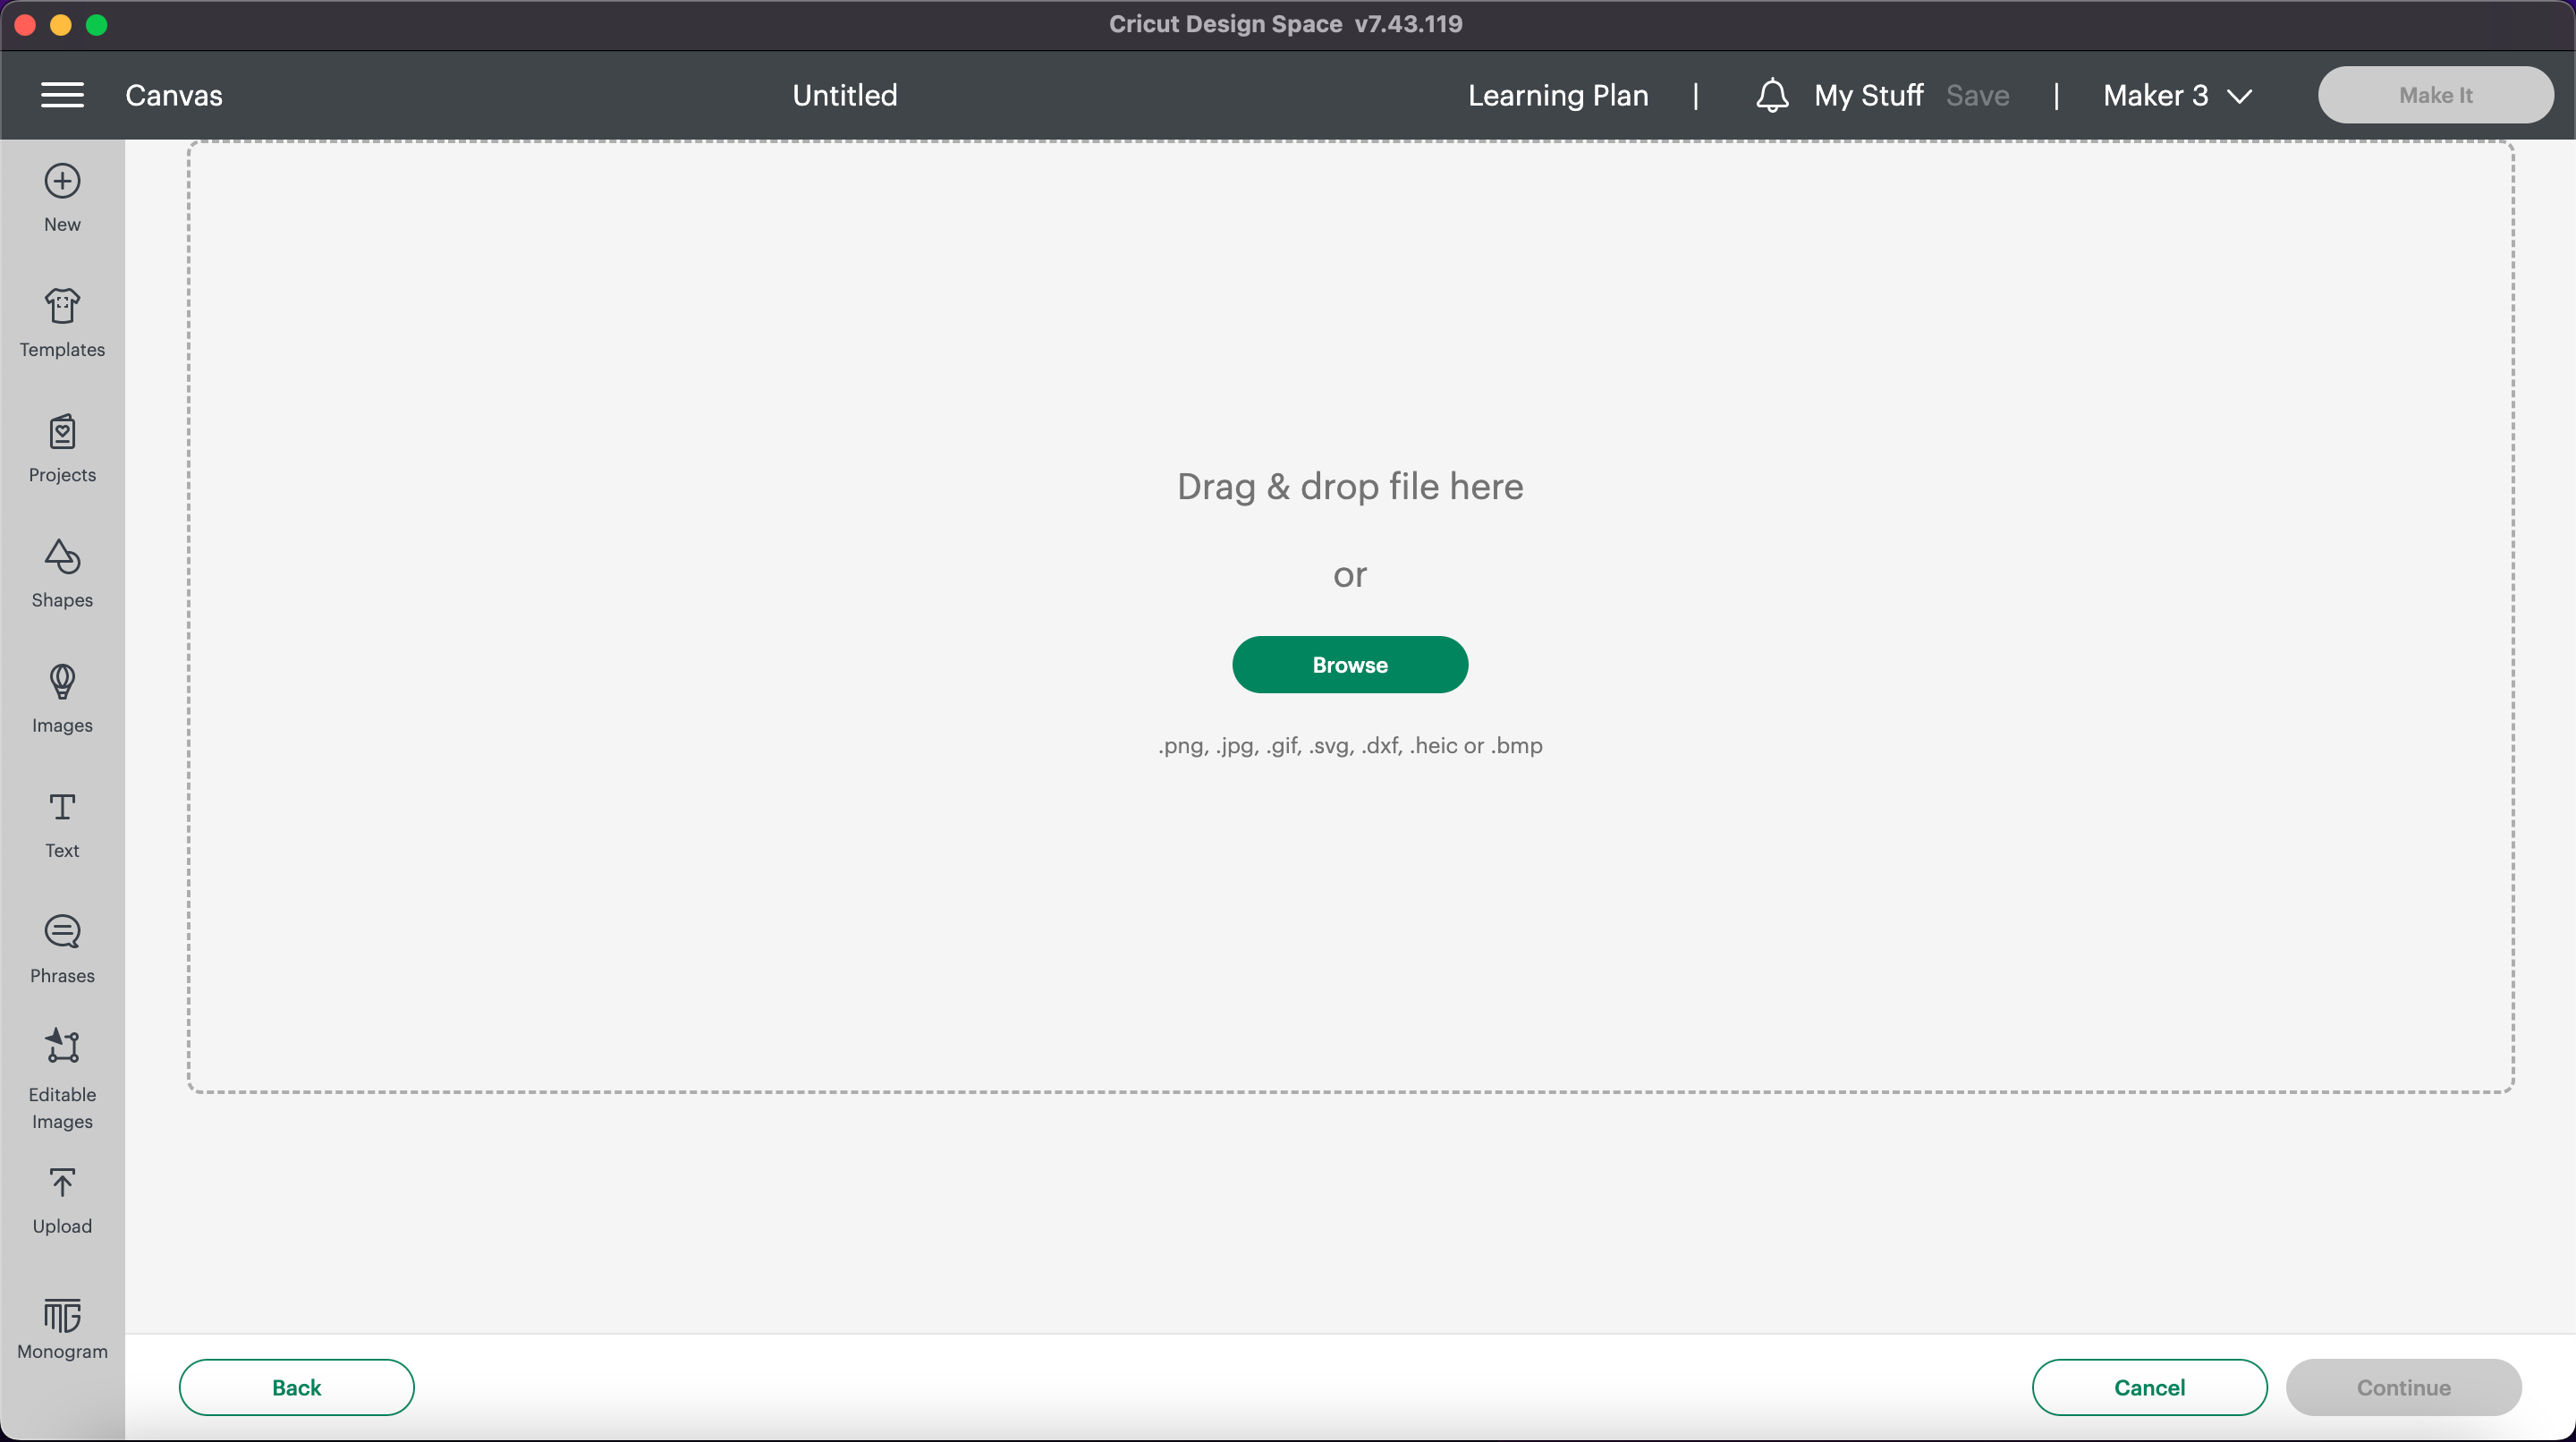
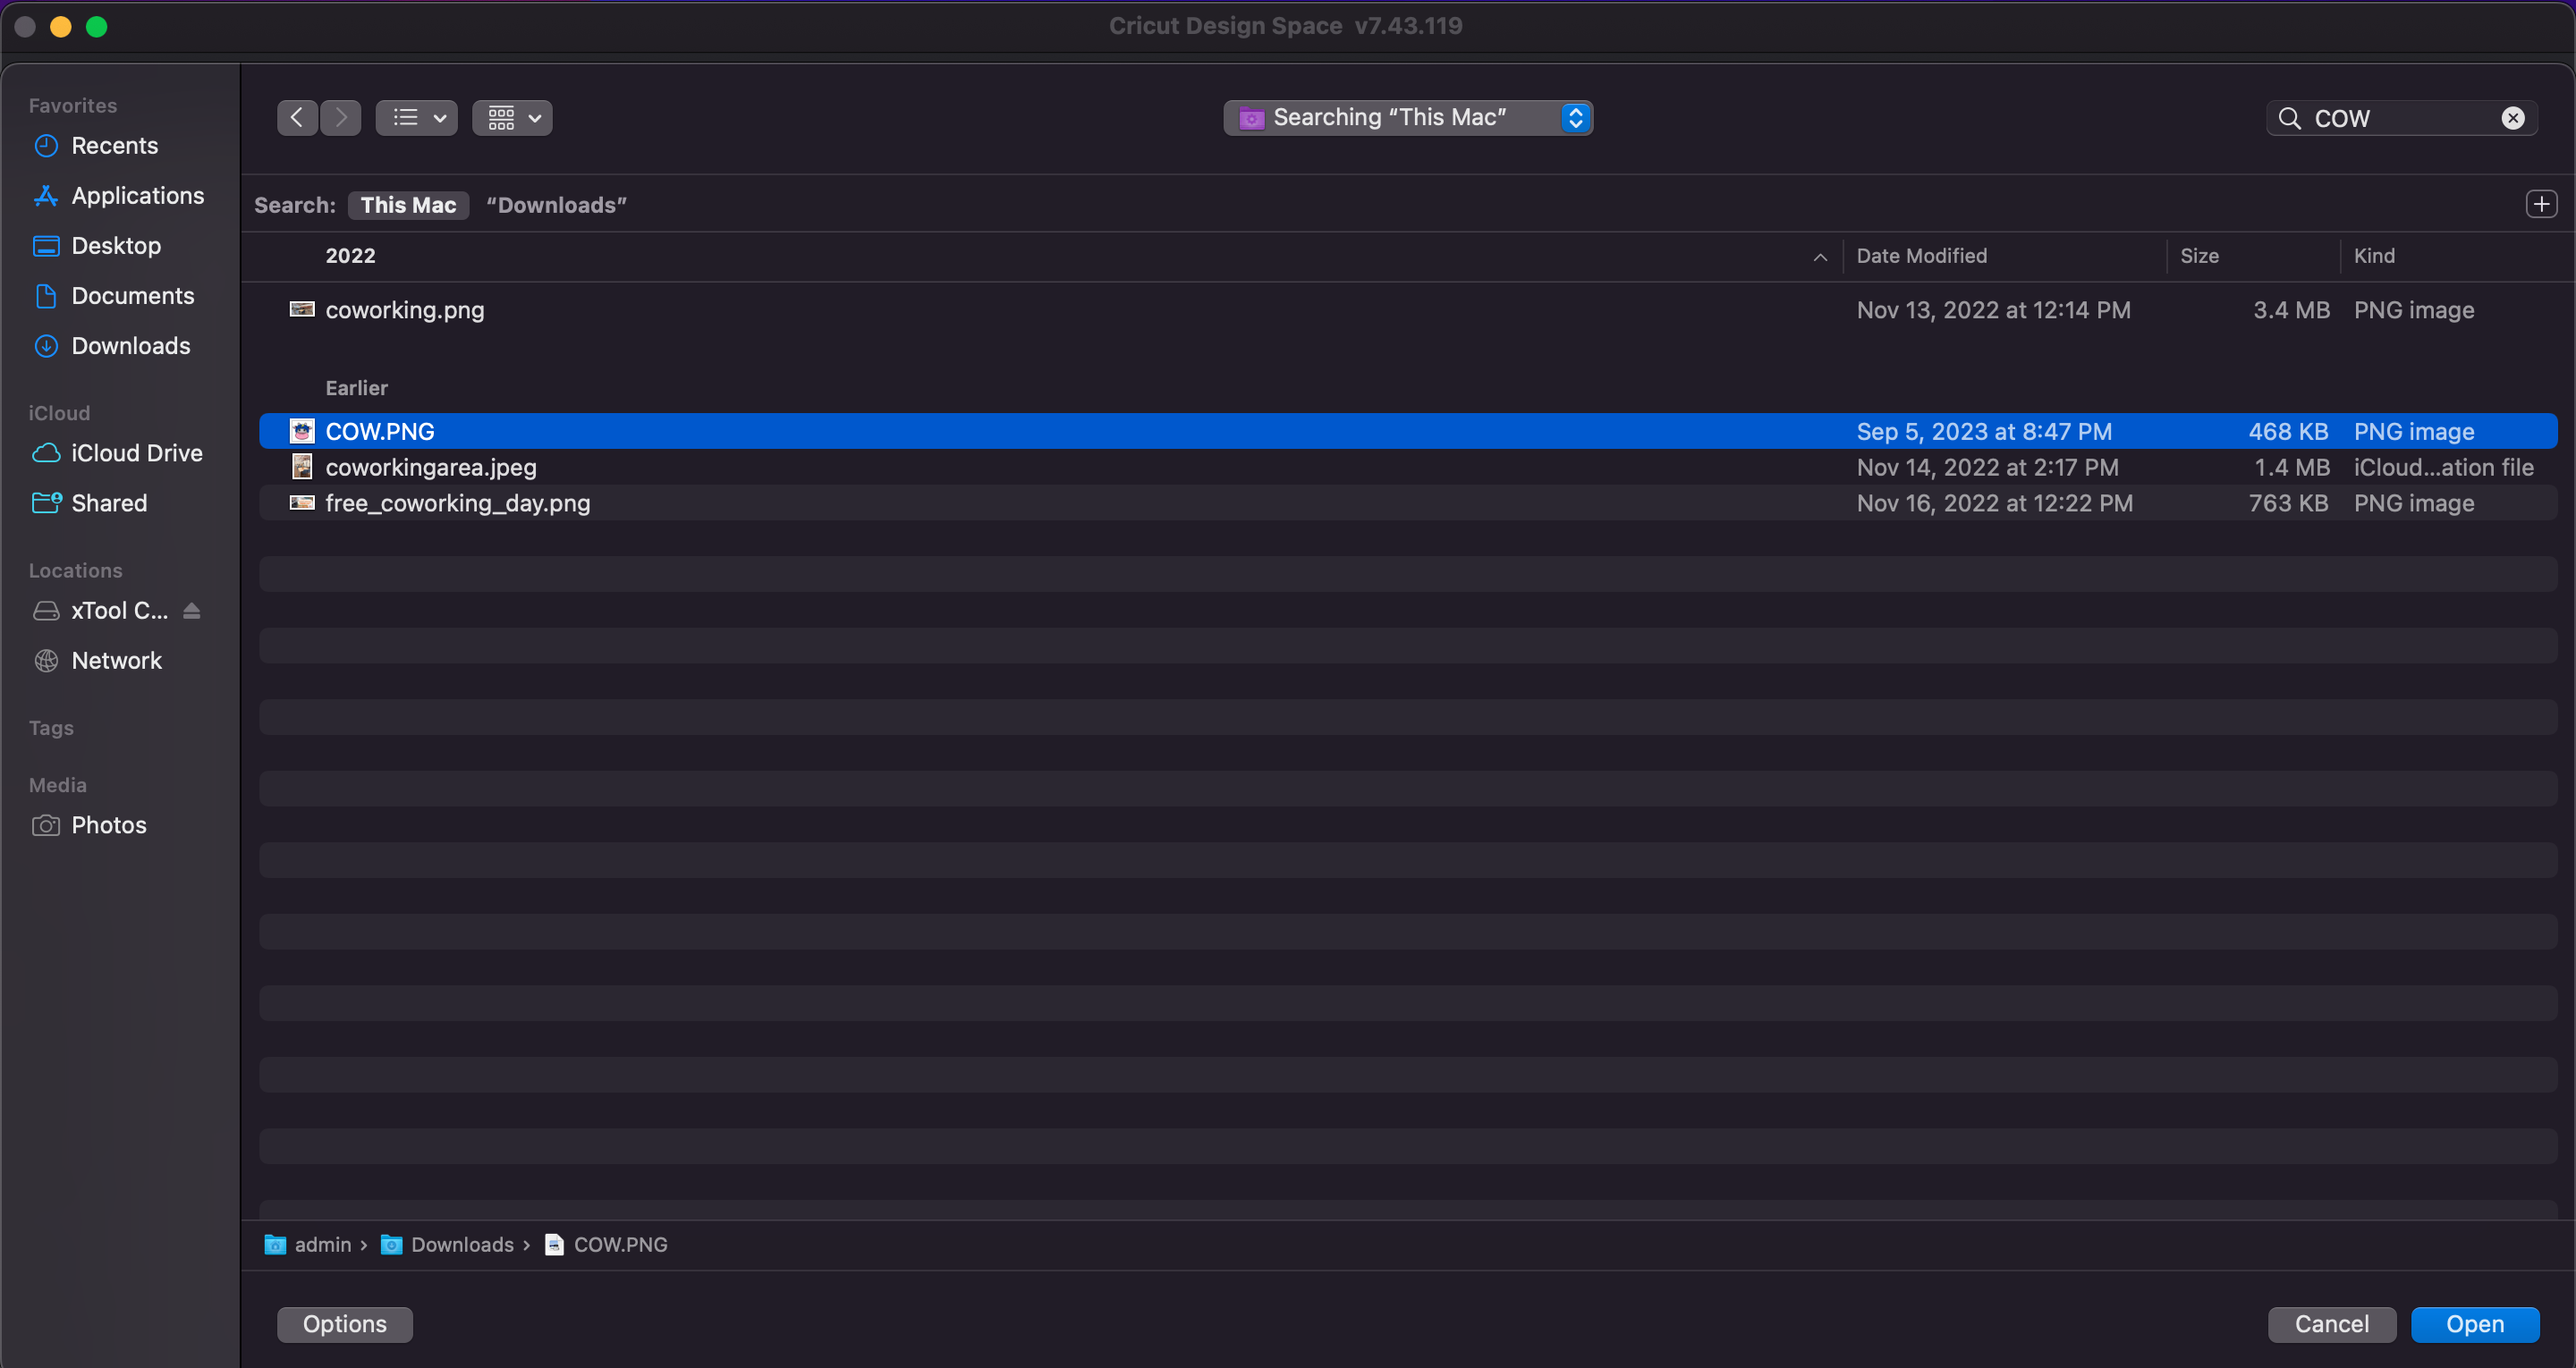
Click "browse" and Select the Image You Would Like to Print
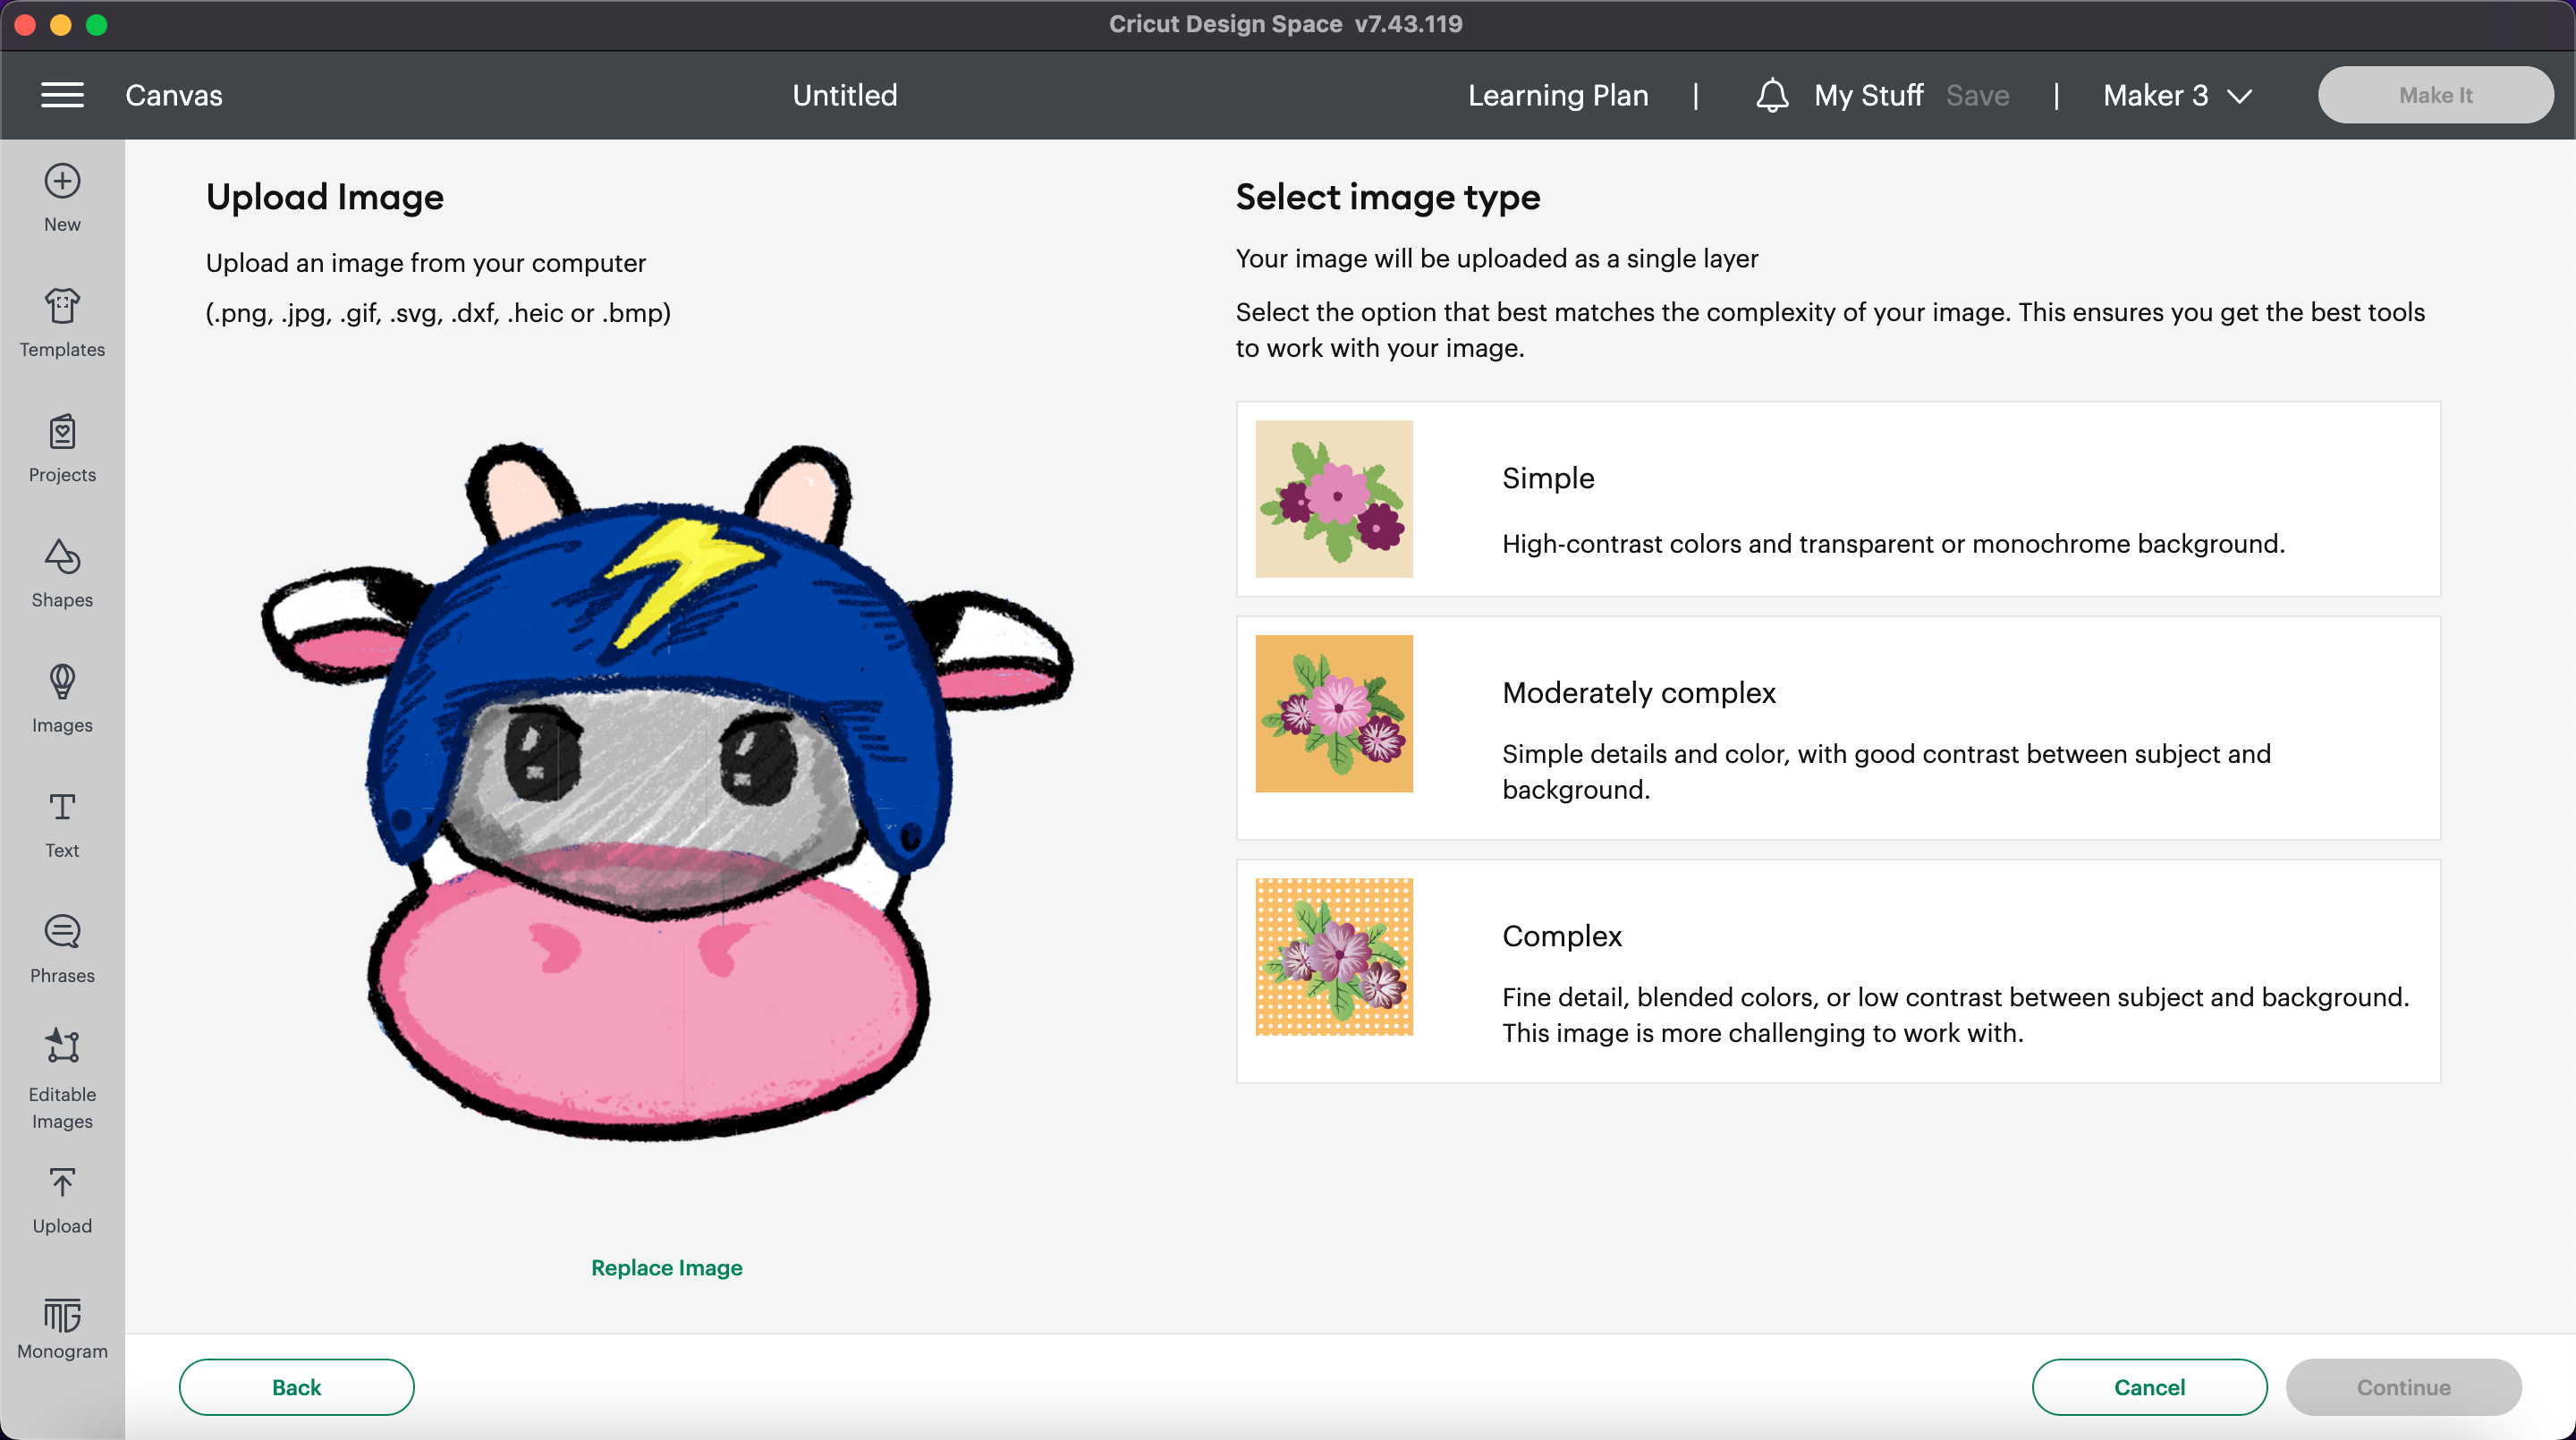
Select "complex" Image
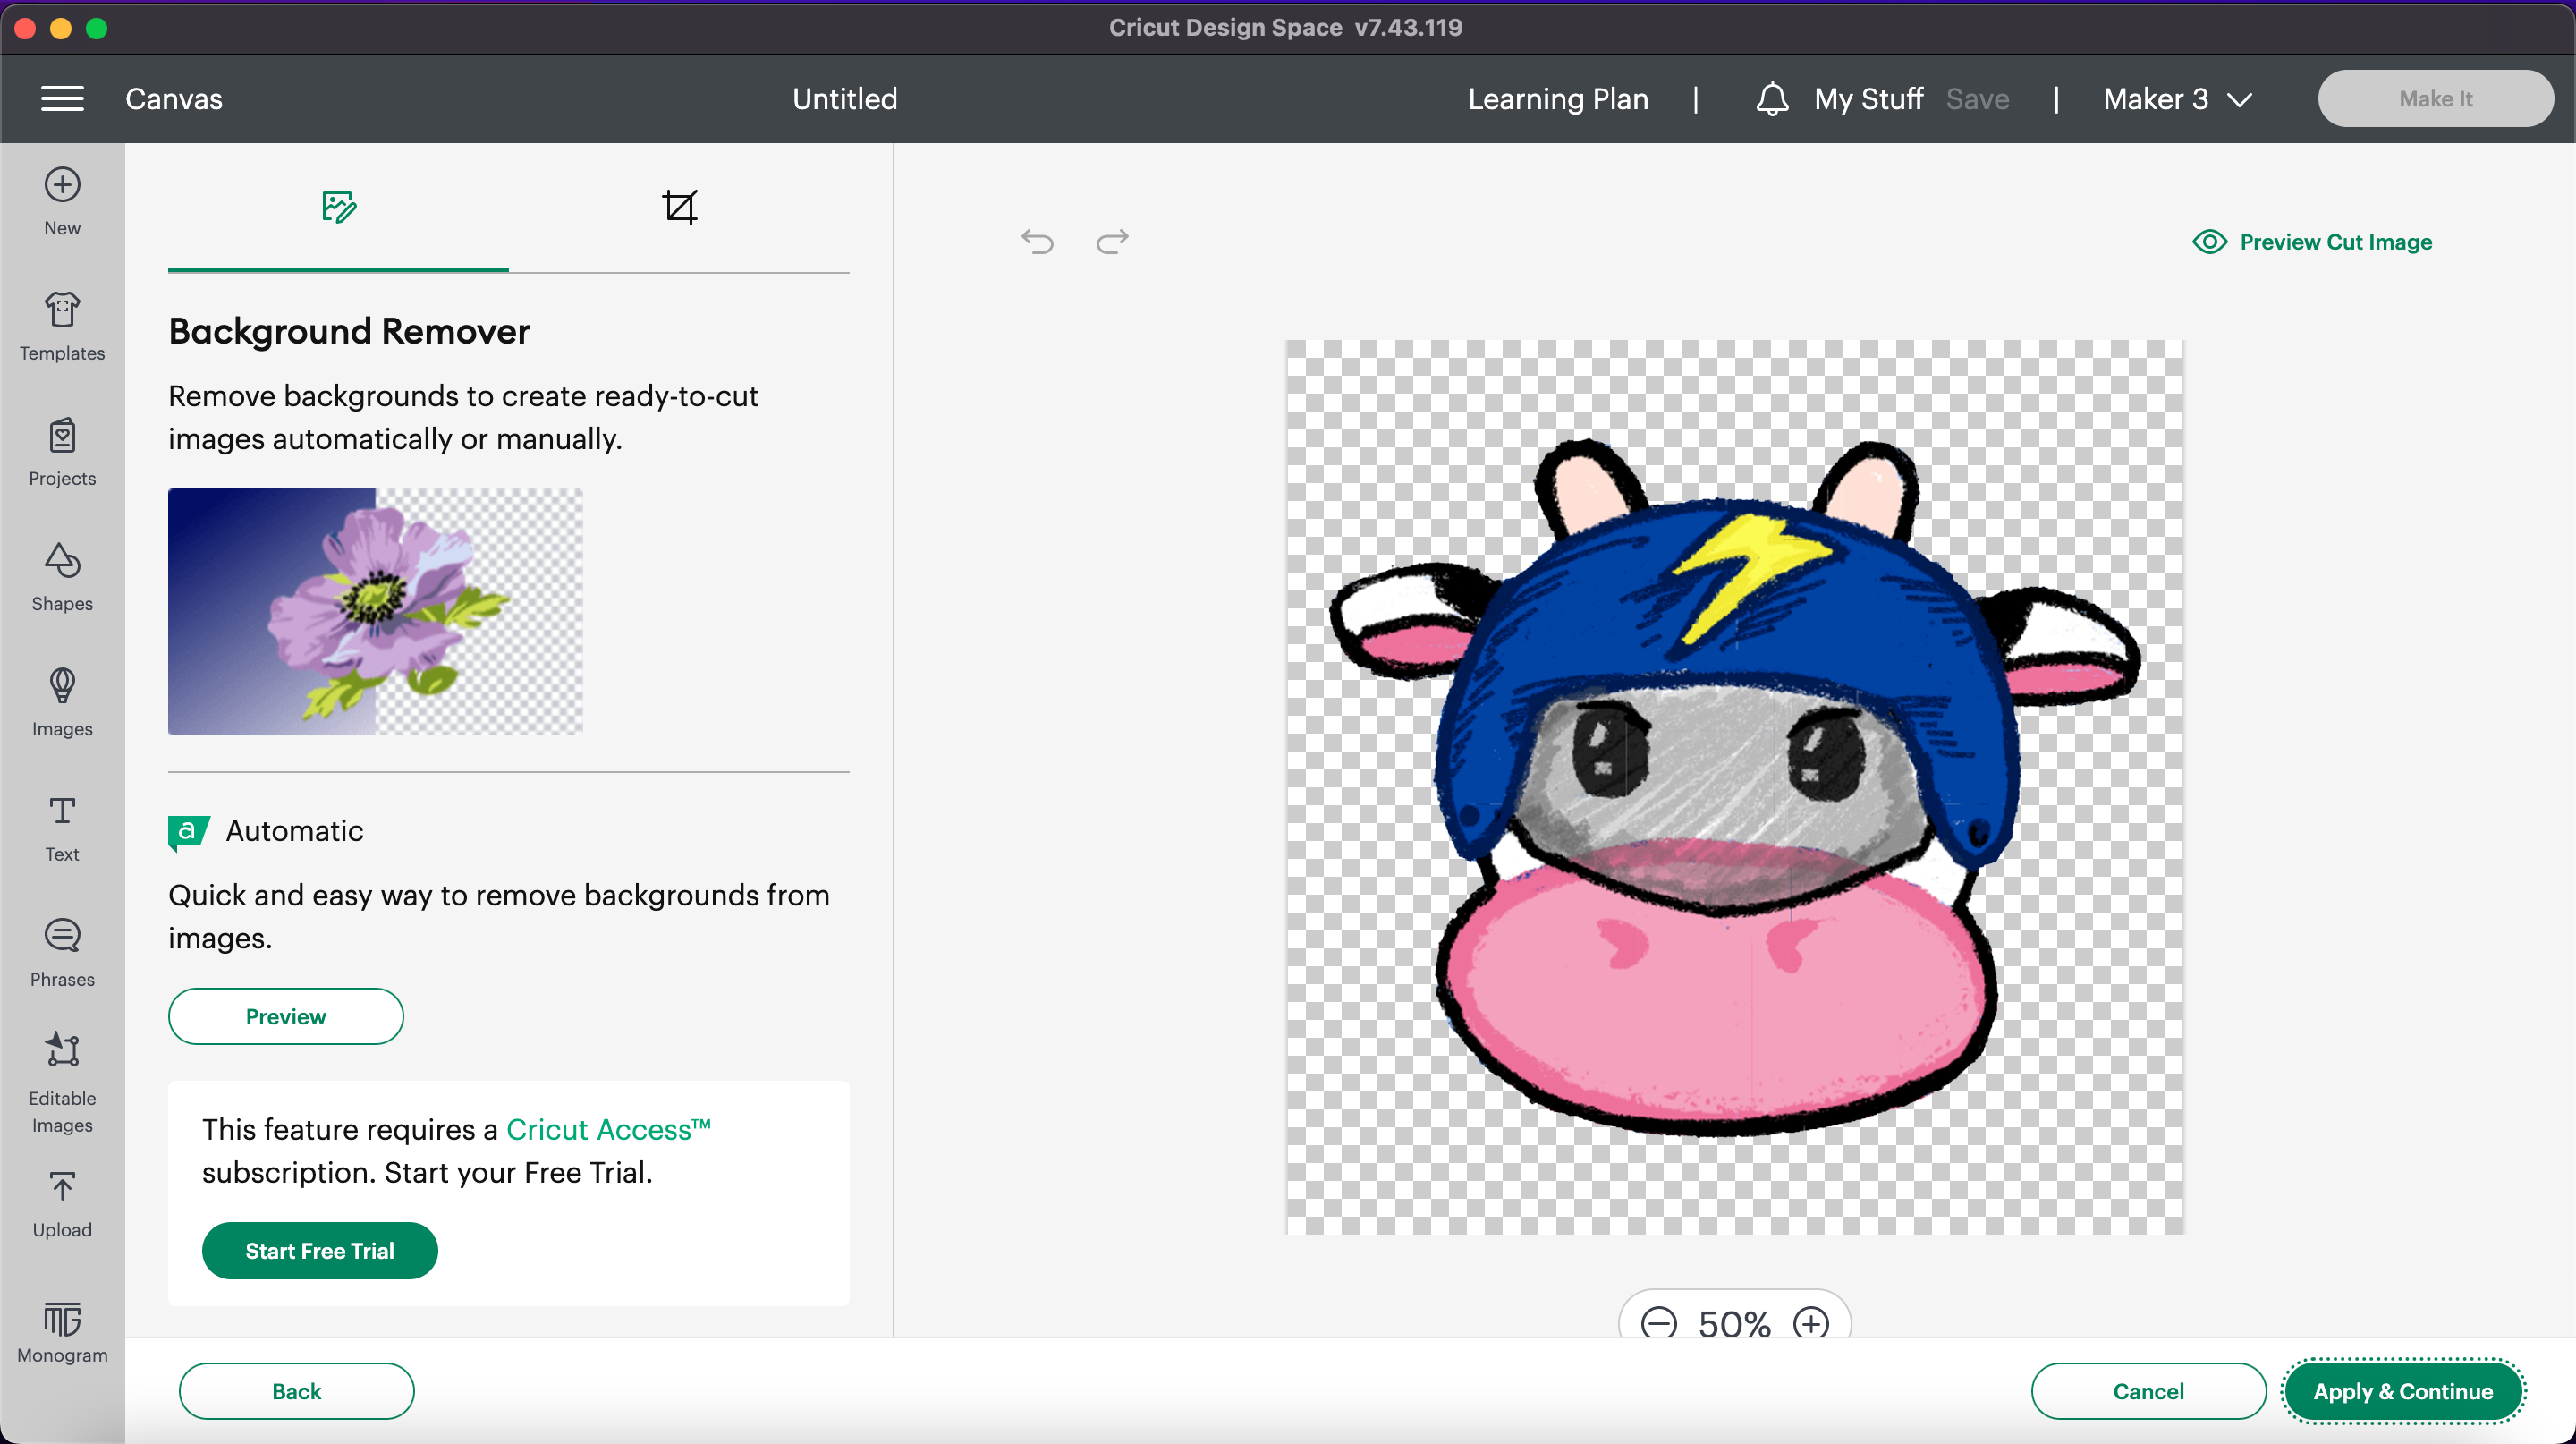
Use the Selection Tool to Remove the Background
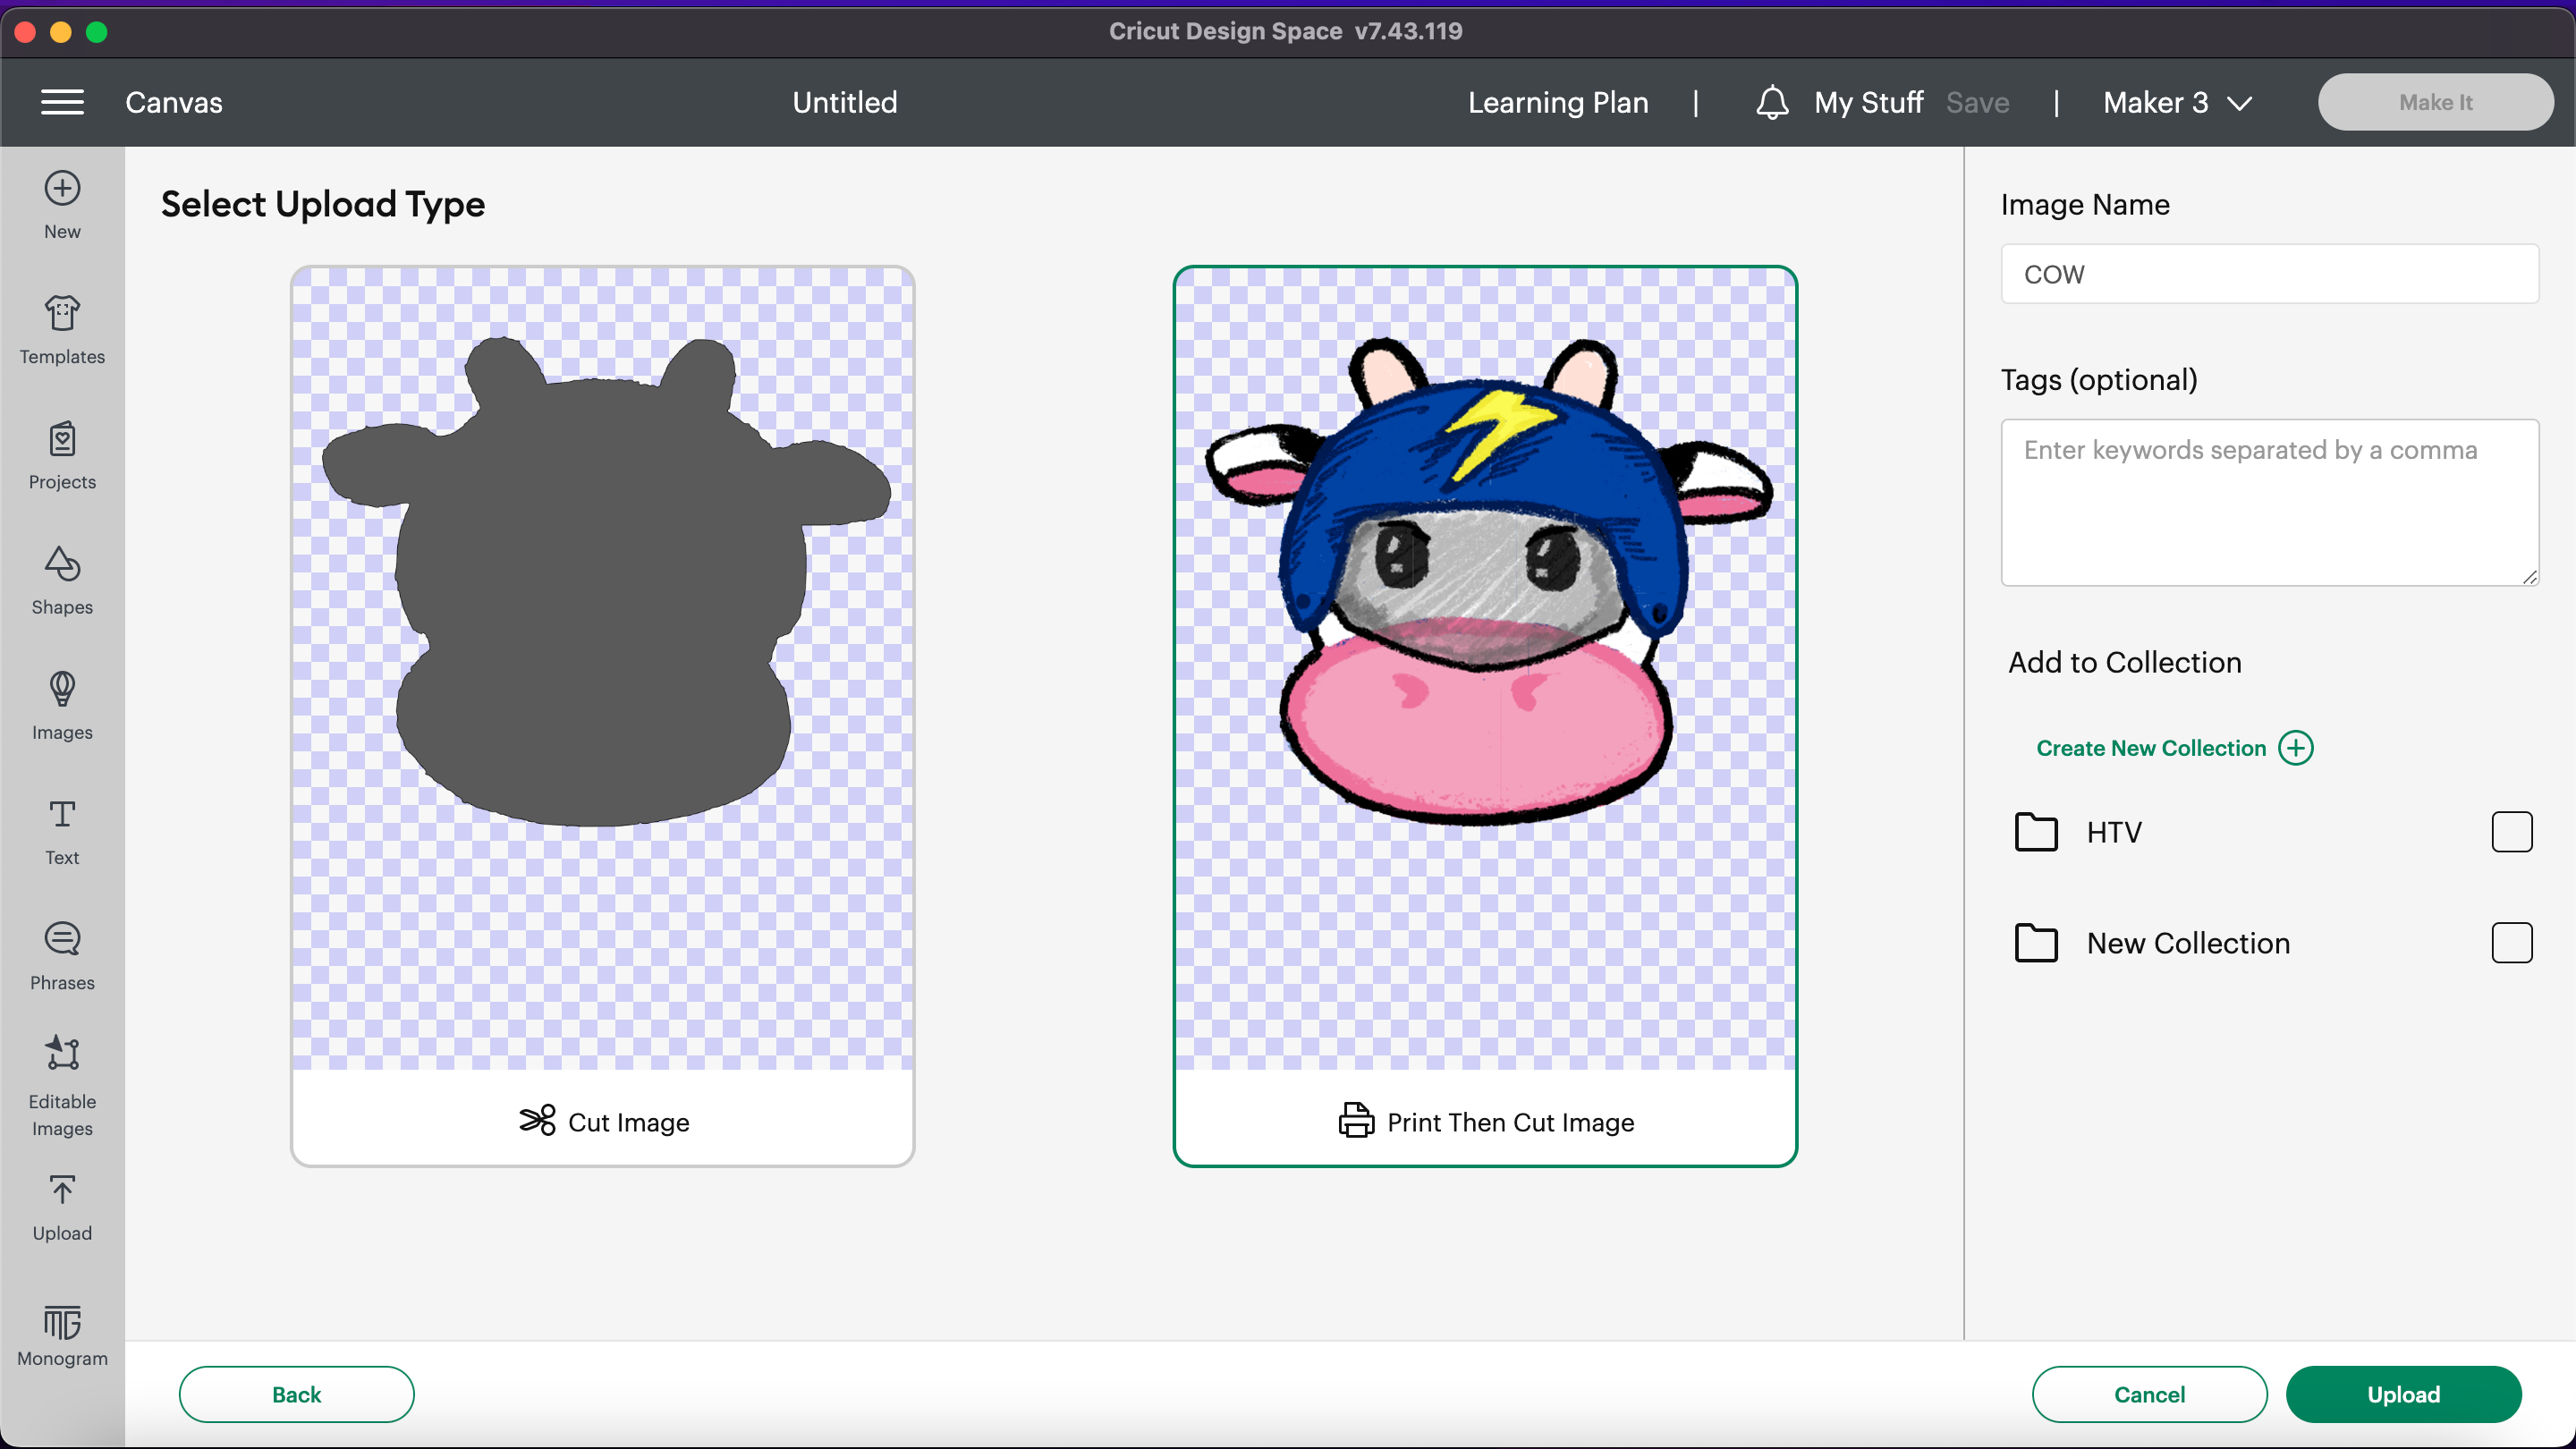
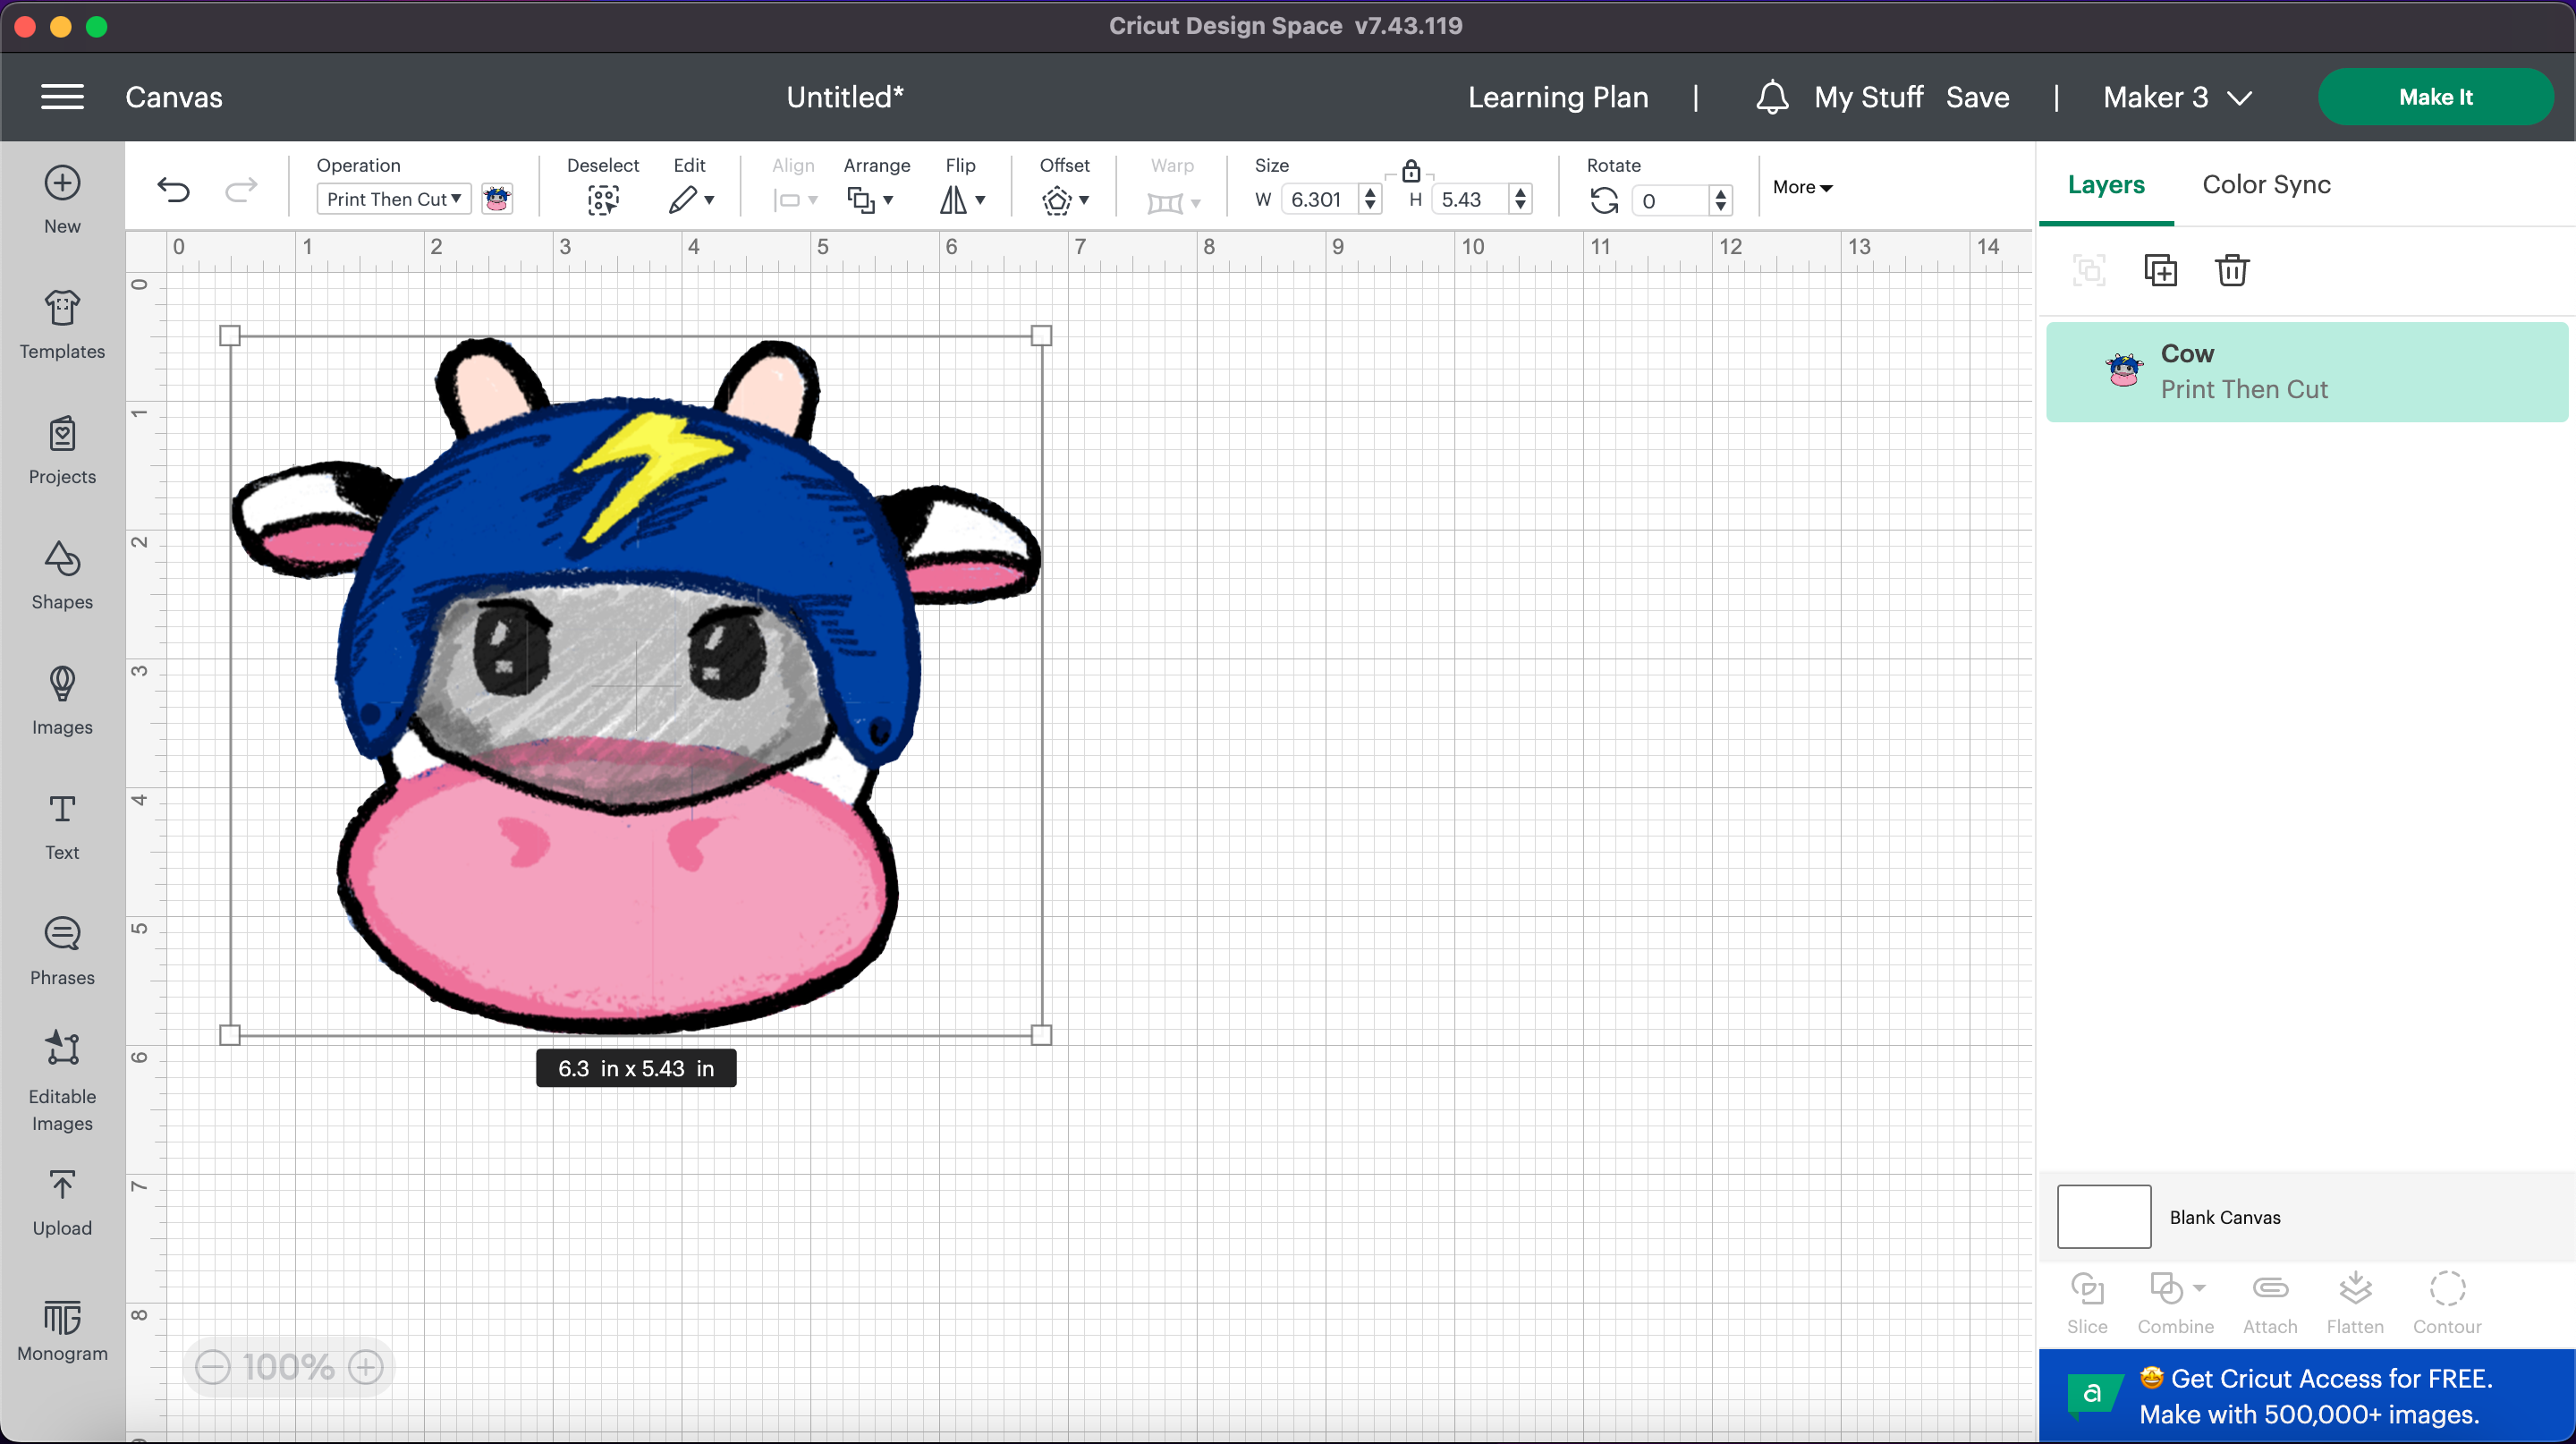
Select "print and Cut" Image and Finish the Upload
Select the Image You Just Uploaded and Click "add to Canvas"
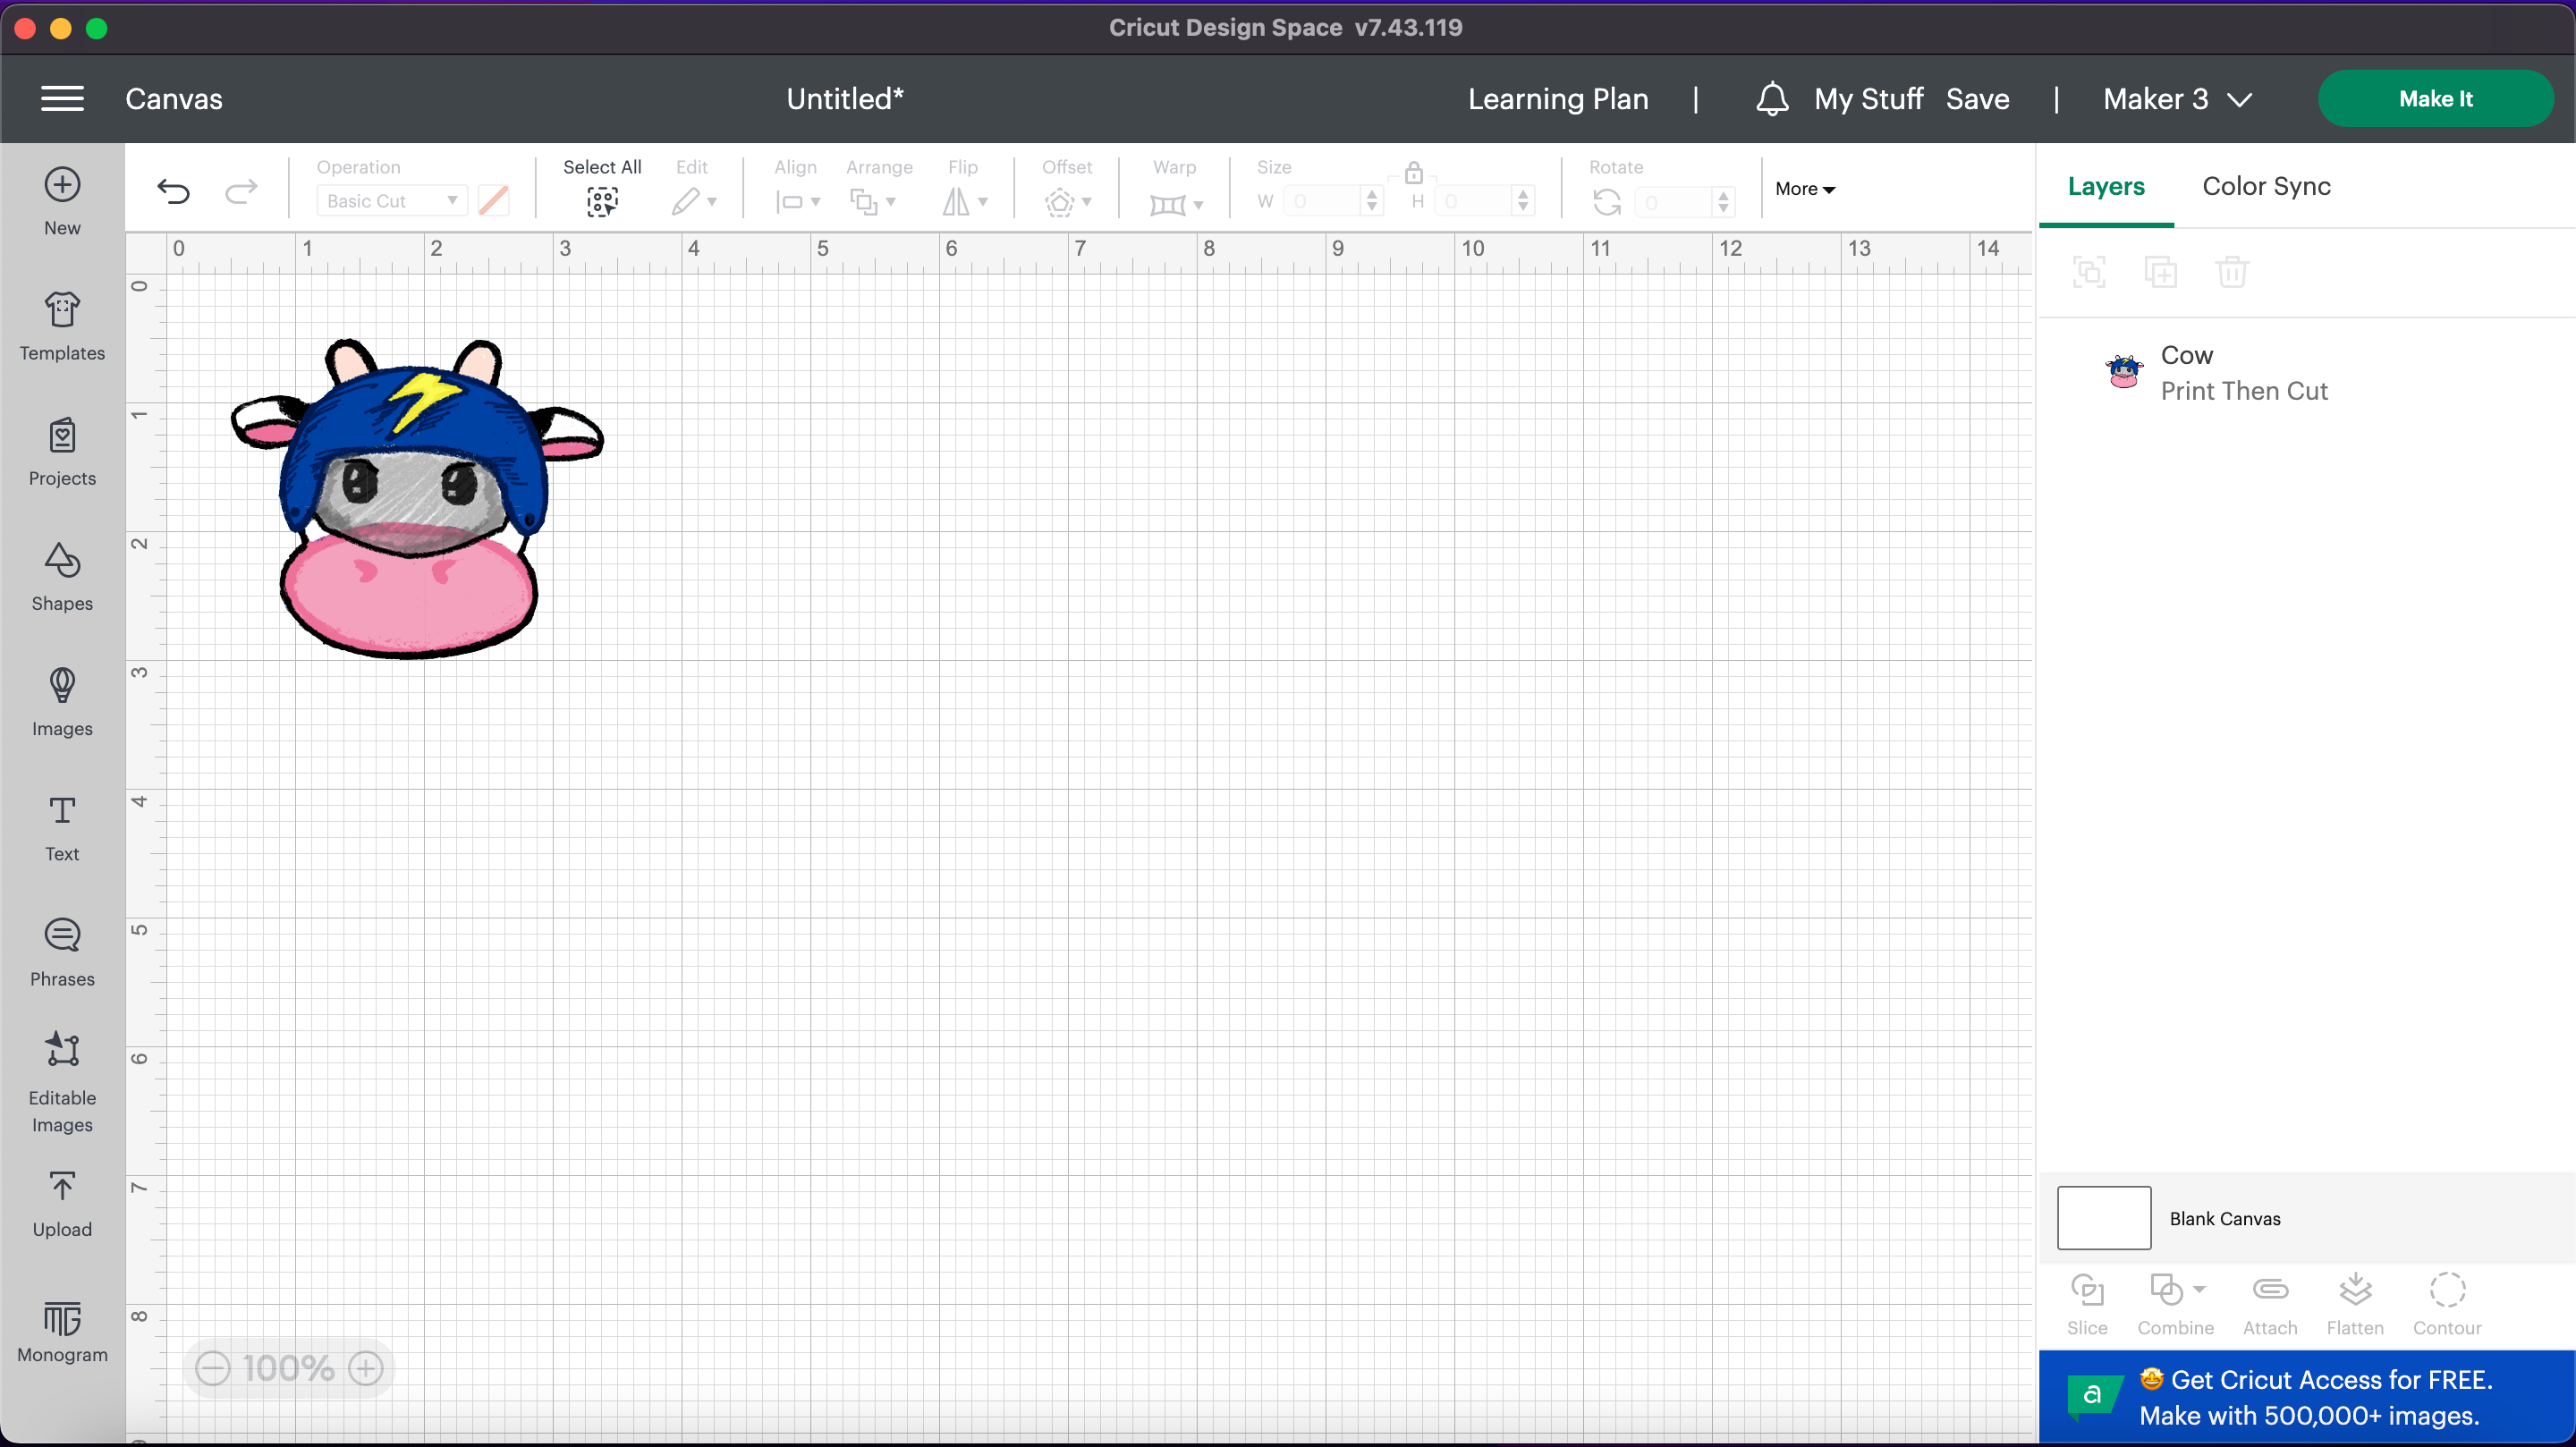
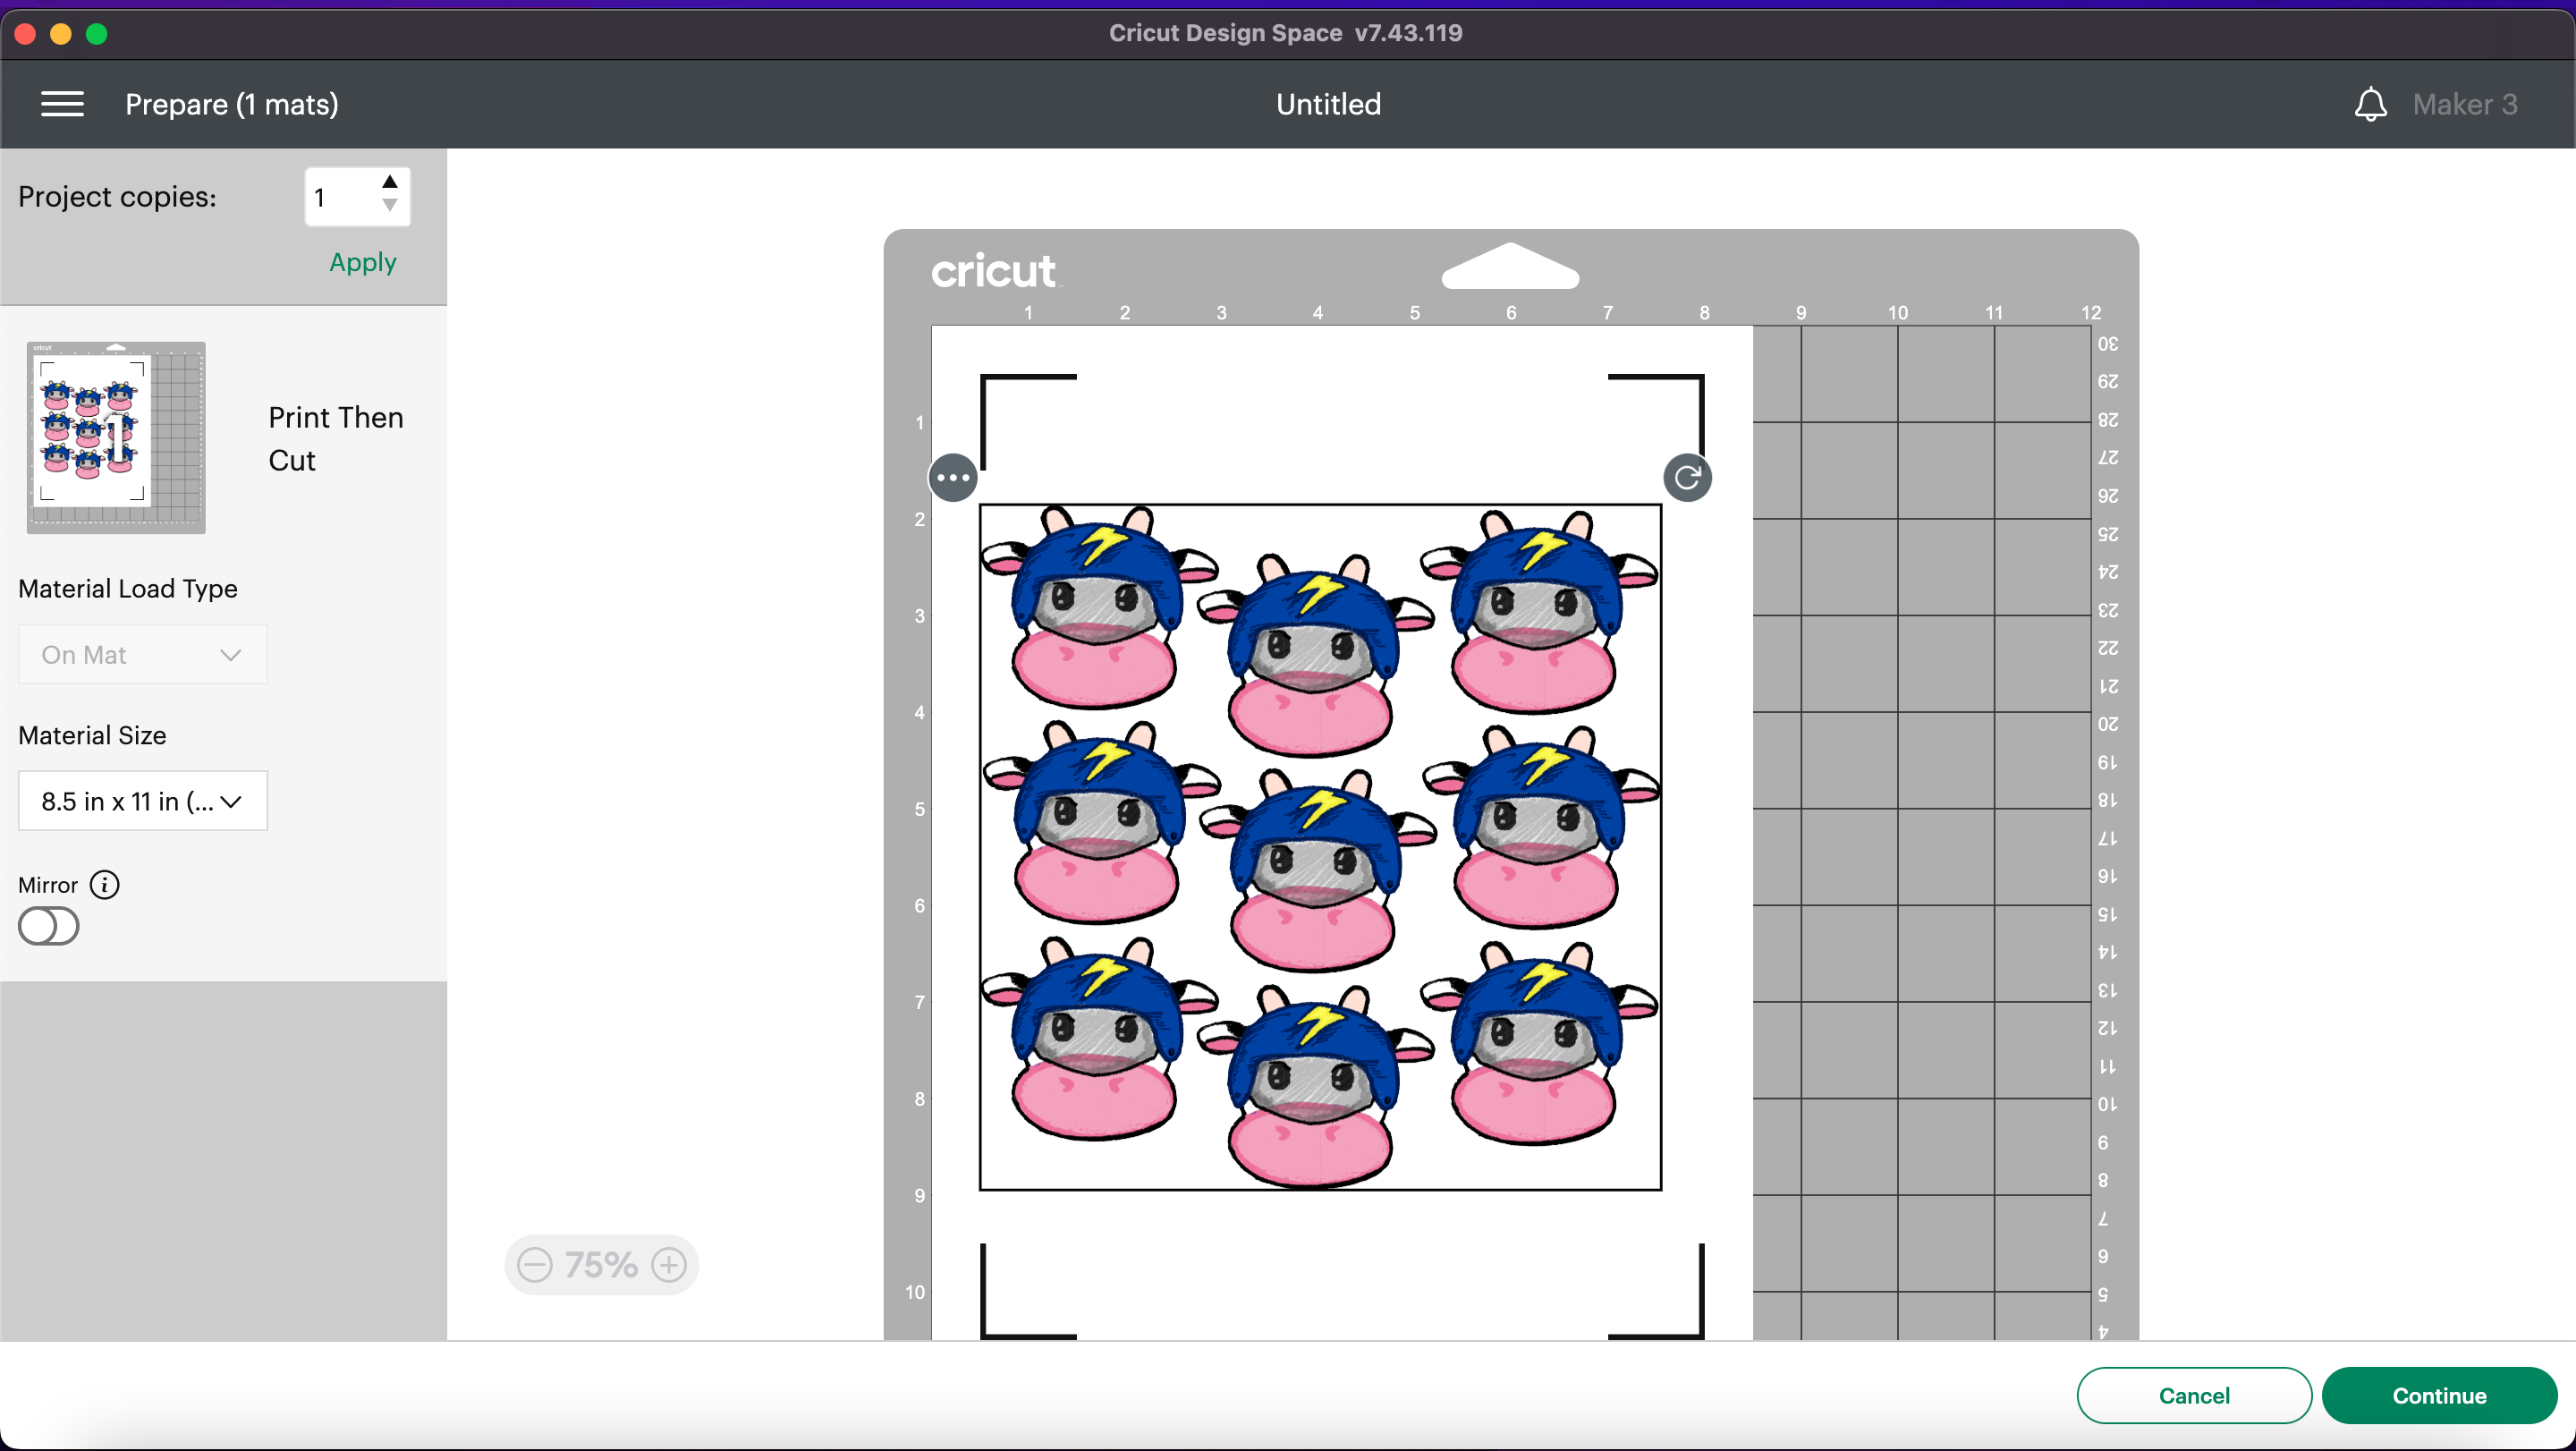
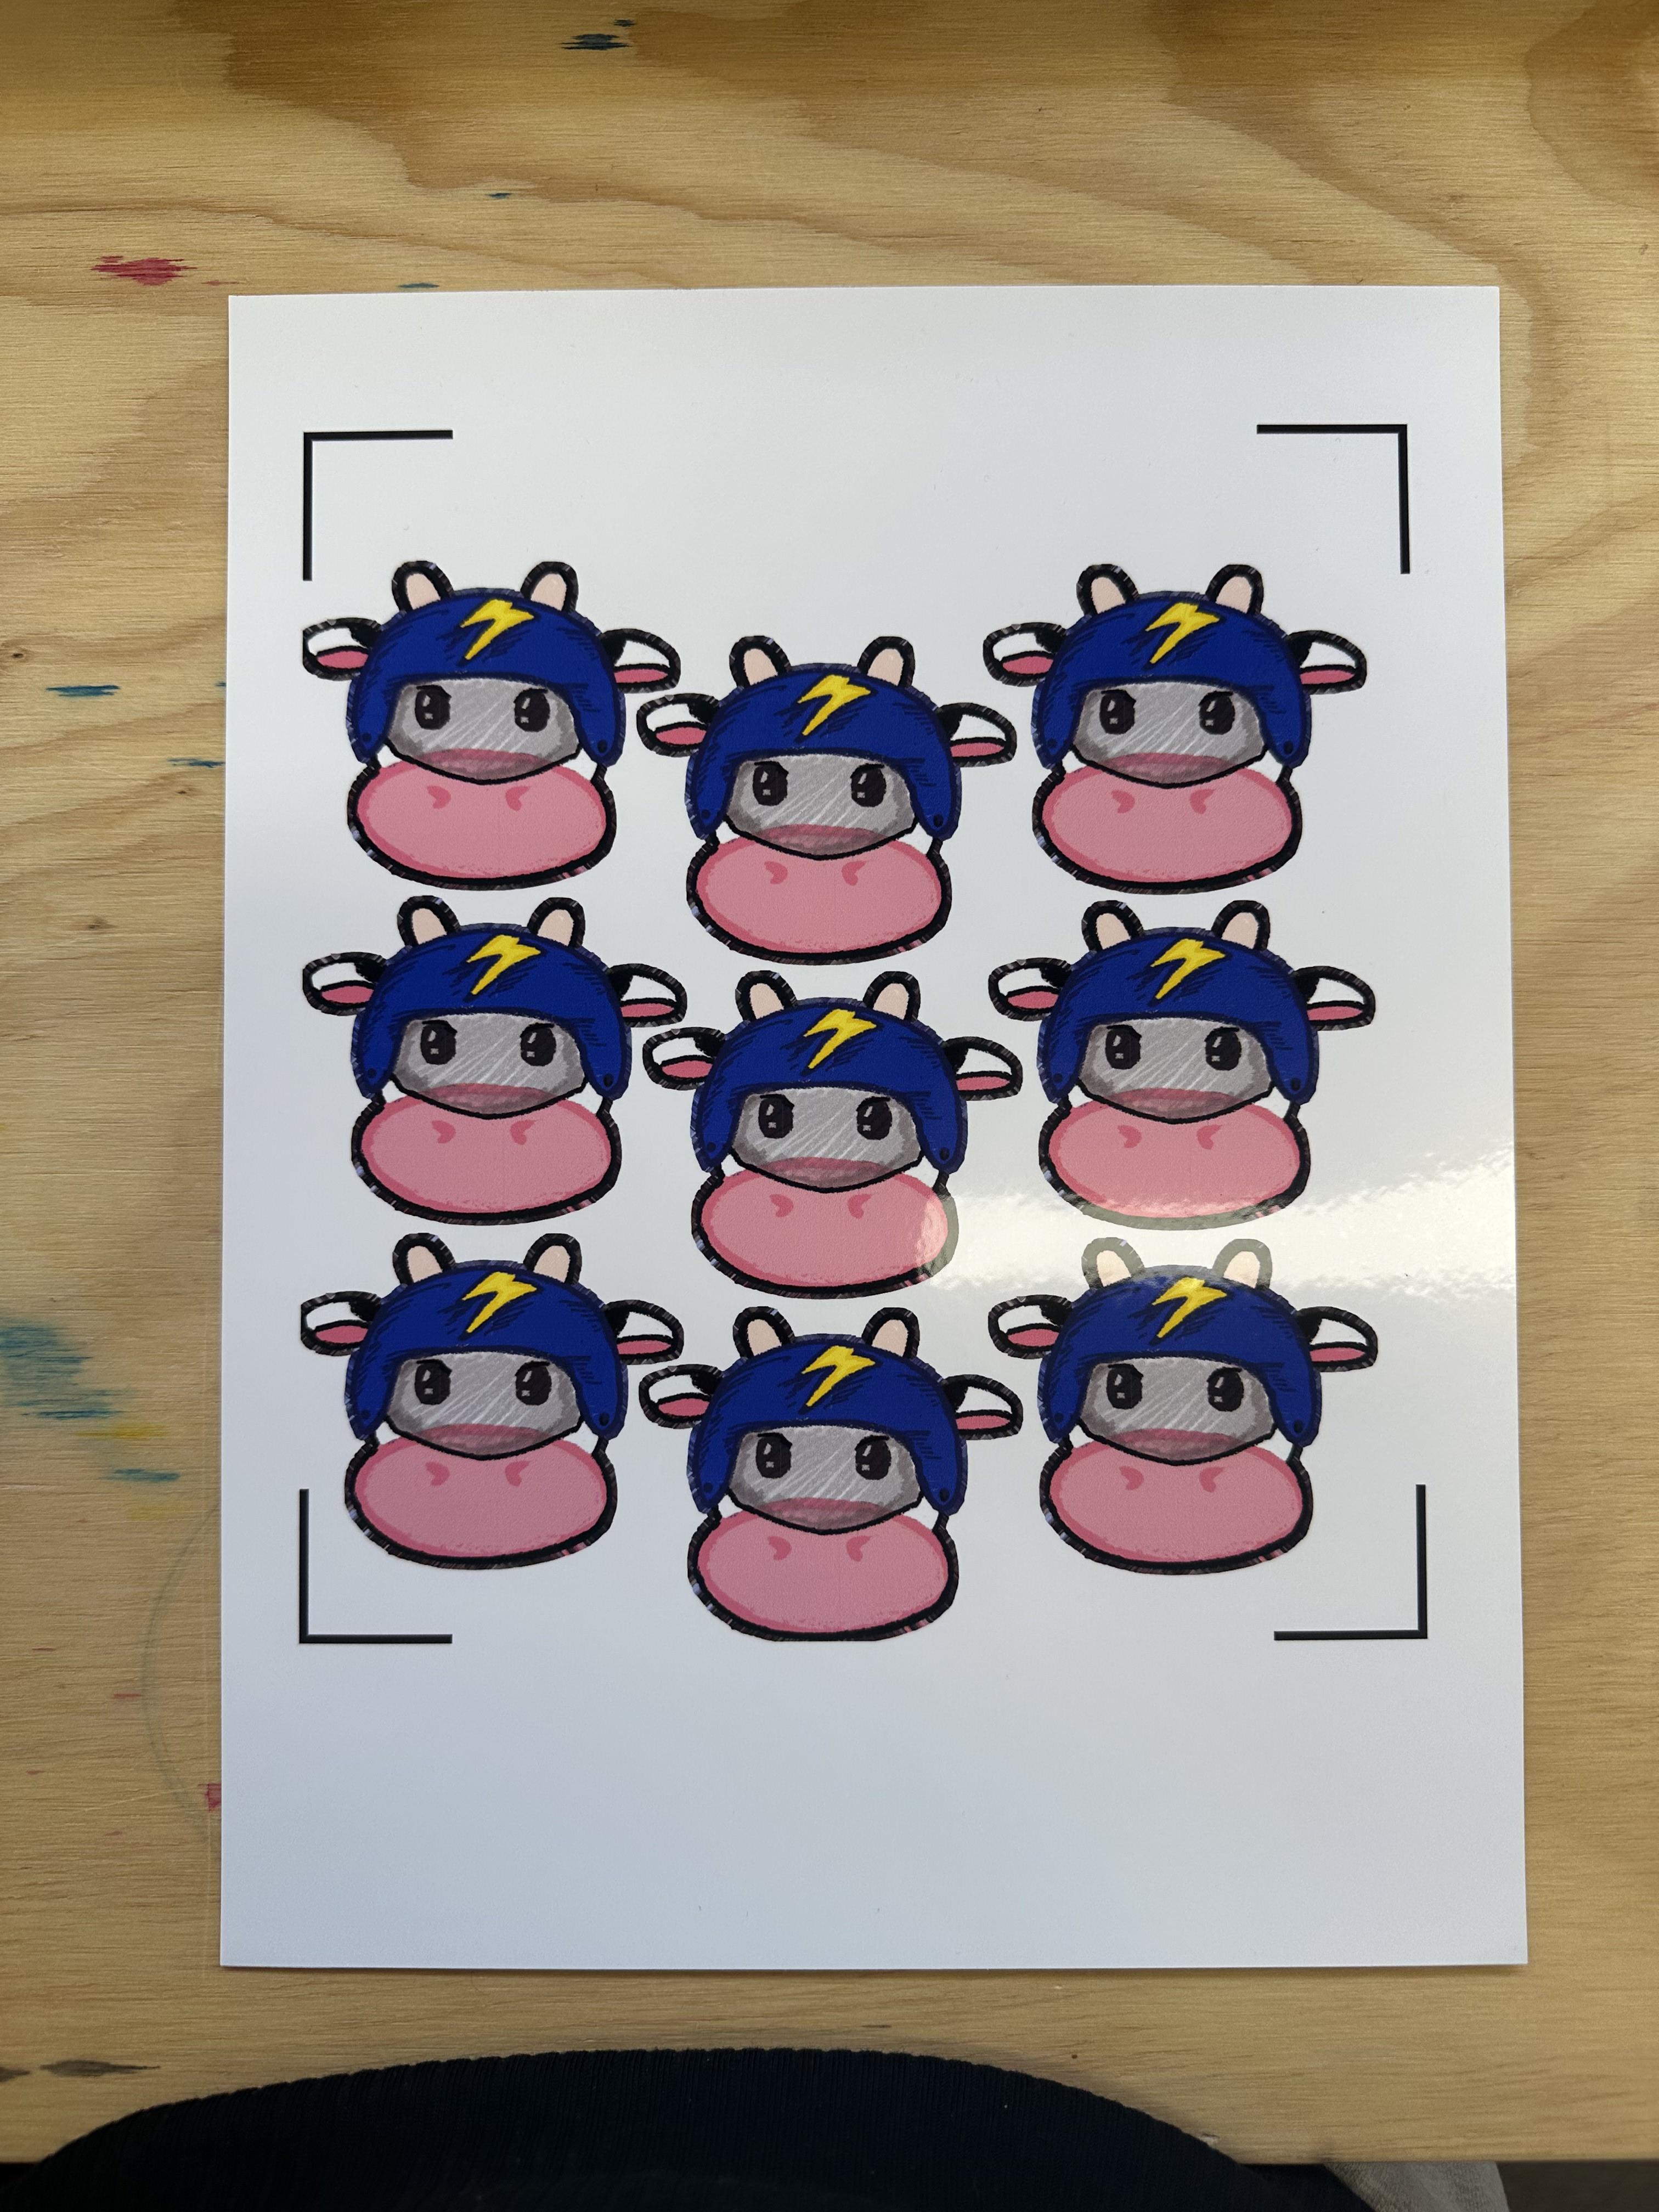
Once in the Canvas, Resize Image to Desired Size
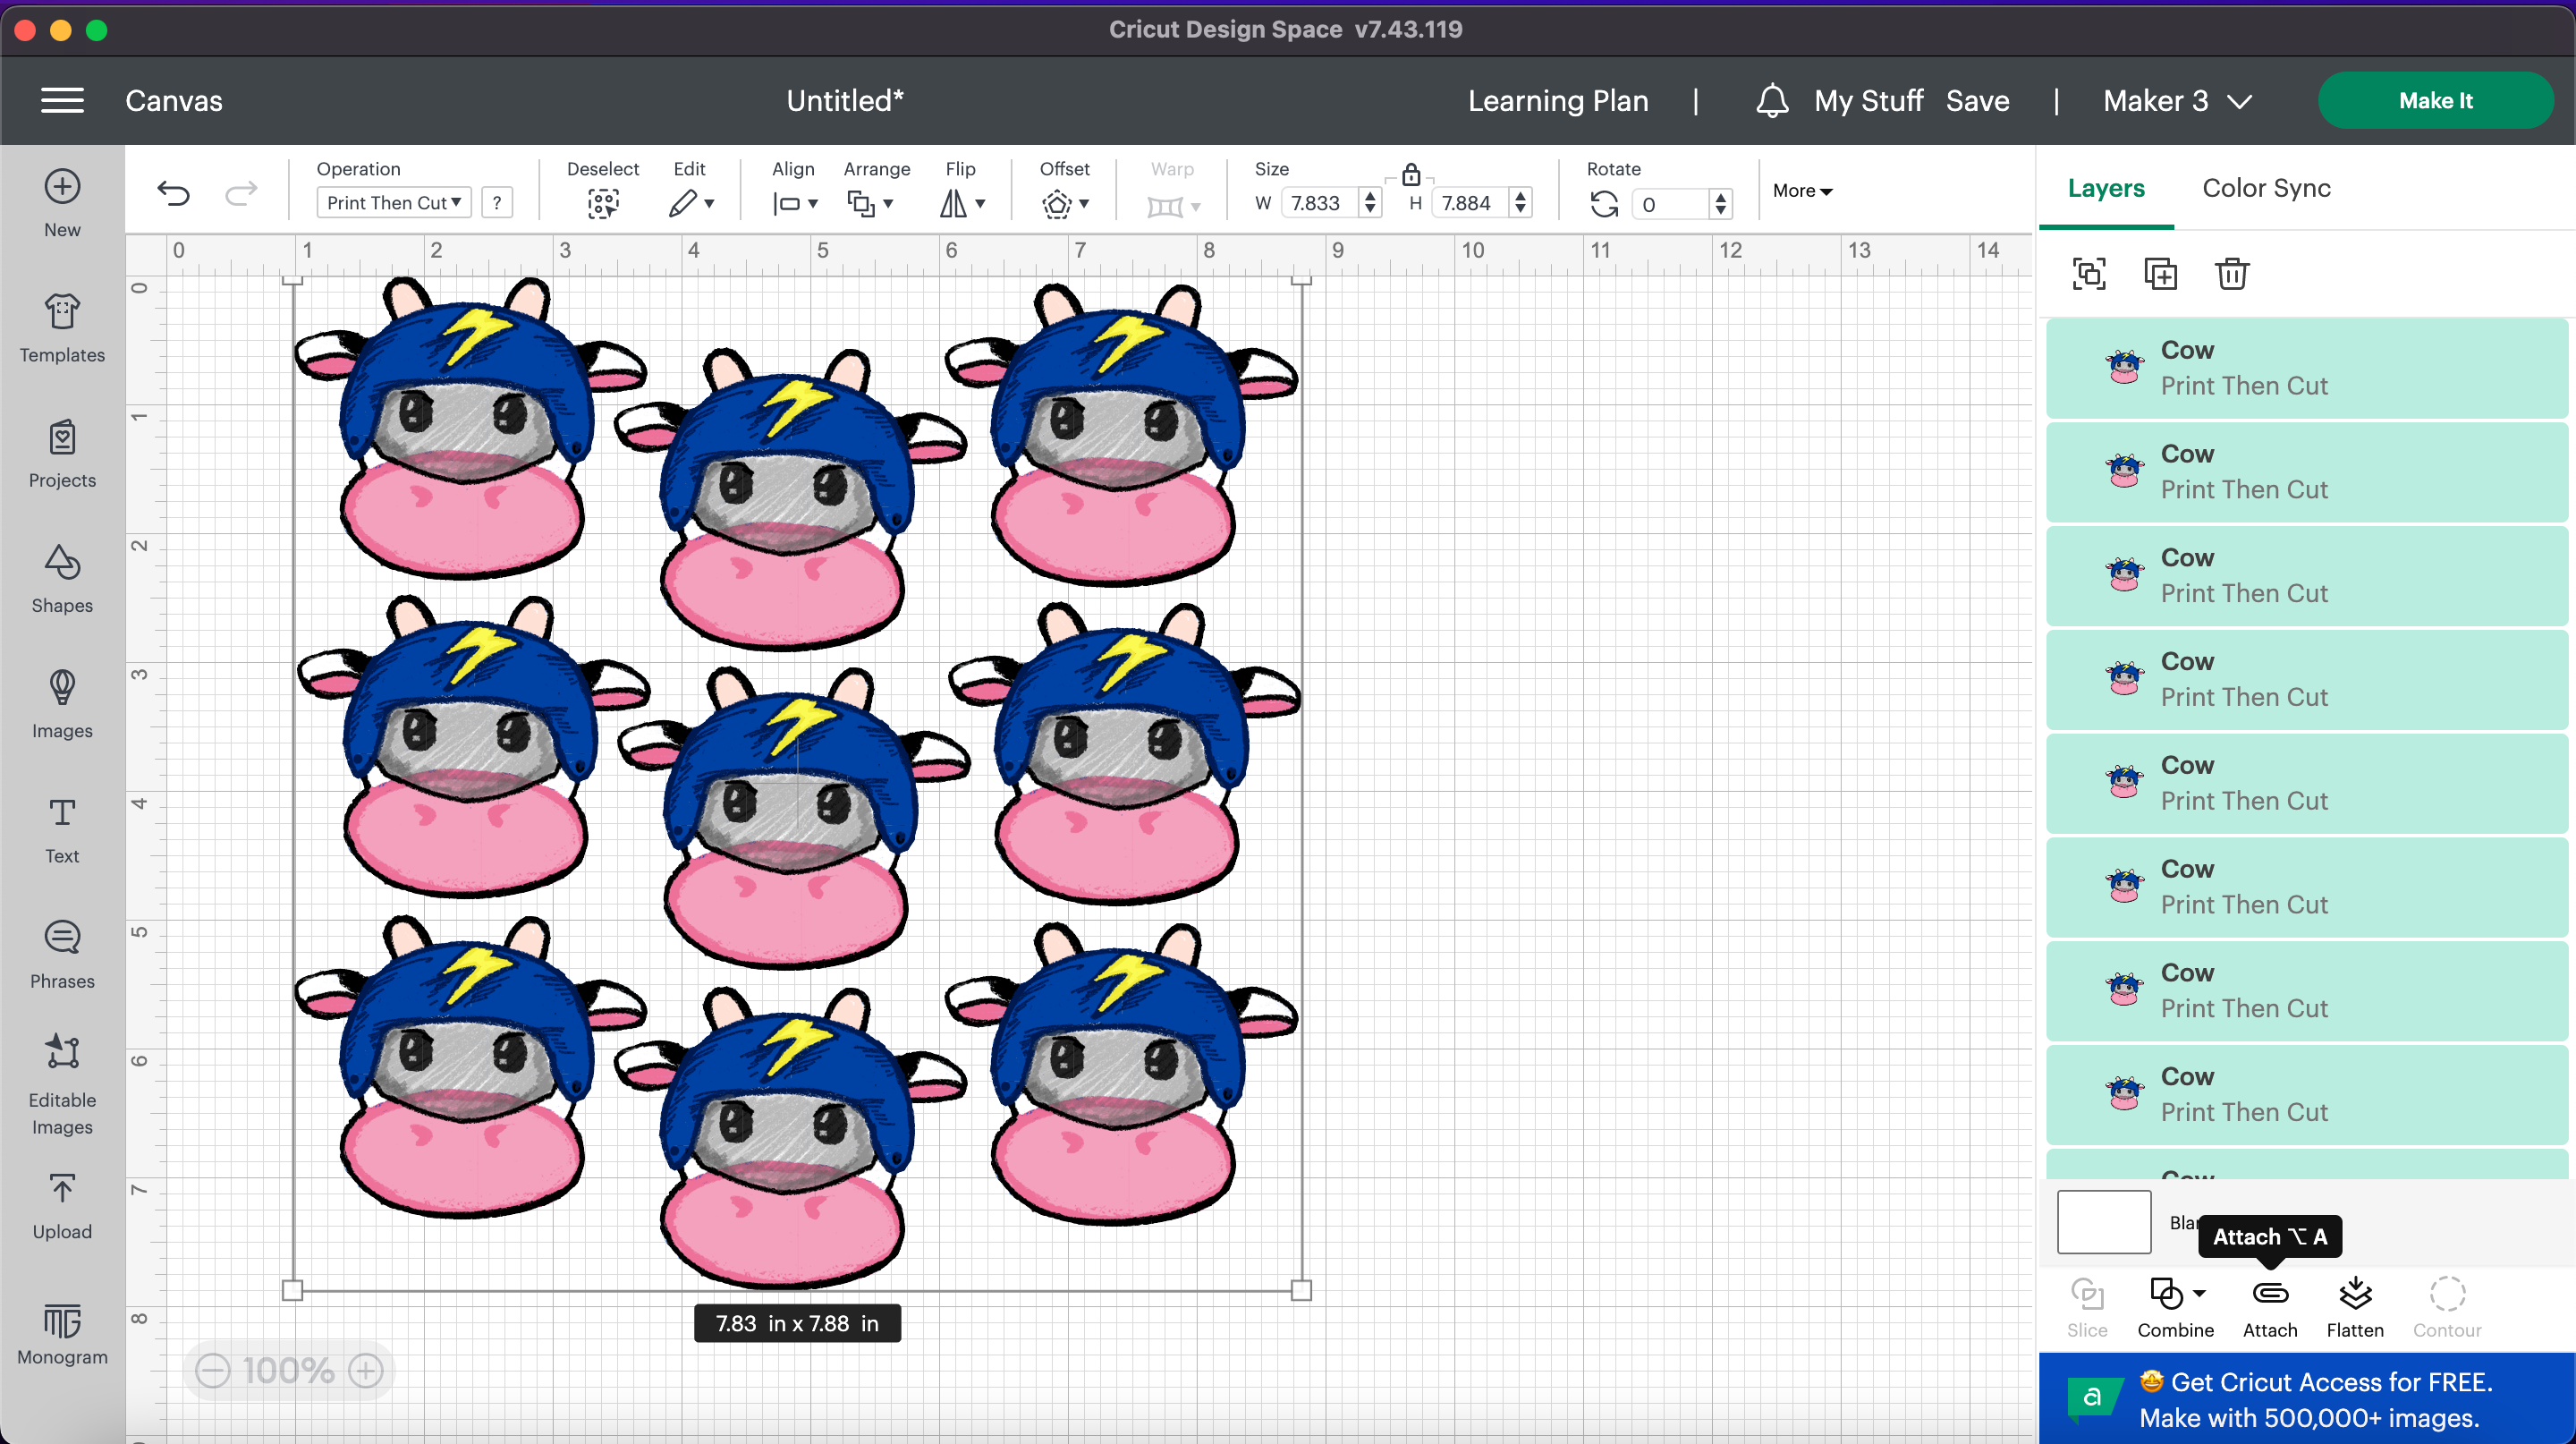
Duplicate Sticker Images, Select All Images and Click "attach" to Group

Click "make It" to Start the Printing Process, Click "continue"
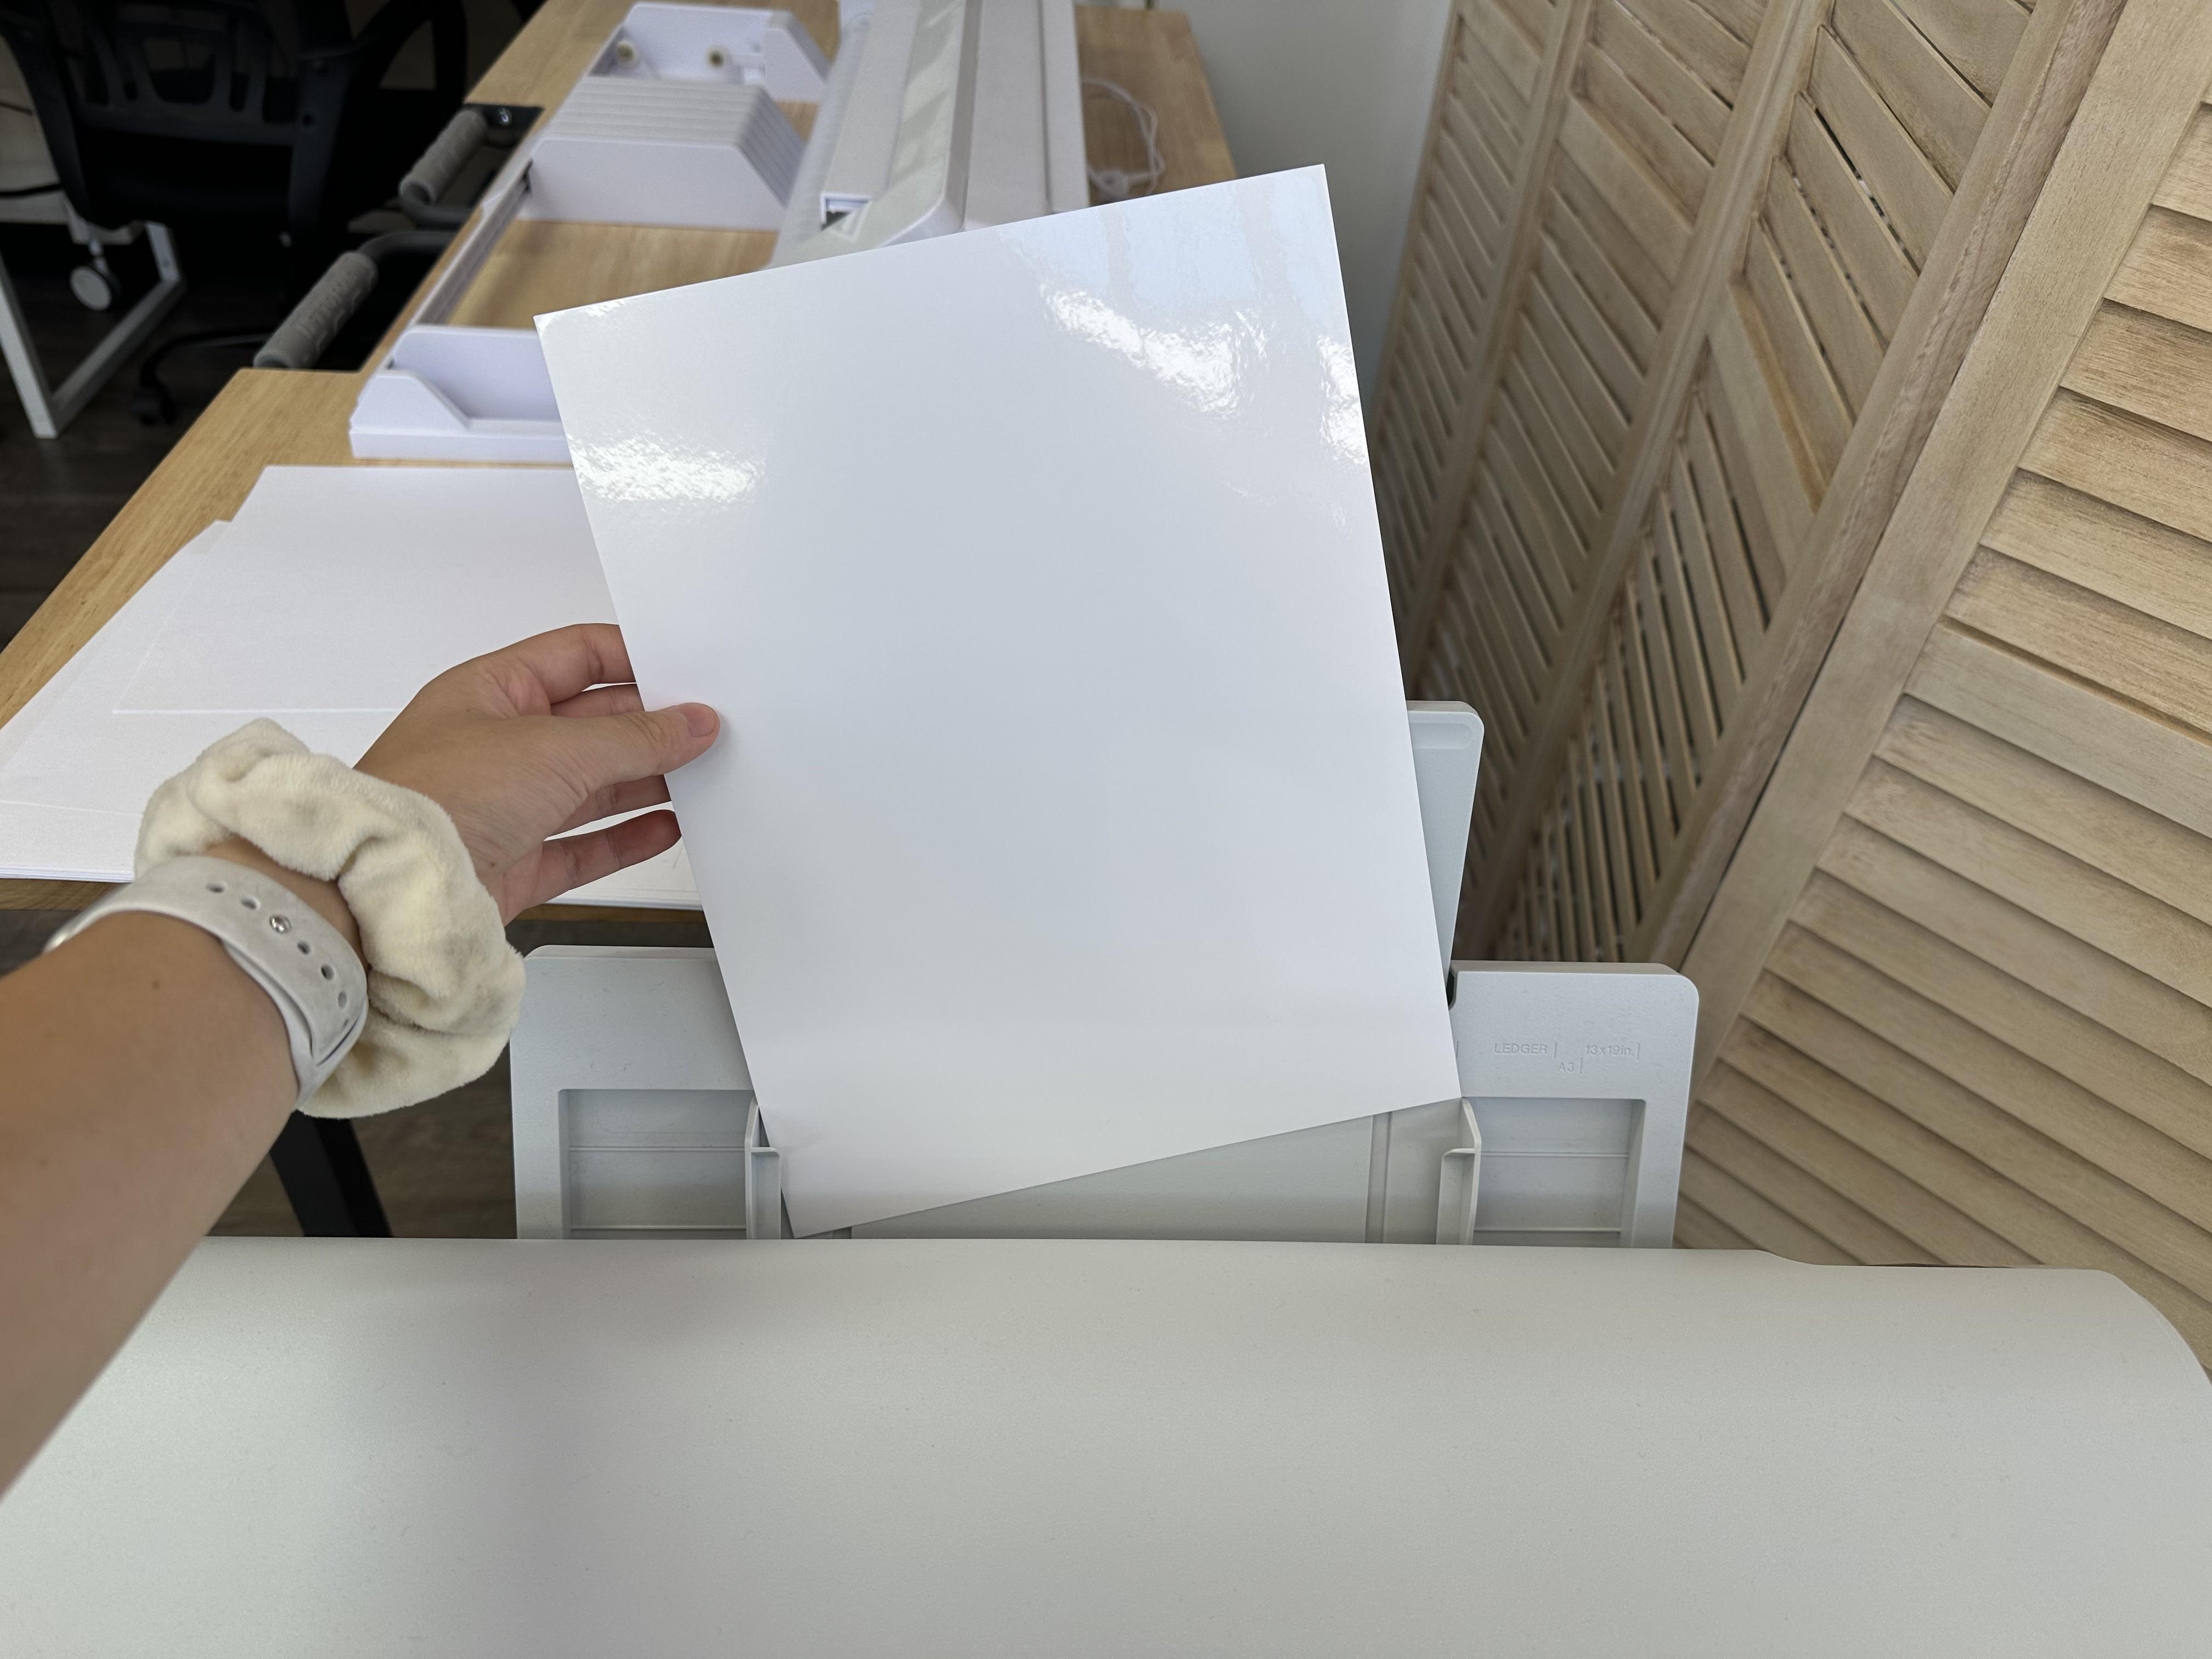
Place Sticker Paper Into HP DesignJet Printer
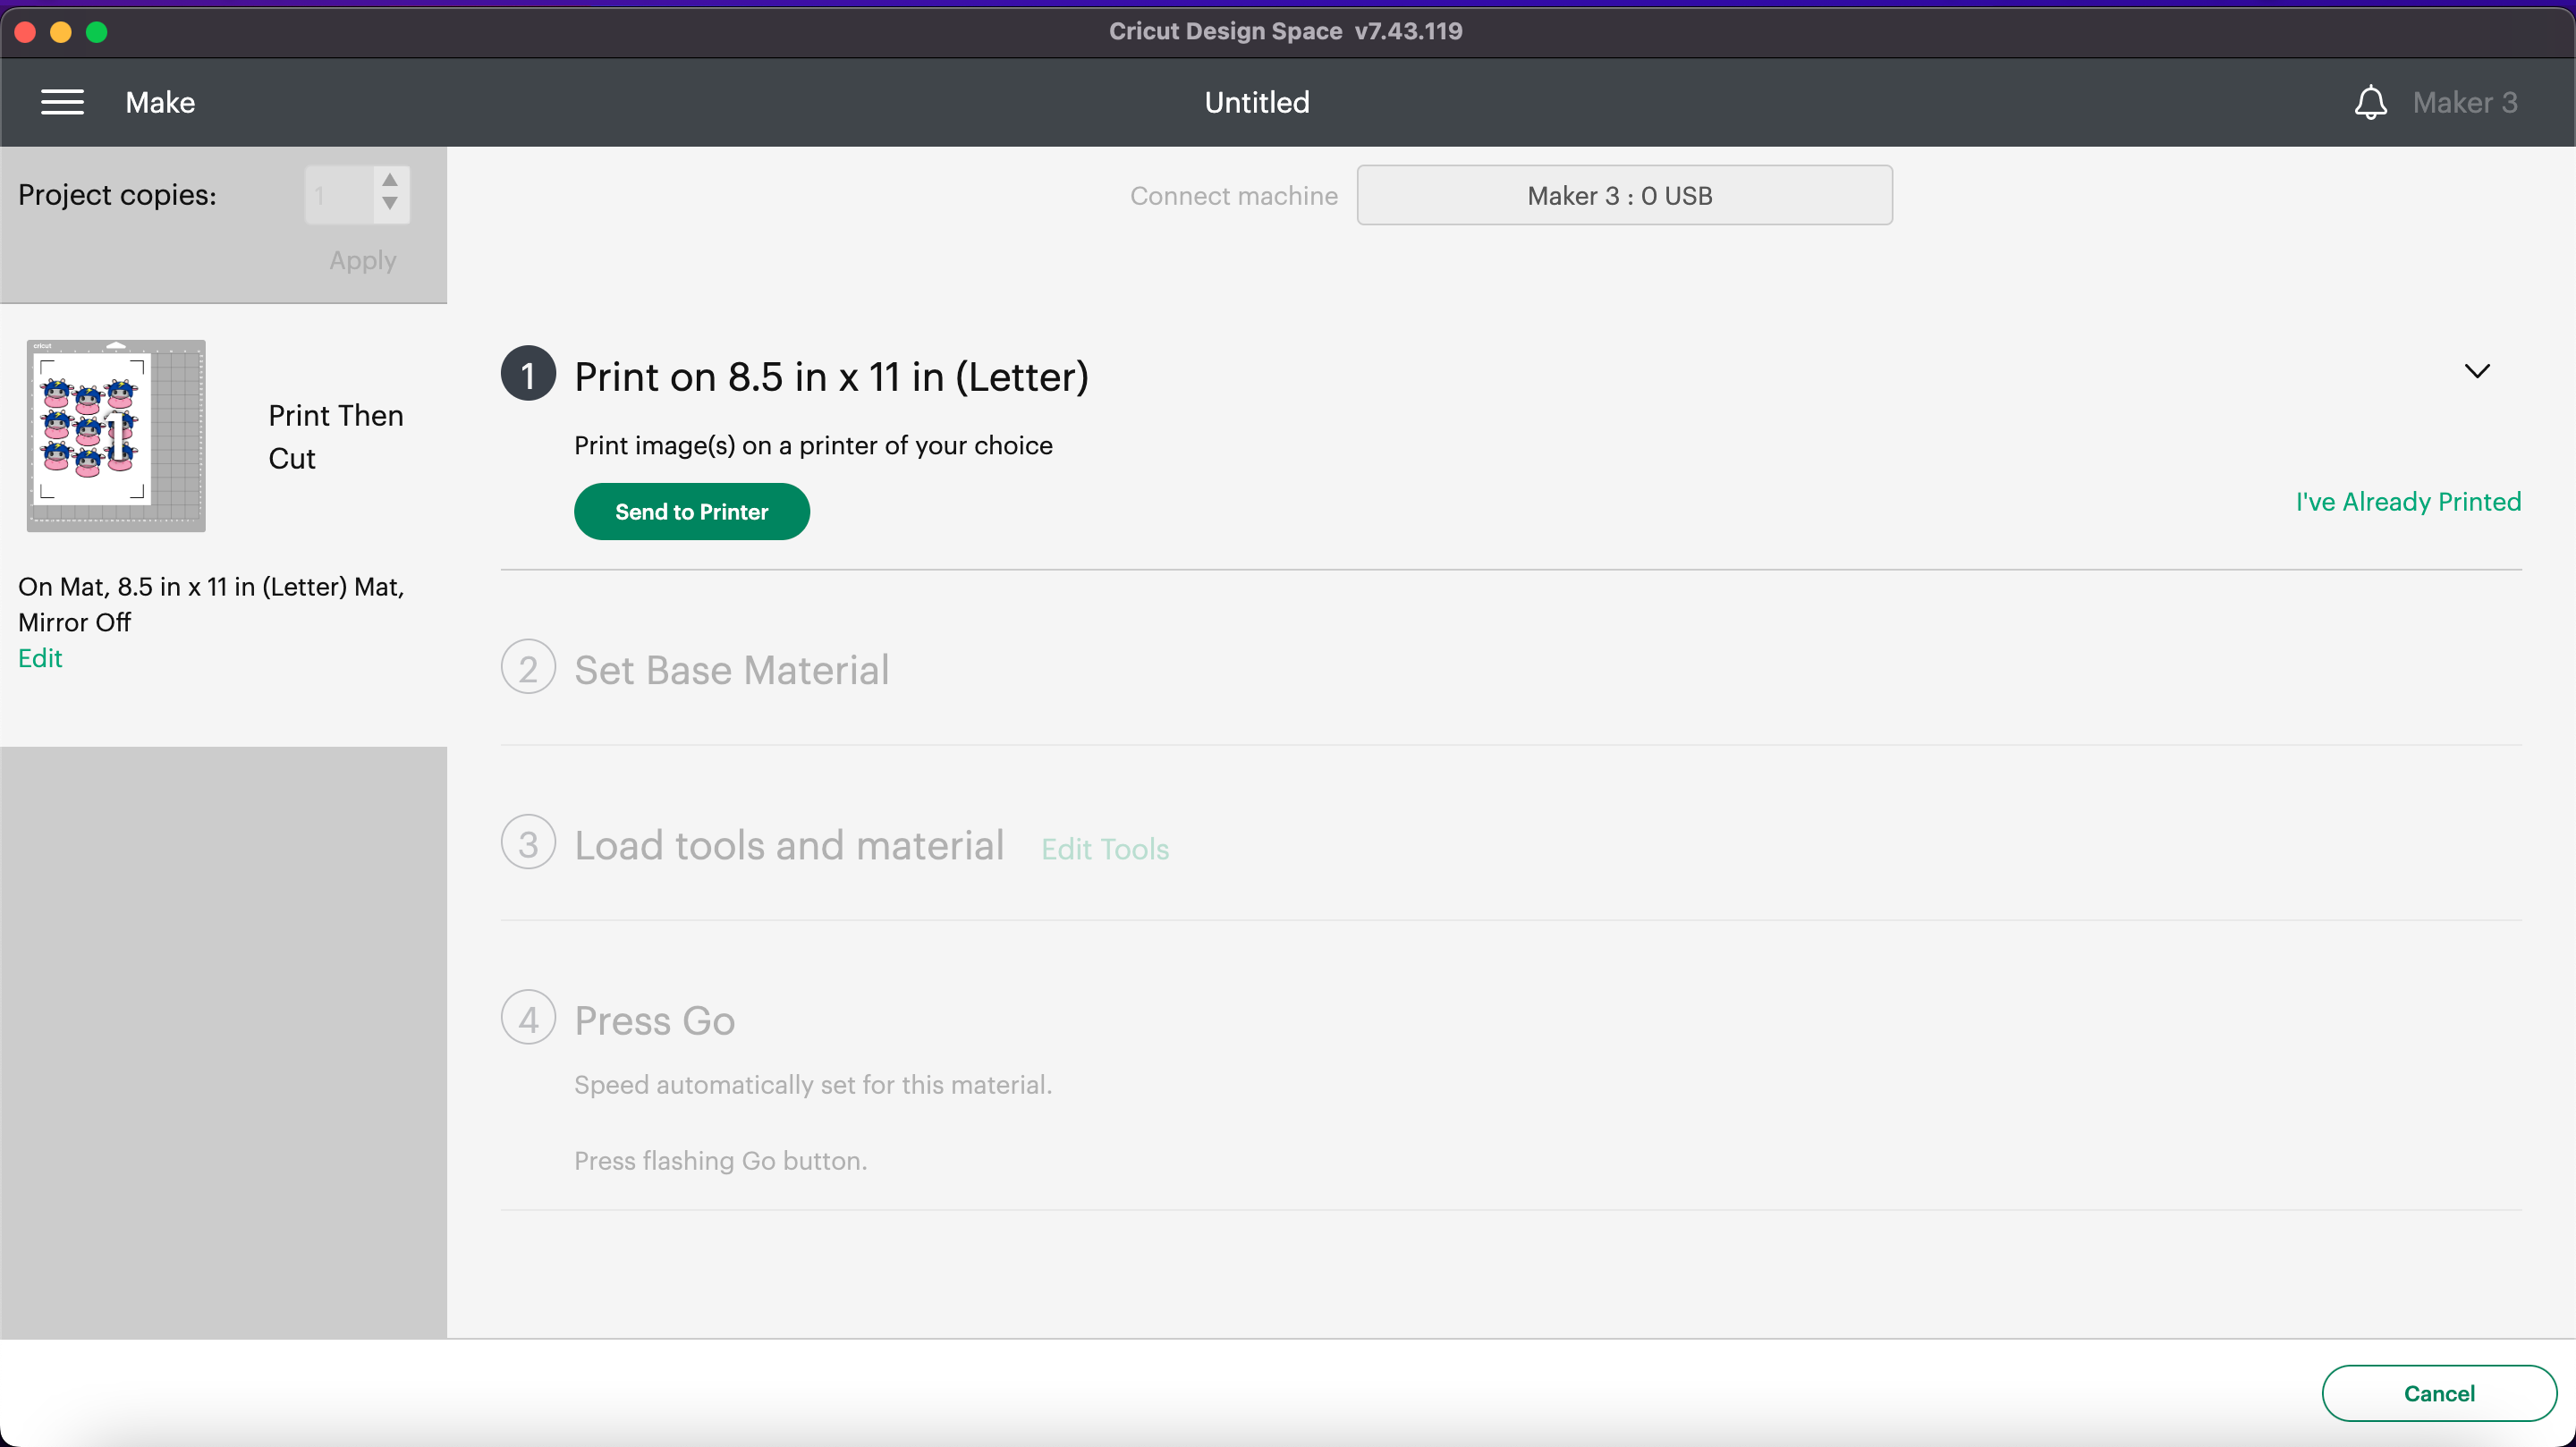
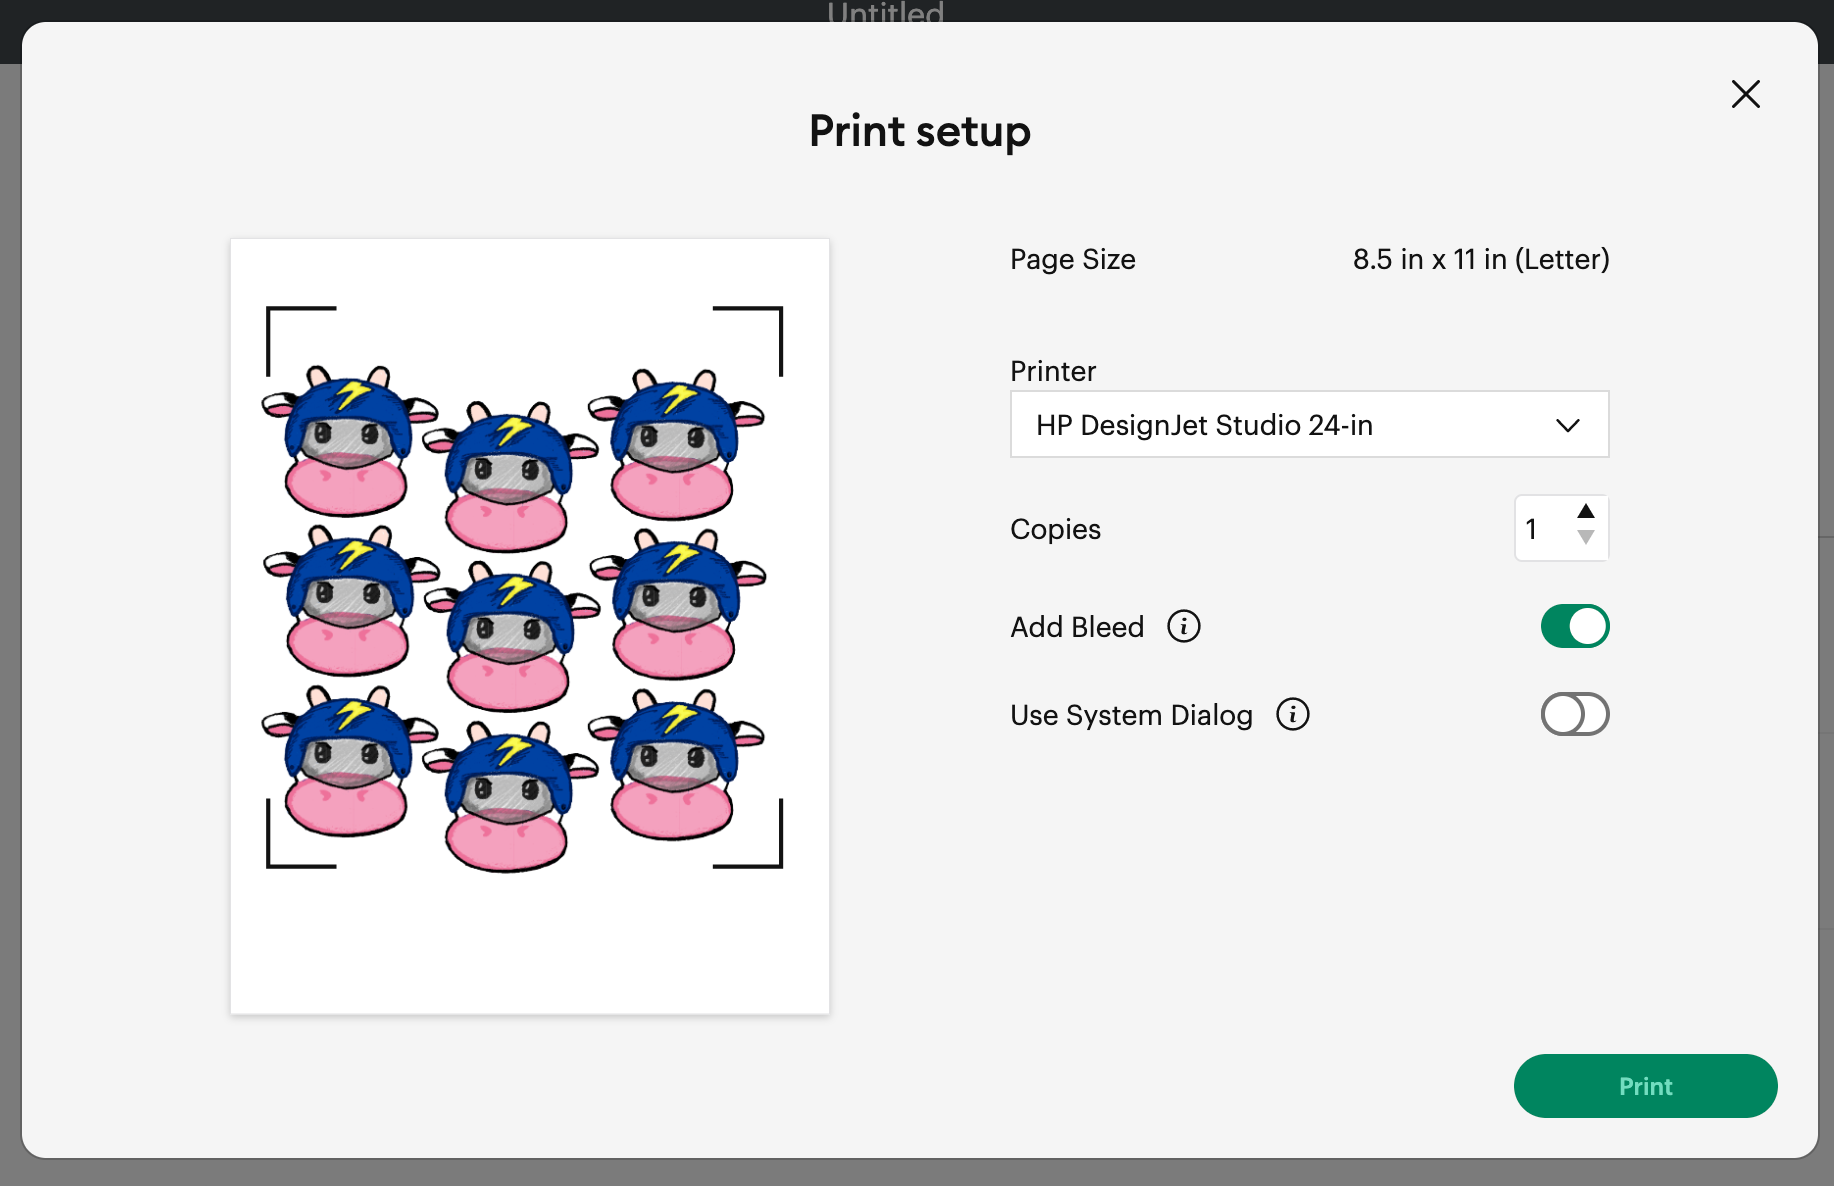
Click "send to Printer" to Begin Printing
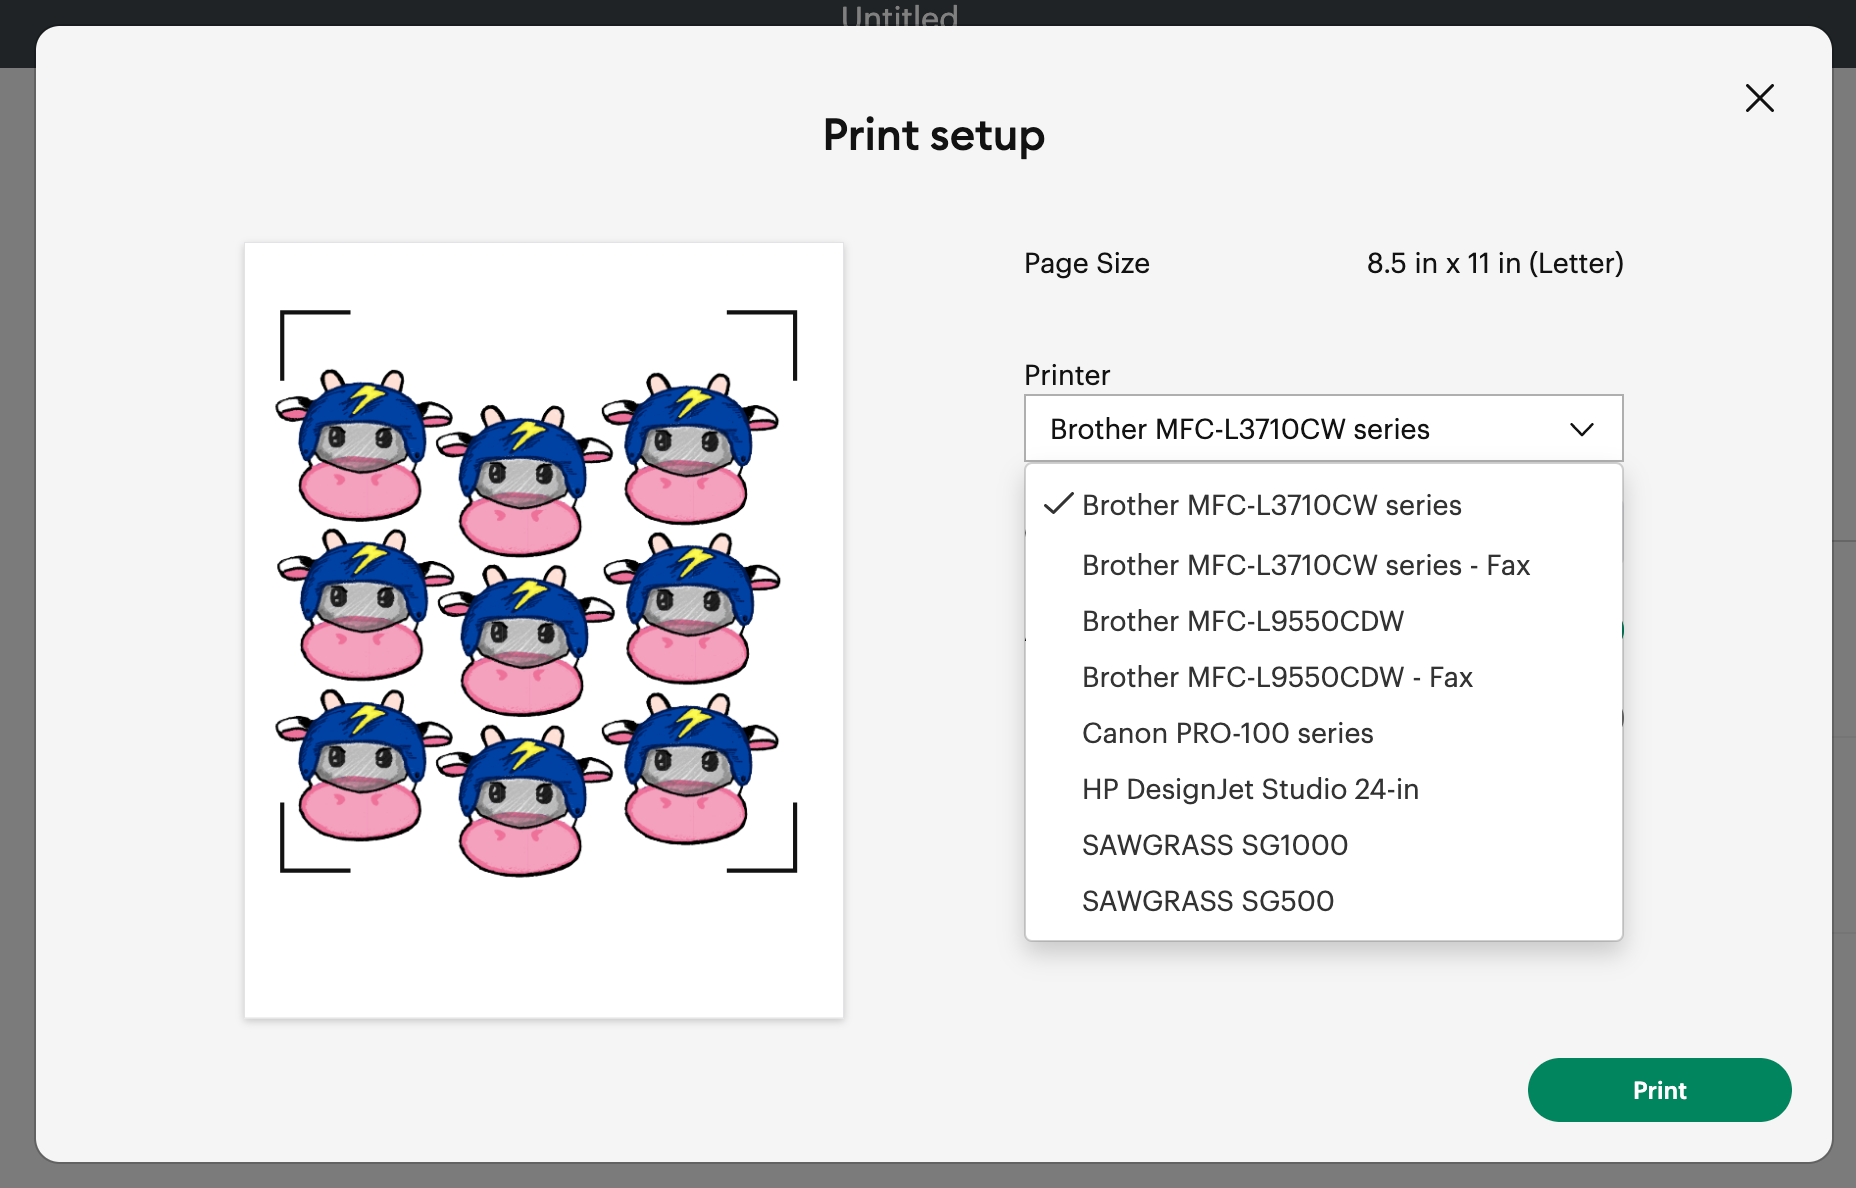
Select "hP DesignJet Studio" and Click "print"
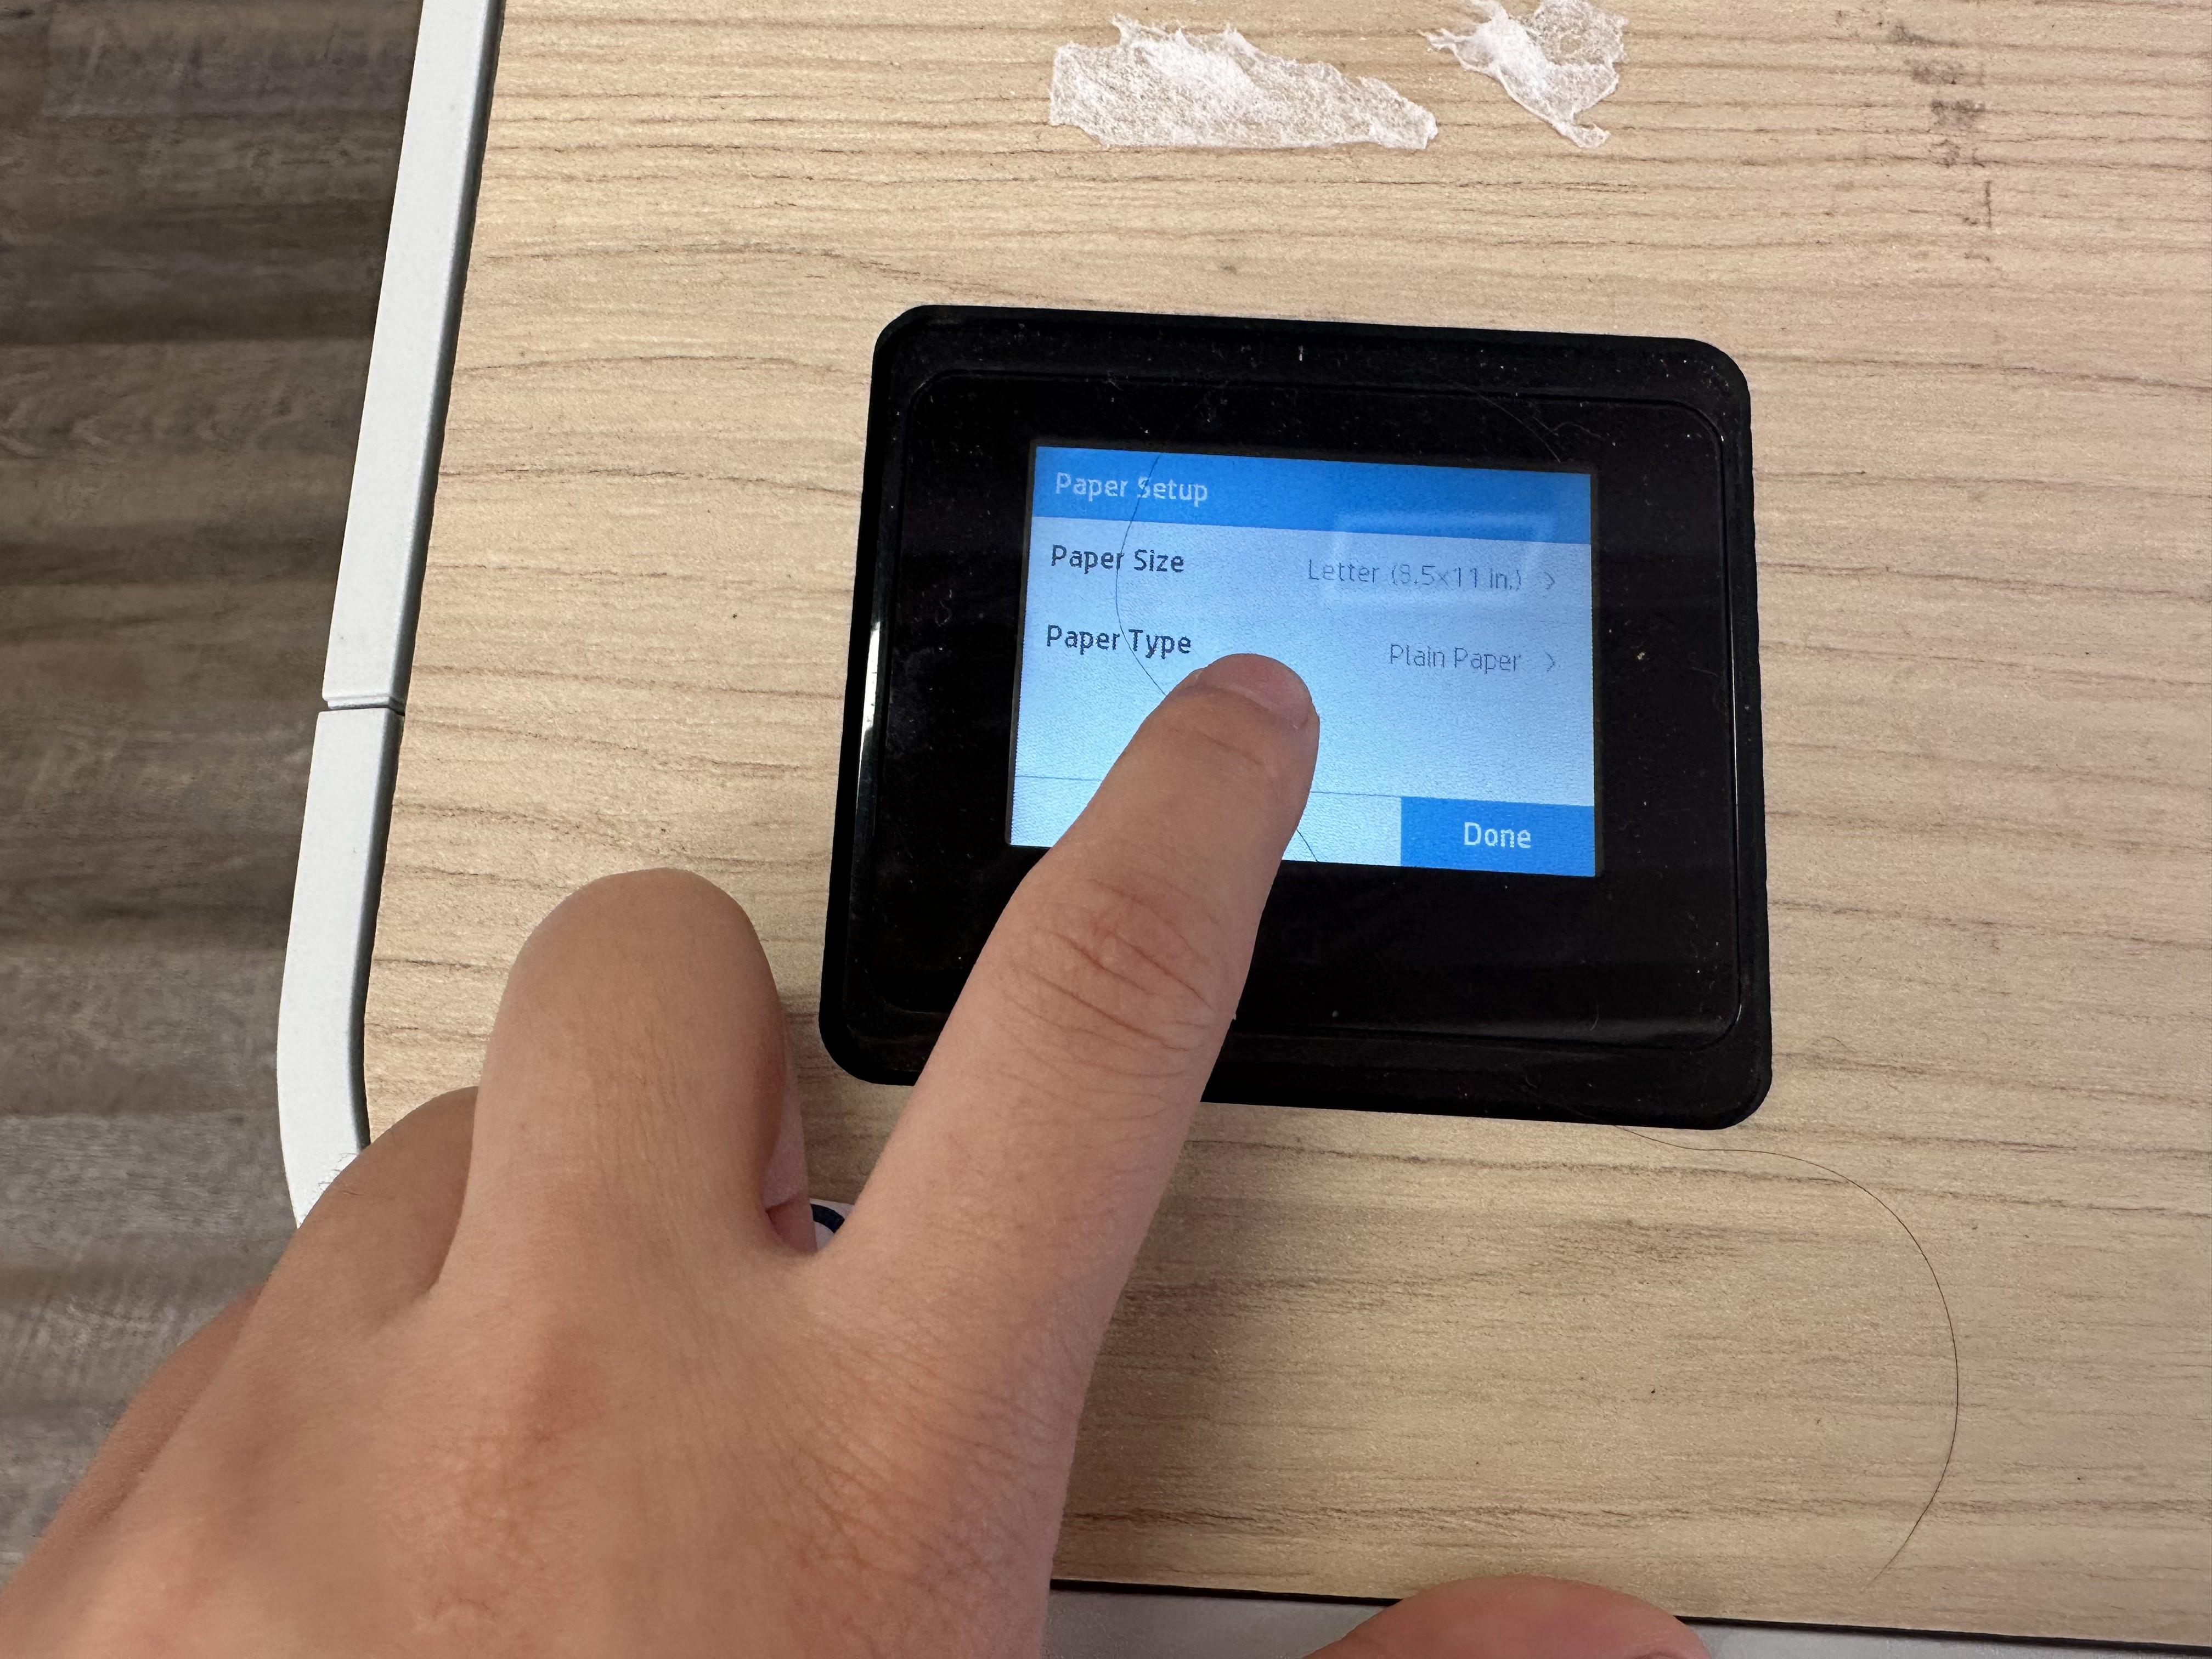
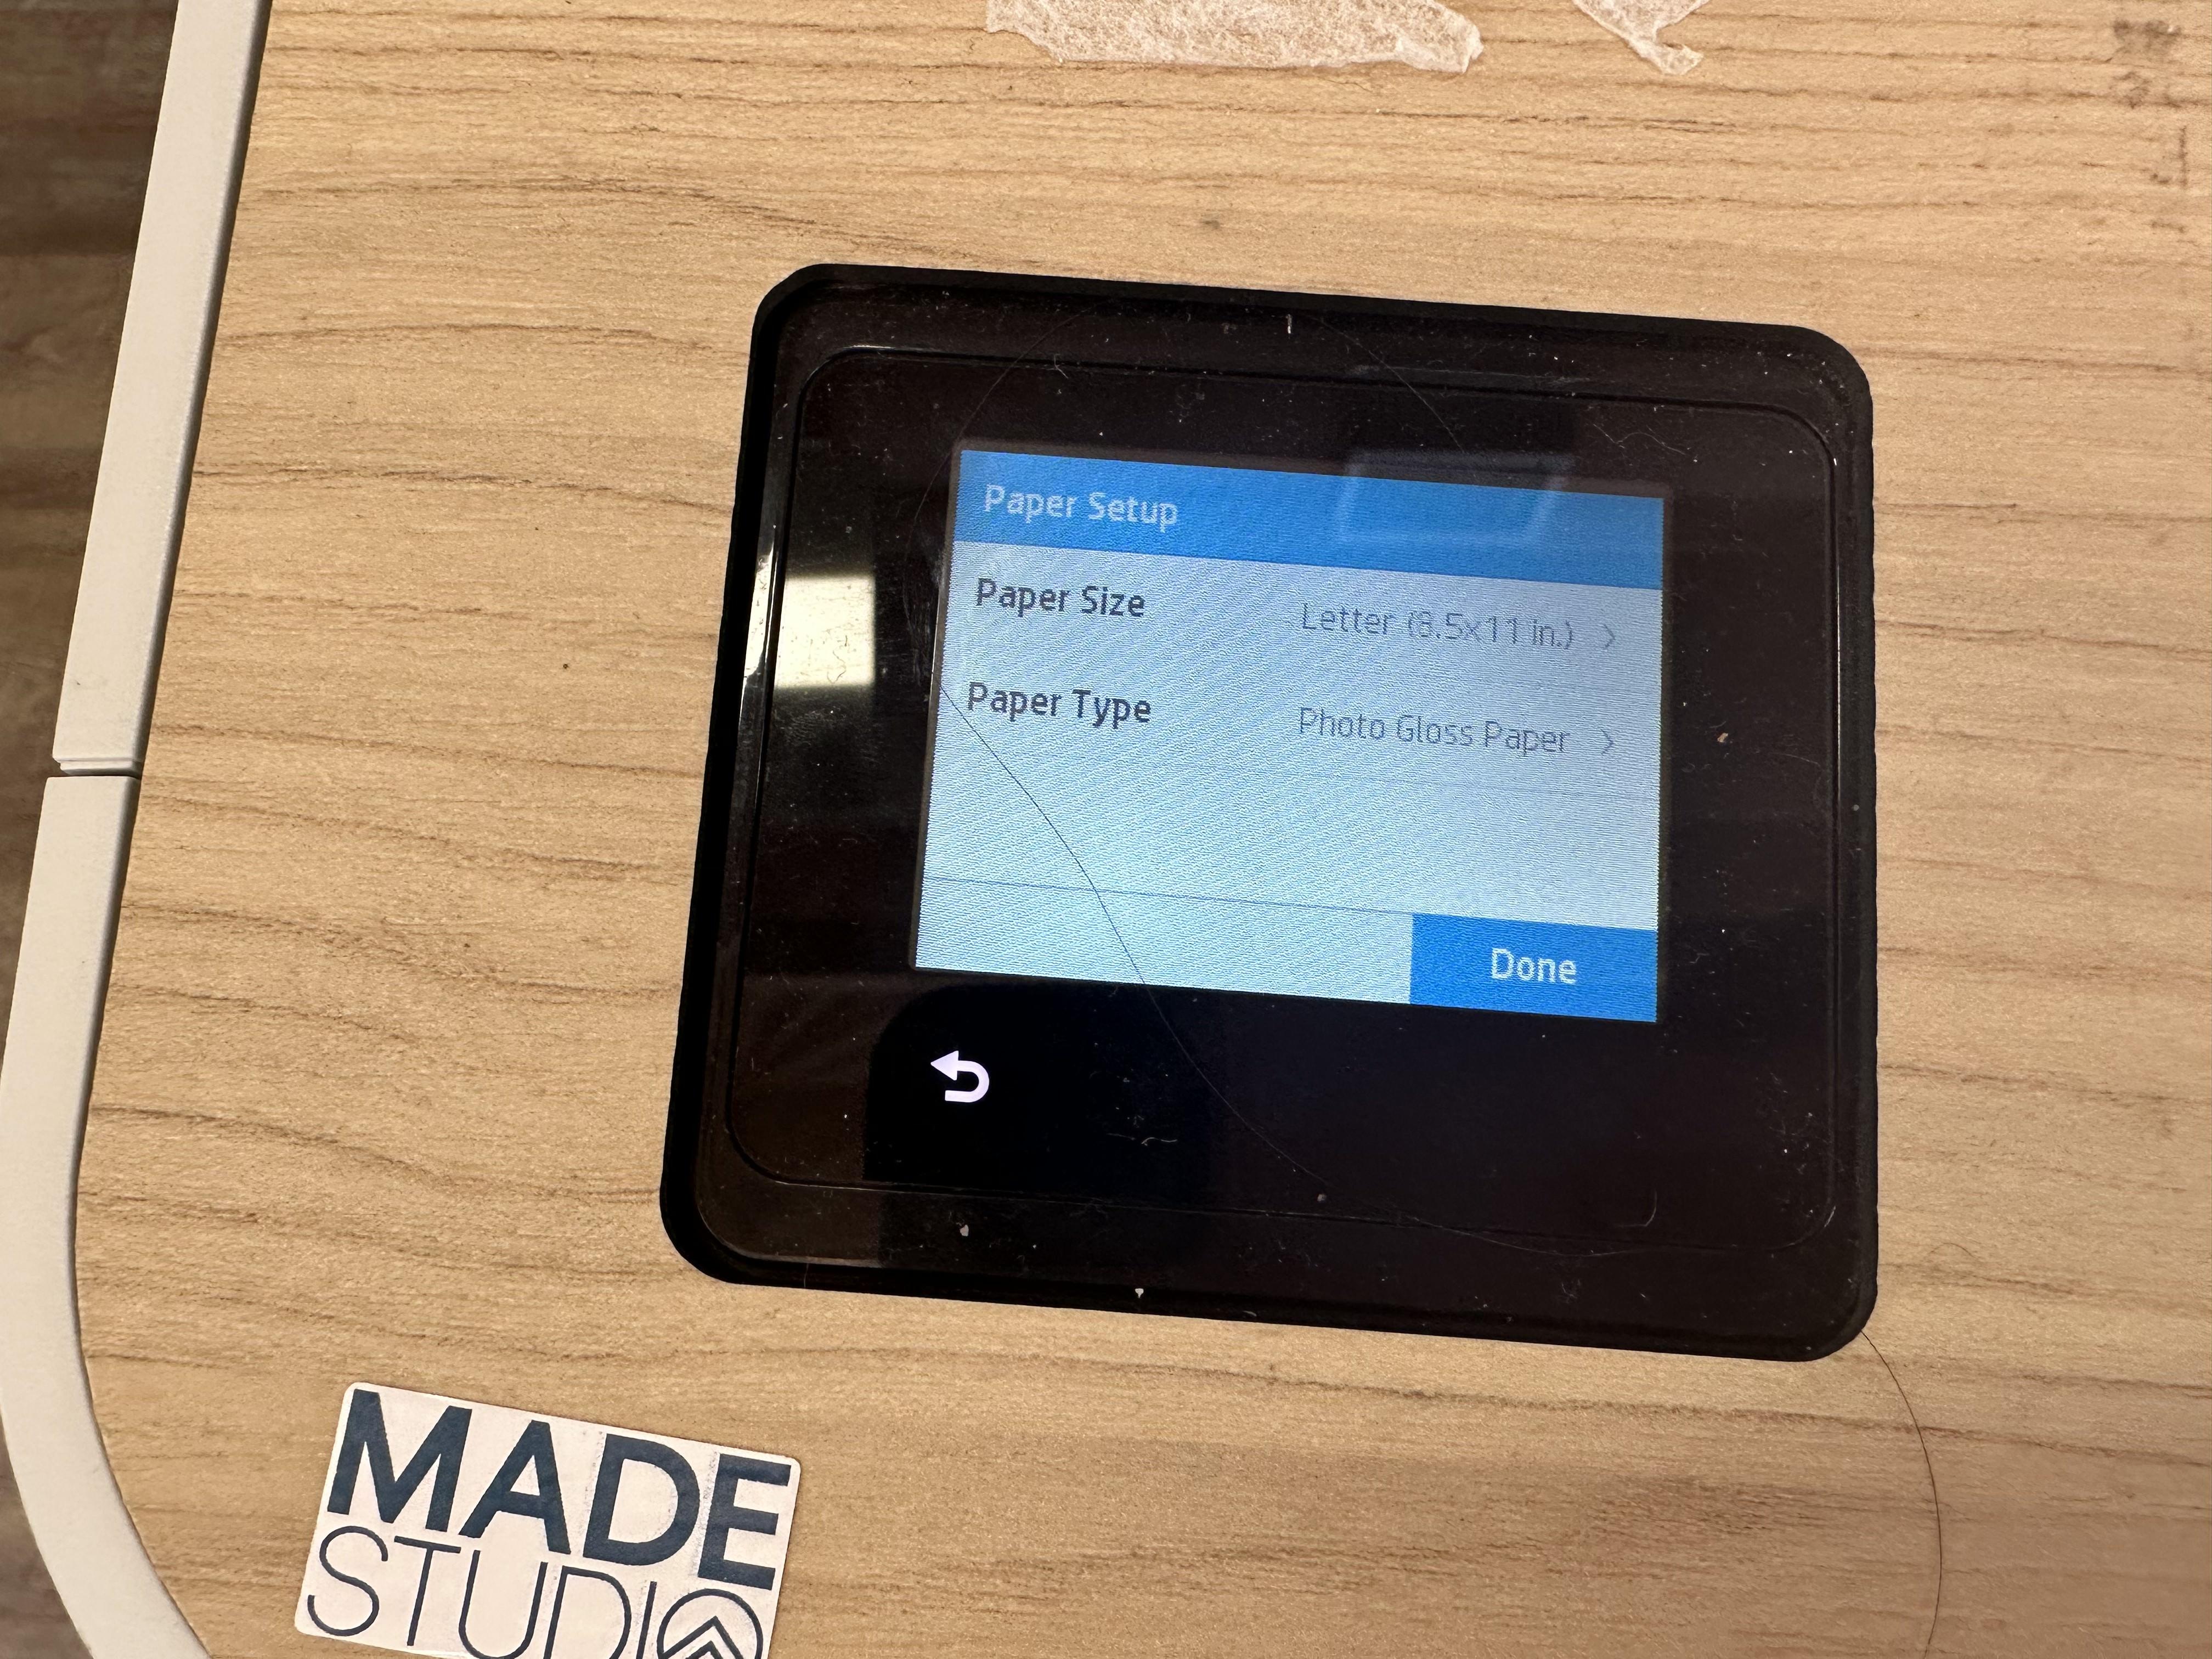
On the HP DesignJet Select Photo Paper As the Paper Type
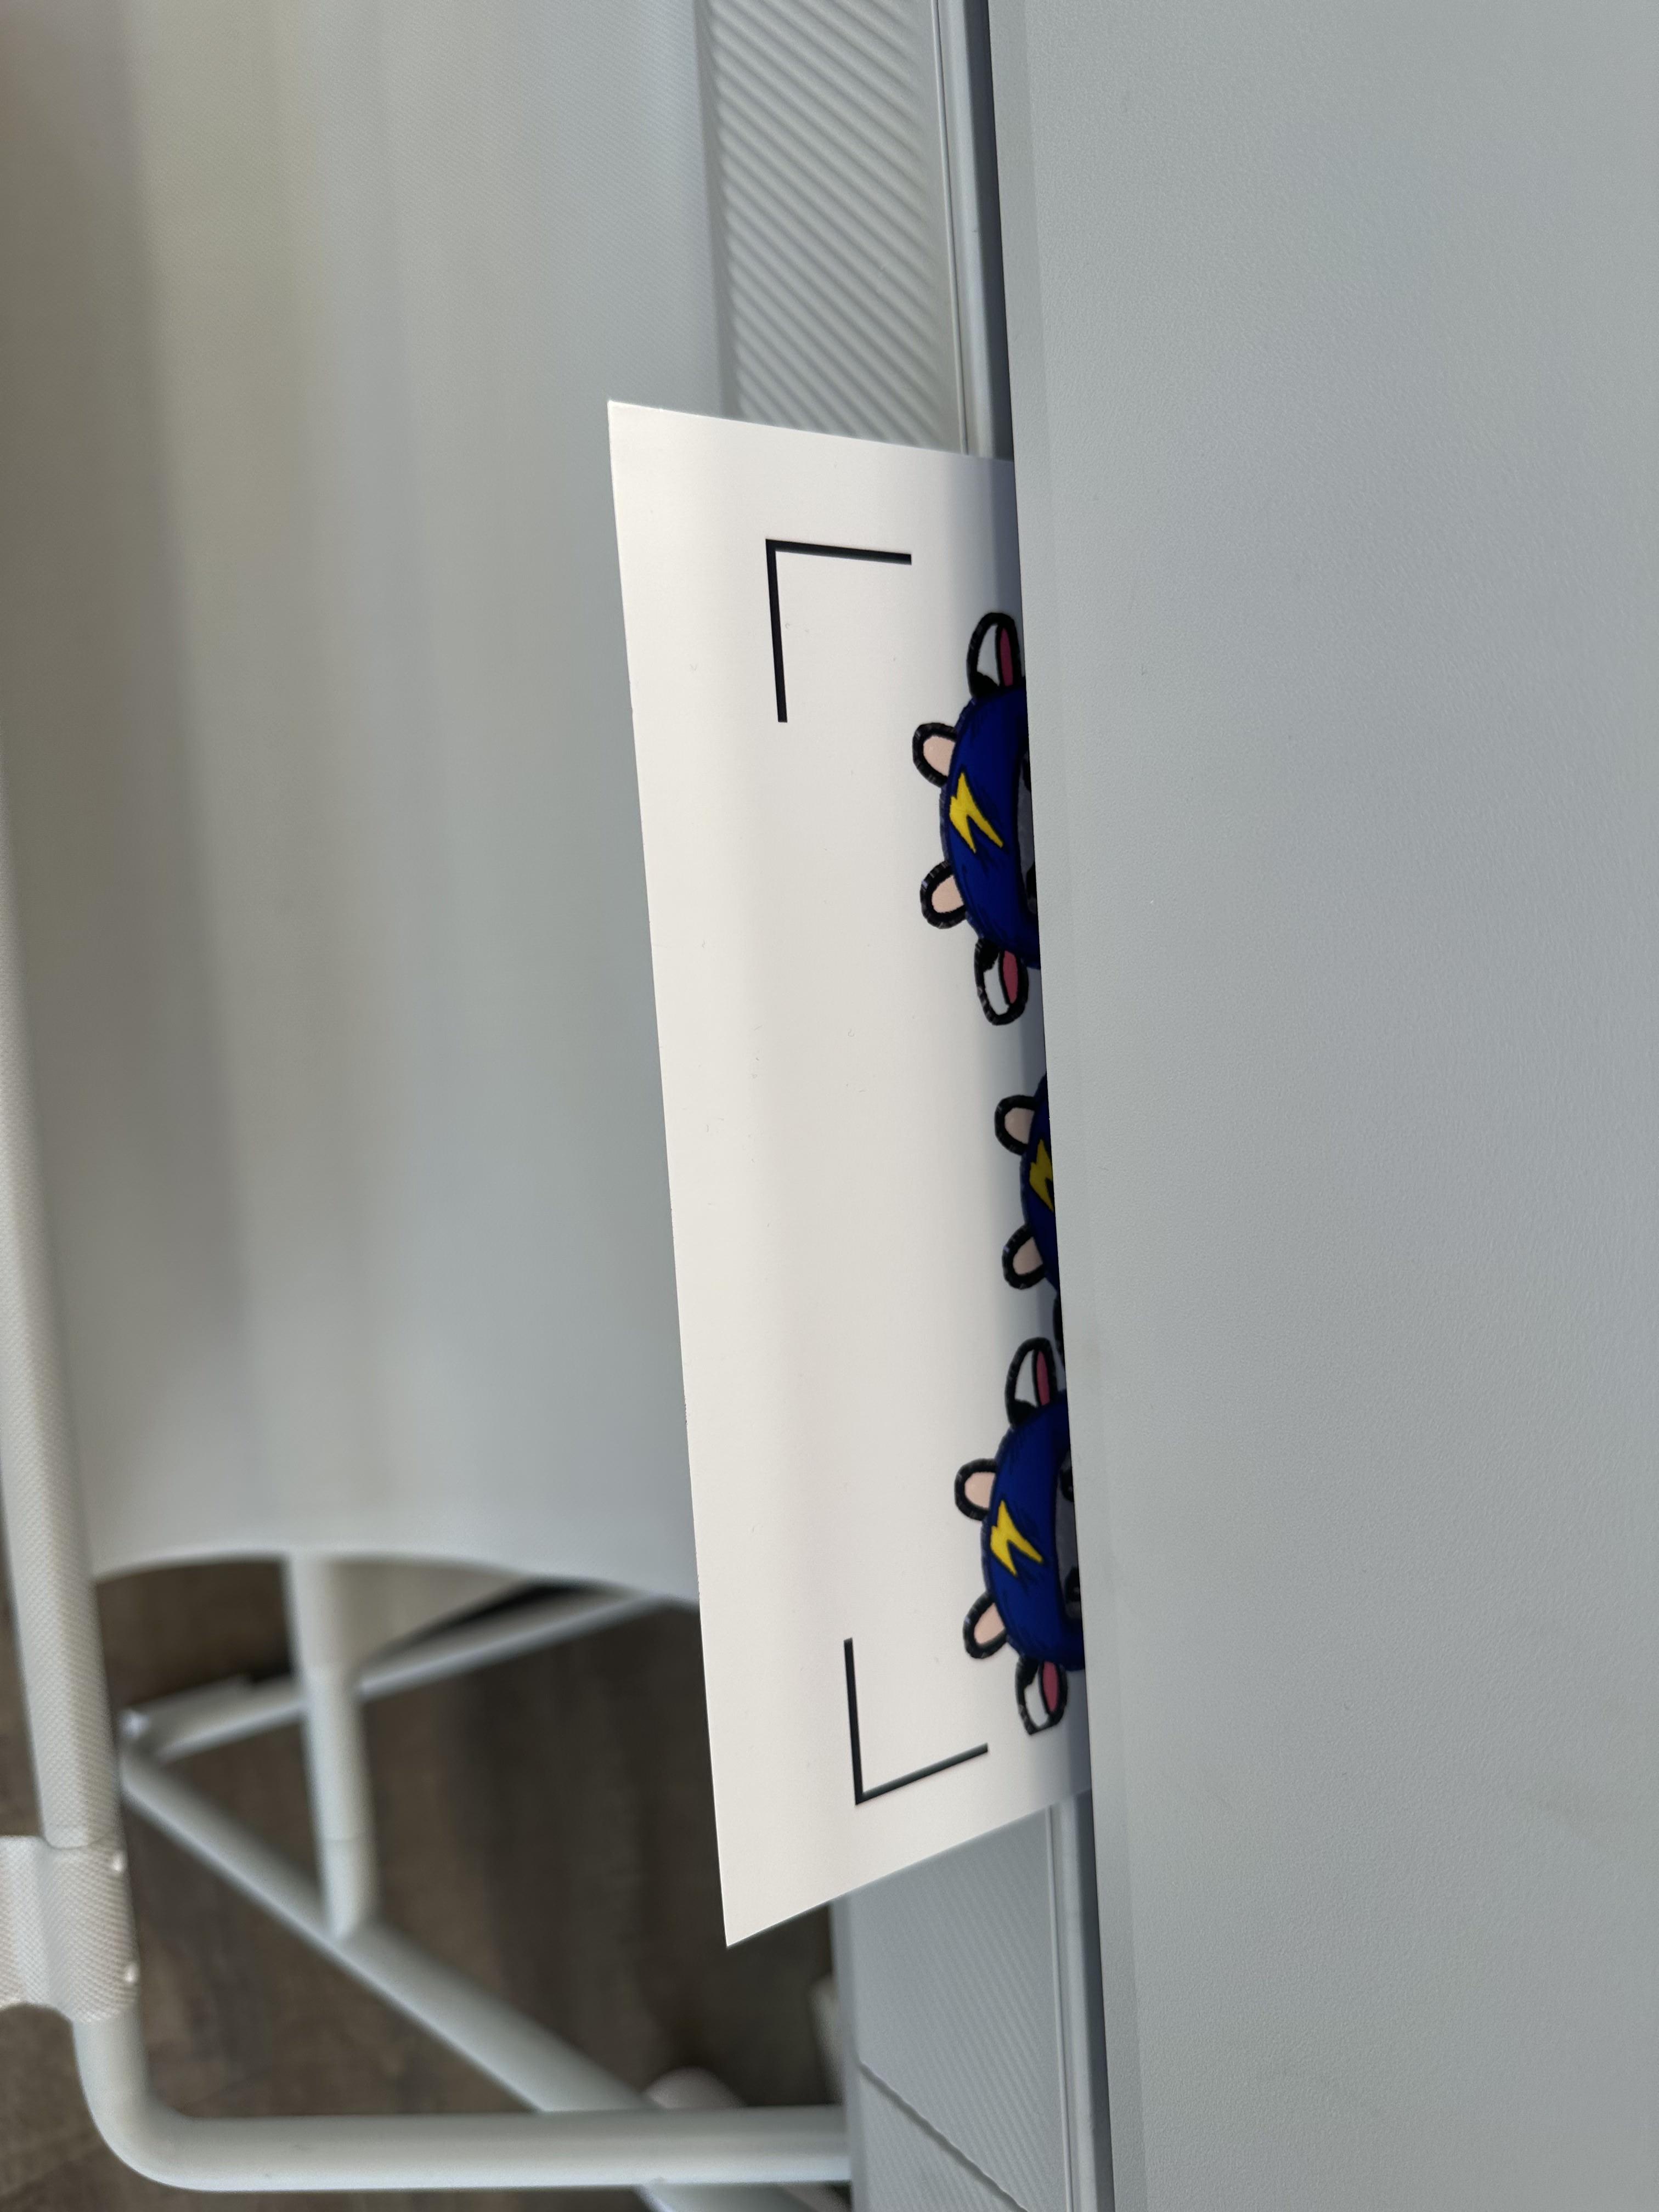
When Finished Printing, Let Paper Ink Sit to Dry
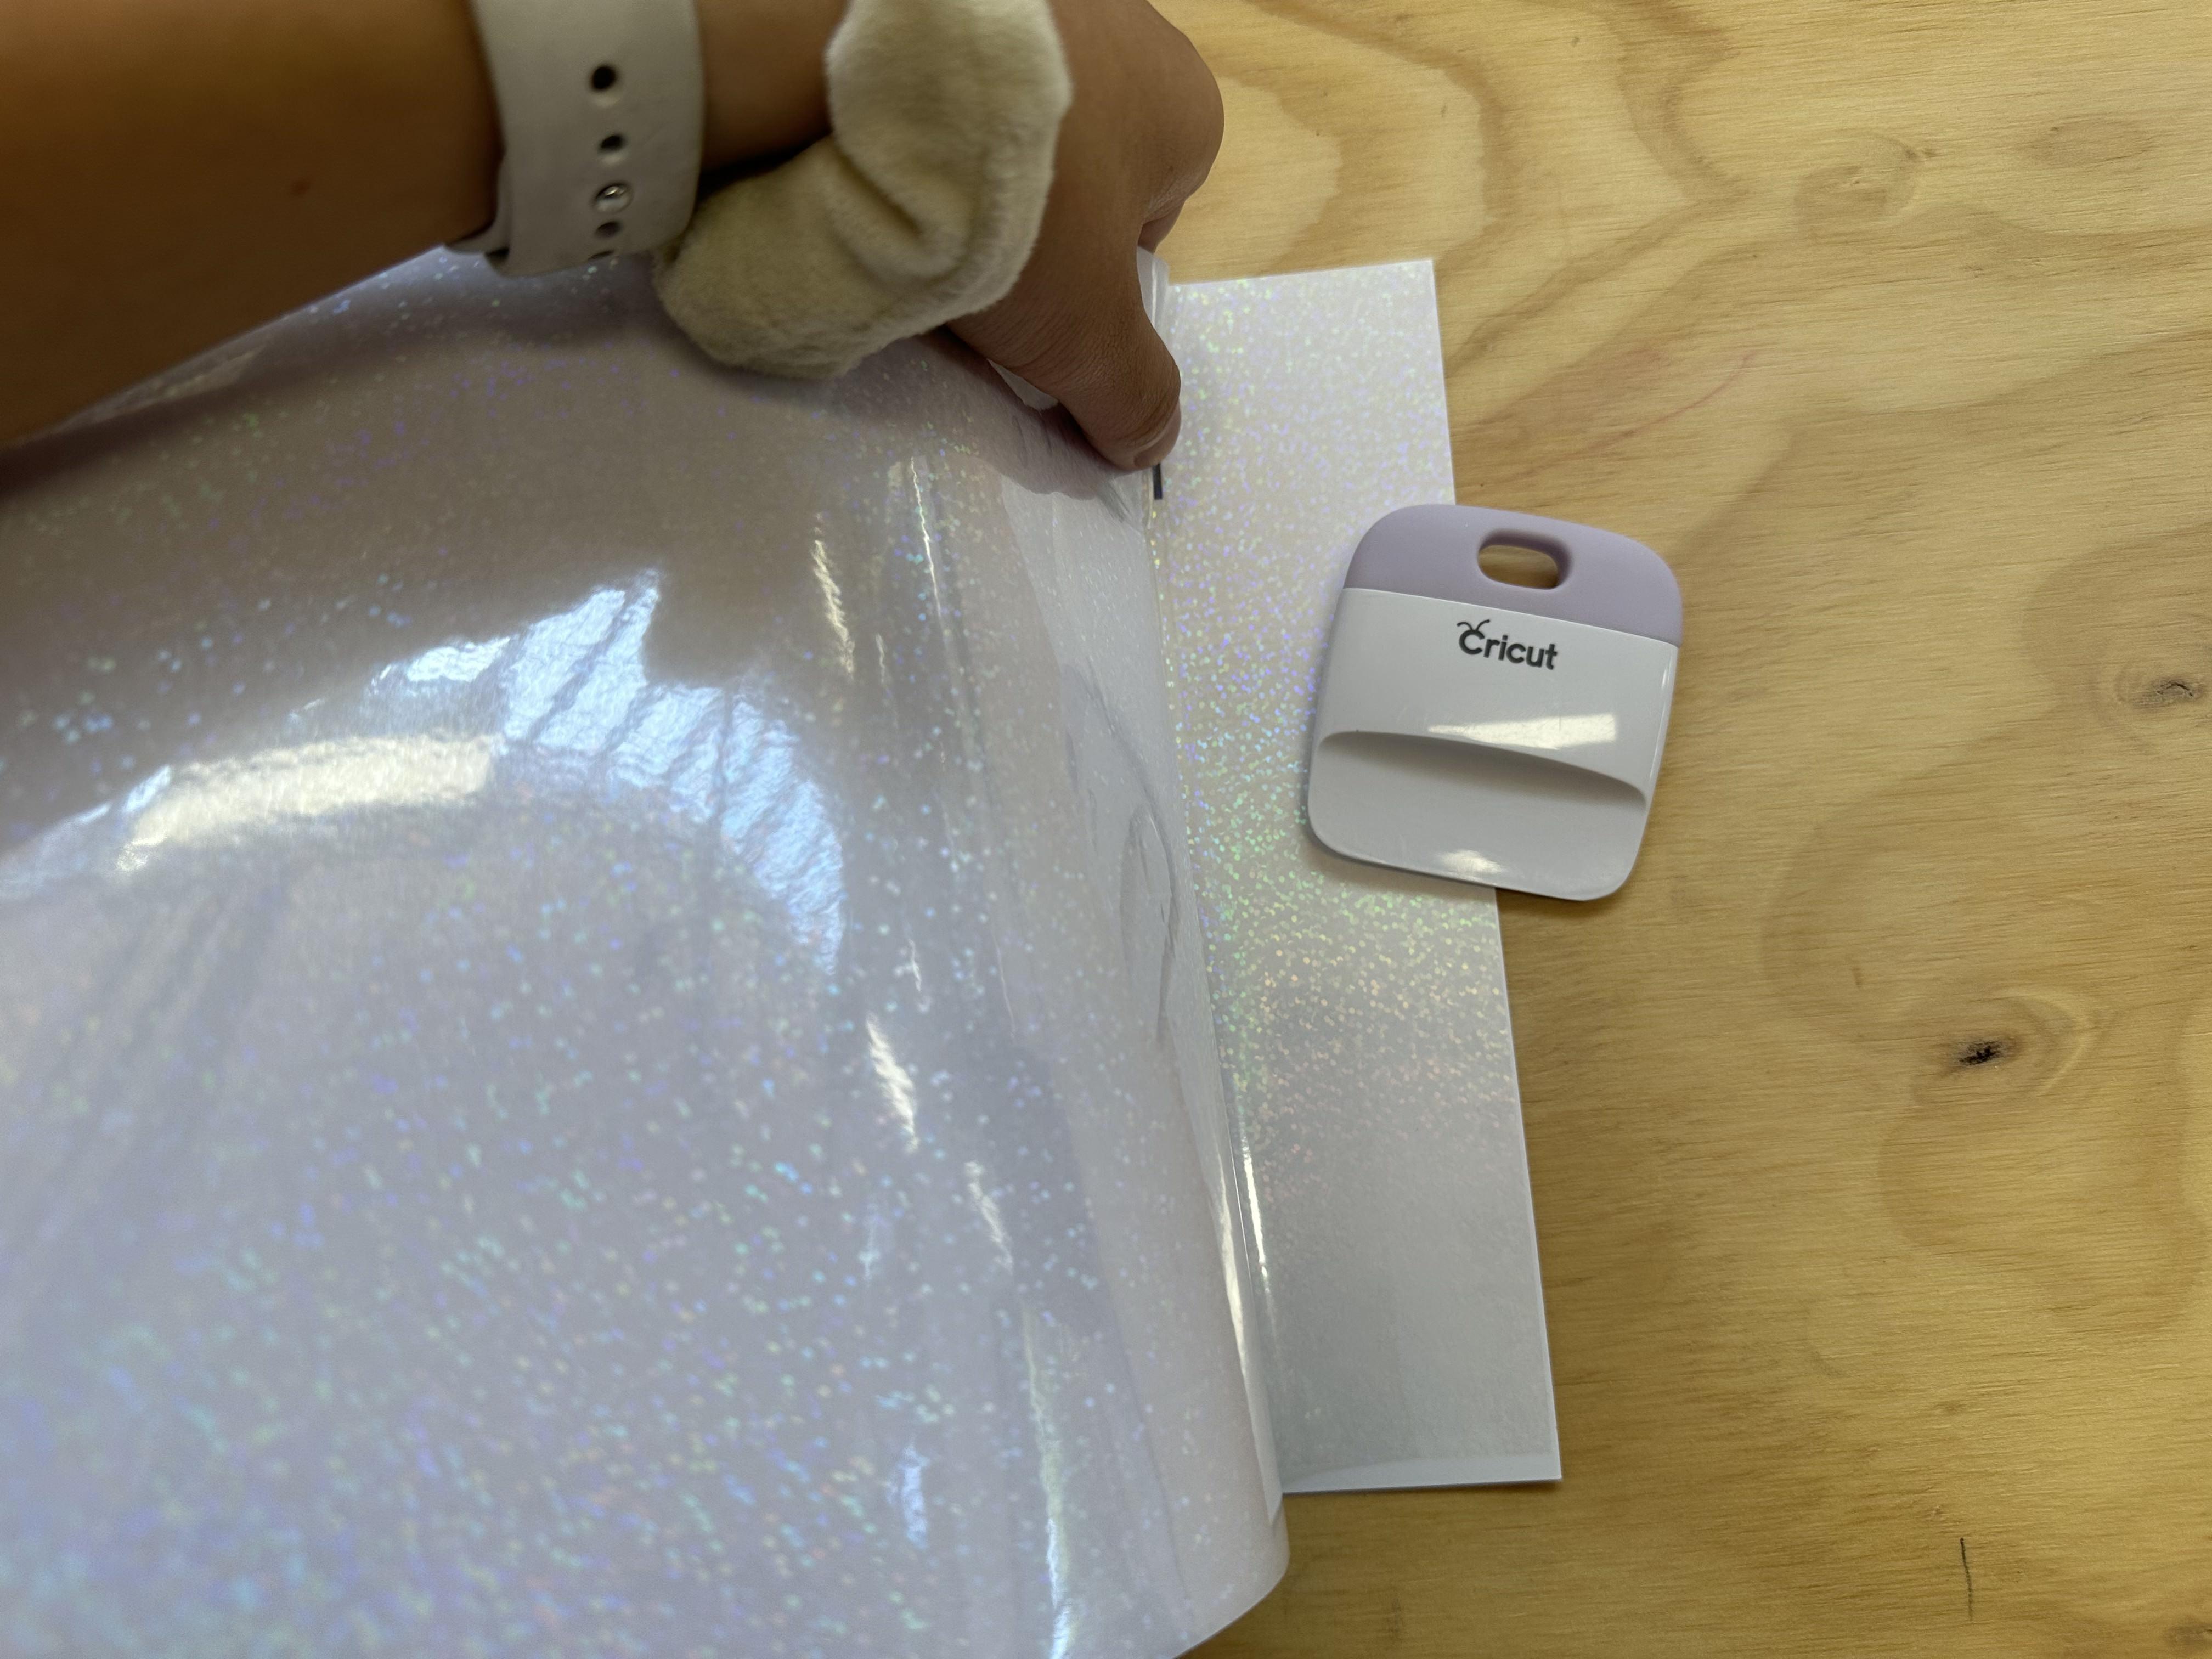
Take Out a Sheet of Reflective Laminate Paper
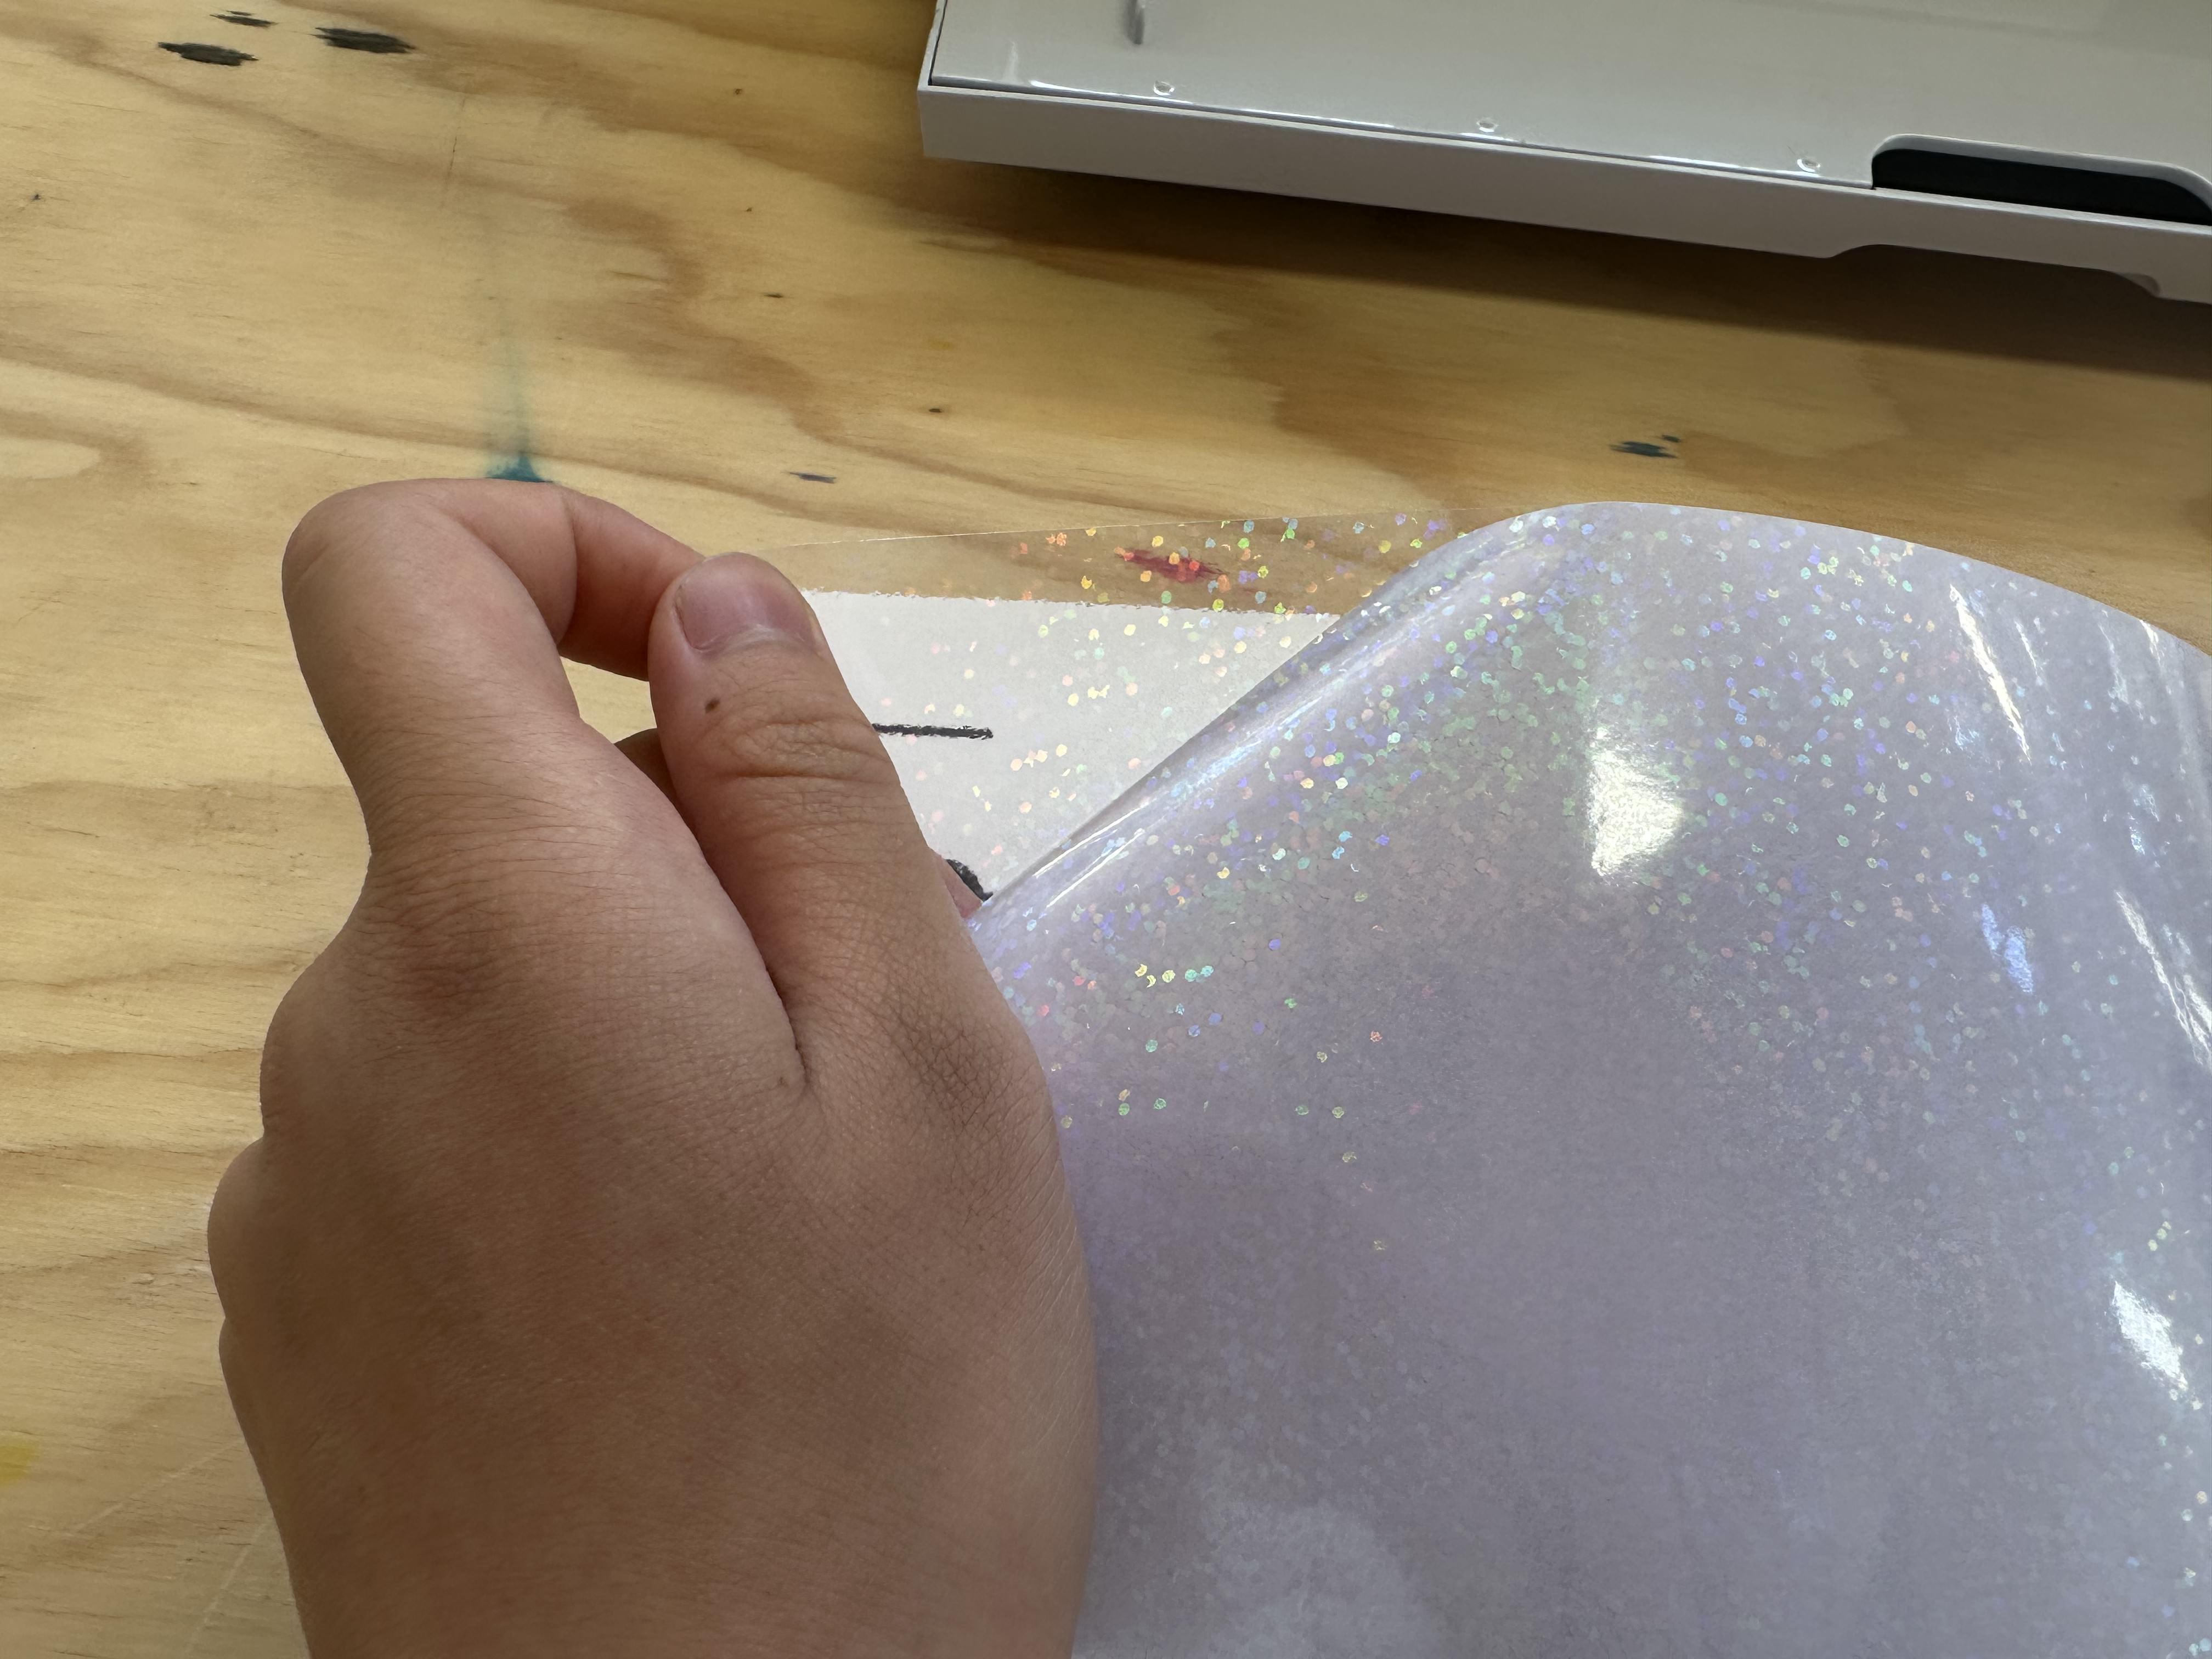
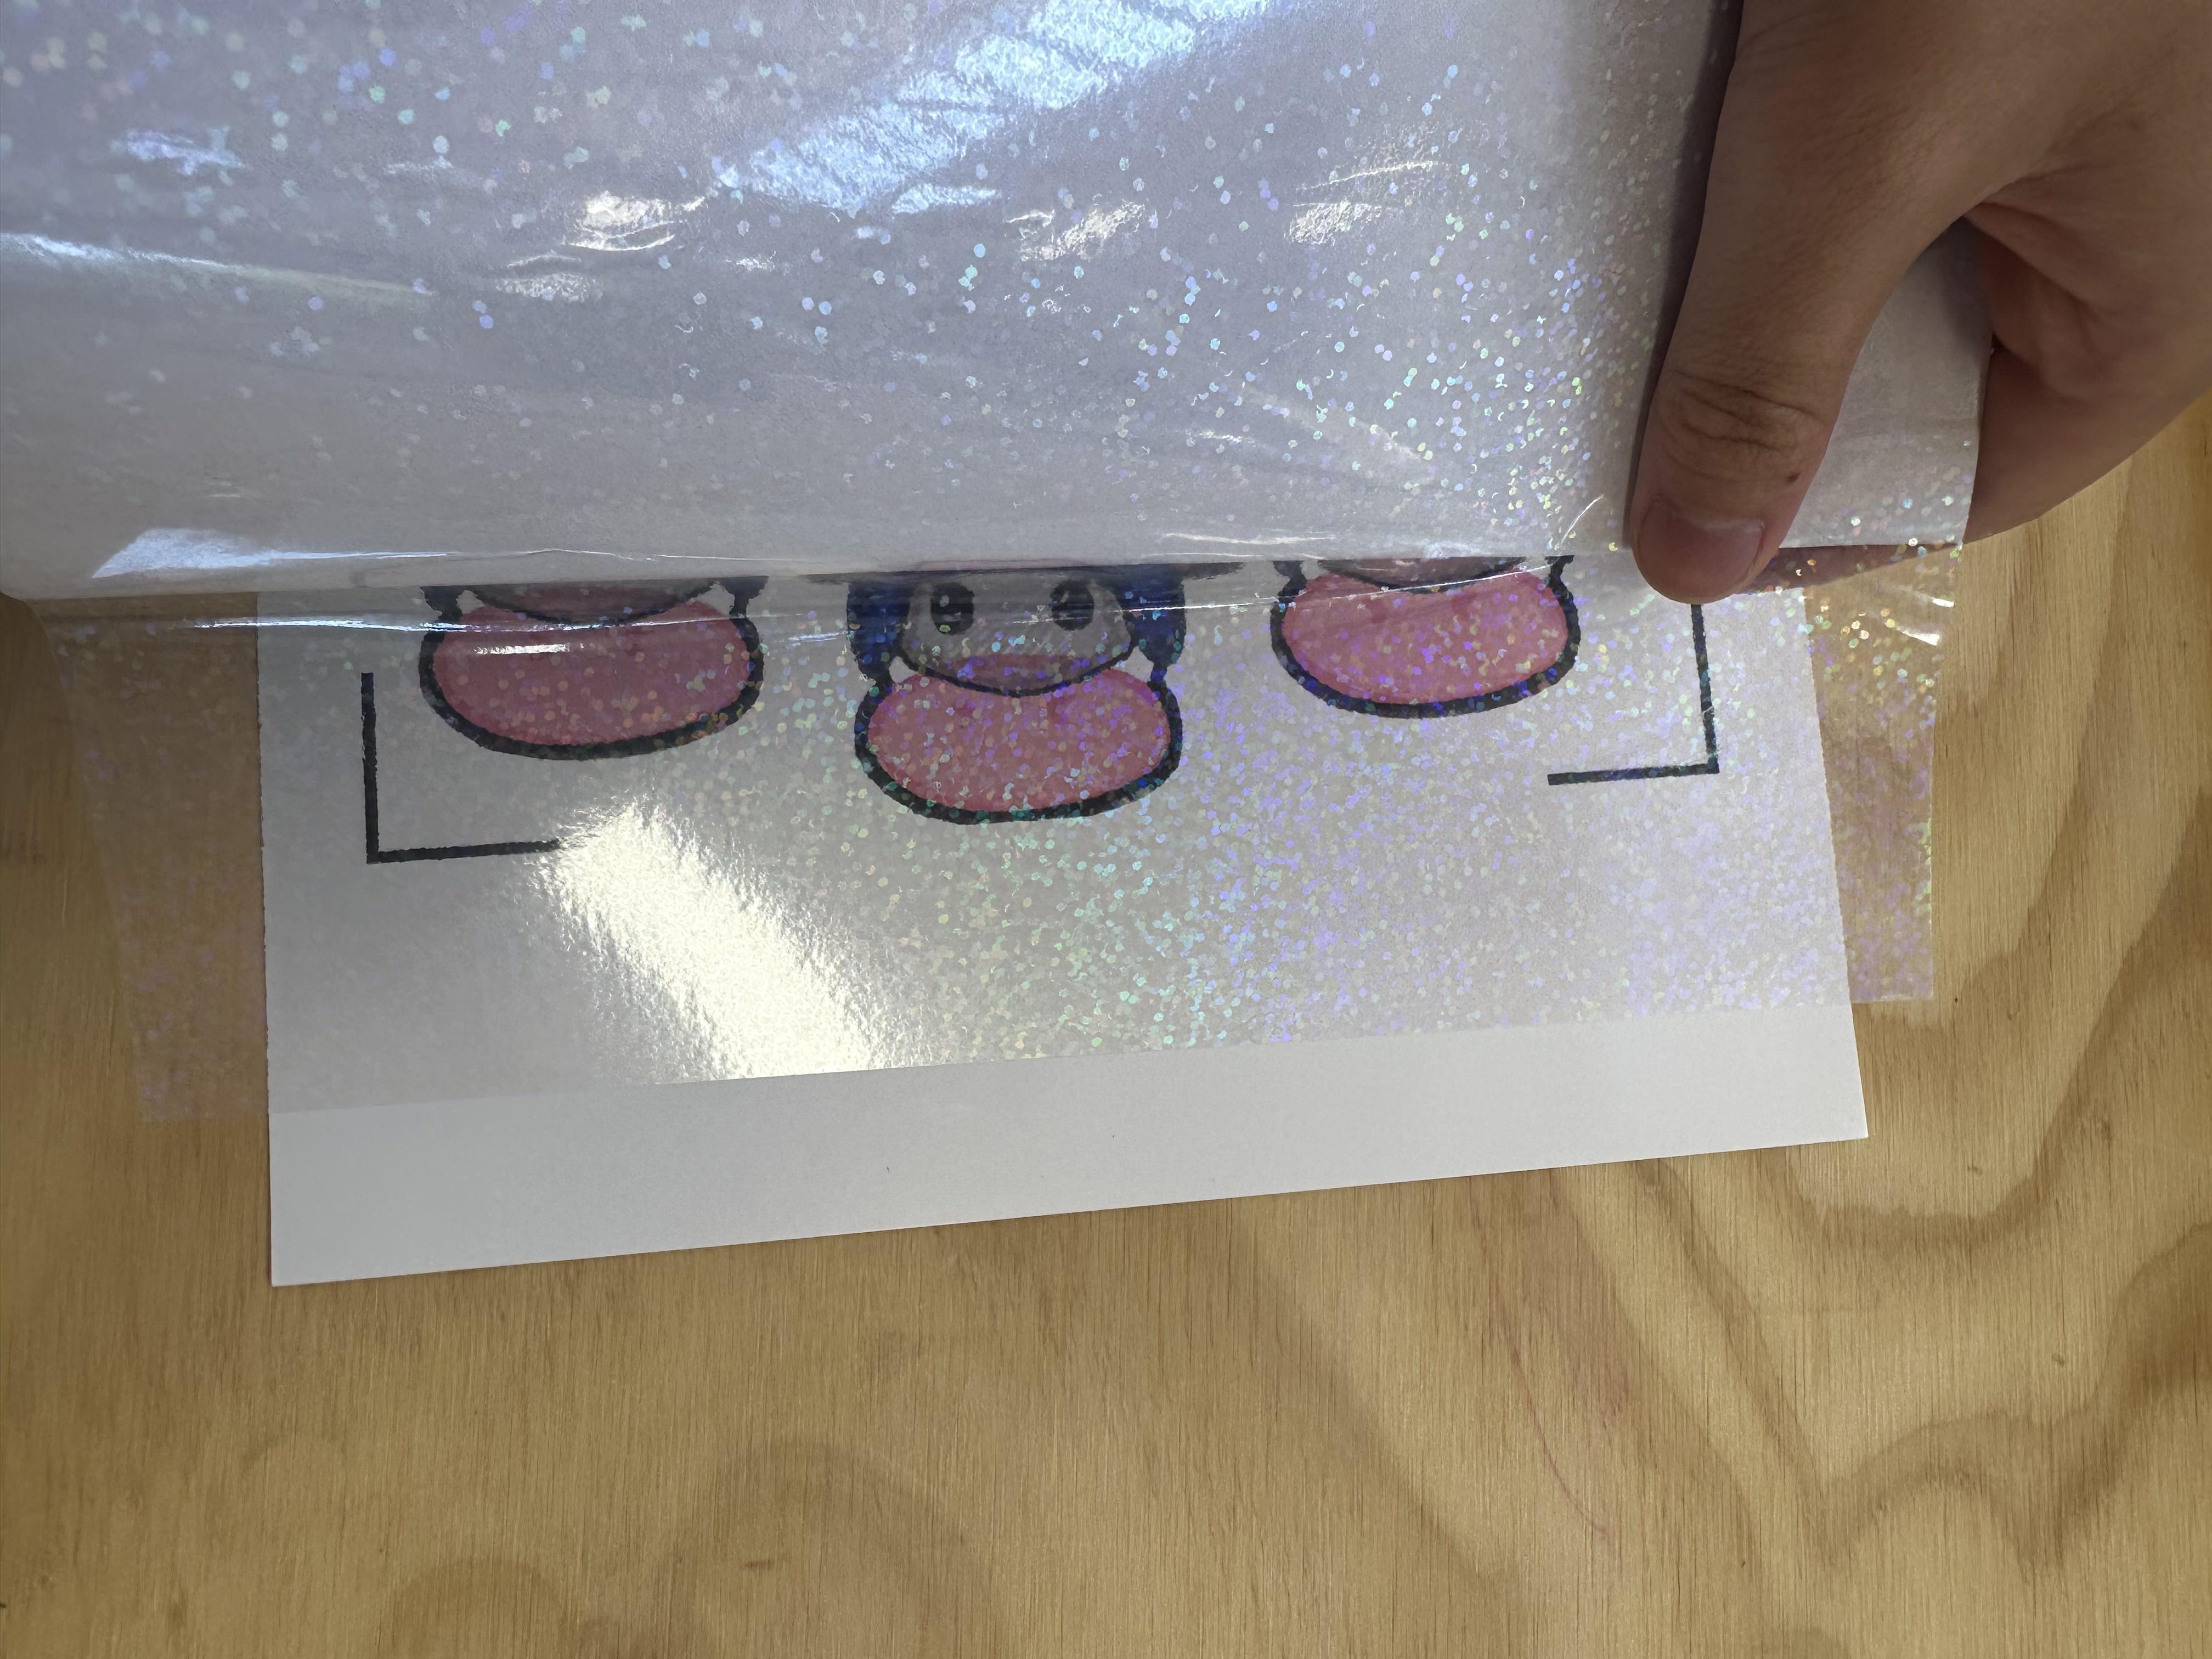
Using a Squeegy to Carefully Apply Laminate Paper to Top of Sticker Paper
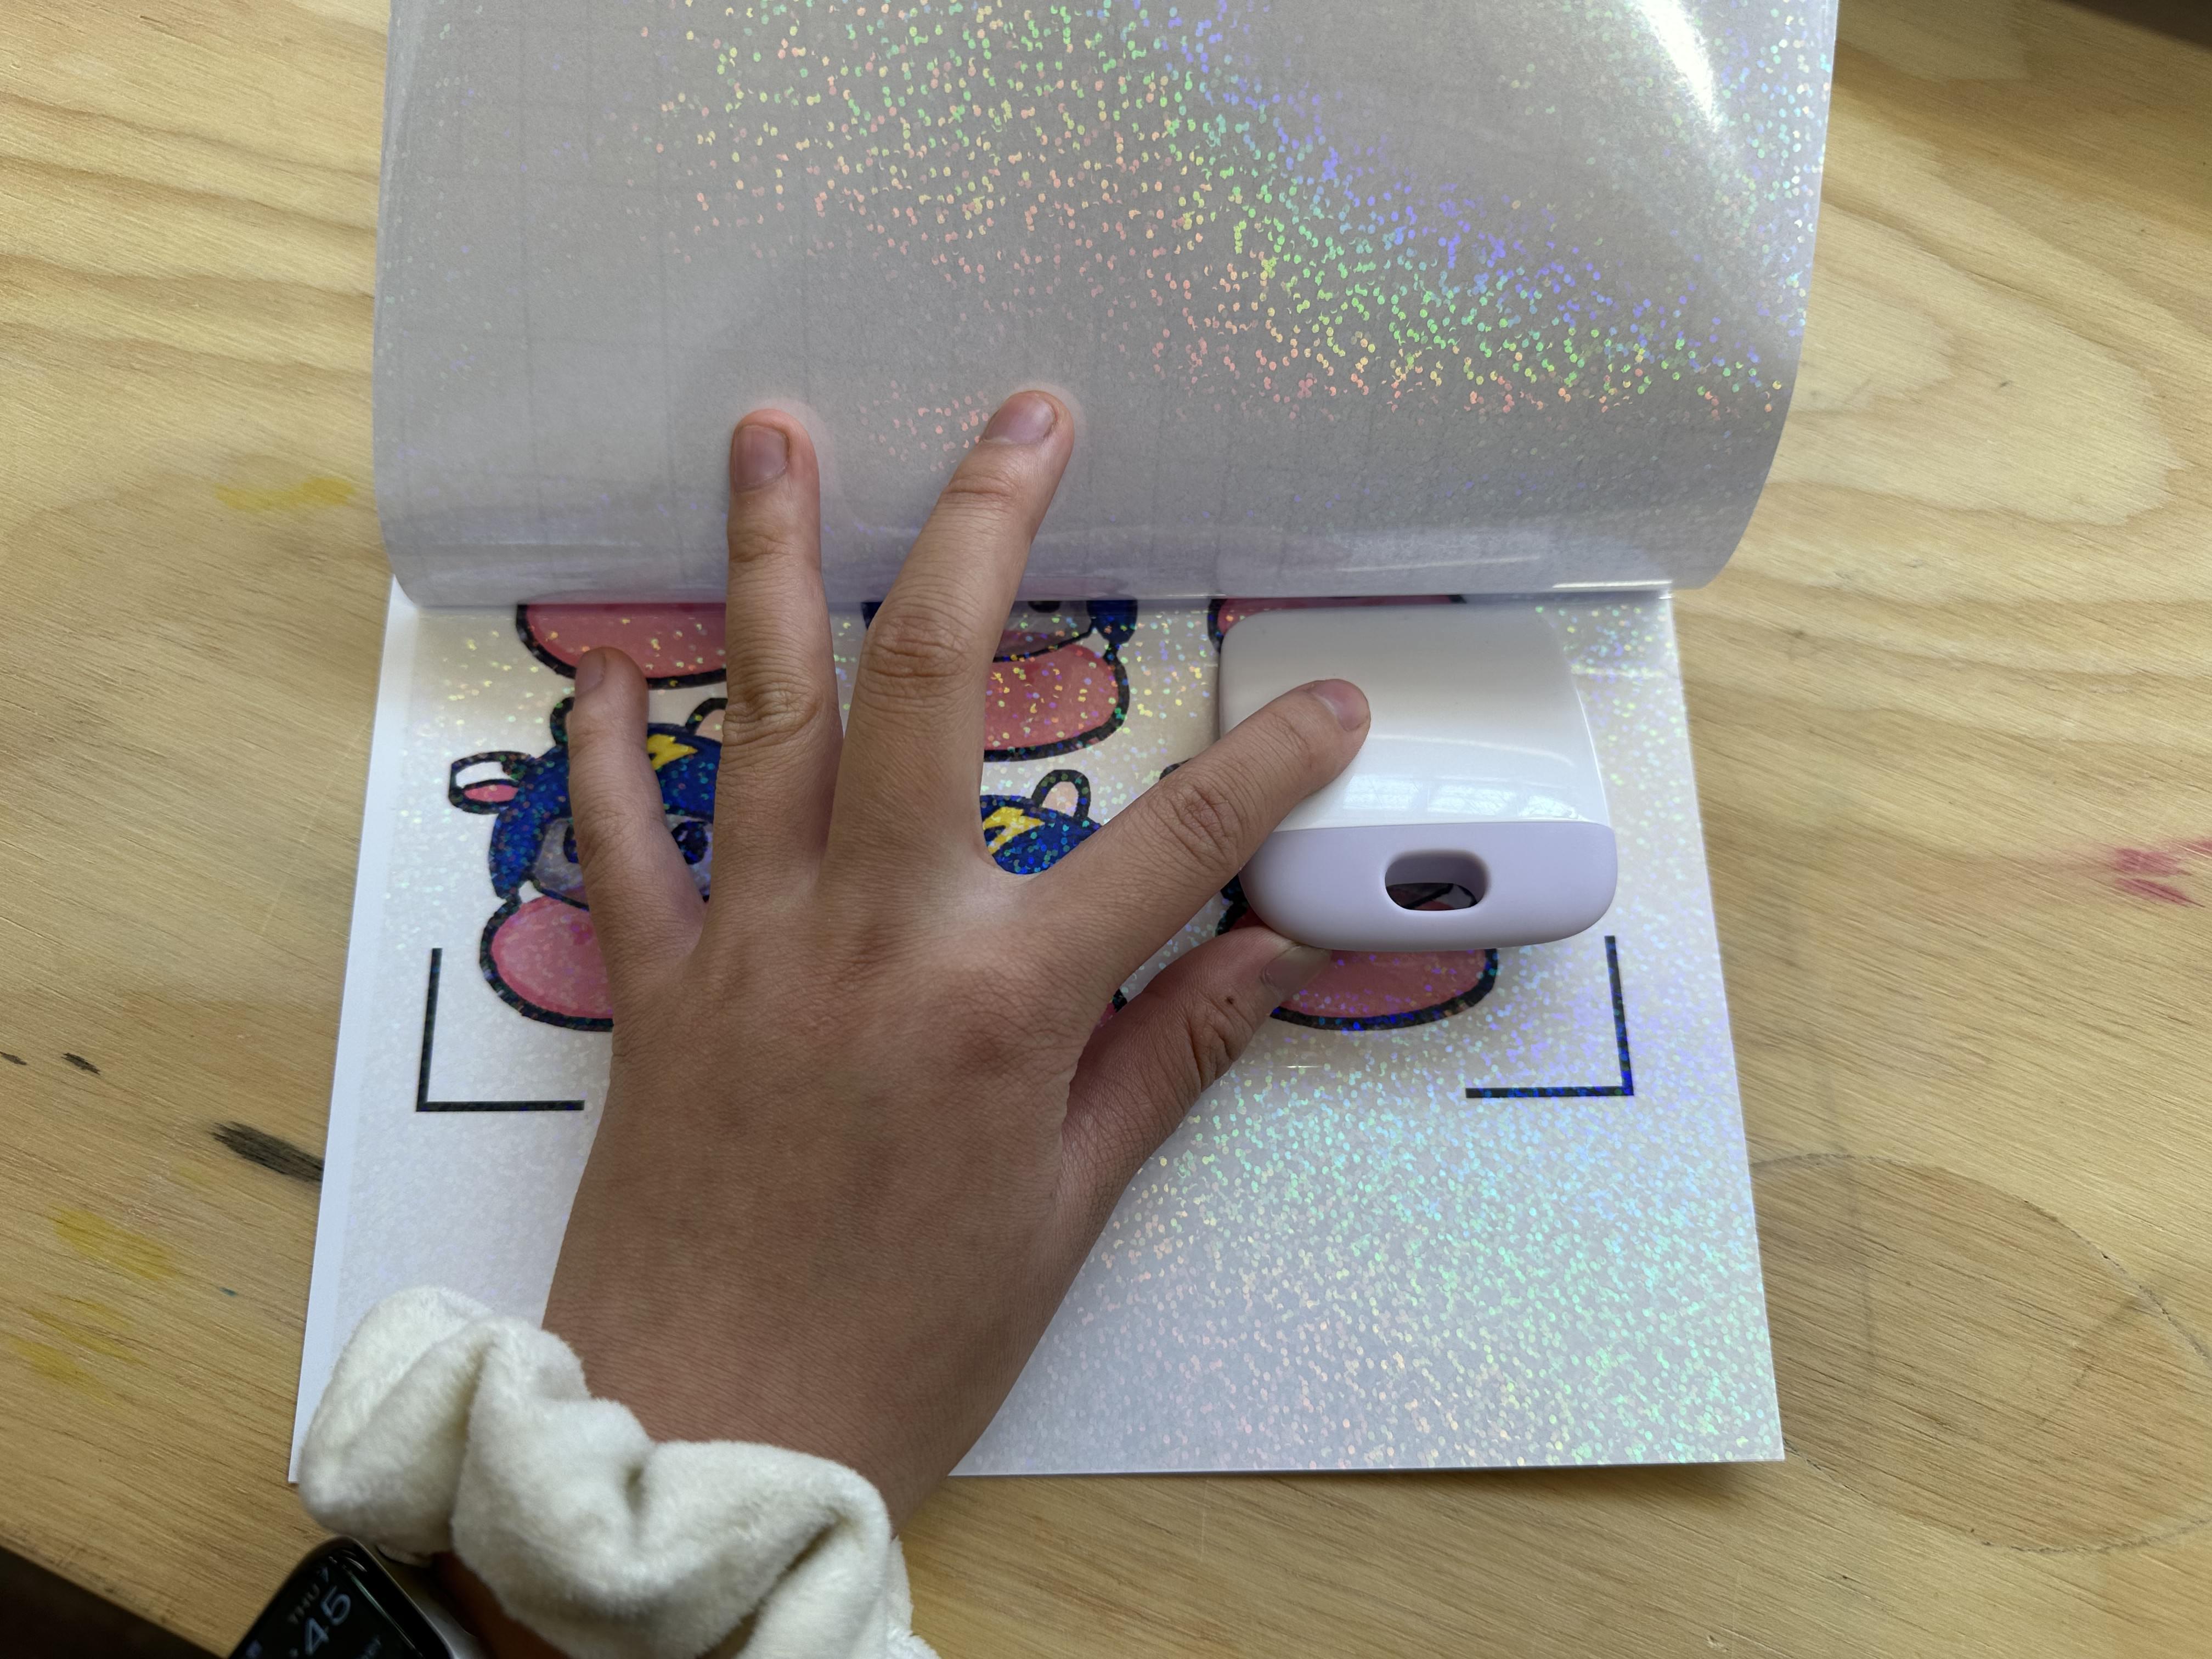
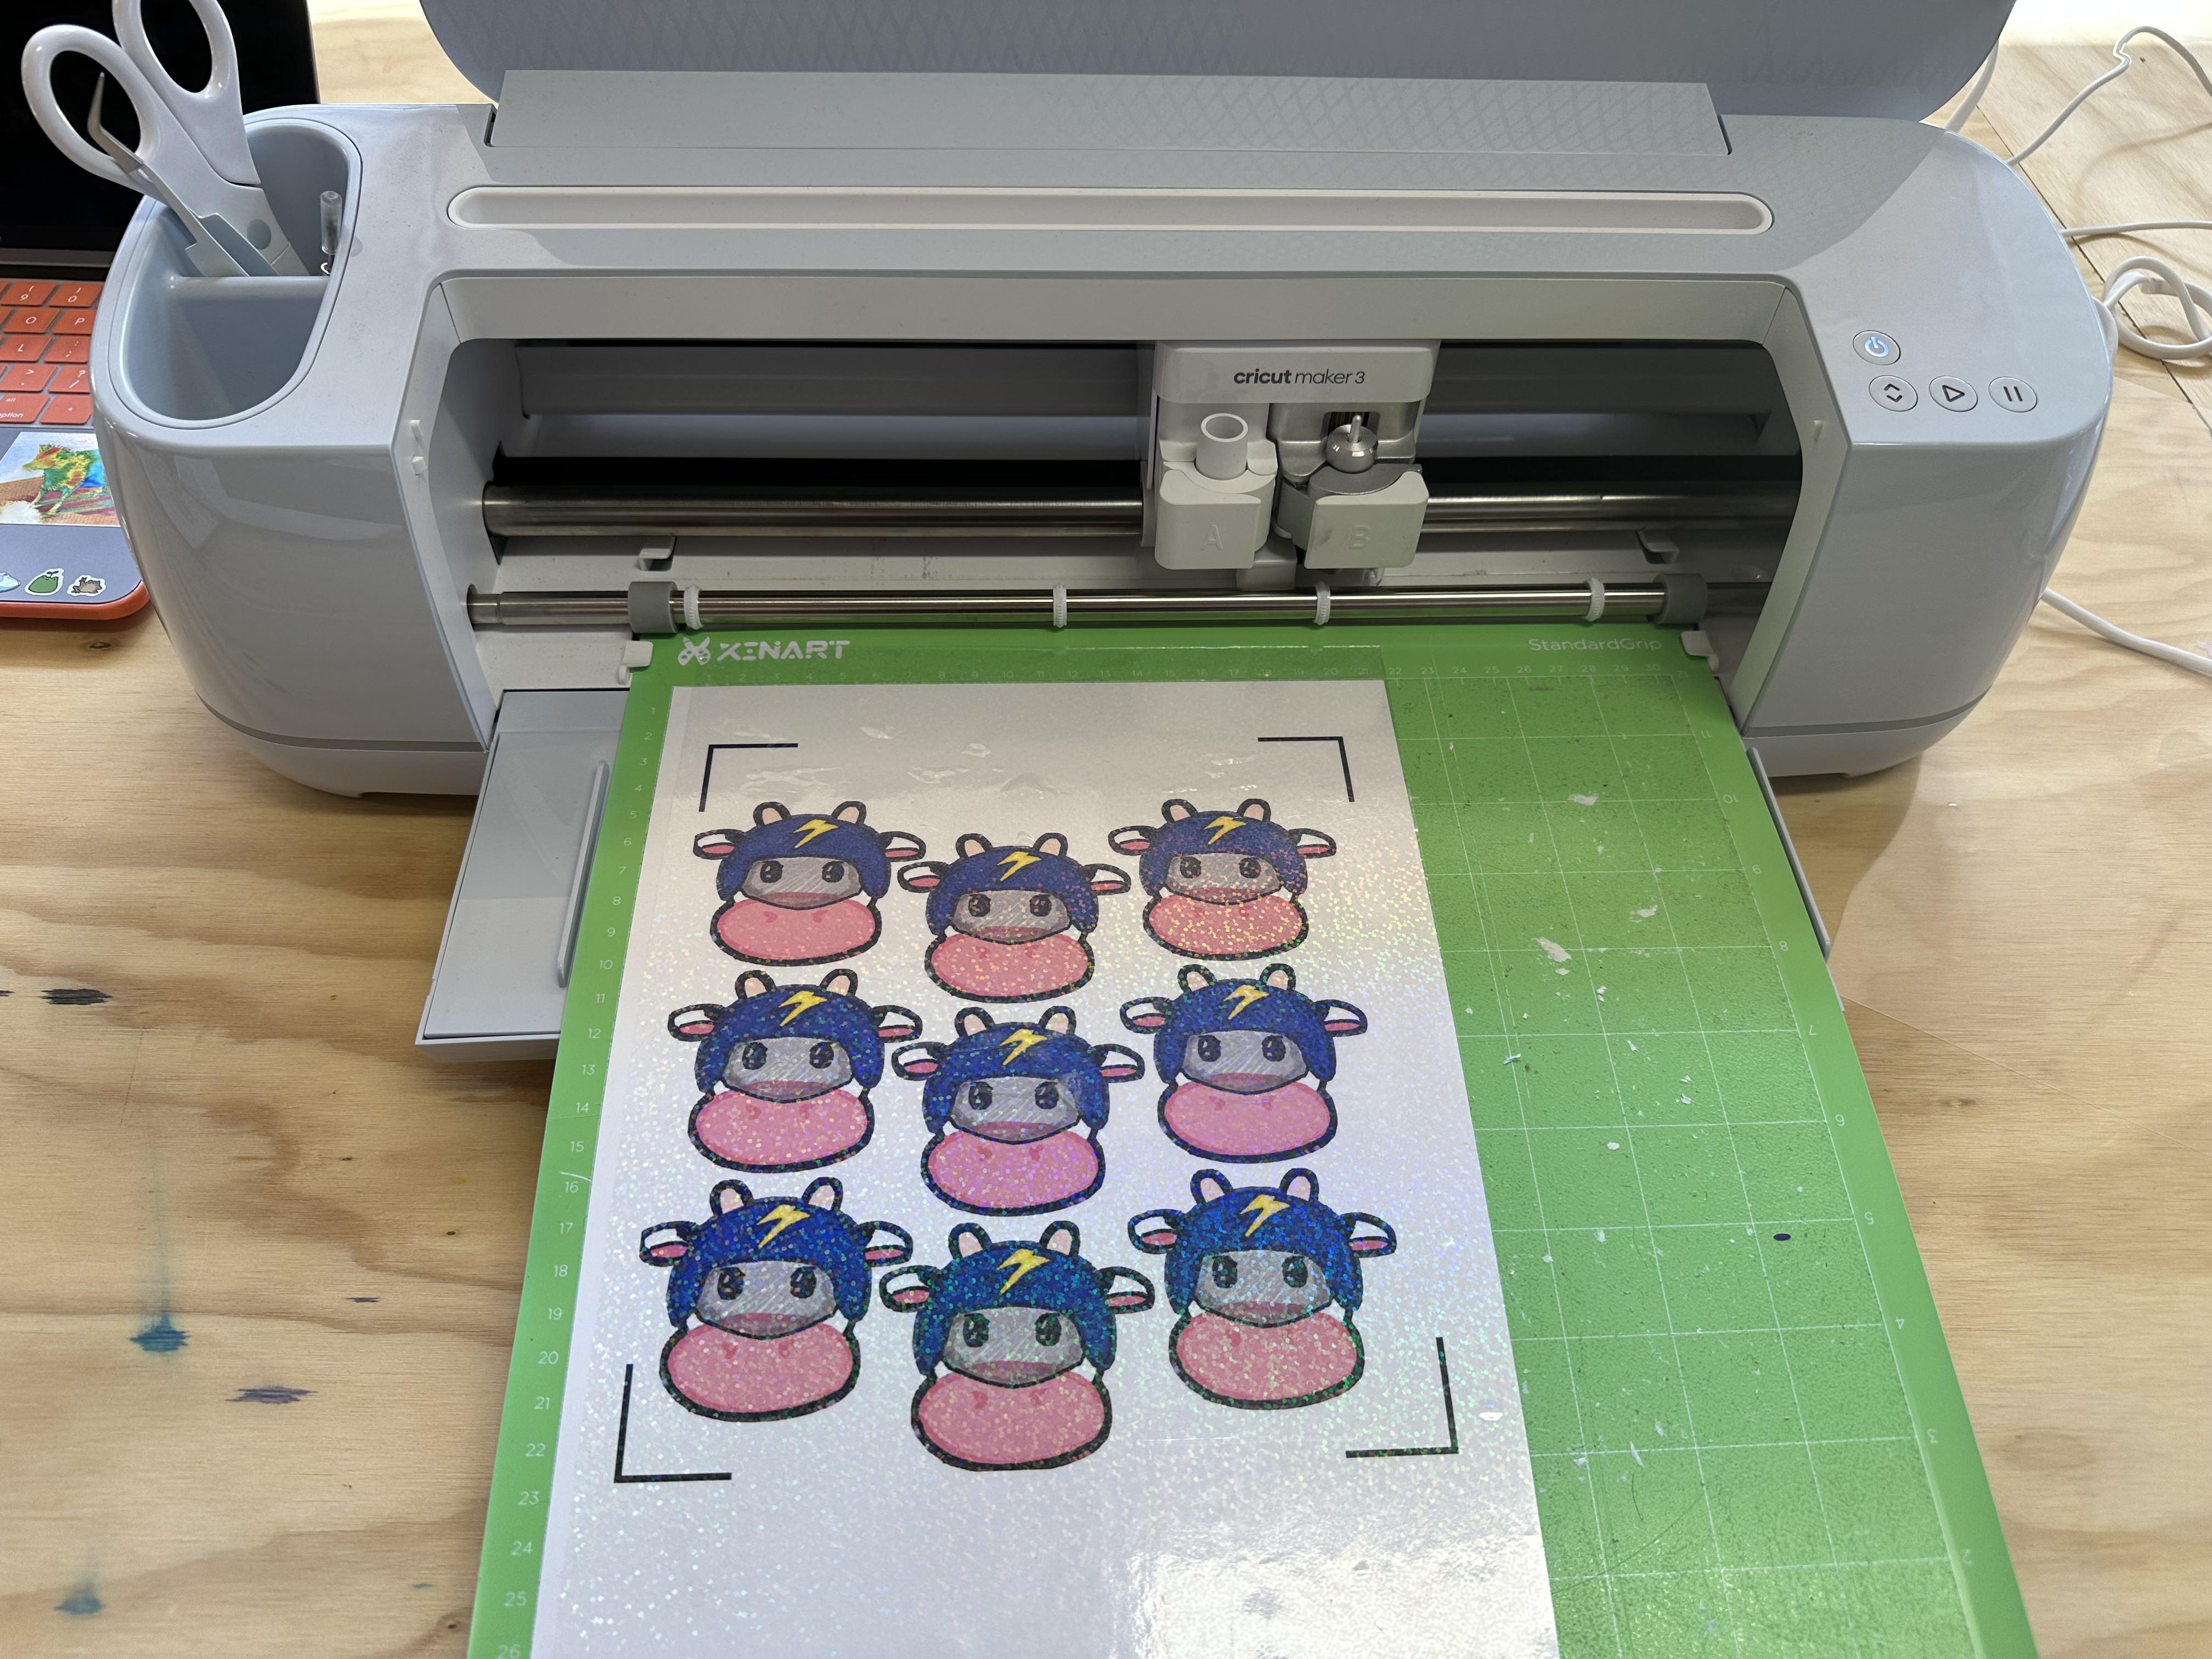
Use Squeegy to Place Paper Onto Sticky Mat
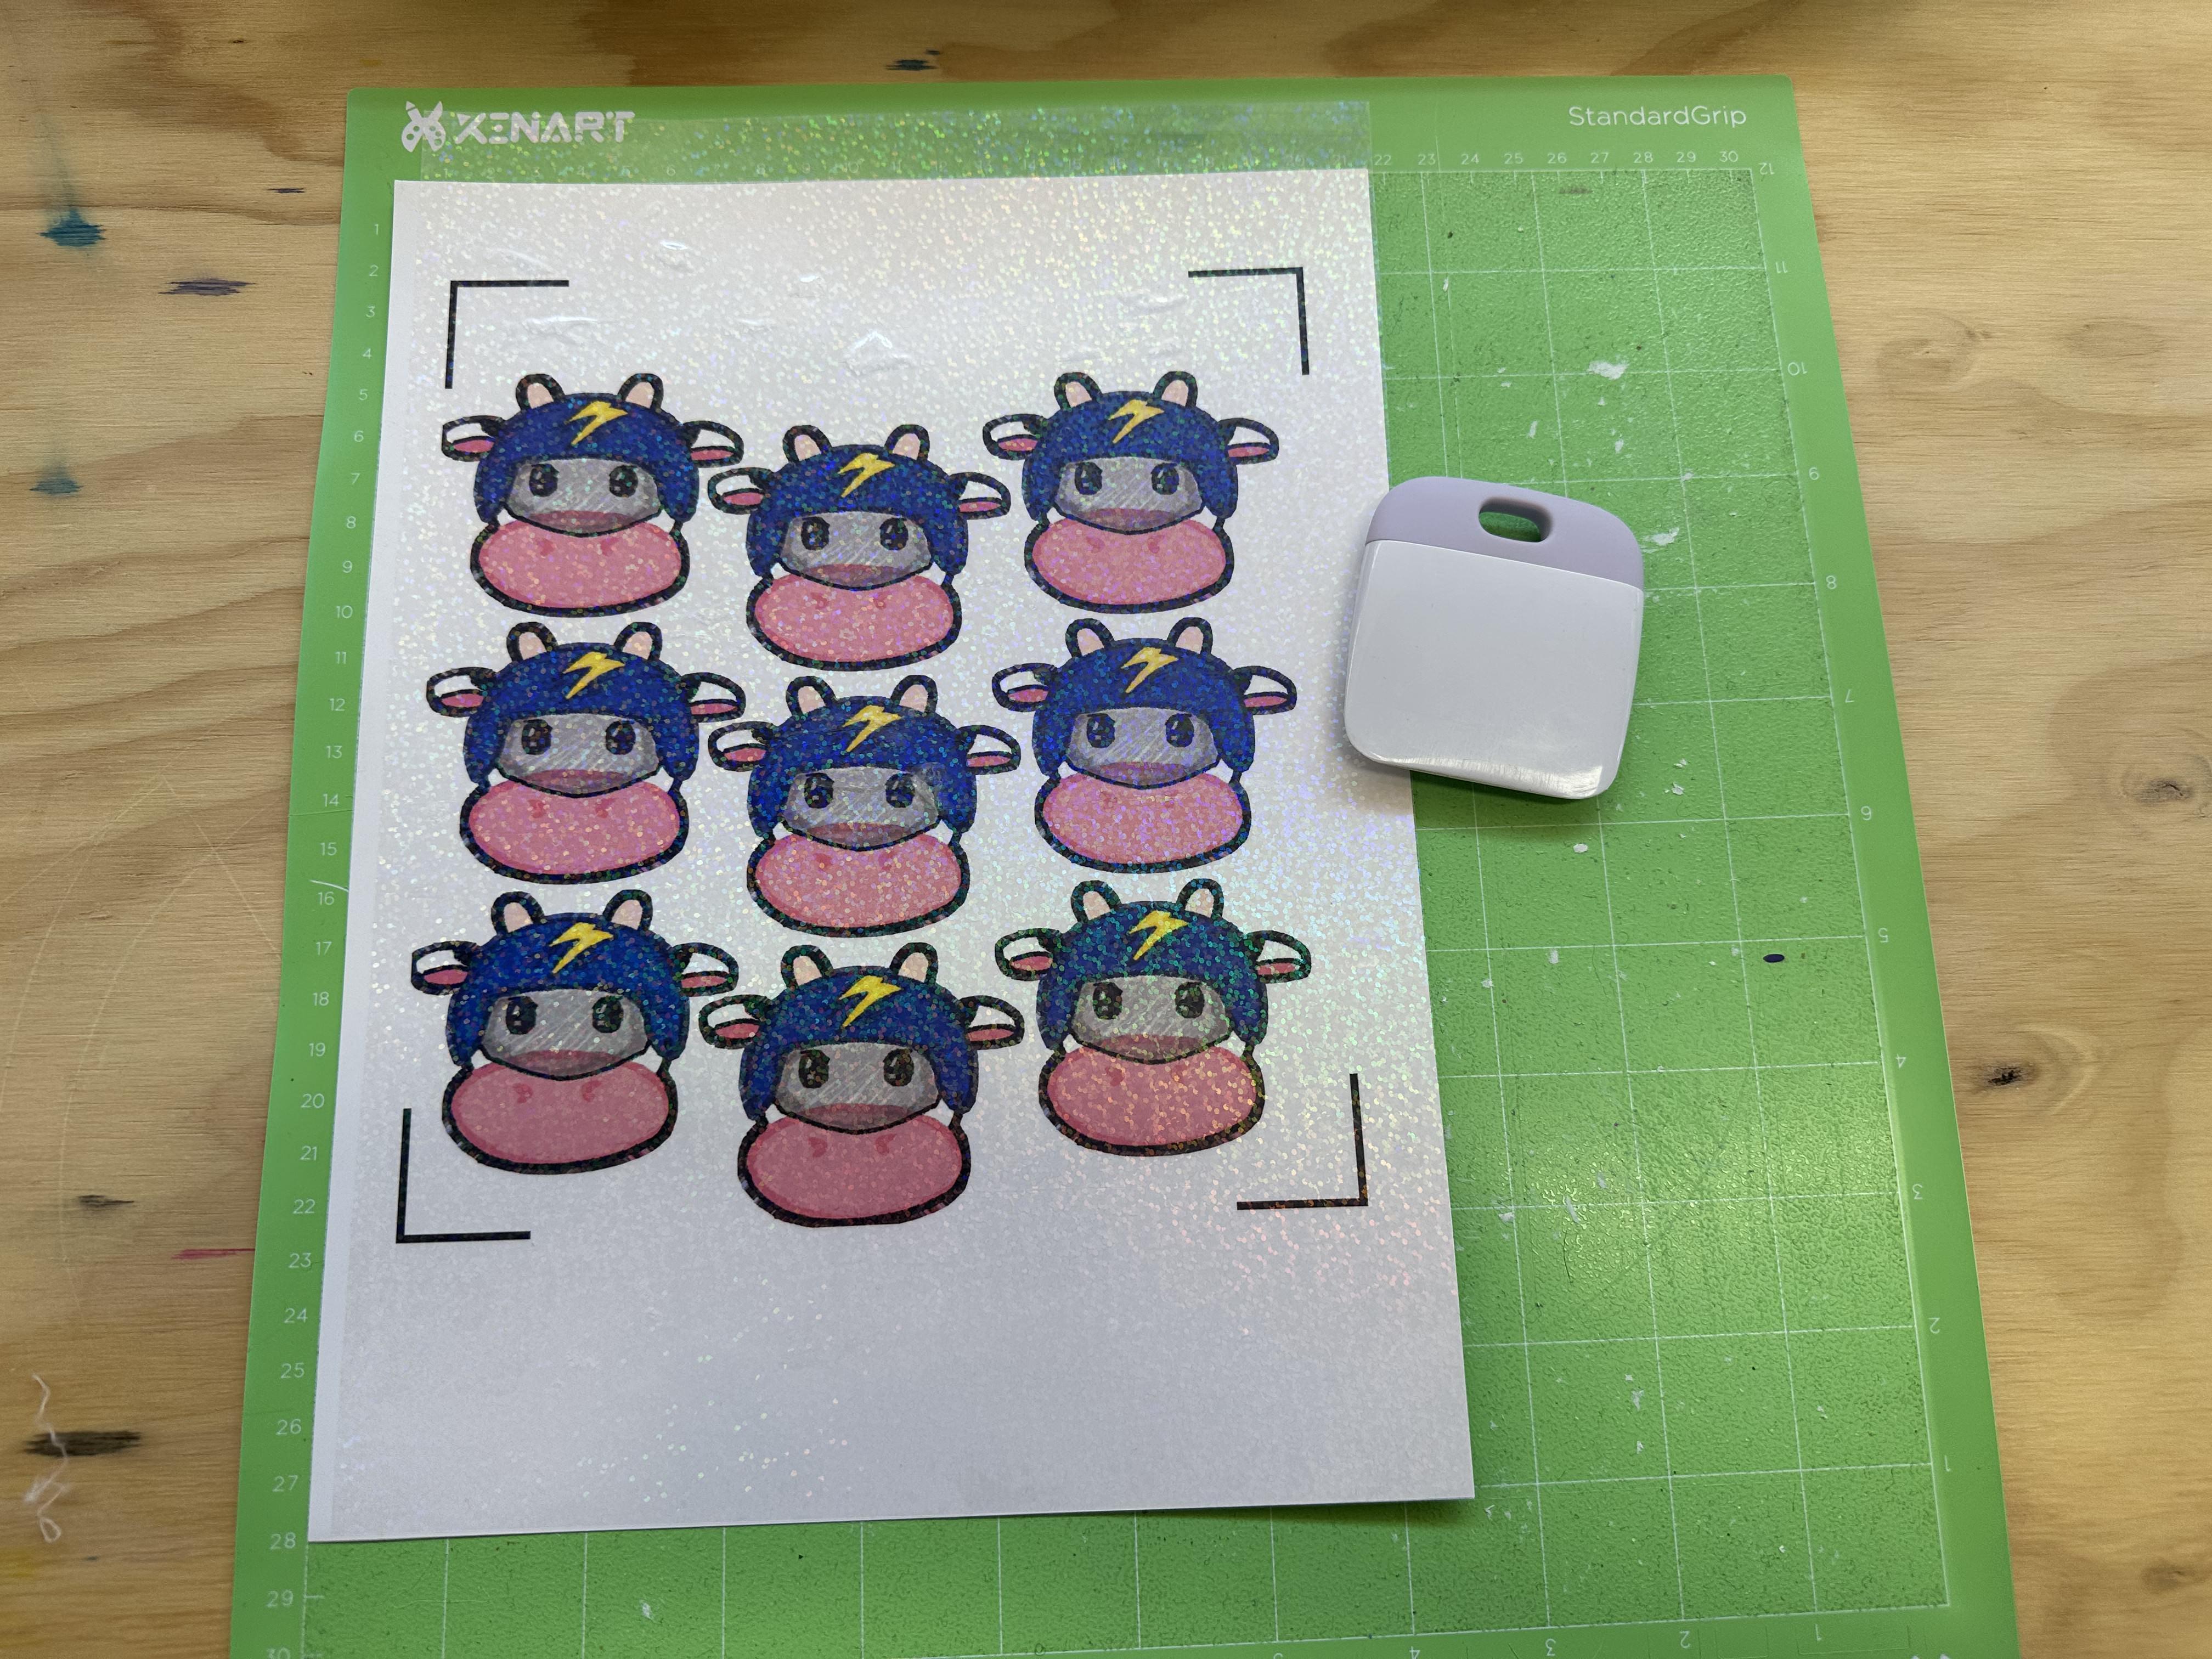
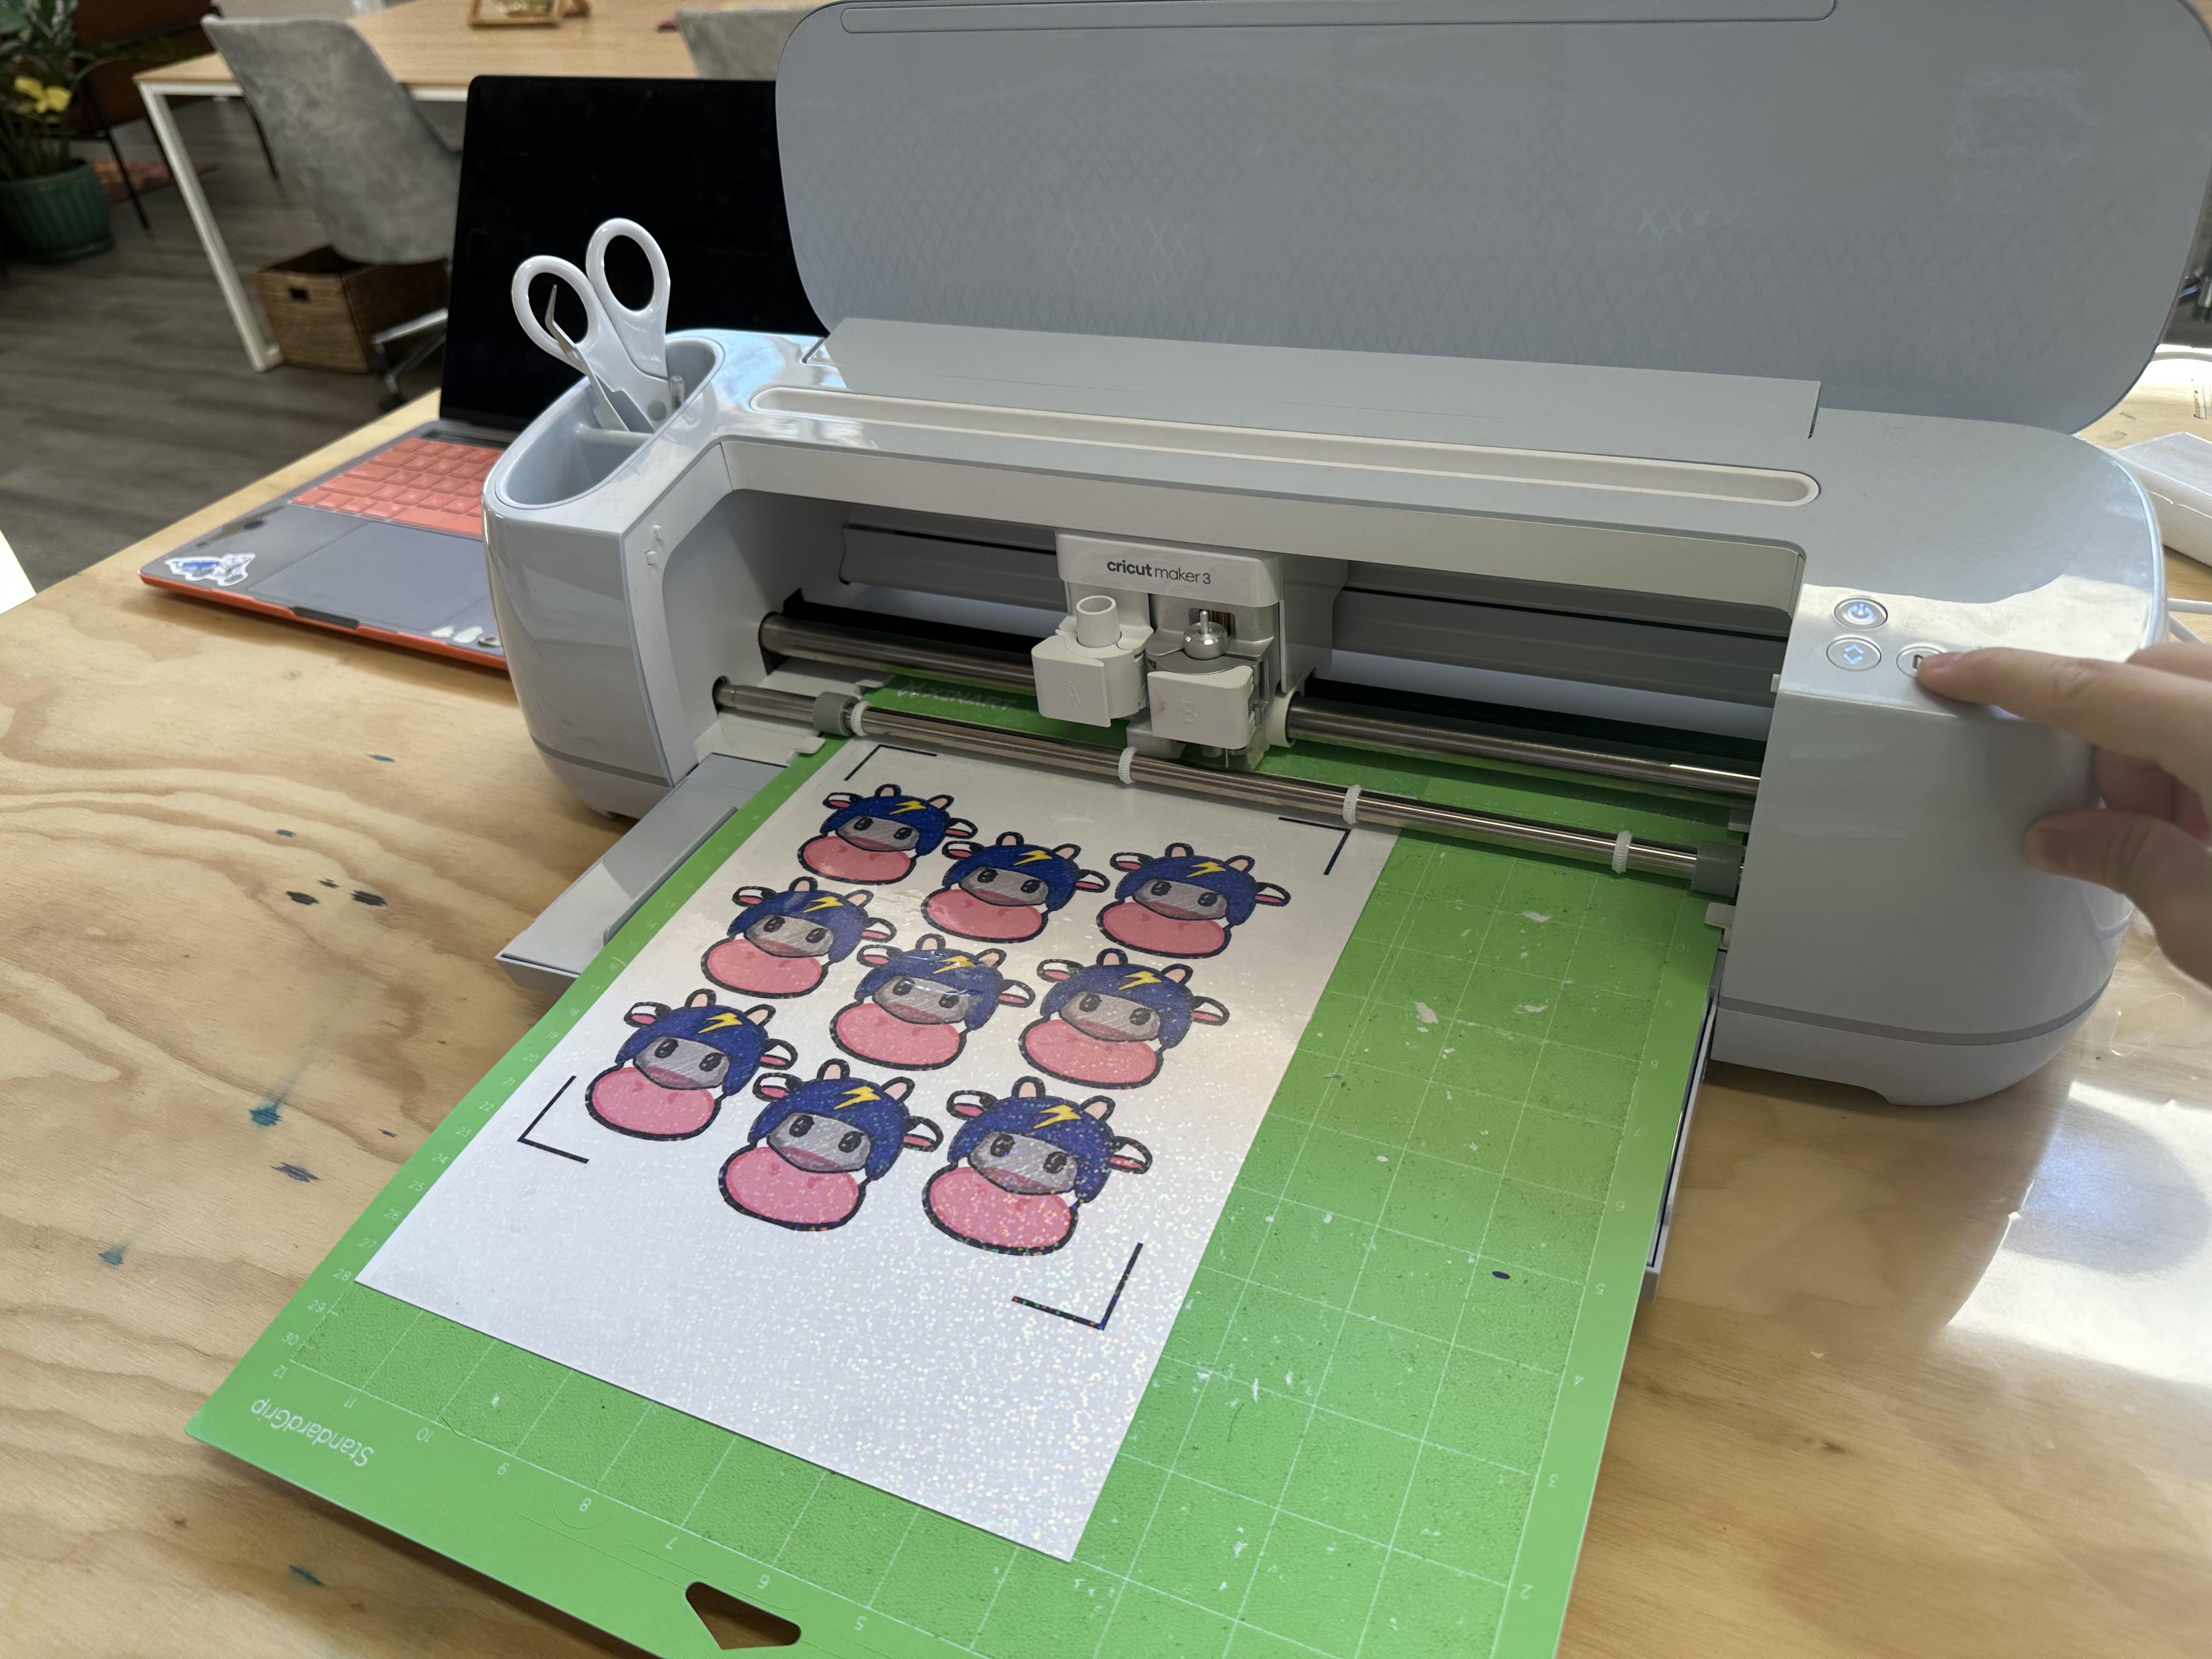
Place Mat Into the Cricut and Click Arrow Button to Load the Mat

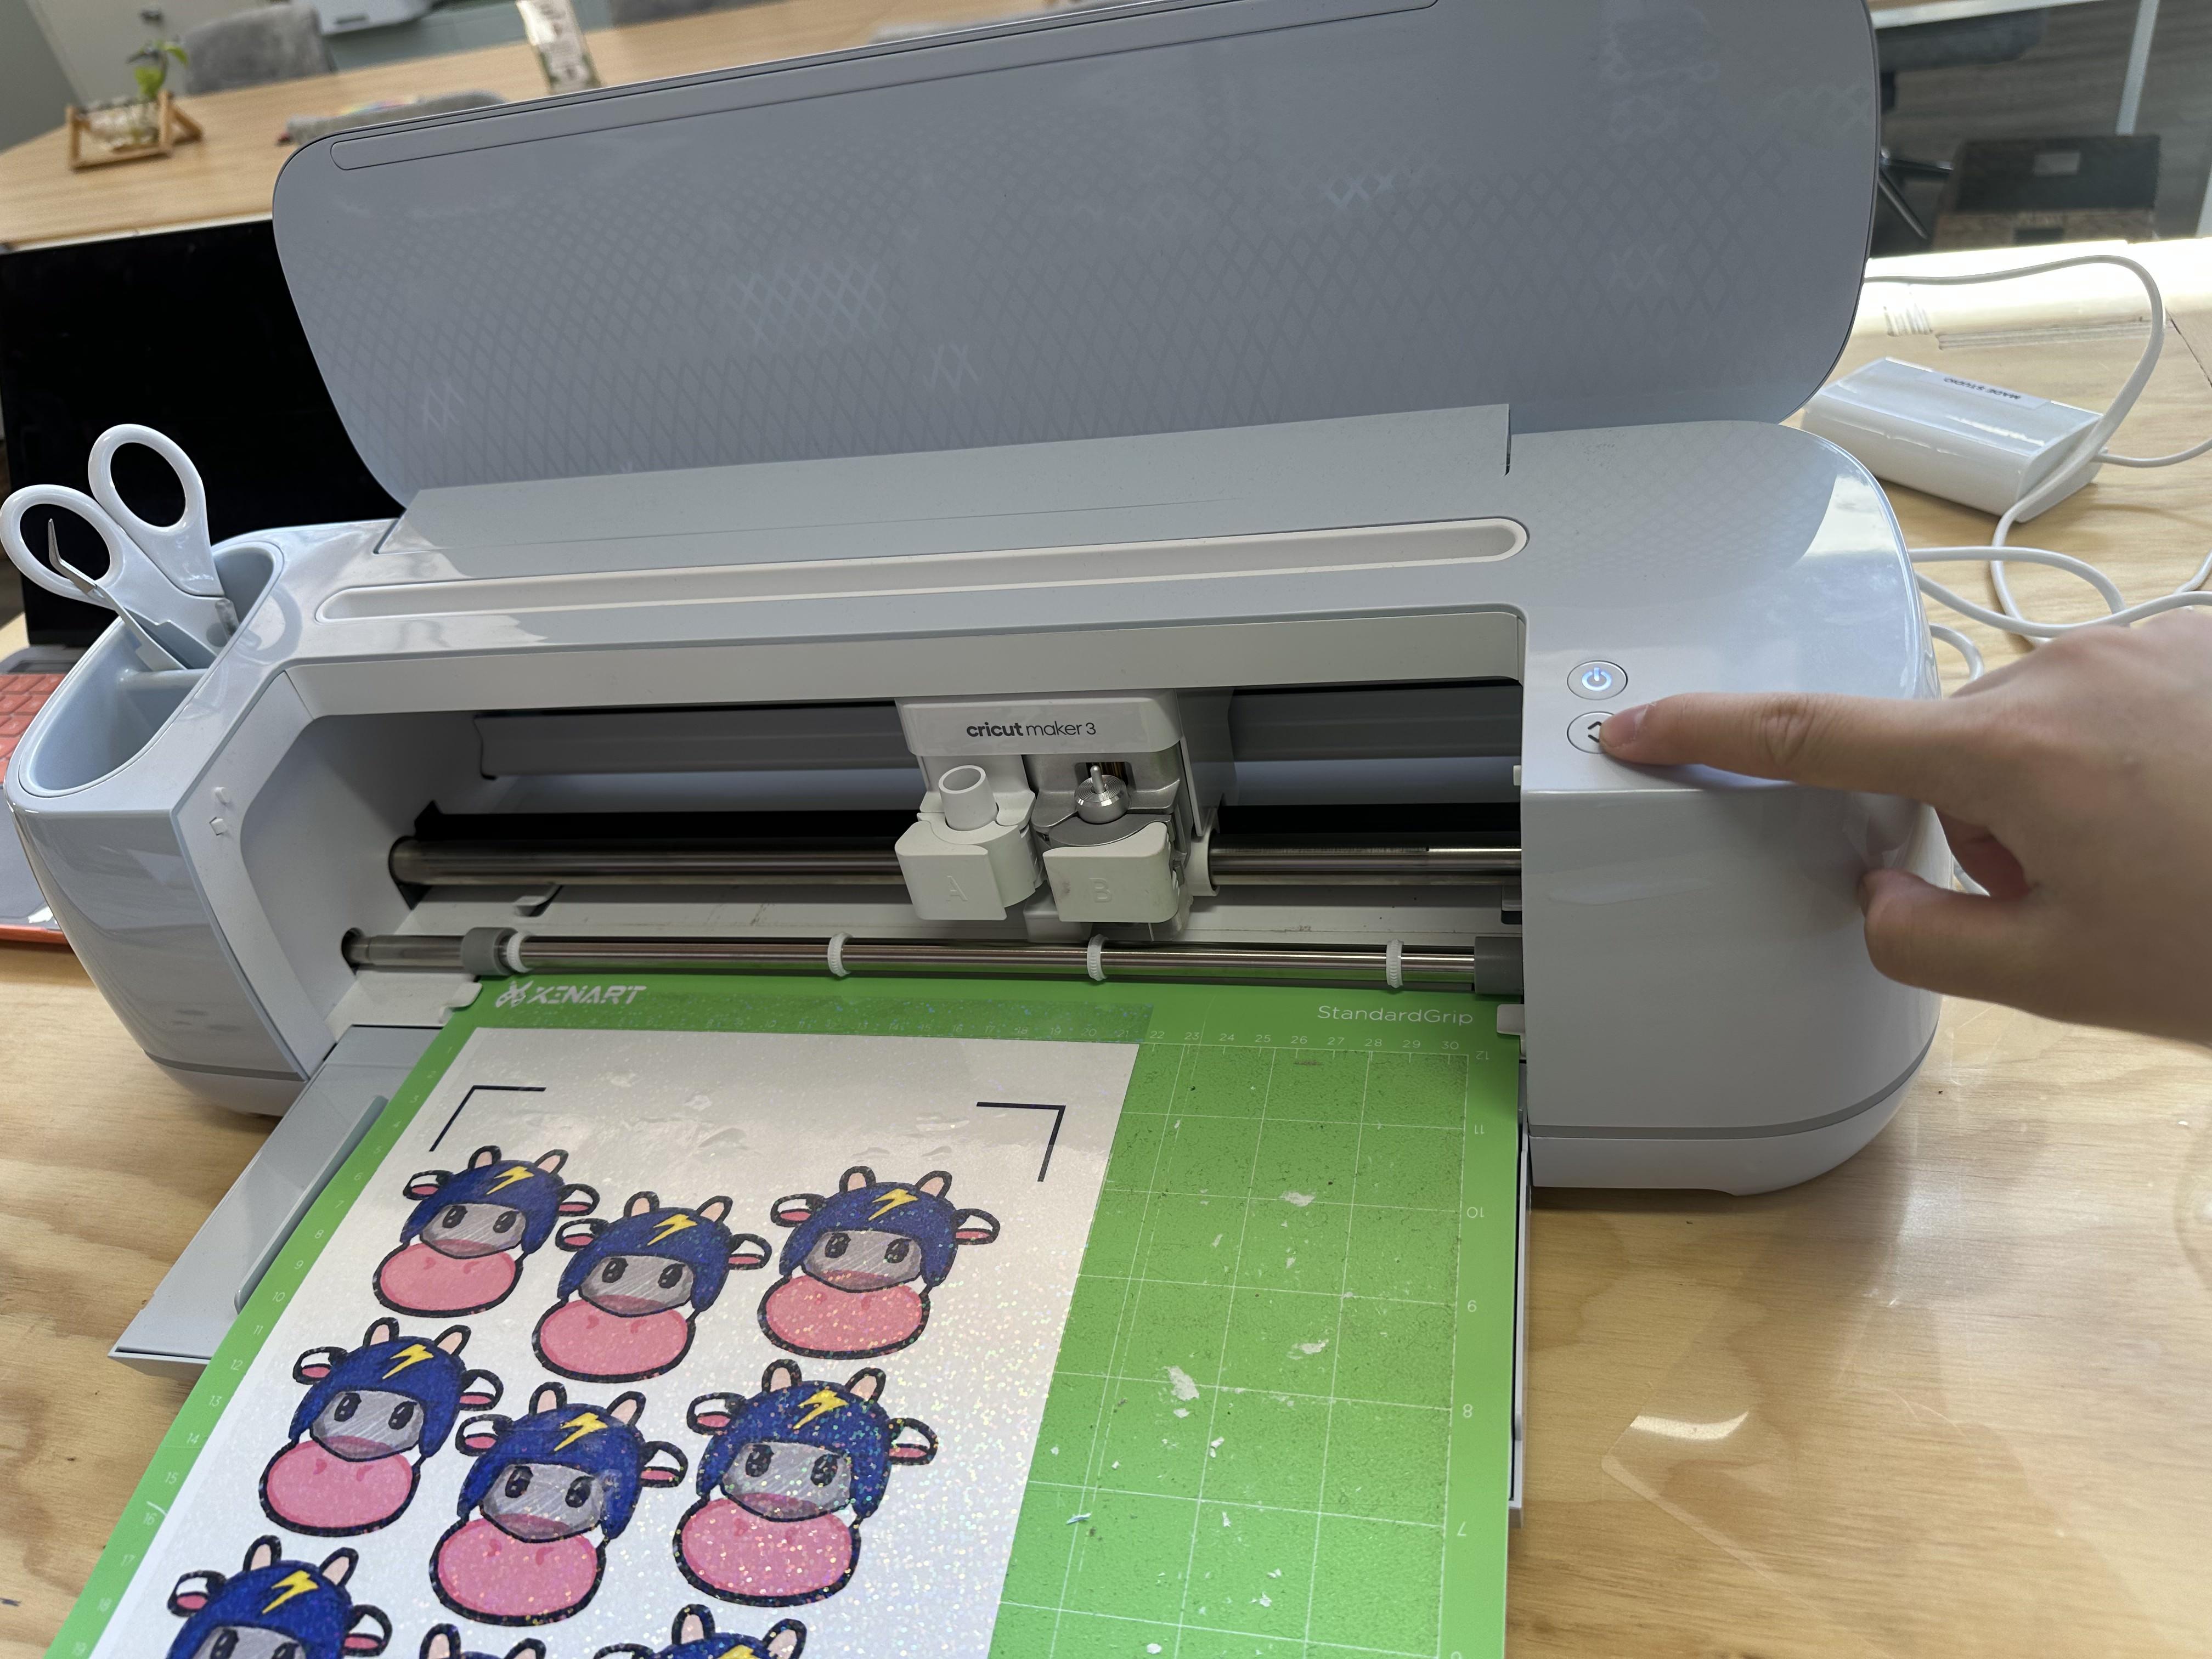
In Cricut Design Space, Select "cardstock" and Set Pressure to Default
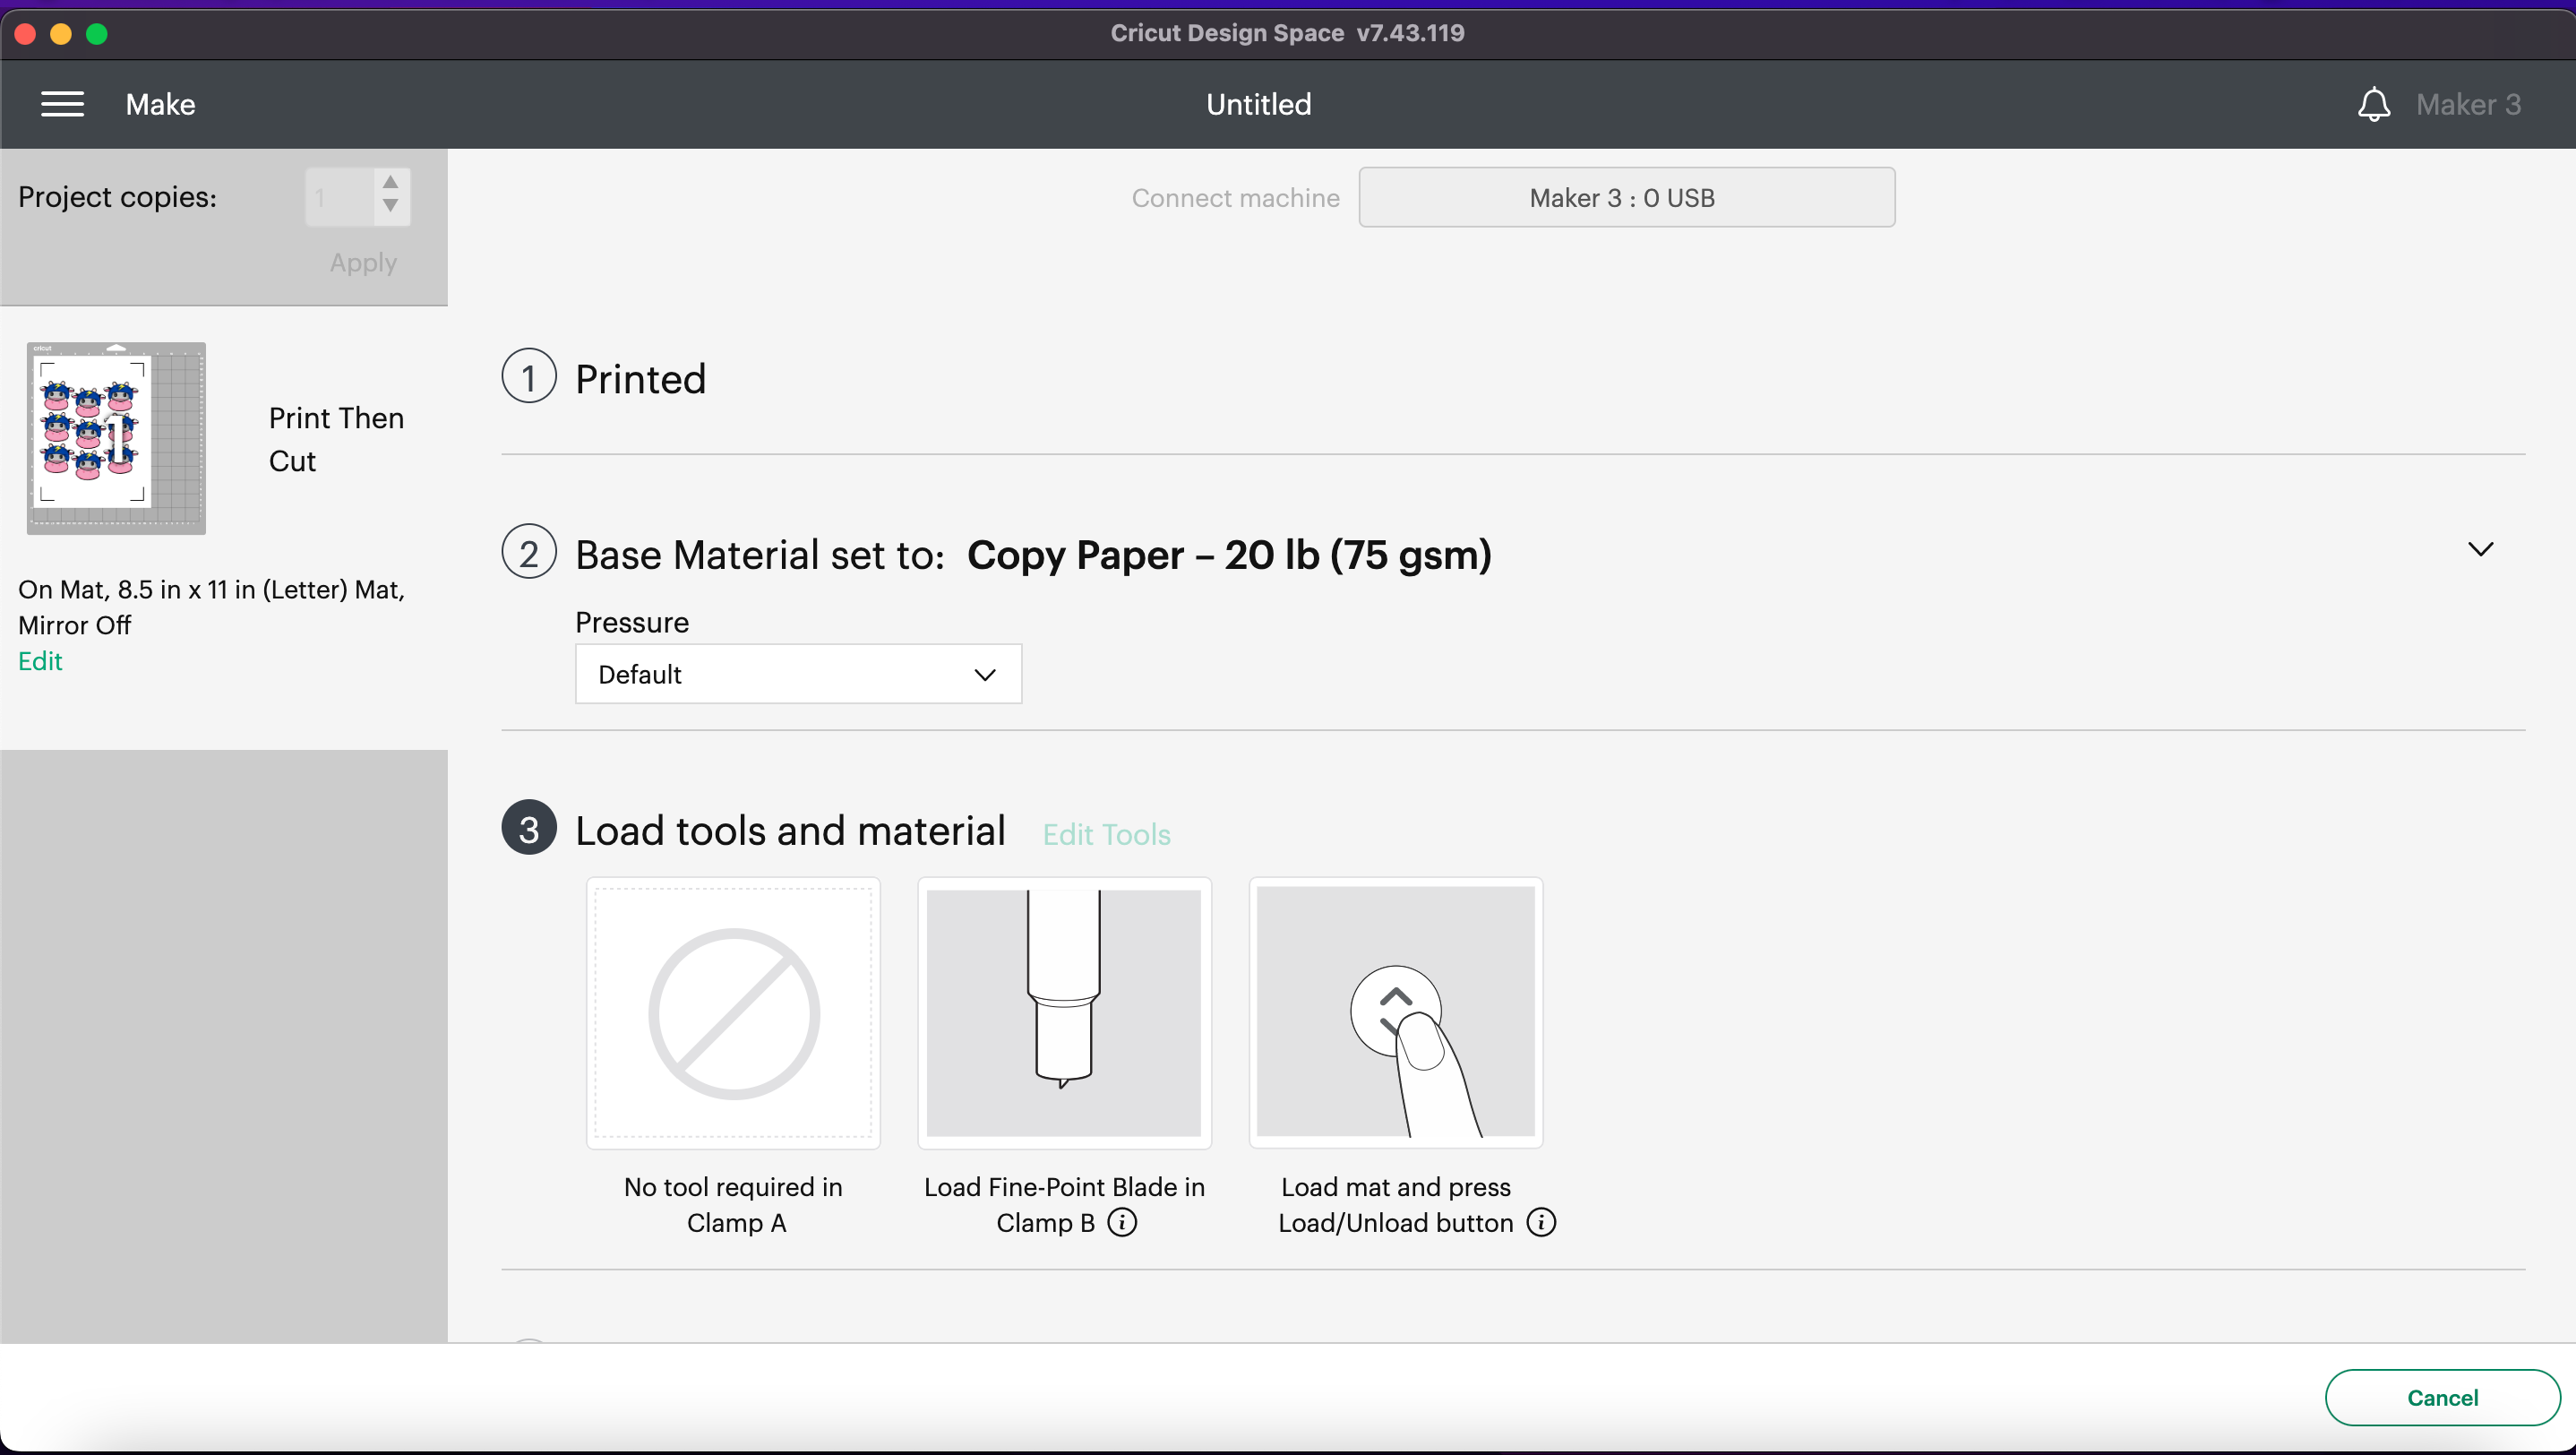
Once Done, Click Arrow Button to Unload the Mat and Peel Off the Excess Paper
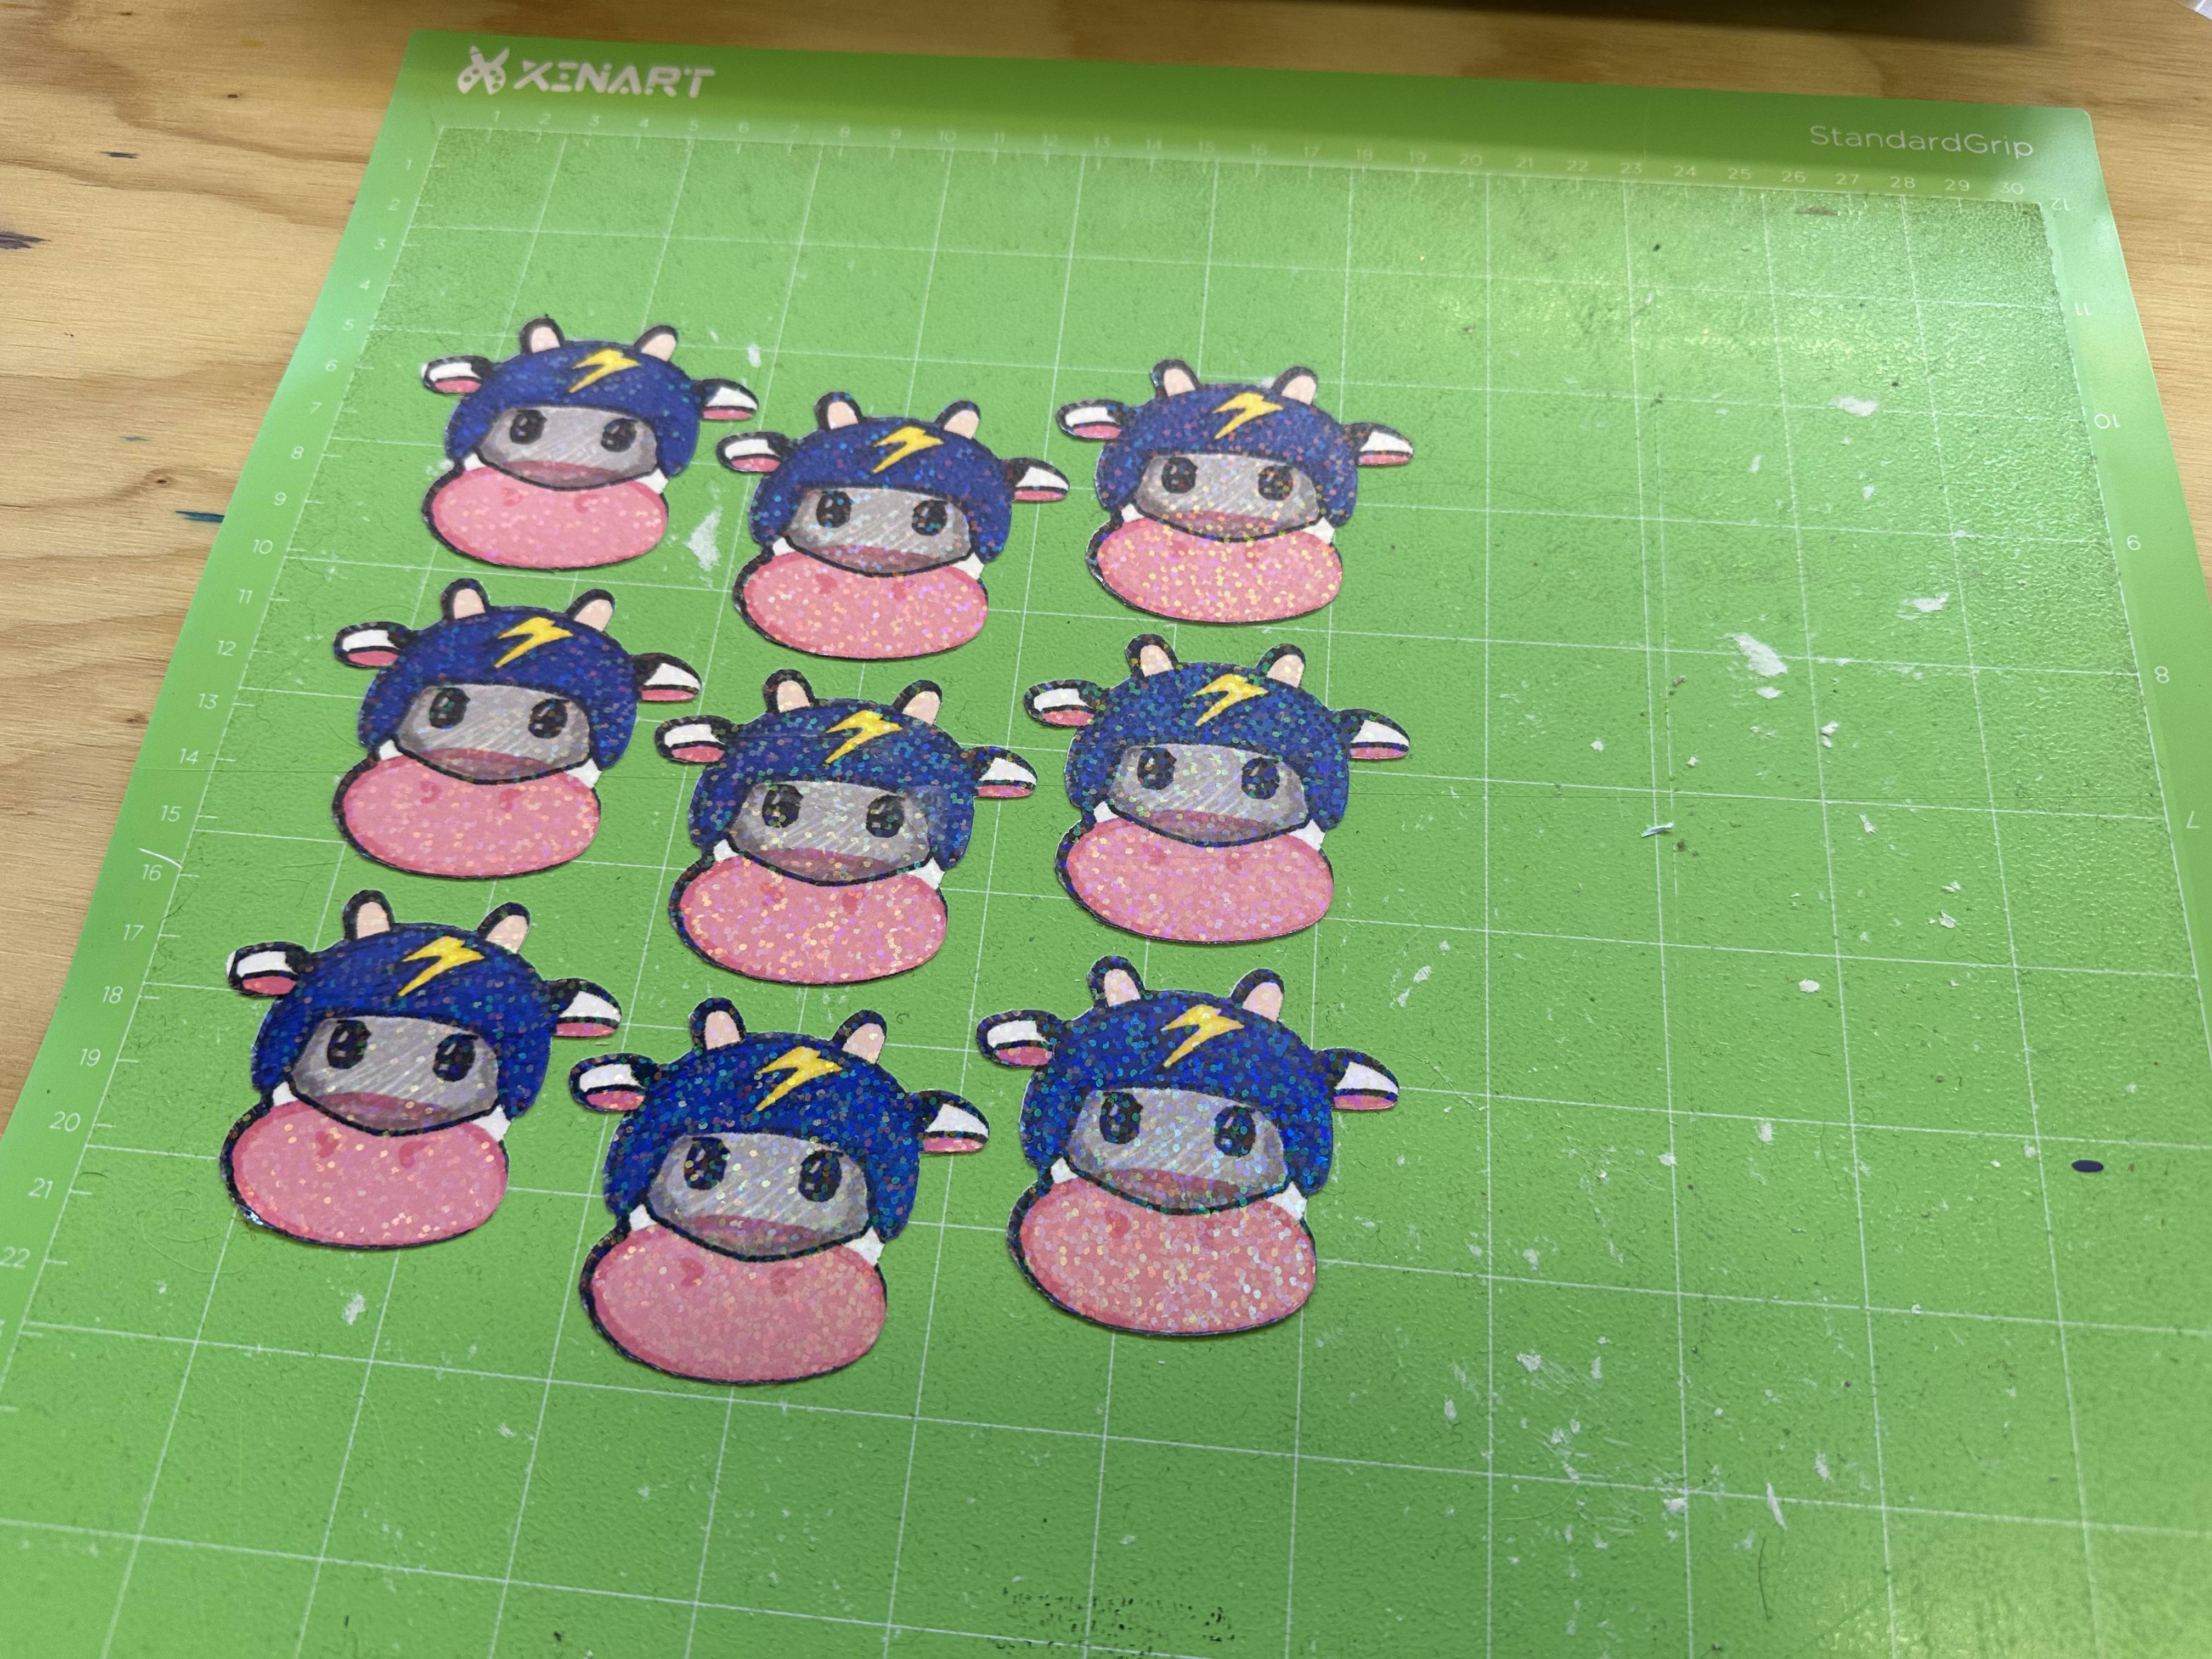
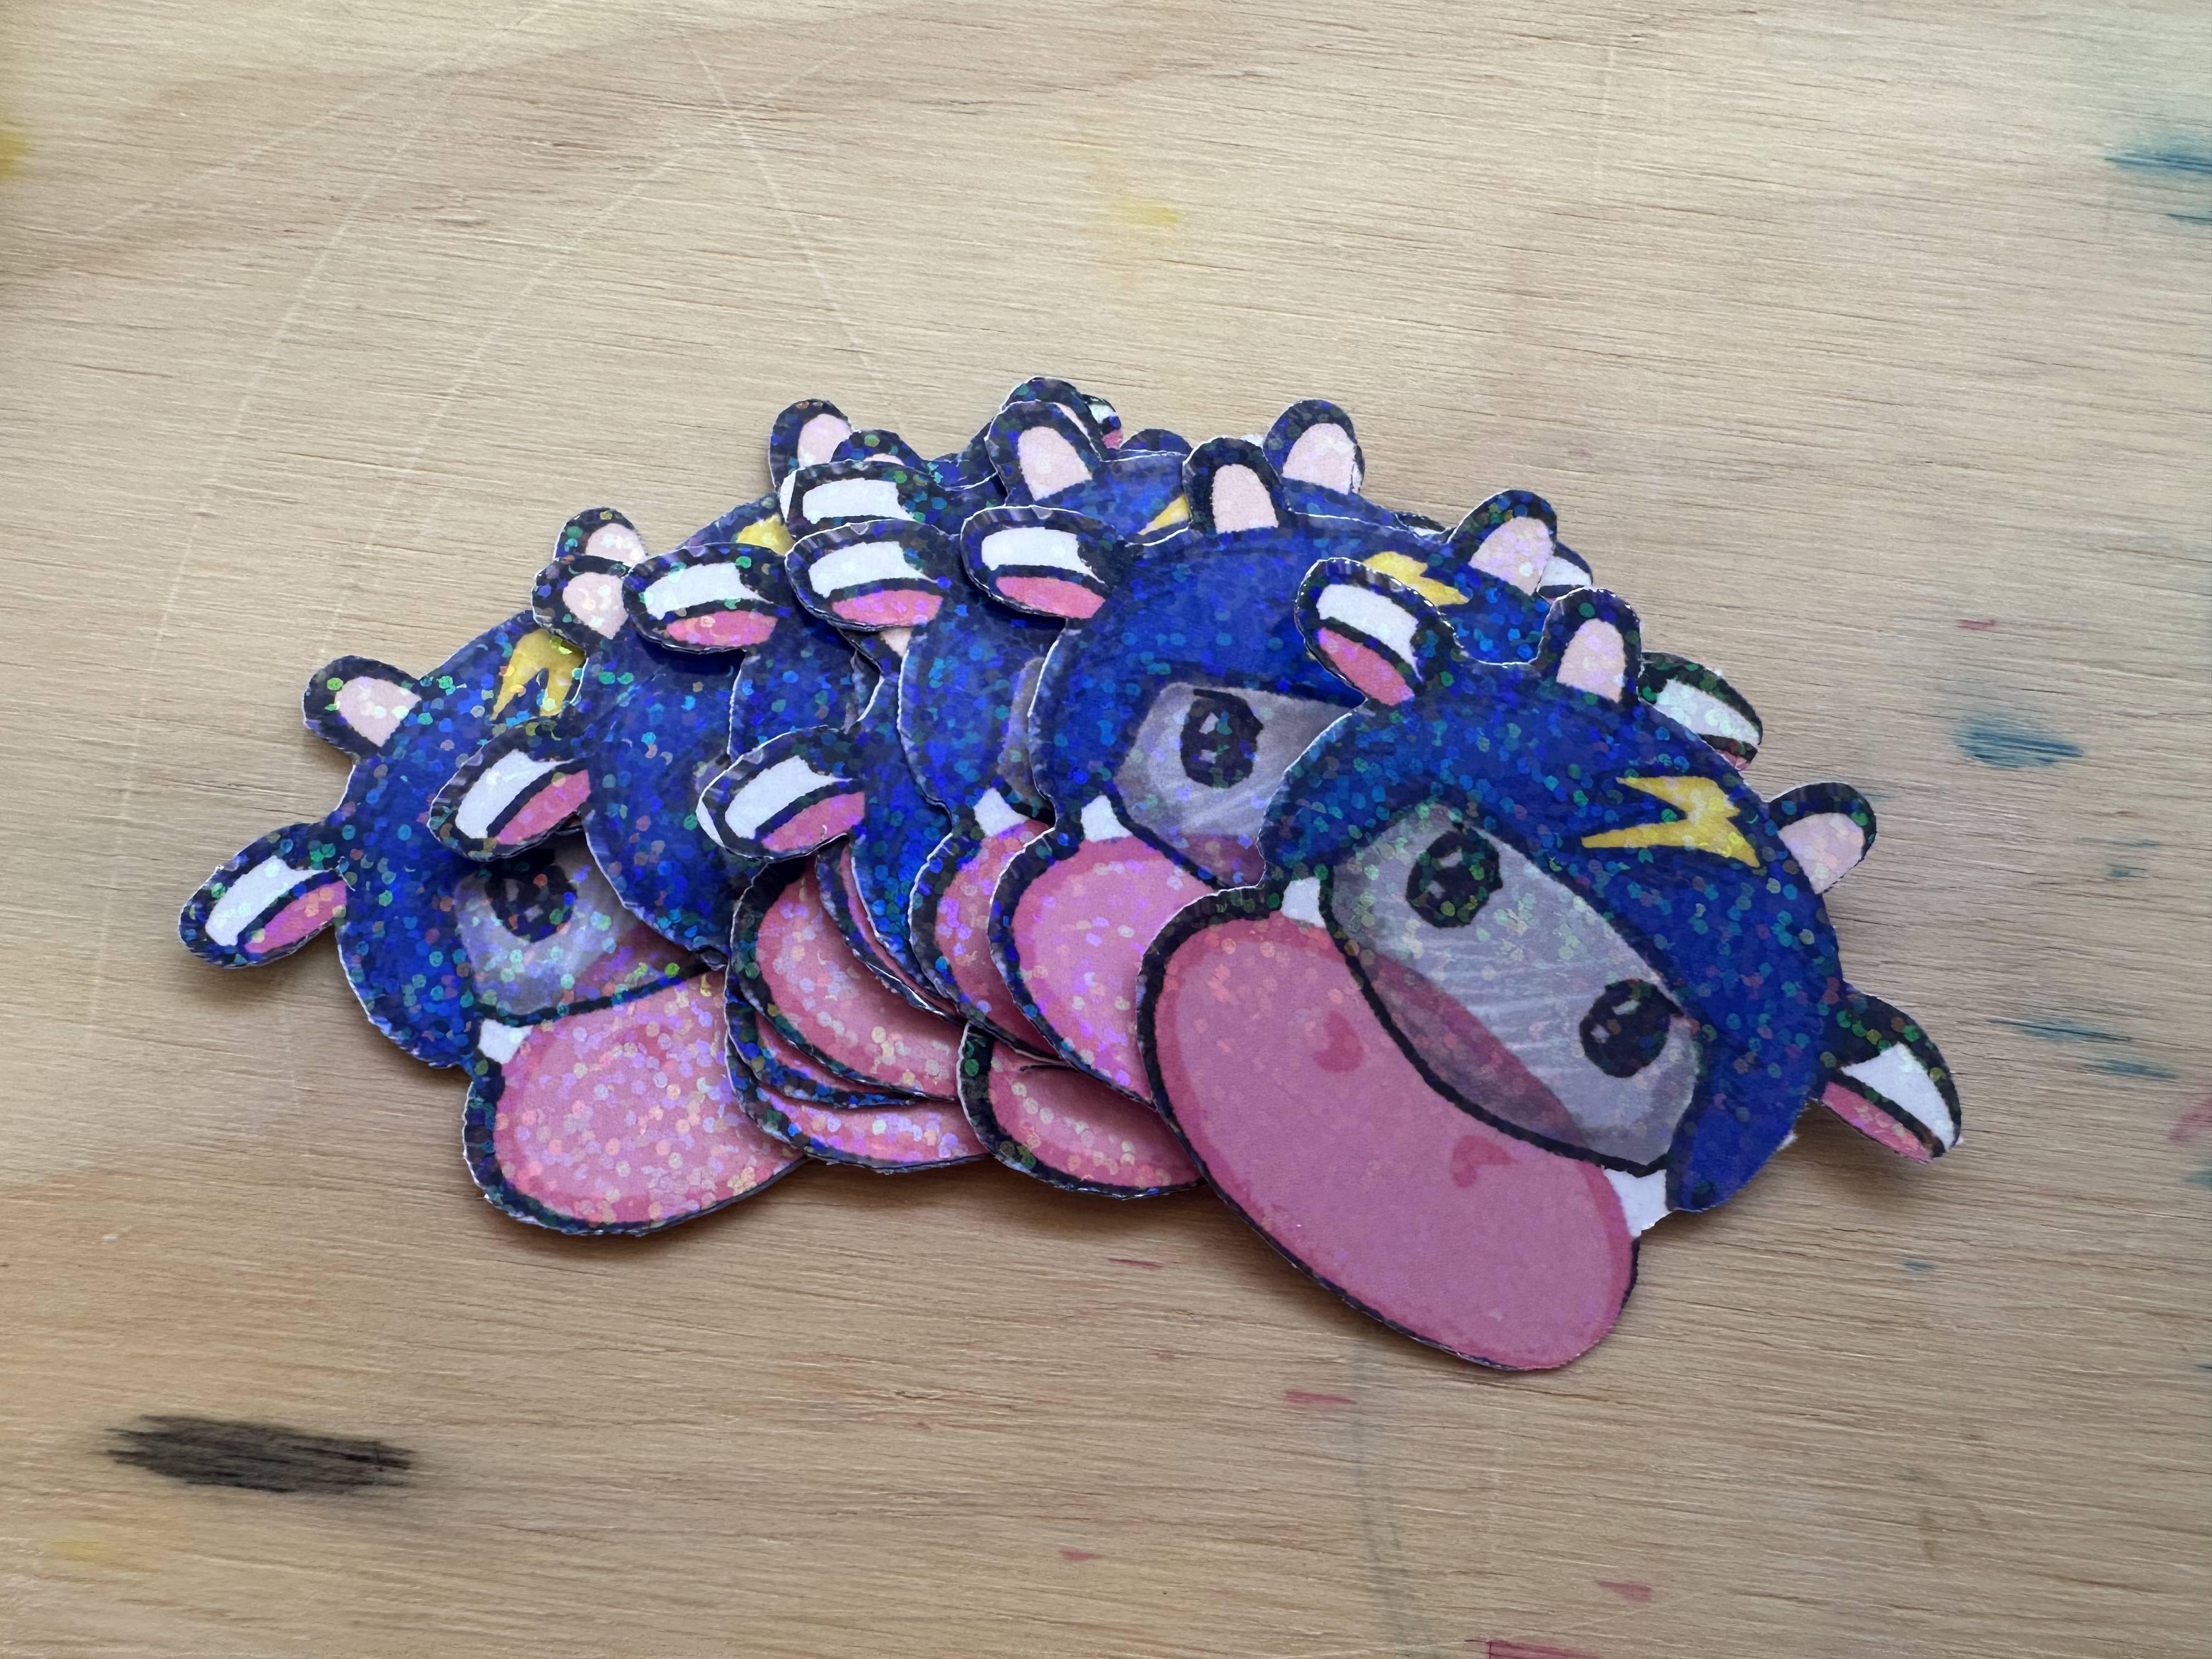
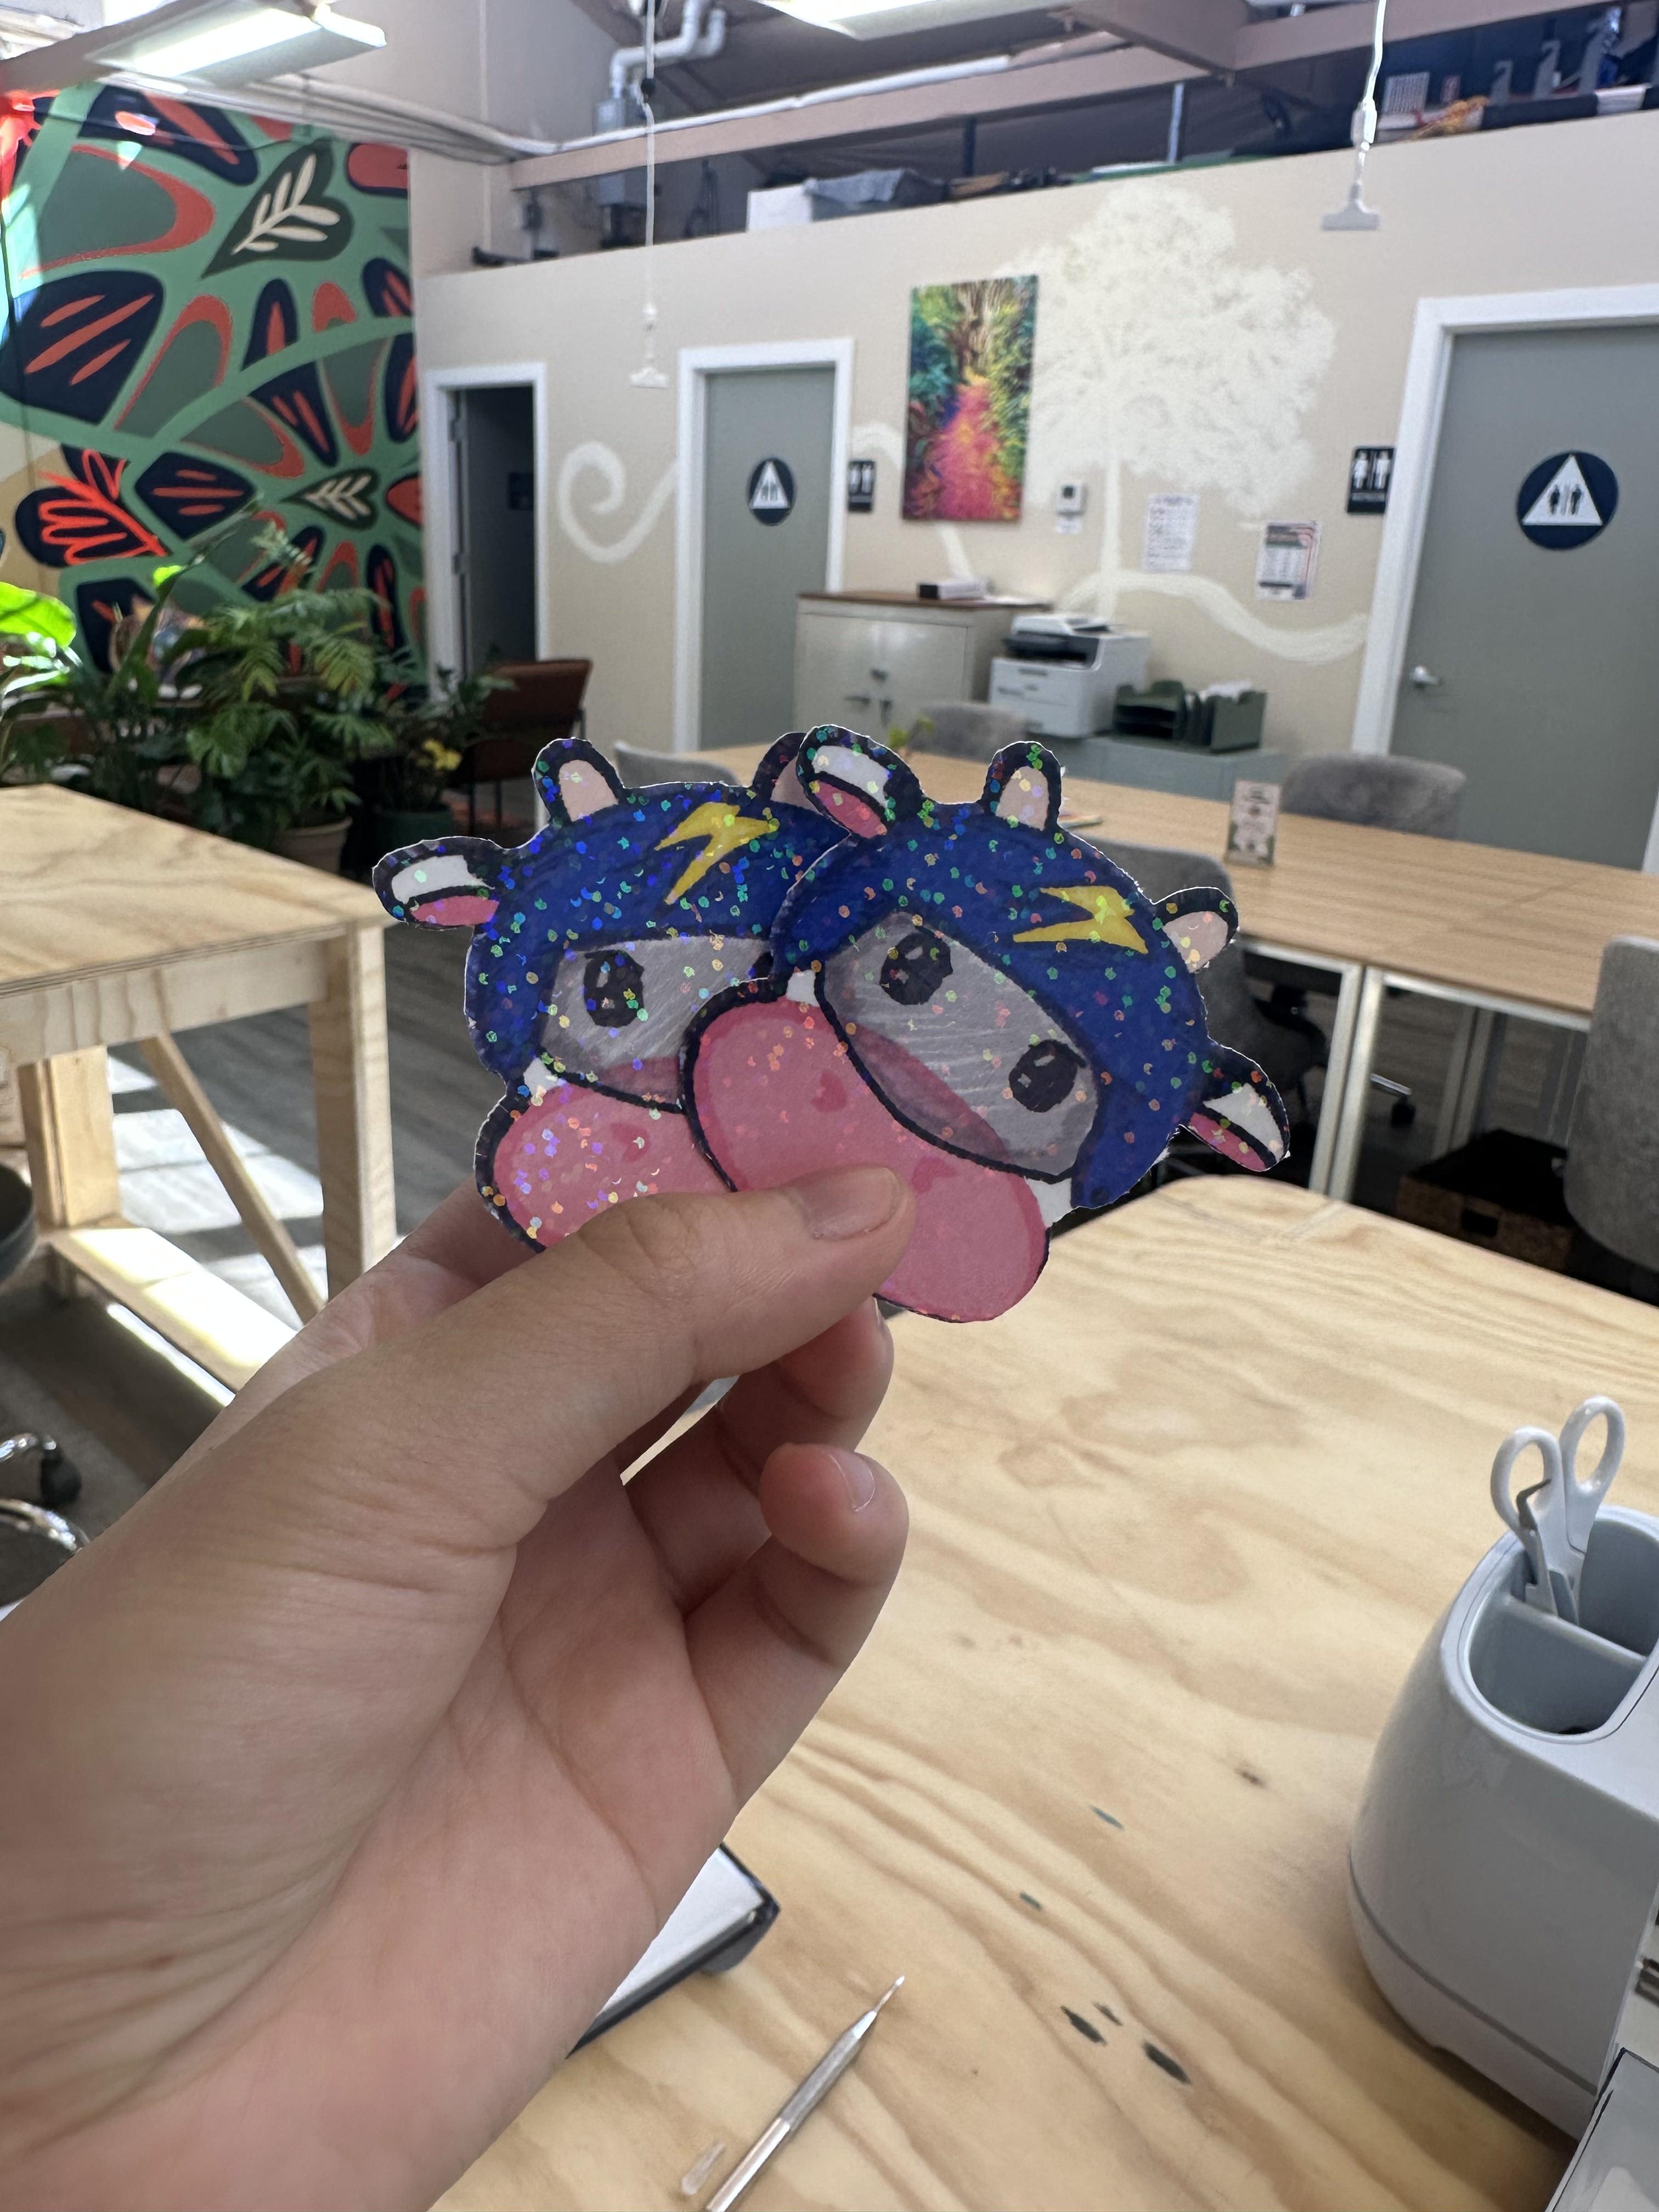
Take of Stickers From Mat and Enjoy!