Print Your Own Slide Puzzle With Tinkercad
by fl164 in Living > Toys & Games
1891 Views, 5 Favorites, 0 Comments
Print Your Own Slide Puzzle With Tinkercad
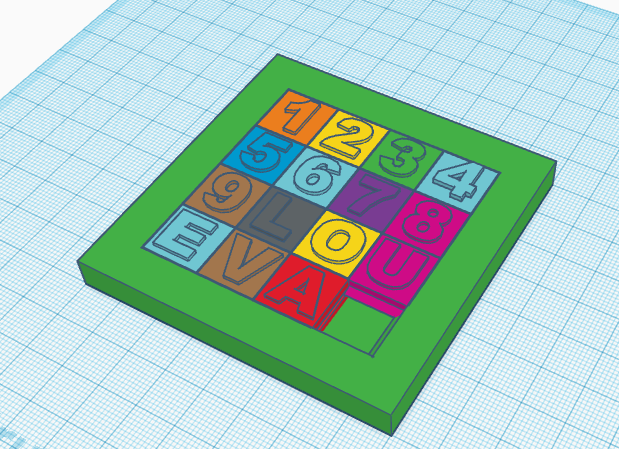
Thanks to this Instructable, you will be able to print your own slide puzzle and to customize it as you want.
Prepare the Board
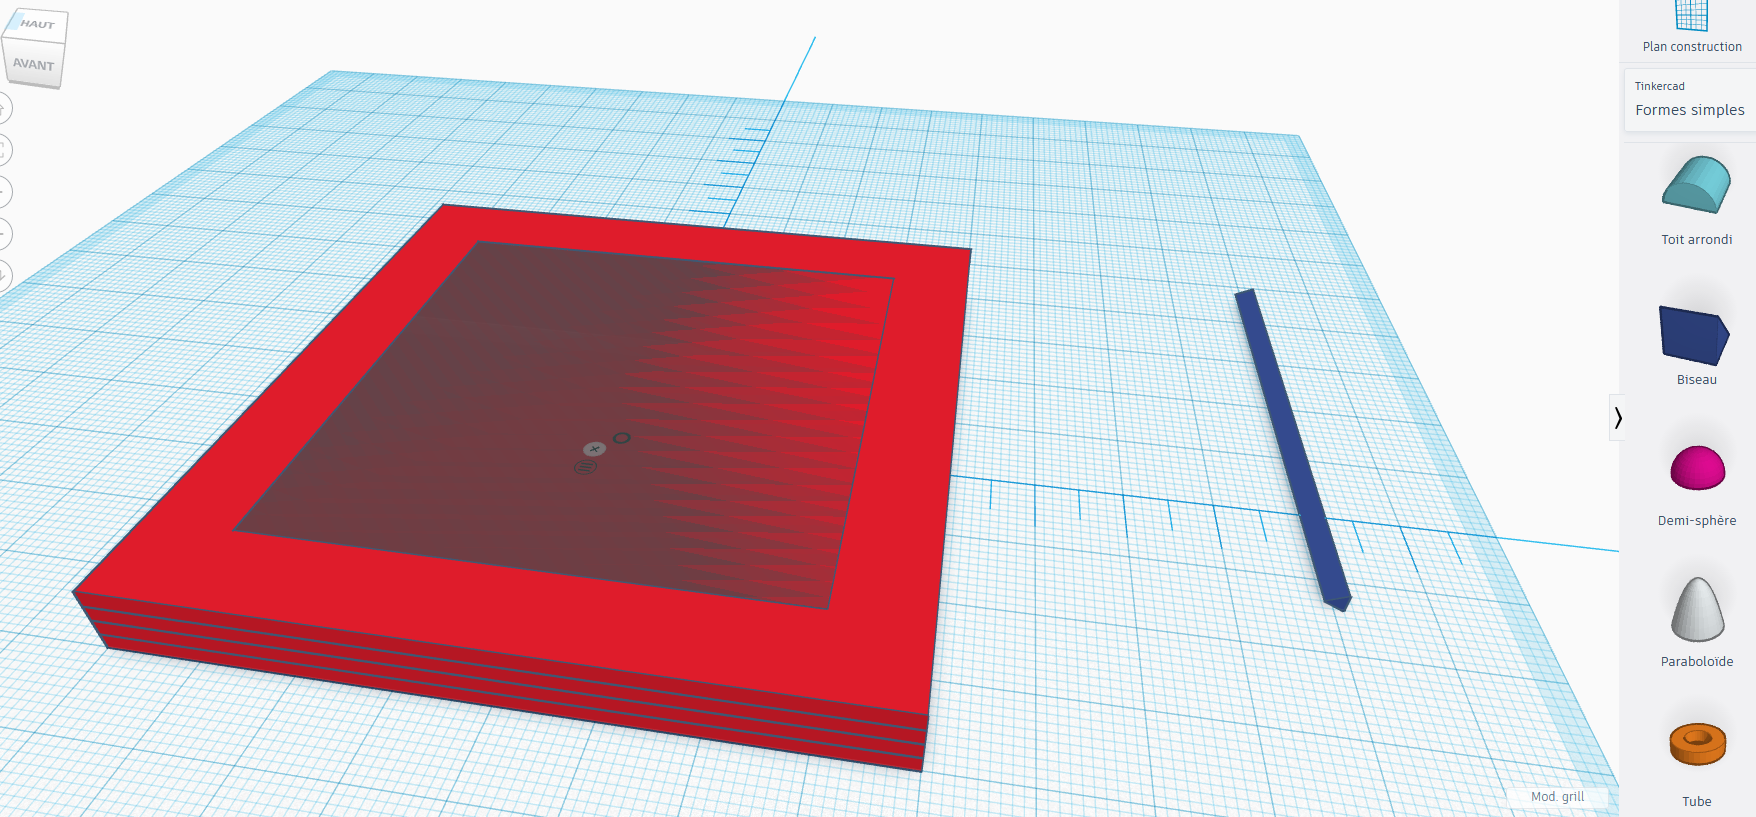
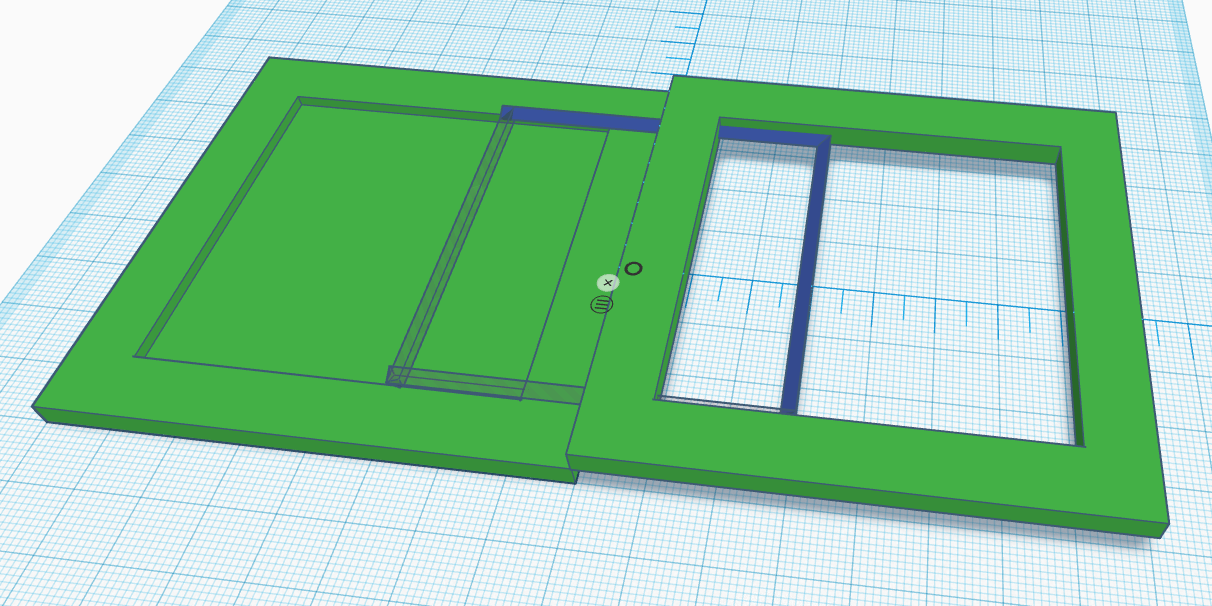
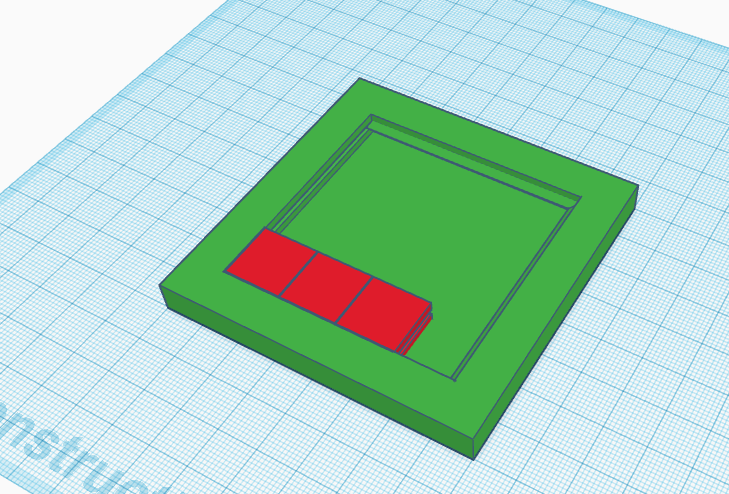
First let's prepare the board : we'll use the box tool and associate "solid" and "hole" boxes
- the box on the ground is 84*84mm and 2 mm height.
- The second layer is the same box in solid, combined with a 64*64mm box in hole and centered inside the first box. Then you just have to group those 2 boxes to get the border. You can use 3 times this module of 2 mm height or a big one of 6 mm height. I choose to work with 3 differents to be able to better see and adjust the position of the guides in the next step.
- Now you have to group all the boxes to get the entire board.
Then let's add the guides in the board :
- The guides will allow your pieces to slide. For that, you can use the shape "roof". Let's turn it by 45° to have the larger side of the triangle verticaly.
- Then you can adjust the size of the roof-guide : 64 mm long, 2 mm height and 2 mm depth.
- You can know copy paste the roof-guide to have 4 pieces : 2 solids with the triangle outside and 2 holes with the triangle inside (see the pic)
Finally just place the 4 guides on each side of the board in the middle of the boarder (at 4mm of the ground).
Let's resume the cut in height :
- A ground layer of 84*84mm and 2 mm height
- A boarder layer with a hole of 64*64 in the middle without guide
-
A boarder layer with a hole of 64*64 in the middle with guide
-
A boarder layer with a hole of 64*64 in the middle without guide.
The complete piece is 8 mm height.
You can see on the pic that I work with the rule in the center of the box. So you just have to place the boxes at (-42;-42) and the guides at +30 or -34 (if it's outside or inside).
EDIT : initialy, the design was made with 80*80mm and 60*60mm. But this doesn't allow any space/gap. The precision of 3D printing need more space so I added 0,5mm on each side of peace (0,5*2*4 = 4 mm larger board)
The Sliding Piece
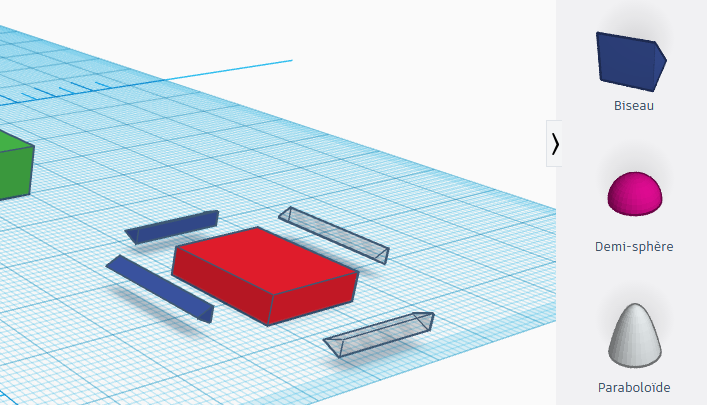
Secondly we have to prepare the sliding piece :
We'll use for that a box of 15*15mm so that we'll be able to have a 4*4 pieces puzzle. The height is 6 mm and you can repeat the same operation as before but with guides at 4 mm height.
Don't forget to group the piece in one element.
Construct the Board
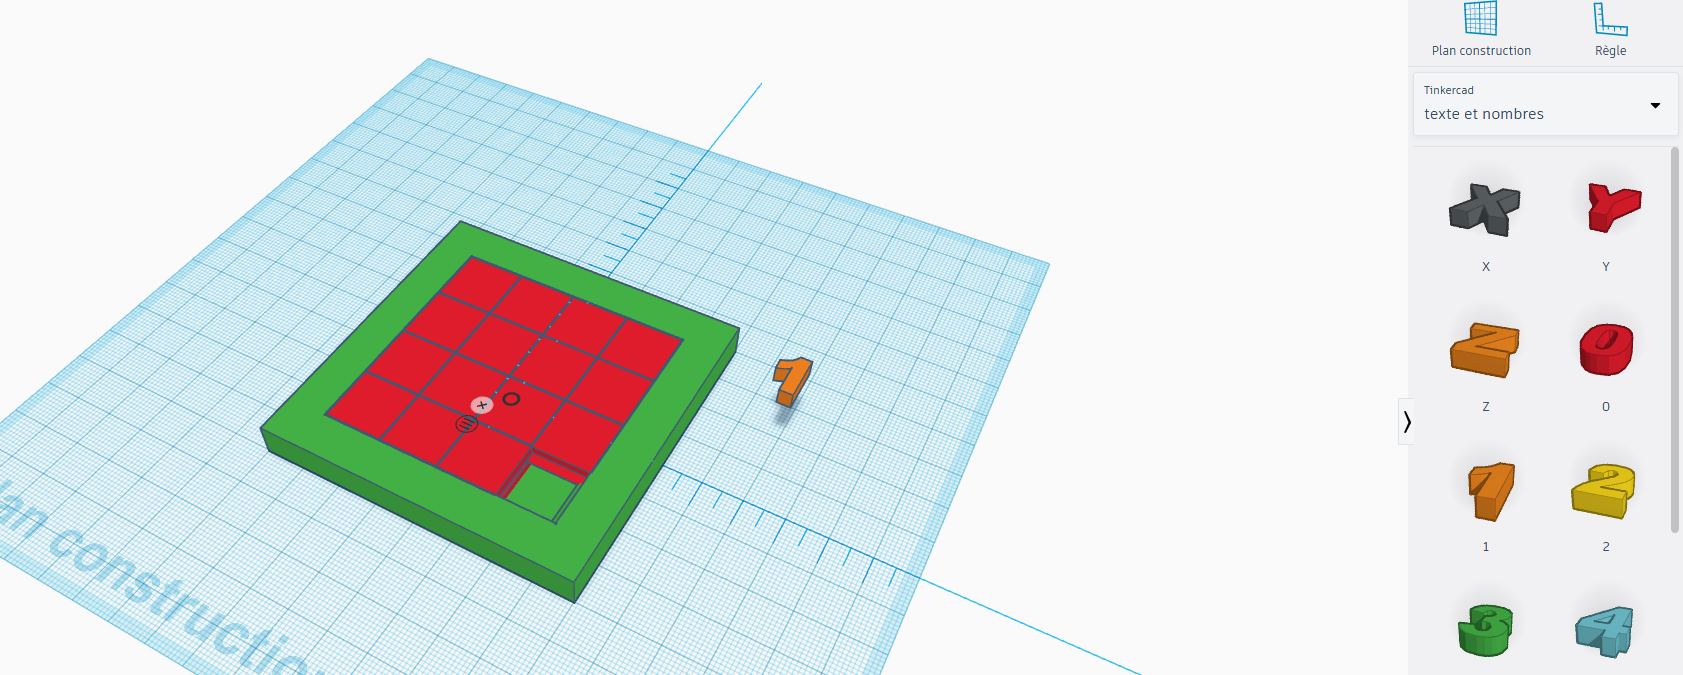
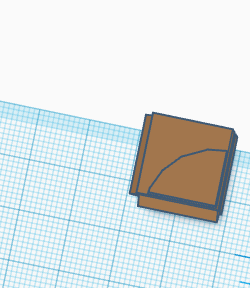
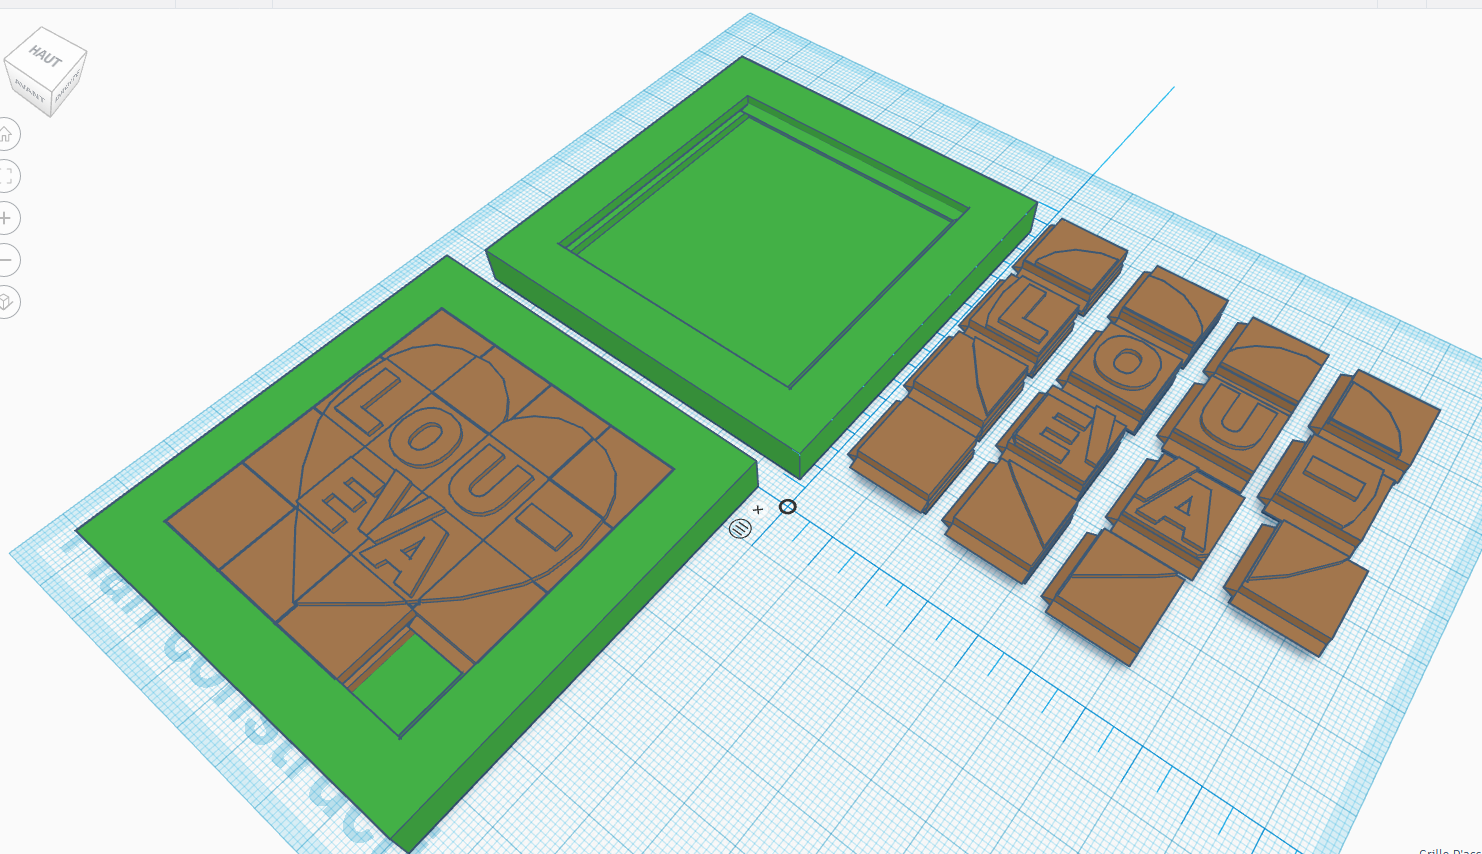
Finally we have to create the design : let's place the piece in a corner at 2 mm height and copy paste the piece 15 times to fill the board.
You have to keep a hole in a corner so that you will be able to slide the pieces at the end.
For this example, I choose to put the figures and some letters for my 5 year olds daughter Lou-Eva so the puzzle is not too hard to finish for her (just make her name or the sequence of figures).
The figures are 1 mm height at 8mm of the ground.
You can also decide to draw a complete picture that you will cut piece by piece.
It's a little bit more difficult :
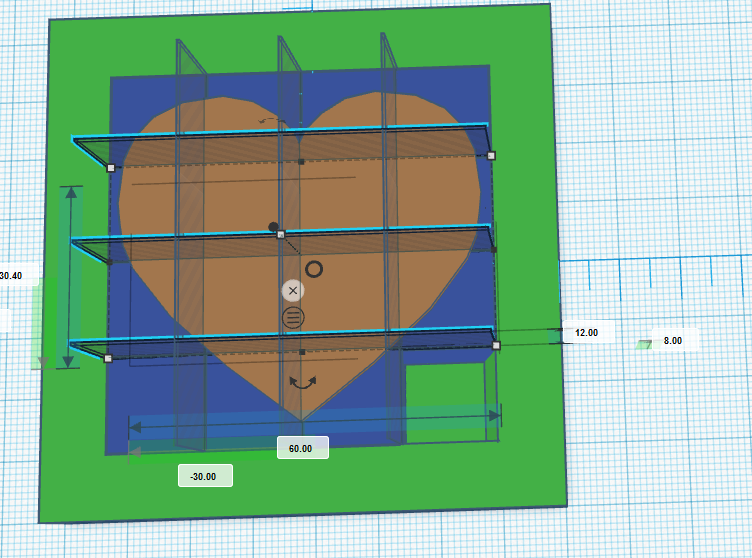
- I first add a heart (for example) of 1 mm height at 8 mm (above the pieces).
- Then I use hole boxes of 0.2 mm in a grid so that I can cut the heart as the pieces (at -15,1 mm, 0 mm and + 15,1 mm.
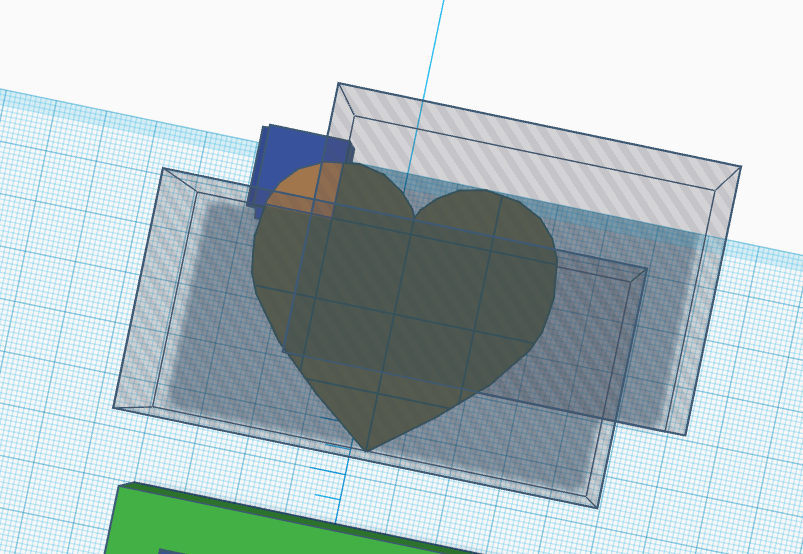
- After that you can group the heart and the grid and duplicate it 15 times.
- With each copy, you will have to add hole boxes to remove all the part of each piece.
- Finally, you can remove the entier heart and add each piece of the heart on each piece of the puzzle and group each piece.
To print it, you'll have to separate the board and all the pieces.