Pretend You're Xyzzy Server on Raspberry Pi
by badnewsnobodies in Circuits > Raspberry Pi
2780 Views, 3 Favorites, 0 Comments
Pretend You're Xyzzy Server on Raspberry Pi

This guide will show you how to setup a Pretend You're Xyzzy (PYX) server on a Raspberry Pi. I call it a XyzzyPi
Pretend You're Xyzzy is an online, open-source Cards Against Humanity clone played in a web browser.
On Android you can also use the Client for Pretend You're Xyzzy app.
When I started looking into setting up my own PYX server I had a hard time finding instructions that weren't out of date and that were easy to follow. It seemed that most of them were written for people who already had some experience with setting up a PYX server. I was able to figure things out but I wanted to create a step-by-step guide for those who are less tech savvy or who don't have much experience with such things. Also, I could not find any instructions on getting it running on a Raspberry Pi. After some trial and error I was able to get the PYX server running on a Pi with only some slight modifications to the files. I hope this will save some time for those who are interested.
I have done this on a Pi 3 model B+ and a Pi 4 model B 4GB. There are some issues with using a Pi Zero W due to the processor not handling a Java VM correctly. I am currently trying to get it working on a Zero W and will update instructions if I am successful. I do not have a Pi 1 or 2 to test on so this may or may not work with those.
I have tried to make this tutorial easy to follow for people of all skill levels so there may be stuff in here that you already know.
If you already know how to install Raspbian and connect to your Pi skip to step 6.
If you have experience with setting up a PYX server and just want to know the edits necessary to make it work on a Pi skip to step 13.
Disclaimer: I did not create Pretend You're Xyzzy or the Android client app.
Credit for creating Pretend You're Xyzzy goes to GitHub user ajanata (https://github.com/ajanata/PretendYoureXyzzy)
Credit for creating Client For Pretend You're Xyzzy goes to Gianlu (https://play.google.com/store/apps/dev?id=8675761046824387020)
If there is anyone I missed please let me know.
Supplies
Hardware:
Raspberry Pi 3 or 4
Micro SD card (I'm using 32GB micro SD cards because that's what I have on hand. You can probably get by with as little as 2GB but I would recommend at least 4GB.)
PC with SD card reader (I'm using Windows for this tutorial. If you're running Linux you're probably already familiar with a lot of this stuff so adjust instructions as needed.)
Software:
Raspbian image: https://www.raspberrypi.org/downloads/raspbian/ (Any should work. I'm using Raspbian Buster Lite at the time of writing.)
Win32 Disk Imager: https://sourceforge.net/projects/win32diskimager/ (There are other programs you can use to flash the Raspbian image but this is my personal preference.)
Putty: https://www.chiark.greenend.org.uk/~sgtatham/putty/
Flash Raspbian Onto Your SD Card
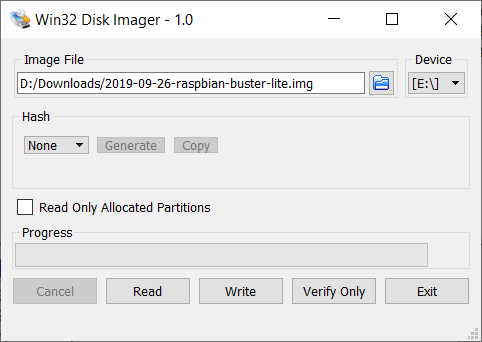
Put your SD card into your computer's card reader before opening Win32 Disk Imager. Then select your Raspbian image and your SD card's drive letter and click "Write".
CAUTION: Anything on the SD card will be deleted and overwritten. If there is important data on the SD card back it up first. Also, make sure you select the correct drive letter for your SD card. Otherwise you could inadvertently wipe/overwrite the wrong drive.
Once it is finished you will have two separate drives on your SD card. Once called boot and one that Windows cannot read. You will probably get a pop up in Windows asking you to format the card. Just click cancel. If you do format it you will have to flash Raspbian again.
Create a Text File Named "wpa_supplicant.conf" on the Boot Drive
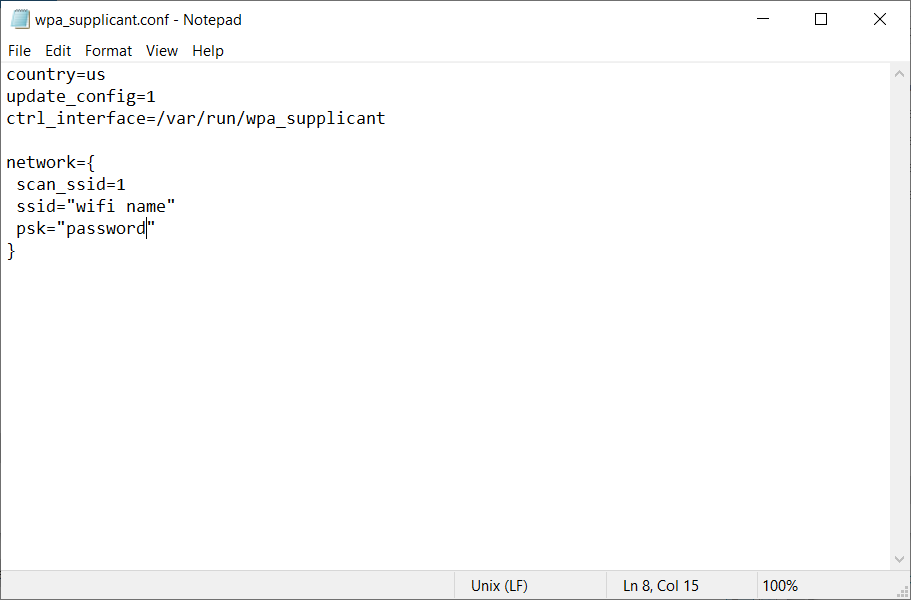
On the SD card's boot drive create a text file named wpa_supplicant.conf and paste the code below inside. Replace "wifi name" and "password" with your actual wifi name and password but keep the quotes around them. Save the file.
This will allow your Pi to connect to your wifi. If you are using an ethernet cable to connect your Pi to your network you can probably skip this step.
Be sure the file extension is correct. It should be wpa_supplicant.conf not wpa_supplicant.conf.txt
<p>country=us<br>update_config=1
ctrl_interface=/var/run/wpa_supplicant</p><p>network={
 scan_ssid=1
 ssid="wifi name"
 psk="password"
}</p>
Create an Empty File Named "ssh" on the Boot Drive
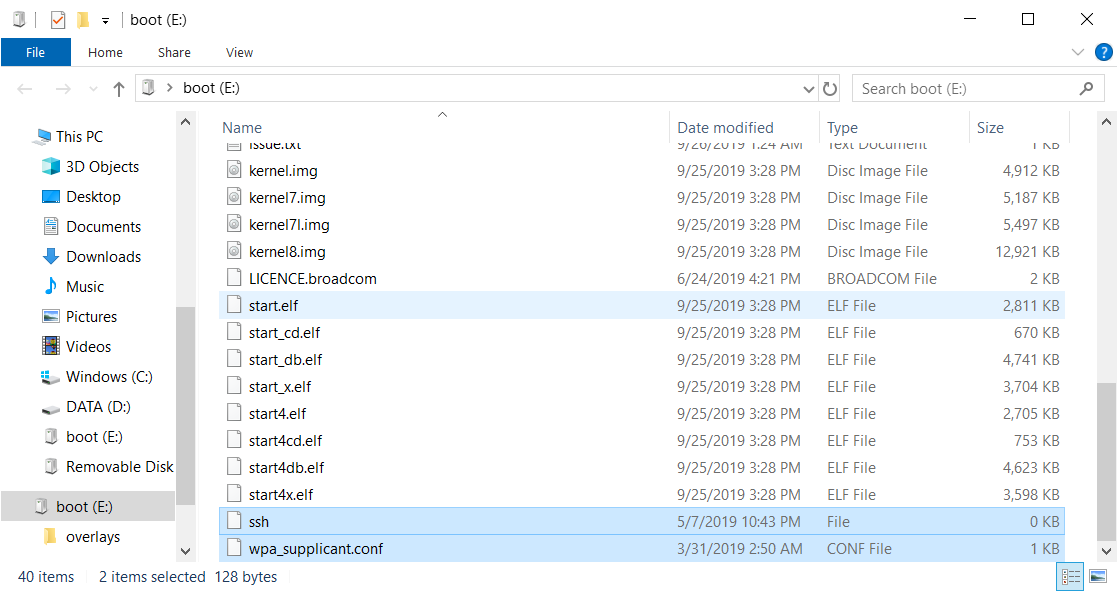
On the SD card's boot drive create an empty file named ssh
It does not need to have anything in it, it just needs to be named correctly.
This will enable ssh on your Pi which will allow you to connect to it using Putty.
Make sure the file is simply named ssh with no extension. Not ssh.txt etc.
Eject the SD Card From Your PC, Put It Into Your Pi, and Power on Your Pi
Eject the SD card from your PC, put it in your Pi, and power on your Pi.
If everything worked your Pi will boot up and connect to your wifi.
Give it a couple of minutes to run through it's initial setup.
Connect to Your Pi Using Putty
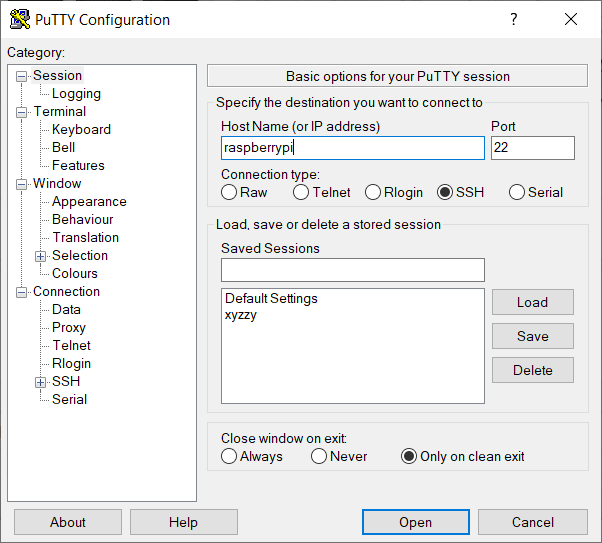
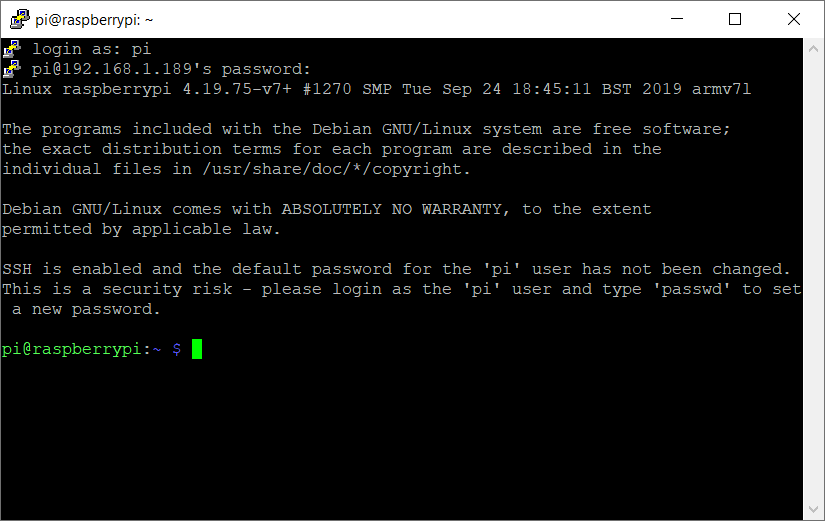
Open Putty and in the Host Name box type raspberrypi making sure that the connection type is SSH and the port is 22. If it connects you'll be taken to a black screen with text on it known as a terminal. It will ask for your username and password. The default username is "pi" and the default password is "raspberry". It is highly recommended that you change the password especially if you plan to have your Pi exposed to the internet. To do so, type "passwd" once you are logged in and follow the prompts. Make sure to pick a password that you will remember.
If it does not connect you may need to find the IP address that your Pi is using. There are multiple ways to do this but personally I just log in to my router and check the list of connected devices. Once you find the IP of your Pi type that into the Host Name box in Putty instead of raspberrypi and try to connect again.
If you still cannot connect you may not have created the ssh file correctly. Read over the previous steps and double check everything.
Optional: Change the Hostname of Your Pi
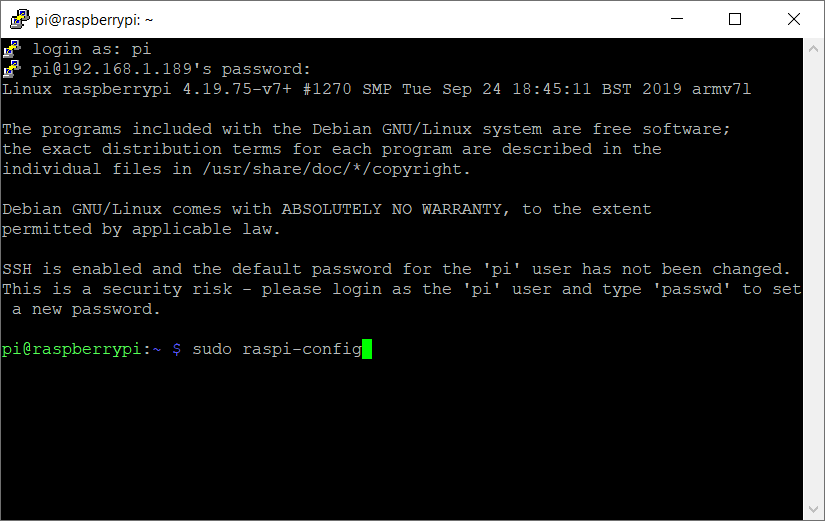
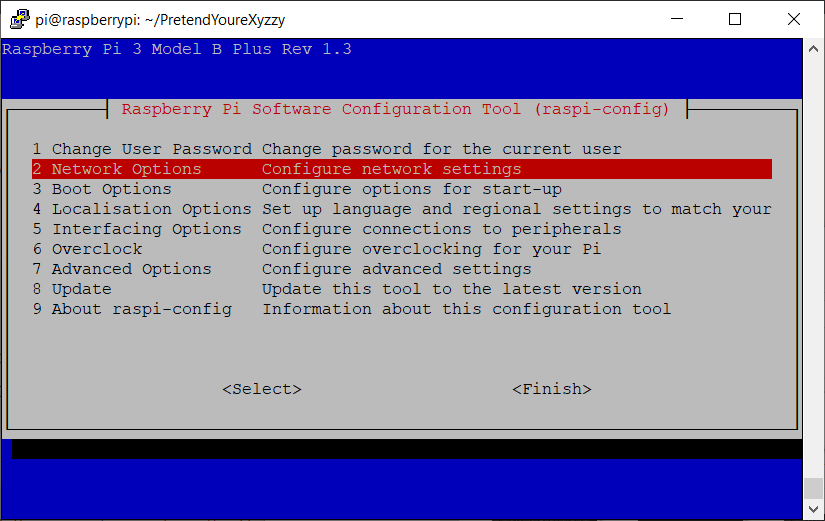
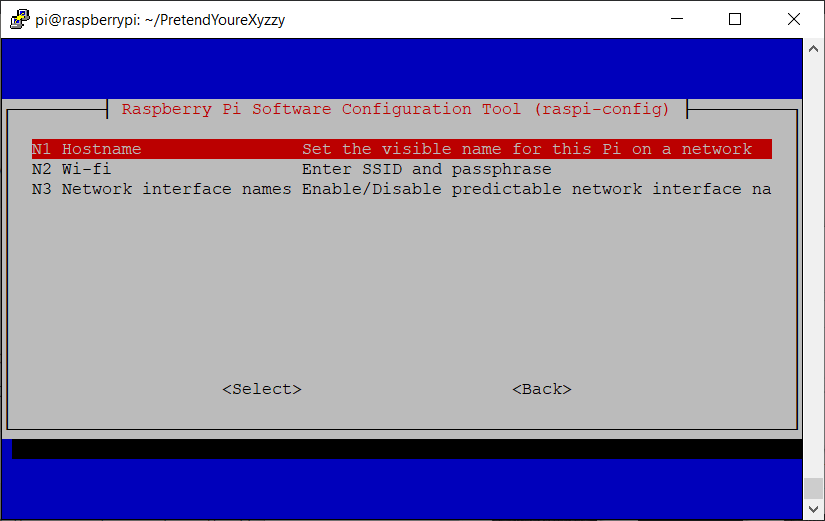
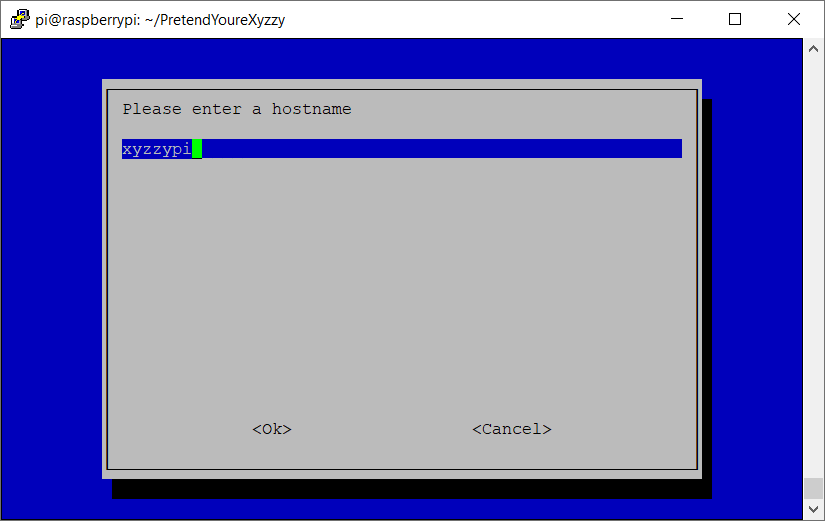
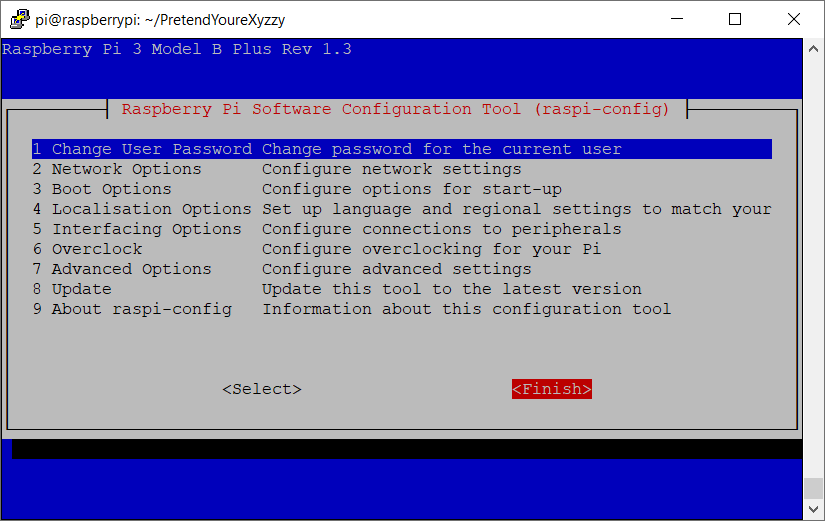
This isn't necessary but I prefer to have the hostname of my Pi as something relevant to what it is used for rather than just the generic "raspberrypi". In this case I named it "xyzzypi" but you can call it whatever you'd like.
To change the hostname type:
sudo raspi-config
Select Network Options
Select Hostname
Enter whatever hostname you want
Select Finish
It will ask if you would like to reboot the Pi now. The new hostname will not go into effect until you reboot. If you do, your Putty session will disconnect. Once it is finished rebooting you will need to use the new hostname you set to reconnect with Putty. If you were connecting using the IP address instead of the hostname then it should still be the same.
There are lots of other options you can set using the raspi-config tool but there are plenty of tutorials about that online already so I won't be going into them here.
Update Your Application Packages
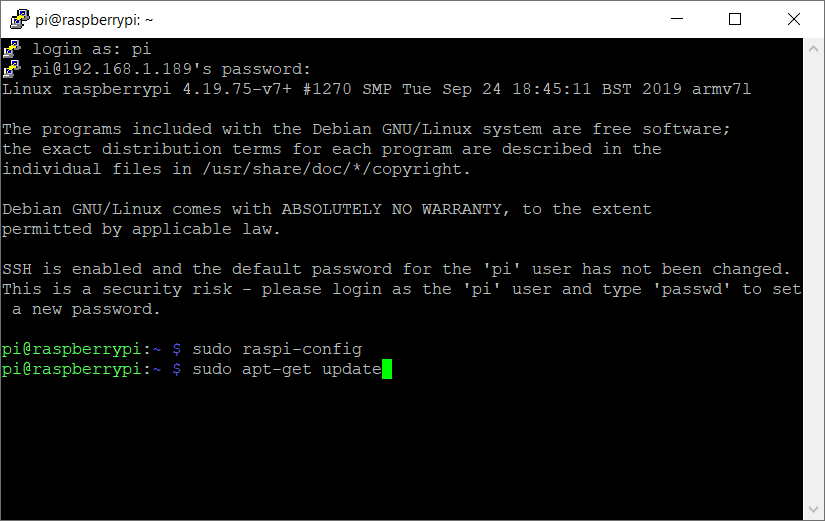
Update your application packages using the following command:
sudo apt-get update
Let it run until it is finished.
Note: Technically you don't have to type "apt-get" anymore, you can just type "apt". However, I'm so used to typing "apt-get" that it's just muscle memory for me at this point.
Install Git
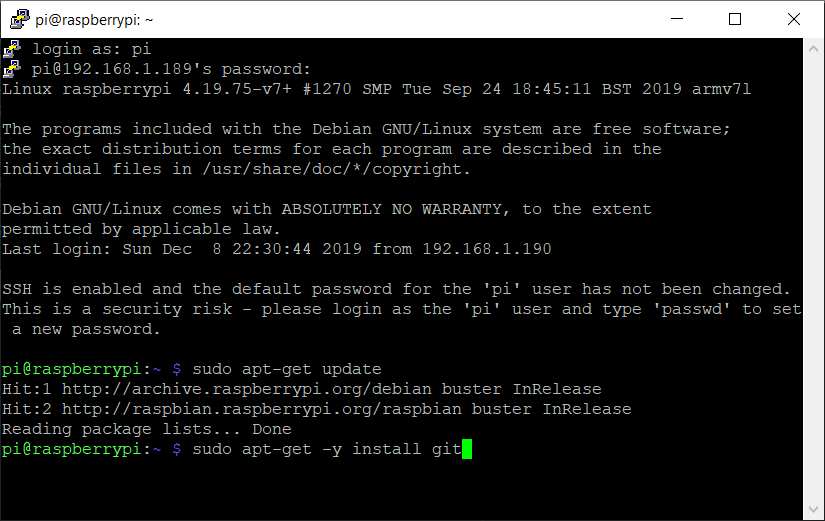
Once the application packages are finished updating install Git using the following command:
sudo apt-get -y install git
Let it run until it finishes.
Install Maven
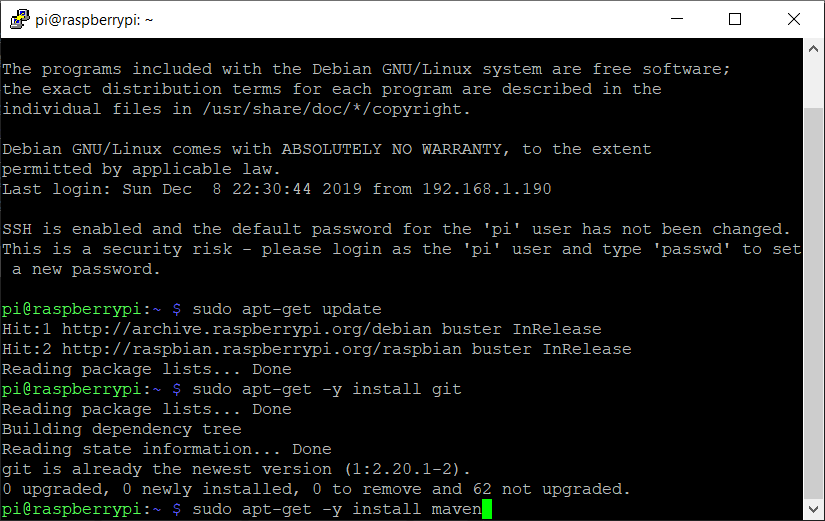
Install Maven using the following command:
sudo apt-get -y install maven
Let it run until it finishes
Download the Pretend You're Xyzzy Server Files
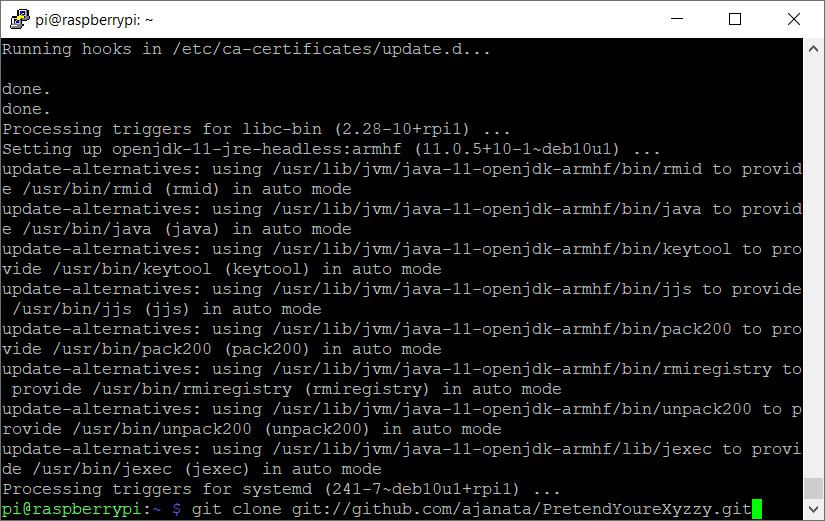
Download the Pretend You're Xyzzy server files using the following command:
git clone git://github.com/ajanata/PretendYoureXyzzy.git
This will create a directory on your Pi named PretendYoureXyzzy and download the files into it.
Let it run until it finishes.
Change to the PretendYoureXyzzy Directory
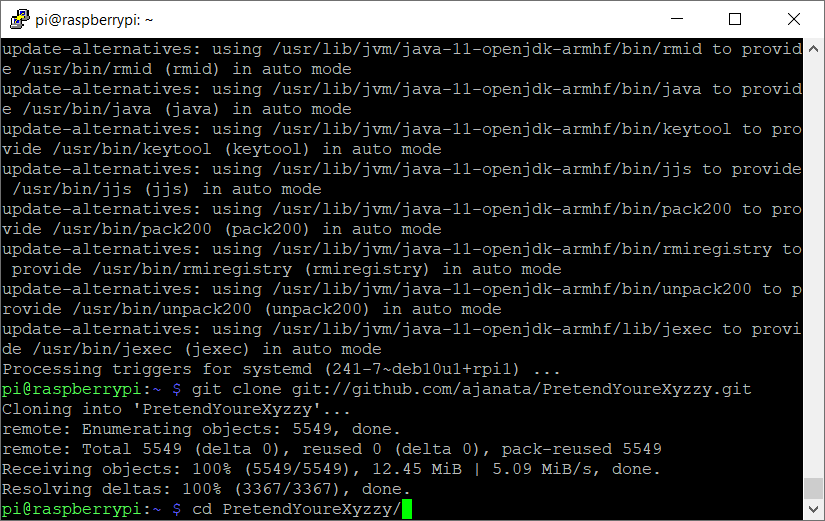
Change to the PretendYoureXyzzy directory using the following command:
cd PretendYoureXyzzy
Note: Linux commands are case sensitive so cd PretendYoureXyzzy will work but cd pretendyourexyzzy will not.
Open and Edit the "build.properties.example" File and Save It As "build.properties"
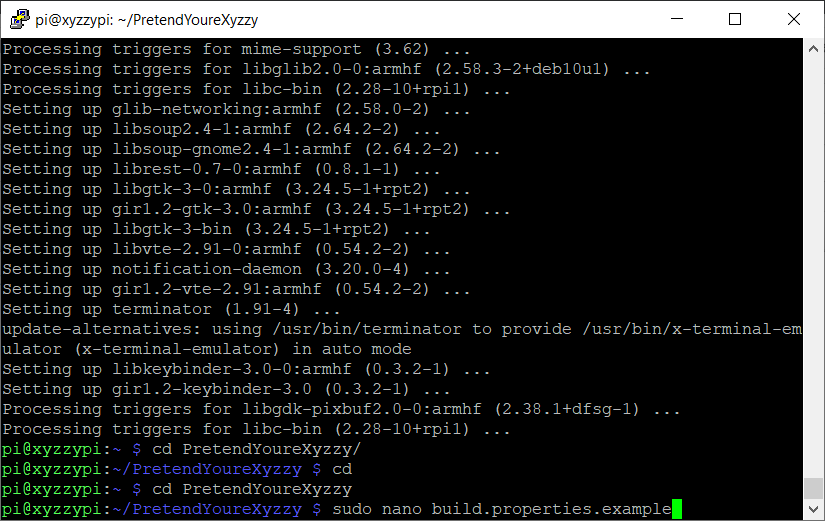
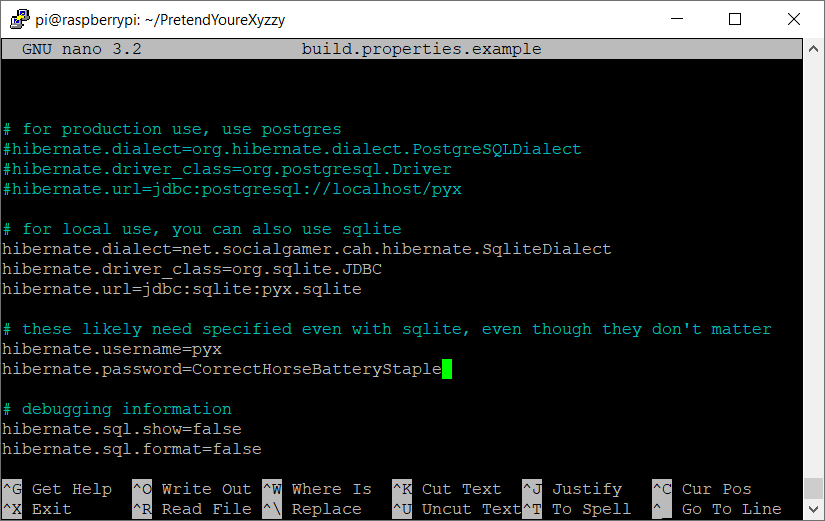
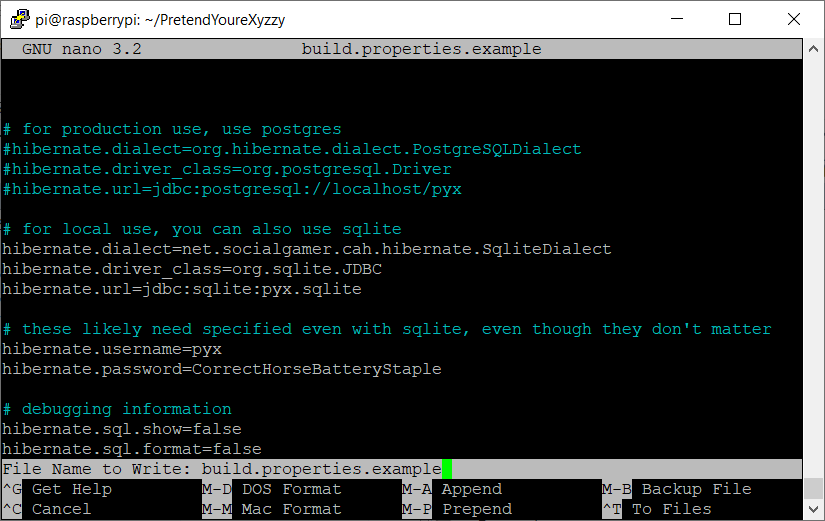
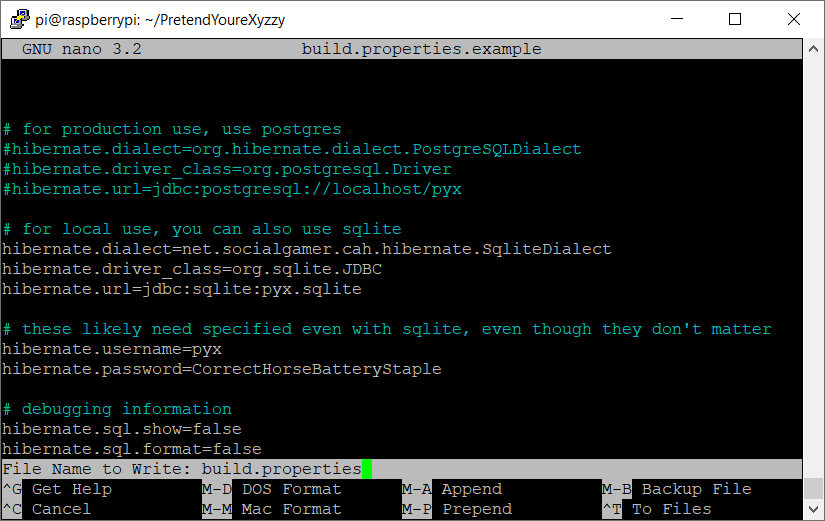
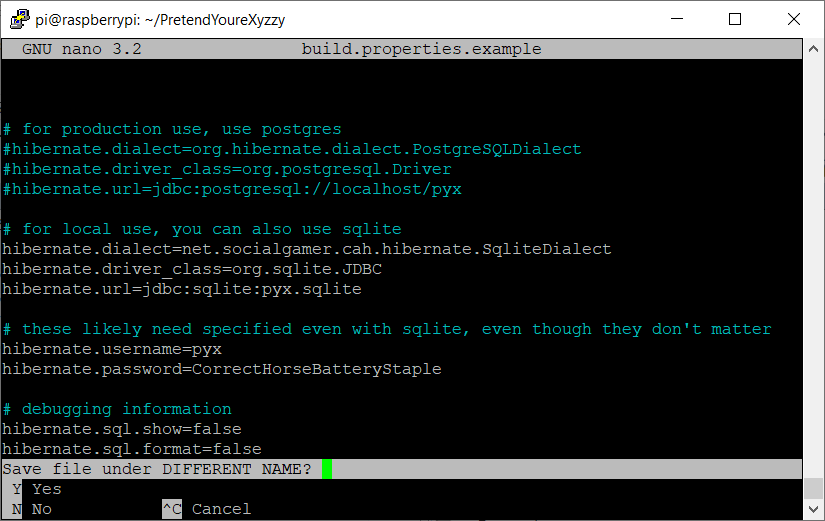
Open the build.properties.example file with nano text editor using the following command:
sudo nano build.properties.example
Using a terminal based text editor can seem a bit intimidating for those who aren't used to it but what we're doing is very simple.
Use the down arrow key to scroll down until you find the sections that say "hibernate.username" and "hibernate.password".
Use the right arrow key to move over to the end of those lines and change the username and password to something else. Honestly I don't know if it's even really necessary but I'm not comfortable leaving them on the default username and password that they came with.
Once you have changed them press ctrl+o to bring up the save dialog.
Backspace to remove the ".example" from the end of the filename so you're left with just "build.properties"
It will ask if you want to save the file under a different name. Press y for yes.
Press ctrl+x to close nano text editor.
Open and Edit the "pom.xml" File (THIS IS WHAT MAKES IT RUN ON a PI)
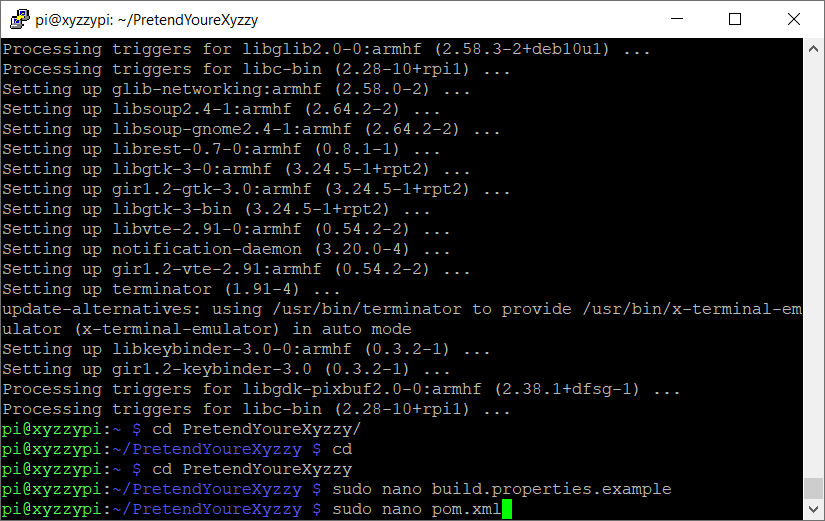
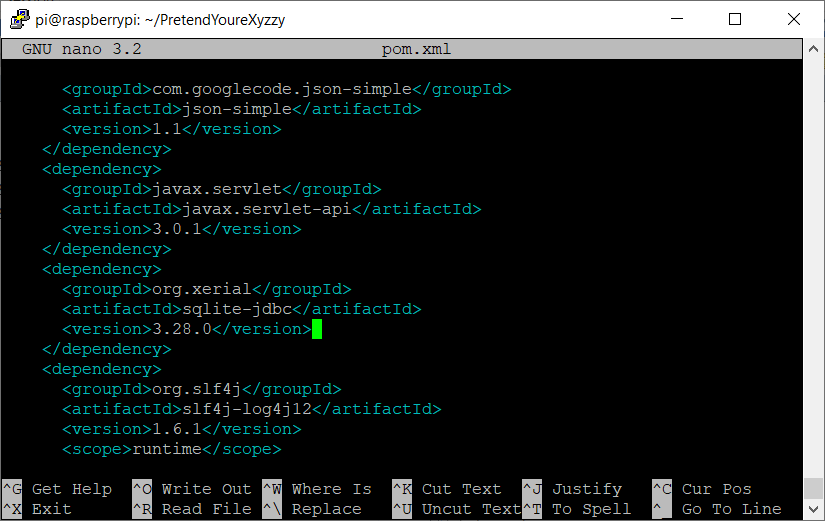
Open the pom.xml file with nano text editor using the following command:
sudo nano pom.xml
Scroll down like you did before. This time the line you are looking for is <artifactId>sqlite-jdbc</artifactId>
Just below that line is a line with a version number. You need to change that number to 3.28.0 so that it looks like:
<version>3.28.0</version>
Once you have edited the version number press ctrl+o to bring up the save dialog.
Keep the filename as "pom.xml" and save it.
Once it is saved press ctrl+x to close nano text editor.
This is the edit that makes the Pretend You're Xyzzy server run on a Pi. The sqlite-jdbc version that it comes with will not run properly on a Pi. Version 3.28.0 works great in my tests so far.
Start Up the Pretend You're Xyzzy Server and Make Sure It's Working
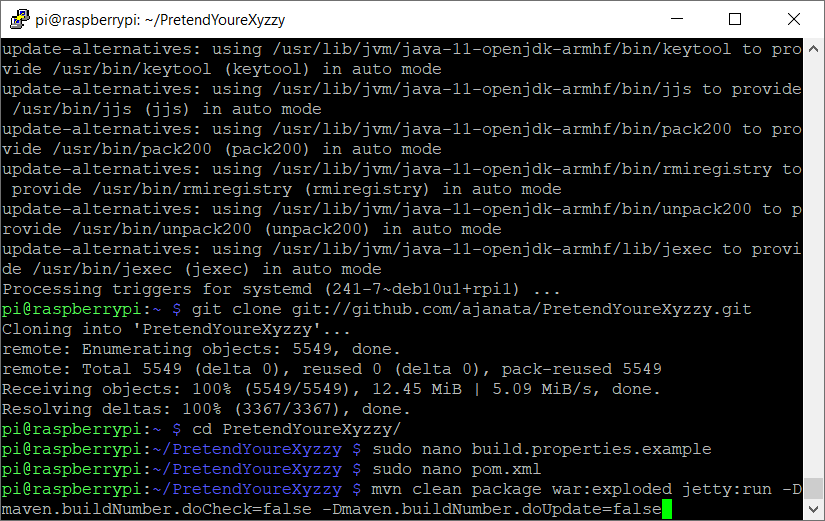
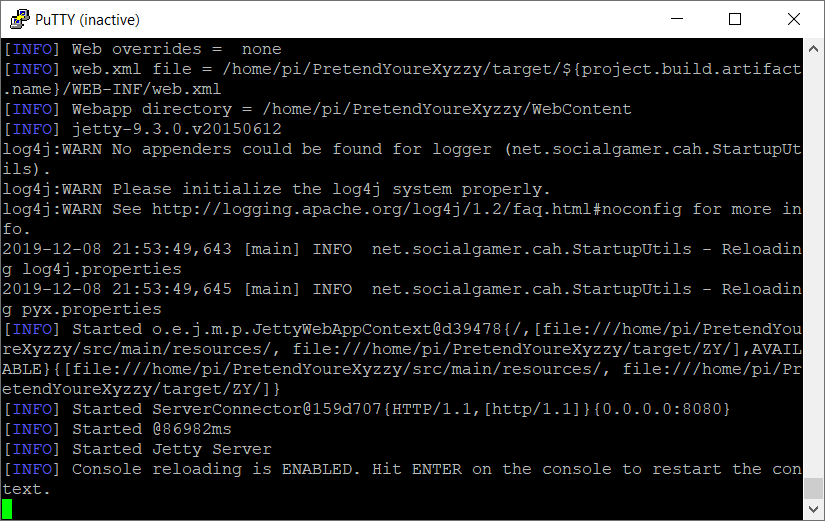
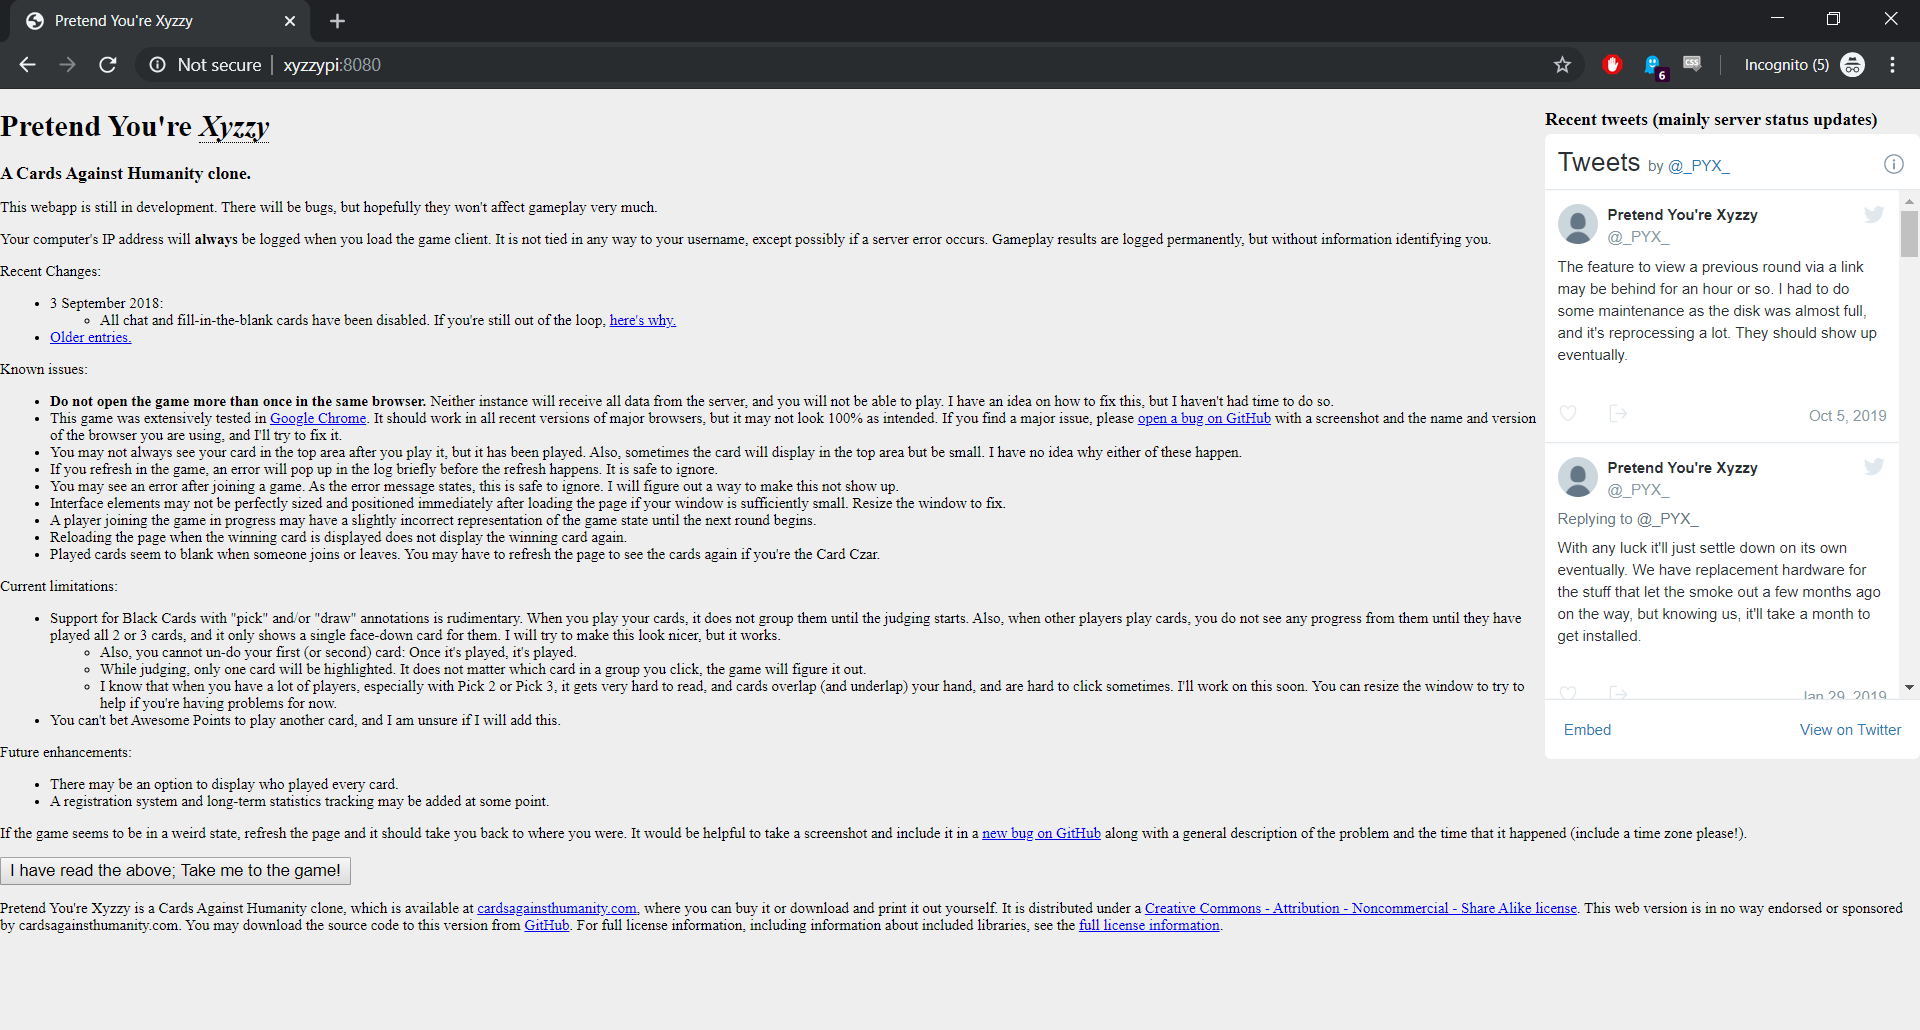
Now that you have made the necessary edits to run a Pretend You're Xyzzy server on your Pi let's start it up and see if everything works. Start the server using the following command:
mvn clean package war:exploded jetty:run -Dmaven.buildNumber.doCheck=false -Dmaven.buildNumber.doUpdate=false
It will download some additional files, compile them, and start the server. This will probably take a couple of minutes.
Note: Currently this is the only way I know how to make the server run so it will compile every time you start it.
You'll know it's done when you get a message saying "Console reloading is ENABLED. Hit ENTER on the console to restart the context."
At this point you can open your browser and type in the hostname (or IP address) of the Pi adding port 8080 at the end. So hostname:8080 or IP:8080
If you used xyzzypi as the host name it would be xyzzypi:8080 or in my case using the IP it would be 192.168.1.189:8080
If everything worked you'll be taken to the Pretend You're Xyzzy main page.
Congratulations! You've done it!
However right now it will only run if you log into your Pi with Putty and run the command above to start the server. Once you close Putty the server will stop. This might be fine for some people but you might want the Pretend You're Xyzzy server to run automatically whenever the Pi boots up or is restarted without having to log in. The next steps will cover making that work.
Make a Script to Start the Pretend You're Xyzzy Server
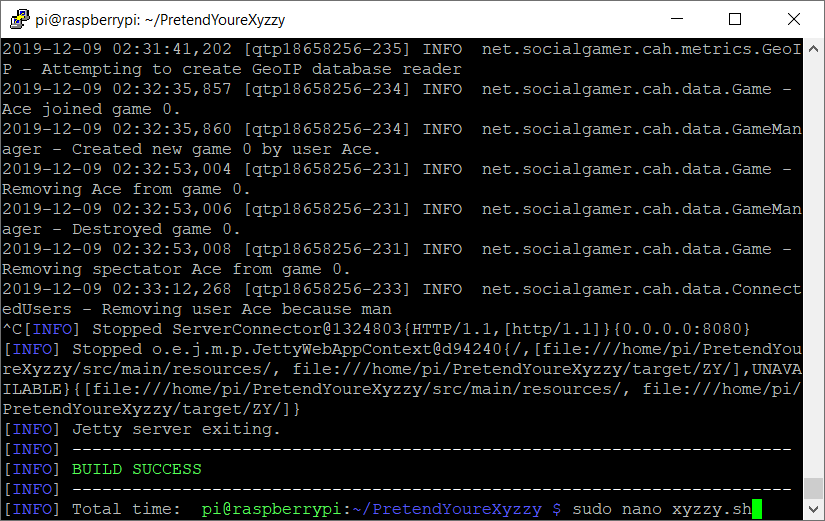
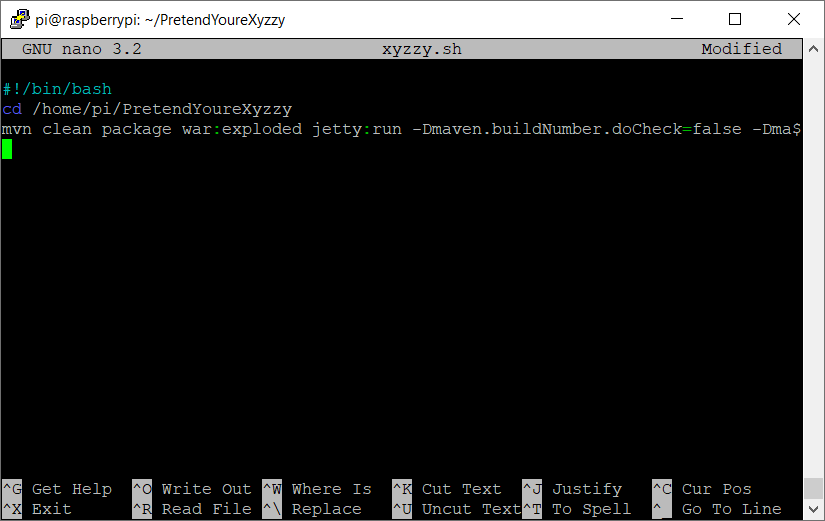
If we want the Pretend You're Xyzzy server to start automatically when the Pi boots or reboots the first thing we need to do is create a script.
Press ctrl+c to stop the server.
Once it stops type the following command:
sudo nano xyzzy.sh
Note: I named my script xyzzy.sh but you can name it whatever you'd like. Just make sure it has .sh as the file extension.
Using nano text editor type or paste the following into the file:
#!/bin/bash
cd /home/pi/PretendYoureXyzzy
mvn clean package war:exploded jetty:run -Dmaven.buildNumber.doCheck=false -Dmaven.buildNumber.doUpdate=false
Press ctrl+o to bring up the save dialog
Save the file and press ctrl+x to close nano
Make Your Script Executable
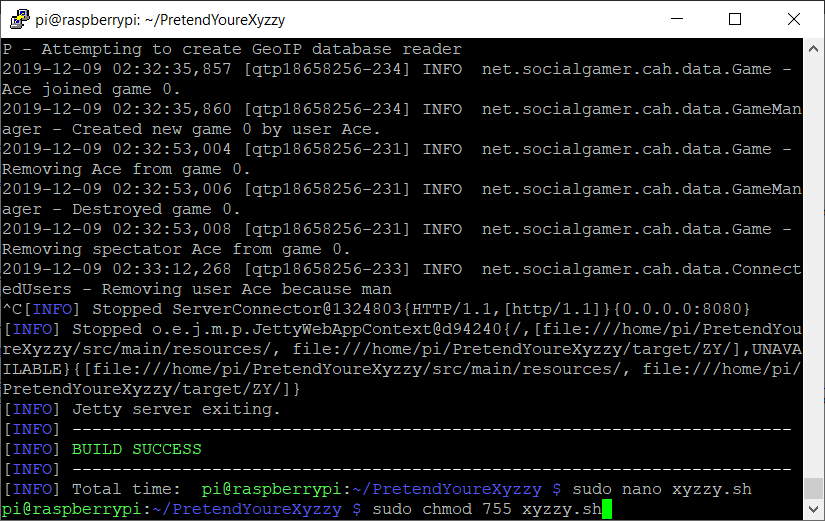
We need to make the script executable using the following command:
sudo chmod 755 xyzzy.sh
Note: If you named your script something different in the previous step then use that filename instead.
Create a Crontab Entry to Automatically Run Your Script on Boot
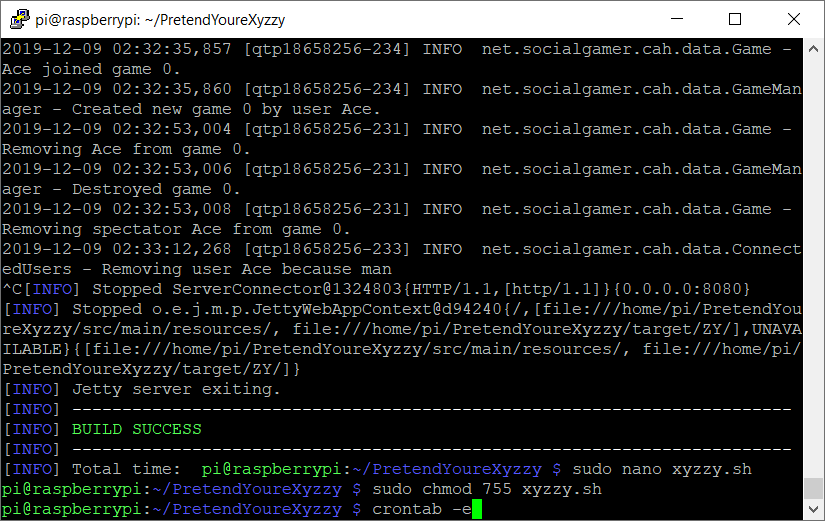
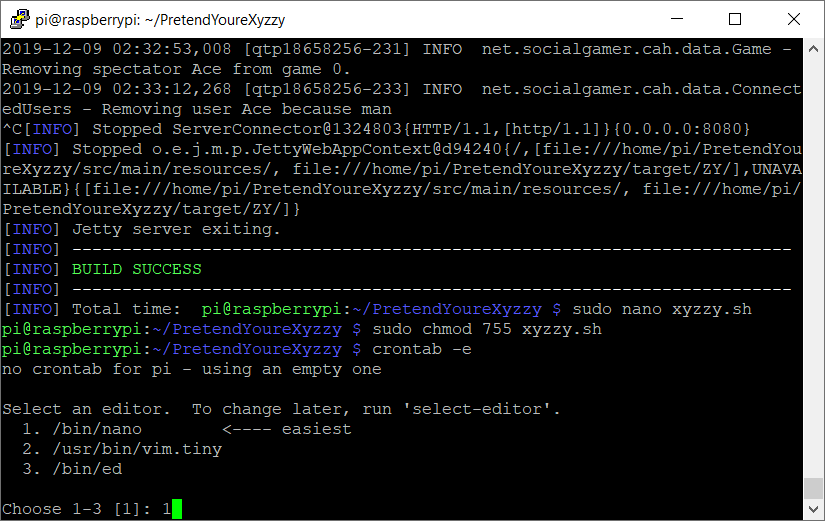
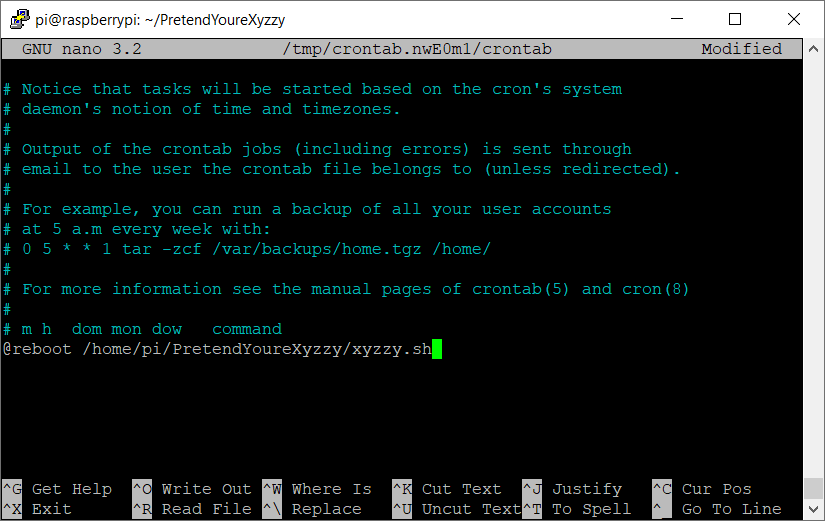
There are multiple ways to make a script run on boot. I'm using crontab here.
Edit the crontab tables using the following command:
crontab -e
It's going to ask which editor you want to use. Type 1 and press enter to use nano.
Once it opens scroll all the way to the bottom and add the following line:
@reboot /home/pi/PretendYoureXyzzy/xyzzy.sh
Note: Again, if you used a different filename for your script type that instead.
Press ctrl+o to bring up the save dialog.
Save and press ctrl+x to close nano.
Reboot Your Pi and See If You Can Connect to Pretend You're Xyzzy
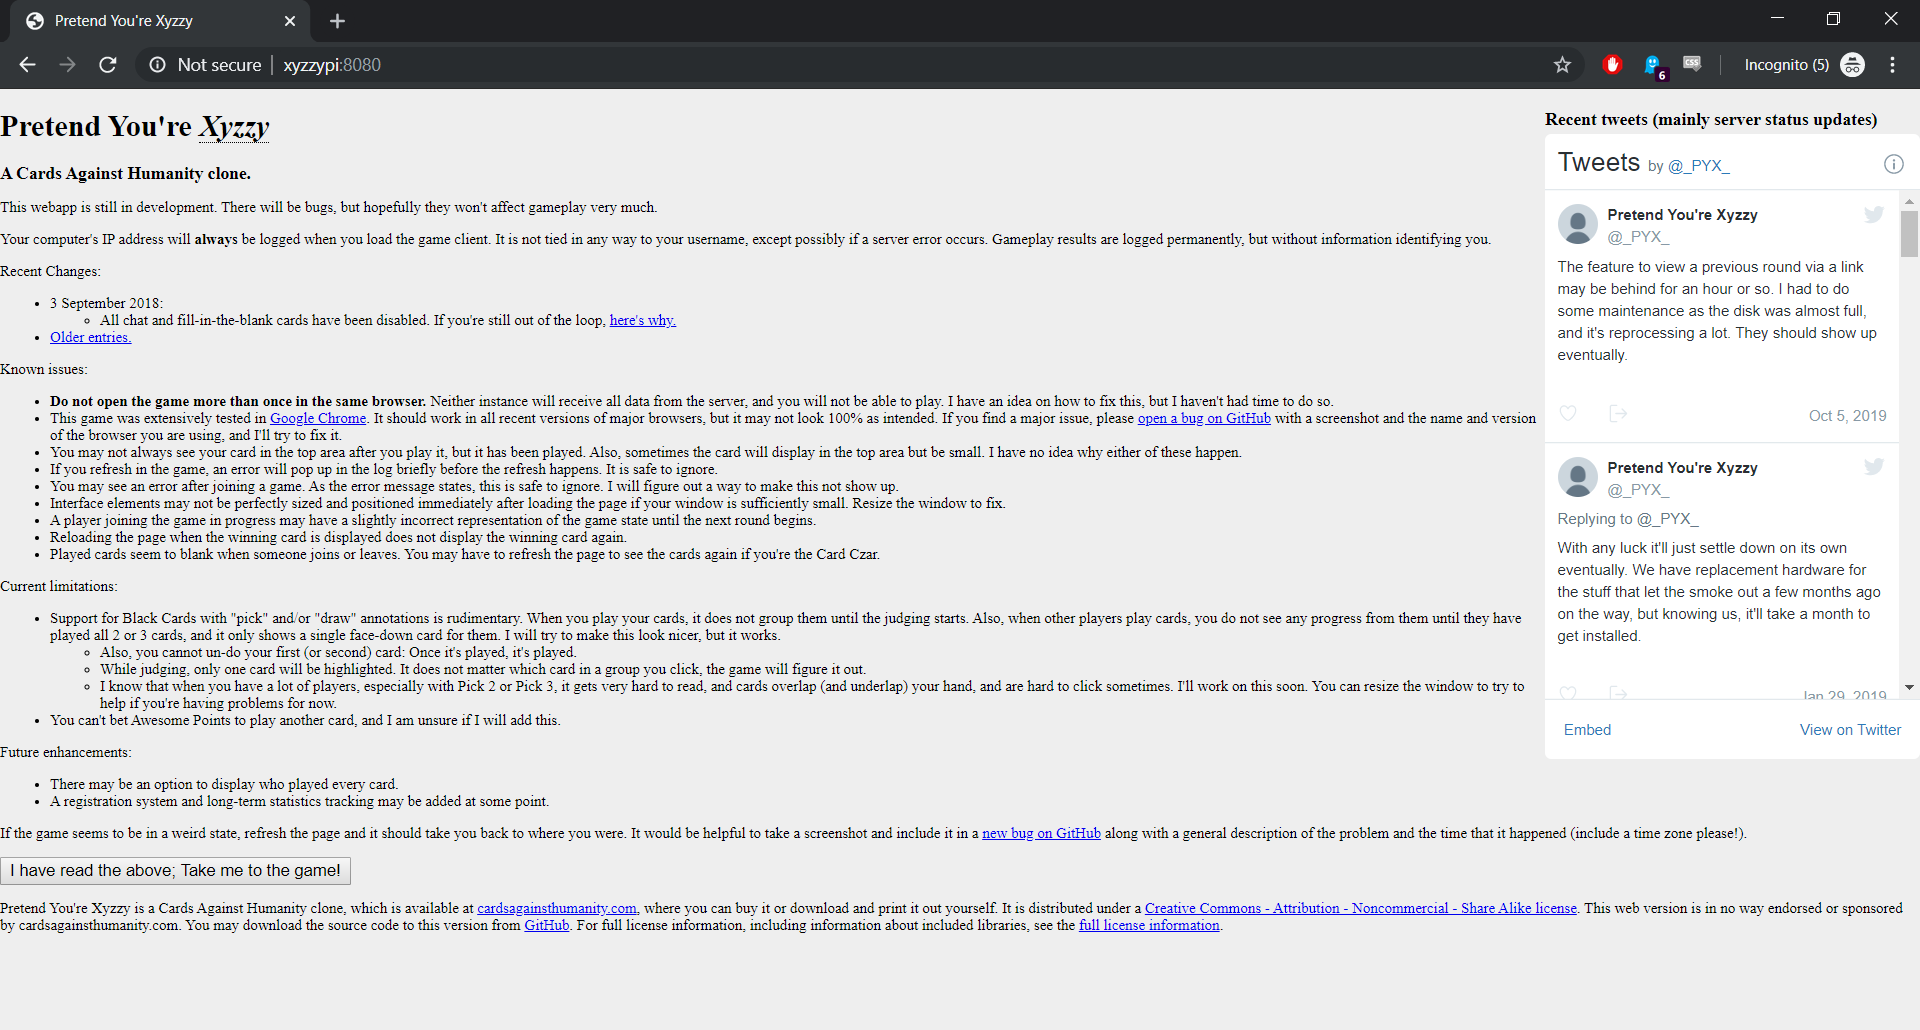
Now that you have your Pretend You're Xyzzy server set to run on boot you can reboot the Pi and make sure it all works.
Reboot using the following command:
sudo reboot
Once the Pi boots back up it will take a couple of minutes to recompile everything for the server. Give it time and then try to connect in the browser again either using the hostname or the IP of the Pi adding port 8080 at the end.
xyzzypi:8080 or IPaddress:8080
If everything worked you'll be taken to the Pretend You're Xyzzy page.
Congratulations! You now have Pretend You're Xyzzy server that runs automatically on a Raspberry Pi!
Optional: Forward Ports to Allow Access to Your Pretend You're Xyzzy Server Over the Internet
So now you have a working Pretend You're Xyzzy server but at the moment it is only accessible on your local network. This works fine if you have a group of friends over to play at your house but people outside of your local network won't be able to connect.
You'll need to look up port forwarding instructions for your specific router if you don't already know how. Pretend You're Xyzzy uses port 8080 so that's the port you'll want to forward. Once you have it set up you'll be able to give your friends your external IP address and port and they'll be able to connect to your server over the internet.
If you wanted you could also set up Dynamic DNS so that you have your own URL (something like JoesPYXserver.noip.com) to give out to friends to connect to your server. There's lots of tutorials already out there for that sort of thing.