Preparing a Hardware Independent Windows 7 Image
by natrinicle in Circuits > Microsoft
177846 Views, 32 Favorites, 0 Comments
Preparing a Hardware Independent Windows 7 Image
Materials Required:
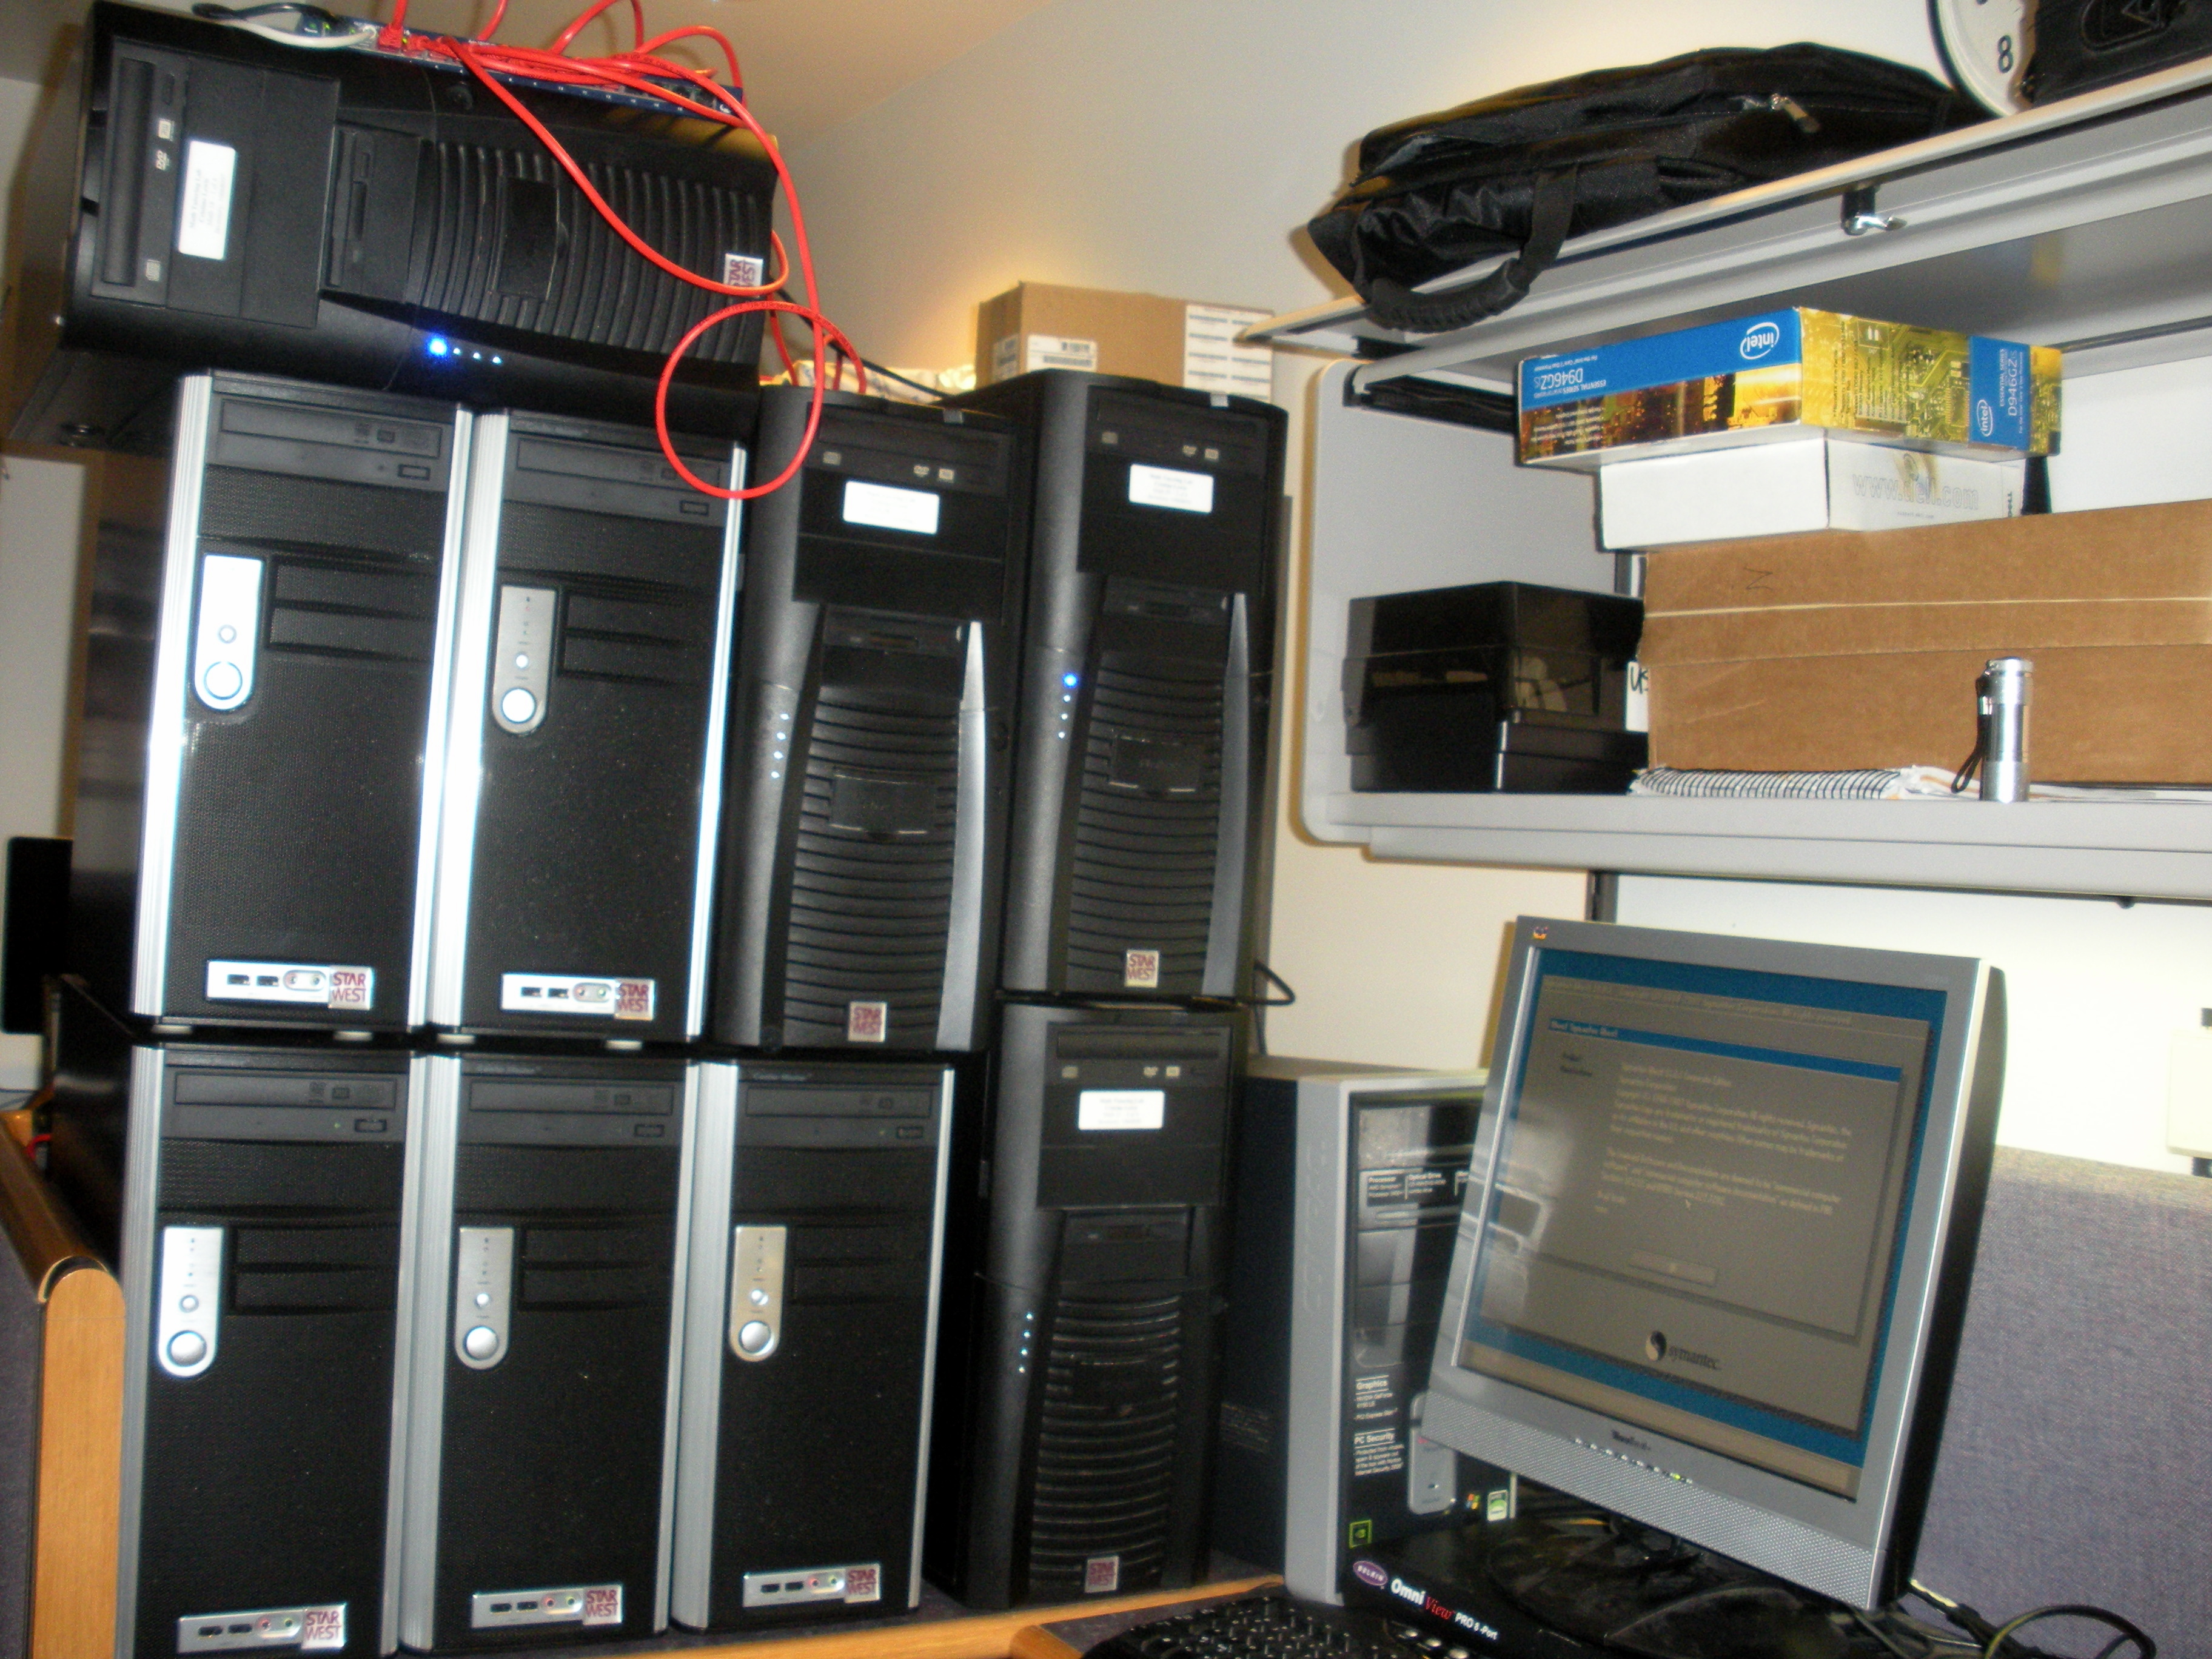
- A spare computer or a virtual machine
-
Another computer that can be used to assist with the imaging process
(It will be helpful to have Windows 7 installed on it as well) -
A copy of Windows 7 Enterprise
(We are using a KMS Licensing Server on campus instead of product keys, however each setup may be different) - Any additional software that may be required in the image
-
A copy of an imaging software
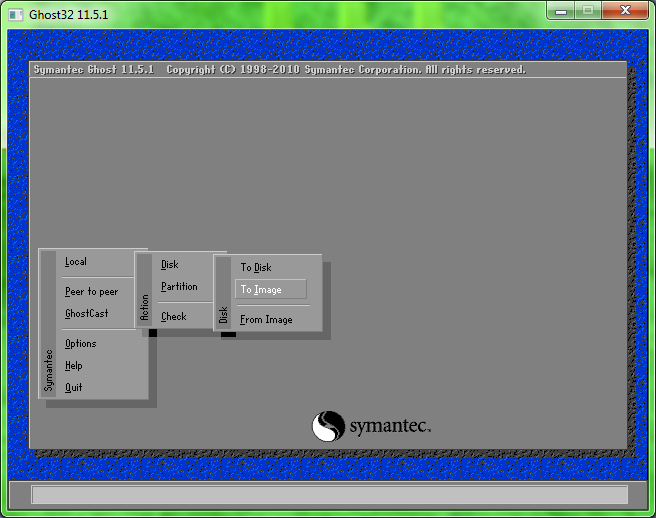
(I personally use FSArchiver, however Norton Ghost or Acronis are also good choices) - Internet access
- A blank DVD and a DVD burner
NOTE:
If using a spare computer make sure that the processor is an AMD or that Intel machines are the only computers that will be restored to in the future. For some reason Intel's processor driver is incompatible with AMD machines but not vice versa. Also, if using a virtual machine, make sure to run it on a computer that's powerful enough to run both the original operating system as well as the virtual machine.
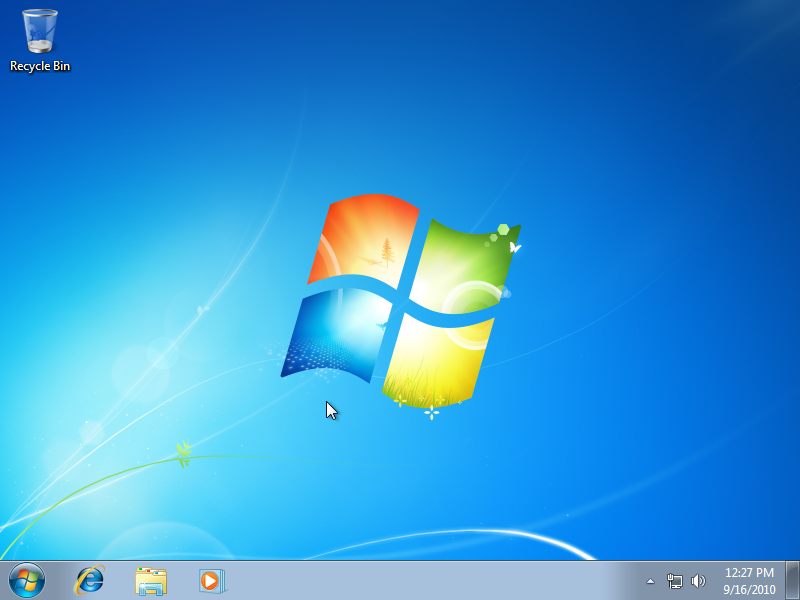
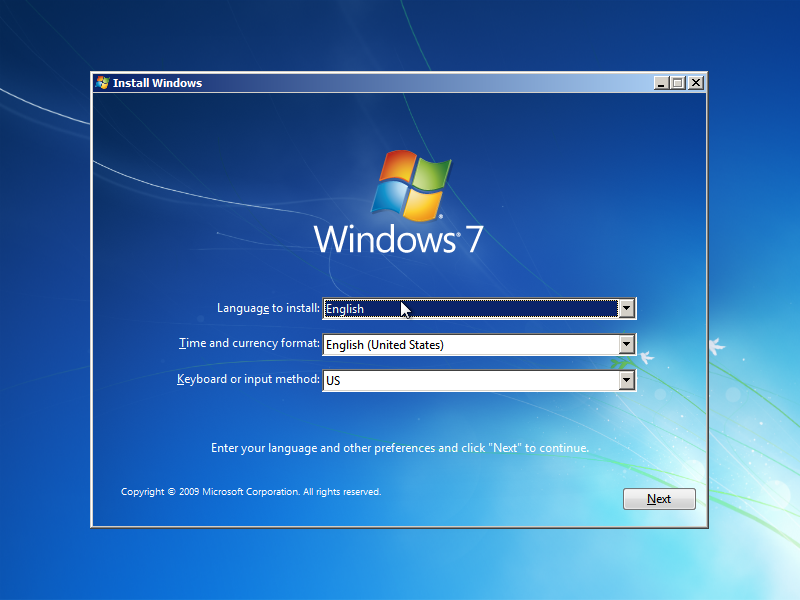
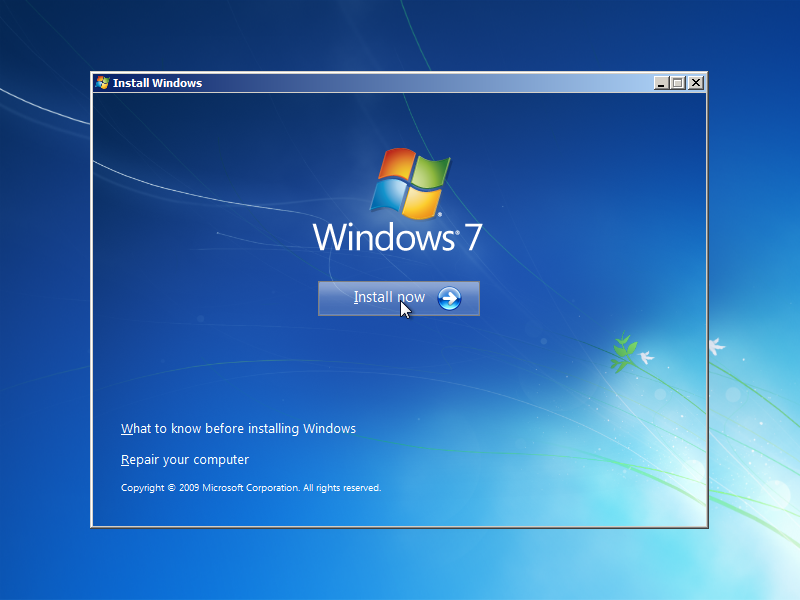
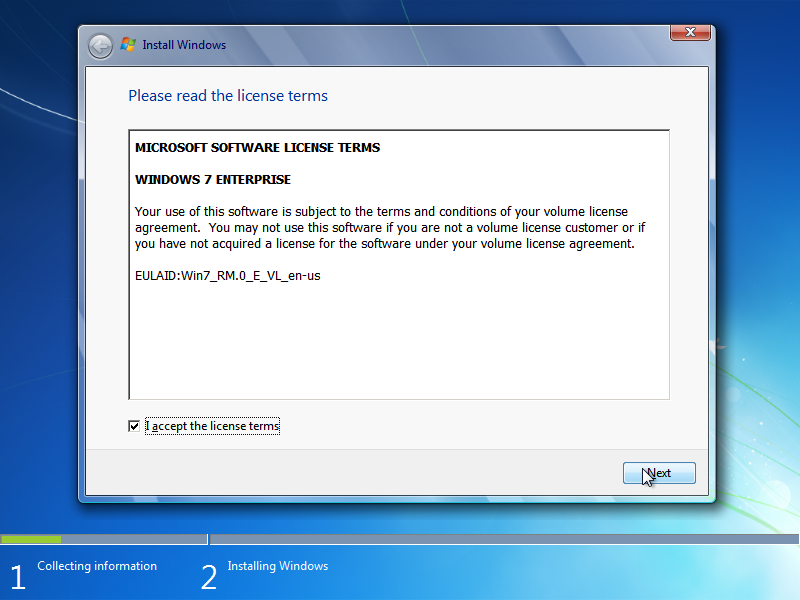
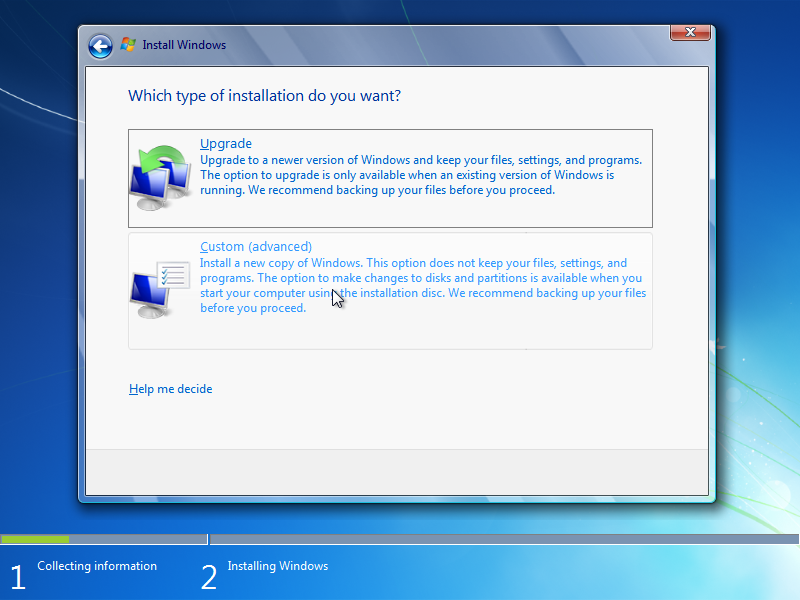
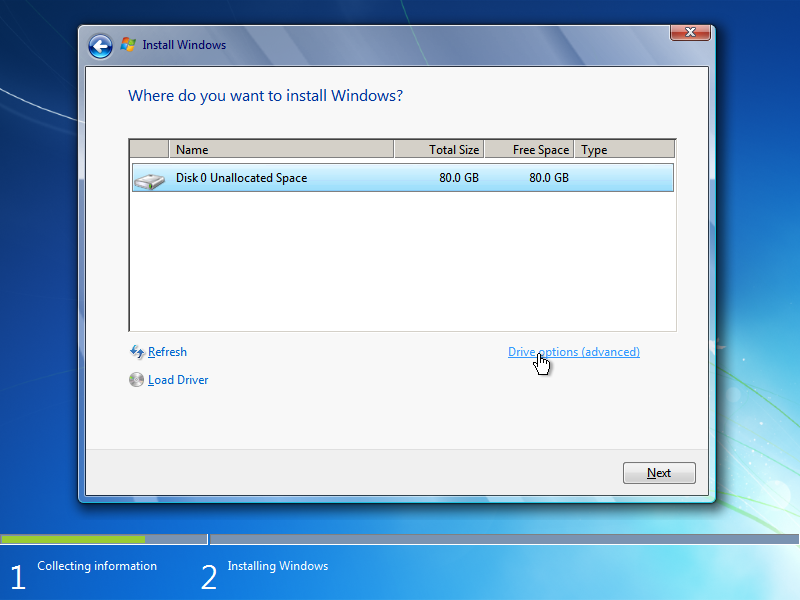
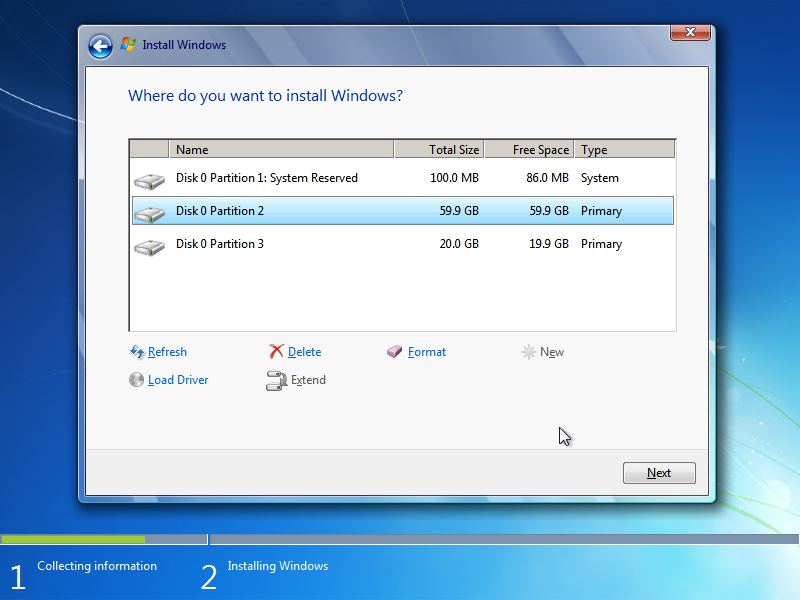
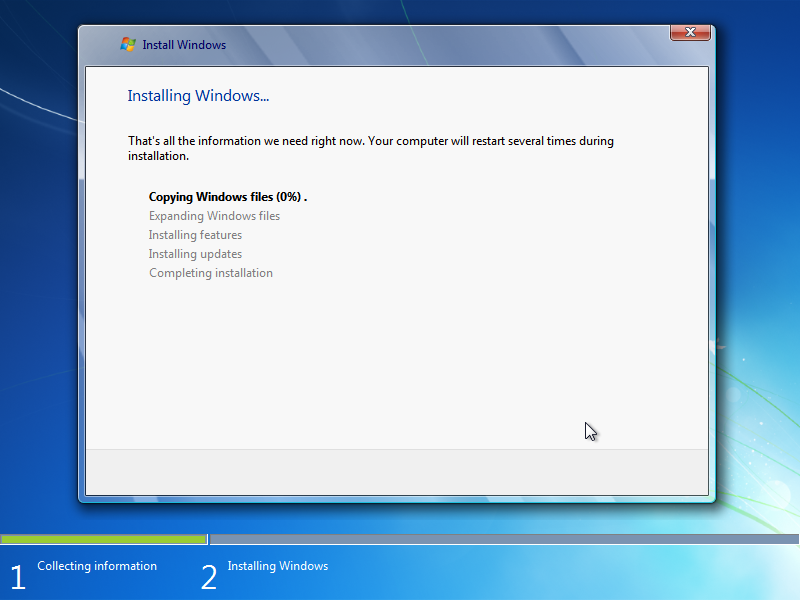
Install Windows

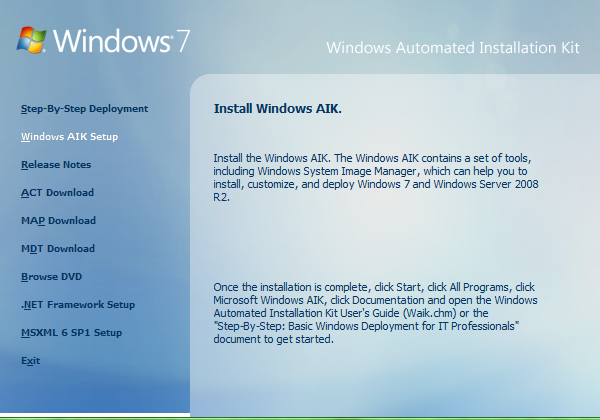
Install the Windows Automated Installation Kit (WAIK)
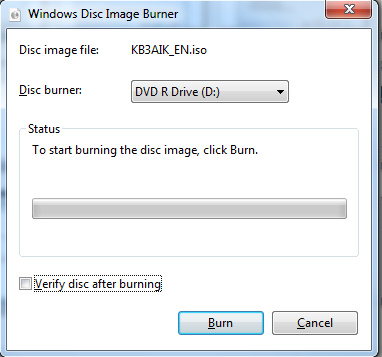
- Download the KB3AIK_EN.iso file from this link.
- Double click the ISO file to open the Windows Disc Image Burner
- Select the drive to burn to
- Choose whether or not to verify the disc
- Choose burn to start the burn process
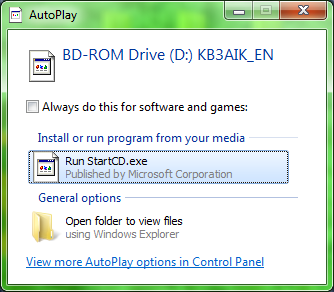
- Re-insert the disc after it is done burning
- Click Run StartCD.exe from the AutoPlay options
- Click Windows AIK Setup from the setup splash screen
- Follow the installer through by clicking next until the end and then click finish
Prepare the Sysprep Settings File
- Copy the install_Windows 7 ENTERPRISE.clg file from the Sources folder on the Windows 7 installation disc to somewhere that it can be found easily.
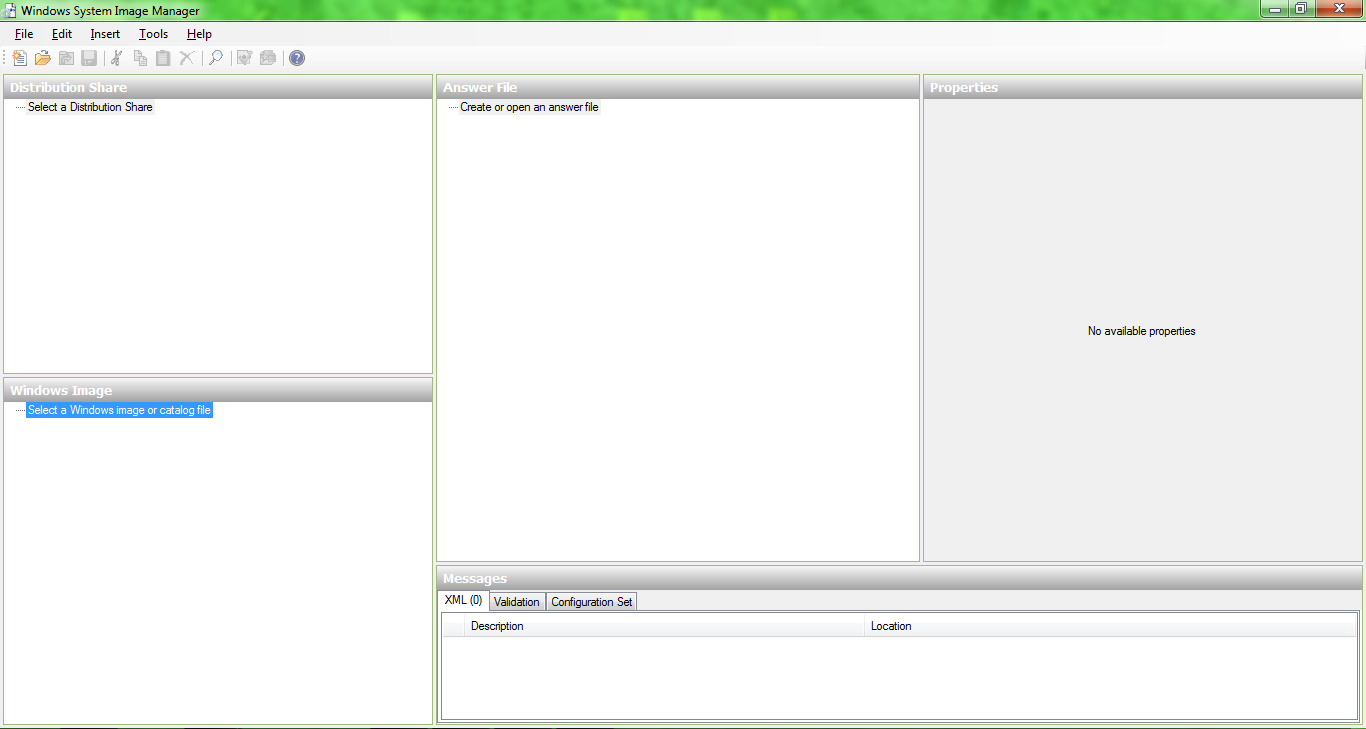
- Open the Windows System Image Manager from the Microsoft Windows AIK start menu folder that was created when WAIK was installed.
- Click the new answer file icon at the top of the System Image Manager.
- Click yes to when it asks to open a windows image.
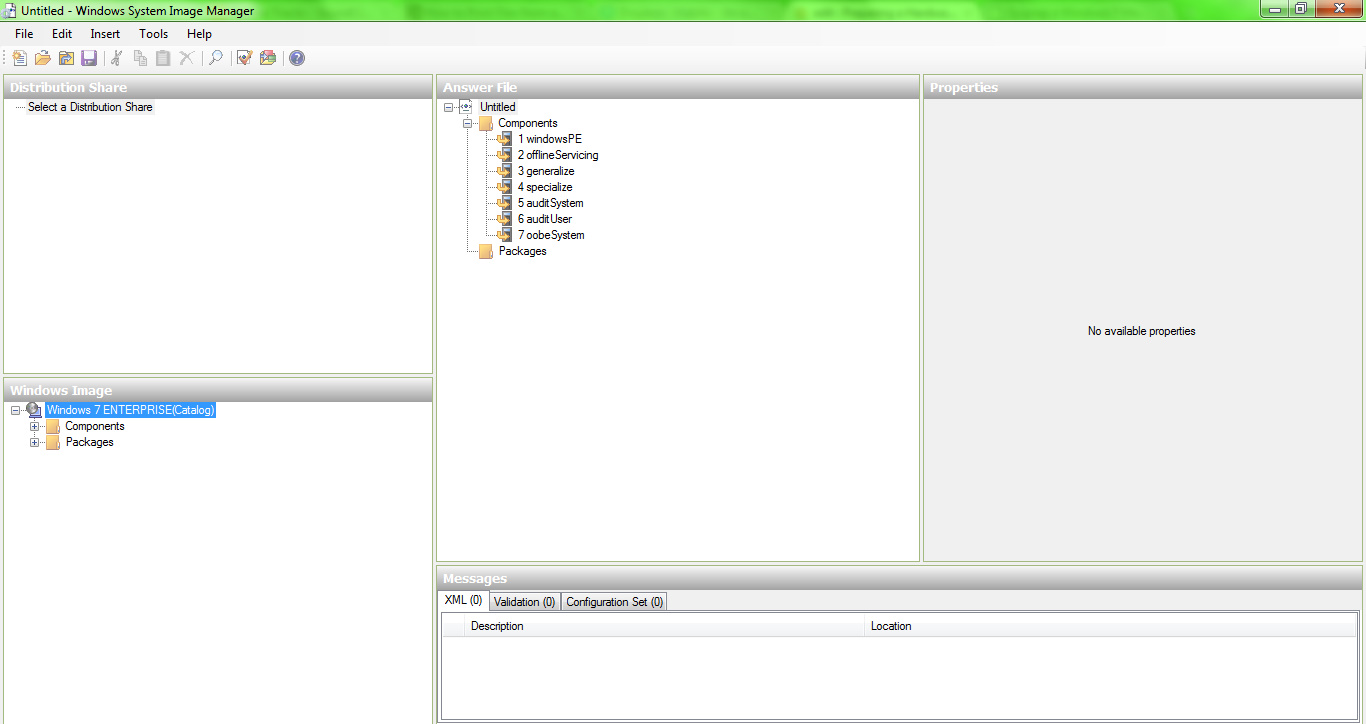
- Drag the items below from the Windows image components section on the lower left of the Windows System Image Manager onto the corresponding steps in the center top answer file section.
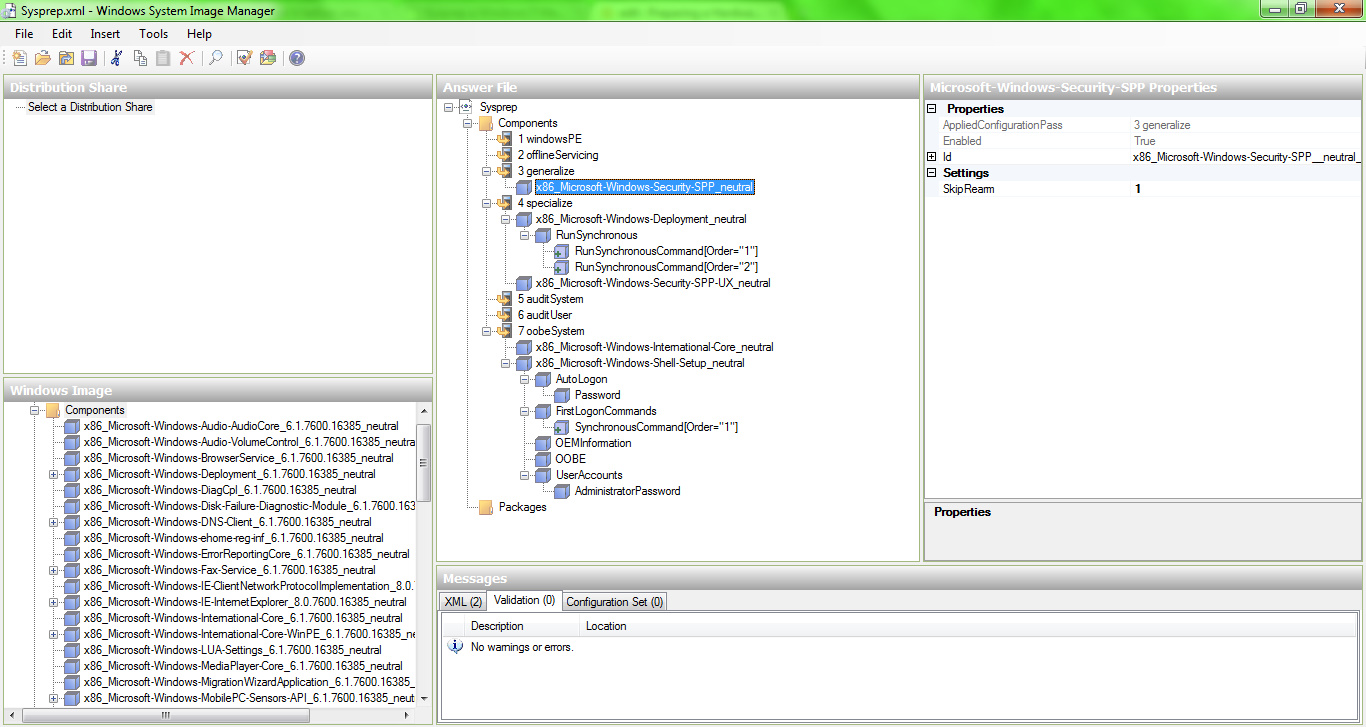
- Set the correct information for each component's sub settings in the component properties section referring to the sample unattend.xml below. For the synchronous commands in steps 3 and 7 simply right click on the section that it goes in and click Insert New SynchronousCommand.
- Click file, save answer file as, and choose a place to save the file as unattend.xml.
- Open the unattend.xml file in Notepad and make sure the ComputerName opening and closing tags line is removed in order to have setup prompt for a computer name after imaging.
Sample unattend.xml settings:
3 Generalize
+x86_Microsoft-Windows-Security-SPP_neutral
SkipRearm=1
4 Specialize
+x86_Microsoft-Windows-Deployment_neutral
+RunSynchronous
+RunSynchronousCommand[order="1"]
Order=1
Path=net user administrator /active:yes
WillReboot="Never"
+RunSynchronousCommand[order="2"]
Order=2
Path=net accounts /maxpwage:unlimited
WillReboot=Never
+x86_Microsoft-Windows-Security-SPP-UX_neutral
SkipAutoActivation=true
7 oobeSystem
+x86_Microsoft-Windows-International-Core_neutral
InputLocale=en-us
SystemLocale=en-us
UILanguage=en-us
UserLocale=en-us
+x86_Microsoft-Windows-Shell-Setup_neutral
DoNotCleanTaskbar=true
RegisteredOrganization=(Organization)
RegisteredOwner=(Owner)
+Autologin
Enabled=true
LogonCount=1
Username=Administrator
+Password
Value=(AdminPassword)
+FirstLogonCommands
+SynchronousCommand[Order="1"]
Action=AddListItem
CommandLine=(Anything needing to be run after setup is done. We run a hardware inventory application called OCS Inventory)
Description=(User friendly name of the application)
Order=1
RequiresUserInput=(True if application needs user input)
+OEMInformation
HelpCustomized=true
(Fill in the other fields with organization's information)
+OOBE
HideEulaPage=true
NetworkLocation=Work
ProtectYourPC=true
+UserAccounts
+AdministratorPassword
Value=(AdminPassword)
Downloads
Install Programs & Customize Settings
Microsoft Office
CCleaner
Google Chrome
Mozilla Firefox
Settings
Screensaver
Wallpaper
Windows Update
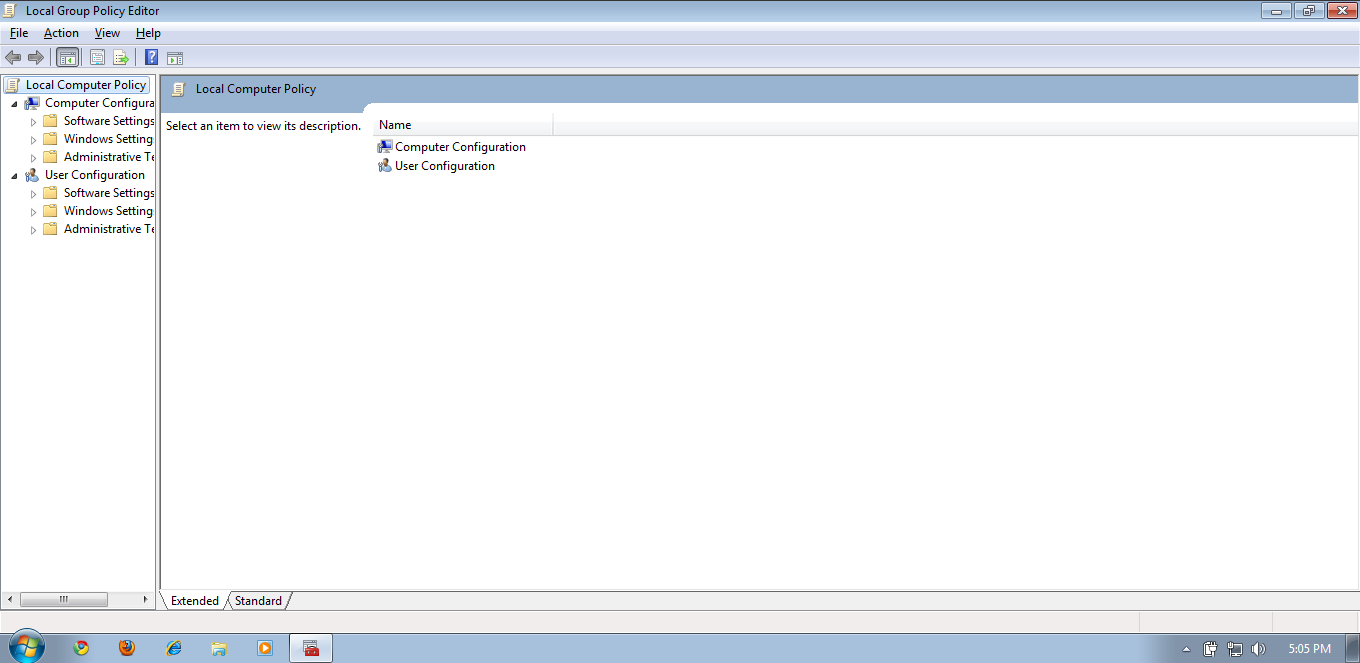
GPEdit.msc
Sysprep the Machine
- Copy the unattend.xml file that was created in step 3 into the %WinDir%\system32\sysprep folder.
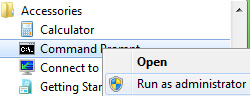
- Open a command prompt as the administrator. Do this by opening the start menu, clicking all programs, clicking the accessories folder, right clicking on the command prompt, and clicking run as administrator.
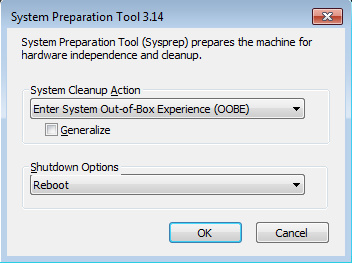
- Run the command "C:\Windows\System32\Sysprep\Sysprep.exe /generalize /oobe /shutdown /unattend:unattend.xml" in the command prompt.
NOTE:
An image should only be sysprepped once. Be sure to take a virtual machine snapshot or image the computer before sysprepping if later changes are necessary.
Pull the Image
Push the Image

Conclusion