Precision Name Tags
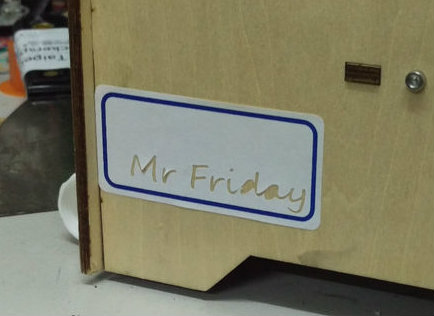
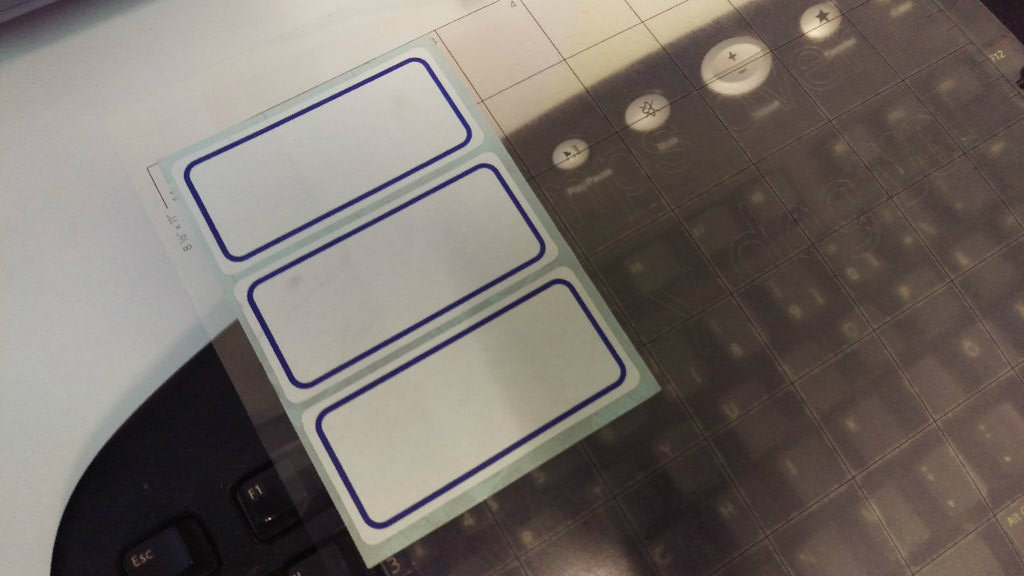
This instructable is part of the June Instructables Build Night with Silhouette at the Taipei Hackerspace.
Silhouette Portrait is a small electronic cutting machine, and to test it out, we've put it to work for our event with one of the essential element of many social occasions: the humble name tag.
The idea was to use the name tag stickers (think of "Hi, my name is blank ") and instead of writing on it, cut the names out for a cool negative space effect!
For this all you need is a couple of self-adhesive stickers (see above a batch of 3), a Silhouette, and a few names (pretty sure you have plenty of that around!).
Step 1: Design
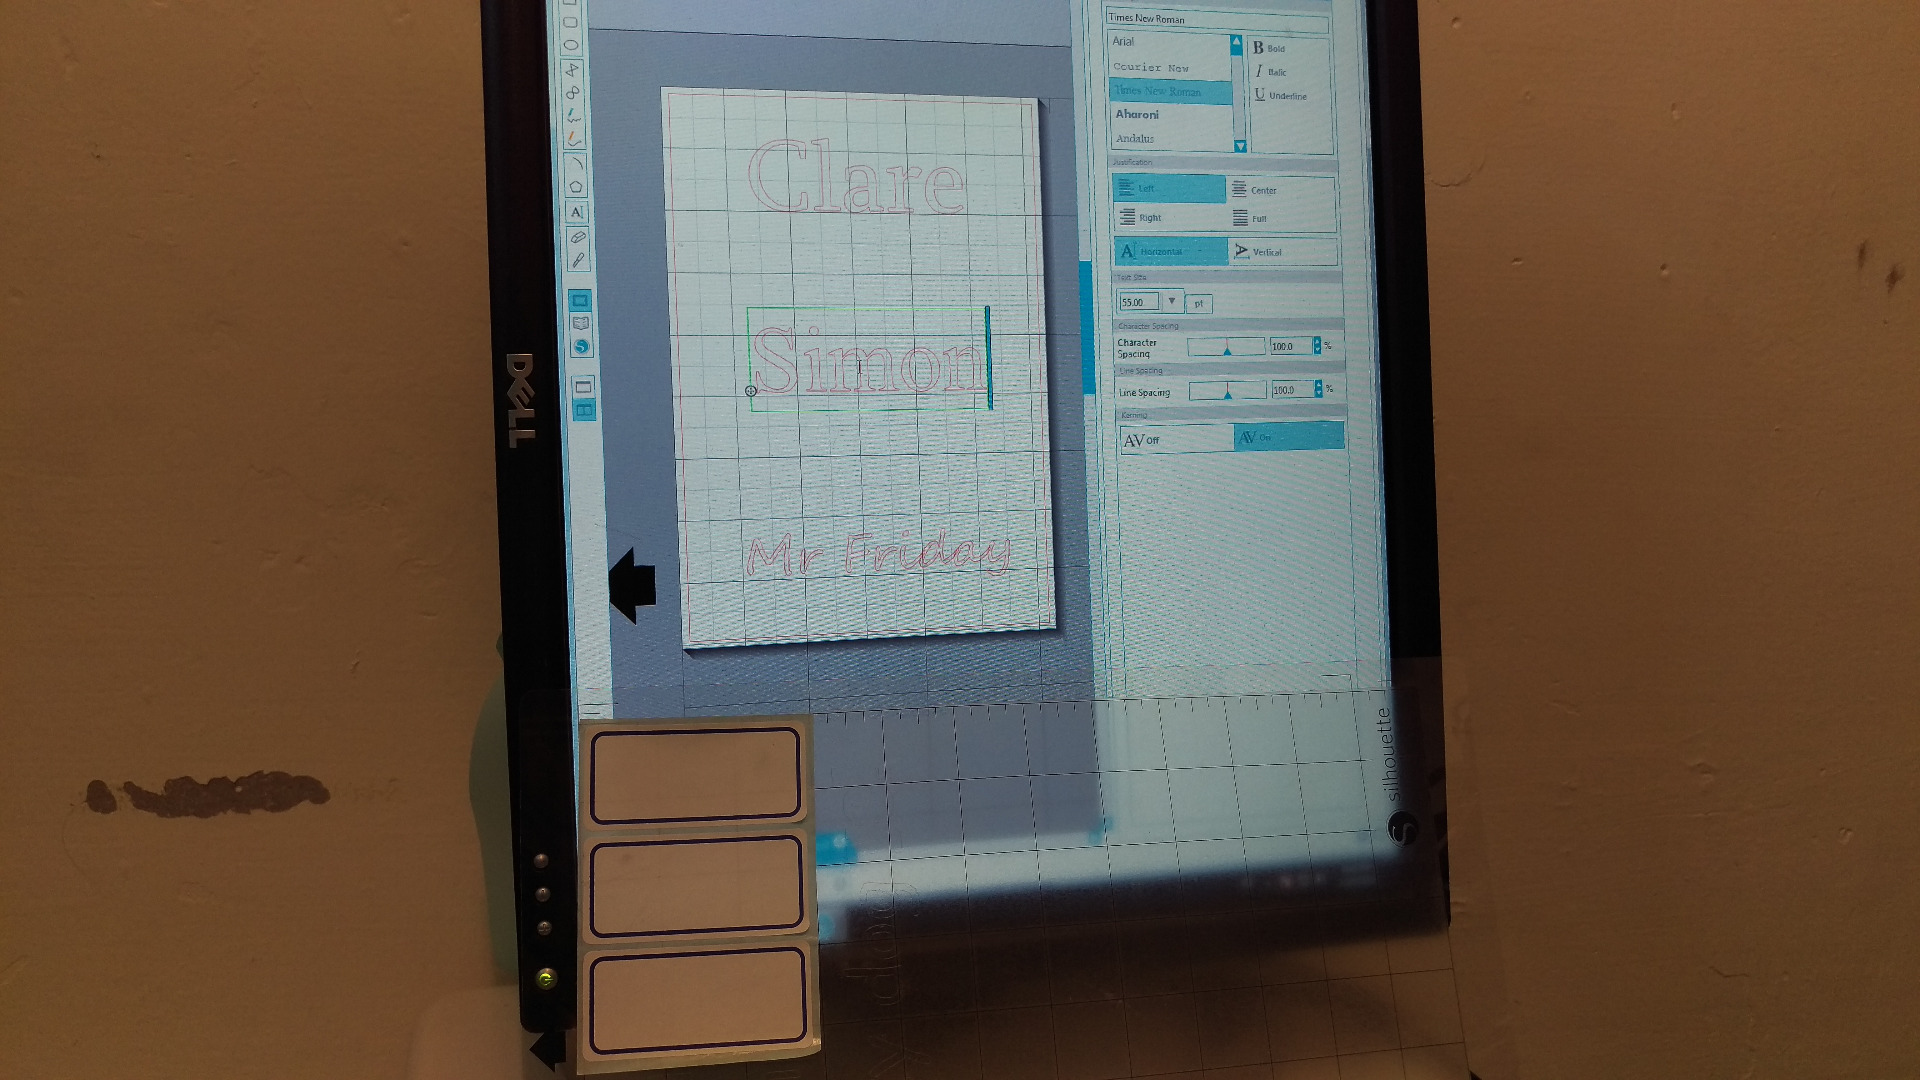
The design starts with measuring the total area of the stickers at hand, and entering those dimensions into Silhouette Studio. See above on the picture the stickers and their representation in the designer software. The grid is enabled for easier "eyeing" of the positions of the separate sticker areas within the batch.
After picking 3 names, they were entered into the design software, and all of them were customized with a font that somehow represented the personality of the person (sophisticated, classic, playful... just some of the adjectives we've come up with for each).
Using the grid, position the text such that they would fall onto the right areas on the sticker (not going across the space between them).
When the design is considered satisfactory, attach the stickers to the cutter's base board: it has a sticky surface, and position the target to be cut according to the directions shown in the Studio.
Step 2: Cut the Design
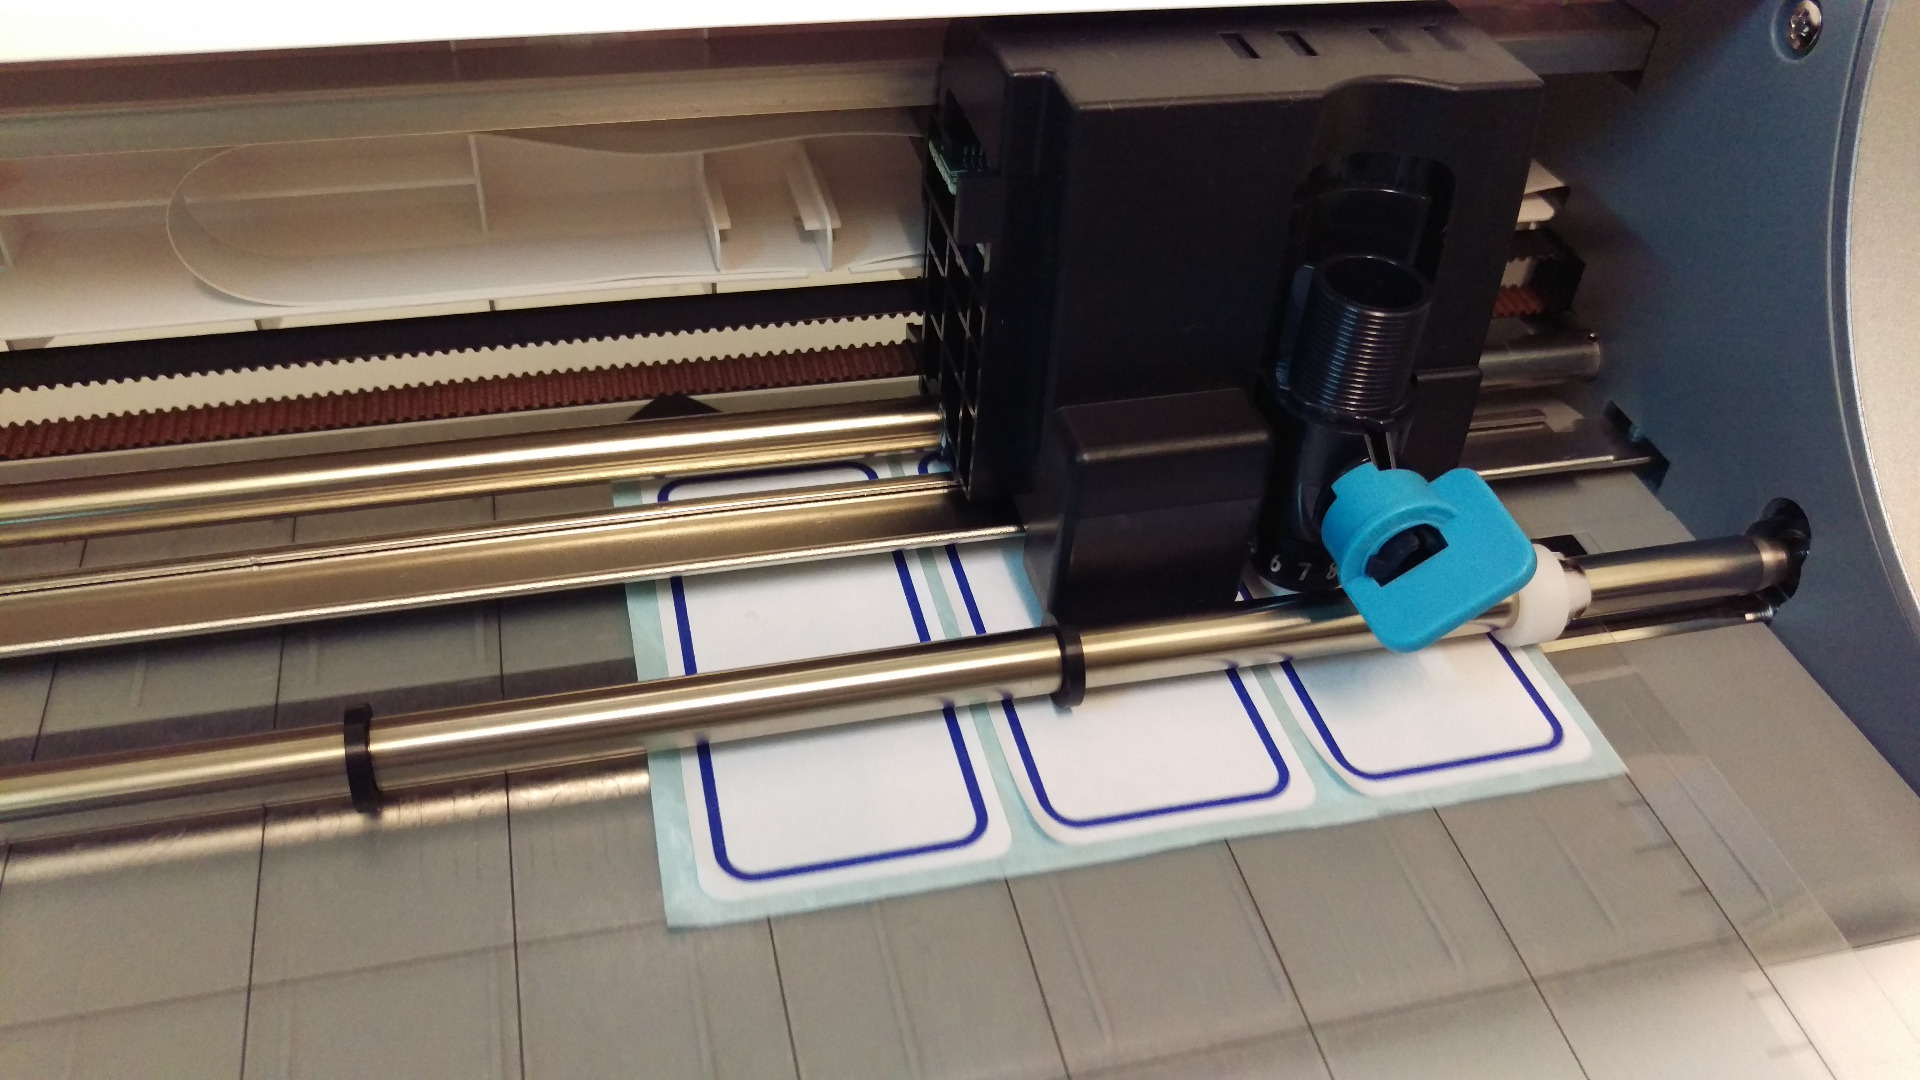
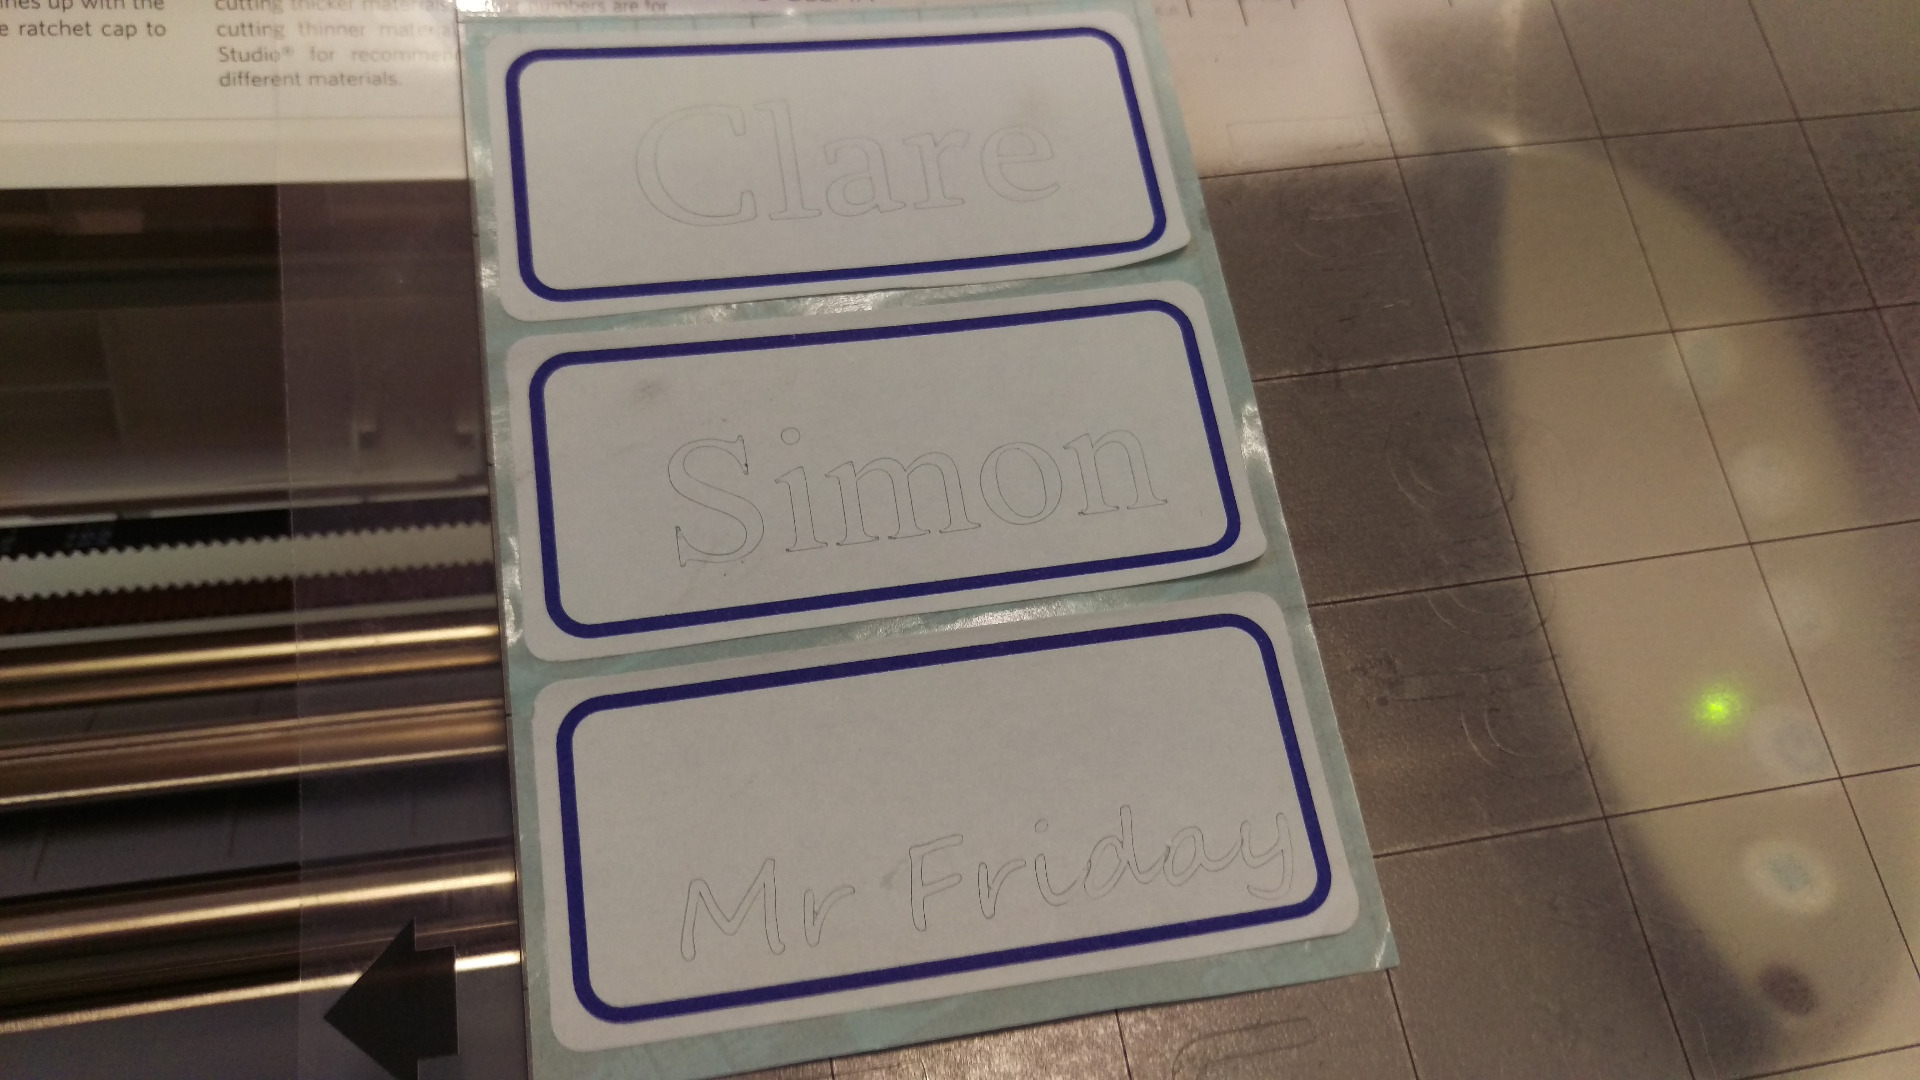
Take some care setting up the cutter. We've used thin paper settings, though probably could have gone a bit even thinner. The Silhouette's cutter was set to depth of "1", other settings in the software were left at default values. If you have some spare stickers (and you are more patient than we were) then do some test cuts.
The best results would be possibly if the upper sticky layer is cut through, but not the back plane. That needs some trial and error, as well as good skills at making the paper very flat on the cutting board.
Still the result of our first run looked pretty good! All text within the target areas, readable, and pretty.
Step 3: Start Sticking!
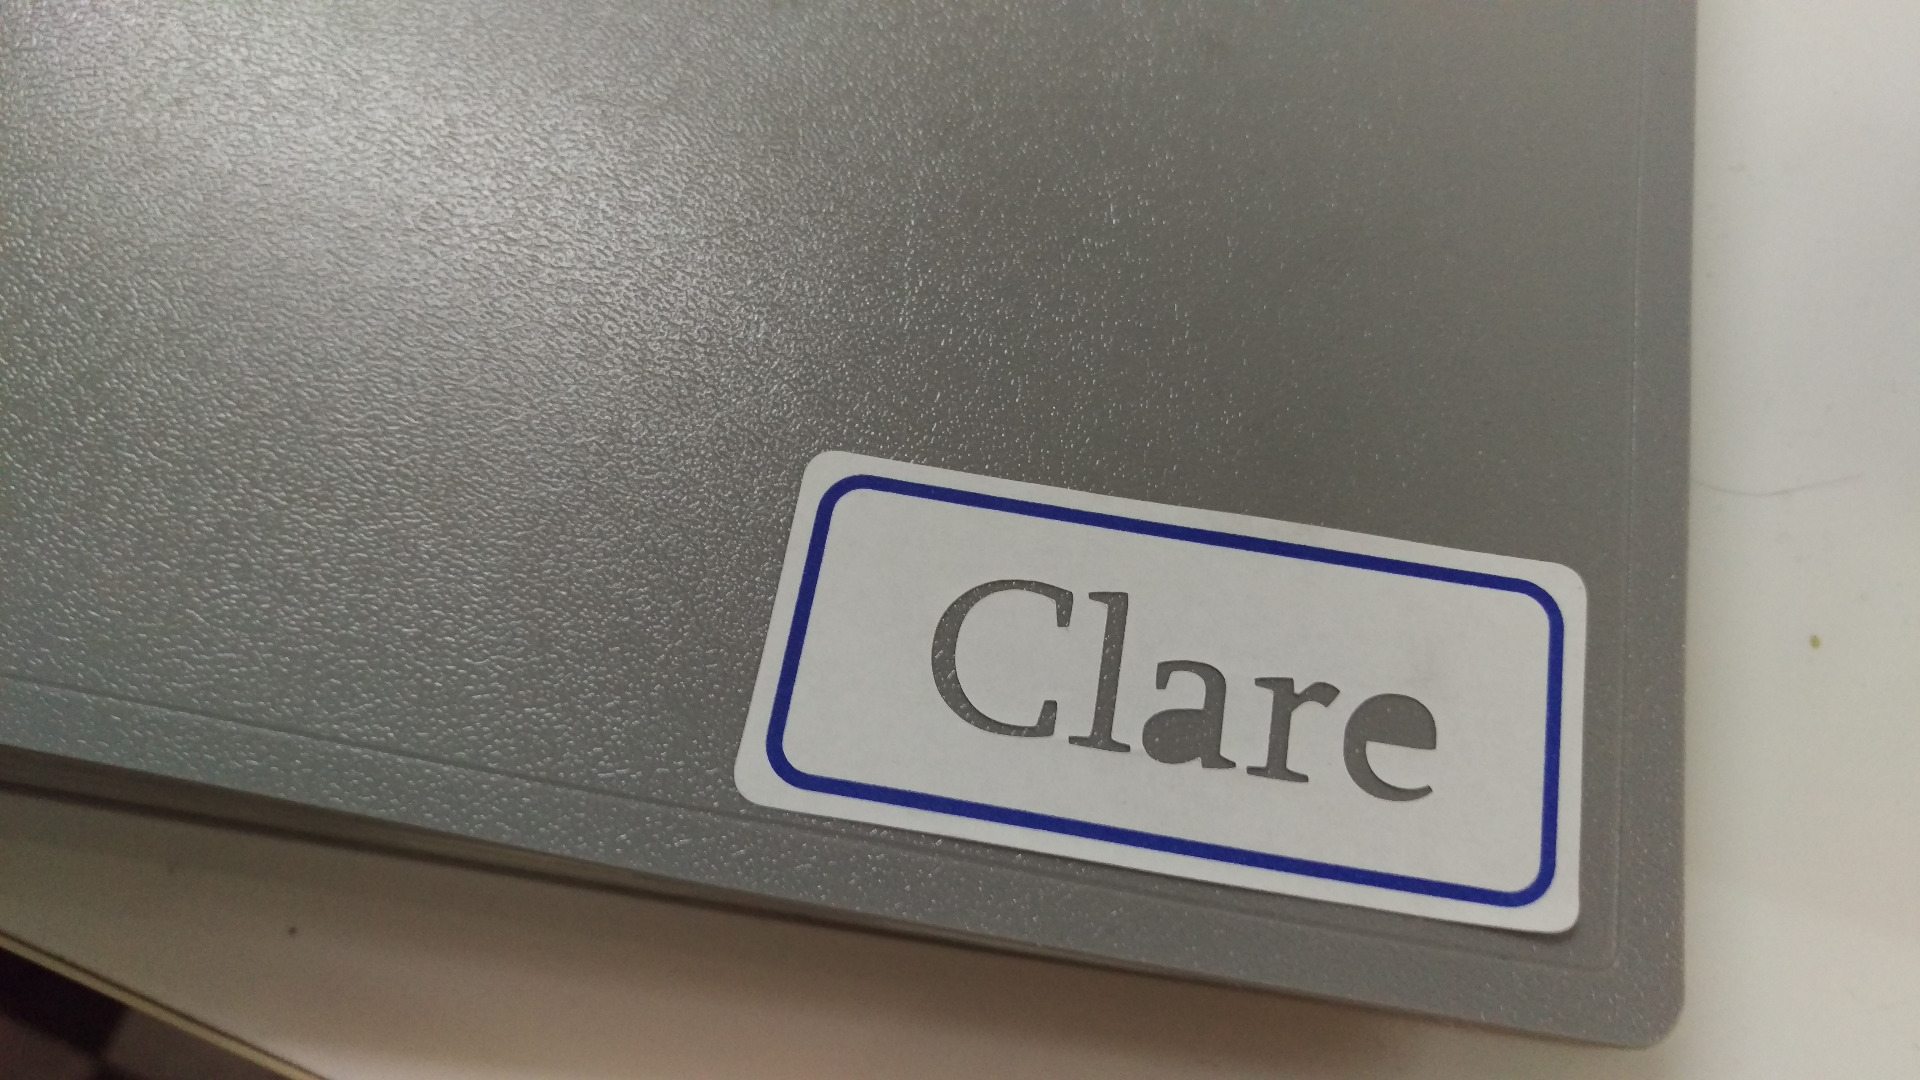
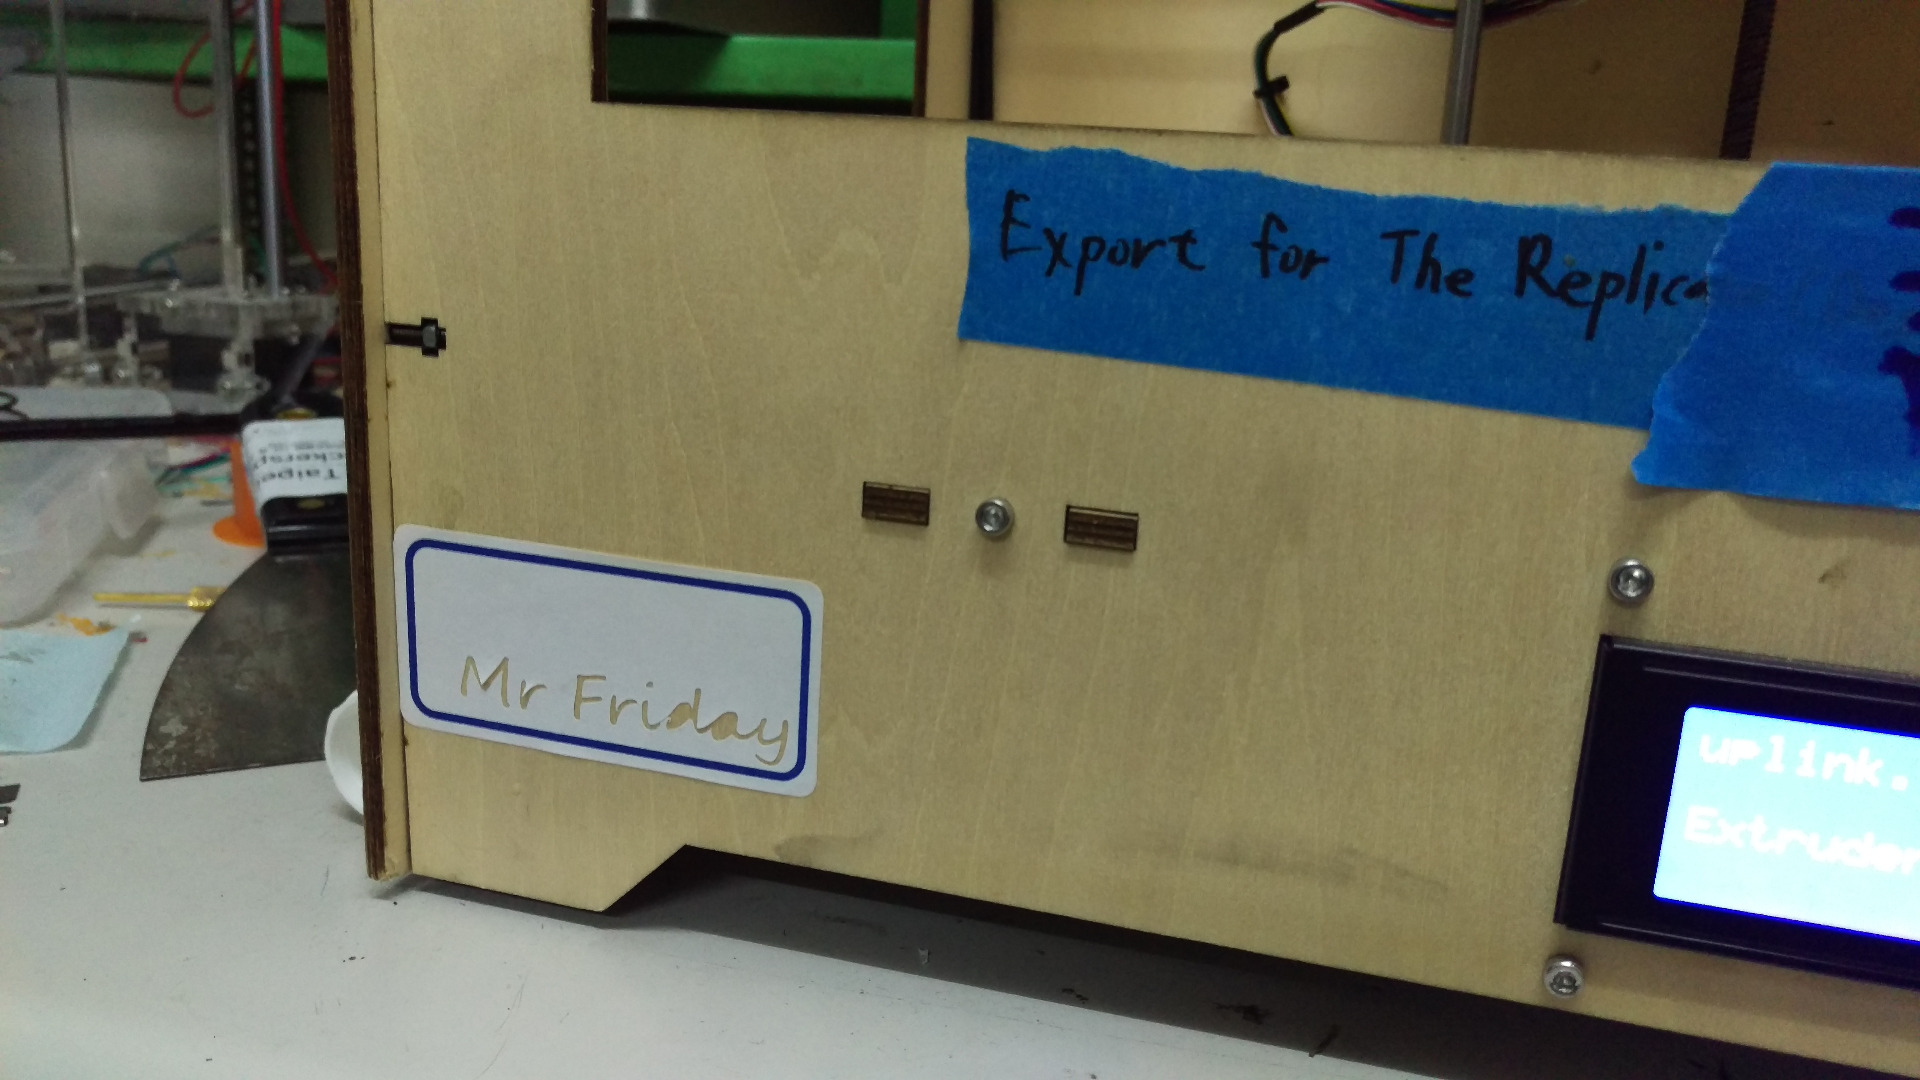
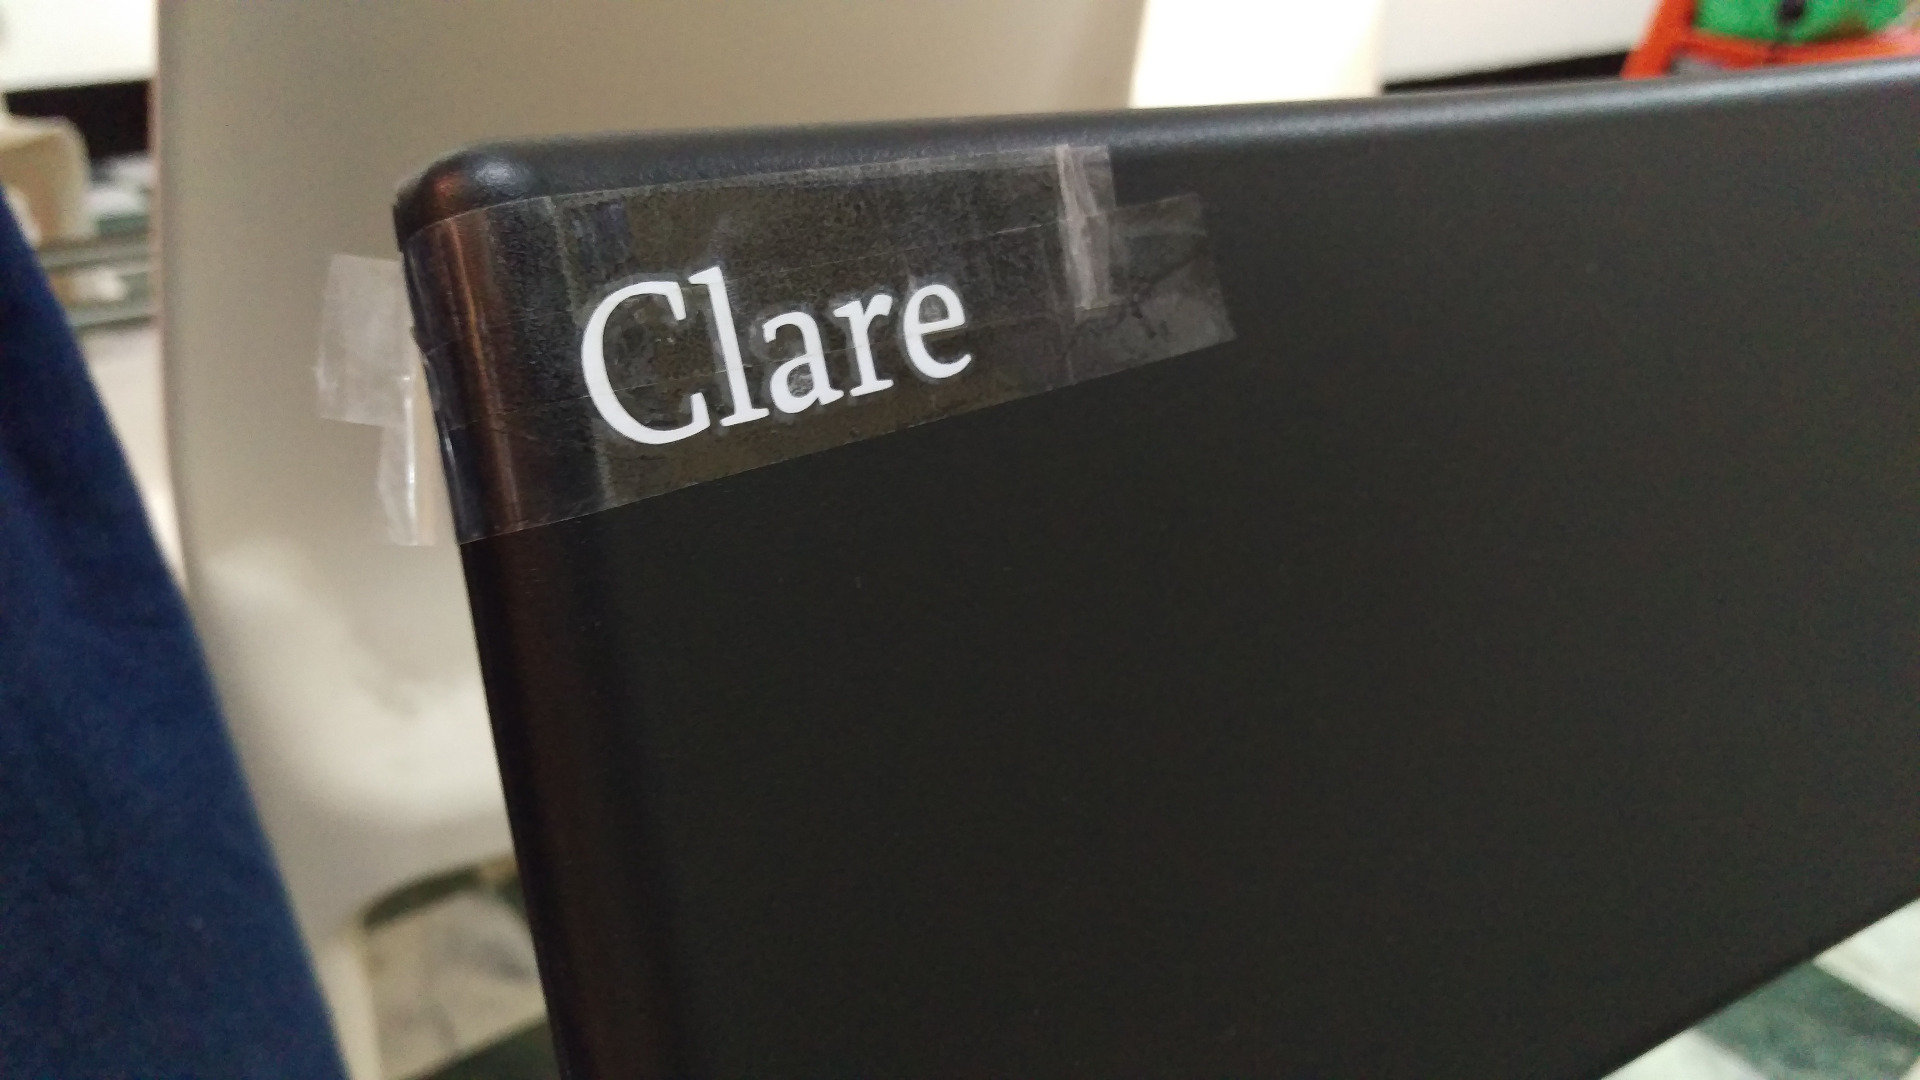
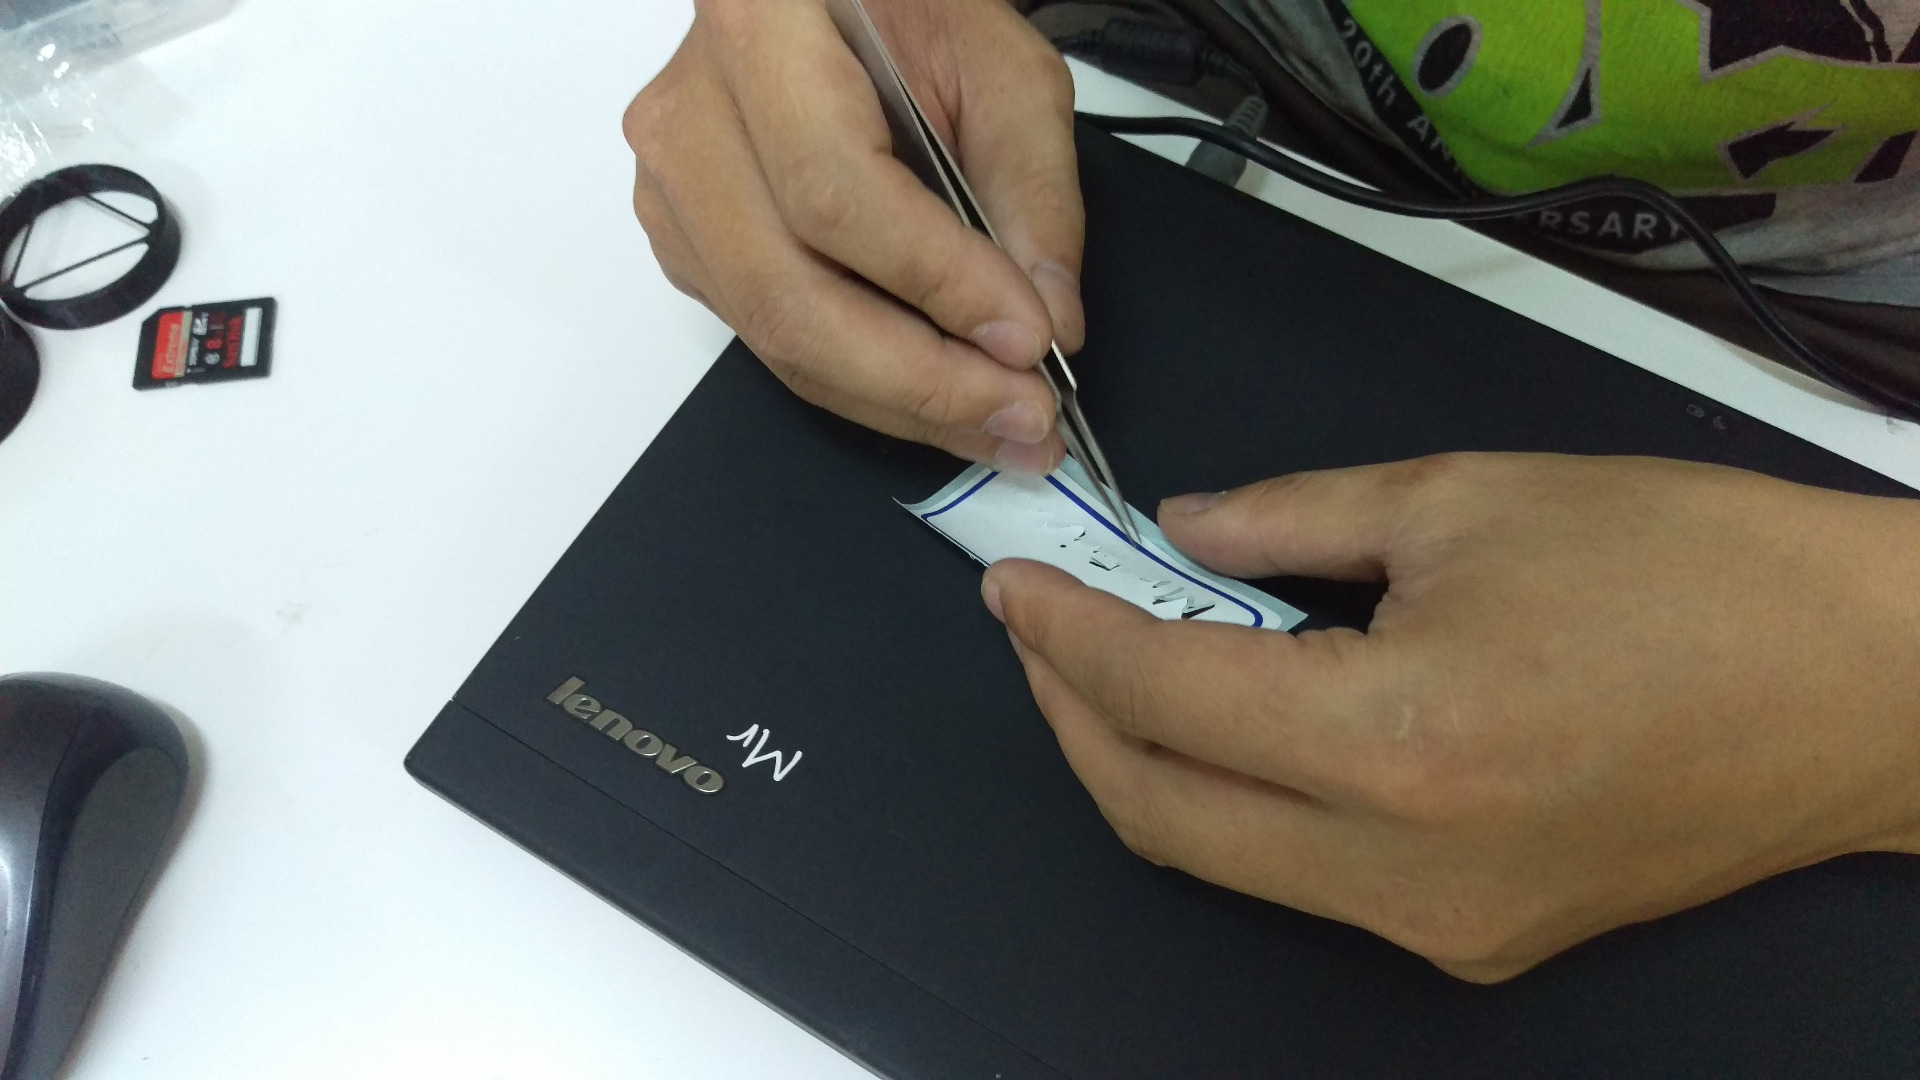
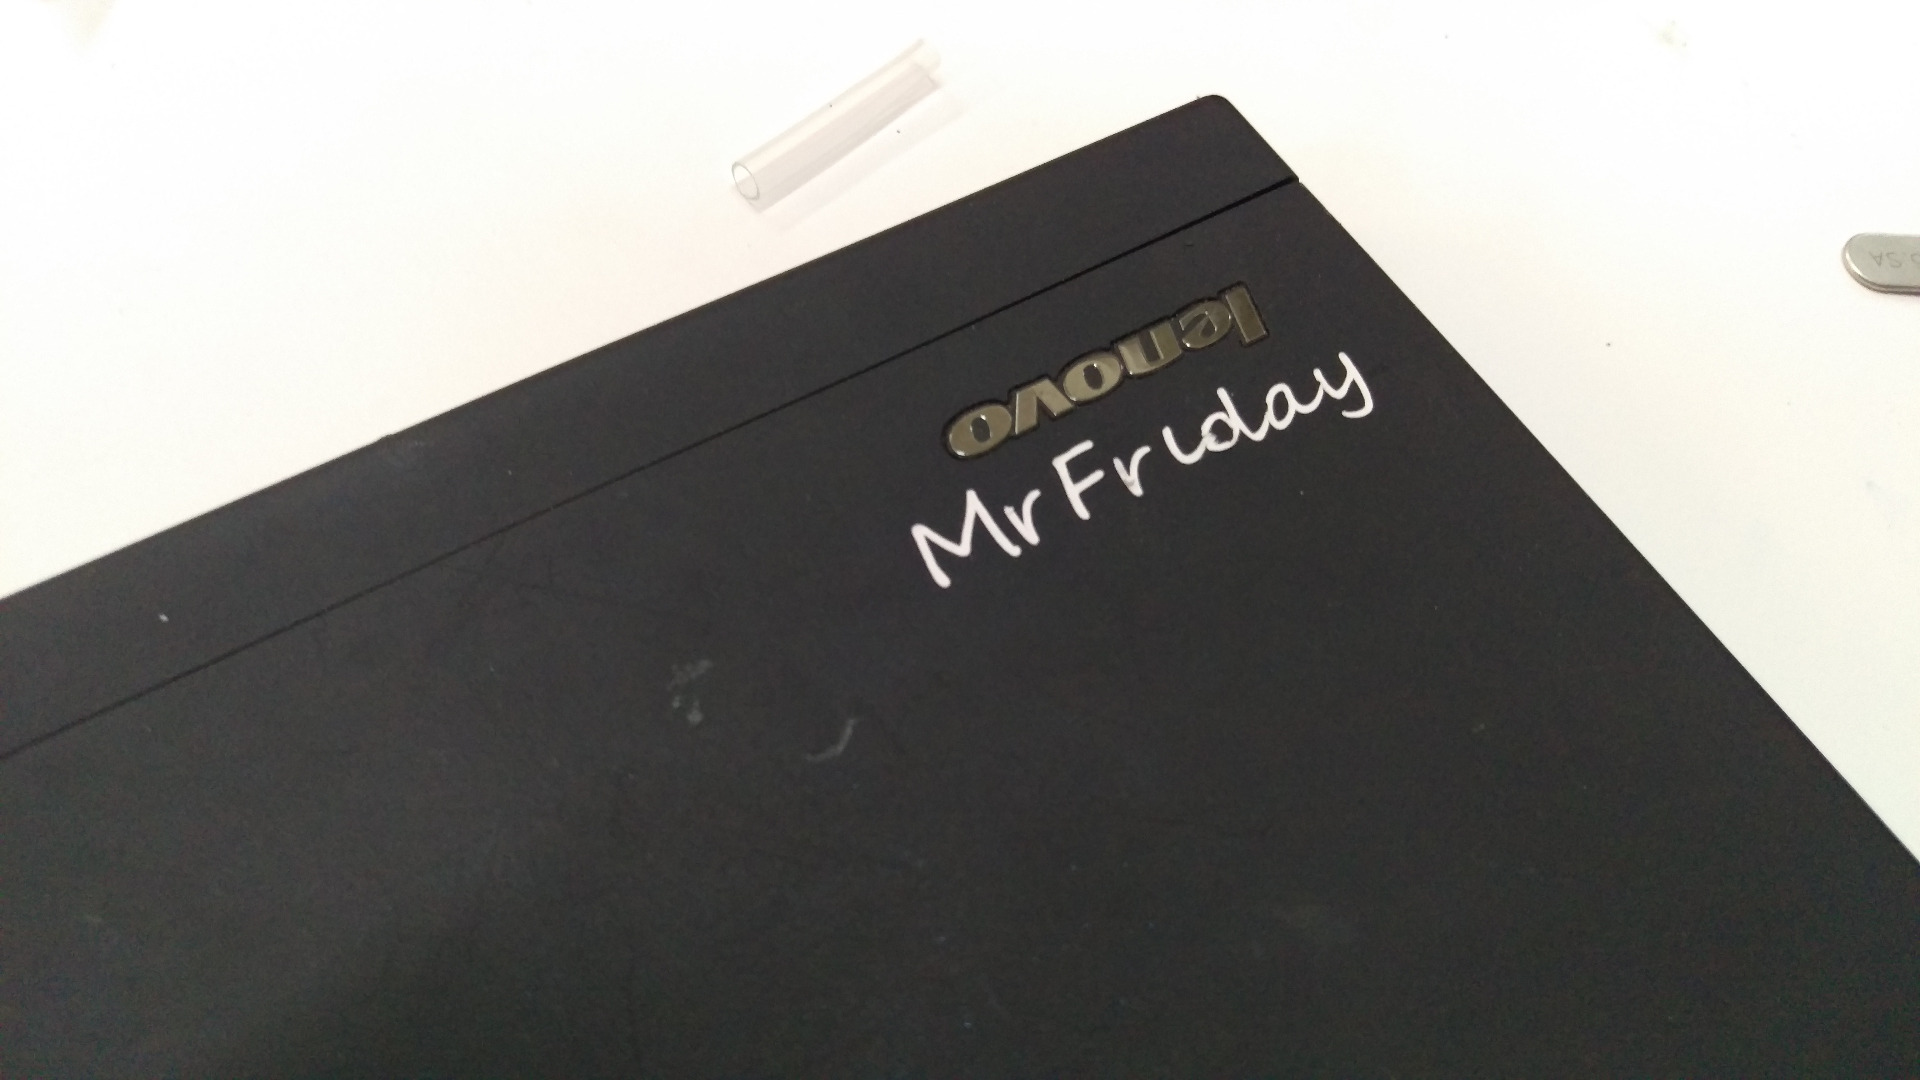
Now you are ready to use the stickers and you actually have 2 different ways to use them!
1) Use the overall area and have the text as the negative area
In hindsight, this would look even better with fonts that don't have any enclosed areas in the letters (unlike the "a" and "e" in Clare). For future look for fonts without "counters" (that's the proper name for the enclosed areas) - see some examples here how that looks.
In the examples above, Mr Friday's sticker also has some space where one can hand-write above the name for a more complex effect.
2) Use the cut-outs
The cut-outs can be used as well! In one way e.g. carefully removing the cut-outs with clear sticky tape, and sticking it to something. Another way is the Way of the Tweezers: pick up the letters individually and place them at the target location.
Finally, enjoy your stylish tags, and don't resist the urge to stick them onto stuff or use them to discretely identify yourself at a party!