Power-up

The circuit is ready to get powered and mobile! In this lesson, you will sew a pocket for your battery to fit into. The basting stitch will also come out and be replaced with a running stitch to make the sewn connections stronger.
Materials

+ felt
+ fabric glue (Fabri-Tac)
+ velcro
+ LiPo battery
+ regular thread
+ hand needle
+ straight pins
+ scissors
+ ruler
+ fabric marker
+ Hi-5 Collector
Cut Battery Pocket

You are now ready to give mobile power to your project. For this to happen, the LiPo battery needs a place to stay on the project. A simple pocket works great to hold it snugly in place and allows for it to be removed when you need to wash the accessory.
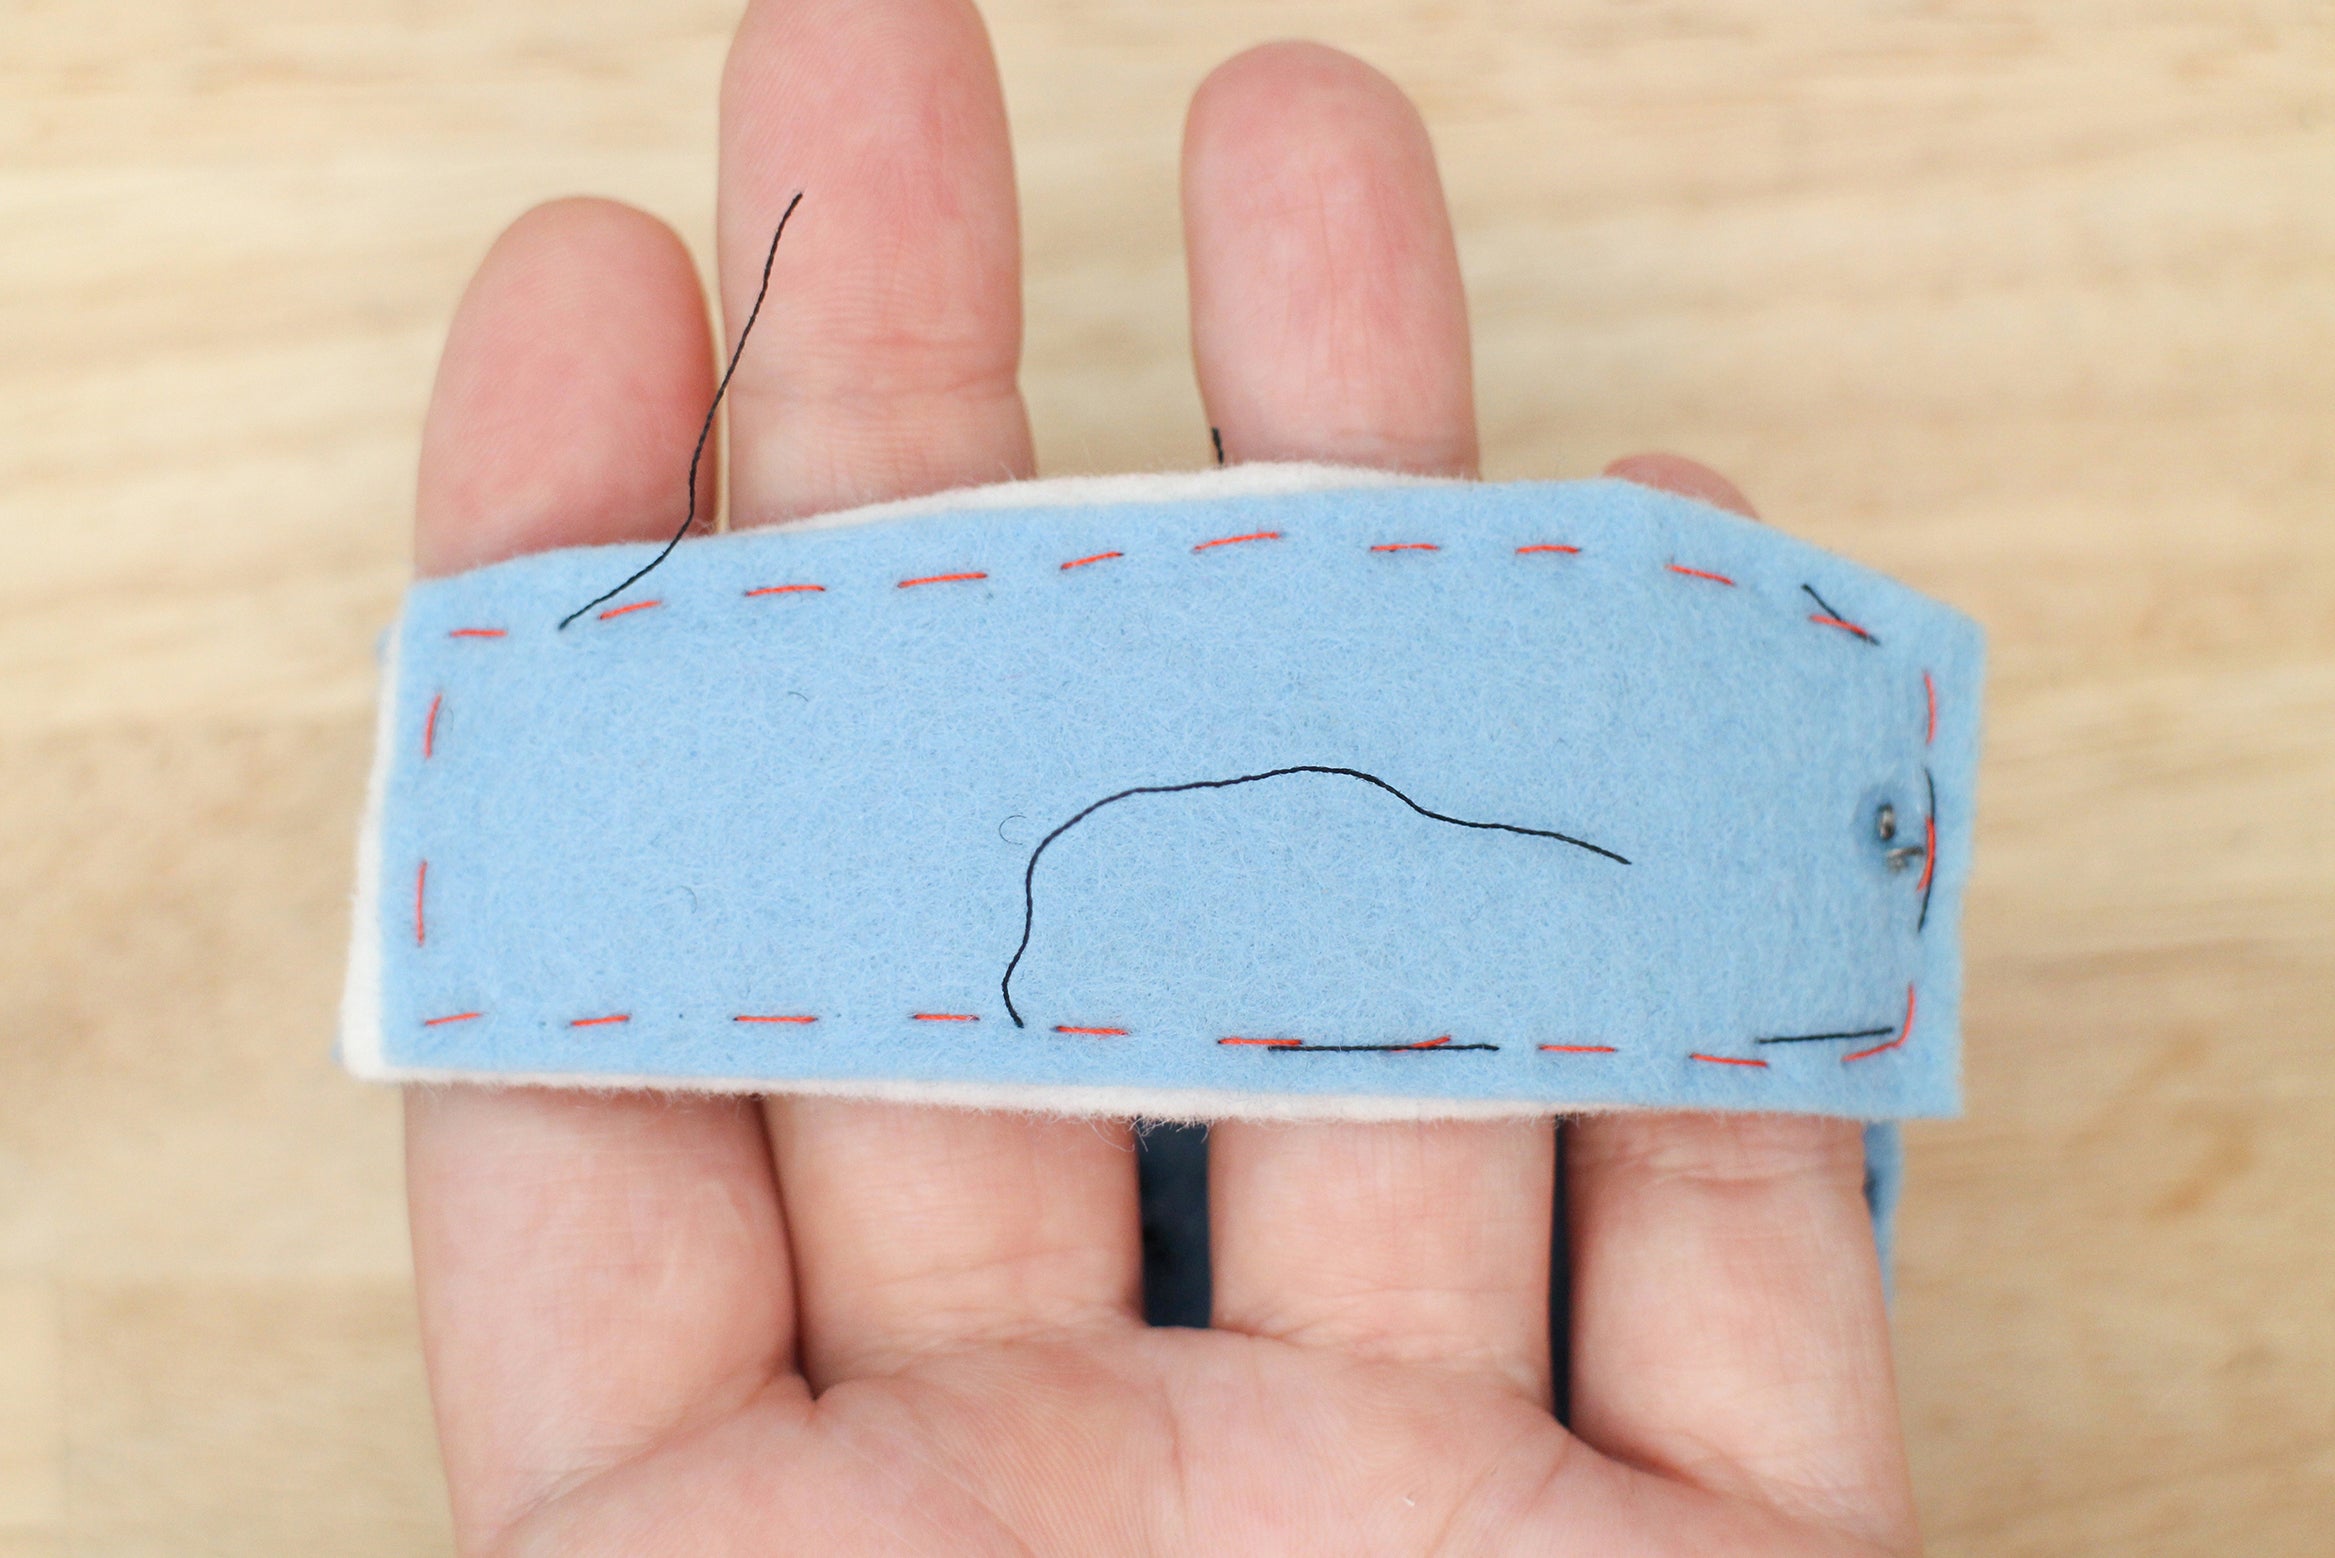
Cut out a rectangular piece of felt measuring 2.5" x 2.25". The edges should measure .5" past the edge of the battery on three sides.
Pin and Sew

Put the battery in place and lay the fabric on top. Smooth the pocket down the sides of the battery and pin where they hit the fabric. It's ok if the two corners pucker a little.
So you know how snug you are making the pocket, keep the battery in as you stitch. Sew the pocket down using a basting stitch and smooth the two puckers at the corners out as you go.

Add Velcro

For the wrist strap closure, apply some Fabri-Tac to two pieces of velcro that match the width of the strap. Place the two pieces so they fasten where the strap overlaps.

Fit

Now, for the final fit! You've done a lot of fits by now, which is a good habit to get in when creating something wearable. Snap the LilyPad USB on and plug the battery in. How does it feel? Make sure to snap a photo and share it below!

Power-up

Push the power switch on the LilyPad USB towards ON. If everything is good, the LED will flash two times then stay on. This indicates that the sketch is running and it's ready to receive high-fives. It's time to test the sewn circuit and how good of a job the switch does at capturing high-fives.
Find someone and give them a high-five. Did the LED turn off? If it did, that's a good sign. If it did not, try high-fiving again. The mitt counts how many times the switch closes up to five, then starts counting again. With every fifth high-five the LED will turn on, telling you that's how many you have collected.
If you are having problems, do not worry! Troubleshooting is a large and necessary part of building electronic circuits.
Troubleshooting Guide
LED is not flashing after the board is turned on.
- Did the program upload correctly? Check in the Arduino IDE and see if you received an error.
- Is the LED sewn in the right direction? Even when you double check the polarity of an LED, they can sometimes get turned around. Look to see if the LED ground (-) is connected to the LilyPad ground(-) and power (+) to power (+).
LED turns on prematurely or behaves erratically.
- Look for a short between the LED's power and ground.
- Test the switch in the Arduino IDE using Serial.println() to print the switch's state in the serial window. Watch the switch state print out to see if the switch is being pressed without giving a high-five.
Is something still not working right? Don't panic! Let me know what you are having trouble with in the comments below and we will work it out together.
Replace Basting Stitches: Switch Strap

The basting stitch is a temporary stitch used to hold things in place until you know they are where you like them. At this point, it's time to remove the basting stitches and replace them with something stronger - the running stitch.
Slip on the mitt and test the fit of the switch one more time.
If You Need to Make the Strap Larger or Smaller
Mark where the strap ends on the back of your hand and take out all the basting stitches before you start sewing. After the basting stitches are all out, place the overlapping end of the switch strap either to the right (smaller) or to the left (larger) of the mark the amount you need to adjust for.
If Everything Fits Great
Thread a needle with 18" of regular thread. Start making a running stitch along the edge of the switch. Be careful to not pierce through the basting stitches, this makes them harder to remove. Knot and cut when done when you run out of thread.
When you are done replacing all the basting stitches grab a pair of scissors and snip a basting stitch. Start removing the basting stitches by pulling them out with your fingers or the blunt end of your seam ripper. The loose stitches will come out easily. Keep removing them until the mitt is basting stitch free.


Replace Basting Stitches: Battery Pocket
You are almost there! Replace the basting stitches around the pocket.


You are done! You are now a running stitch master. Show off your new battery pocket and stitches below.