Power Outlet Powered ONLY by Spare Solar PV (no More Exporting!)
by Psiloc in Circuits > Electronics
2326 Views, 5 Favorites, 0 Comments
Power Outlet Powered ONLY by Spare Solar PV (no More Exporting!)

This is an extension lead / power strip or smart plug that will only turn on when solar is being exported from your home. Works with any solar equipment, including:
- Leased rent-a-roof systems, as we won't be modifying the suppliers equipment in any way
- Battery paired systems, as it will simply activate when the battery is full
Some of the photos will give away that I'm in the UK, but it should also work worldwide as the important equipment is compatible with 110v - 240v.
Also, if you don't currently have any energy monitoring of your home or solar panels, you will achieve that too.
You will be working with mains voltage (at your own risk) but nothing more complicated than re-wiring a few plugs. The magic is mainly done with CT clamps.
Supplies
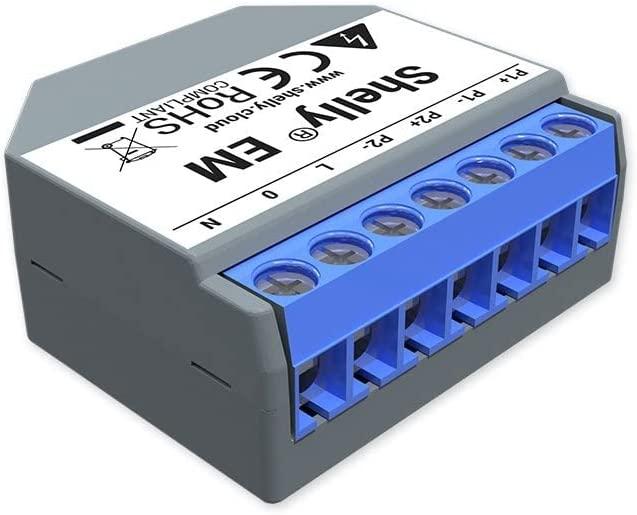

- Shelly EM with a 120a clamp
- Optional: and a 50a clamp (another 120a clamp is fine if that's what you have)
- Recommended: Shelly 1PM Plus.
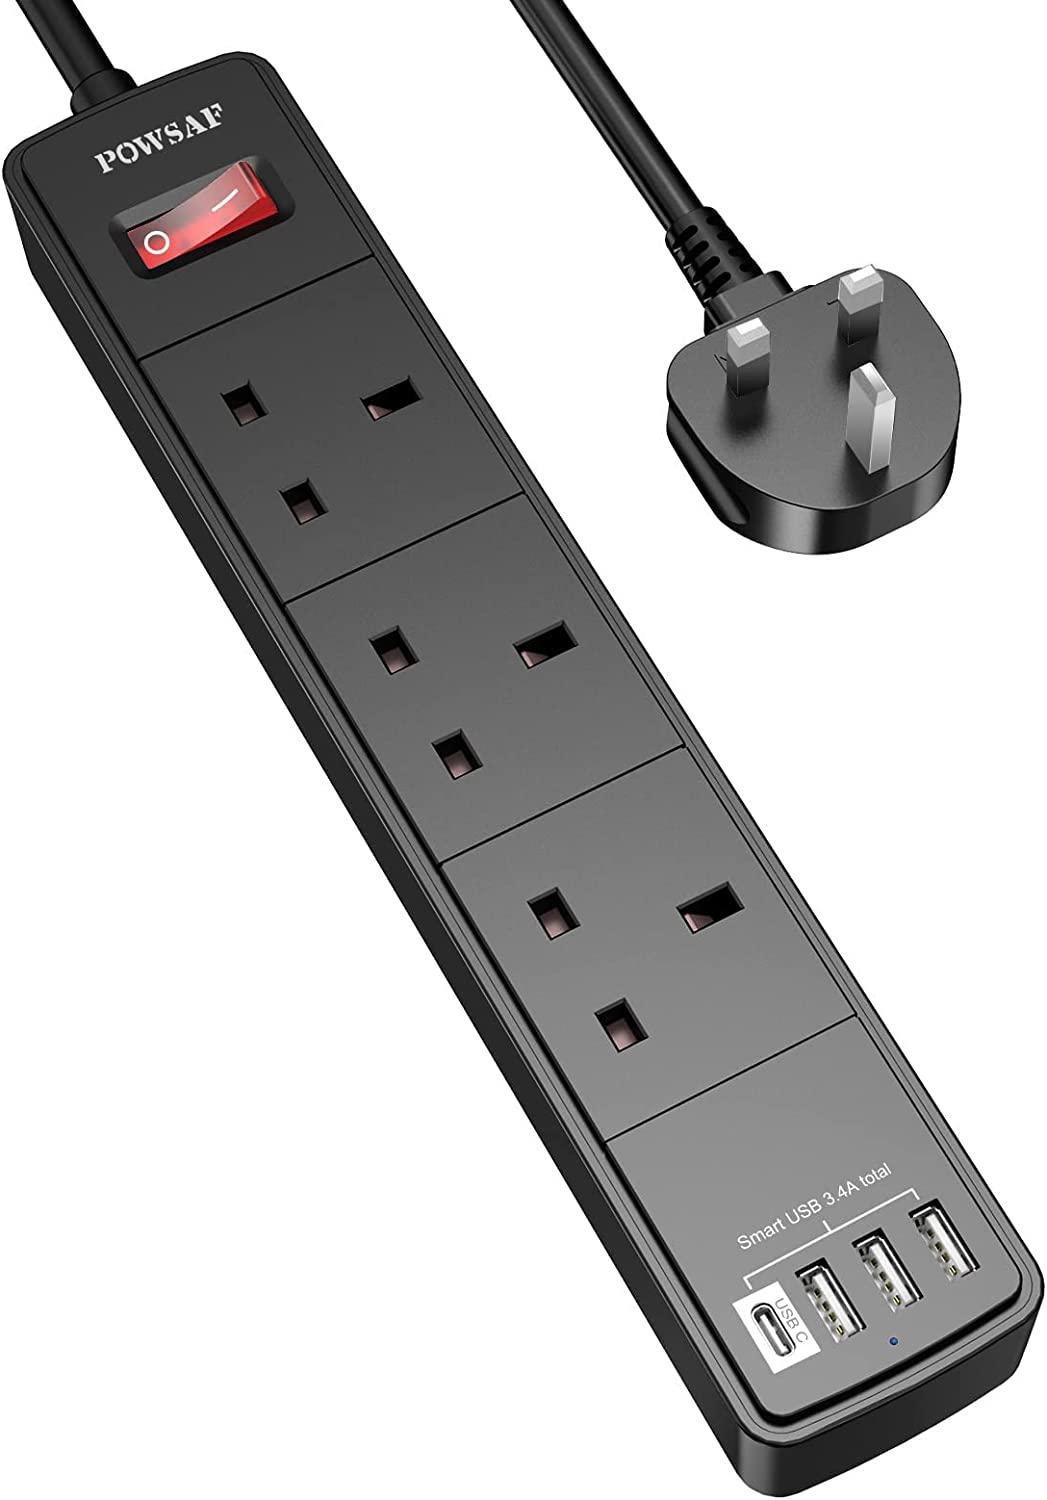
- Recommended: A suitable extension lead (AKA power strip). Choose one that has space to install a Shelly 1PM inside it.
- Alternatively for Alexa users: any preferred smart plug.
- The experience / confidence / legal right to work with mains voltage. This project uses all consumer level electronics but is built at your own risk!
Connect the Shelly EM
The Shelly EM is an energy monitor that works by connecting CT clamps around some cables in your home to measure the current flowing through them.
I recommend pausing here to read up on Shelly EM - you will quickly get an idea of where we are going with this.
- Shut off the power at your consumer unit / fuse box / electrical panel.
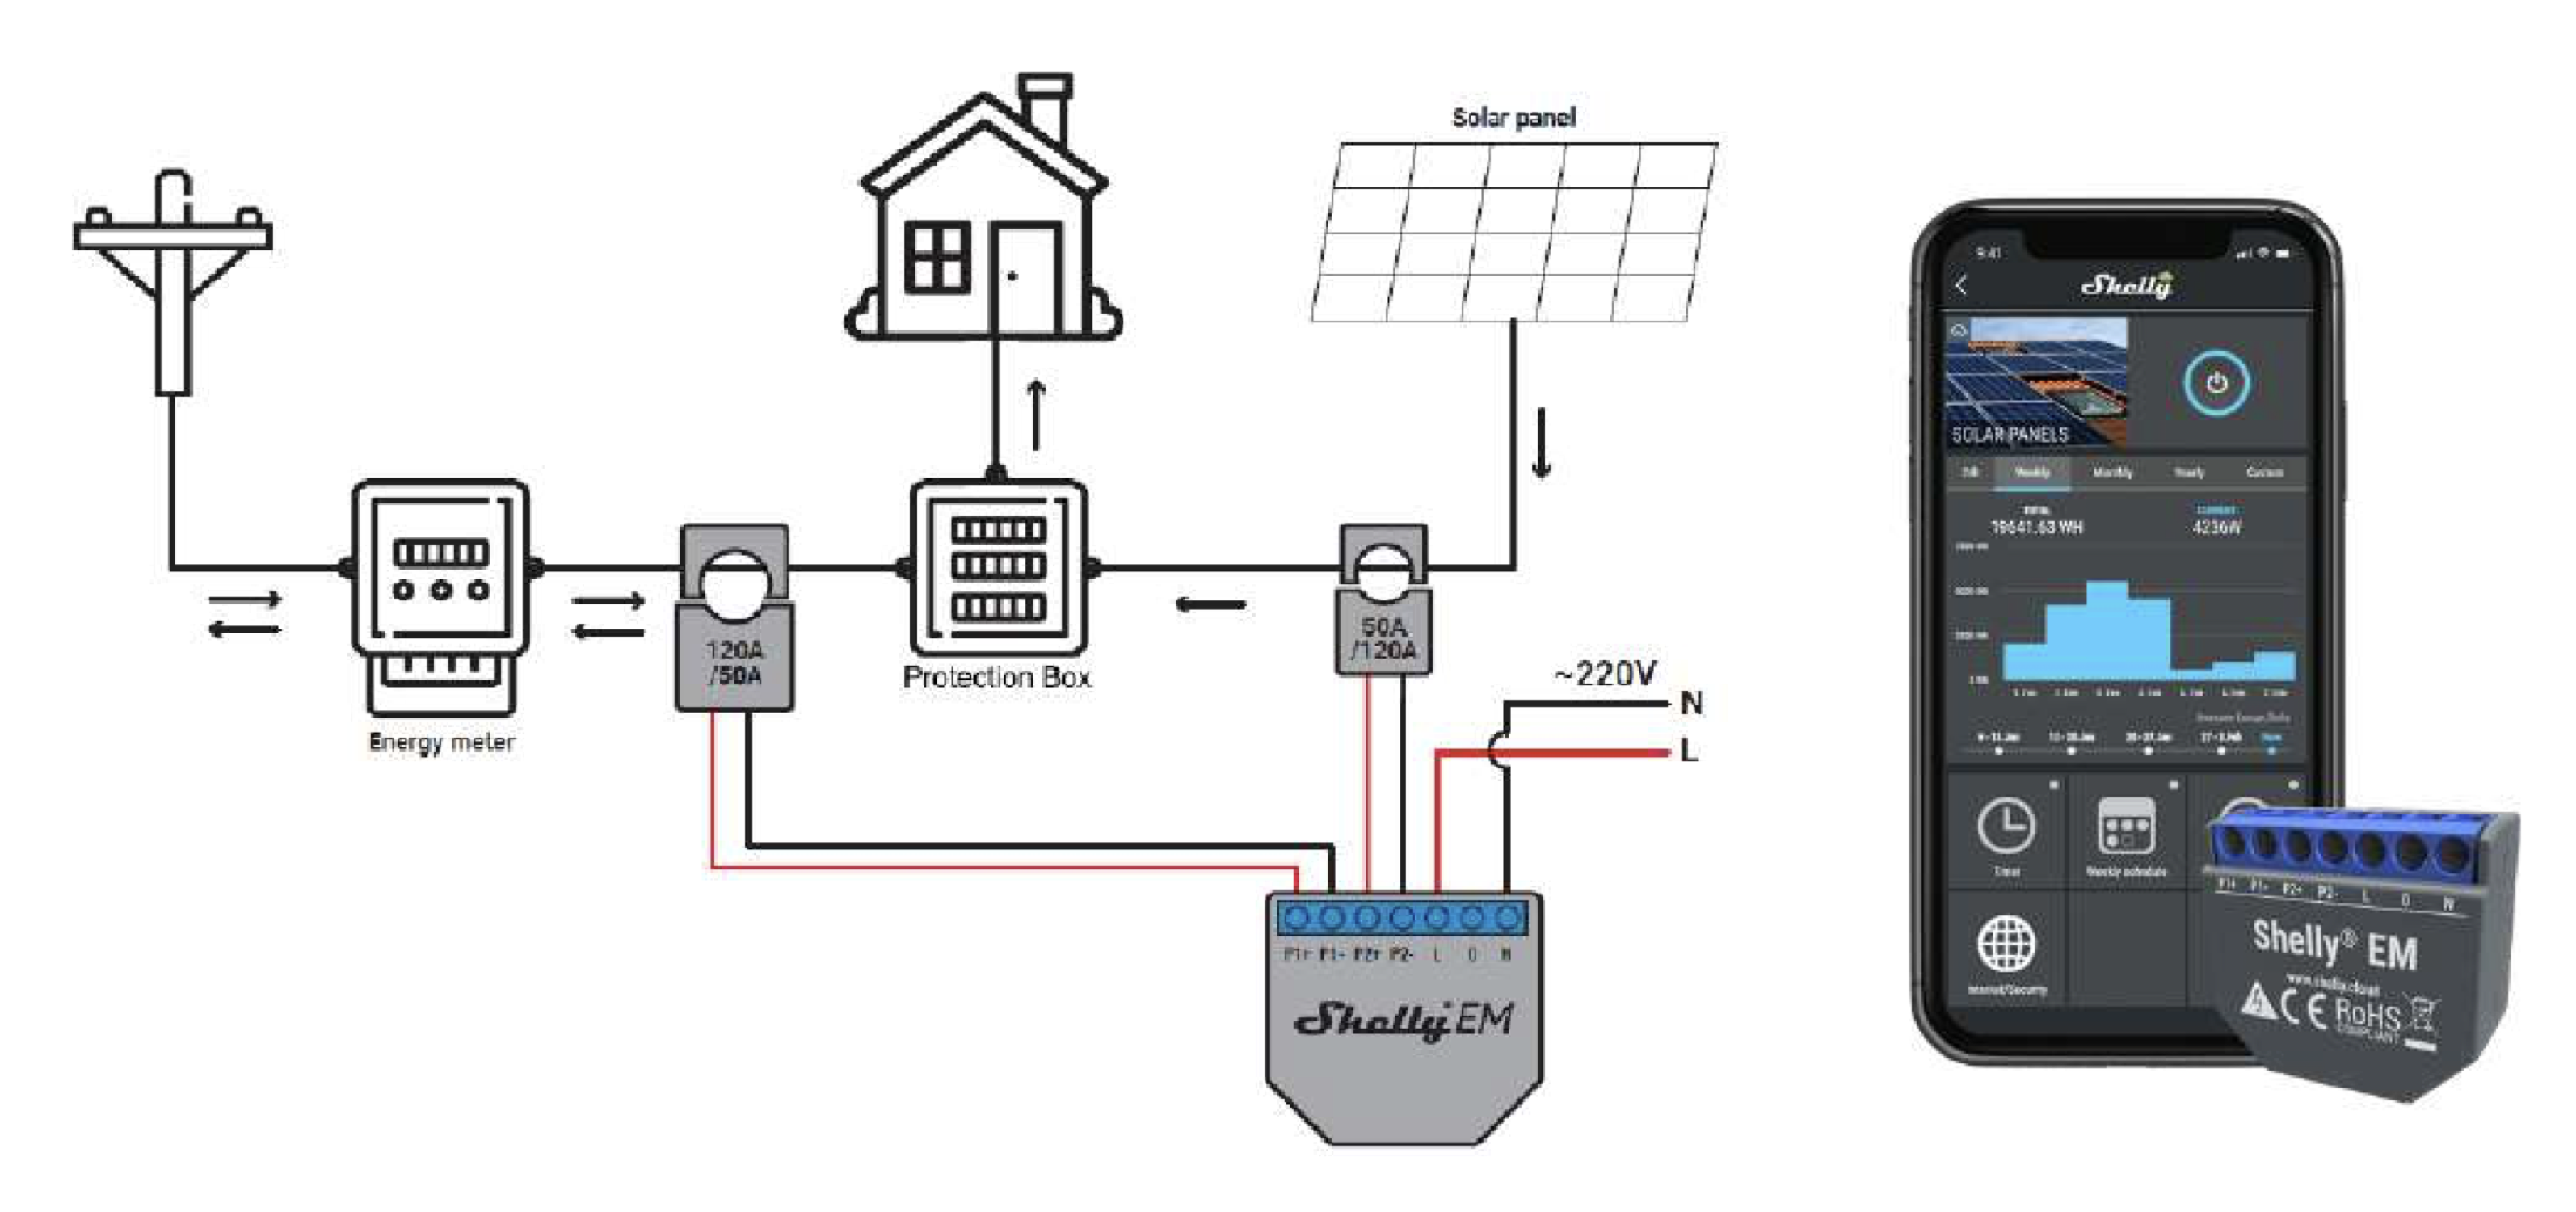
- Check the documentation for the correct way to wire up the Shelly EM.
- Find a way to connect it to mains power to actually power the device. I personally connected it to a light switch that was directly nearby, but you could simply wire it up to a plug and plug it into a mains outlet if you wanted. Some people wire them using the live wires behind the fuse box but that seems extreme to me.
- Identify the cable that is the live wire coming directly into your house from the electric meter and connect the 120a clamp to it.
- Optional: Identify the cable that is carrying the solar energy to the consumer unit and connect the 50a clamp to it. Note this has nothing to do with the rest of the project, but if you're installing a Shelly EM here, you might as well monitor your solar panels!
- Turn the power back on.
Even if you already have a monitoring solution for your solar panels, the Shelly EM is particularly good at live second-by-second monitoring of your energy consumption. It is much more reactive than my home batteries monitor at least!
Test the Shelly EM
- Download the Shelly app to your phone and find your Shelly EM on the network.
- Once everything is connected and up and running, monitor the power consumption values.
- The 50a clamp should be picking up the energy generated by the solar panels.
- The 120a clamp should be picking up the demand from the house, minus the energy generated by the solar panels.
For this project it is critically important that a single clamp picks up the sum of the energy demands of the house minus the solar, i.e. it should turn negative if you are exporting energy.
For example, if you were running a 1500W heater, and were simultaneously generating 2kW from the solar, the 120a clamp should read -500W.
Some other similar projects suggest that you need additional equipment or server software to calculate the difference between solar energy and the energy demands of the house, but you can skip that entirely by positioning the clamp in such a way that the data is being picked up naturally.
If the 120a clamp only shows the demand from the house and does not take into account the energy generated by the solar panels, you have not placed the clamp close enough to the electric meter. The clamp must be attached beyond the last point where the cable might be junctioned with input from the solar inverter. If you already have an immersion controller or solar battery, they probably already have a CT clamp in the same spot.
If it helps to visualise it, it would be plausible to install the Shelly EM in the electric meter cupboard, where you can be sure you are attaching the clamp to the live wire at its terminus. However you'd have to take care to waterproof and protect the device and cabling - which is outside the scope of this guide.
Recommended: Install the Shelly 1PM Plus Inside the Extension Lead


In the UK, we call these things extension leads. I believe people in other parts of the world call them power strips.
The Shelly 1PM is a smart relay, or smart switch. It's the exact same idea as the more popular smart plugs in that they turn things on and off with an app; the difference is they are designed to be installed inline, physically inside equipment.
Shelly do a large range of smart relays. We are using the 1PM Plus for the simple reason that it is rated for a high amperage capacity so can handle large loads such as electric heaters and so on. The fact that it includes its own power monitoring is just a nice bonus!
- Check the documentation for the correct way to wire up the Shelly 1PM.
- Take apart the extension lead.
- Identify a space where you could fit the Shelly inside. I used the extension lead shown in the photo (https://www.amazon.co.uk/dp/B09V2SX8RZ). I removed the switch and placed the 1PM in its place.
- If you cannot fit the Shelly directly inside the extension lead, you could wire it up externally instead, however you must take great care to insulate it as the live terminals are exposed. People make and sell 3D printed cases on ebay. I would highly recommend finding a way to fit the Shelly inside an extension lead though.
- Open the Shelly app and discover the Shelly 1PM. Verify that you can manually turn it on and off.
Alternatively: Grab a Smart Plug
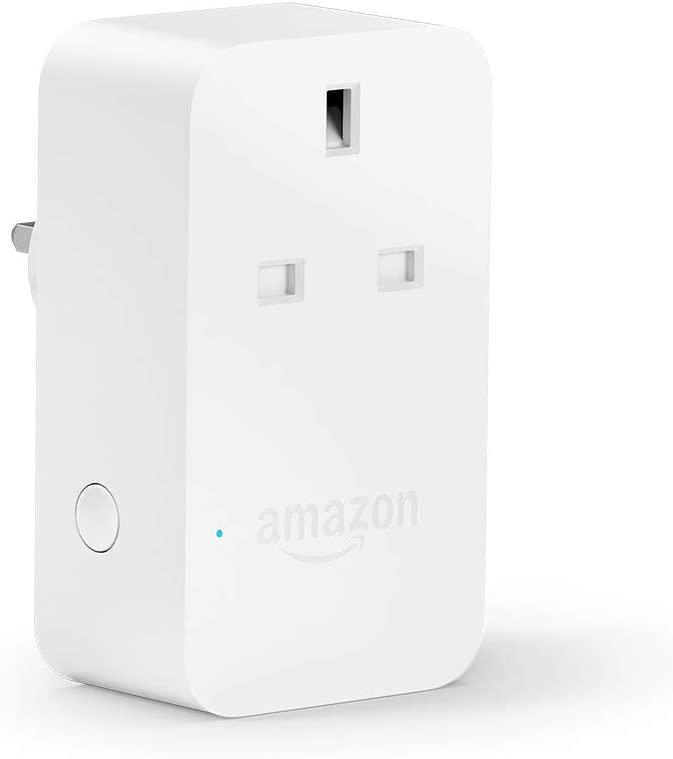
If you are an Alexa user, and/or have had your fill of messing with mains voltage, you can instead have the Shelly app notify Alexa to run a routine to turn a smart plug on and off.
The reason this is not quite as highly recommended as using a Shelly 1PM is that in my experience smart plugs are not so good at handling big electrical loads such as heaters, air conditioners etc. which is what most people will be using this project for, and they start to run hot which could potentially be dangerous. Be sure to never exceed the capacity of the smart plug. In addition, Shelly will work by sending notifications to Alexa every few seconds which theoretically adds a burden to your network.
Create Scenes/routines That Turn Your Device on and Off Based on Solar Energy
All being well, your Shelly app should now be able to tell when you are exporting energy and do something about it. Namely, turn on the Shelly 1PM or smart plug.
How to set up this next part is mainly up to you, but I strongly recommend something like the following:
- In the Shelly app, go to the Scenes tab.
- Add a new scene.
- Under "When", specify "when the 120a clamp power meter reads less than -100W" (the app lets you type a negative value). The condition type should be "repeatedly".
- Under "Do", specify "turn on the Shelly 1PM", or "notify Alexa".
- Tap Save.
- Repeat the steps to also set up scenes for -500W, -1kW and -2kW.
- Create a new scene called "no spare solar".
- Under "When", specify "when the 120a clamp power meter reads more than 1W. The condition type should be "repeatedly".
- Under "Do", specify "turn off the Shelly 1PM", or "notify Alexa".
In short, you should have several options for turning on the device when there is spare solar, and a dedicated scene for turning it off when you start to import energy again.
The idea behind creating multiple scenes is that you can enable/disable the appropriate minimum energy for the device you are connecting. For instance if you have a 1kW heater, you should enable the -1kW scene and disable the others. If you had the -100W scene enabled, the device would rapidly power cycle which has the potential to cause damage and waste electricity.
This is another advantage of the 1PM, you can easily learn the power consumption of the connected device to enable the appropriate scene. I have a dim hope that Shelly might improve their scenes in future so that the consumption of the 1PM could be taken into account with the scene conditions and we could do something clever with it... but I digress.
Never disable the "turn off" scene!
Optional: Set Up Alexa Routines
In brief:
- Open the Alexa app. Enable and sign in to the Shelly skill.
- Let Alexa discover your devices. It should find the notifications you set up in the previous step. (Alexa is tricked into thinking they are smart doorbell buttons - this is a common workaround to add Alexa functionality to stuff)
- Set up routines that turn on your smart plugs when the "smart doorbell" is "pressed".
- Set up a routine to turn off the smart plugs when the "no spare solar" doorbell is "pressed".
Extracurricular

The Shelly relays are incredibly versatile. People embed them inside many different things to turn dumb devices "smart", or even embed them behind physical wall outlets to control them remotely (they are even capable of overriding the physical switch). I have a second 1PM wired into my immersion controller so I can monitor it remotely.
Research these devices and share your "spare solar" applications!