Pov Spinner
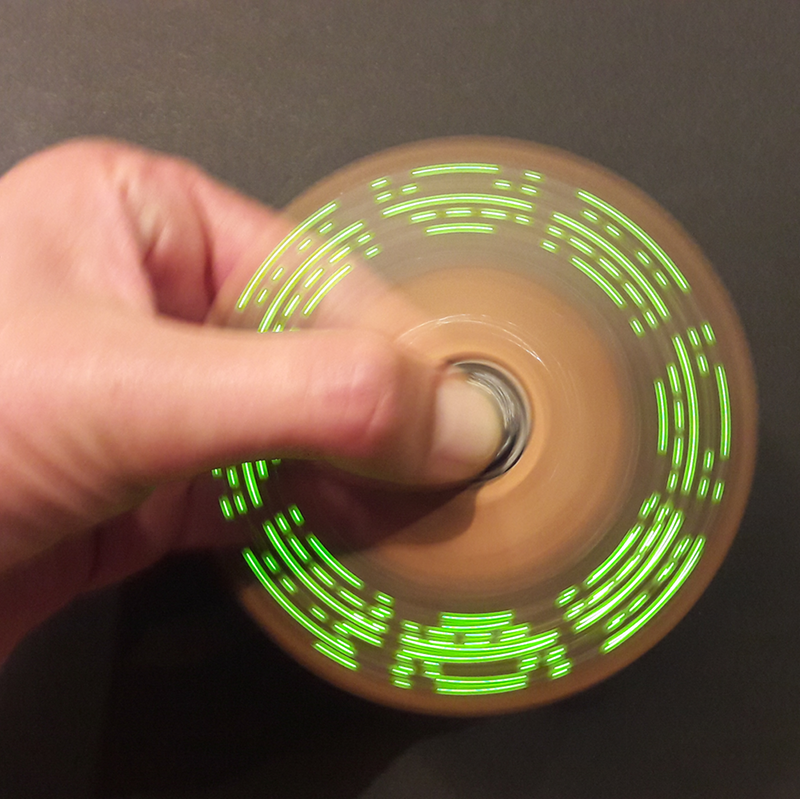
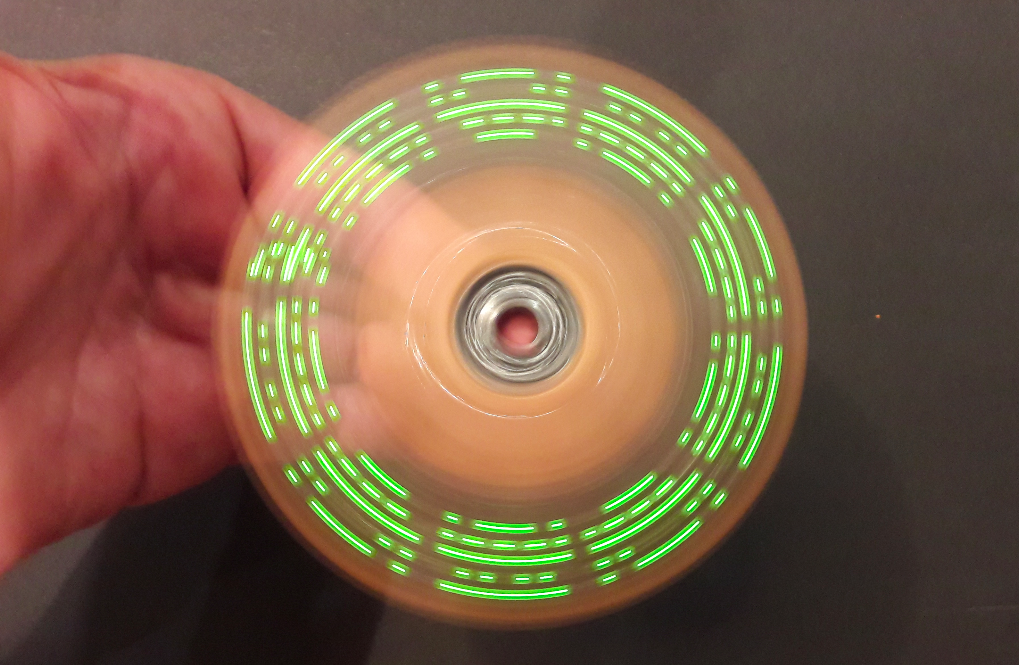
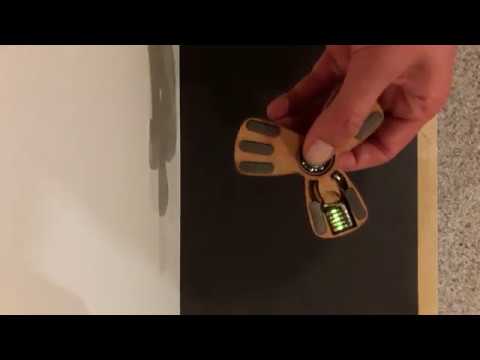
So i was thinking: let's make something obvious.
This instructable is on making a spinner with a persistence of vision illusion inside.
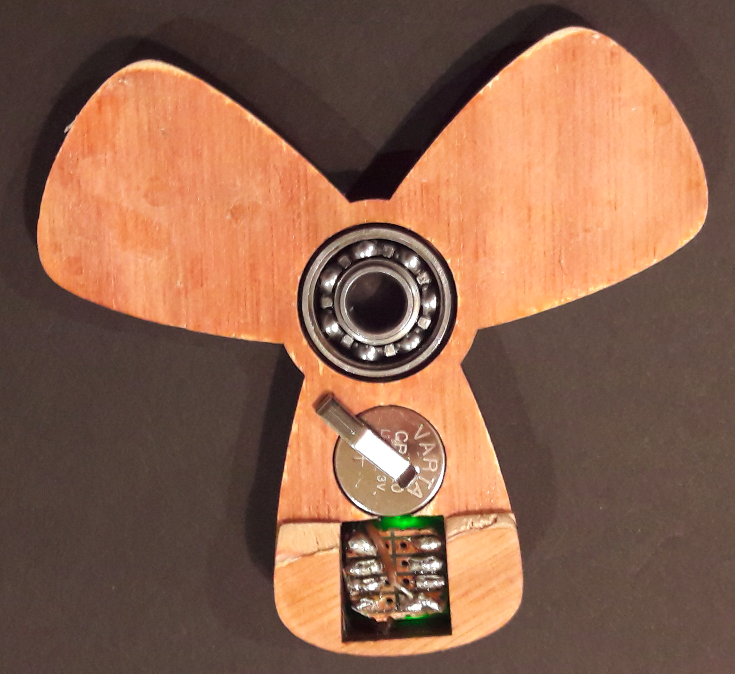
Parts and Wiring

- ATtiny 45 ic
- 5 smd led (1206)
- 5 smd resistor (47 Ohm)
- 2 small pieces of pcb
- 1 coin battery (3v - 16mm)
- 8 pieces of metal (for balance)
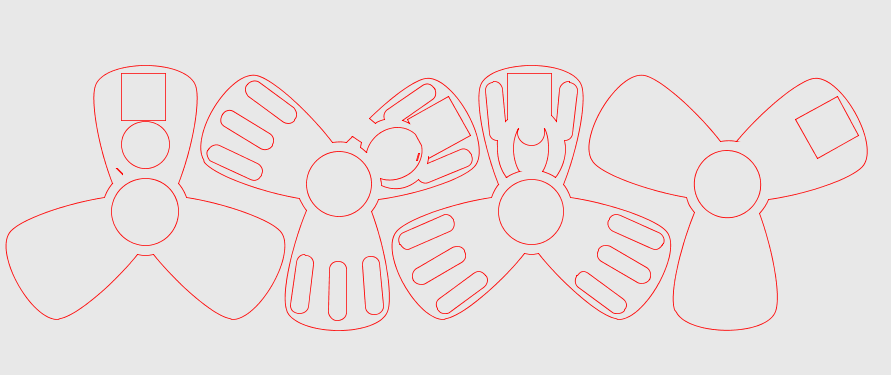
- a piece of mdf (3mm) for the spinner itself
- a 22mm metal ball-bearing (center)
The wiring is pretty straight forward. I followed the datasheet from Atmel (see screenshot above)
- The positive pins on the led go to PB0 - PB4 on the ic. I added a resistor in between.
- negative pins go to GND.
- Power the ic by connecting the battery to VCC and GND.
Programming the Ic
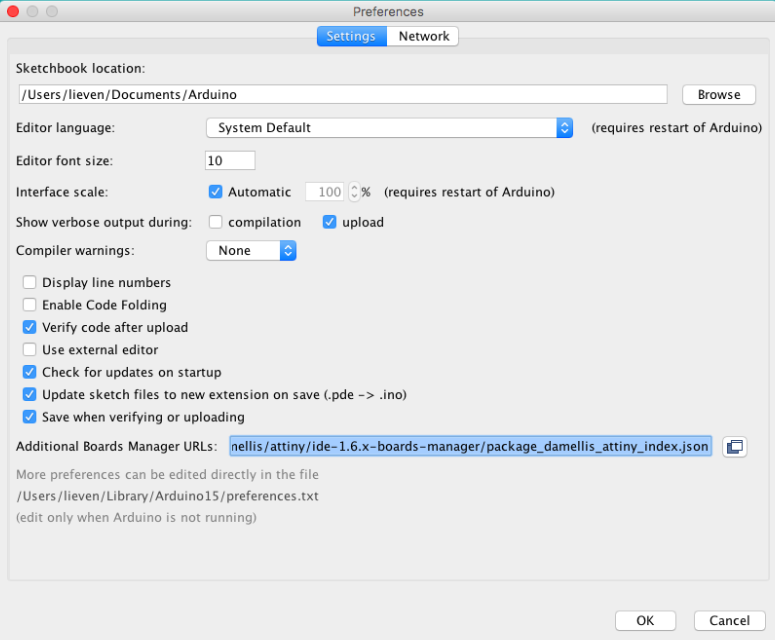
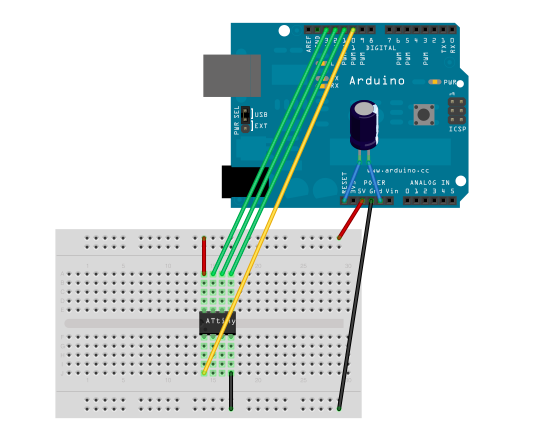
In order to put code on the Attiny we need to follow a few steps:
- Upload the 'ArduinoISP' example to the Arduino board ( located in the examples folder)
- In Arduino preferences point to https://raw.githubusercontent.com/damellis/attiny... or look for attiny library (by David A. Mellis) and install it
- In Tools> programmer select the ‘Arduino as ISP’ option
- Attiny 45 runs on 1 Mhz but can be changed under ’Tools’. That's a bit to slow for persistence of vision: change it to 16 Mhz (normal clock on a regular Arduino)
- If you do the previous step you have to burn the boot loader. (Tools > burn bootloader)
- wire the Attiny to the Arduino board (see this page for the exact wiring or look at screenshot above). You also need a 10 uF capacitor between reset and ground to avoid reset (and starting the bootloader)
- upload the code below to the attiny.
- done.
arduino / attiny code from the spinner:
<p>int letterSpace;<br>int dotTime;</p>byte invader[] = {1, 1, 1, 0, 0, 0, 0, 1, 1, 0, 0, 1, 1, 1, 1, 1, 1, 1, 1, 0, 1, 0, 1, 1, 1, 1, 1, 1, 1, 0, 1, 1, 1, 1, 0, 1, 0, 1, 1, 1, 1, 1, 1, 1, 0, 0, 1, 1, 1, 1, 0, 0, 1, 1, 0, 1, 1, 1, 0, 0};
byte invader2[] = {0, 0, 1, 1, 1, 0, 0, 1, 0, 0, 0, 1, 1, 0, 1, 1, 1, 1, 1, 0, 1, 0, 1, 1, 0, 1, 1, 1, 1, 0, 1, 1, 1, 1, 0, 1, 0, 1, 1, 0, 1, 1, 1, 1, 0, 0, 1, 1, 0, 1, 0, 0, 1, 0, 0, 0, 0, 1, 1, 1};
int amount = 12;
void setup()
{
  // setting the ports of the leds to OUTPUT
  pinMode(0, OUTPUT);
  pinMode(1, OUTPUT);
  pinMode(2, OUTPUT);
  pinMode(3, OUTPUT);
  pinMode(4, OUTPUT);
  letterSpace = 2;
  dotTime = 1;<br>}<br>
void printImage(byte pix[]){
int y, i;
// image
for (i = 0; i < amount; i++) {
for (y = 0; y < 5; y++) {
digitalWrite(y, pix[y + (i * 5)]);
}
delay(dotTime);
}
// space between images
for (y = 0; y < 5; y++) {
digitalWrite(y, 0);
}
delay(letterSpace);
} void loop(){
printImage(invader);
printImage(invader2);
}Downloads
Simple Spinner Images

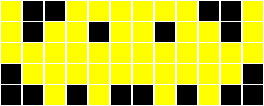
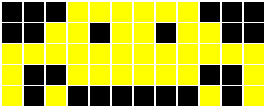
create images
The spinner needs an image to display so i've made a small browser page to create sequences / images for the spinner. (attached as file)
It has an interface of multiple input tags (type: checkbox) and two functions: one to create a new column and one to create the sequence of 0 and 1.
My son (6) had a good time making some invader like sequences.
js:
var start = 8; // start with 8 columns

// a function to create a column of inputs. i have 5 led in the spinner..
function makeColumn() {
  var box = document.createElement("div");
  box.id = "col"; // check css for styling.
  for (var i = 0; i < 5; i++) {
      var input = document.createElement("input");
      input.type = "checkbox";
      box.appendChild(input);
  }
  document.body.appendChild(box);
}
// function attached to load event. Creates the buttons and the columns based on the amount stored in start variable
function create() {
var b = document.createElement("button");
b.innerHTML = "create";
b.addEventListener('click', generate);
document.body.appendChild(b);
var b2 = document.createElement("button");
b2.innerHTML = "add row";
b2.addEventListener('click', addNew); // event for adding a new column
document.body.appendChild(b2);
var input = document.createElement("p");
input.id = "result";
document.body.appendChild(input);
for (var i = 0; i < start; i++) {
makeColumn();
}
} // adds a new column
function addNew() {
makeColumn();
start++;
} // function to generate the sequence of 0 and 1
function generate() {
var inputs = document.querySelectorAll("input");
var result = [];
for (var i = 0; i < inputs.length; i++) {
var r = inputs[i].checked ? 1 : 0;
result.push(r);
}
var pusher = document.querySelector("#result");
pusher.innerHTML = result;
}
// start everything when page is loaded.
window.addEventListener('DOMContentLoaded', create);css:
#col {
   display: inline-block;
}
input {
display: block;
-webkit-appearance: none;
width: 20px;
height: 20px;
background: black;
margin: 1px 1px 0;
} input:checked {
background: yellow;
}The spinner itself was made with NodeBox 3 - an interesting tool for design. The svg output is included.