Water Bottle Attachment for Pets Use.
162 Views, 0 Favorites, 0 Comments
Water Bottle Attachment for Pets Use.
- This very simple to make project can be very useful for Pet owners on-the-go, specially for Dog owners.
- Even if you have a water bottle, your pets can't drink from it directly. You need a cup or saucer.
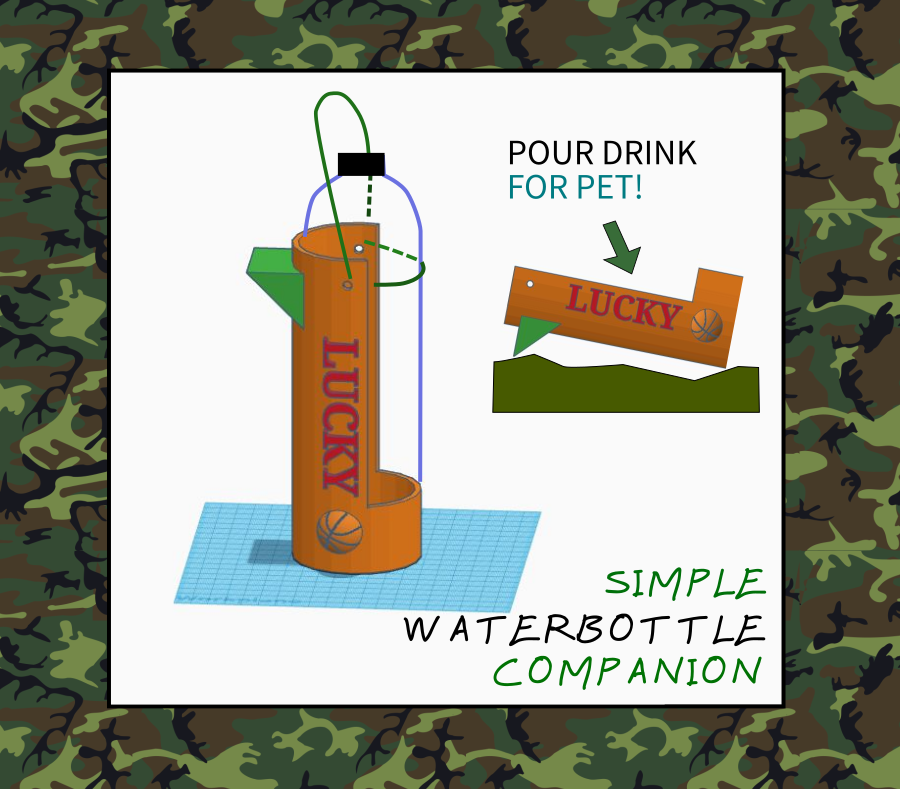
- This simple tutorial will show you how to make a portable pot that attaches to the side of your water bottle and can be used to pour water into it.
Supplies
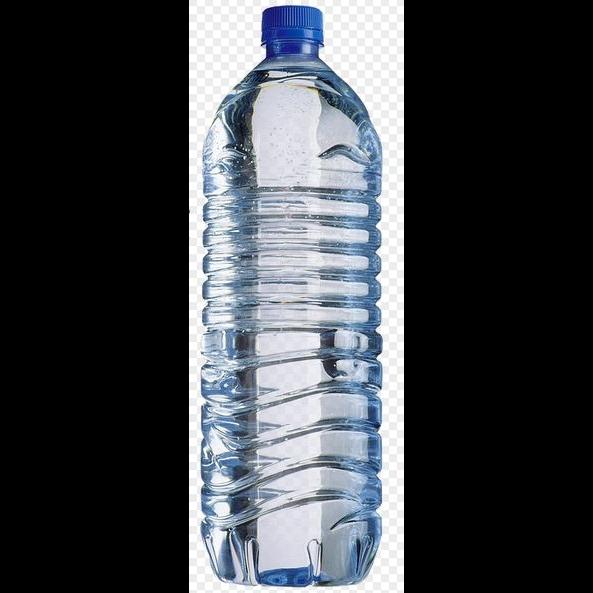
- Any water bottle. (For demonstration, I am using a commercially available 1litre bottle)
- TinkerCad for designing
- 3D printer or printing service
Modelling the Bottle
This shape will work for a bottle diameter of around 68mm. Scale the model during 3d printing to increase or decrease the diameter.
- Measure your bottle's diameter and length.
- Open TinkerCad at https://www.tinkercad.com/.
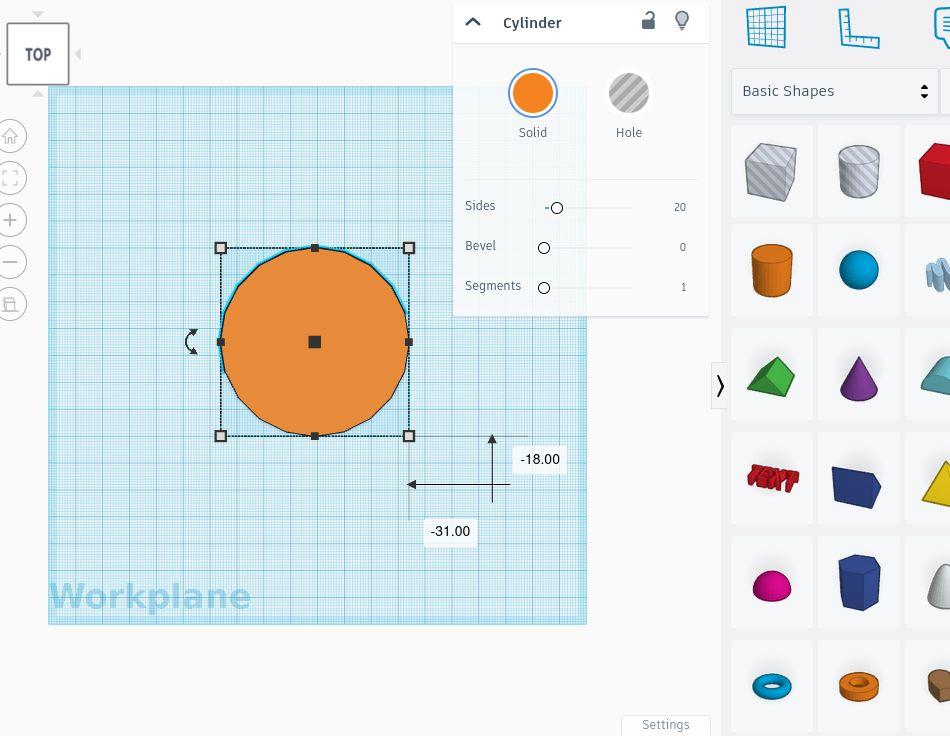
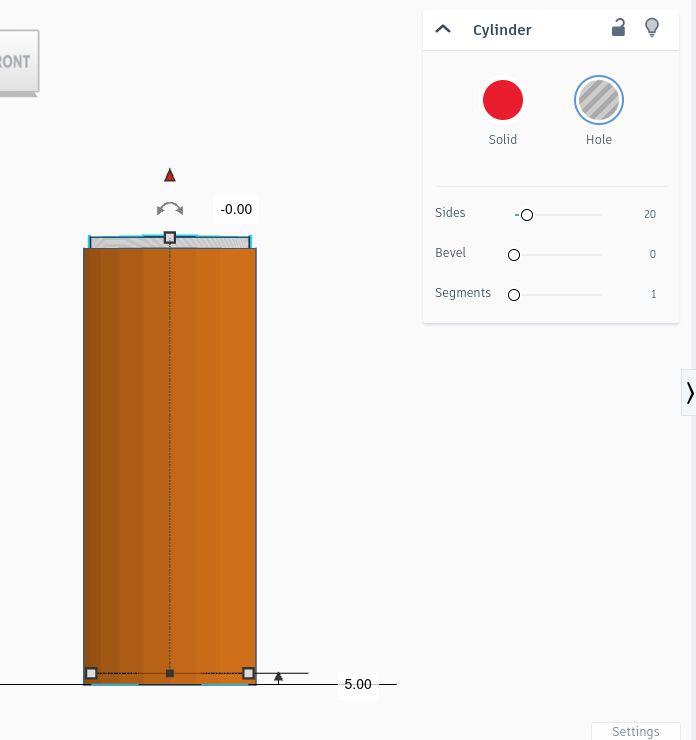
- Create a bottle shape similar to yours, but 5mm wider in diameter. Drag a cylinder onto the canvas.
- Switch to "Top" view and adjust the diameter using the small white squares. Mine was 70mm.
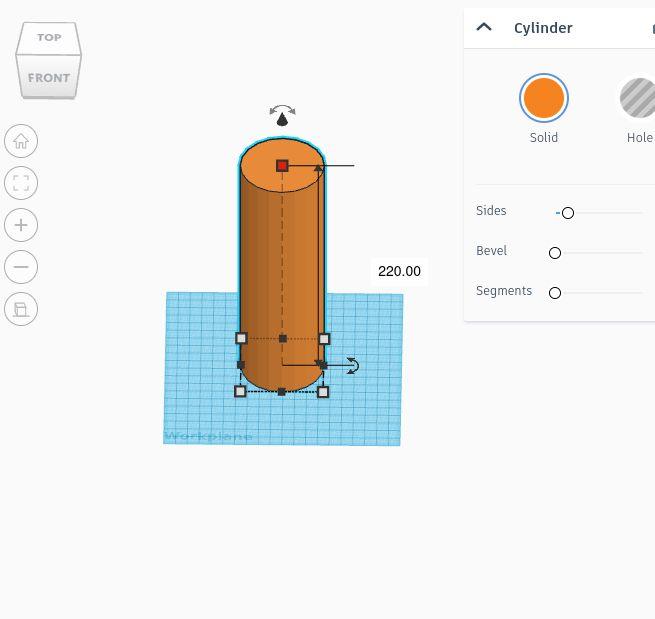
- Rotate the view as needed. Increase the height to match your printer's capability or the bottle's maximum height. Mine was 220mm.
Modelling the Pot
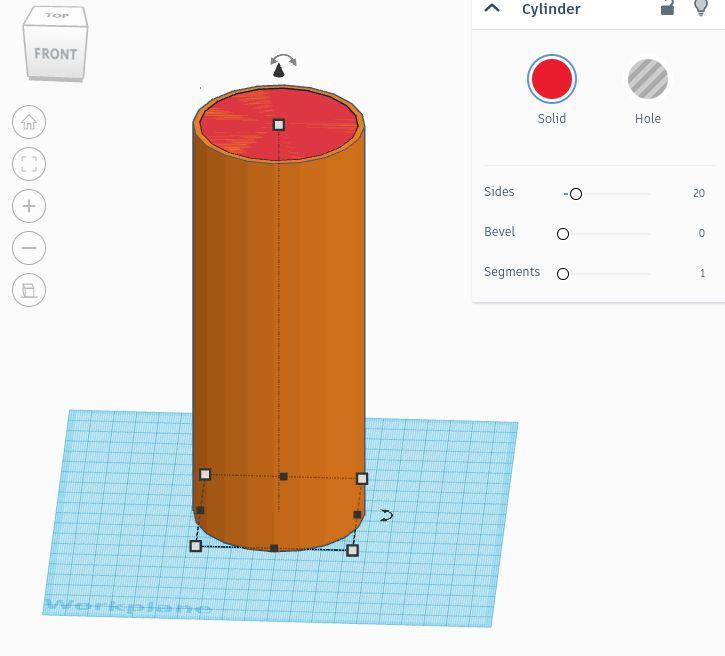
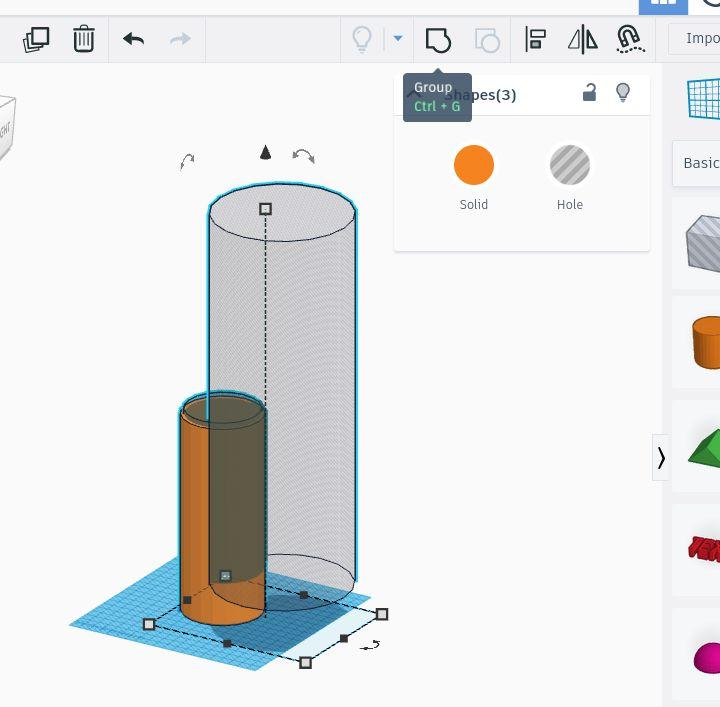
- Copy the bottle using Ctrl+C, Ctrl+V.
- Increase the diameter of the copied cylinder by 6mm.
- Position the cylinders concentrically (red and yellow).
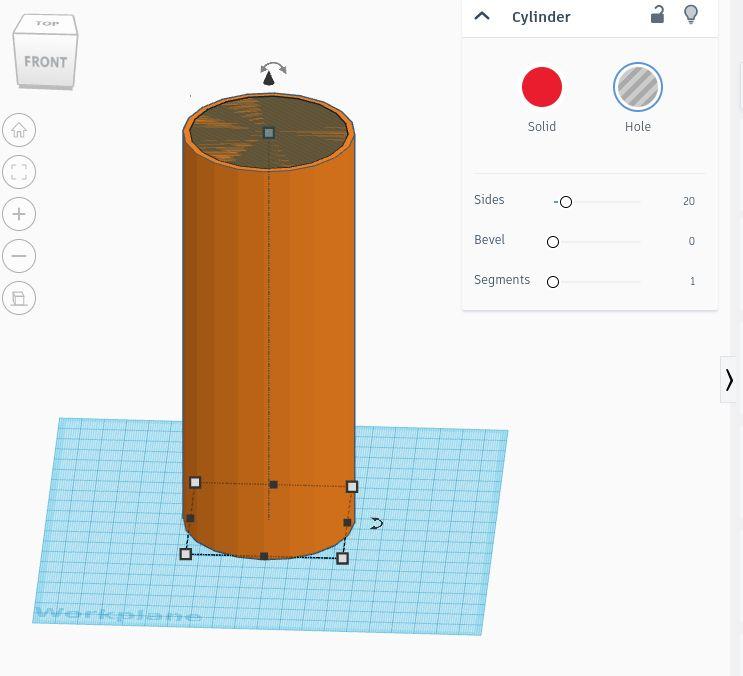
- Select the red cylinder, click the "hole" tab in the property menu to turn it grey.
- Move the grey cylinder 5mm upwards.
- Copy the grey cylinder, place it to the side to make a cut, and resize it accordingly.
- Select all and group them using the group button in the upper right corner.
Thread Holes
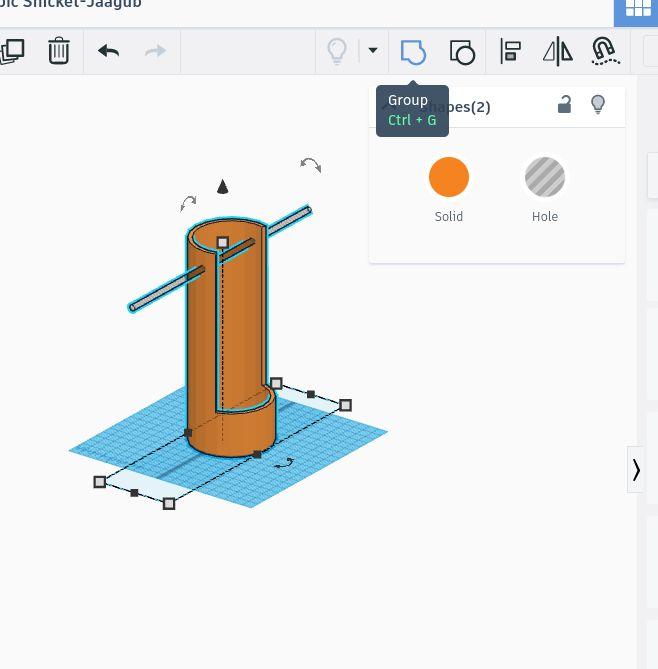
- Now that the bottle part is ready, add the threaded hole for the bottle. Include a cylinder hole as shown and group them together.
Add a Slope Holder
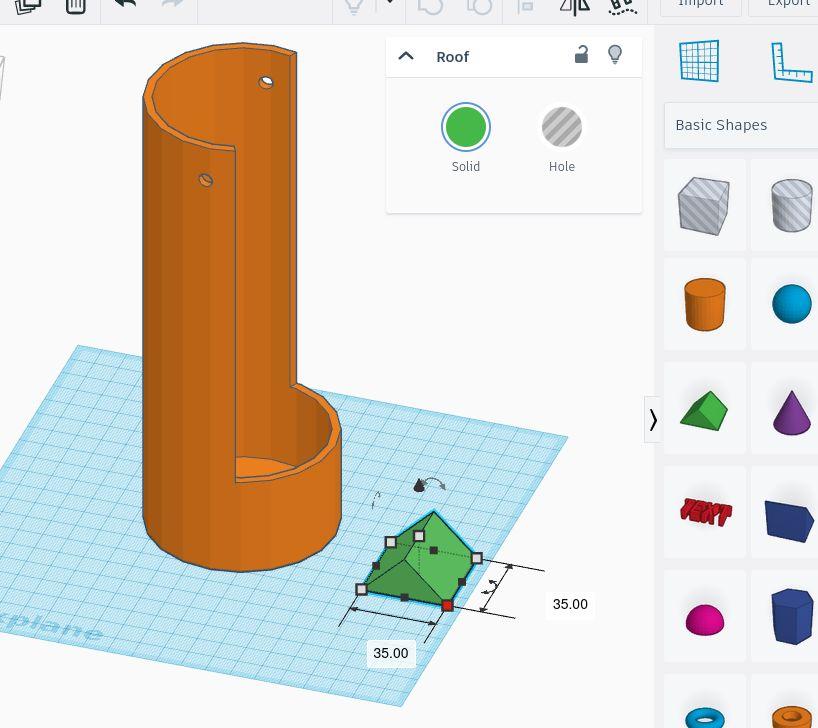
- To prevent water from flowing out when the pot is placed on the ground, add a prism-shaped part from the Tinkercad menu.
- Scale it up by dragging any corner while holding shift.
- Position the prism near the top as shown in the next steps.
Final Touches
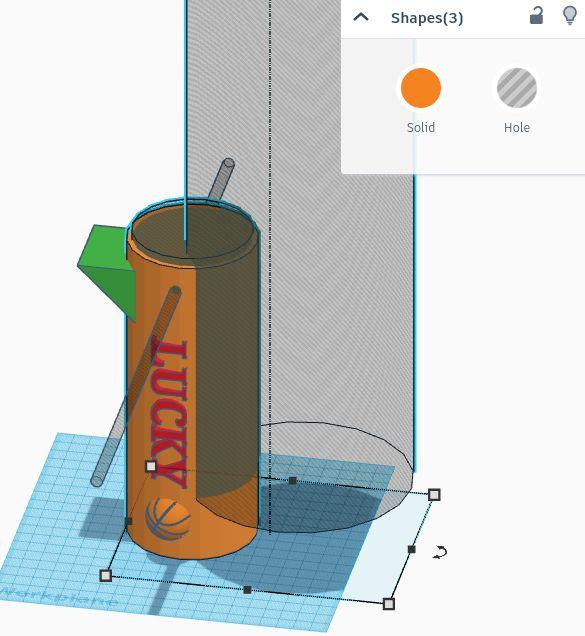
- To remove the small visible part of the prism, we have to delete it.
- Before that, add designs as you like from the Tinkercad directory, including your dog's initials if you like.
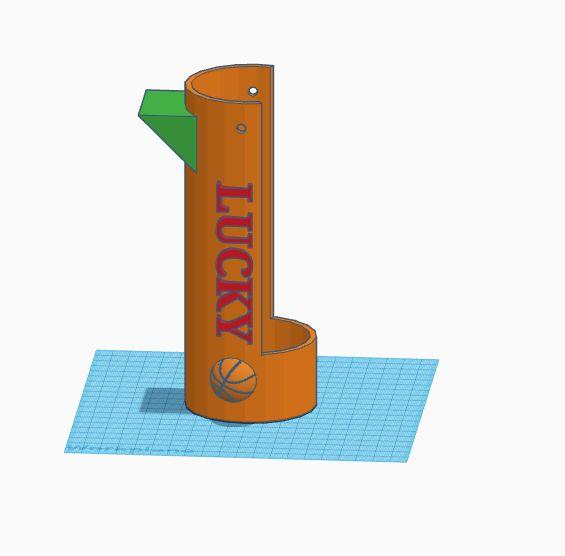
- To clear the inside of the pot, ungroup all parts to reveal the inner cylinder hole. Then, regroup all parts. The inner hole will clear the excess extrusions.
- Voila! Your companion's pot is now ready!