Posting and Enhancing an Instagram Story
by natalig0nzalez in Living > Life Hacks
696 Views, 0 Favorites, 0 Comments
Posting and Enhancing an Instagram Story
An Instagram story is a feature where users can post a photo or video in a slideshow format then disappear after 24 hours. Unlike posts, things like location, stickers, and text can appear on the photo itself. Doing this can be a fun way to share photos and increase your communication with your followers.
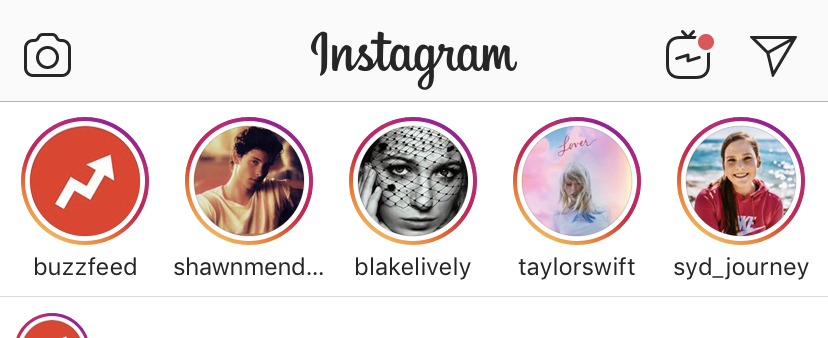
Step 1: Adding a Photo
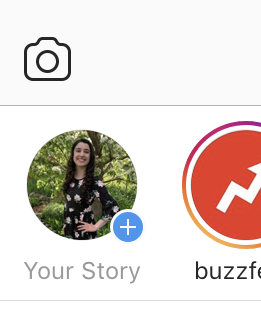
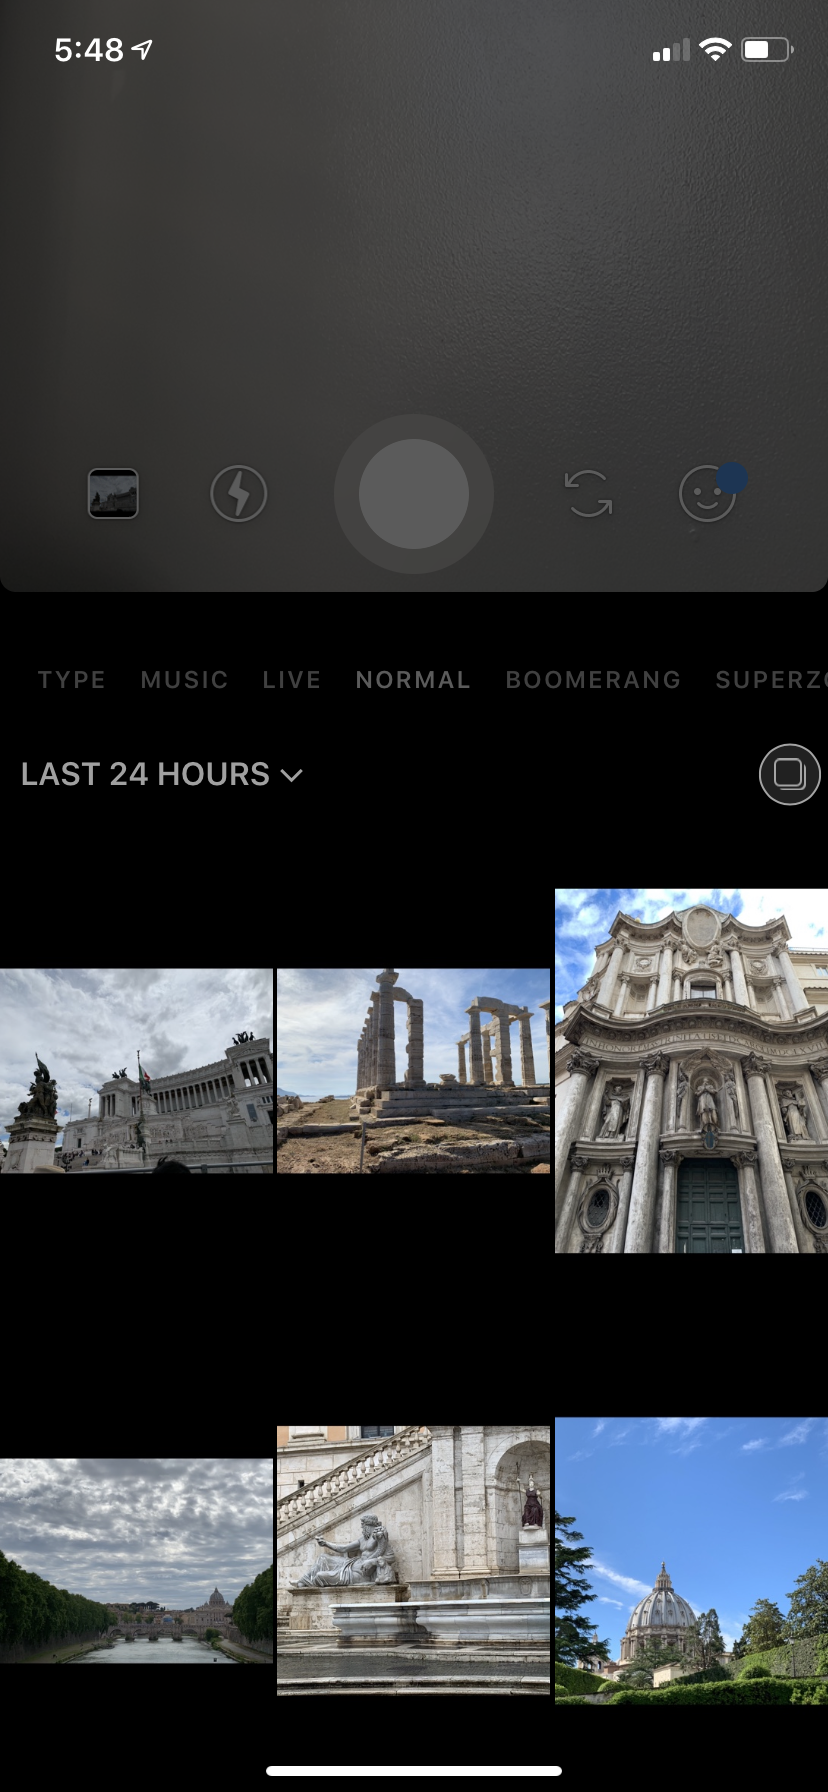
On top of the Instagram app is a line of everyone's stories, including your profile picture with a blue plus sign next to it. Click your own. This will give you the option to snap a photo now using the center circle button, or you can swipe up and select a photo from your camera roll. Most people choose to add a photo from their existing camera roll, as shown in the top right picture. Once you successfully added a photo, it will look like the final picture shown here. Sometimes, a date will be automatically added to the photo. To remove this, simply hold and drag it down to the trash icon at the bottom of your screen.
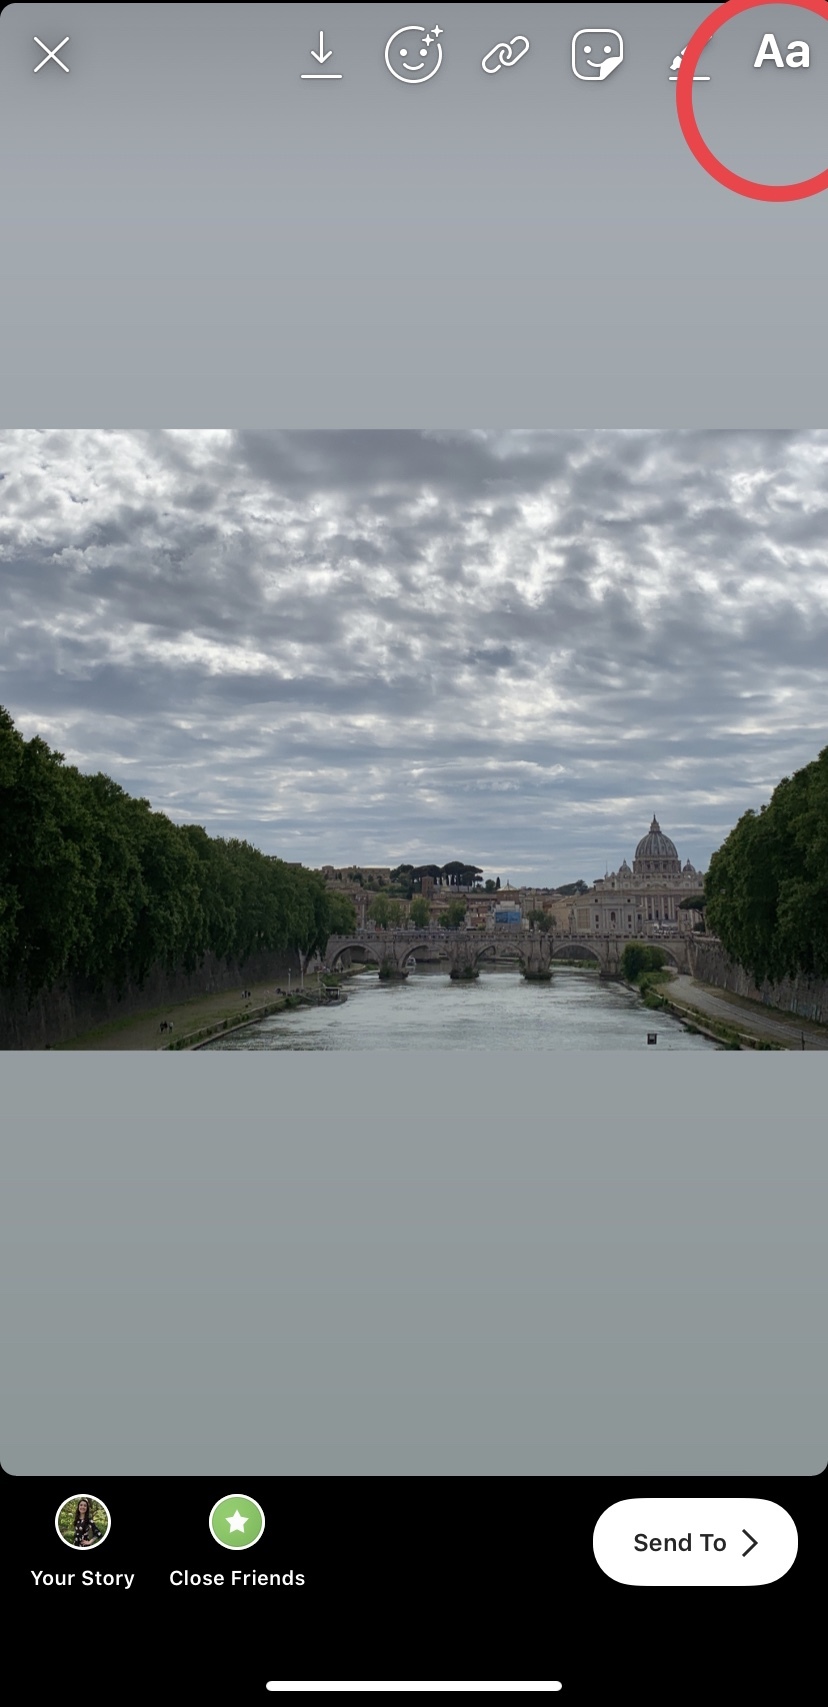
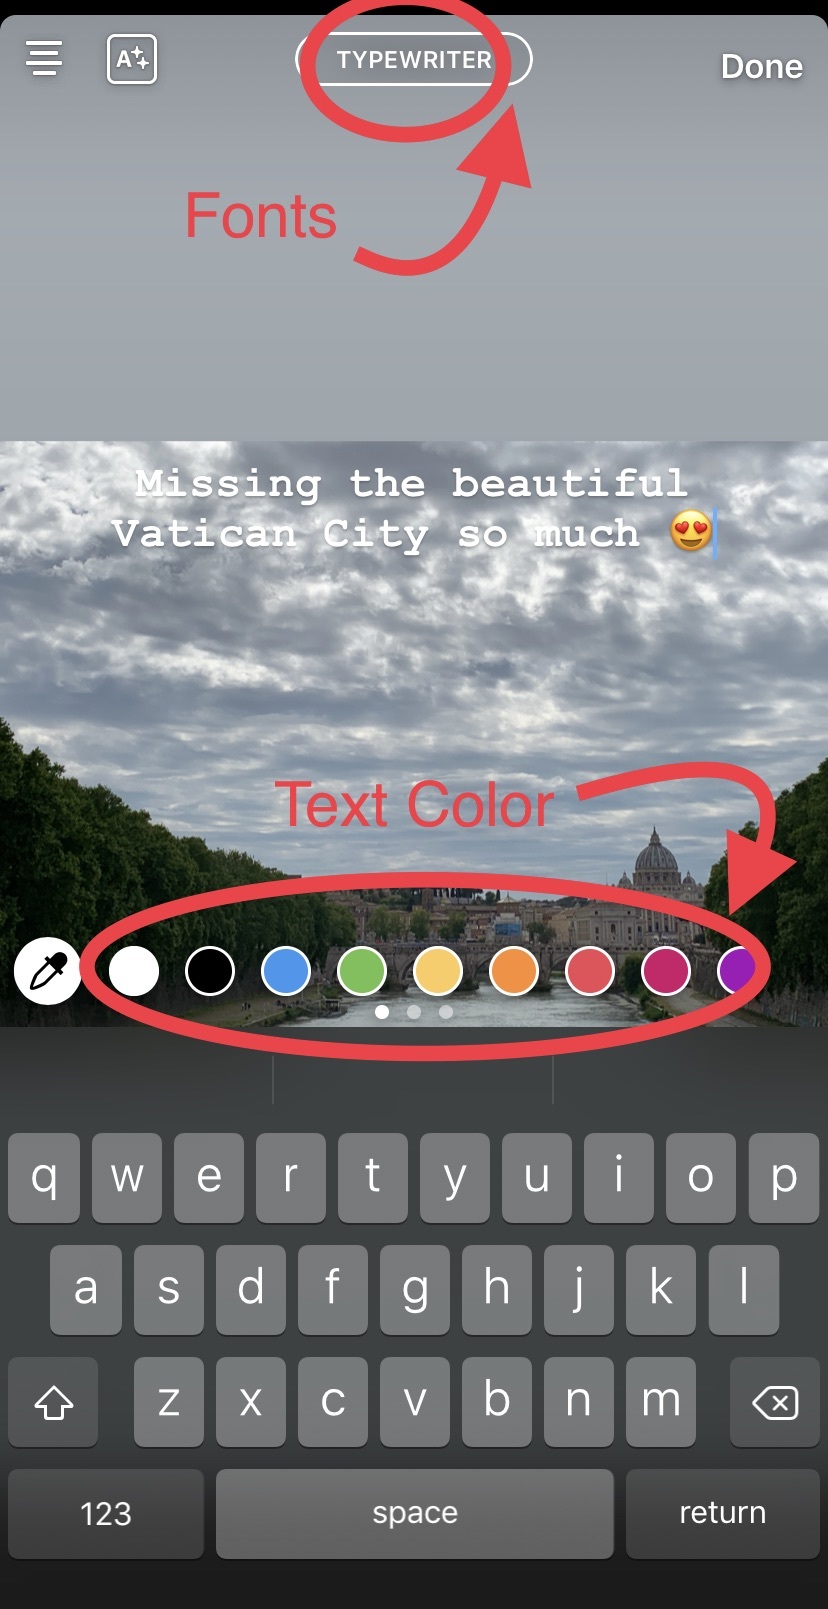
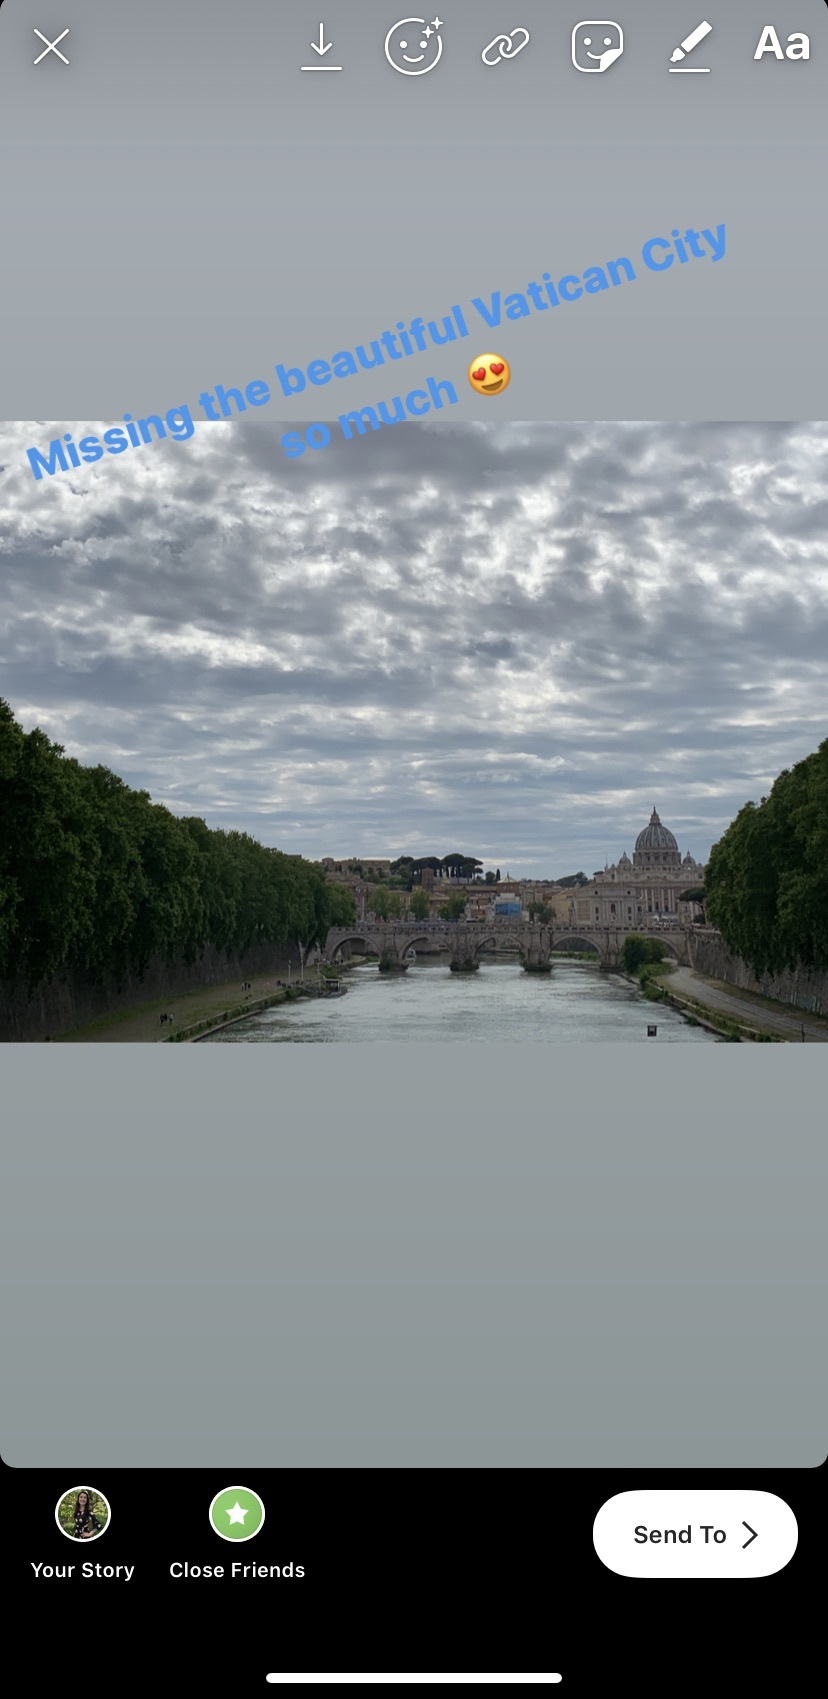
Step 2: Adding Text
.jpg)
.jpg)
In the top right-hand corner, there is an "Aa" icon. Pressing it will instantly allow you to write on top of your photo, comparable to an Instagram caption. When selected, type out the desired message and change the font by pressing the top center button, the default being "typewriter." The text color can be changed by selecting one of the colors above the keyboard. It can also be moved by simply dragging it across the photo and resized by pinching with two fingers.
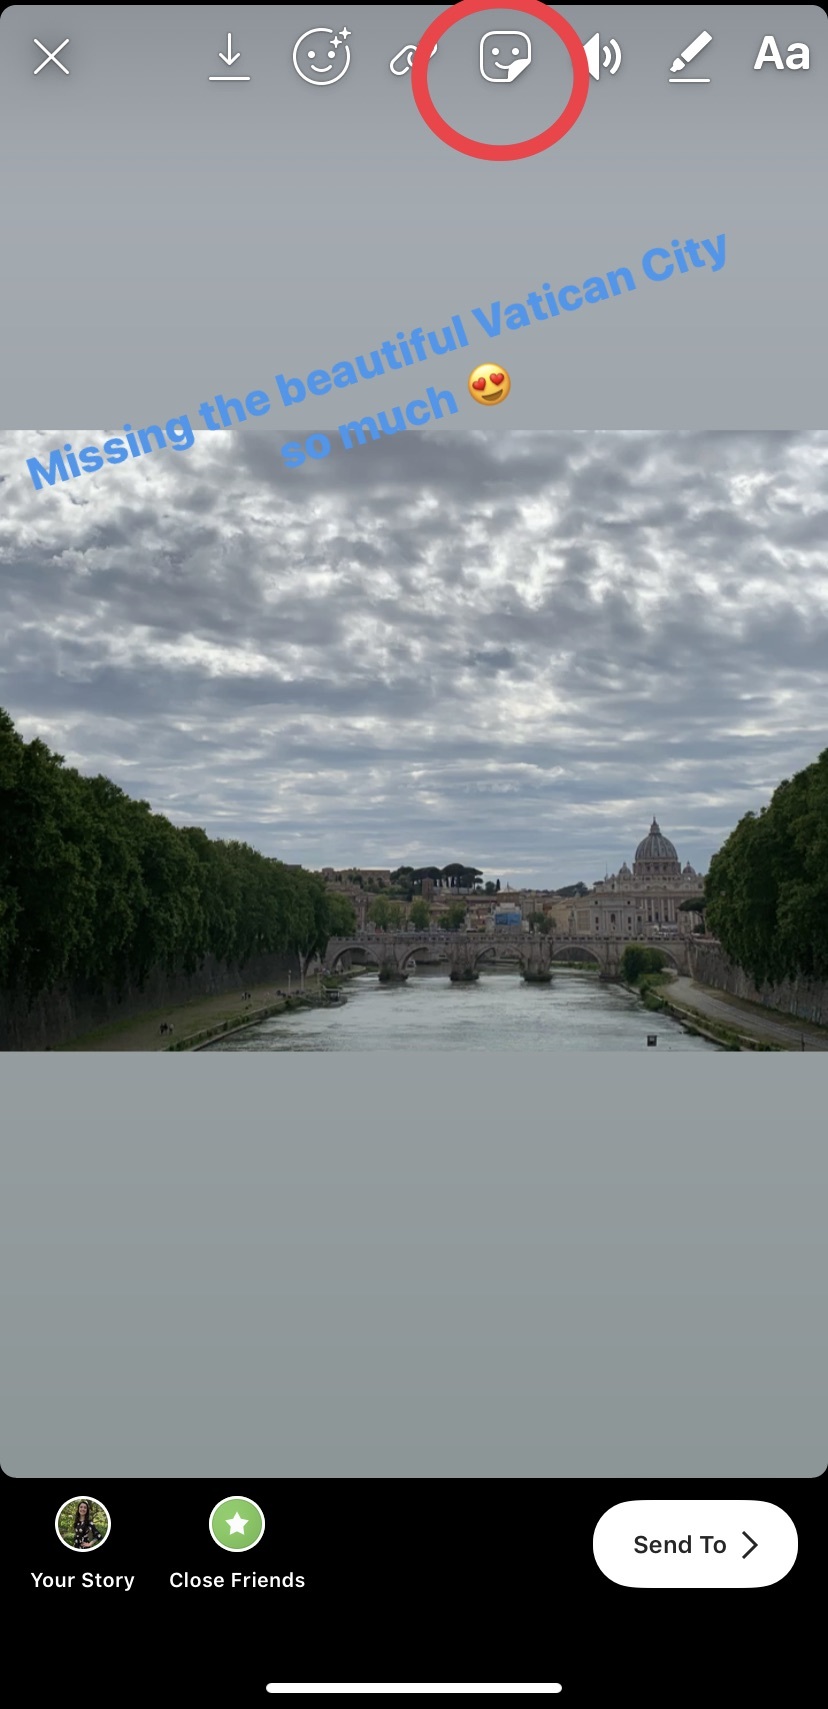
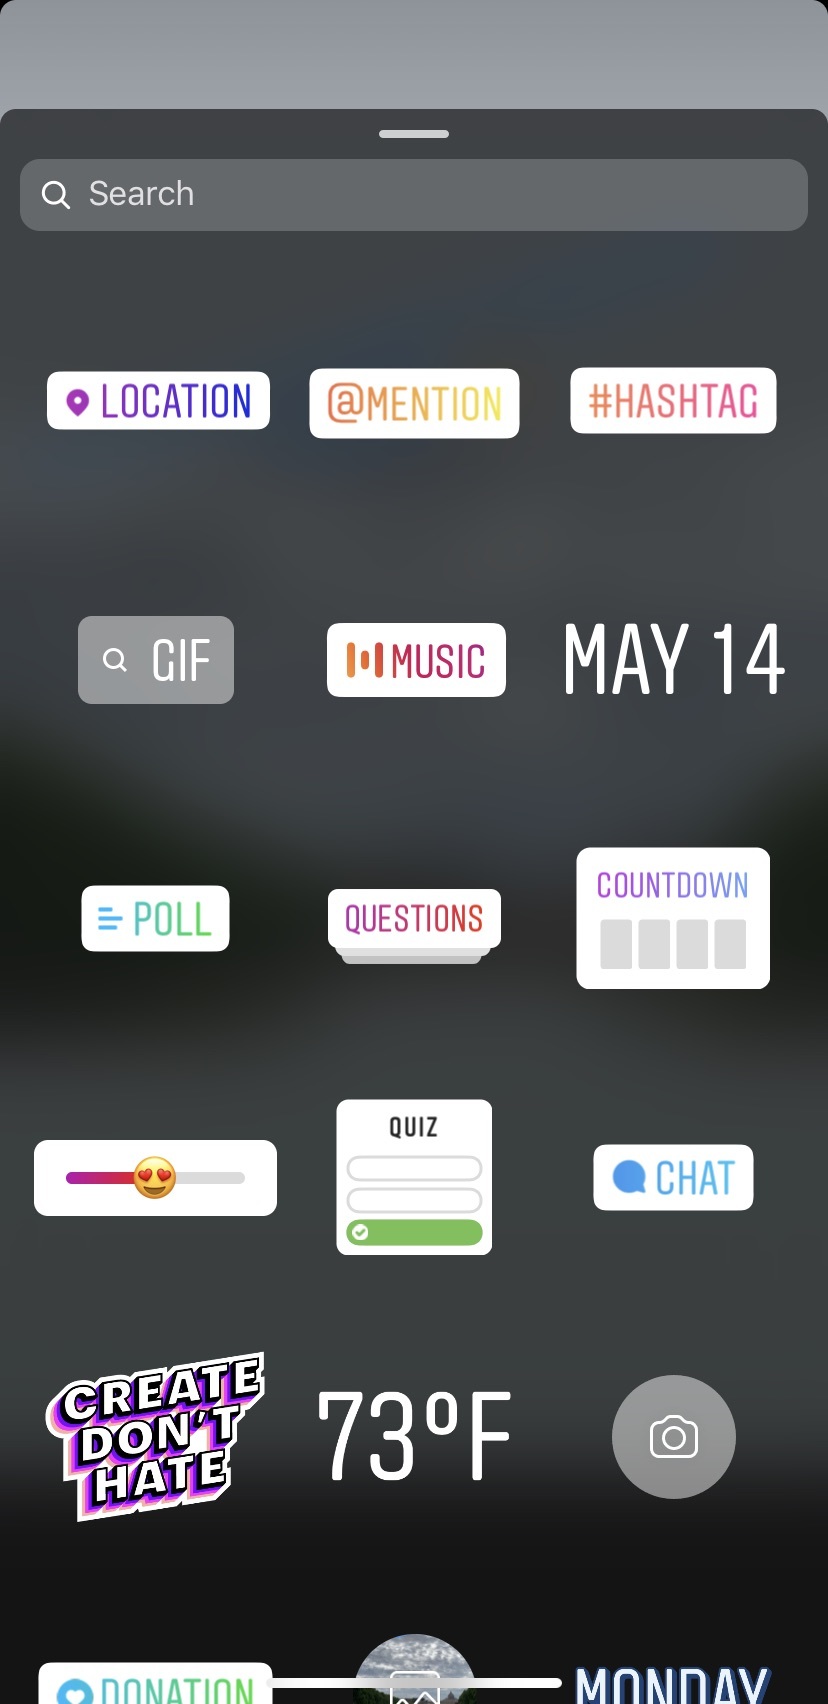
Step 3: Stickers
.jpg)
.jpg)
.jpg)
Instagram stories allow you to add the location, hashtags, and mentions. This can all be done by tapping on the square smiley face with a folded corner. This will bring up a large menu of options and tapping any of them will allow them to be added to your photo. First, location. This icon will bring up a search menu for you to search for and select your location. If you're with someone in the photo, you can use the mention box to type in their name and select them from the options that appear. This is the same for any of the other features you wish to use, whether date, hashtag, temperature, music or quiz. Like with text added earlier, these can all be moved by dragging and resized by pinching.
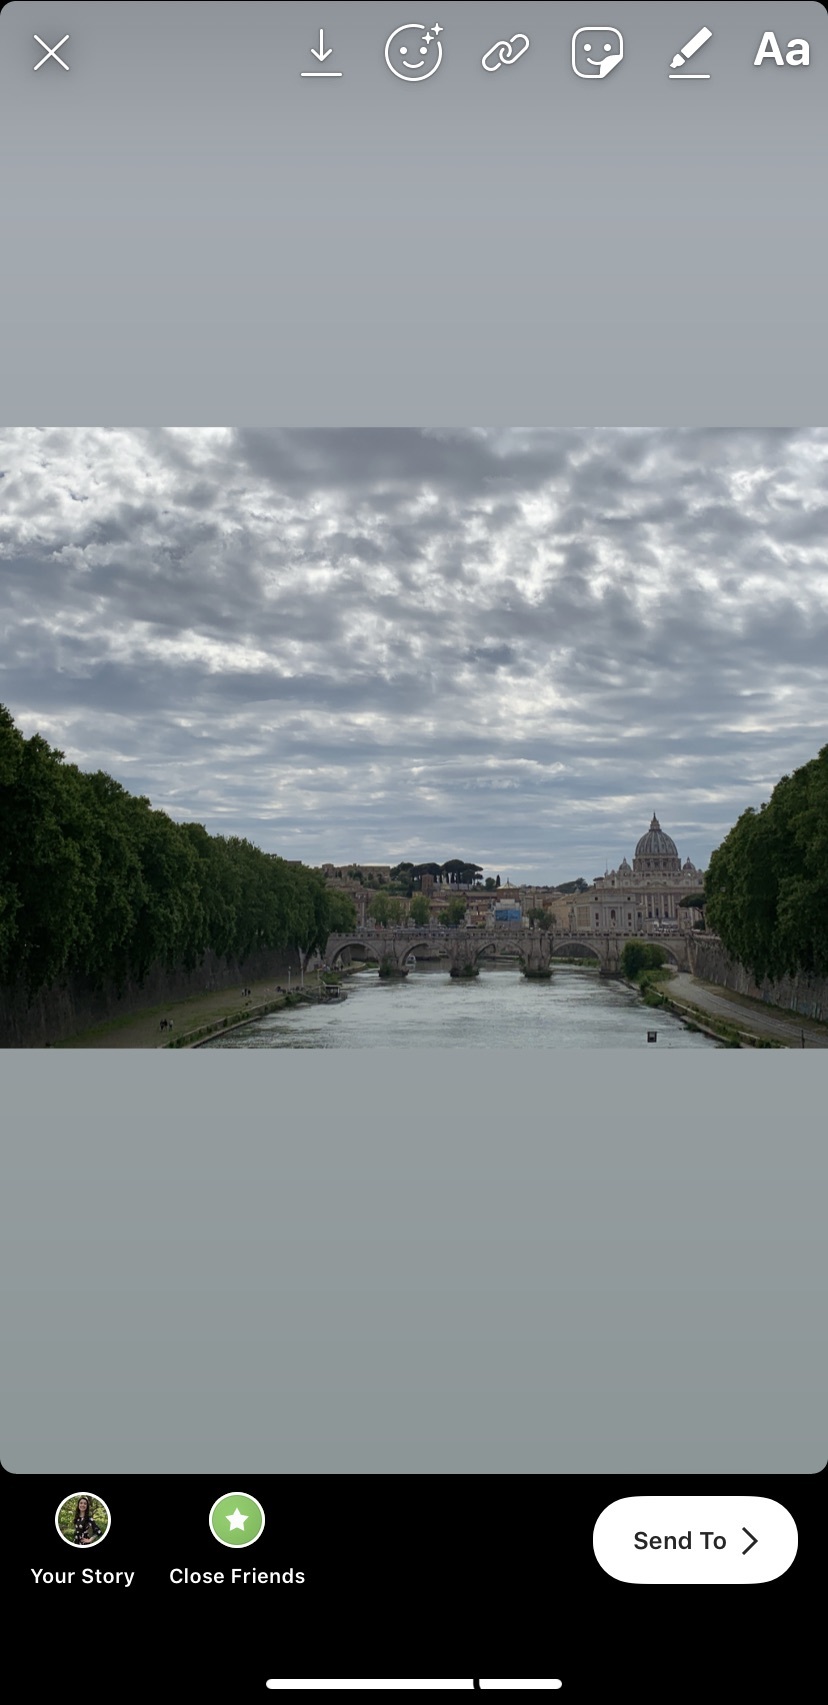
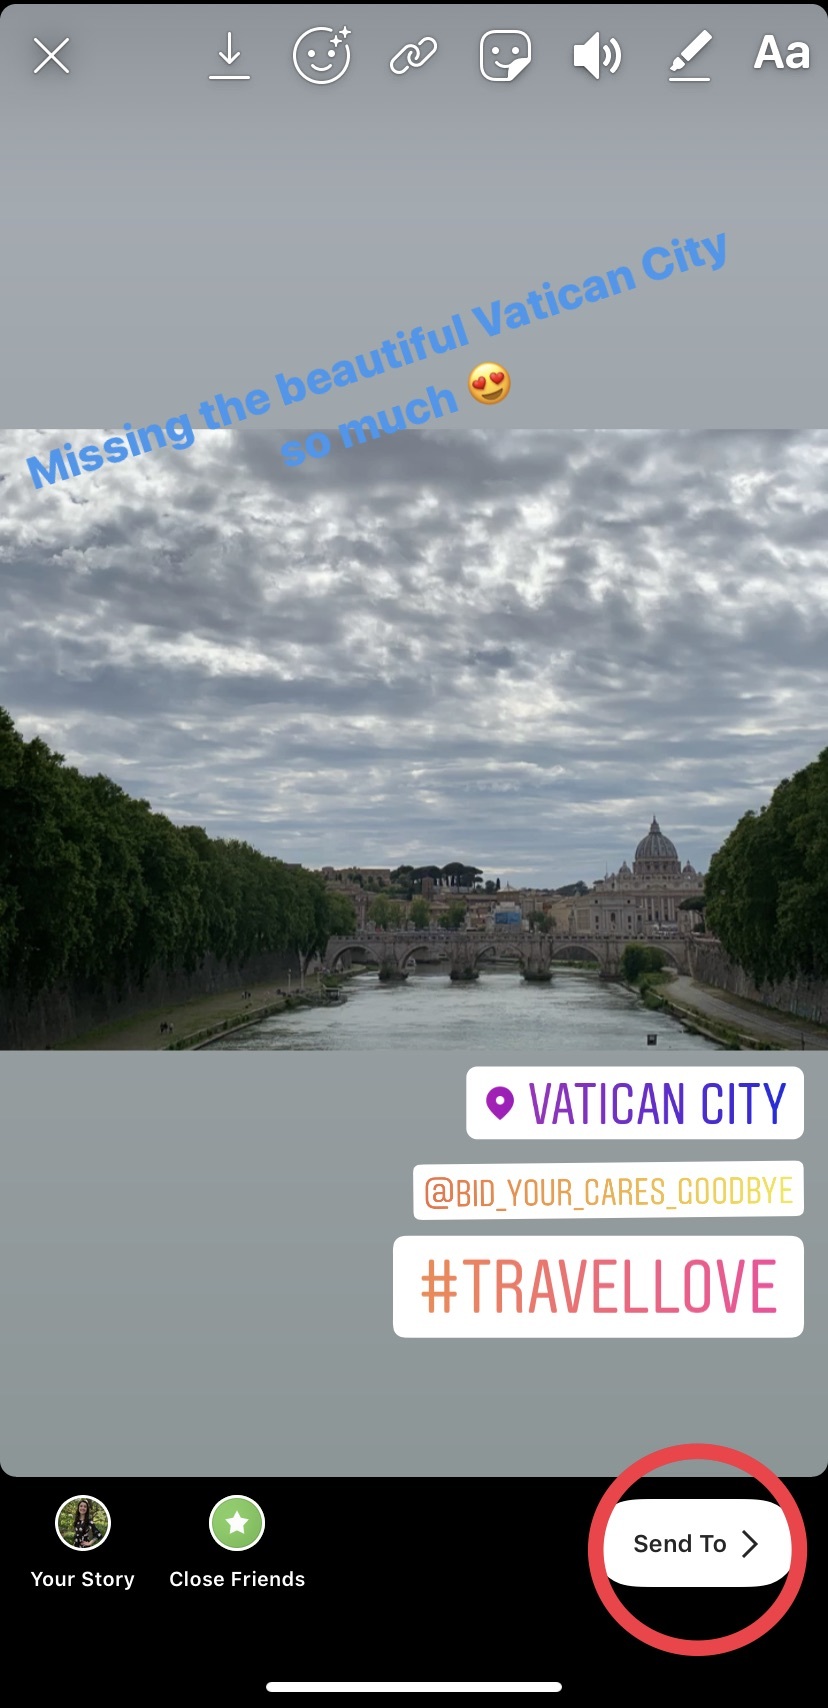
Step 4: Posting
.jpg)
It is finally time to post your completed Instagram story. Select the "send to" button on the bottom right corner. This will bring up a menu. You can either send your story to just one person by typing their name in the top bar and clicking the blue "send" button. Or, more popularly, you can put it on your story by selecting the blue "share" button next to the "Your Story" option.
Step 5: Viewing Who/How Many People Have Seen It

Once it's posted, you can select your own profile picture on Instagram's top bar, which will now feature a purple ring around it. In the bottom left corner of your story, there is an eye icon with a number next to it. This is how many people have viewed it. If you click on that icon, you can see who makes up those numbers.
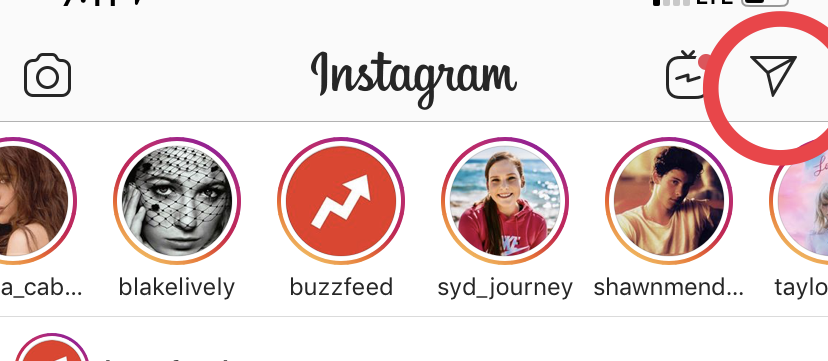
Step 6: Responding to Messages
.png)
Your story has a feature where viewers can swipe up and sending you a message about it. These can be viewed with the paper plane icon on the Instagram homepage.