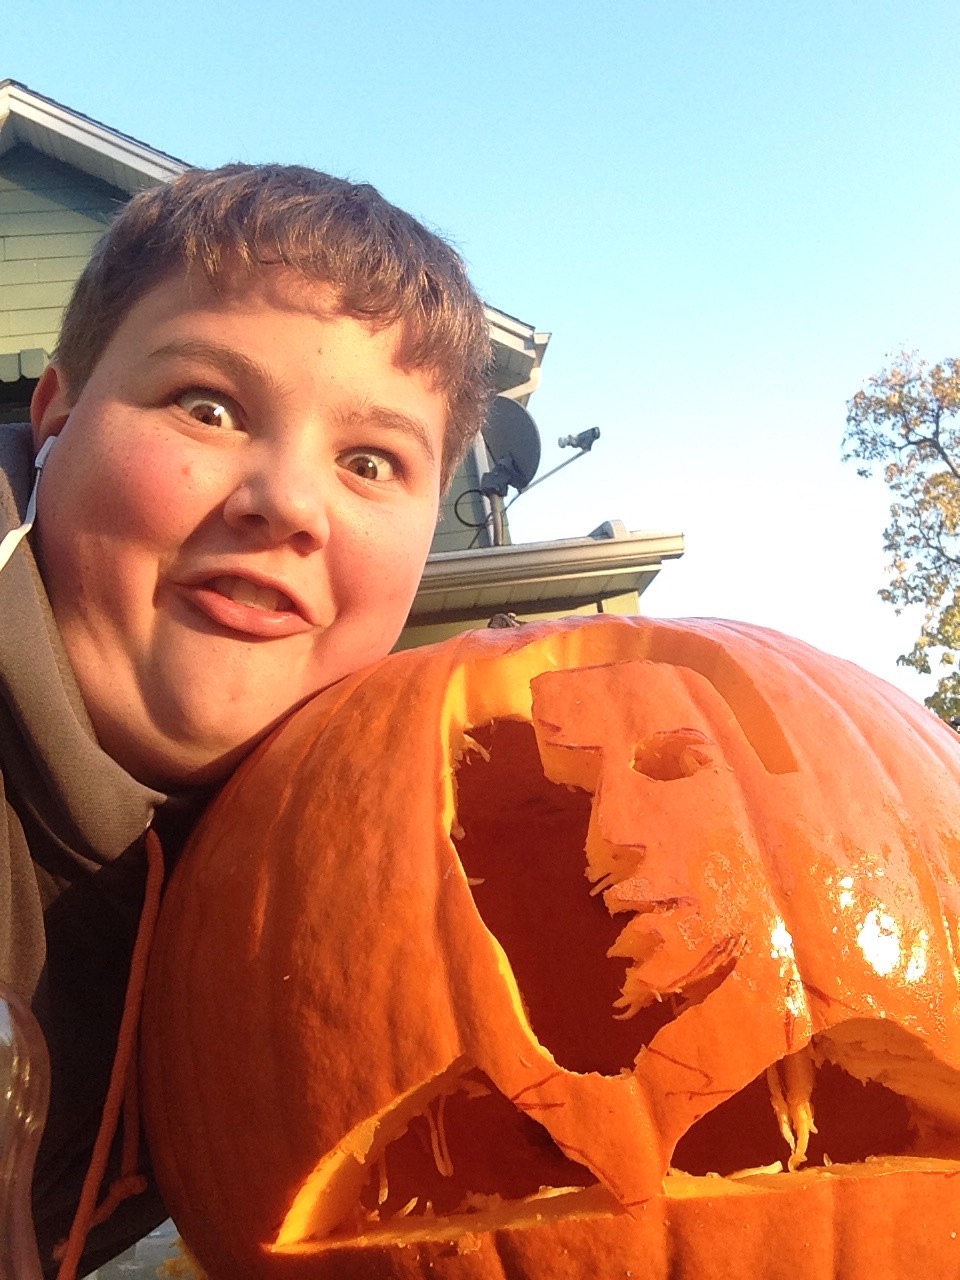
Portrait Pumpkin Tutorial
by DolphinAirlines in Living > Halloween
1101 Views, 2 Favorites, 0 Comments
Portrait Pumpkin Tutorial
.jpg)
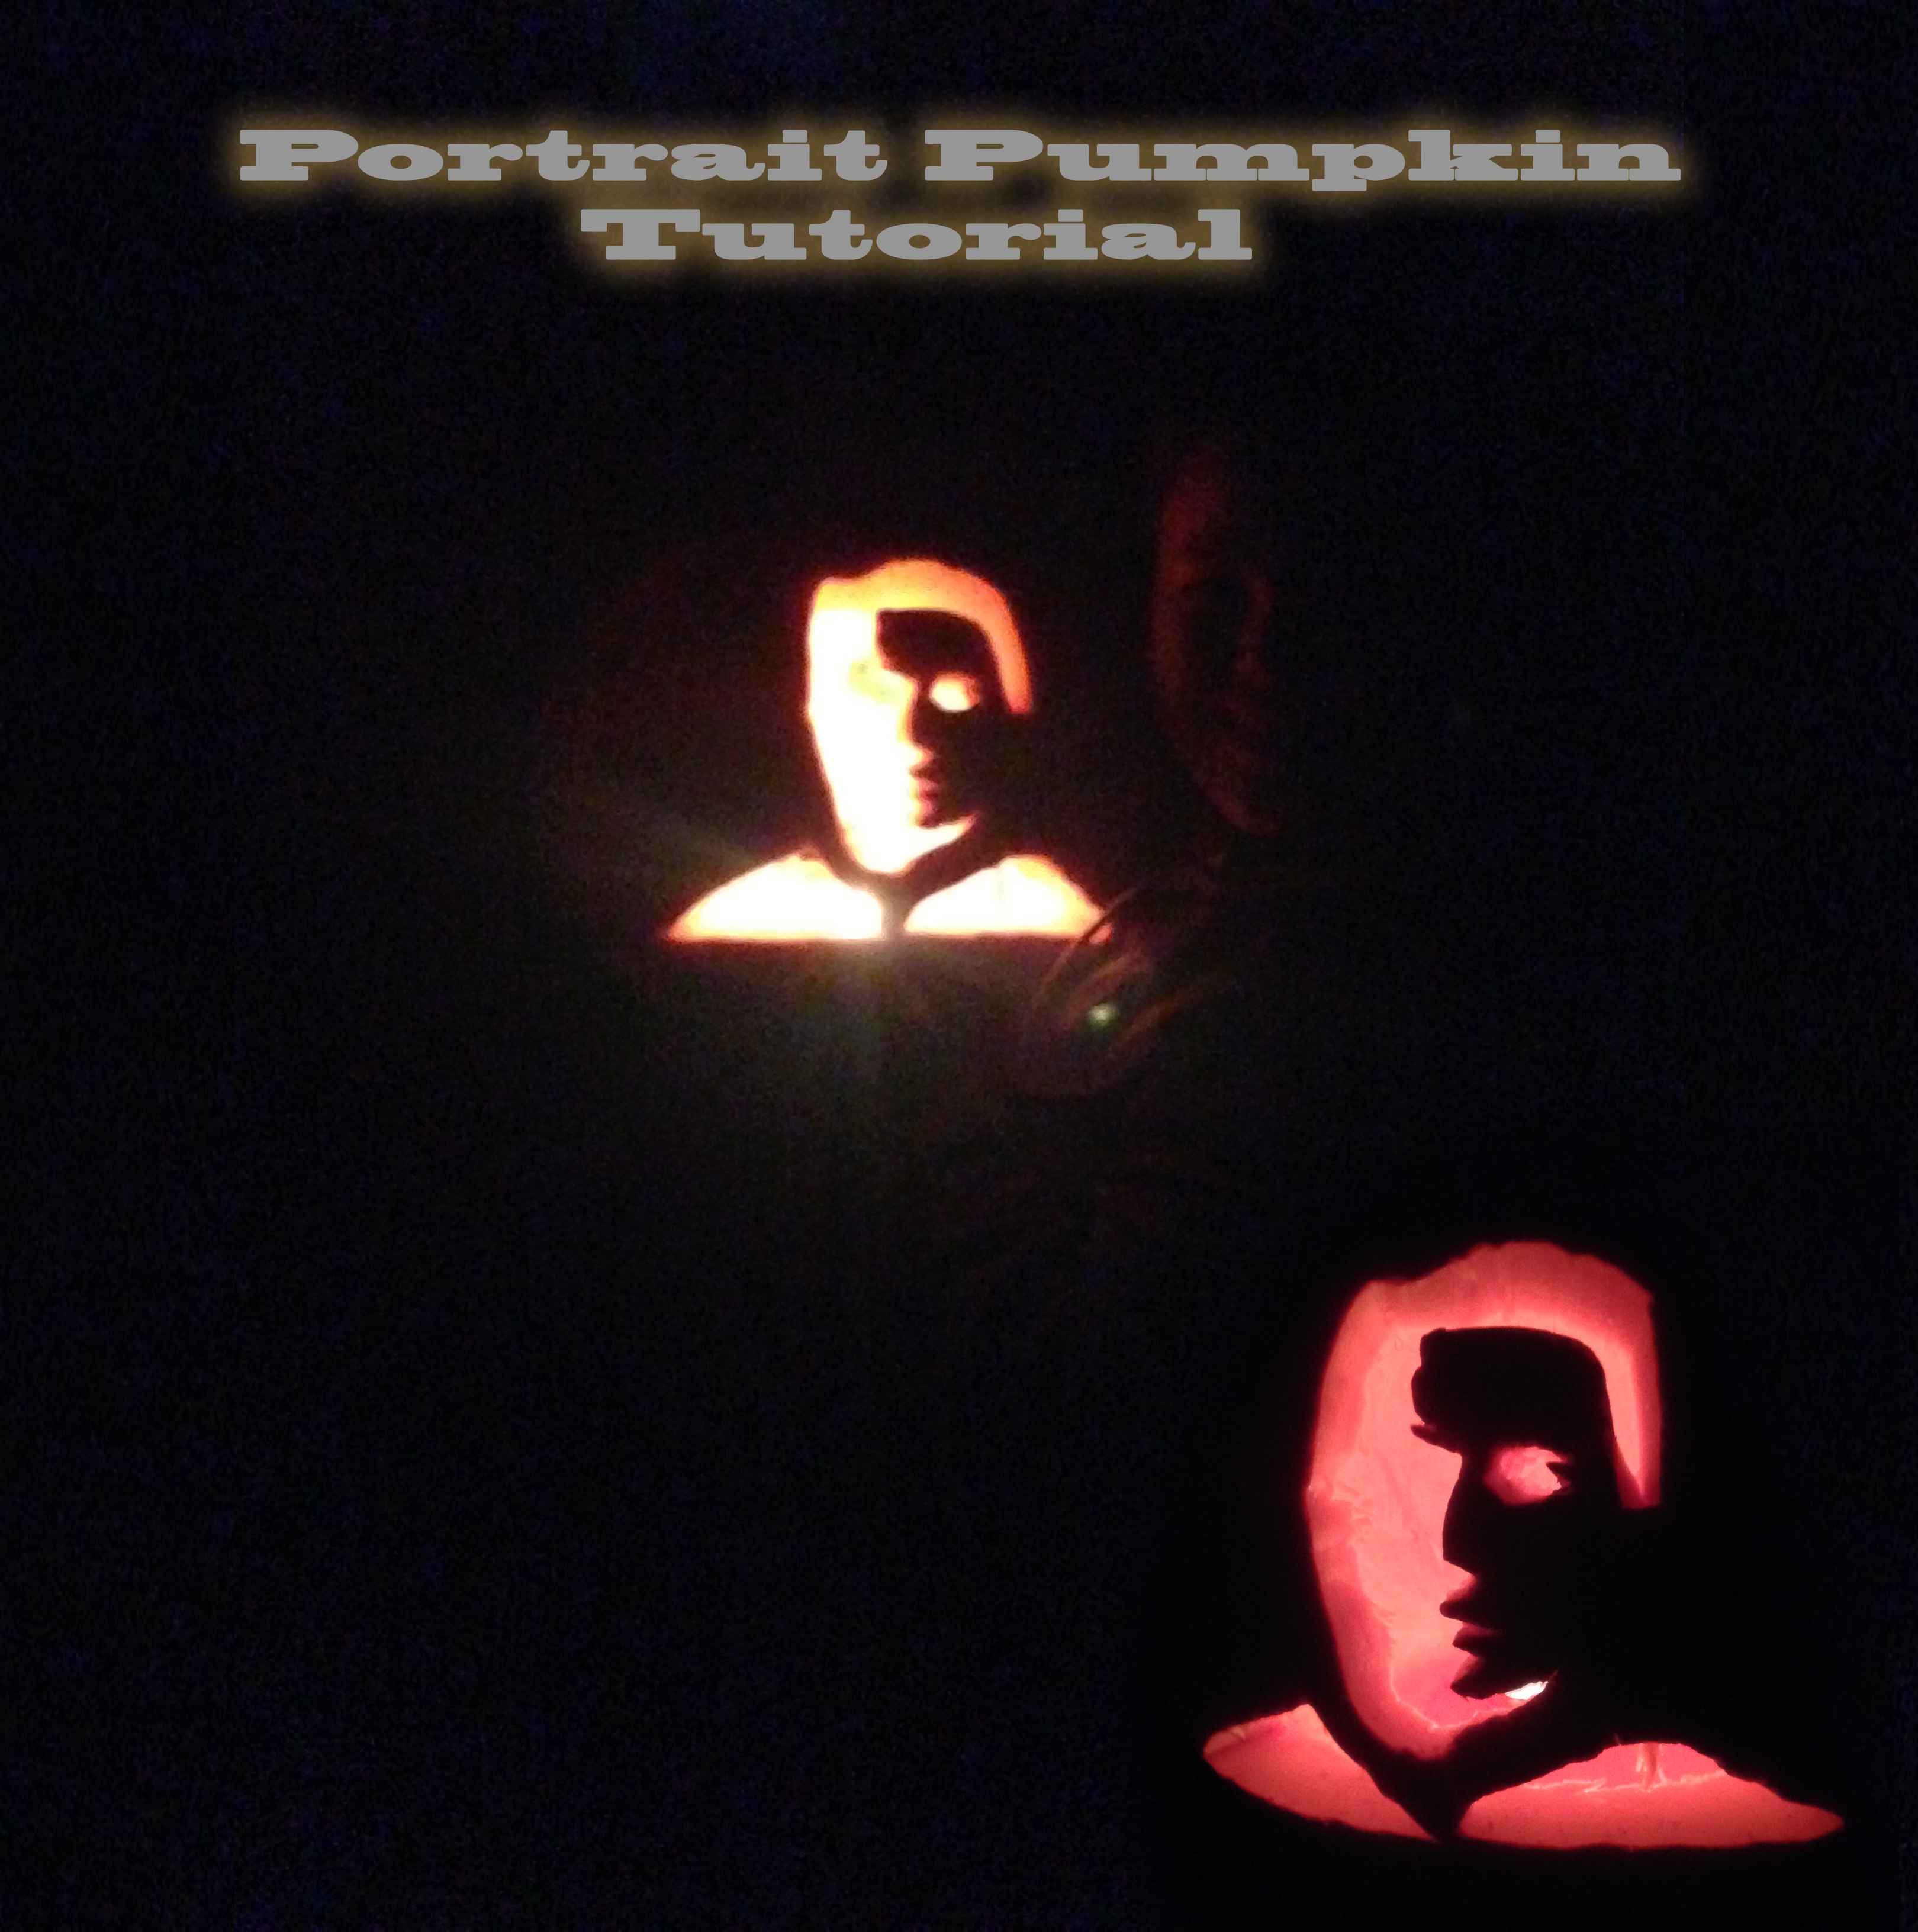
Welcome to my Instructable! I did this project for the people out there who want to be a little bit more creative with their pumpkins! Please be sure to leave a vote if you liked my instructable!
Choose Your Image

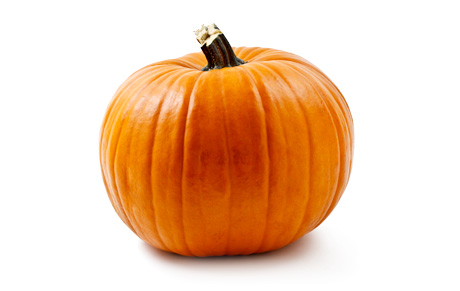
For the project you will need:
Image for the stencil
Pumpkin
Carving Tools
Photoshop (or other program if you want)
IMAGINATION.
For my project I chose Robert Downy Jr for my image. You can use whatever image you want.
Next Thing you'll need is a pumpkin. Any pumpkin will work.
Open Your Image in Photoshop
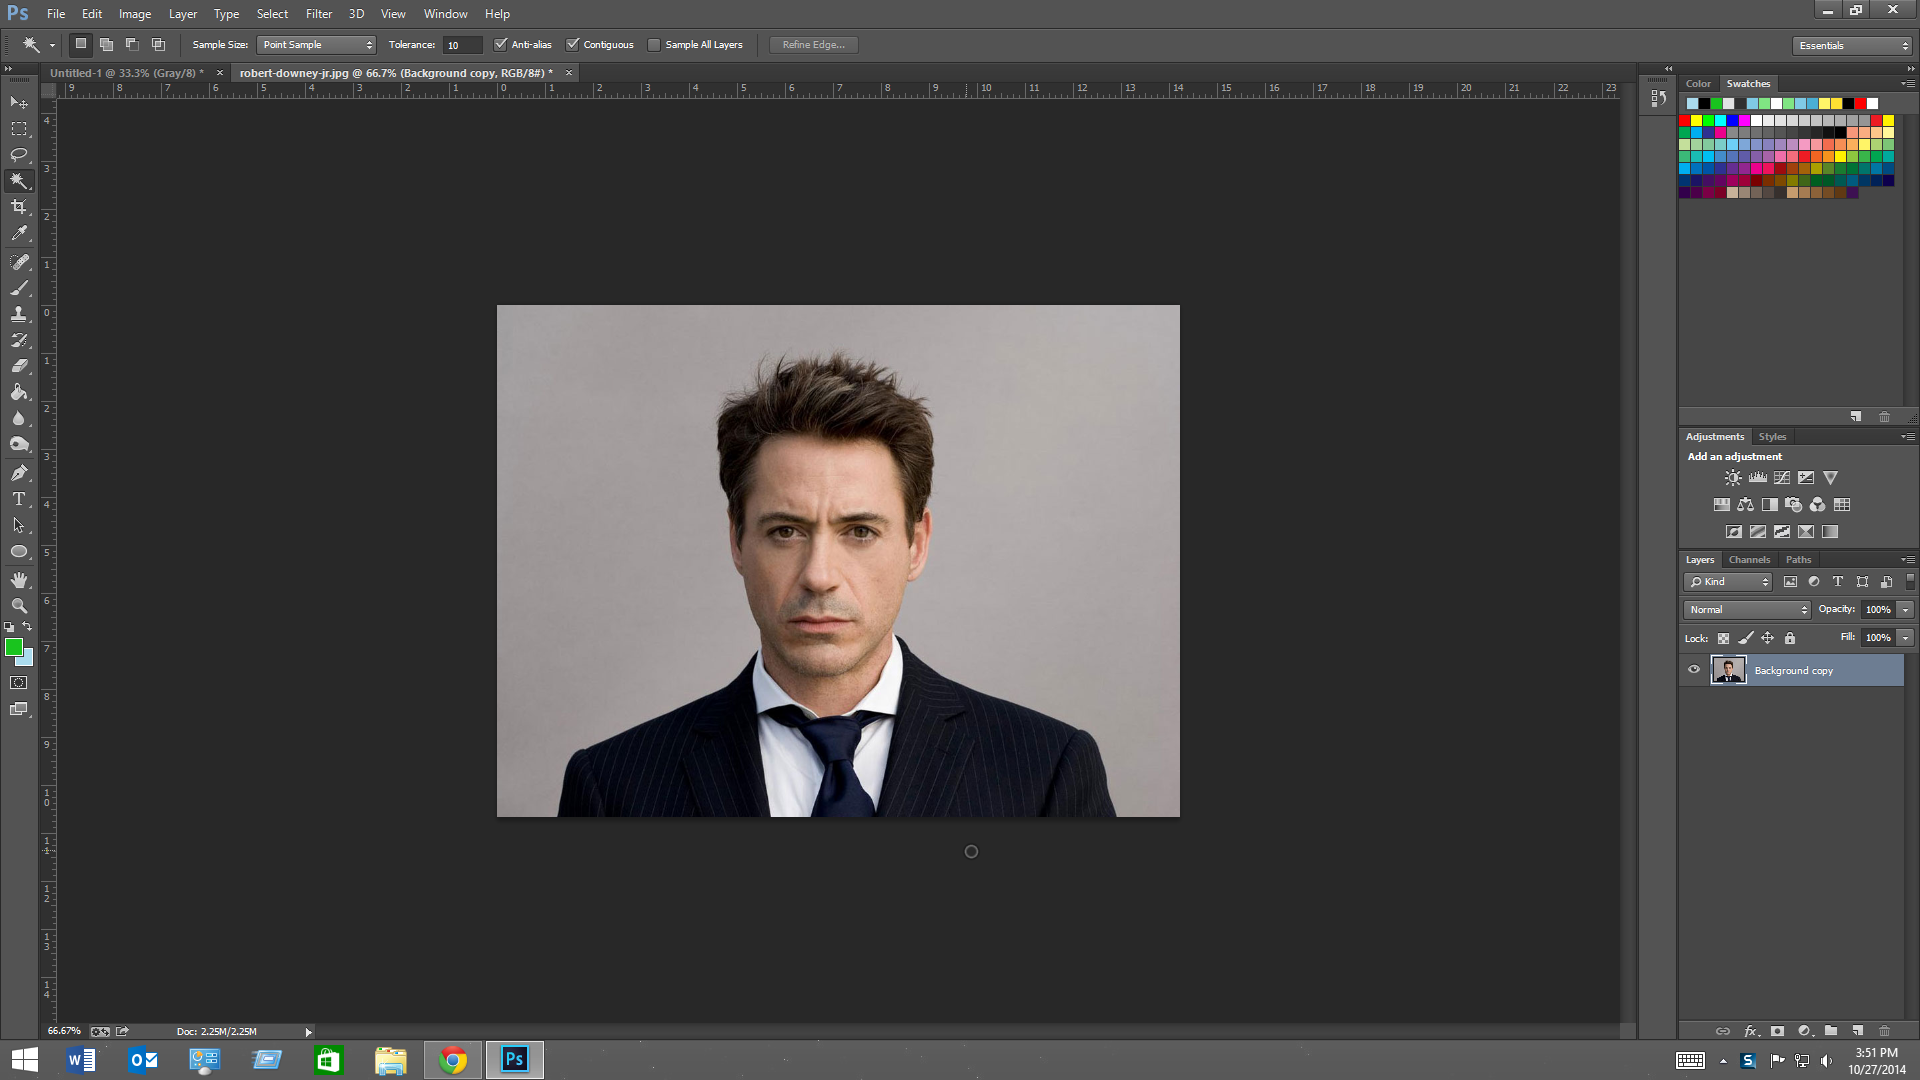
First Open the image and duplicate the layer. So you have a backup just in case.
Select the Background of the Image
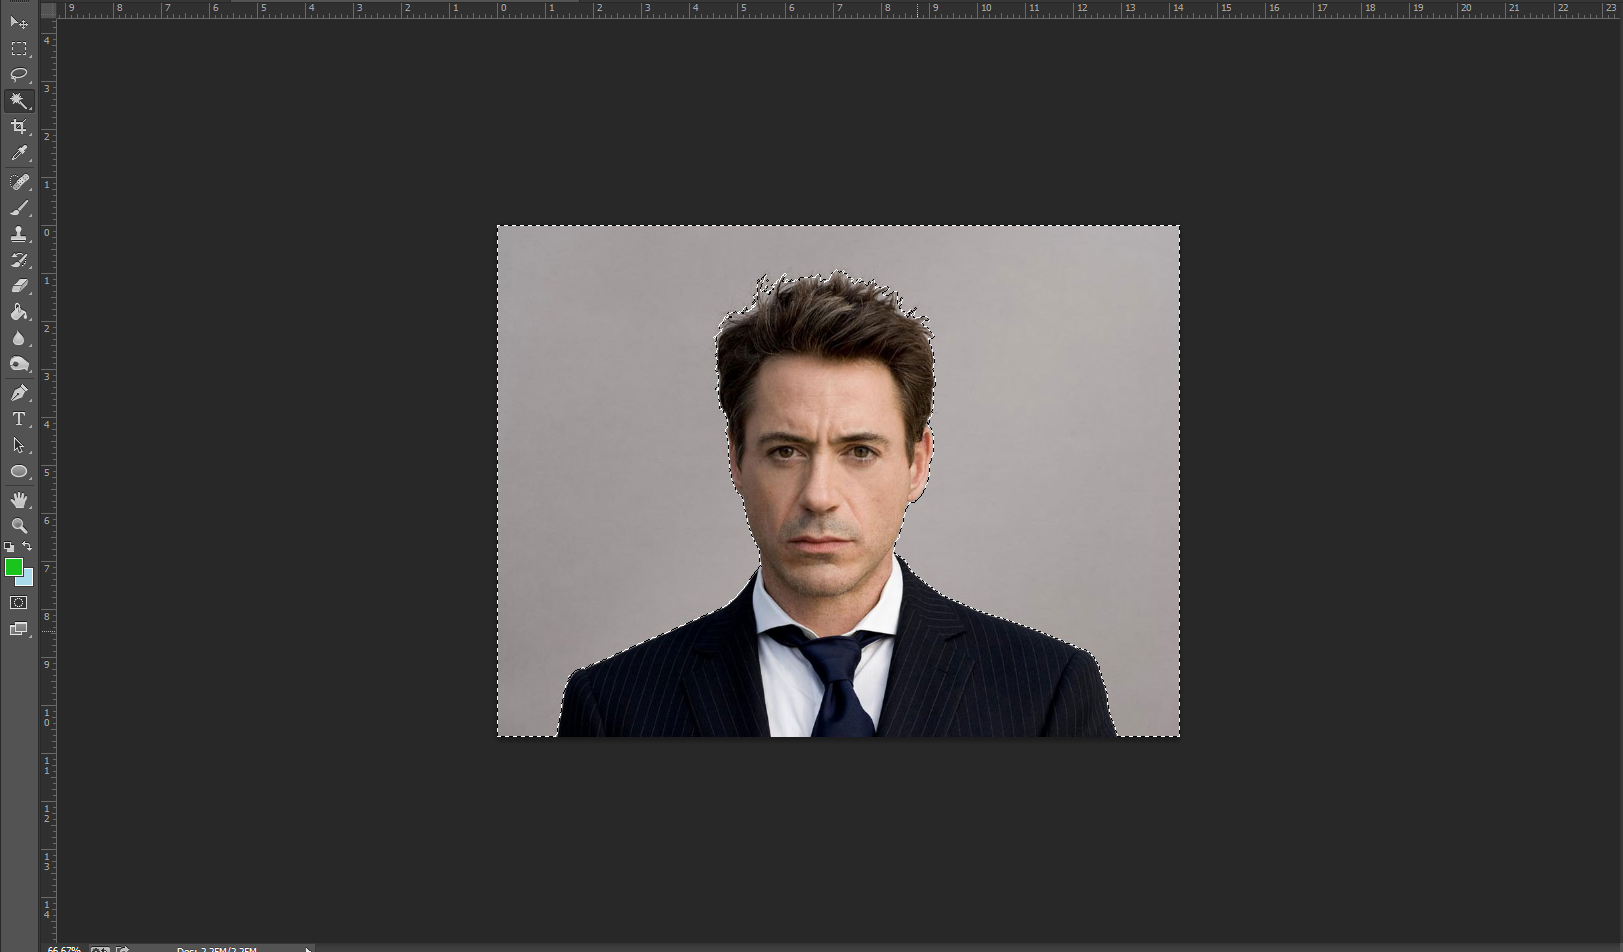
You can use the magic wand tool or you can use the pan or just erase the background. IT DOESN'T HAVE TO BE PERFECT !! After you have that selected just go ahead and delete it sou you have a white/transparent background.
Black and White
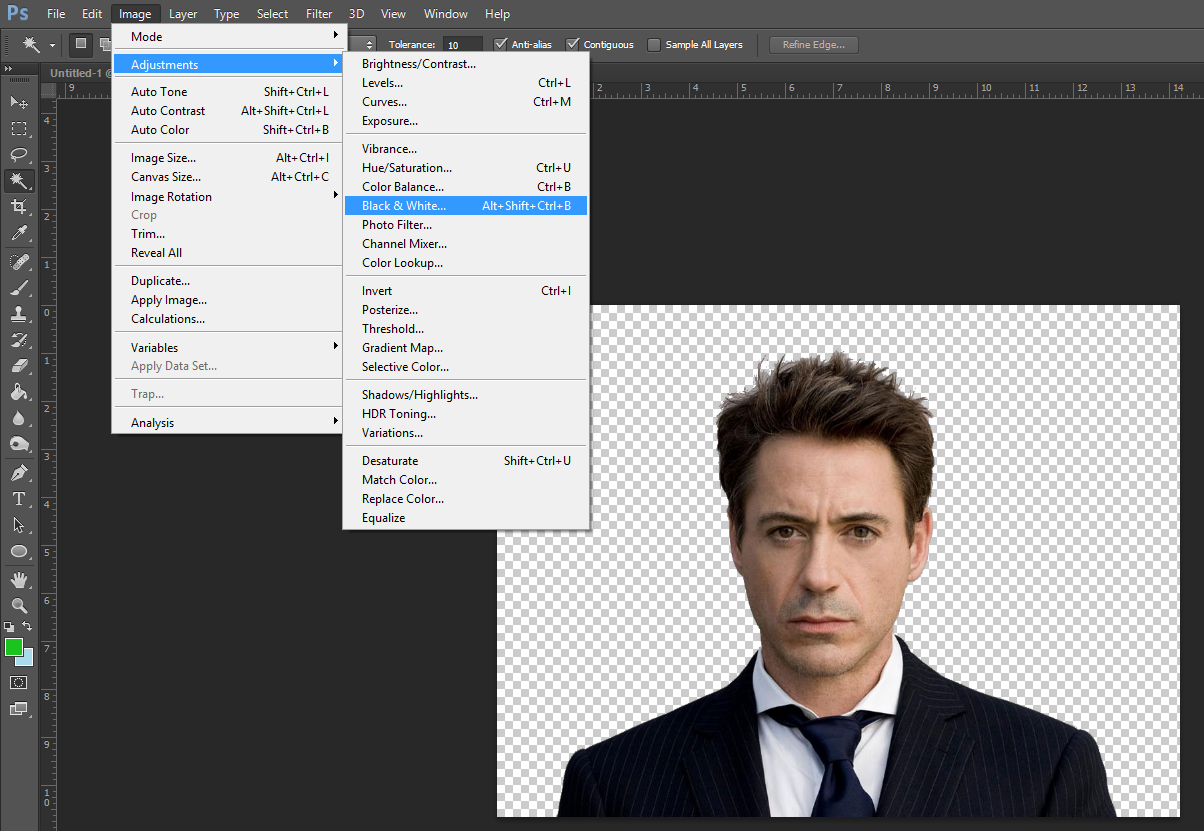
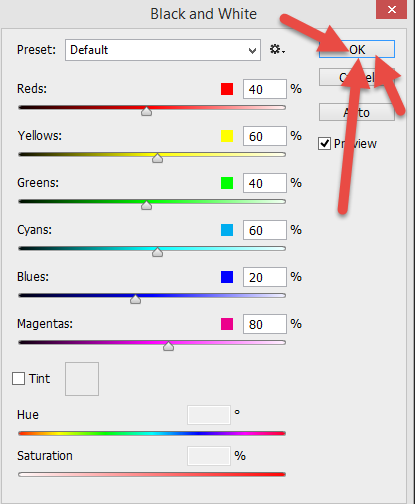
If your image is not already black and white got image, adjustments, black and white. Once the panel opens up just click ok.
Further Adjustments
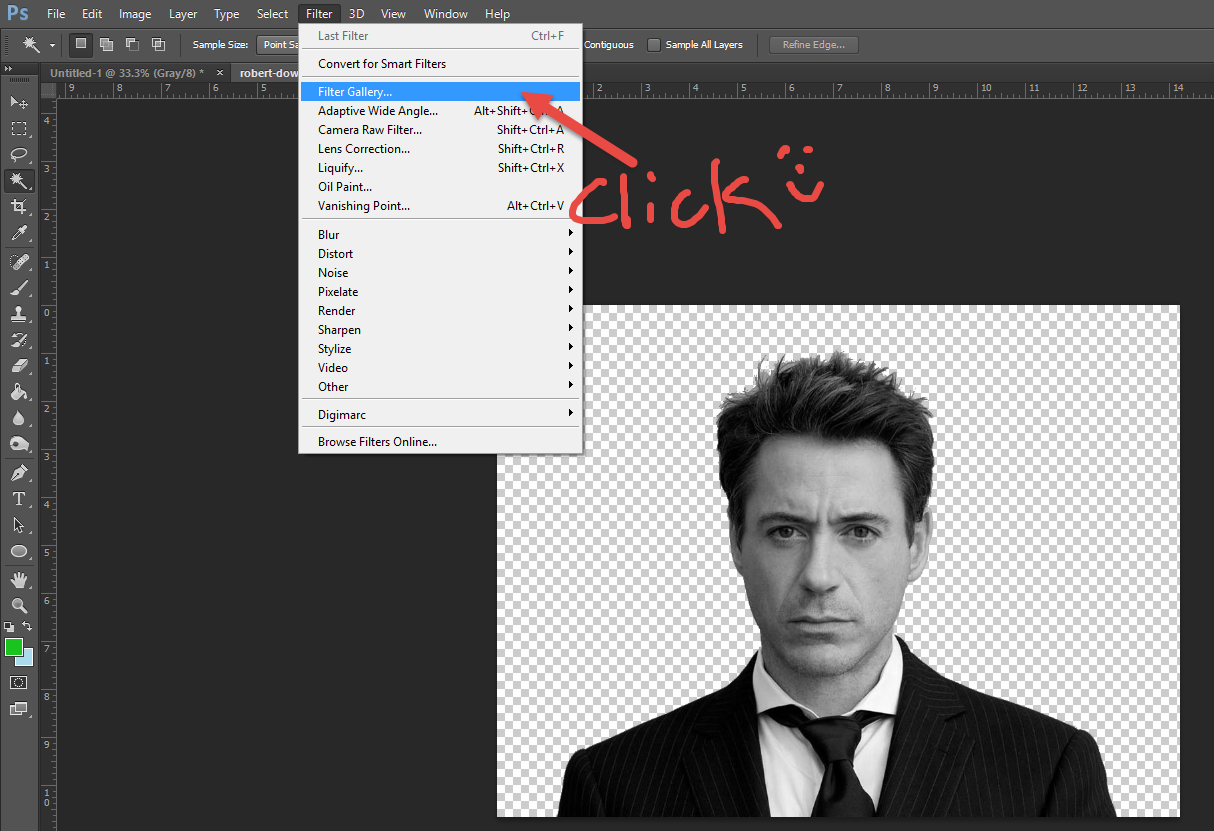
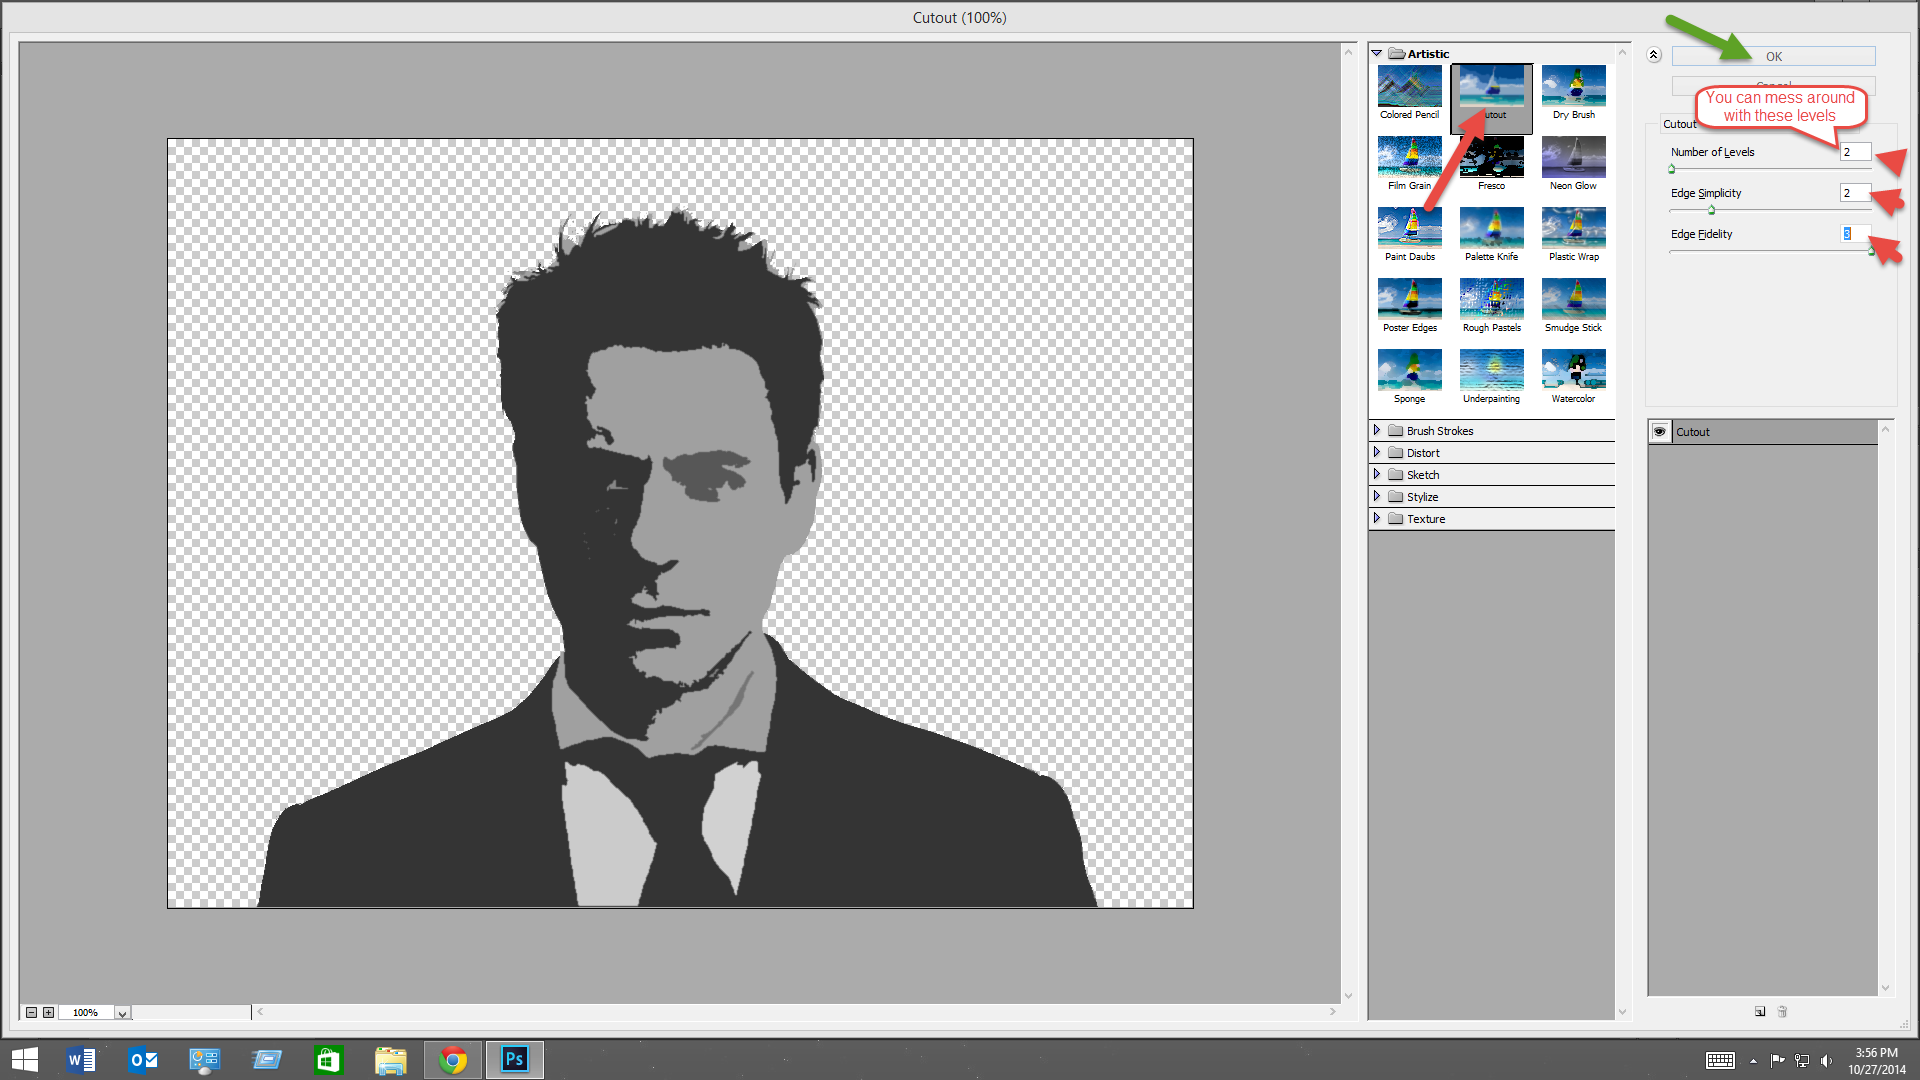
Were going to make it have less color. Go to filters, filter gallery, and cutout. once there you can mess with the levels to get it to look how you want it. In the end you want the image to have less color.
Finishing the Stencil Printout
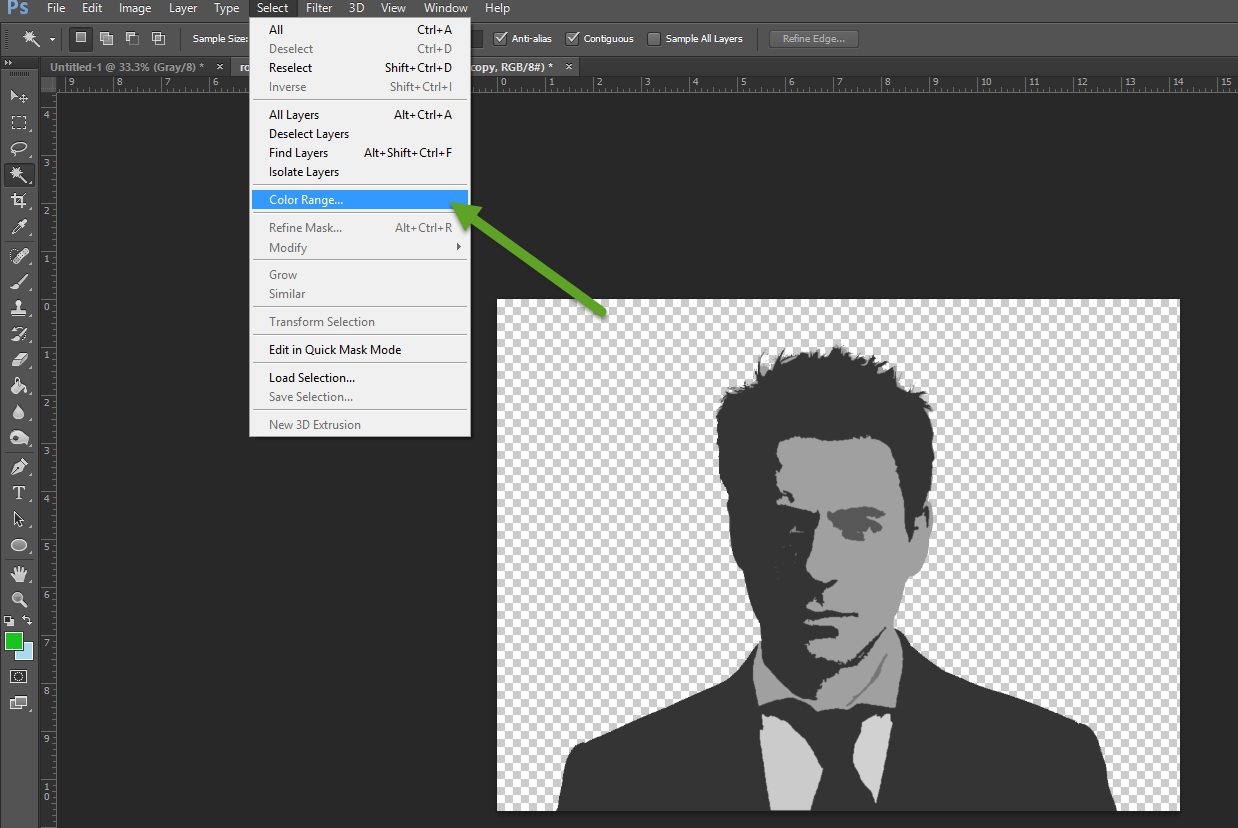
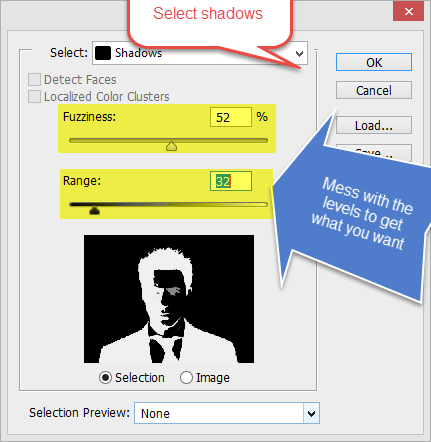
Time to finish the details on photoshop. Go to select then color range. Select shadows in the popup window. then mess with the levels again to make it look like its a little more grouped together.
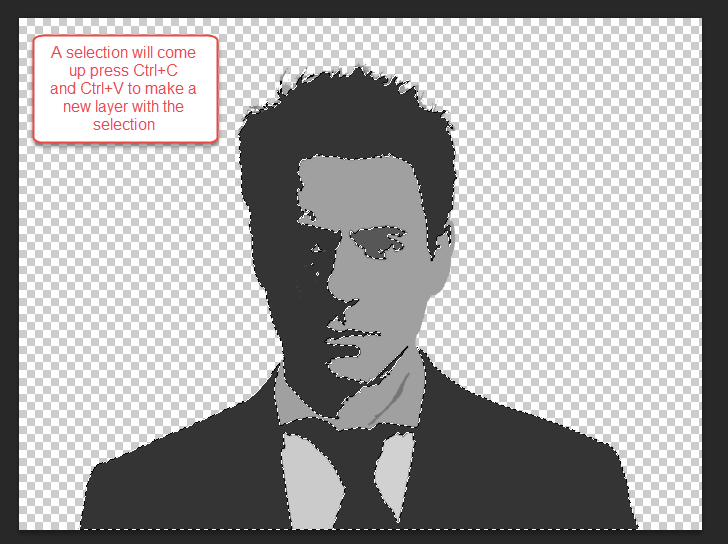
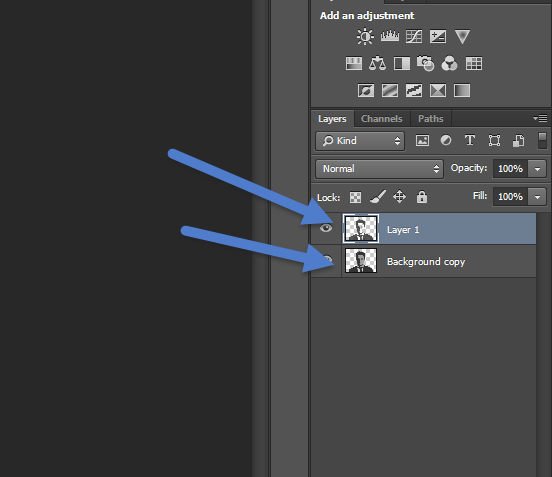
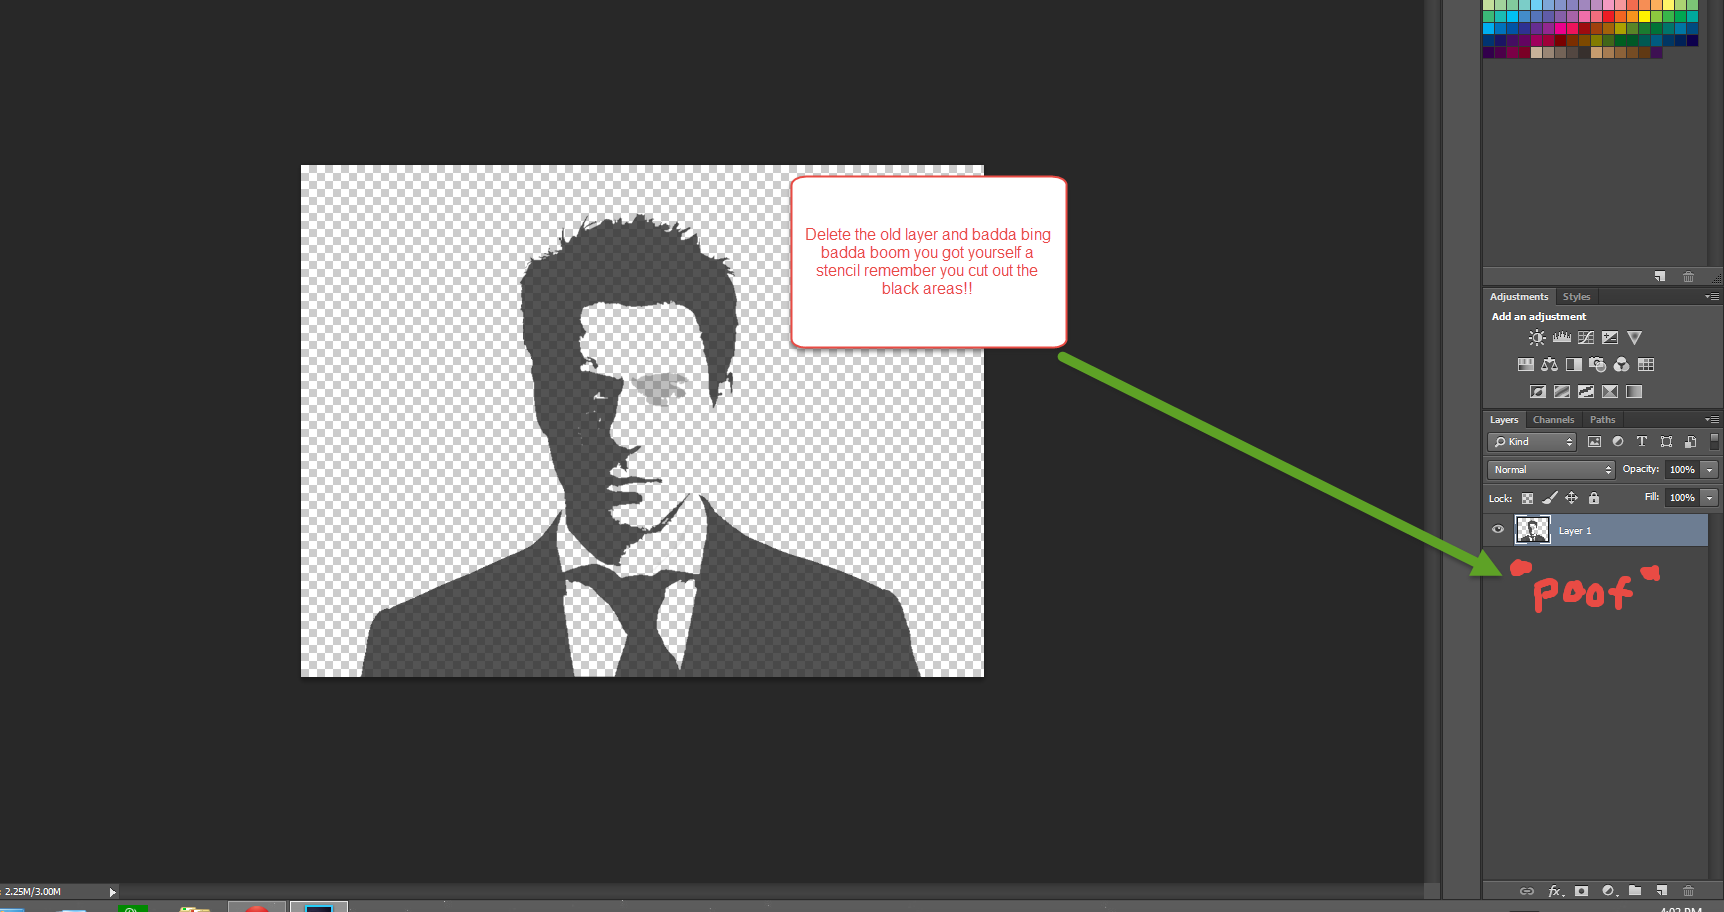
After you press Ok on the image it should come up with a selection just copy and paste that, delete the old layer, and print you stencil out.
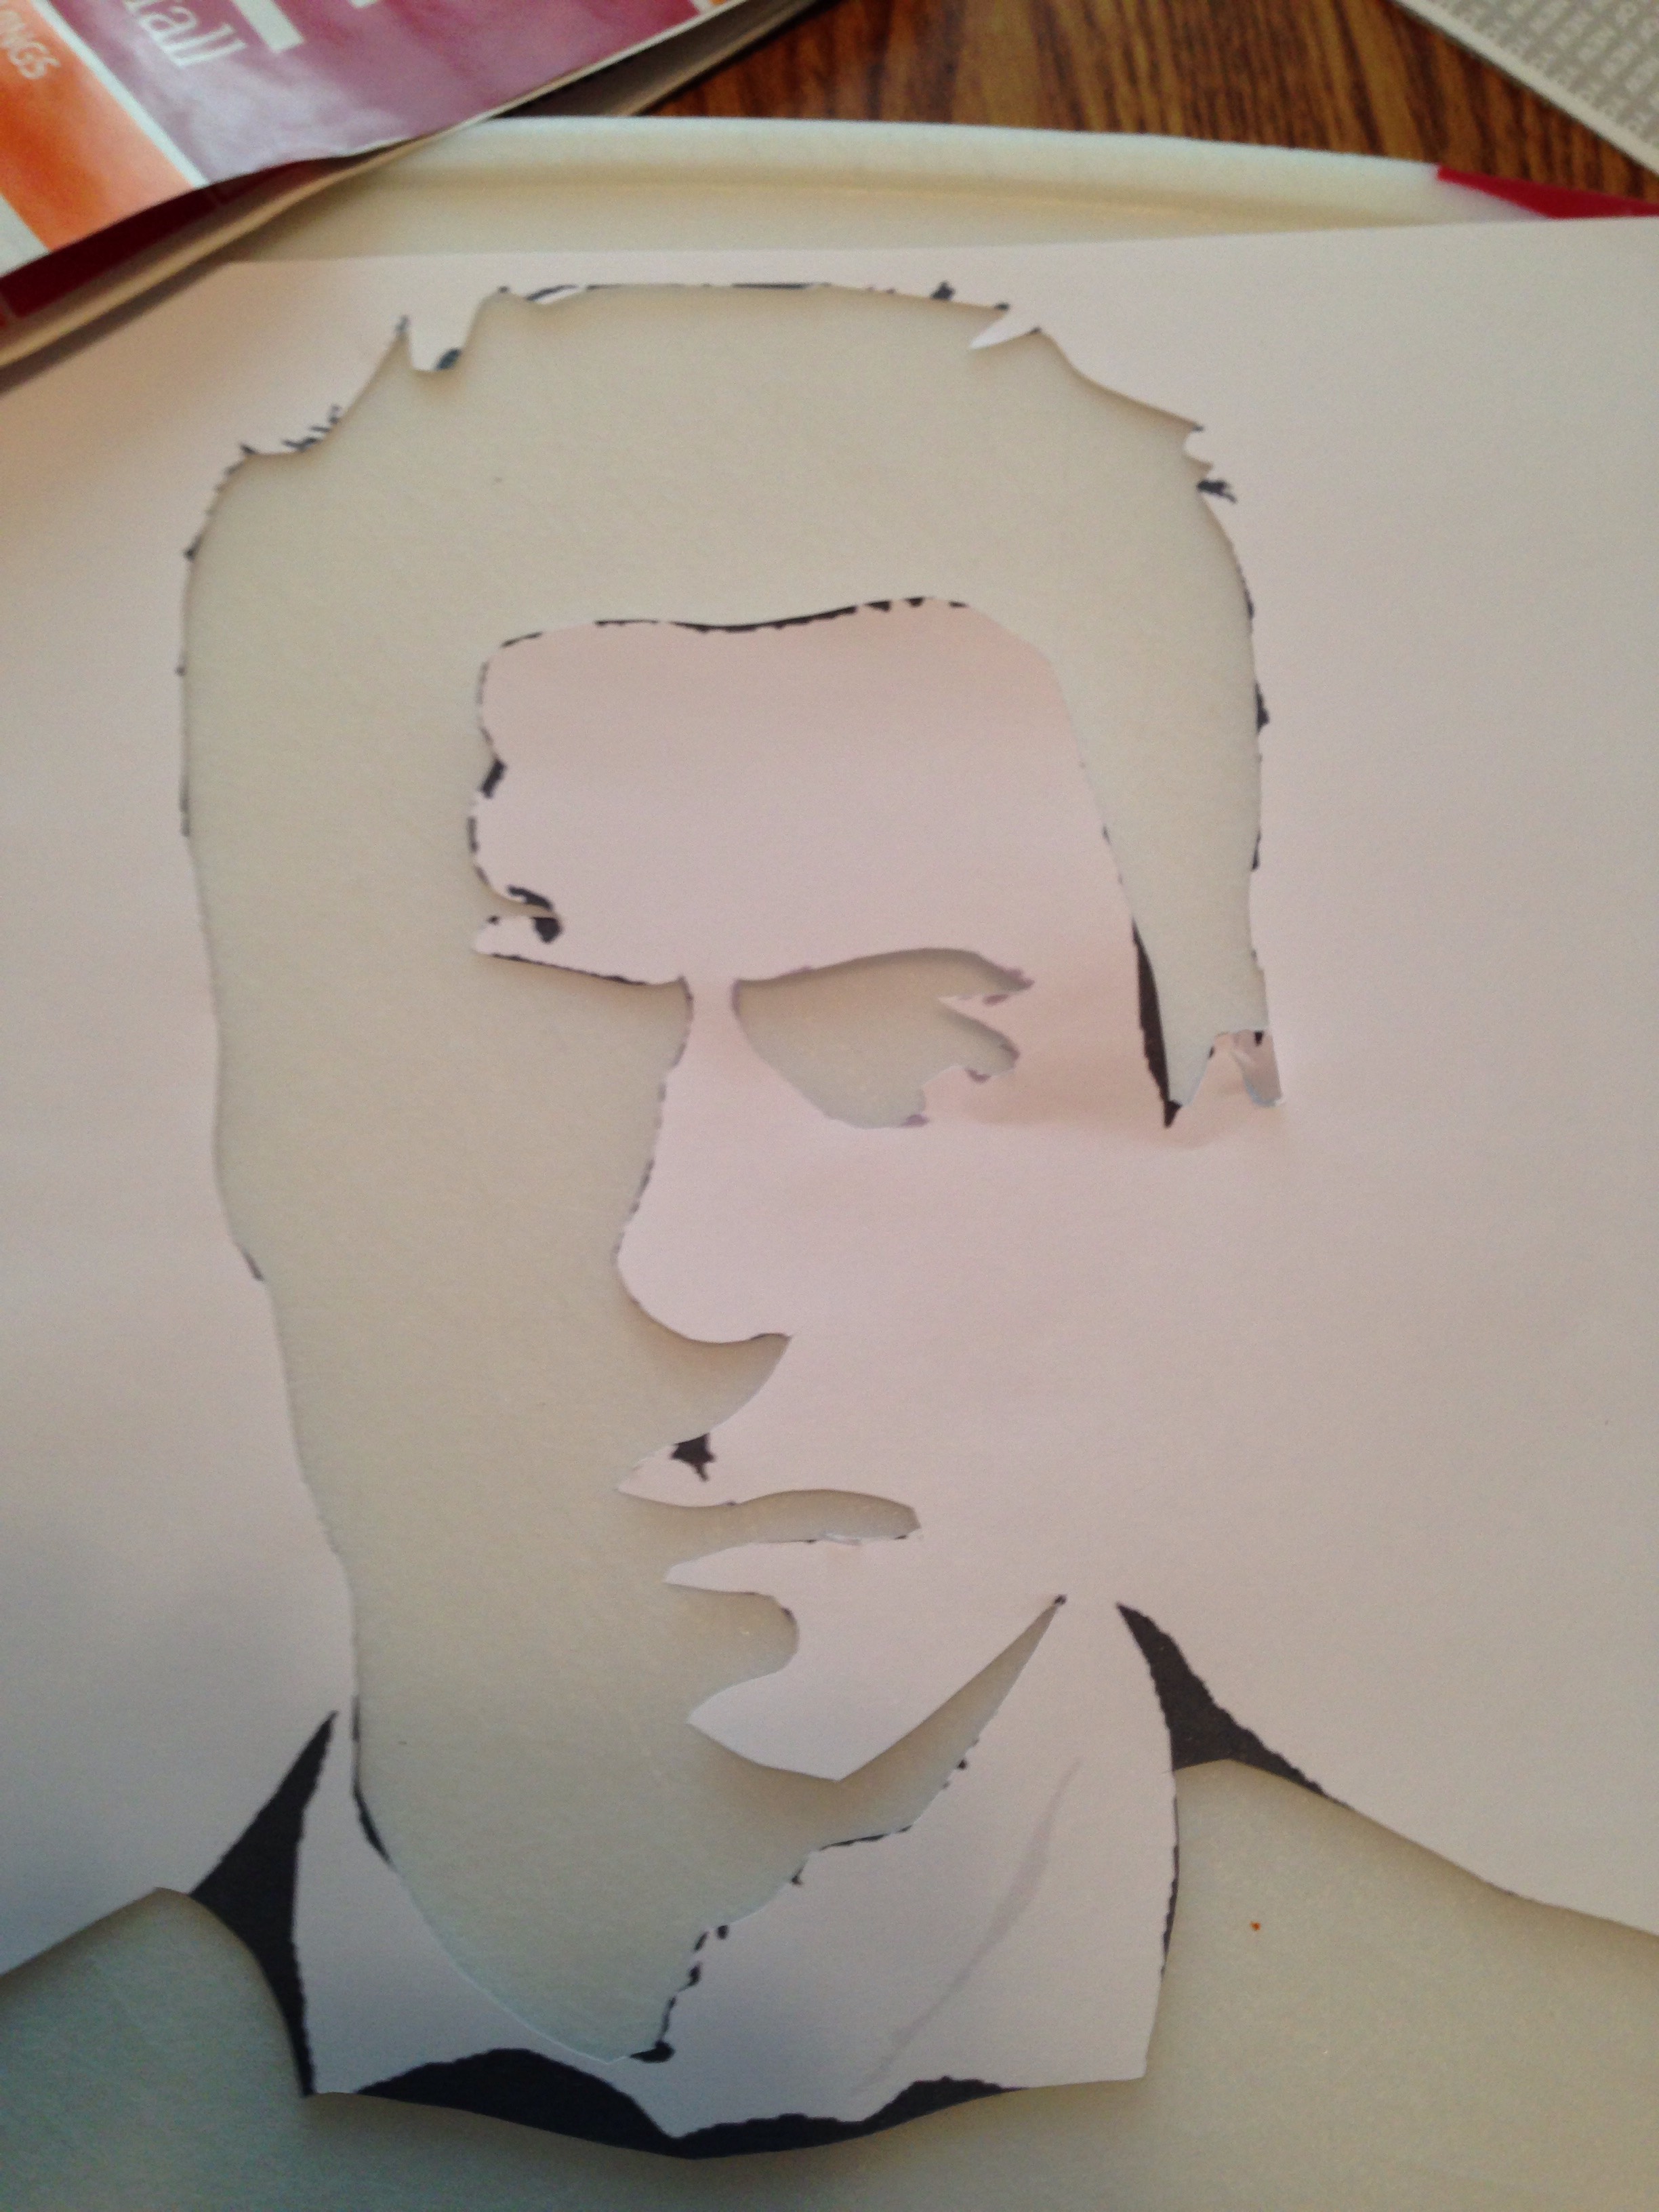
Beginning the Carving
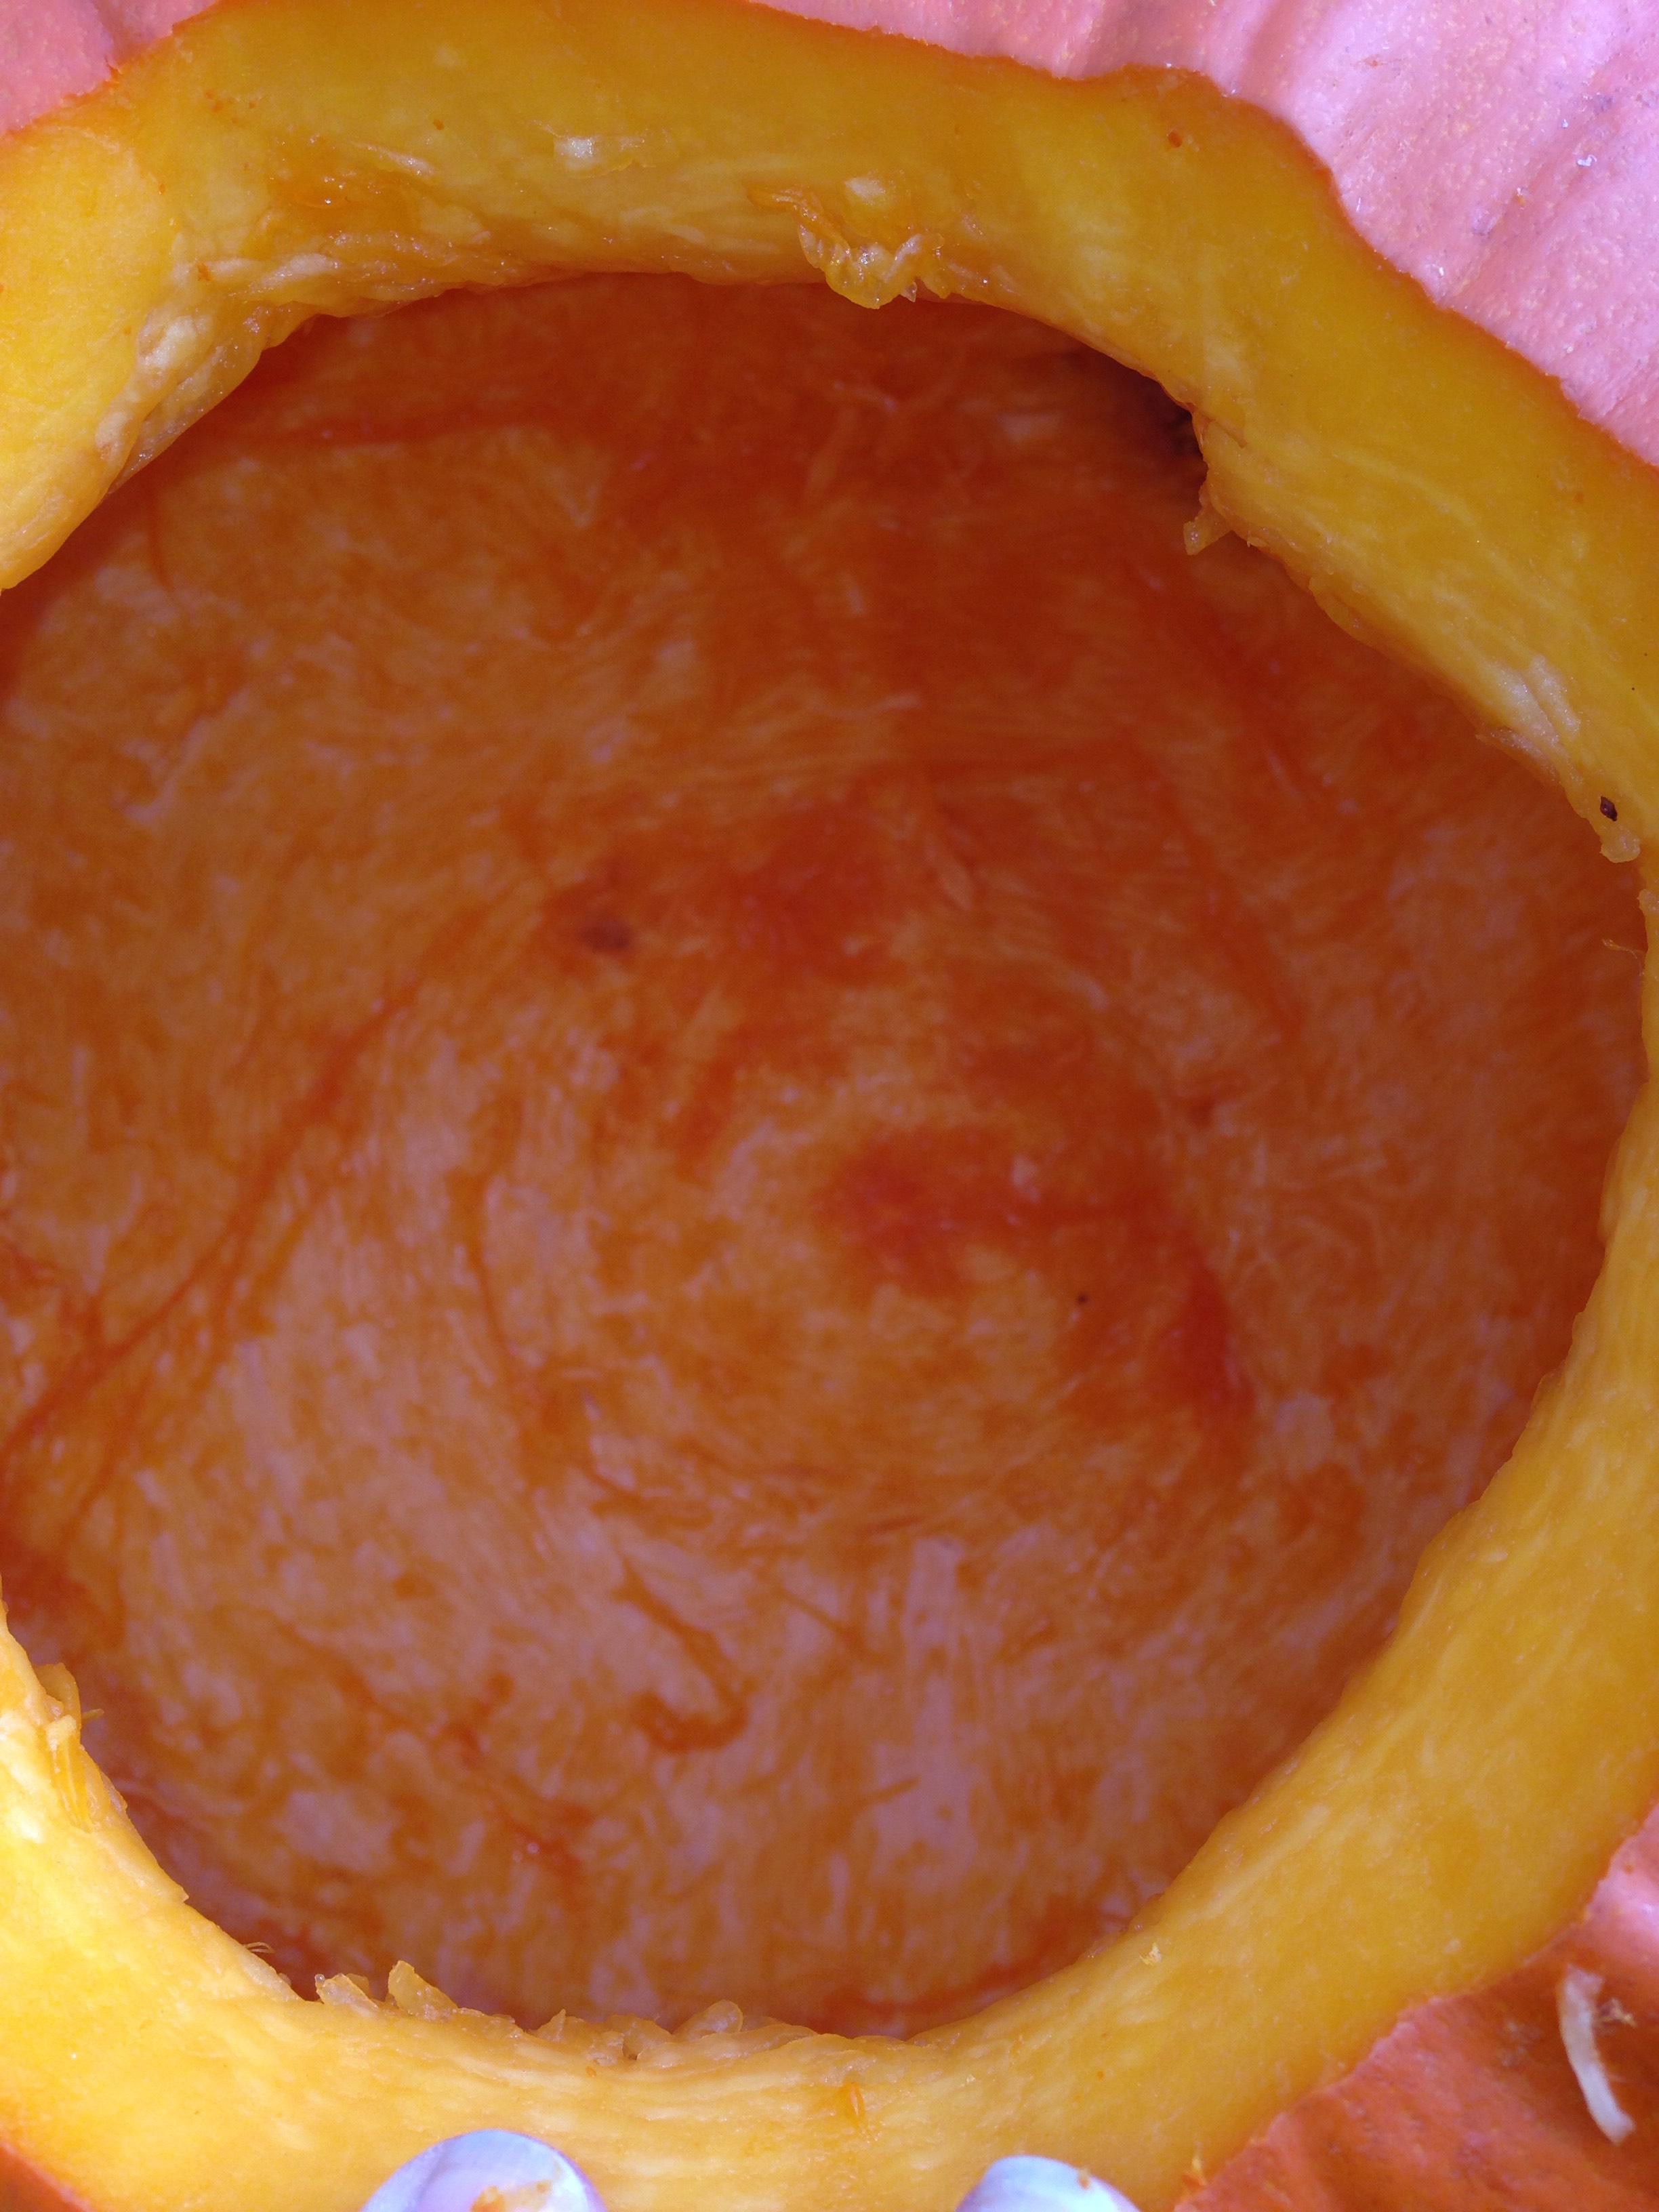
Using the Stencil
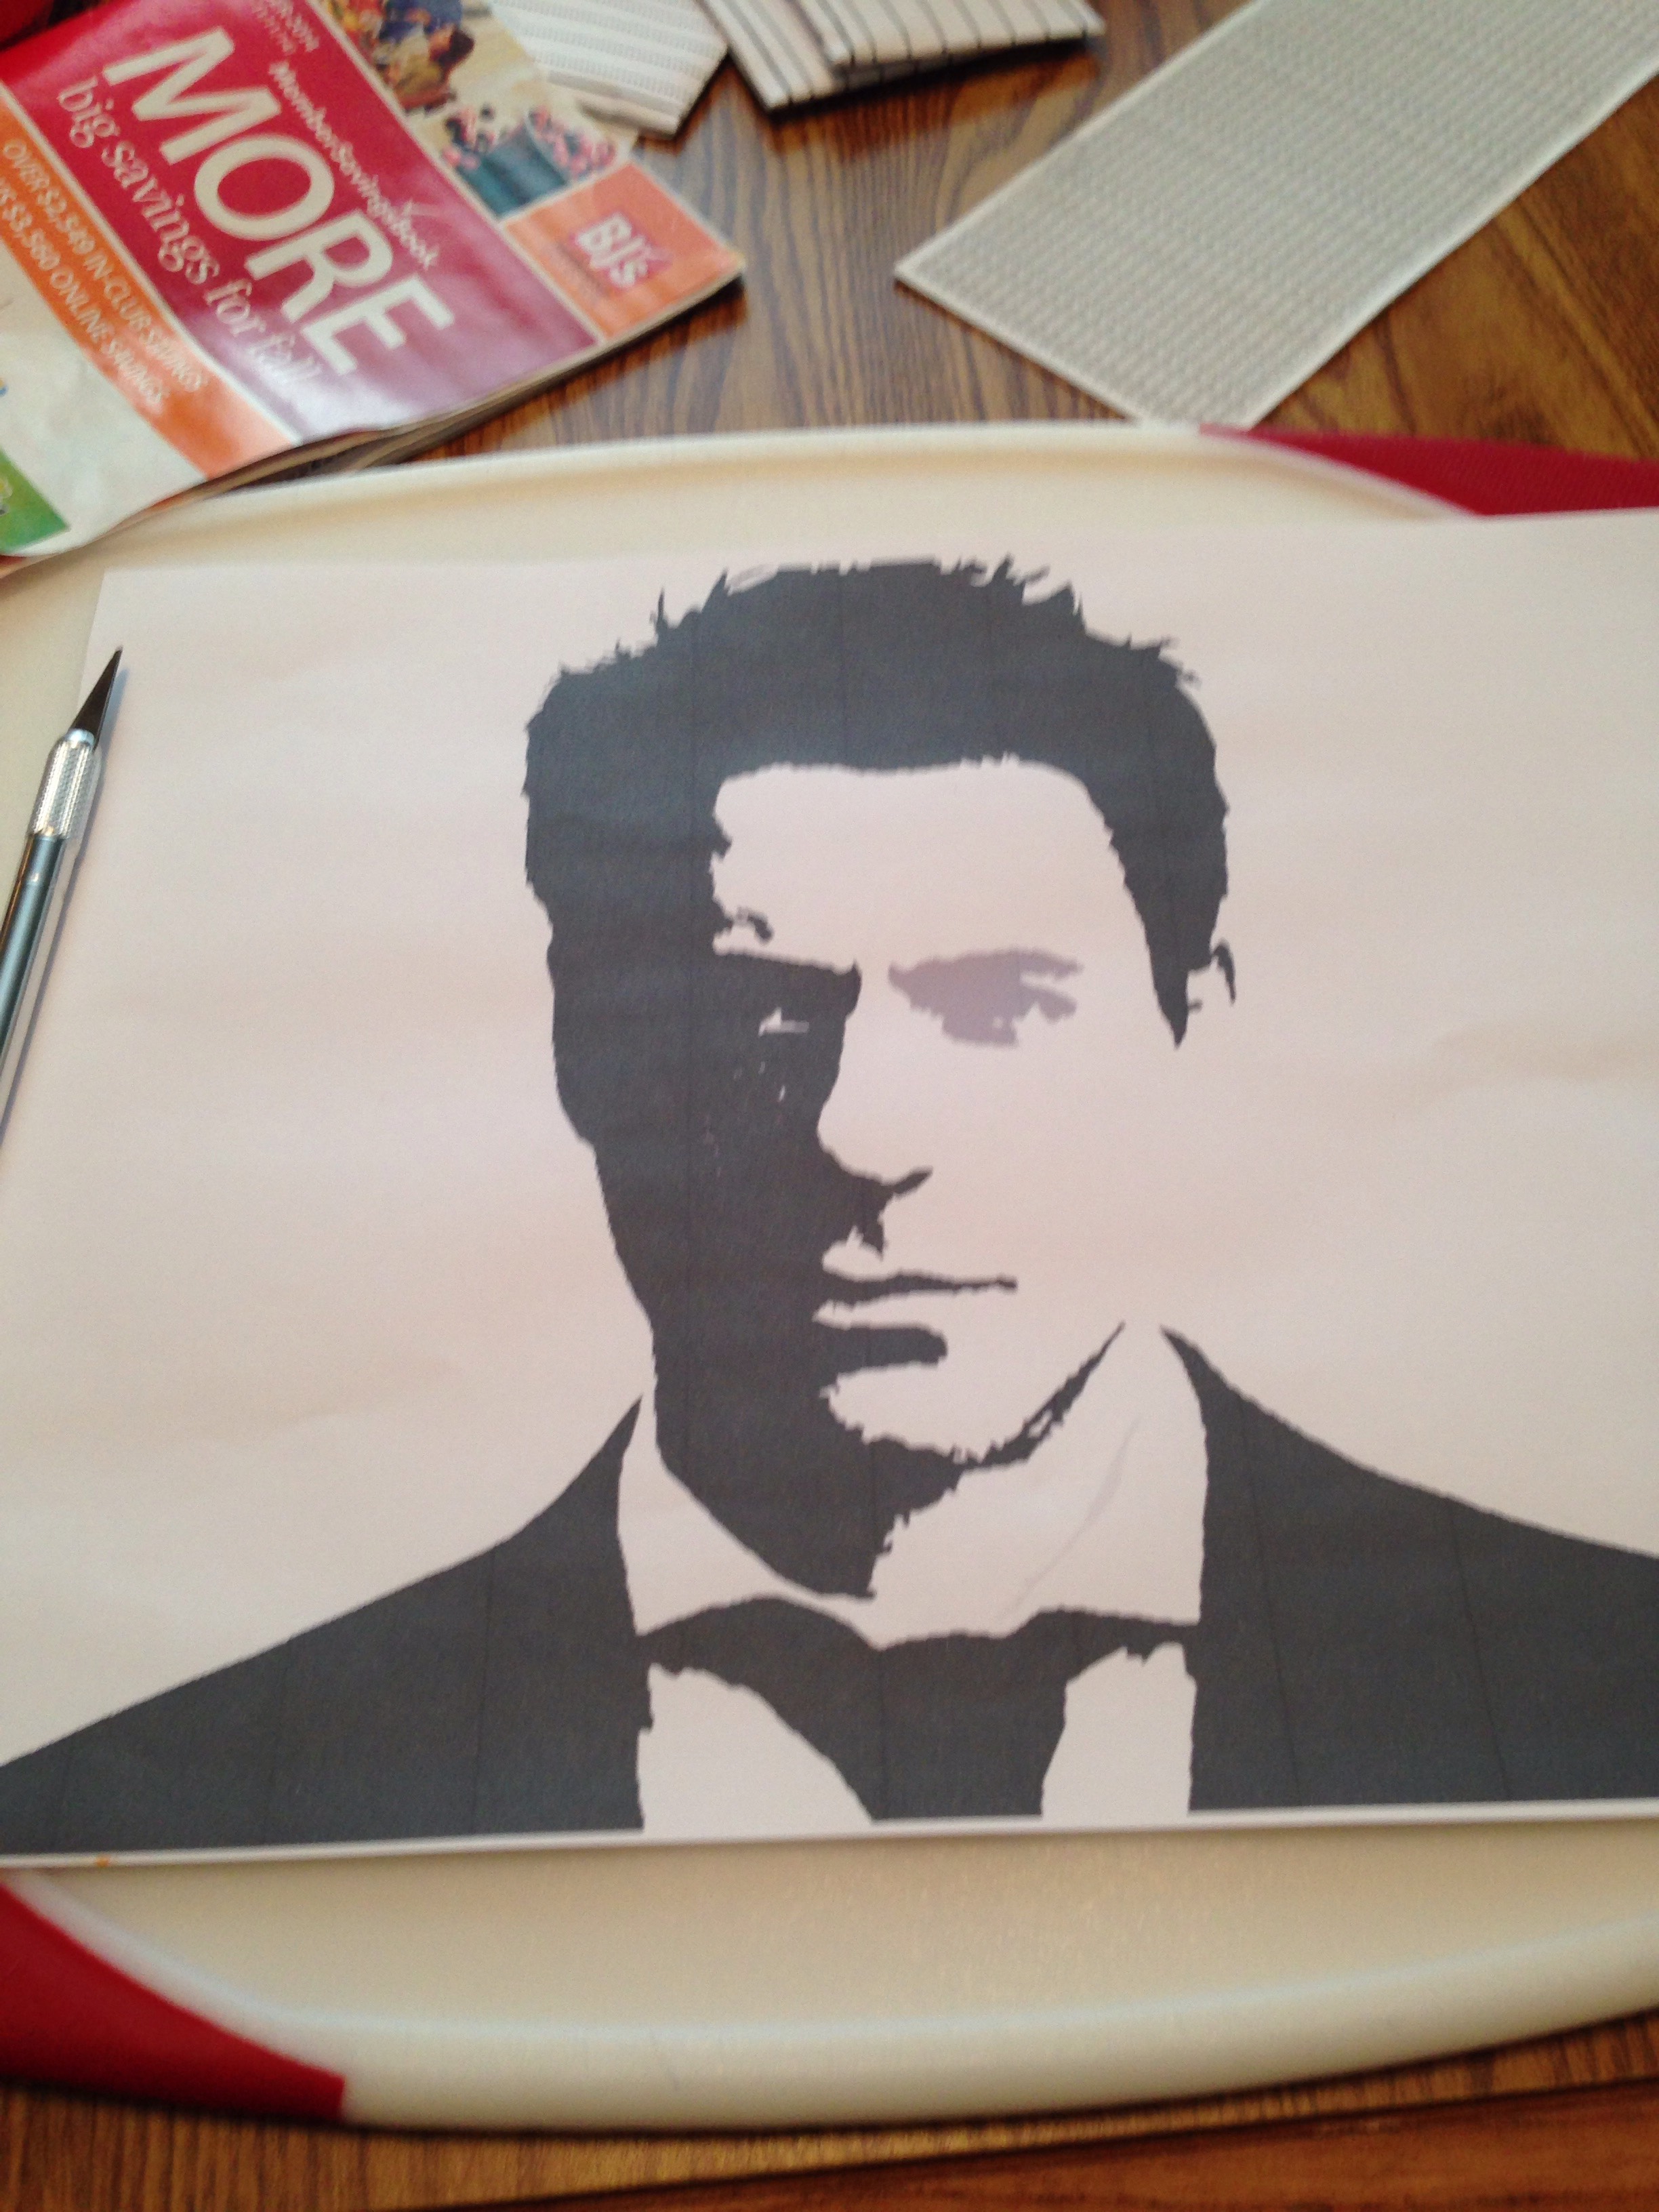
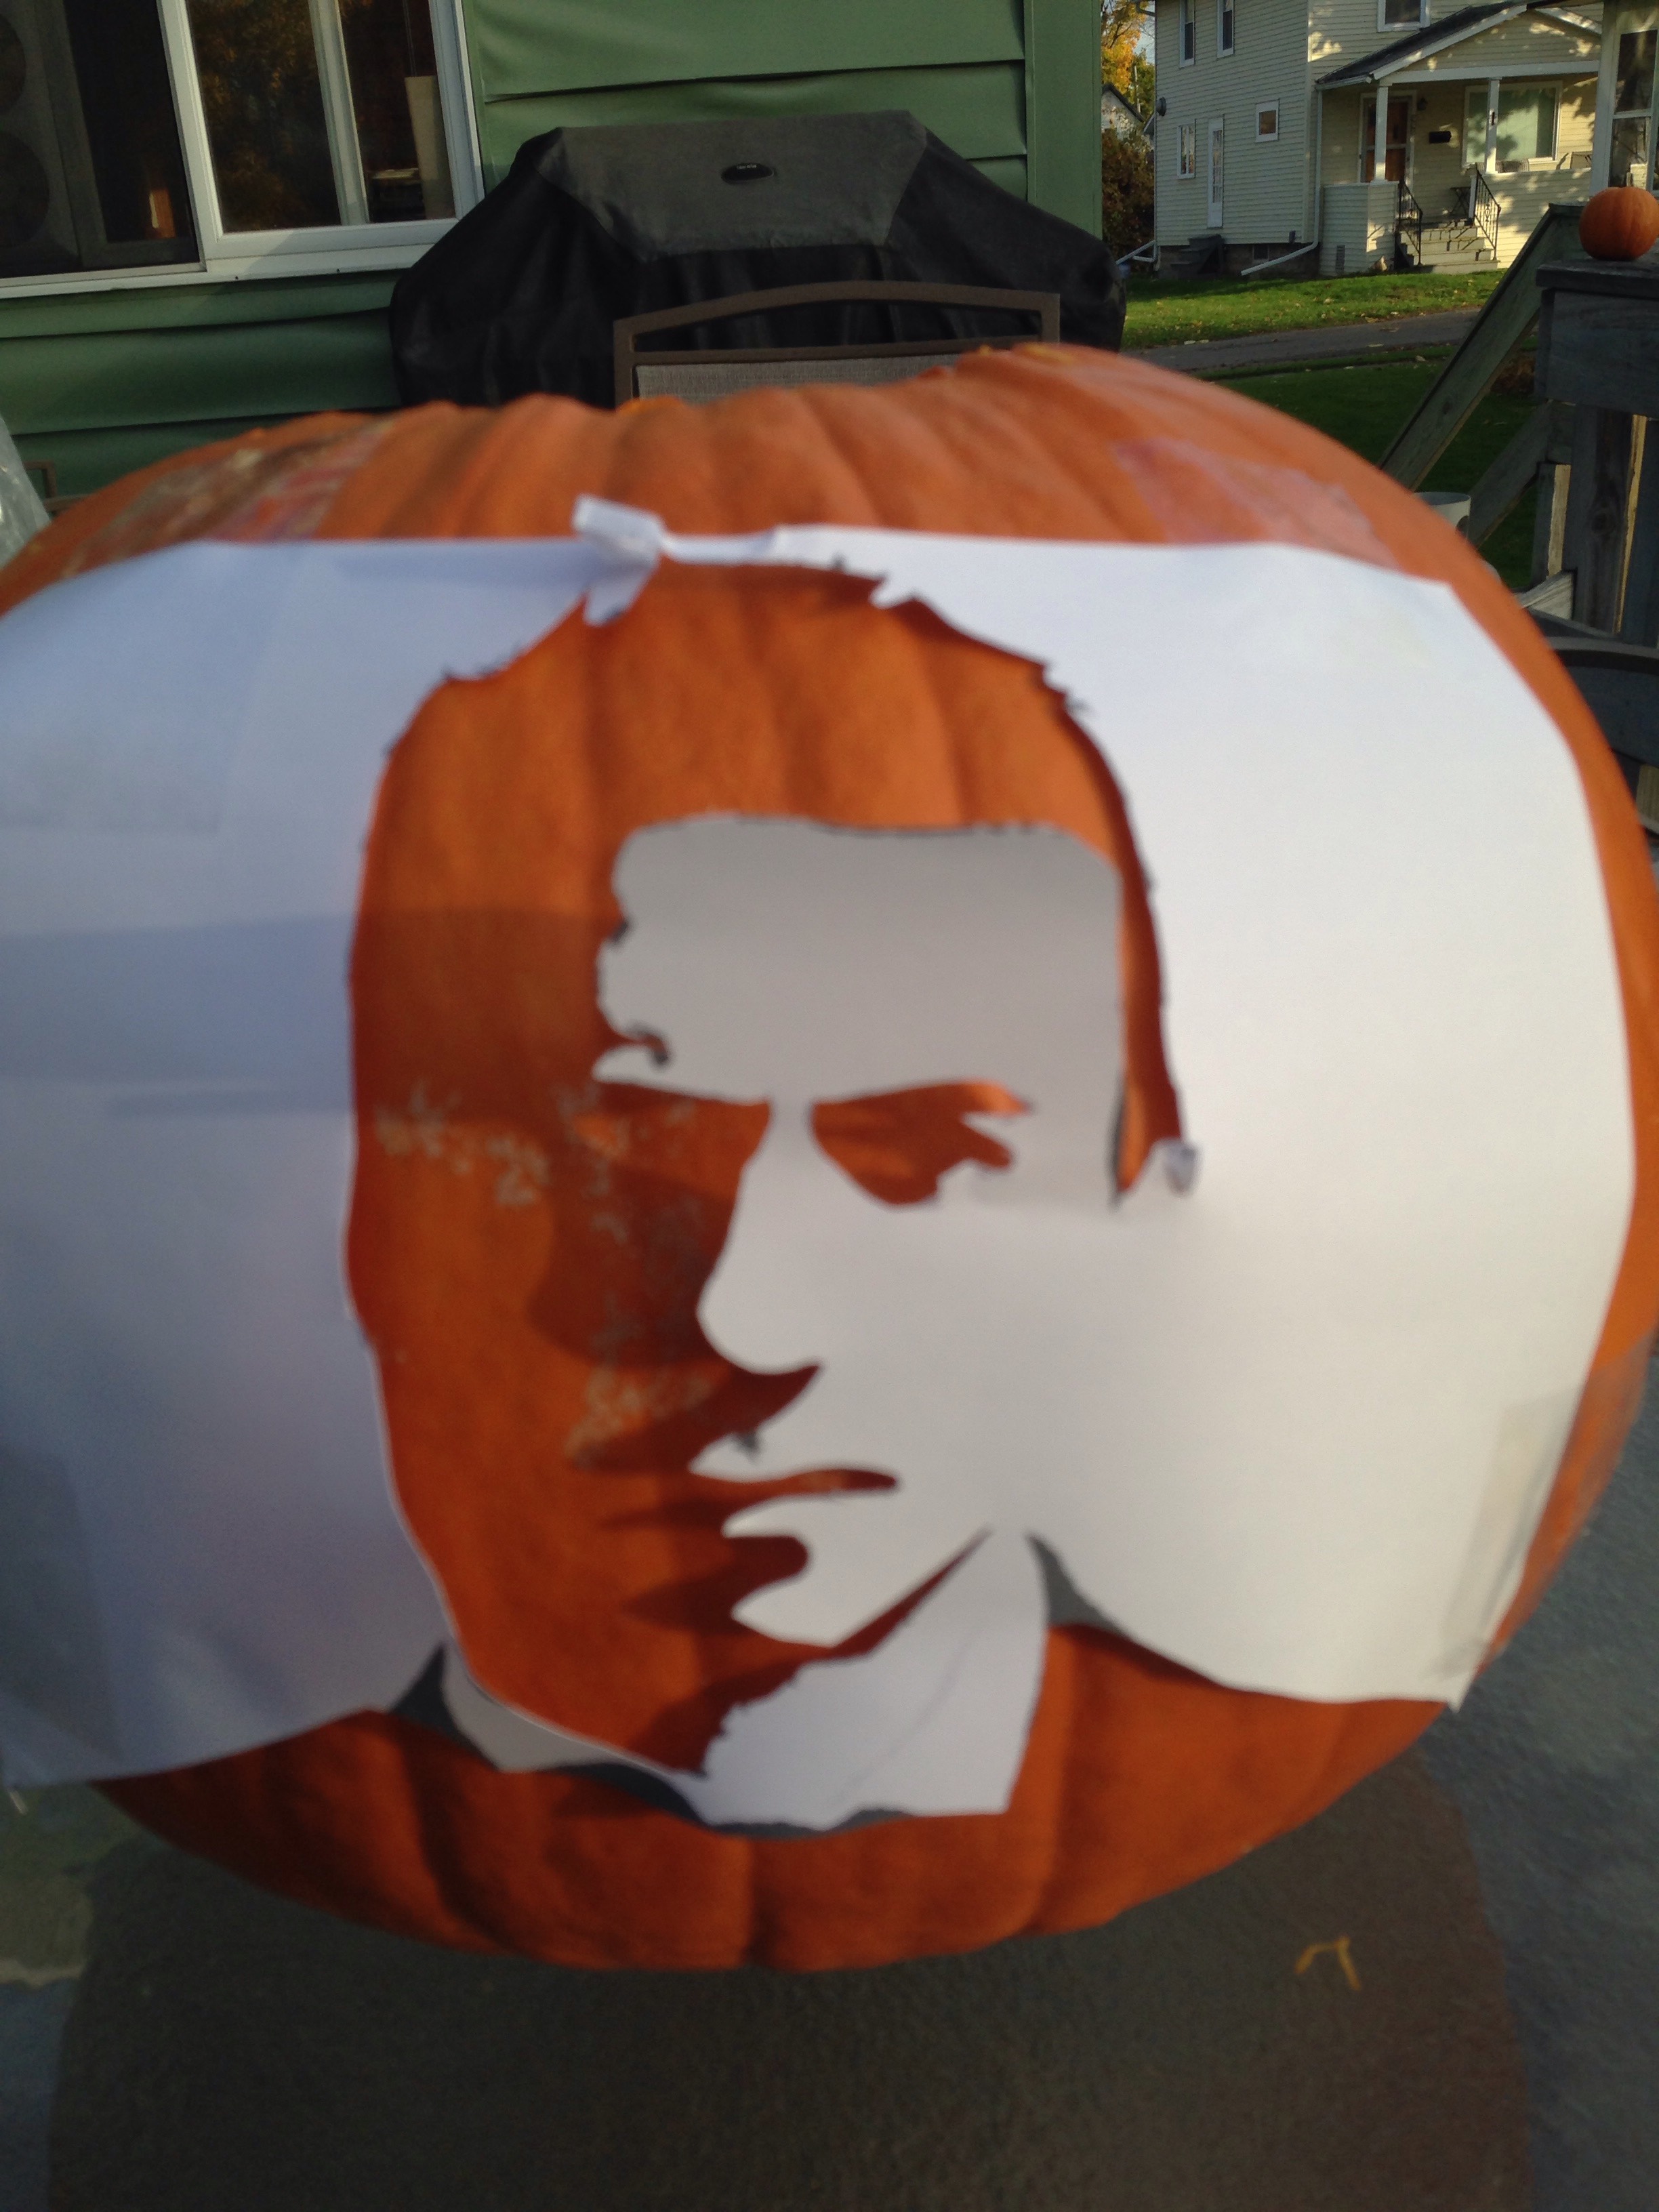
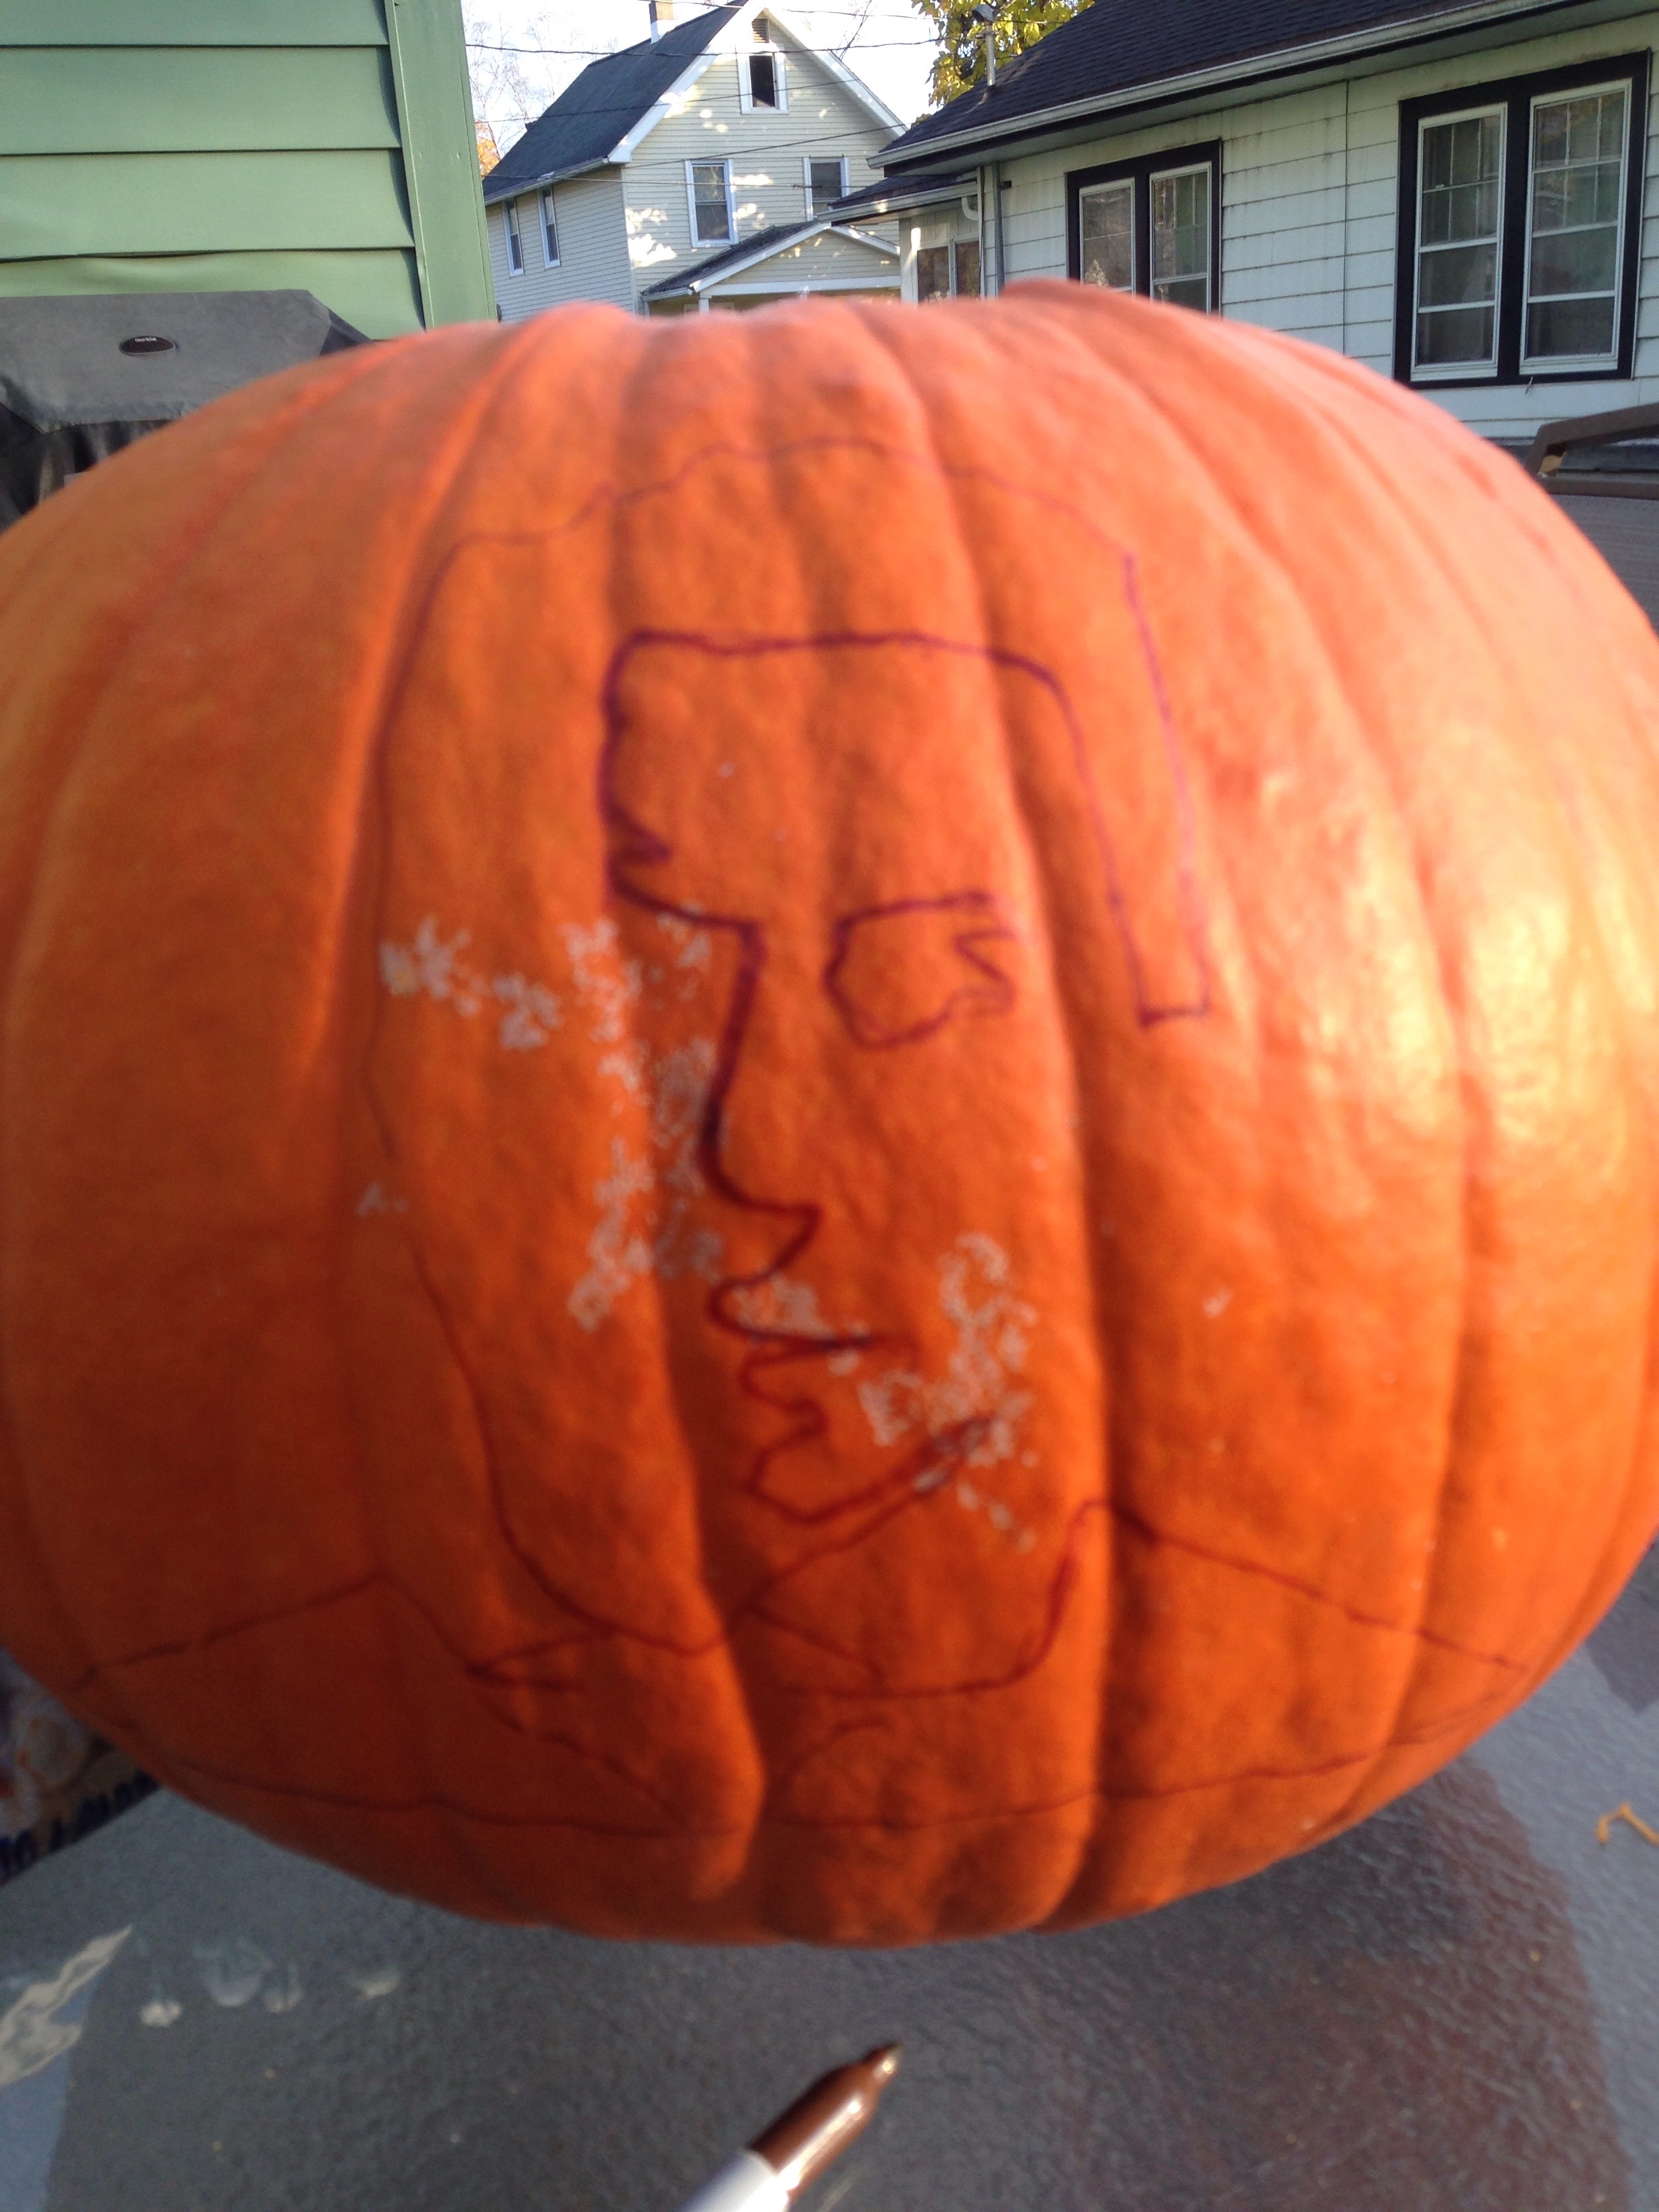
Transferring the Stencil
YOU ARE FINALLY DONE
