Portal 2 Clock on a Budget


With my best friend's birthday looming and an ever-restrictive poverty class budget being enforced by my loving and beautiful wife, I faced a bit of a problem. He and I had been joking for months about building a prop from Portal 2 (mostly hoping for a Space Core), but my budget and time just weren't there.
Presenting the learning experience that followed: The $30 PotatOS clock.
I knew I'd never be able to make this completely accurate to the game model with my limited skillset and materials, so I set out instead to find parts that could approximate the general idea.
Key to this project were:
Foam and tools to shape it (I used a fine floral styrofoam)
16 gauge primary wire
A small mailbox reflector (orange, obviously)
A PVC nut and washer from the plumbing section at Walmart
A clock movement
Additional scrap foam
Gator clips
Nails
Staples
Glue dots
Pattern Time!


Take a marker and get a feel for the shape of your potato. Then start carving!
Figuring Things Out

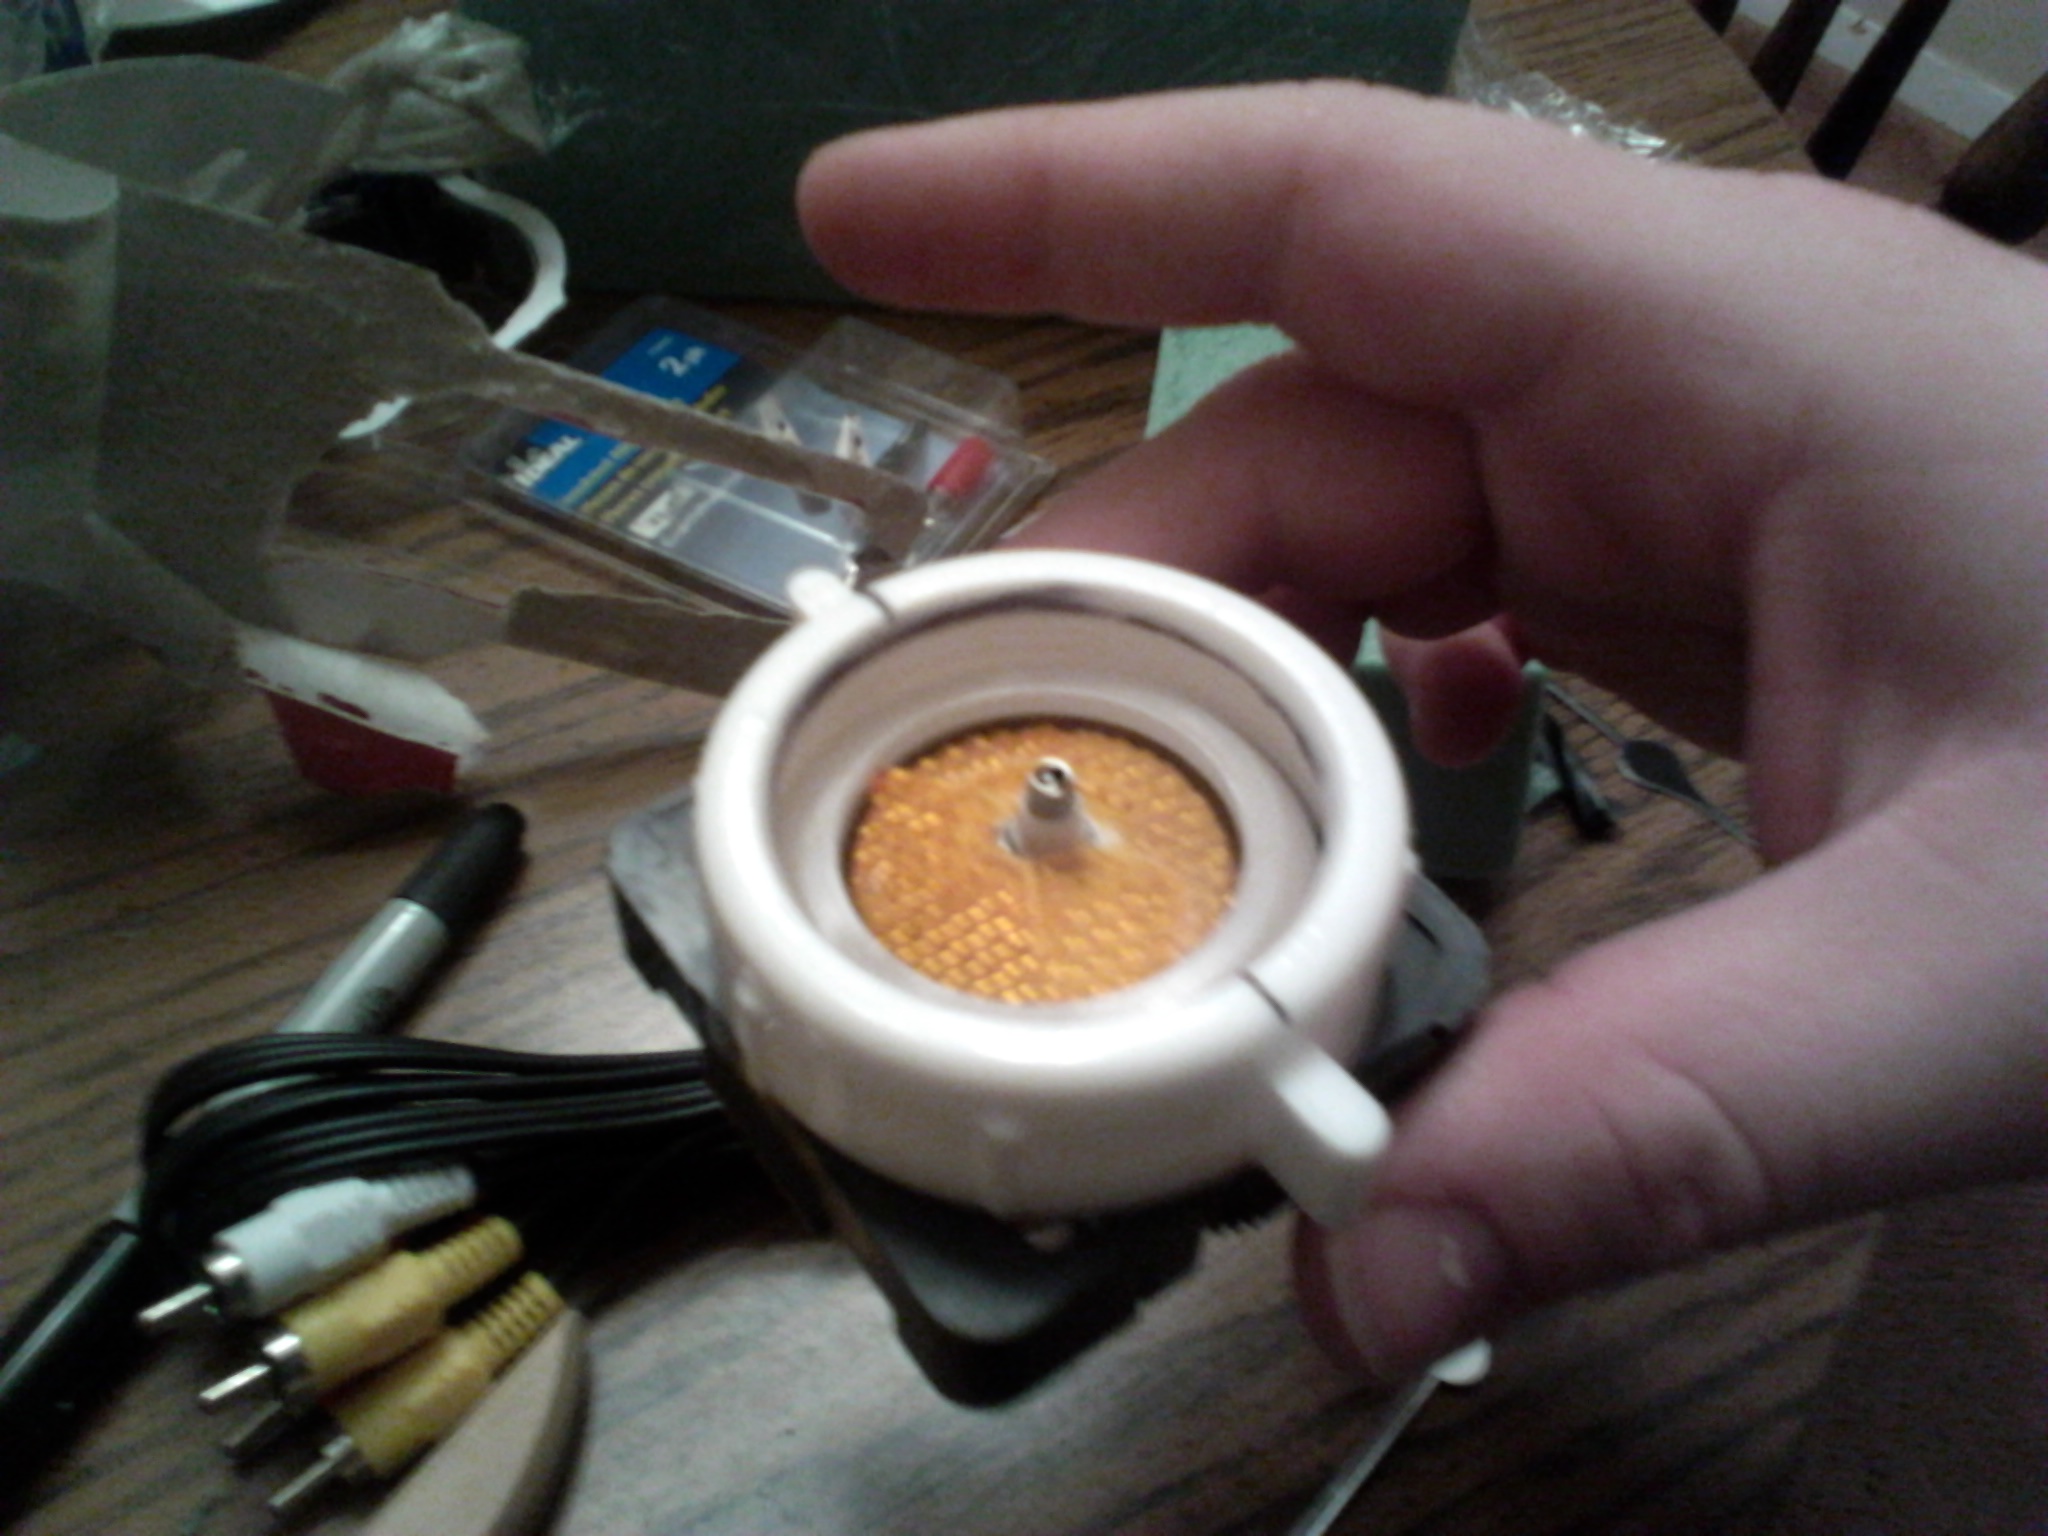


Here, I started assembling the eye/brain portion and figuring out how it would translate into a clock. Eventually I realized that I would need to carve an additional window into the "potato" to help house the clock movement.
Details, Details.


Finish assembling your clock movement, and get ready to get dirty.
Painting foam is a chore, and I considered multiple ways to go about it (such as plaster bandage coating, papier mache, etc), but in the end I found a nice protective coating that could be layered onto foam shapes and dried overnight.
Collecting two shades of brown, sponge brushes, and an eager three year old, I set about painting the potato (which had been whittled down tremendously to fit in the final display).
I used a tan acrylic base, and sponged in darker brown to make the dirt and eyes.
Assembly


Here's where I started to feel like things were really coming together - assembly!
Can 'Er.
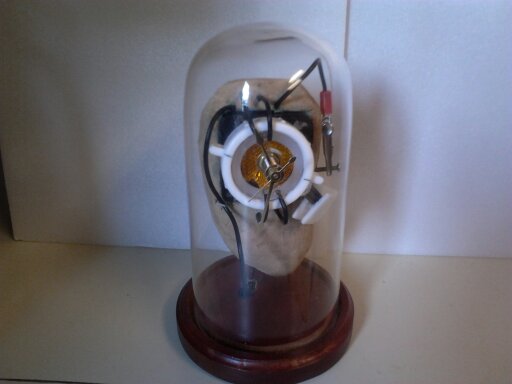


A few final adjustments, and done. Not perfect, but hopefully he'll get a kick out of her.