Portable and Minimal Setup for PROWL Notifications With Standalone ESP8266
by Werquinx in Circuits > Wireless
31705 Views, 63 Favorites, 0 Comments
Portable and Minimal Setup for PROWL Notifications With Standalone ESP8266
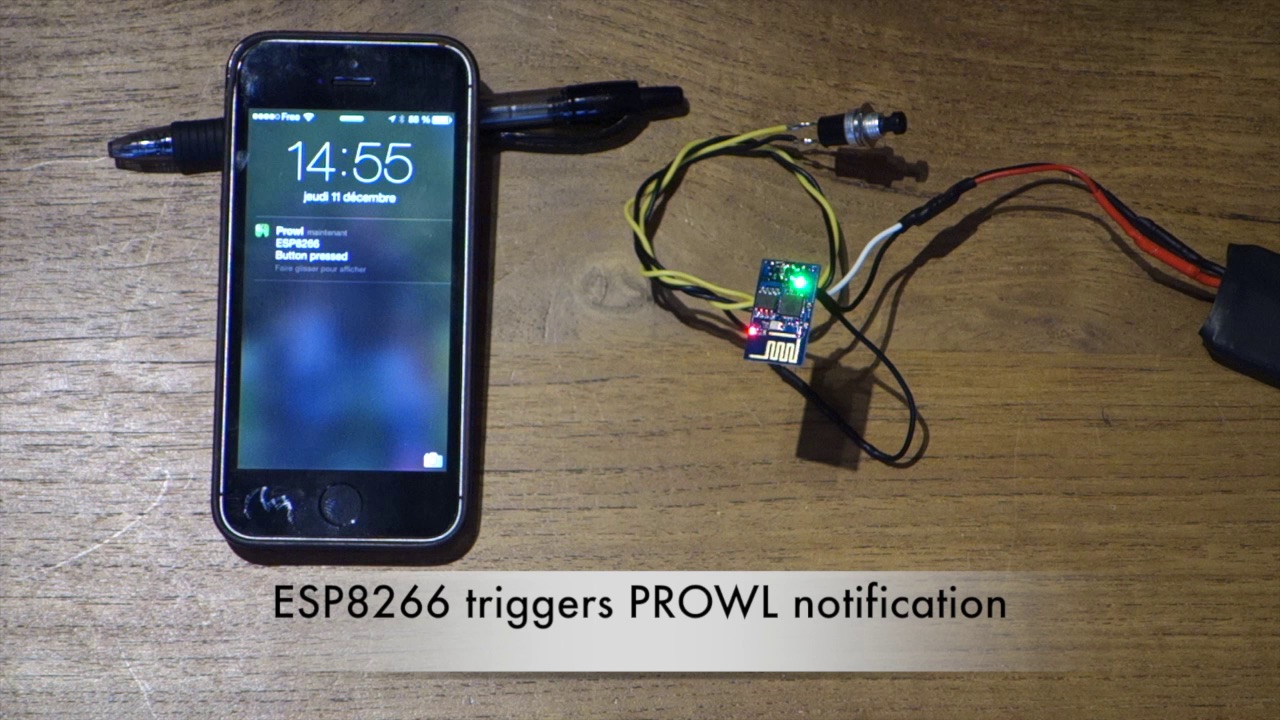
When I started playing with the ESP8266 wifi/uart module I quickly realized that this is a very powerful small little and very cheap module for all kind of projects. With the great community support it is now possible to use this module as a standalone unit and it is very easy to program with alternative firmware such as the LUA interpreter. The goal of this instructable is to show you how in a couple of minutes you can make a standalone notifier using the PROWL service ...
Video of Setting Up the ESP8266 and Triggering Notification
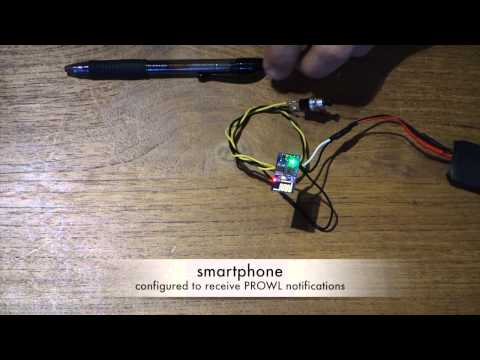
Watch the video to see the simple setup and working push button triggering a notification on an iPhone.
What You Need ...
Hardware :
- ESP8266 module. I used the simplest version the ESP-01 !
You can find them on ebay or from aliexpress for less than $5. - 3.3V power source with sufficient current (200mA should be OK)
I used a single cell LIPO battery and a small self-made 3.3V regulator based on the cheap Torex XC6206 with 2 ceramic capacitors (maybe I'll do a seperate instructable on this). - push button
To prepare the ESP8266 for easy GPIO useage, you'll also need :
- 2 times 1.2Kohm 0805 smd resistors
- a 0805 smd LED (Iused green one)
On the software side in order to program the ESP8266 :
- LUA firmware : https://github.com/nodemcu/nodemcu-firmware
- LUA firmware flash tool : https://github.com/nodemcu/nodemcu-flasher
- LUA serial terminal to load files and configure wifi : http://benlo.com/esp8266/#LuaLoader
And of course also a USB/UART device to do the initial flashing & programming.
Prepare ESP8266 Module for Easy GPIO Useage
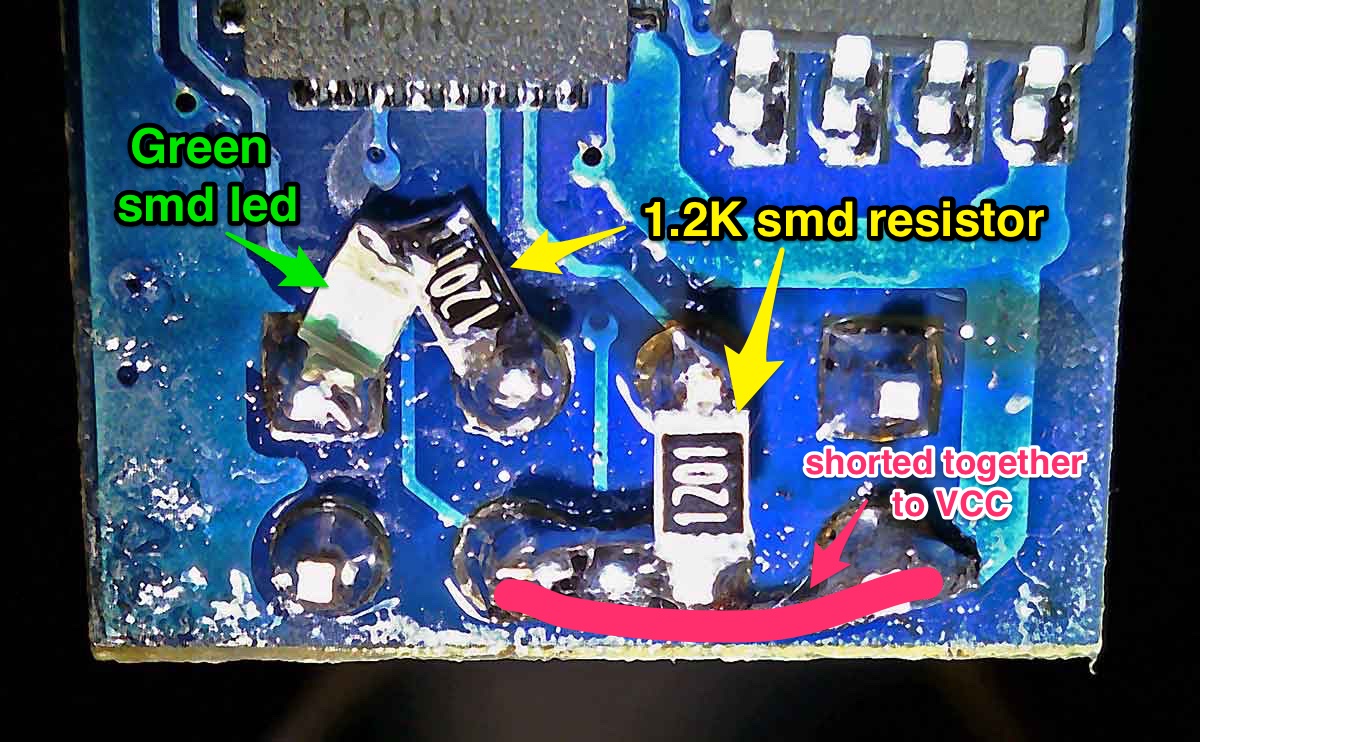
With the ESP-01 you can easily solder some smd components between the existing pins !
See the picture on how to connect CH_PD and RST to VCC and then have a pull-up resistor on GPIO 0 and a LED connected to GPIO 2 ....
Install Tool Chain
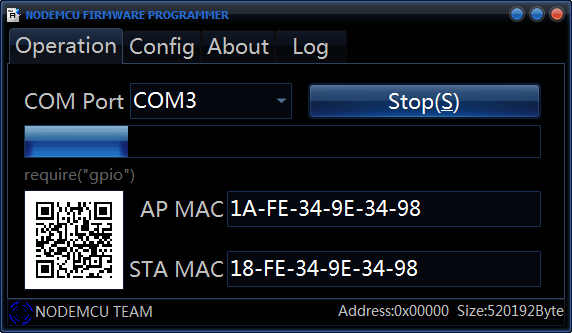
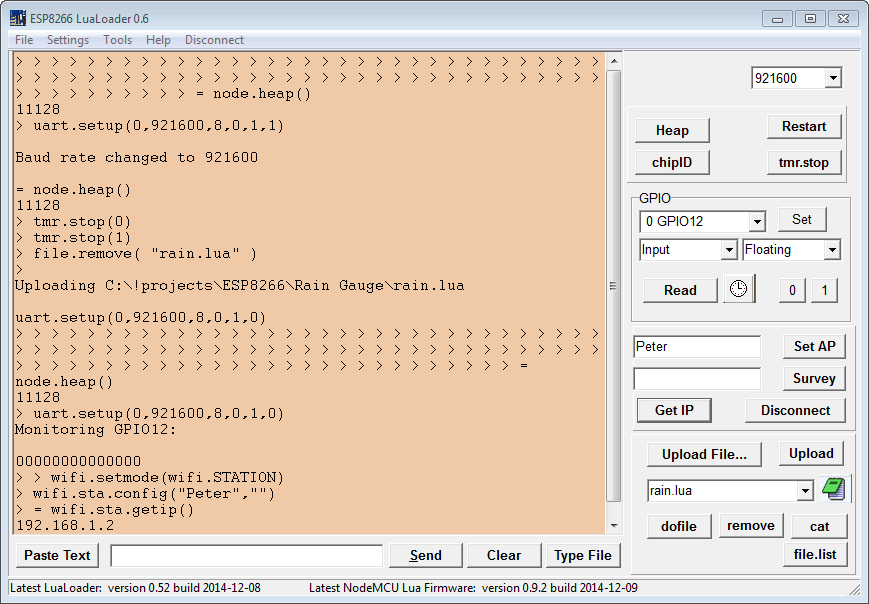
- Download LUA firmware and LUA flash tool !
- Connect the ESP8266 Rx and Tx pins (+GND) to a USB-UART converter.
- Connect GPIO 0 to ground (GND)
- Connect your 3.3V power source
- Run flash tool, configure COM port and choose the LUA firmware you downloaded, then flash
- Install the LUA terminal program
- Run LUA terminal program (LUAloader), configure COM port and connect
- disconnect GPIO 0 from ground and reboot (disconnect VCC and reconnect) the ESP8266
- If everything is right you should see the LUA interpreter welcome screen
- Enter your SSID and password on the right of the terminal program and connect to your wifi network
The ESP8266 with LUA will automatically reconnect at startup. - Check that you received proper IP address
Load the LUA Init File and Trigger Program
Download the attached init.lua and interupt.lua files
Modify interupt.lua with a text editor and insert your own PROWL API key. I assume you have the app installed and already have a Prowl account !
(see http://www.prowlapp.com/ )
With the LUA teminal program use "upload file" to install init.lua and the modified interupt.lua on your device.
Disconnect everything and reconnect as per the video, you should get the prowl notification when pressing the button !
Enjoy ;-)