Portable Wrist Mounted Raspberry Pi
by HyperCortex in Circuits > Raspberry Pi
15287 Views, 46 Favorites, 0 Comments
Portable Wrist Mounted Raspberry Pi
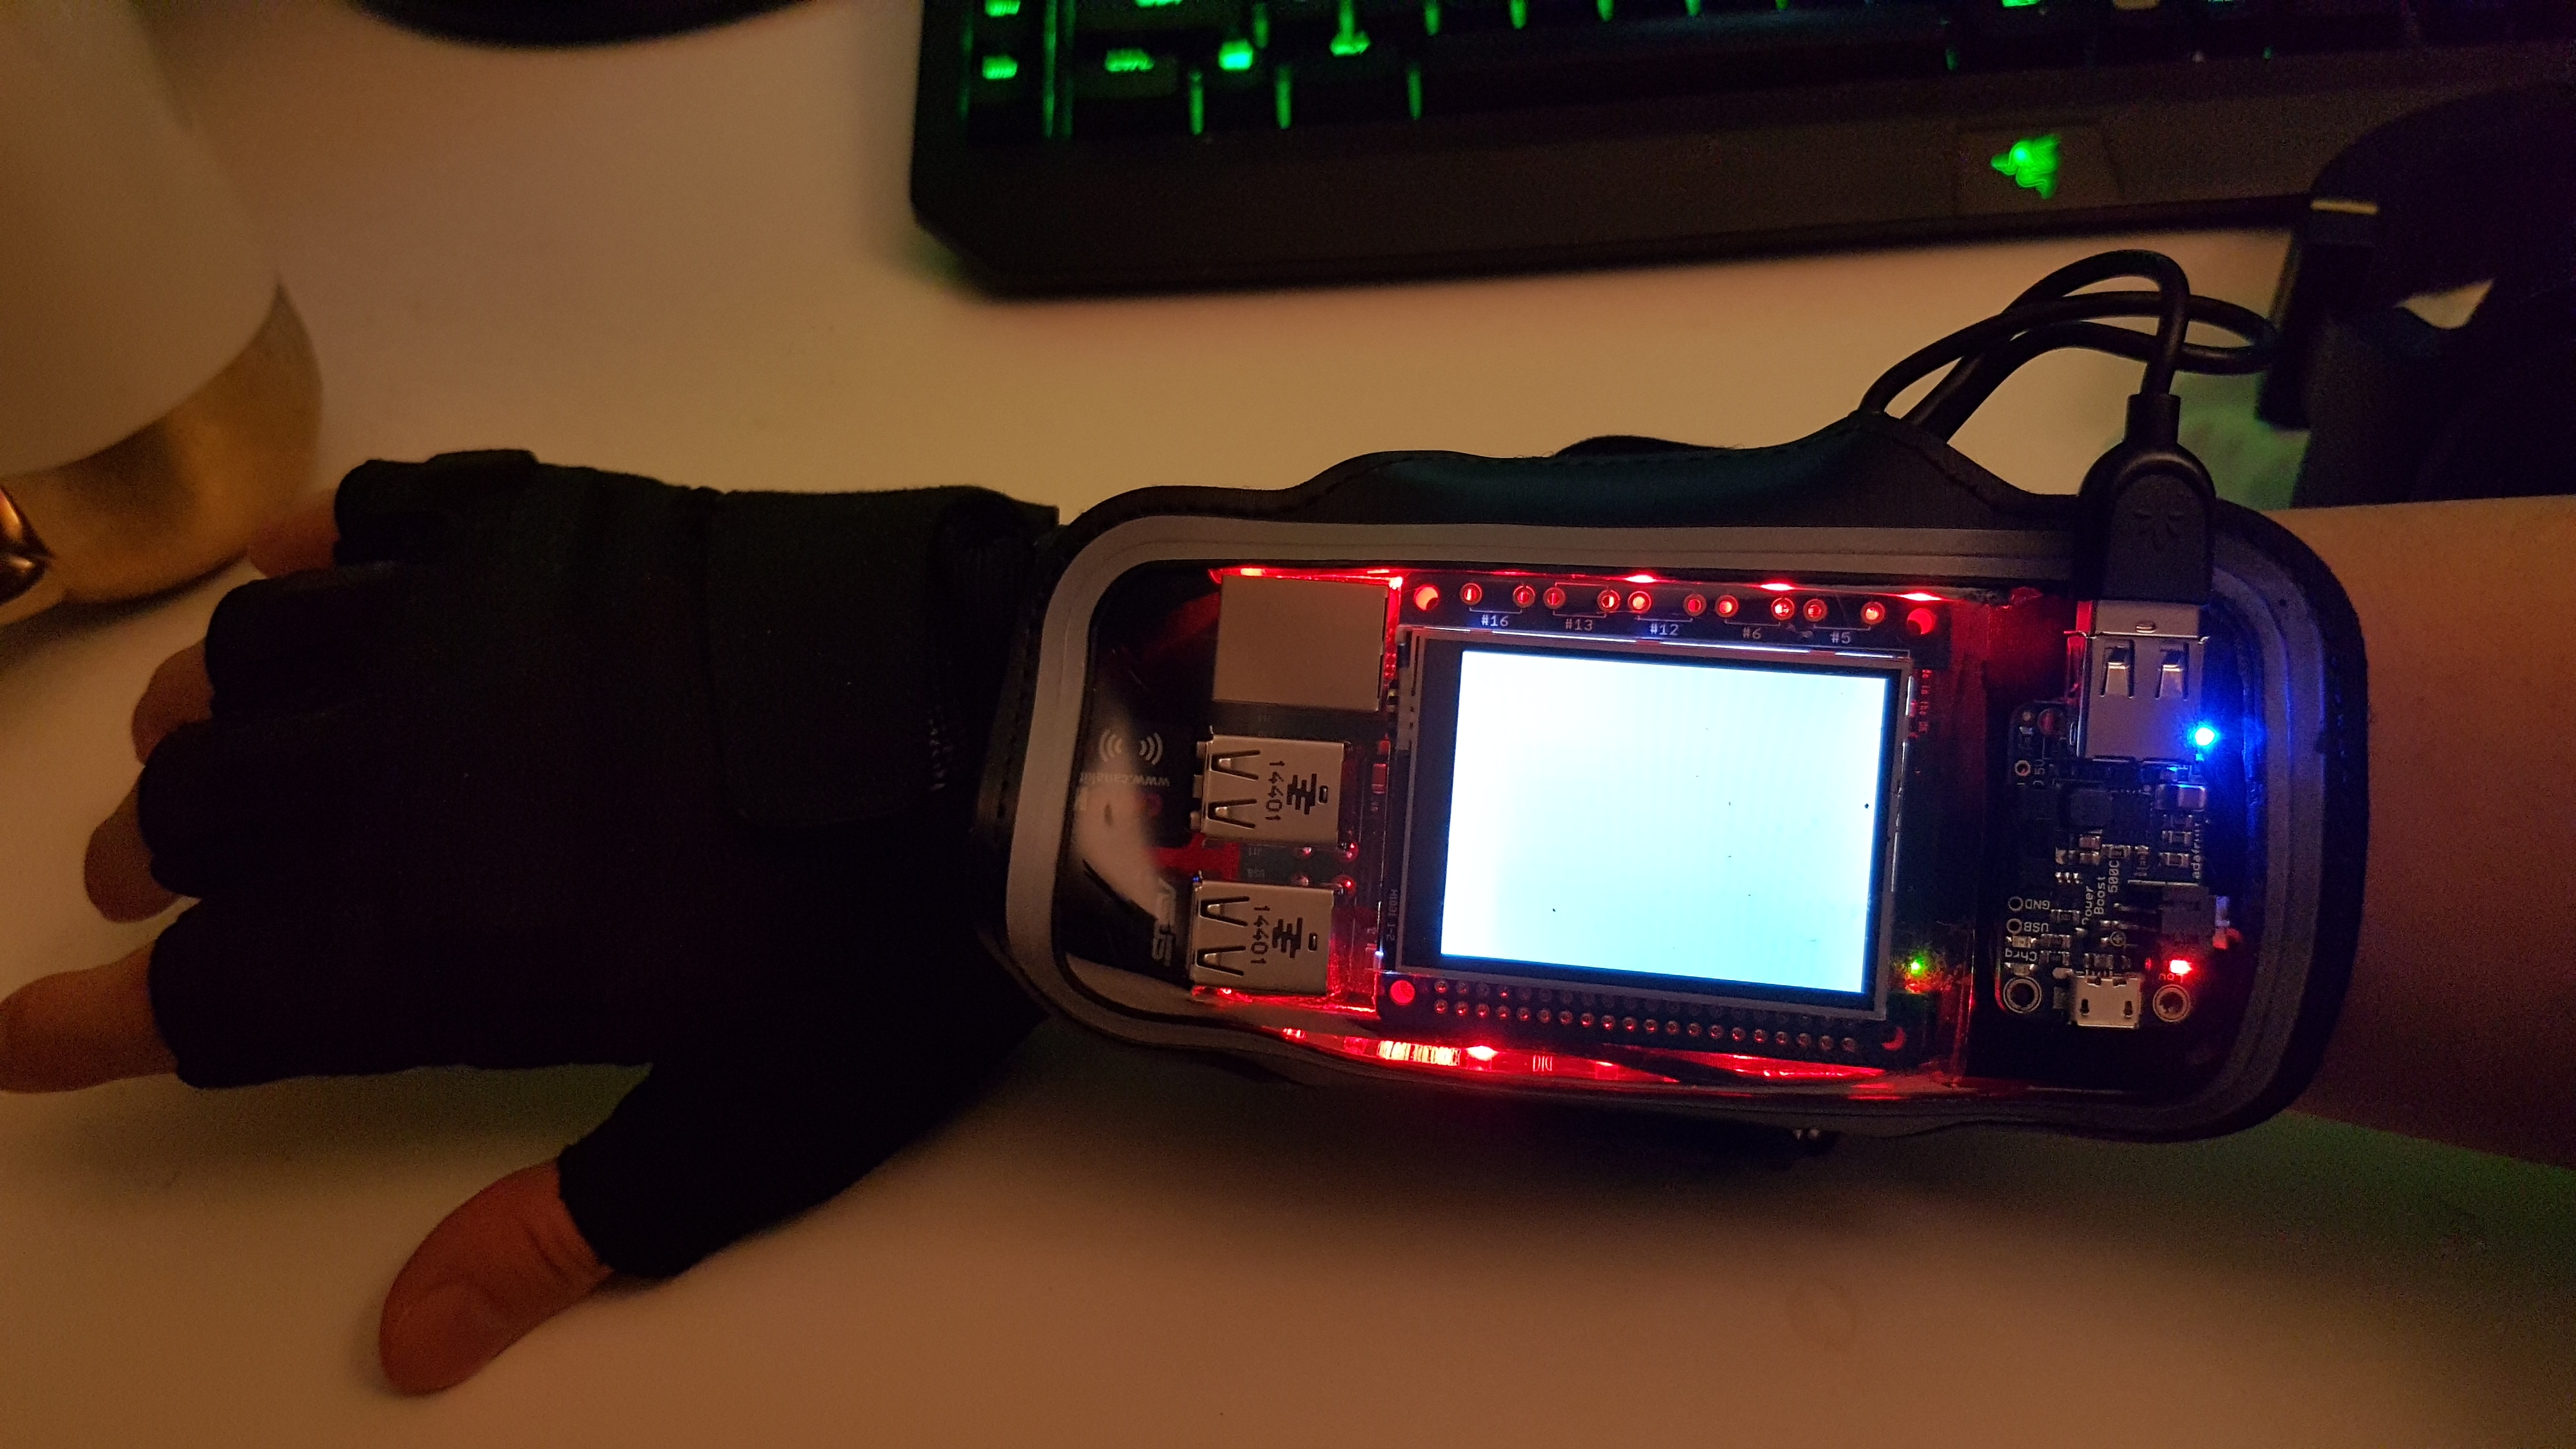
Hello everyone,
Welcome to my first tutorial on building a wrist mounted Raspberry Pi.
I am a huge fan of wearable technologies and I thought it would be a cool idea to create a wrist mounted computer for my Robotics class project.
My initial idea for this project came from a guy named "314creator" (here is the link to his original work: https://314reactor.com/2017/03/01/windows-98-wrist... ).
With some modification to a design I create my own version of wrist mounted computer.
Components
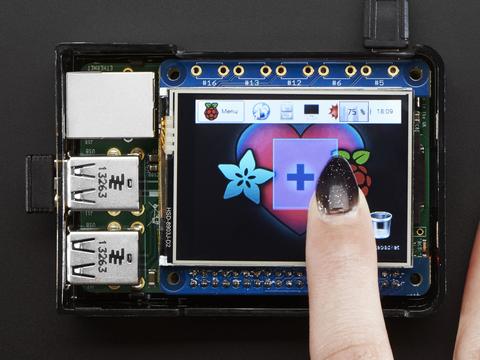
- Adafruit PiTFT 2.4" HAT Mini Kit - 320x240 TFT Touchscreen (Preferably go for 2.8 instead of 2.4)
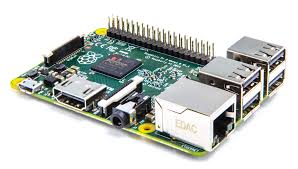
- Raspberry Pi 2 or better
- Micro SD card (16GB or higher)
-
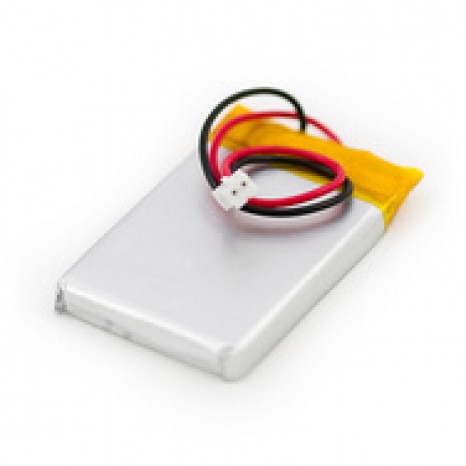
Lithium Polymer Battery (1000mAh or higher)
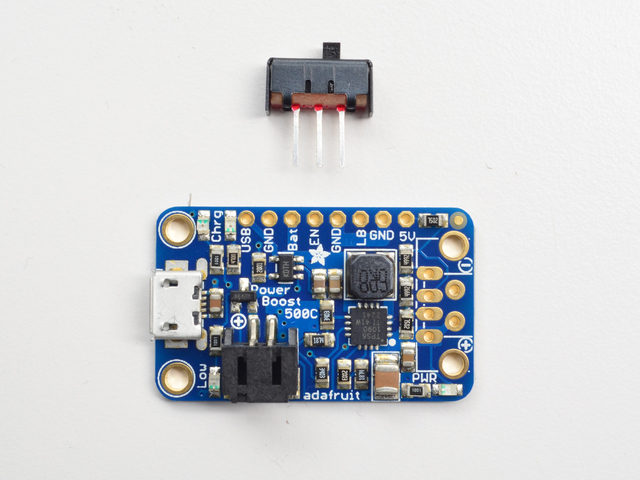
PowerBoost 500 Charger - Rechargeable 5V Lipo USB Boost @ 500mA+
Micro USB cable
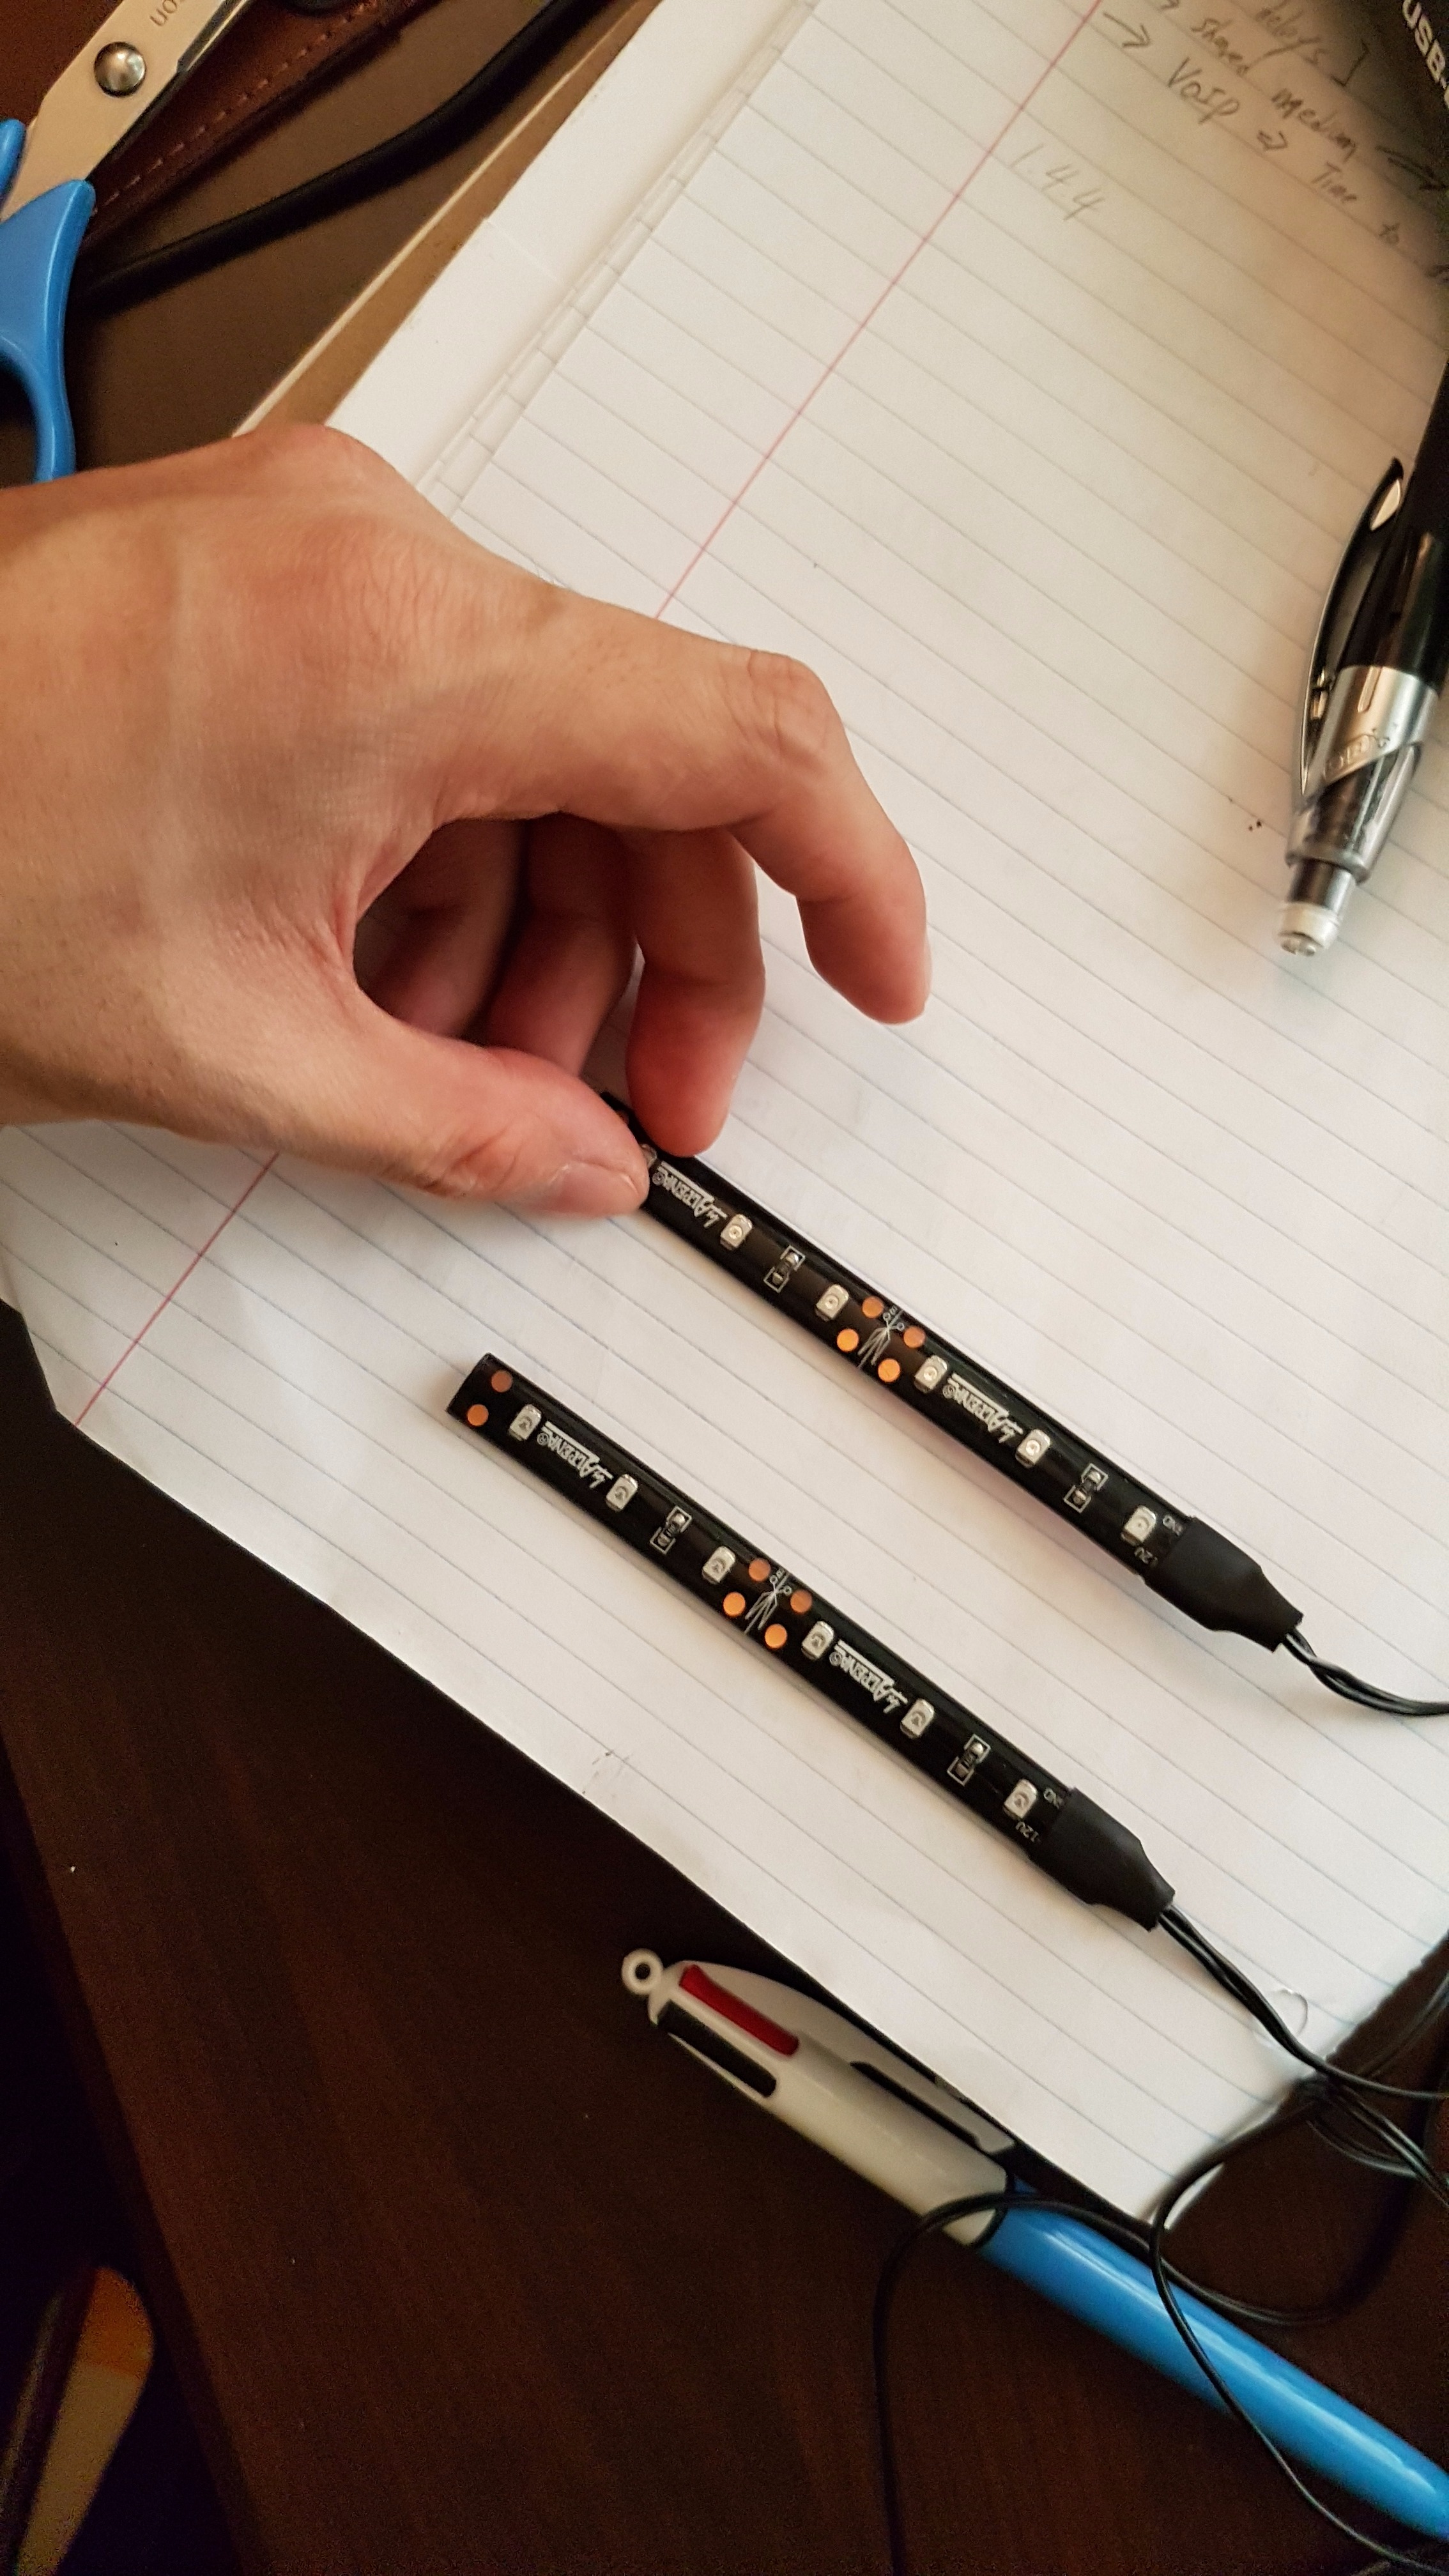
Car LED strip lights
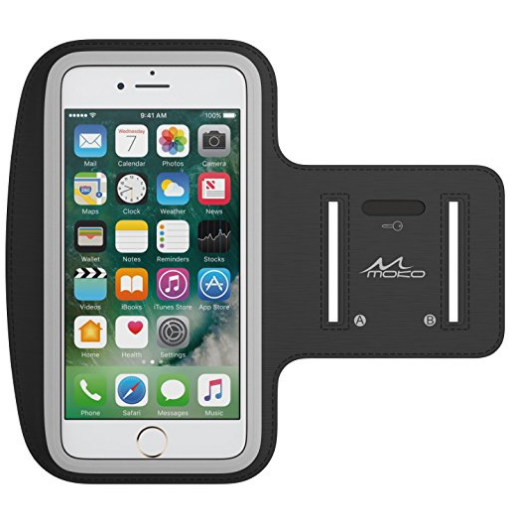
Galaxy S7 Edge Armband, MoKo Sweatproof Sports Armband Exercise Running Arm Band Case for Samsung Galaxy S7 Edge, with Key Holder, Great Earphone Connection, Black
Establishing Power Supply
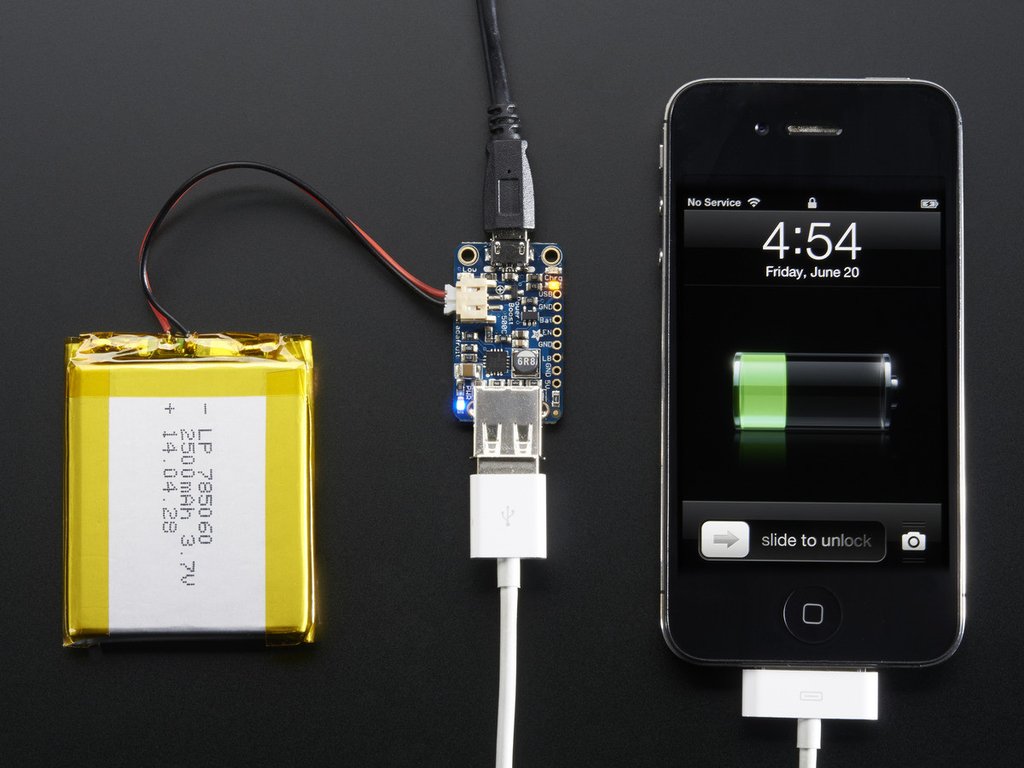
In this step, we will be connecting a PowerBooster 500 charger to a lithium Ion battery.
Here is a step by step guide on installing a power supply.
https://learn.adafruit.com/adafruit-powerboost-500...
(Note that you won't need to buy any addition switches, because PowerBooster 500 comes with a included switch)
Attaching a Touch Screen
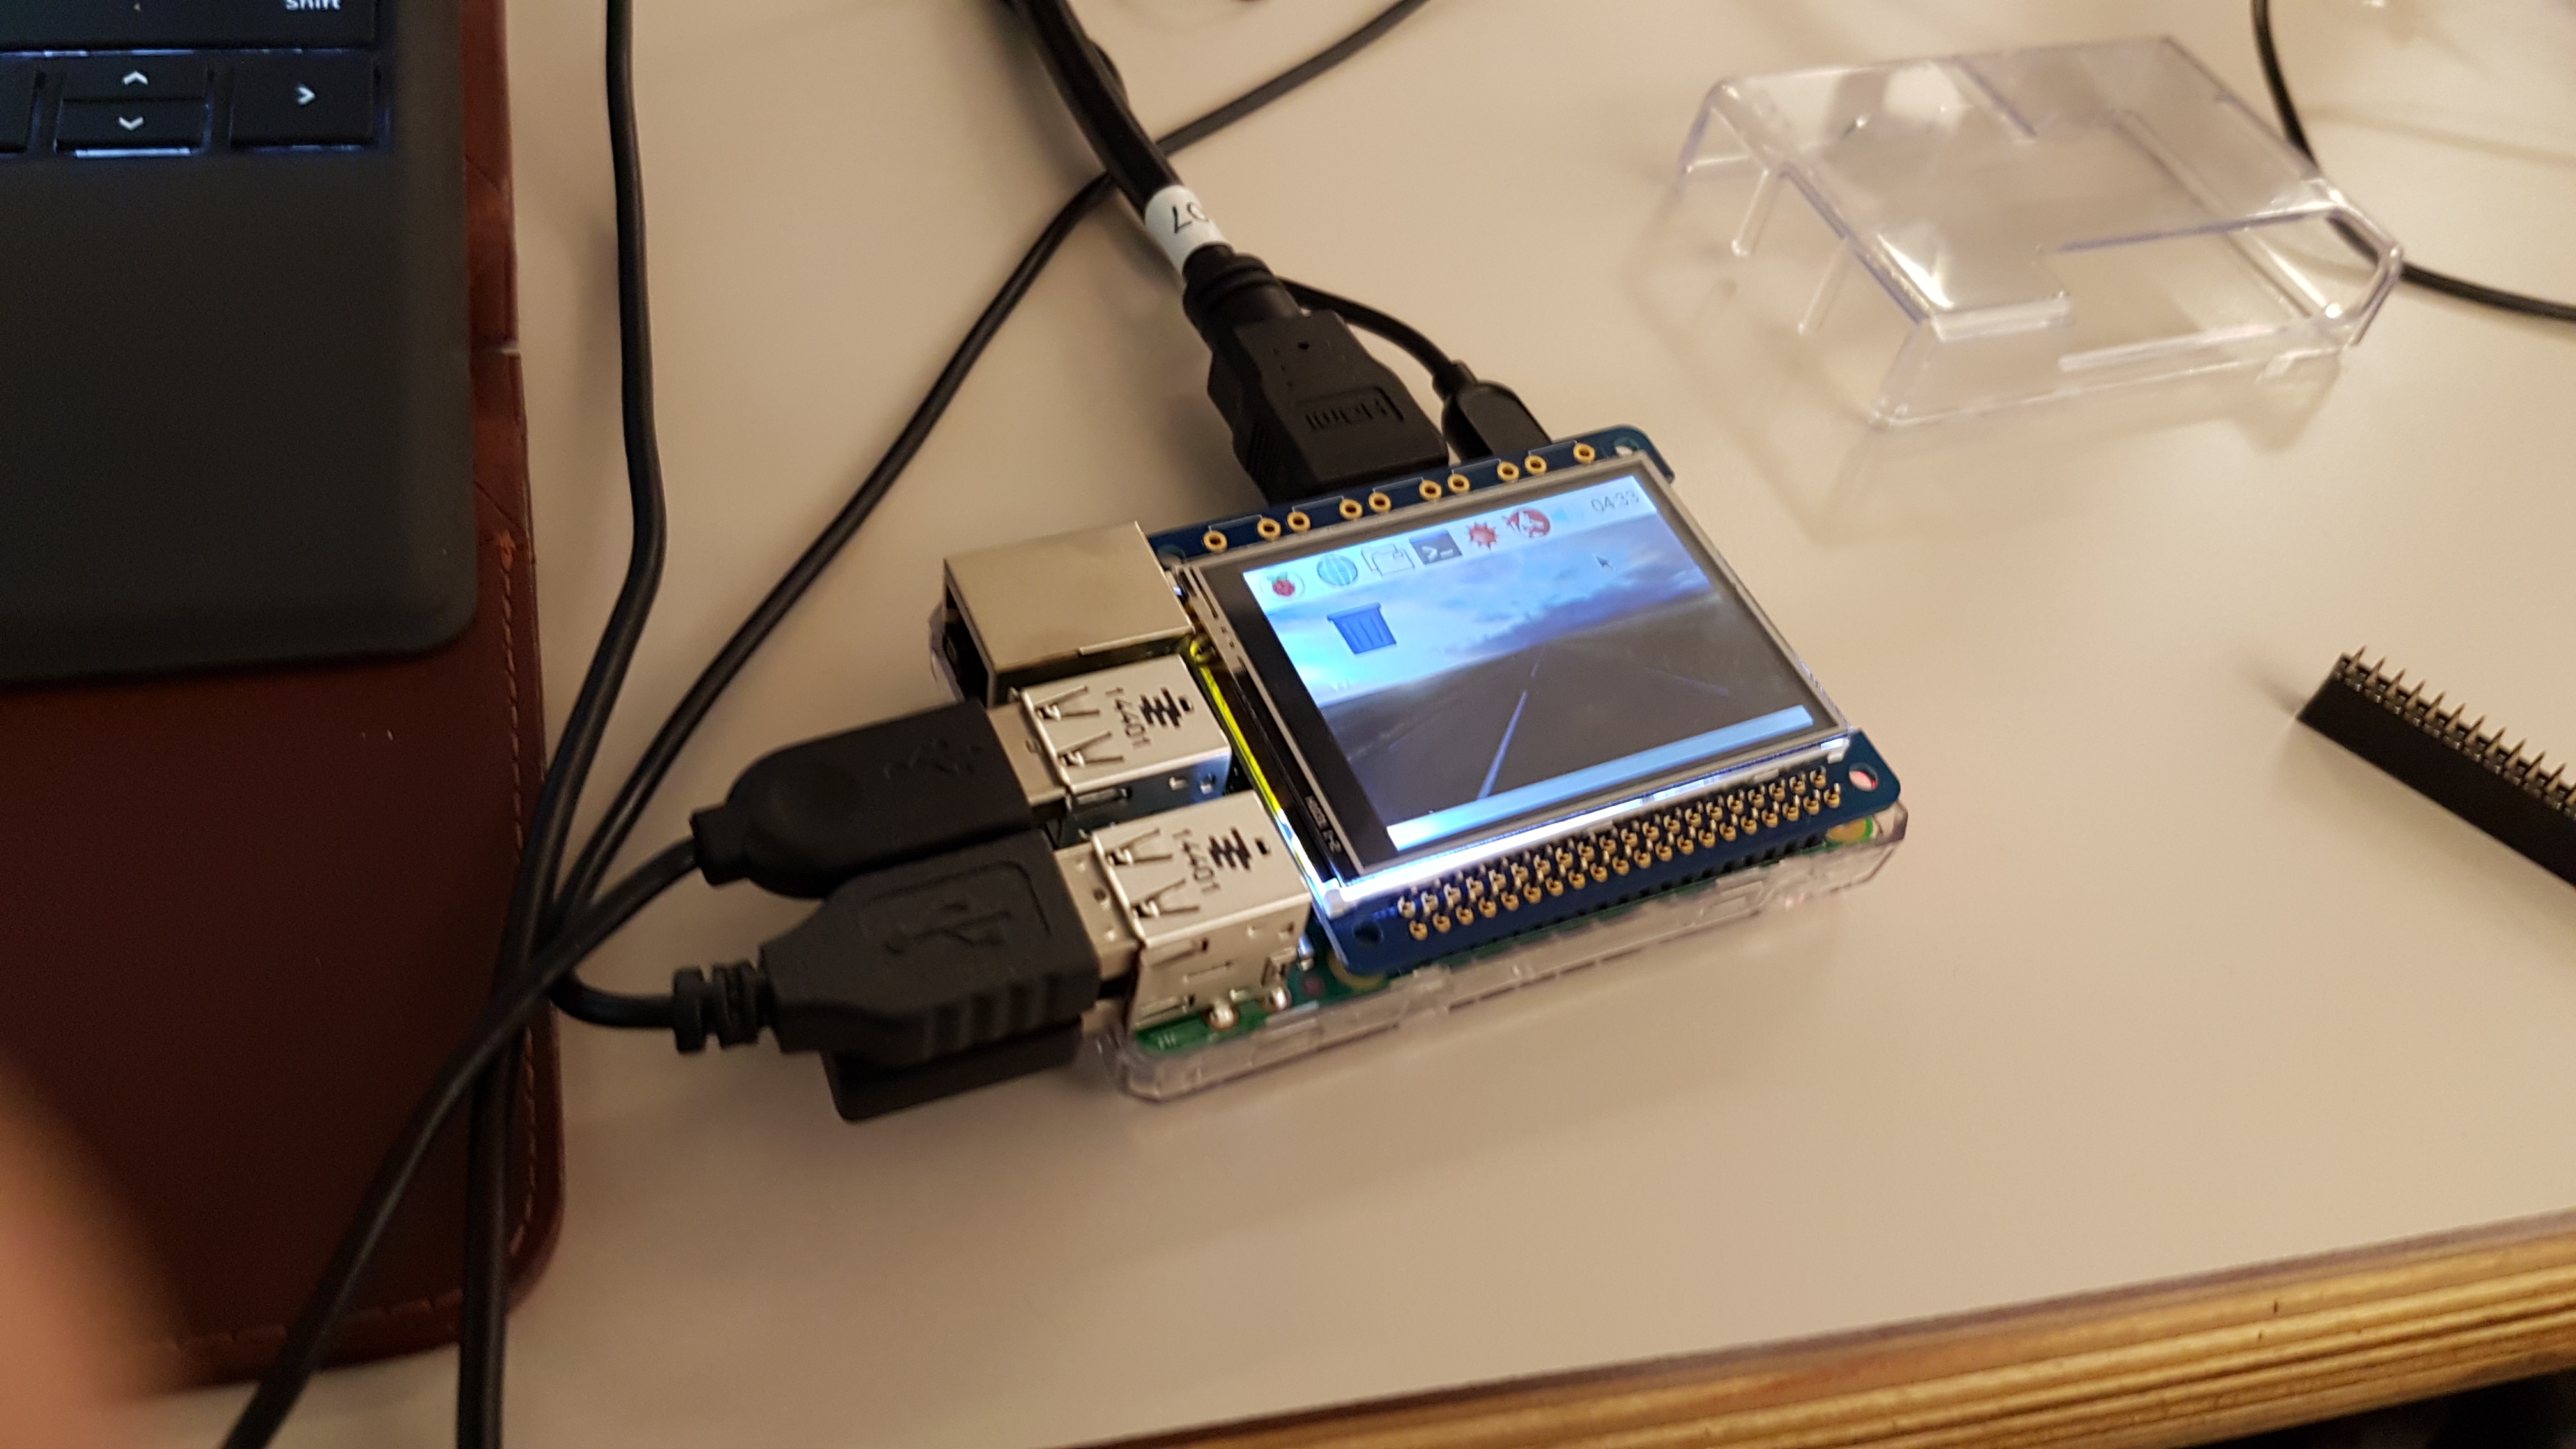
Attaching a screen can easily be accomplished by simply lining up a touch screen holes to Raspberry Pi pins.
Installing an Operating System
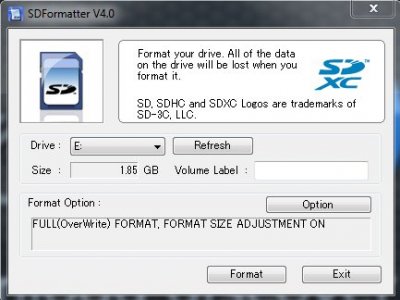
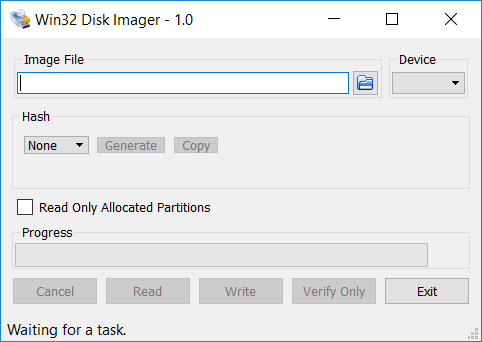
Now before we install any Operating System into a Raspberry Pi, we first have to format the Micro SD card.
Most Raspberry Pi could come with a pre-install program in a Raspberry Pi, therefore it is a good idea to completely format our micro SD card.
To format, you will need to have a desktop or laptop that have micro SD card slot, or just buy a Micro SD card adapter.
You will first have to download a software called SD card formatter. (Here is a link that I used: https://www.sdcard.org/downloads/formatter_4/)
Next, you will need a Win32 Disk Imager (here is a link that I used: https://sourceforge.net/projects/win32diskimager/)
Once you have both of these software downloaded, plug in your SD card to your computer and start out by choosing a SD card drive. It is important to not mess up this step, because if you choose a wrong driver it can potentially wipe out your entire driver. (As for me, my SD card driver showed up as E driver.) After selecting a driver, just click format.
Next step is choosing a Operating System, here is a download link to the image / instructions (https://learn.adafruit.com/adafruit-2-4-pitft-hat-...)
Once you download the image file, boot up Win32 Disk Imager.
Choose a image file and select your SD card as your device. Finish it by clicking "Write" button.
Configuring Your Raspberry Pi and Touch Screen
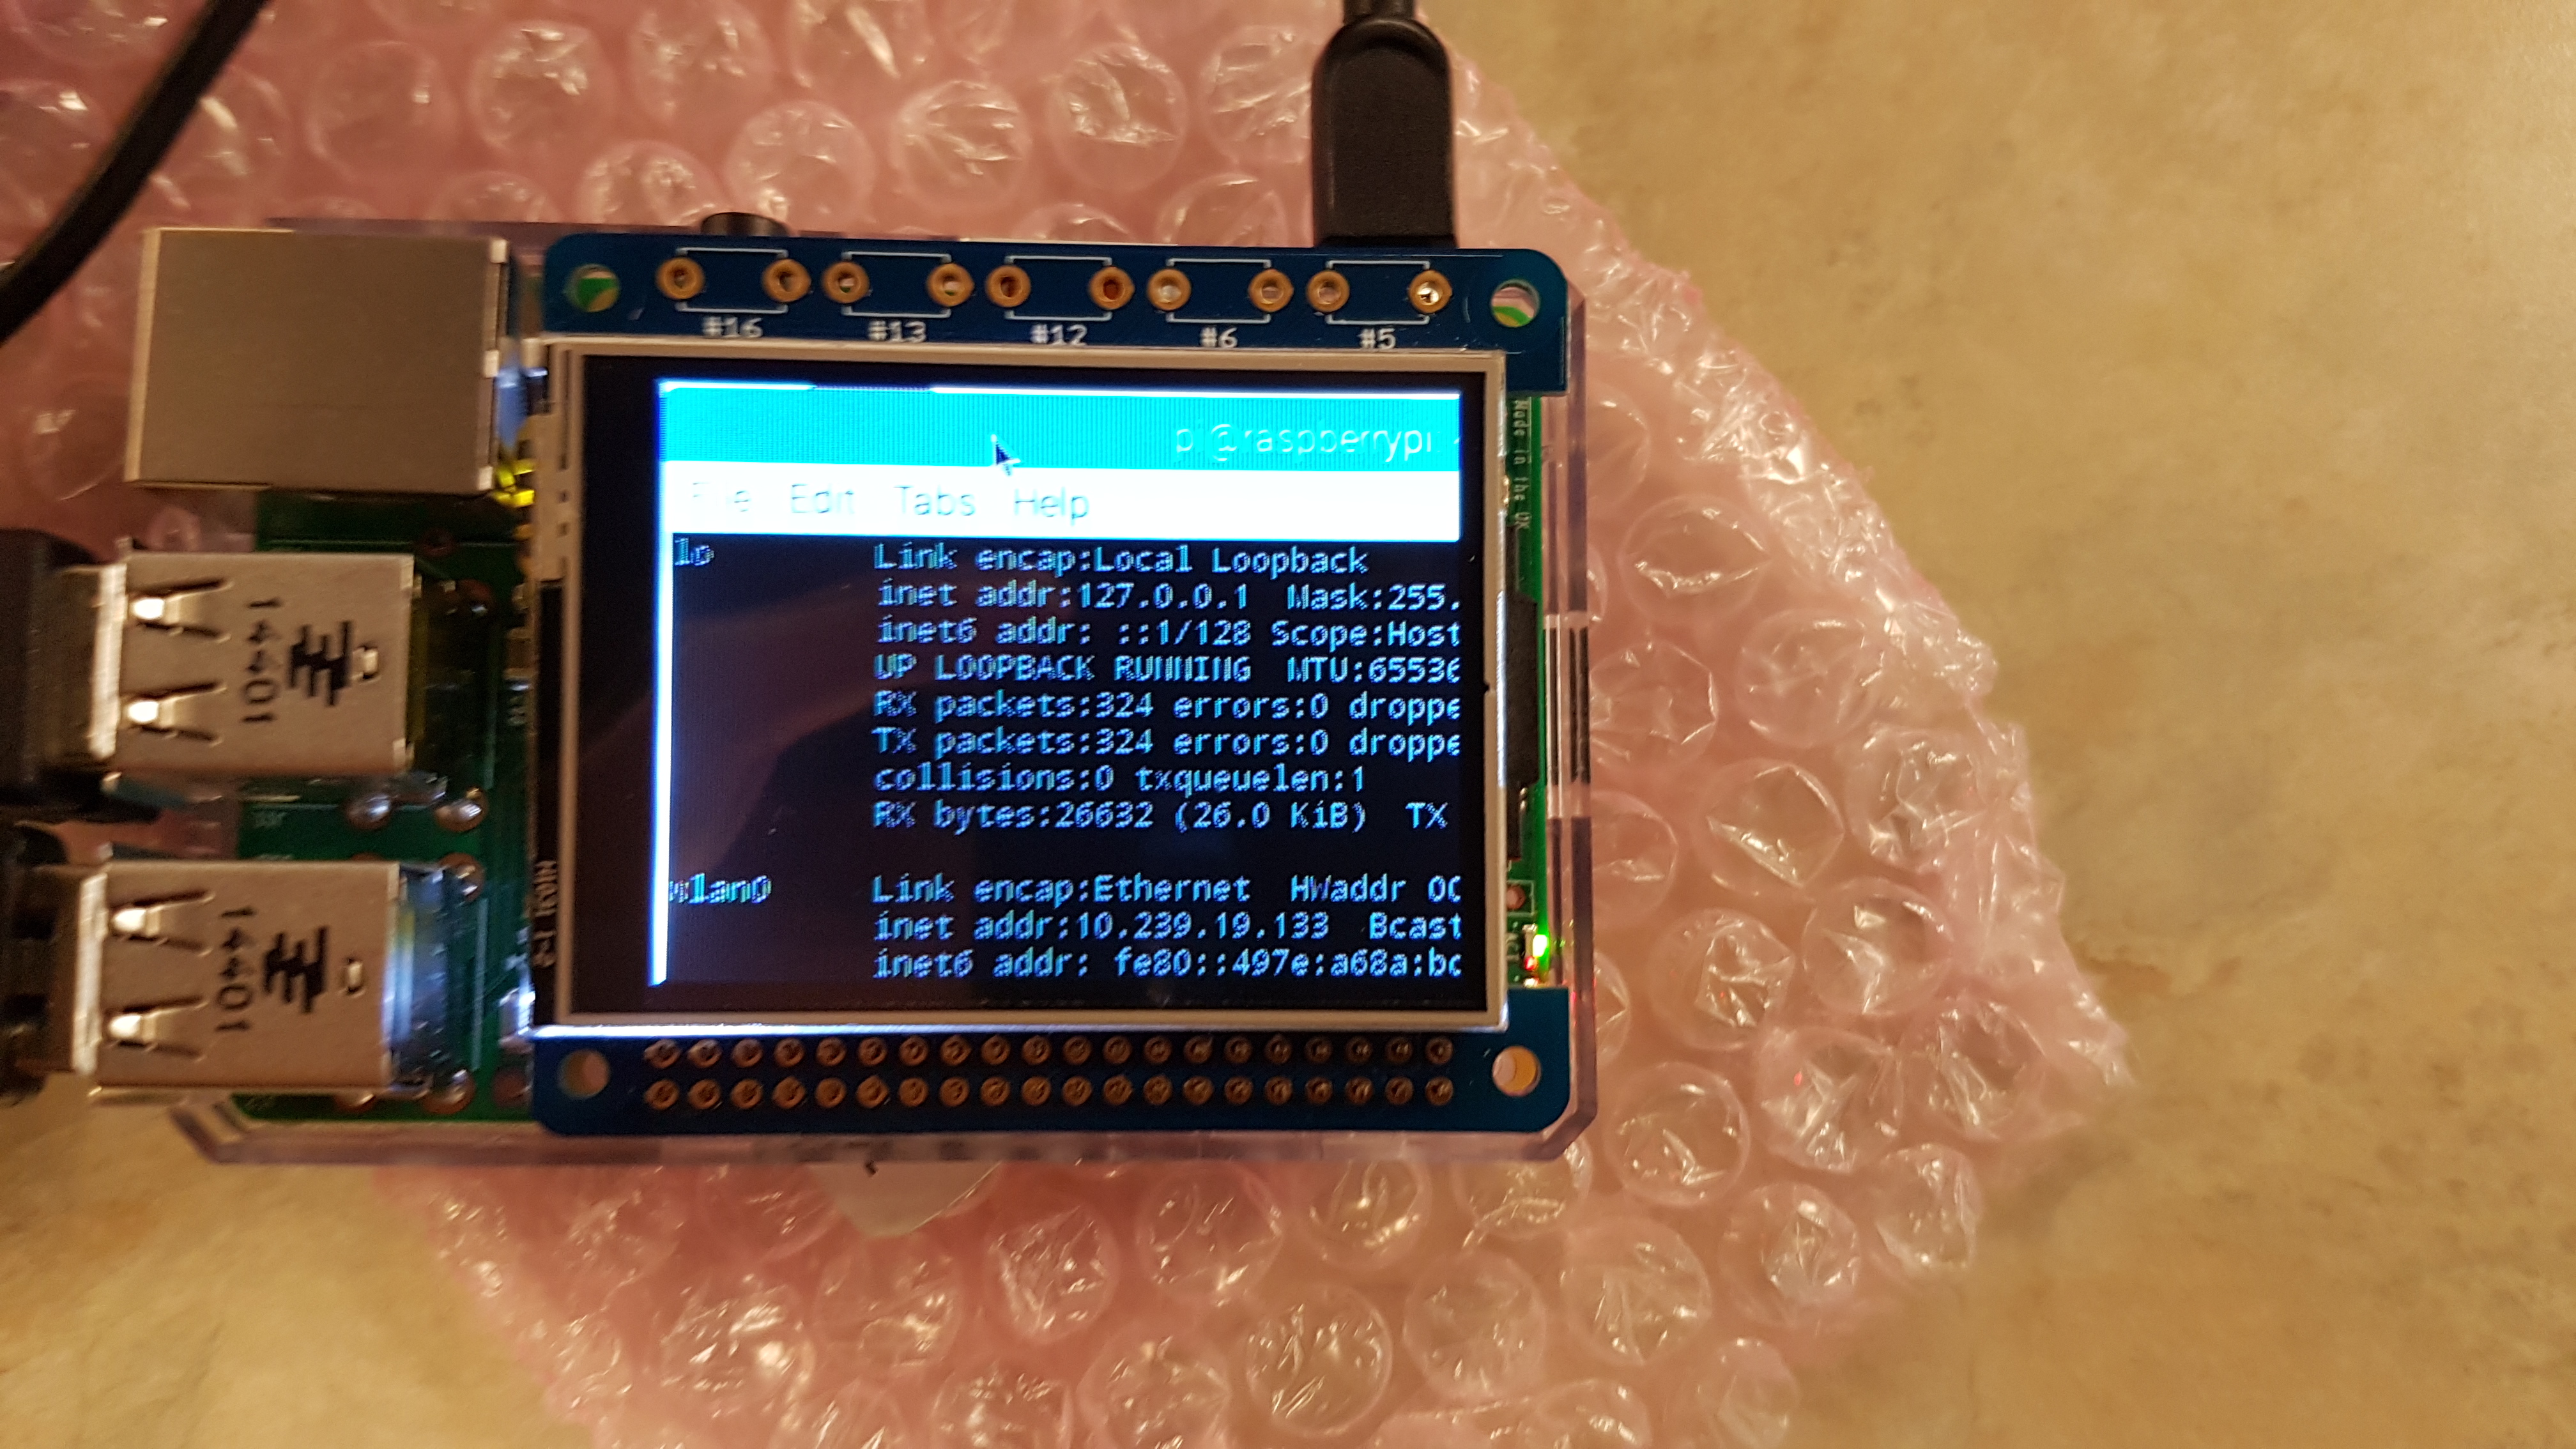
Afterwards follow these steps (https://learn.adafruit.com/adafruit-2-4-pitft-hat-...) to complete your configuration.
You can do these steps with a touchscreen attached, or just connect your Raspberry Pi to a monitor.
As for me, because I couldn't connect to a monitor for some reason, I used a attached touchscreen to complete my configuration.
Either way is fine, but I found out that using a touchscreen to configure a Raspberry Pi was much difficult, as you can see from the picture the resolution were out of place.
If you choose to work with a touchscreen, be sure to go to sudo nano /boot/config.txt. This is where you can change your touchscreen resolution.
These are some of the default code:
[pi1]
device_tree=bcm2708-rpi-b-plus.dtb
[pi2] device_tree=bcm2709-rpi-2-b.dtb
[all] dtparam=spi=on
dtparam=i2c1=on
dtparam=i2c_arm=on
dtoverlay=pitft28r,rotate=90,speed=32000000,fps=20
Try to adjust some of the numbers to fit your resolution.
Final Step, Putting Everything Together
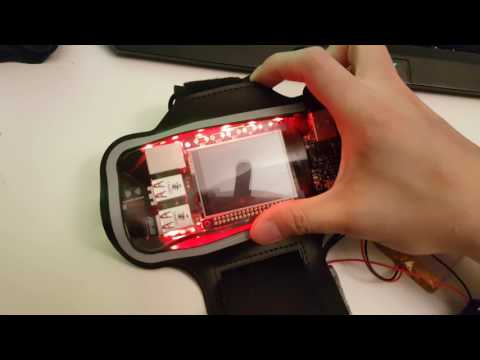
For this step, watch a video I made.
Samsung S7 case link: https://www.amazon.ca/MoKo-Sweatproof-Exercise-Ear...
[Some things you can try to improve upon my project]
- Better way to hold Raspberry Pi and touch screen together (sometimes when you don't ware it, it can fall apart)
- Better socket for 9 volt battery (only if you are thinking of attaching the LED strips)
- Using 2.8 instead of 2.4 (If you use 2.4 Adafruit touchscreen you are going to have hard time seeing things on your screen)
[Warning]
Do not charge and use it at the same time, because I found out that PowerBooster got extremely hot and it could potential damage your device.
Credit to: https://314reactor.com/2017/03/01/windows-98-wrist...
Special thanks to my professor: Jordan Kidney for helping me out with this project.