Portable Raspberry Pi Desktop (Running Raspberry Pi OS)
by tranquil_png in Circuits > Raspberry Pi
1981 Views, 3 Favorites, 0 Comments
Portable Raspberry Pi Desktop (Running Raspberry Pi OS)
A simple guide on how to fully set up a Raspberry Pi 3 into a portable desktop running Raspbian OS.
Supplies
- An existing PC
- Raspberry Pi 3
- Micro SD card (16GB or higher recommended)
- Micro SD to USB formatter (if your computer doesn't already have a way to read a micro SD card)
- Monitor
- Mouse
- Keyboard
- Case (optional but recommended)
- Micro USB Cable
- HDMI Cable
Creating a Raspberry Pi OS Imager
Insert your Micro SD card either directly to your PC or through an adapter, and make sure it's properly being read. Additionally, make sure that anything previously on the card that you'd like to keep is backed up somewhere else such as on the computer, as the card will be getting wiped clean with the imaging.
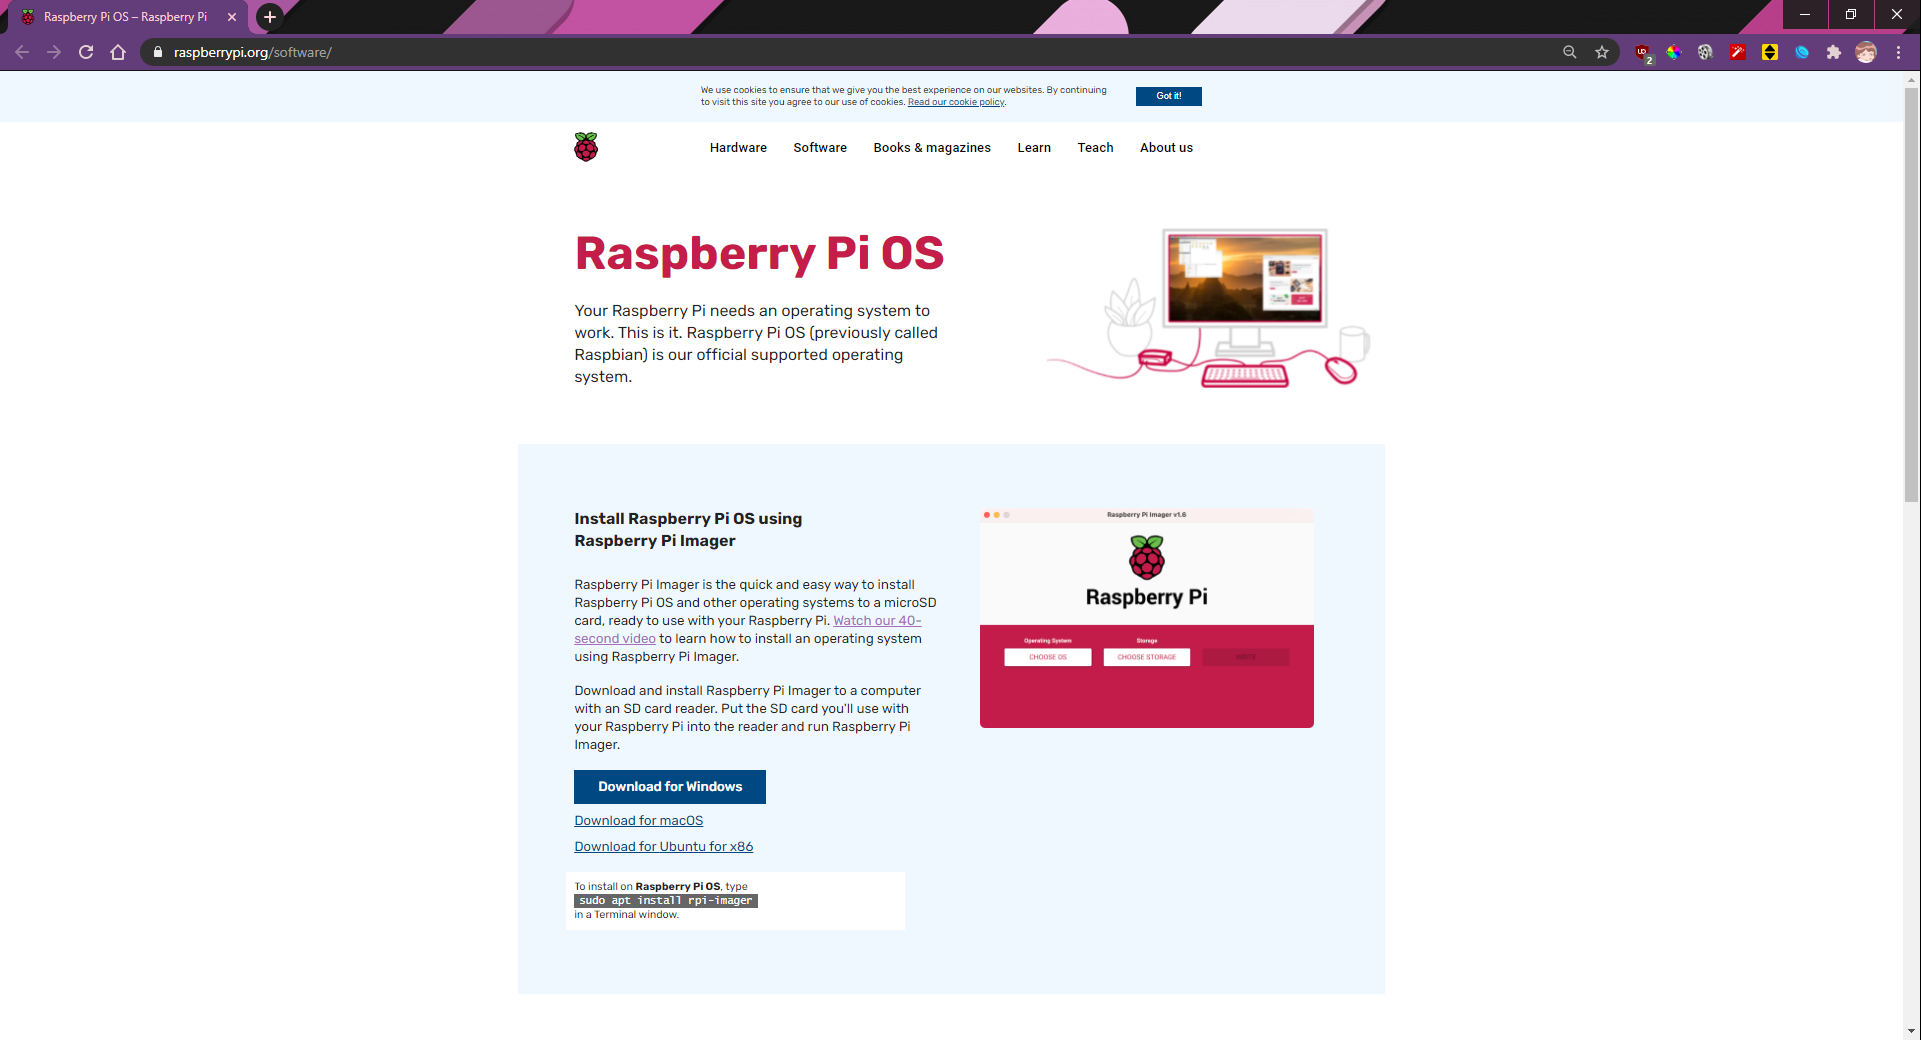
Head to https://www.raspberrypi.org/software/ and download the imager for your respective OS to any drive except the micro SD card. For this guide I'll be using windows, although this does not matter as long as you download the correct format of the imager.
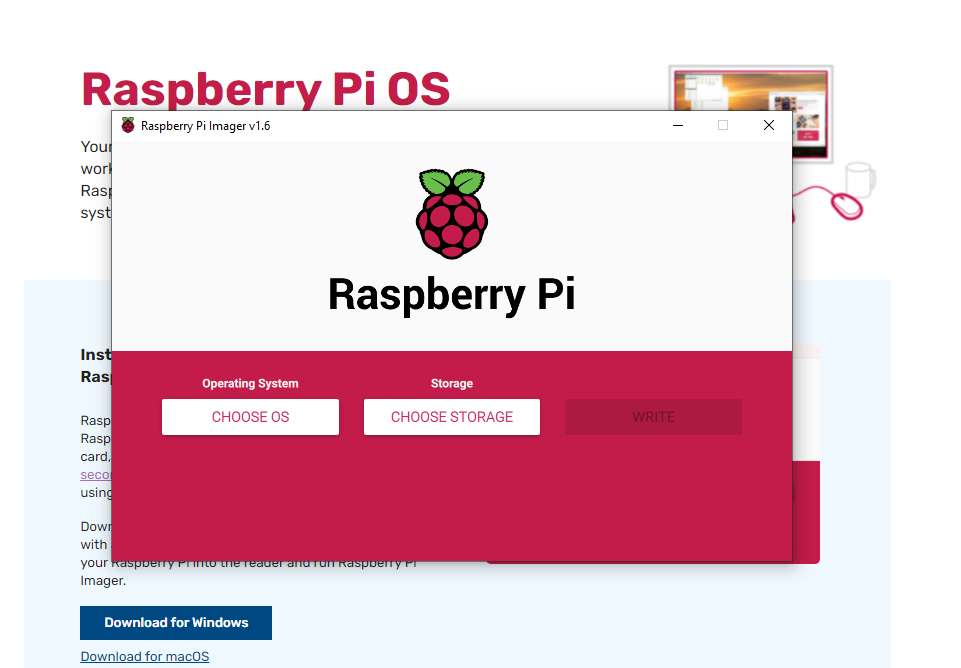
Once downloaded, open the file and follow the installation wizard and run when done. Your window should now look like the second image. Click "CHOOSE OS" and click "Raspberry Pi OS (32-Bit). Then click "CHOOSE STORAGE" and select your micro SD card. Continue by clicking "WRITE", and confirming by clicking "YES".
Once finished, safely eject the card and move to the next step.
Physical Setup
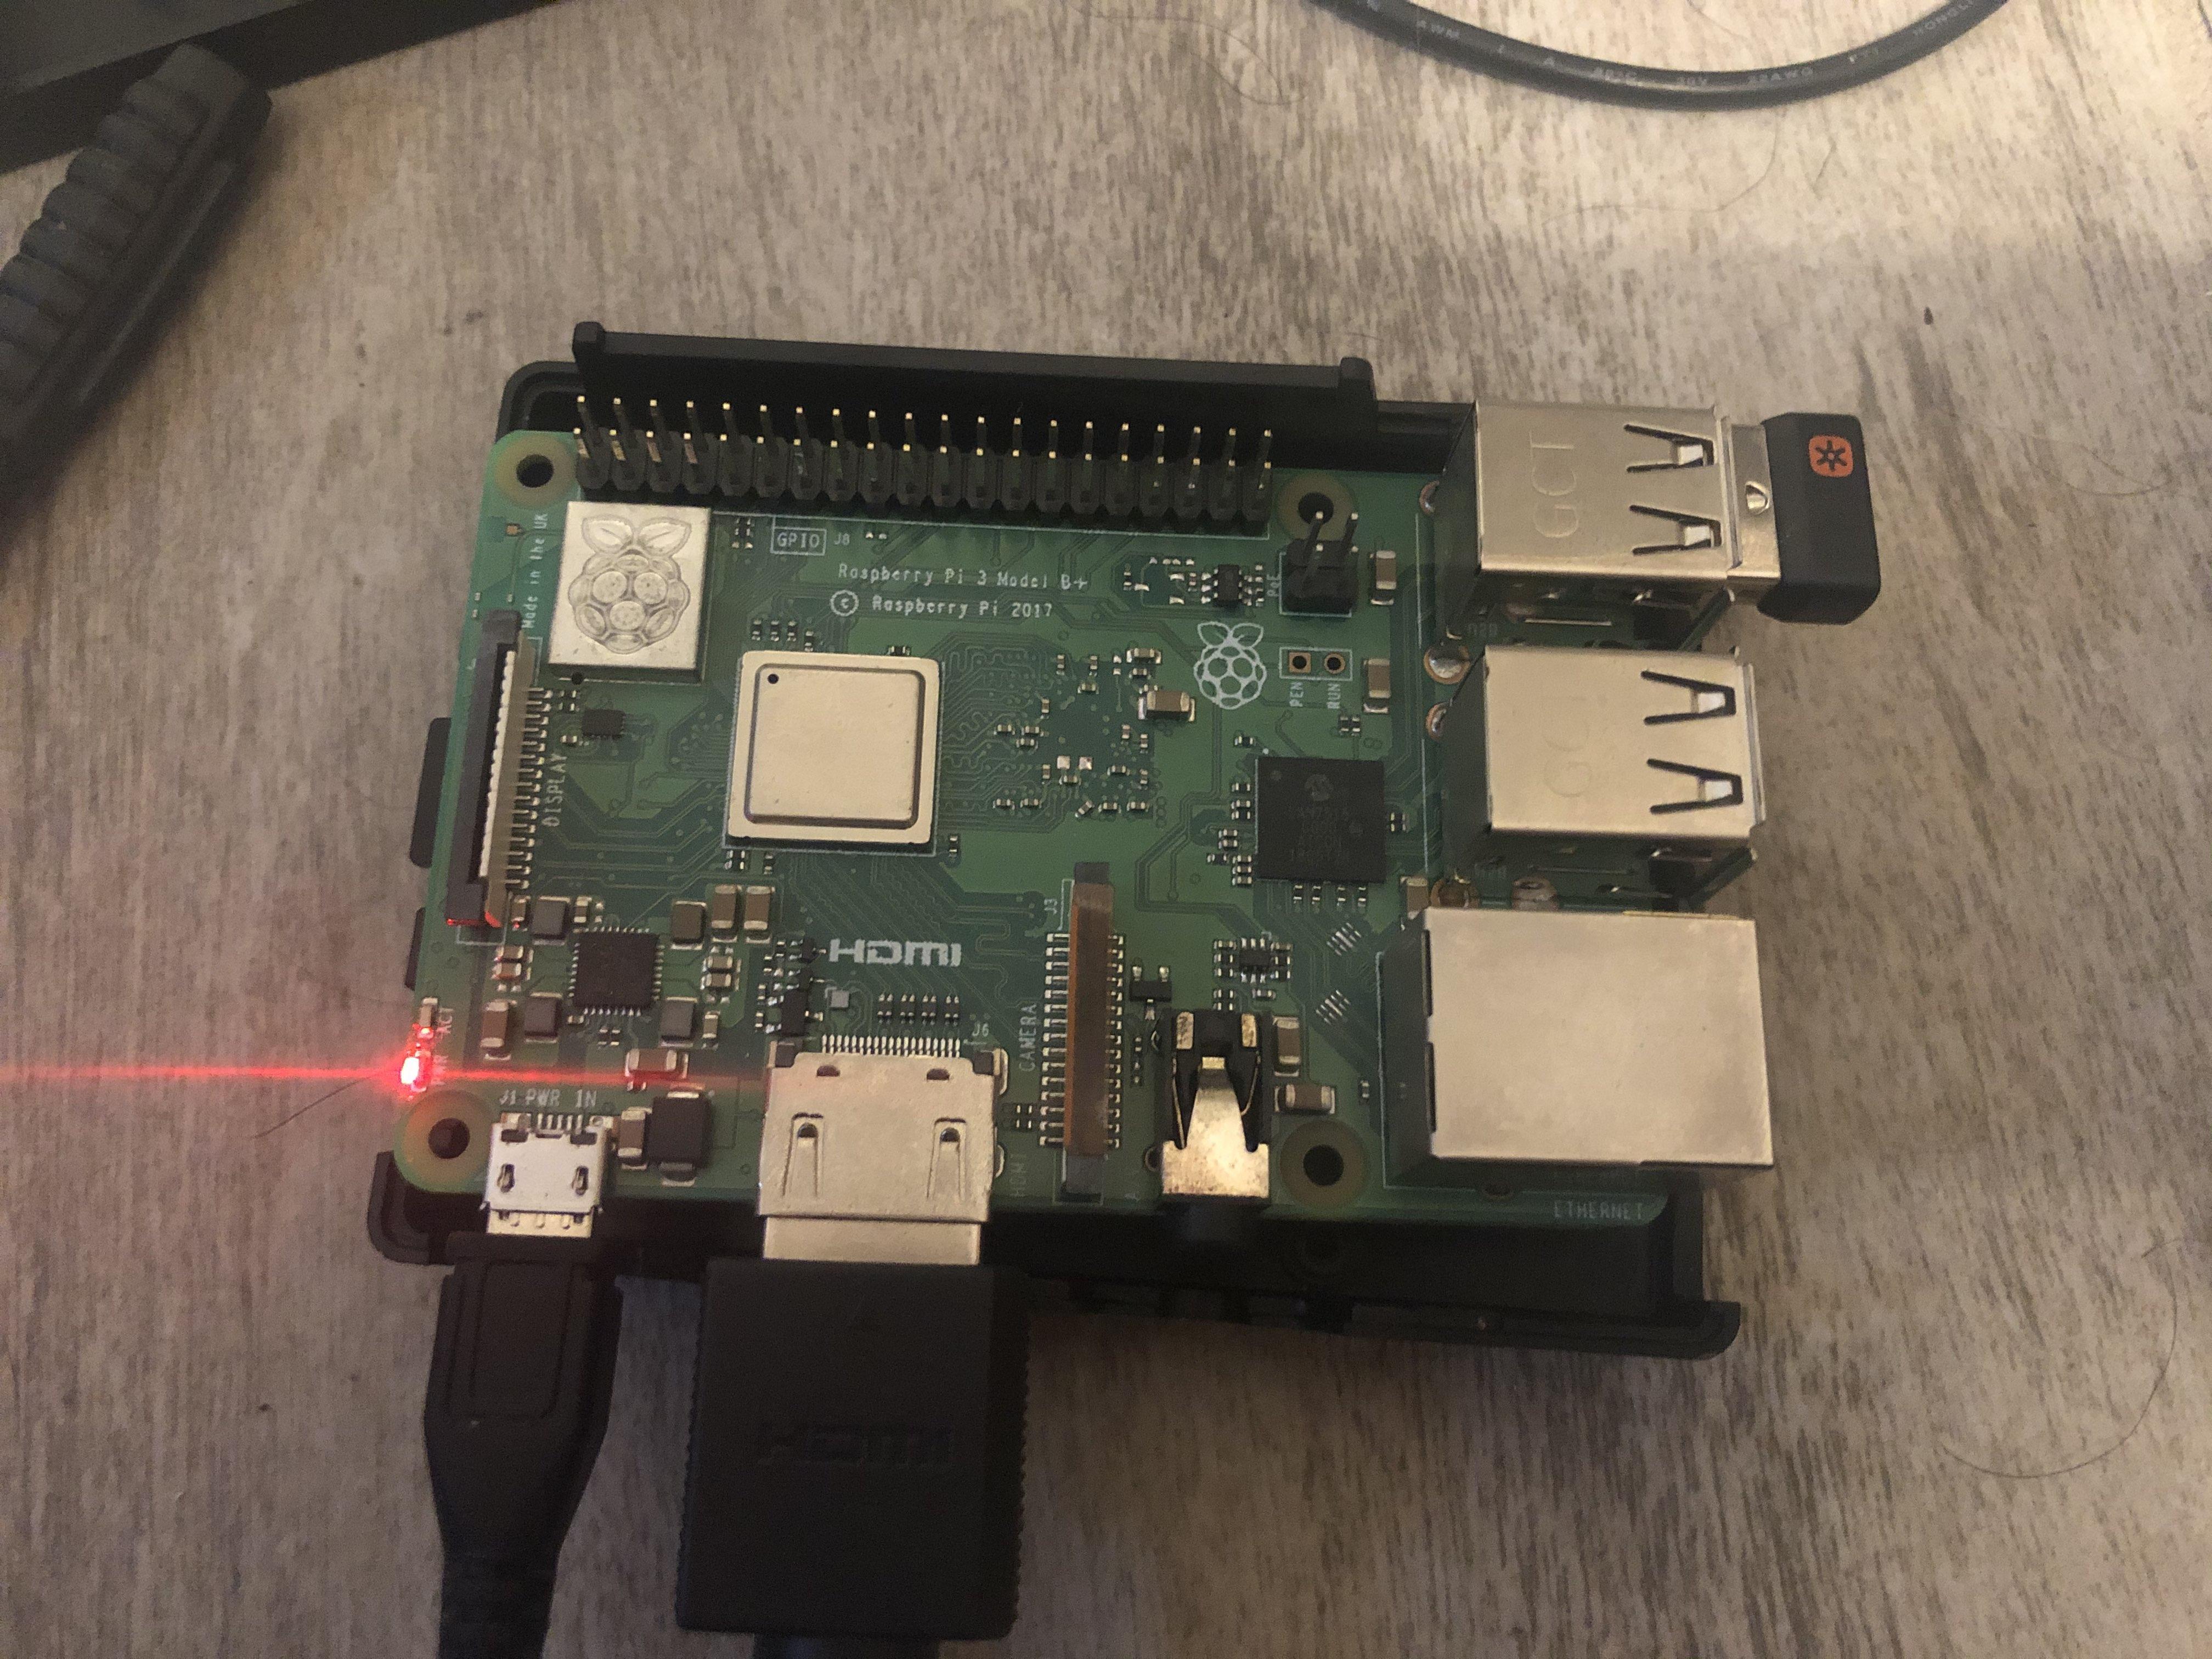
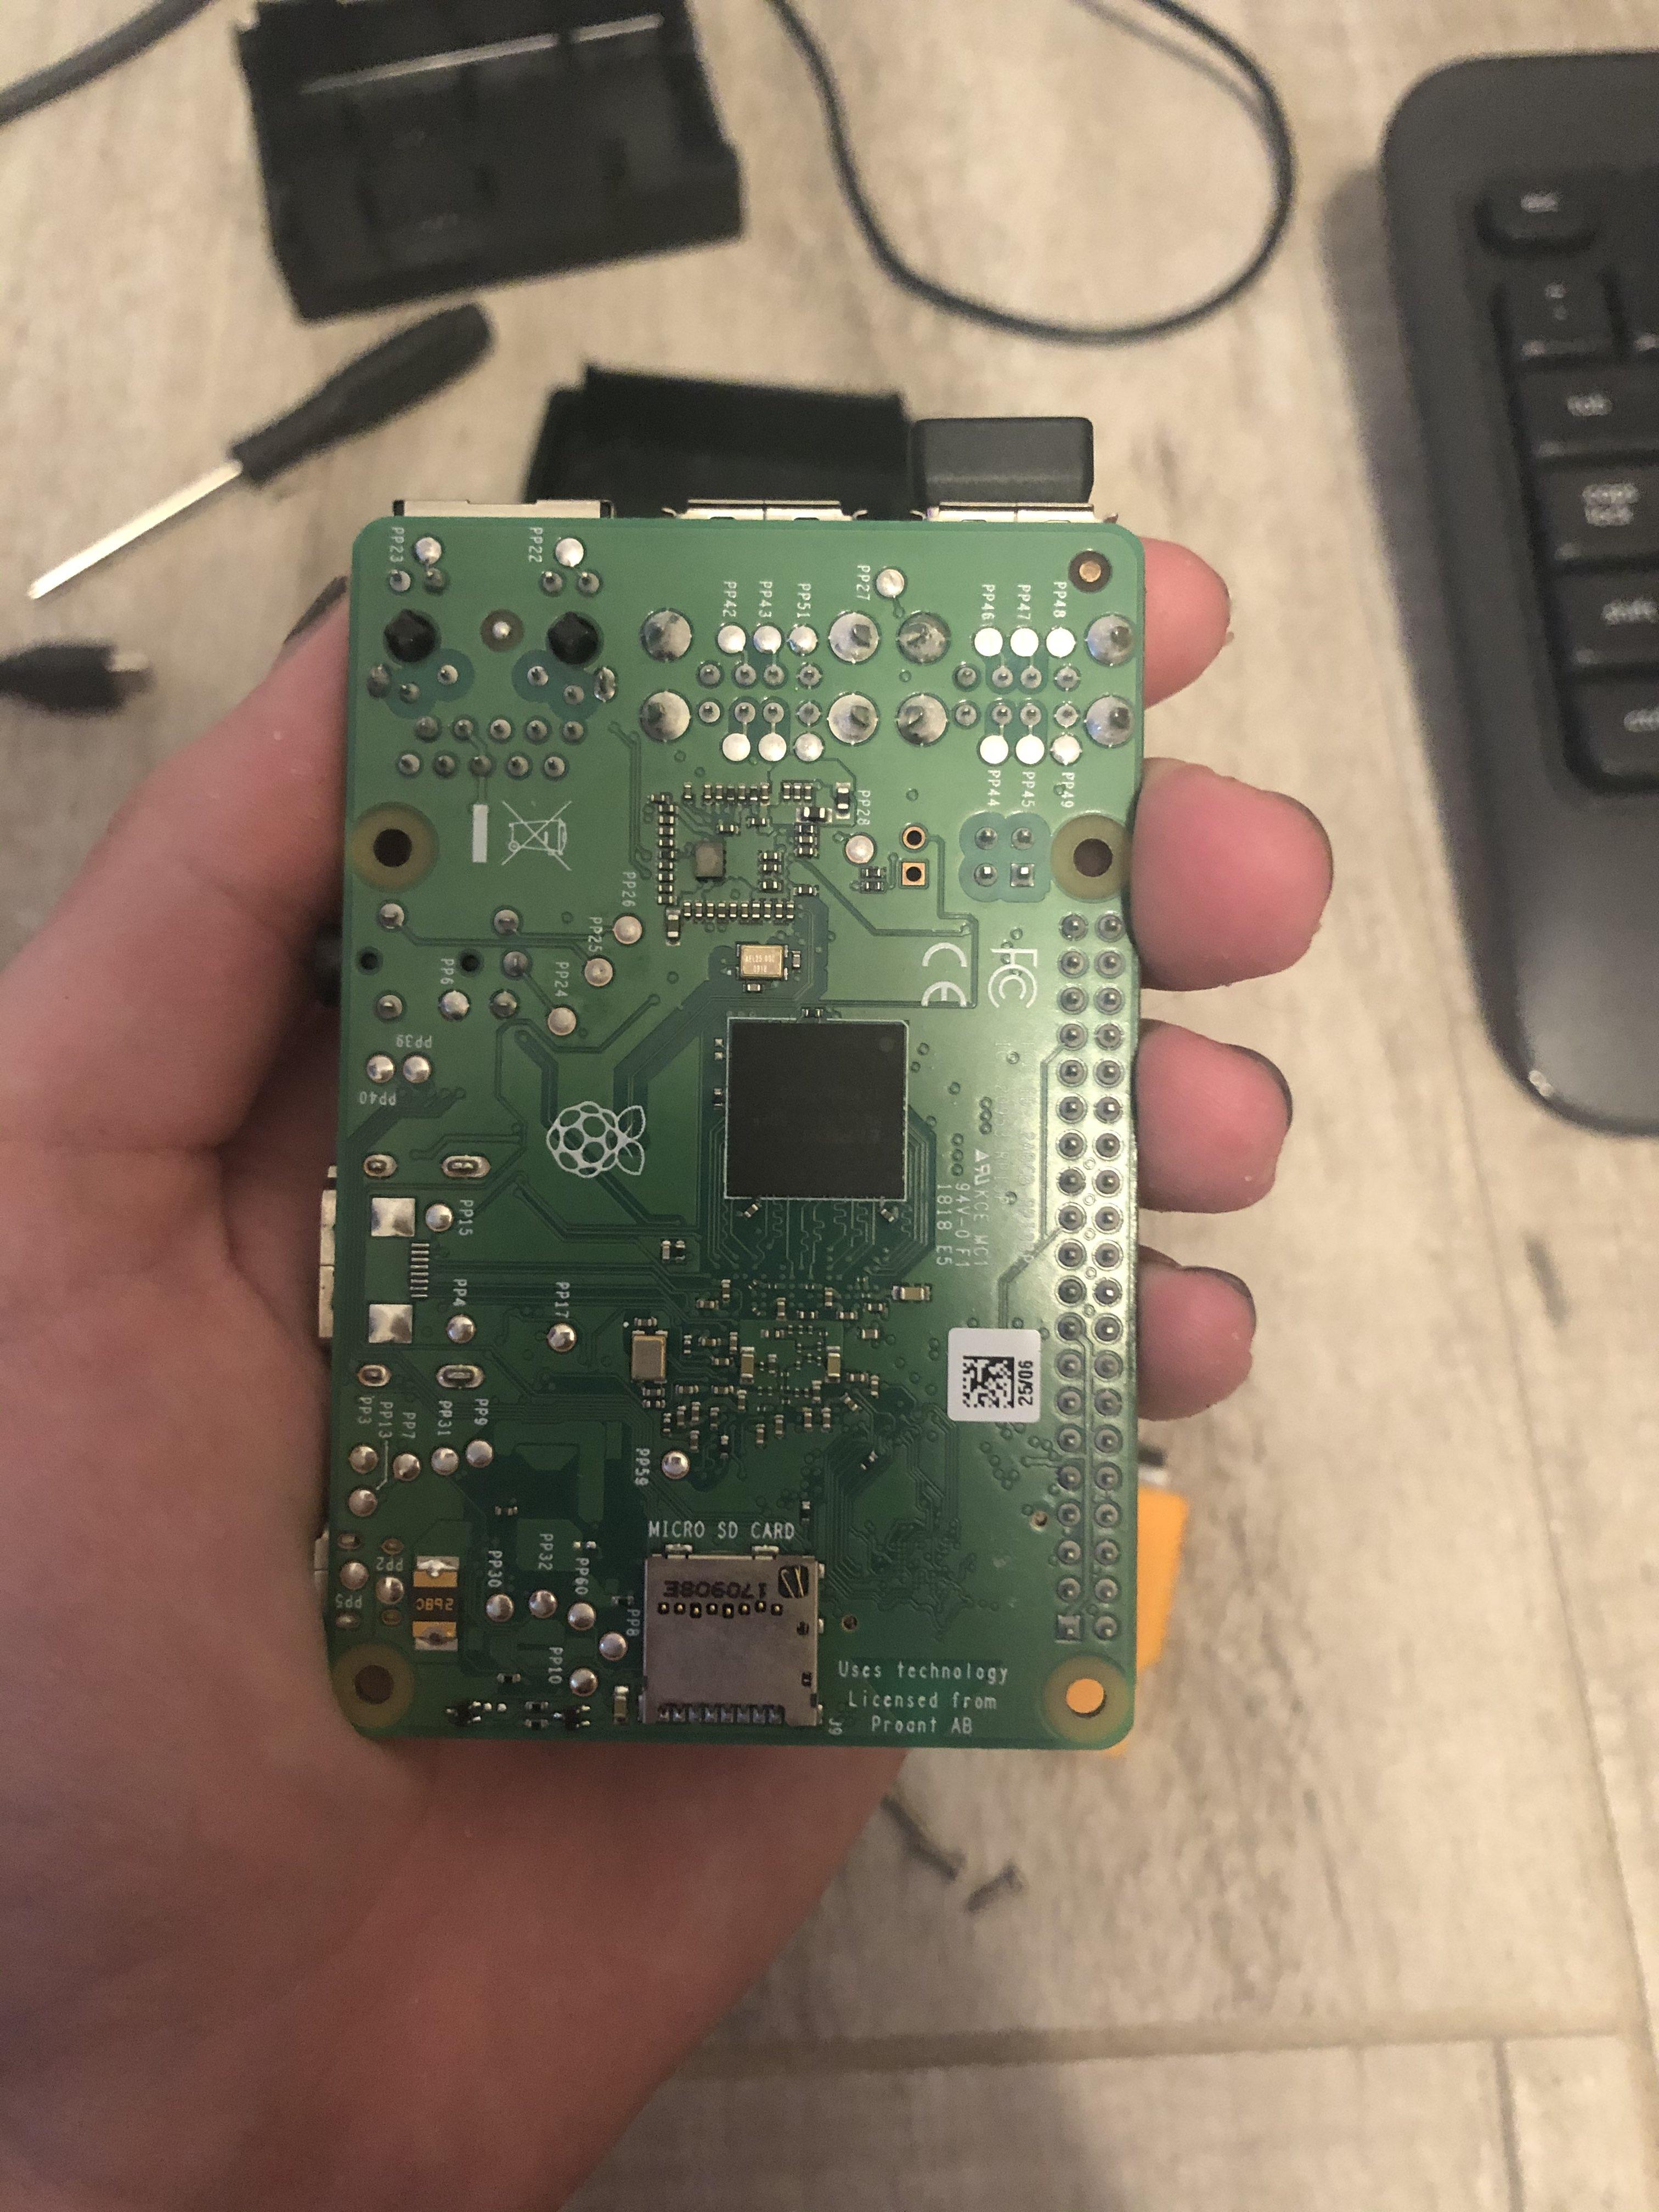
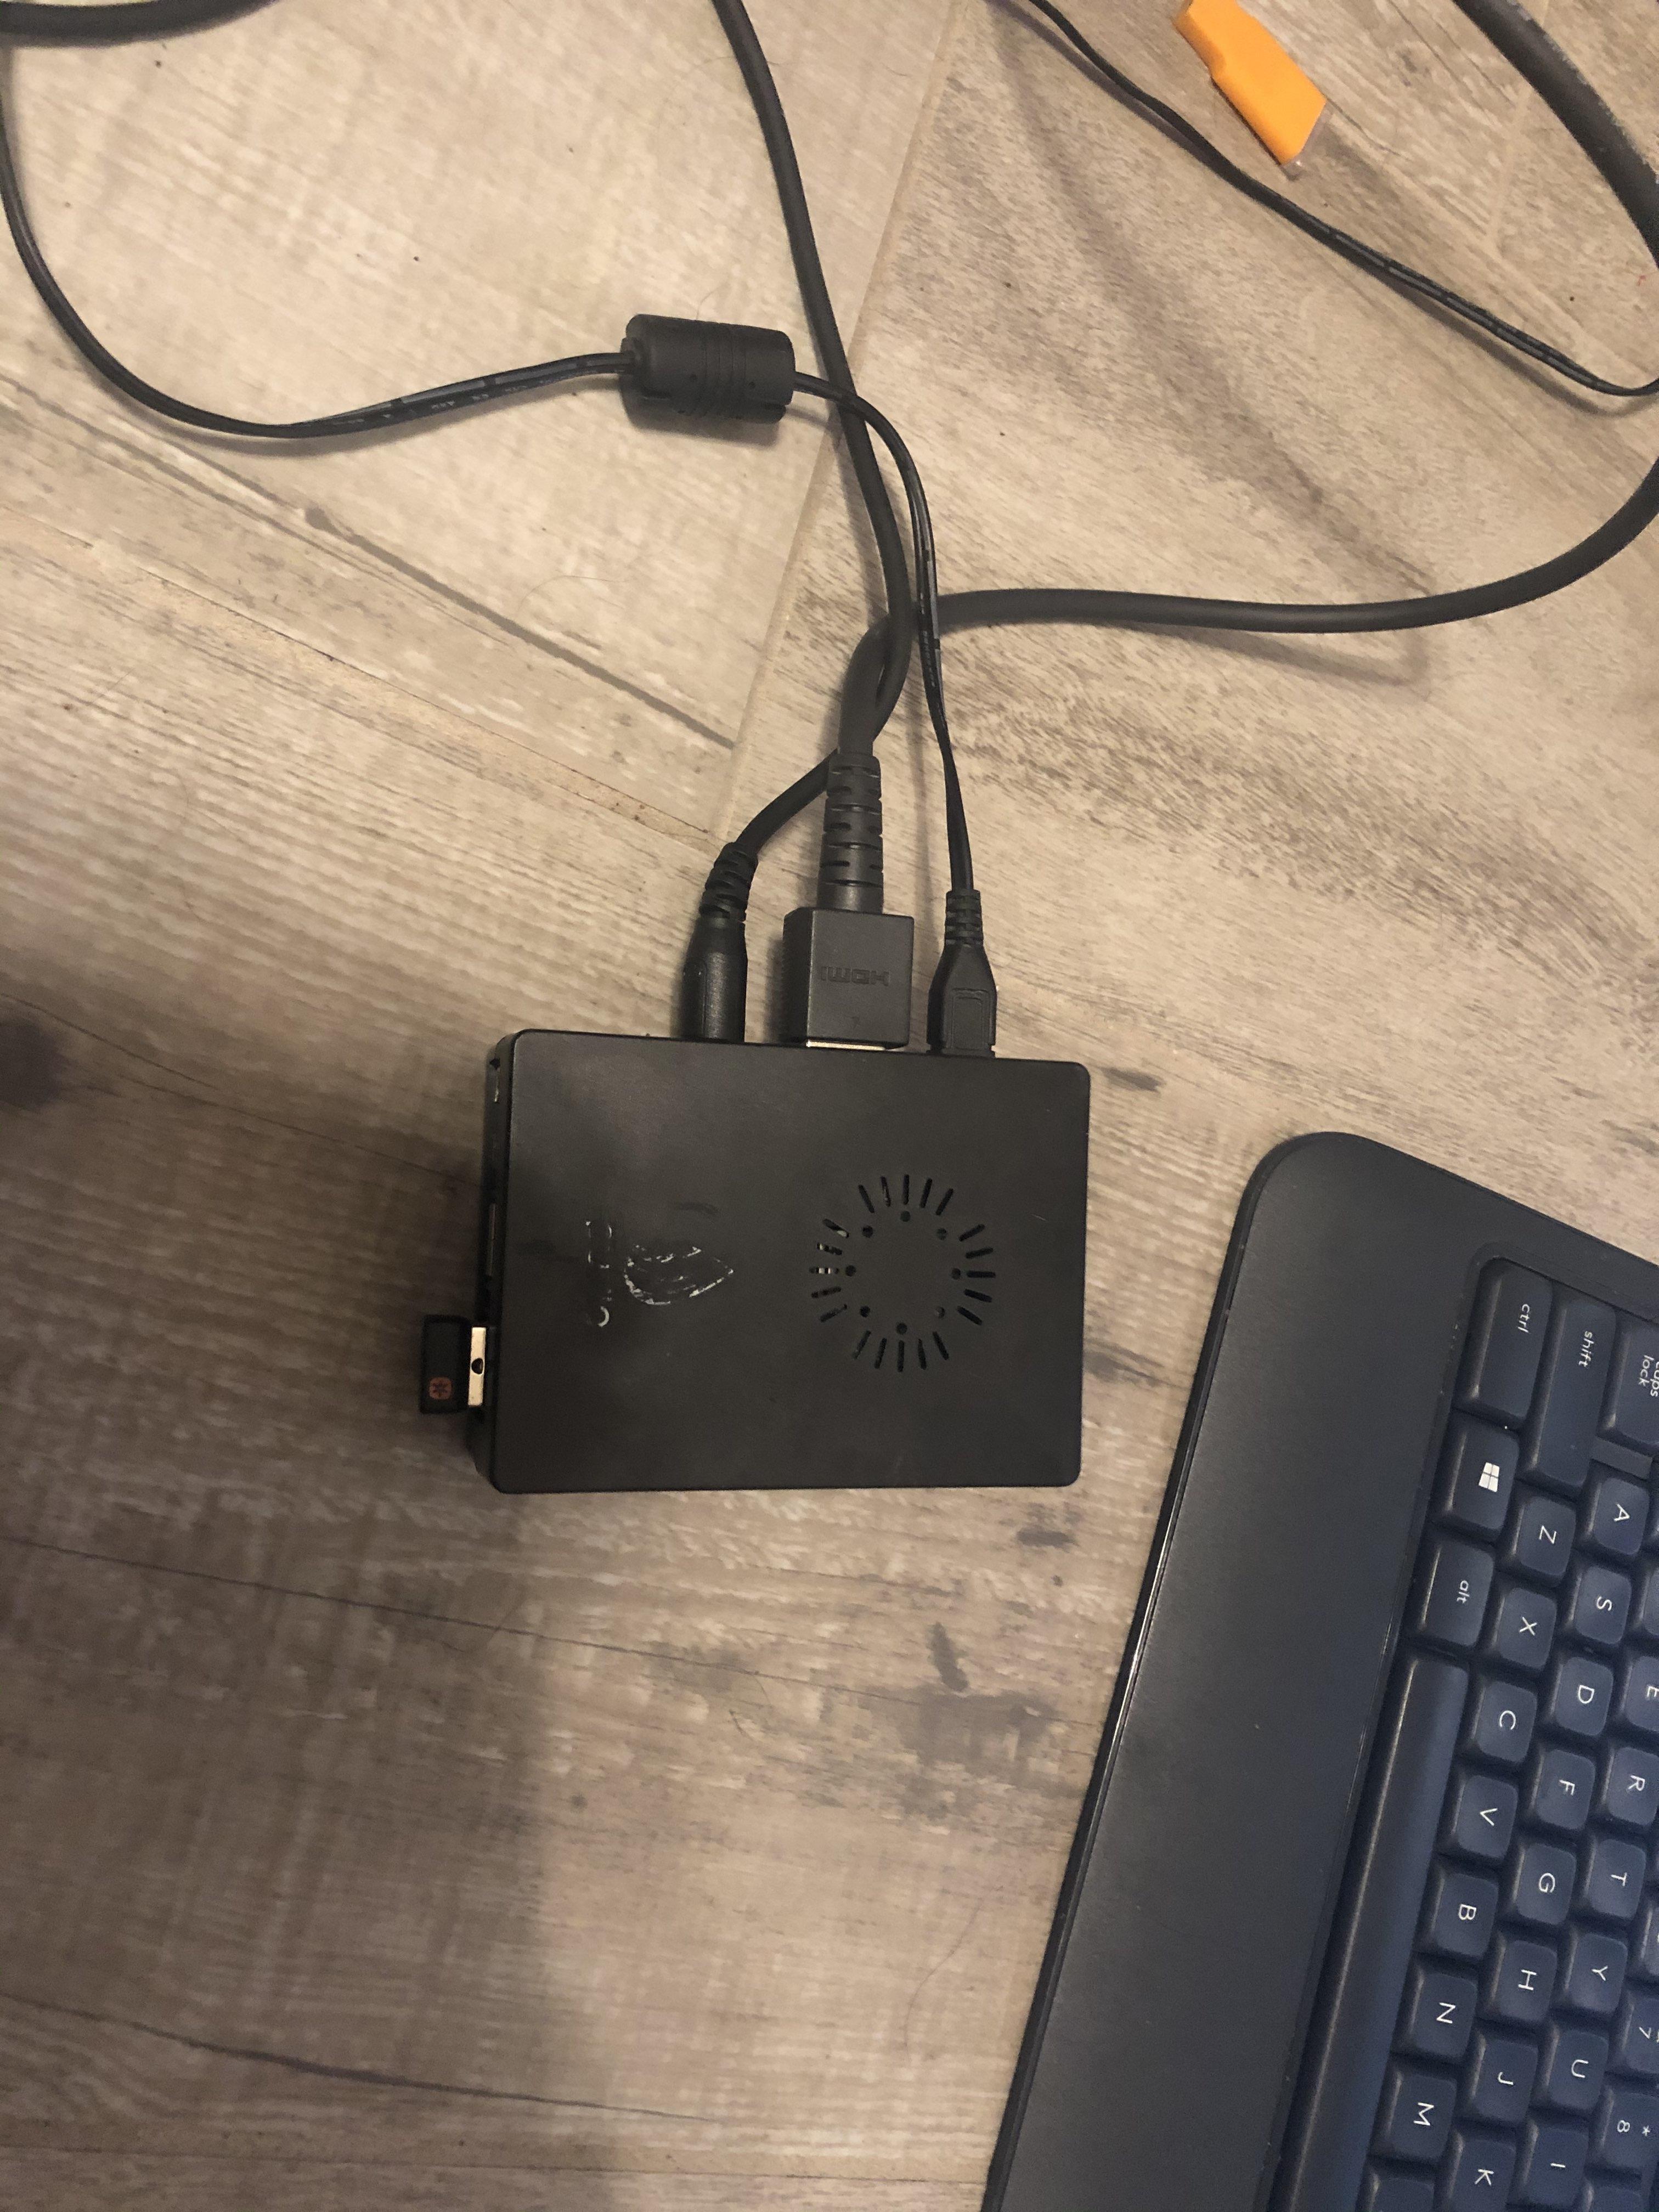
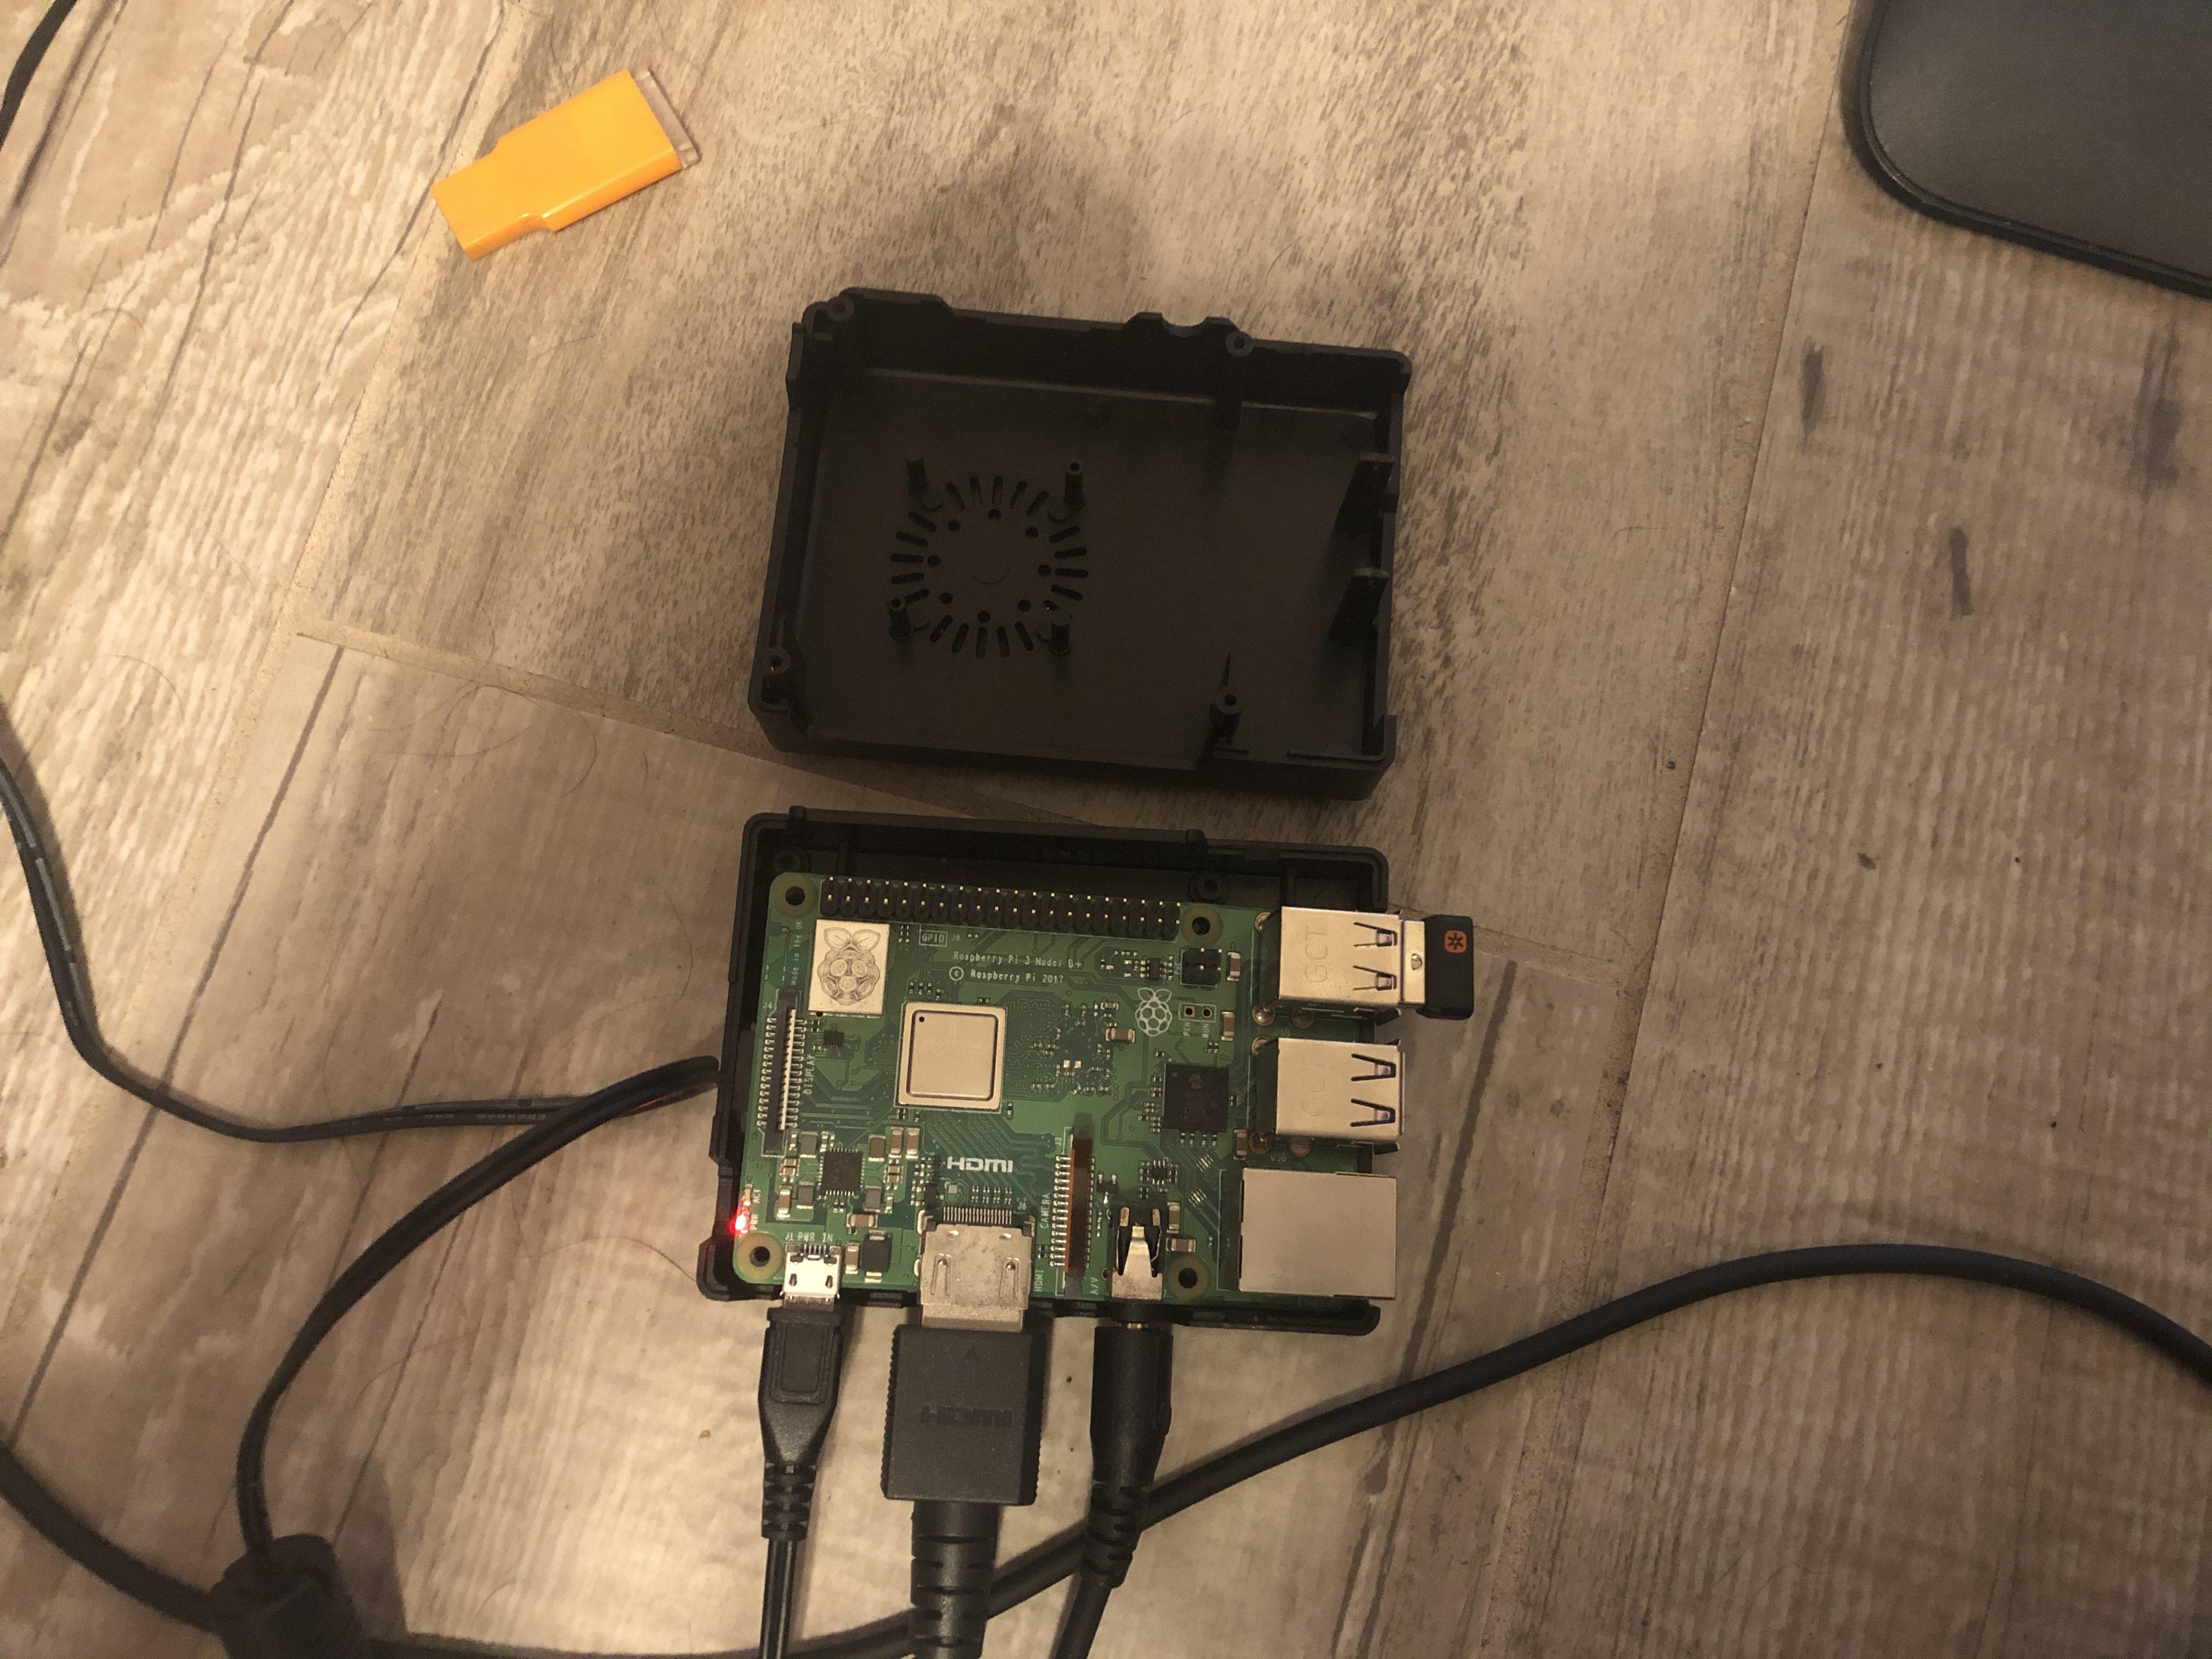
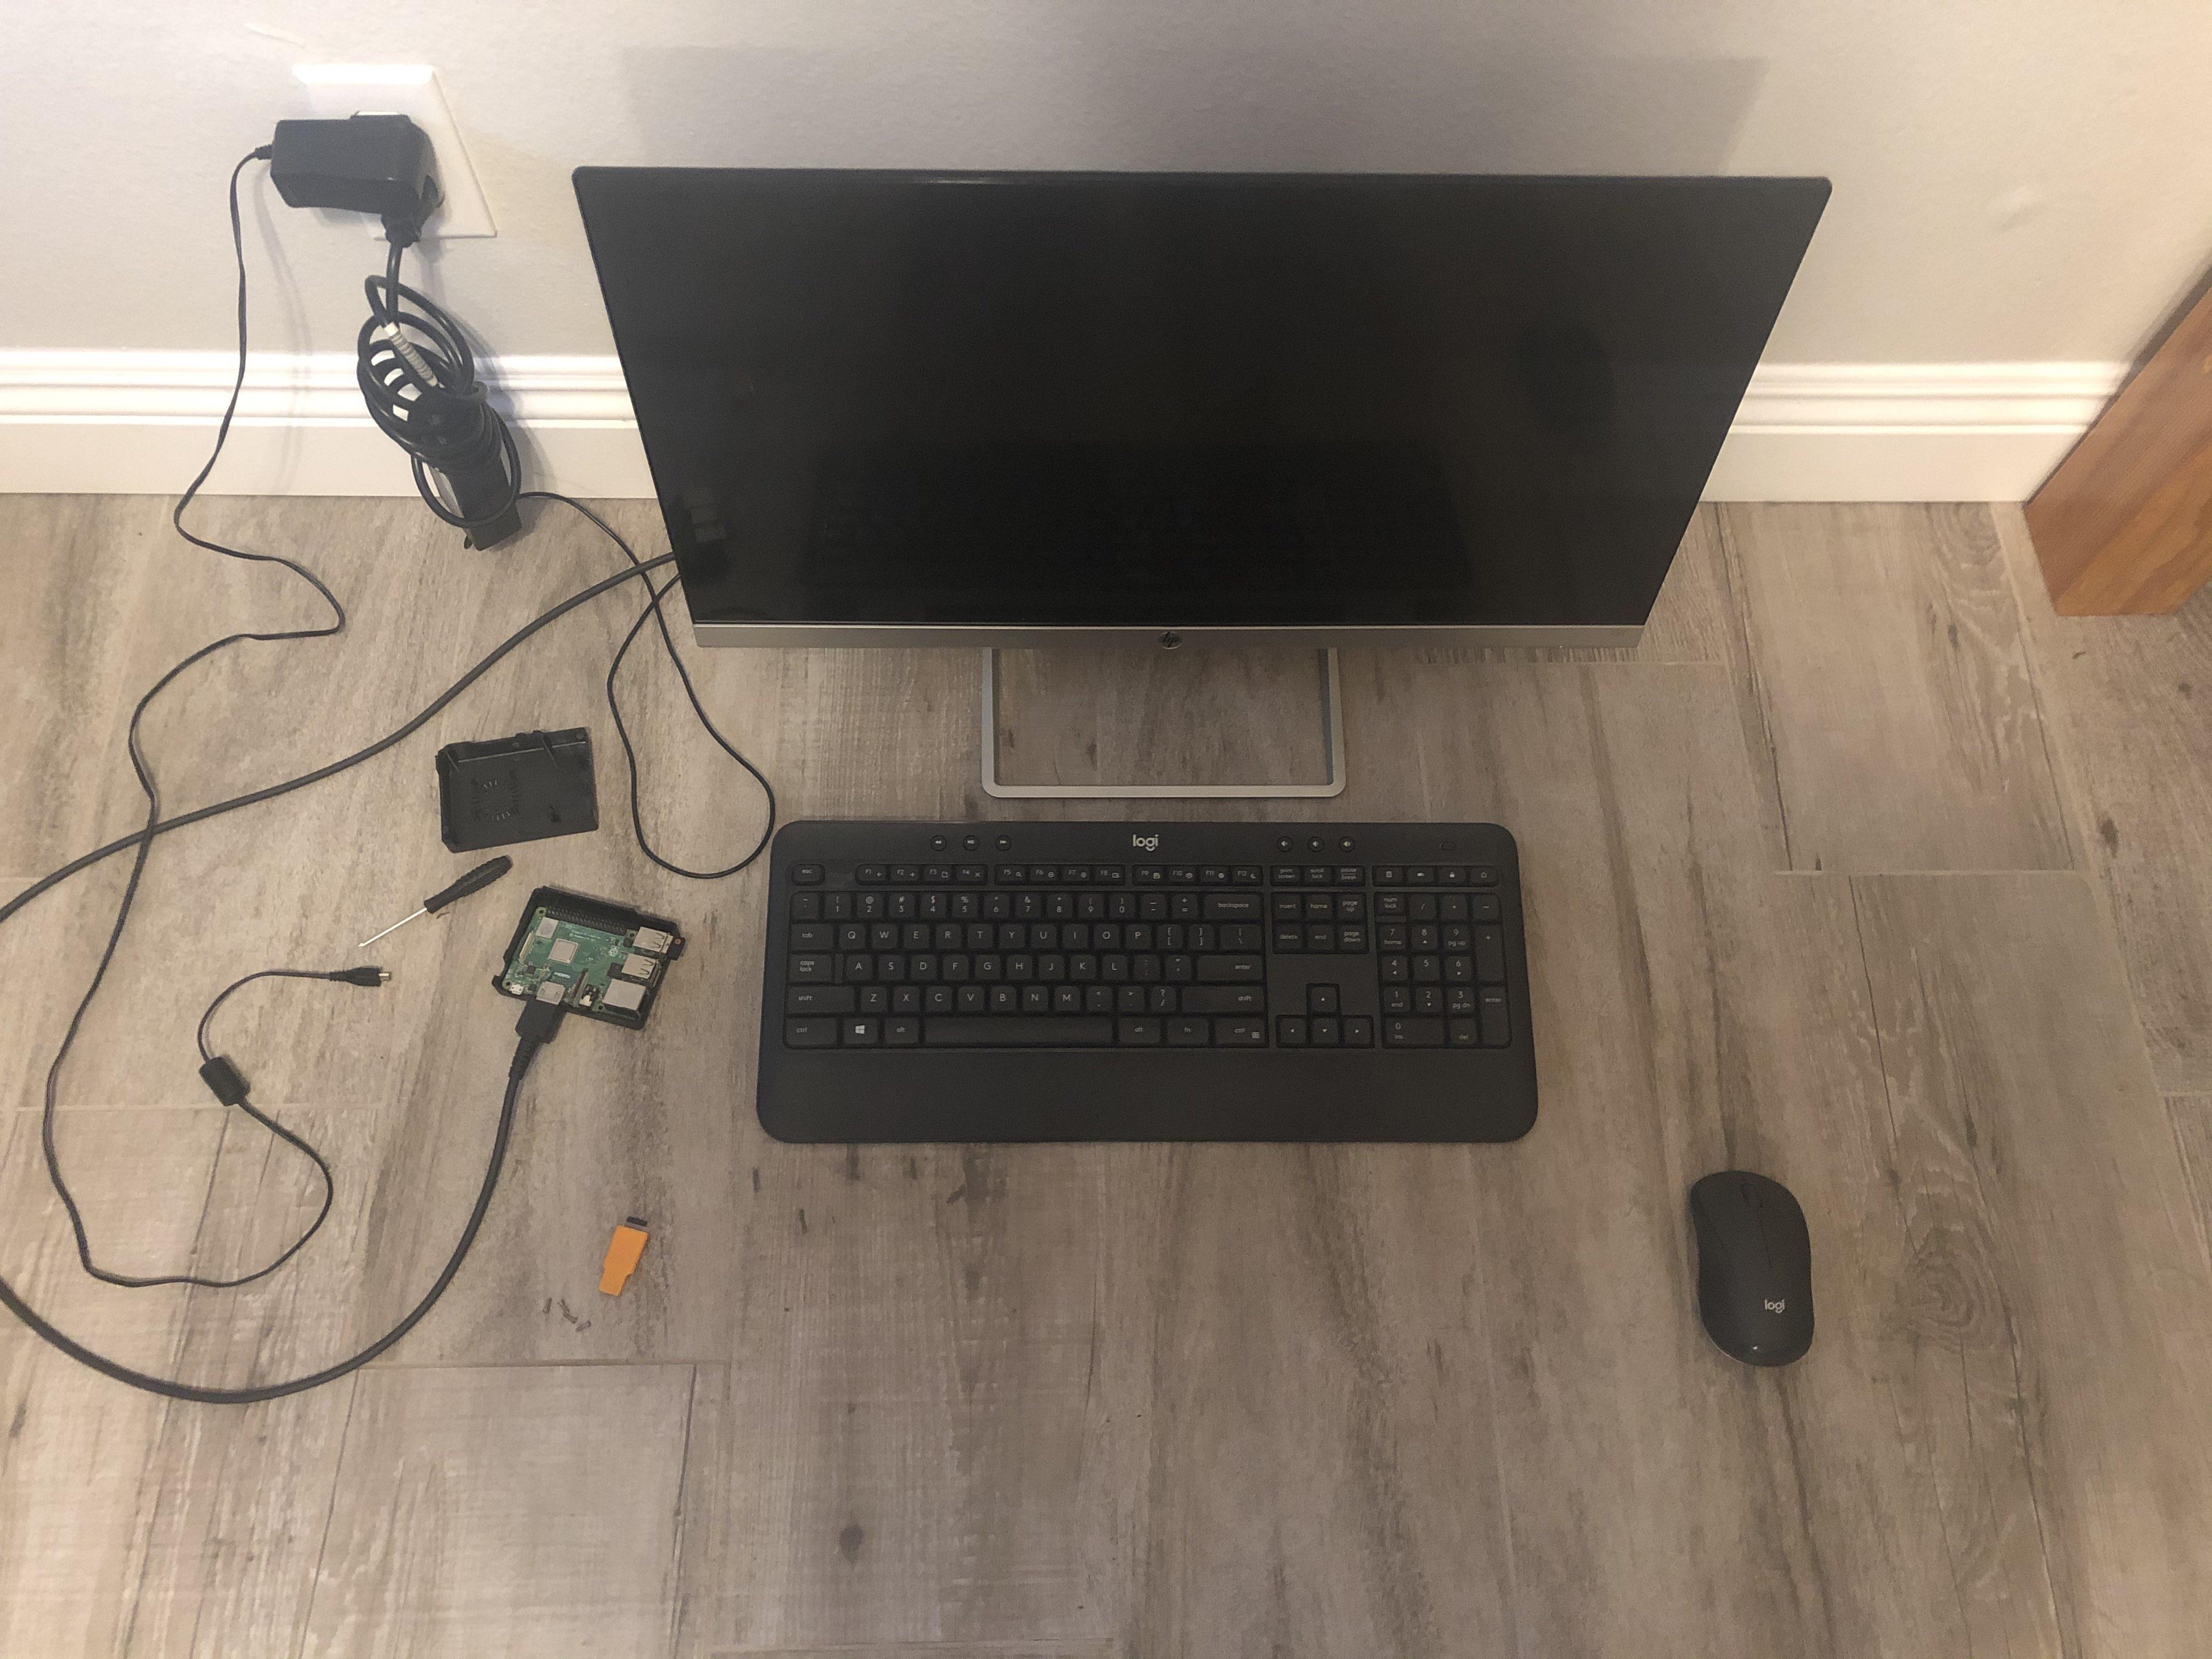
As seen in the picture, insert the micro SD card in the slot on the bottom of the Raspberry Pi. Then plug in your peripherals, monitor, keyboard, mouse, power, etc.
If using a case, insert the Pi into it during this stage. In terms of cases themselves, most commonly they're either 3d printed or bought standalone. The case I'm using here is just one that I happened to have.
Raspberry Pi OS Basic Setup

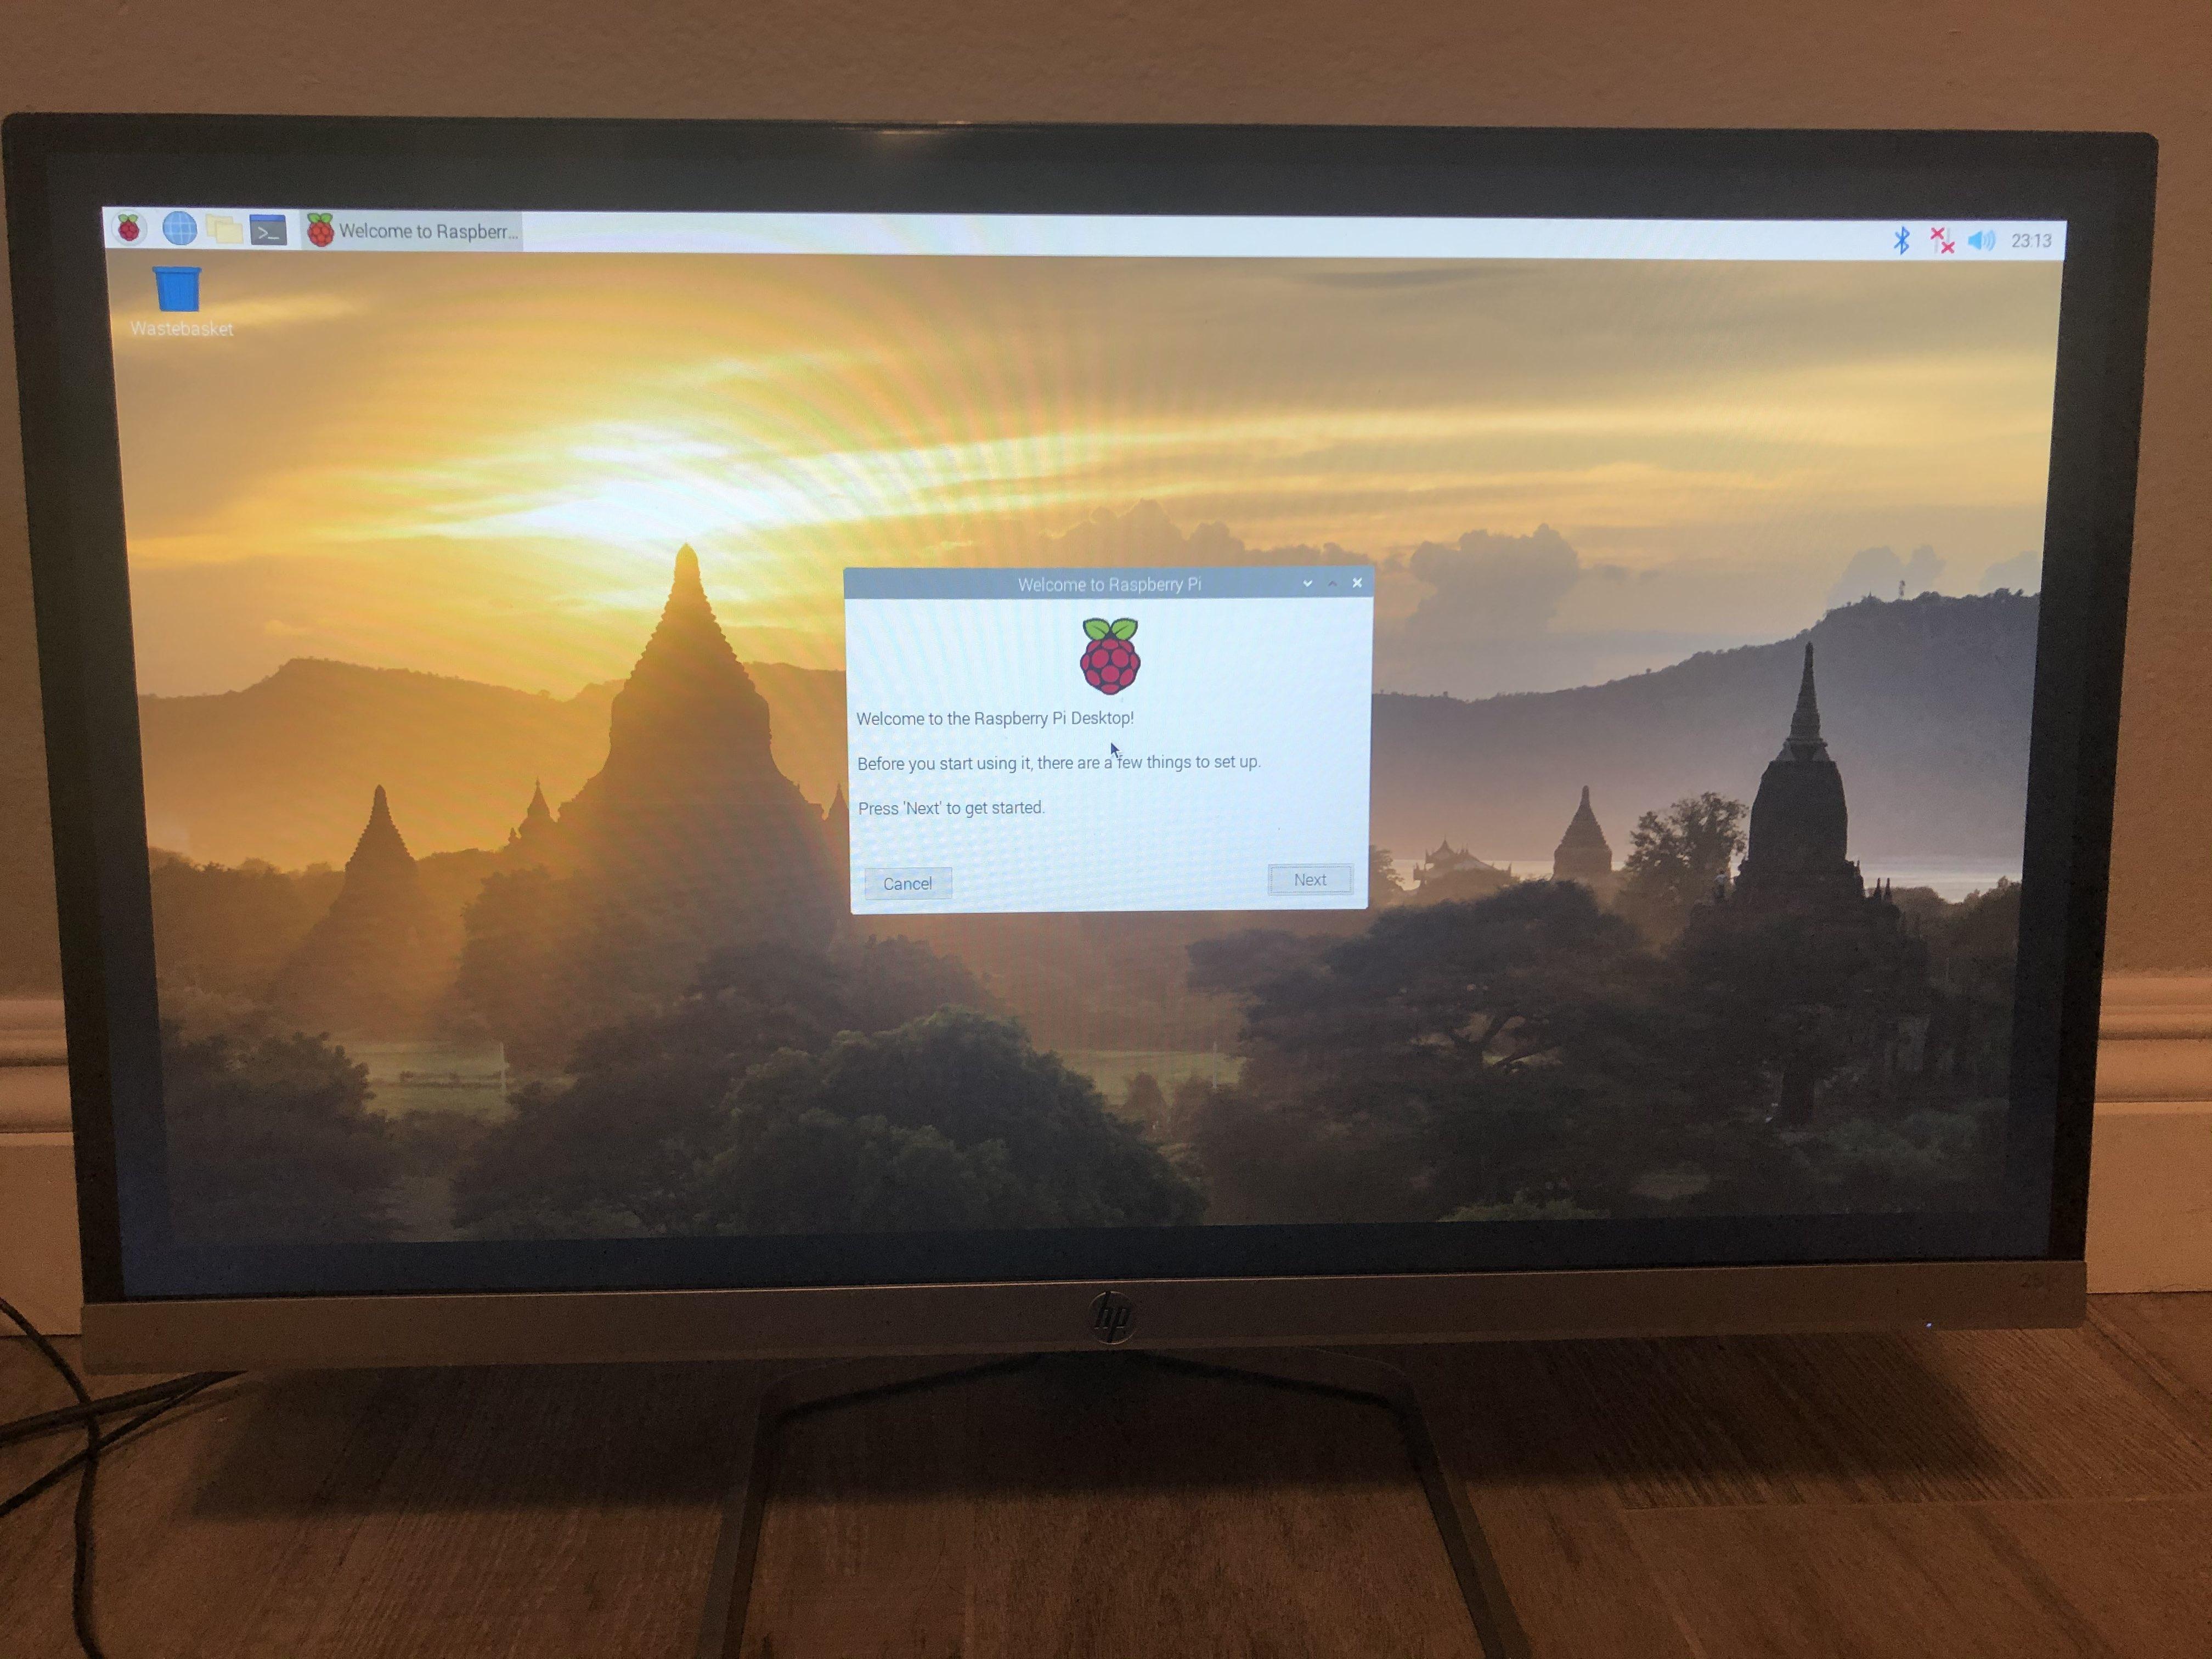
Allow the Pi a moment to boot until you get to a screen like the one in the pictures. Follow the prompts until you finish, and you're good to go!
Notably throughout these prompts is the ability to add a password, and connect to wifi. It's recommended to do the former for basic security, and the latter goes without saying that it's needed to access the internet and such.
Now that you're done, enjoy your new mini portable web browsing system!