Portable Monitoring System Using Raspberry Pi (2 USB Camera)
by Darwin Dela Cruz in Circuits > Raspberry Pi
5932 Views, 59 Favorites, 0 Comments
Portable Monitoring System Using Raspberry Pi (2 USB Camera)
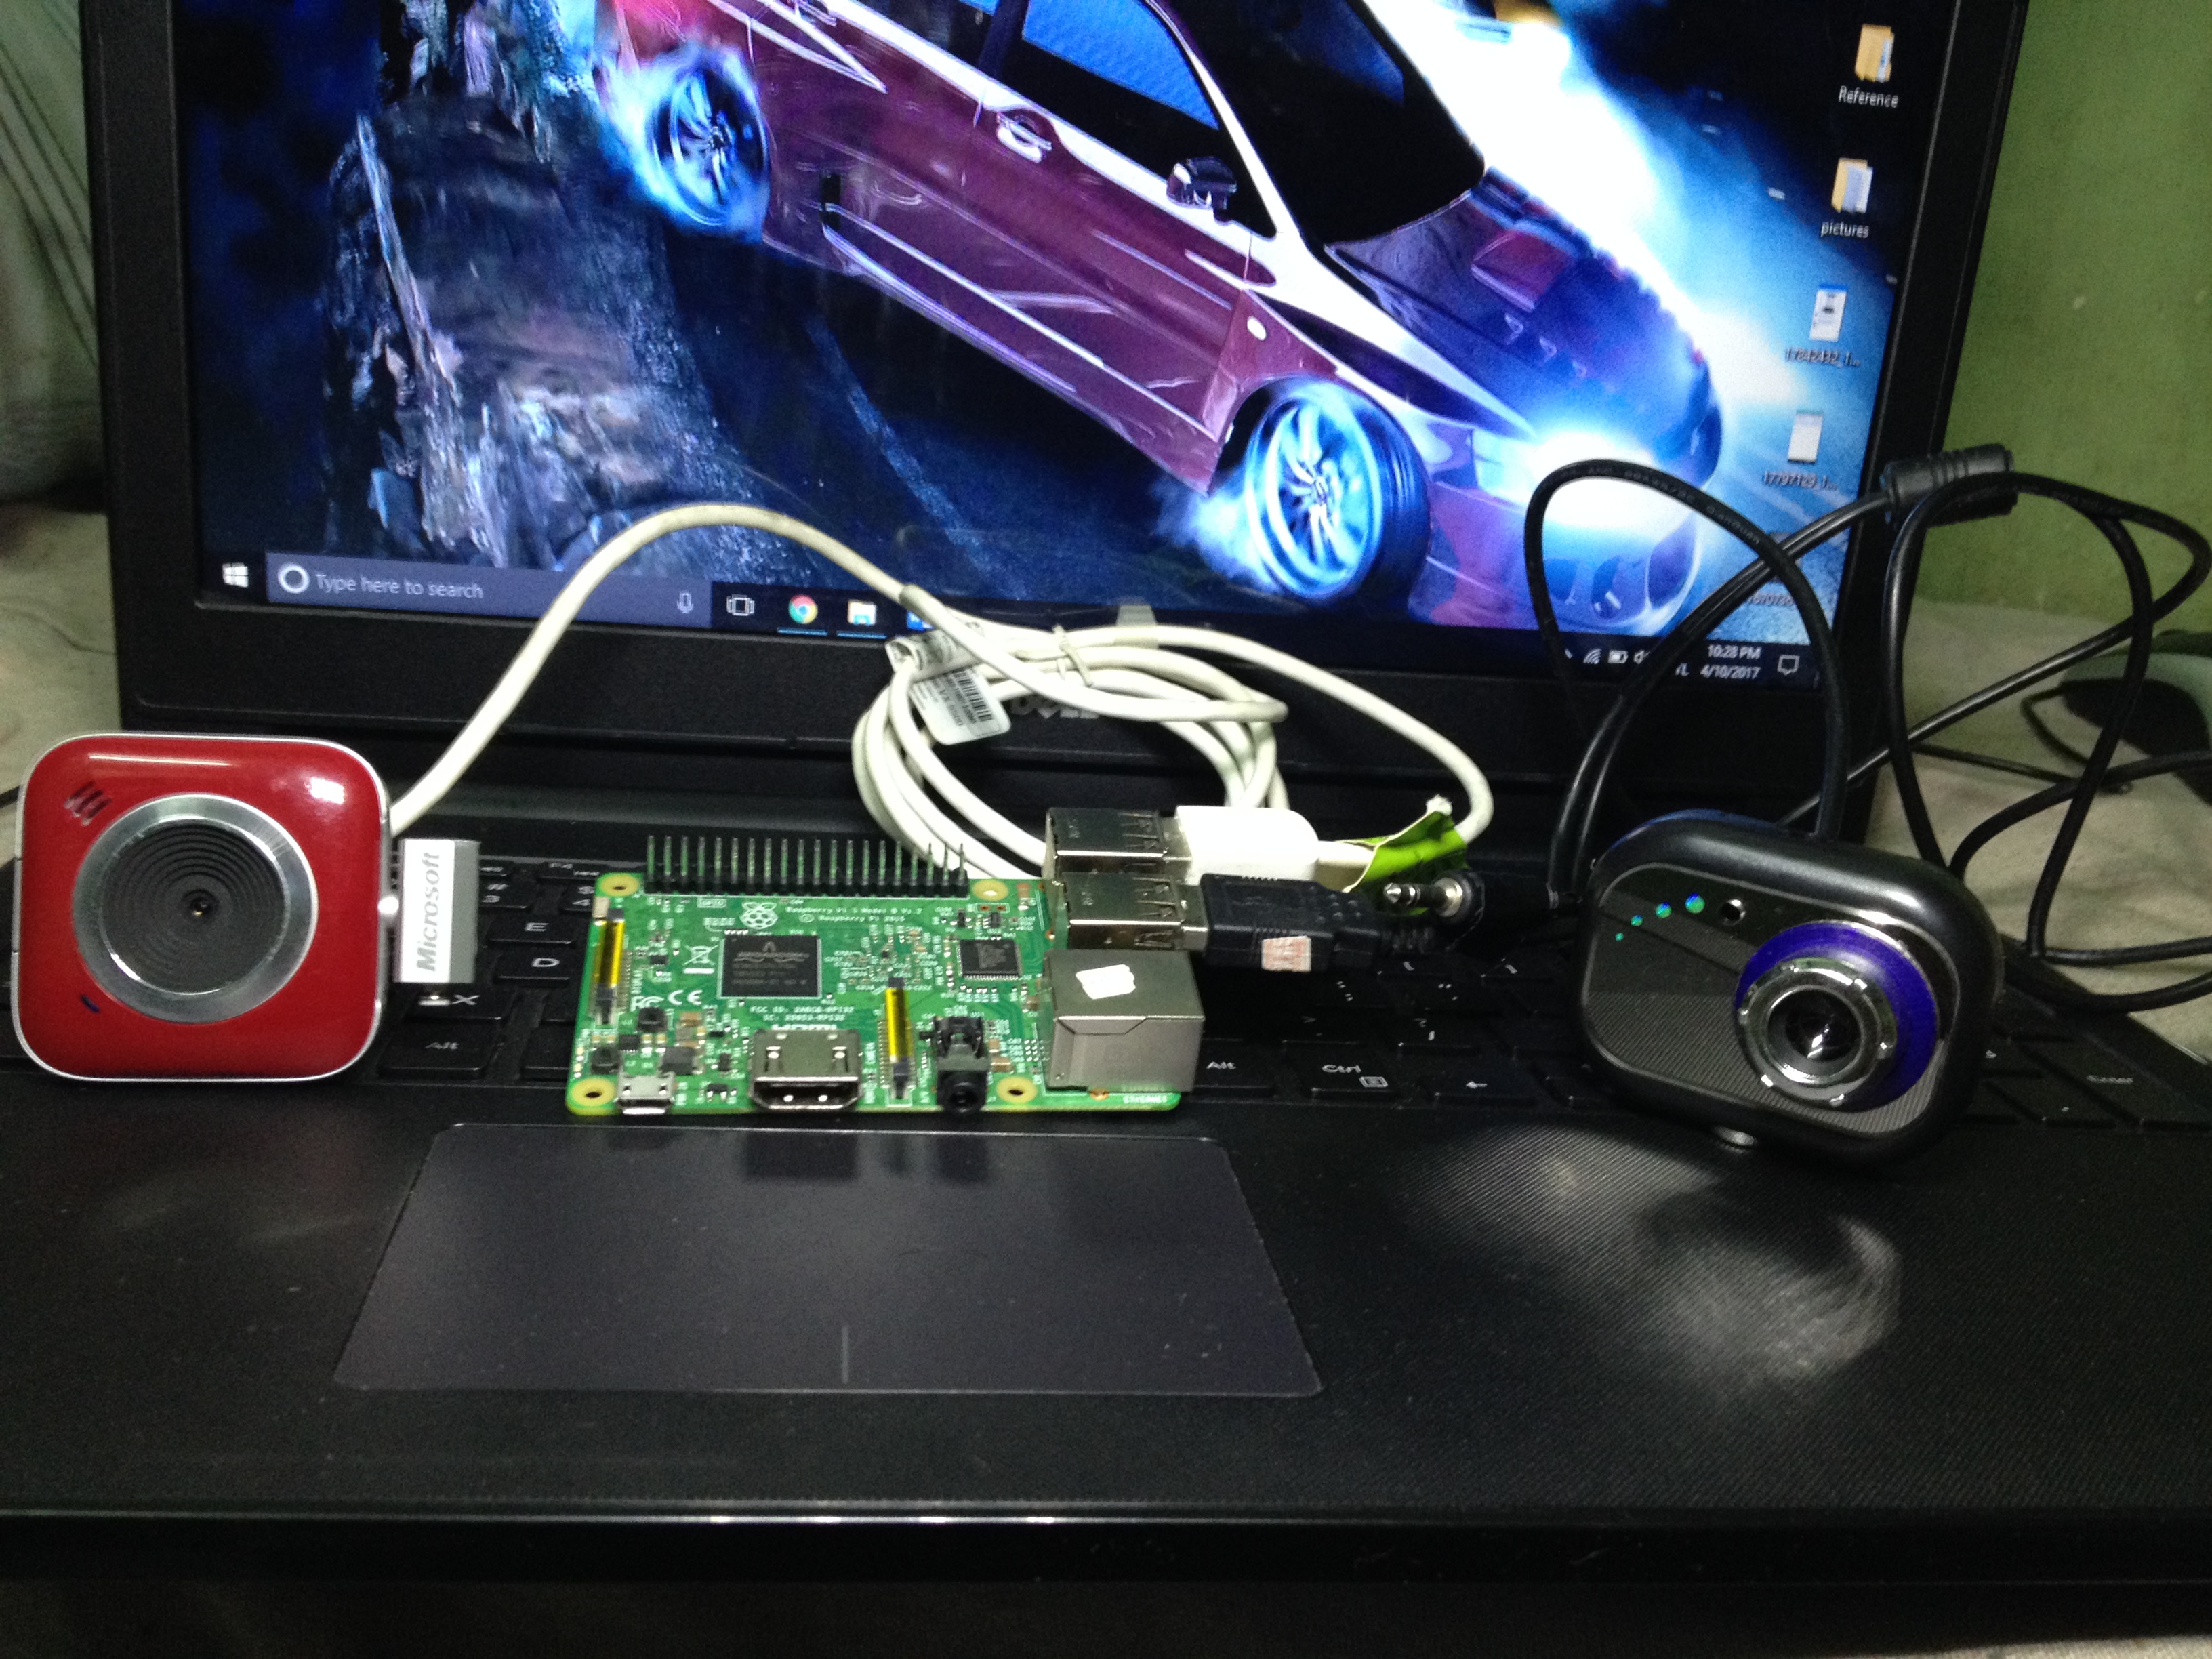
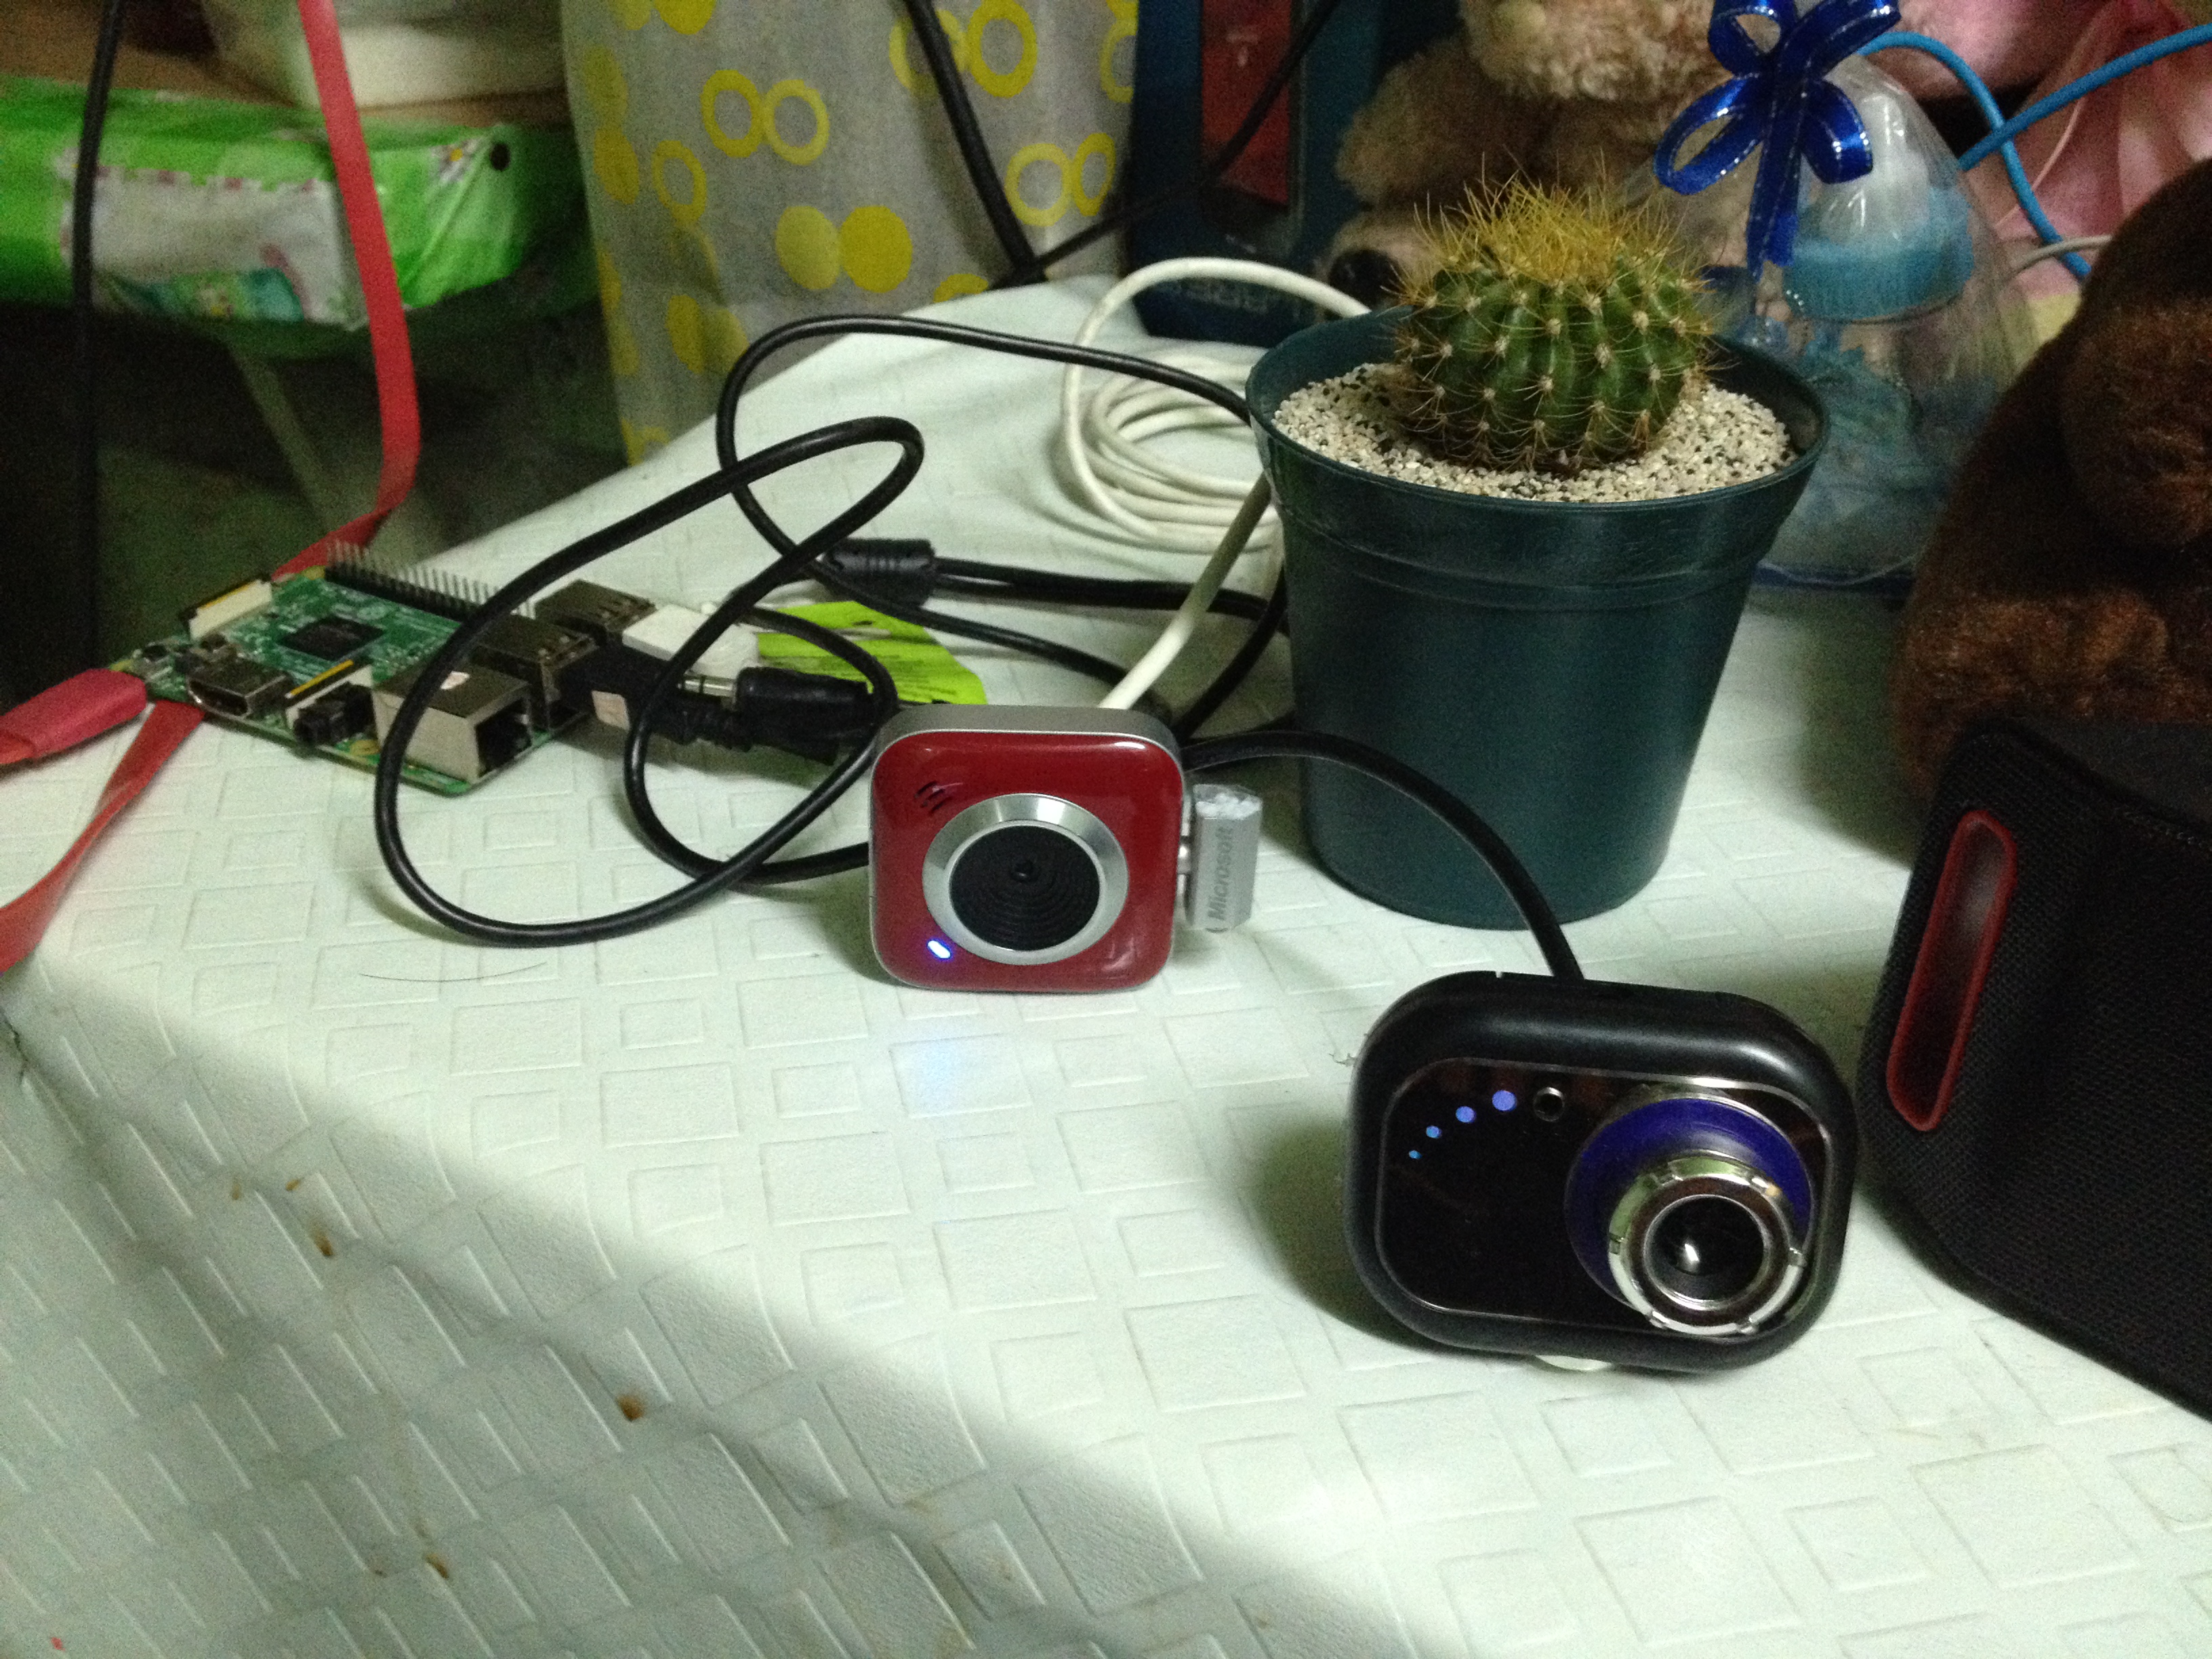
Mabuhay!
Darwin here,
This monitoring system use 2 USB Camera that can stream live video from USB Cameras simultaneously without buffering.
In this tutorial I will teach how to make a monitoring system using Raspberry Pi 3 and it works with 2(two) USB Camera.
To view this project in working see the link below:
_____________________________________________________________
NOTE! To be updated for my future projects and have inquires. Please contact me thru this following social media account. I'm willing to help.
Subscribe to my Youtube channel here: https://www.youtube.com/channel/UCHDgqVphwxcUjYaR...
Like my Facebook: https://www.facebook.com/darwindelacruzofficial/
Follow me on twitter: https://www.facebook.com/darwindelacruzofficial/ _____________________________________________________________
Materials Requirements

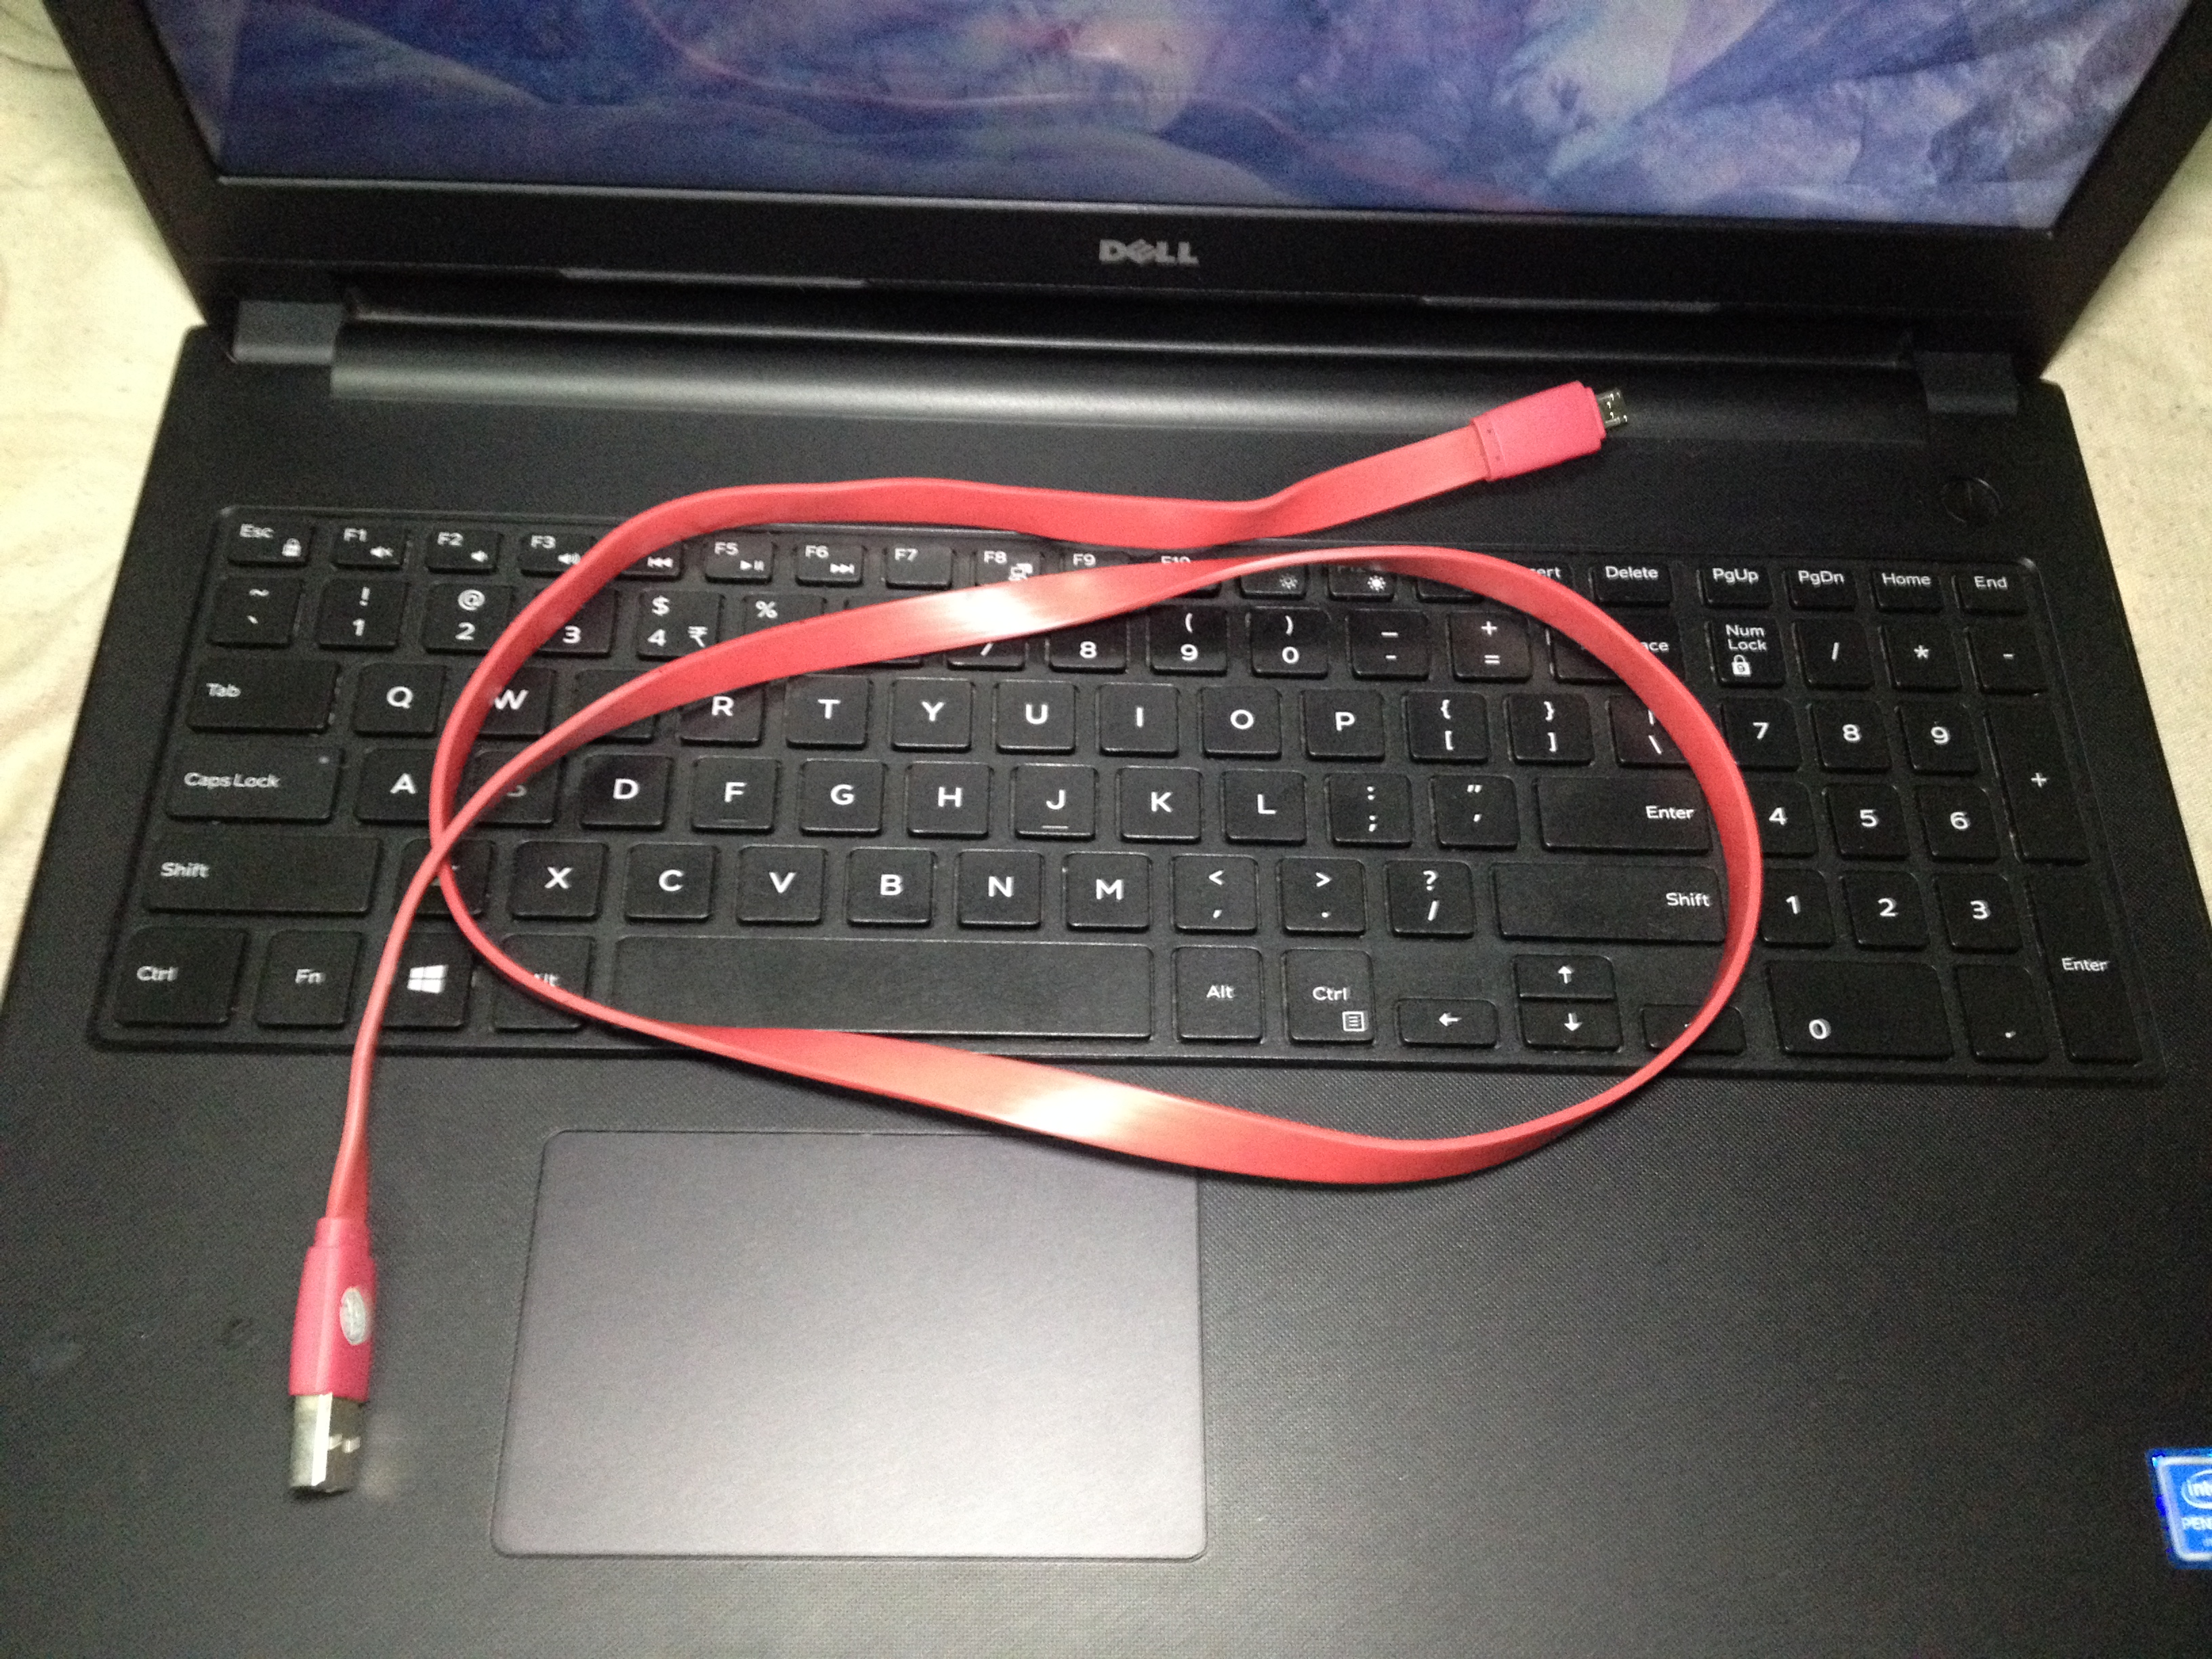
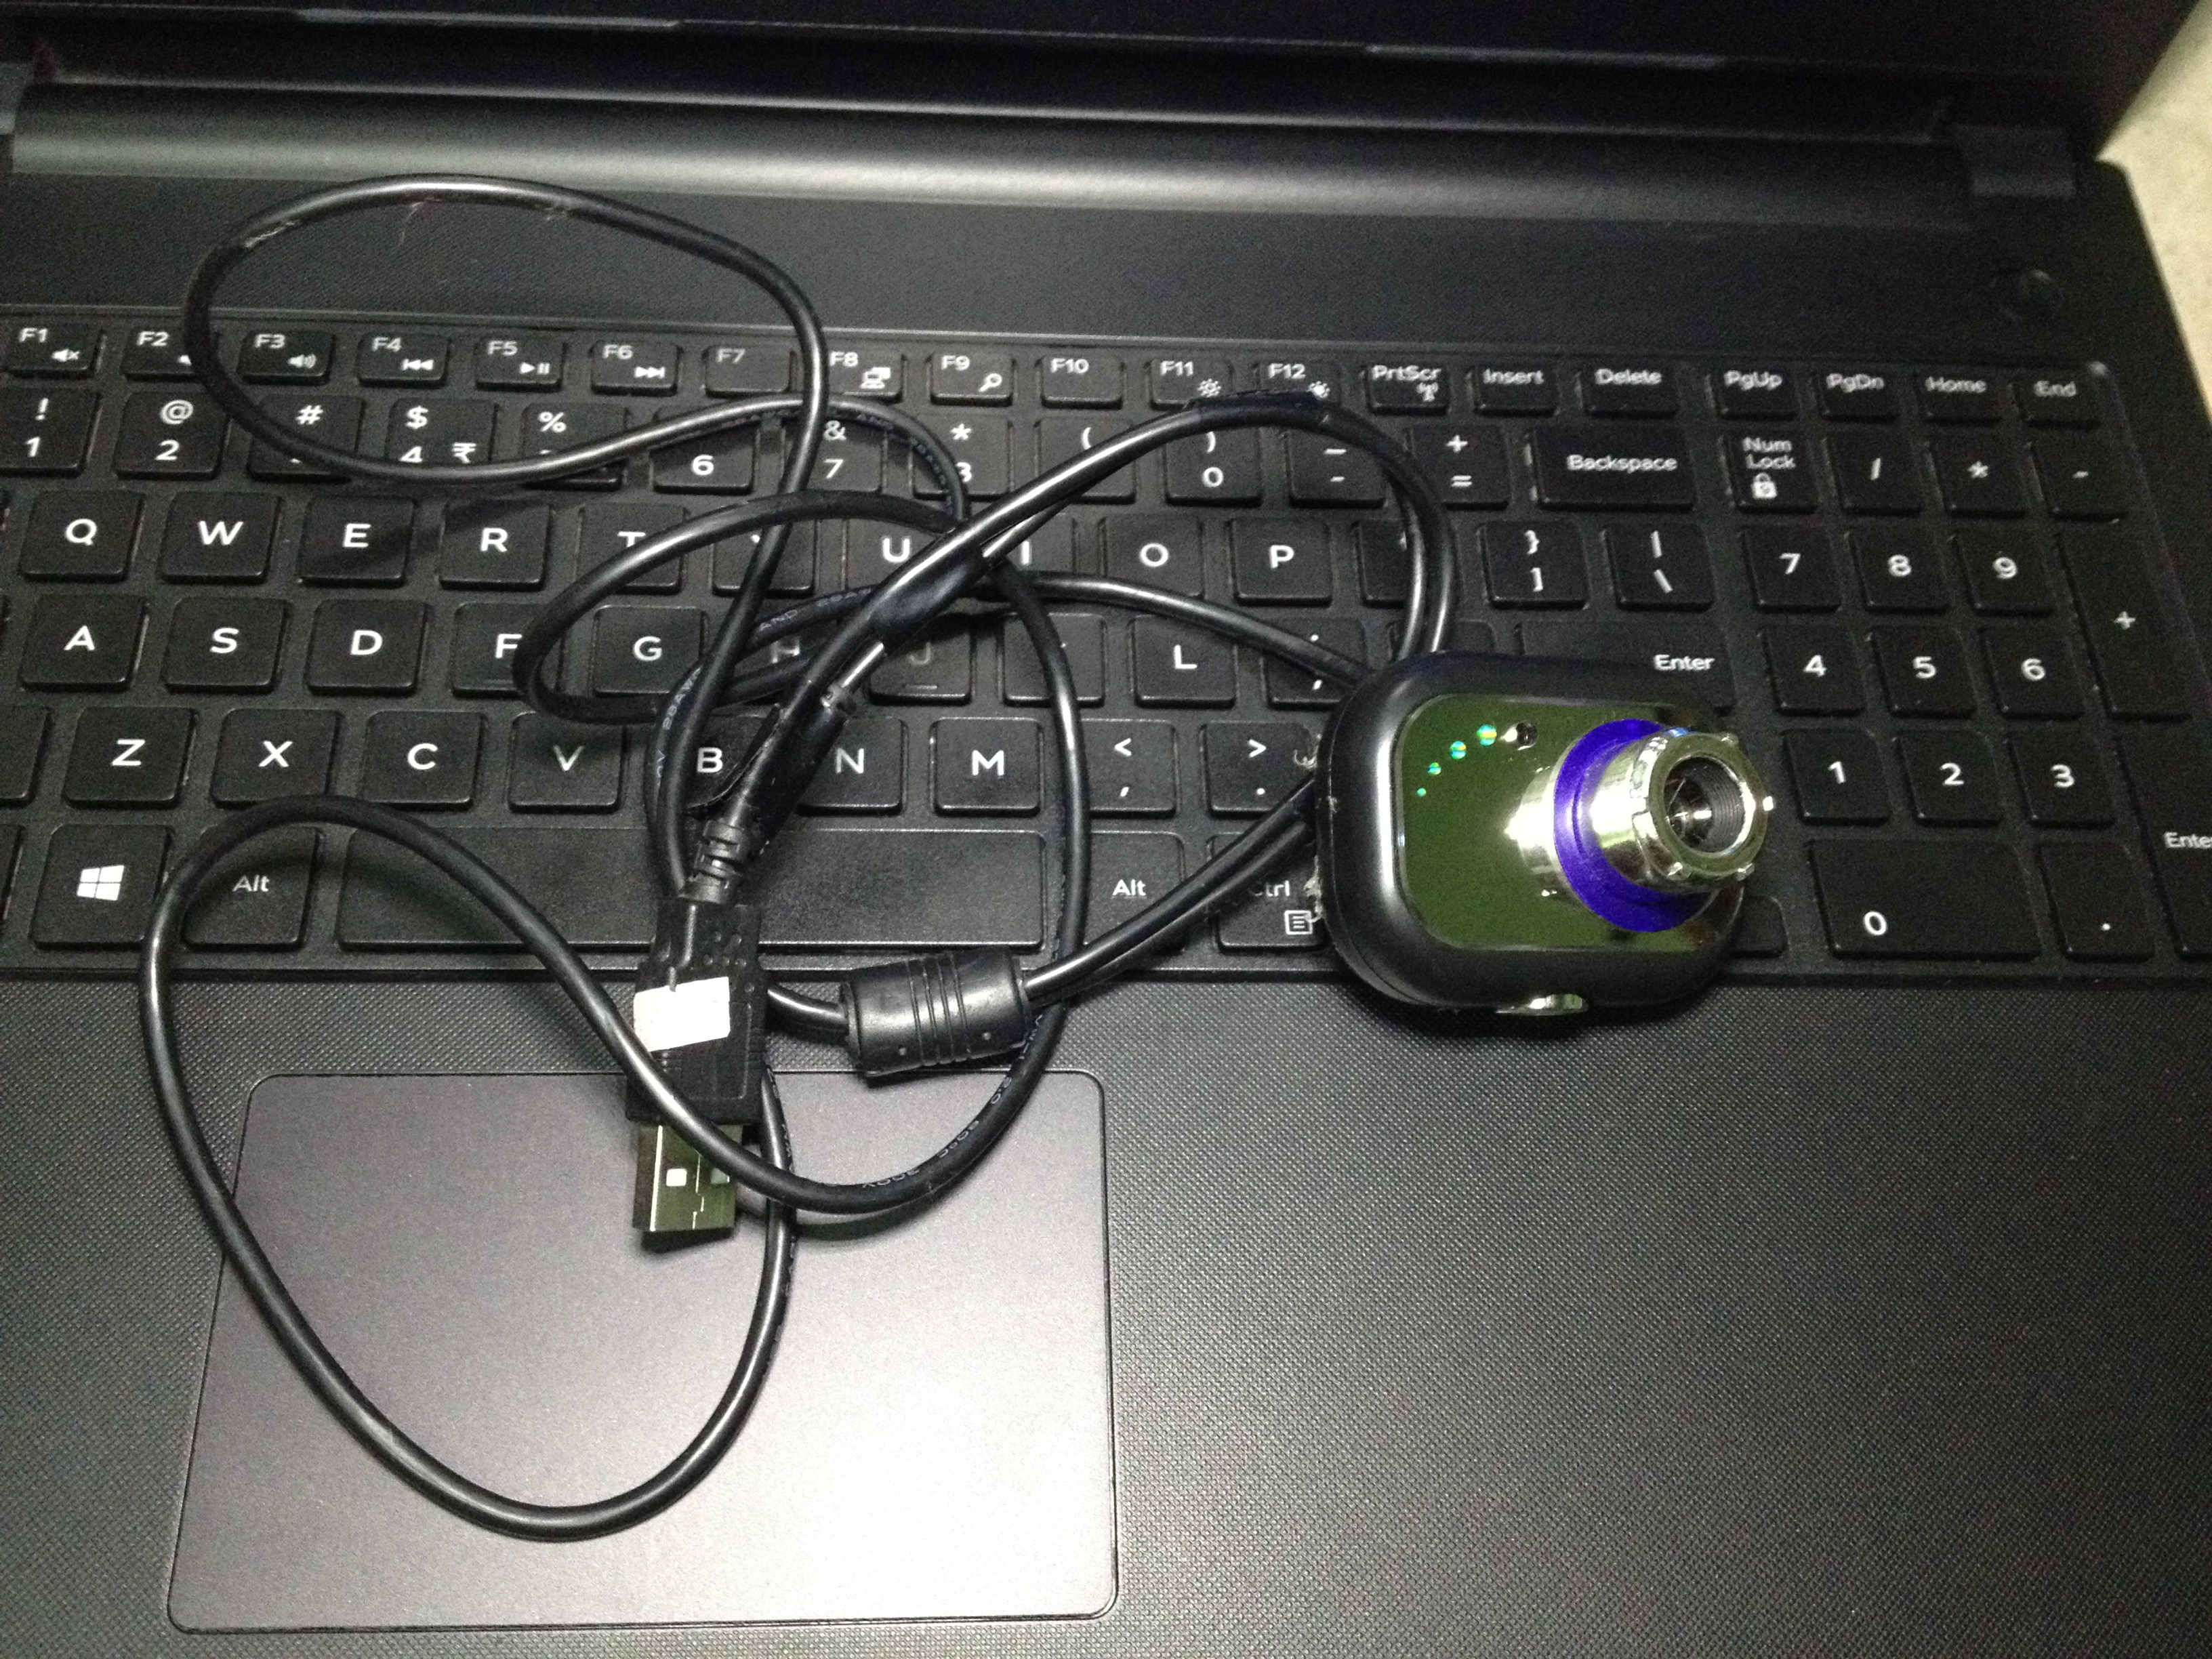
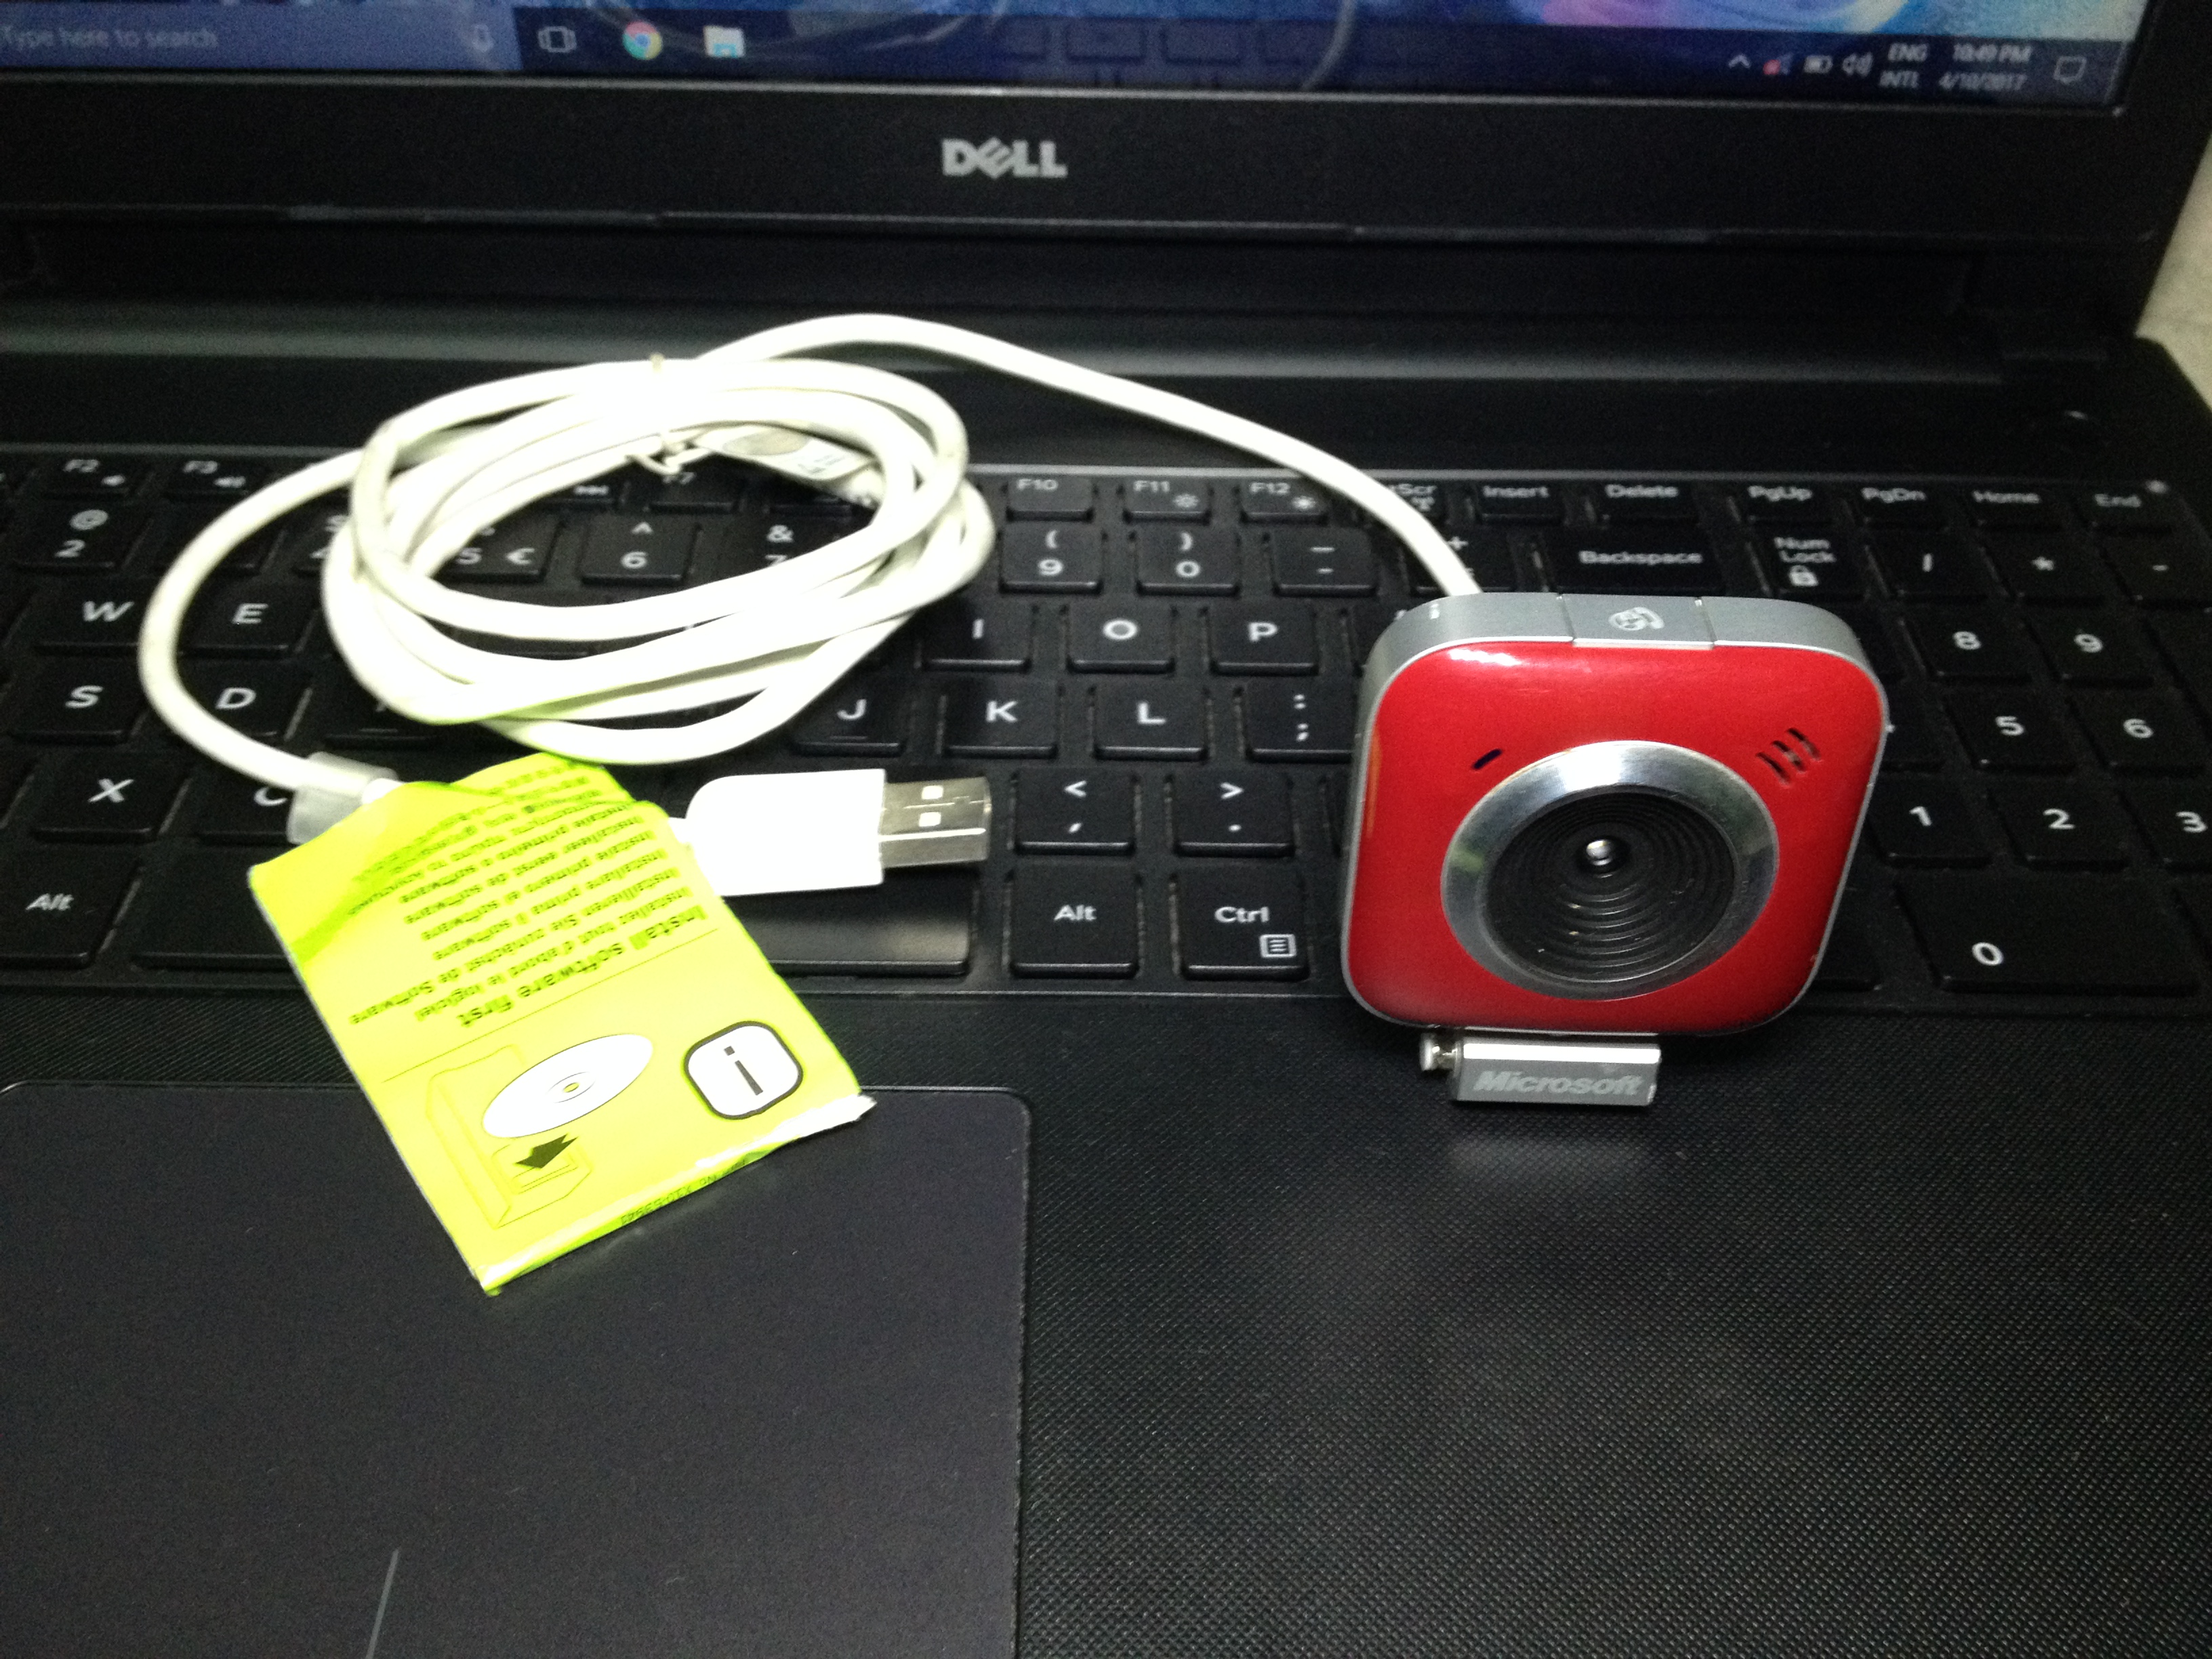
Materials
Hardware:
Raspberry Pi 3
Solar Power Bank
Power Cord
2 USB Camera
Micro SD Card
Software:
Raspian OS
Instruction
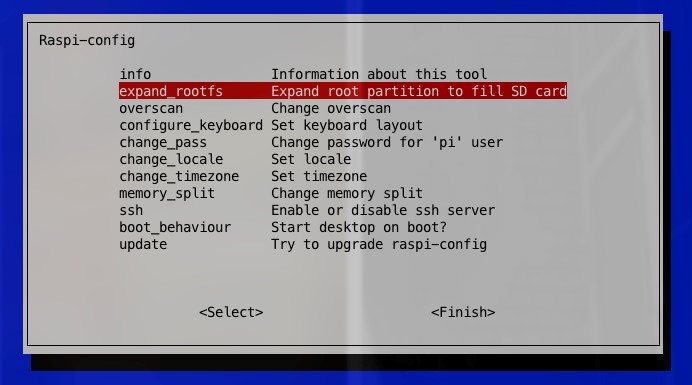
1. Install the Raspian OS to the Micro SD Card and update using this commands in terminal.
Sudo apt-get update
Sudo apt-get dist-upgrade
The system will reboot
2. Then resize the disk partition using raspi-config
The following steps basically configuring and downloading of the libraries that will used in making a live streaming video camera. Open the terminal and type the following scripts.
Step 1. Start by removing libraries that may conflict with the newer package. These may or may not already exist on your copy of Raspbian.
sudo apt-get remove libavcodec-extra-56 libavformat56 libavresample2 libavutil54
Step 2. Download and install the following packages by inserting the following commands into the terminal.
wget https://github.com/ccrisan/motioneye/wiki/precomp...
sudo dpkg -i ffmpeg_3.1.1-1_armhf.deb
Step 3. Now the next step need to install the following packages, we will need these as the motion software relies on them.
sudo apt-get install curl libssl-dev libcurl4-openssl-dev libjpeg-dev libx264-142 libavcodec56 libavformat56 libmysqlclient18 libswscale3 libpq5
Step 4. With those packages installed the user can now grab the latest version of the motion software and install to the system. To do this run the following commands.
wget https://github.com/MotionProject/motion/releases/...
sudo dpkg -i pi_jessie_motion_4.0.1-1_armhf.deb
Step 5. Then to make some edits to the configuration file need to make.
sudo nano /etc/motion/motion.conf
Find the following lines and change them to the following.
daemon on
stream_localhost off
Note: Change the following two lines from on to off if you’re having issues with the stream freezing whenever motion occurs.
output_pictures off
ffmpeg_output_movies off
stream_maxrate 100 (This will allow for real-time streaming but requires more bandwidth & resources)
framerate 100 (This will allow for 100 frames to be captured per second allowing for smoother video)
width 640 (This changes the width of the image displayed)
height 480 (This changes the height of the image displayed)
Step 6. Next need to setup up the daemon, first we need to edit the motion file.
sudo nano /etc/default/motion
then
start_motion_daemon=yes
Step 7. Once the configuration to the file done simply save and exit by pressing ctrl+x then y.
Now make sure the camera already connected and run the following line:
sudo service motion start
If the situation need to stop the service, simply run the following command:
sudo service motion stop
Now you should be able to check out the Webcam Stream at the IP address of our Pi so in your browser go to the following address:
Ex. 192.168.1.103:8081
If the webpage cannot loading try restarting the service.
sudo service motion restart
Setting Up the USB Cameras
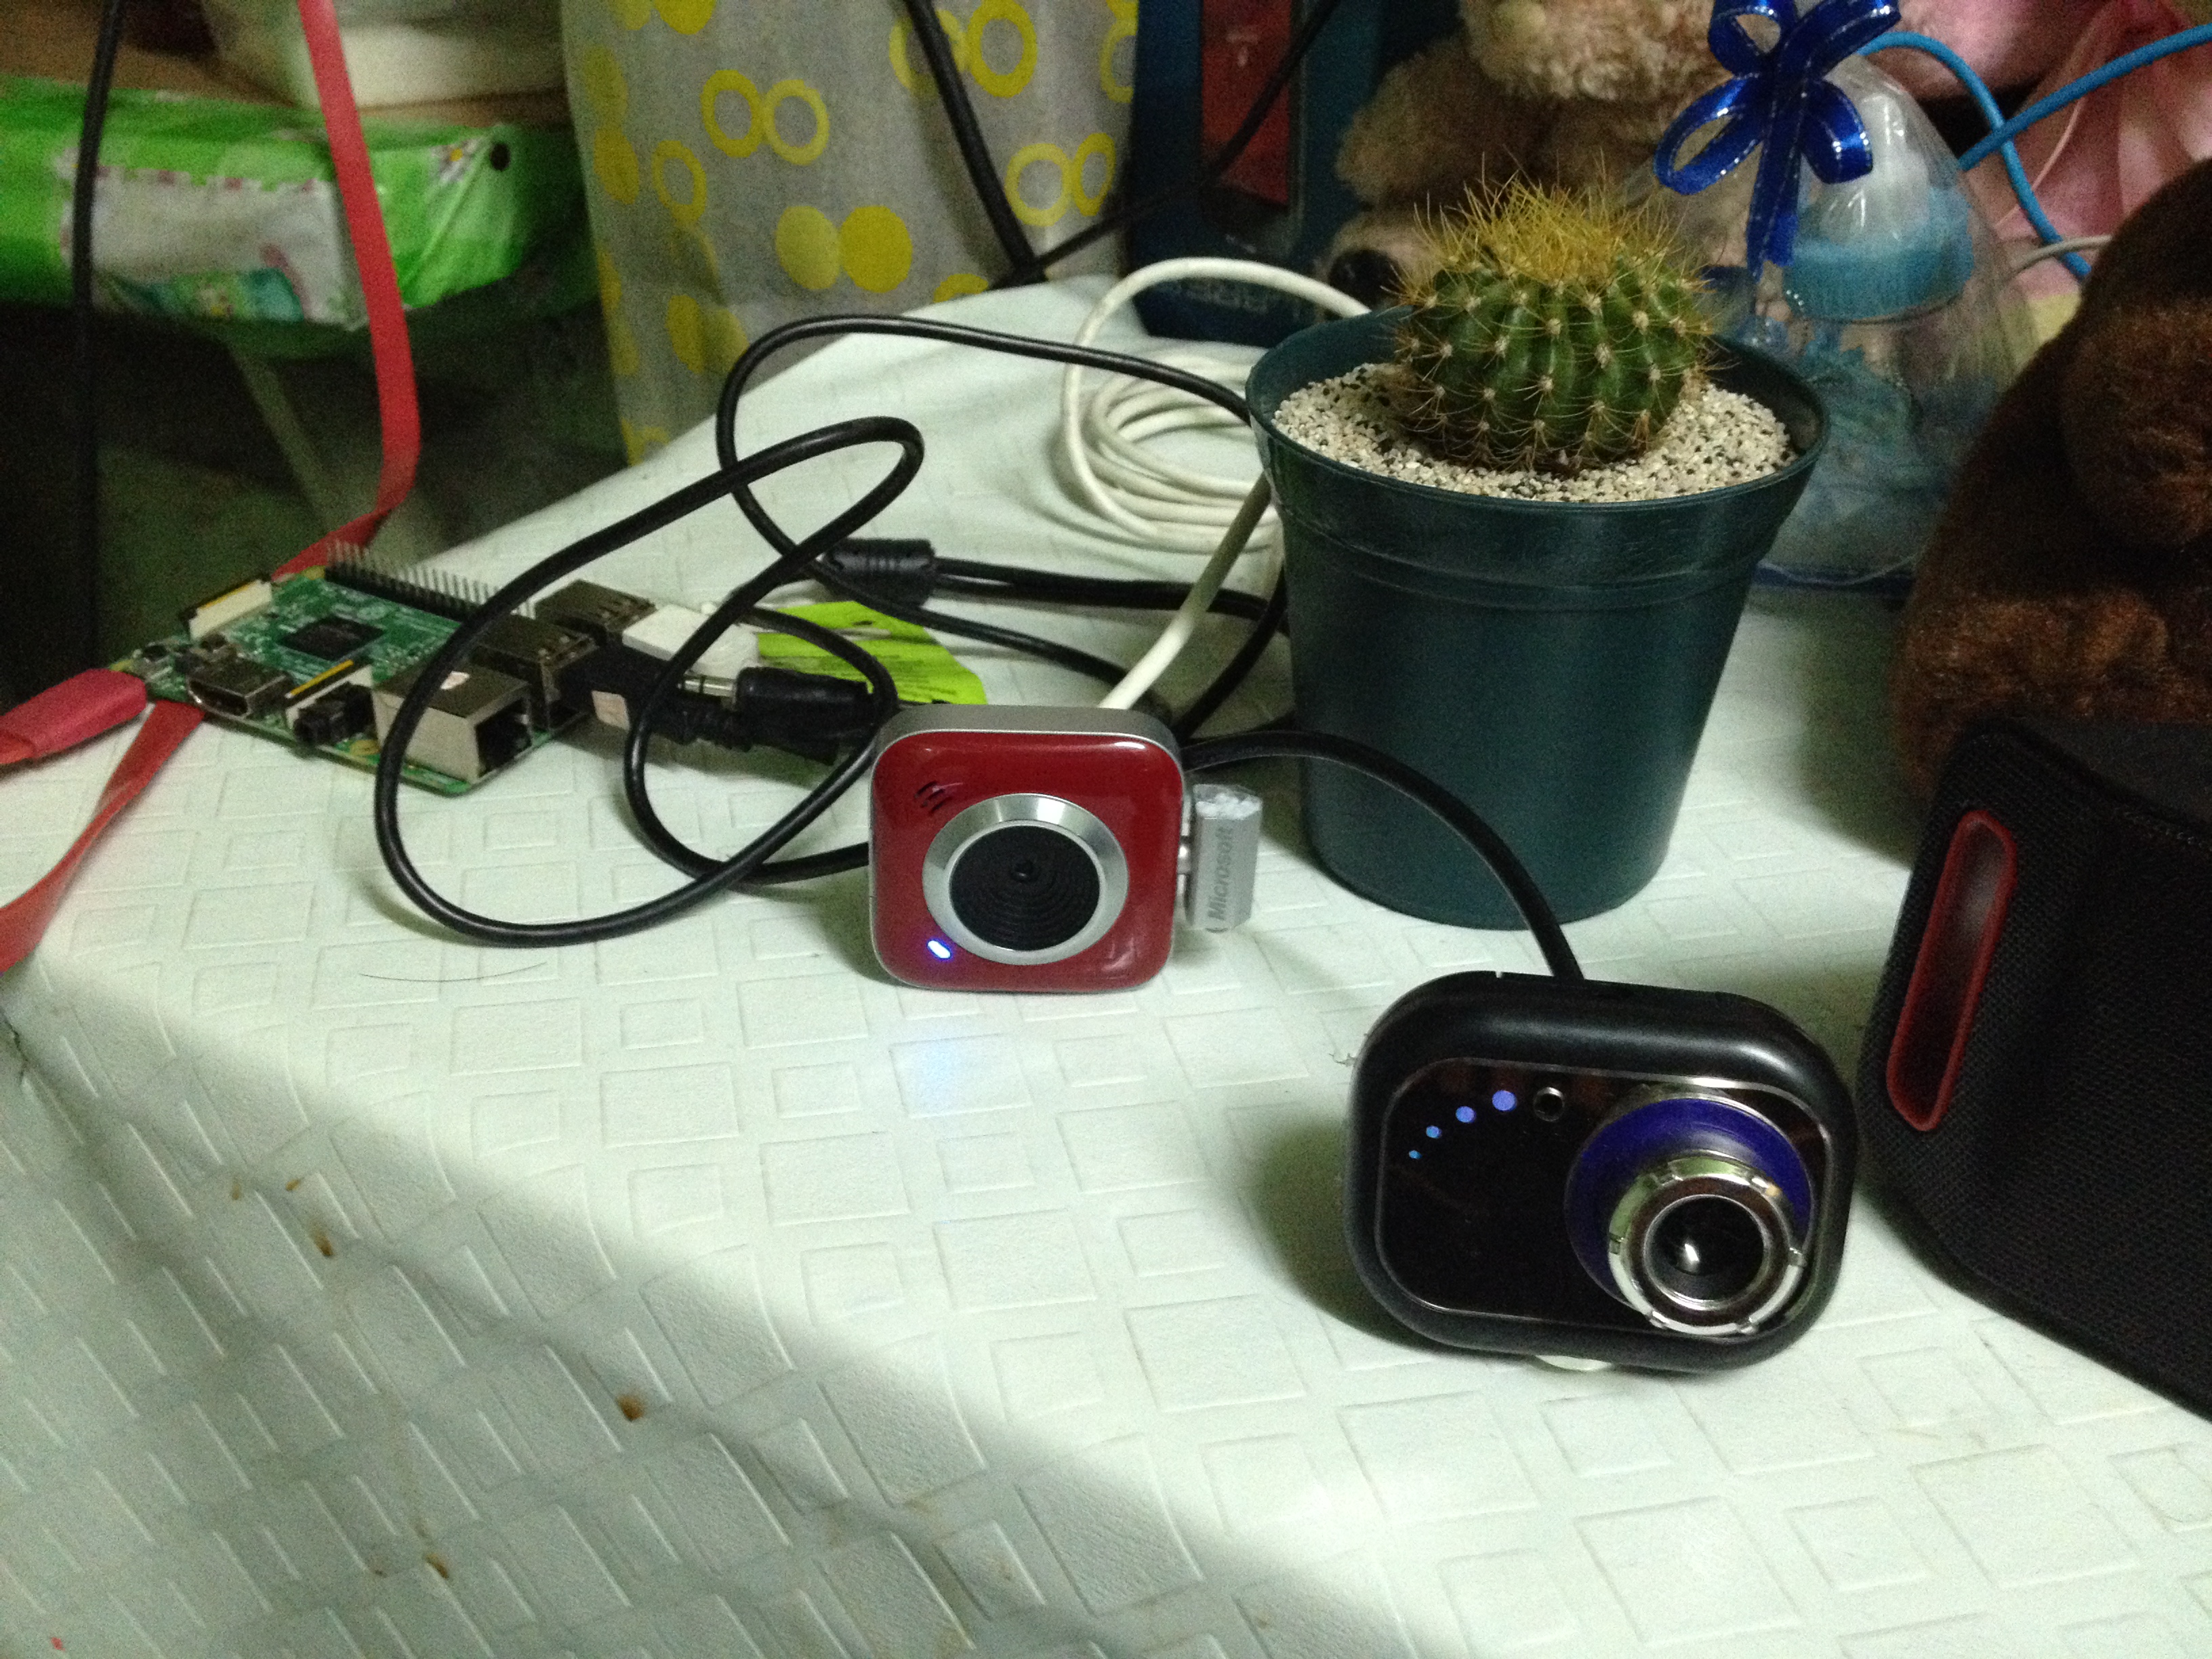
This instruction set for setting up the USB Cameras. Before that testing the USB cameras if the generic camera will working with this script in terminal.
$ ls /dev/vid*
/dev/video0 /dev/video1
First make a directory in home/pi/ and name the directory” camera” then open the terminal and type the scripts below.
This code purpose for setting up the Camera 1
~/webcam/cam1.conf
Enter this script inside the .conf file then save it
videodevice /dev/video0
webcam_port 8081
This code purpose for setting up the Camera 2
~/webcam/cam2.conf
Enter this script inside the .conf file then save it
videodevice /dev/video1
webcam_port 8082
These scripts work for the motion library to work the 2 USB Camera. Open the motion library by typing this /etc/motion/motion.conf,on the main configuration file, most of which remains with the default values. The main change to the two thread settings pointing at the above per-camera settings: streamcam_localhost off
Thread /home/pi/webcam/cam.cam1.conf
Thread /home/pi/webcam/cam.cam2.conf
Then click ctr+x then press y to save the change to the motion library.
Testing Your Monitoring System
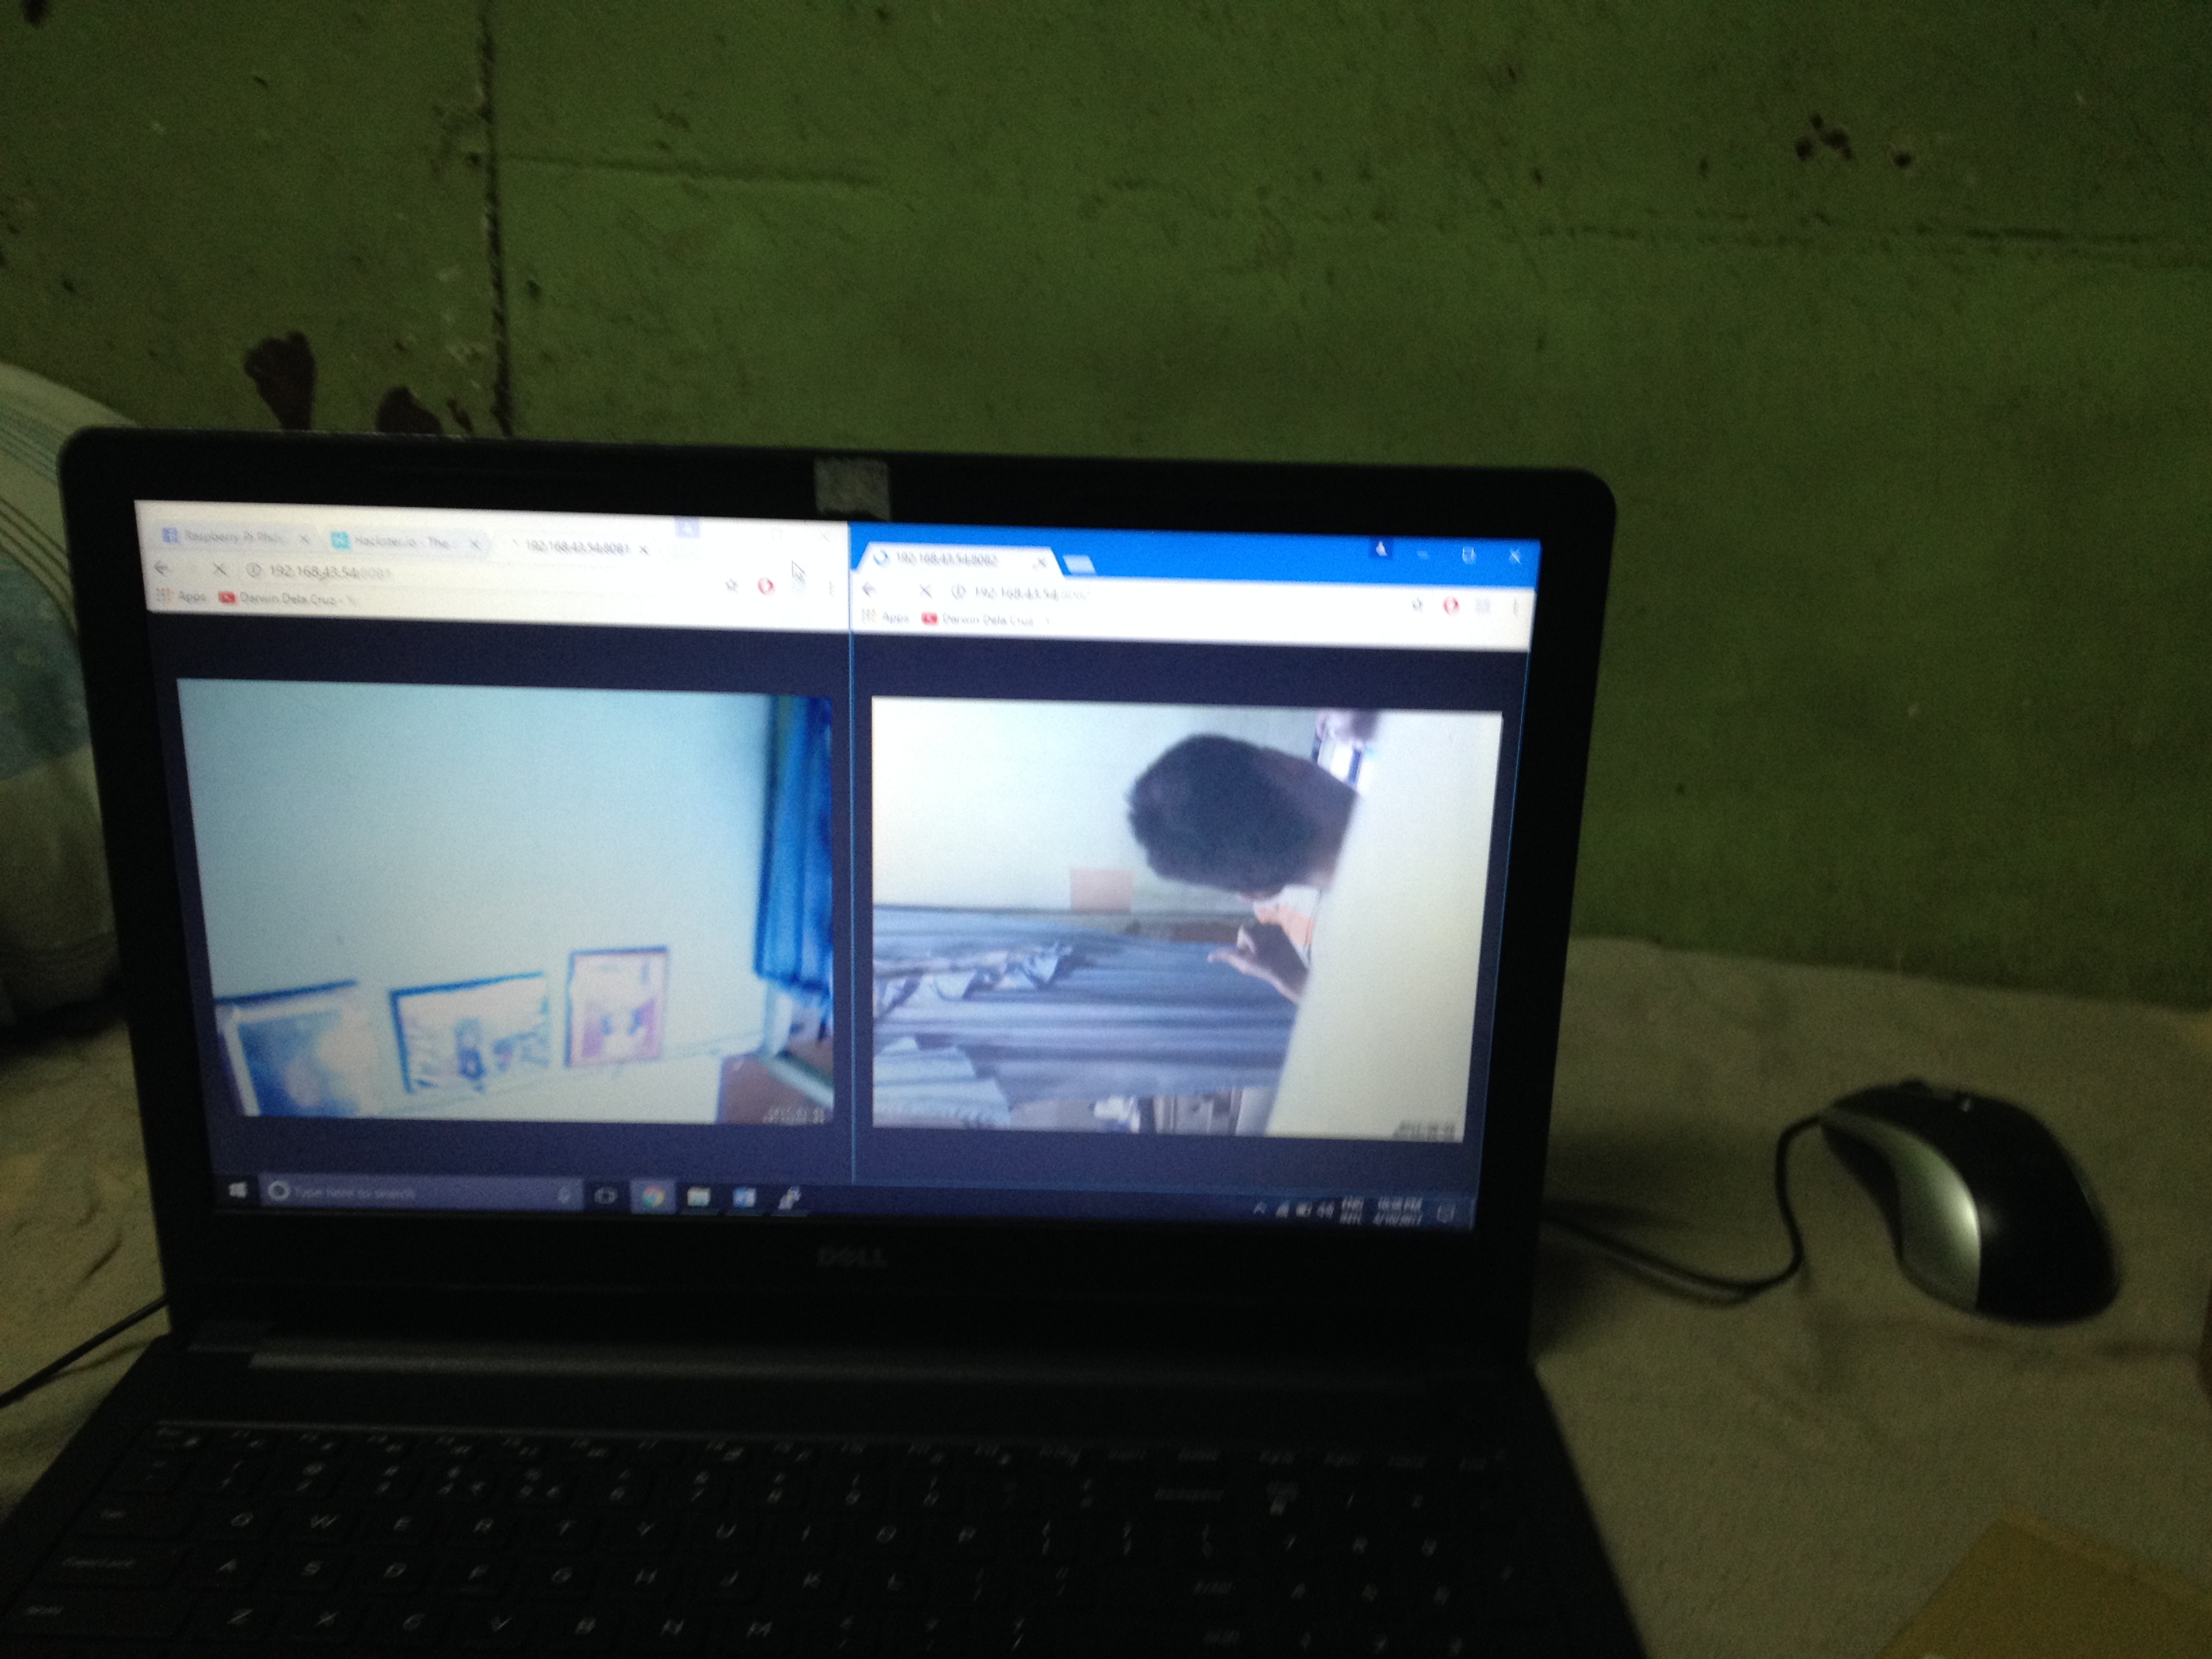
Open your web browser to any devices that make sure that the Raspbeerry Pi is connected to the devices that you intended to stream on, on the same network for me I used the portable hot-spot of my mobile phone as a local network and access the port of the two USB Camera.
Example:
192.168.43.54:8081 for the Camera1
192.168.4354:8082 for the Camera2