Pop-up Laser Cut Christmas Cards
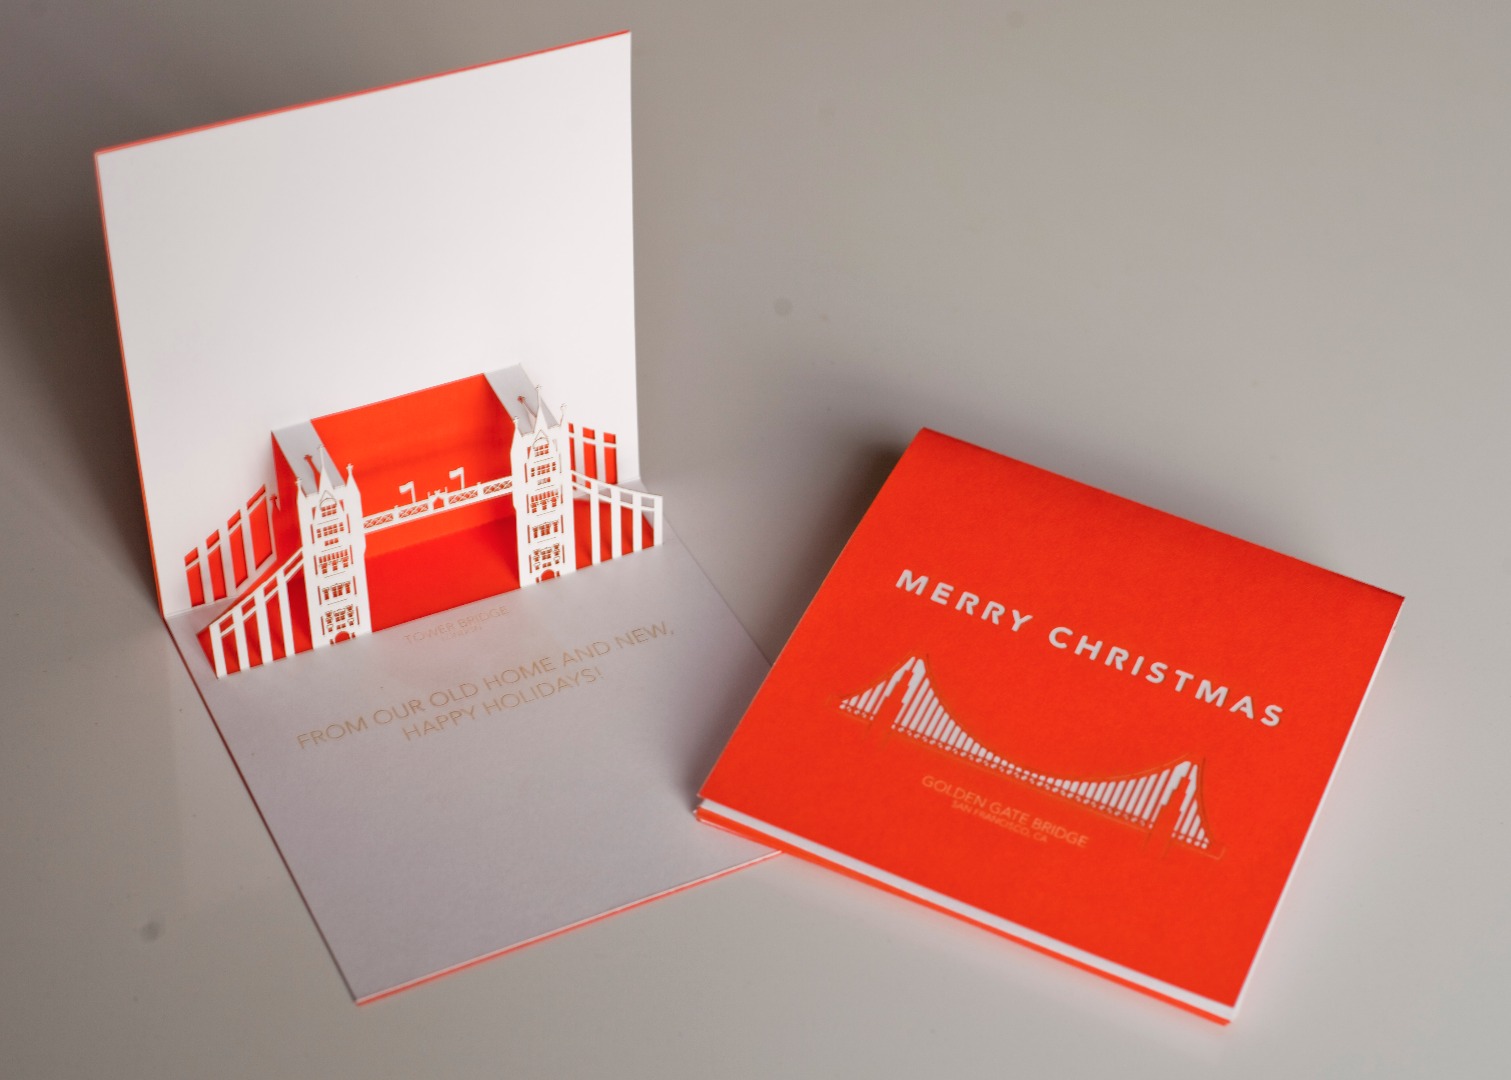
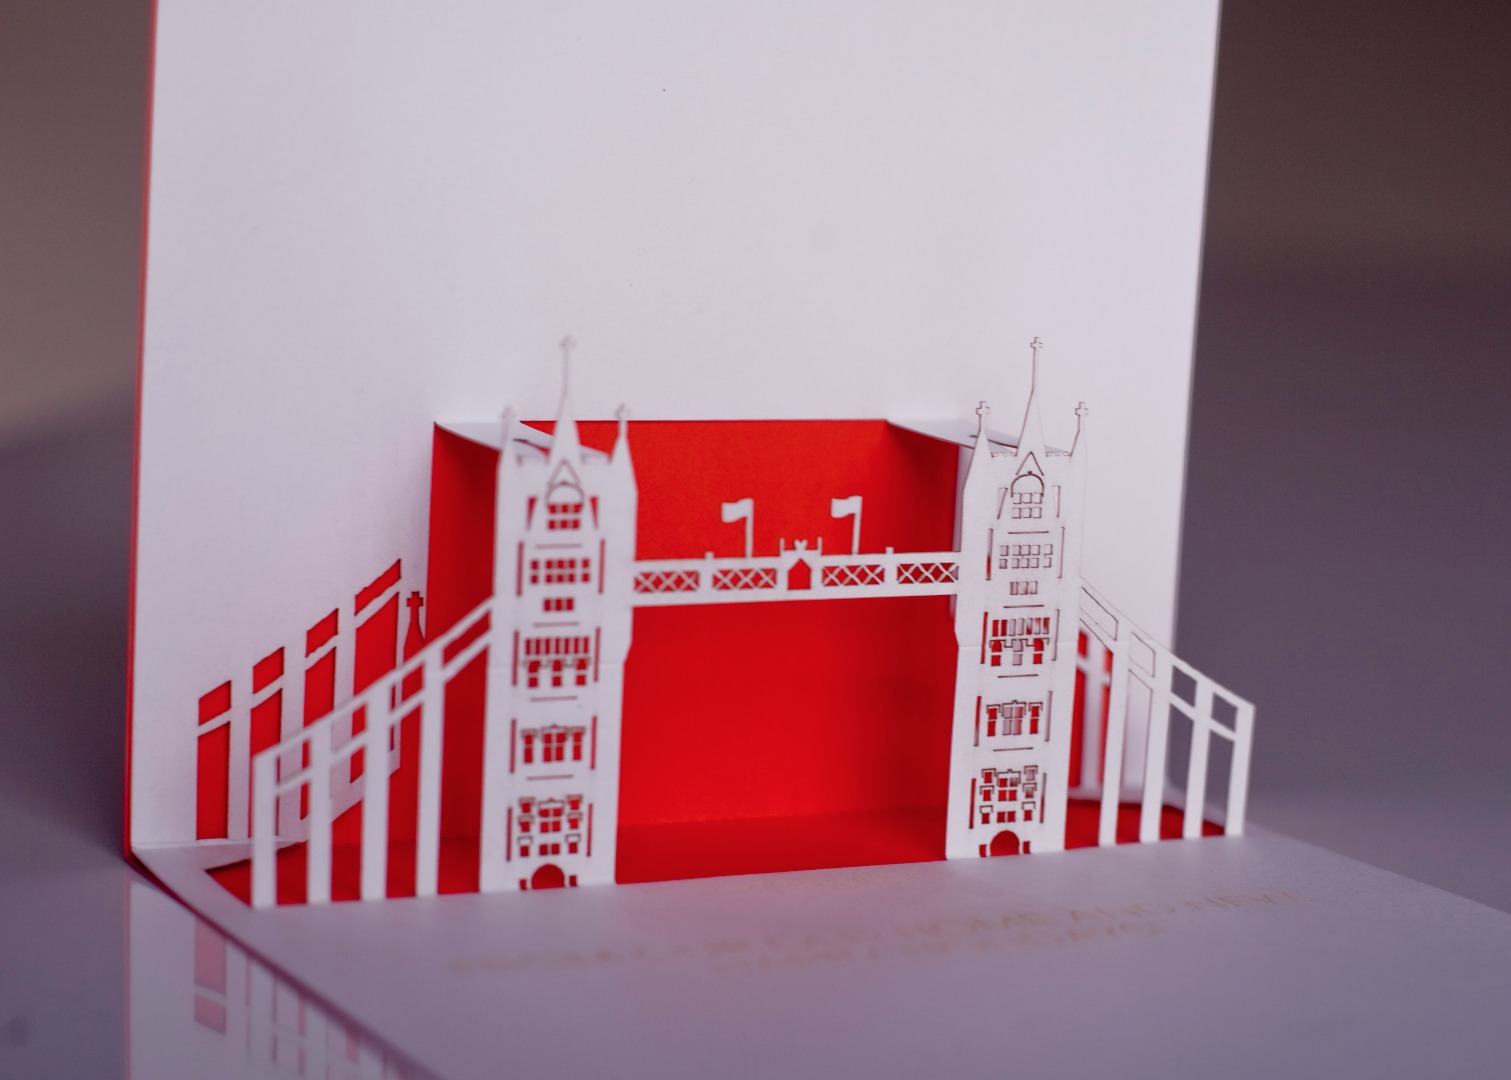
Each year at about Halloween, I find myself noodling on concepts for the yearly Christmas card. I take it as a creative challenge to work the major updates from the year into the design in some way and tend to lean into whatever tools I have available to me that year.
In general, I tend to do more woodworking and gardening, so this is a refreshing project to get more into the graphic design space and play with paper. I had never made a pop-up card before and thought the extra dimension would be delightful to those on our Christmas card list!
For this card, we had moved from San Francisco to London - two cities with iconic bridges. I admit I was so excited about the idea of working out a version of the Golden Gate and Tower Bridge that would work in cut paper that I used that as a design constraint. I worked the rest of the theme around this idea I just couldn't let go of, but it worked really well in the end. Sometimes you get an idea that grabs you and stick with it.
The other breakthrough was using the two colors as accents for each other, which is an idea I'd encourage others to play with in your concepts. Red is so essential to the Golden Gate Bridge that reversing the colors seemed like blasphemy, but I tried it both ways and this really worked.
I'll walk through my process here and share some thoughts with you about lessons learned at the end. I hope you take this inspiration for your own card concepts!
Sketch & Design
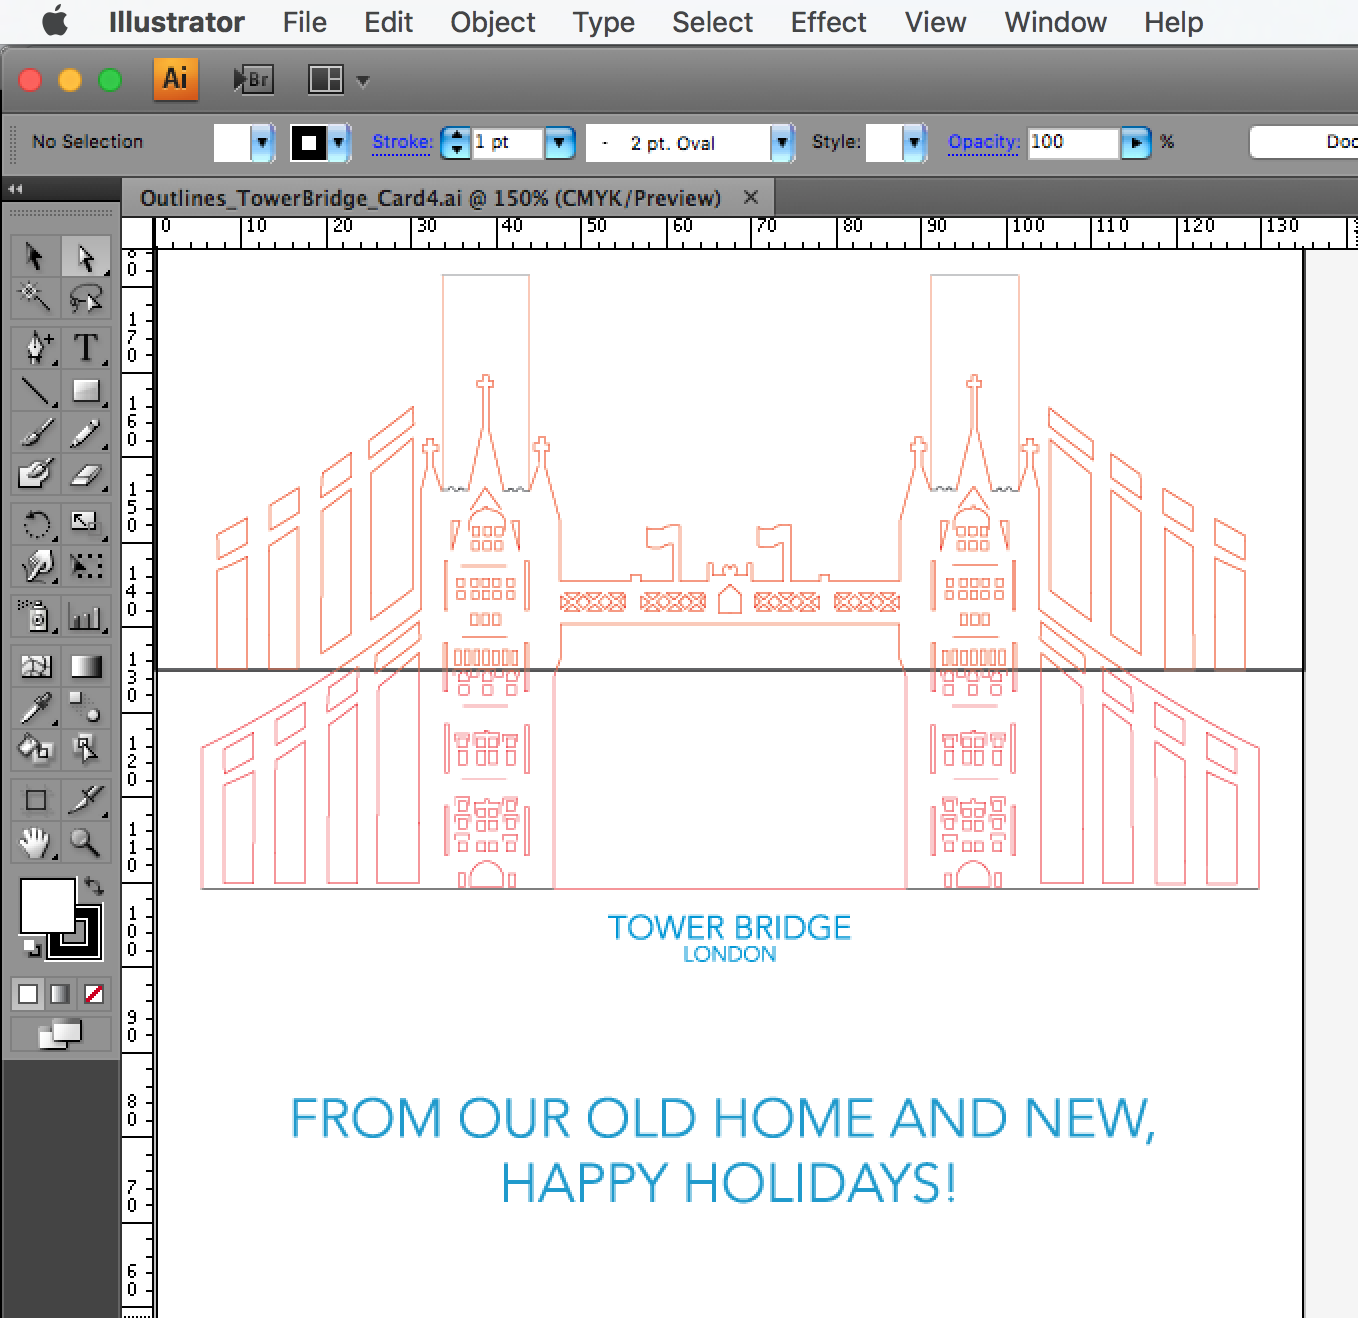
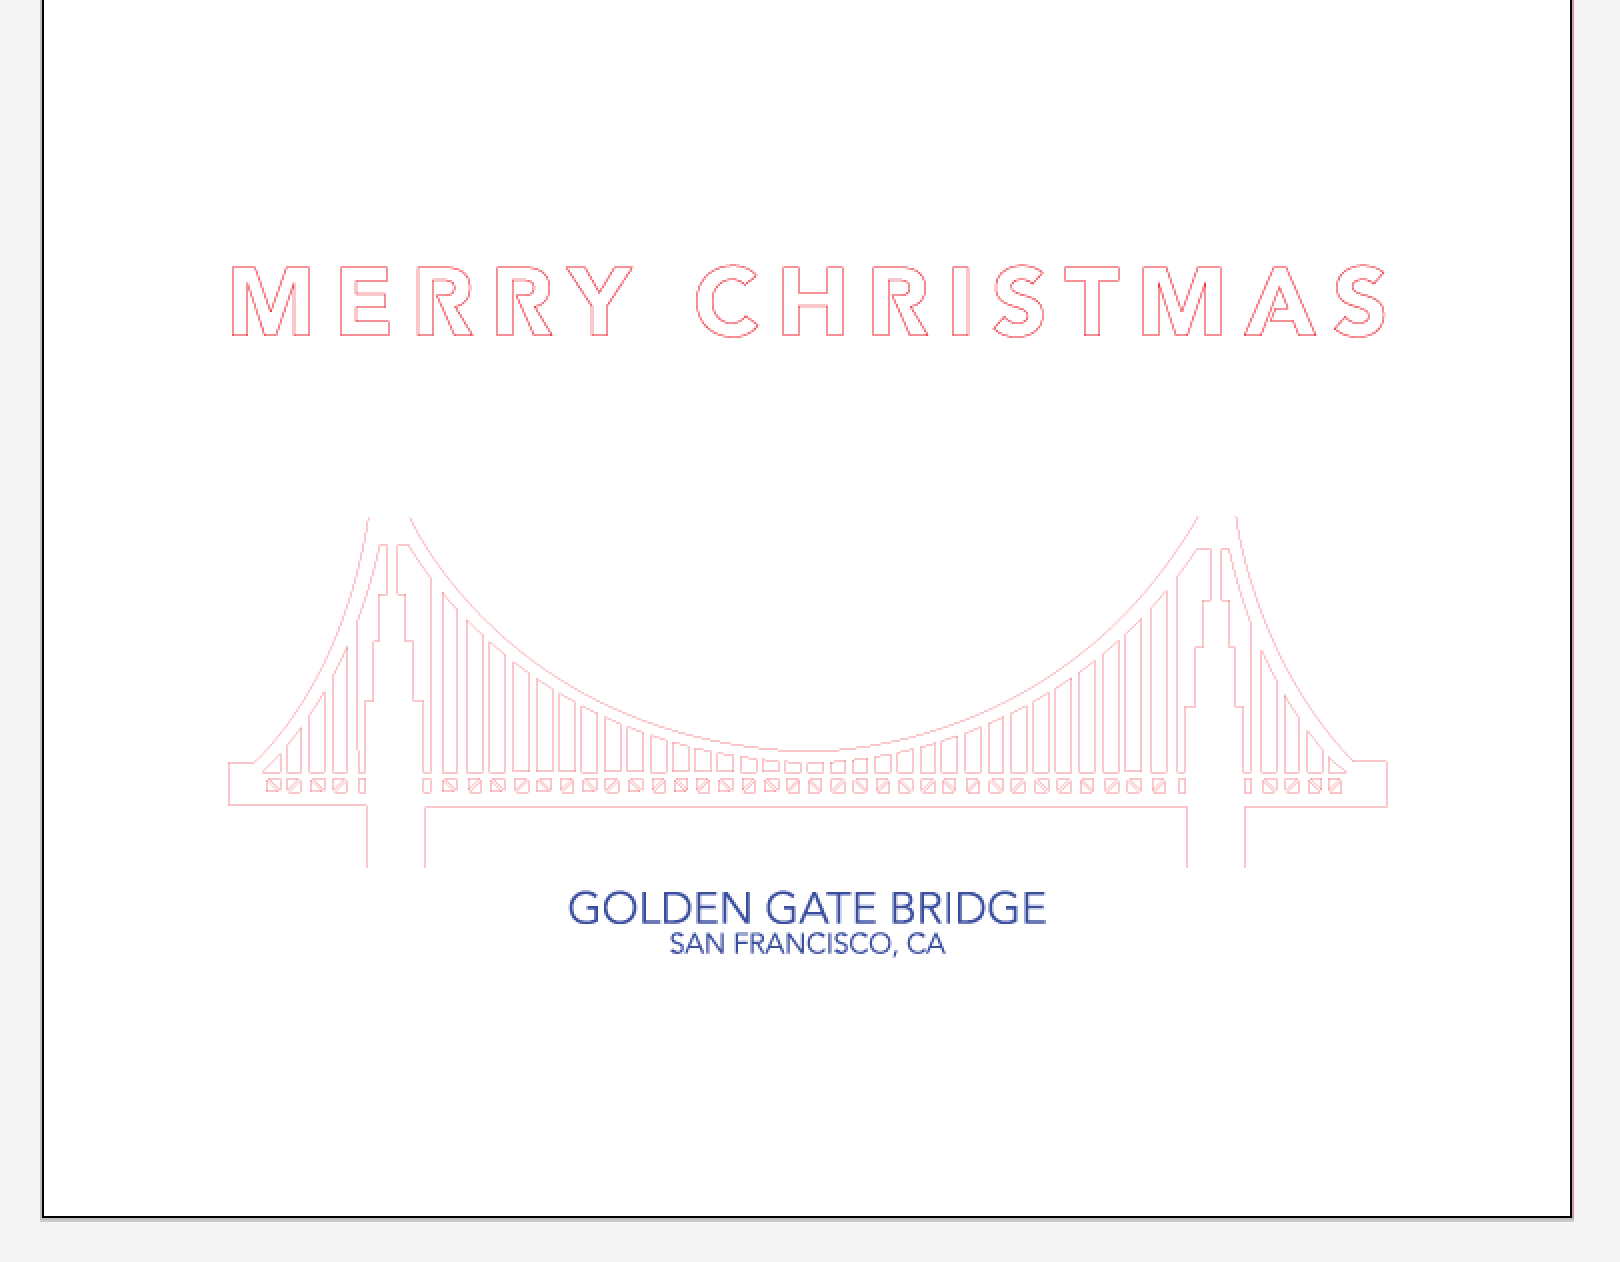
In my sketchbook while on the tube, I quickly explored many concepts about how to recap the year before landing on this bridge concept. Rough pencil sketching is great to do before you more to digital tools. It's fun and fast. Feel free to look to other places for inspiration but don't discount your own creativity.
From there, I started working in my vector program of choice, Adobe Illustrator. If you're going to be using a laser cutter for cutting and not just etching (more on this in a bit!) you'll need to draw out the geometries you wish to cut instead of copying photos for the laser cutter to work from.
I worked through this in batches and cut scraps often throughout the process to get a sense of scale, cut, appropriate detail, and if the text I was using was readable with the etching. If you're new to making things on the laser cutter or even making a project outside of your regular wheelhouse, I'd go in with the expectation that you'll need some time on the machine followed by some heads-down time at the computer to adjust your files based on what you learn before finishing your project.
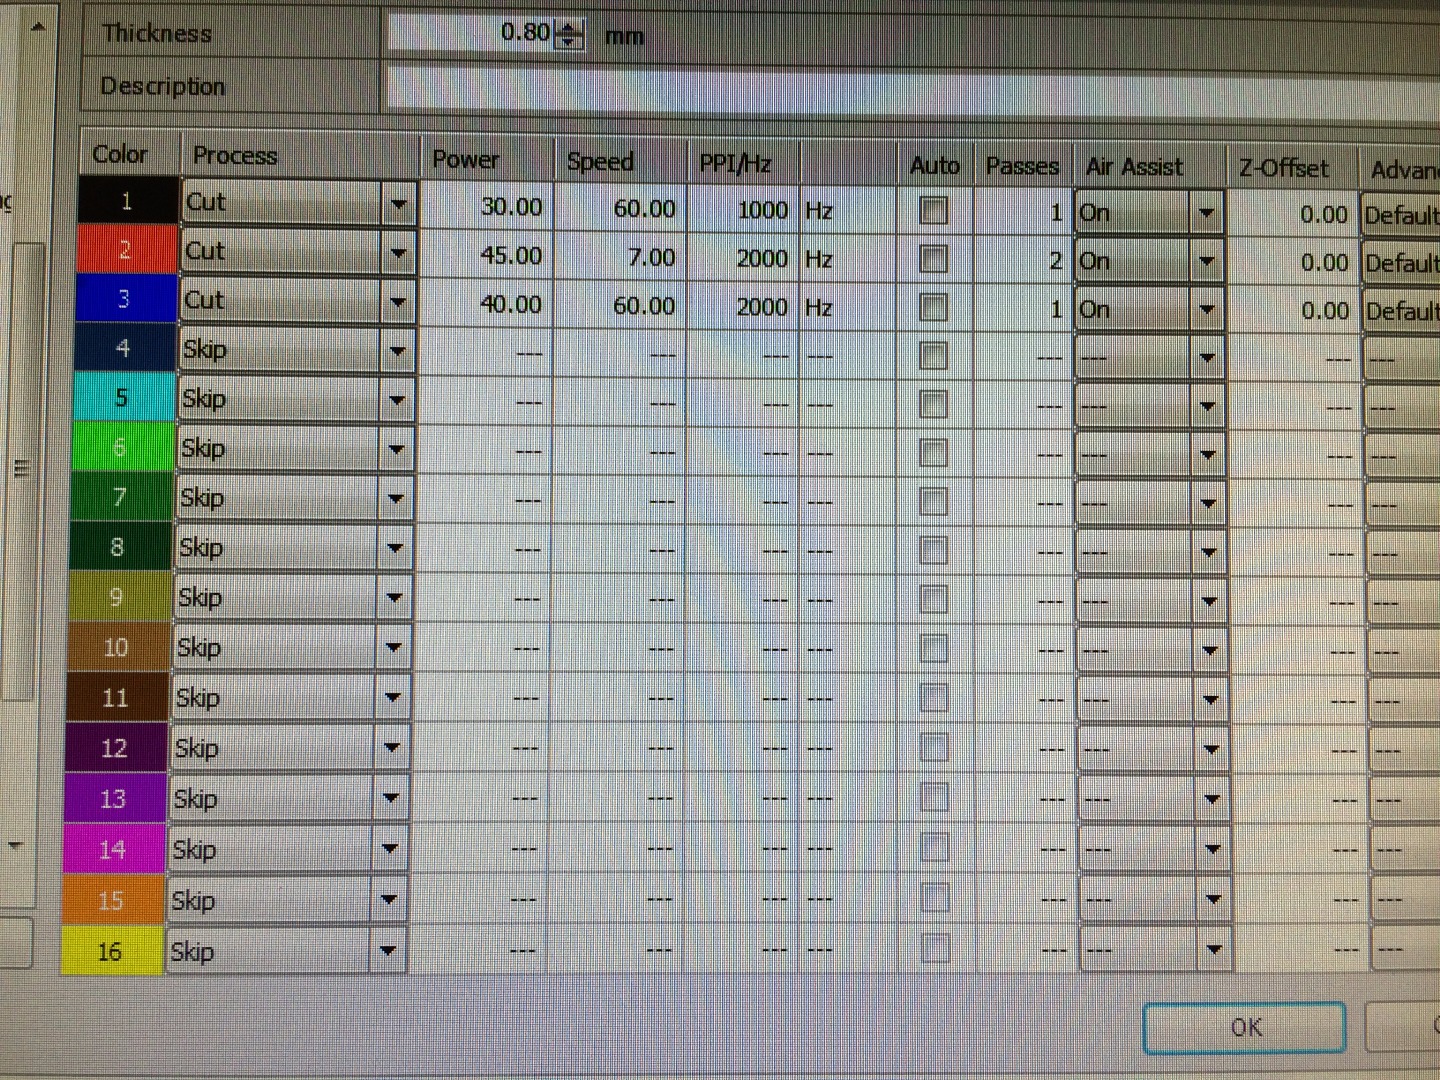
Lastly, before getting into raster vs vector, you'll notice the screenshots above show two different colors in my .ai file. I used a separate program called CorelDraw (see the last image) to translate my .ai file to the laser cutter and it reads line thickness as well as RGB values. These designs are specifically called out in red, black, blue, and cyan to communicate to the laser exactly what power, speed, frequency of the laser, and number of passes of the laser on a very specific level. Each setup will be slightly different - I wanted to call out detail that might not be clear in the screenshots.
Pro tip: What's the difference between raster etching and vector cutting on a laser cutter?
The laser is a printer that prints with heat. It first prints all your raster data, similar to an ink jet printer that prints with ink, putting down “dots of heat” instead of ink. It then moves like a plotter and follows your vector paths to draw or carve them into your material.
Raster data is made of pixels. File types of jpg, gif, png, and bmp are all examples of raster data. Images that come from your camera or scanner are also raster data. The laser varies the amount of heat delivered for each pixel, resulting in what looks like a photo burned into your material.
Vector data is expressed via equations. Straight lines, circles, rectangles, splines, hand drawn squiggly curves are all examples of vector data.
The above is true from the perspective of software applications that handle vector and raster data. The laser treats the data slightly differently.
For the laser, all data is treated as raster data except for vector data that also has a line thickness of “hairline”. “Hairline” is the smallest non-zero value possible for vectors in several applications used to send files to the lasers. If you develop your artwork in another application, choose the smallest non-zero thickness available and your data will typically import as hairline thickness.
Just because you’re using vector data doesn’t mean you must cut through. You can score cardboard to mark the fold likes to make it into a box. Conversely, just because you’re using raster data doesn’t mean you can’t etch through.
And remember - each method has the capacity to produce a fire. Always watch your work!
BONUS: I used to teach people how to safely use a laser cutter at a community maker space. I wrote our manual for the safety course and I'm including it here for anyone who would like to learn more. You'll need to refresh on the specific of whatever machine you may have access to, but this will give you a nice foundation if you're curious.
Prep & Cut
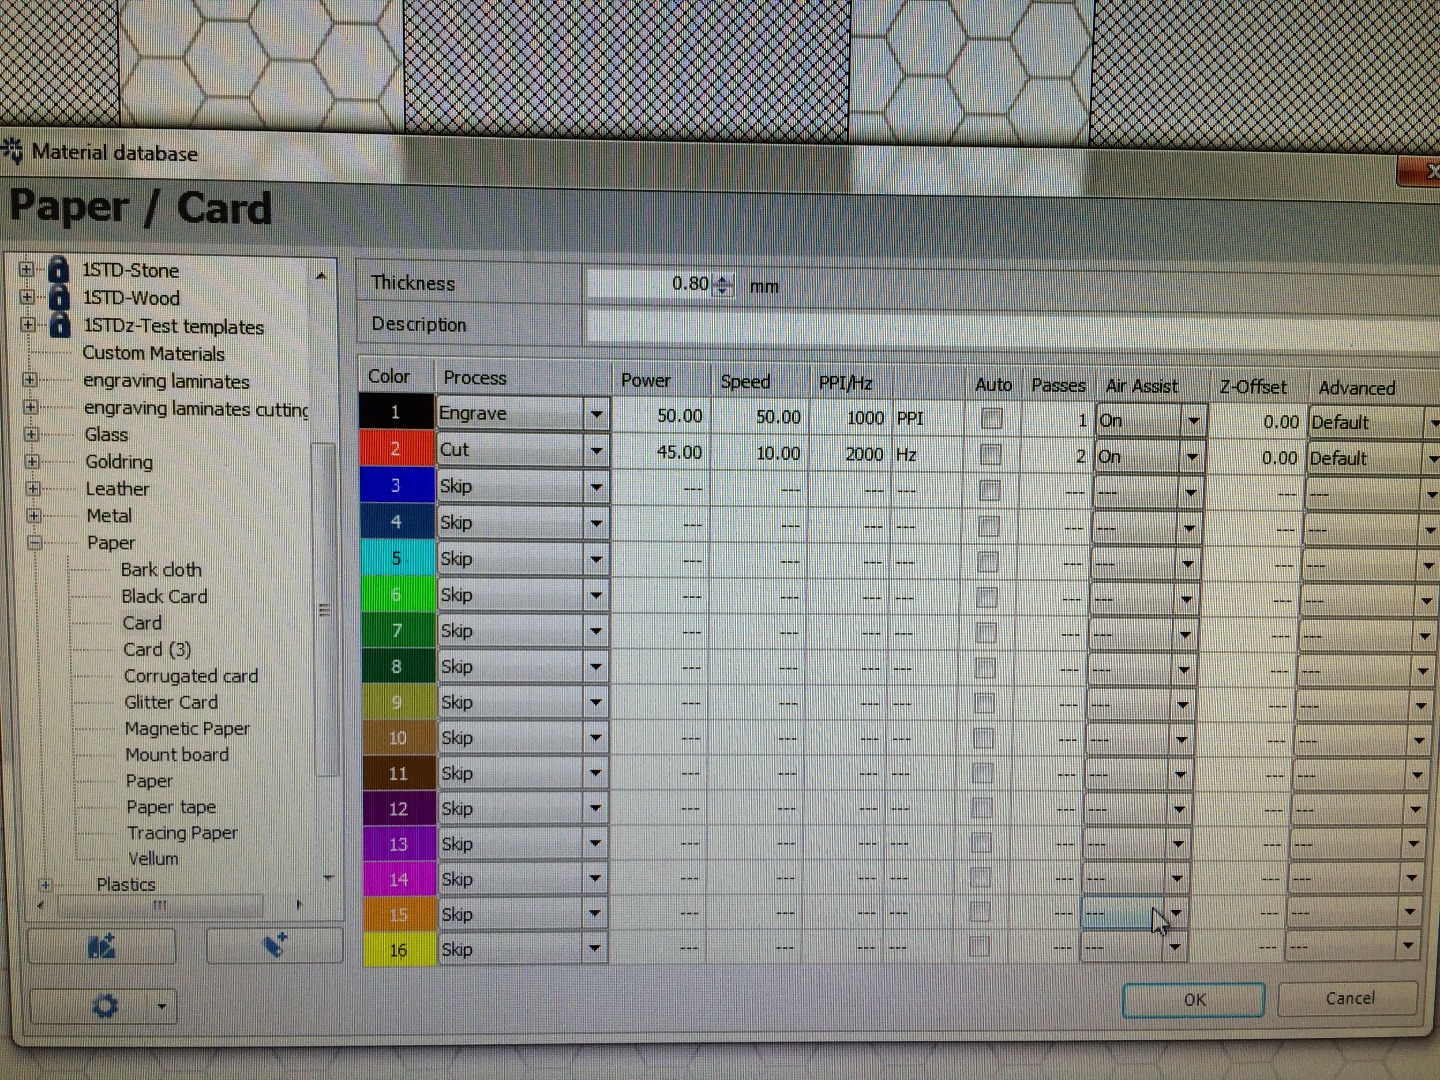
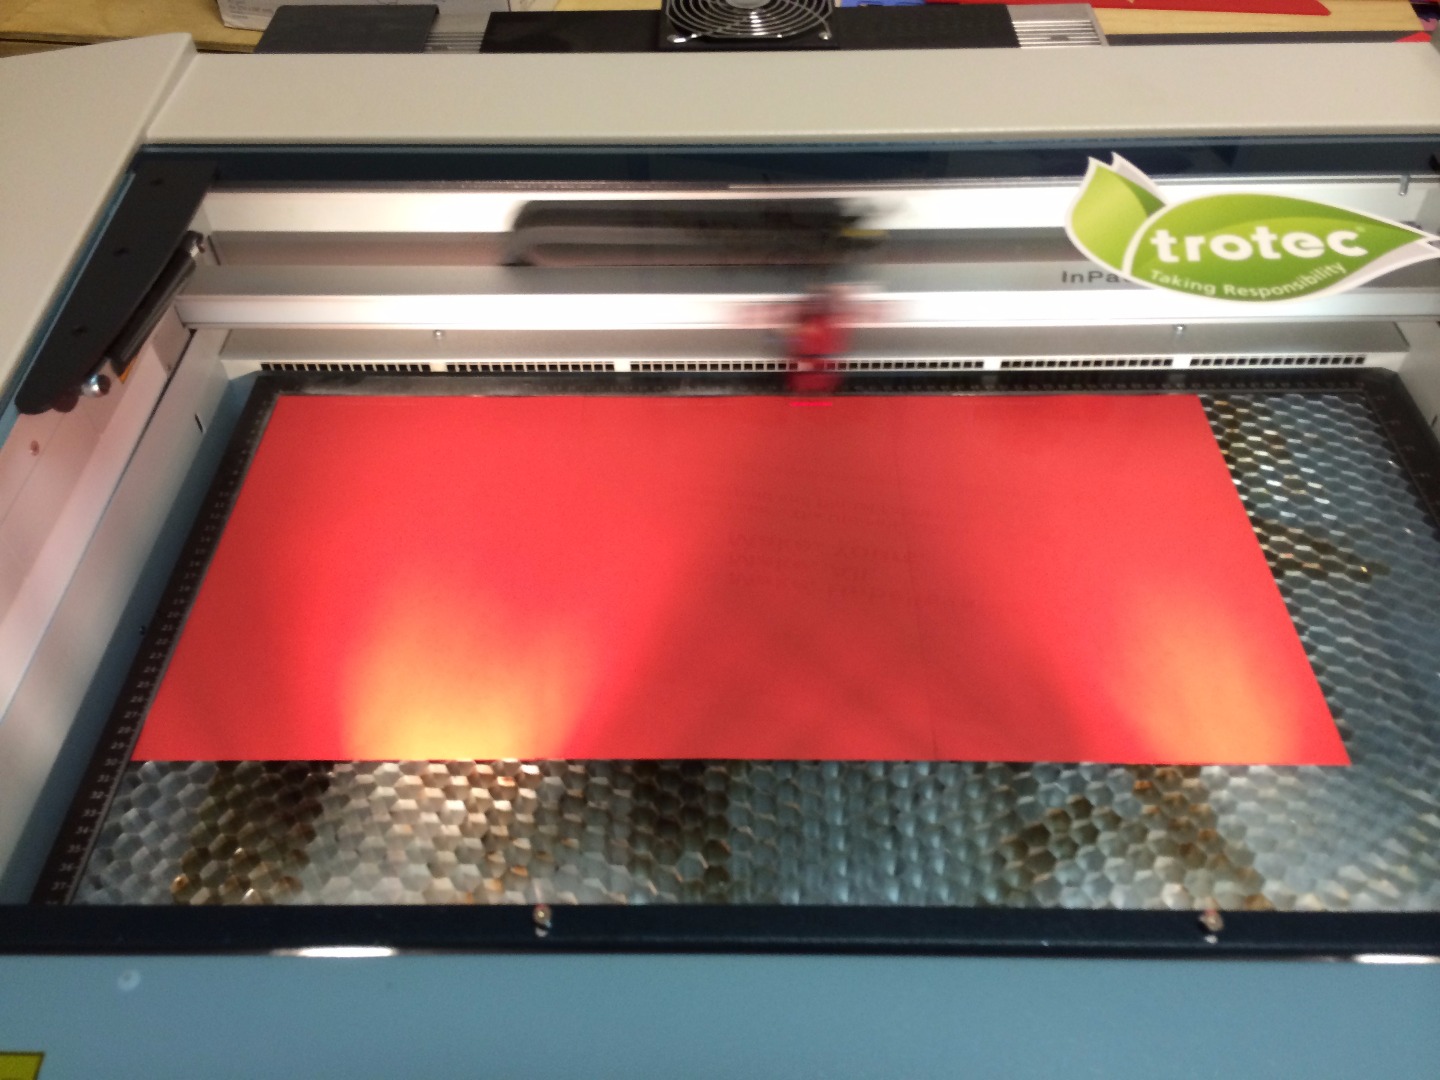
Prep your paper, do your test cuts, and start cranking out the pieces on the laser cutter.
As you test, write down your test settings in a notebook or, better yet, jot them directly on the test cuts so you can see what different etching and cutting finishing looks like! You'll want to refer to your numbers as you progress.
Note: General rule of thumb is that raster etching takes far, far longer than vector cutting on a material like paper. For raster etching, the laser will move back and forth like an ink printer at the rough thickness of the laser over whatever your design is, while the vector cuts follow the design's curves so it's a faster tracing.
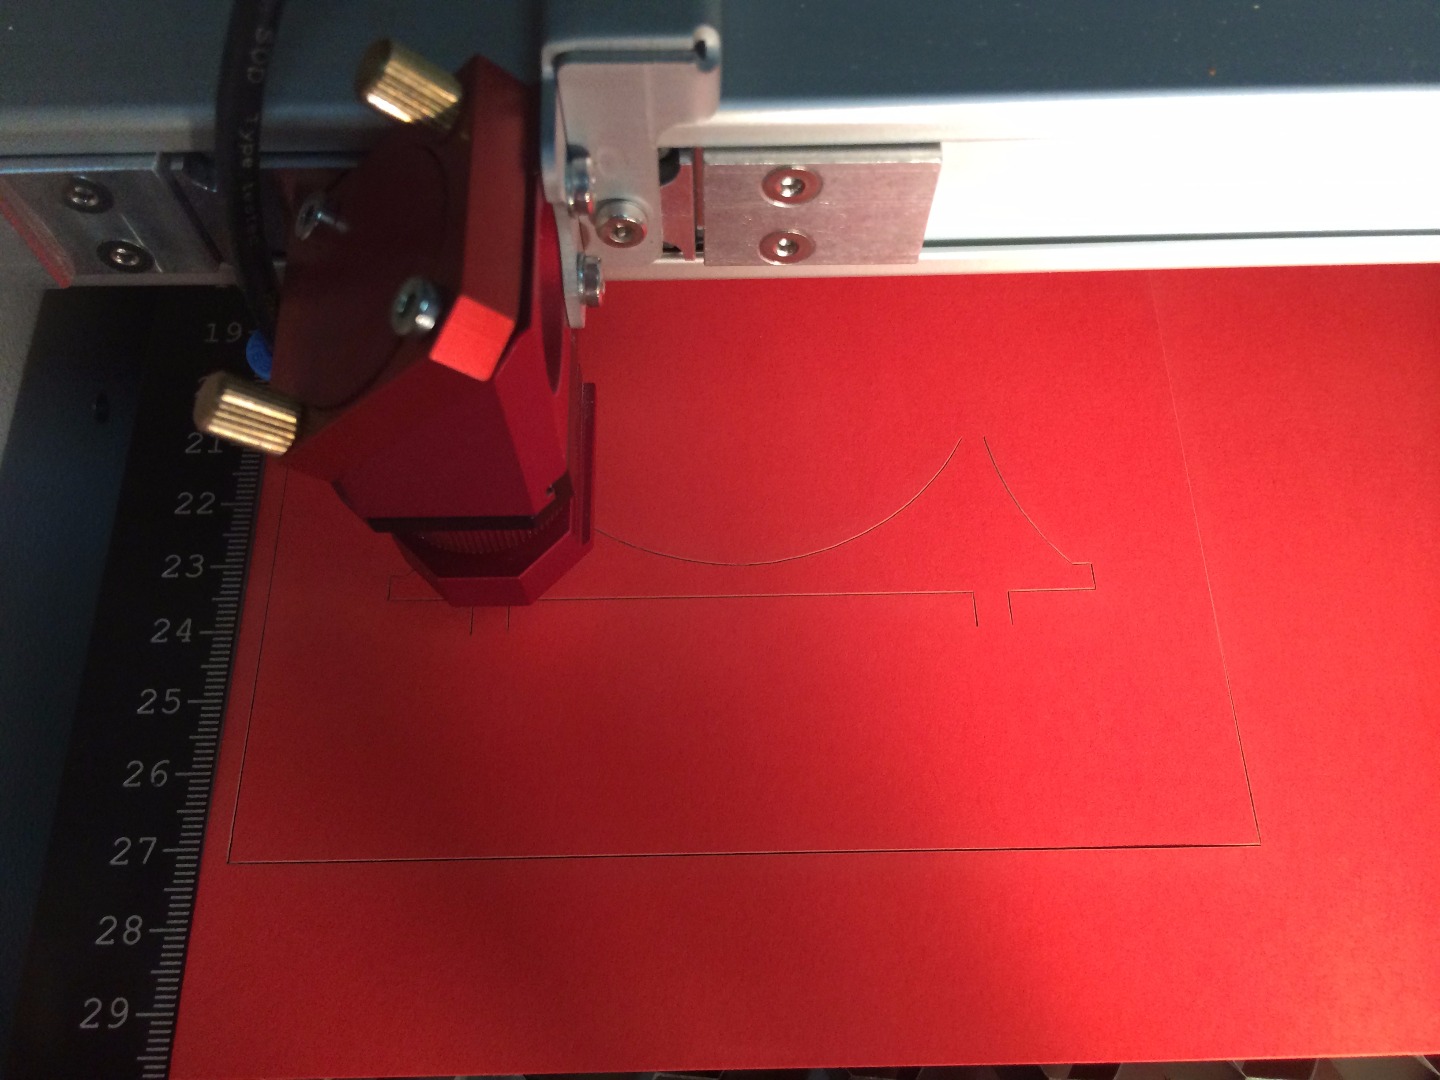
Here in detailed photo, you can see the vector cut of the golden gate bridge in the red paper before the raster etching has taken place.
Trim & Tighten
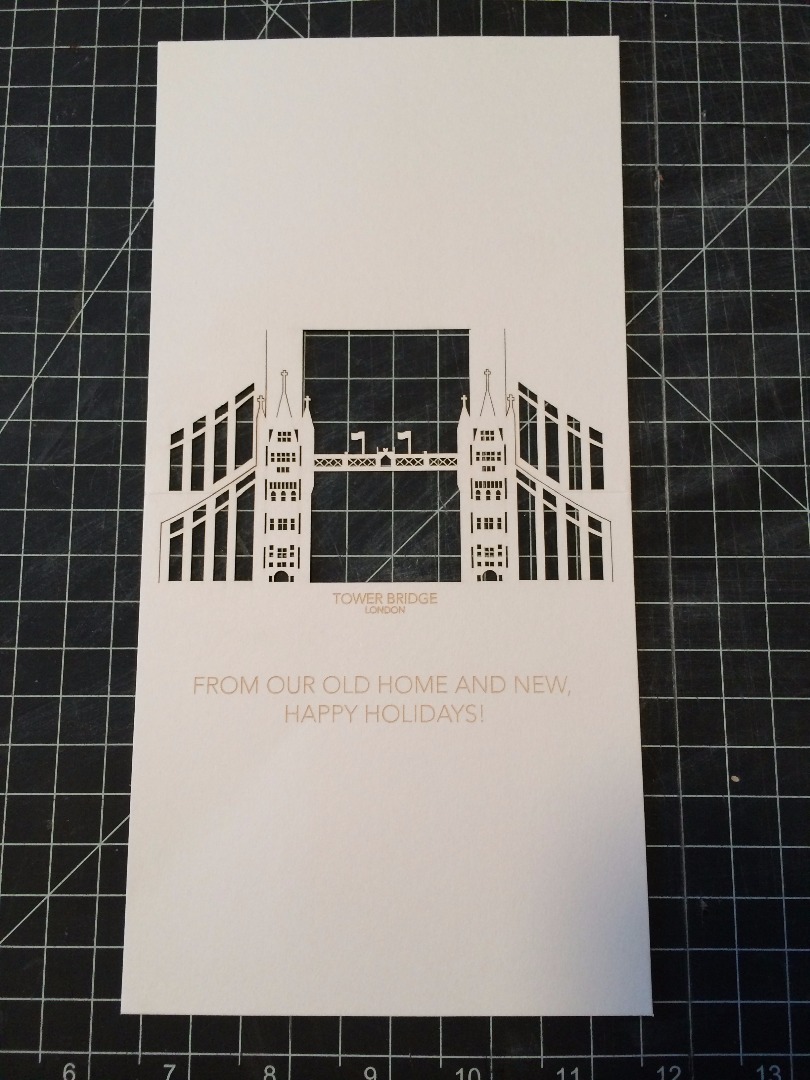
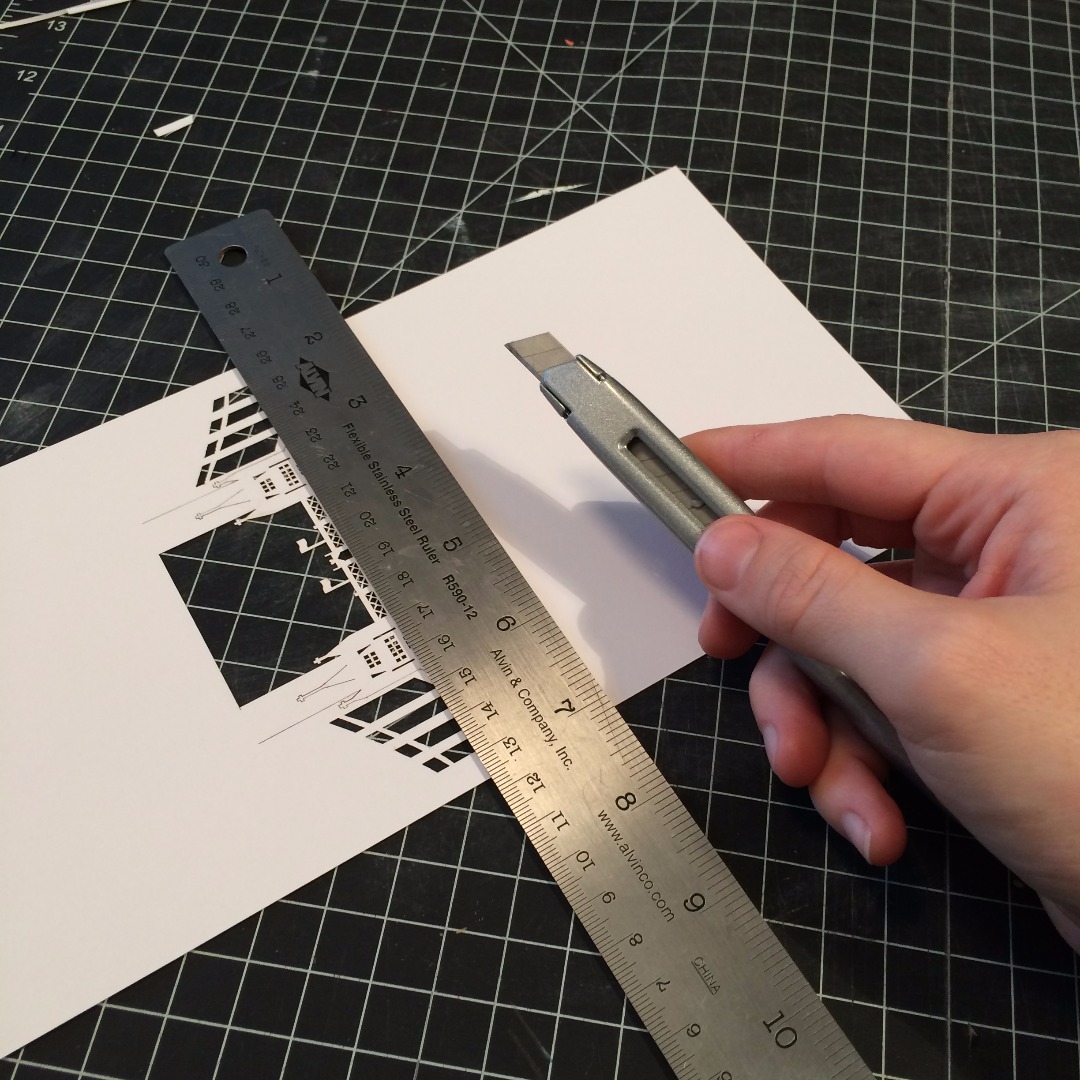
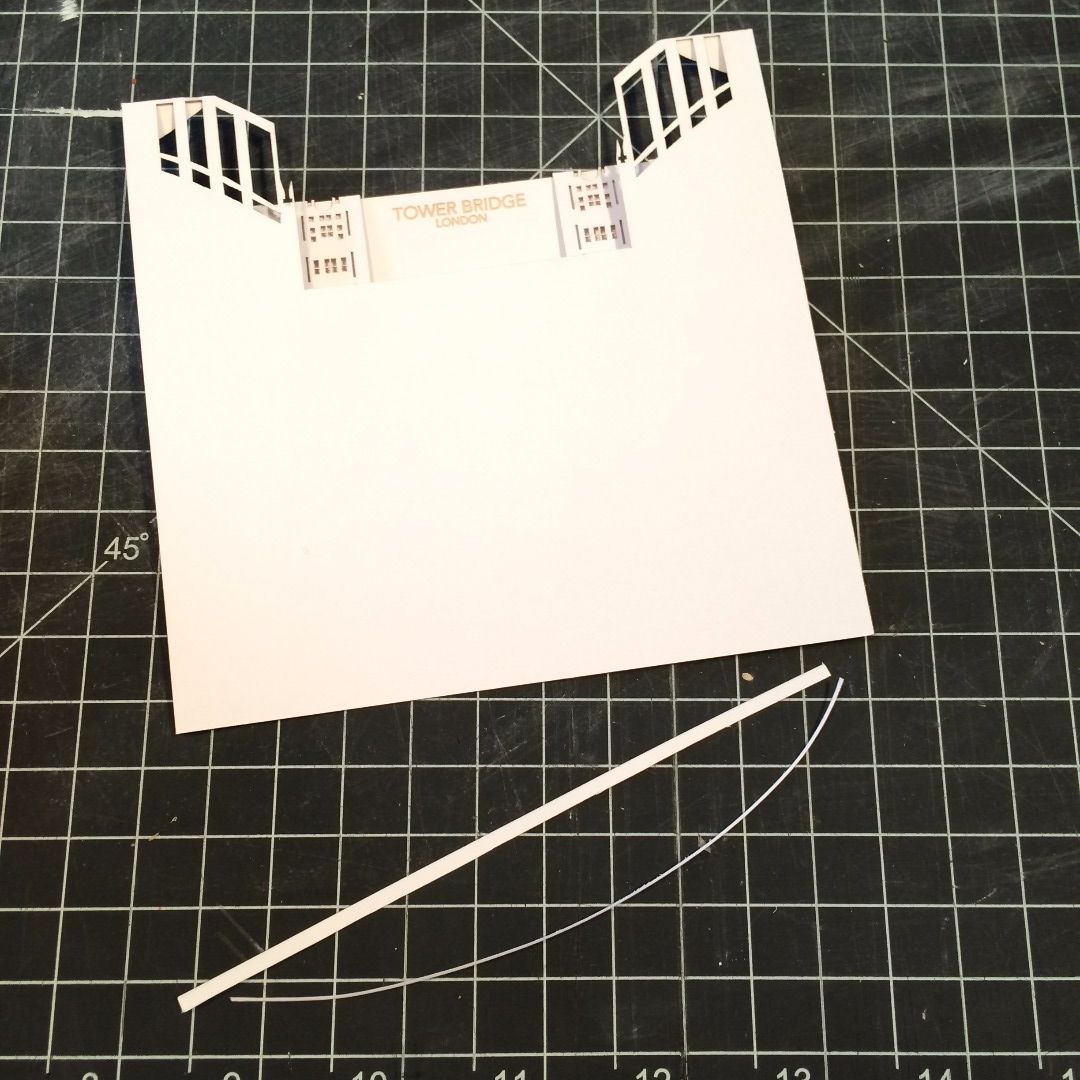
Remove your paper from the laser cutter. In my case, I still needed to score one are with a knife manually because I decided I wanted all my other cuts and scores to be on the opposite side of the paper and this was a process I was comfortable doing by hand for each card.
Any other trim-to-fit work can also be completed now.
I loved these manual parts of the process because it really underscores that the laser cutter is part of the process but you're still the maker in control of the project. Getting hands-on is great and you can use the right tool for the right job.
Admire & Assemble
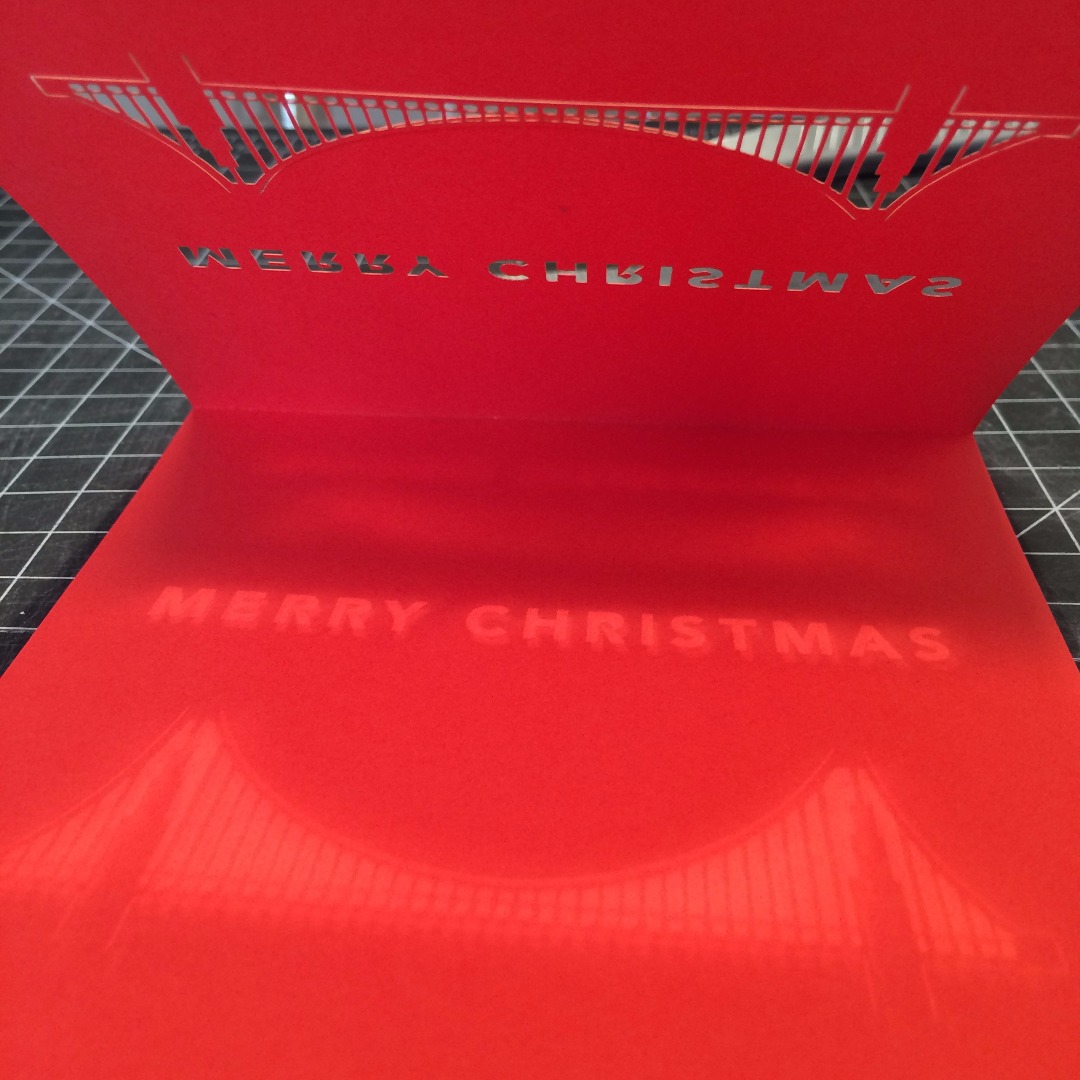
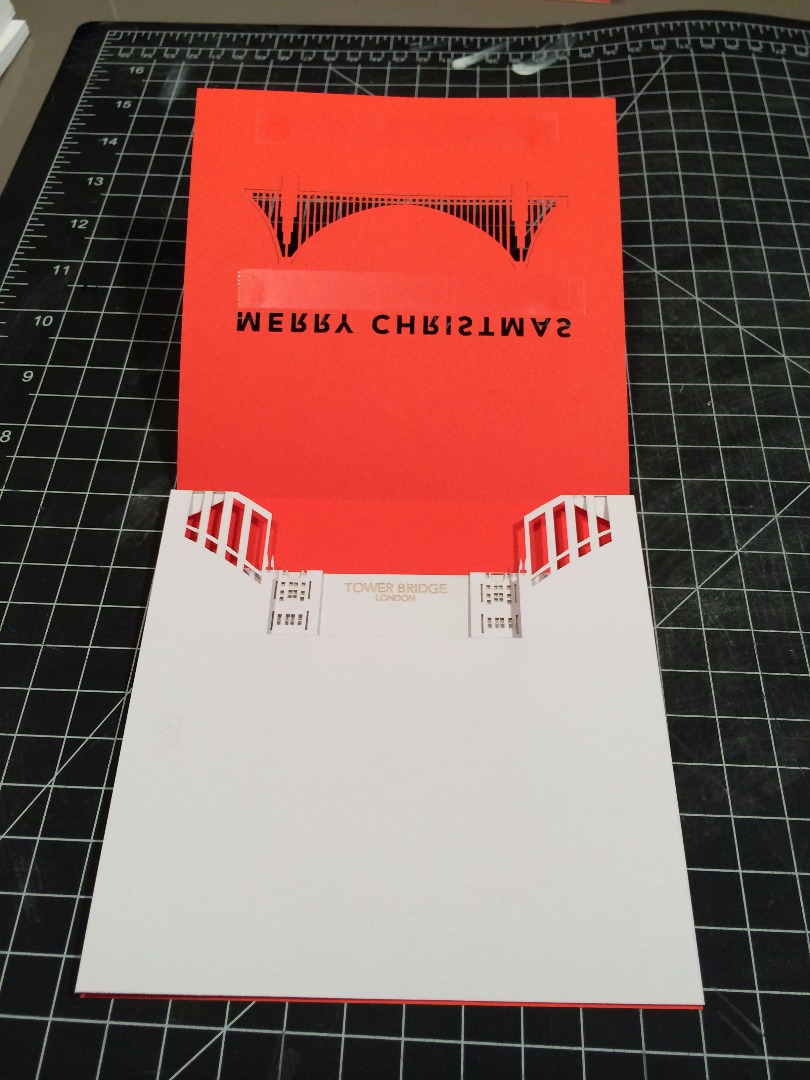
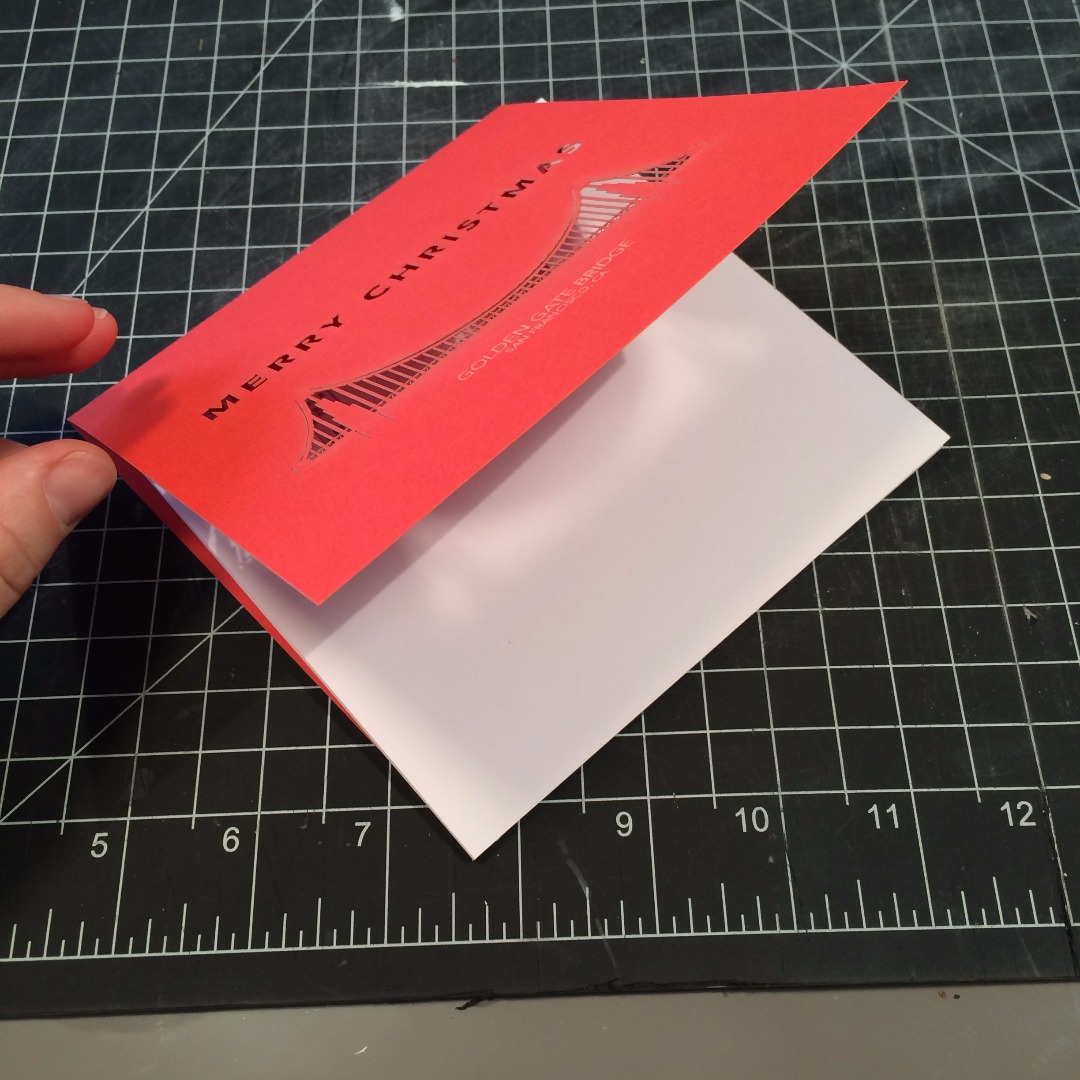
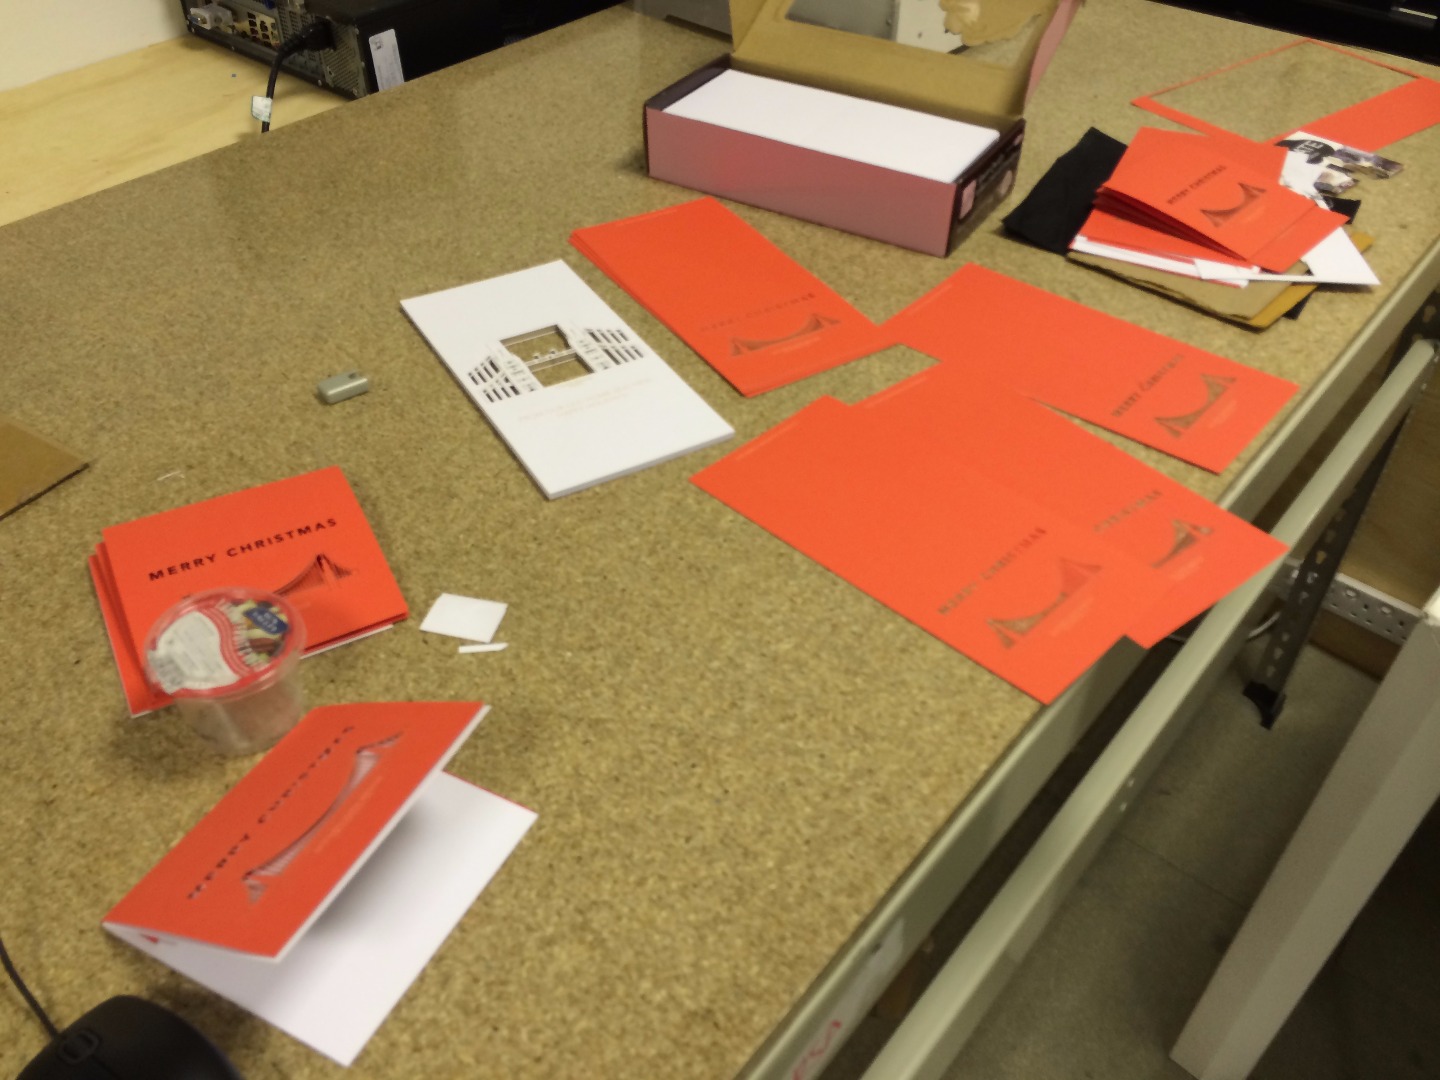
Before making the assembly line, I often find beauty in different parts of the project. The shadows coming through from the red card cover stopped me in my maker tracks :-)
I assembled the cards with double-stick tape. I explored glue and other options but this was the fastest and cleanest for me.
Sign & Send!
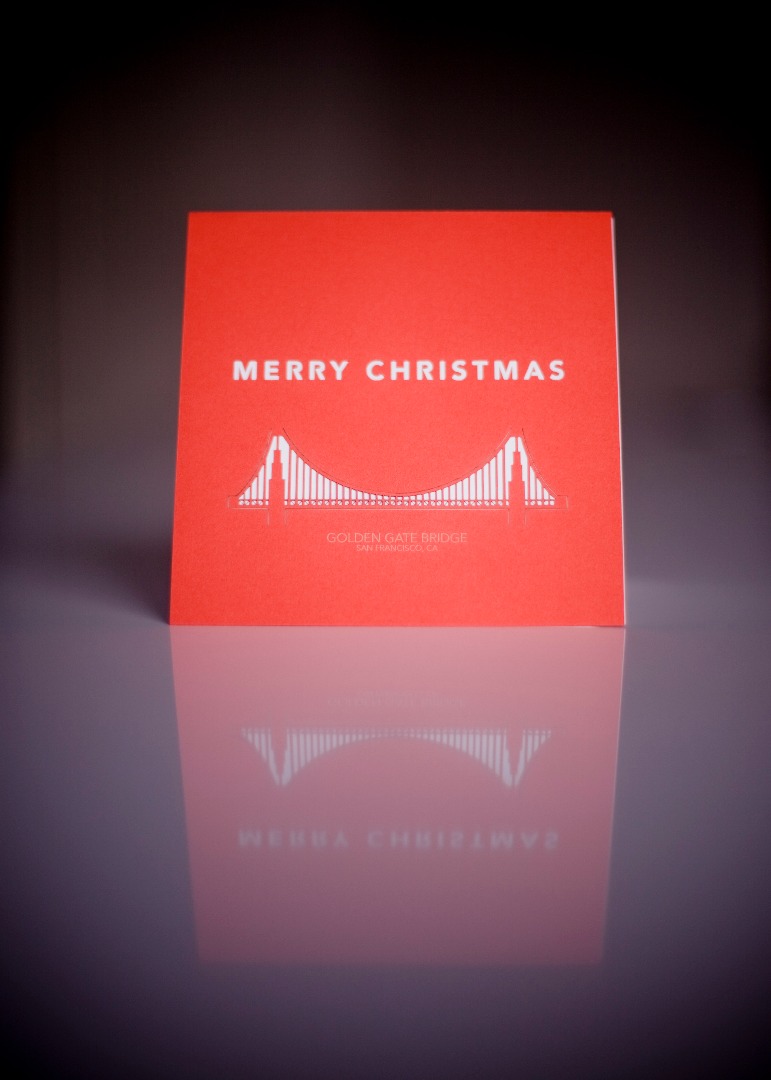
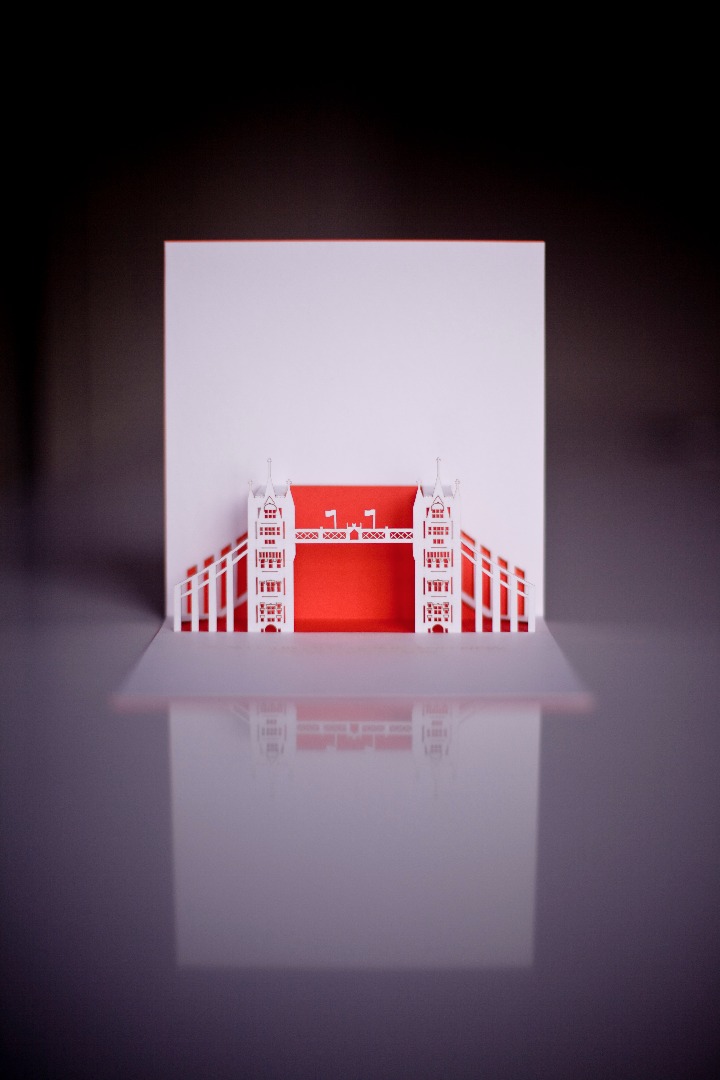
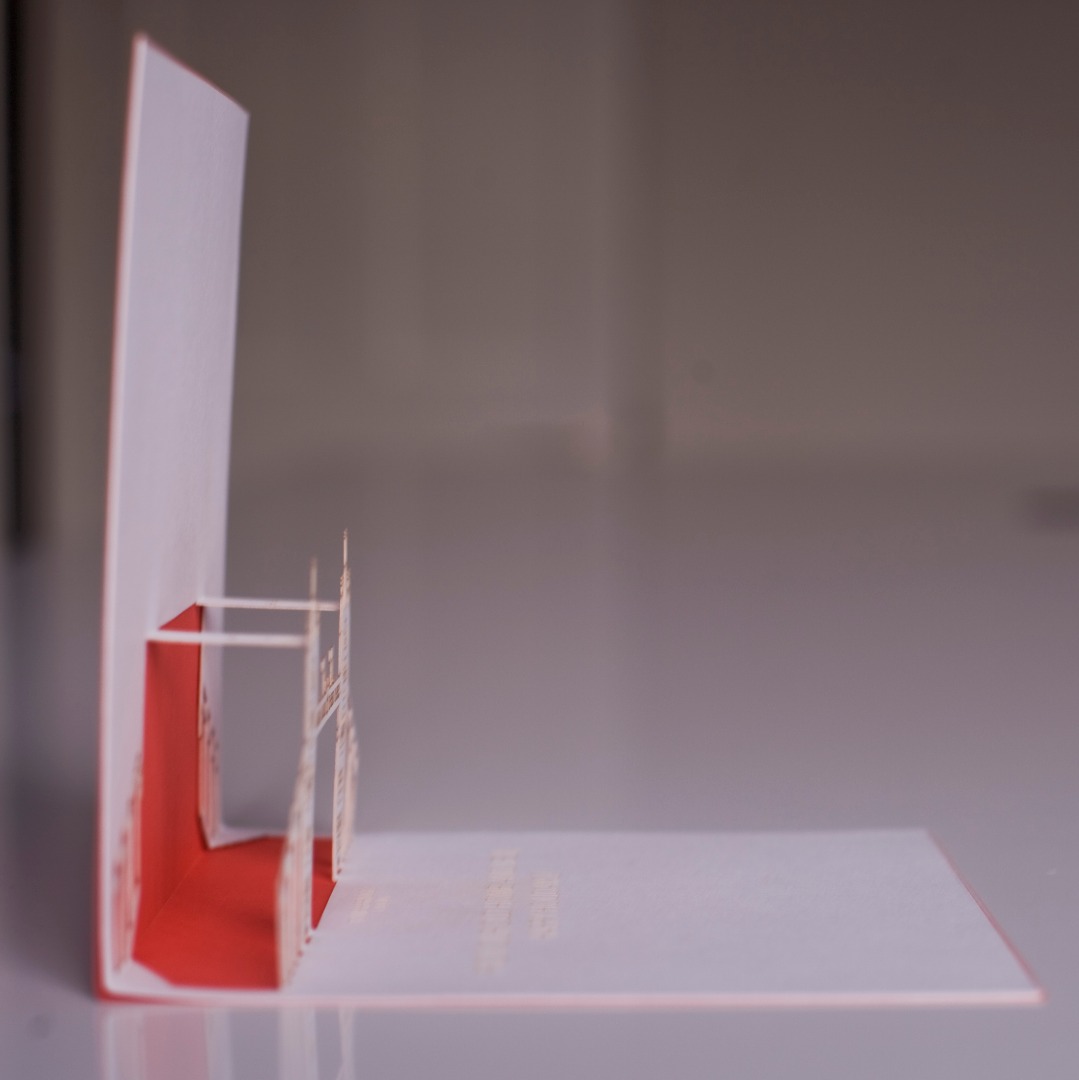
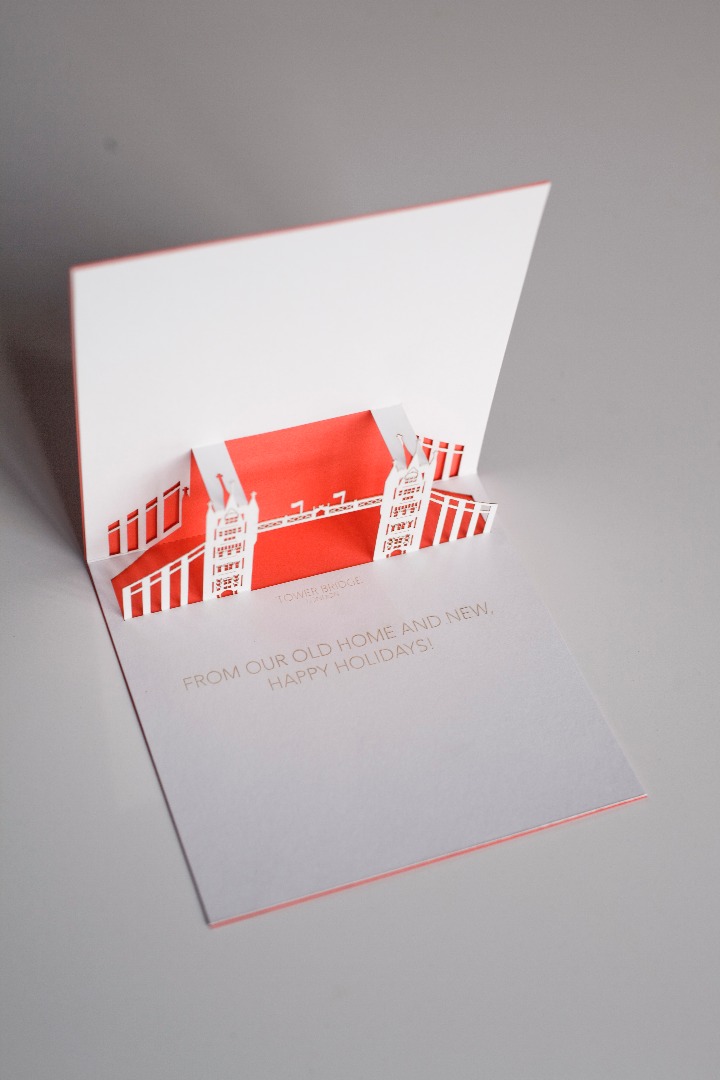
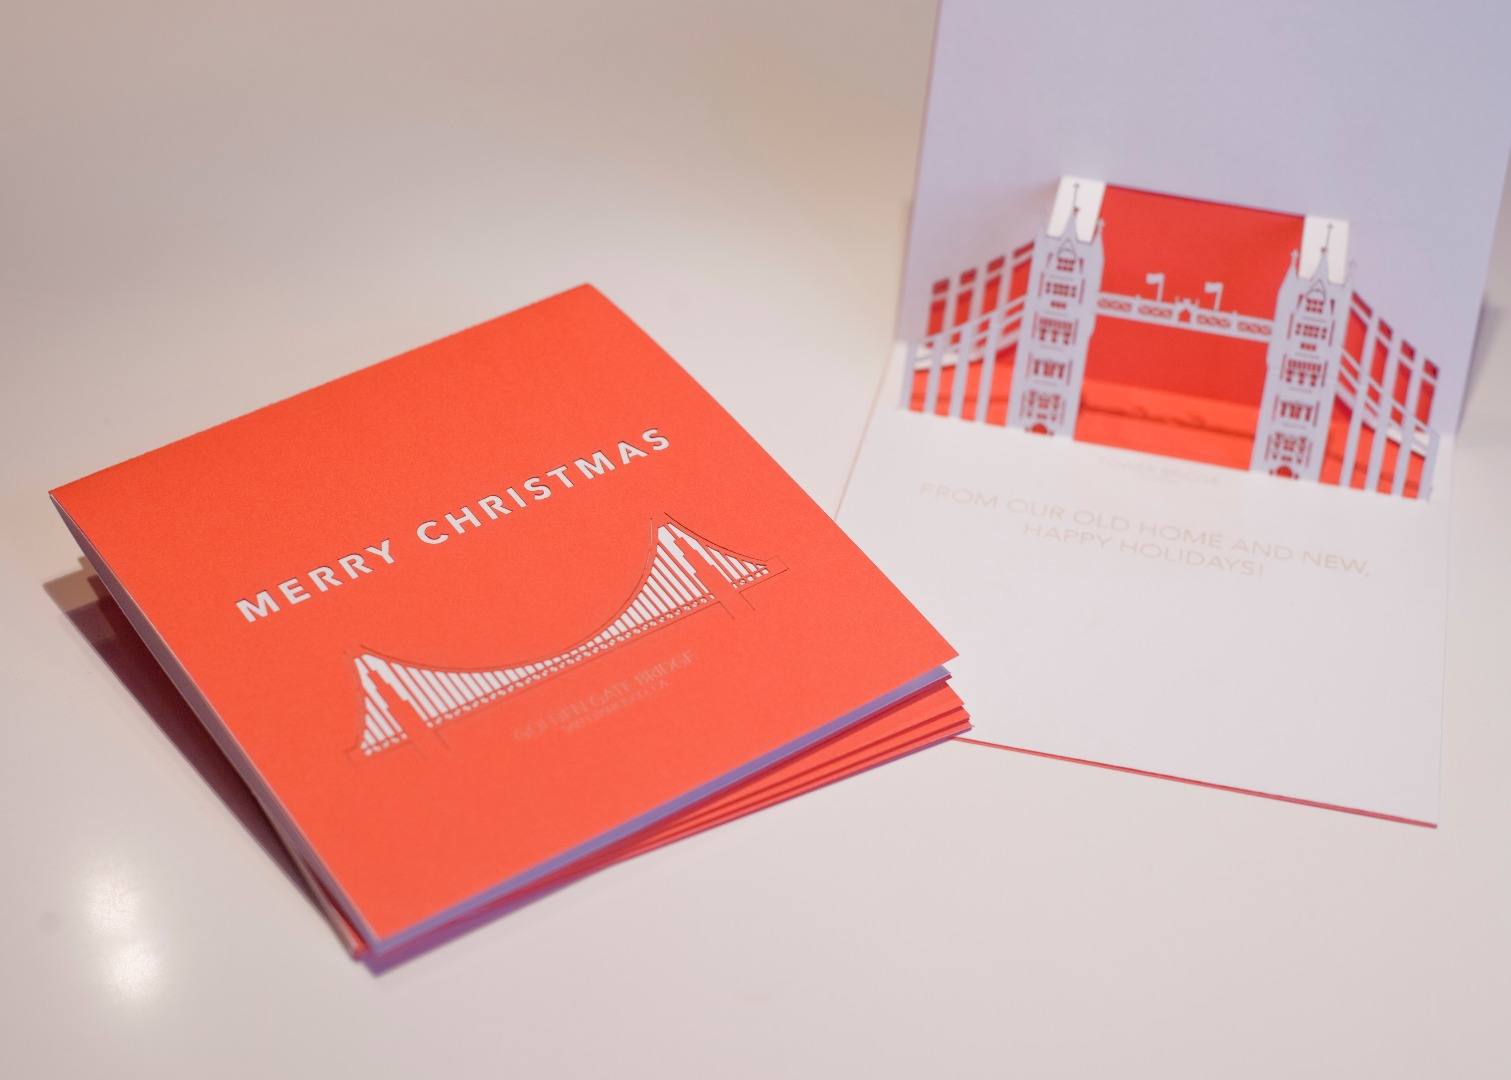
These turned out even better than I could have hoped and were a complete delight to make! I love every part of them and hope this Instructable inspires you to create your own pop-up card - nothing would make me happier than seeing photos of yours in the comments below.
I've noticed that in addition to friends and family having them on display at Christmas, a few special folks decided to frame this beauty and keep it for longer in a shadow box. This is high praise!
This tradition has spanned many years but this was the crown jewel of the bunch and will forever be hard to top.
Lessons Learned
I was familiar with Illustrator and laser cutters going into this project, but learned a lot about paper craft, representation of iconic images, and really thinking through a project like this as I would a woodworking project.
One of the bonus lessons was about time investment. It took roughly 20 minutes to make each card, which turned this into quite the labor of love. If you have access to a laser cutter that you need to pay for by the hour, this might not be the project for you (at least for everyone on your card list!) but it was a really fun one to think through and fully resolve. I felt proud of the craft in the end.
Thanks for reading!