Pop Up Card - Chicken
Covid-19 means that I can no longer use the Maker Space at work. Hence I have had to put my current projects on hold until I have access to the 3D Printers again. So for now will will resort to less techie projects that I can use to intertain my grandaughter via WhatsApp.
Materials
- A4 Paper
- Card
- Glue (use glue stick or some other glue that will not cause the paper to wrinkle)
Tools
- Colour Printer
- Cutting tools i.e. craft knife, sissors or guillotine
Software
Printing

Open the "Chicken.svg" in Inkscape.
By hiding and showing layers, print the following:
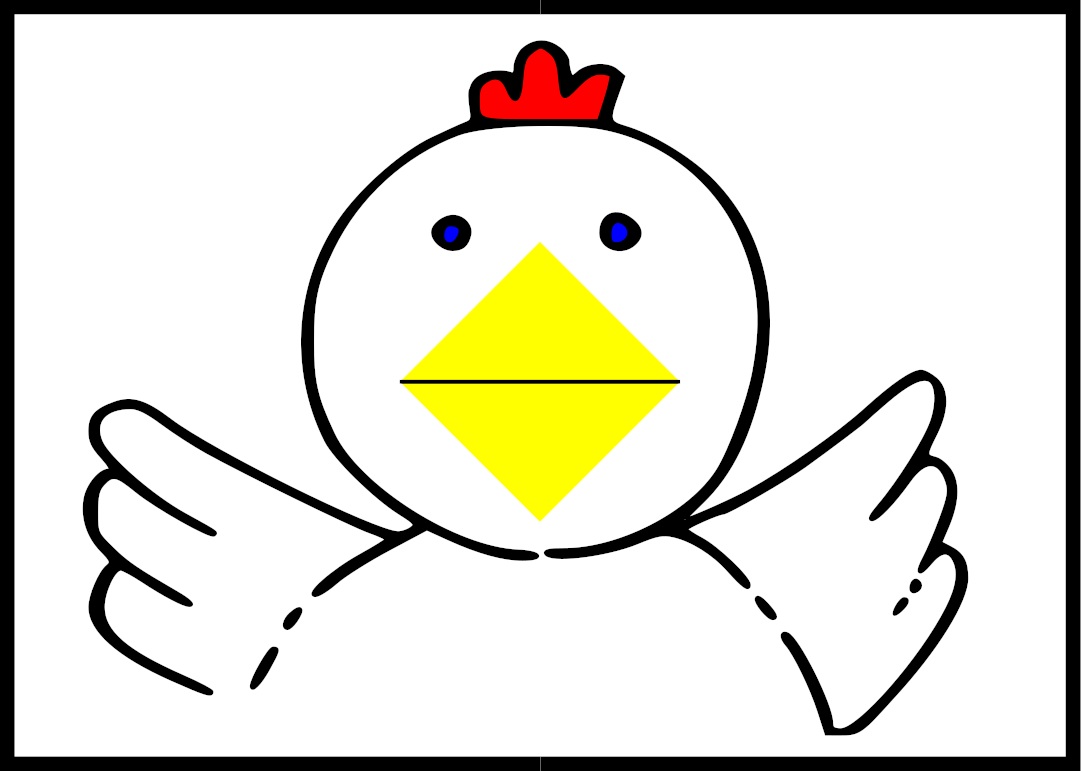
- On the A4 paper print the chicken
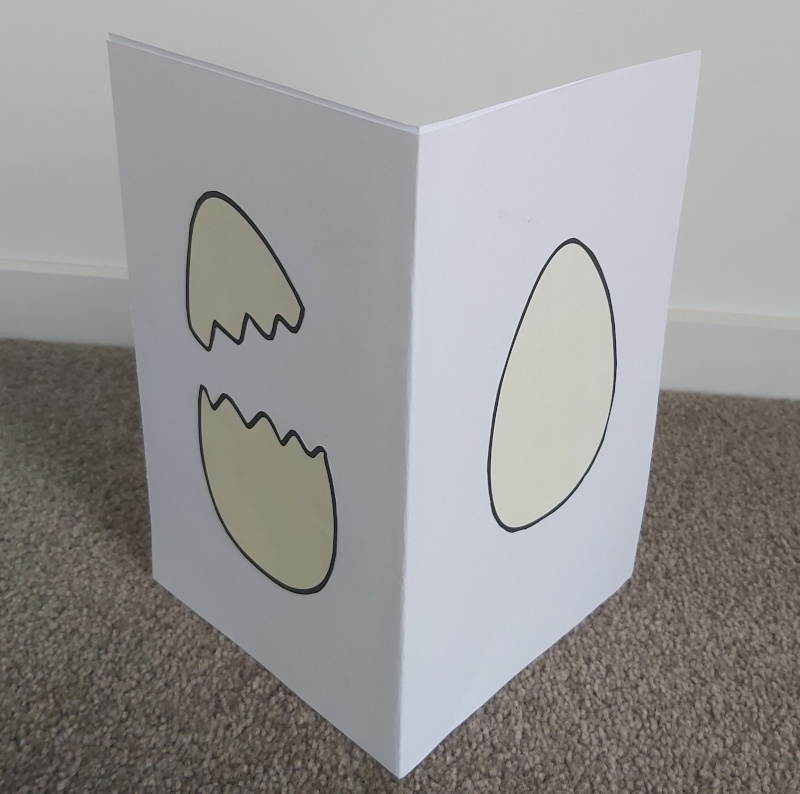
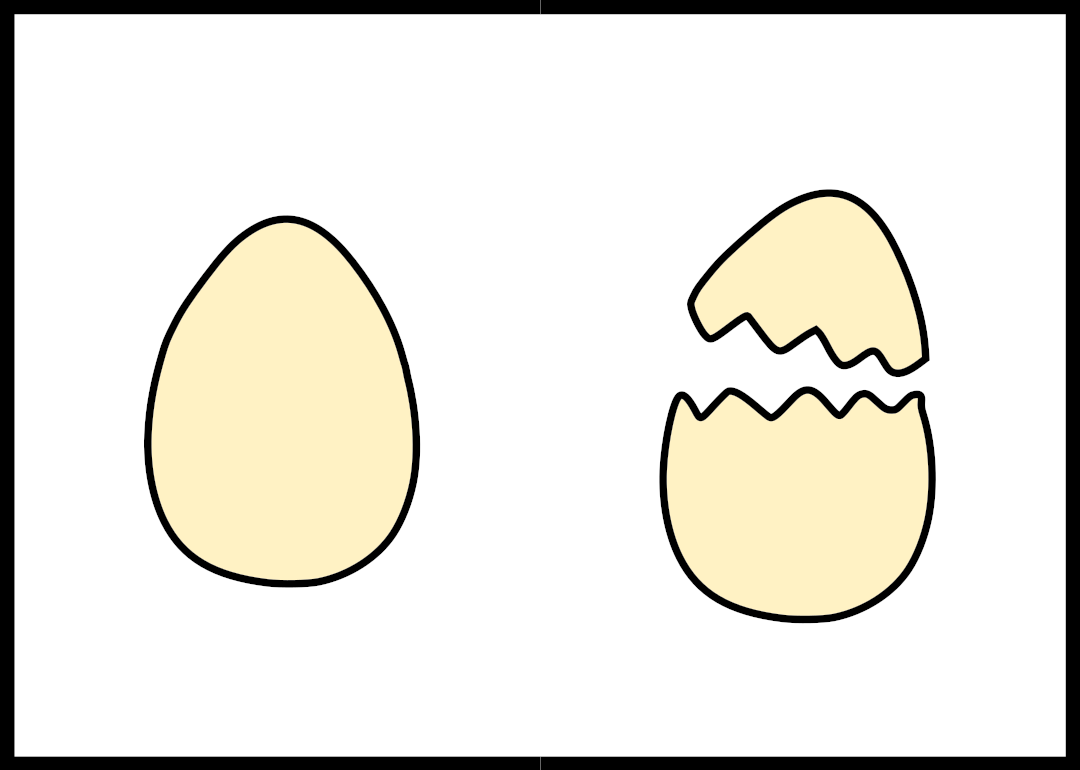
- On the card (which should be slightly larger than A4) print the eggs
- On the reverse side of the card print the pink square
If your card is too thick to go through your printer you can print the eggs and big square on standard paper, cut them out and glue them to the card.
* I found the originonal chicken diagram on http://www.pop-ups.net
Downloads
Creating the Mouth
Refer to the attached PDF to see how to create and form the openning beak.
Downloads
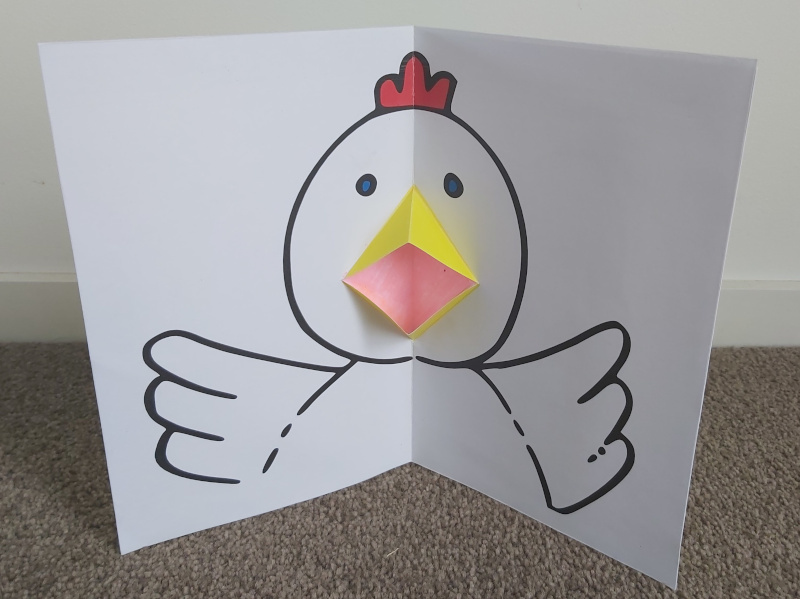
Putting It All Together
Fold the card in half, creating a crease that lies in the same direction as that of the A4 page with the chicken on it. Once the crease has been created, open the card up flat again.
Apply glue to the side of the card that has the pink square. The glue should be applied everywhere except on the pink square.
Line the card and the A4 page up so that the verticle creases line up as well as the centres of the yellow and pink squares (the pink square is slightly larger than the yellow one).
Apply pressure until the glue has dried.
Fold the card in half, trimming the edges so that everything is neat and square.
Volia, you have the story of an egg that hatches to reveal a chicken.