Pop Art Typography Pie Slice Boxes
by andimadethings in Craft > Paper
1119 Views, 13 Favorites, 0 Comments
Pop Art Typography Pie Slice Boxes
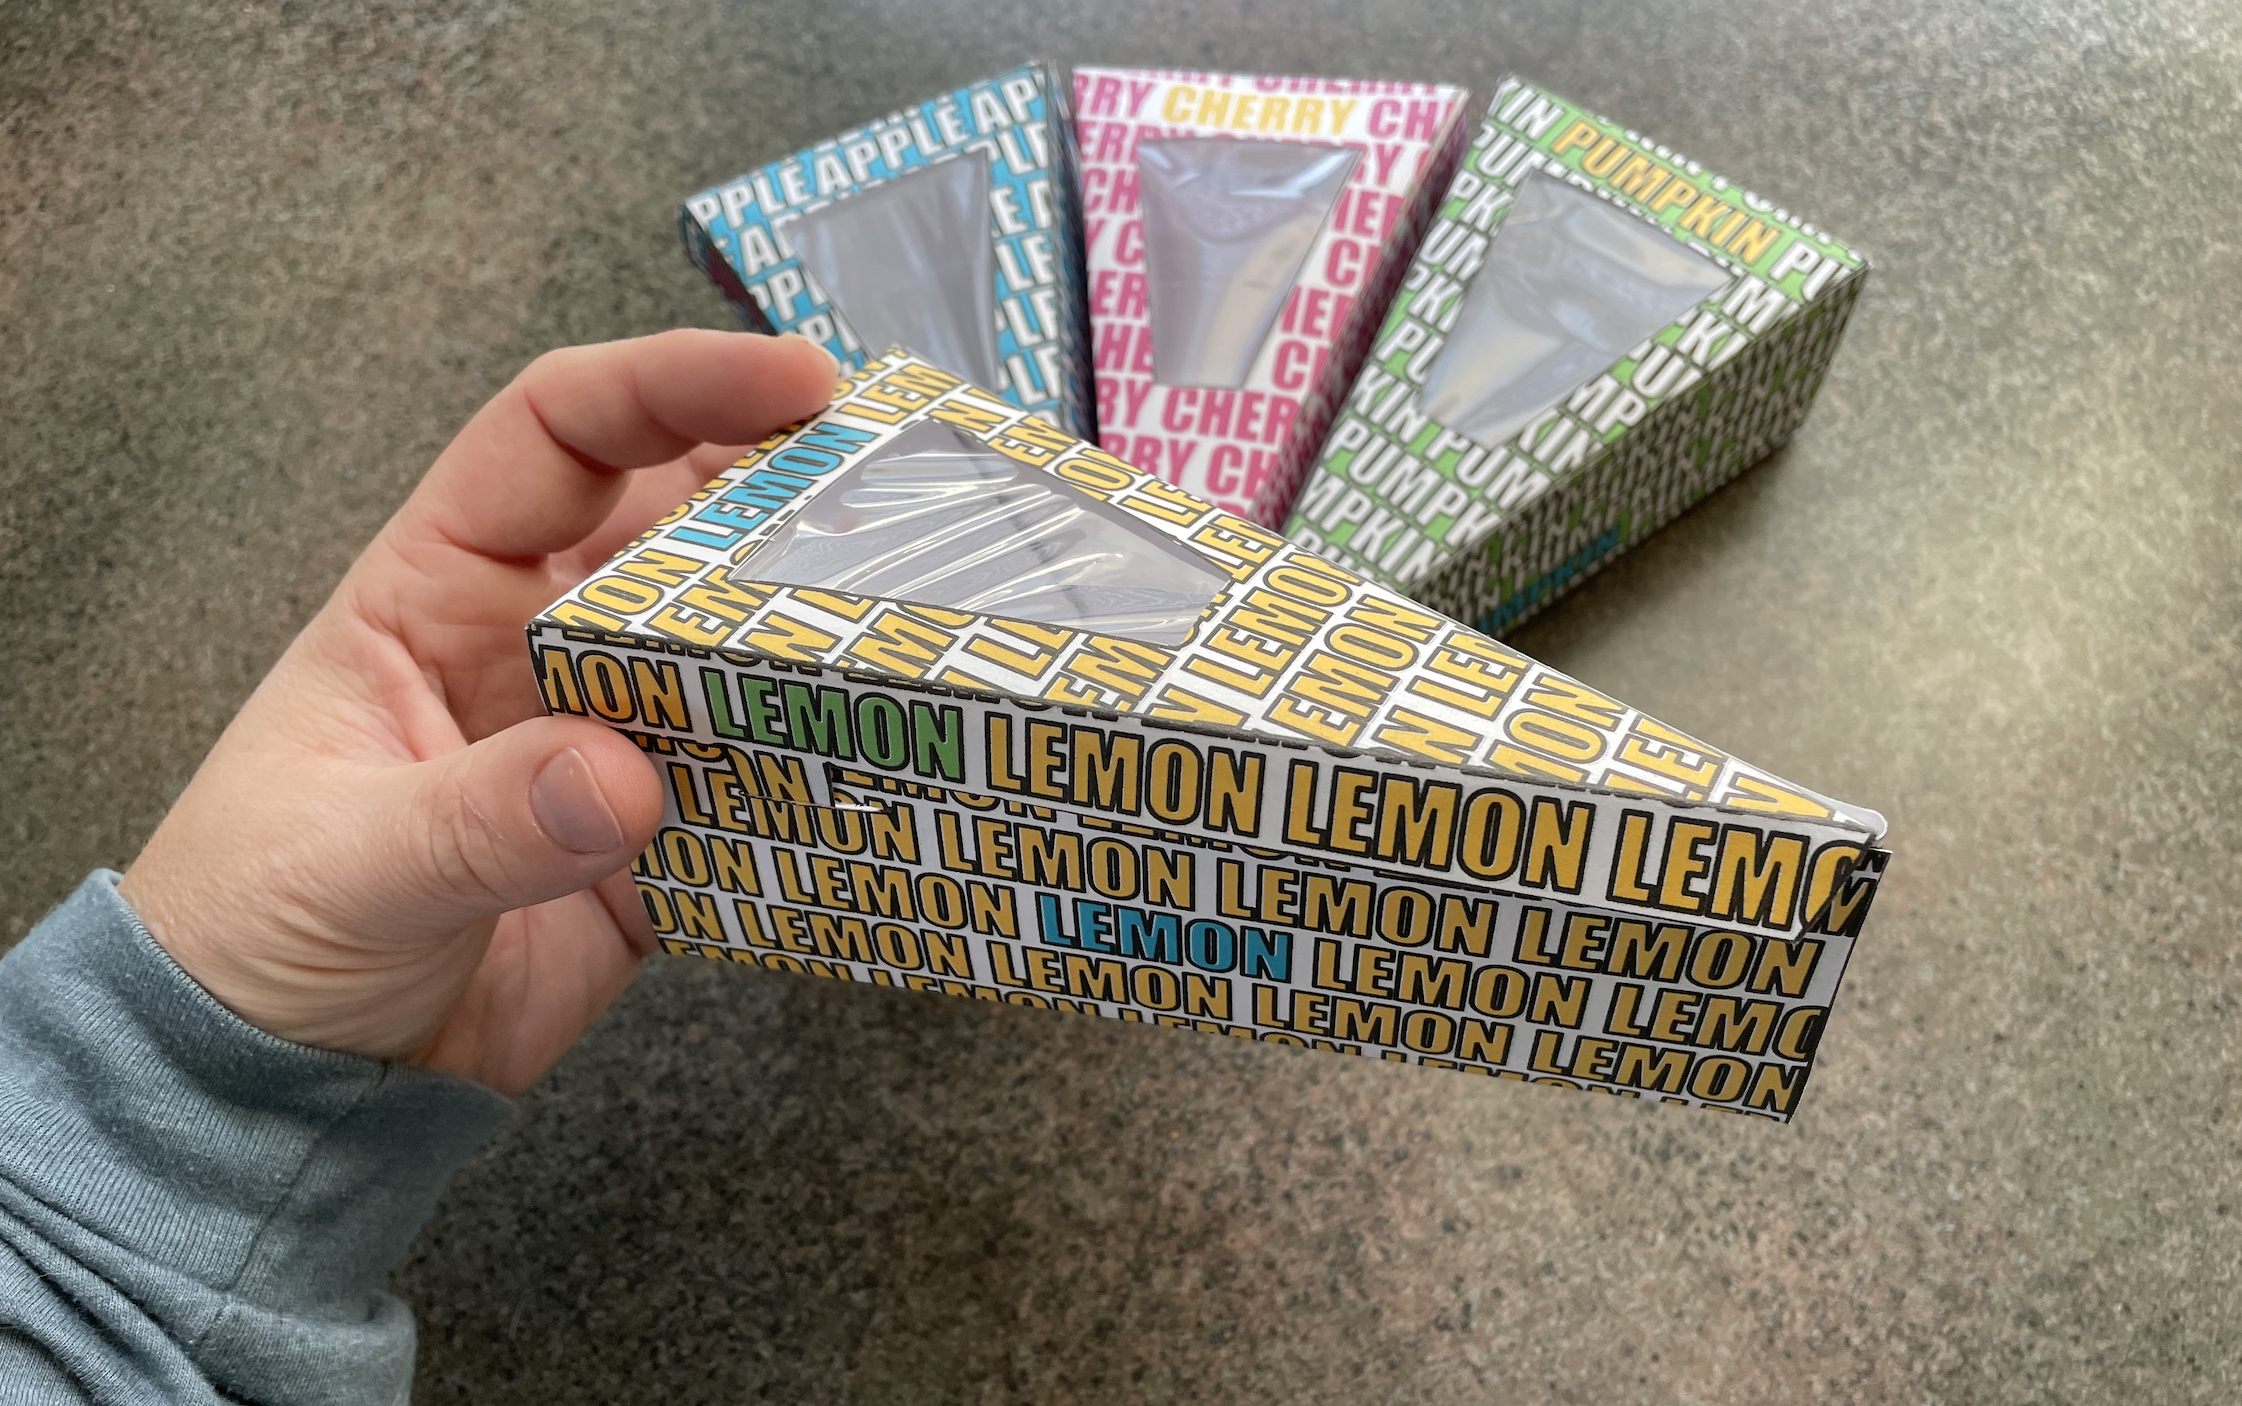
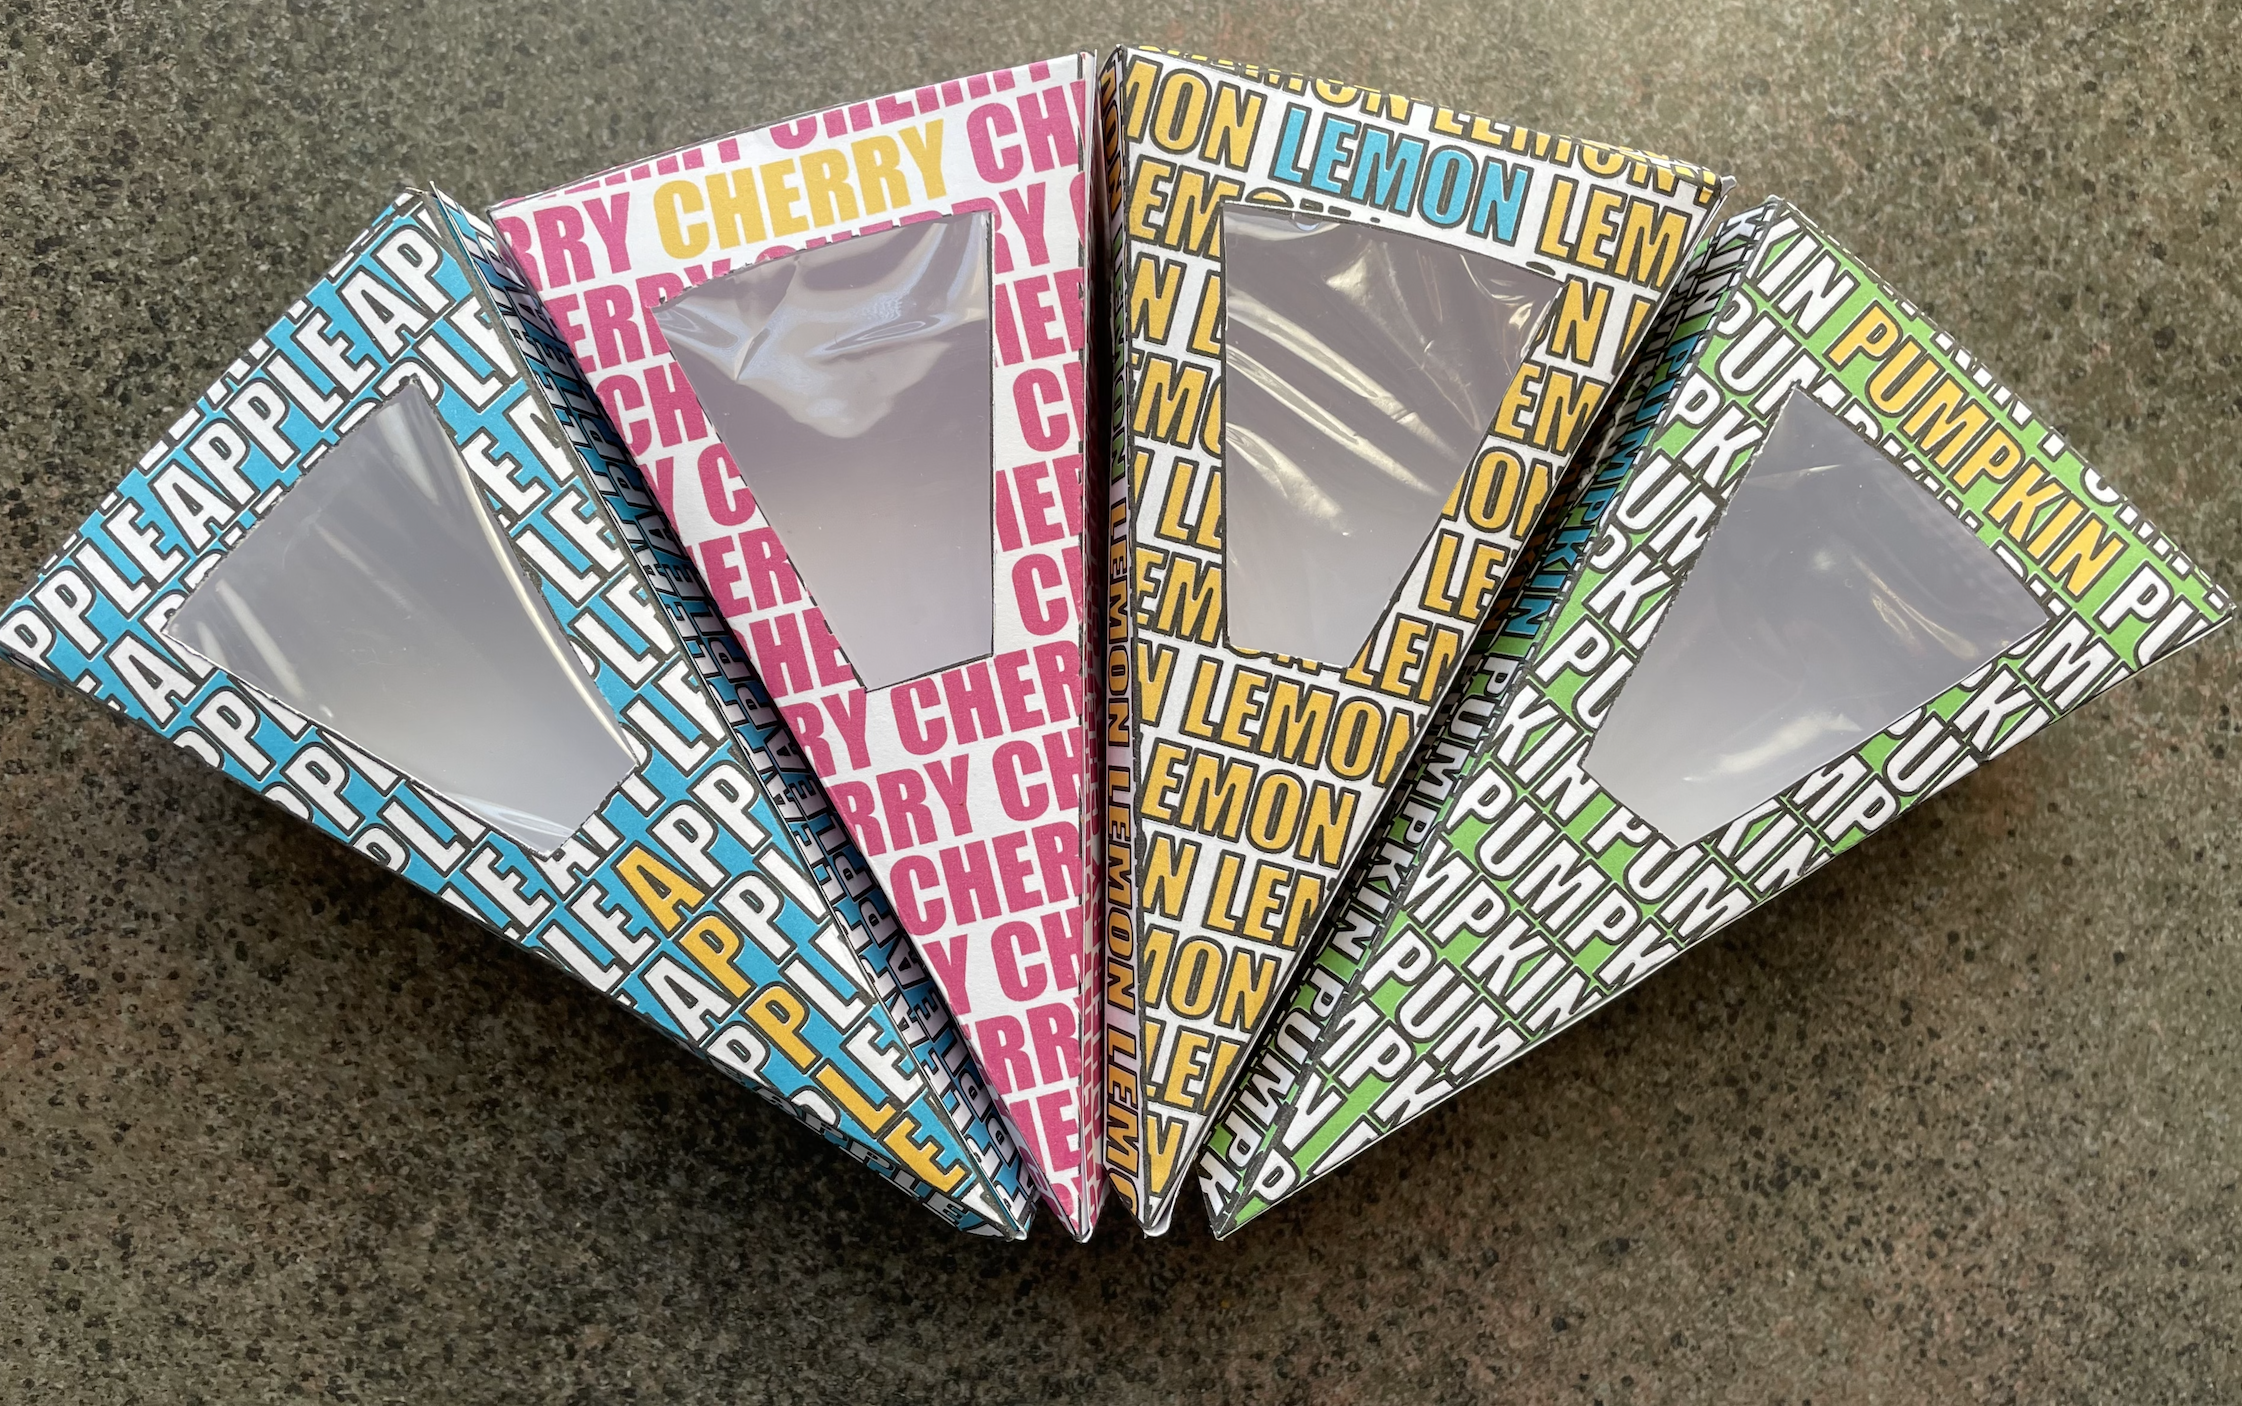
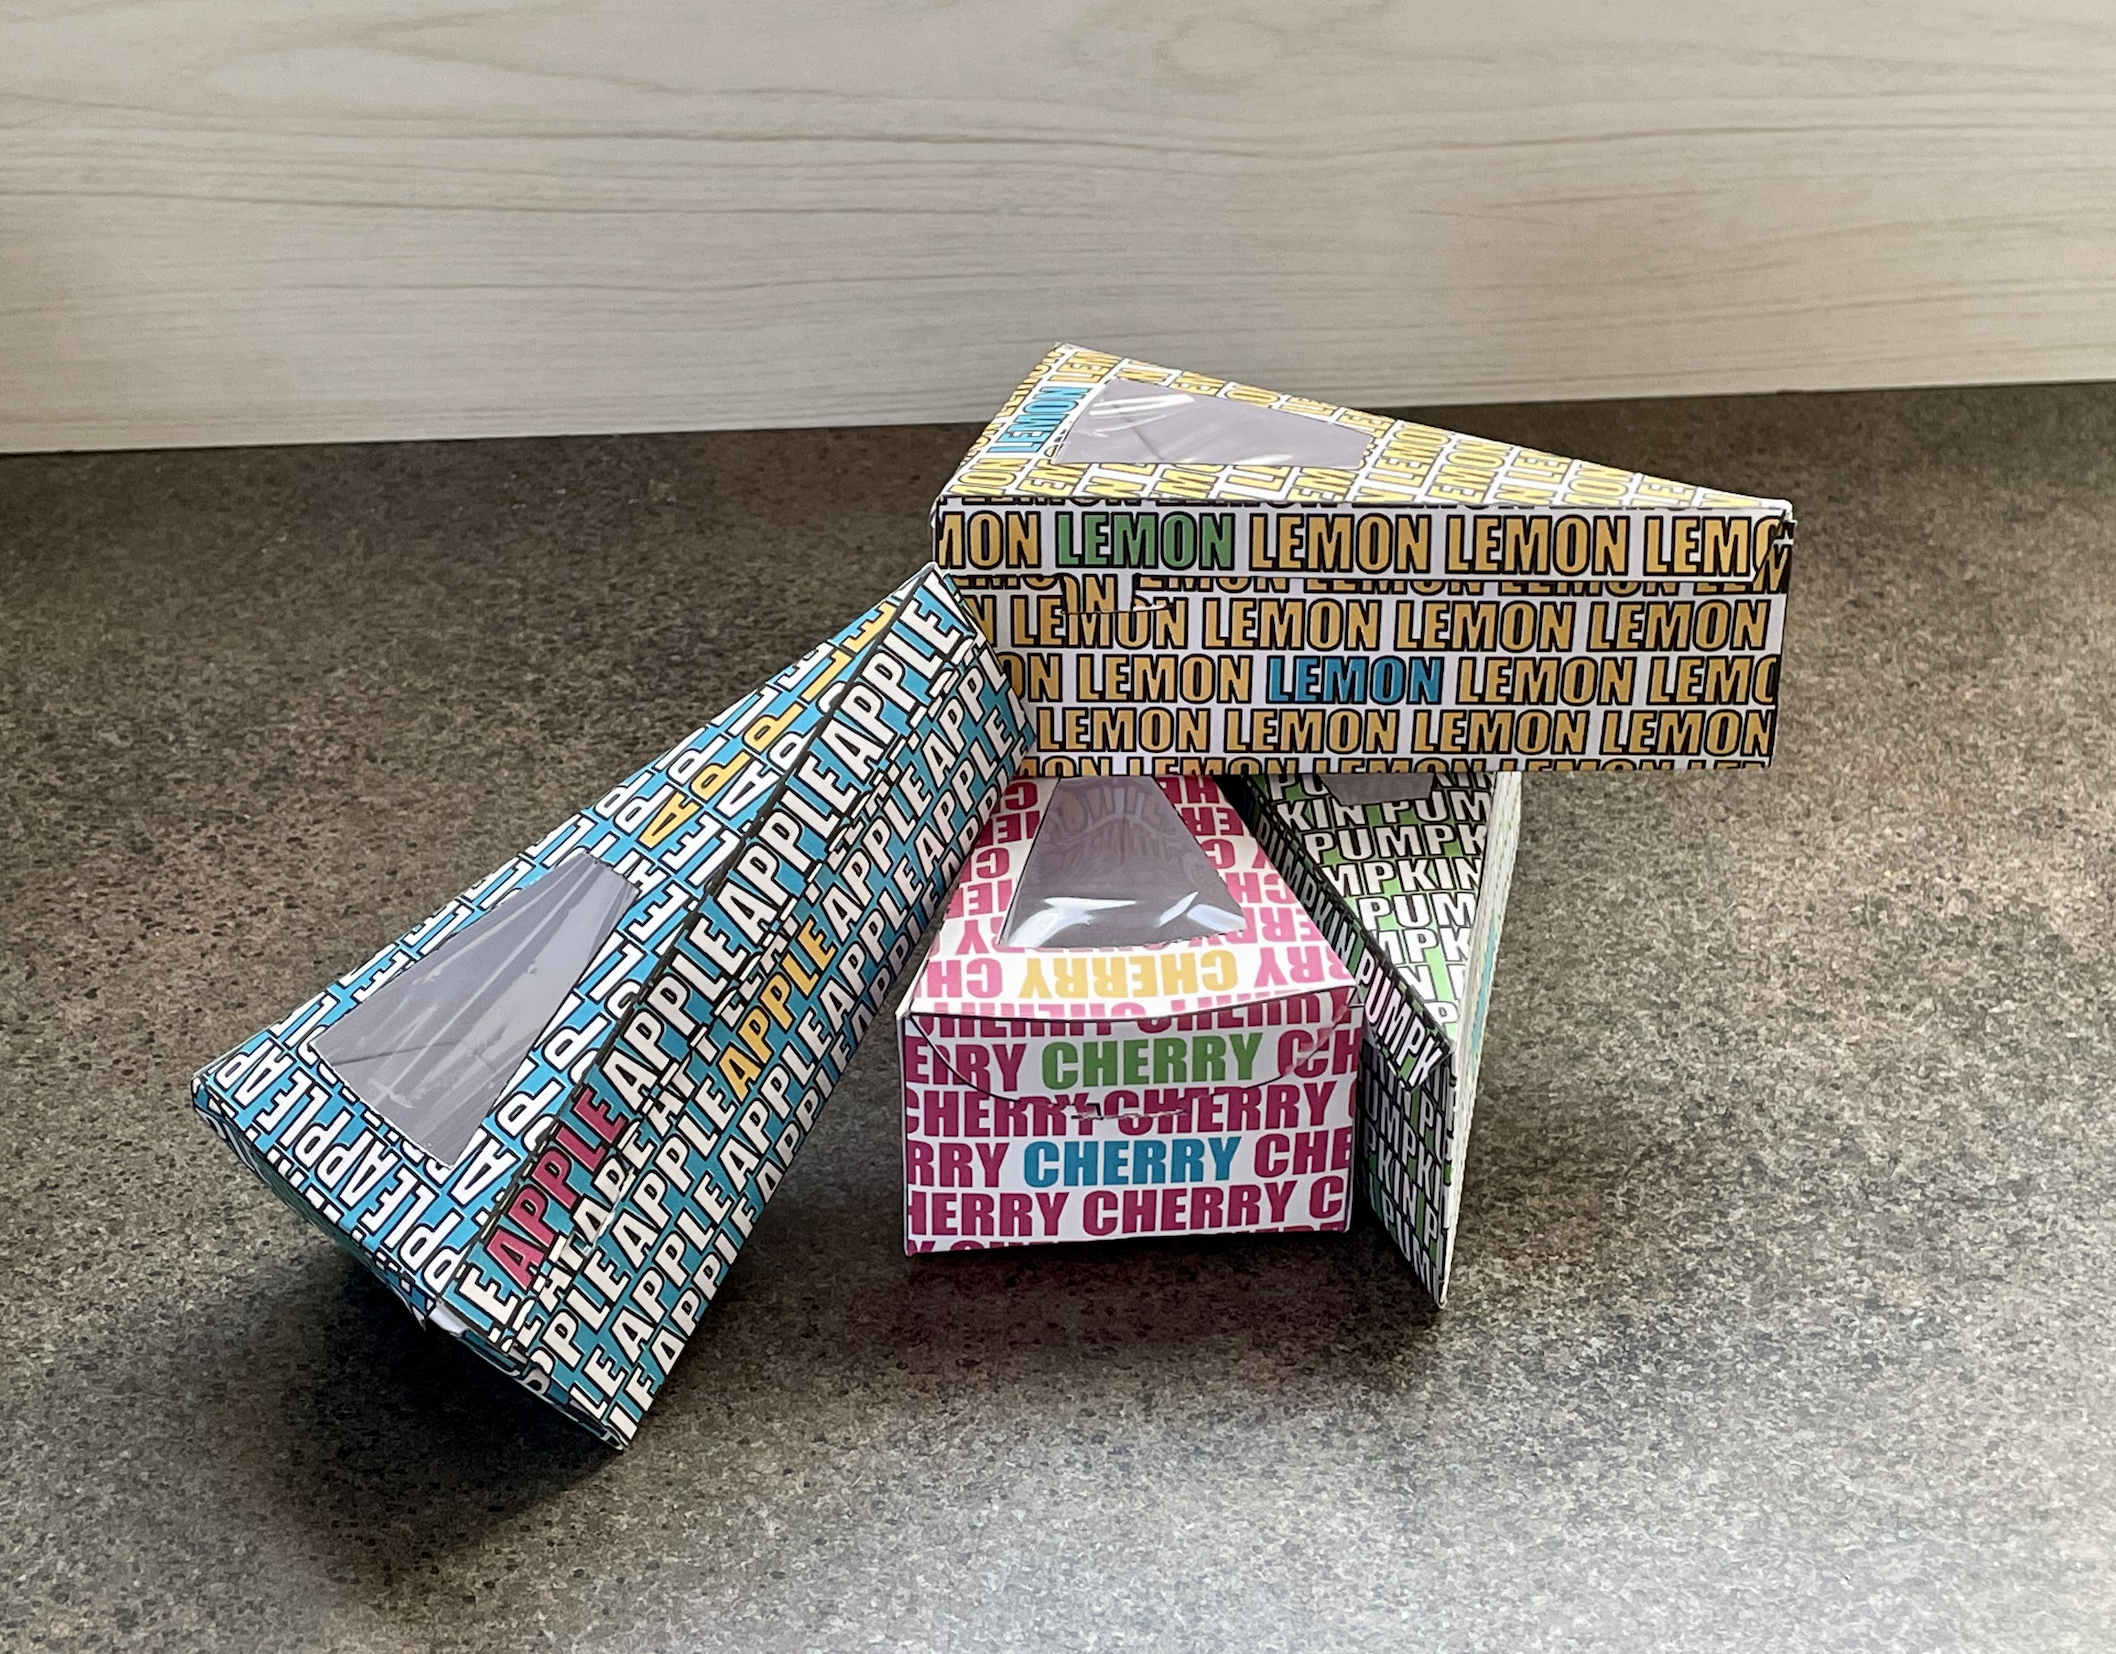
These pie slice boxes are a perfect way to package up your favorite pie this Pi Day!
This project does require some specialty software to edit the file, but the software is free to download and I'll walk you through all the steps. Don't be intimidated by the number of steps. I broke the process down into little steps to make it easier to follow along. Once you get the idea of the project you can make one of these in less than five minutes!
If you would just like to print the pumpkin box design that I show you how to make in this Instructable, you can skip right to step 15 and follow the printing and assembly directions from there.
But, if you're up for a tutorial on how to create whatever flavor of pie you'd like, or any saying you can dream up to put on the box, follow along and I'll take you through making these typography pop art pie slice boxes. This file is designed so you can print and assemble the box using just a regular home printer and scissors.
Supplies
You will need:
-Silhouette Studio Software. You don't need a Silhouette machine to use the software, you can download the software for free and use it to design in. You can find the software at silhouetteamerica.com/software.
-cardstock and regular printer paper
-acetate sheet or zip top freezer baggie
-wax paper
-tape
-Xacto knife or something similar
-glue stick
-scissors
-printer
-template
Download the Silhouette Software and Open the Template
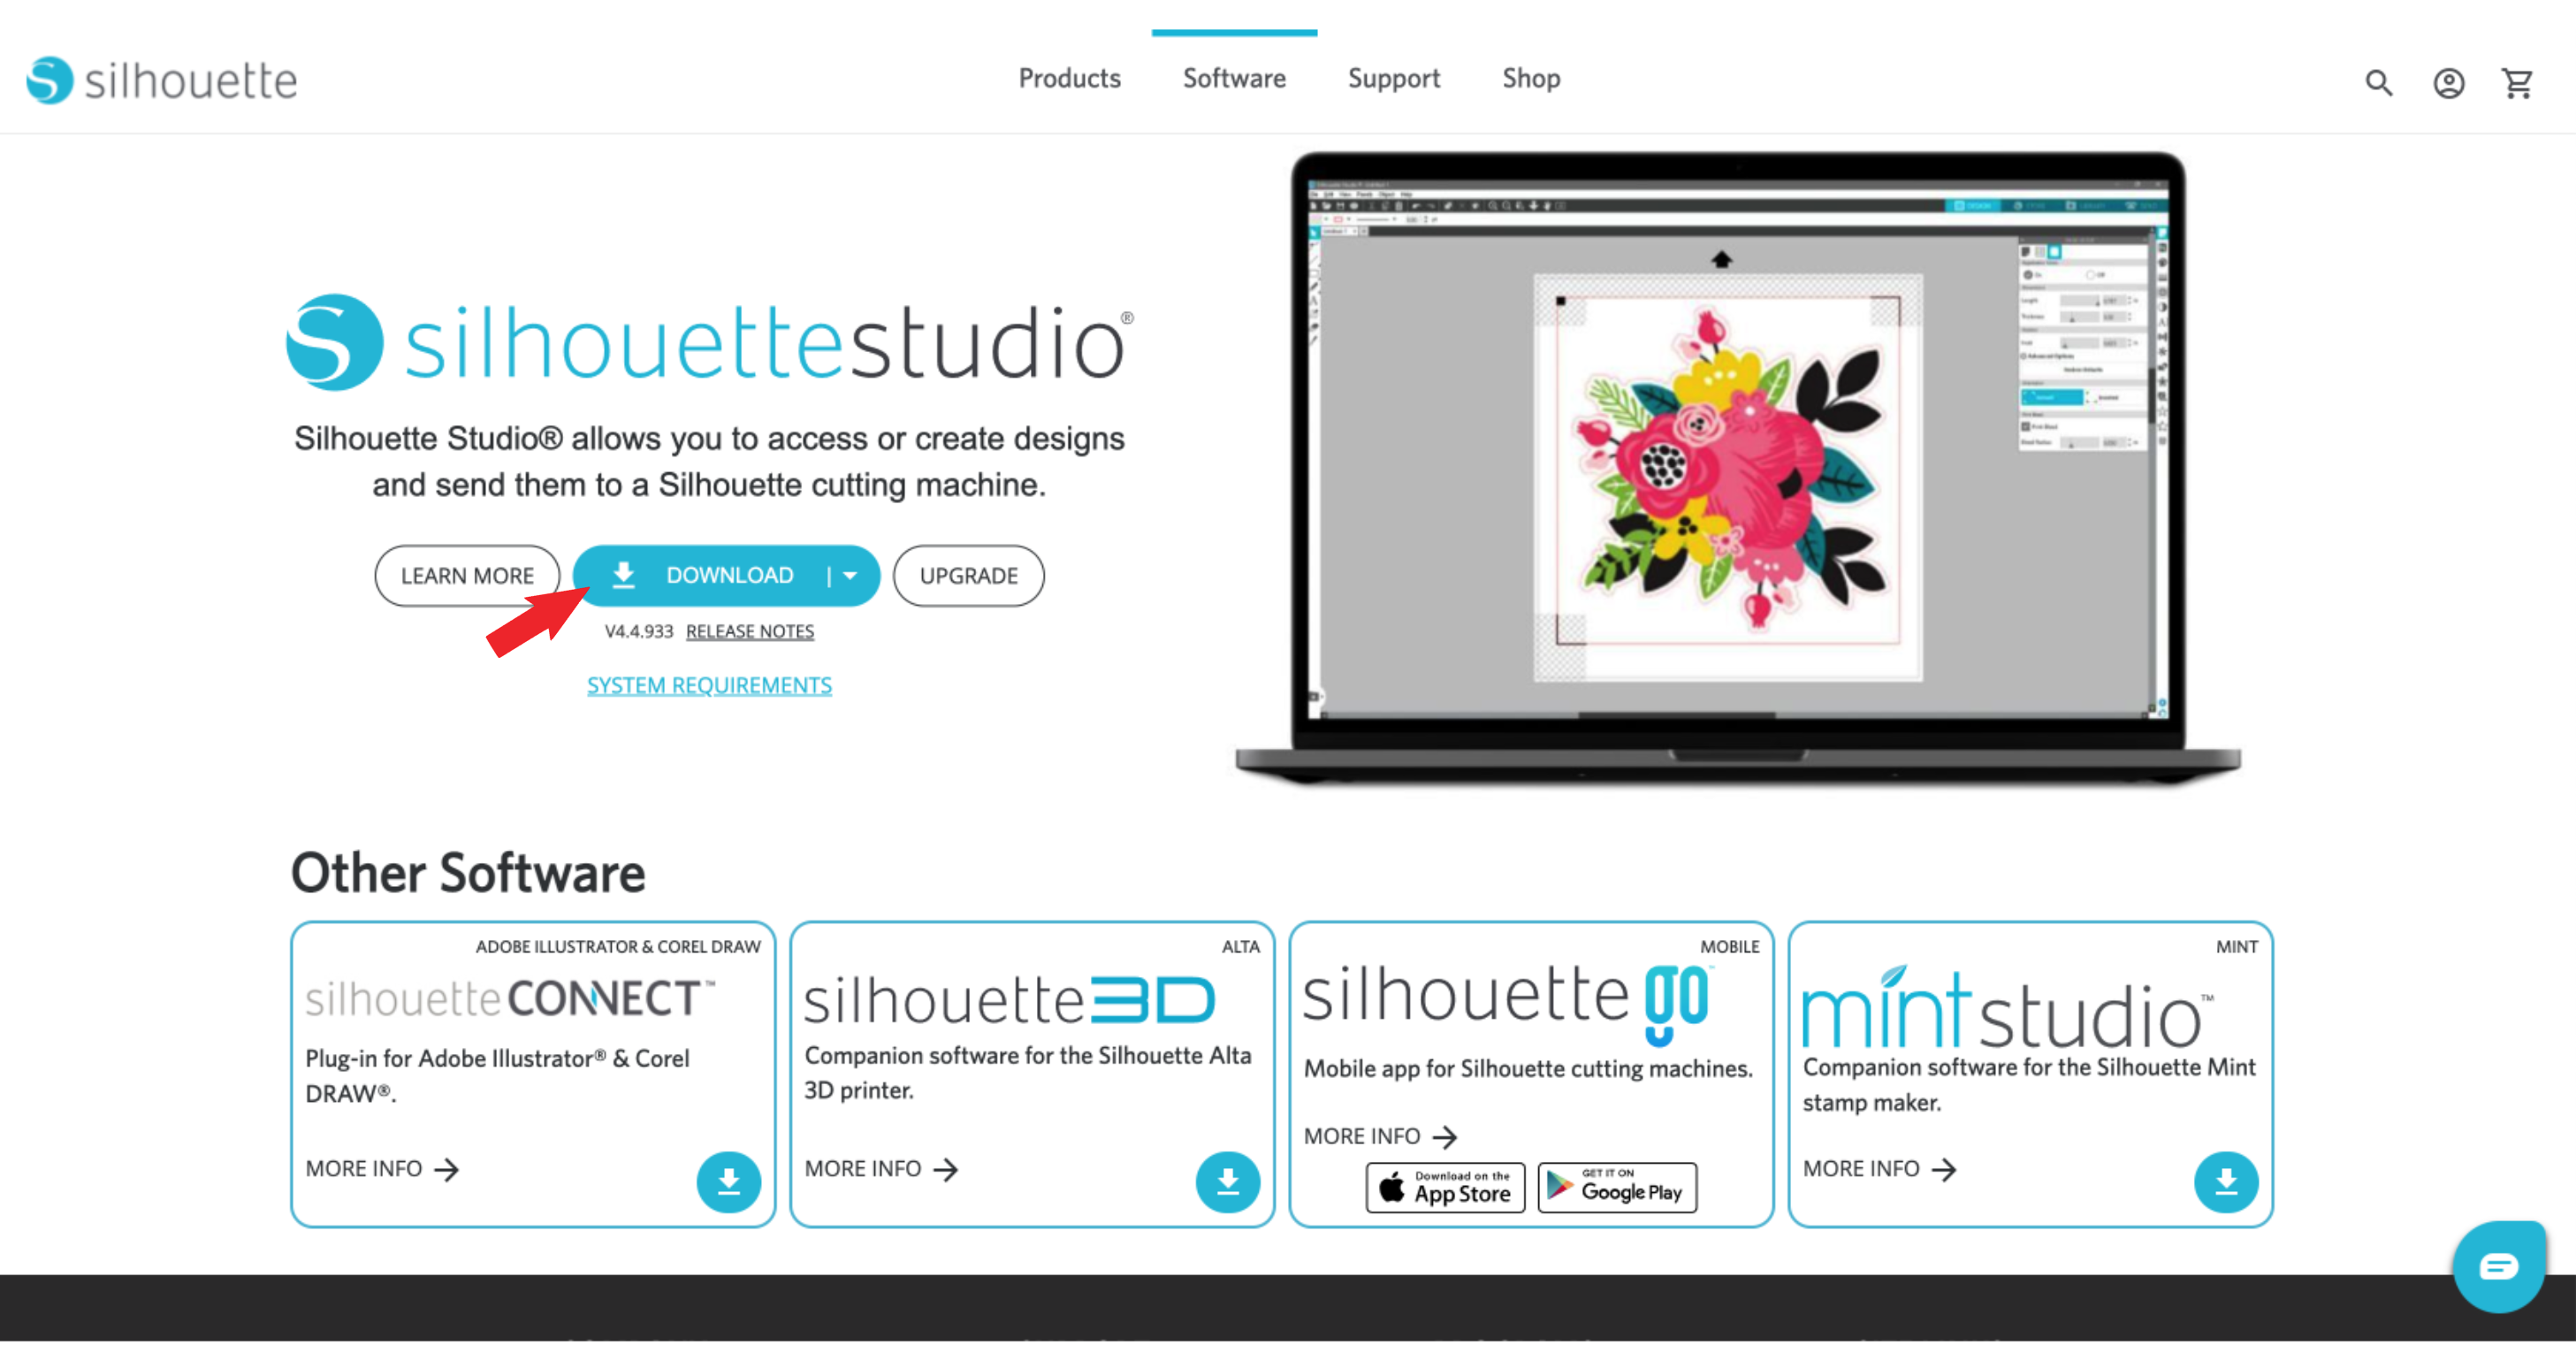
You will need the Silhouette Studio software for this project. Silhouette America is a crafting company that manufacturers die cutting machines such as the Silhouette Cameo. The Cameo is an electronic machine that you can use to cut paper, vinyl, heat transfer, etc. The machine is great for crafting but you don't need to own a machine to use the software. Once you install the program, you don't need an internet connection to use it either.
Let's get started!
Go to SilhouetteAmerica.com/Software and download the software. There are options for both PC and Mac users, so click the blue download button and pick the right one for your computer.
Once you have the software installed, open Silhouette Studio and then open the Typographic Pop Art Pie Slice Boxes file. Download the file here: https://app.box.com/s/imsjb0lbyjn5wly5jwcmx9p2mpqrvlls Box will not show a preview of this file so don't be alarmed, that is expected. Unfortunately Instructables won't let me attach the file directly because it's a Silhouette Studio file and the file format isn't recognized.
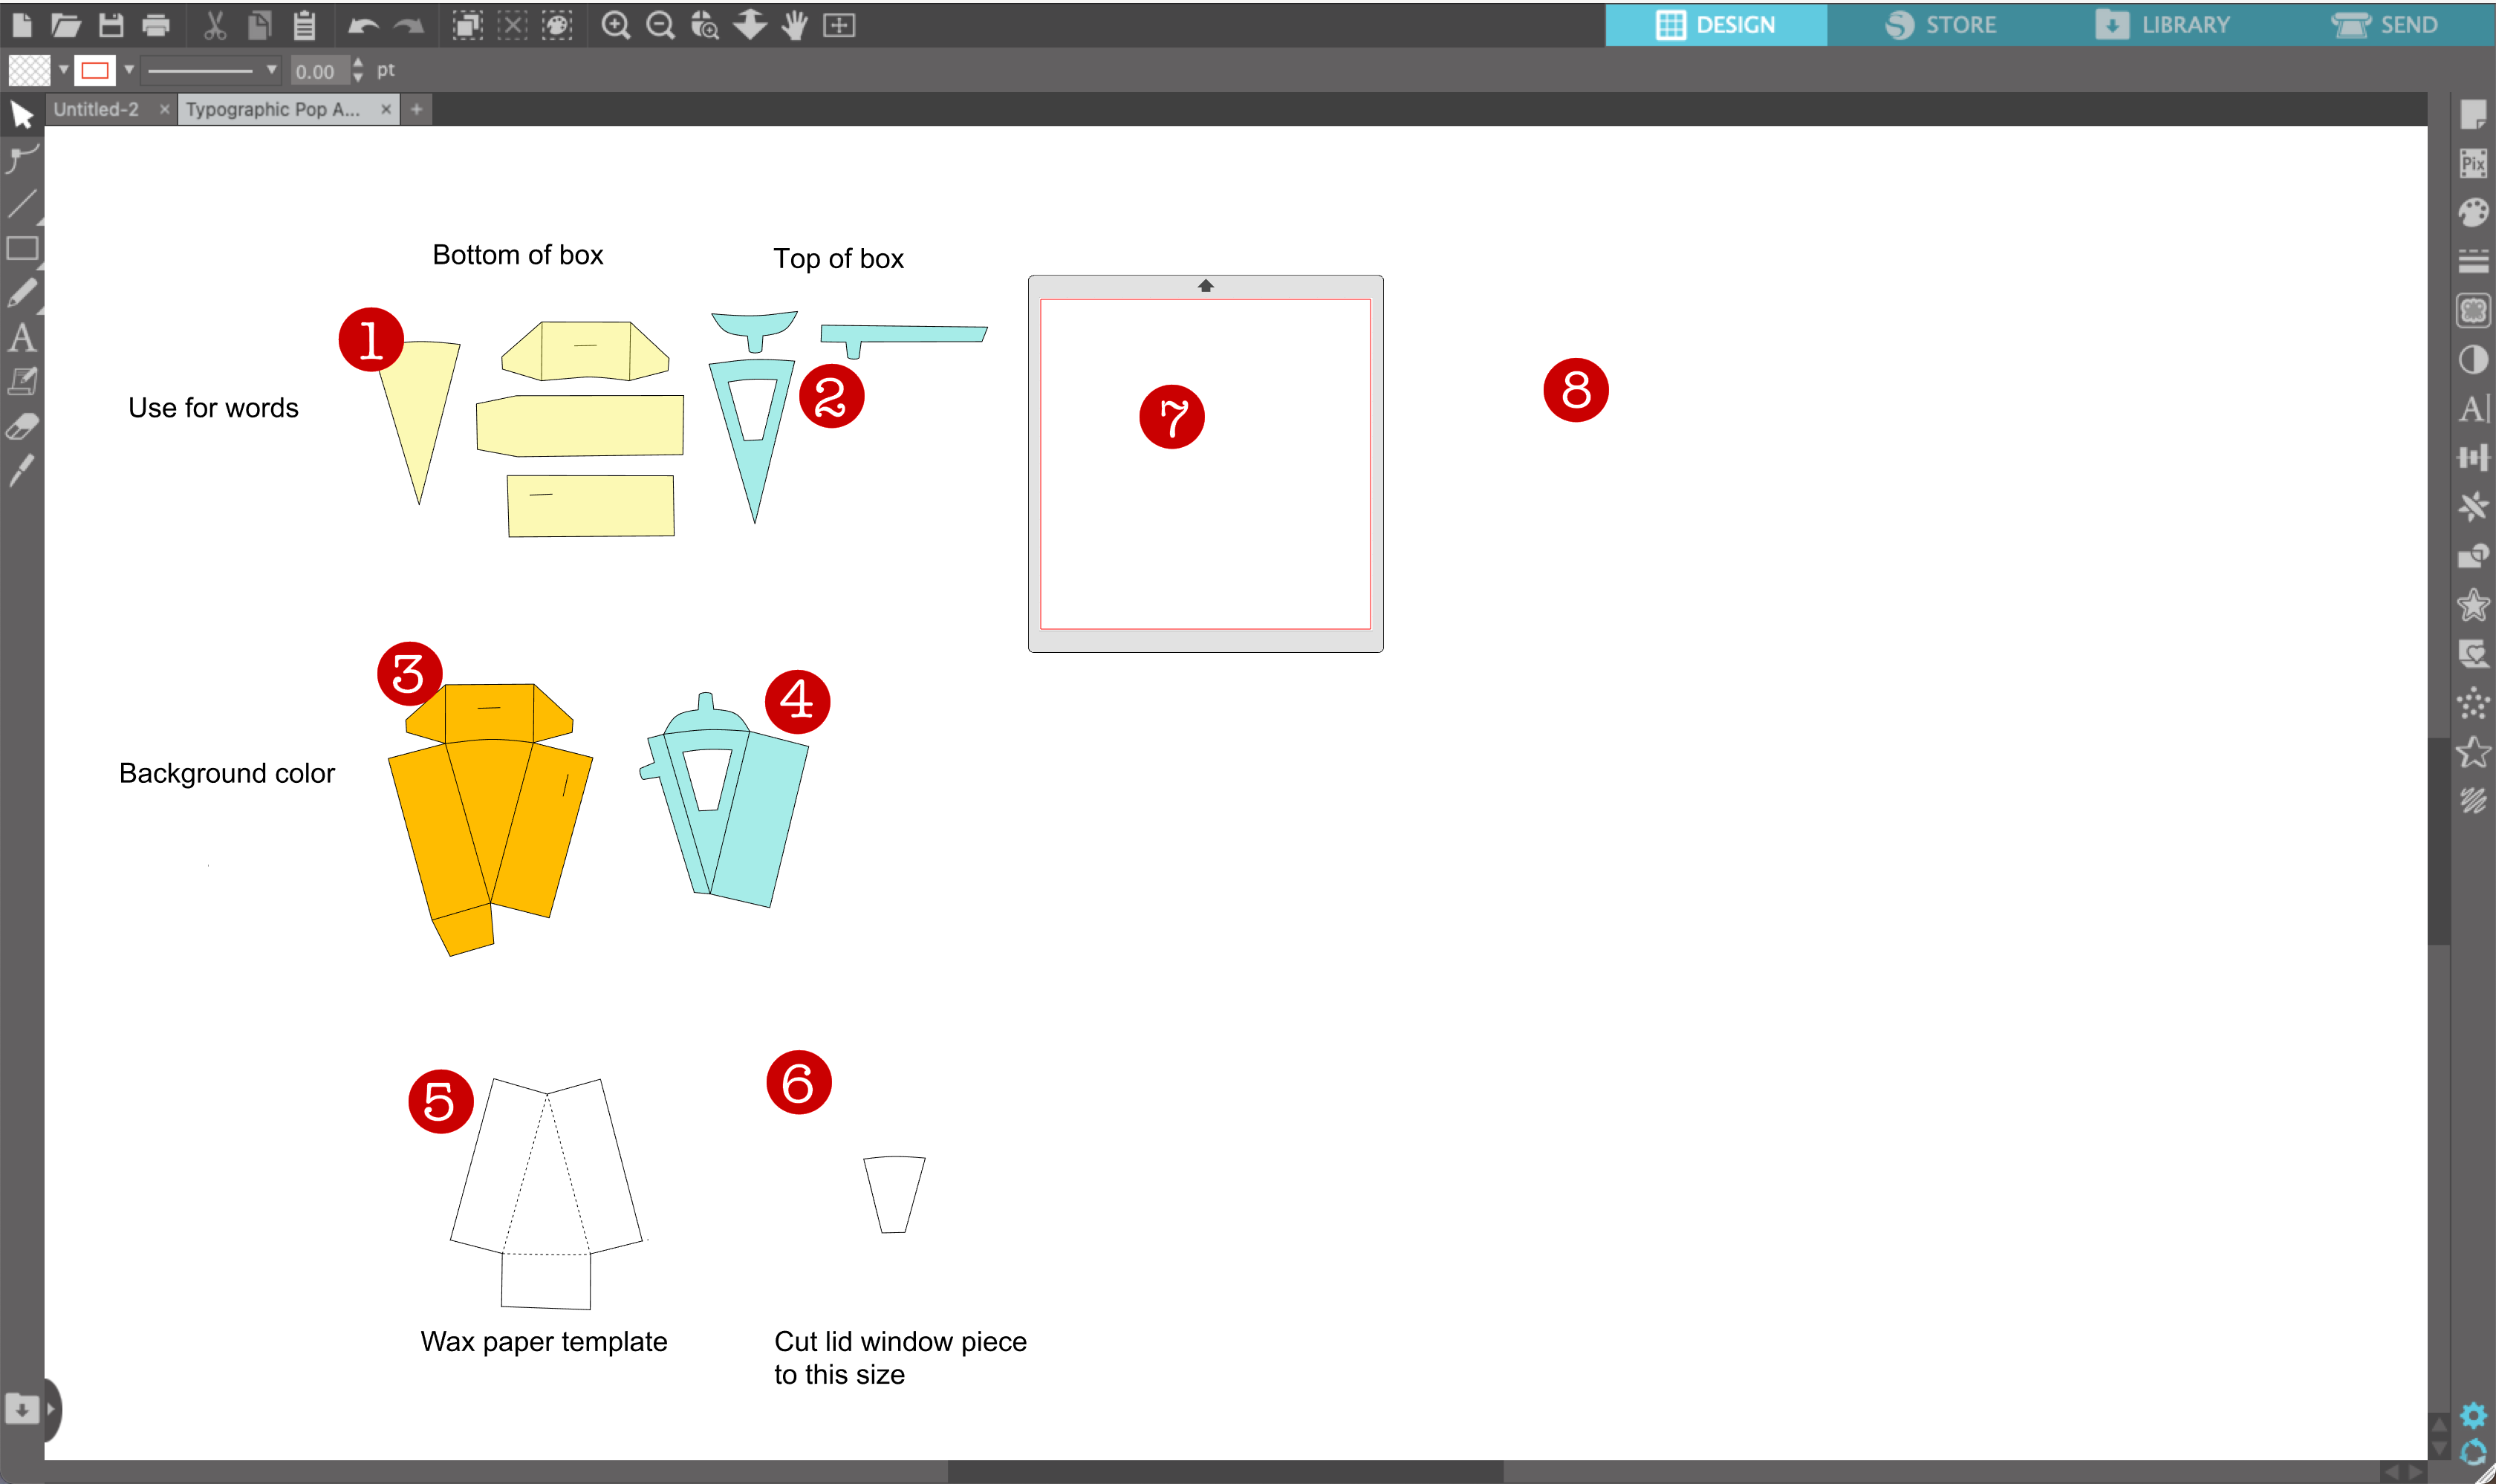
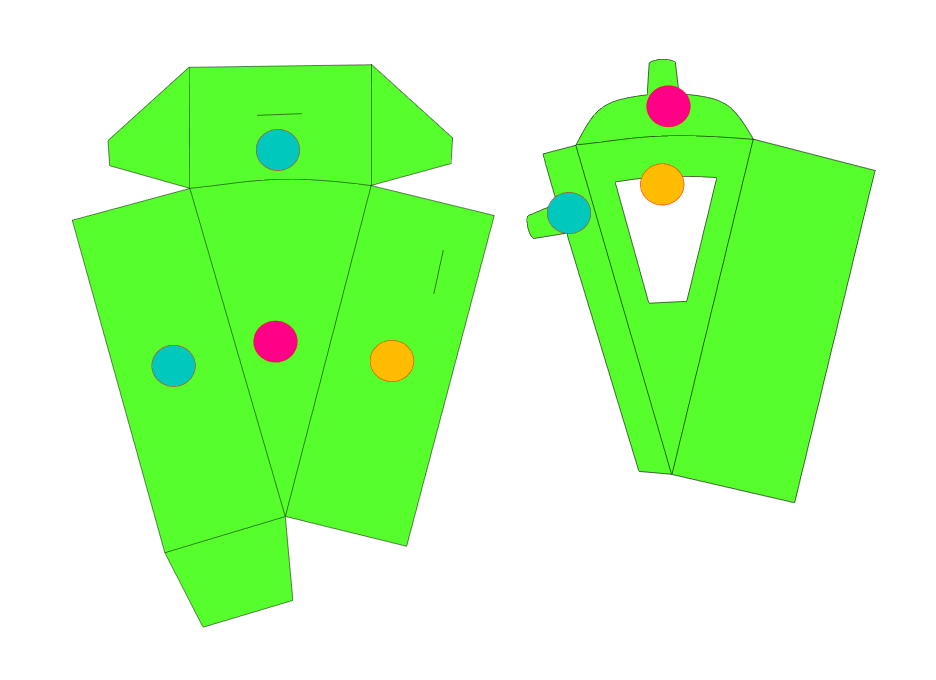
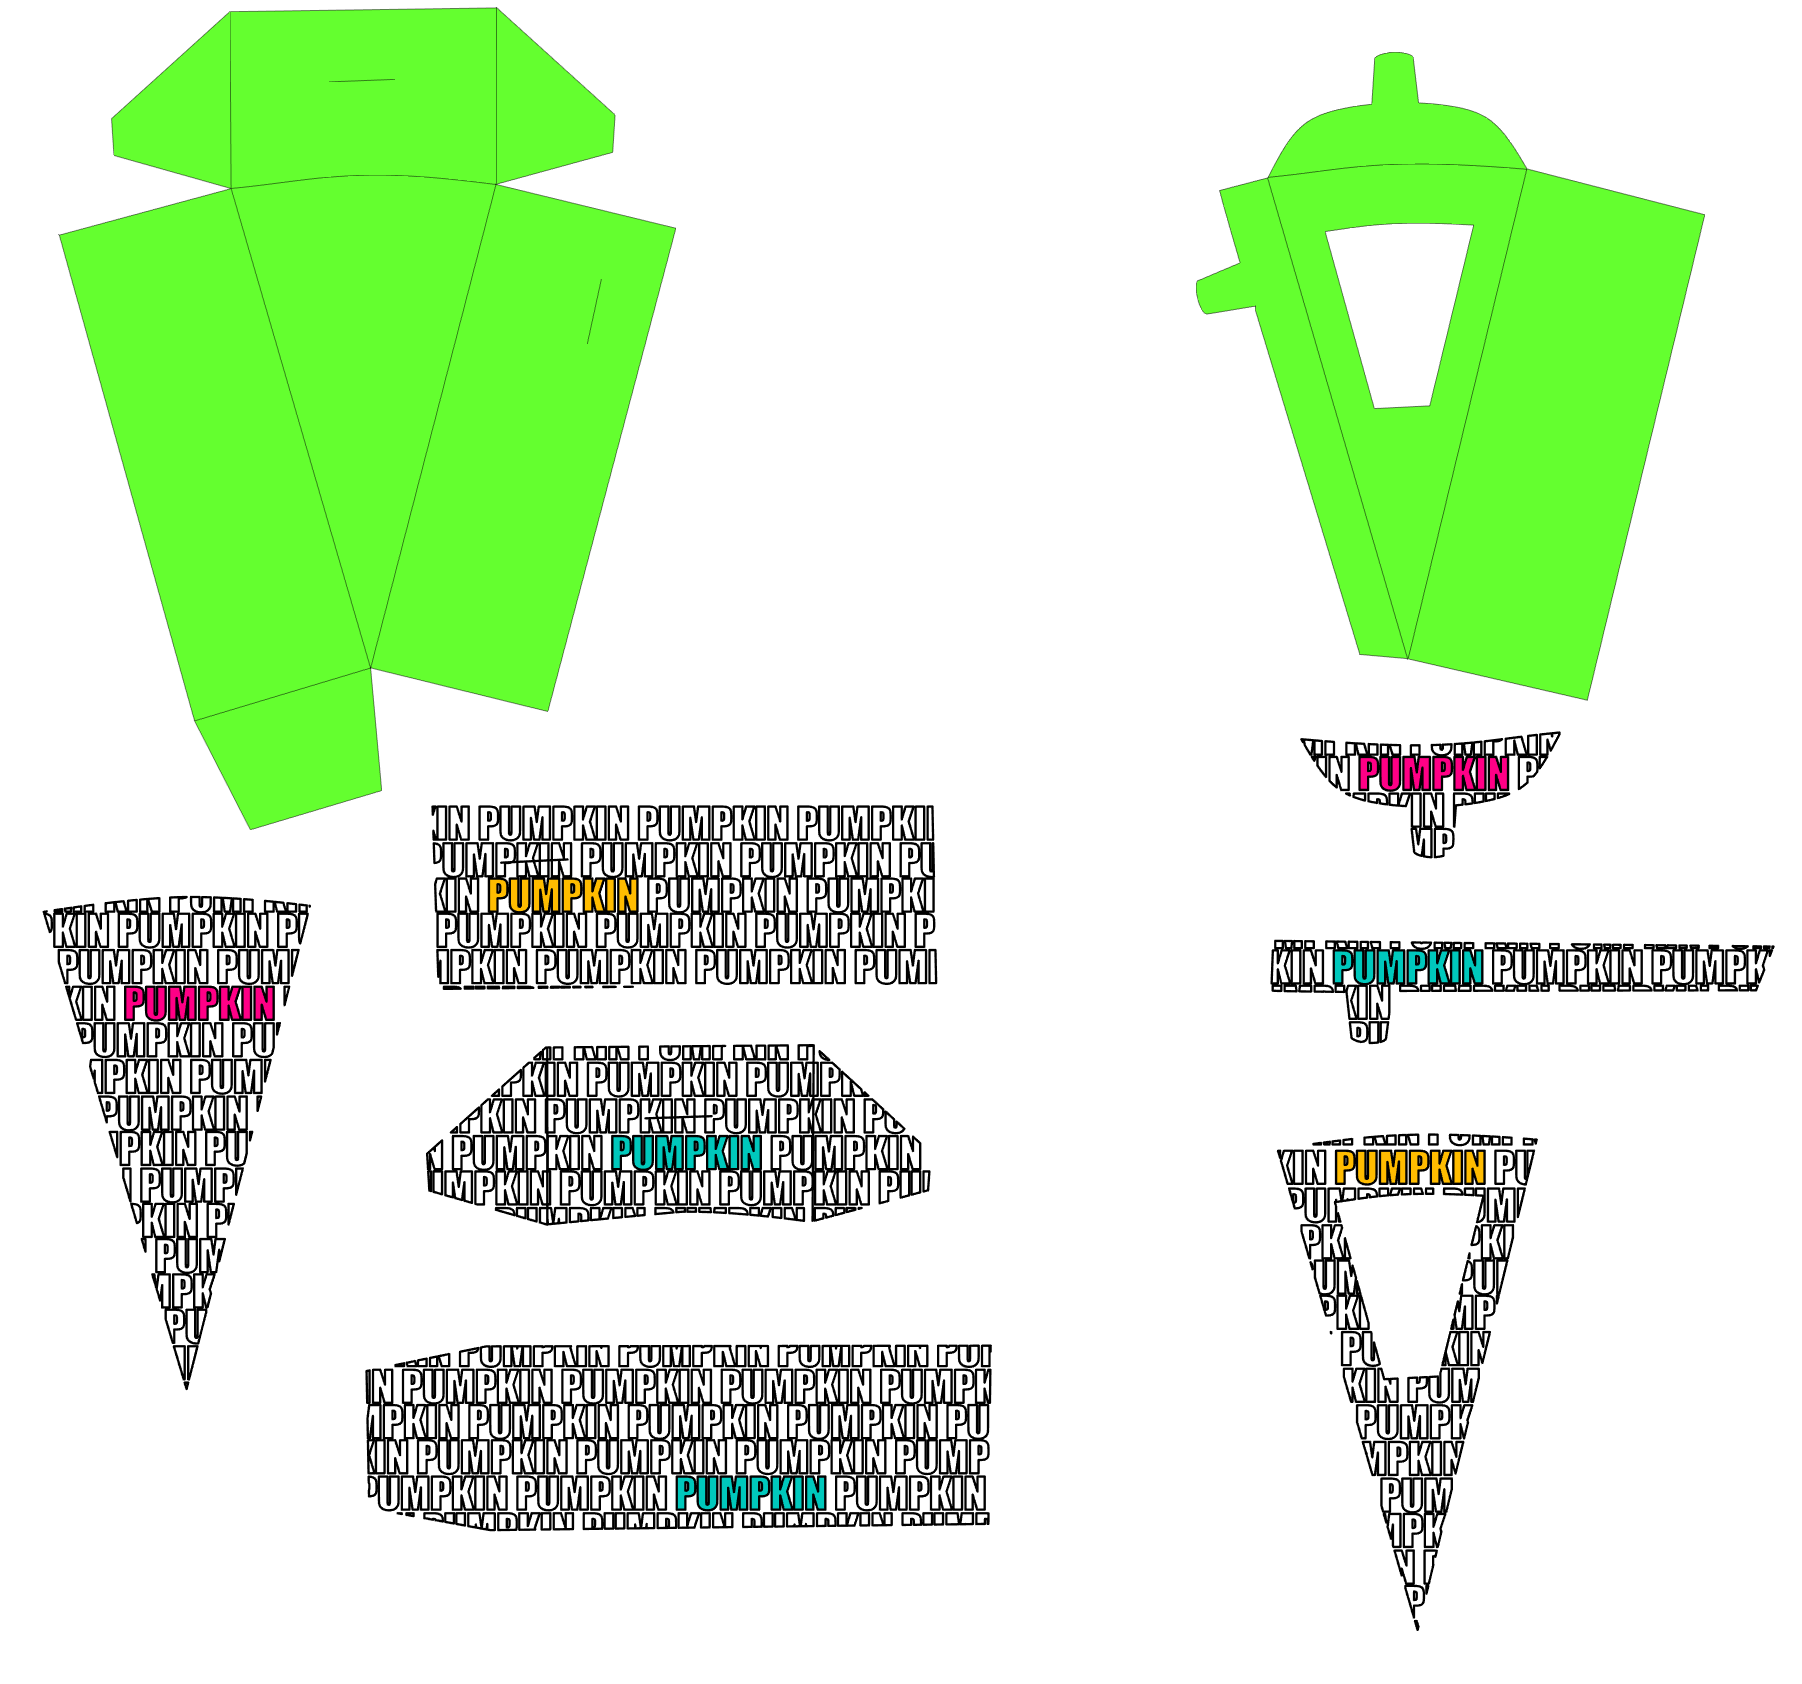
Once you open the template file, you will see:
1 (bottom) & 2 (top): templates for the words.
3 (bottom) & 4 (top): templates for the background color of the box.
5: template for the wax paper cutout that goes around the pie slice when you put it in the box.
6: template for the lid window.
7: SIlhouette cutting mat.
8: space you'll build the text block.
Don't resize or rotate any the pieces at this point.
Add a Text Block
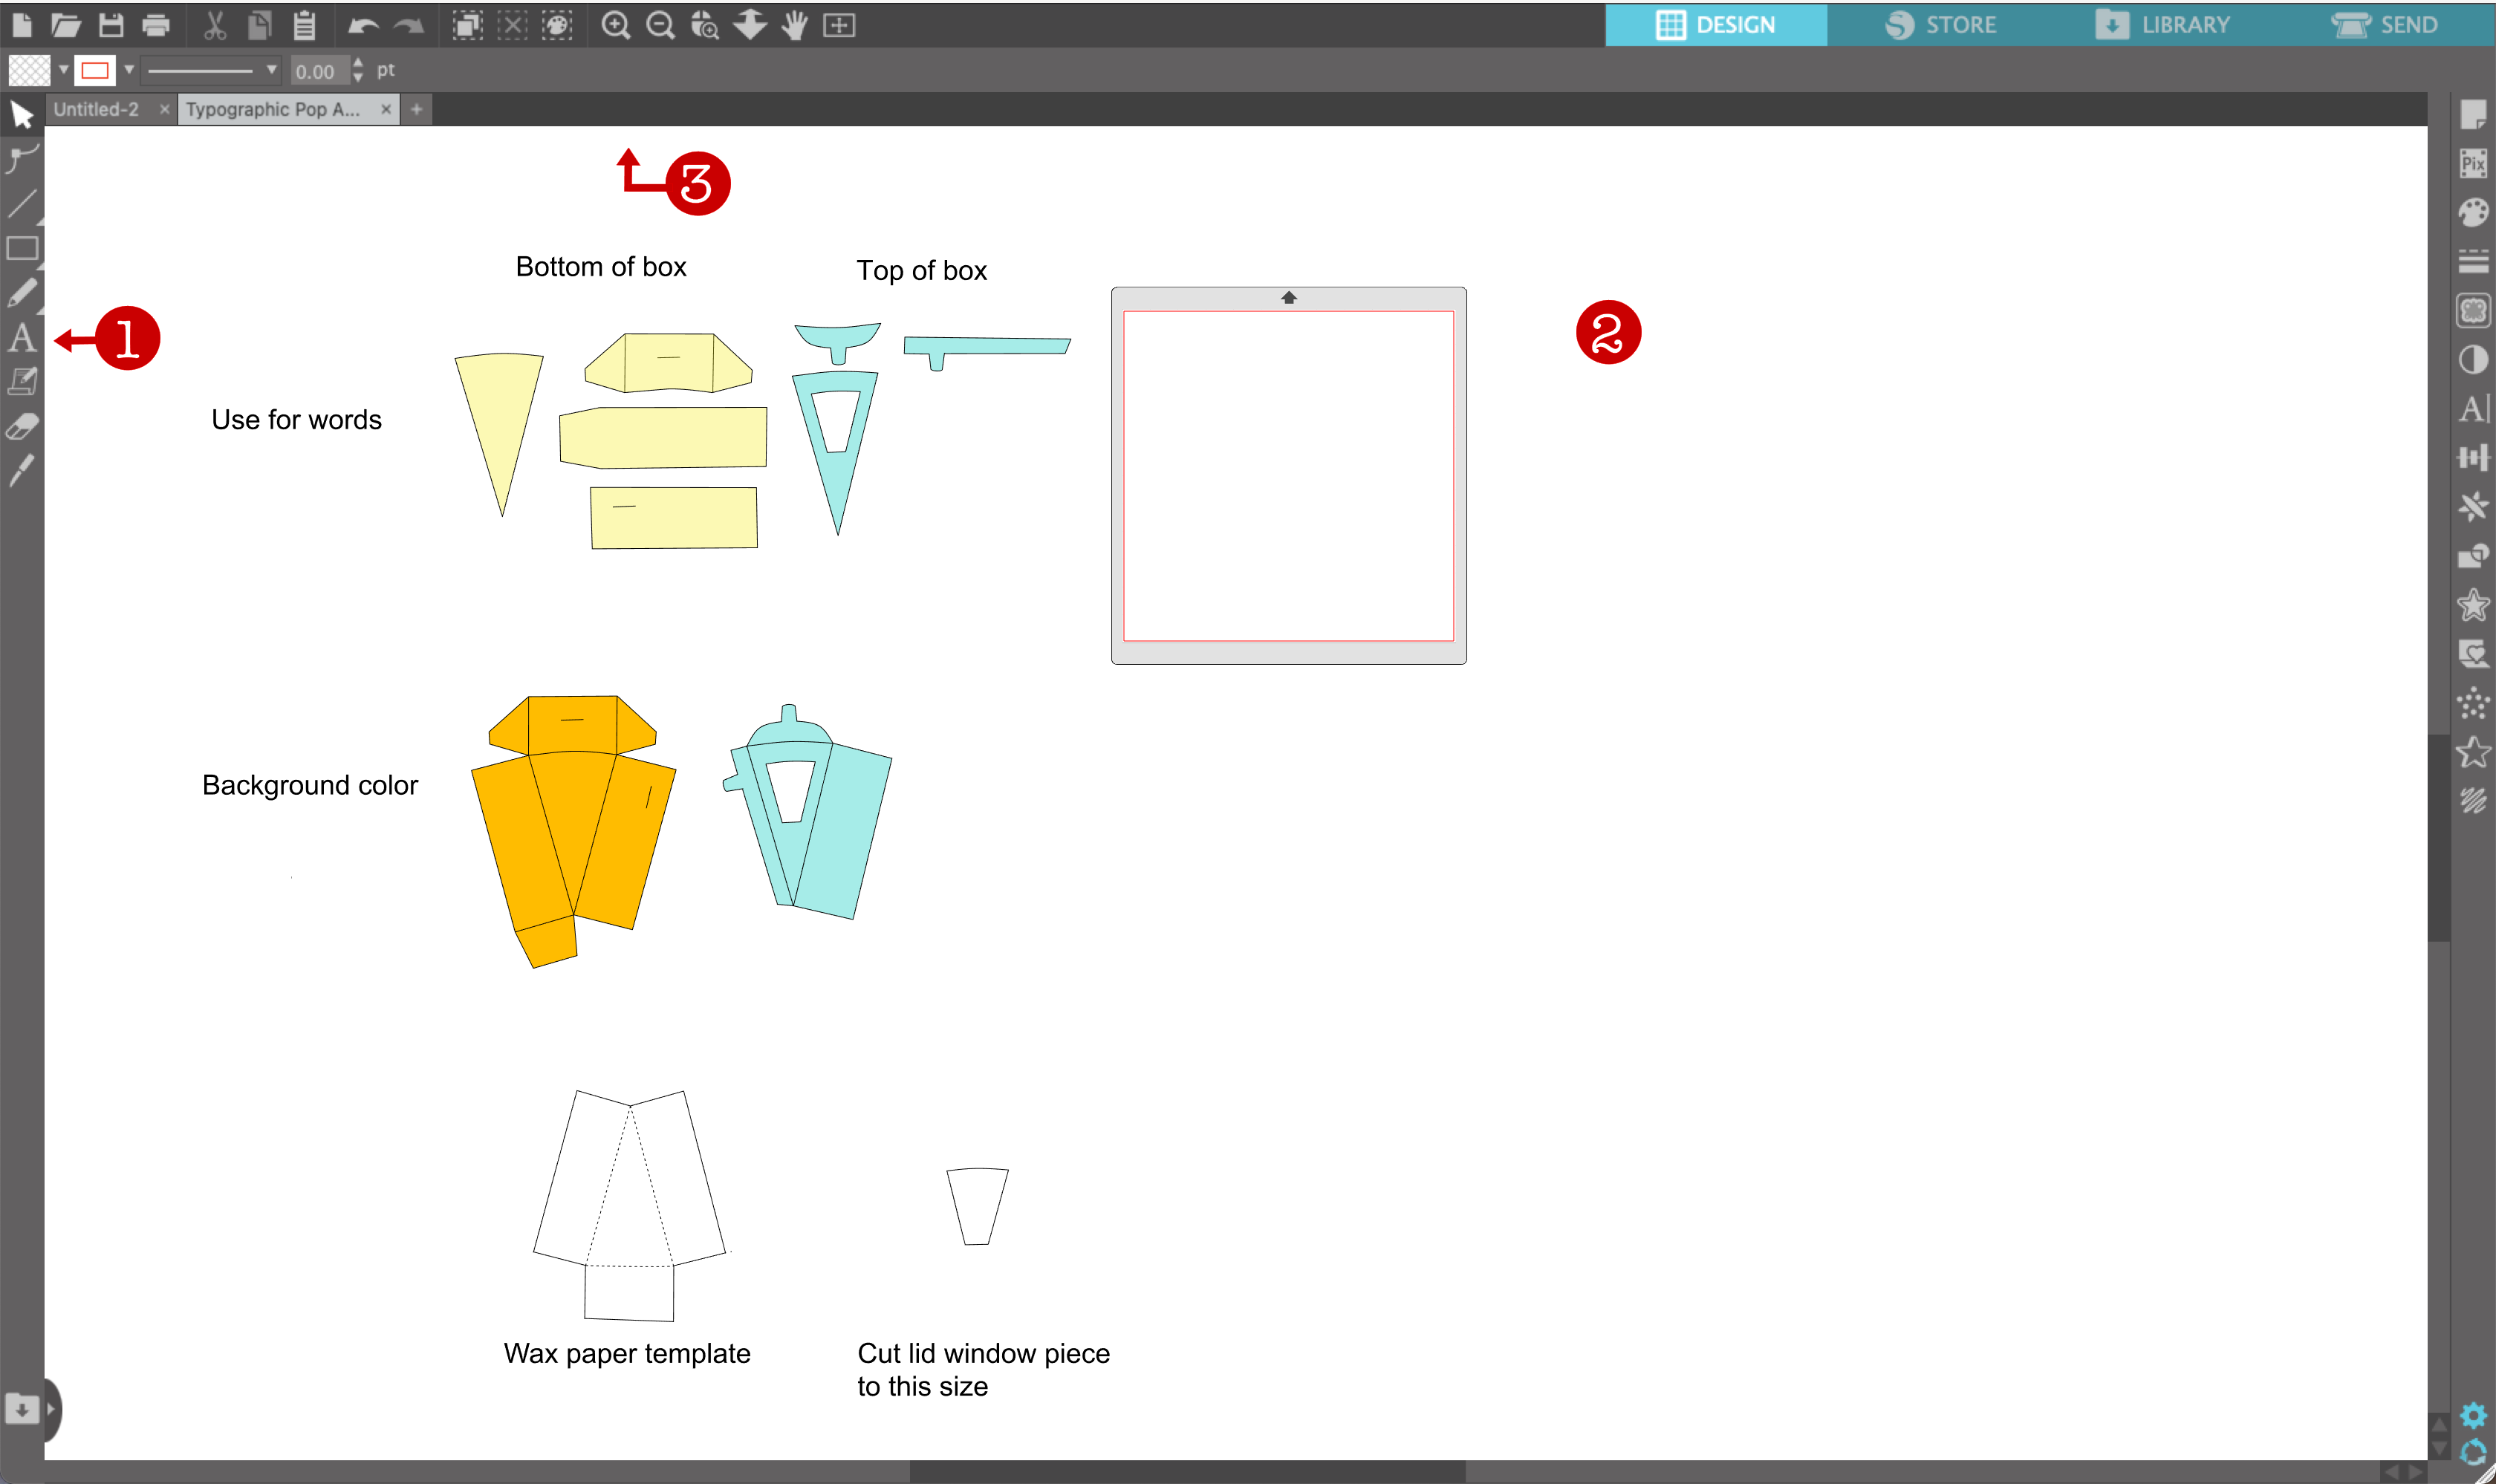
The first thing we will want to do is add a text block to our project. Click on the Text button (1) from the left hand toolbar. Then click somewhere off to the blank area on the right (2) to place the text box.
Note, this is very zoomed out view so you can see the whole project, you may need to zoom in to see what you're doing better. Find the + and - keys at the top of Silhouette Studio (3) and use them to zoom in some.
Type Out the Flavor, a Lot...
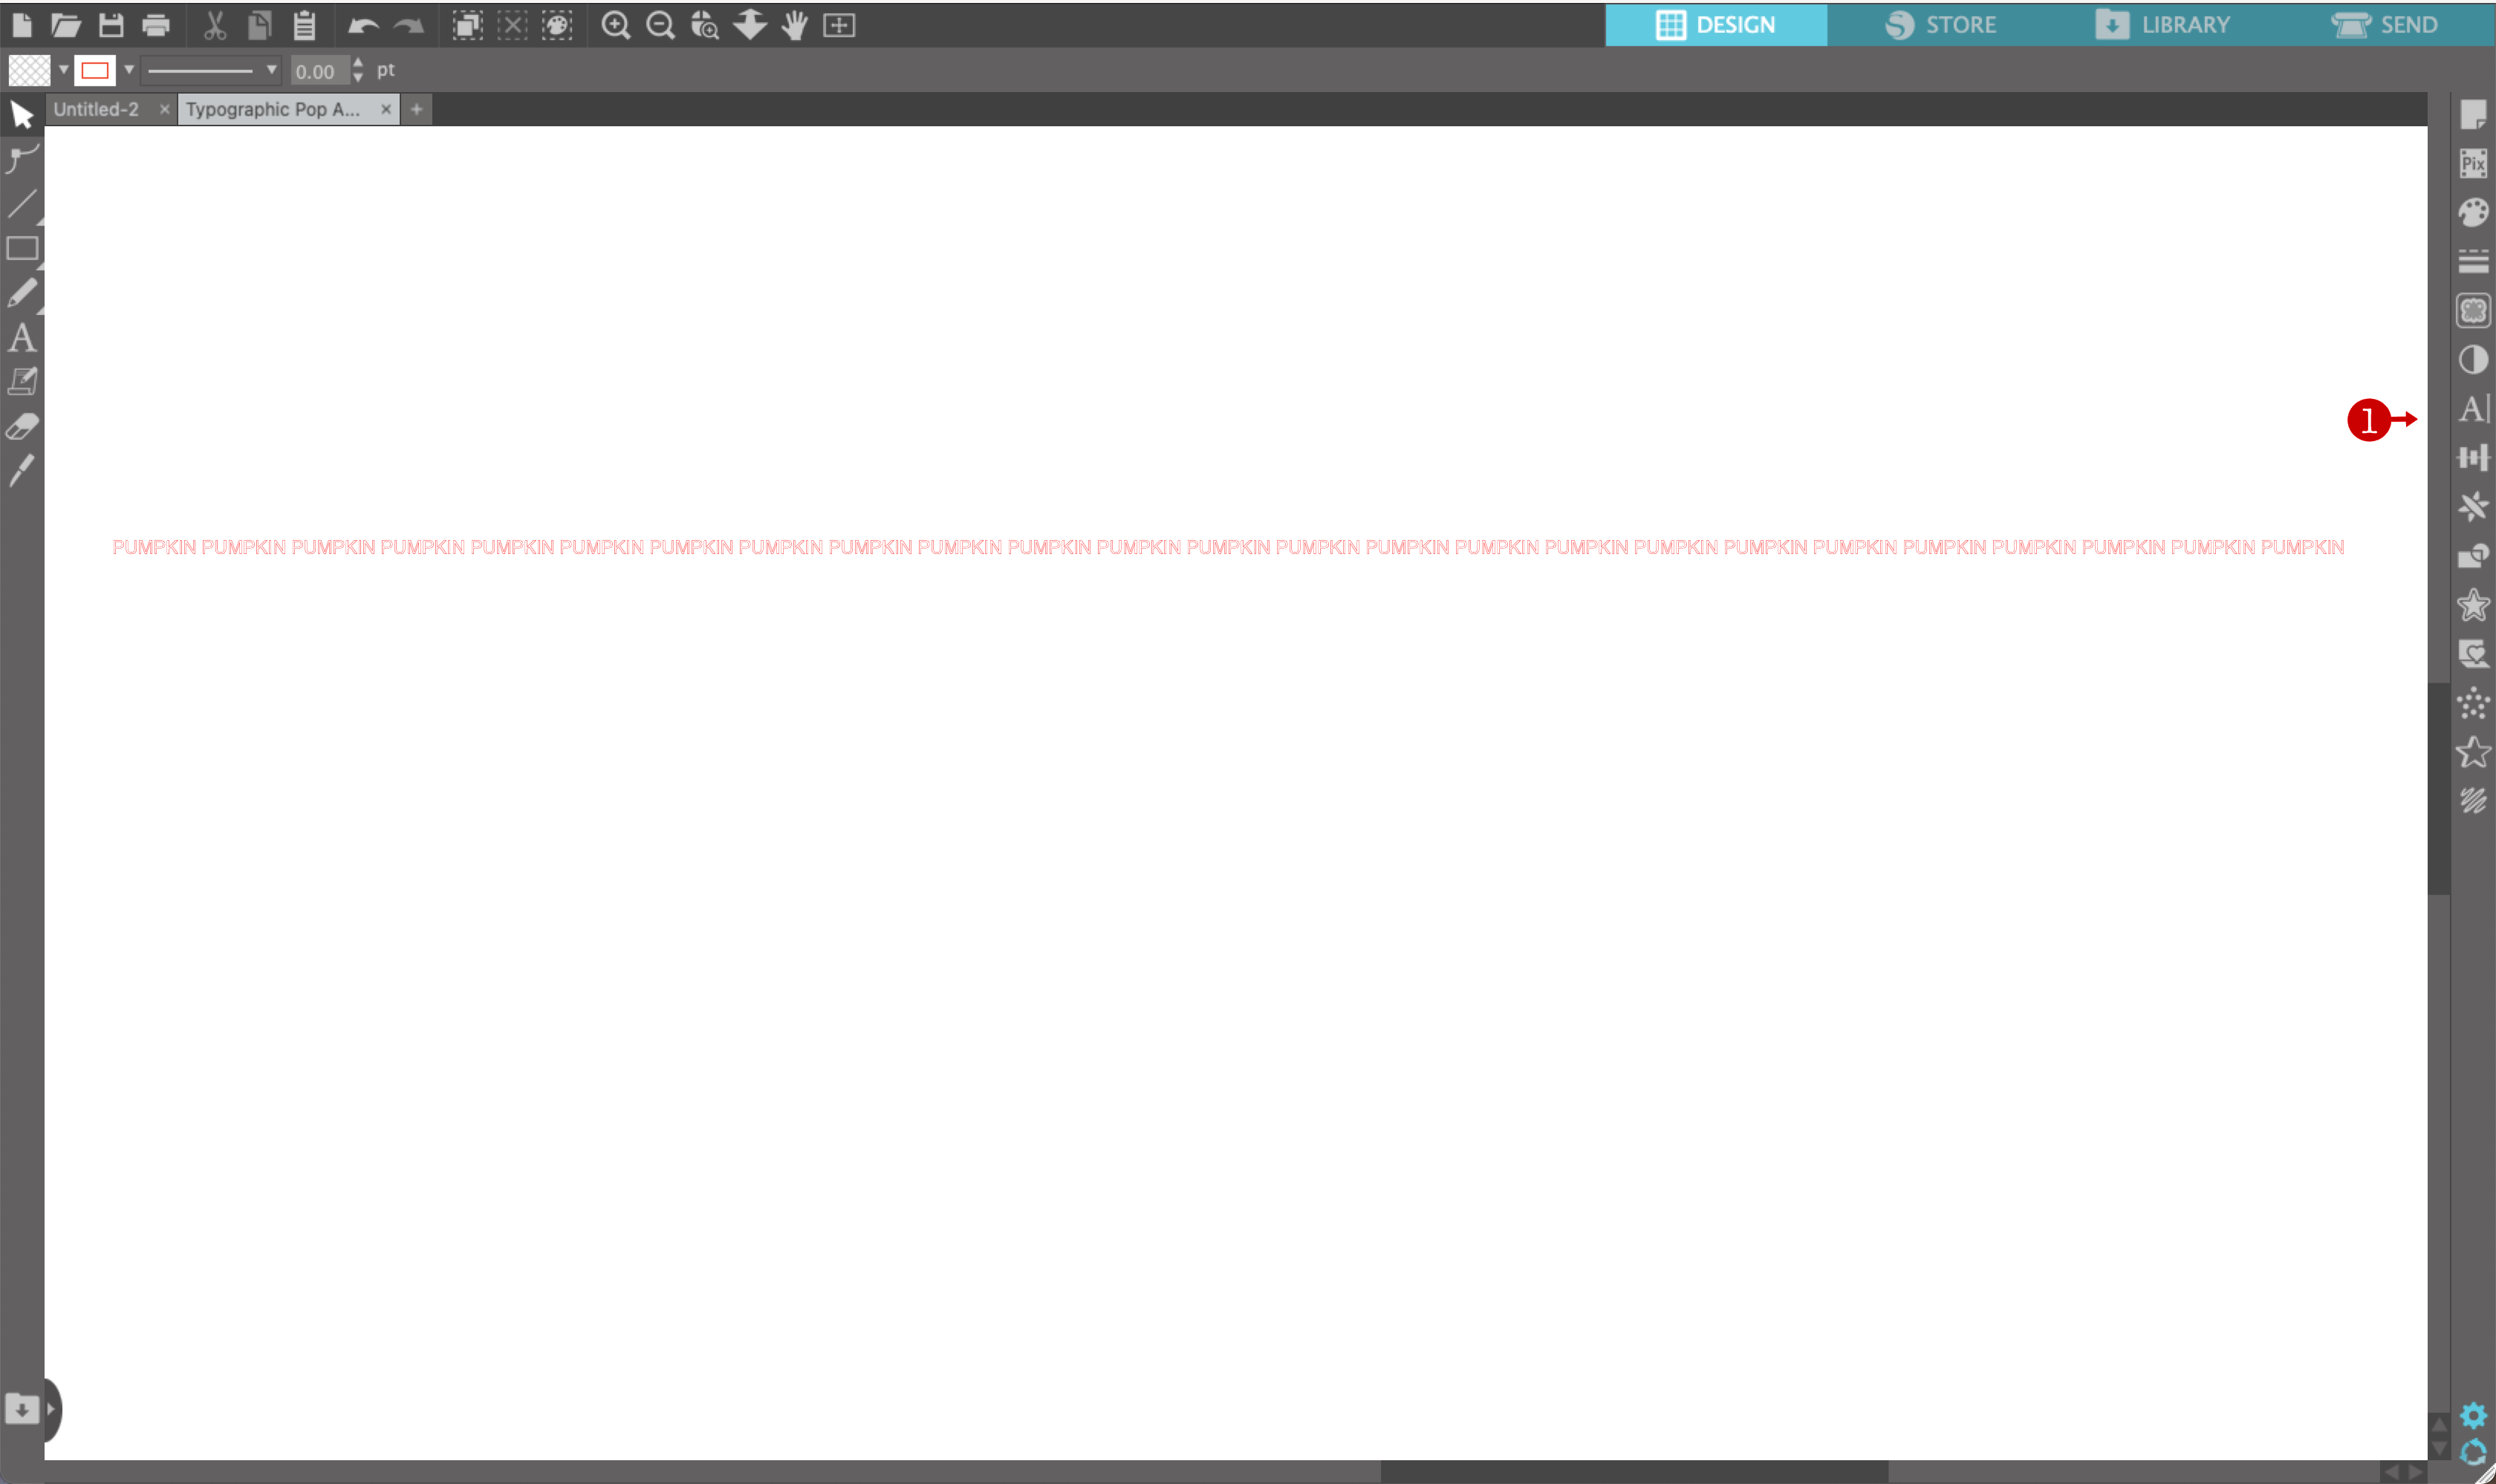
Type the flavor of your pie you want... a lot. I am doing a pumpkin pie box so I typed:
PUMPKIN PUMPKIN PUMPKIN PUMPKIN PUMPKIN PUMPKIN PUMPKIN PUMPKIN PUMPKIN
over and over in a row, about 25 times.
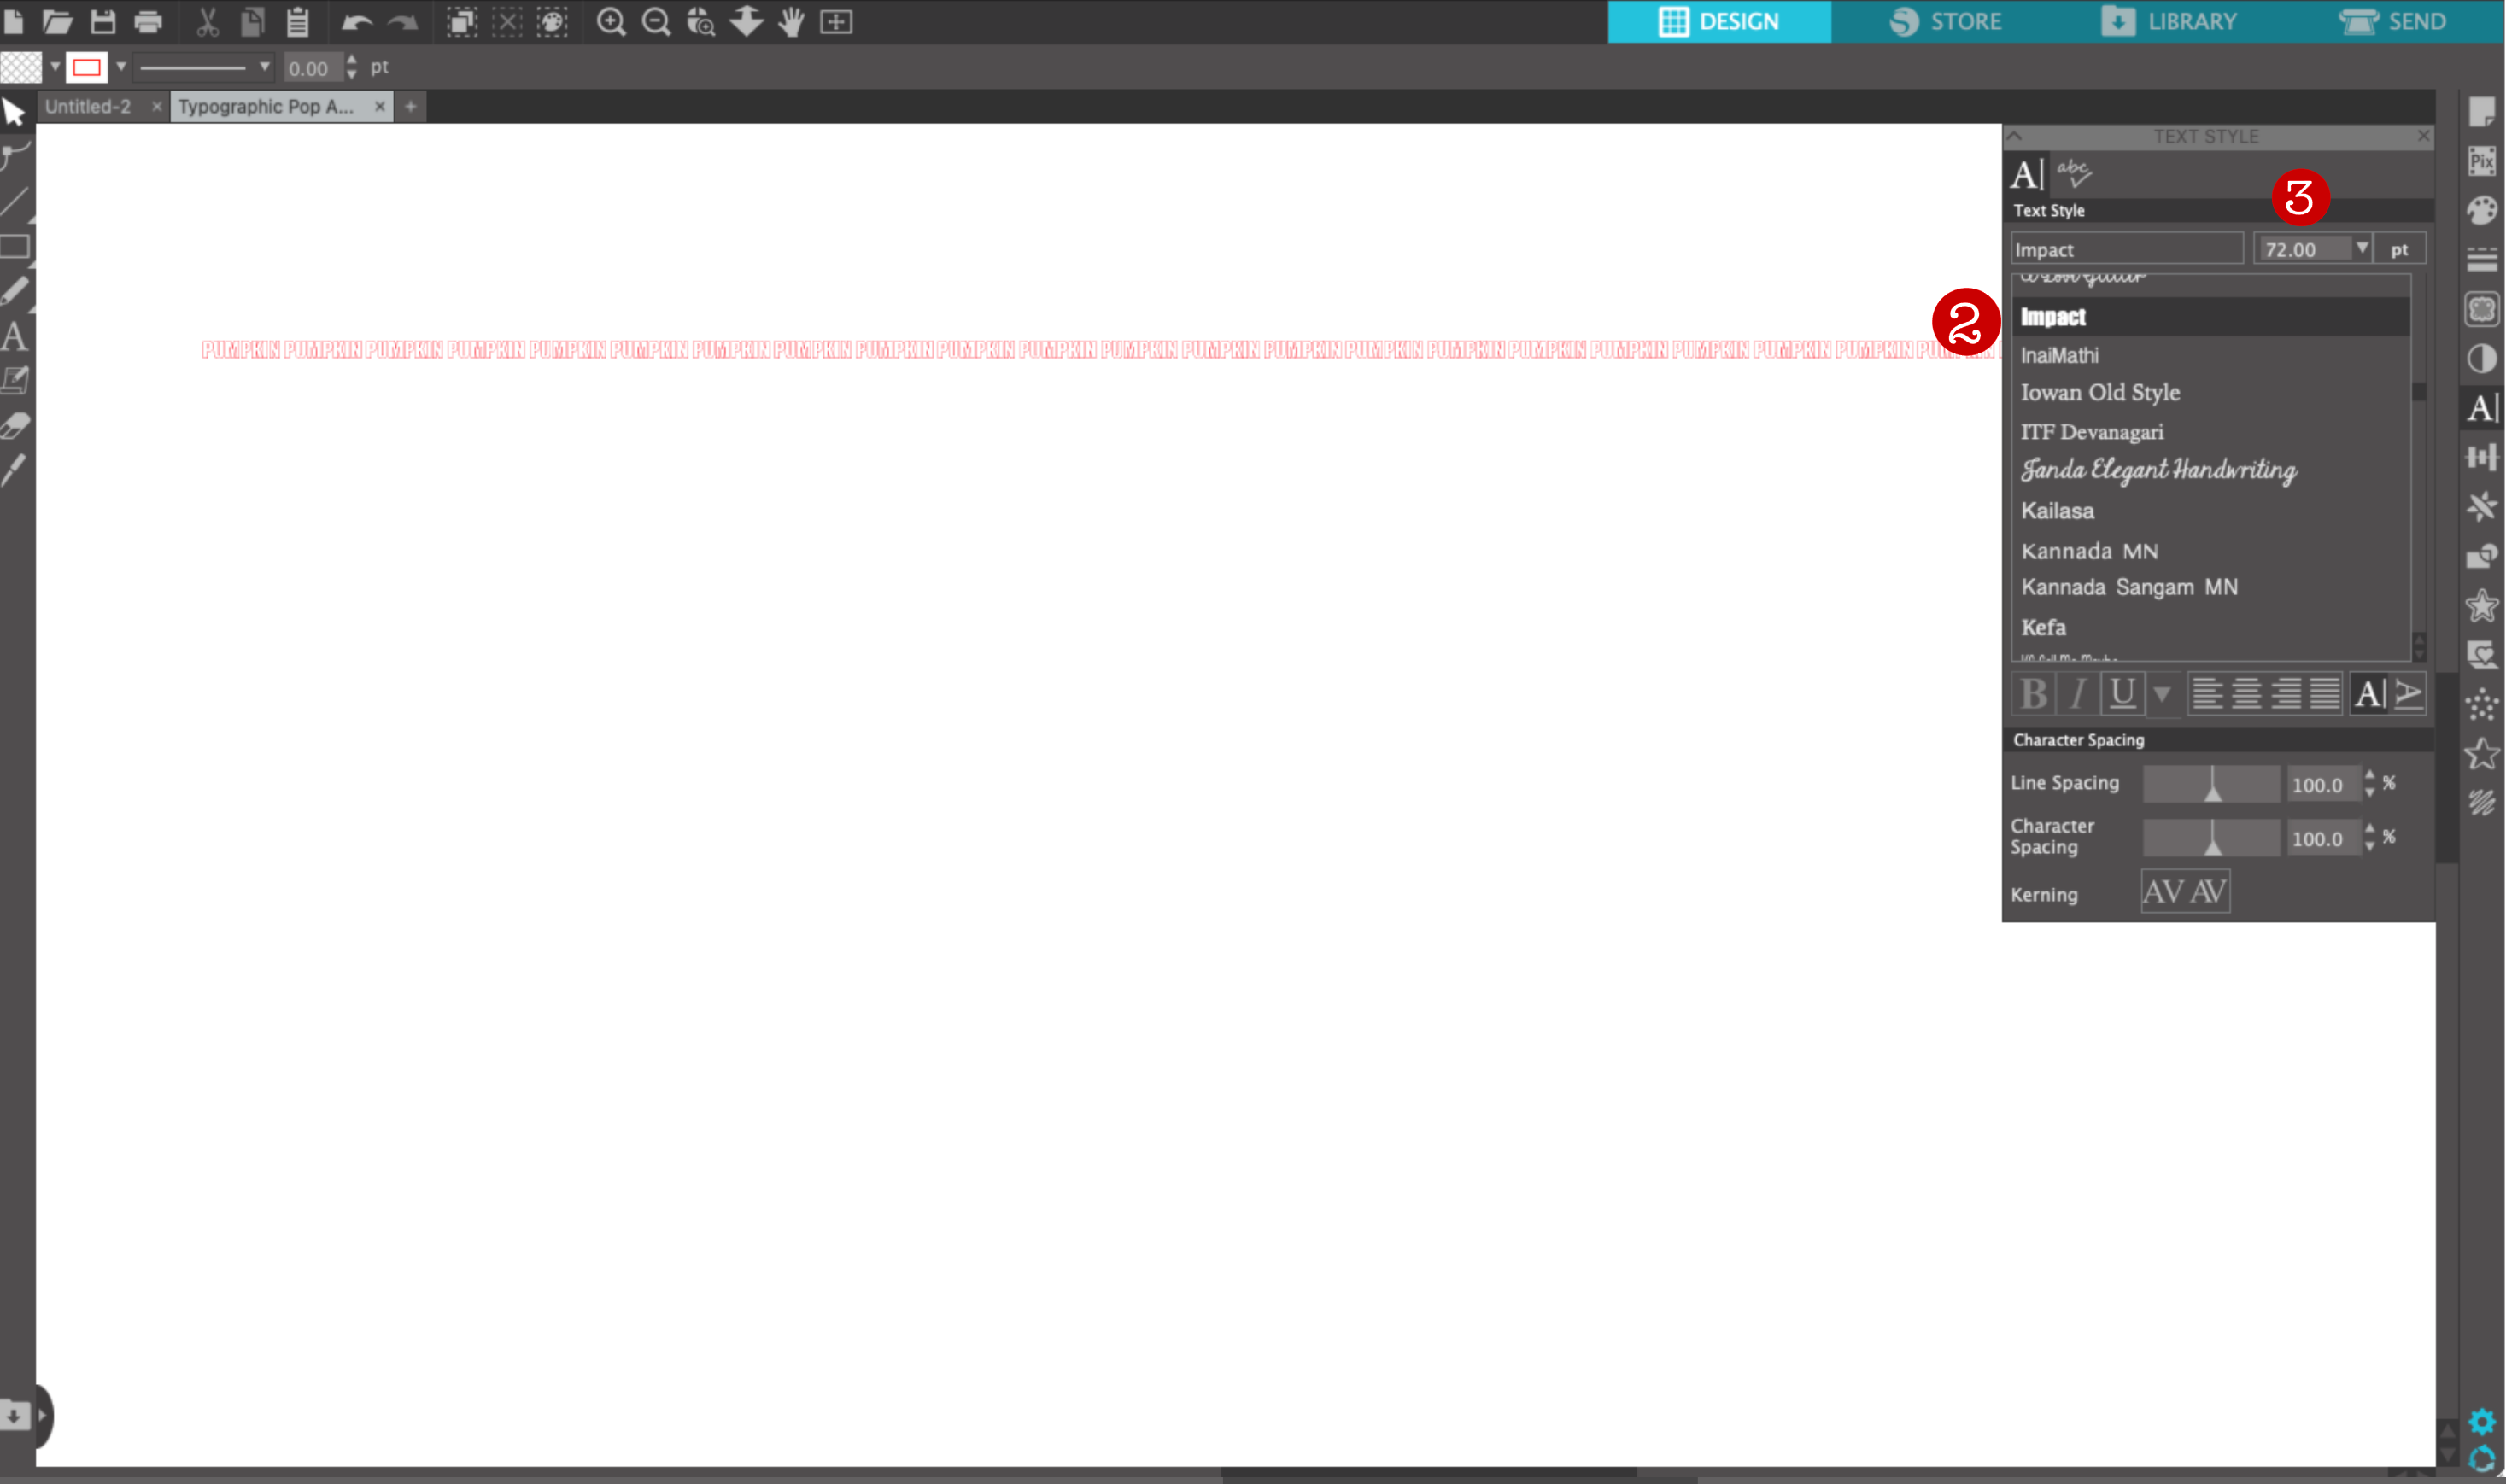
Now that you have a string typed out, click the Text Style Panel (1) from the right hand toolbar. Look through your list of fonts (2) and pick one that appeals to you. I picked the font called Impact. This font is a thick blocky font that is standard on most computers. I like Impact for this project because it visually fills the space on the box. Once you have the font selected, you'll want to resize it to make it a little smaller. Change the font size to 36.77 by replacing the number at the top (3).
Now you should have a string of red outlined words all in a row.
Duplicate the Text

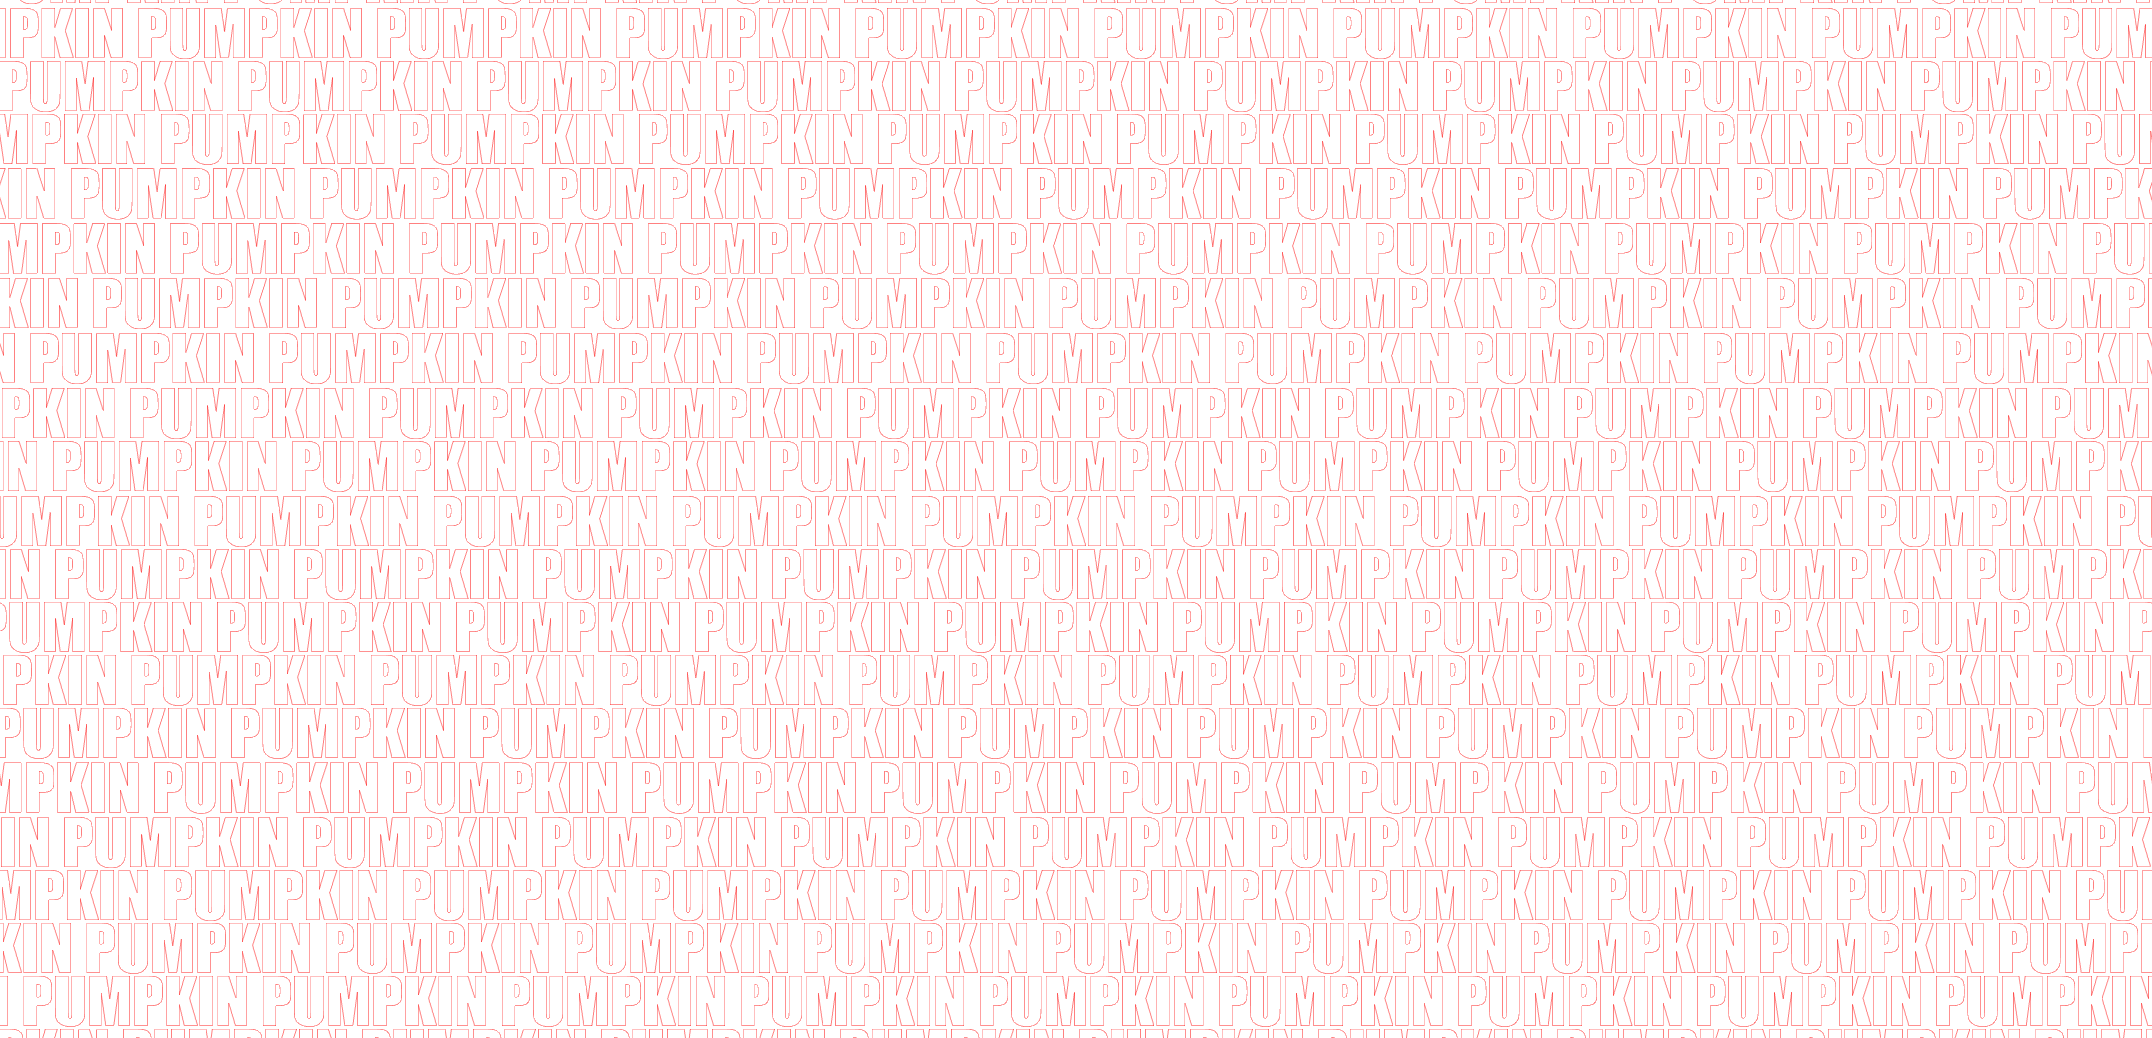
Now we will take the single string of words and duplicate it to make a big block of text.
To do this, copy (control C) and paste (control V) the line of text. Move each line so it sits below the line above it. Move the lines close together but make sure they don't overlap or touch. Stagger the spaces in the words so they don't line up perfectly.
You'll need about 25 lines of the text. Once you have all the text set, select all the lines by clicking and dragging across the lines. Right click and select Group. This will turn all the individual lines into one large block of text.
Move the Template Pieces Over
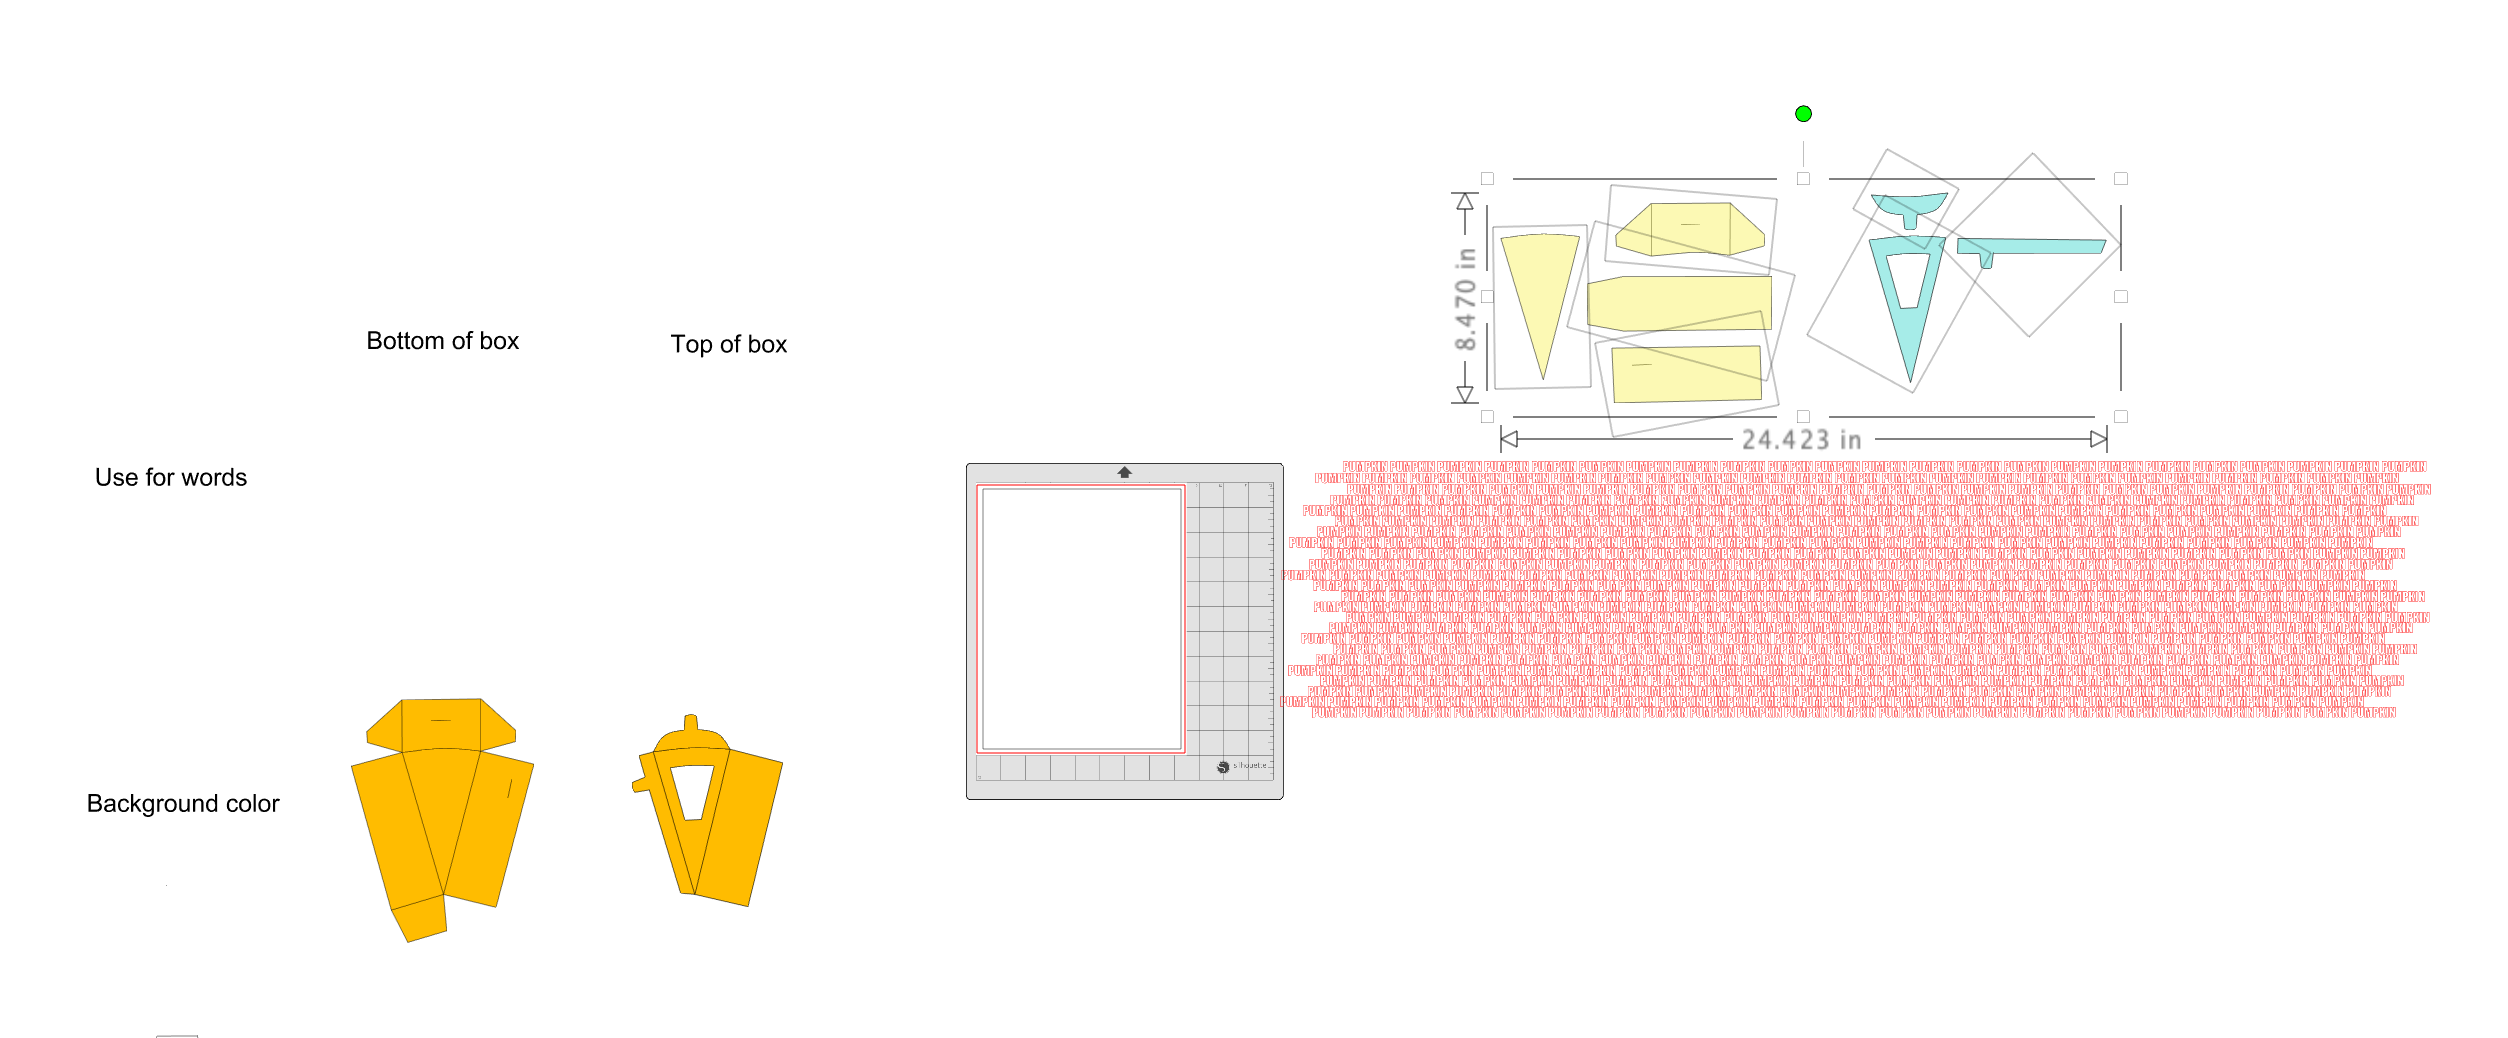
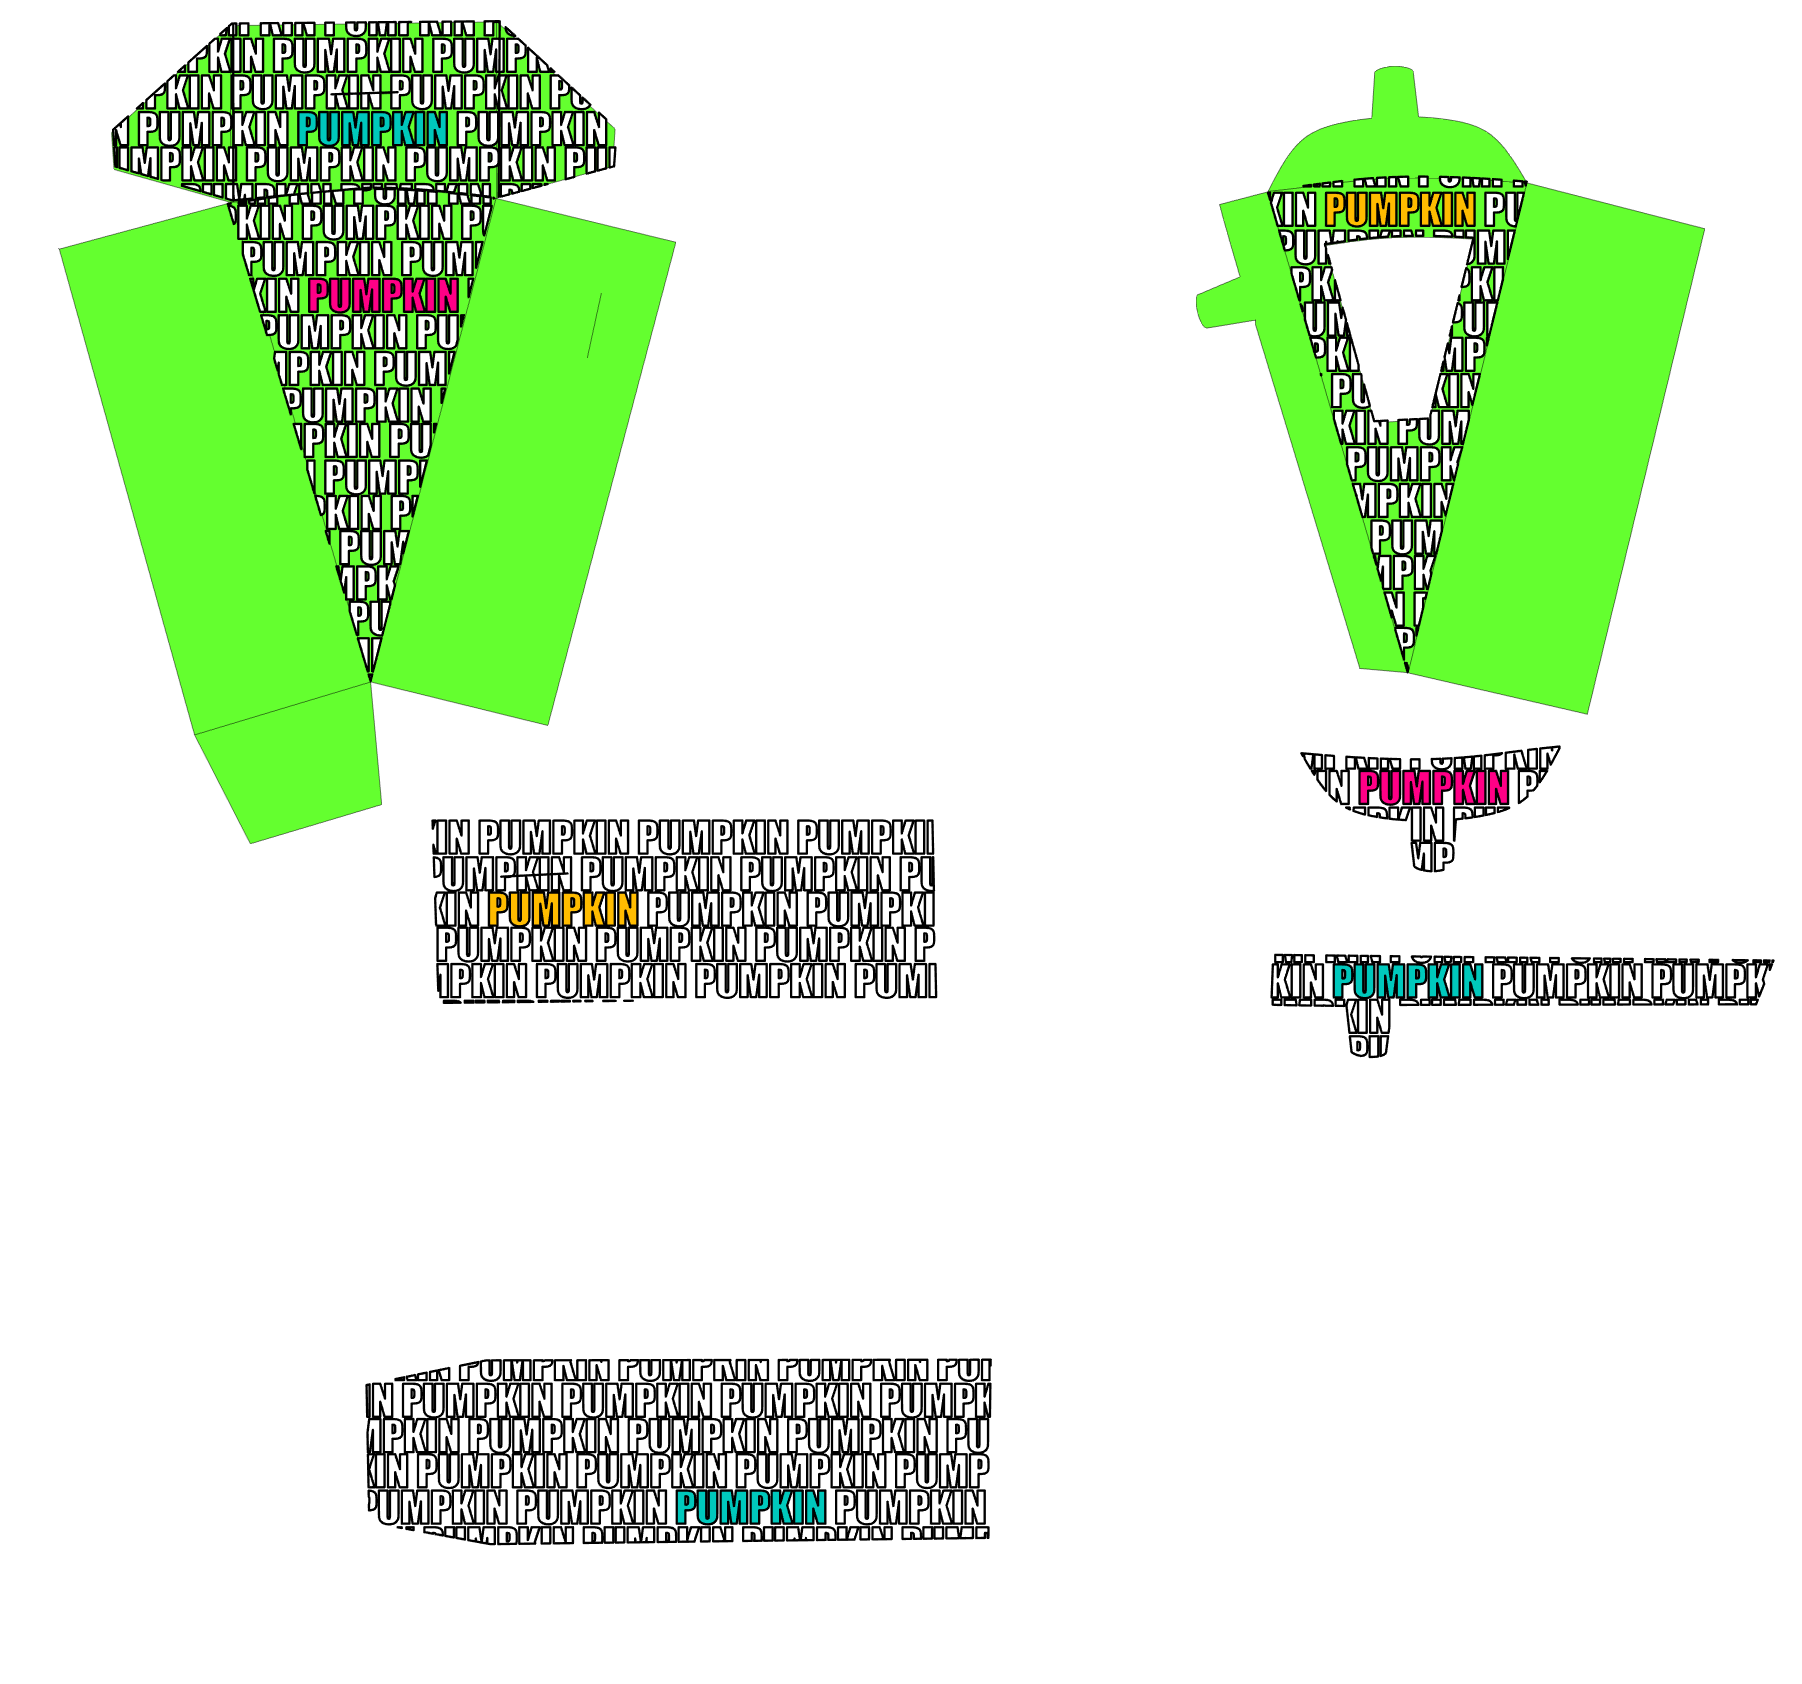
Now that you have a the text box all set up, move the word templates from the left hand side. I like to move them all at once and drop them right above the text block.
Align the Word Pieces With the Text Block
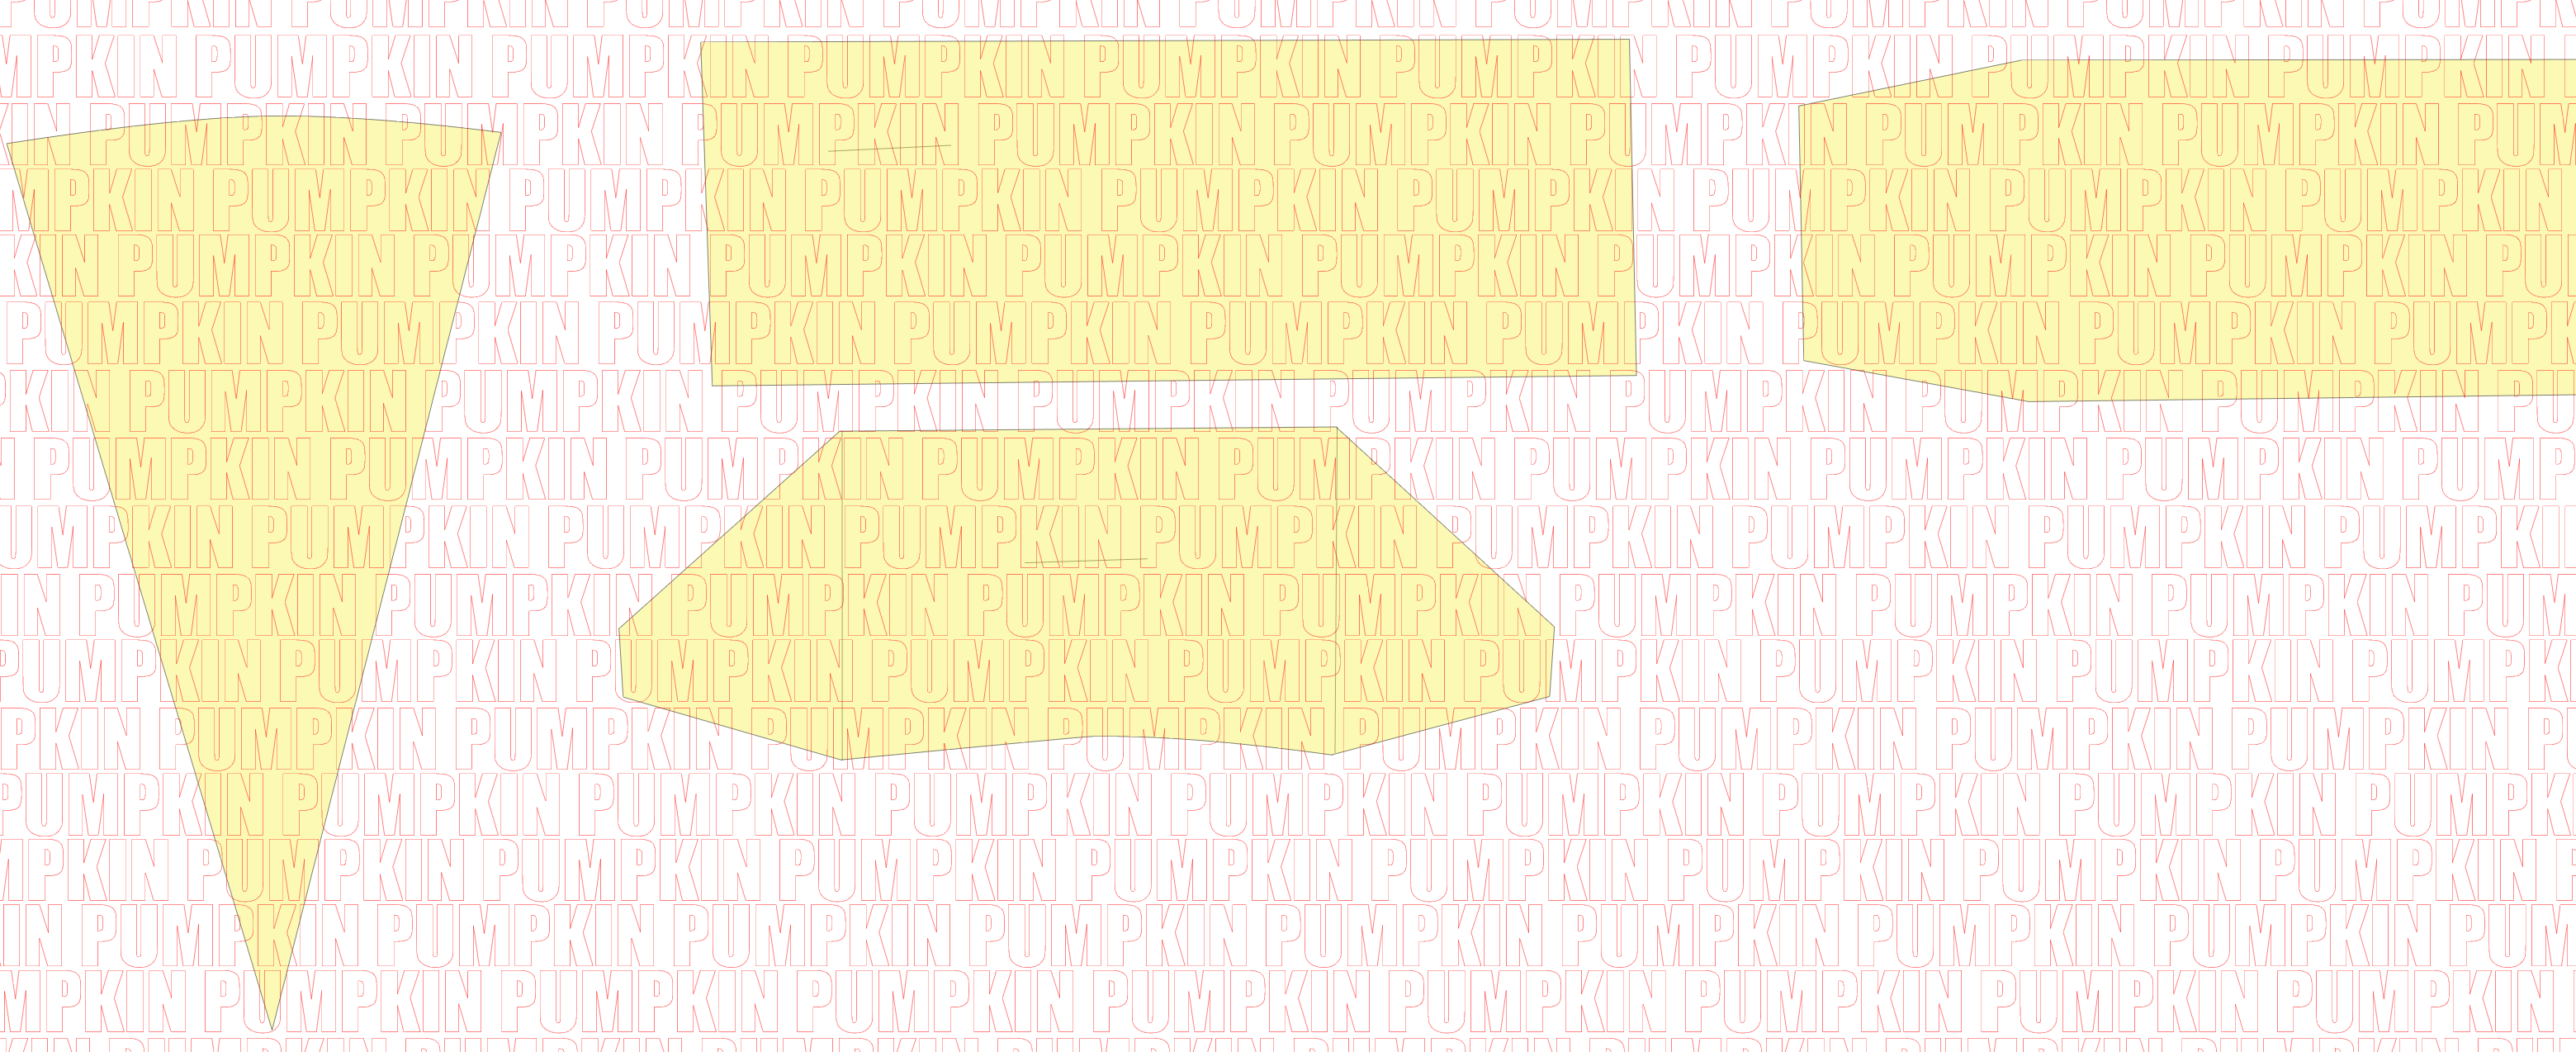
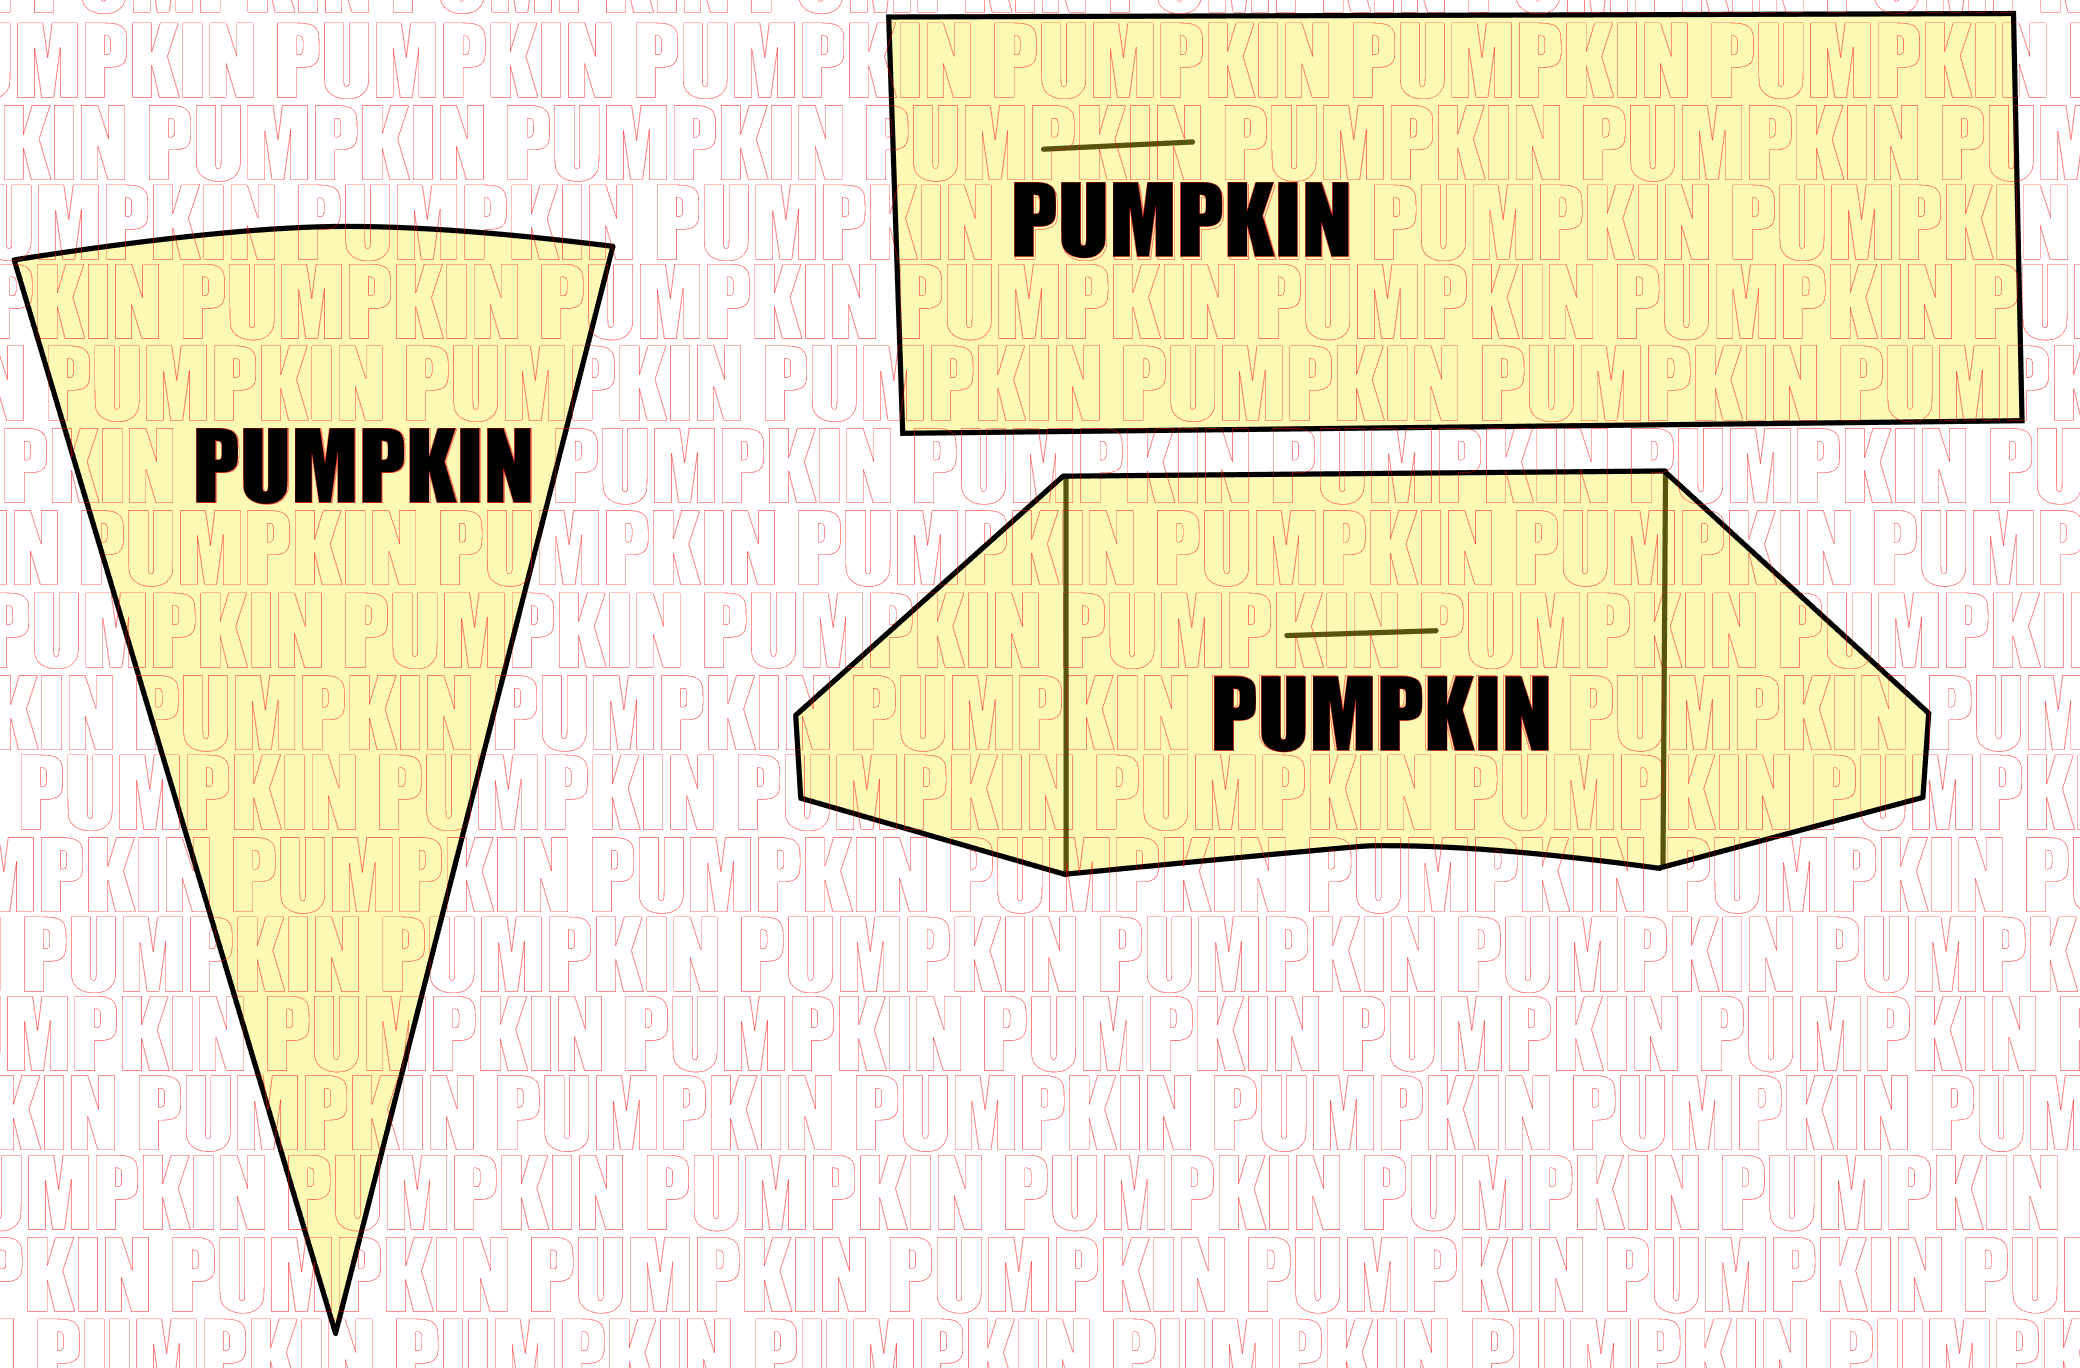
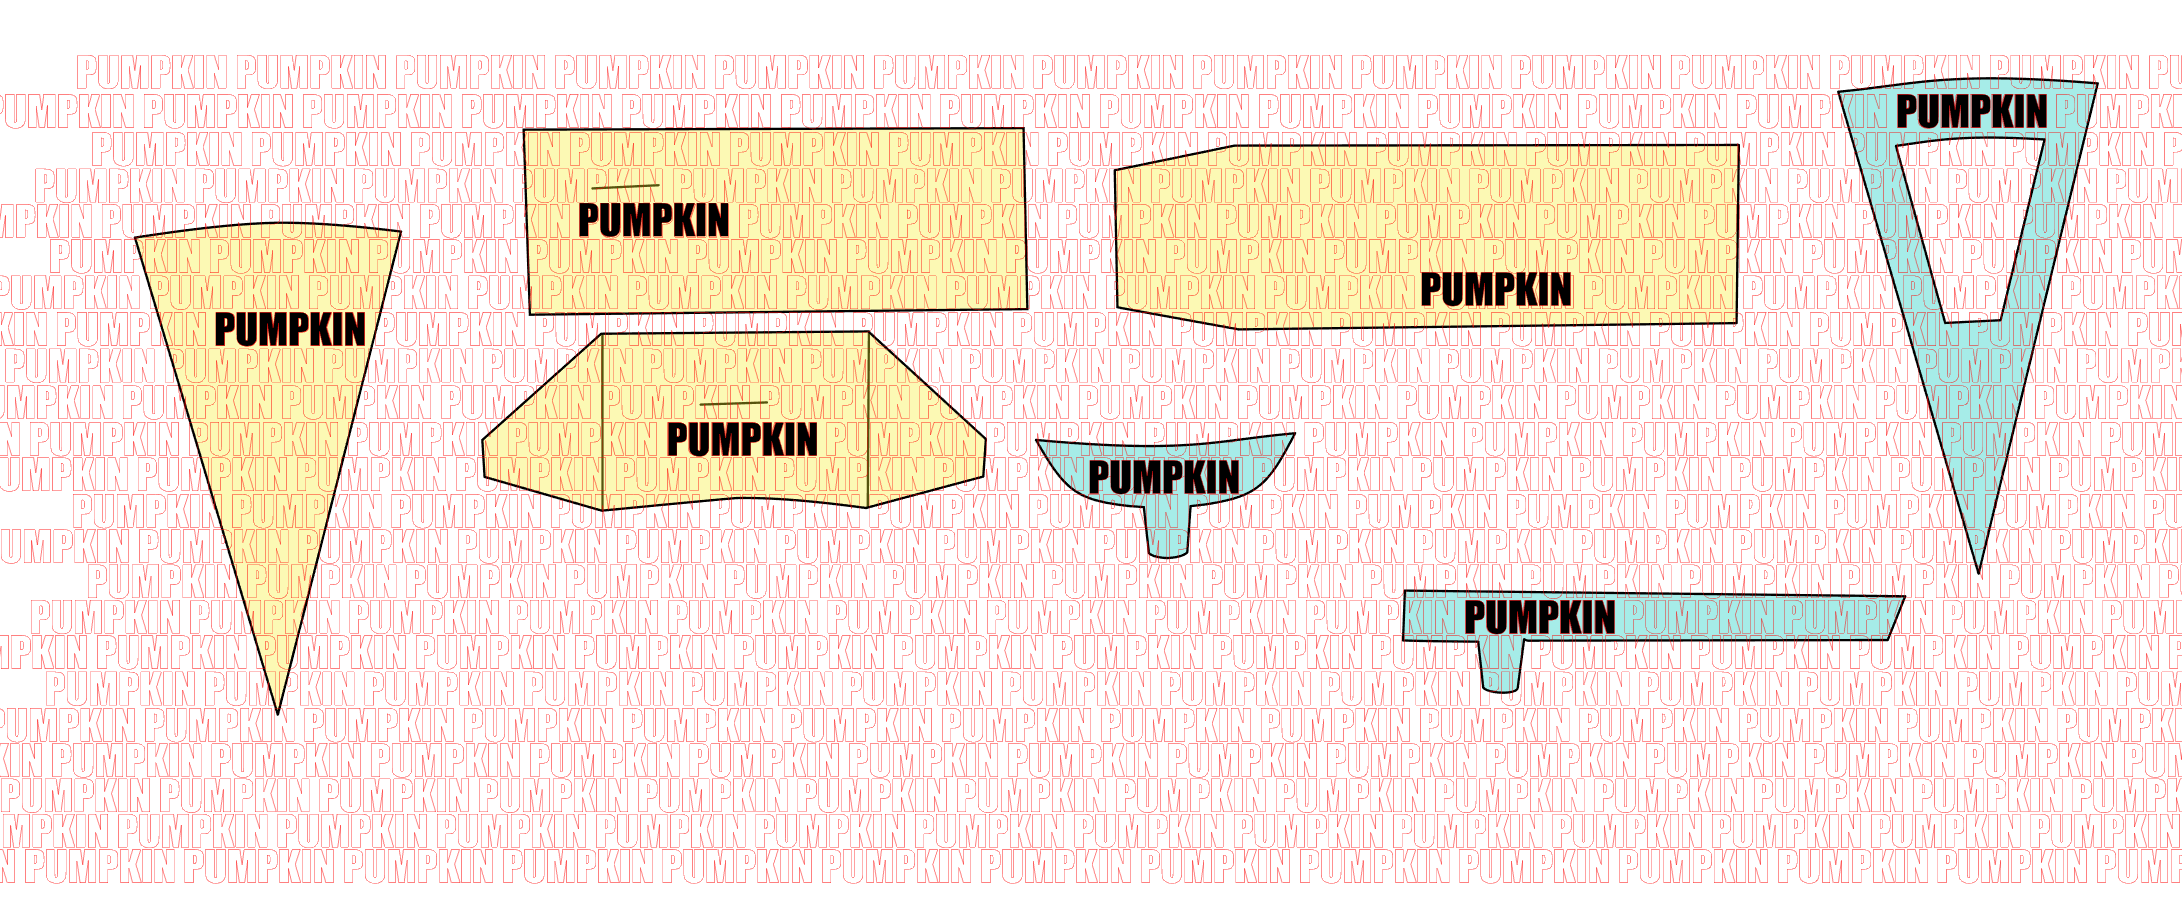
Move each piece of the template into the word block. Zoom in so you can see what you are doing better.
Pay special attention to where the pieces of the box line up with the words. I've made the words I'm lining up the pieces with black so you can see how I'm lining up a little easier.
Keep the pieces spaced out from each other and make sure to stay within the text block.
Crop the Words Down
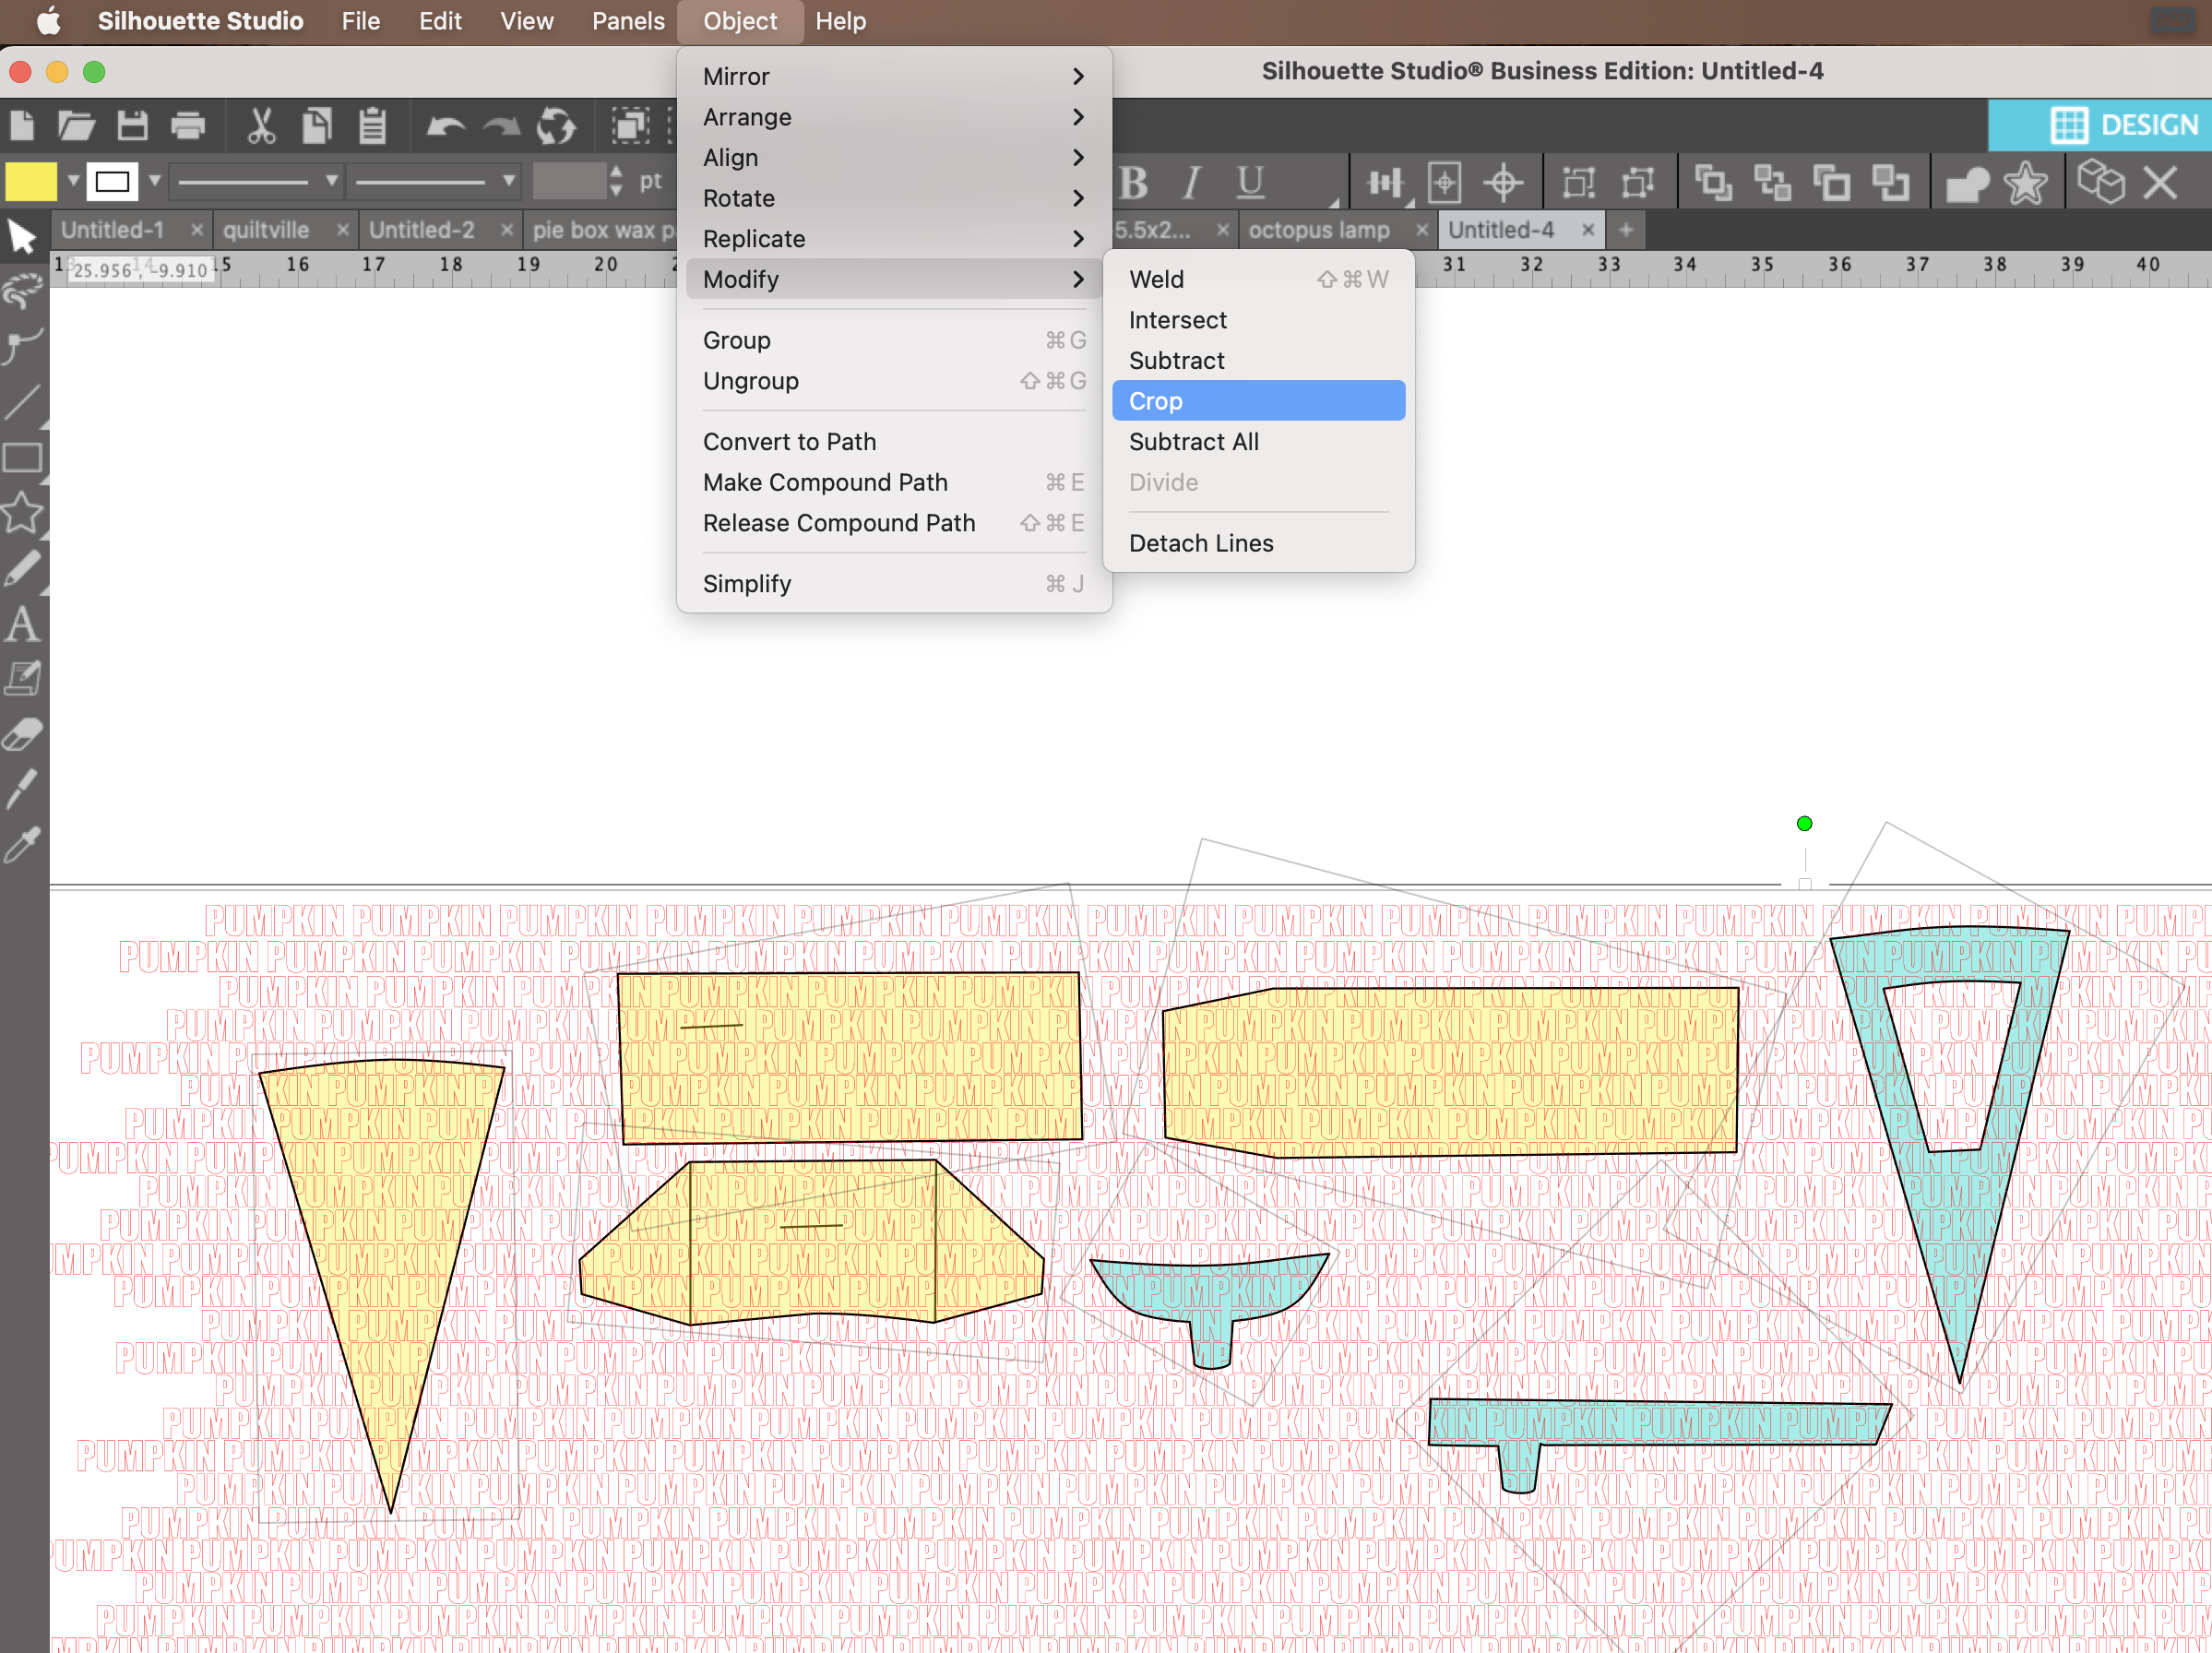
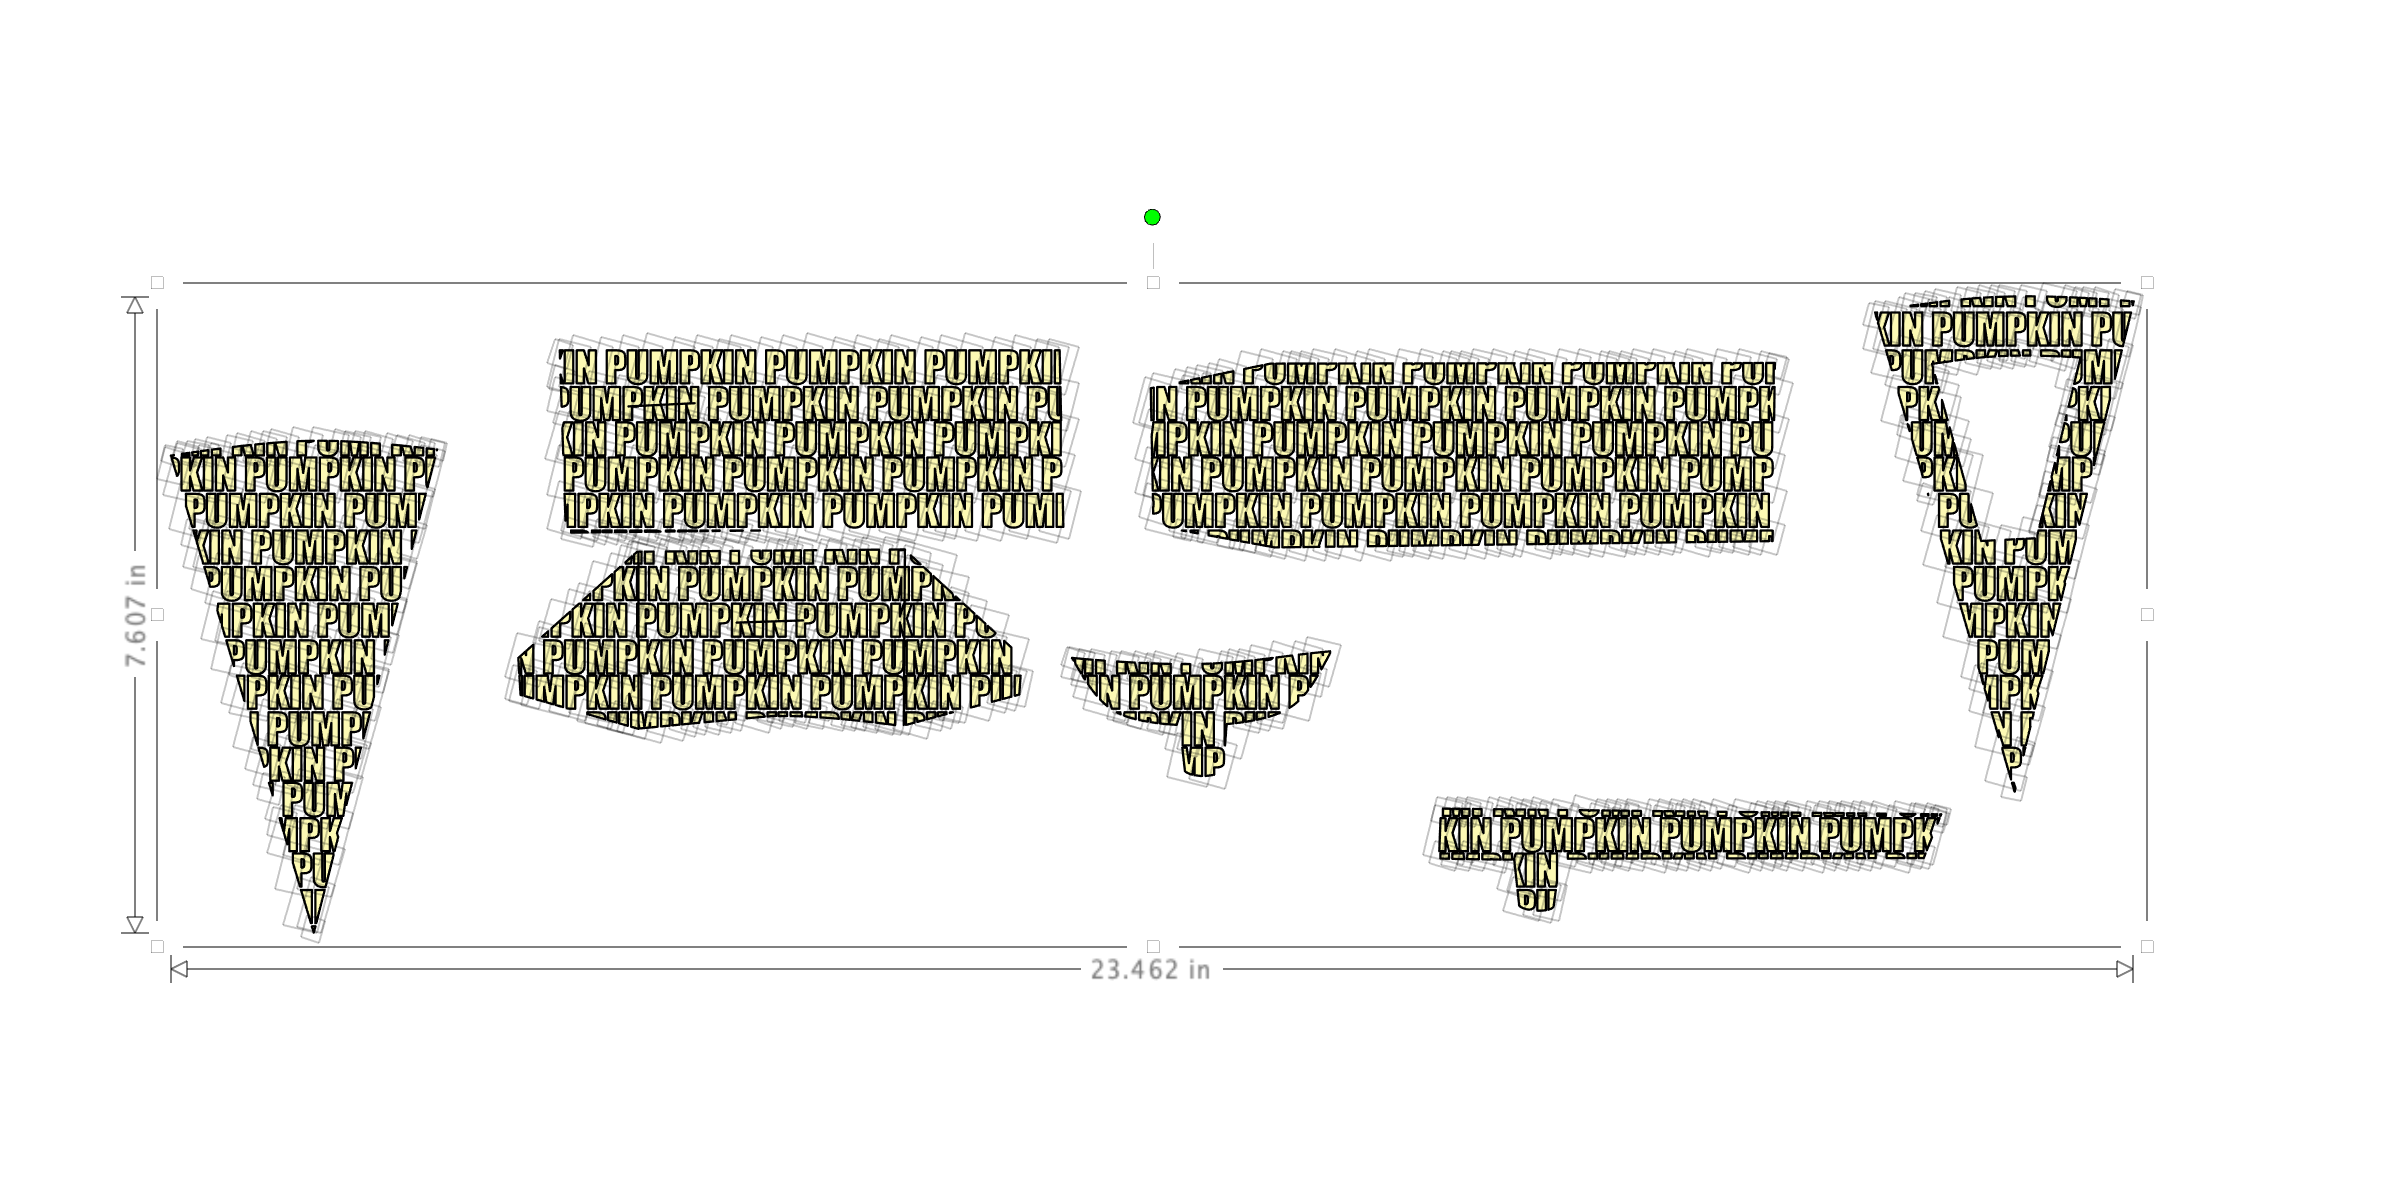
Once everything is lined up, select all of the pieces of the template and the text block by clicking and dragging a selection box over everything.
Next, go to Object> Modify> Crop. The software will crop the text block down to the size of the template pieces.
Fix the Transparency
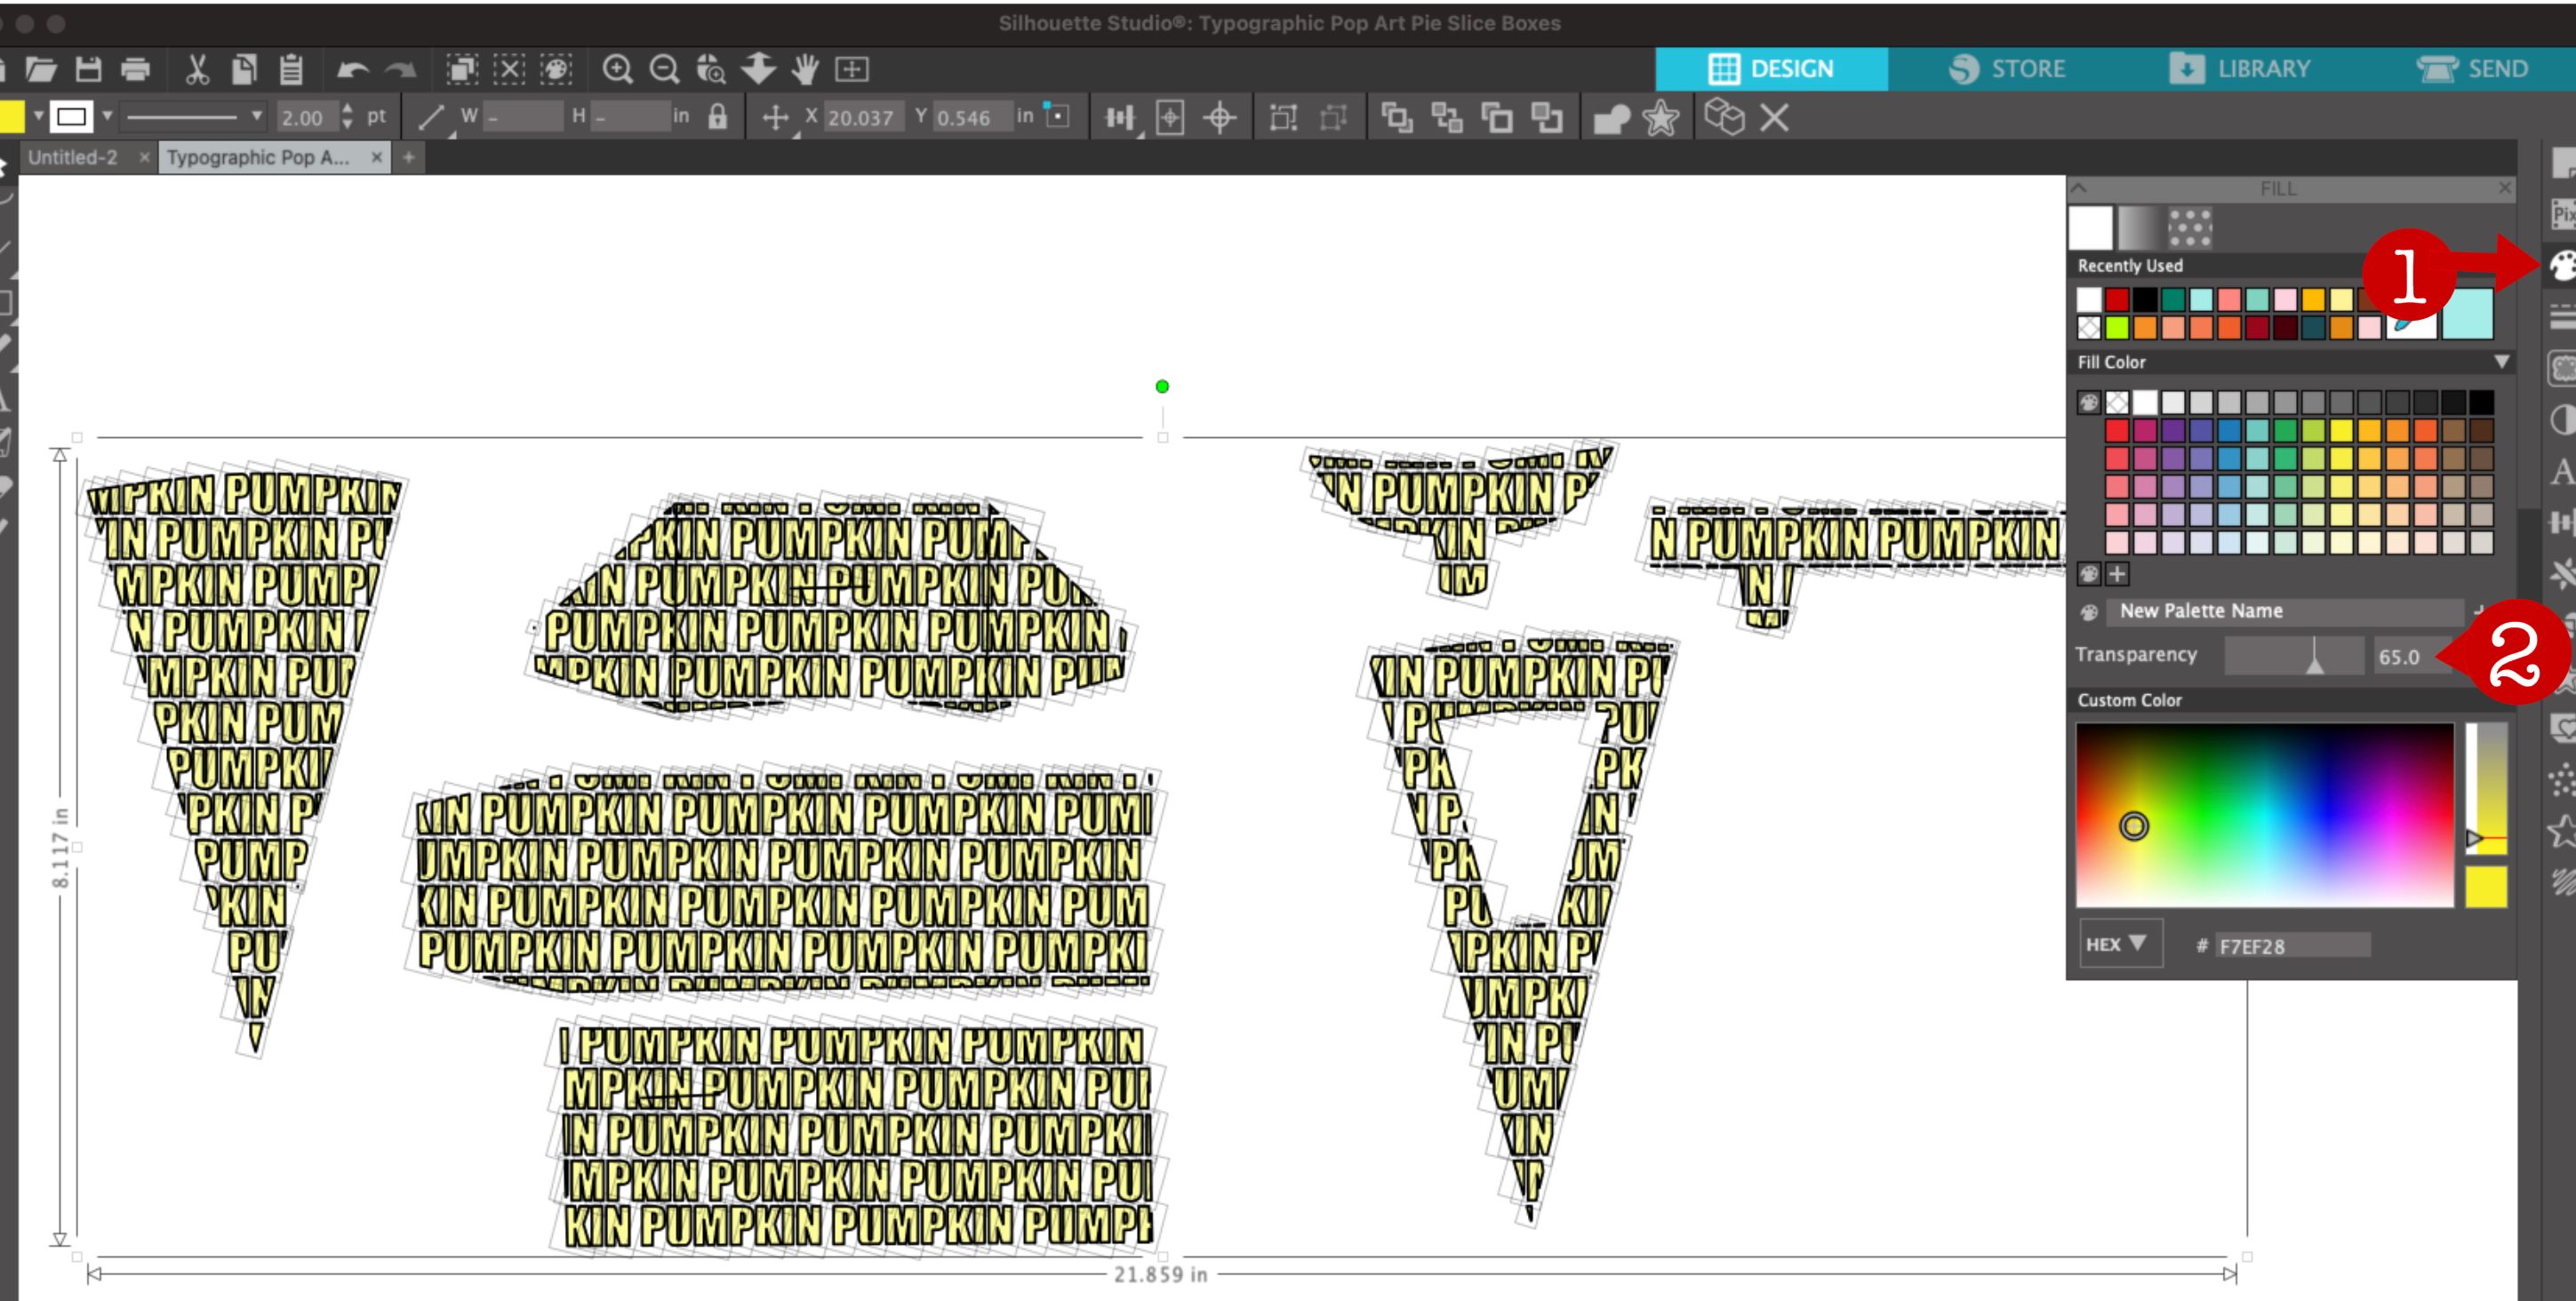
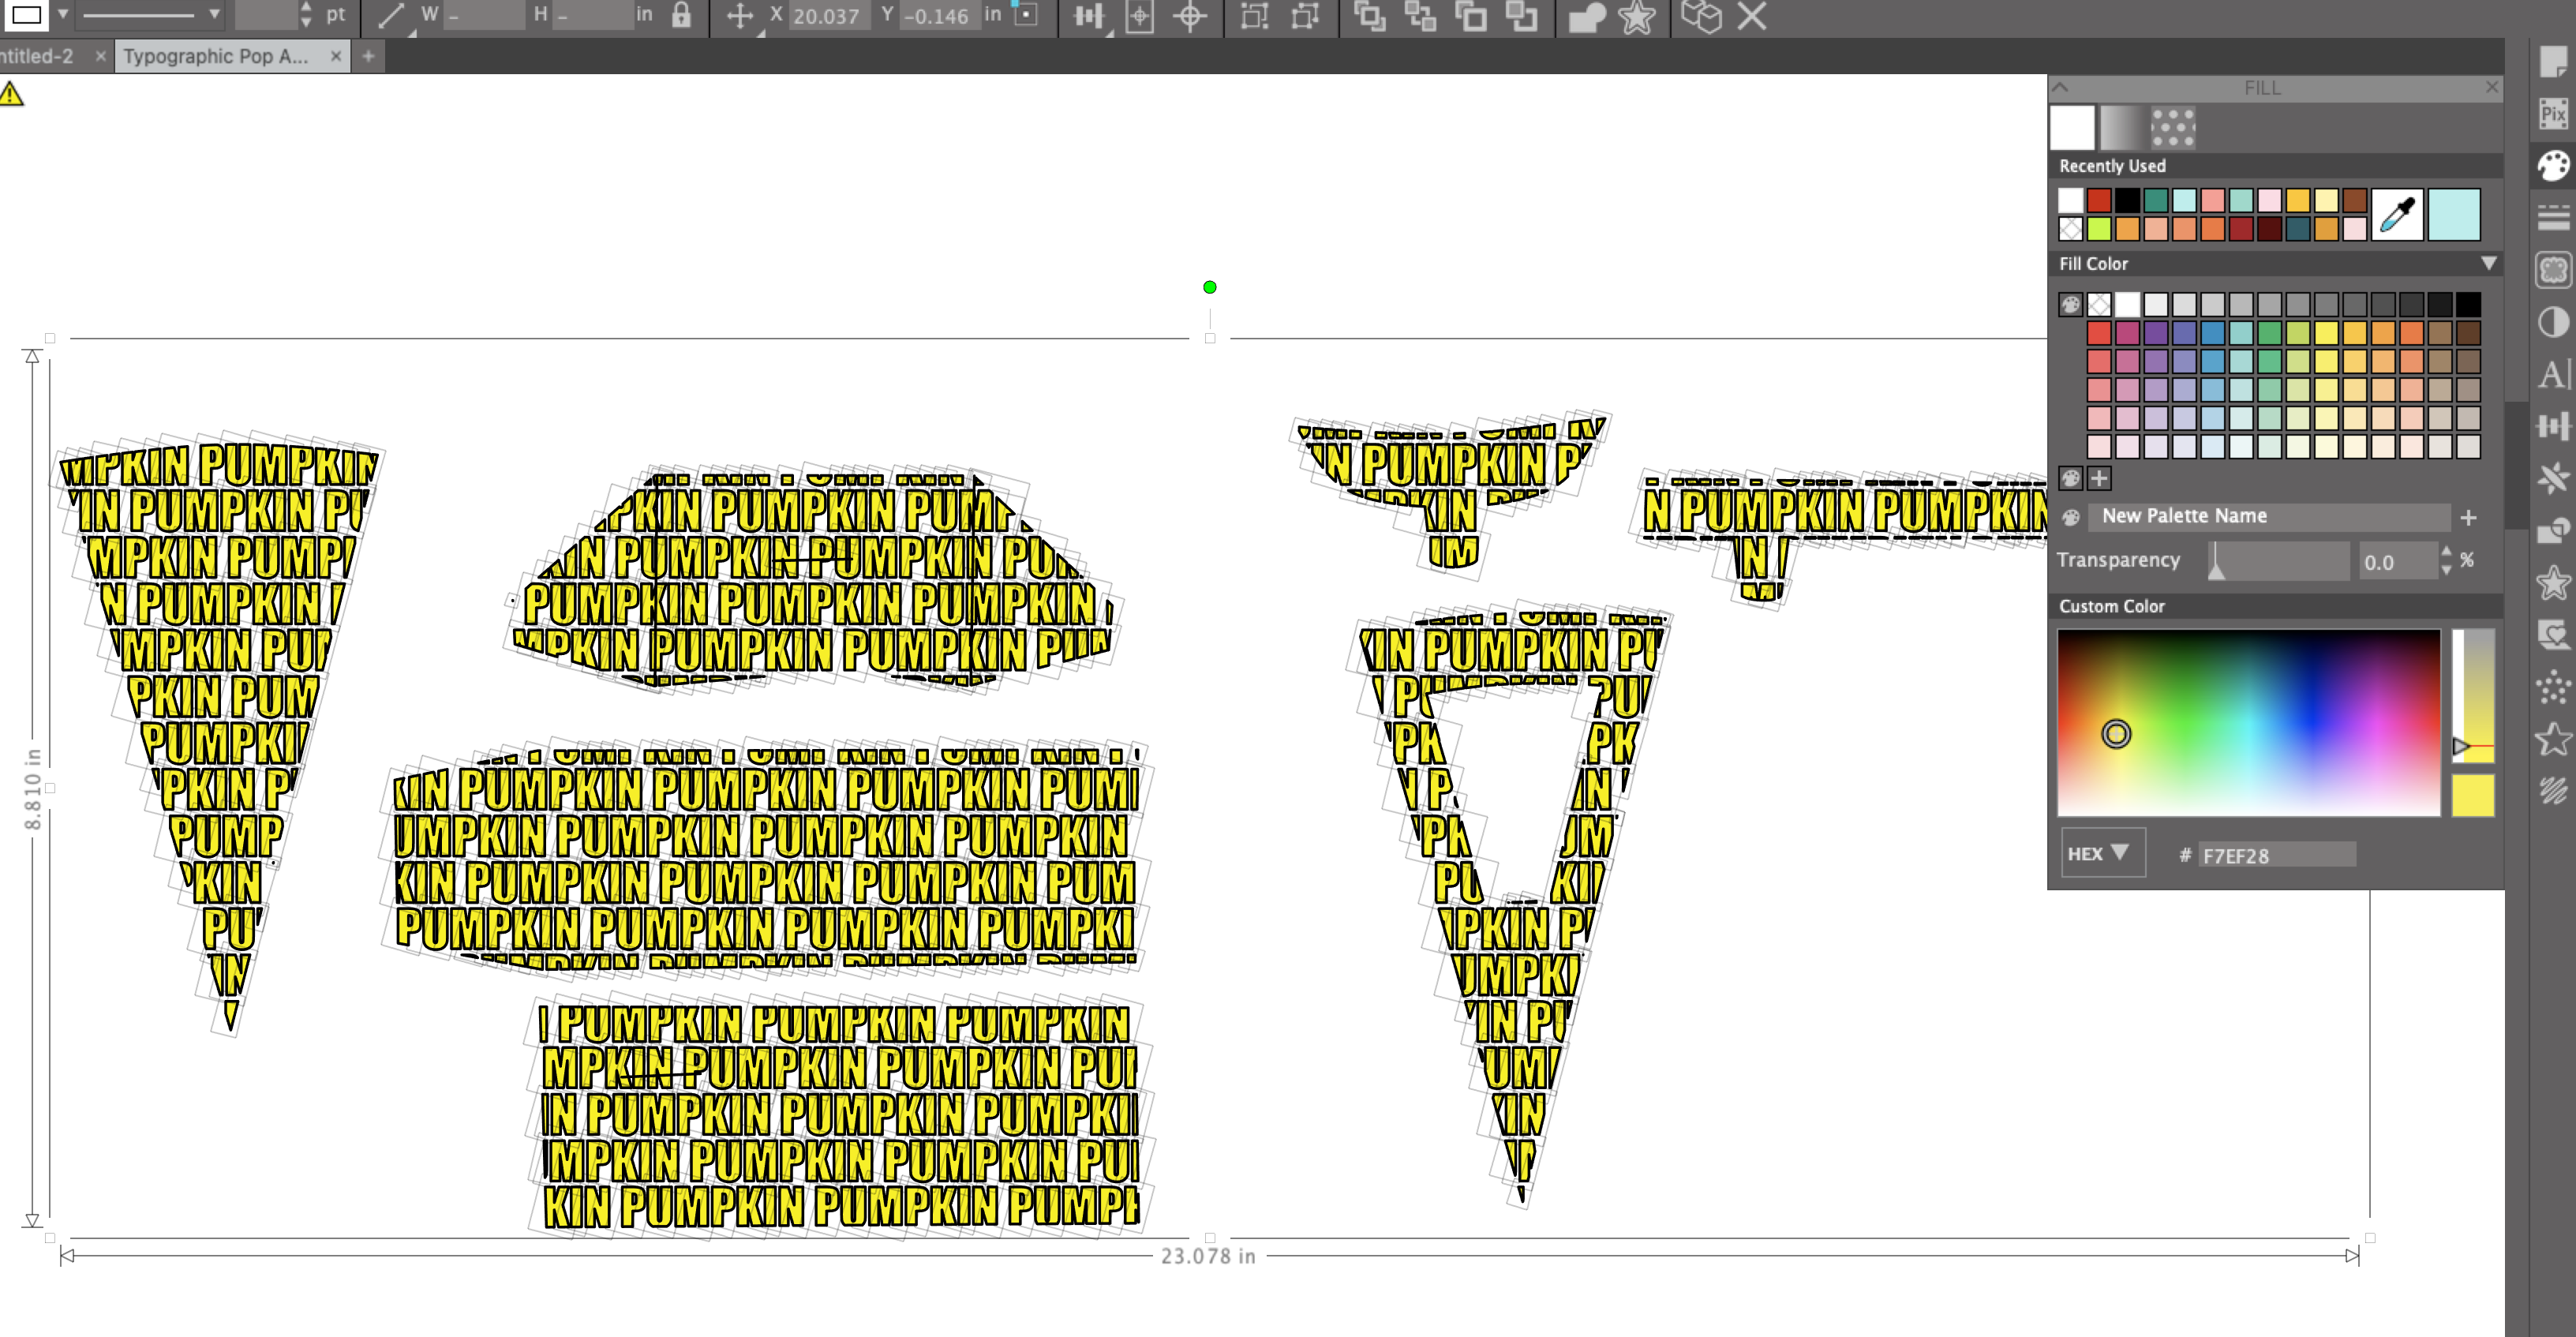
Before we can pick colors for our project, let's start change the color transparency back to zero. The template pieces were transparent to help align the pieces with the words in the text block, but now we will want to make the colors solid again.
Click on the Fill Panel (1) then slide the transparency slider back all the way to the left, or type in 0.0 (2). This will make the colors much more intense.
Color the Text
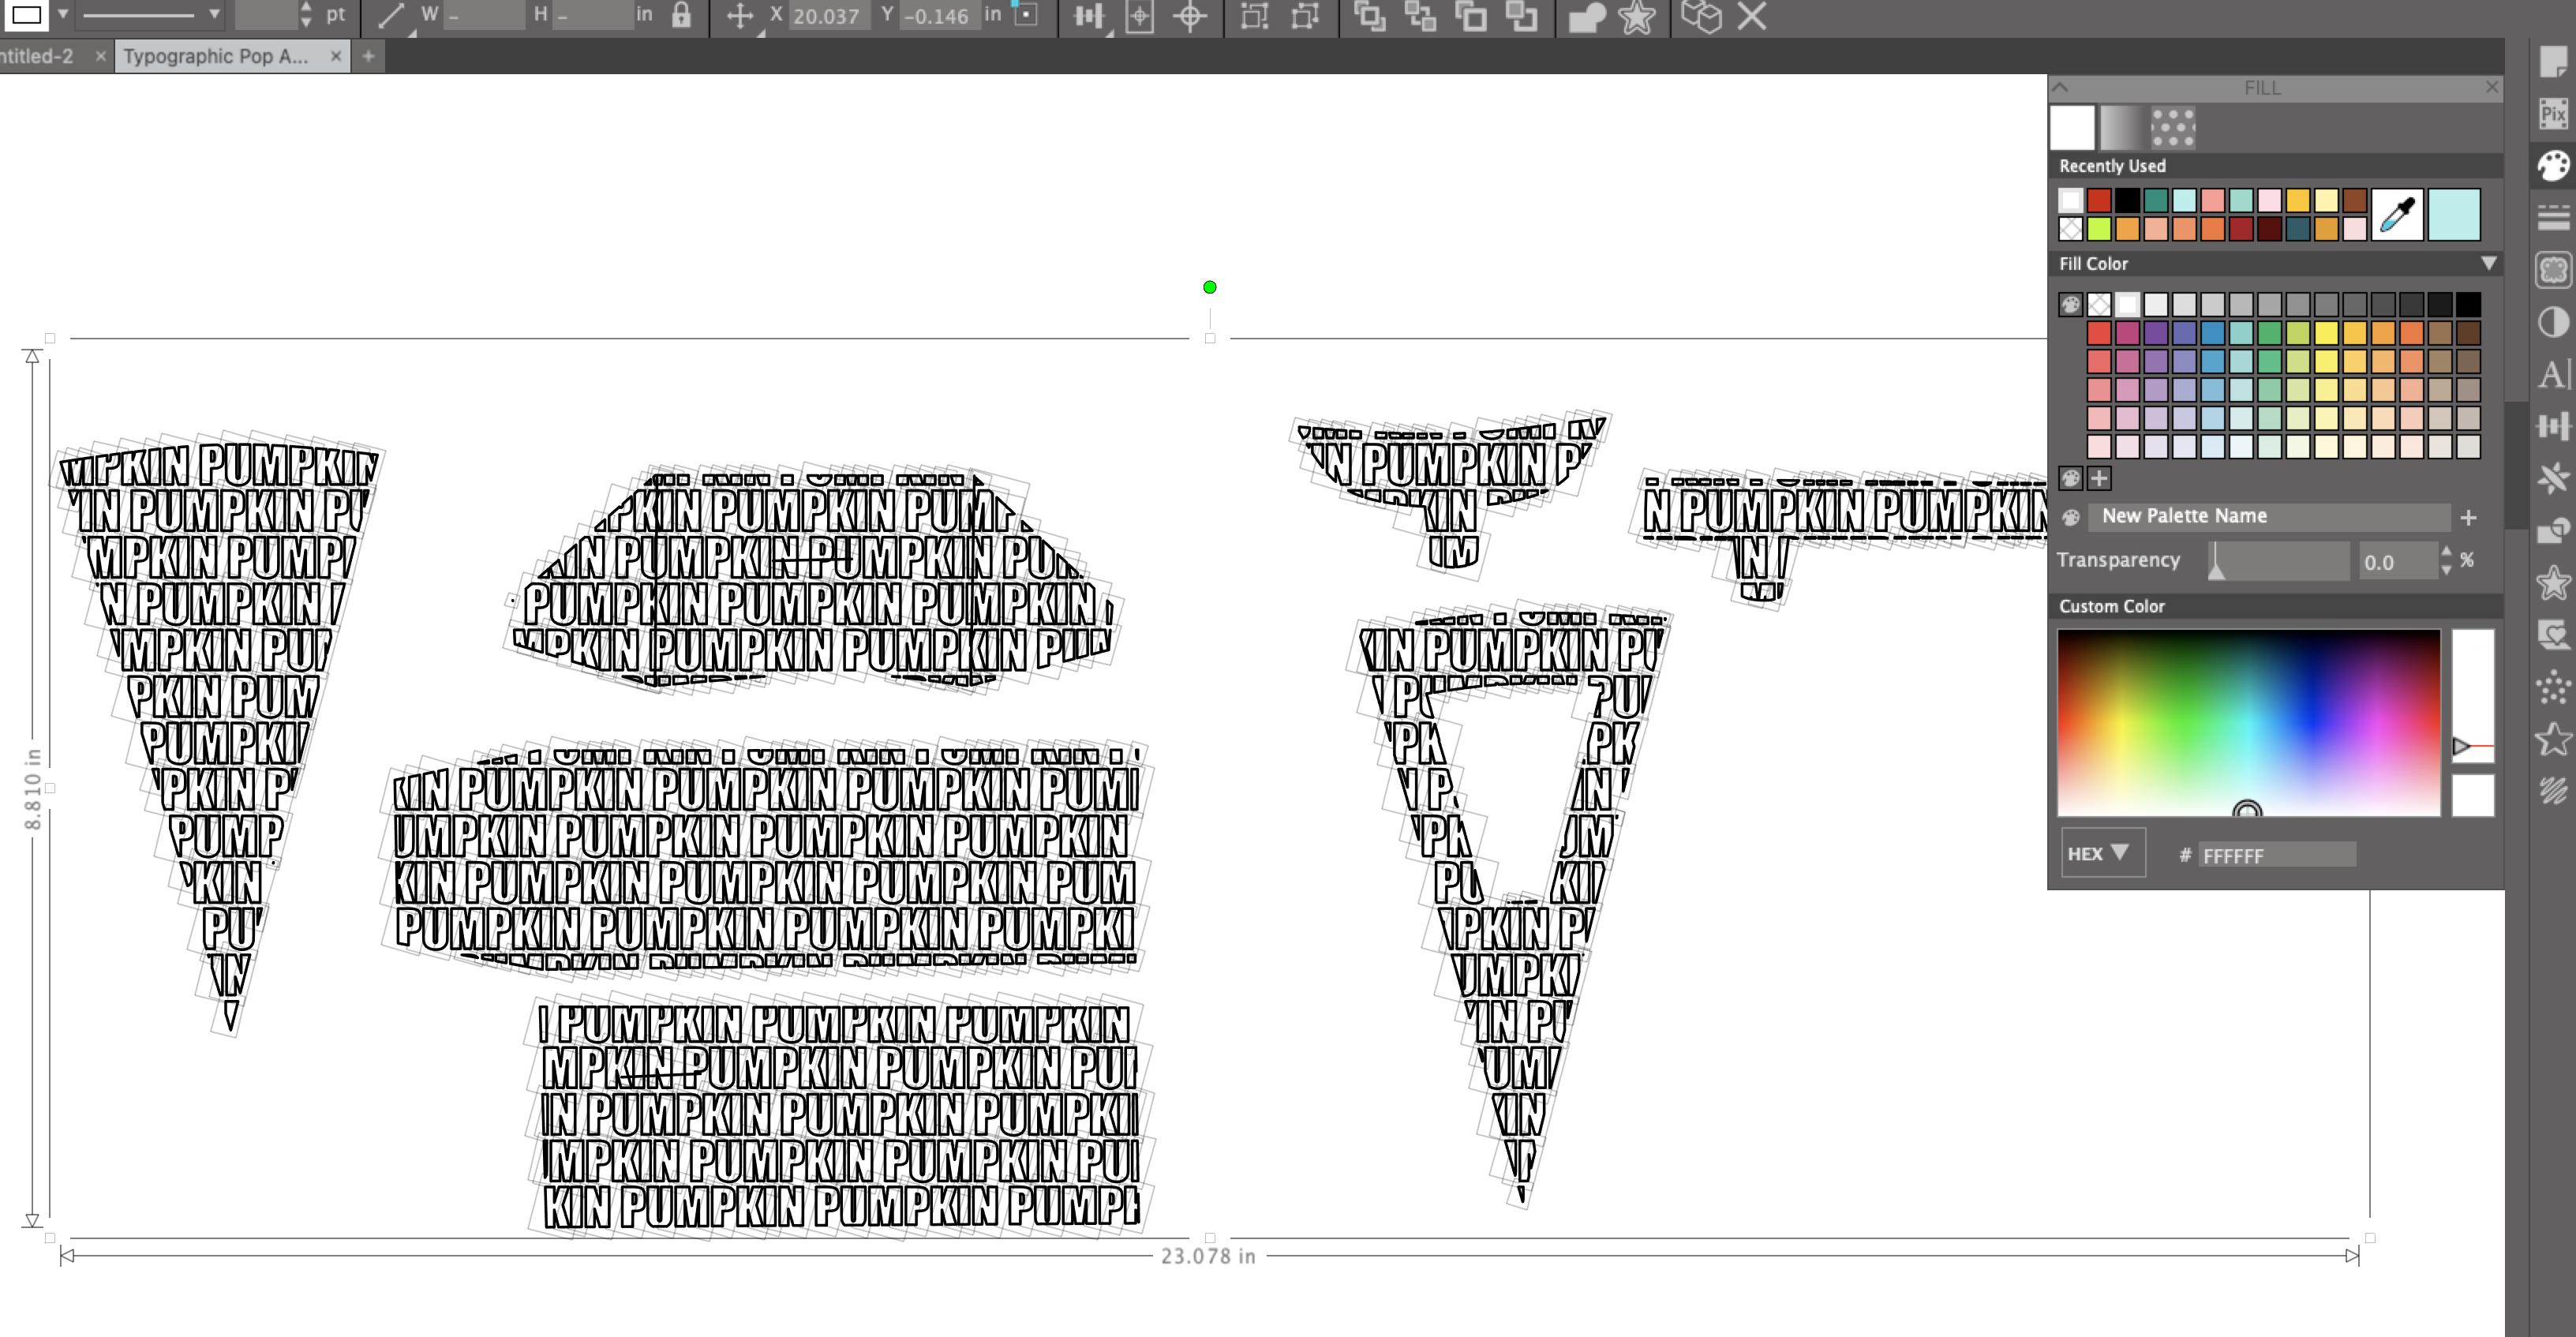
Now we can add the text colors. I like to make these pie slice boxes with 5 colors total. One color for the background, one color for the main text and three colors for accent words.
Start by picking a main text color. This color will be one of the two main colors in the end design. You can do white text on a colorful background, colorful text on a white background or colorful text and a colorful background. For my example, I decided to do white text on a green background. Select all the template letters, then select the main text color from the color swatch panel, or pick your own color by moving the custom color selector to a shade that appeals to you.
Color the Accent Words
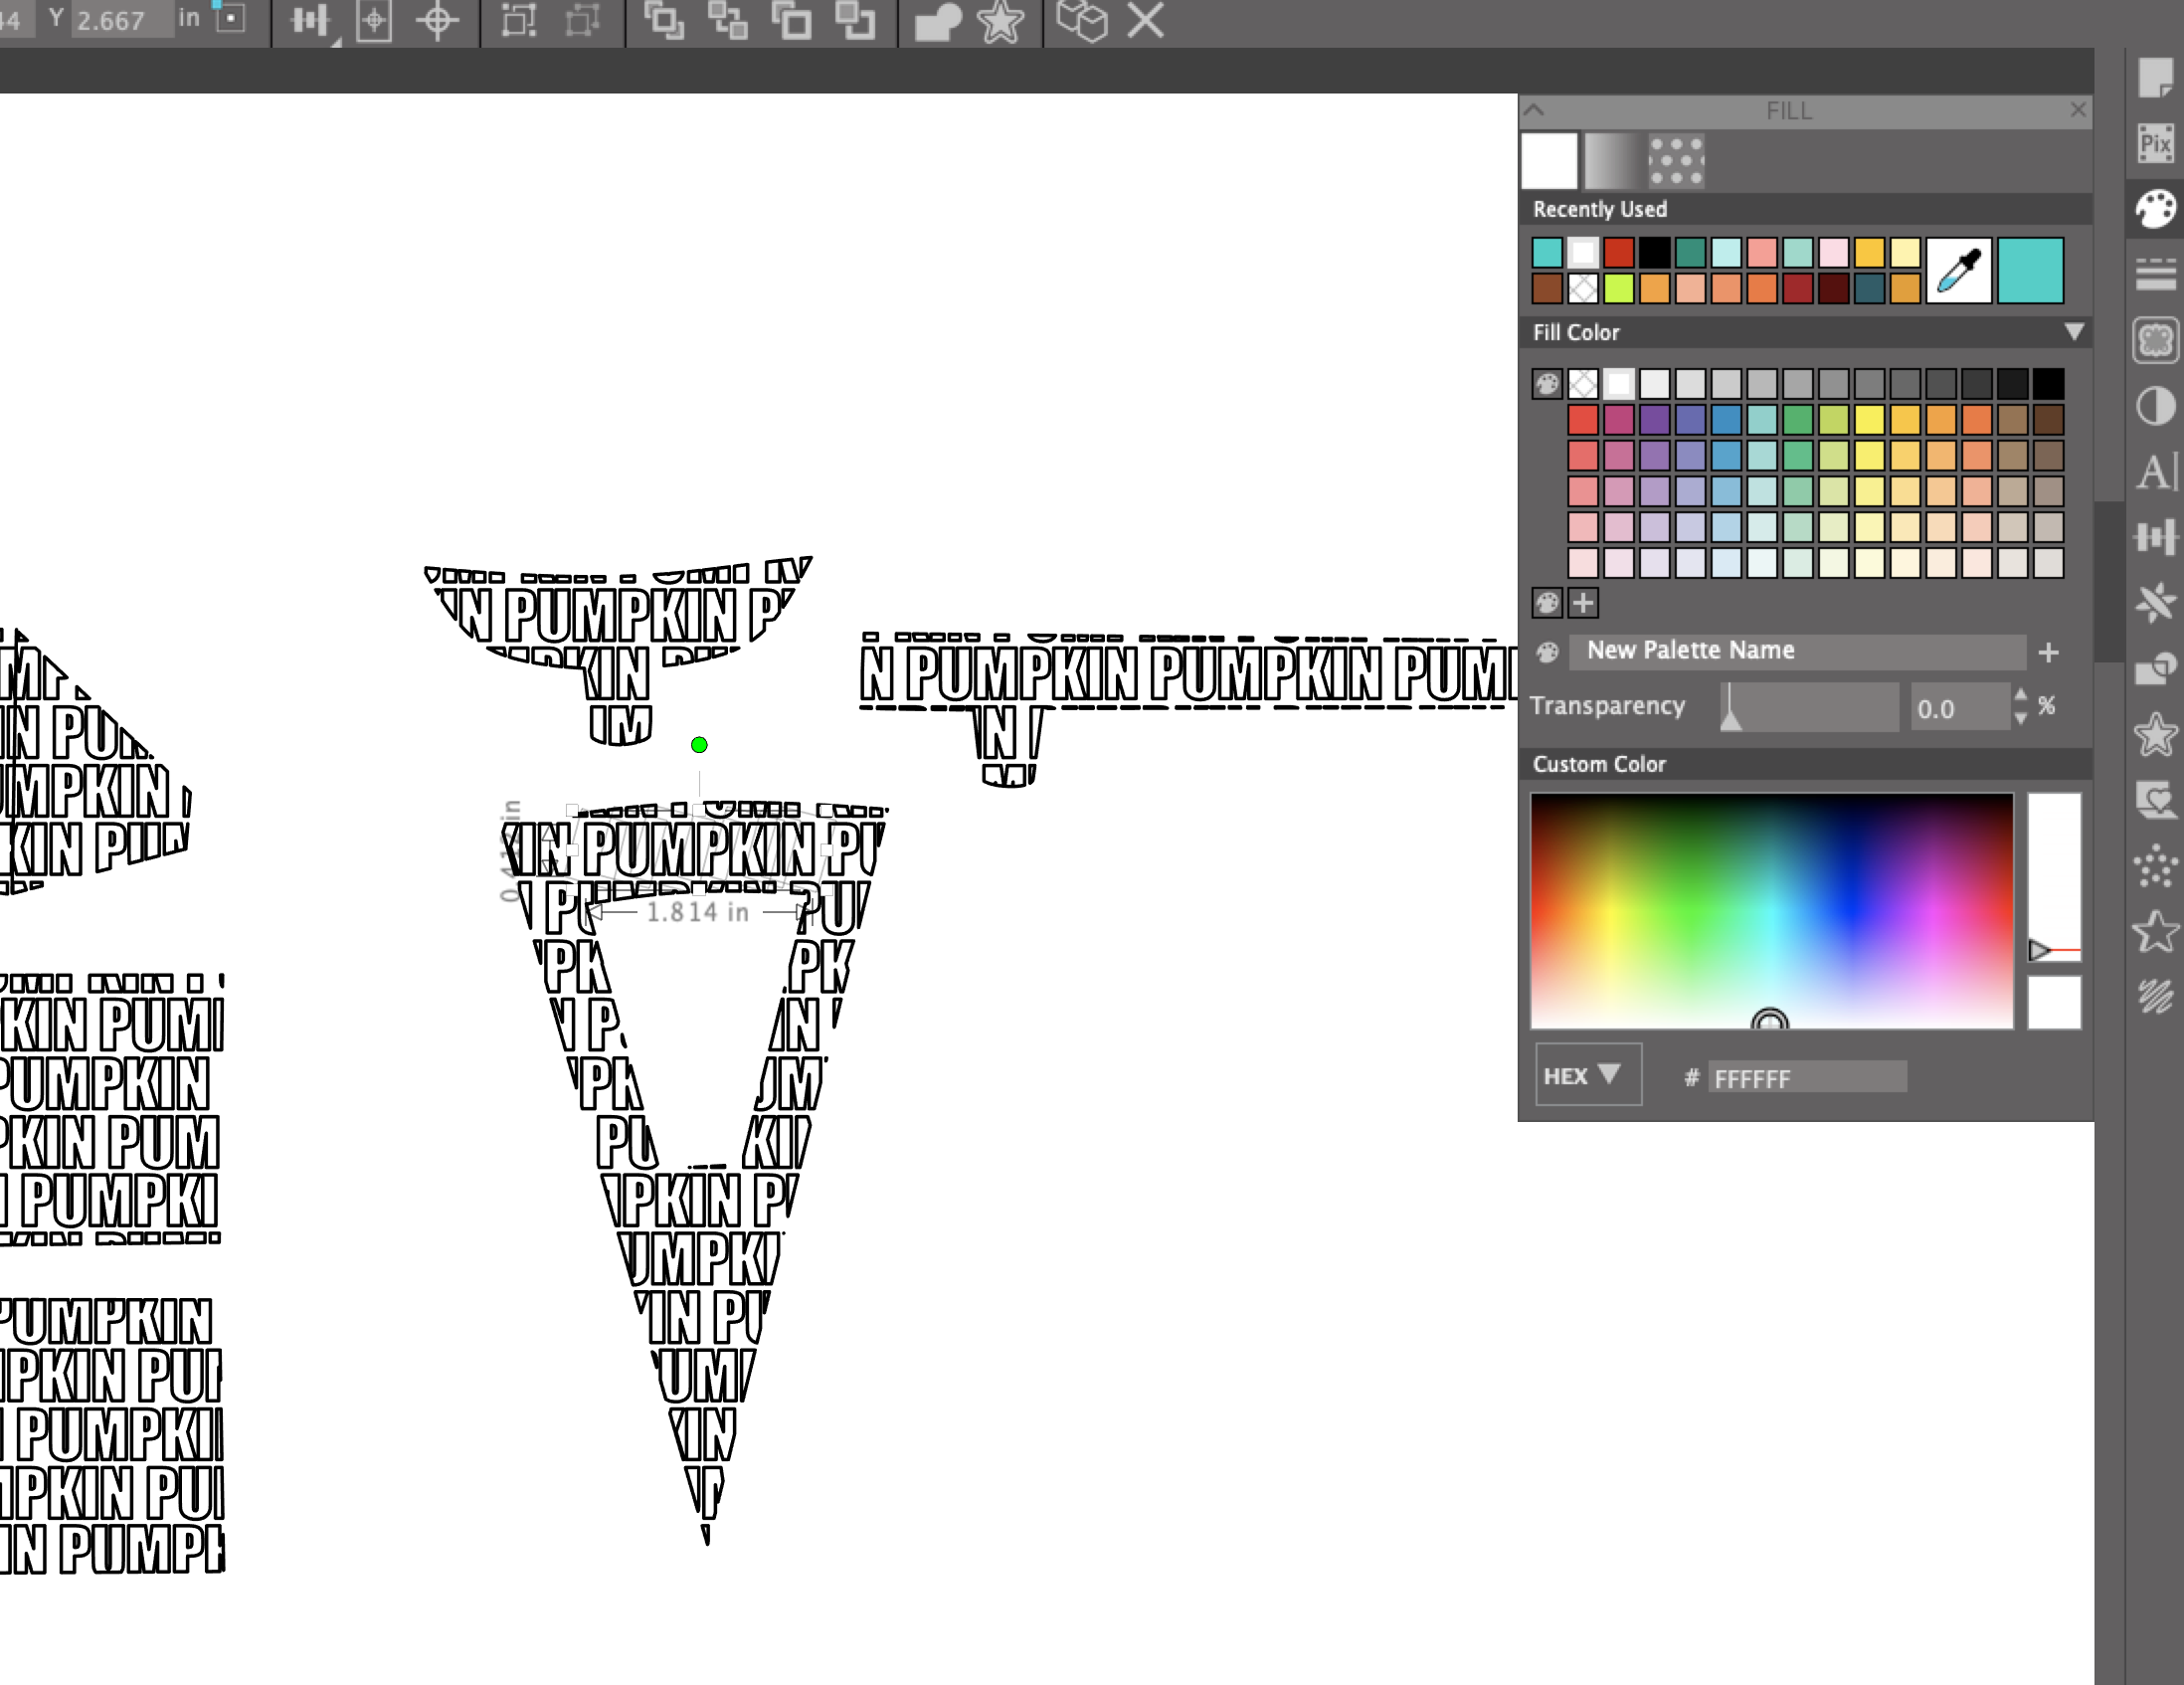
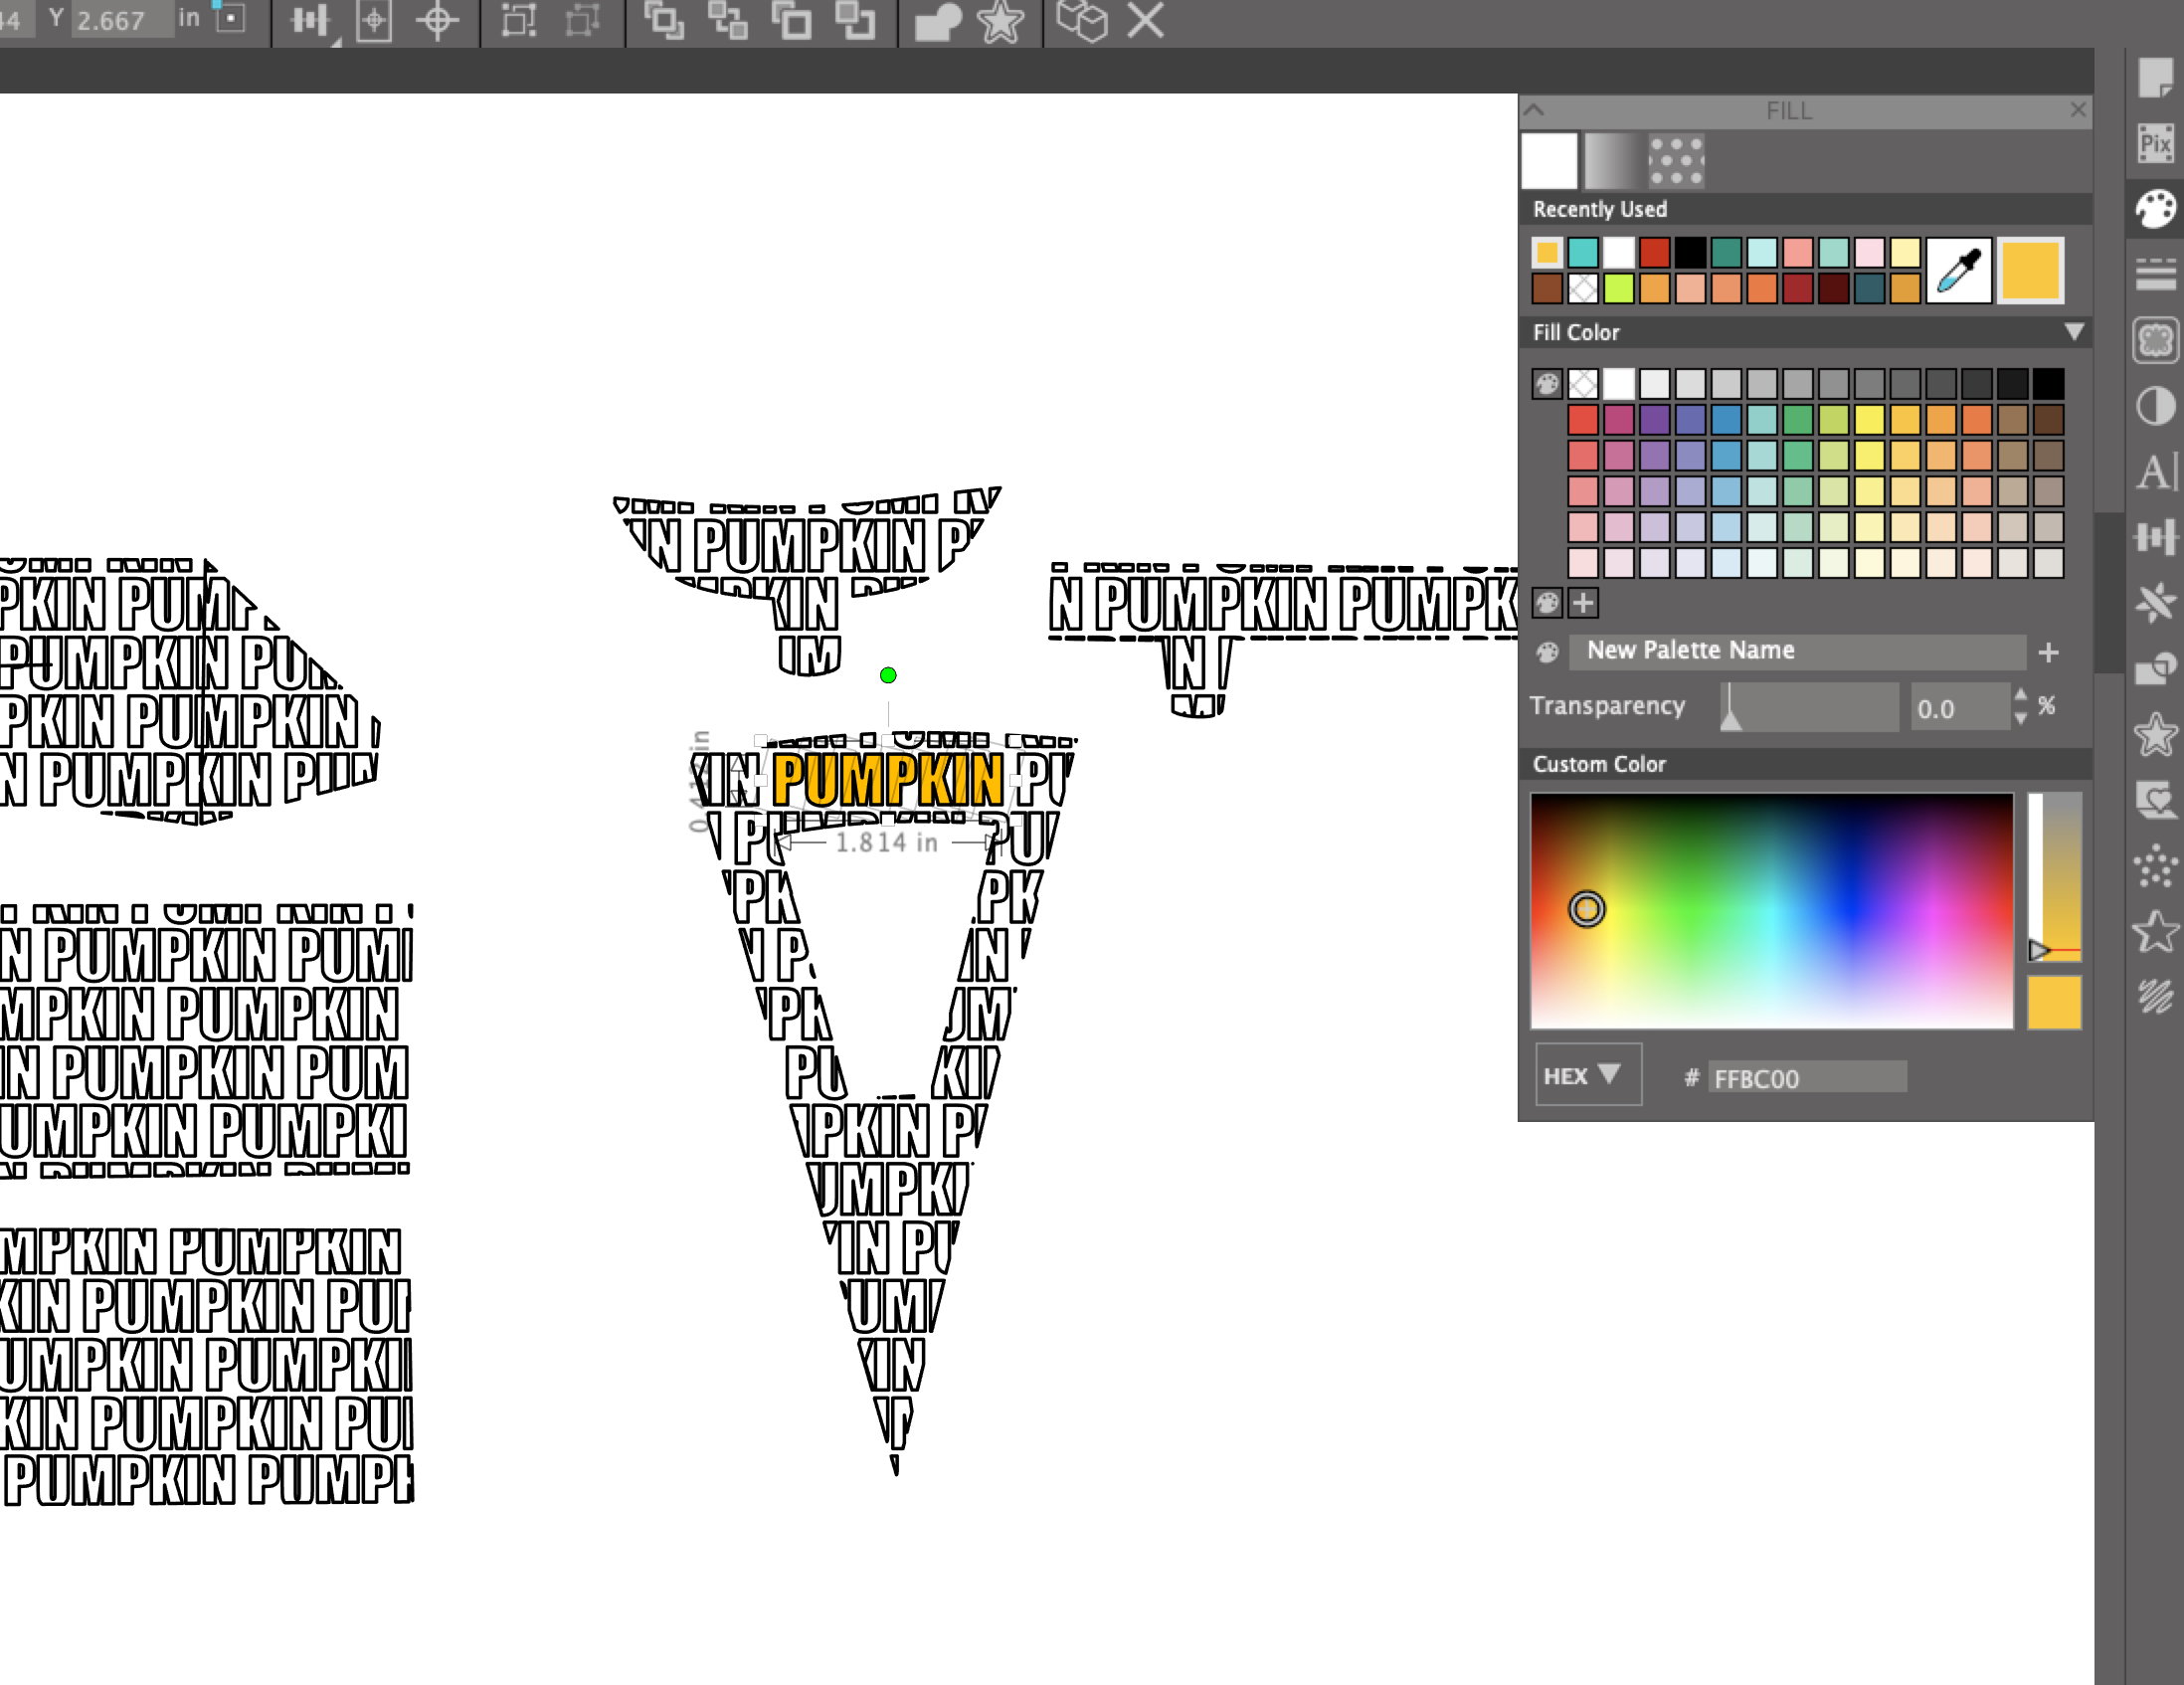
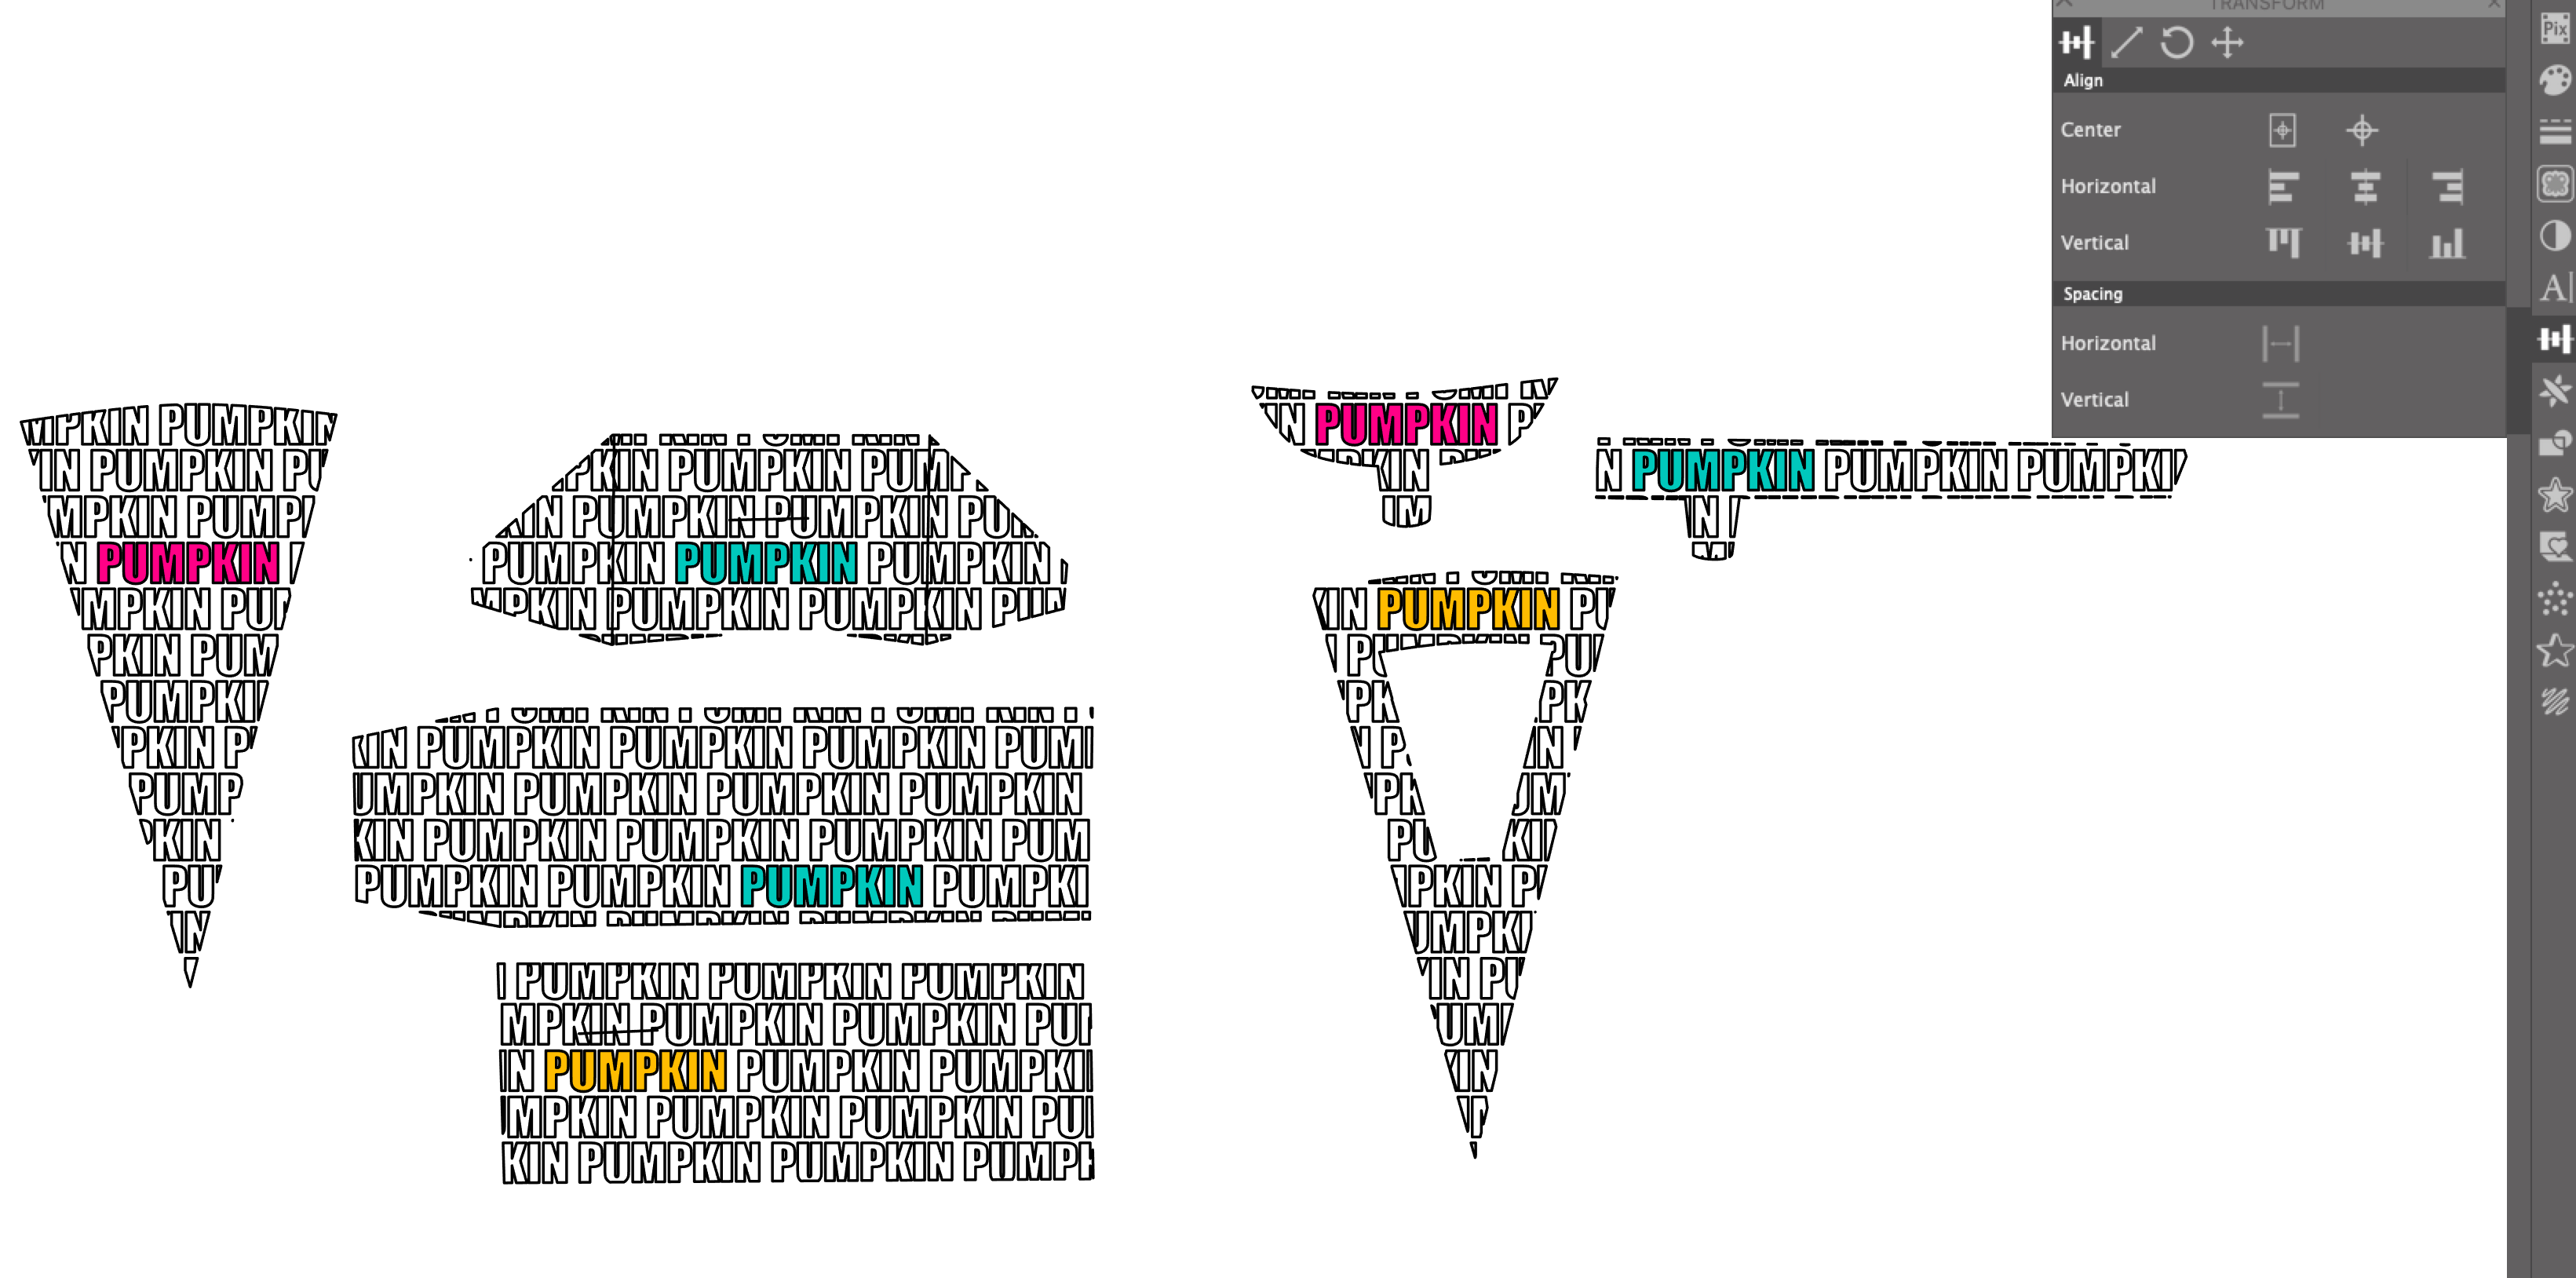
Next we can color in the accent words. While holding down the shift key, select the letters of each word by clicking each individual letter. This will allow you to select several letters are once. Once all the letters are selected, pick the color from the color pallet.
I like to color one word per box section. I found making a little chart helpful to know what color to make the accent words.
Group the Word Pieces
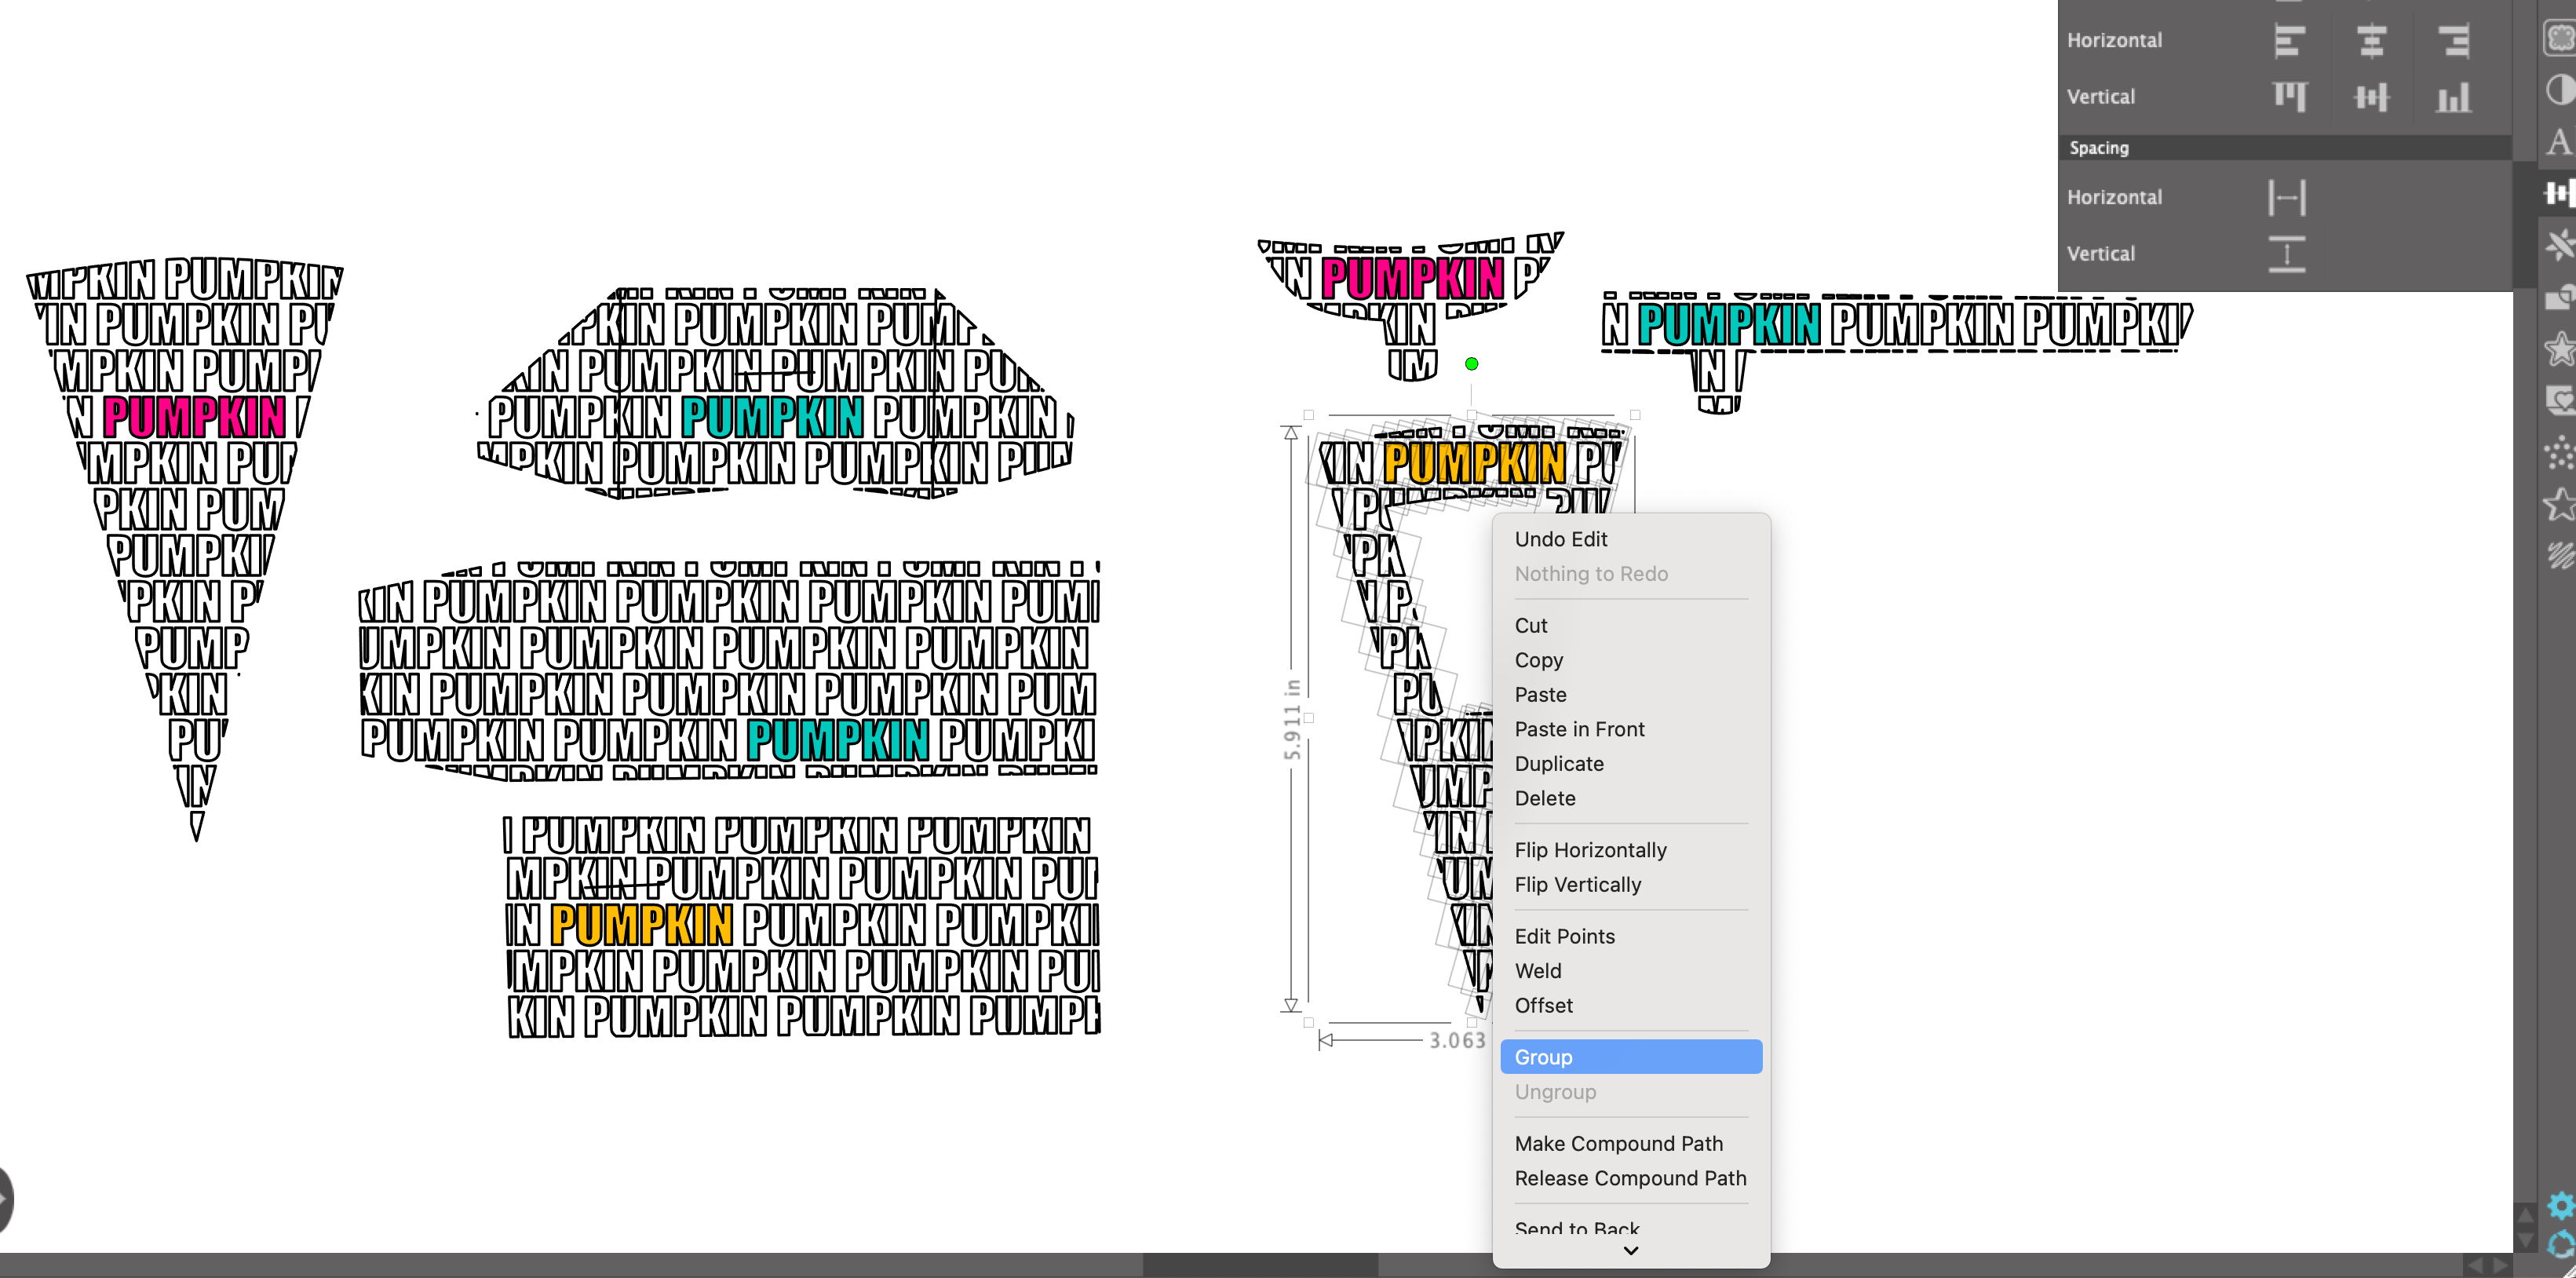
Now that all the word pieces are colored, we can group them into sections so we can move those sections all at once in the upcoming steps.
Click and drag a selection box around each section. Right click and go to Group. Repeat for each section.
Color the Background Pieces
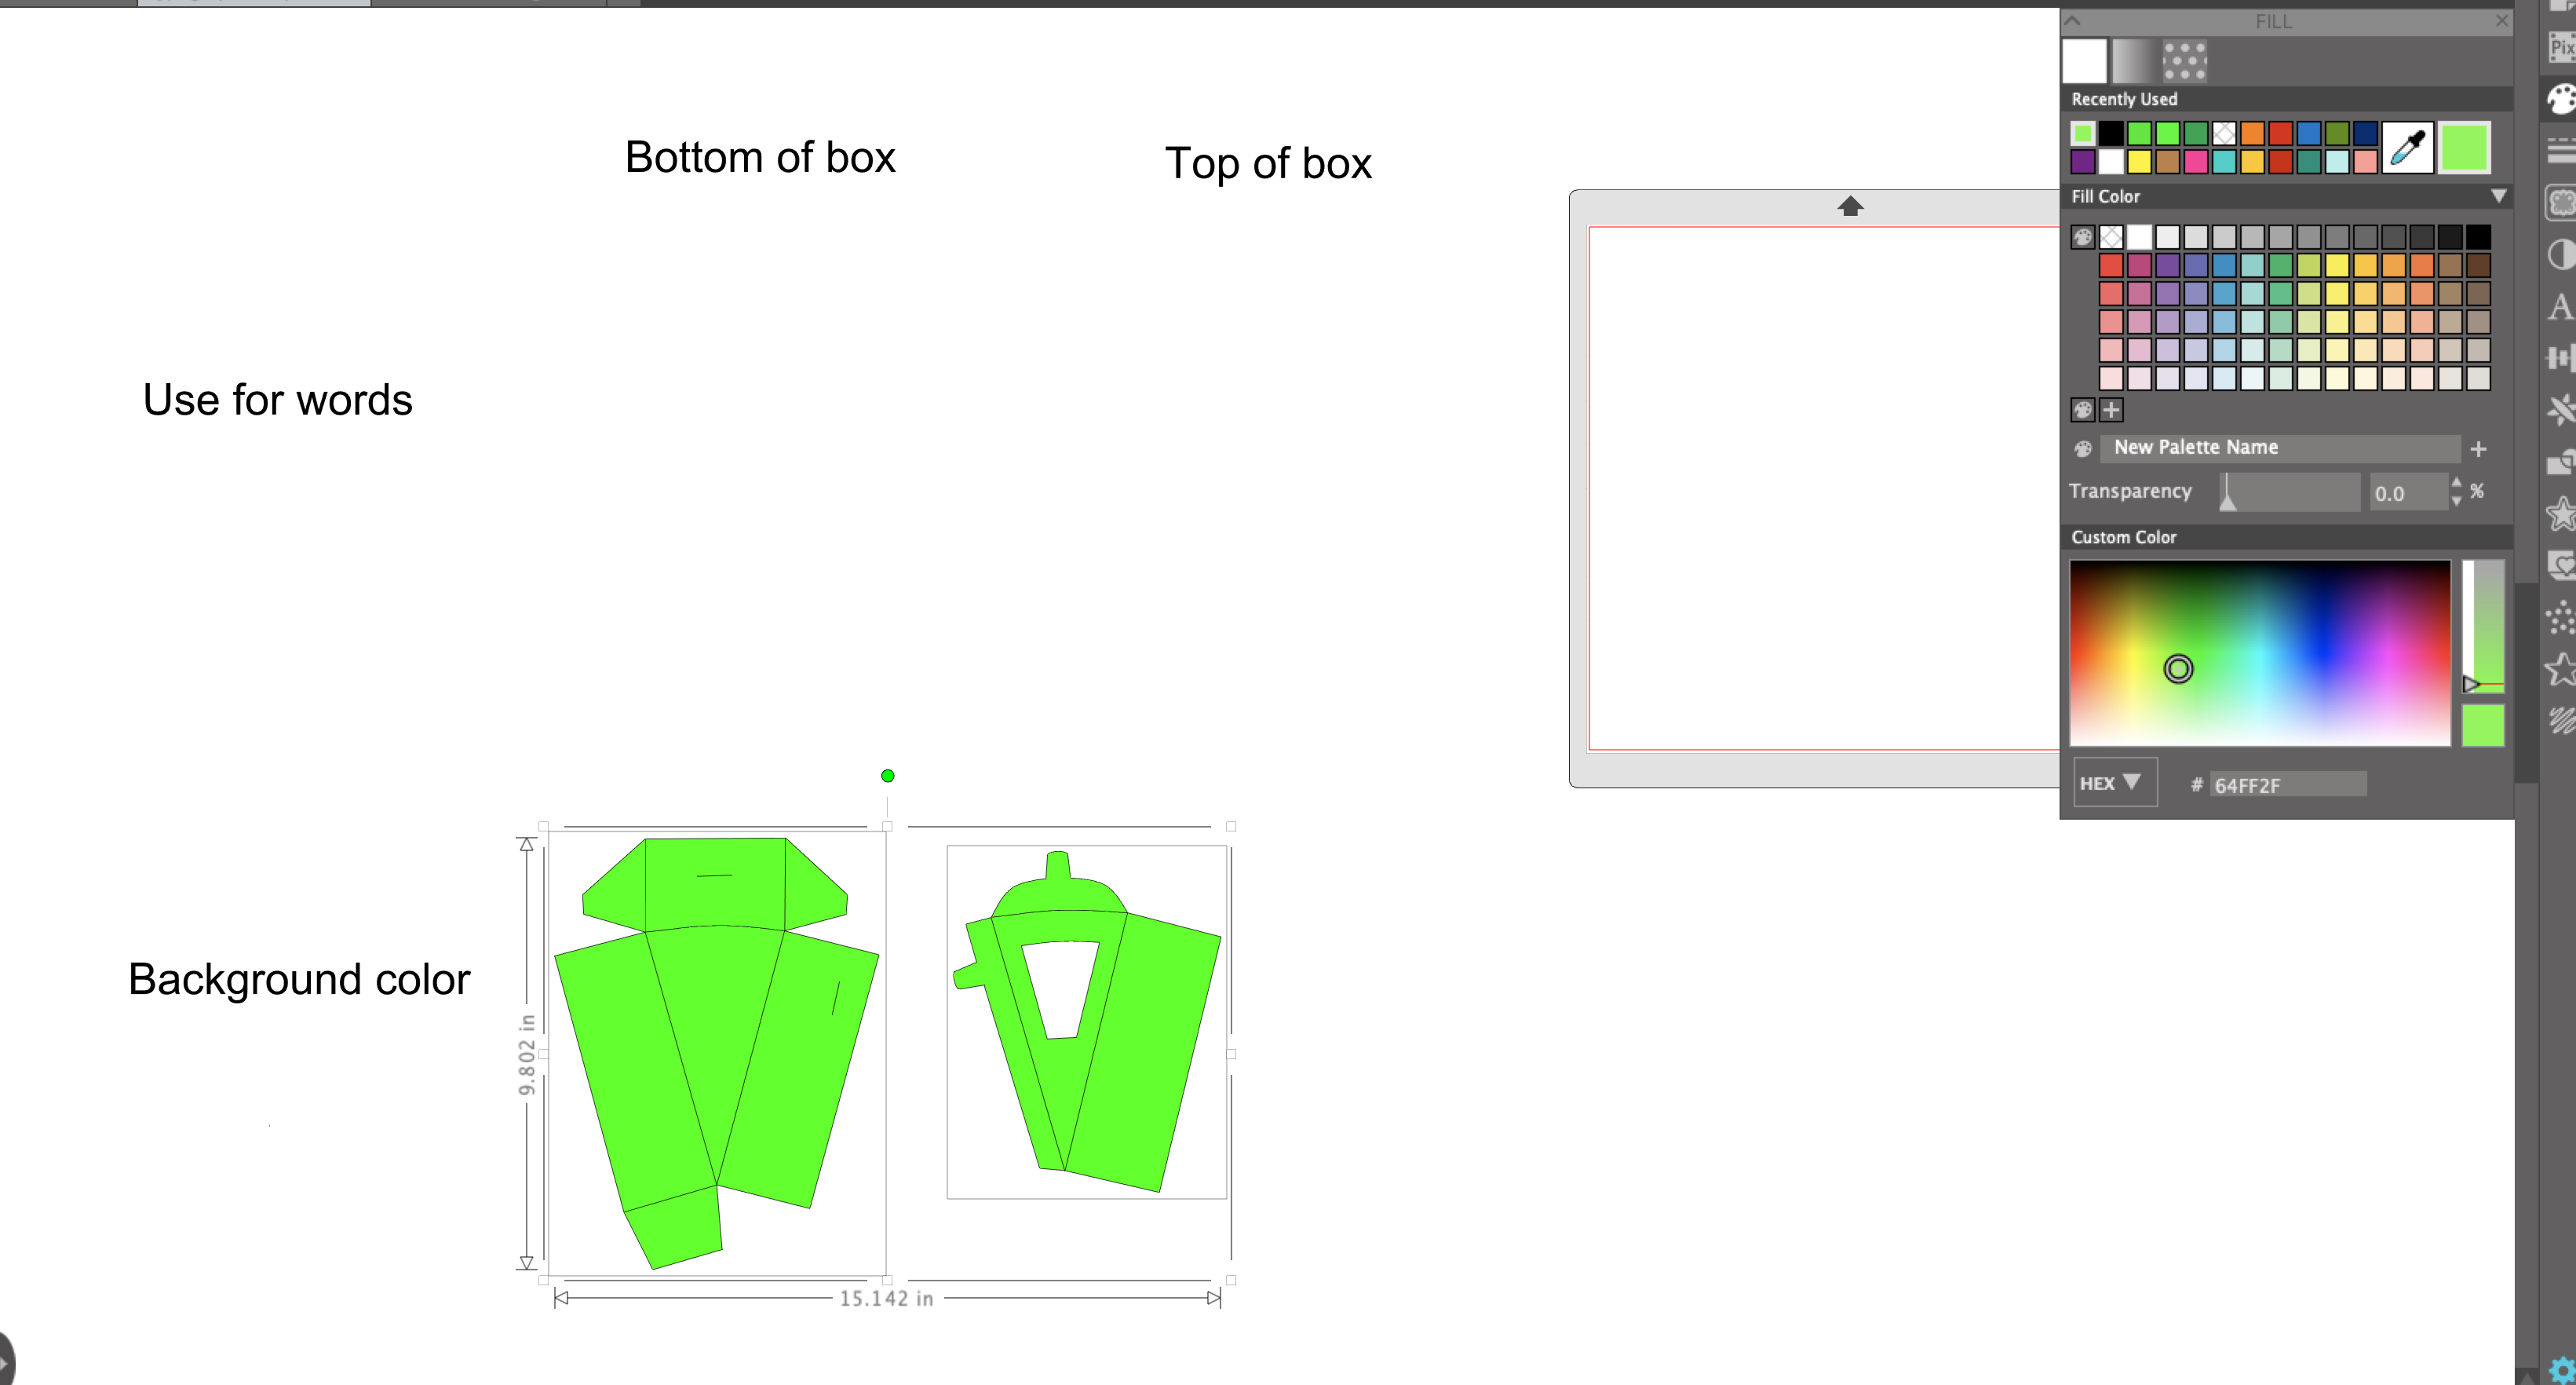
Now that the words are all set, we can color the background pieces. Scroll back over to the left, select both the background templates and pick a color from the color pallet.
Put Together the Puzzle
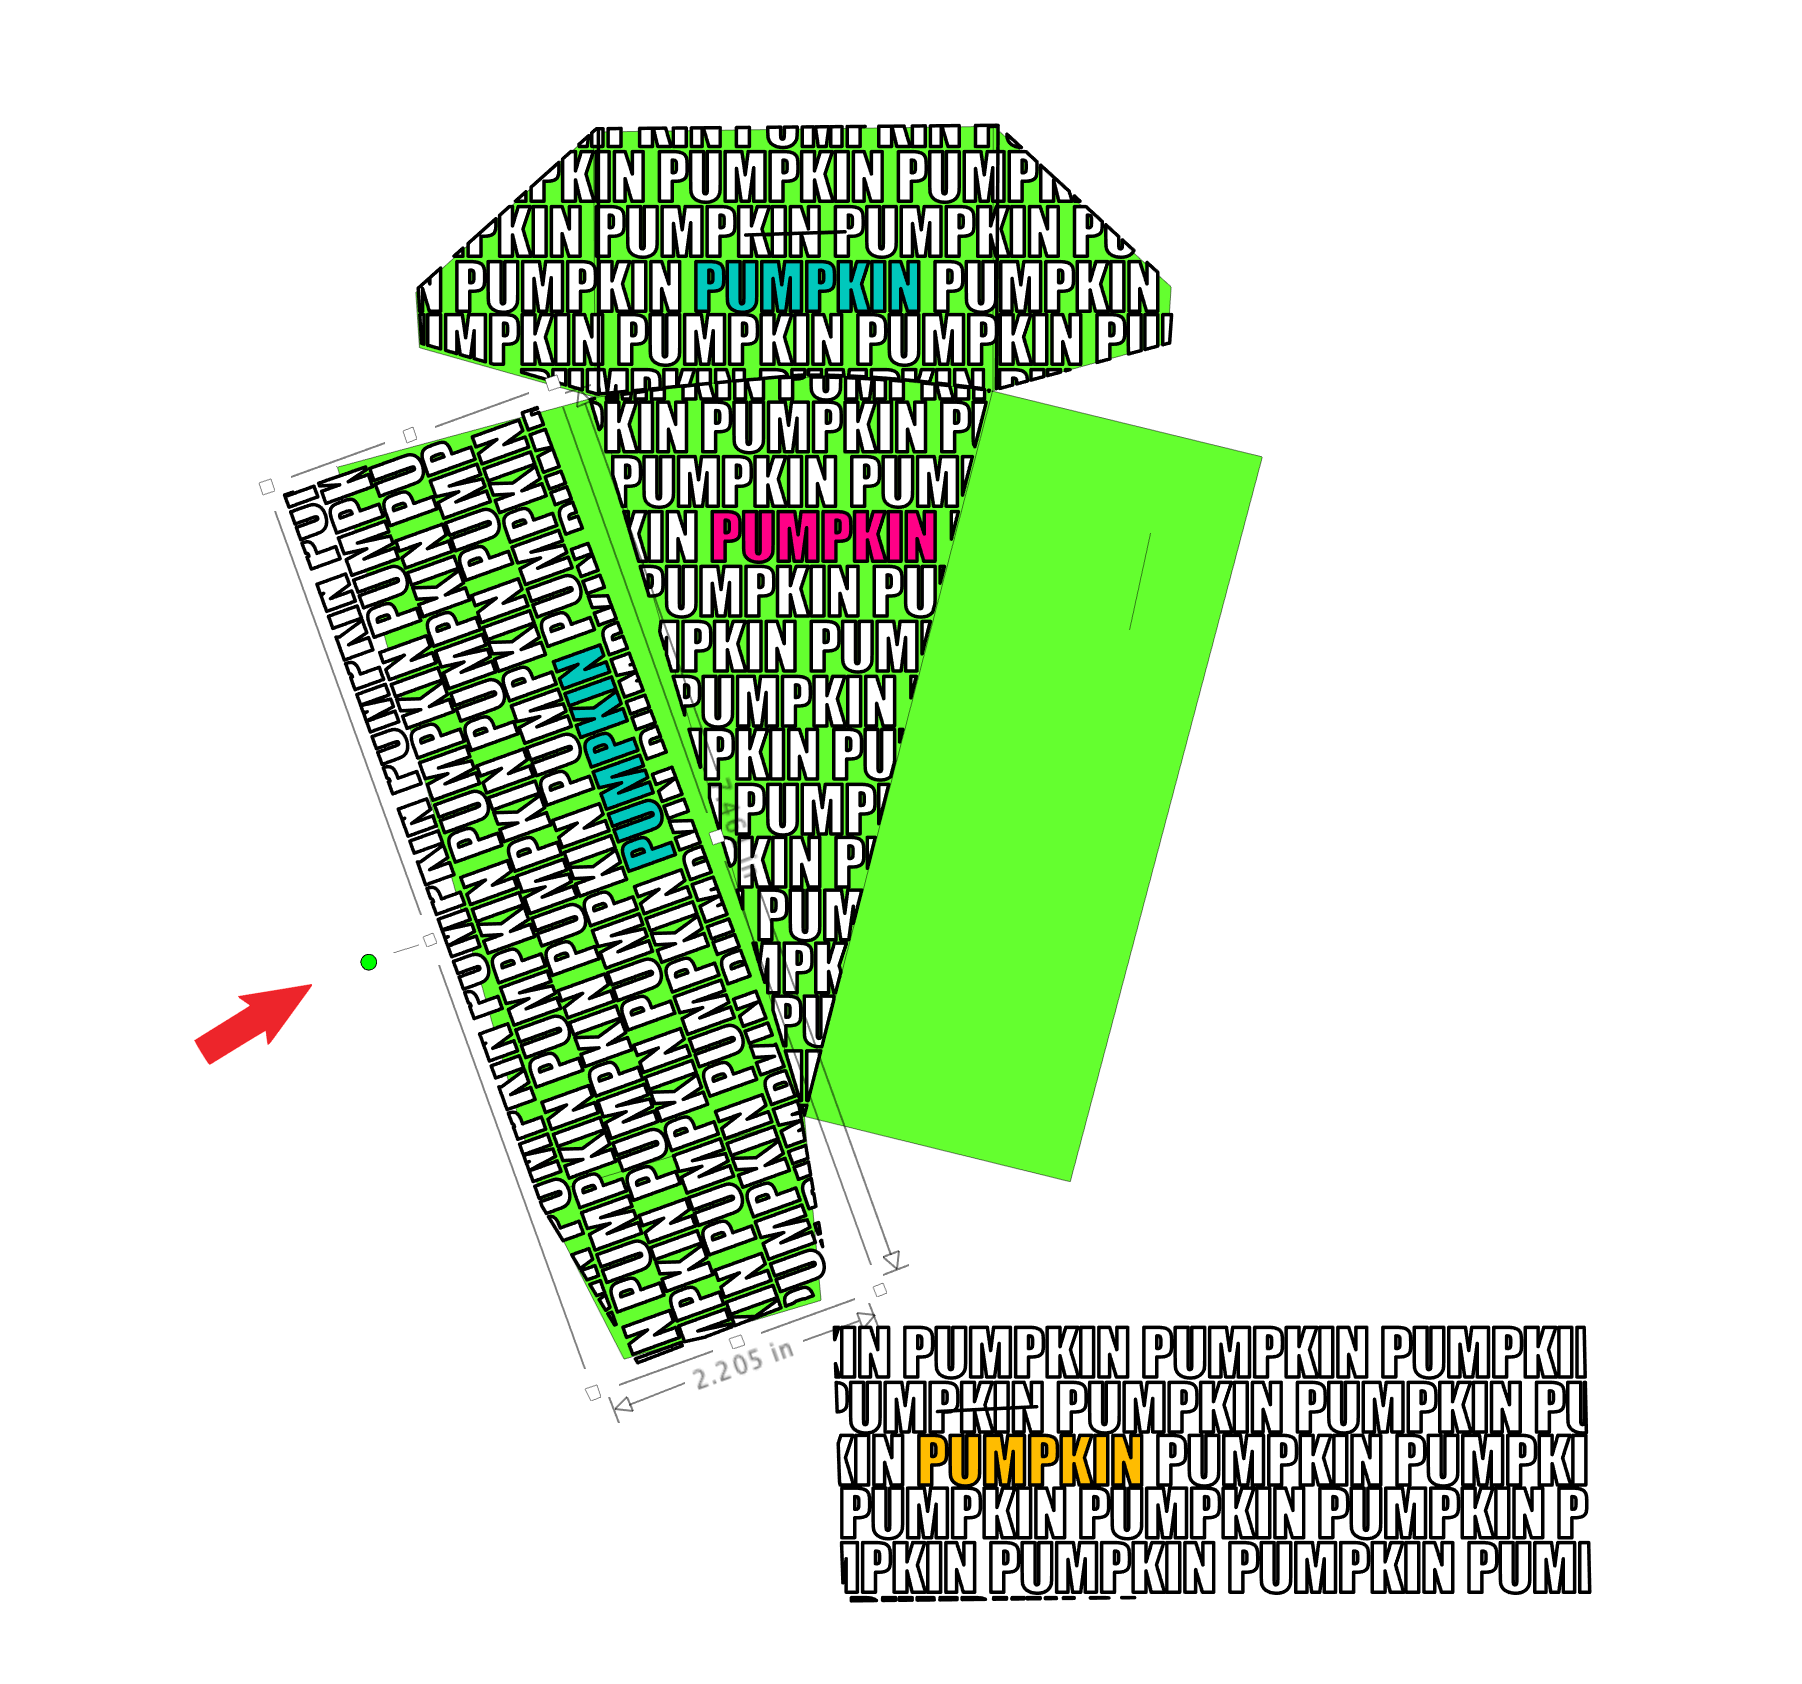
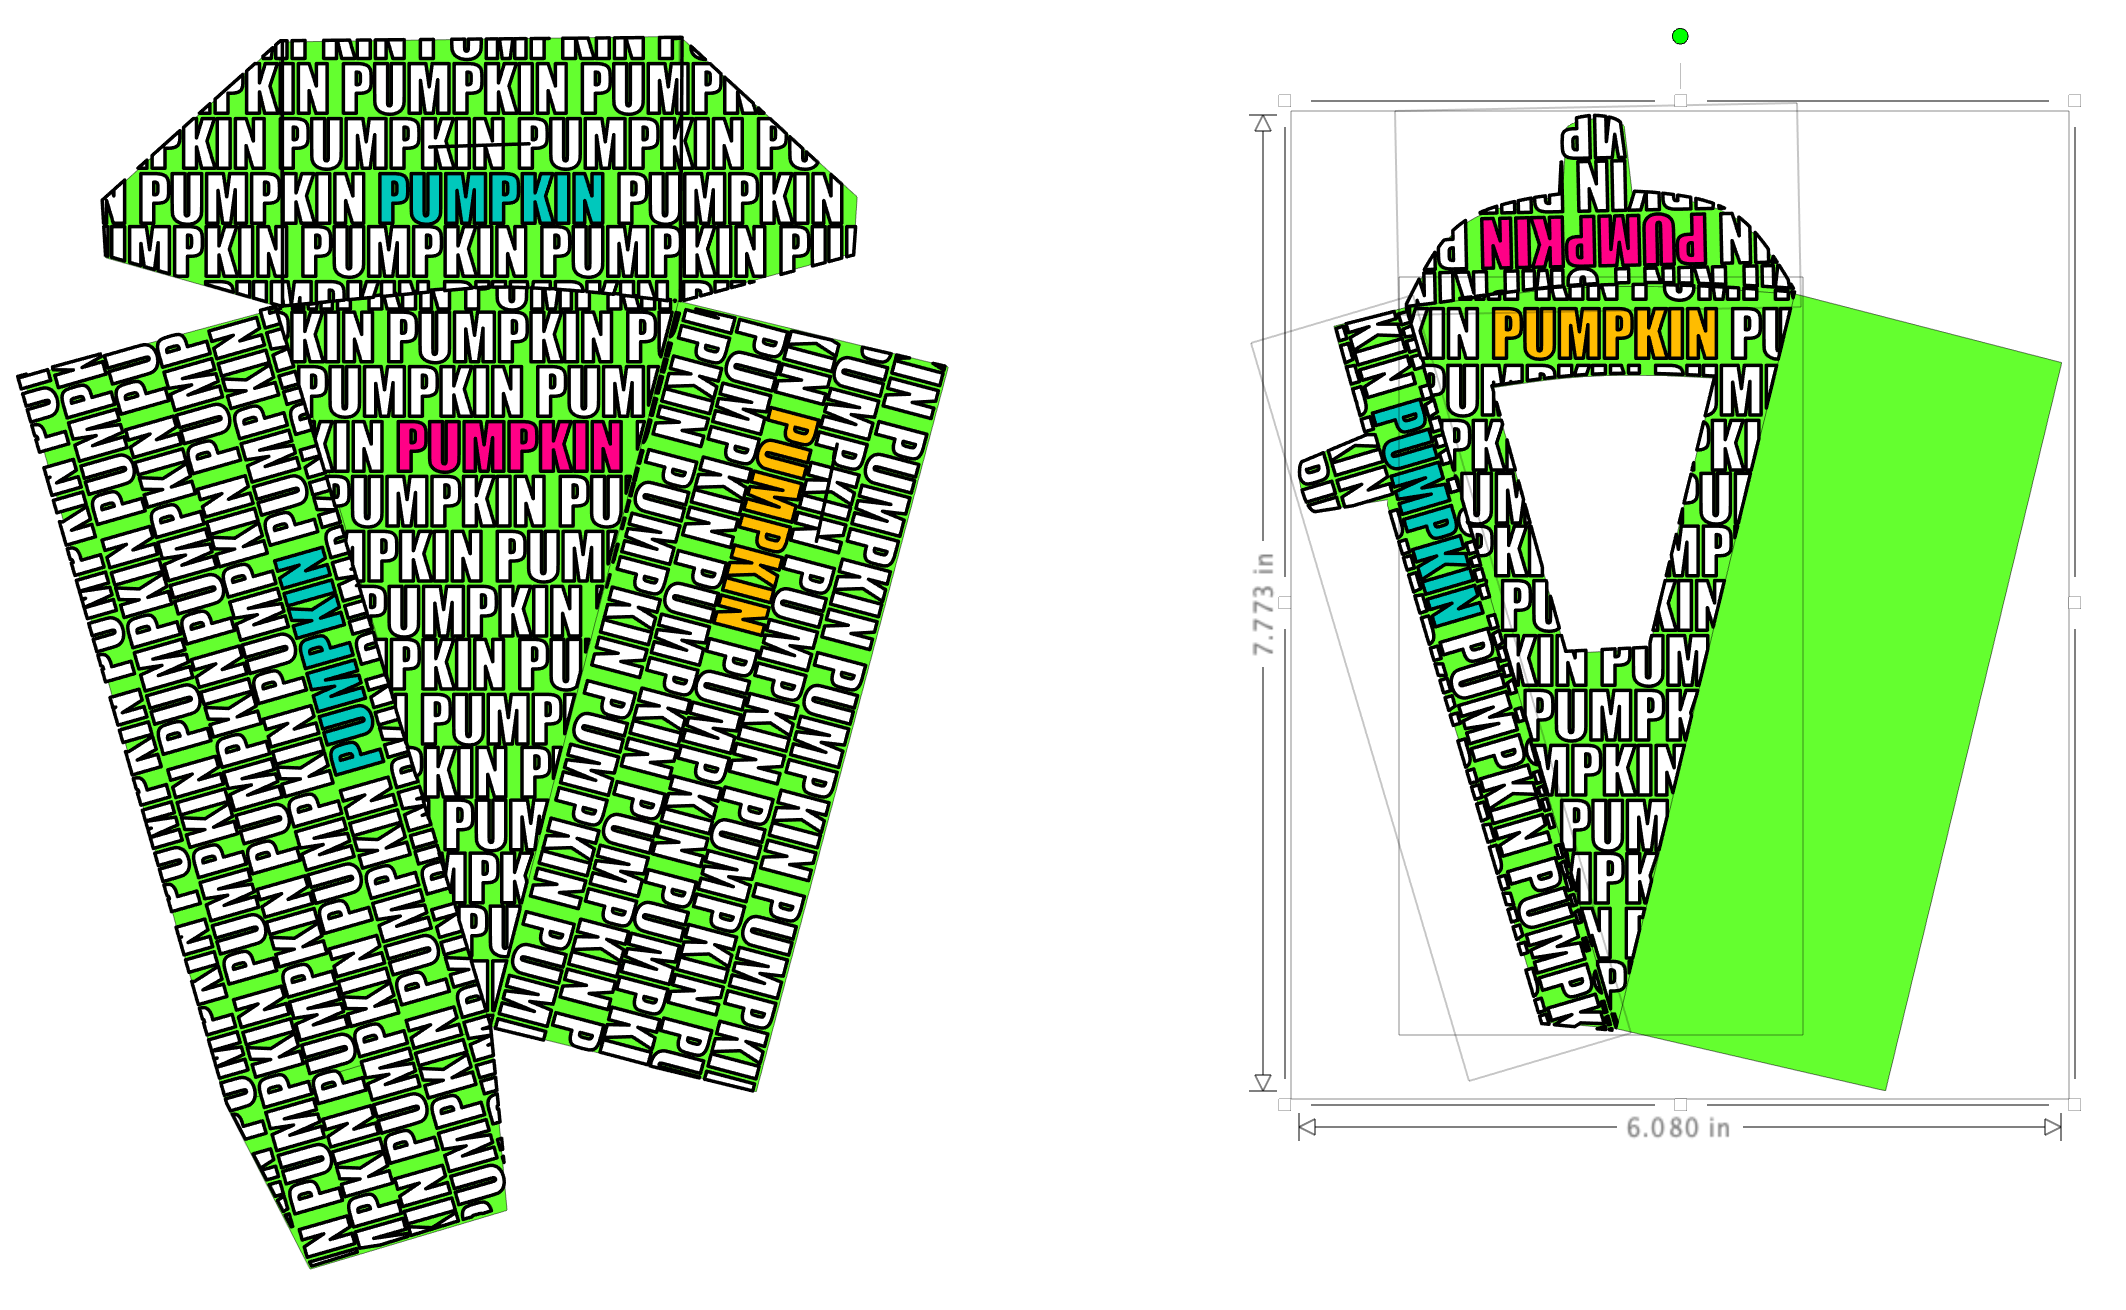
Move the background pieces over to the word pieces on the right. Now is the fun part of putting together the pieces like a puzzle!
When I made the template, I arranged the pieces so you didn't have to figure out which direction the text would need to go. What this means is that some of the pieces are rotated because the text needs to be upside down to show up correctly when printed. You'll need to rotate the pieces to get them in place on the box.
Click on each piece, then move it up to the template and use the green rotation dot at the top of each shape to rotate it into place. You can use your arrow keys on your keyboard to nudge pieces into place.
Once you have the pieces all sorted out, group the top and the bottom of the box separately by selecting all the pieces and then right clicking and select Group.
Note: the right side of the box top does not have words. This part will be glued behind another part so no need to add the design to that part.
Print the Pieces Out
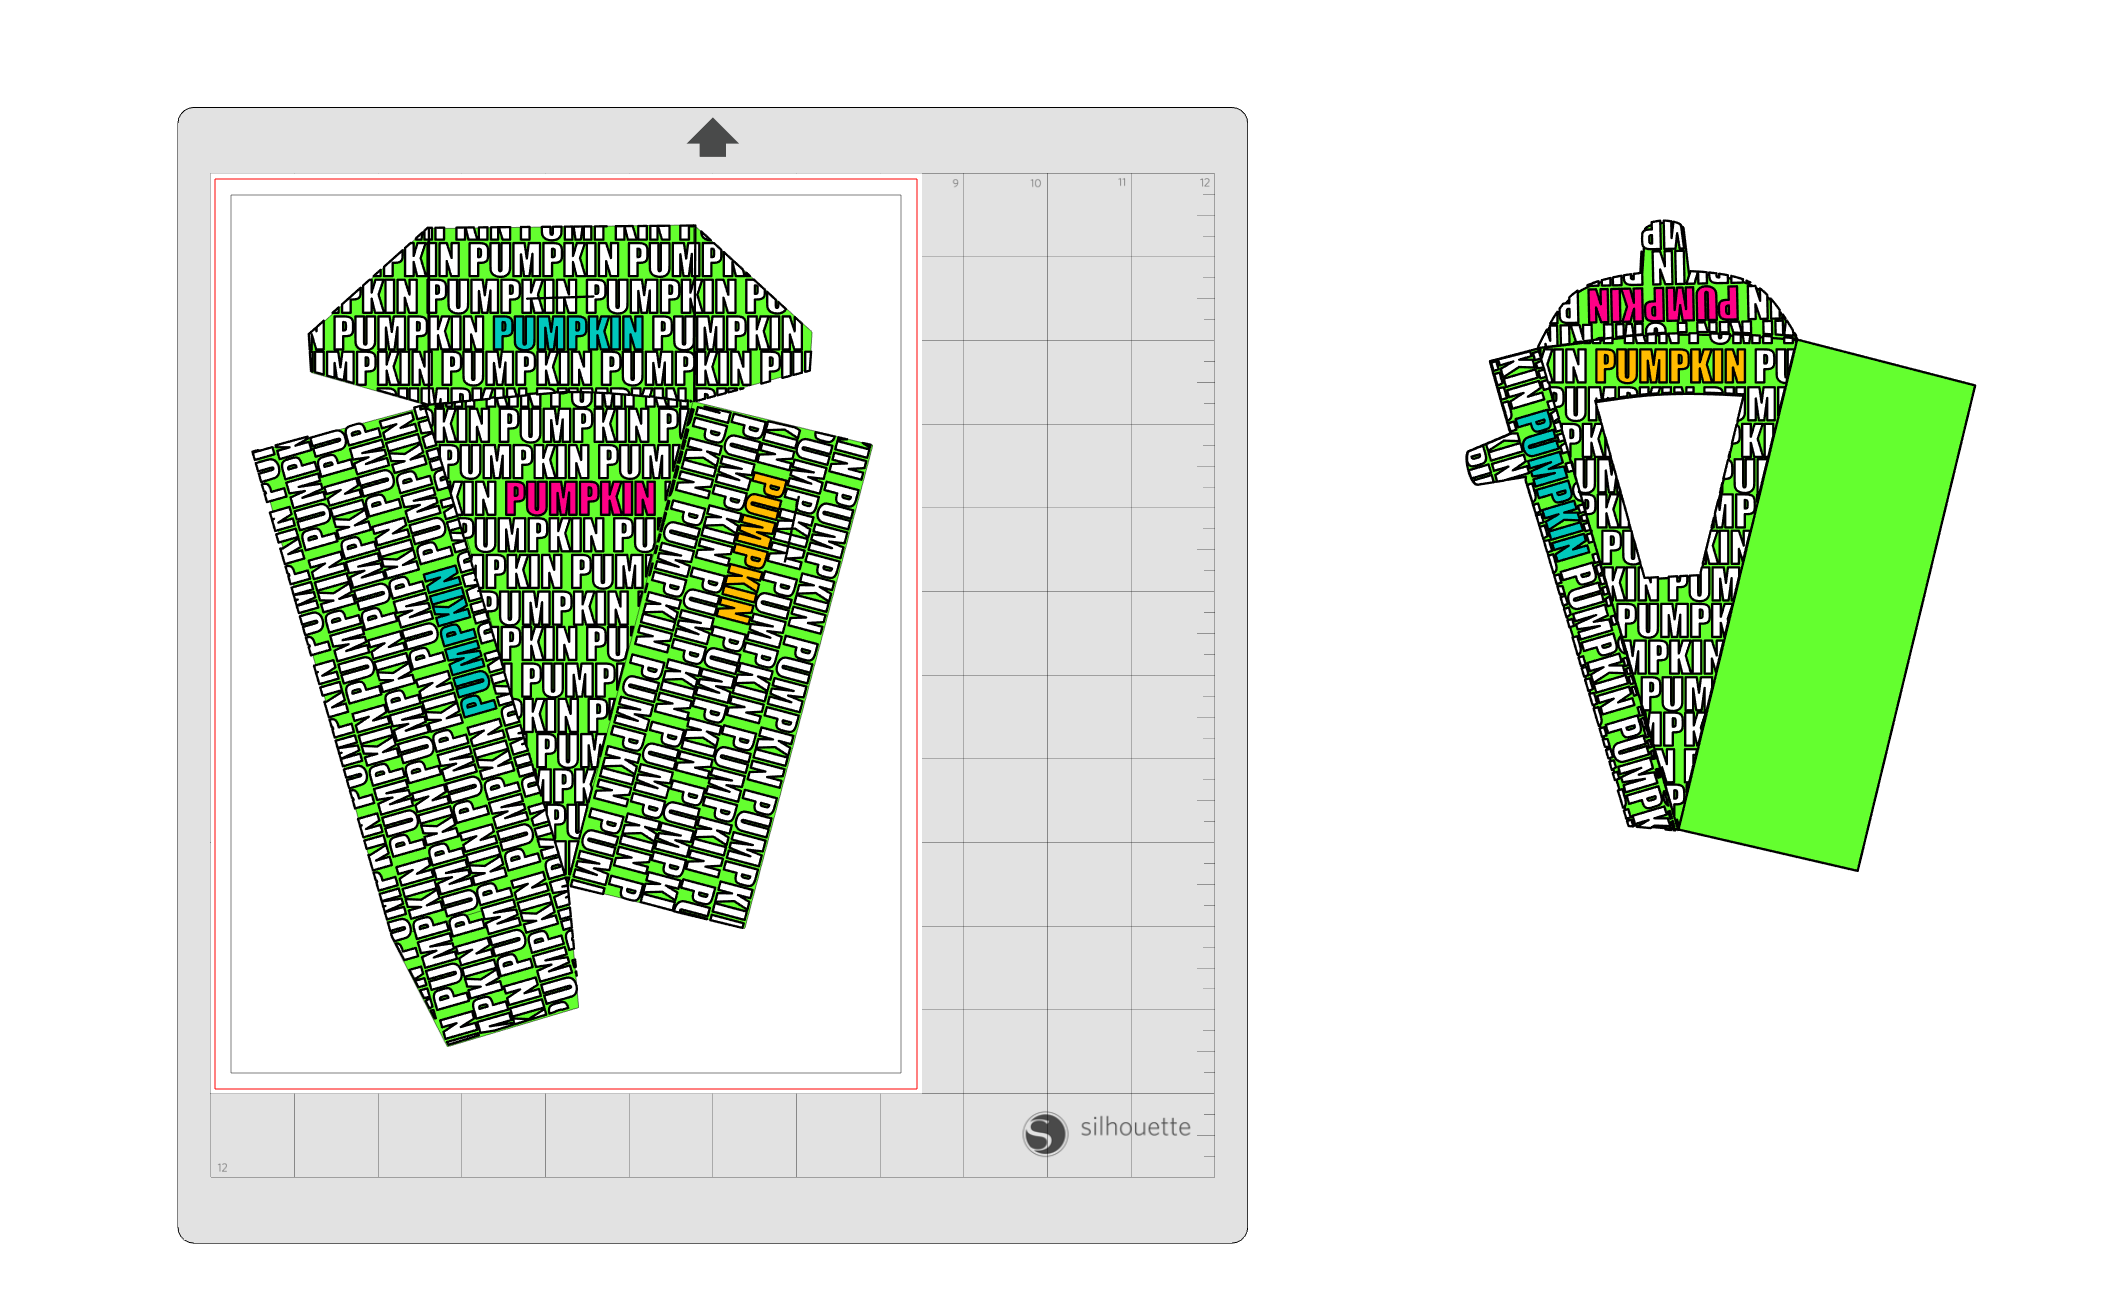
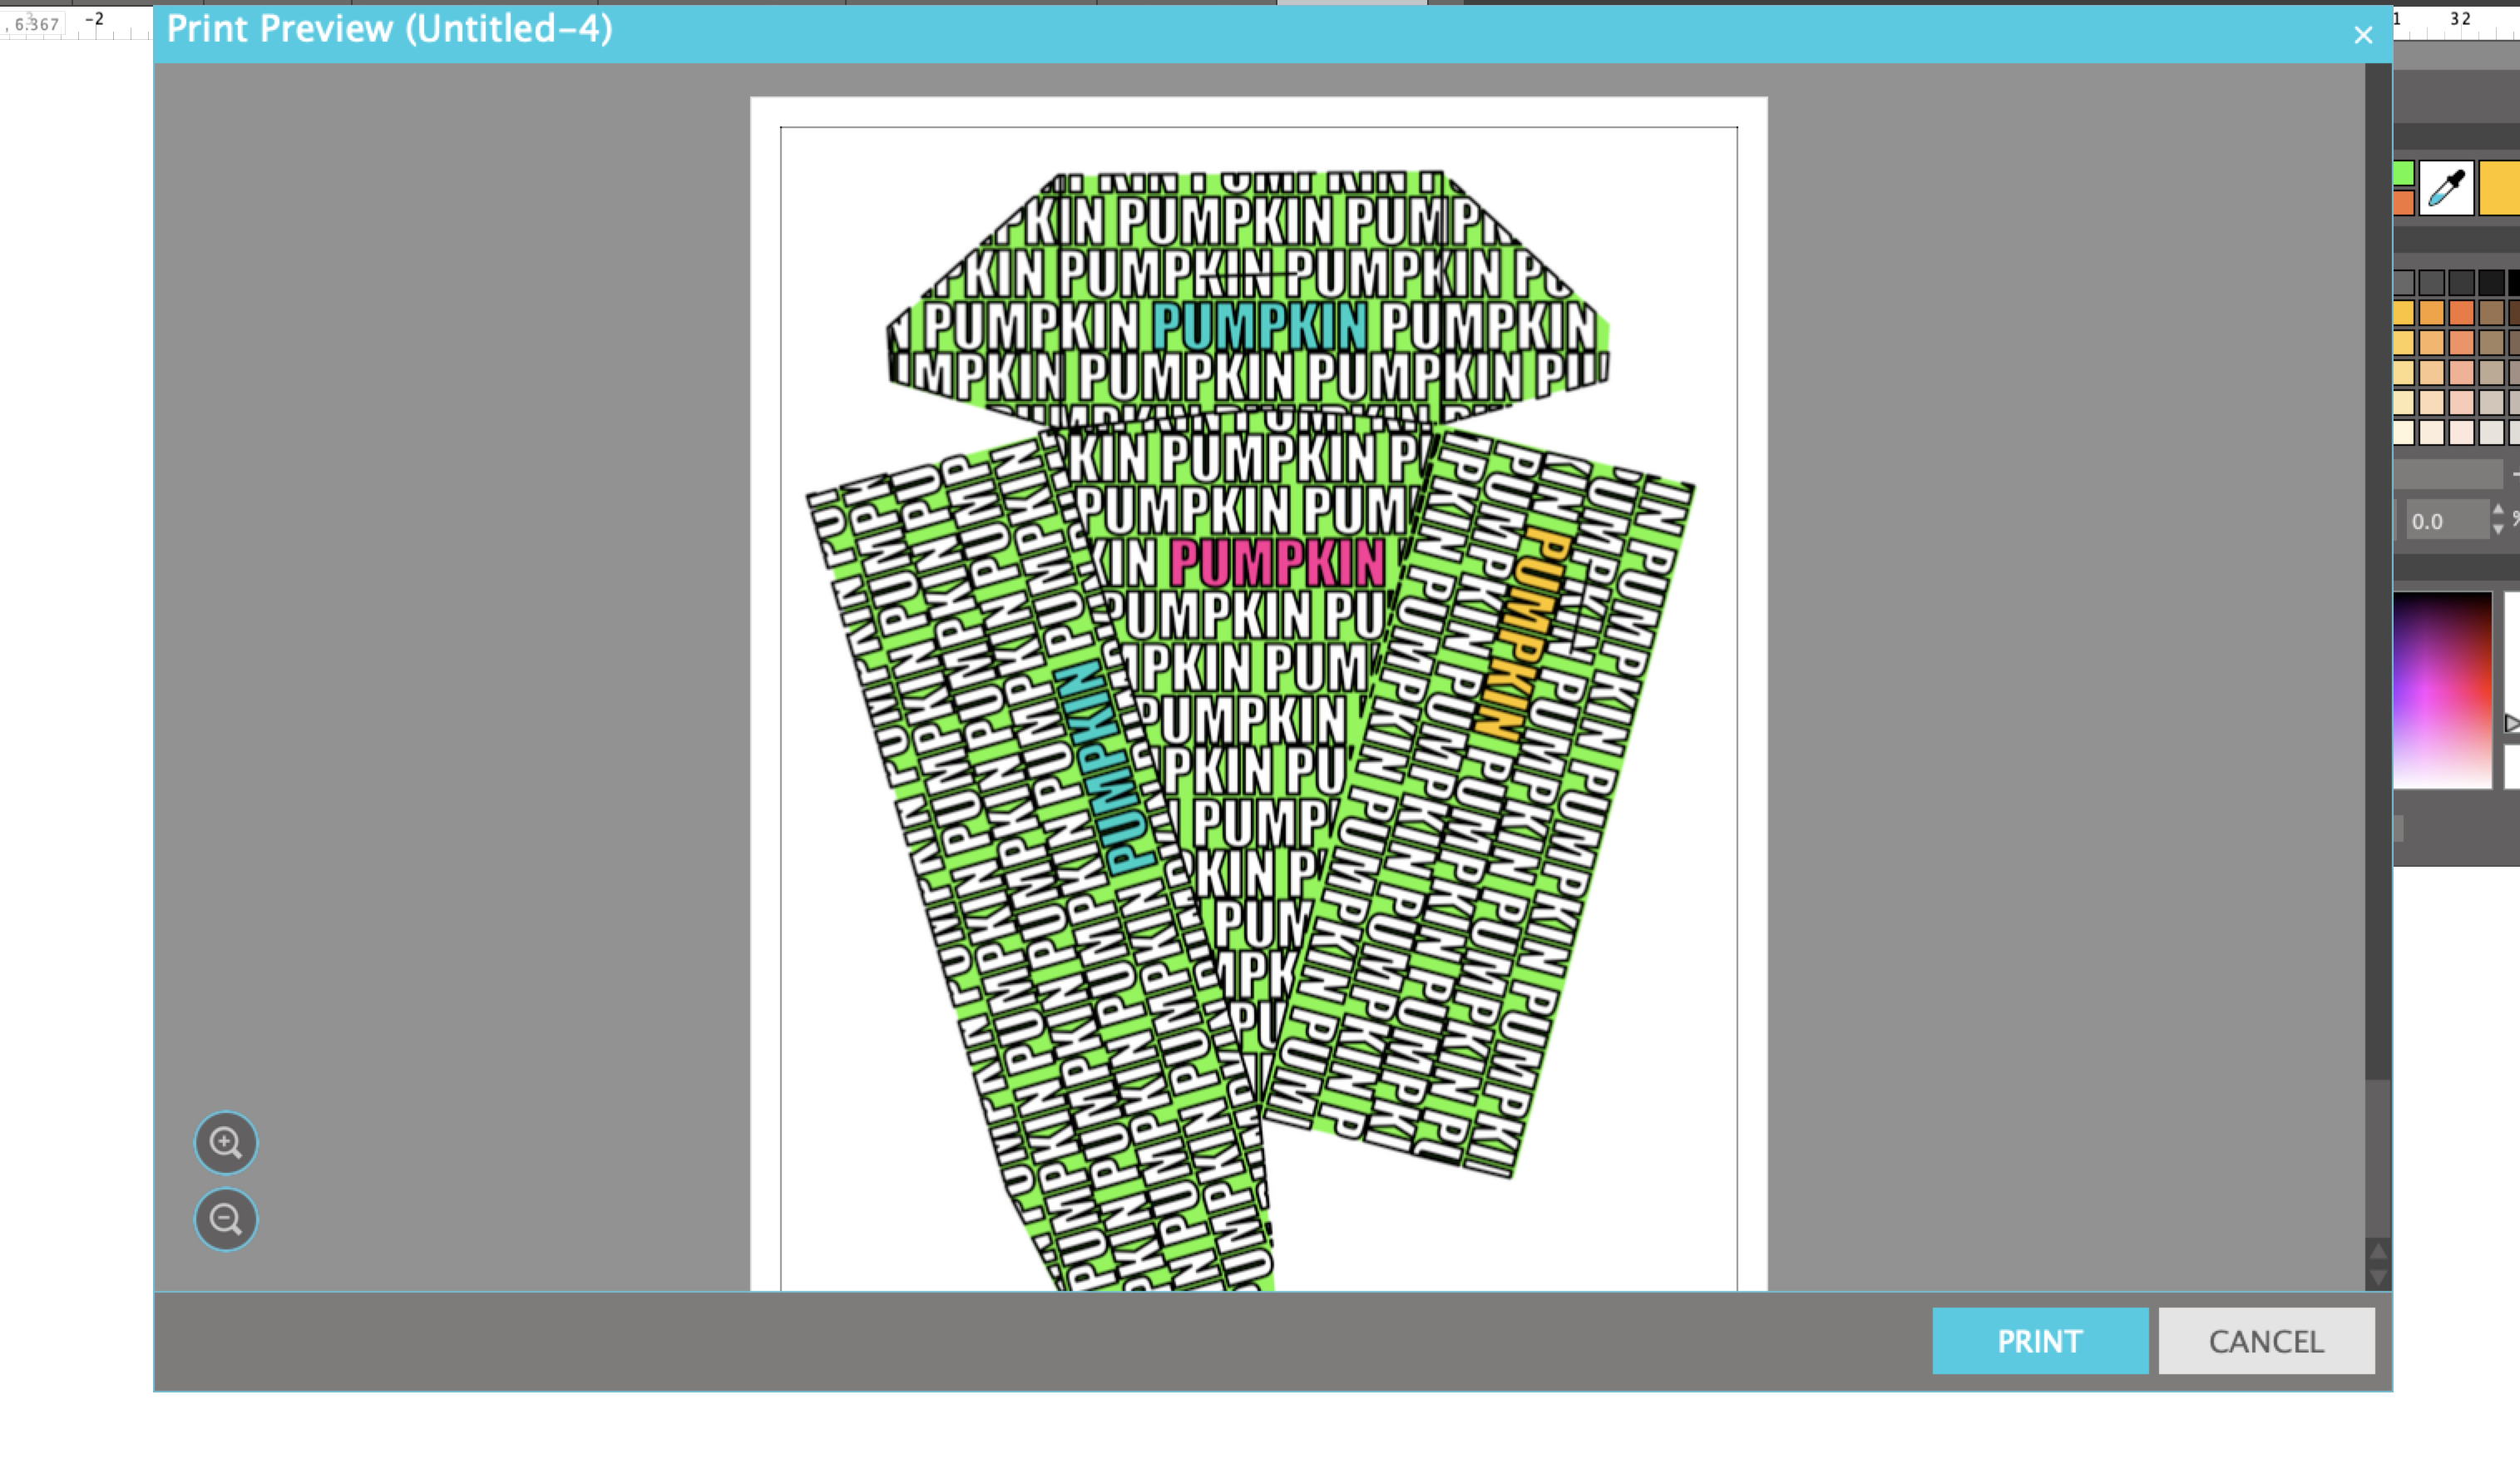
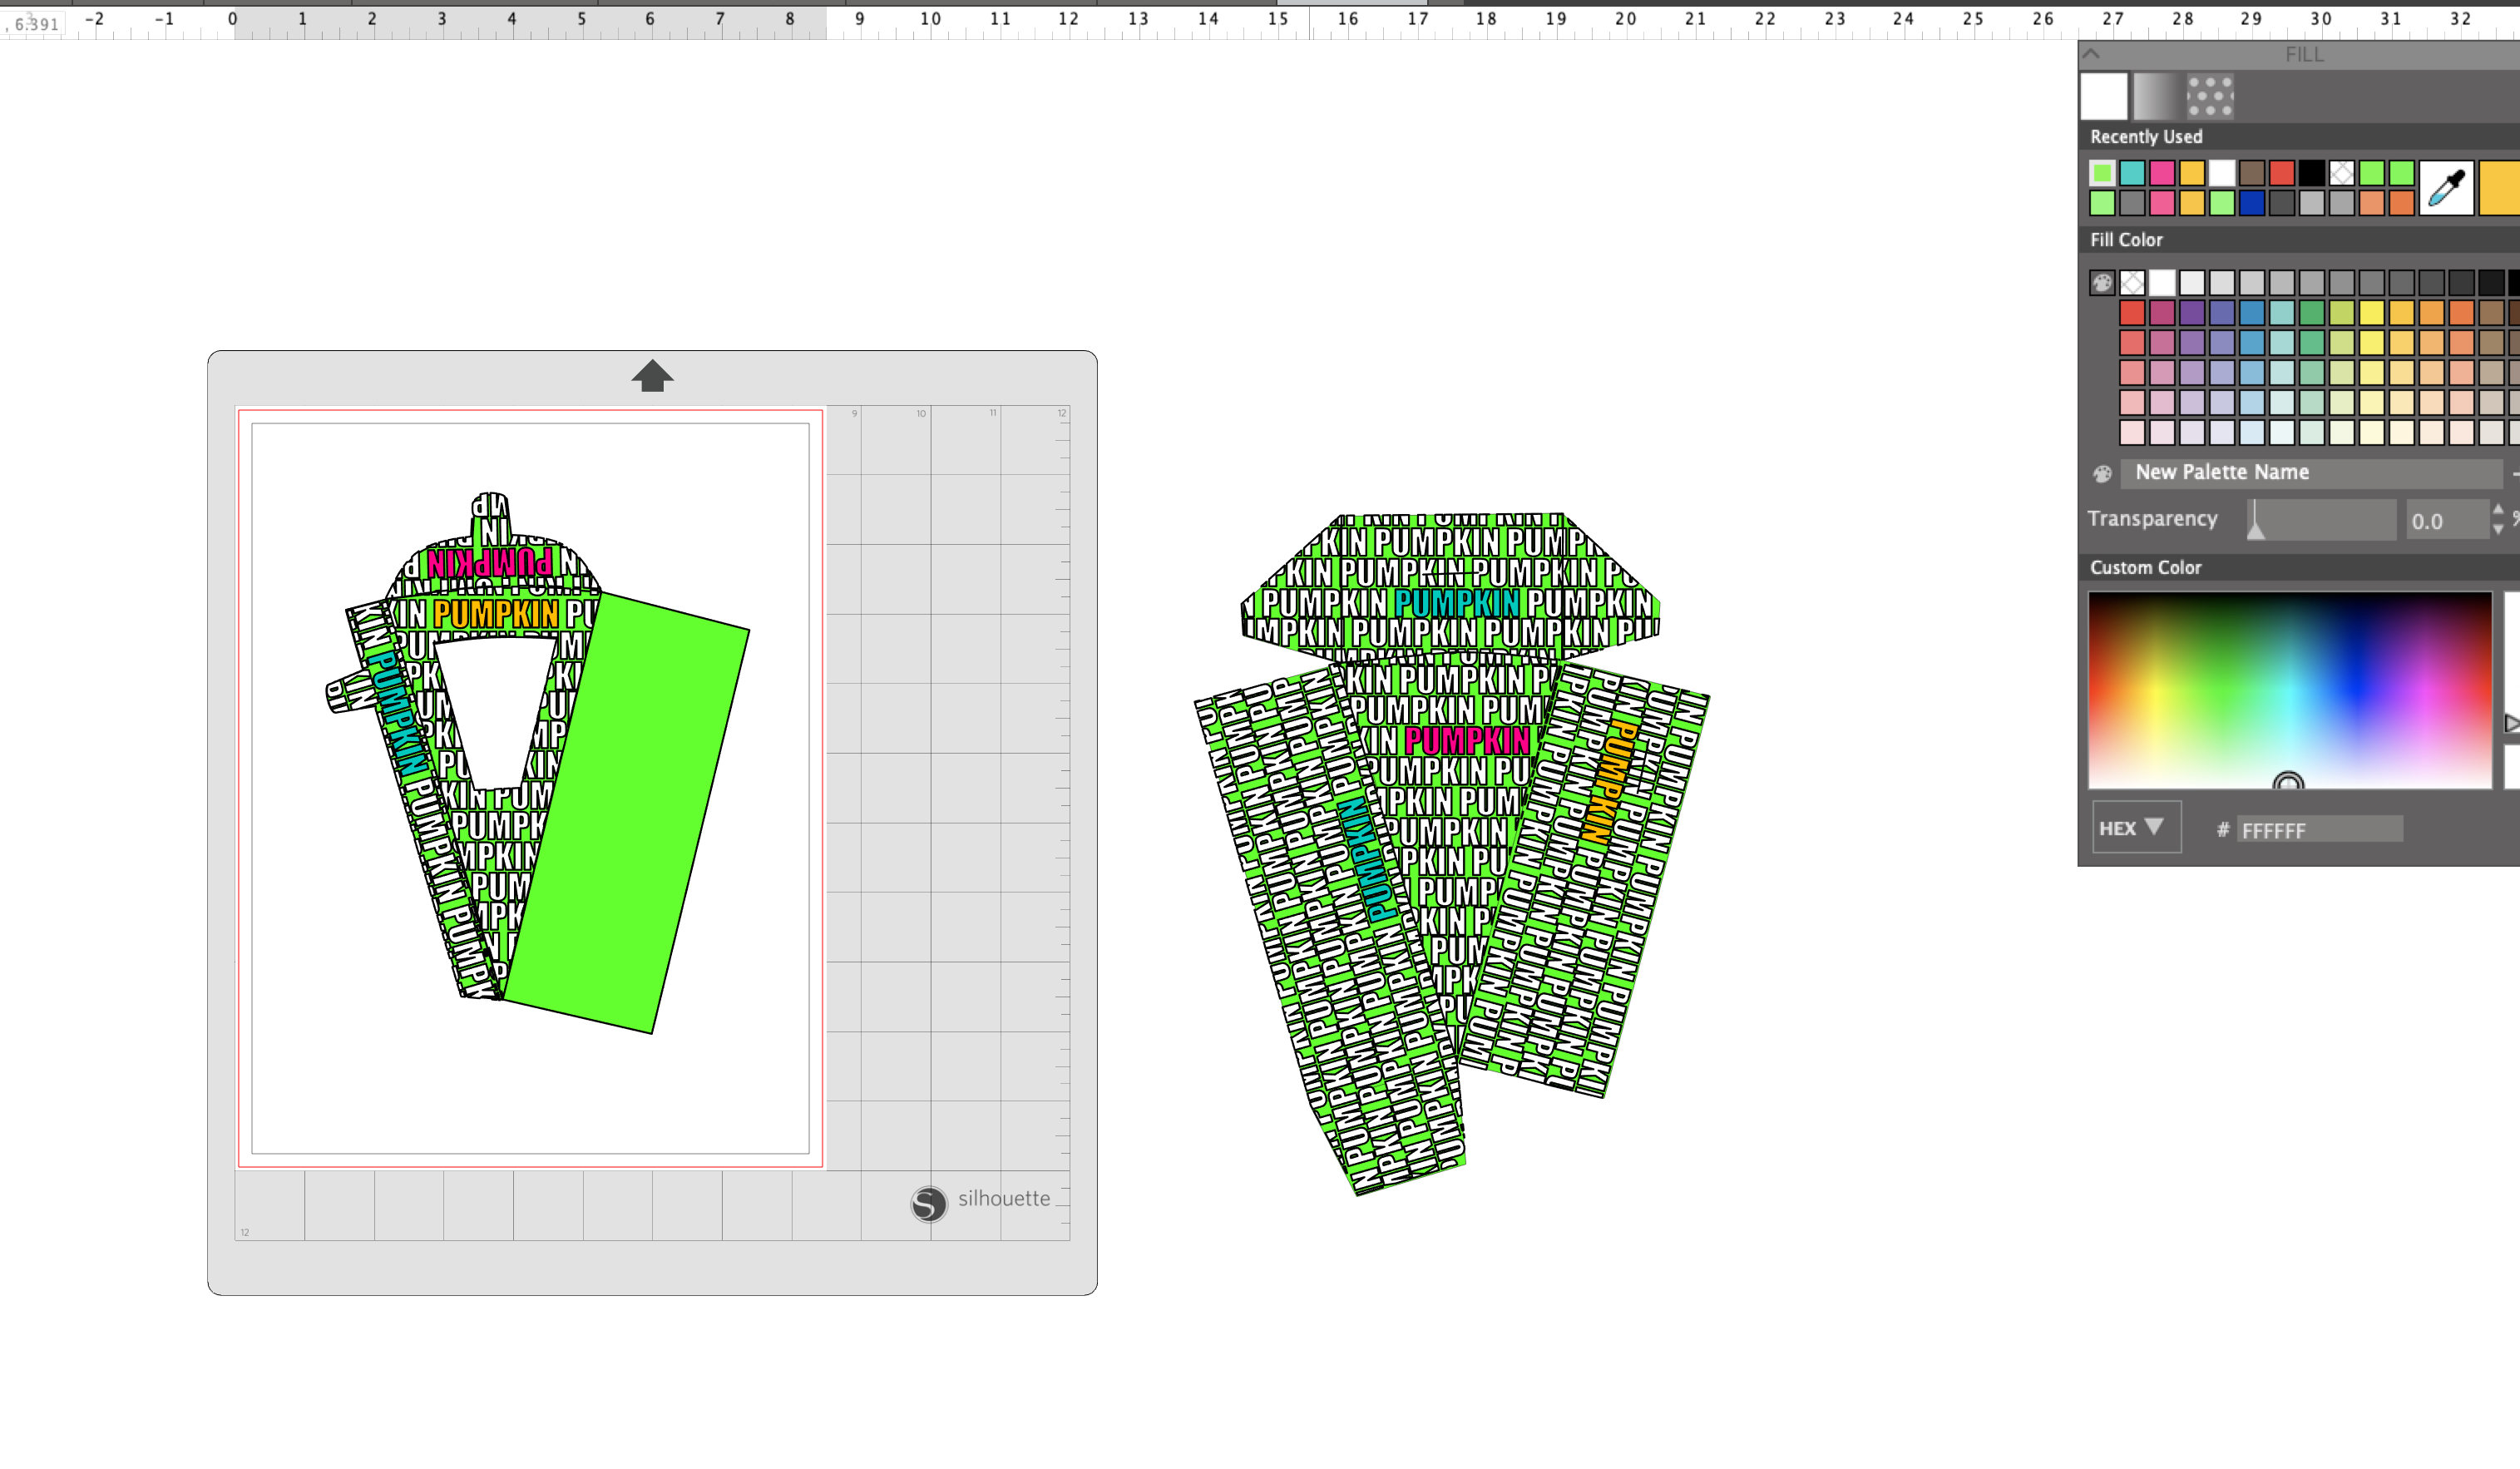
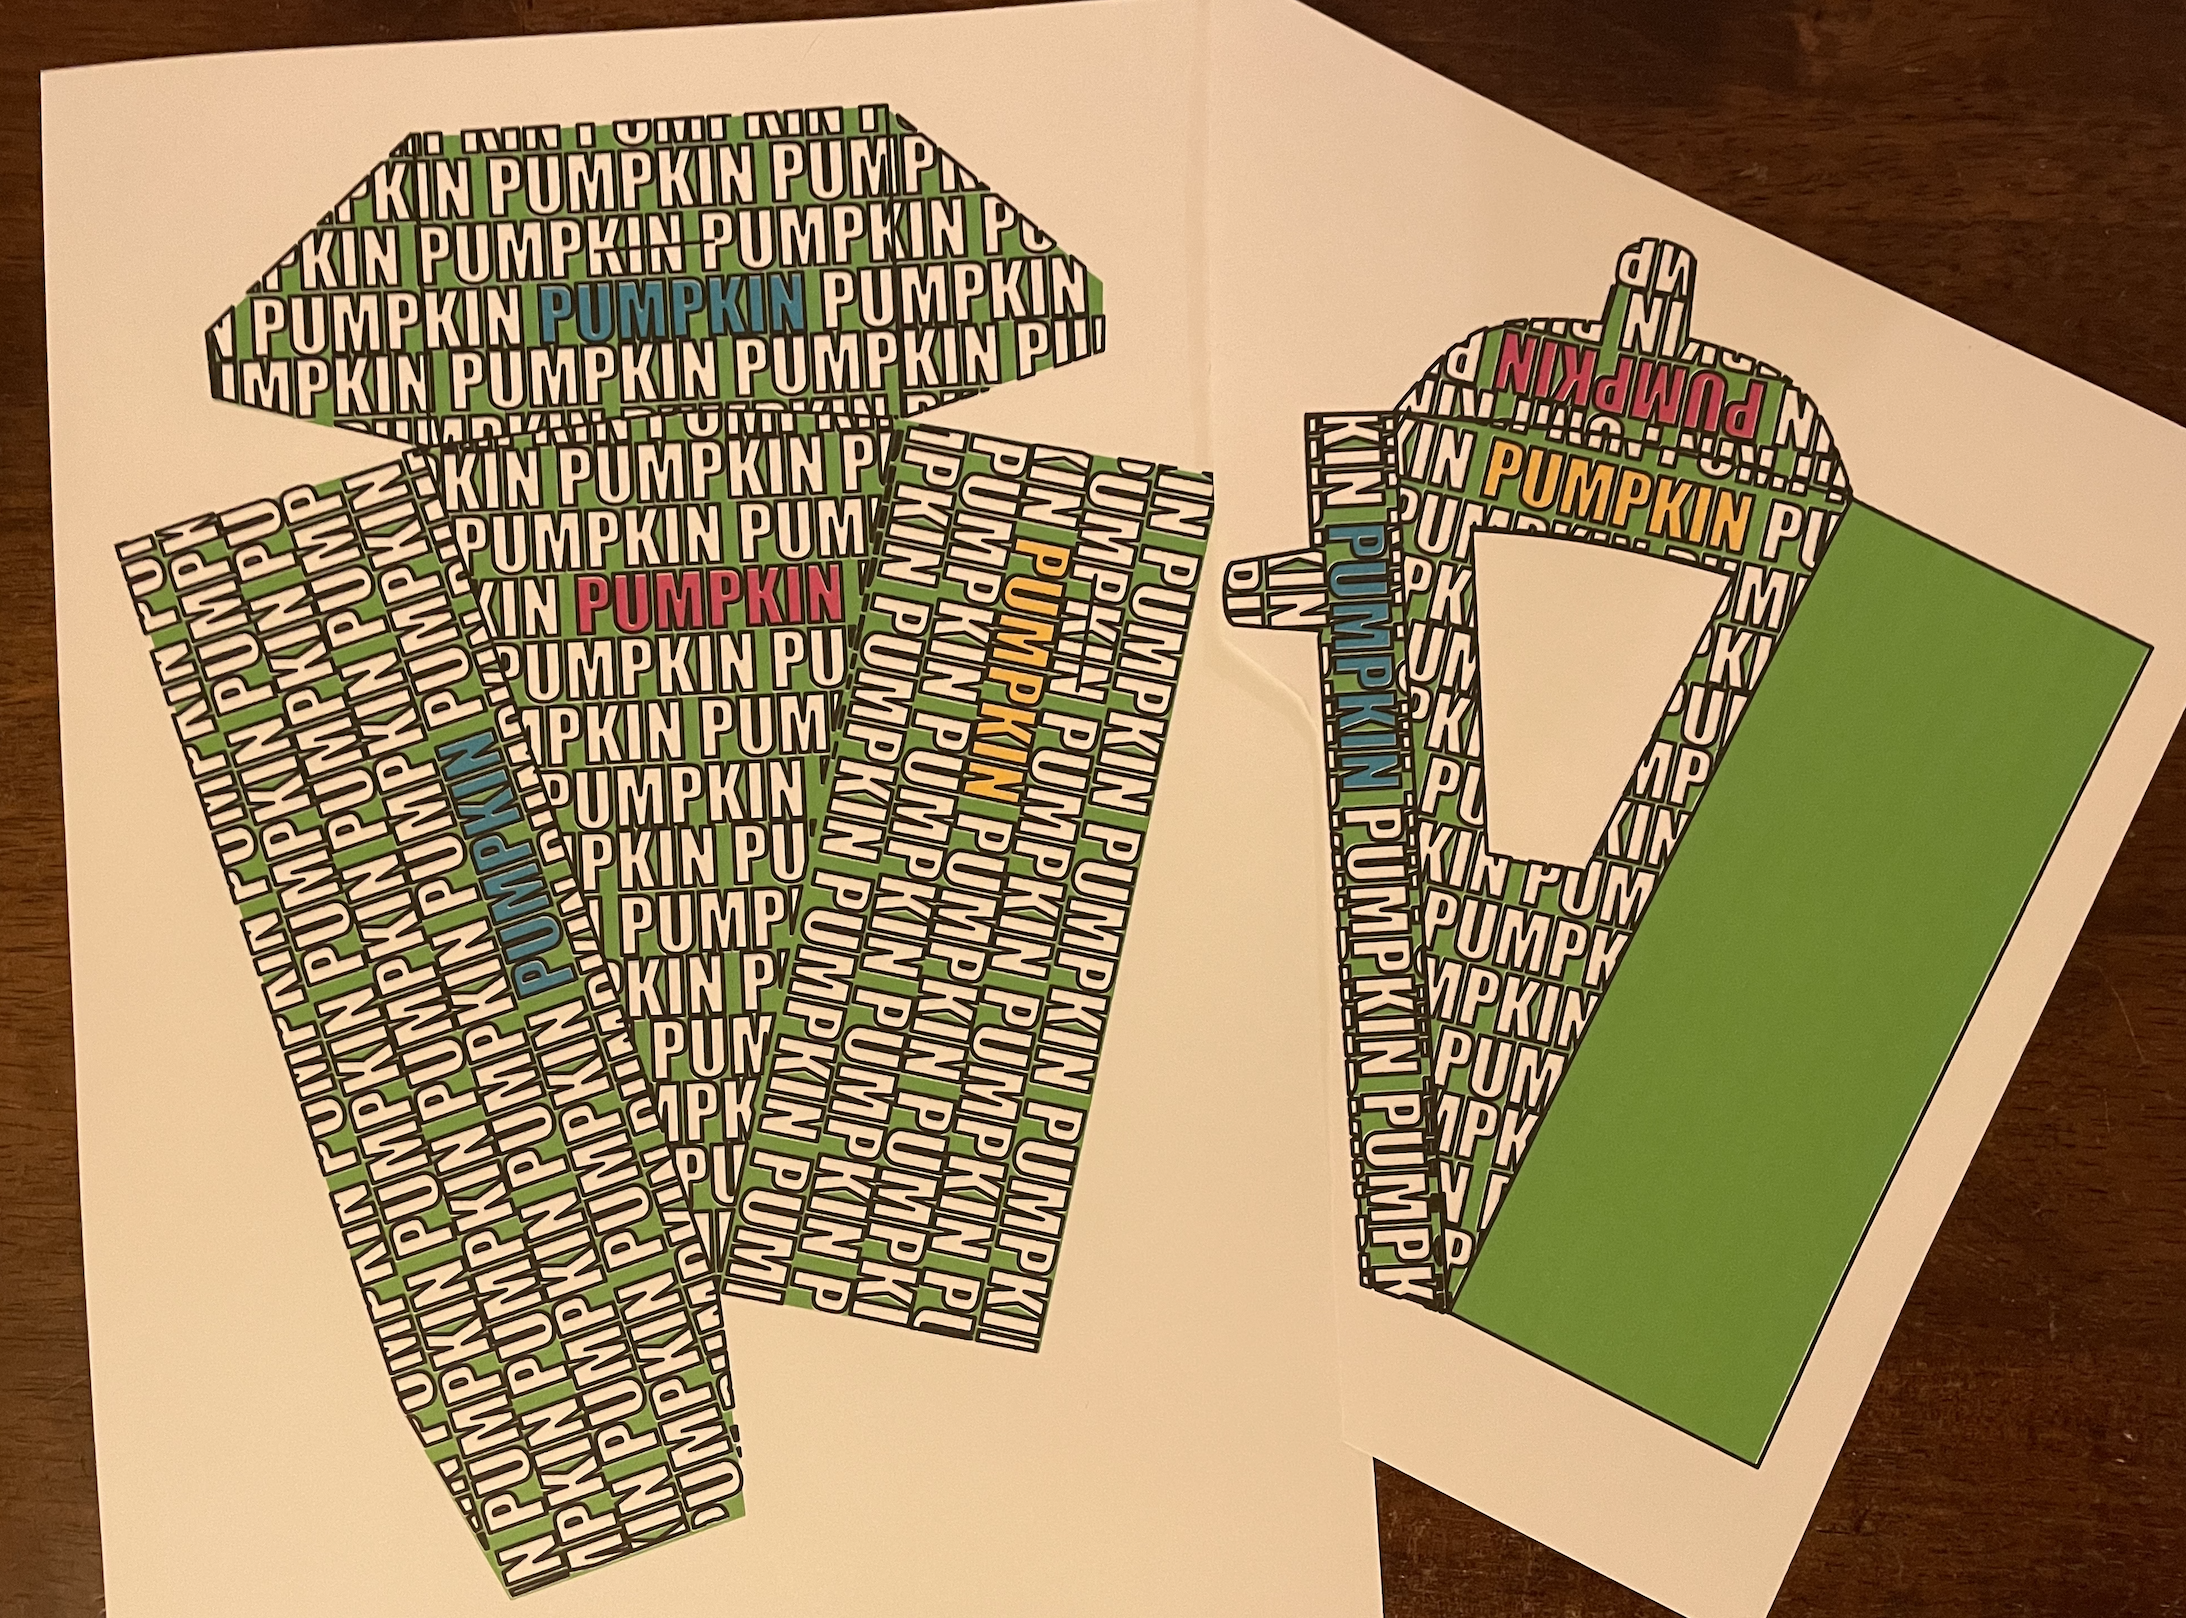
Now that all the pieces are ready, we can print everything out. This will take two pieces of cardstock and one piece of regular paper. Start by dragging one of the pieces to the material box (the white square on top of the gray square). Make sure all the edges of the piece are within the gray square as shown.
Put cardstock in your printer then press control P to print (or click print at the top of the screen). A print window will pop up, click print.
Print one piece of the box then drag that piece off the material box and move the other half of the box on. Print the second piece on cardstock as well.
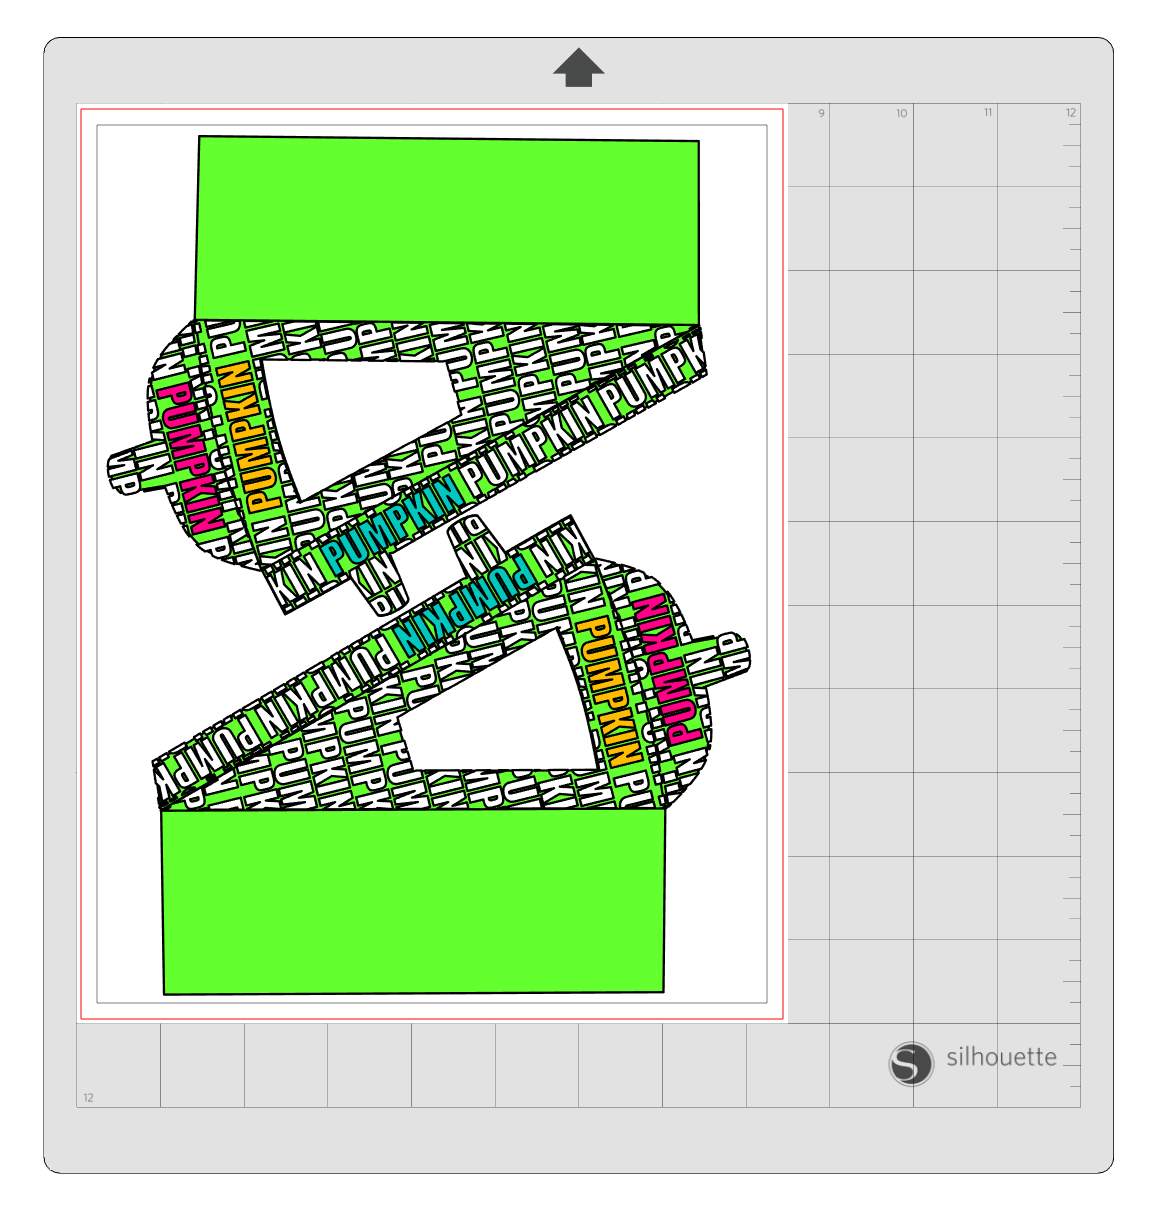
TIP: While only one bottom piece will fit per page, you can fit two top pieces if you rotate them. Just make sure they don't overlap anywhere and stay within the print area.
Finally, print the wax paper and window insert templates on the regular piece of paper.
I'd Just Like the File
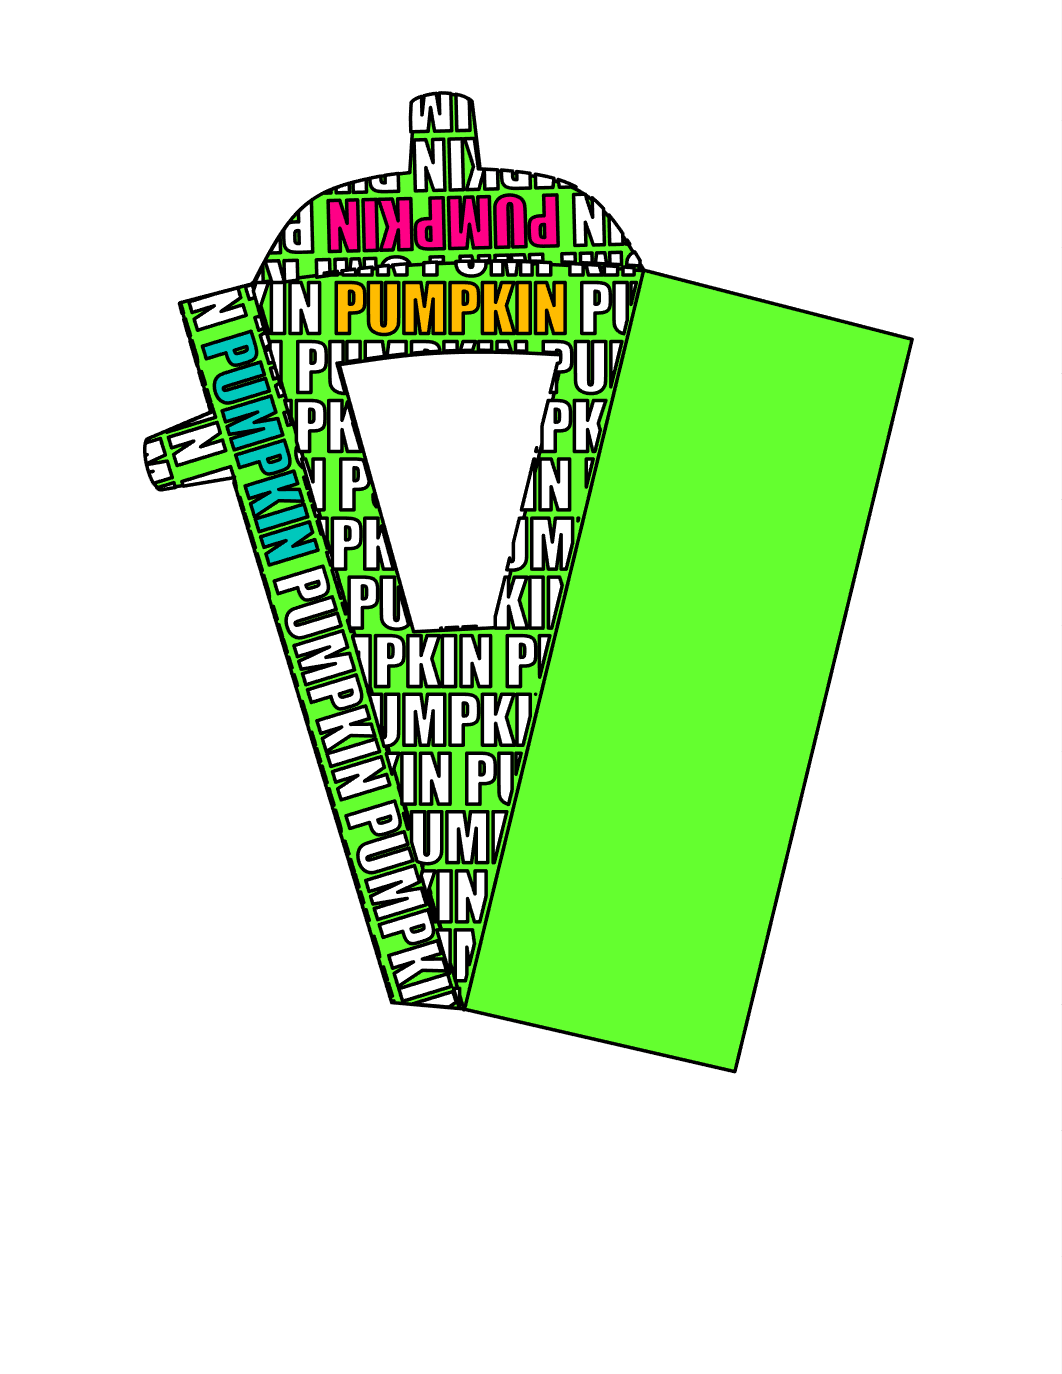
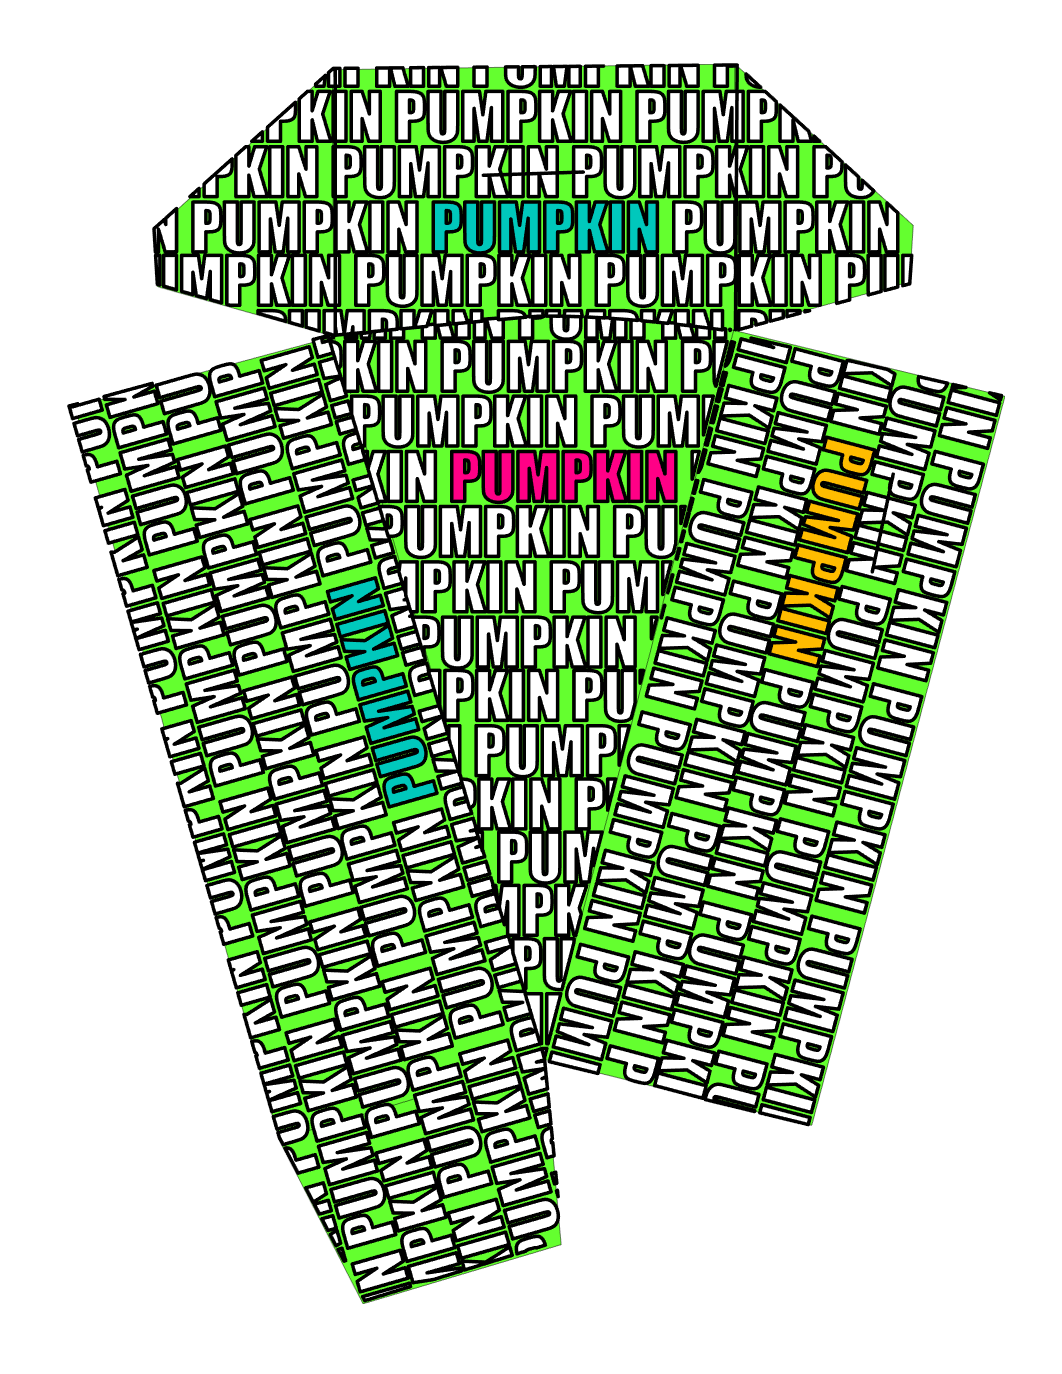
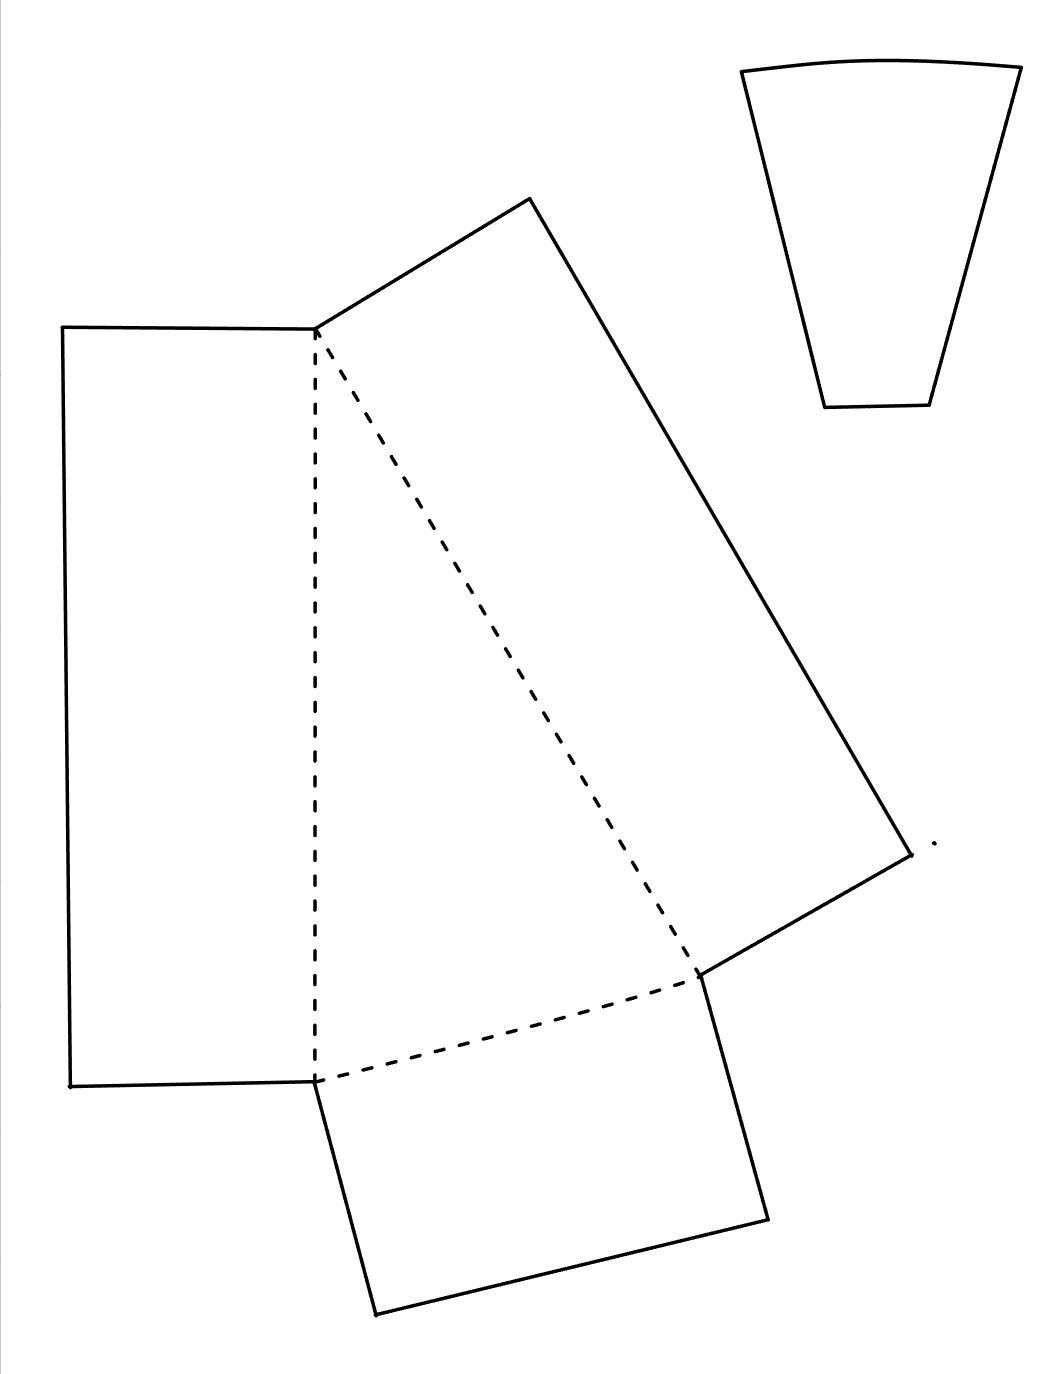
If you're really not into making your own design and picking your own flavor or colors for the box, and all you want to do is print the pumpkin one off from this Instructable, this is the step you're looking for. Download the three designs and print each piece off. The top and the bottom of the box should be printed on cardstock and the wax paper/window template can be printed on regular printer paper. Once you have everything printed, you can continue on to the rest of the assembly steps.
Cut Out the Box Pieces
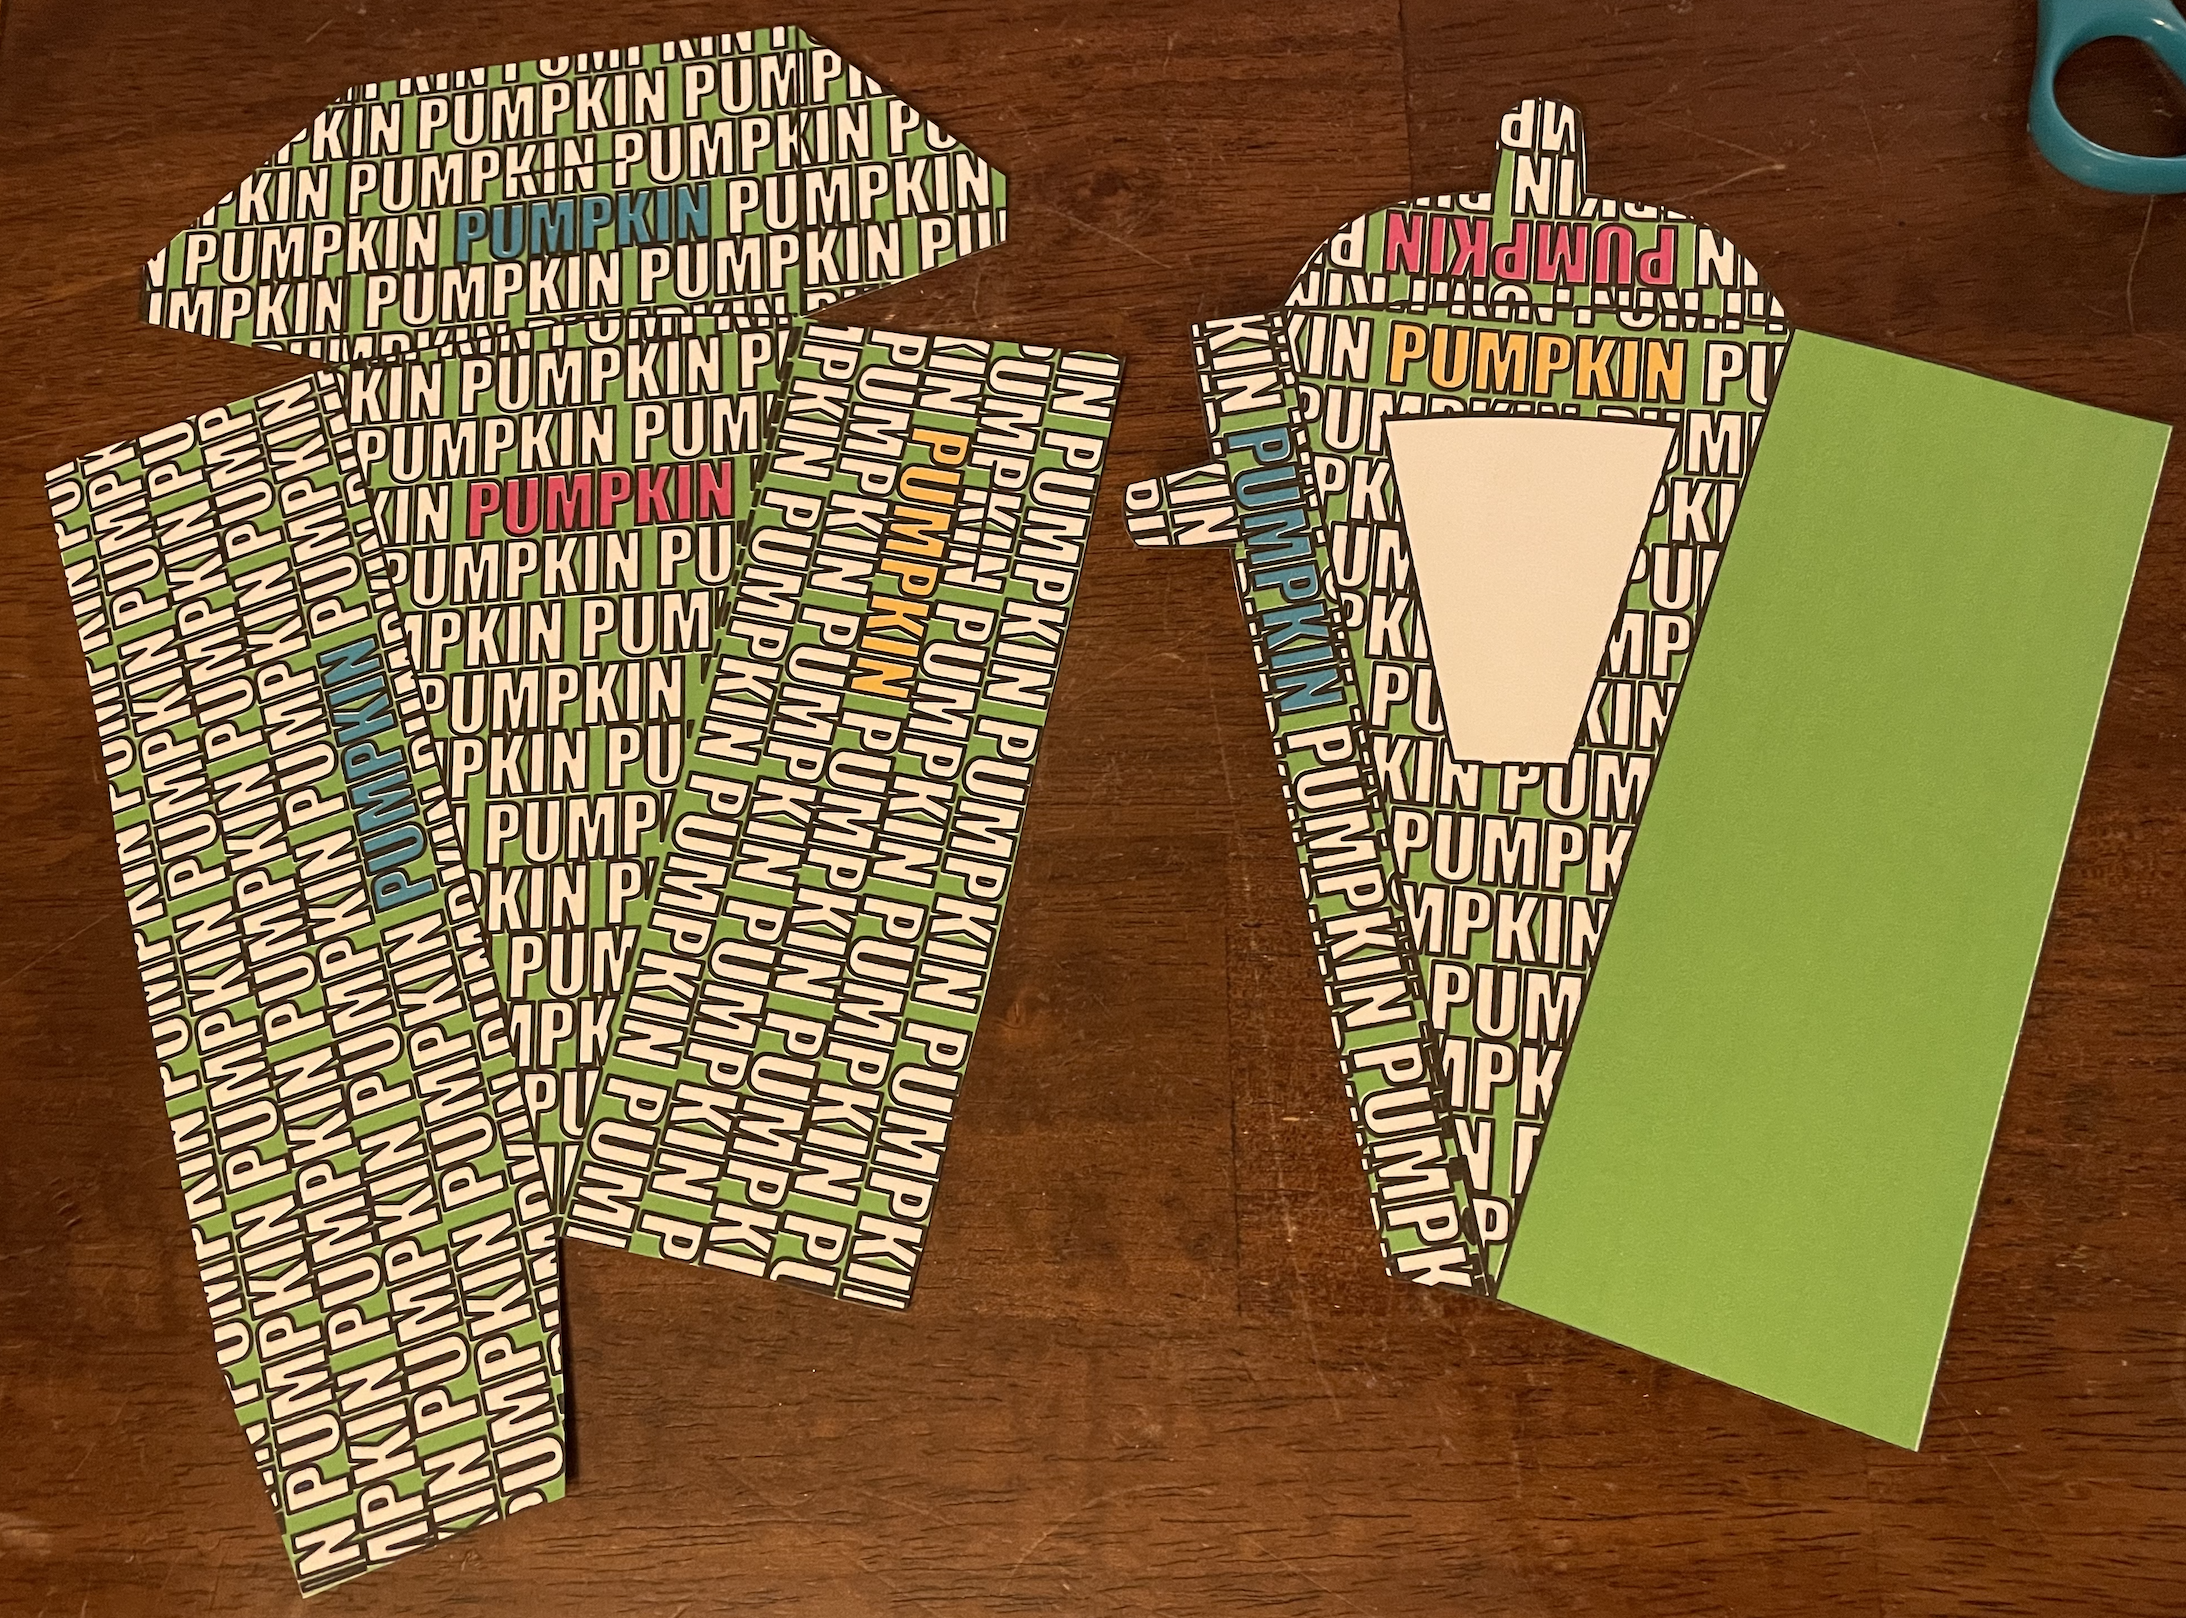
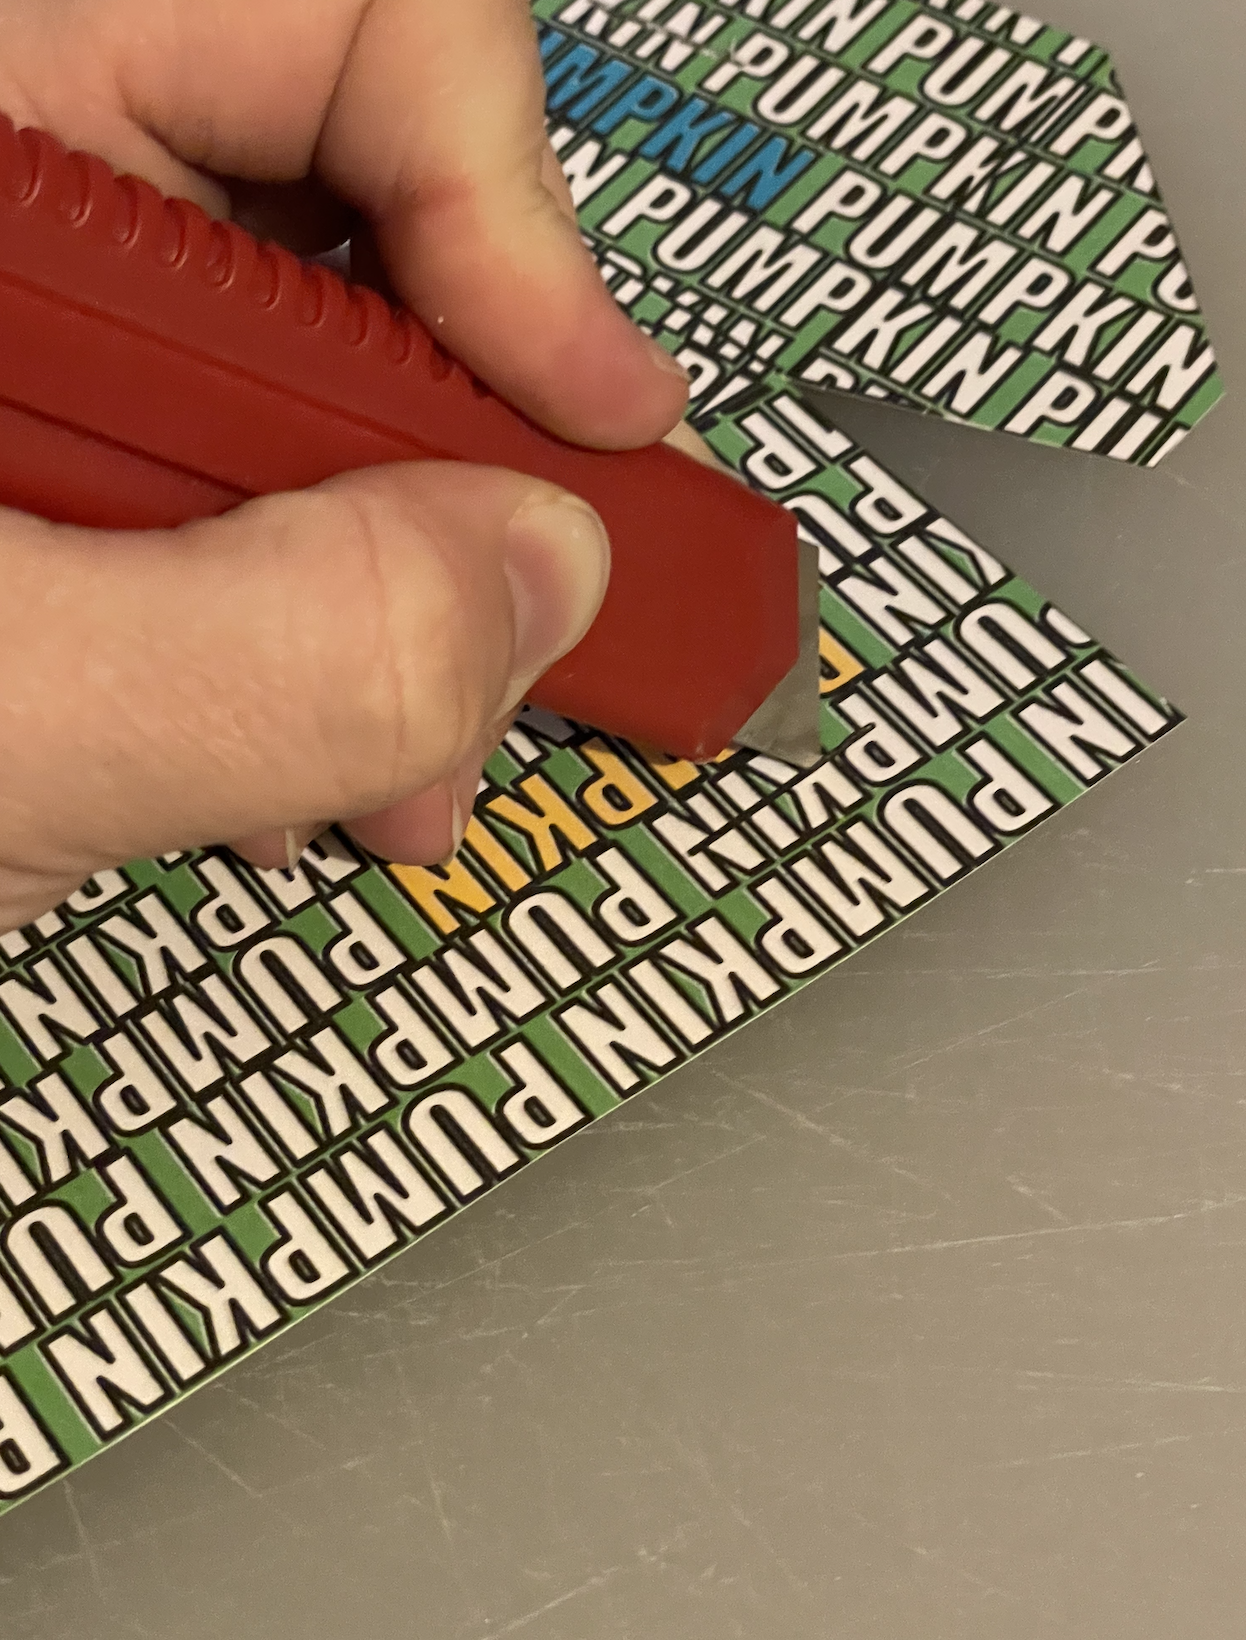
Using a pair of scissors, cut out the box pieces.
There are two tab slits and the window on the top of the box that I used a box cutter to cut, an Xacto or similar tool would work as well. I cut on a cutting board.
Cut Out and Install the Window
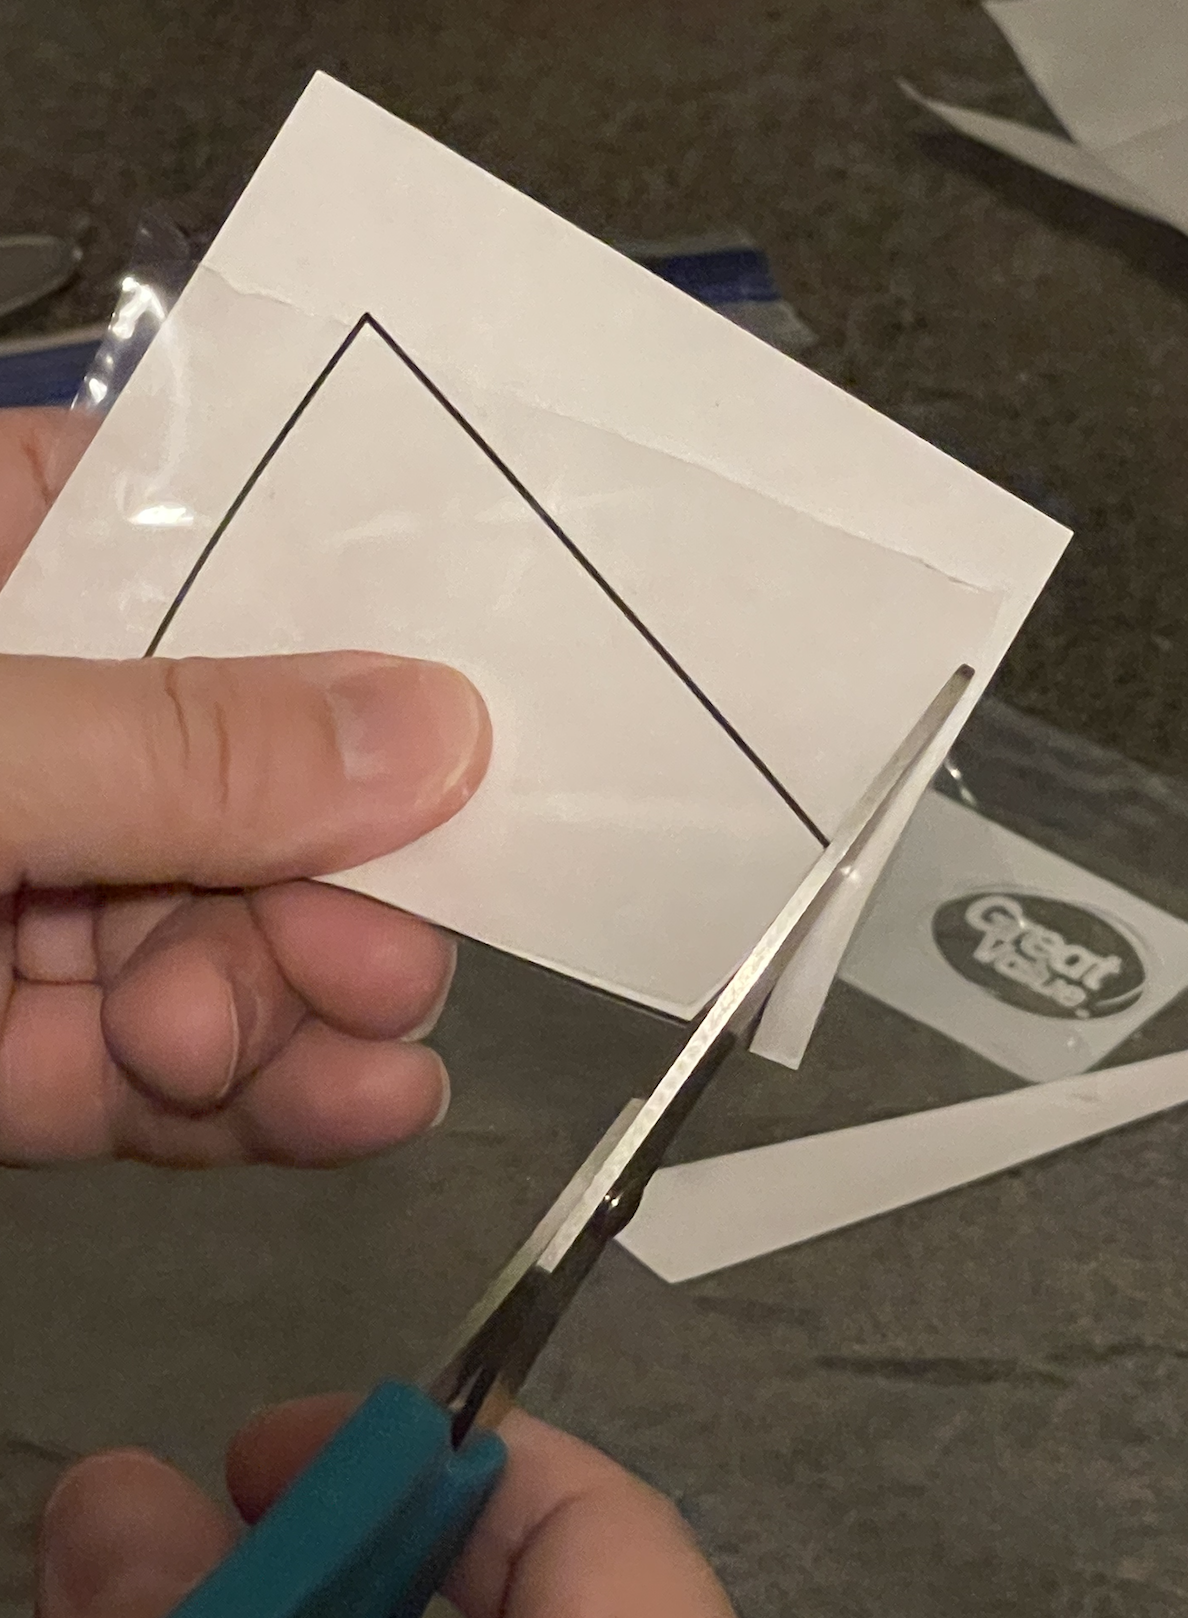
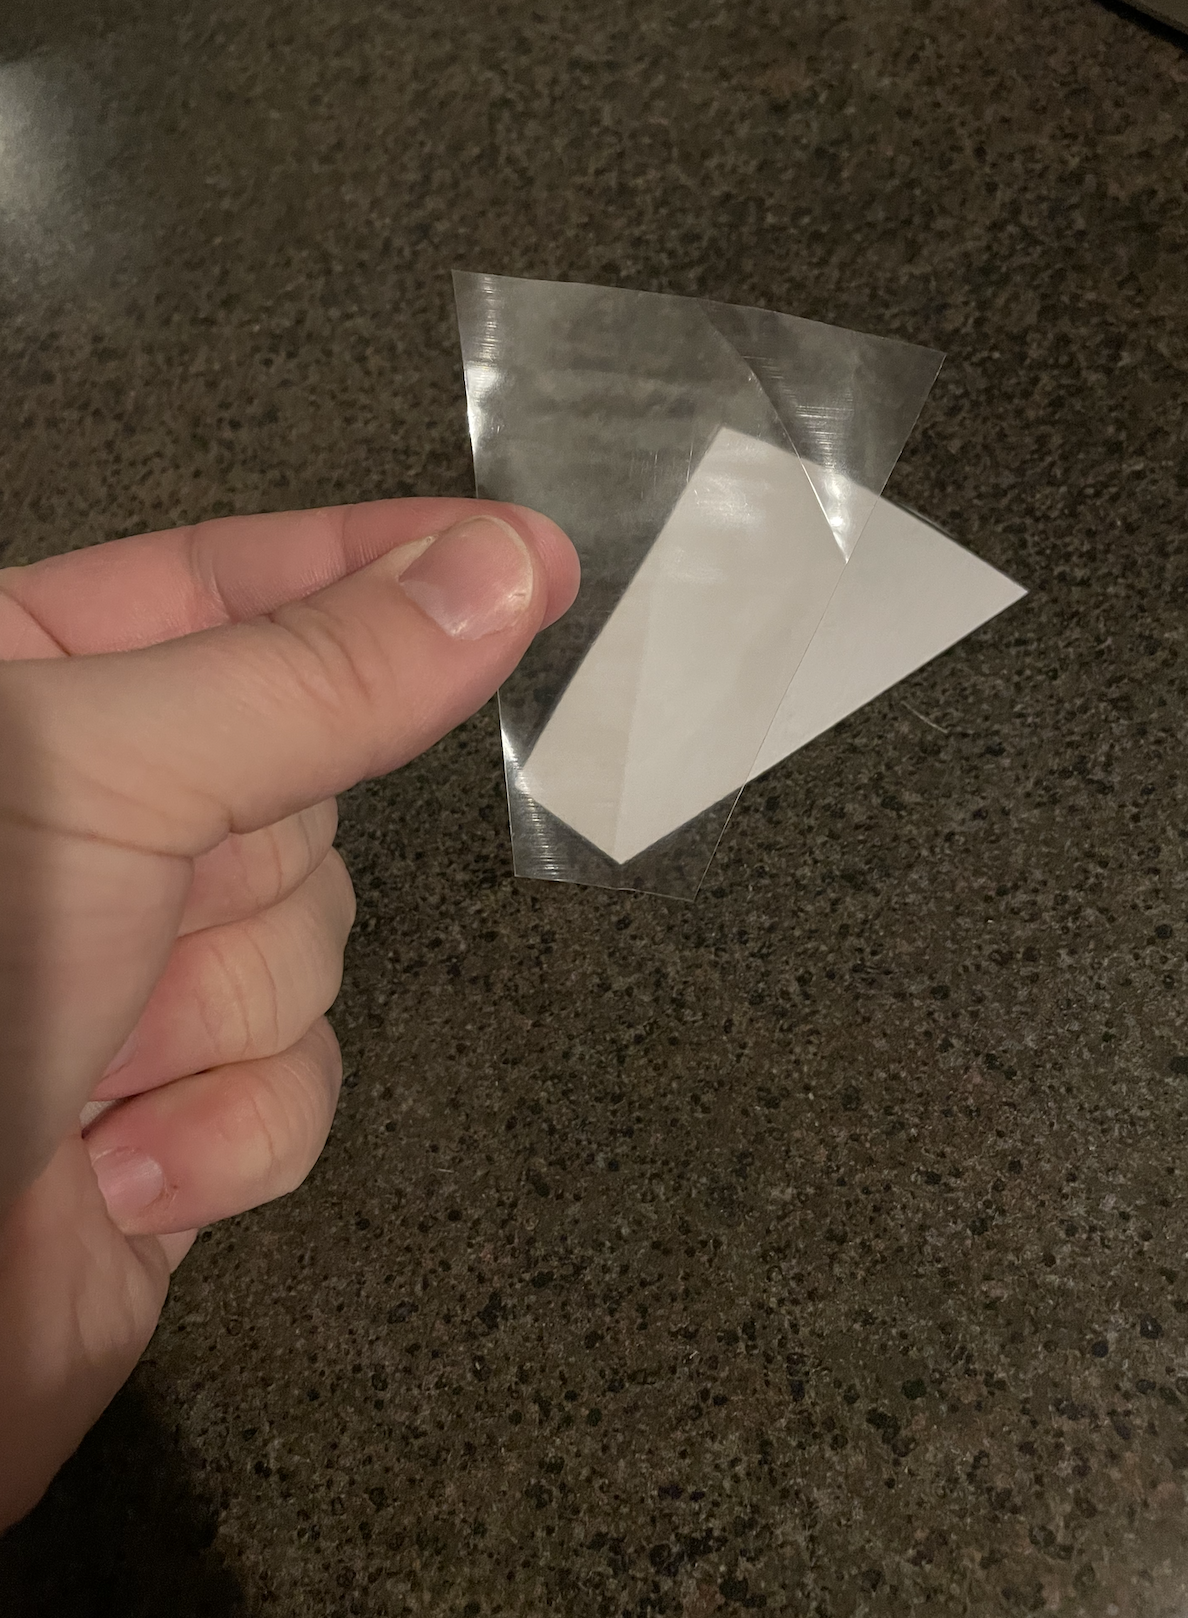
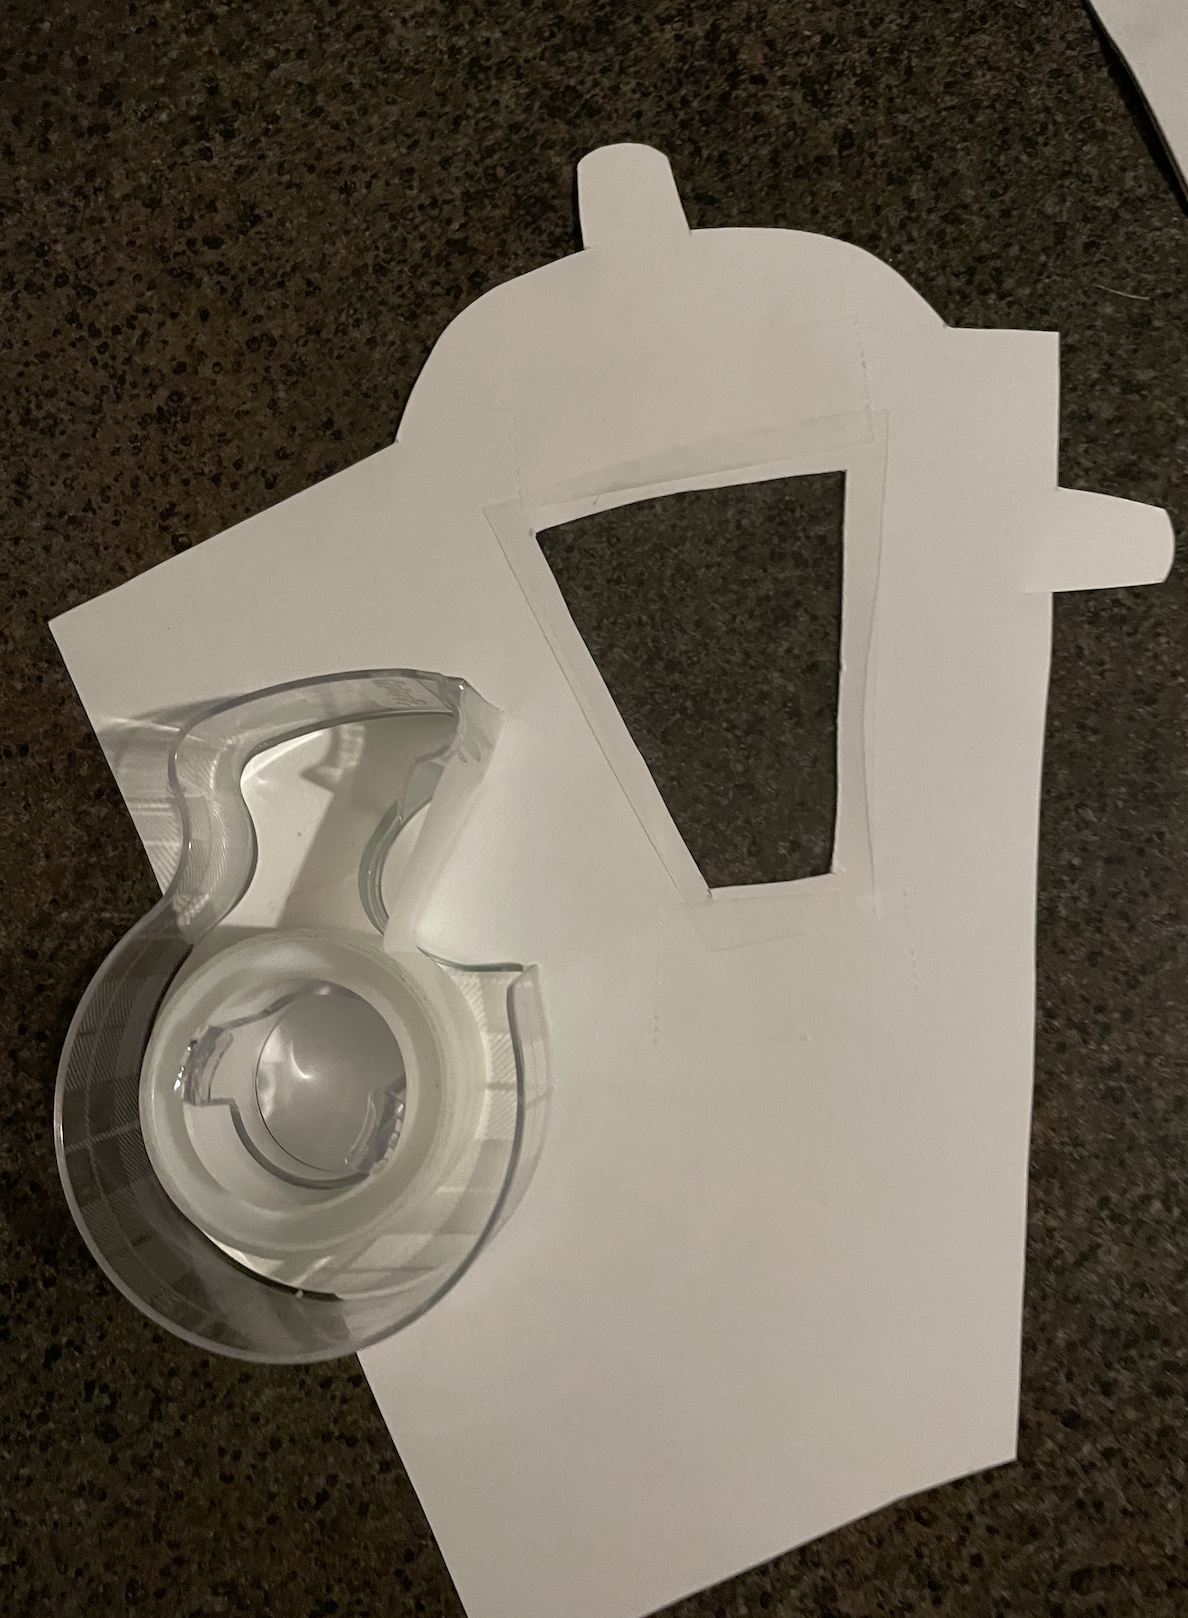
For the window on the top of the box, use a piece of acetate paper or a piece of plastic from a plastic freezer baggie. I used a baggie as I had it readily available.
Cut a chunk of the baggie out and then use the template to trim the piece down following the template. Once cut out, tape the window piece to the inside of the top of the box.
Fold Along the Lines
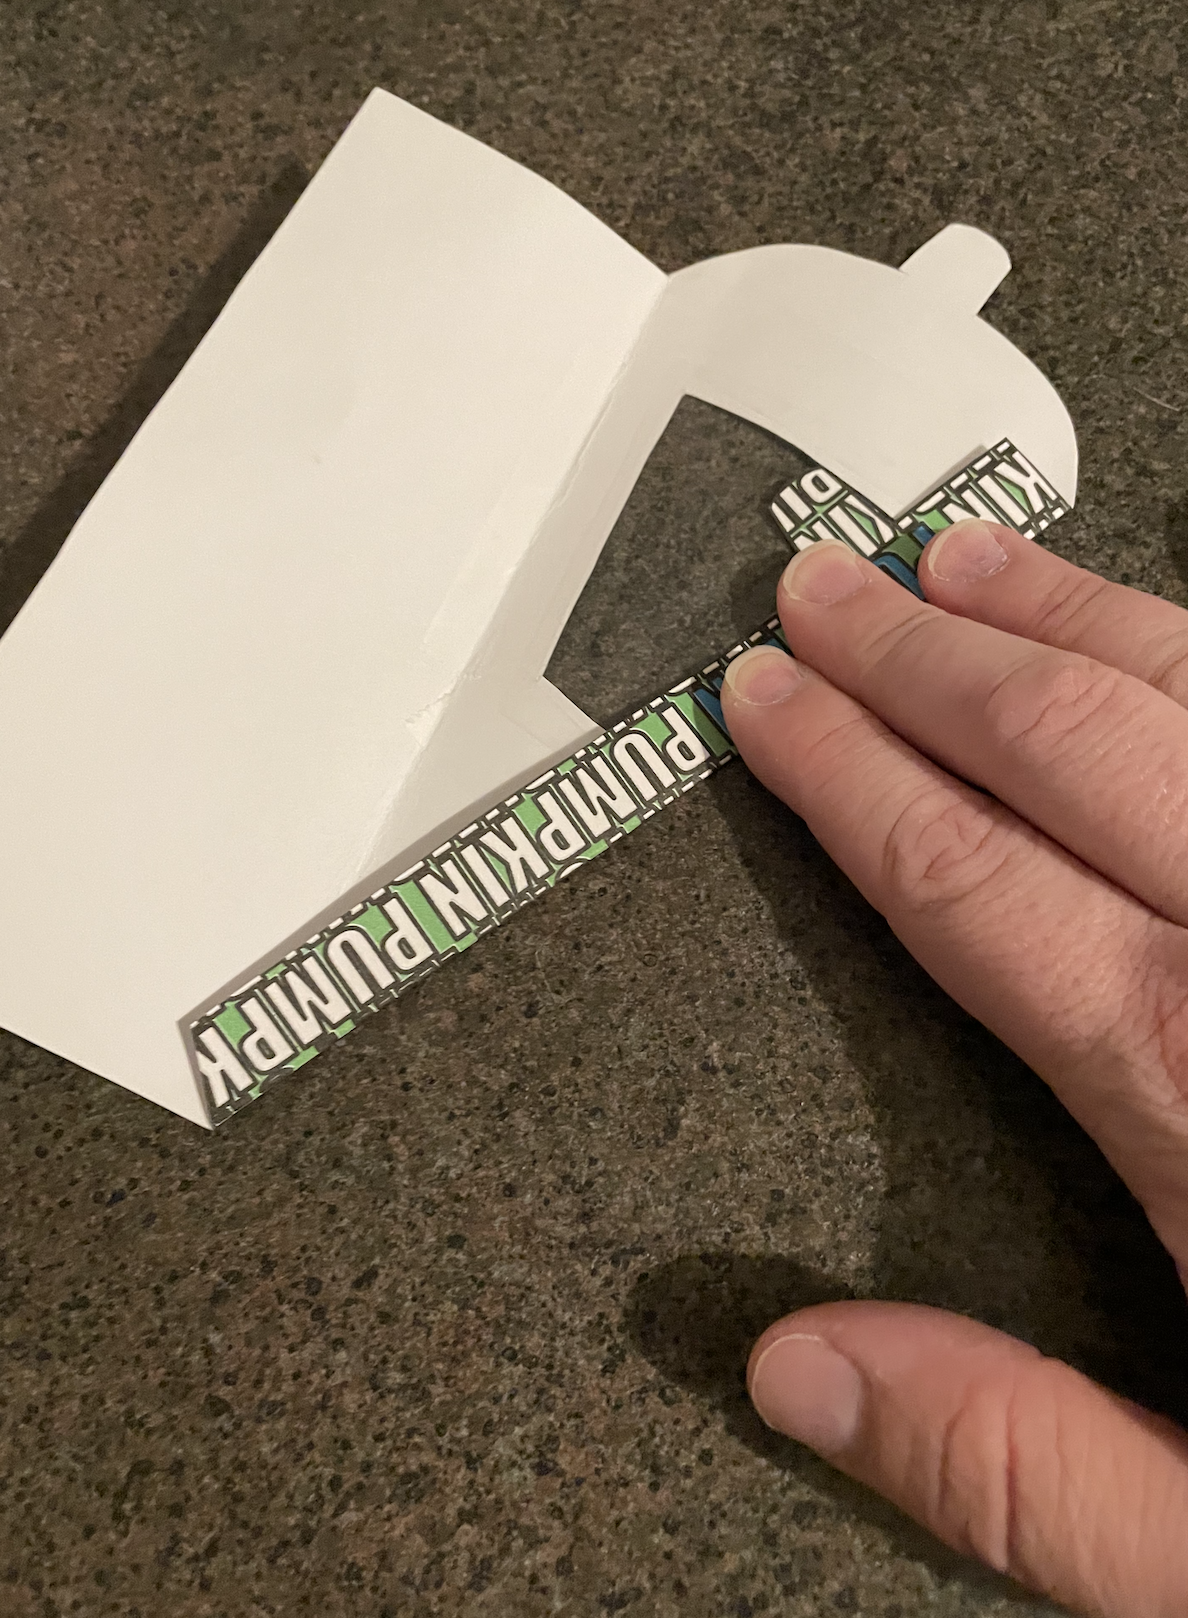
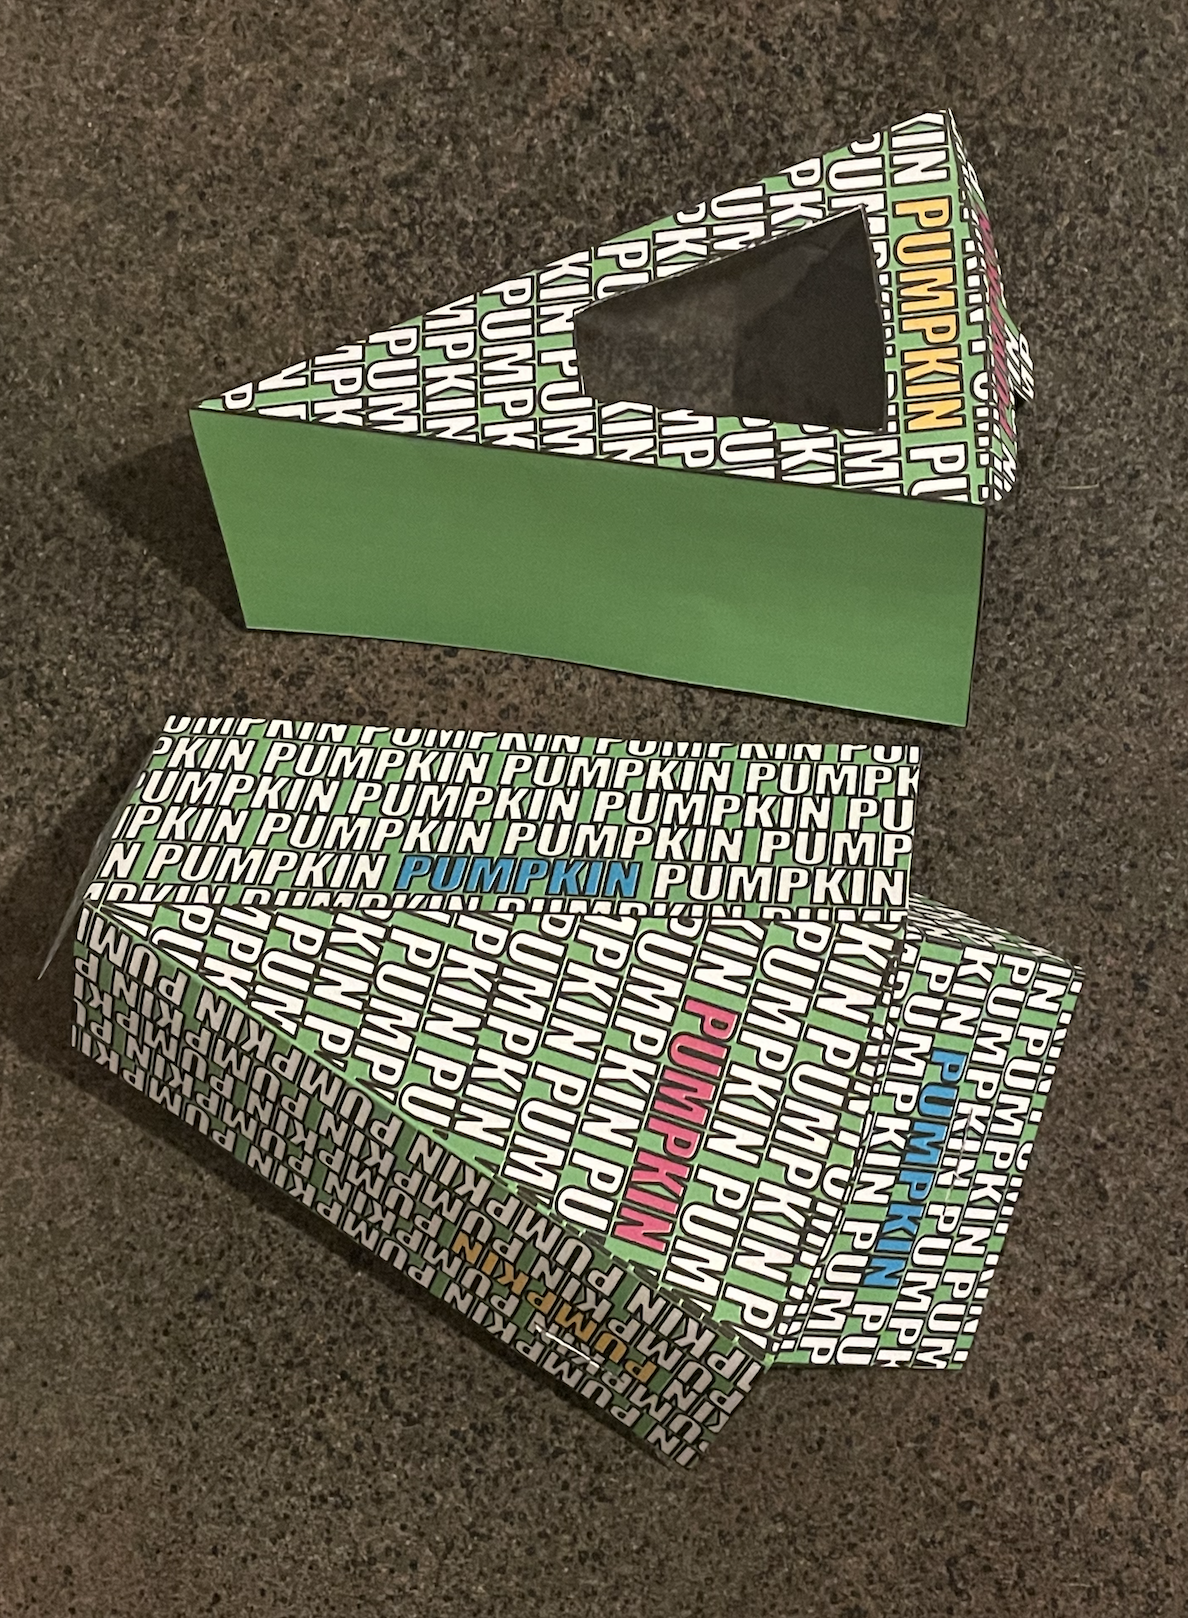
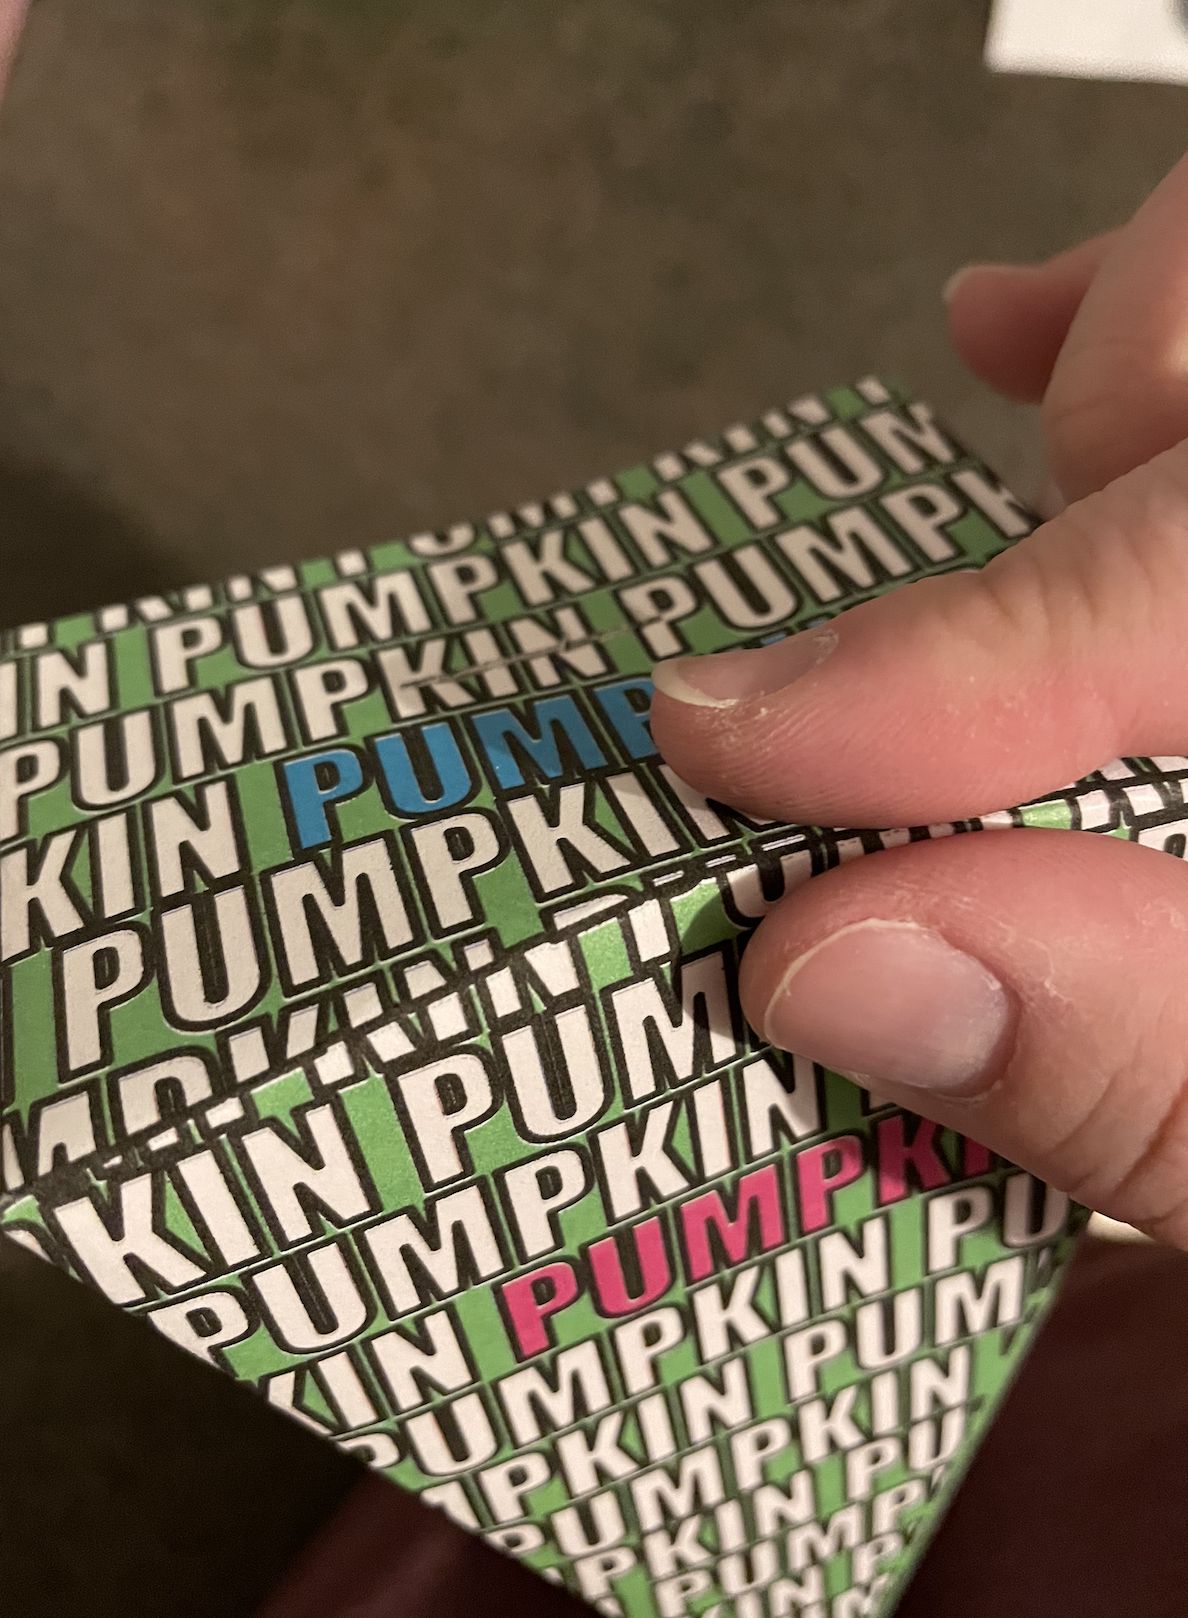
Now we will start assembling the box.
Start by folding along all the fold lines on both pieces.
The top edge of the box may be a little tricky because it curves, but I found it the easiest to pinch with fingers while following the line around.
Glue the Top and Bottom to Each Other
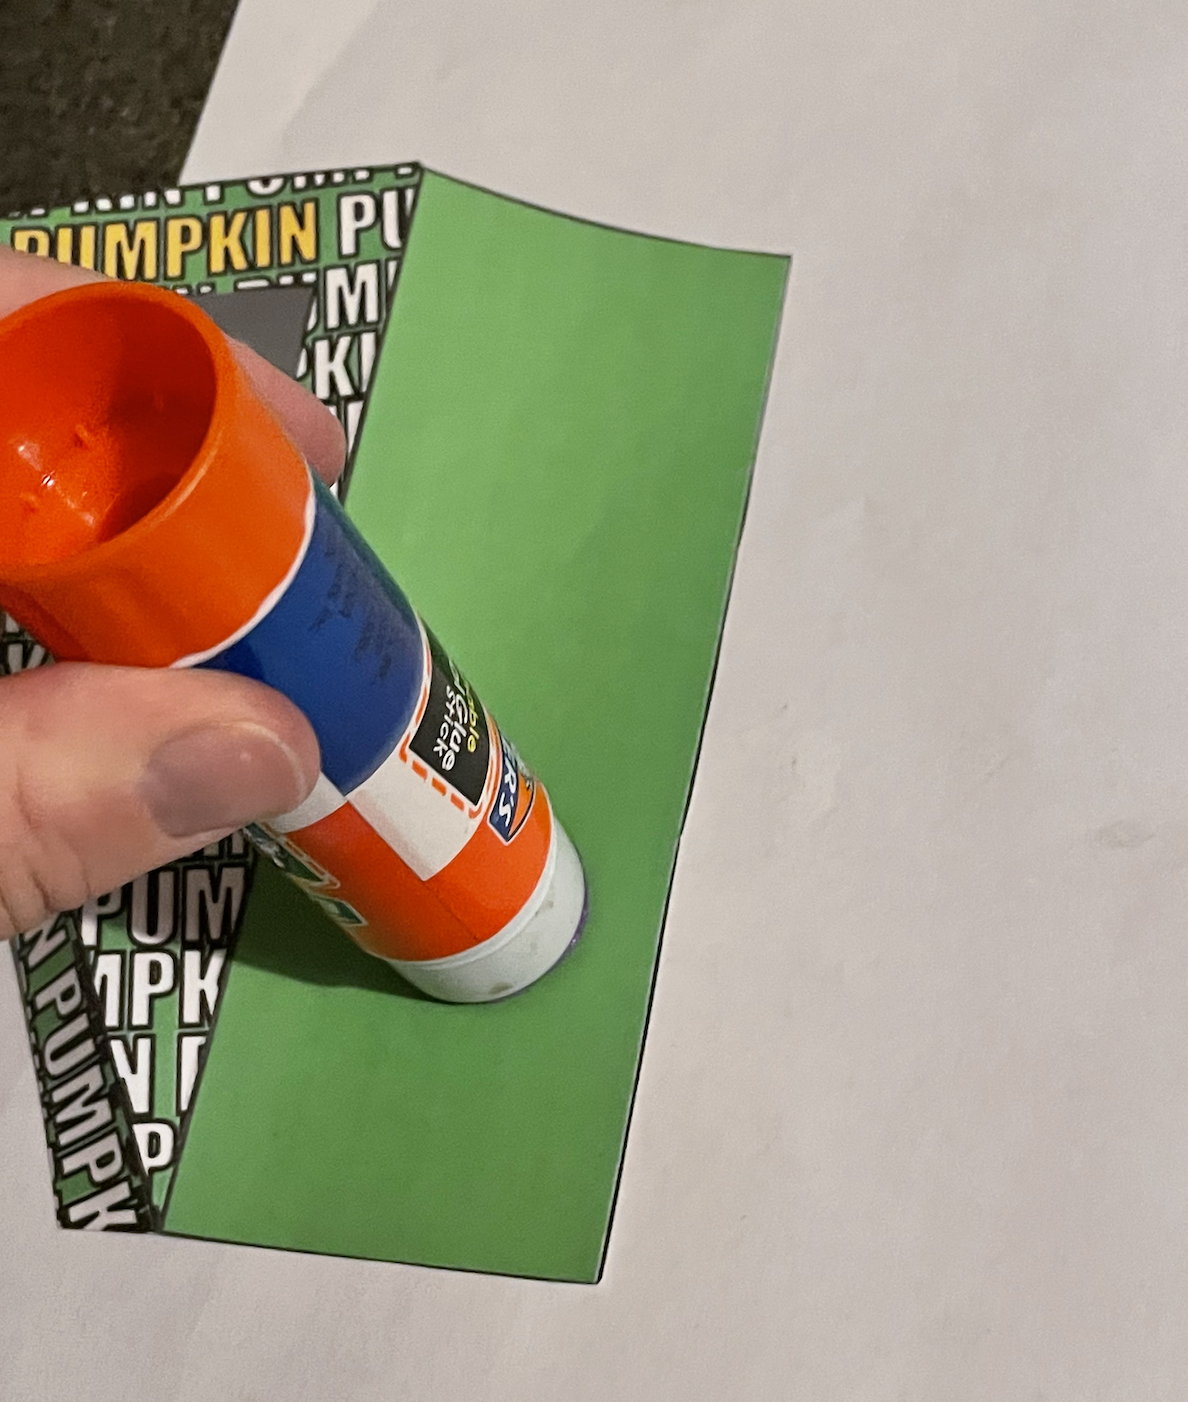
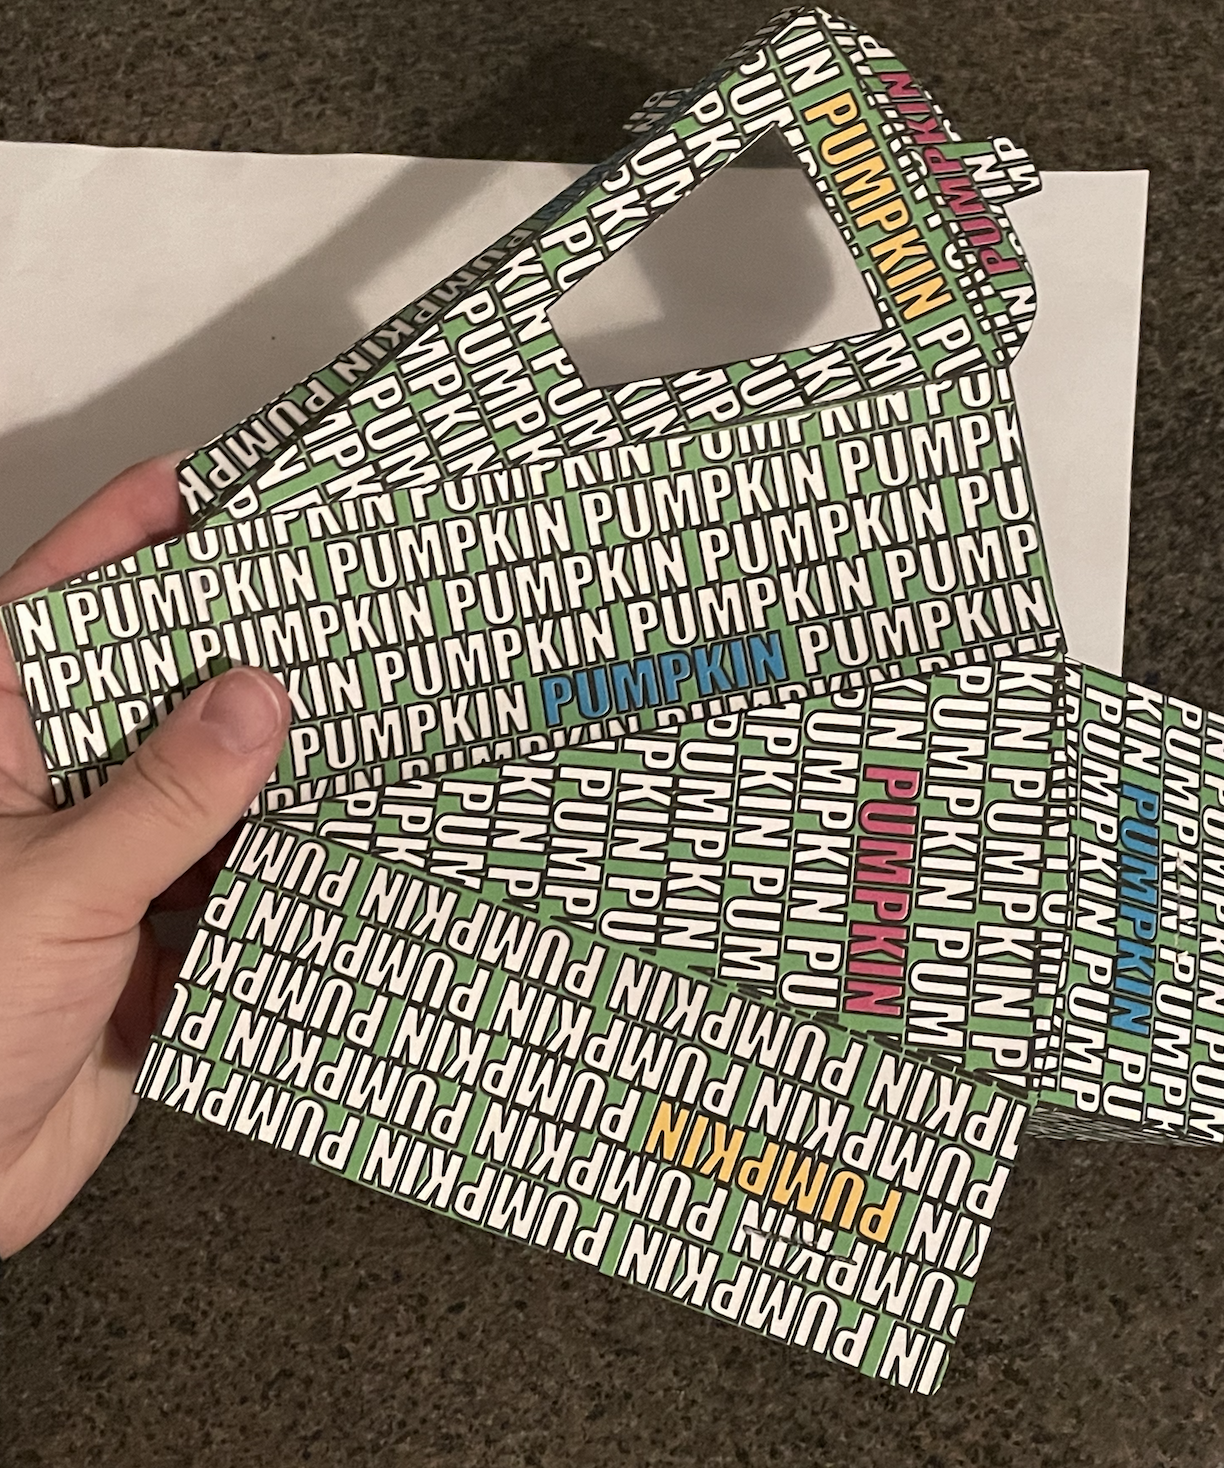
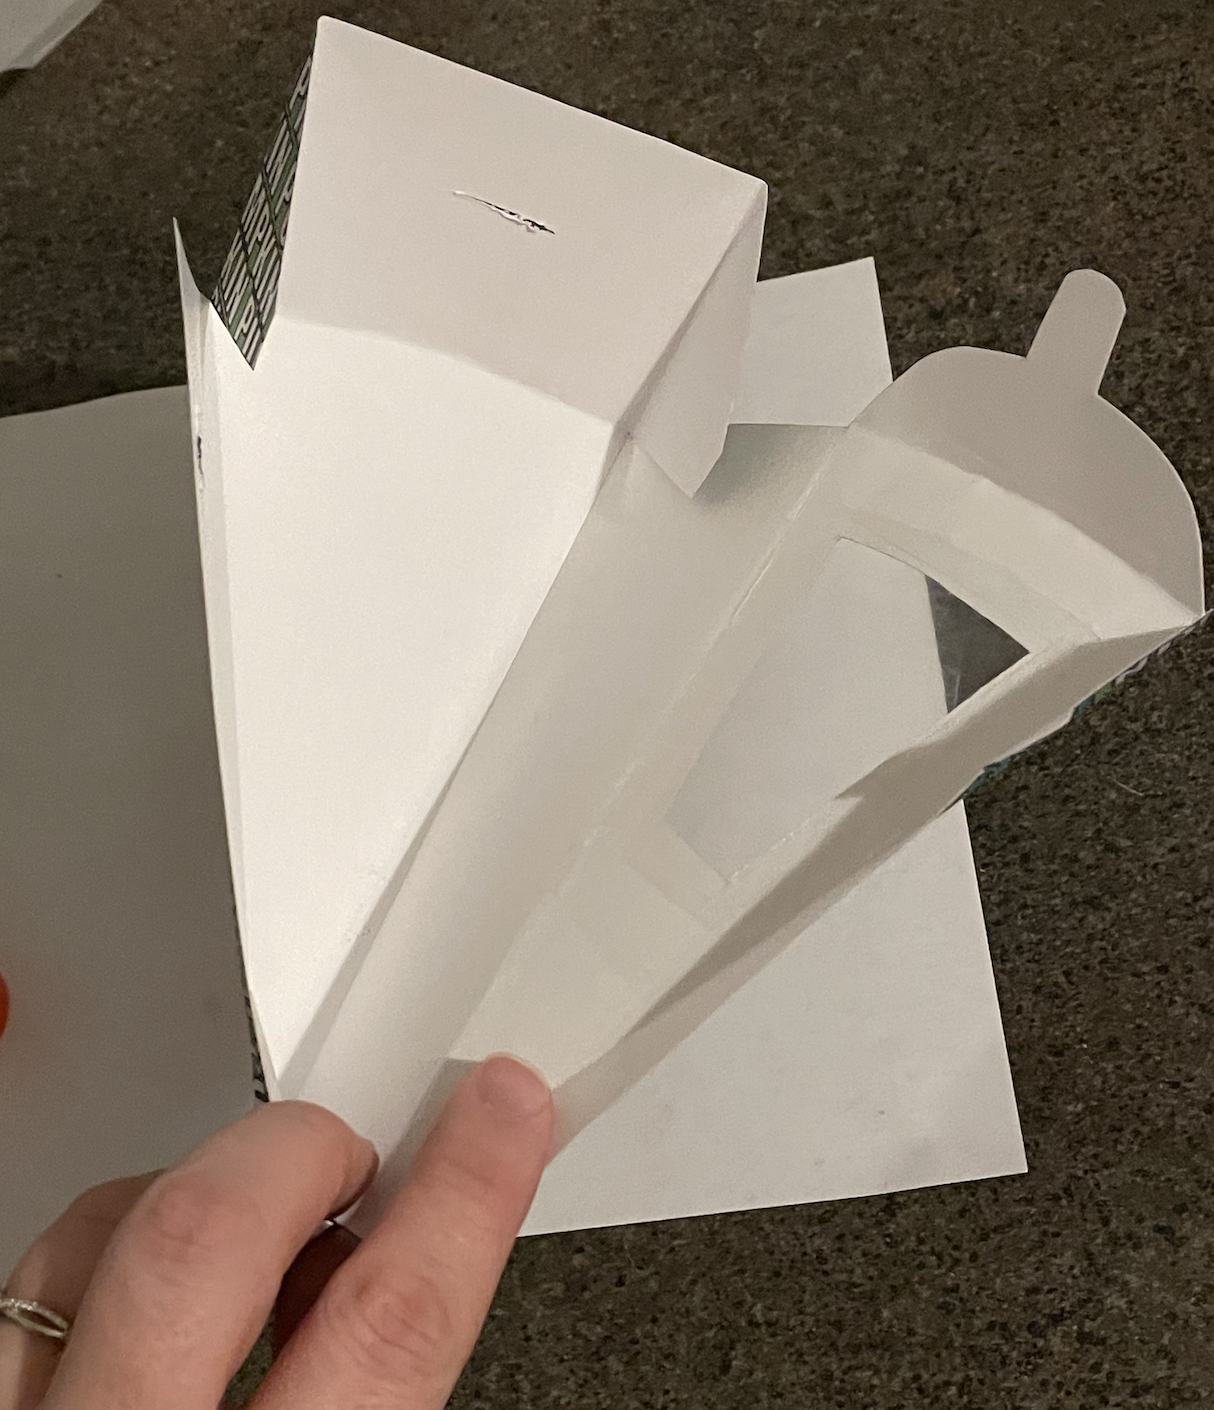
Using a glue stick, glue the bottom of the box to the top of the box. Put glue on the blank flap from the top of the box and stick it to the inside right of the bottom box. Press to seal the two pieces together.
Cut Out the Box Liner From Wax Paper
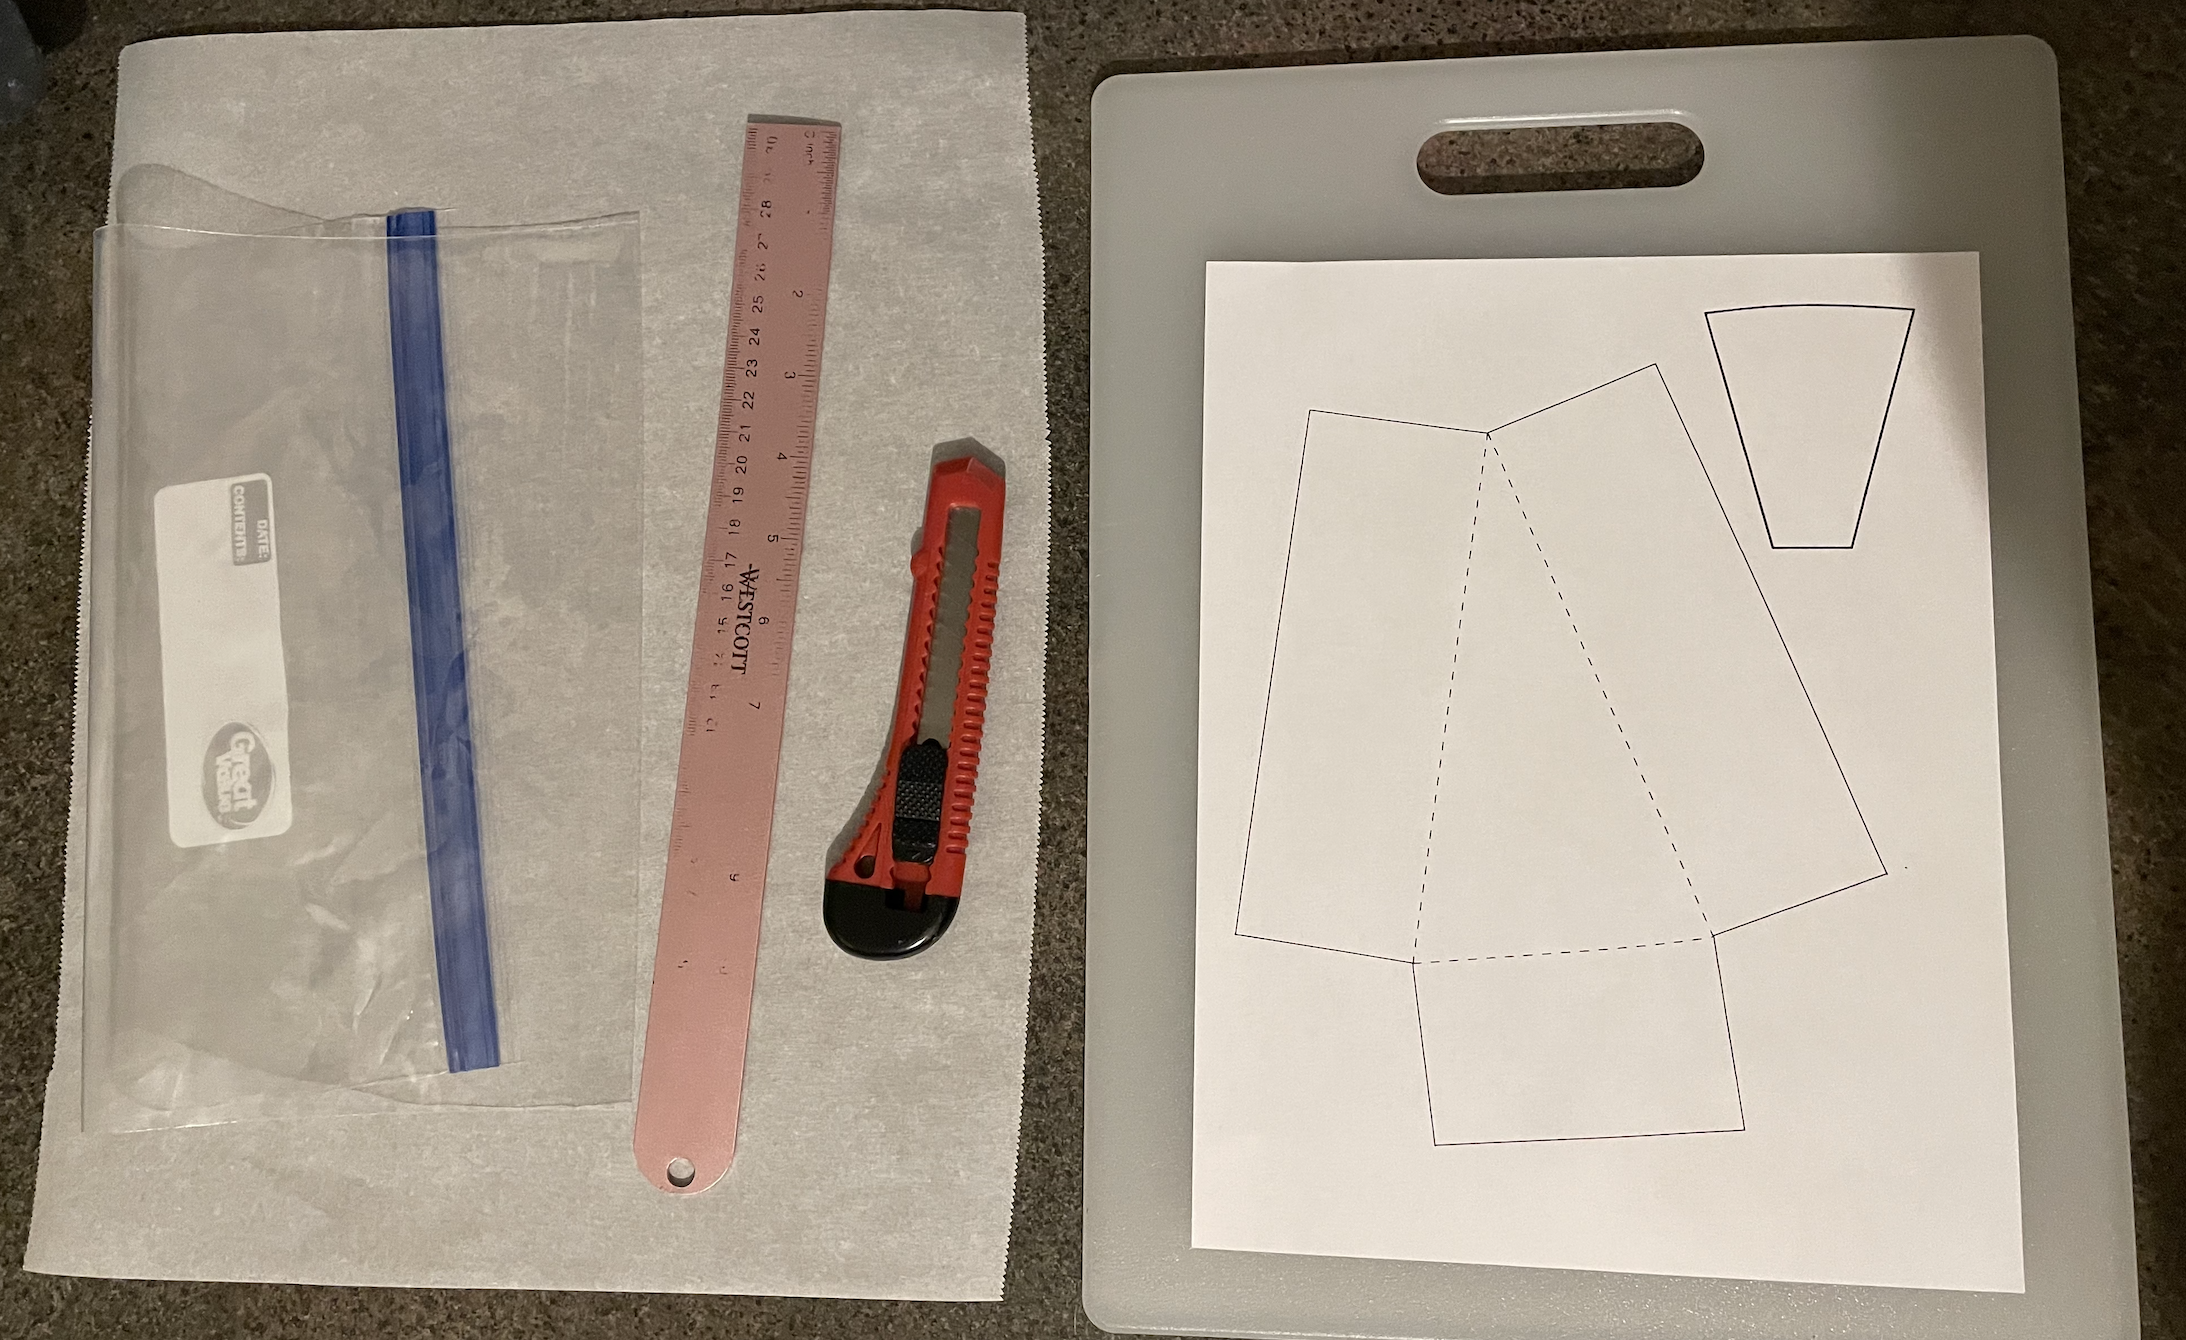
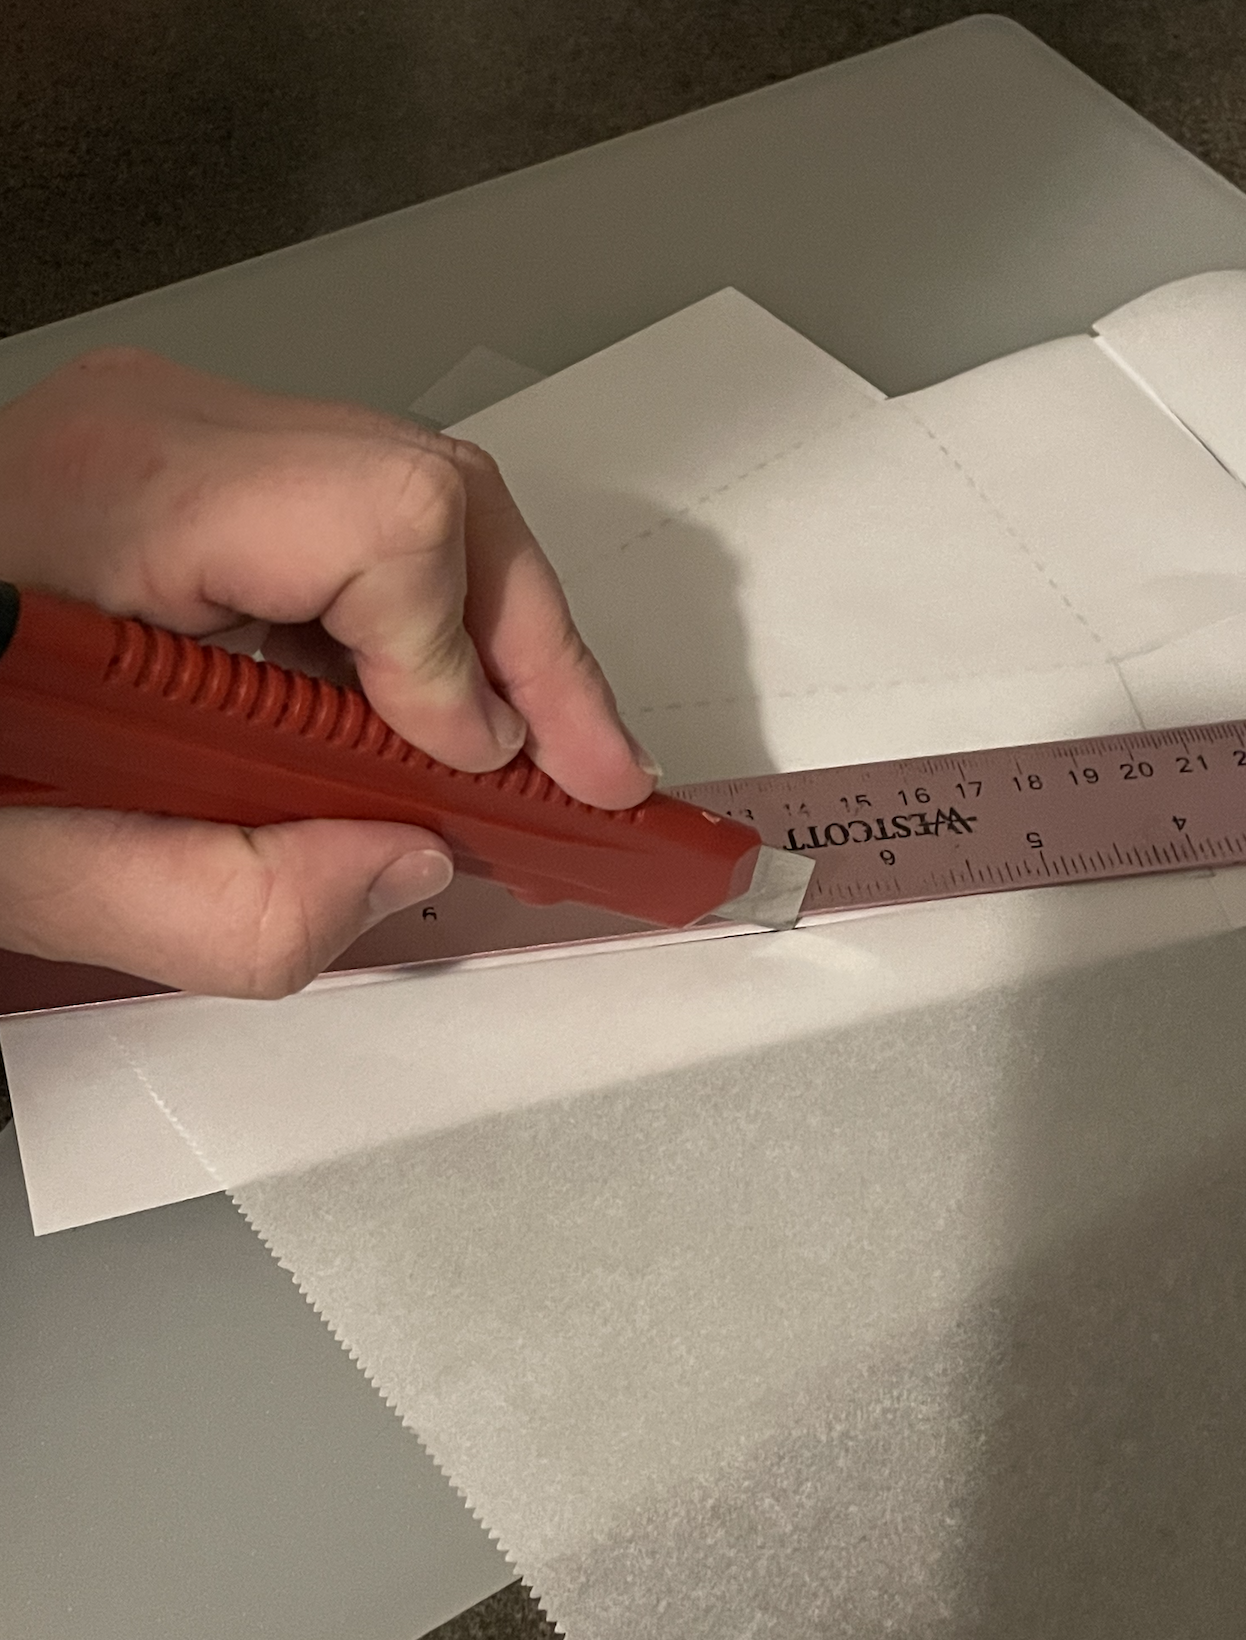
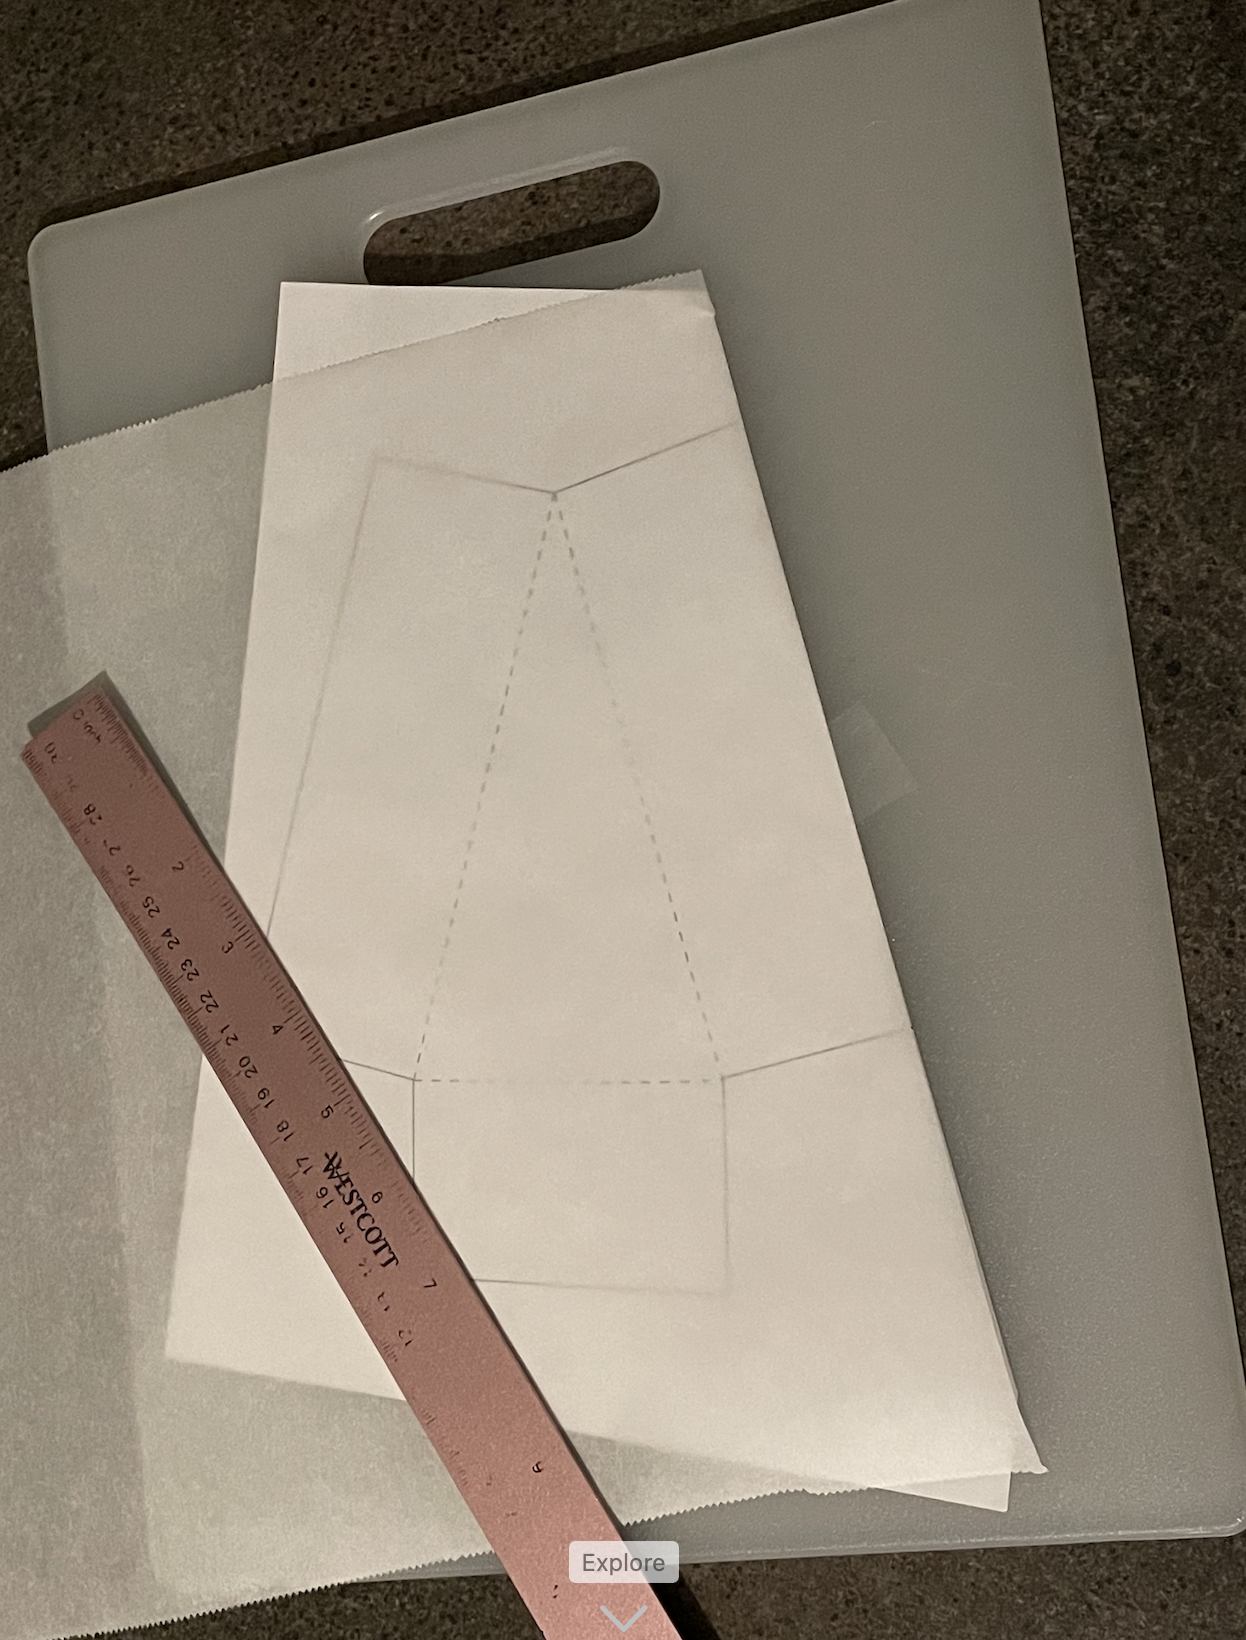
Cut a piece of wax paper large enough to cover the wax paper template. Hold the wax paper down and the template in place and cut along a flat line in the template with a ruler and blade. Cut through both the wax paper and printer paper. Once a straight line is present, tape the template to the cutting board then tape the wax paper down to help hold the pieces in place while cutting the rest of the pattern out.
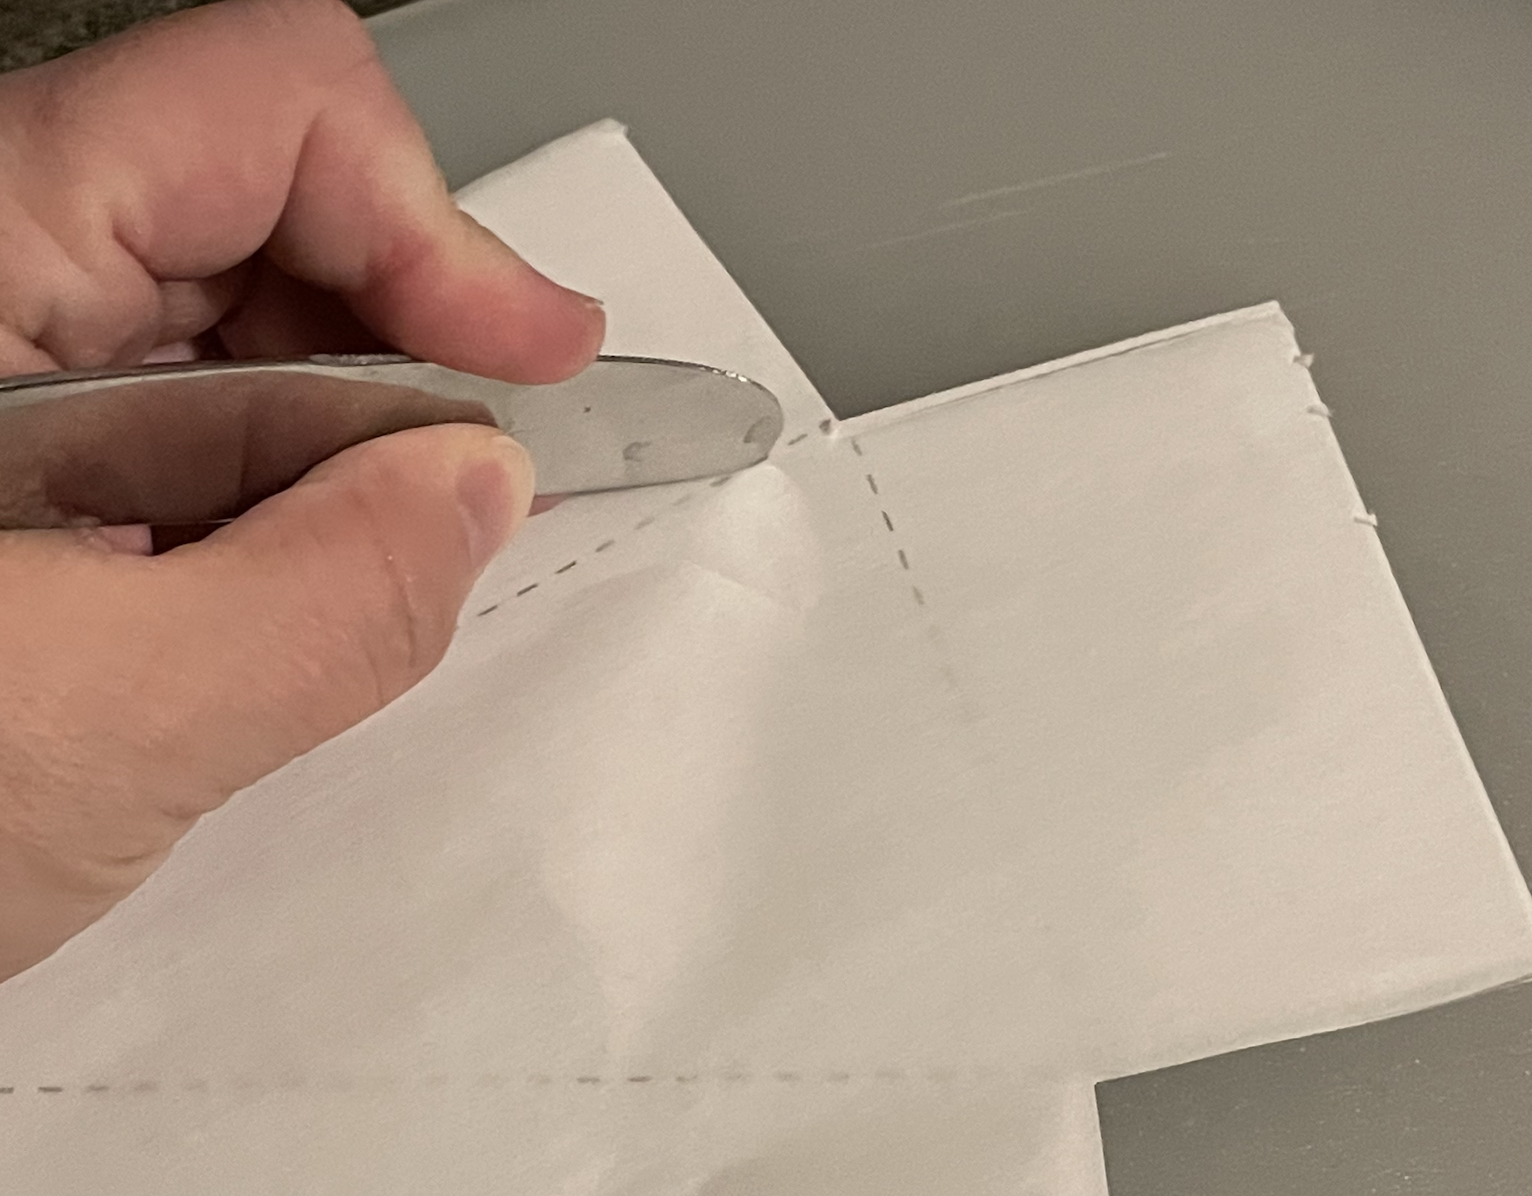
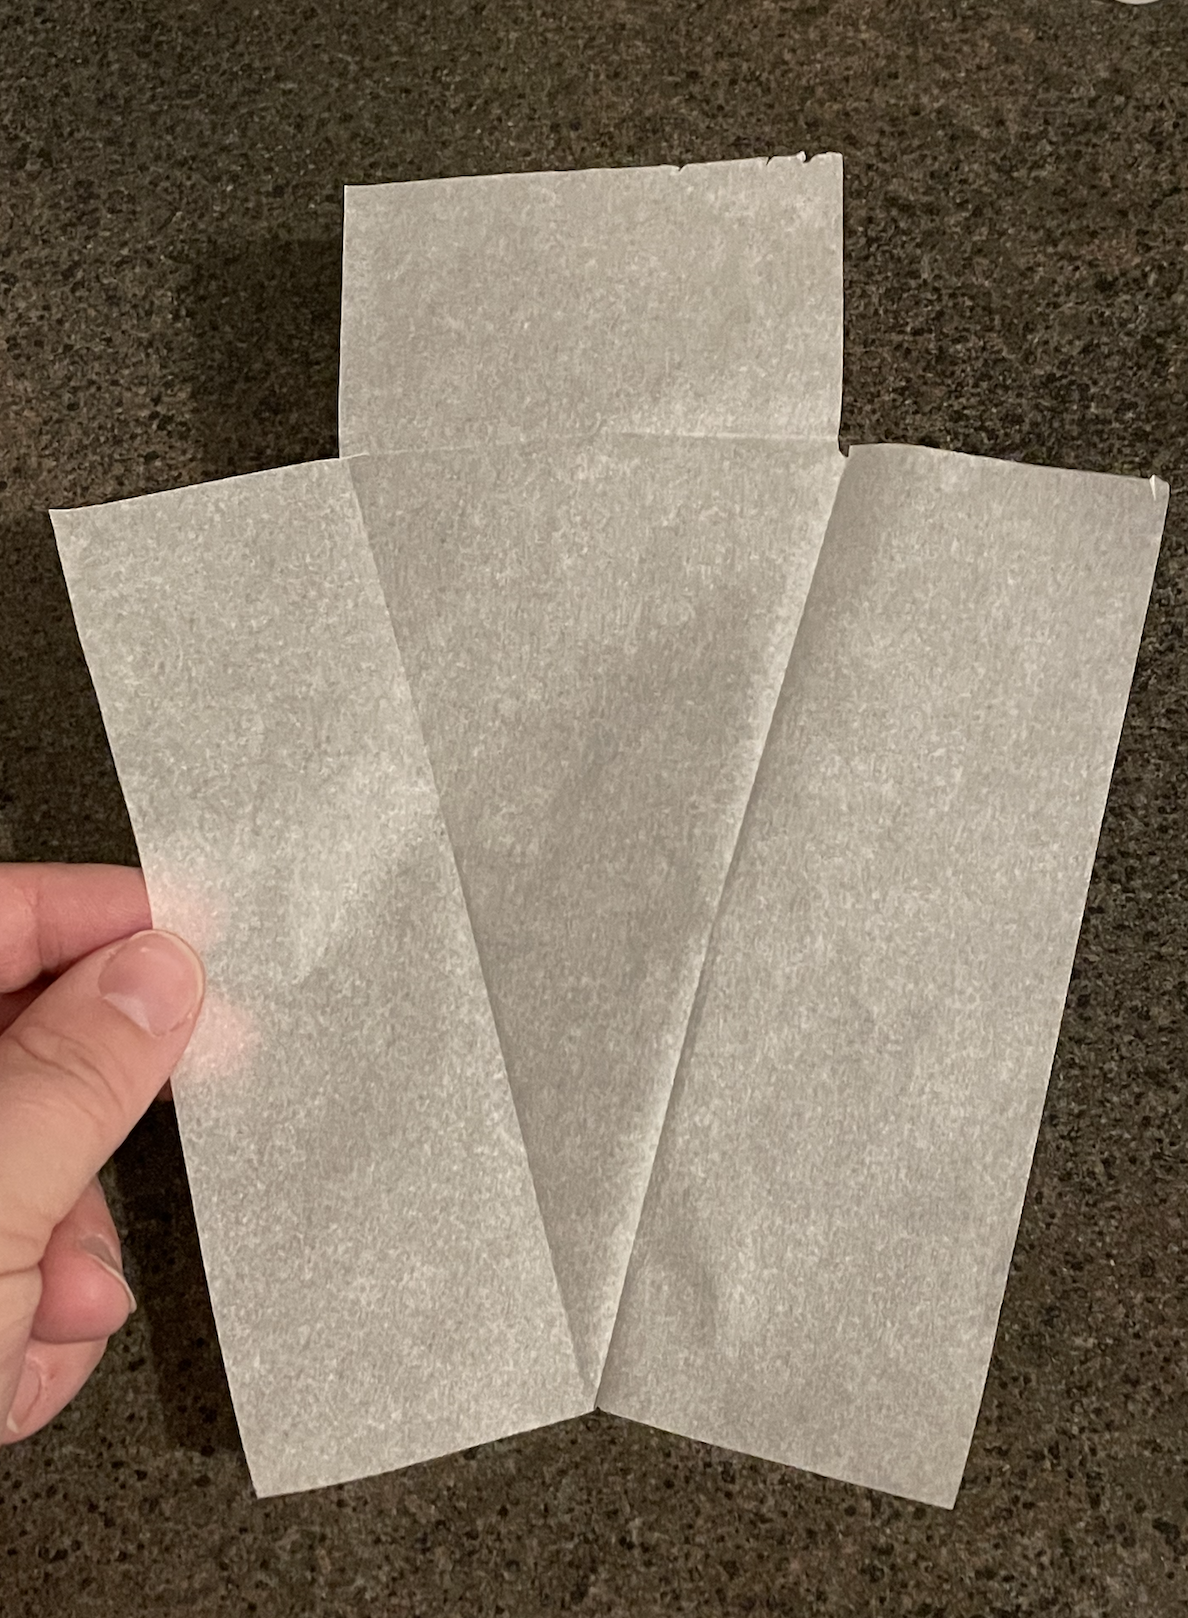
Once the template is cut out, use the dull side of a butter knife to score the fold lines in the lining paper and fold over to crease.
Place the Pie in the Wax Paper
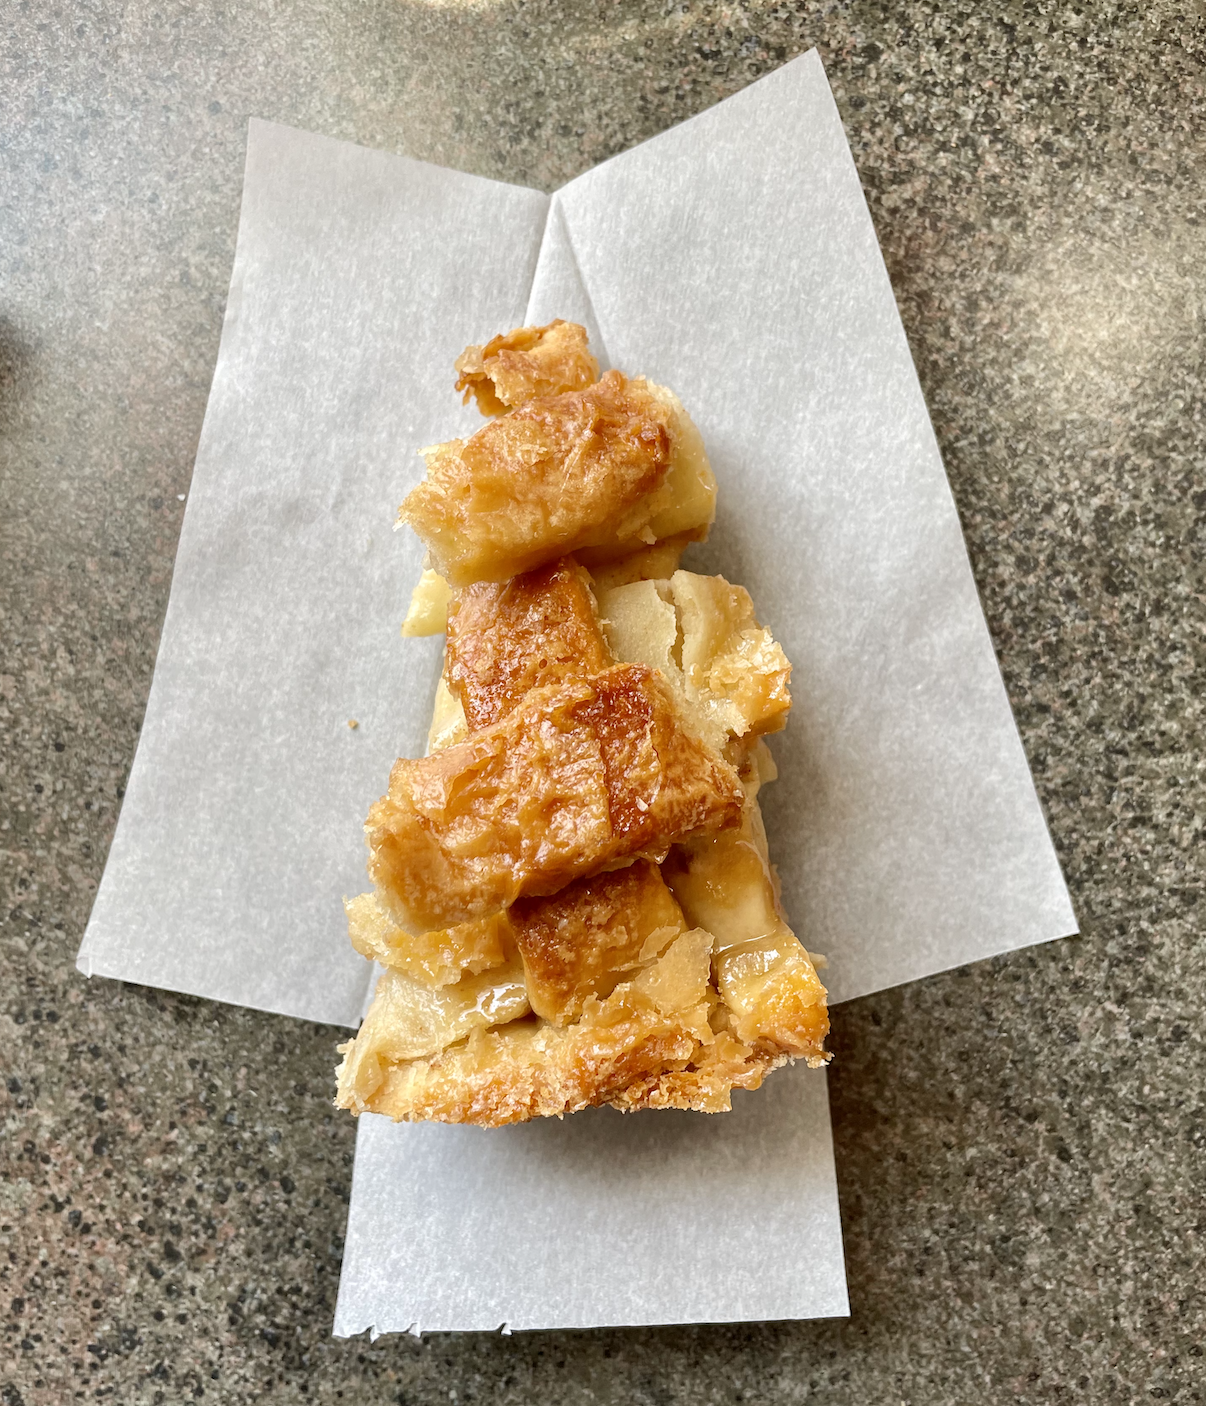
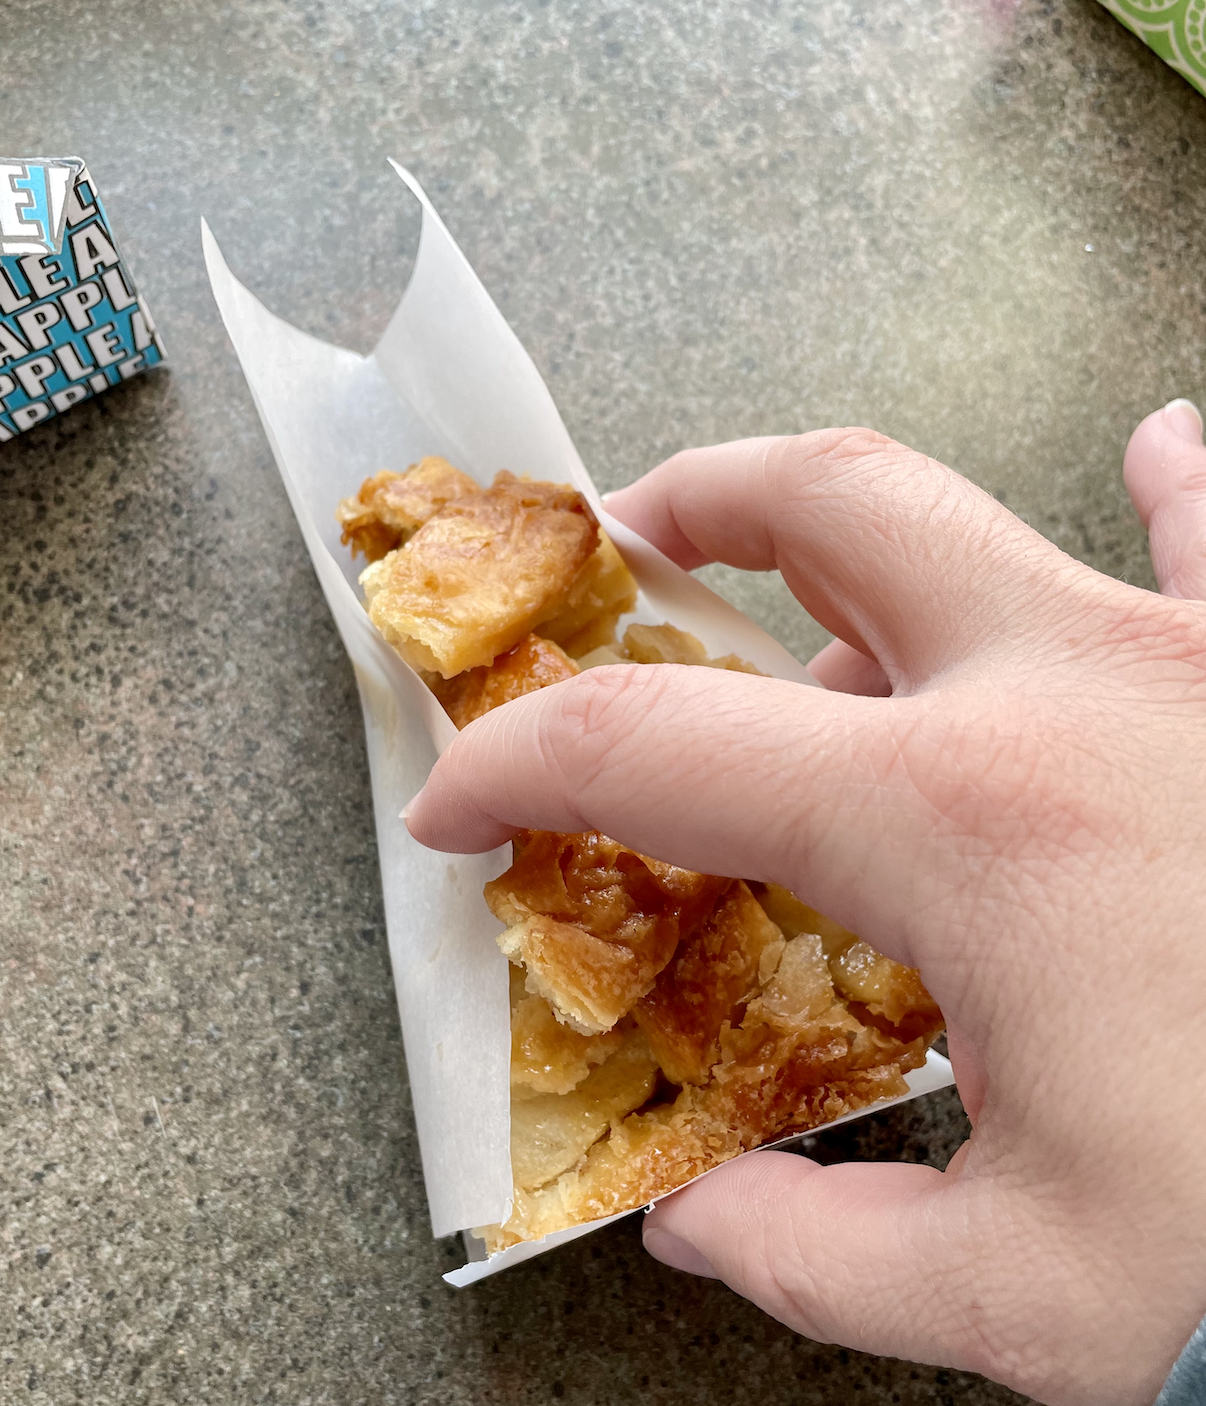
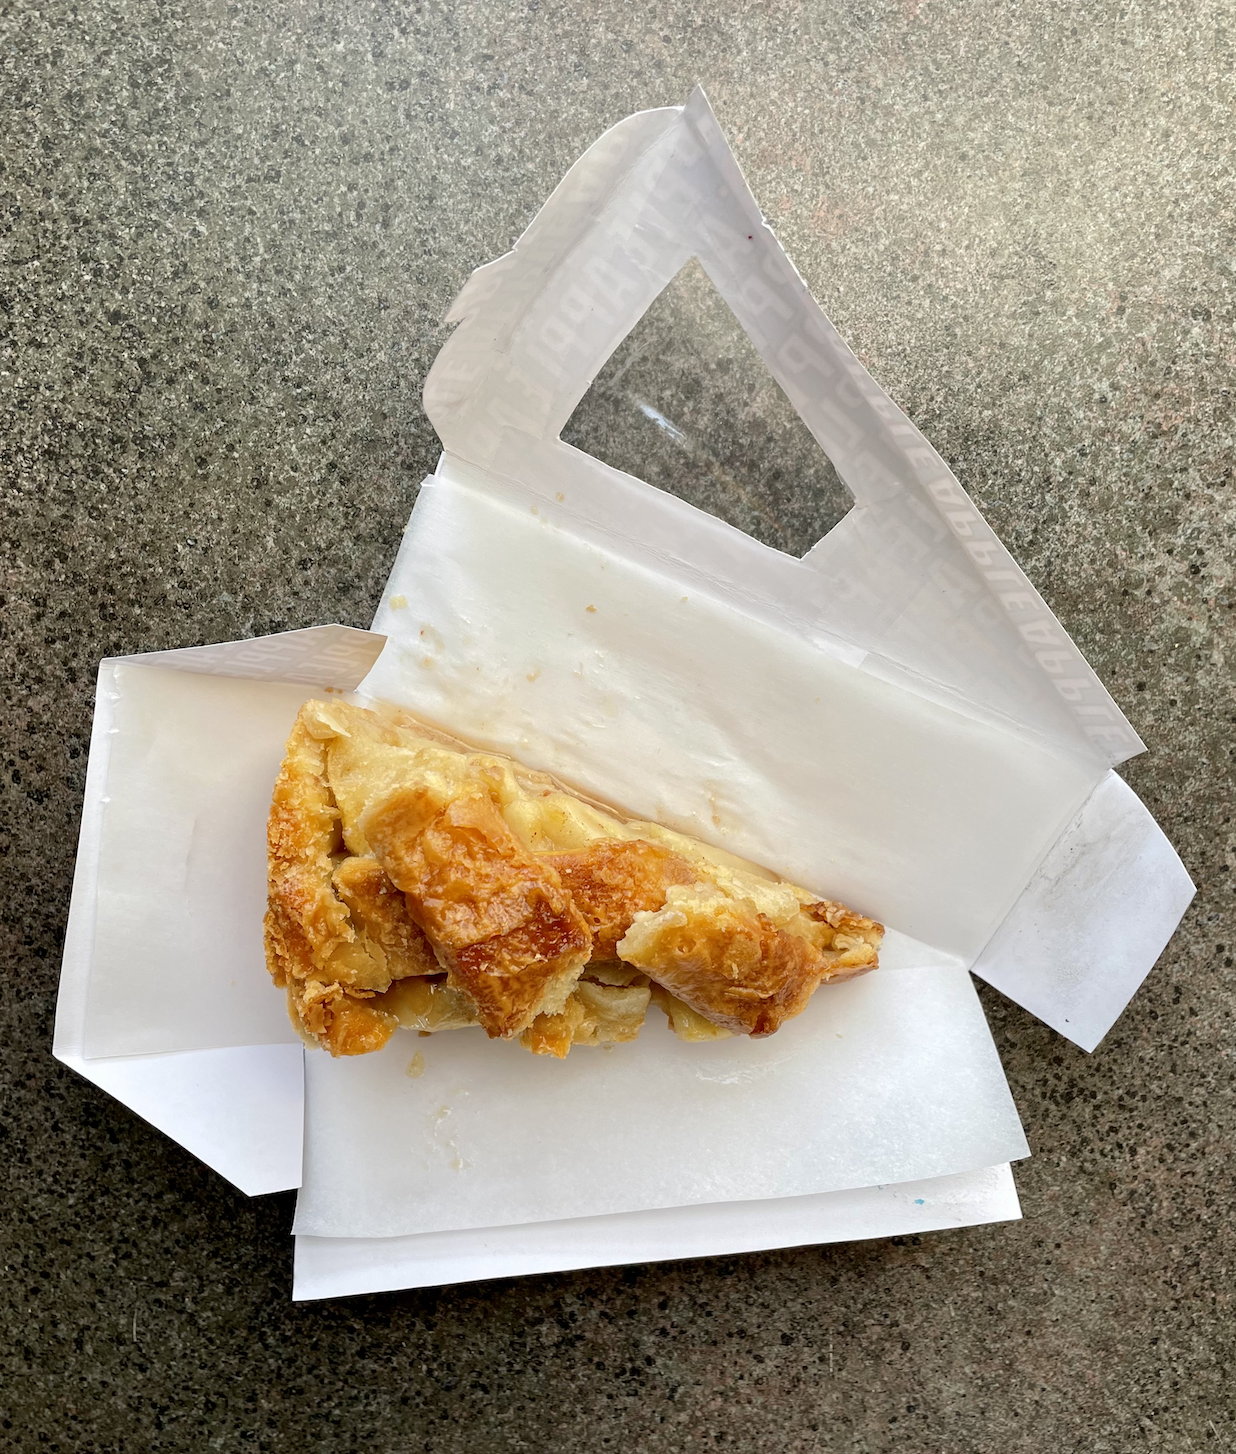
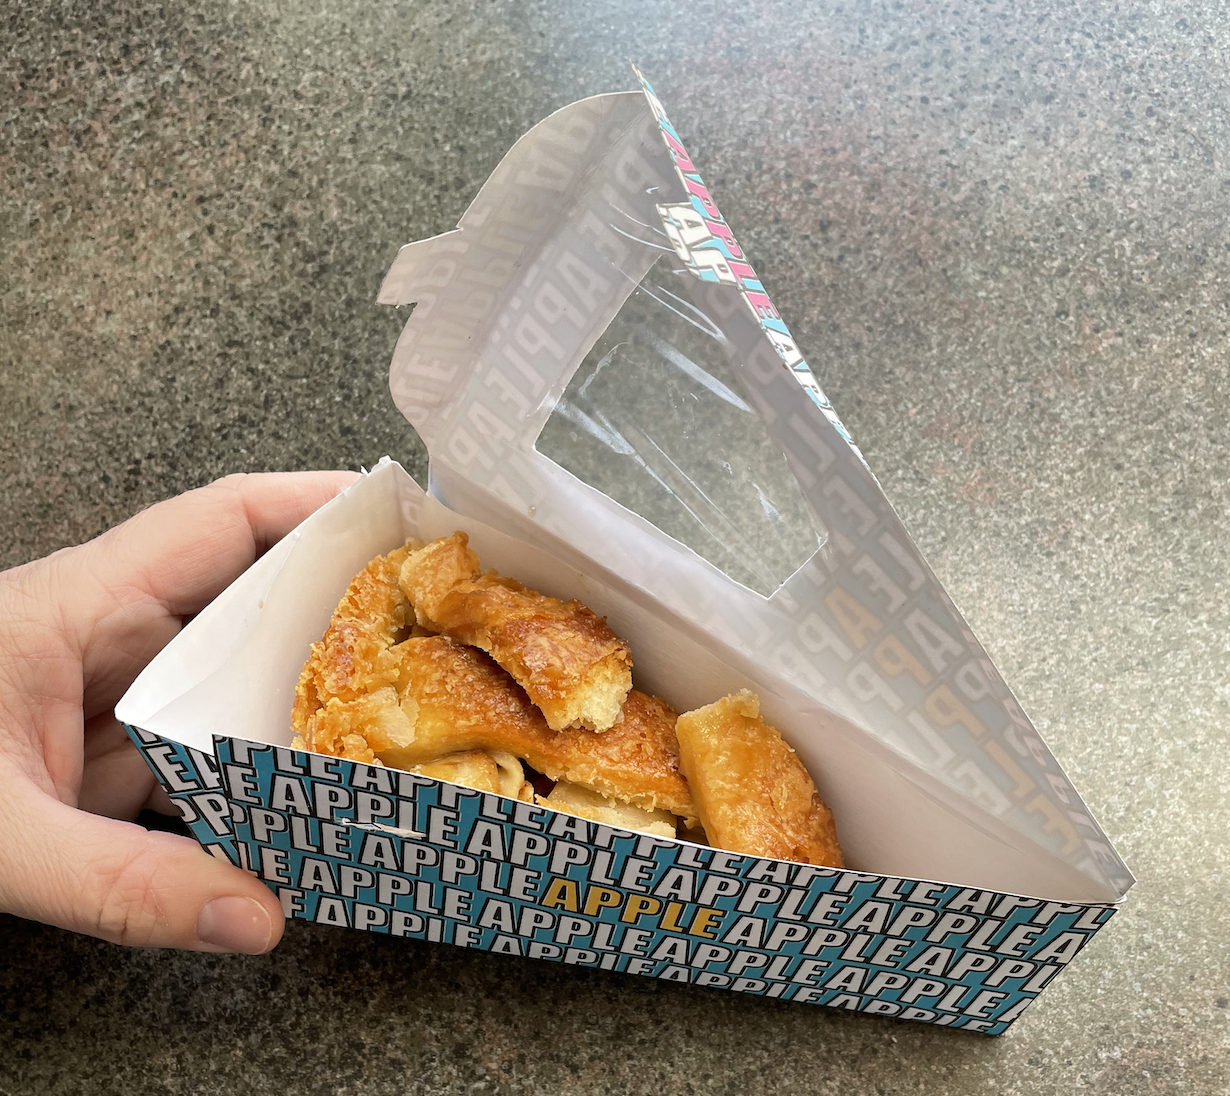
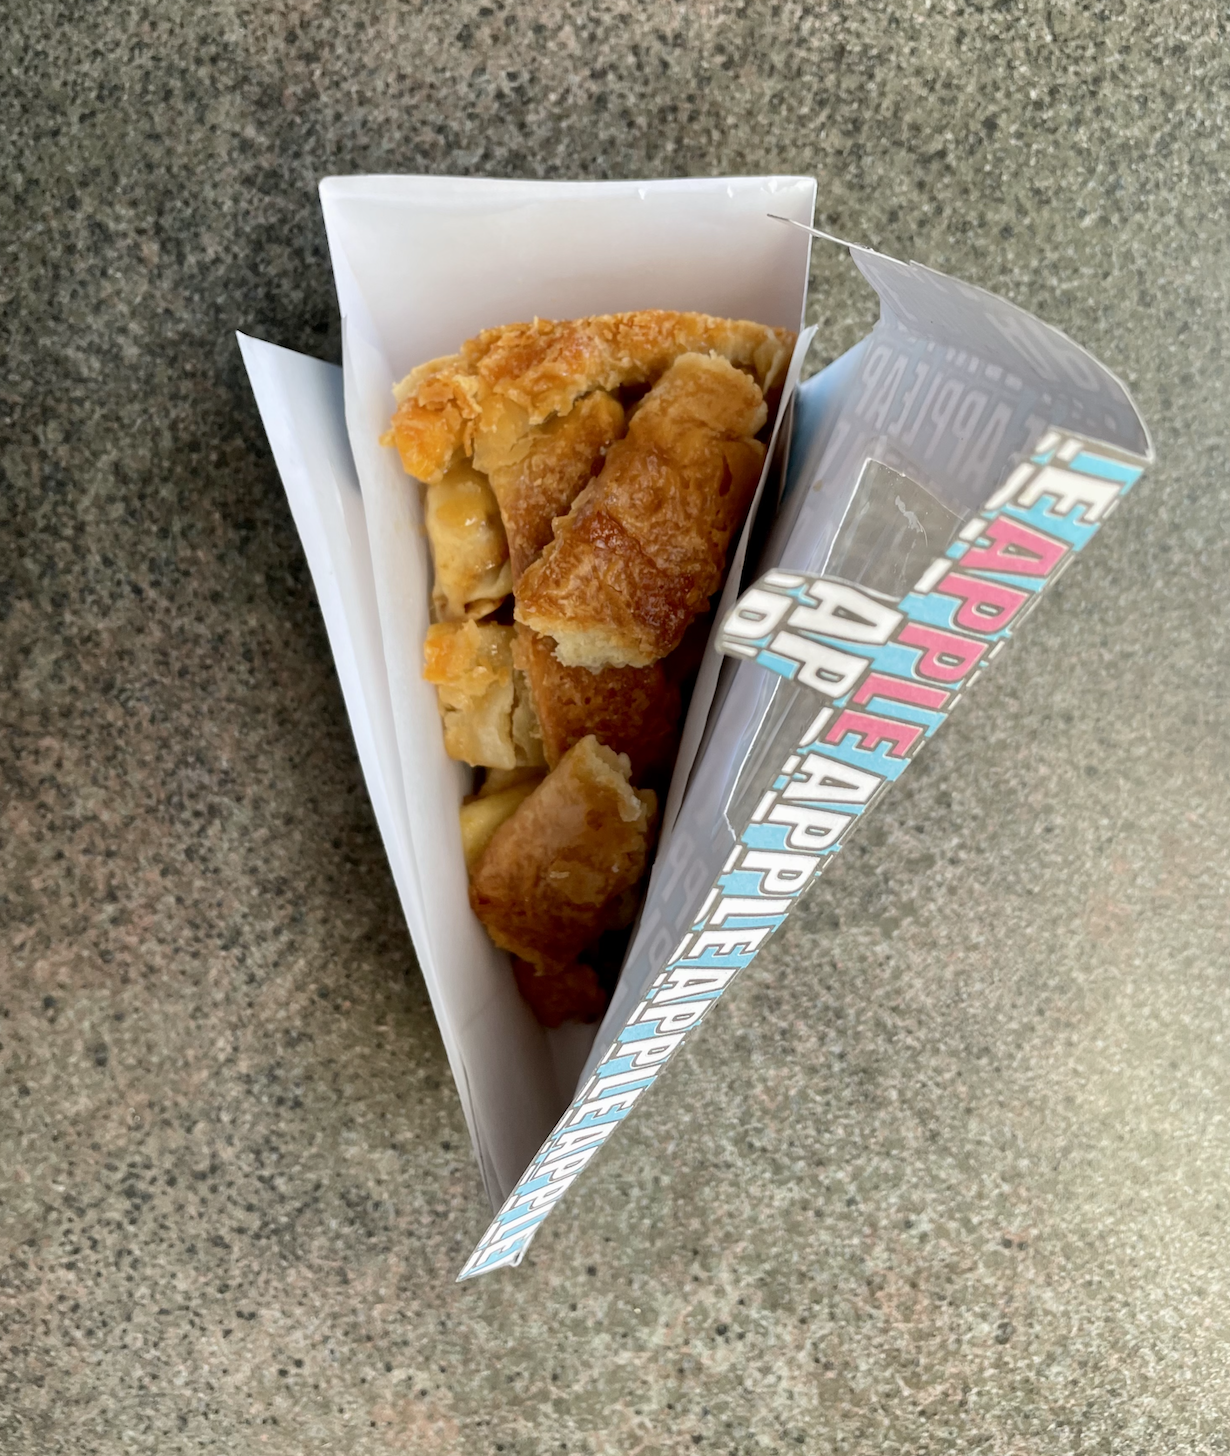
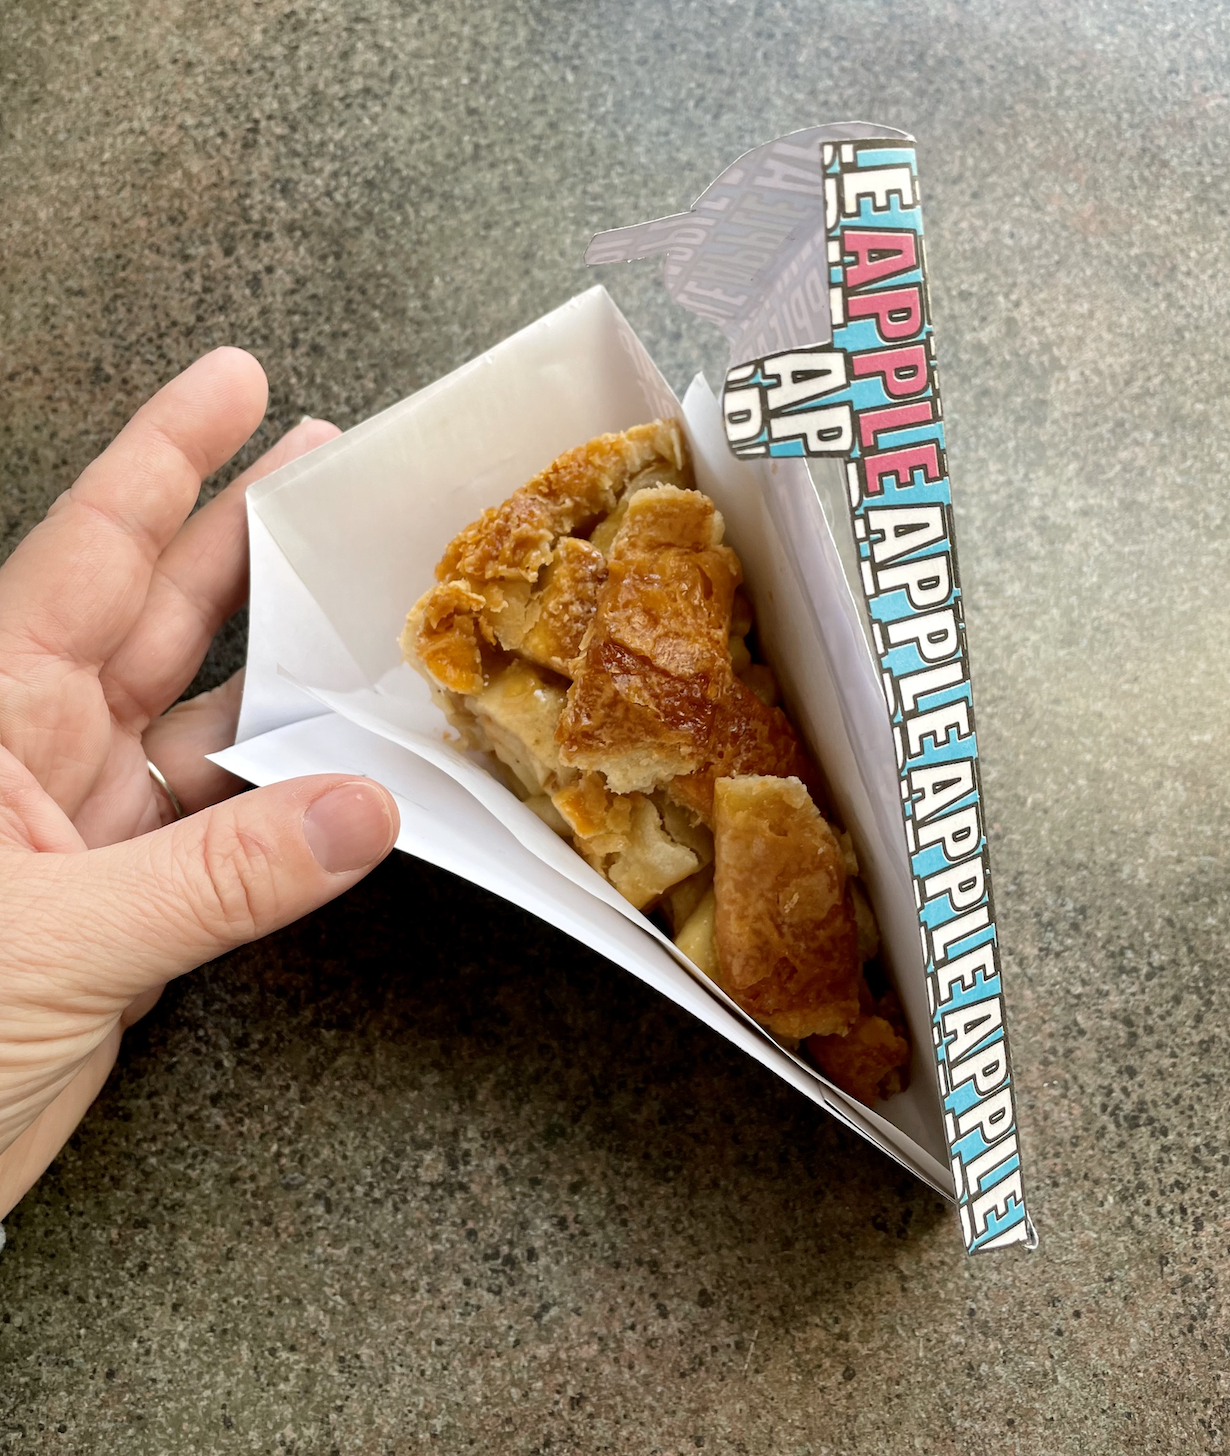
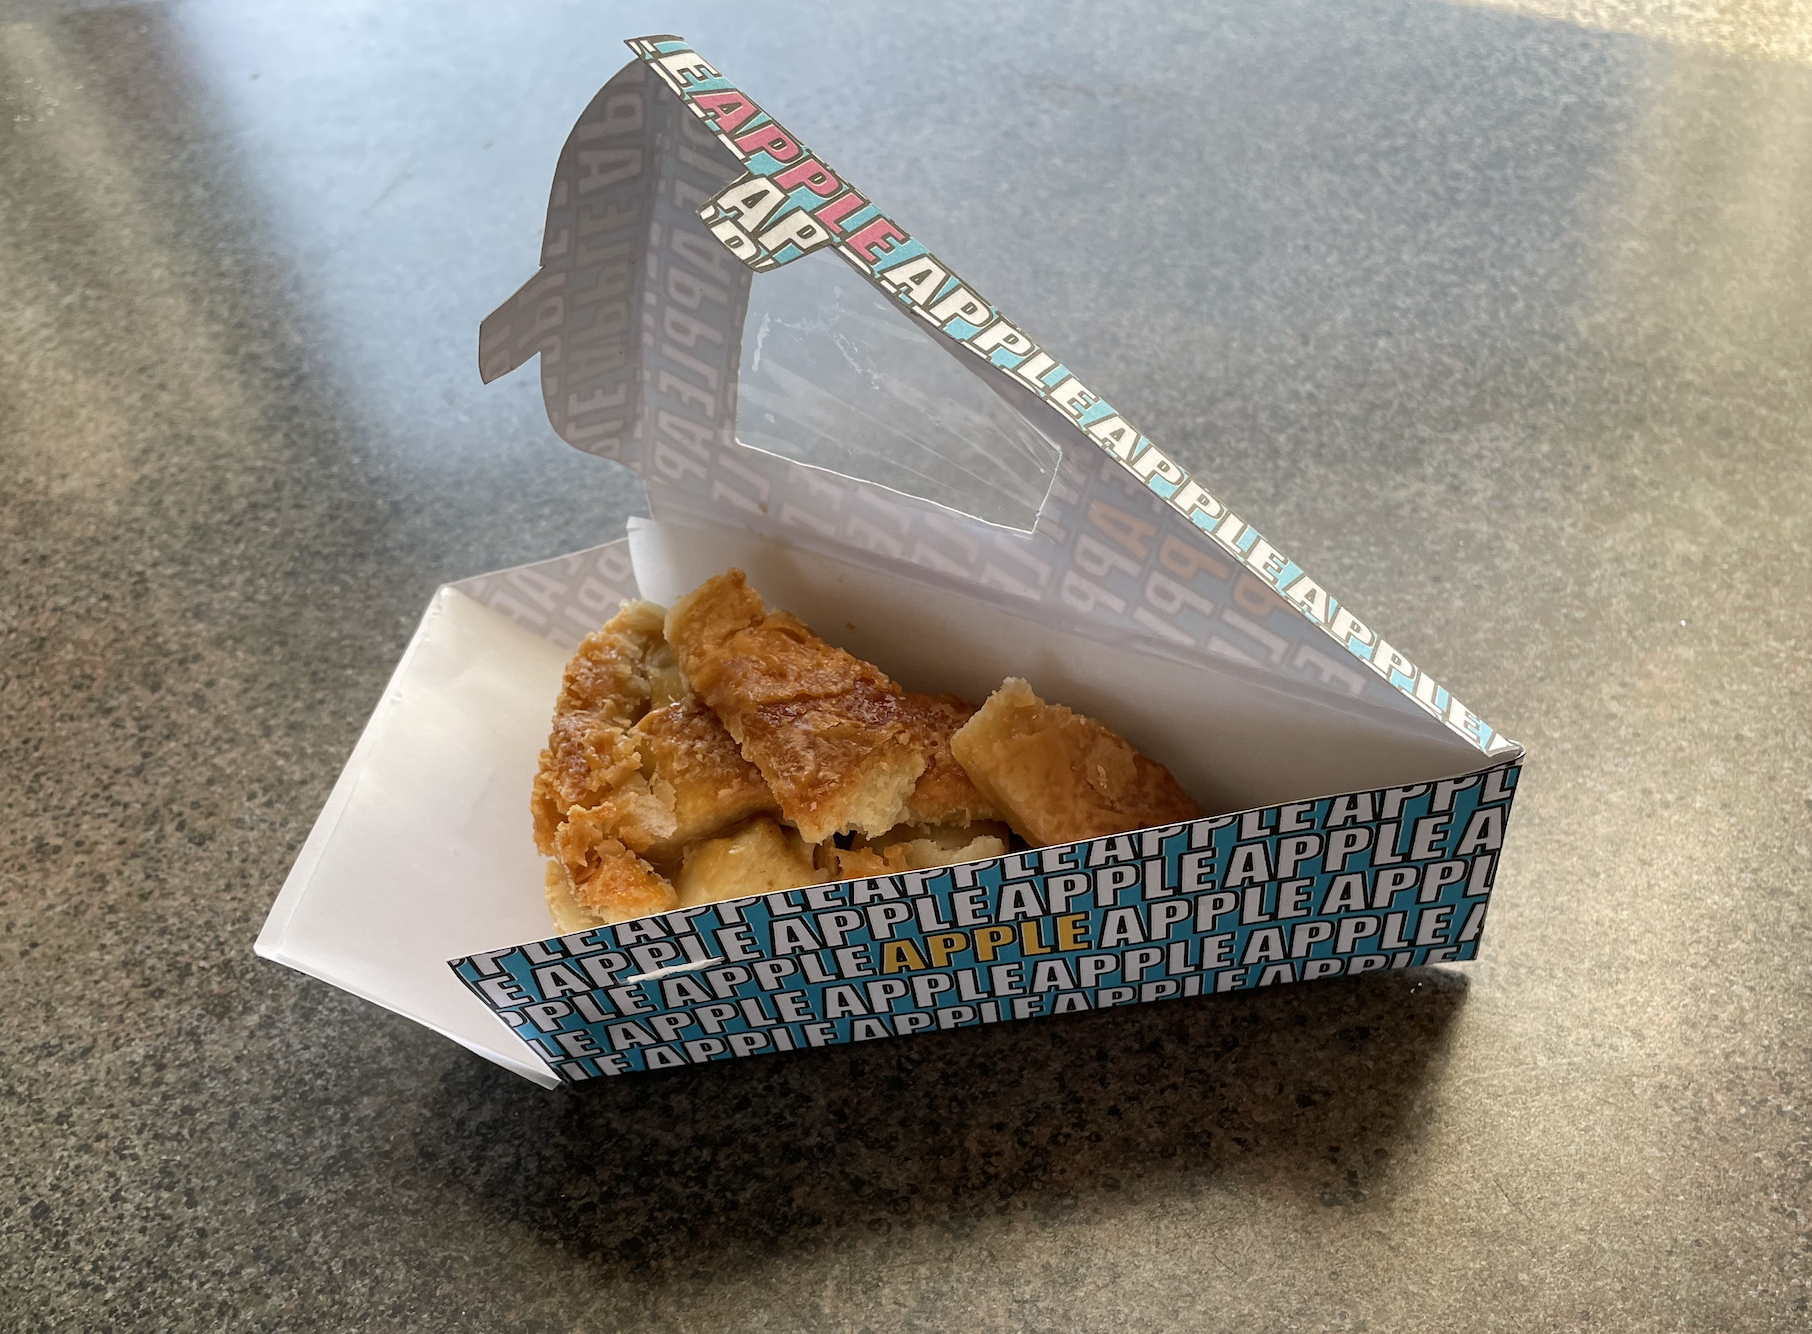
Place a piece of pie on the wax paper and fold up the edges. Place the pie slice on the box and fold the end tab of the box into the inside of the box then tuck the tabs from the end of the box inside between the box sides and the wax paper, so they are not touching the pie.
(I switched over to apple here because I am not a pumpkin pie fan.)
Stick in the Tabs
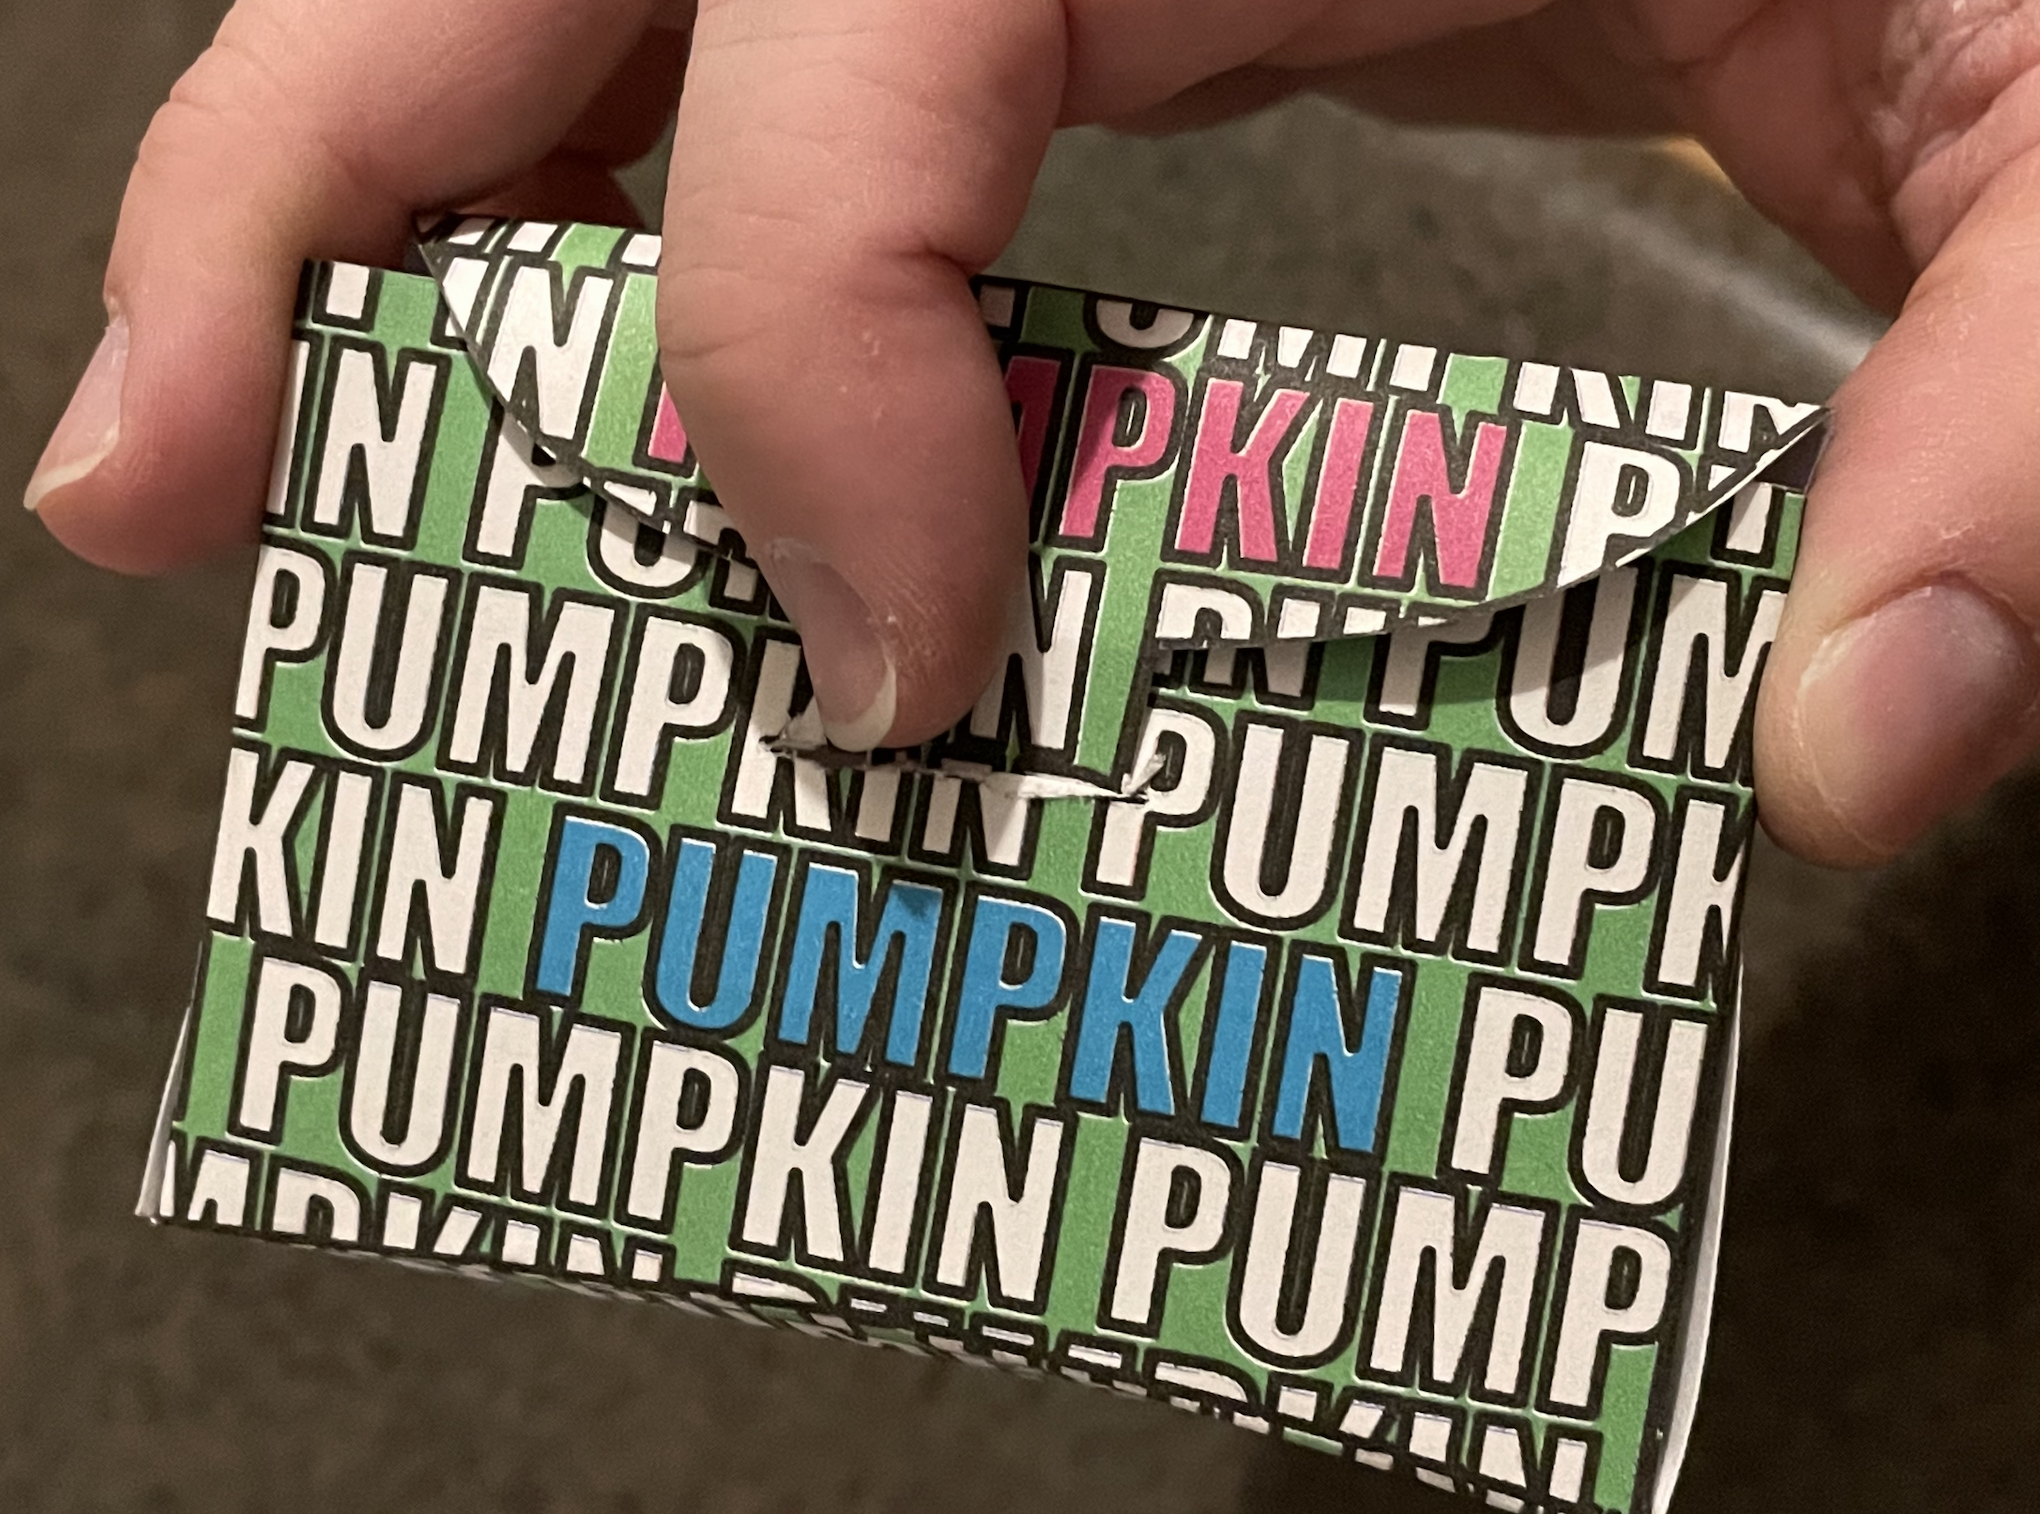
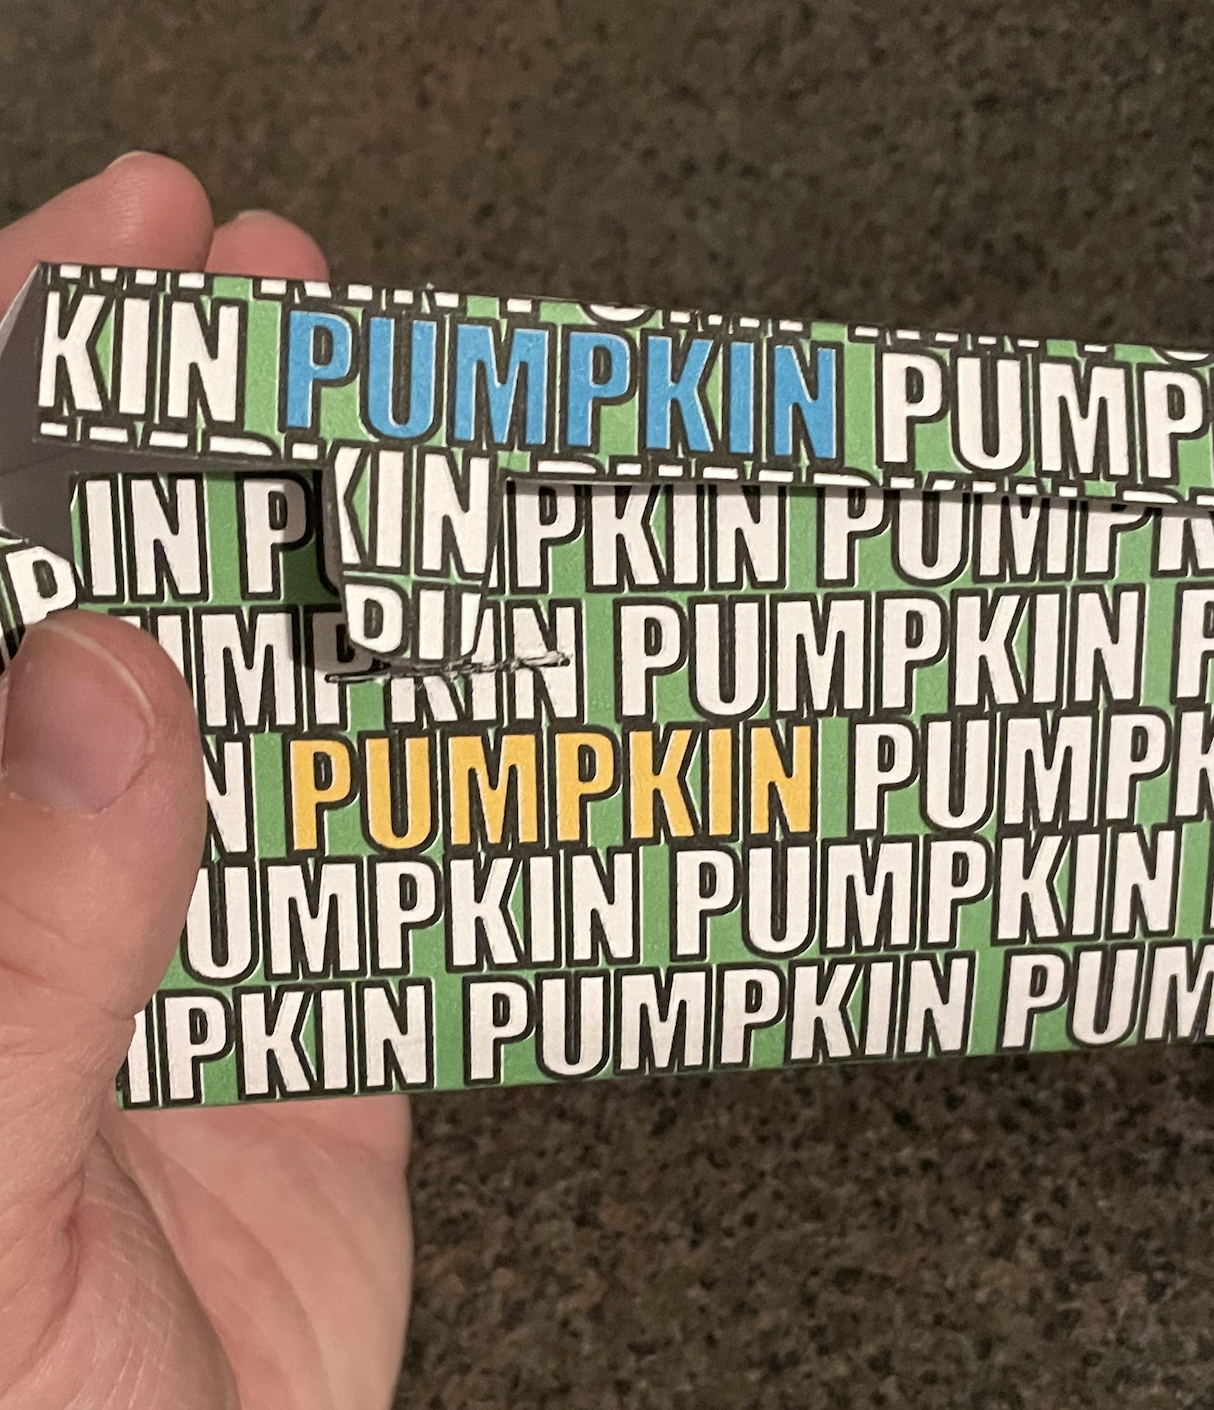
To finish closing the box, maneuver the tabs into the tab slots you cut previously. It's easiest if you tuck in the side one first then gently squeeze either side of the box and tuck in the back one.
Take Your Pie to Go
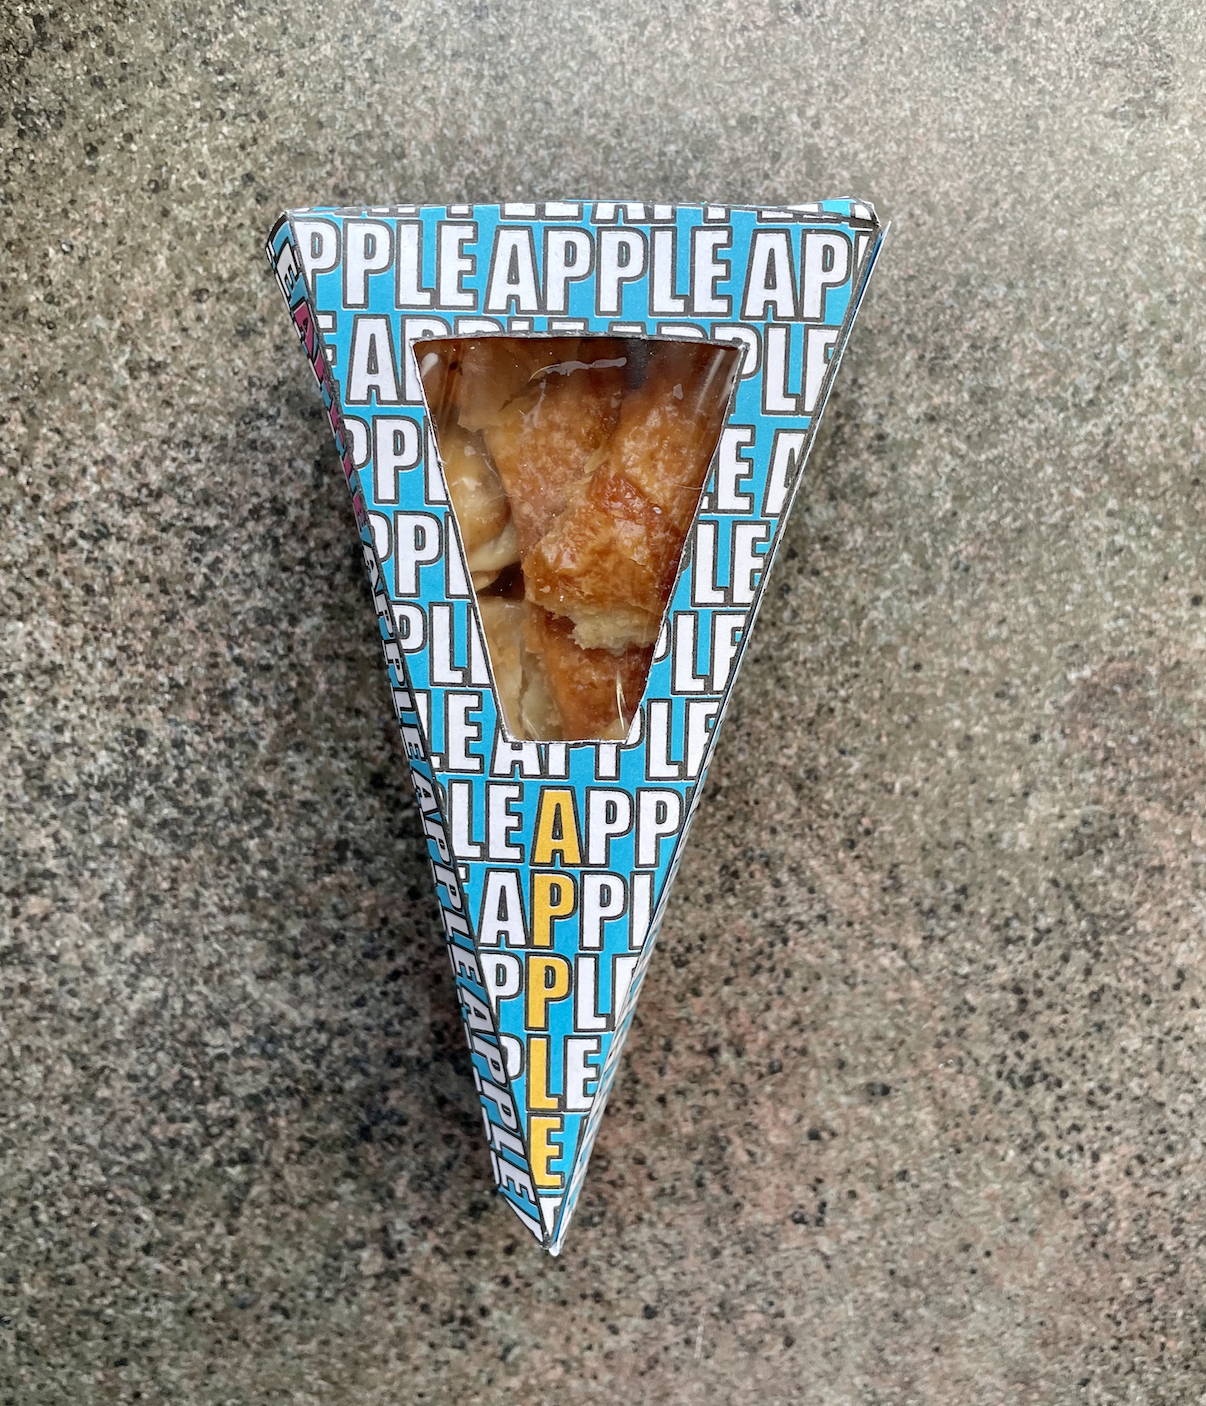
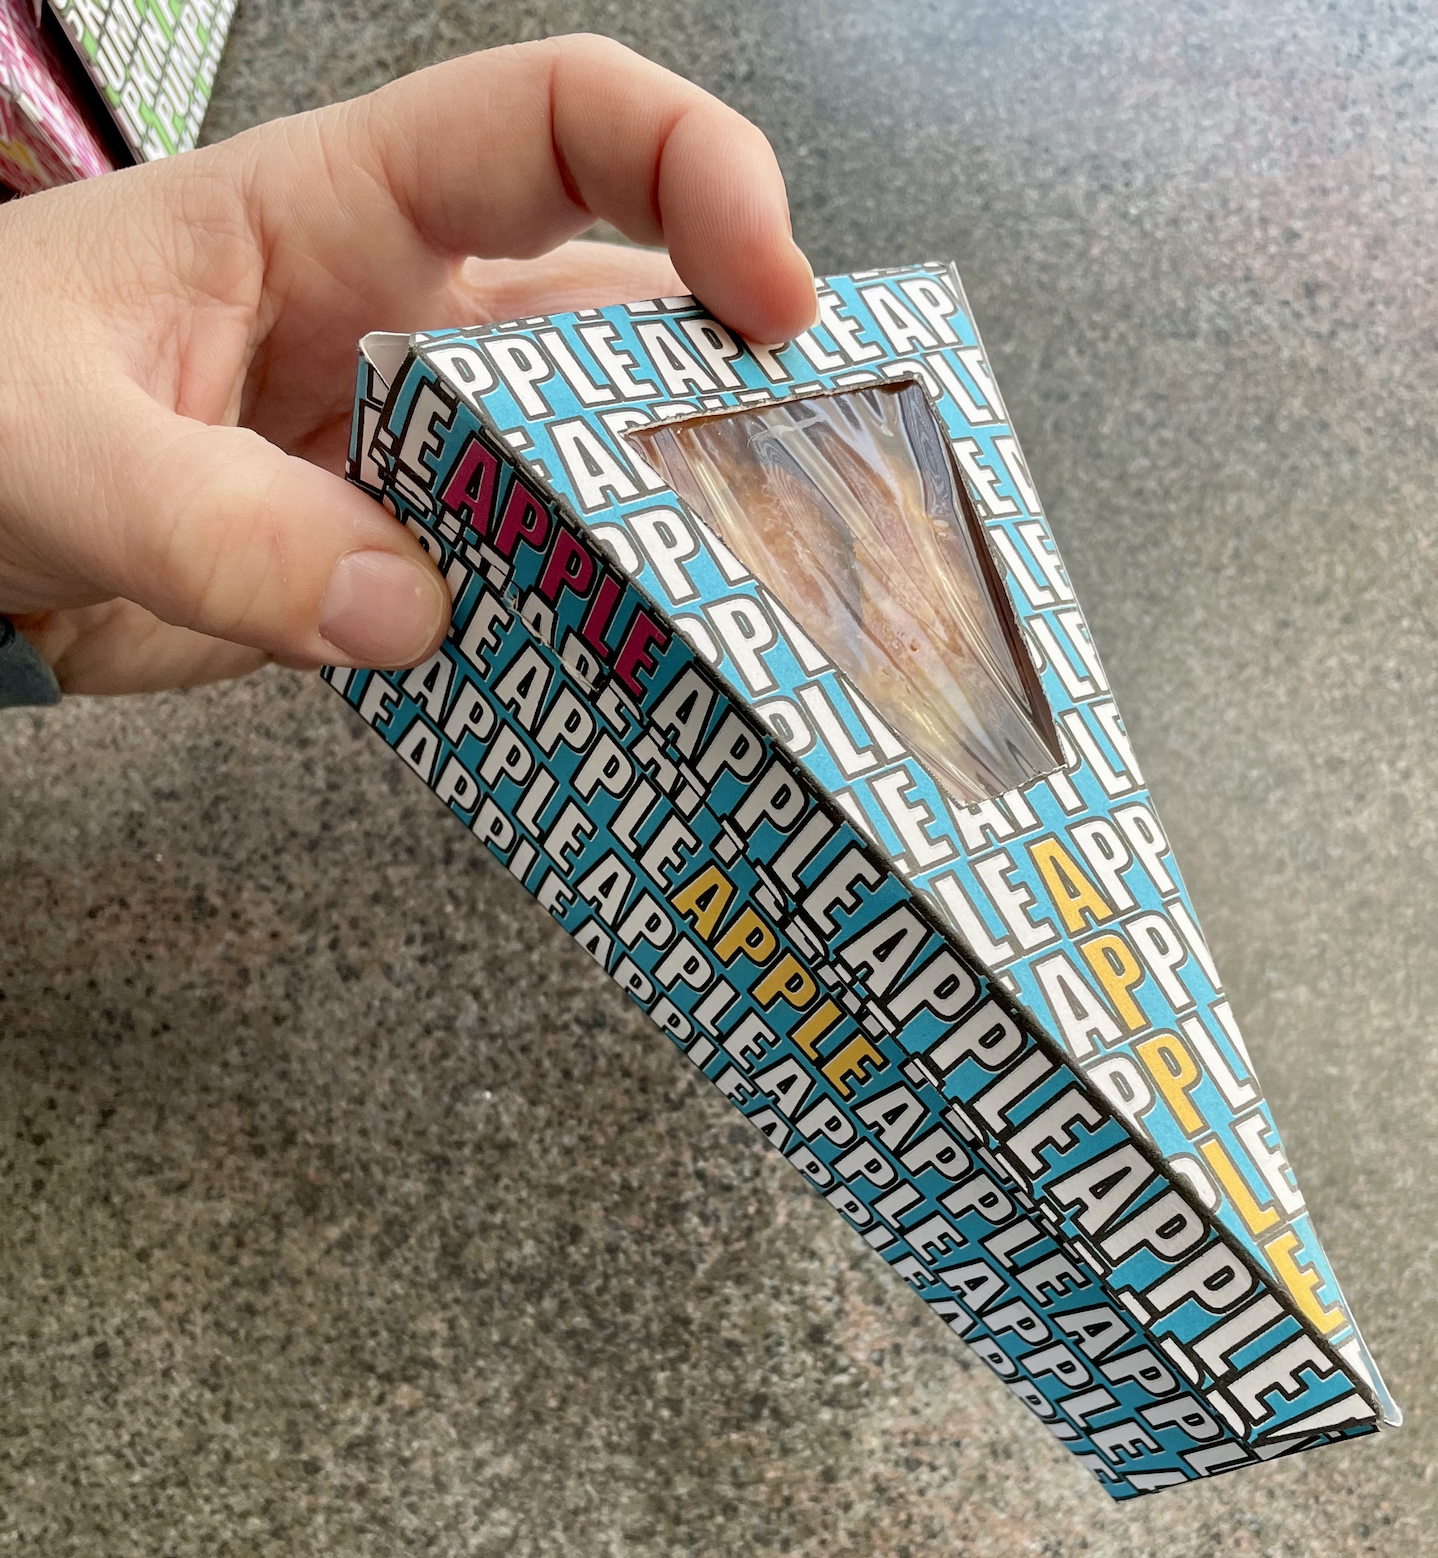
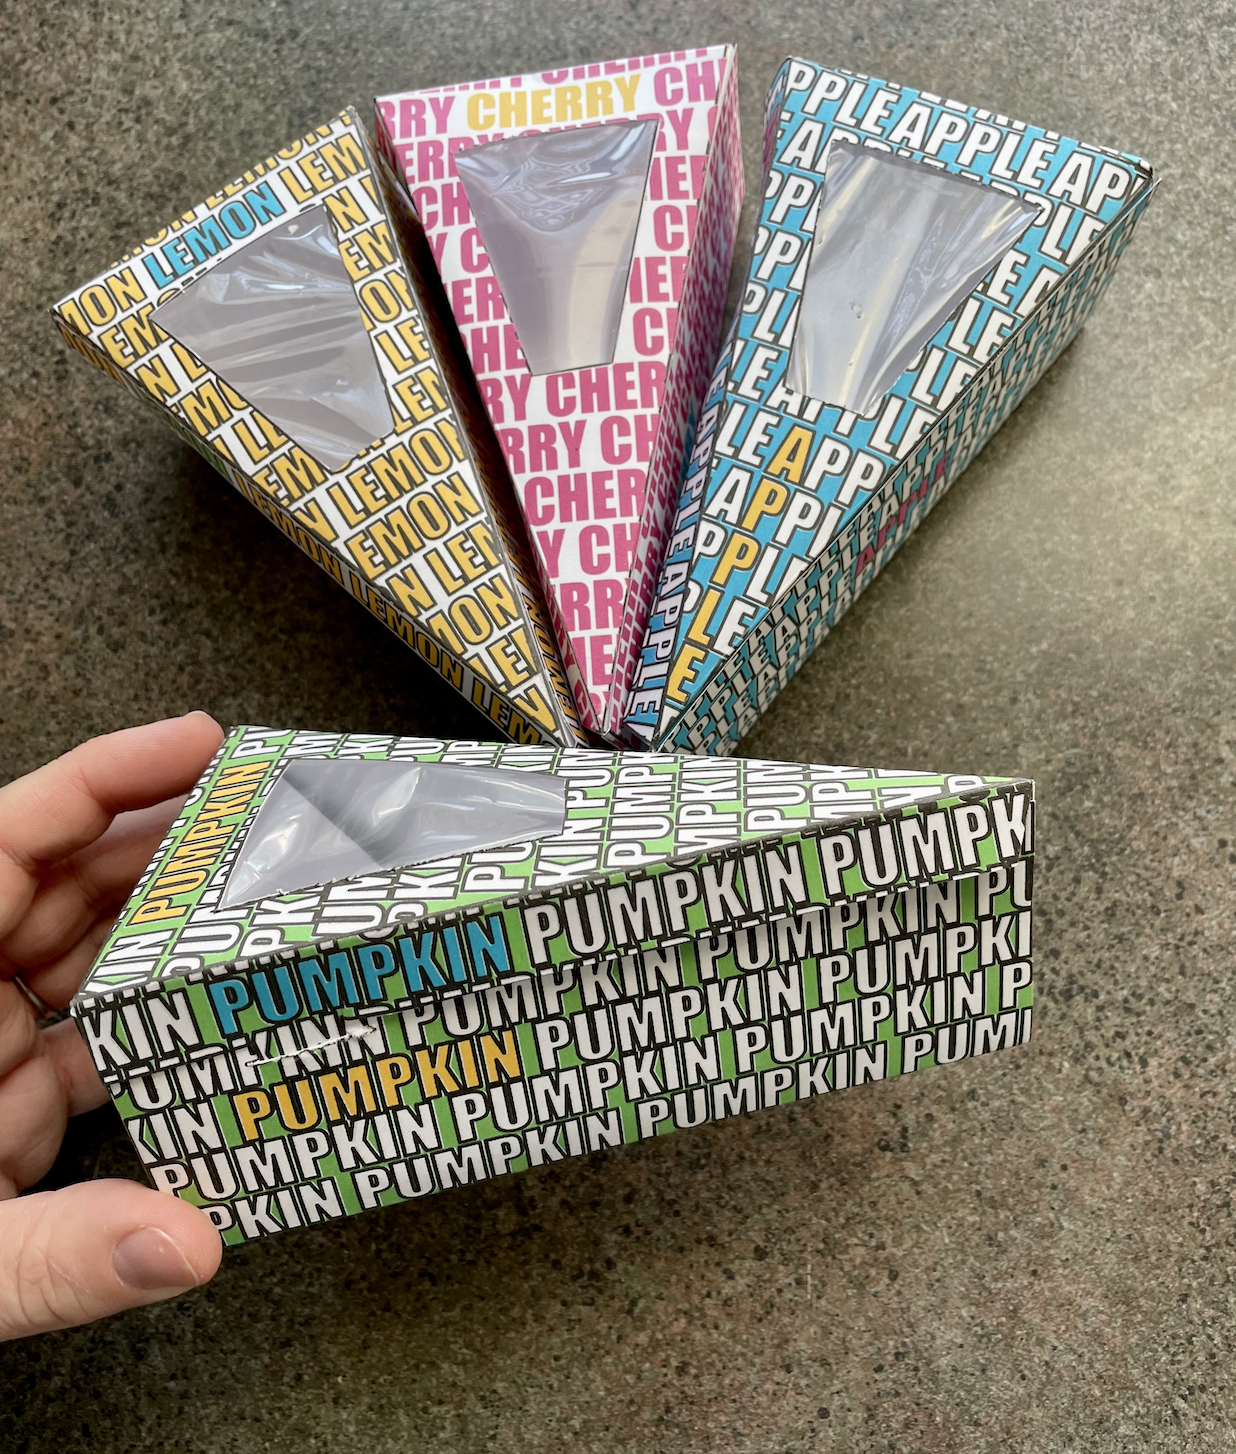
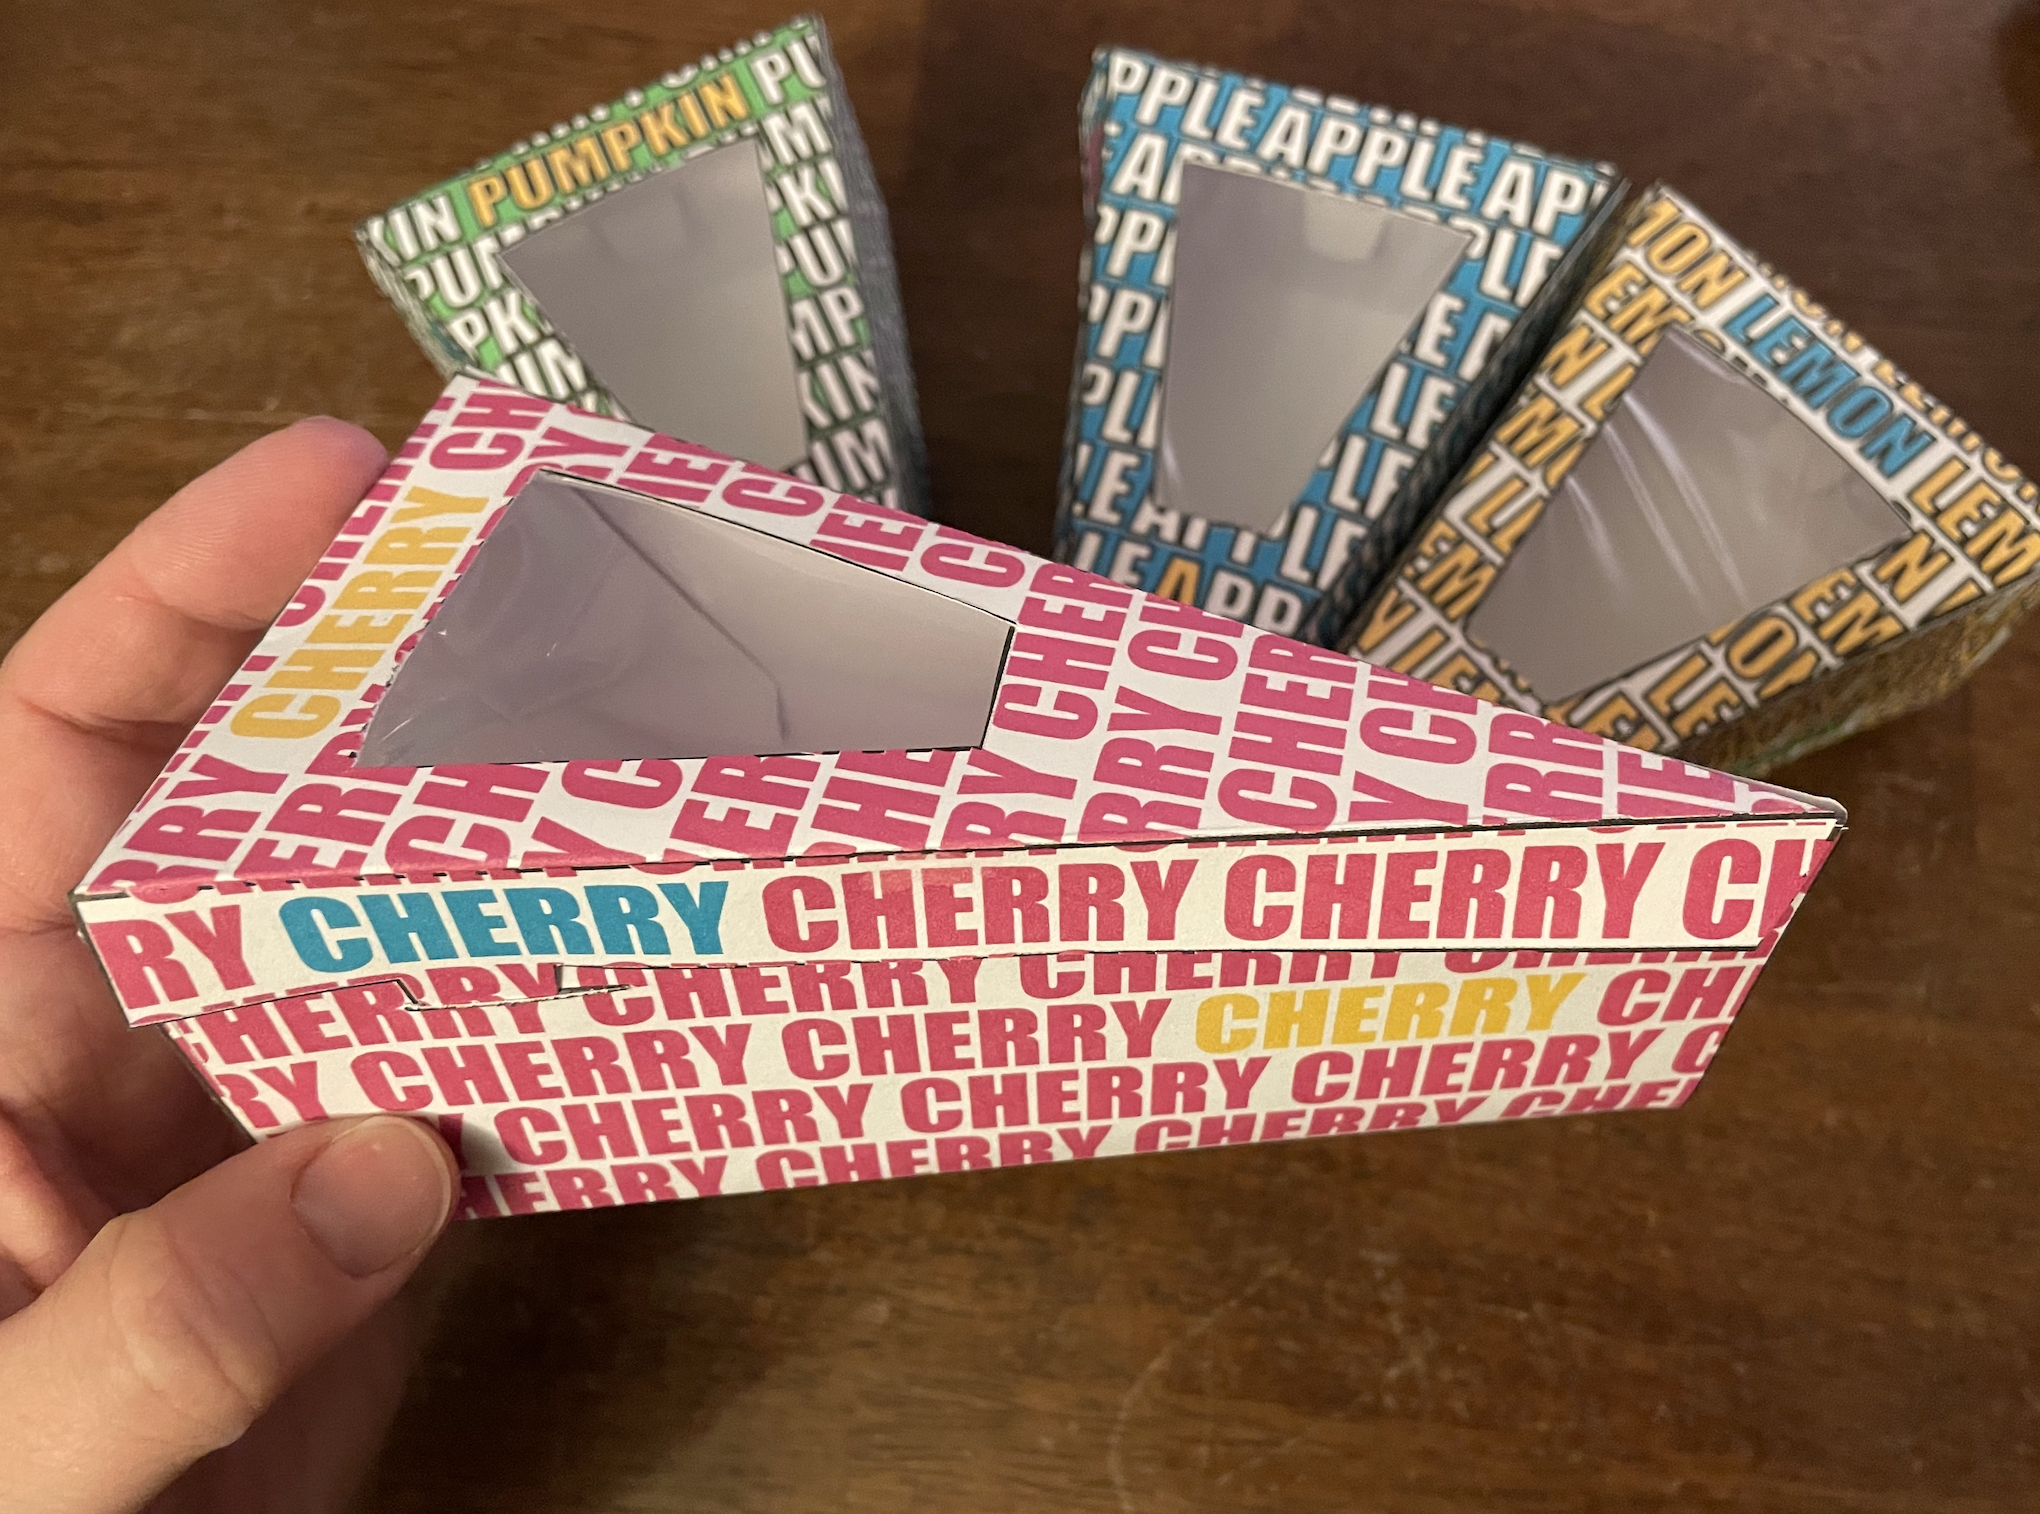
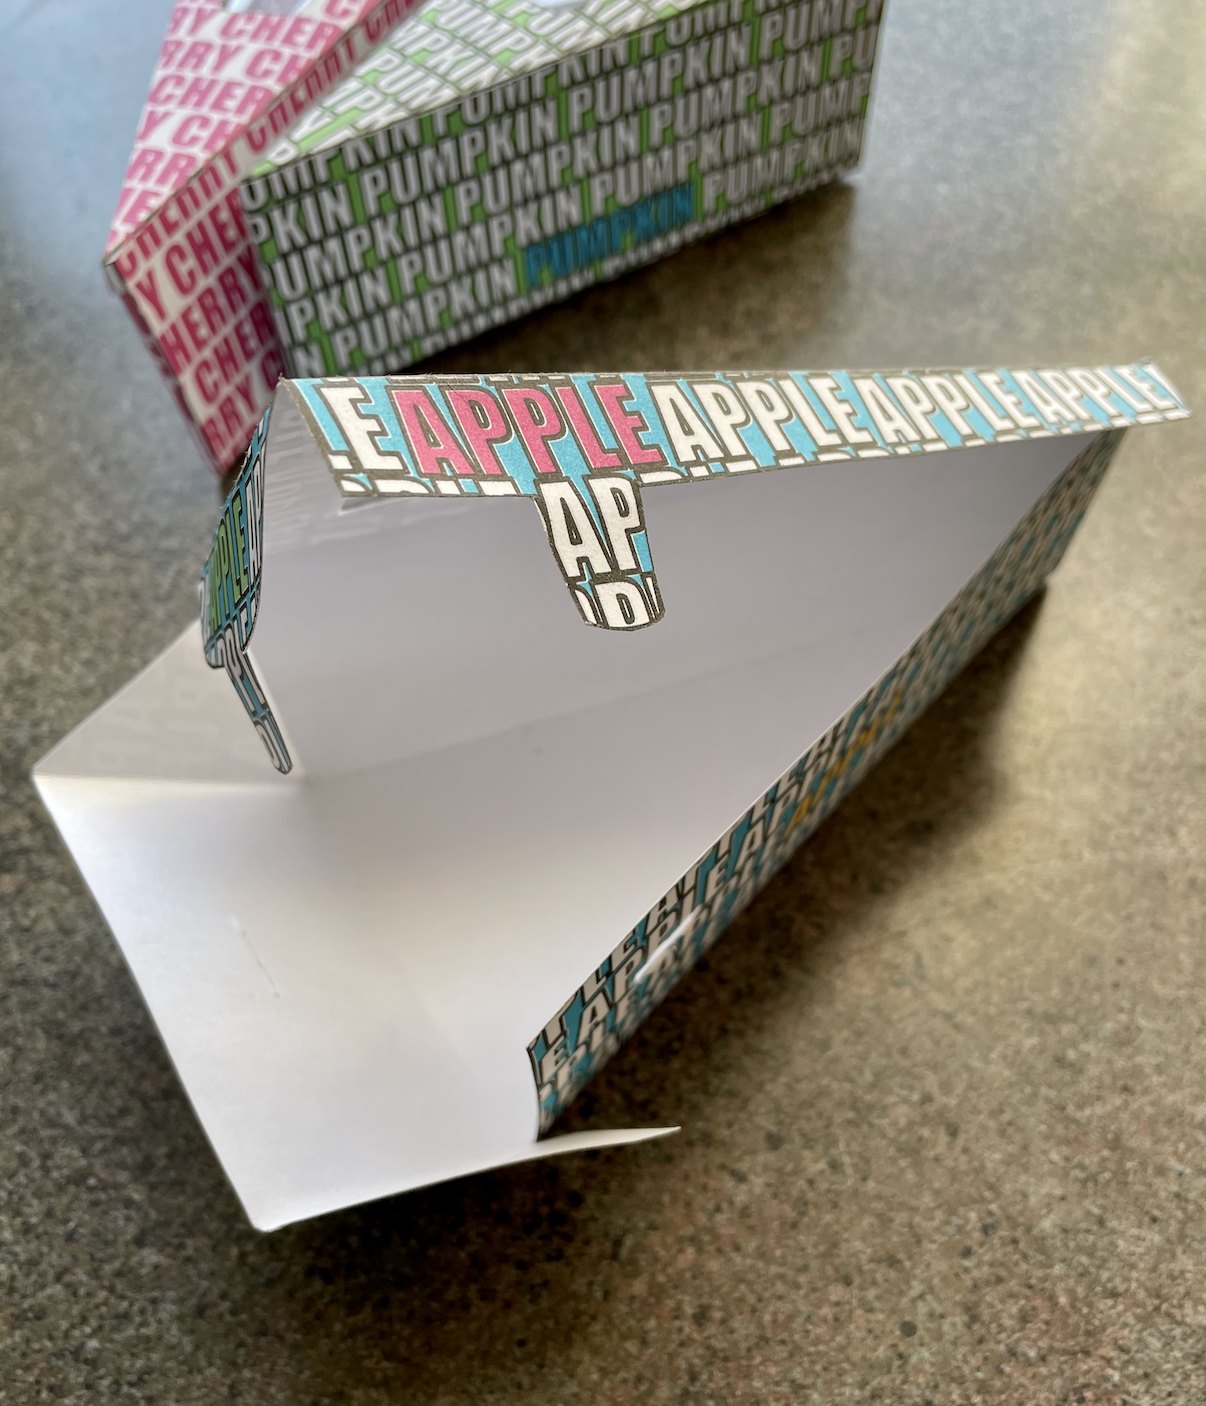
You're all done! Take your pie to go and enjoy!
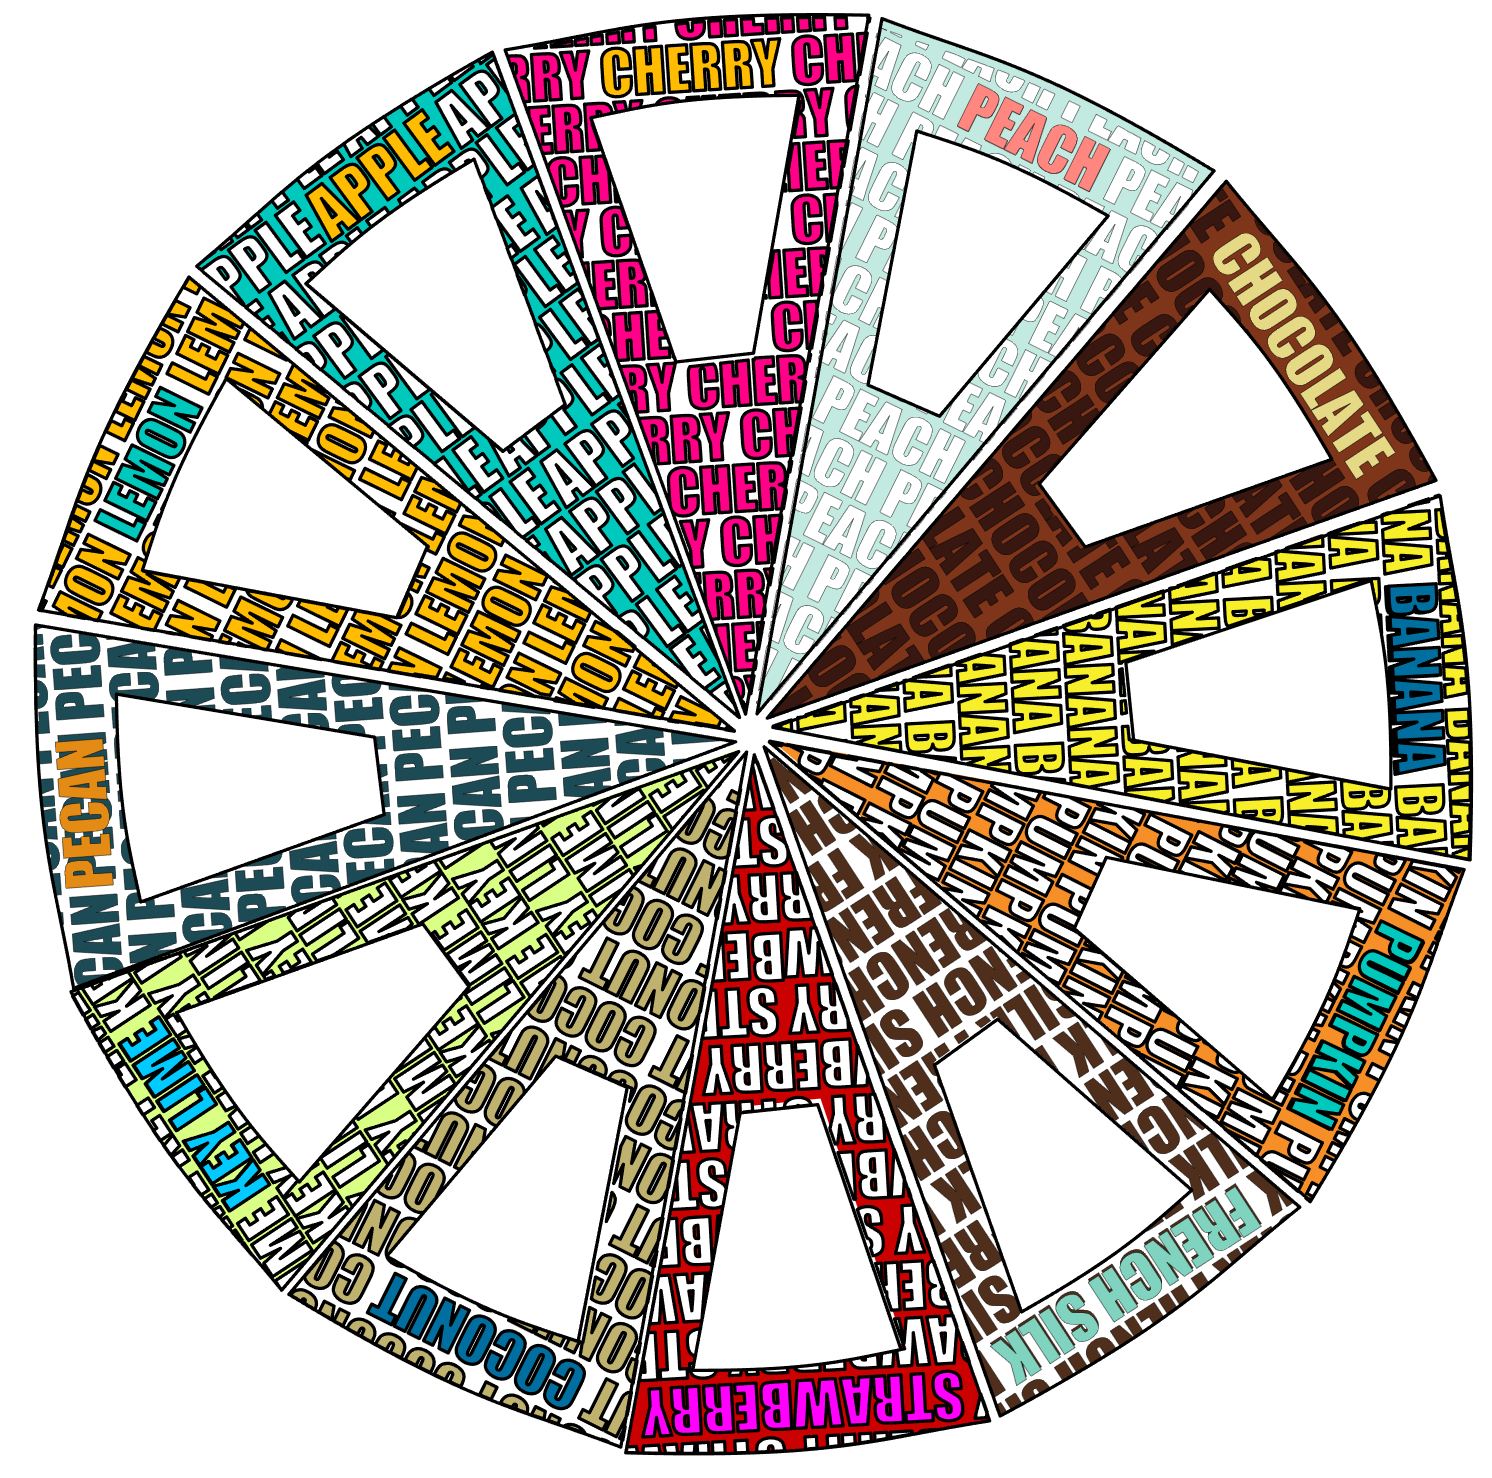
I made a bunch of different pie box ideas, just because I was on a roll and wanted a full circle of pie boxes. There are so many different types of pie, which if your favorite?