Polymer Clay Miniature Cakes Tutorial - Many Variations and Ideas!
by FrozenNote in Craft > Clay
45075 Views, 428 Favorites, 0 Comments
Polymer Clay Miniature Cakes Tutorial - Many Variations and Ideas!
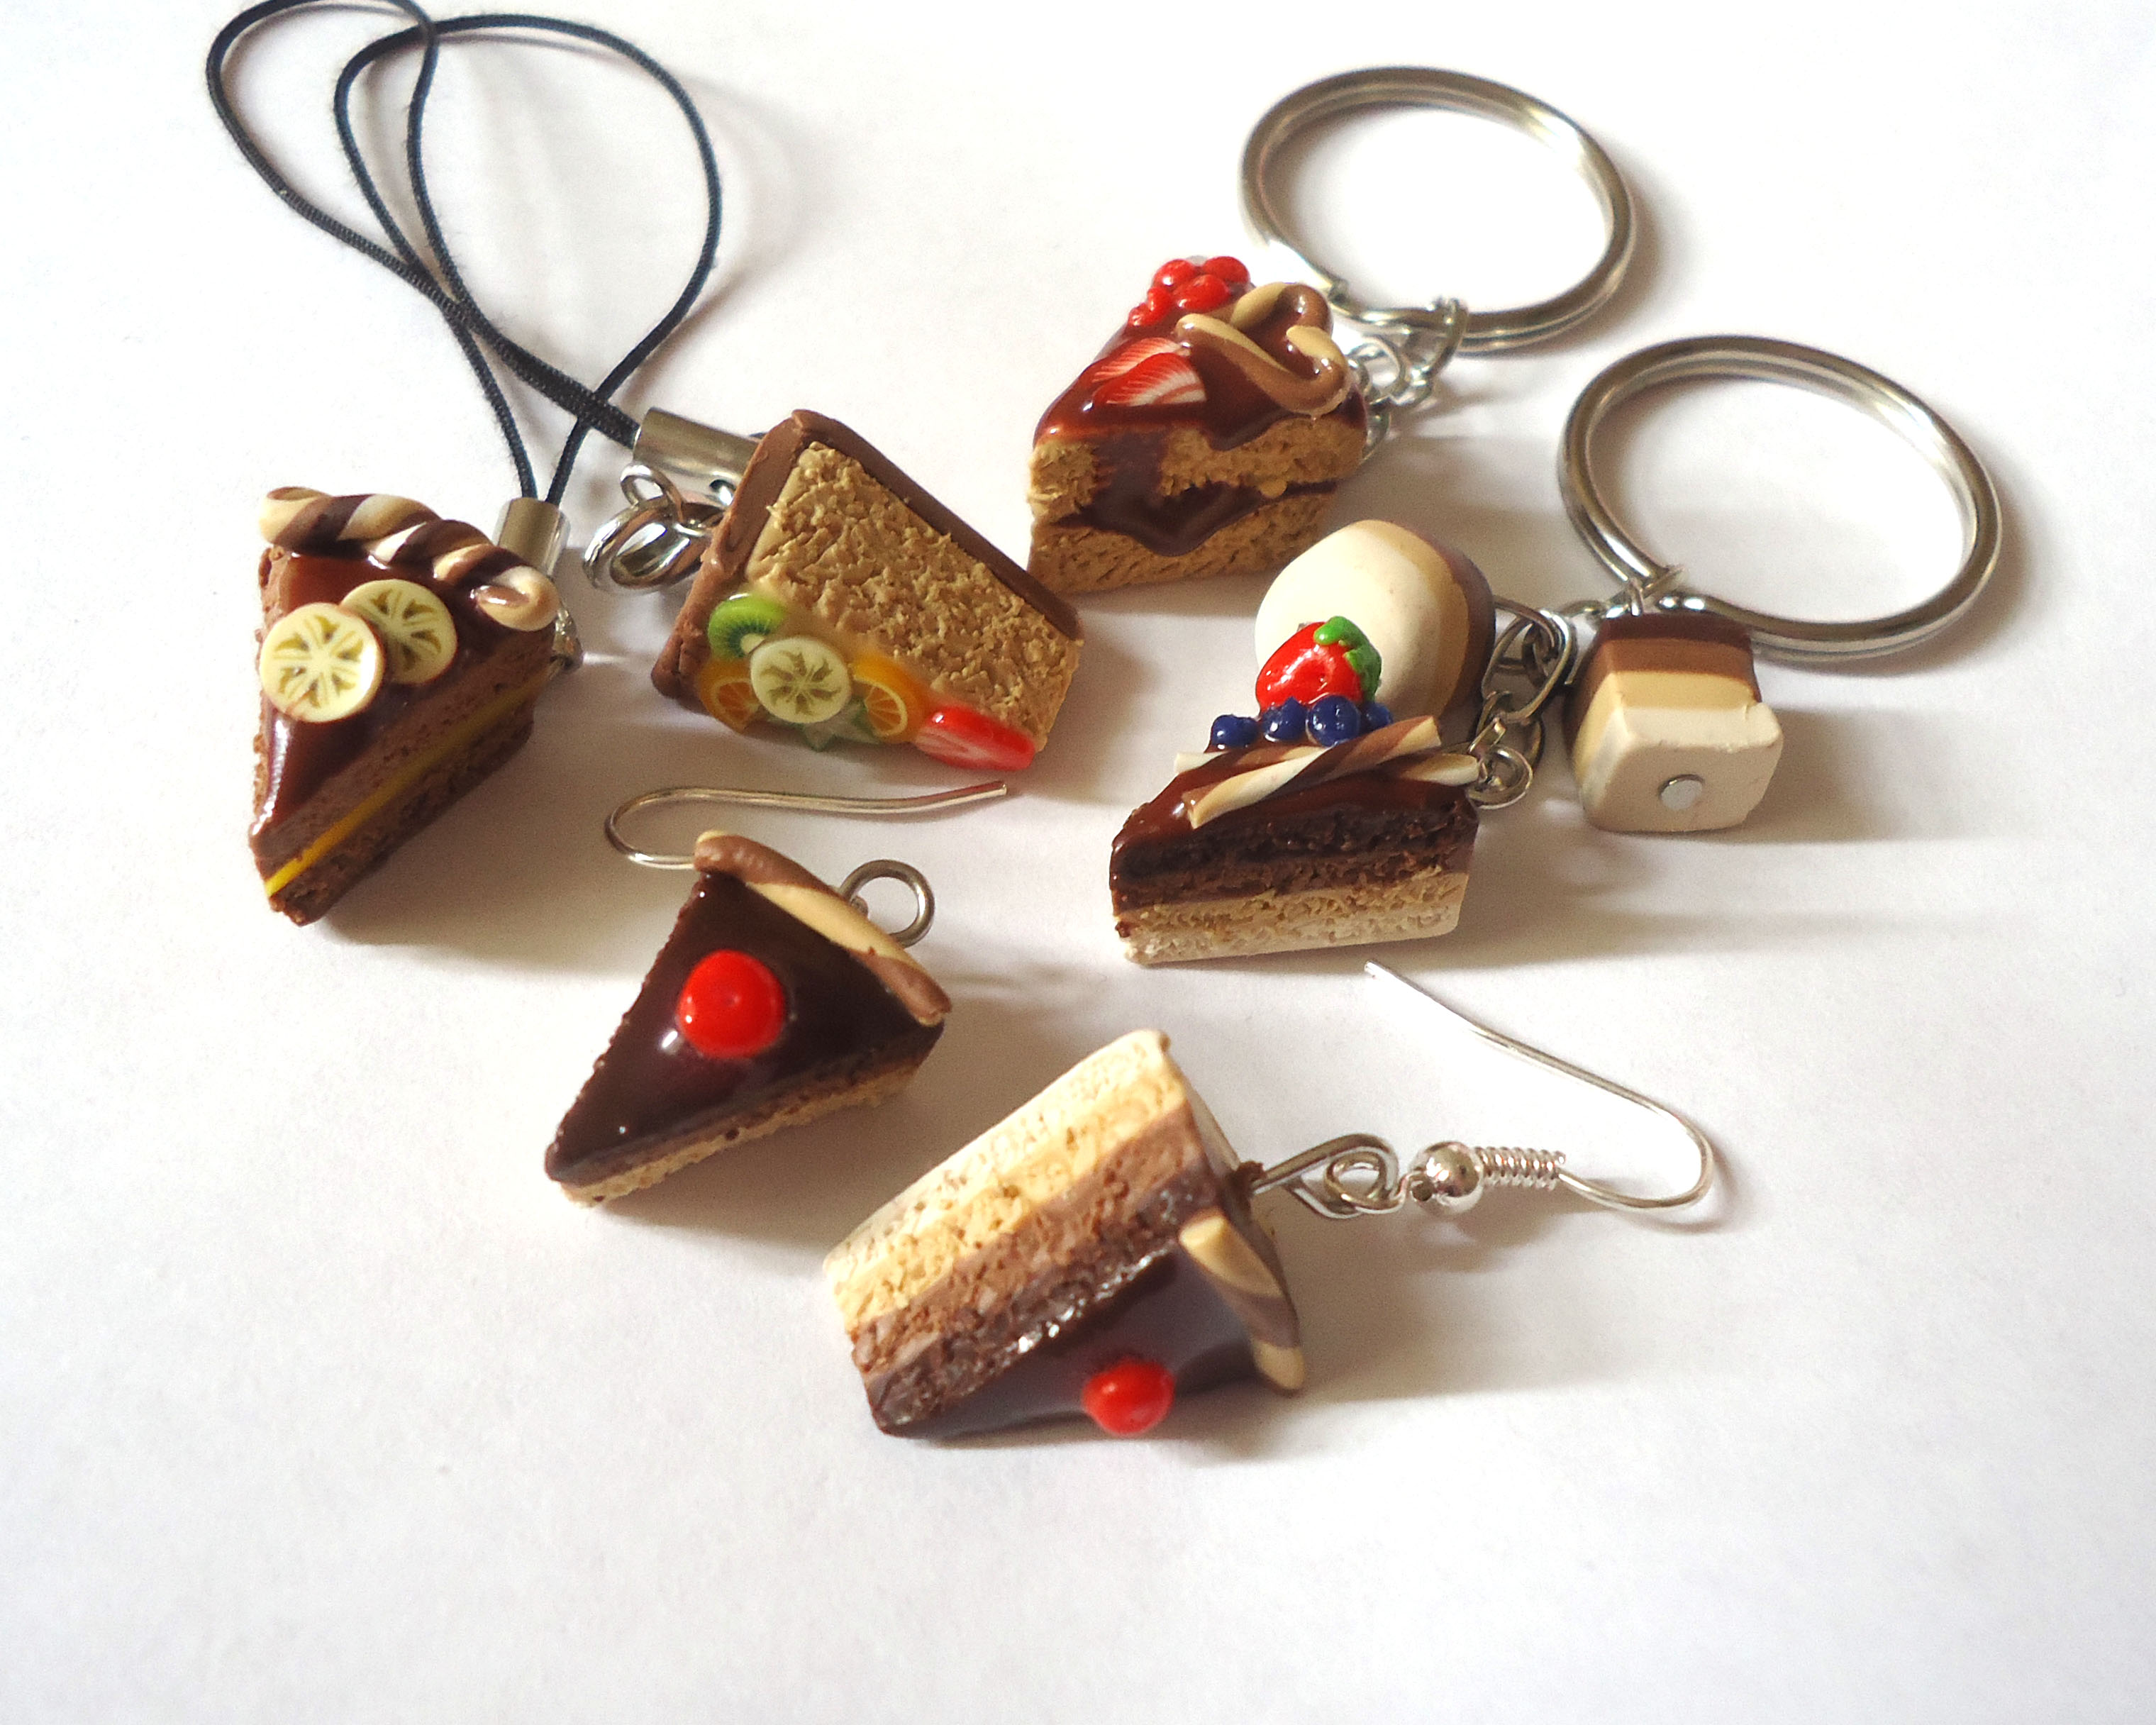
Hello! Today I will be showing you various techniques I use when making tiny realistic cakes with polymer clay. They're super fun to make, but require some patience, so keep that in mind!
Supplies:
What you will need mostly depends on what cakes you will make. So I suggest going through the whole tutorial first, don't be shocked that the list is long!
Definitely going to need:
Supplies:
What you will need mostly depends on what cakes you will make. So I suggest going through the whole tutorial first, don't be shocked that the list is long!
Definitely going to need:
- Clay. Colors depend on what color cakes you want;
- Cutter;
- Something to work on;
- Oven;
- A needle or an exacto knife (something really sharp);
- Gloss varnish.
- Translucent Liquid Sculpey / Liquid Fimo + soft pastel chalk;
- Silicone (white icing only).
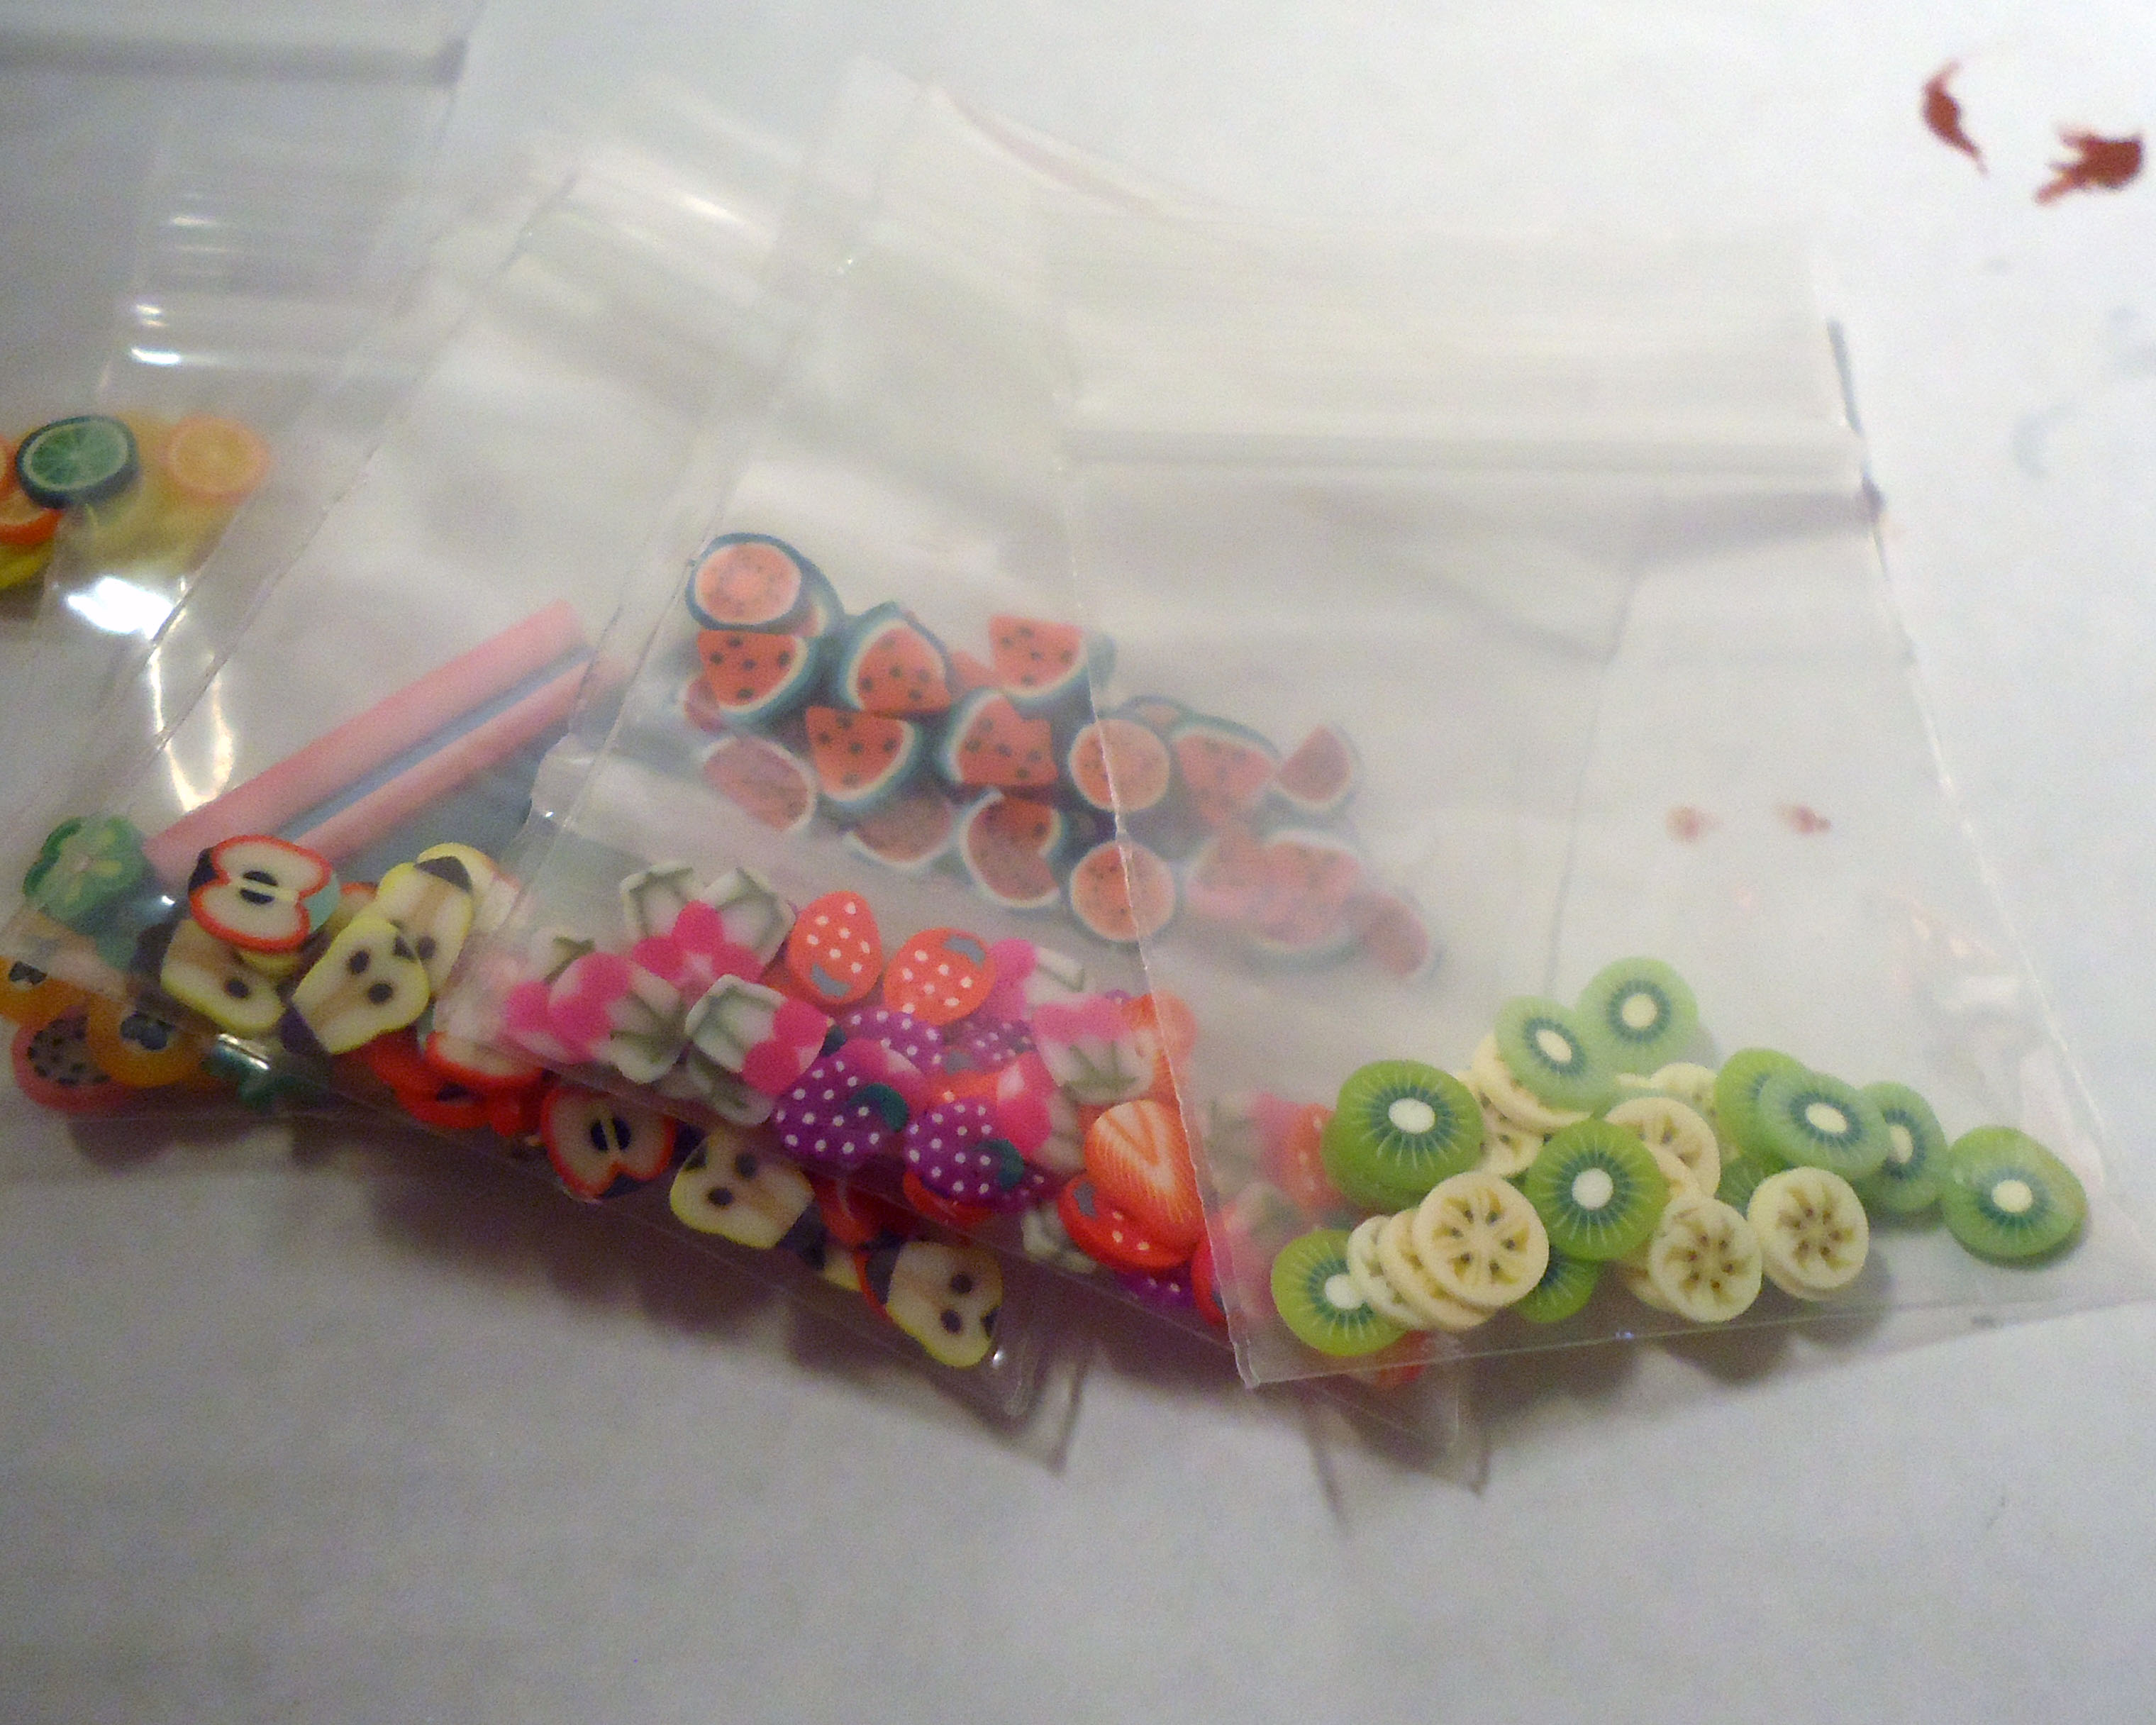
- Polymer clay canes (bought or made, if you know how to);
- Clay;
- Confetti / sprinkles;
- Beads.
- Sanding paper;
- Clay rolling machine;
- Findings (only if you are making jewelry);
- Small cake decorating tips.
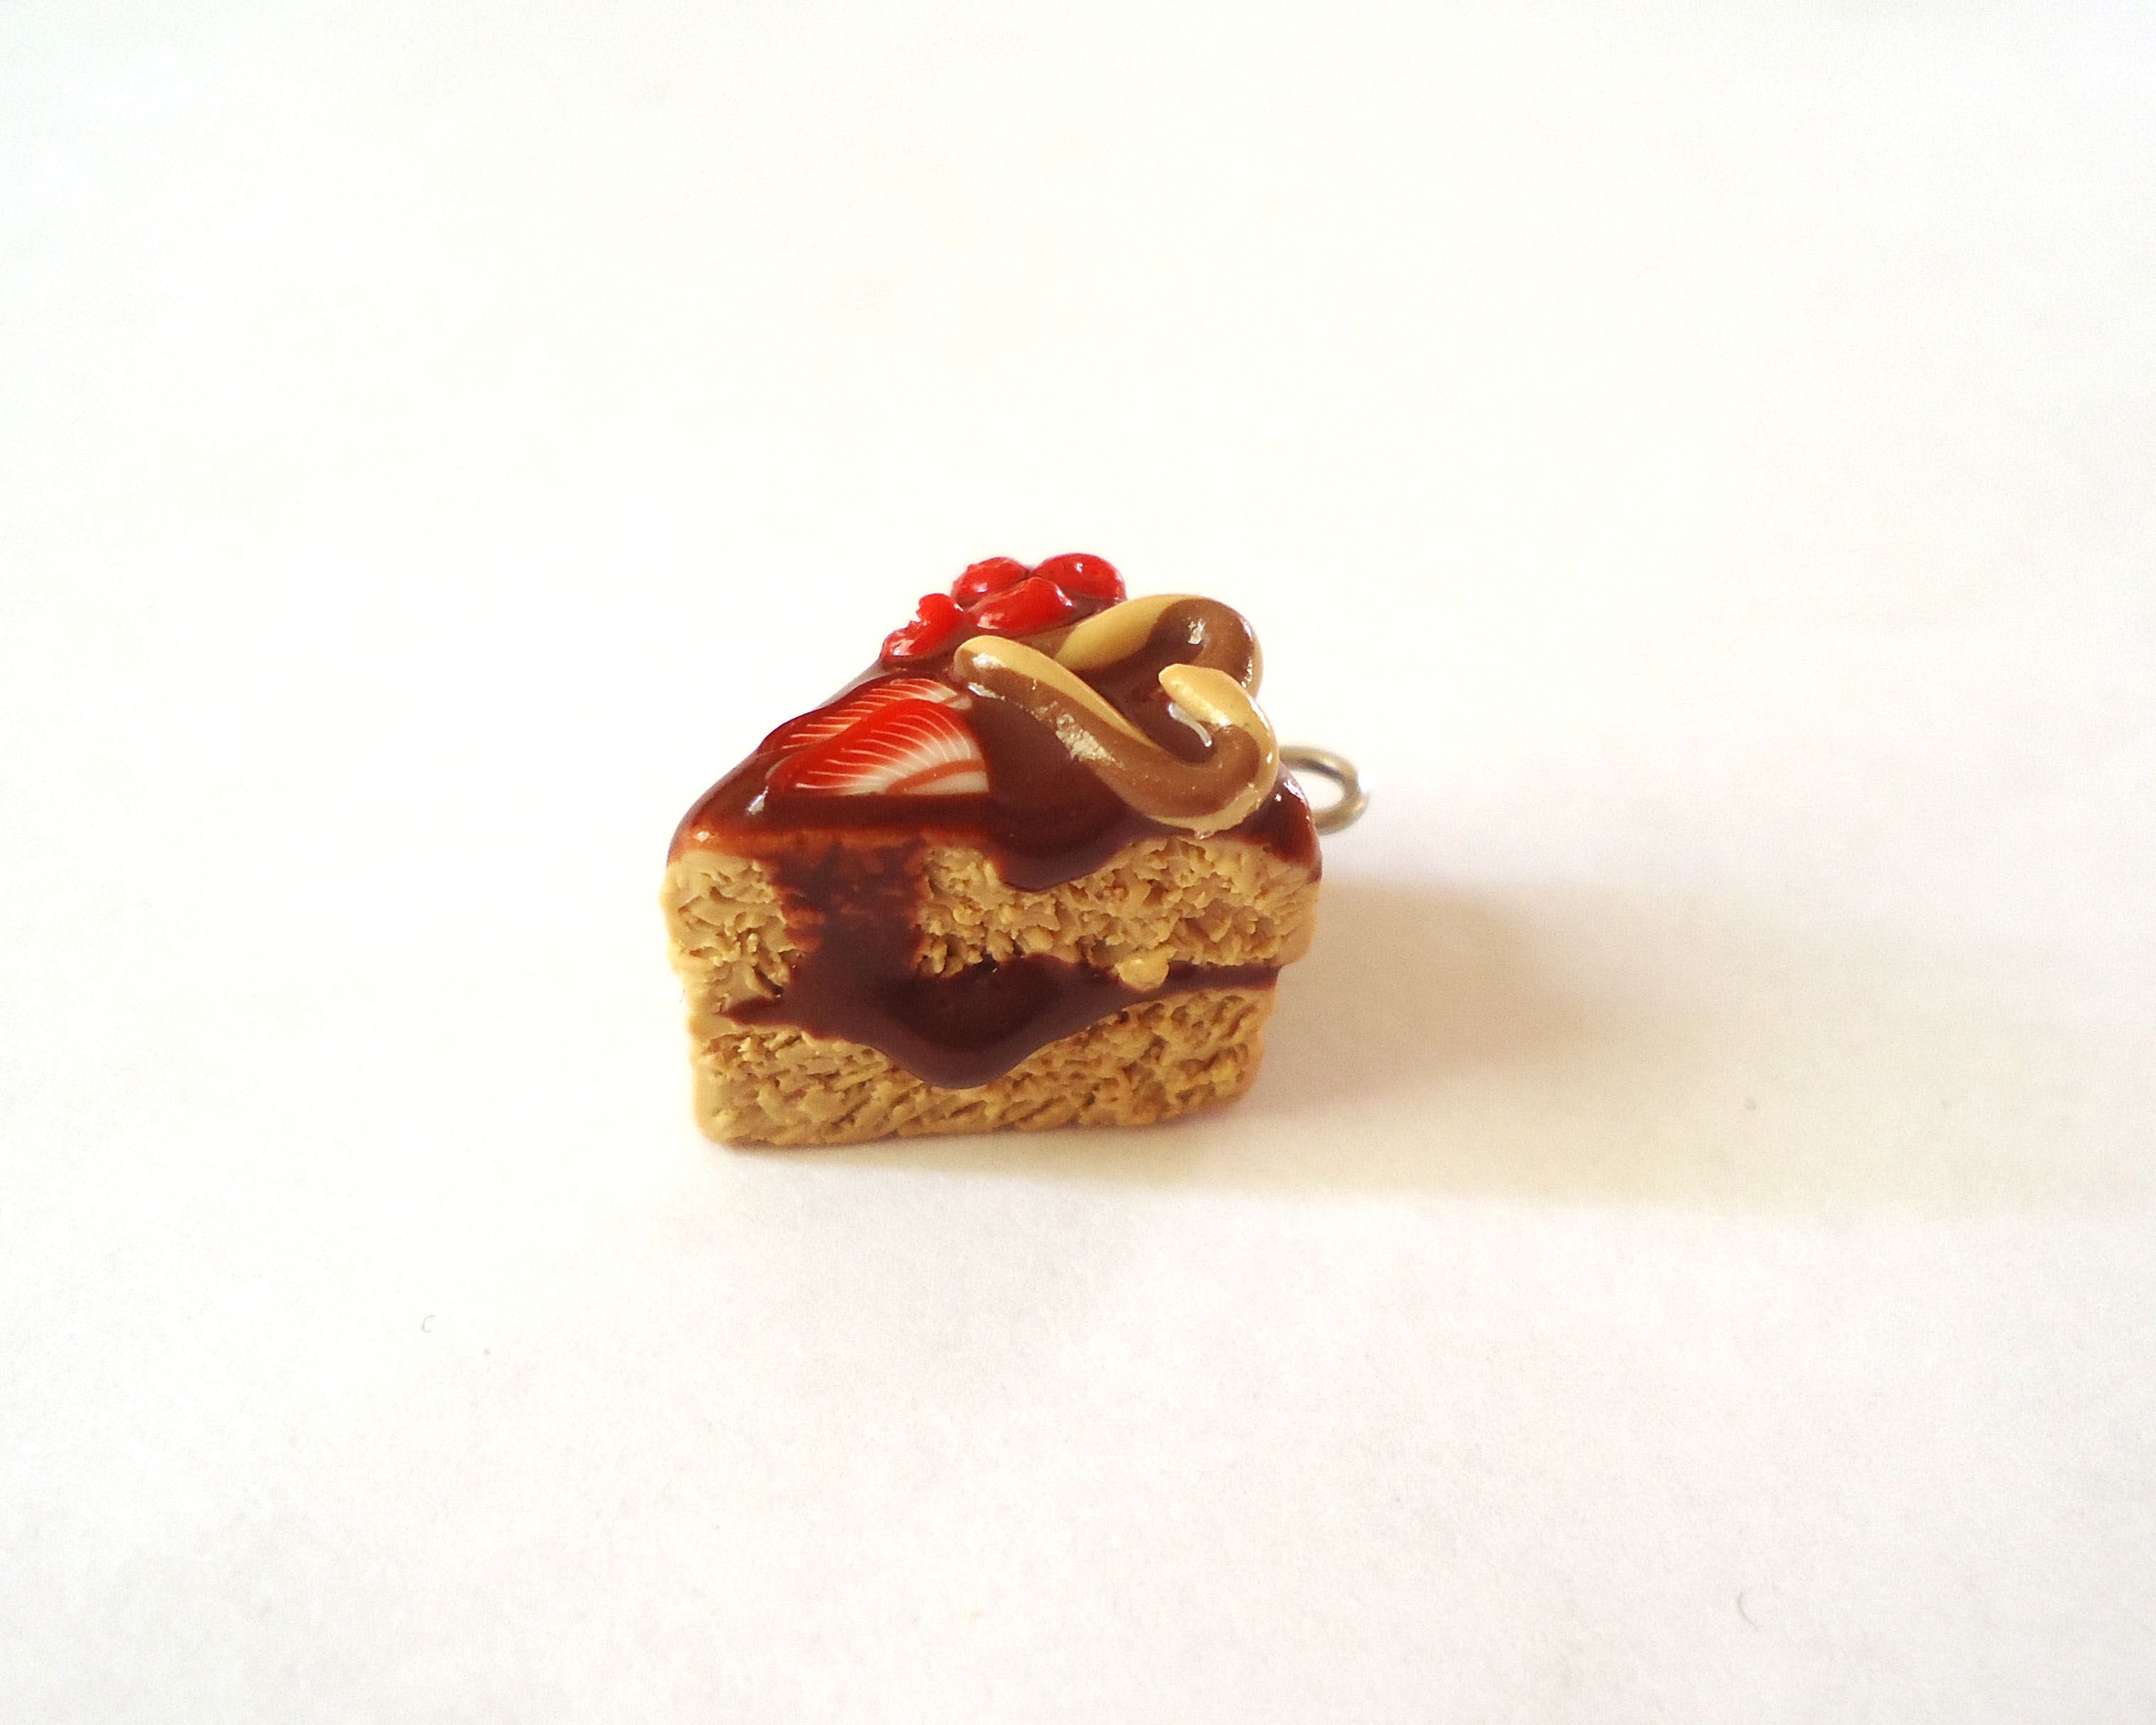
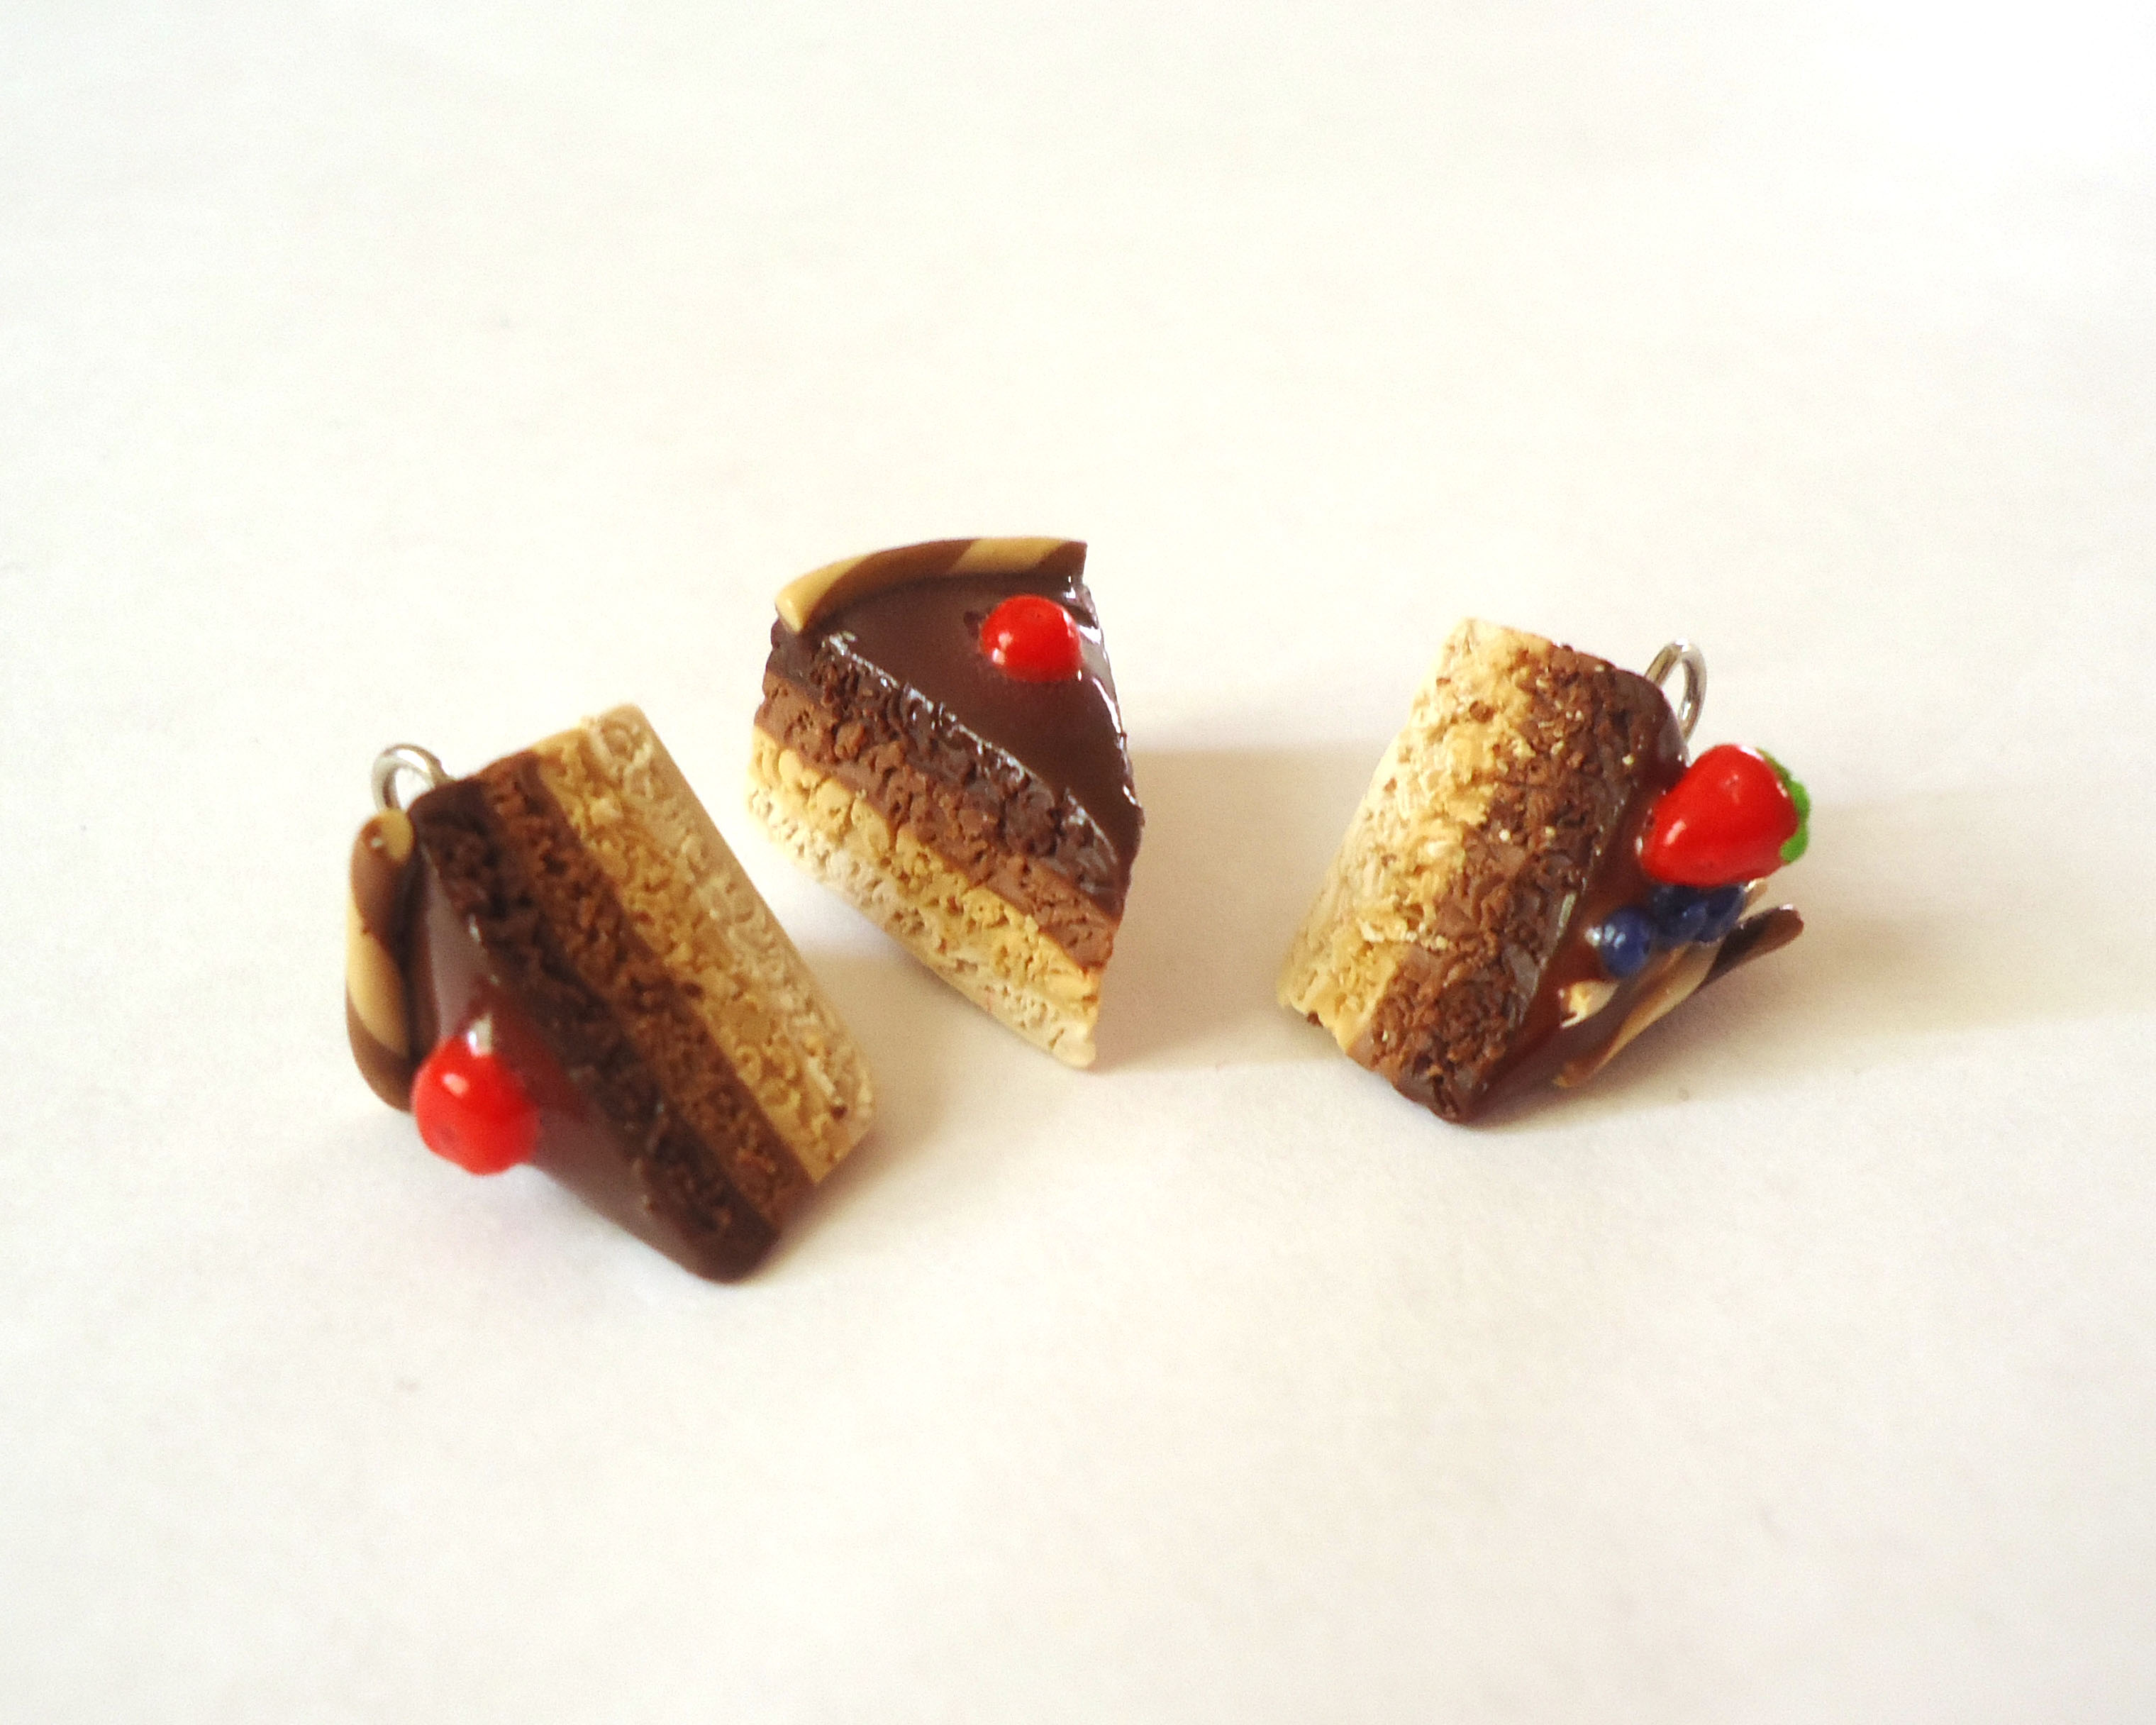
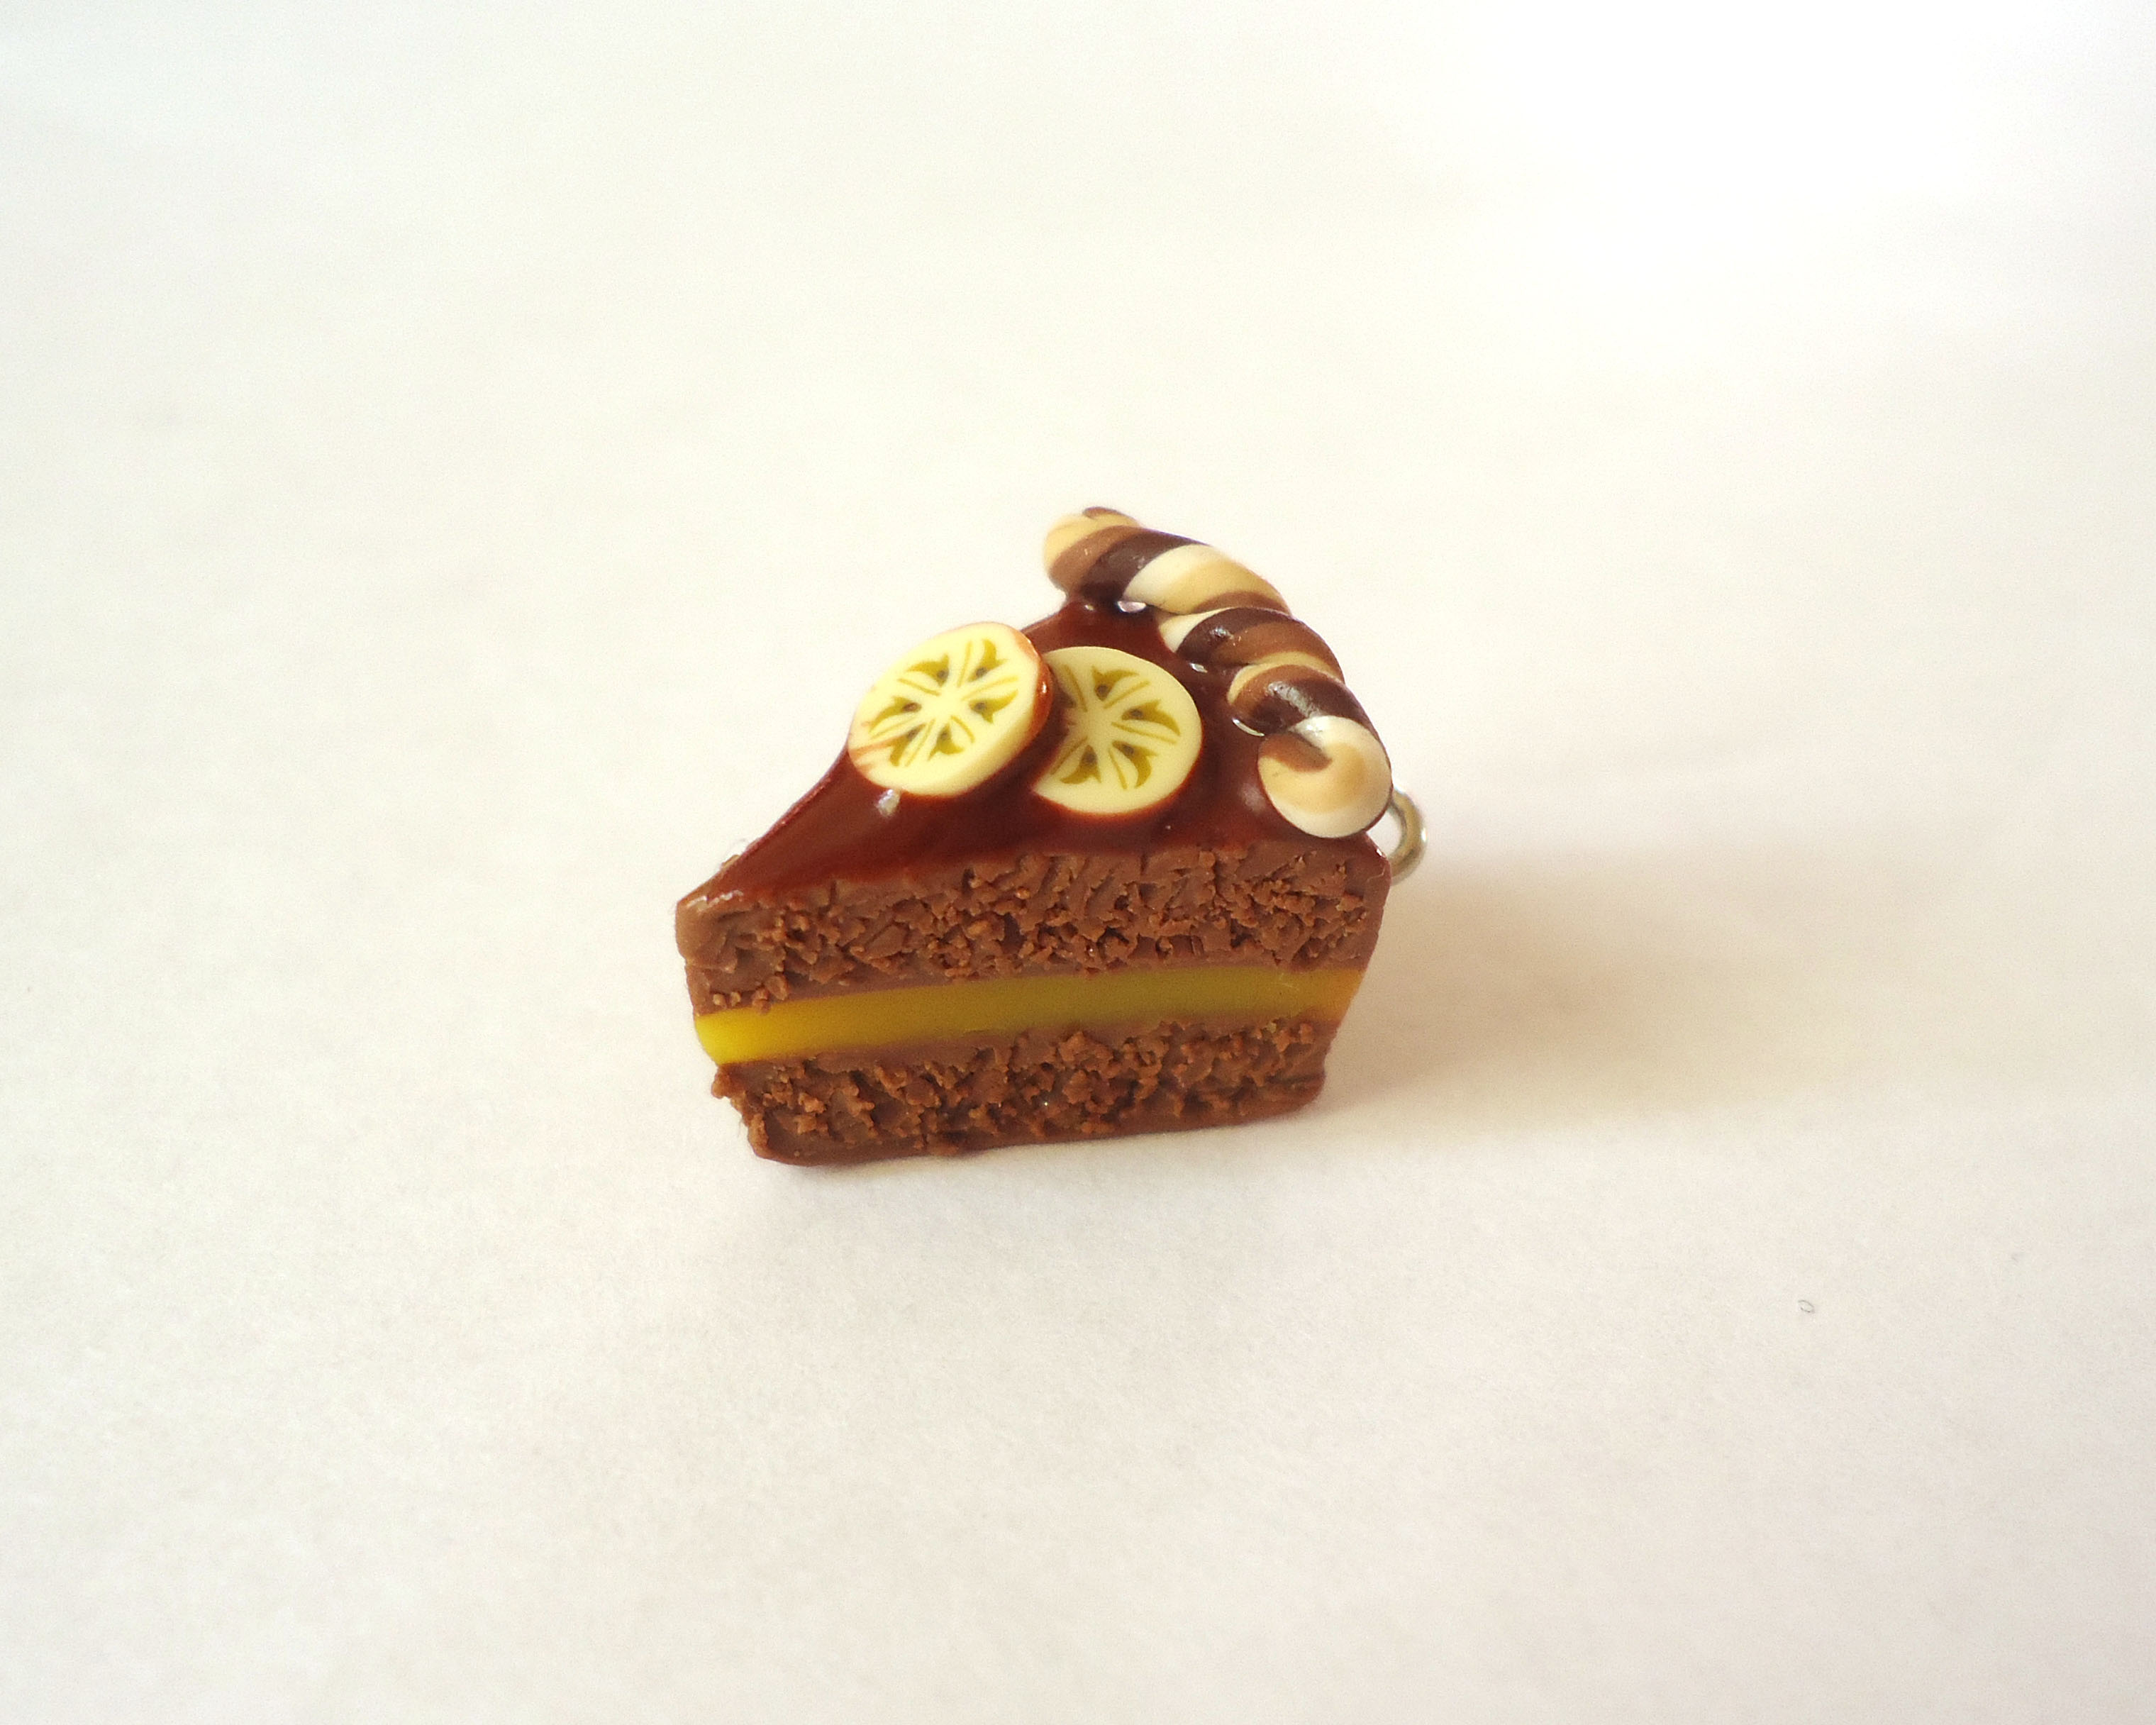
The base of your cake
I do my cakes in 4 ways:
I do my cakes in 4 ways:
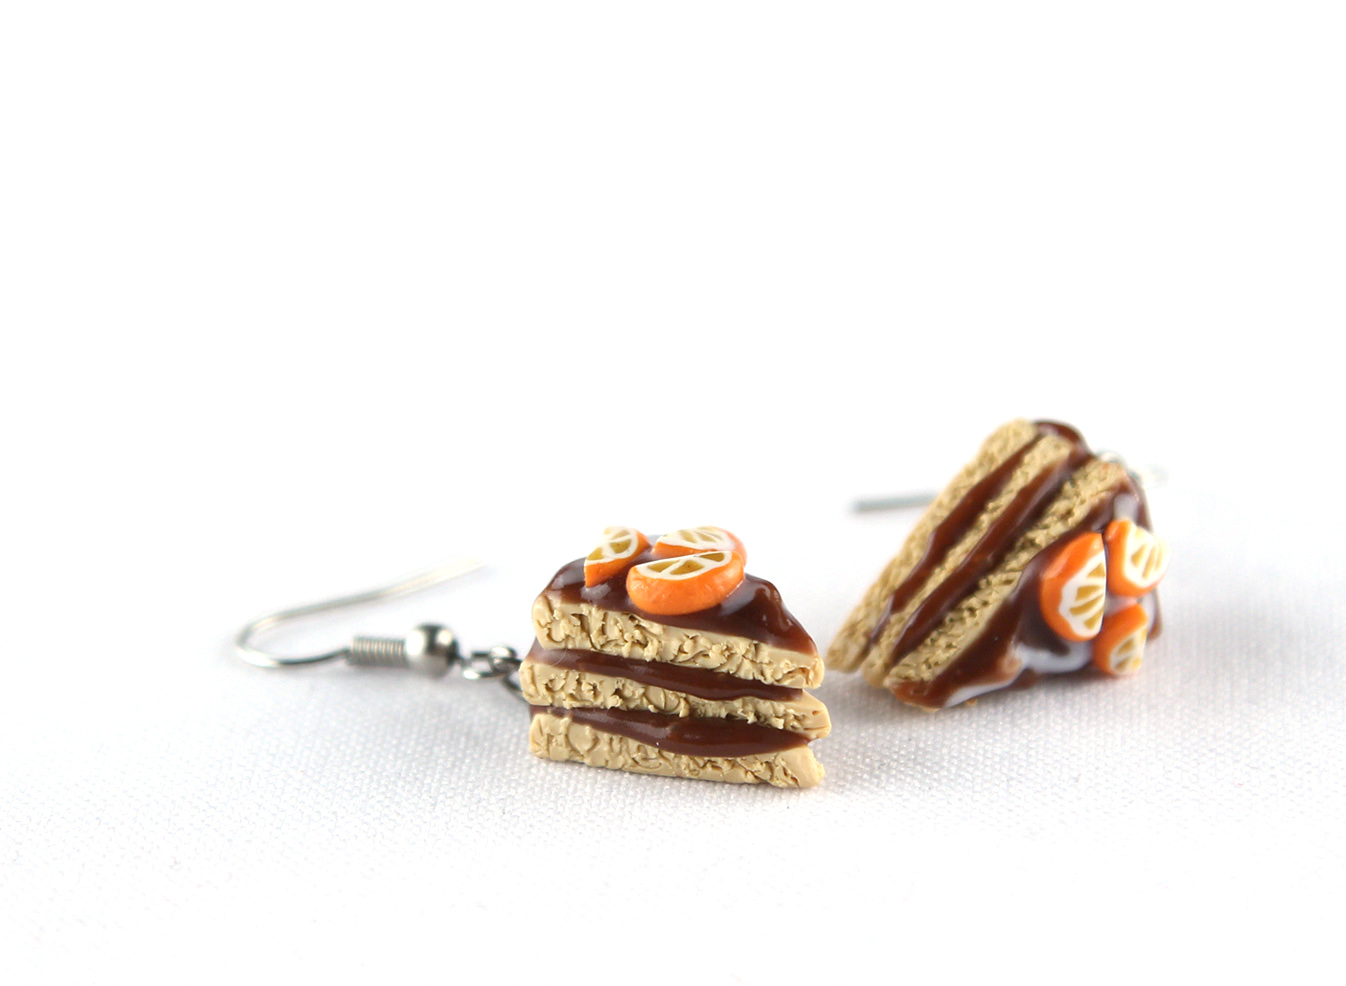
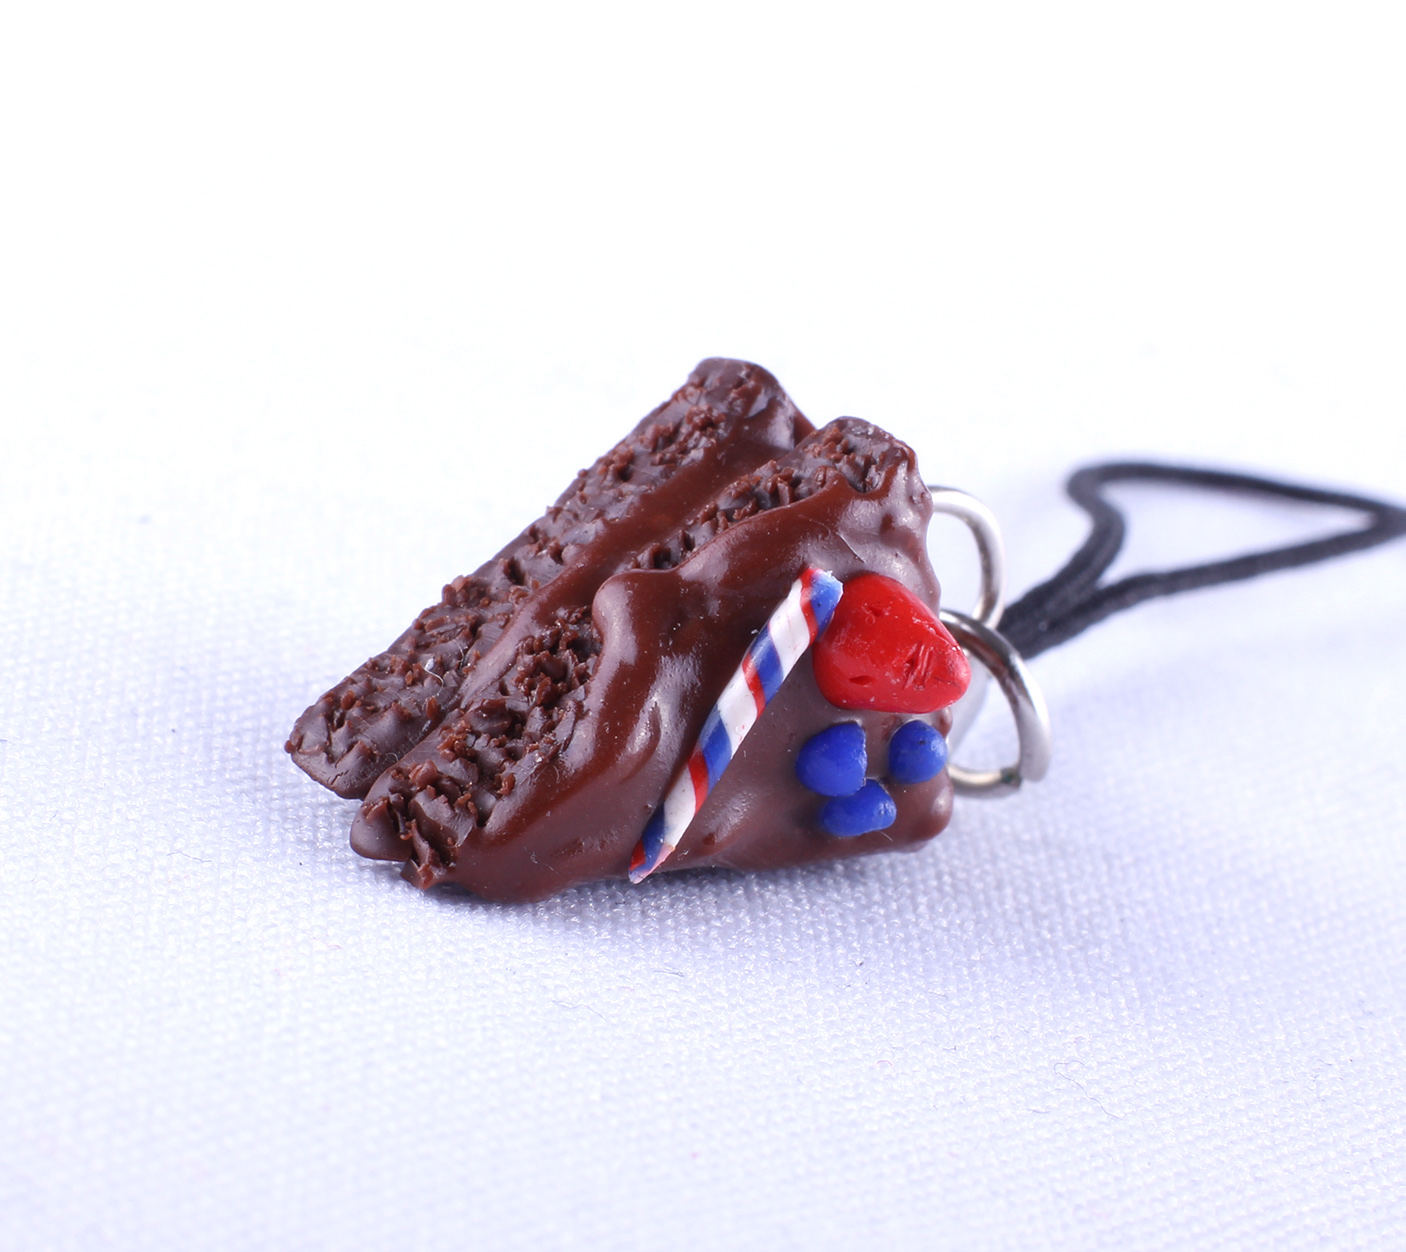
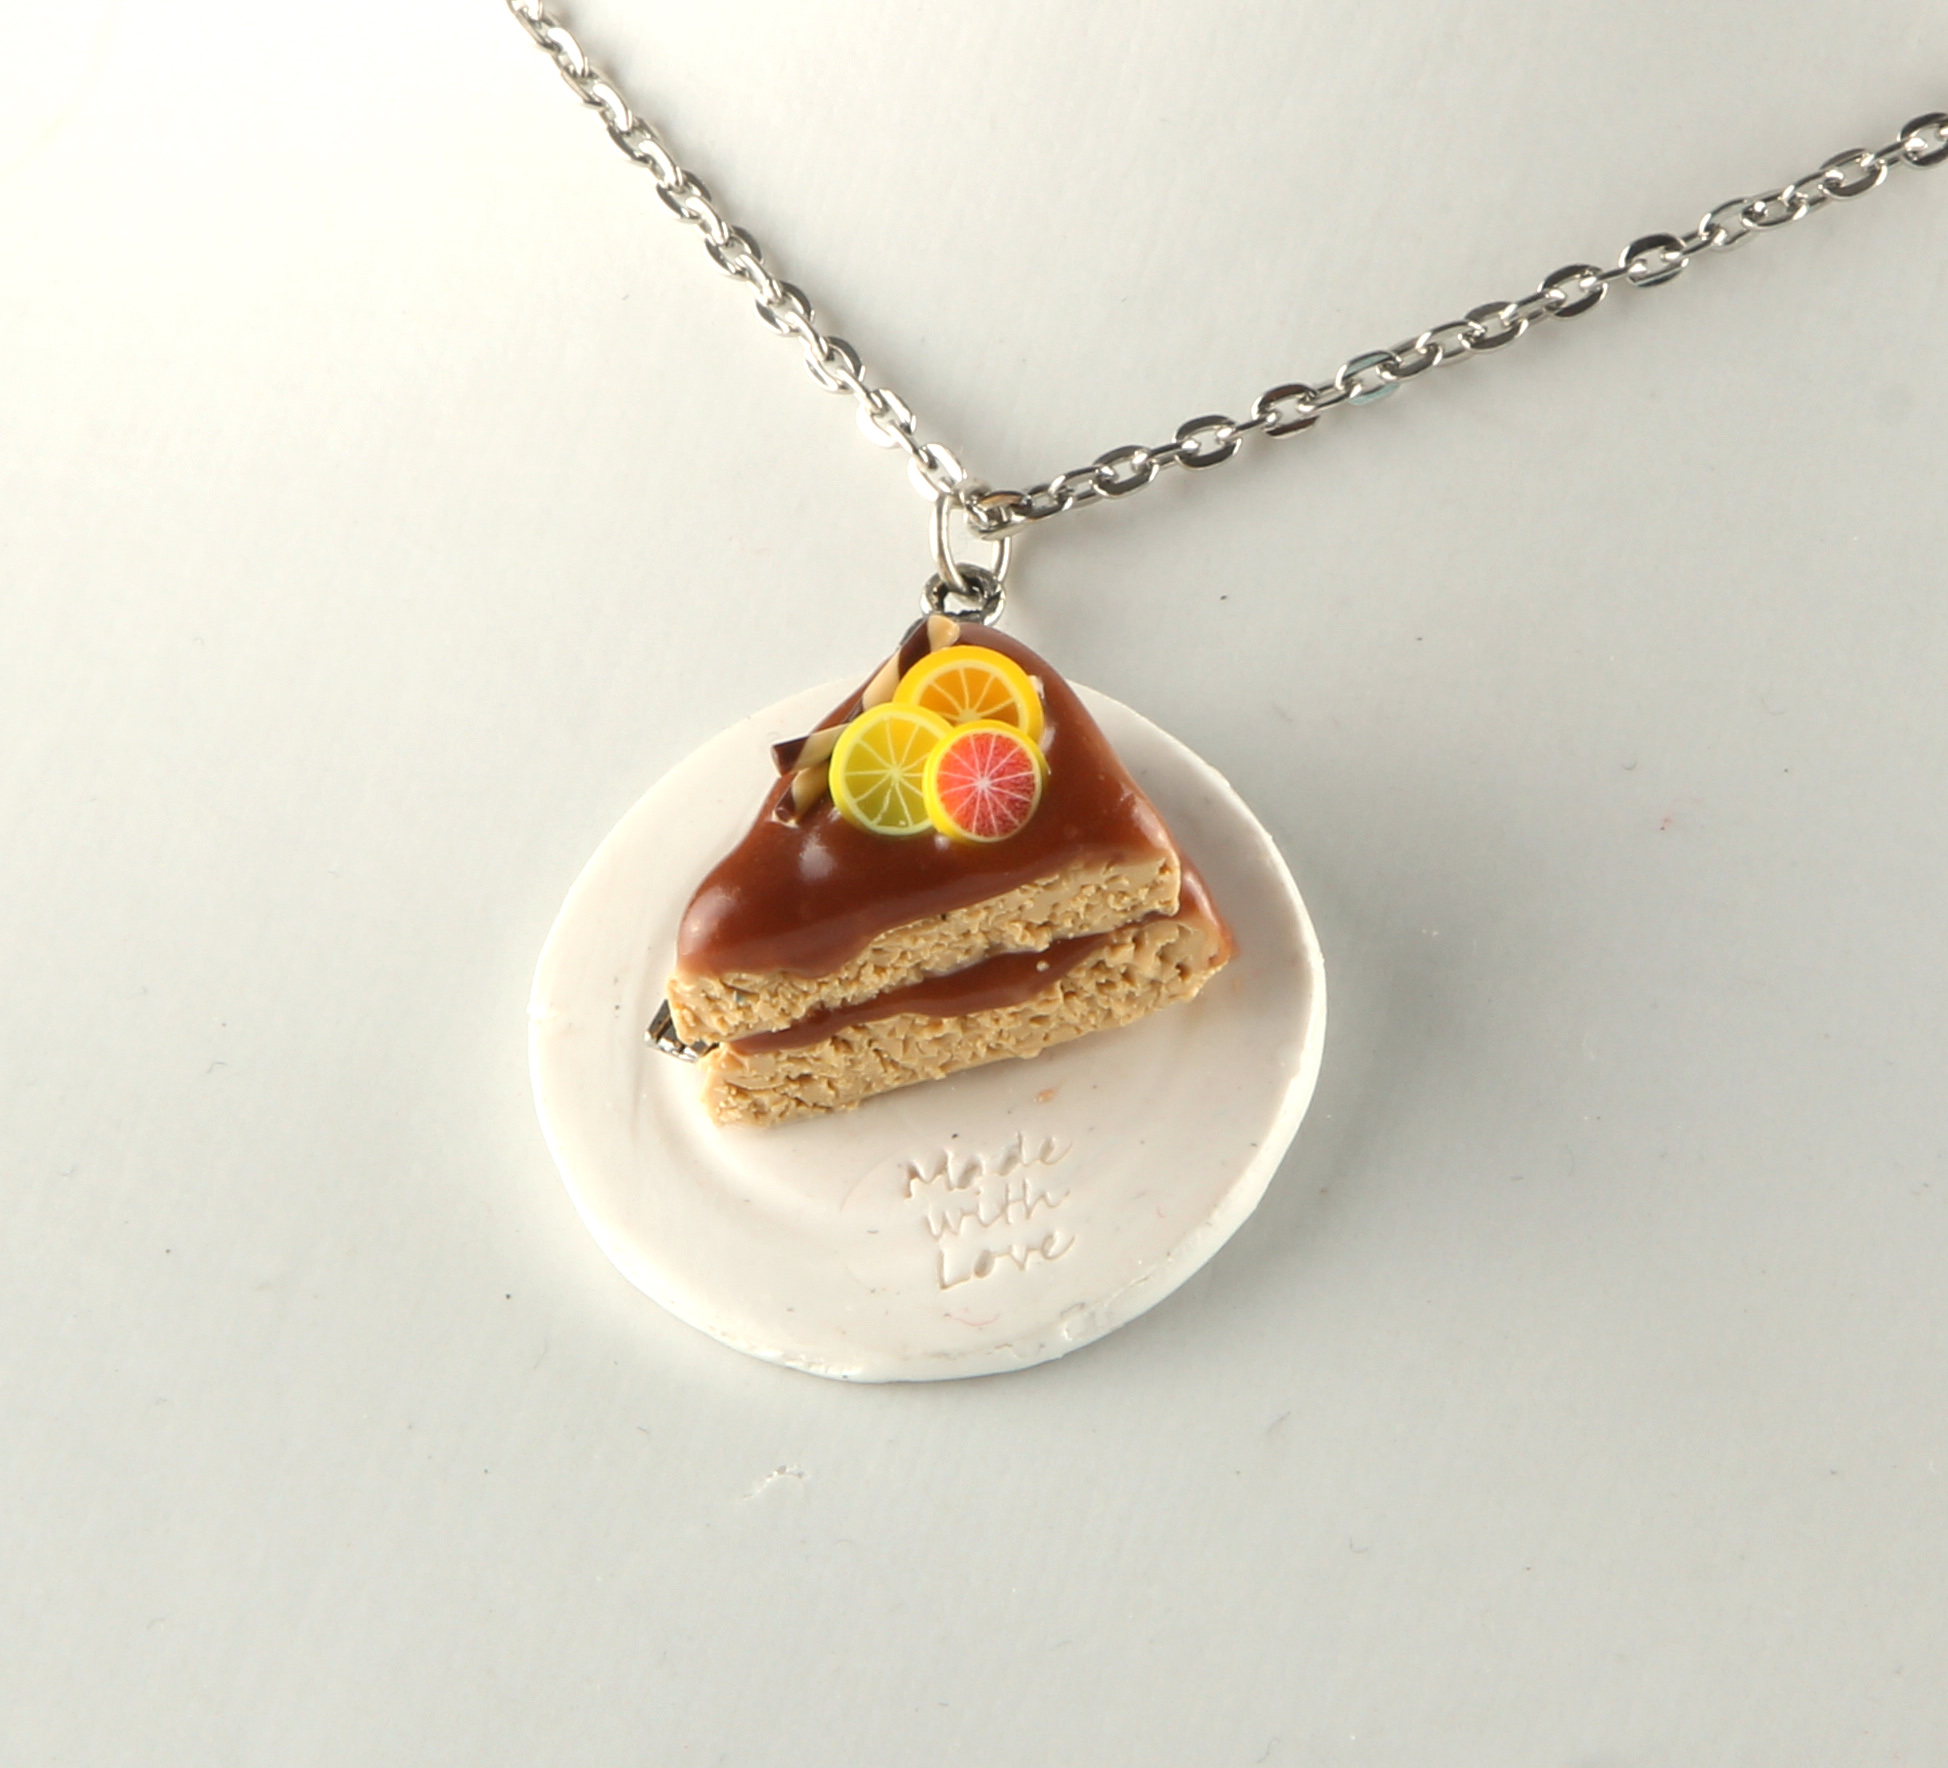
- divided by icing;
- layers of colors;
- jell-o filled;
- full cake.
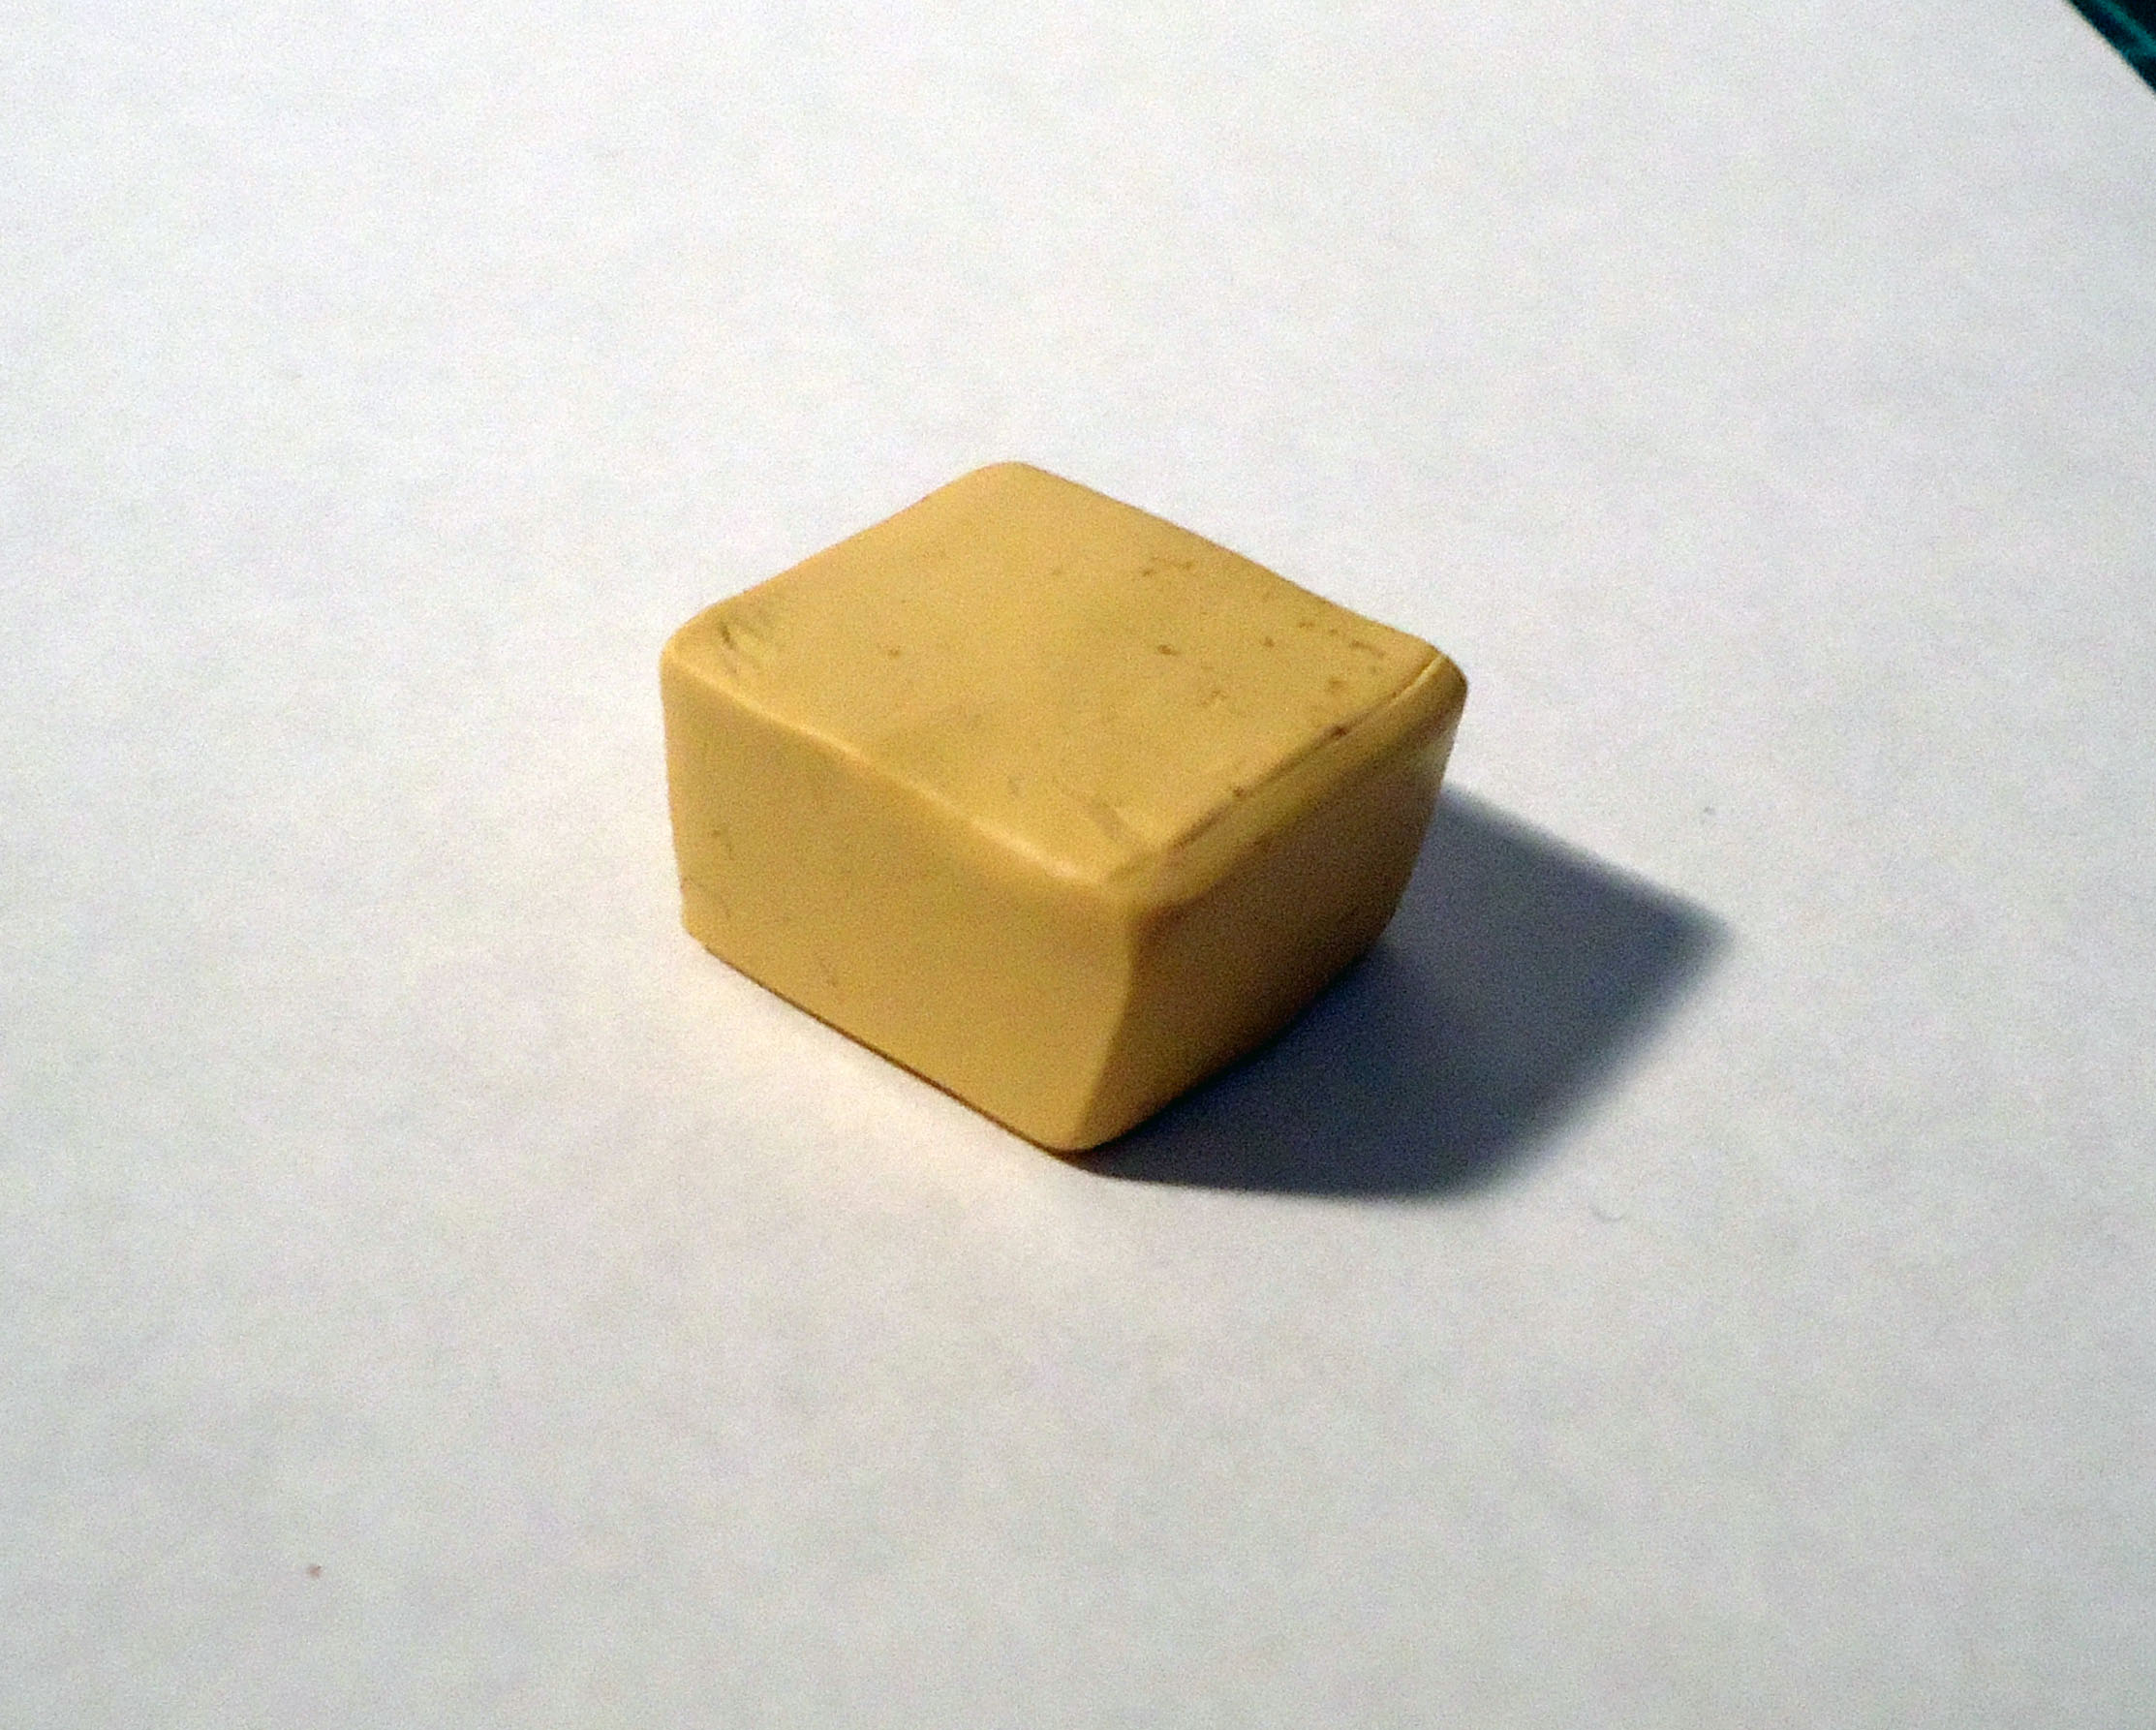
Divided by icing
Cakes divided by icing are pretty much what the name suggests. Along with some examples of where you're going with this, here's how you make their base:
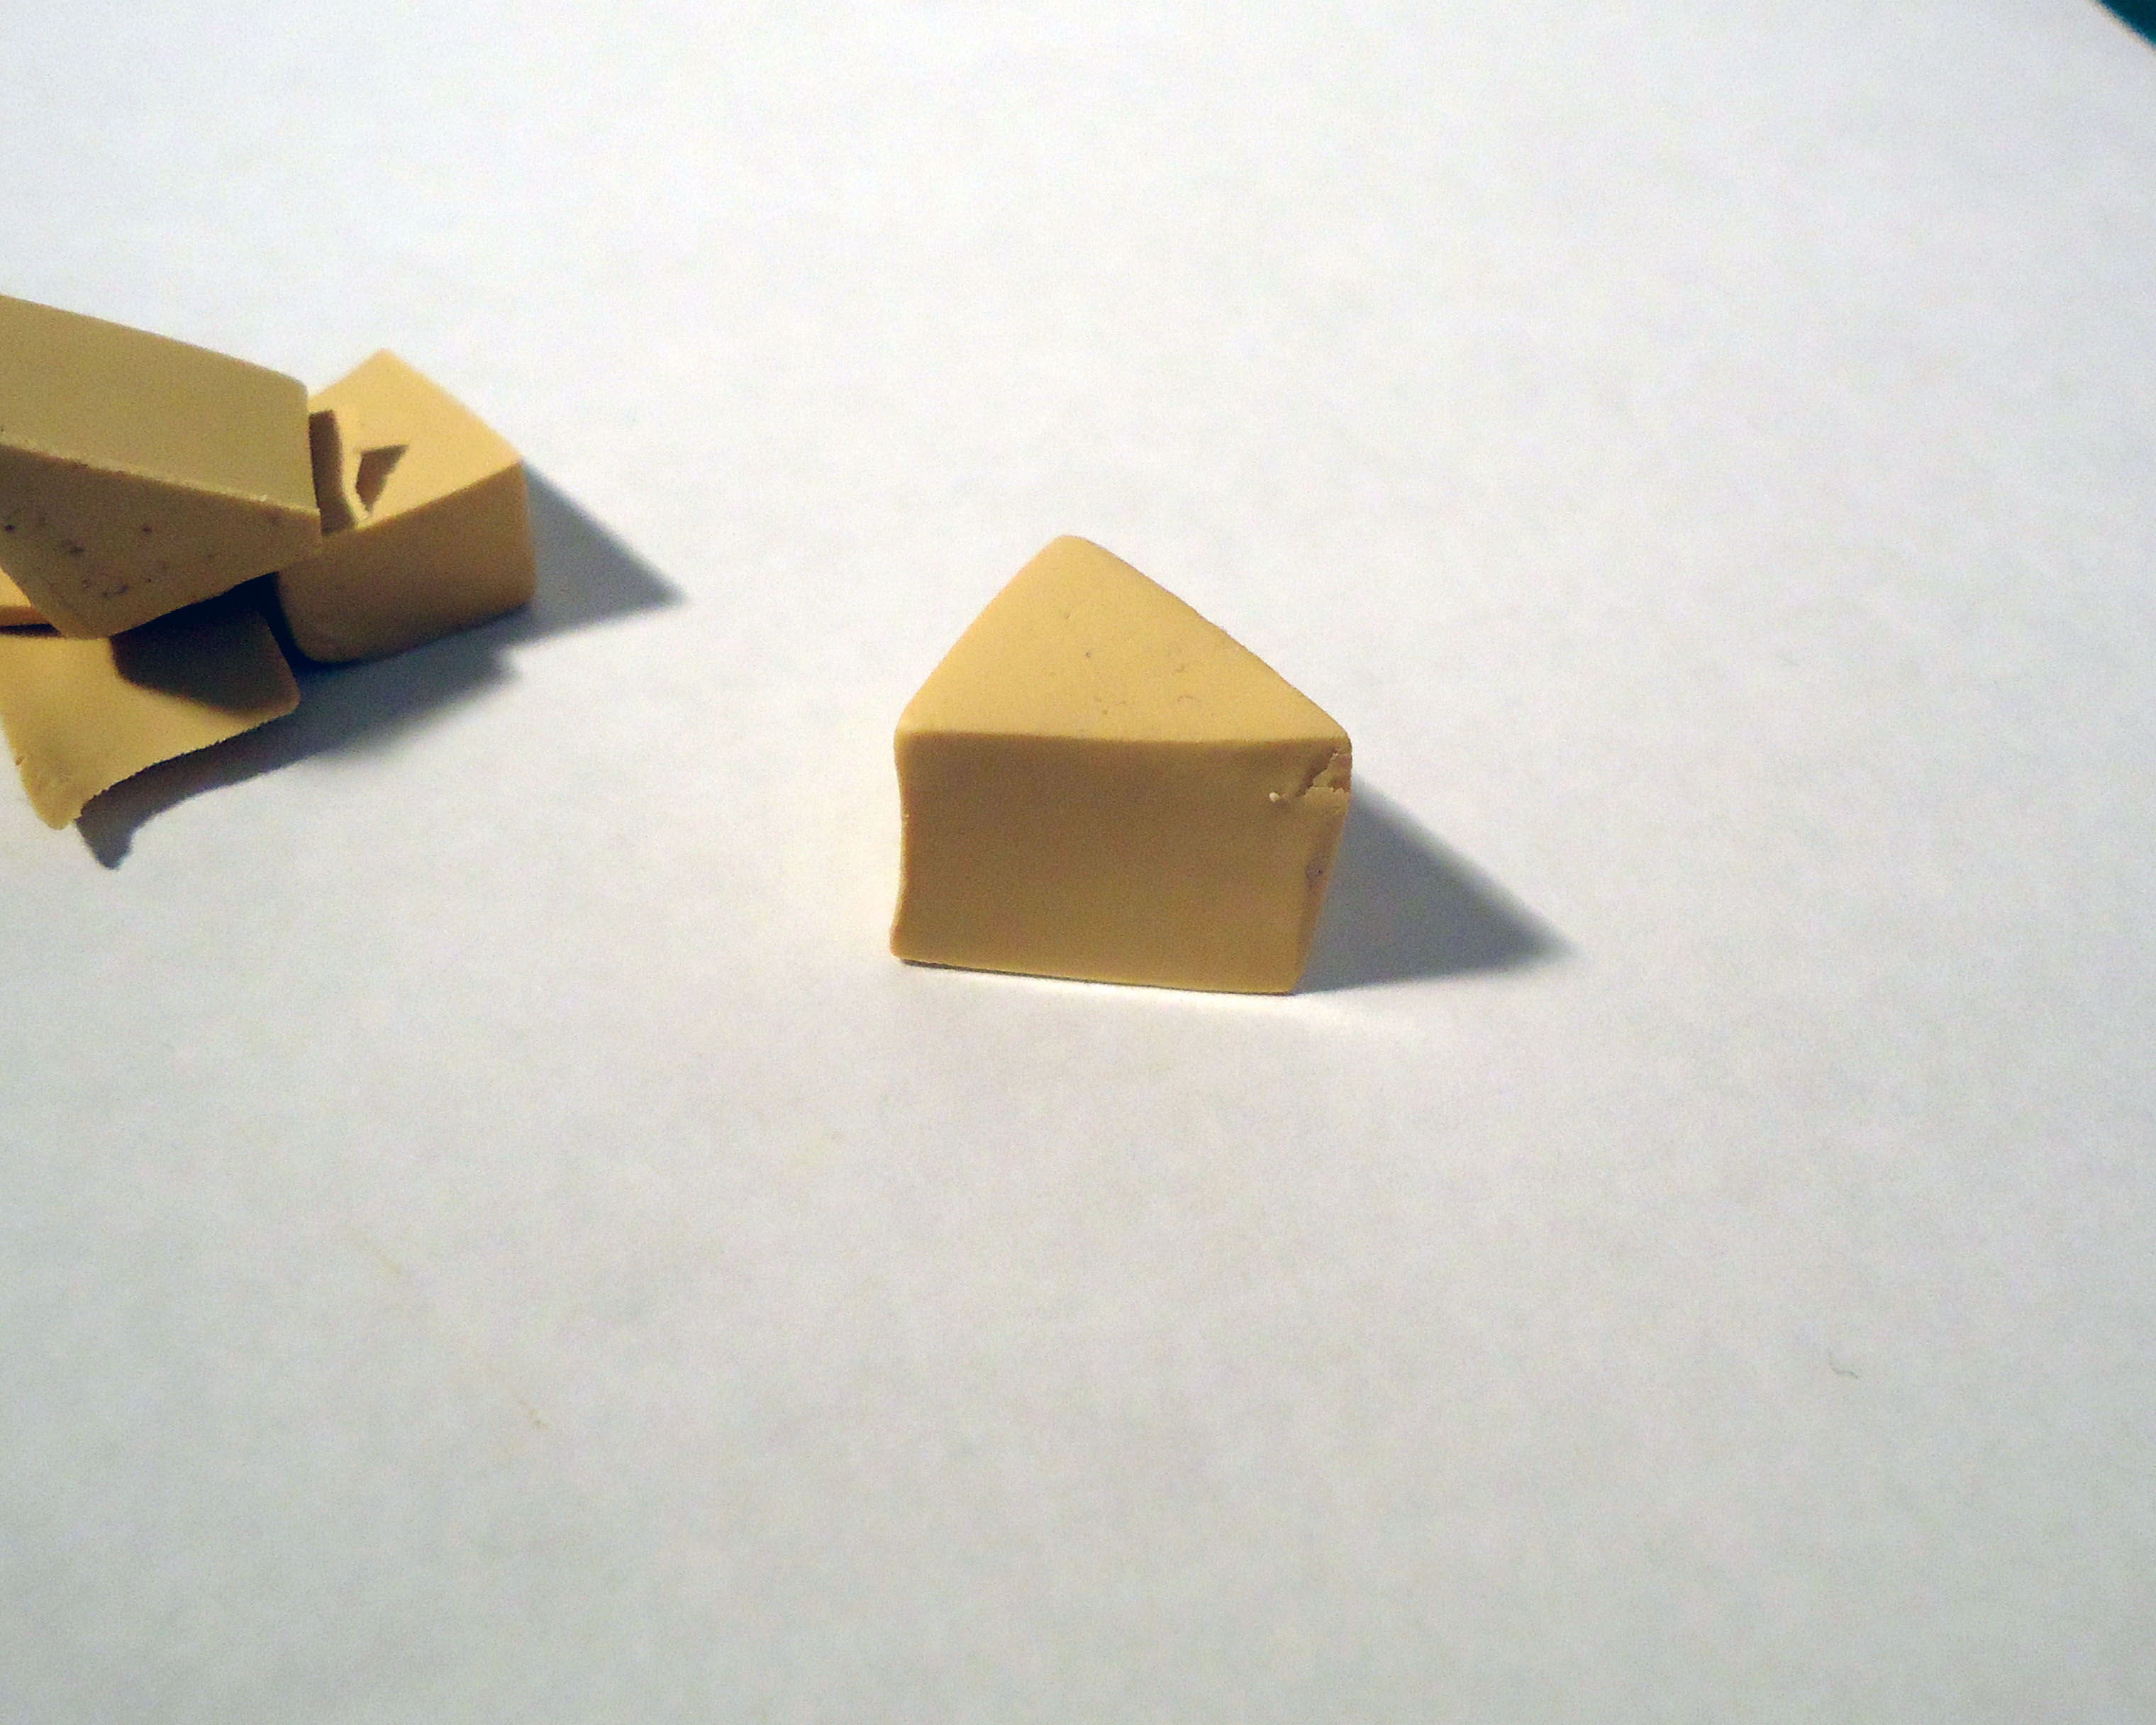
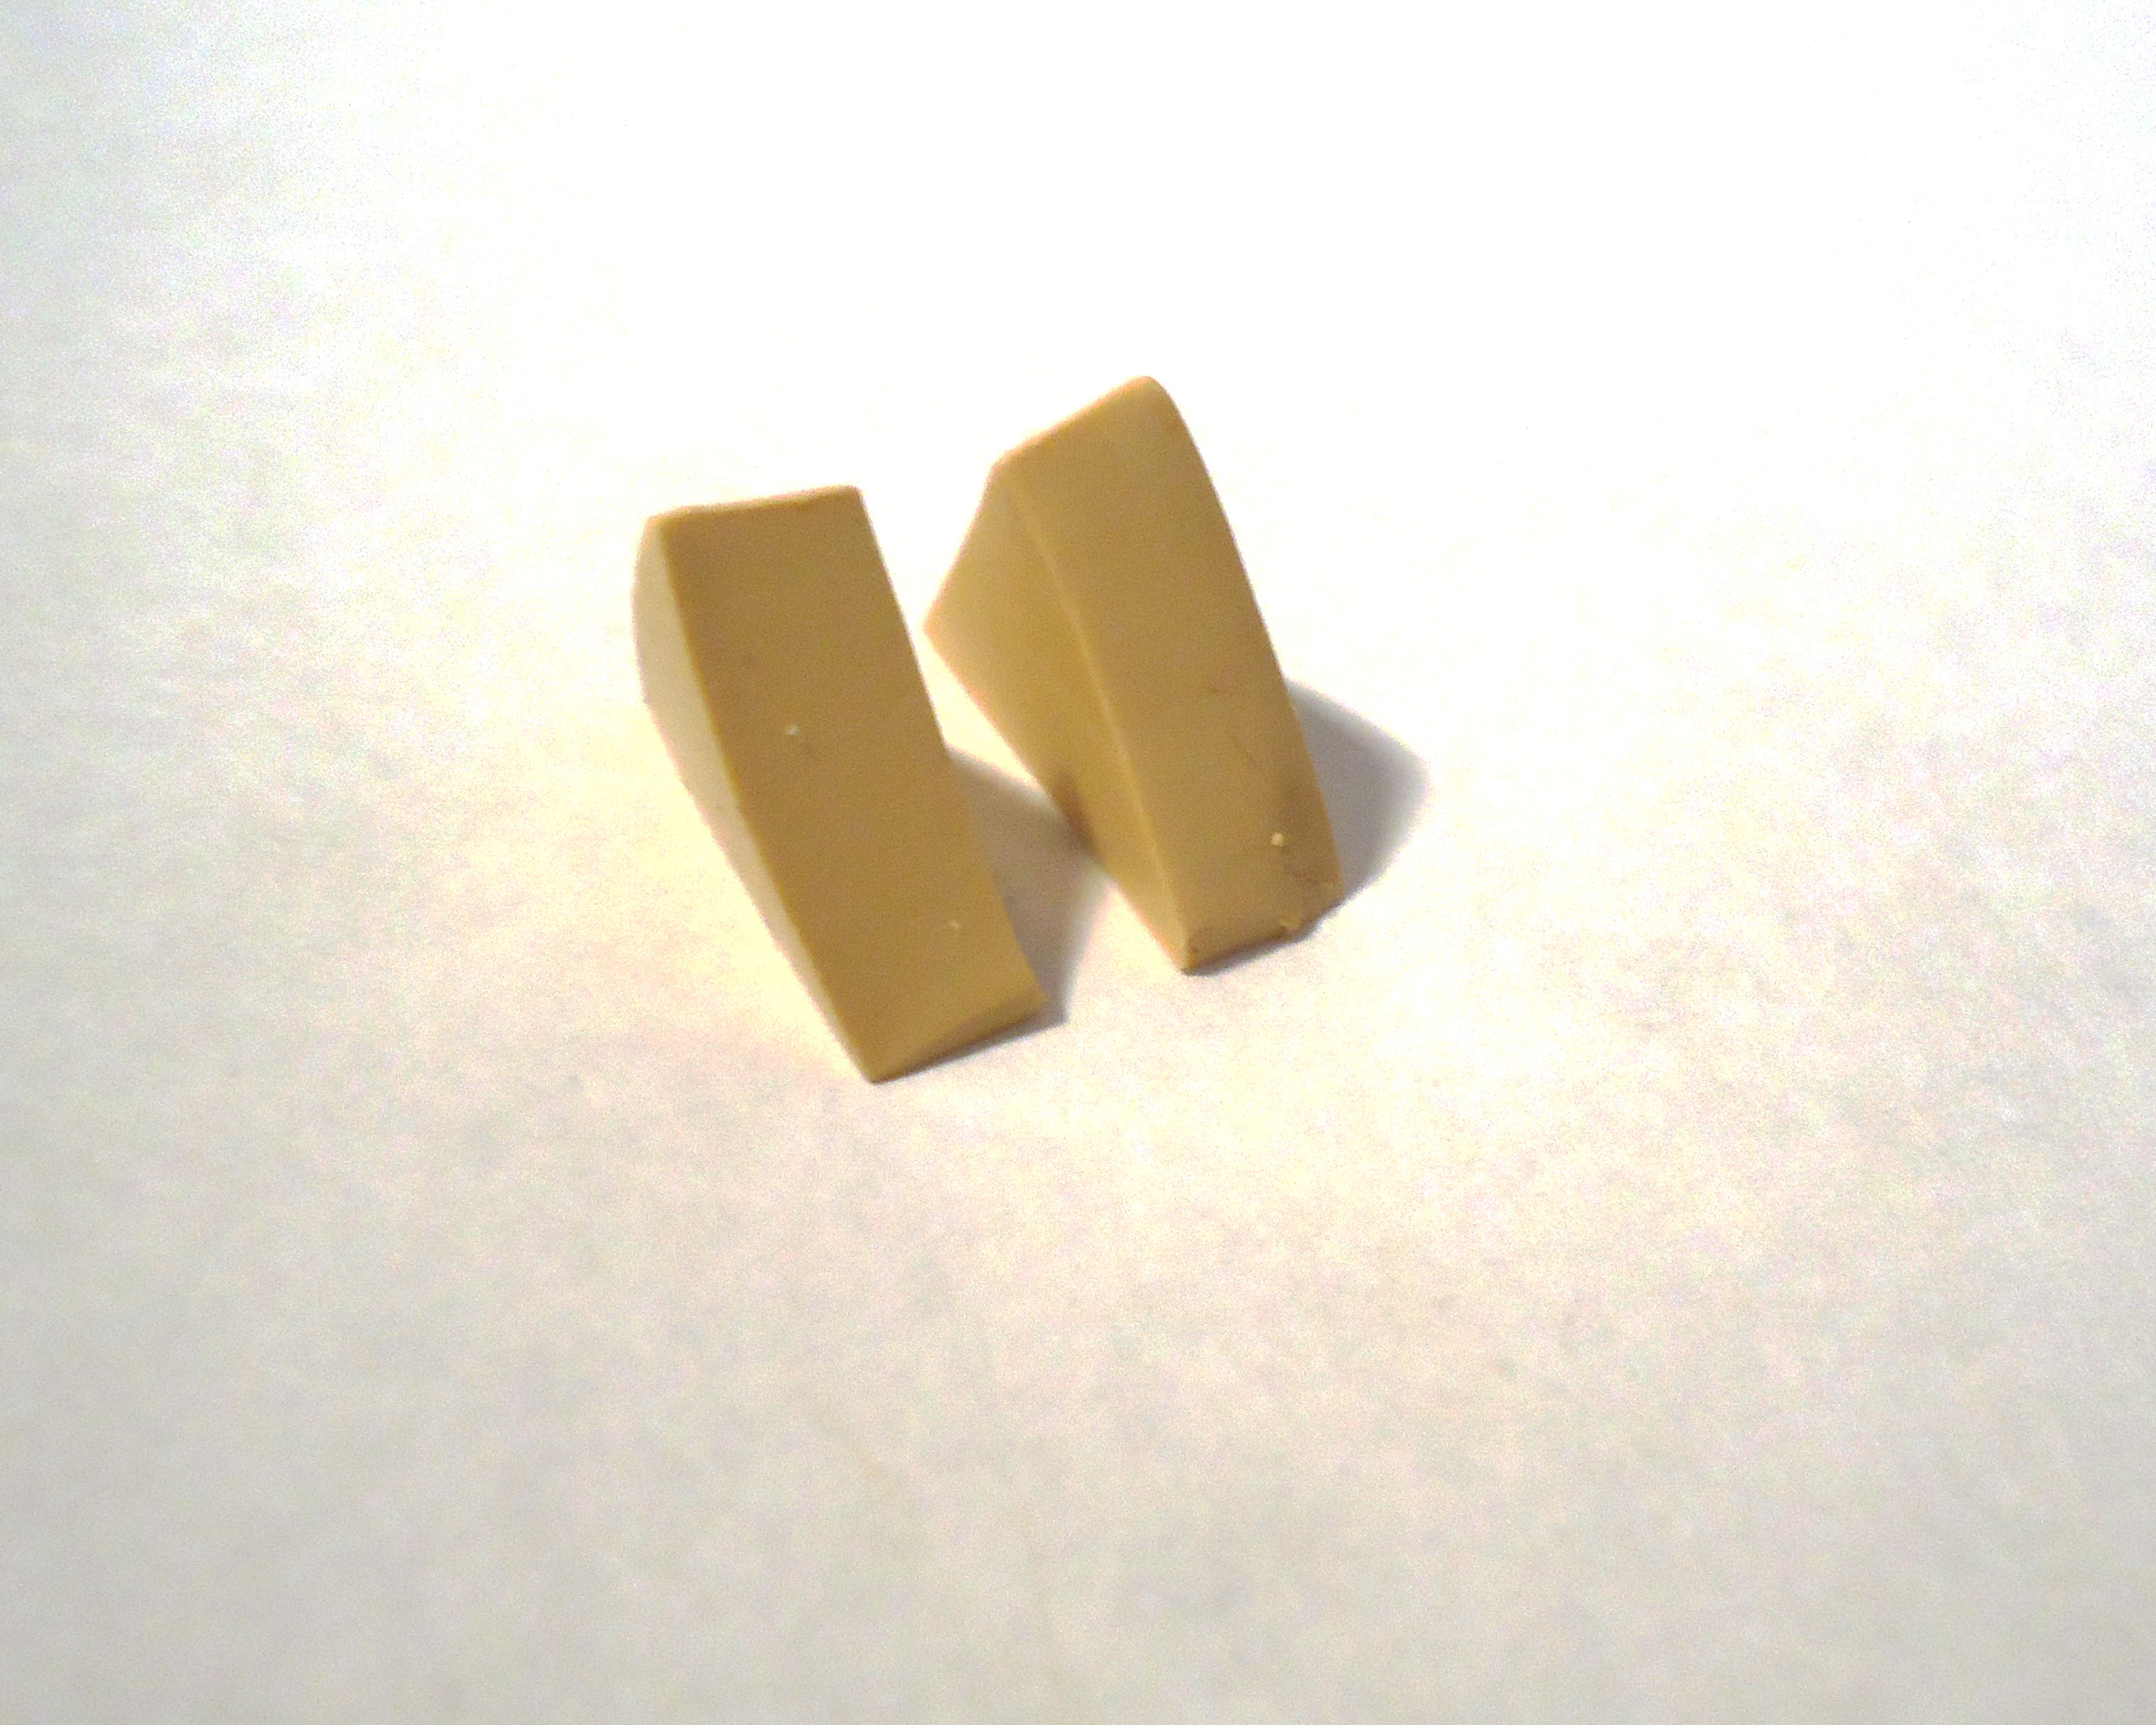
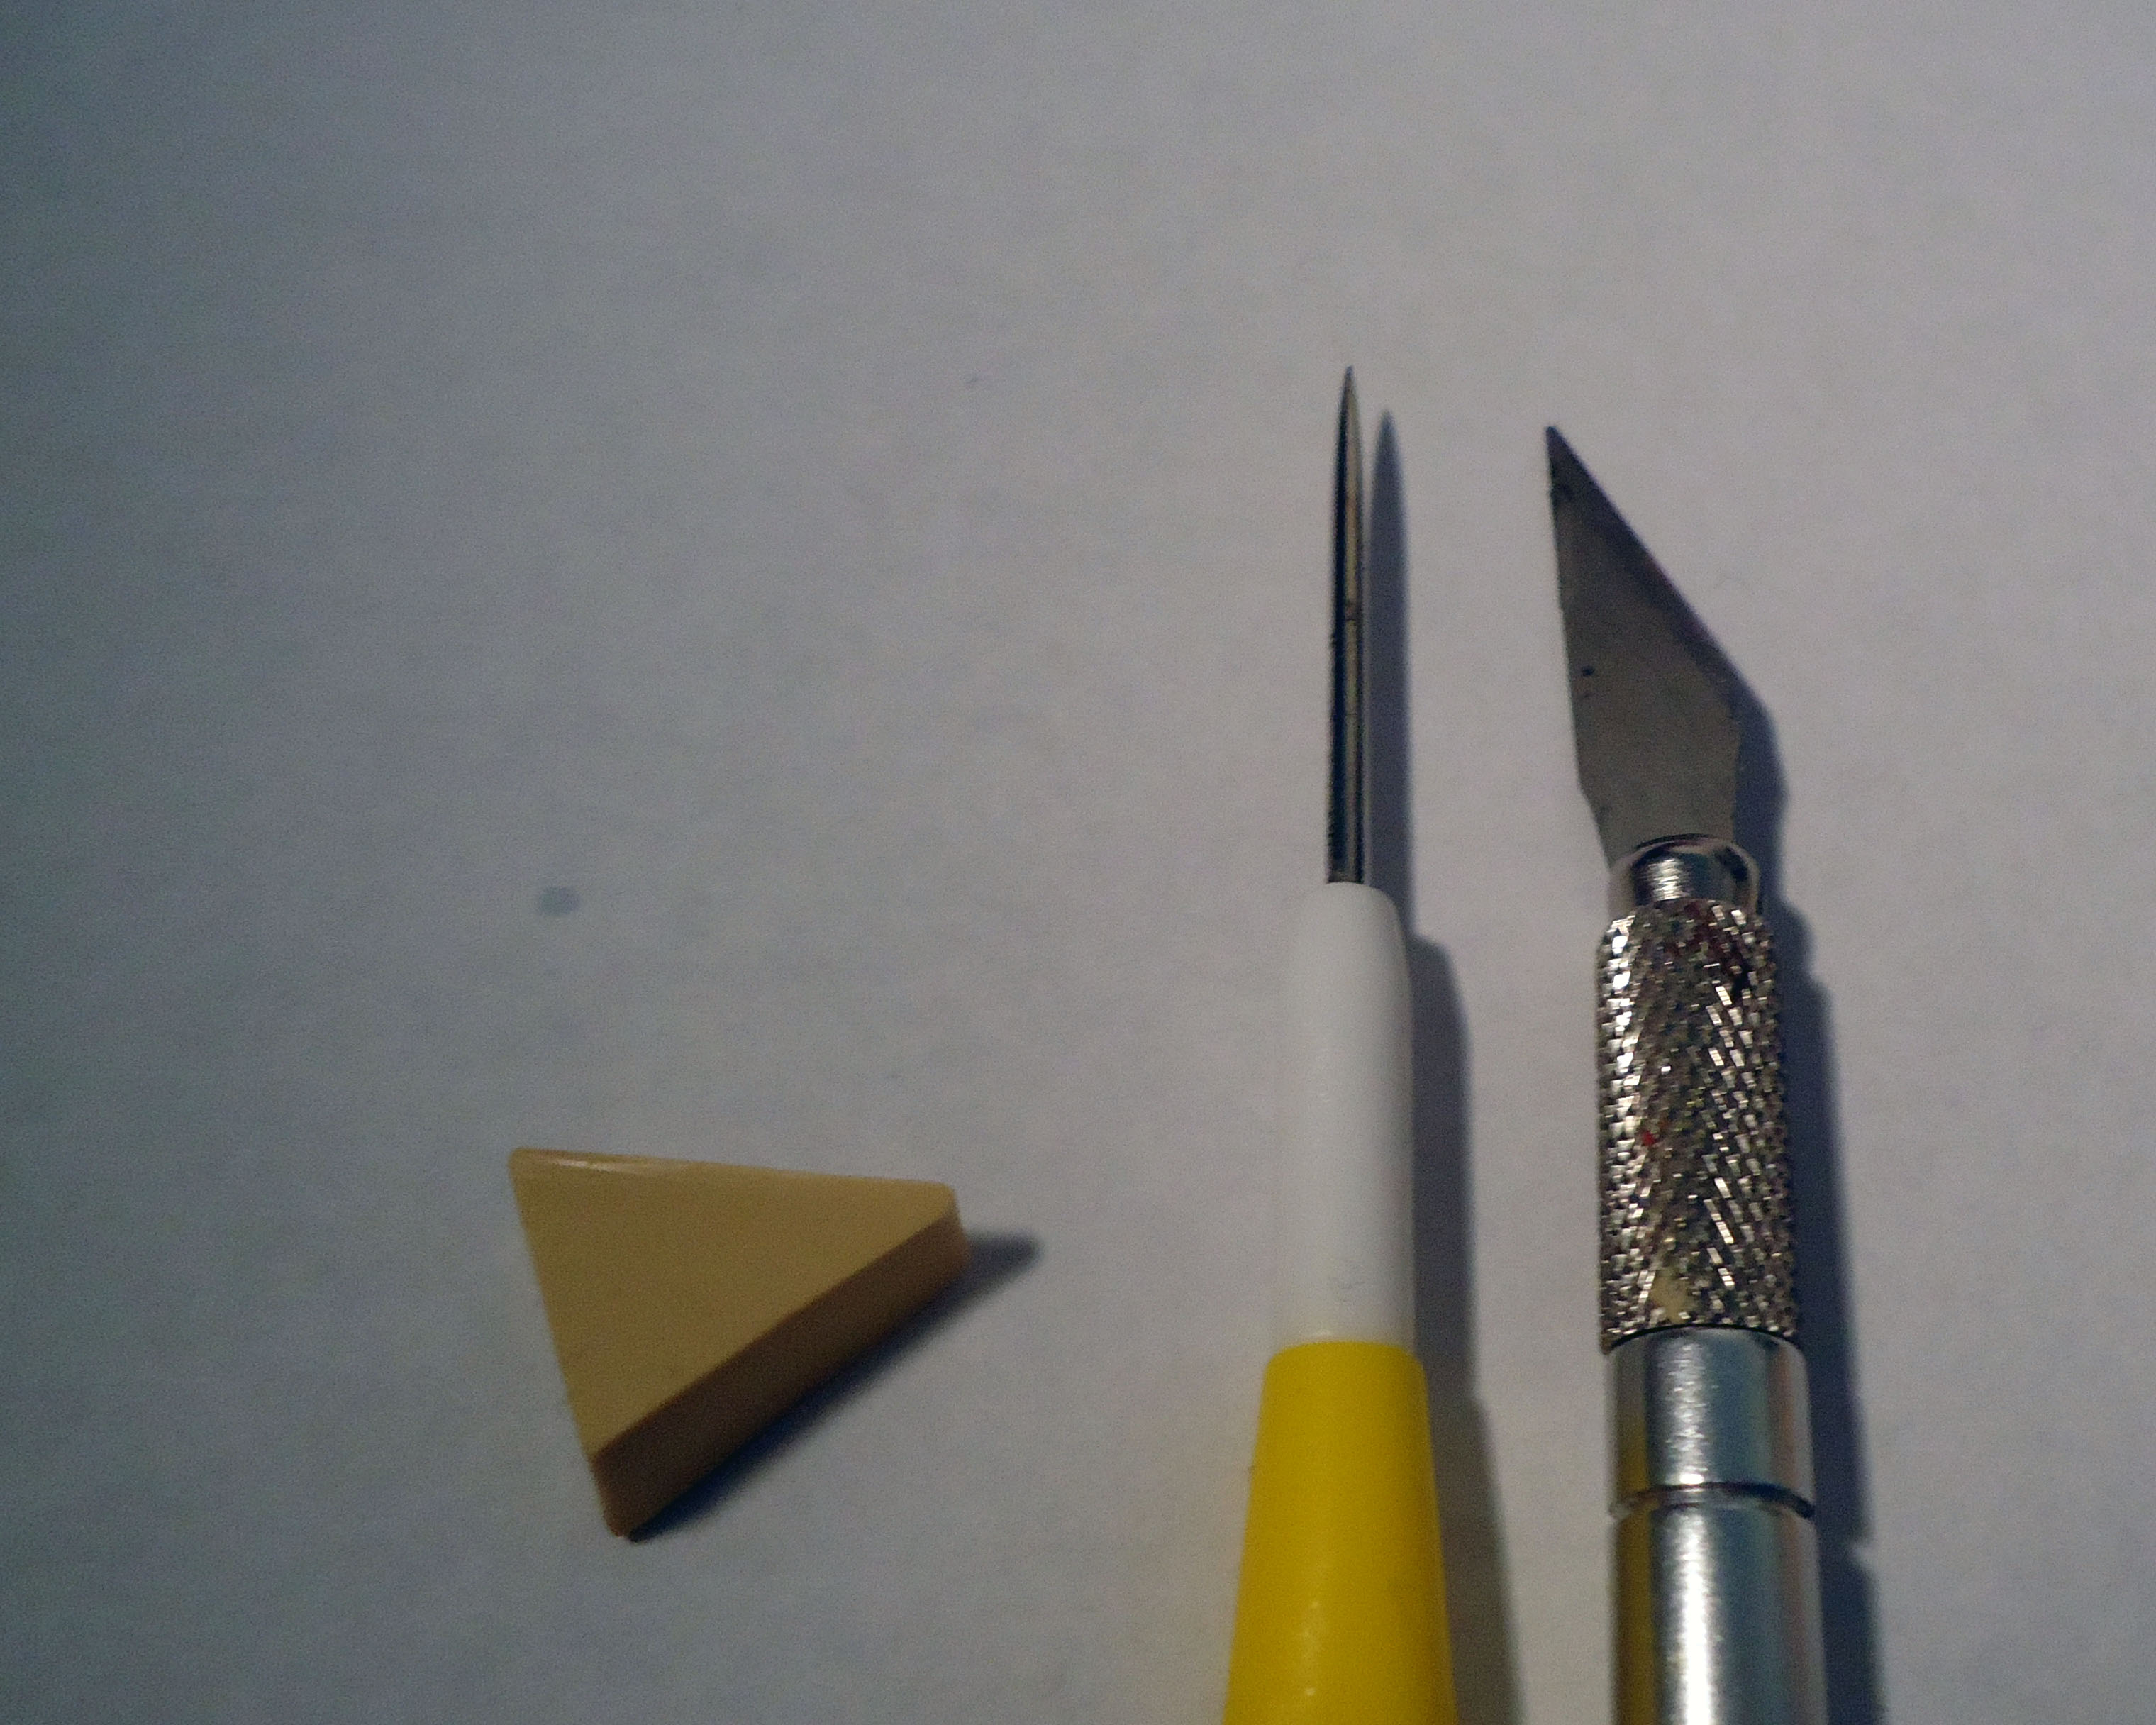
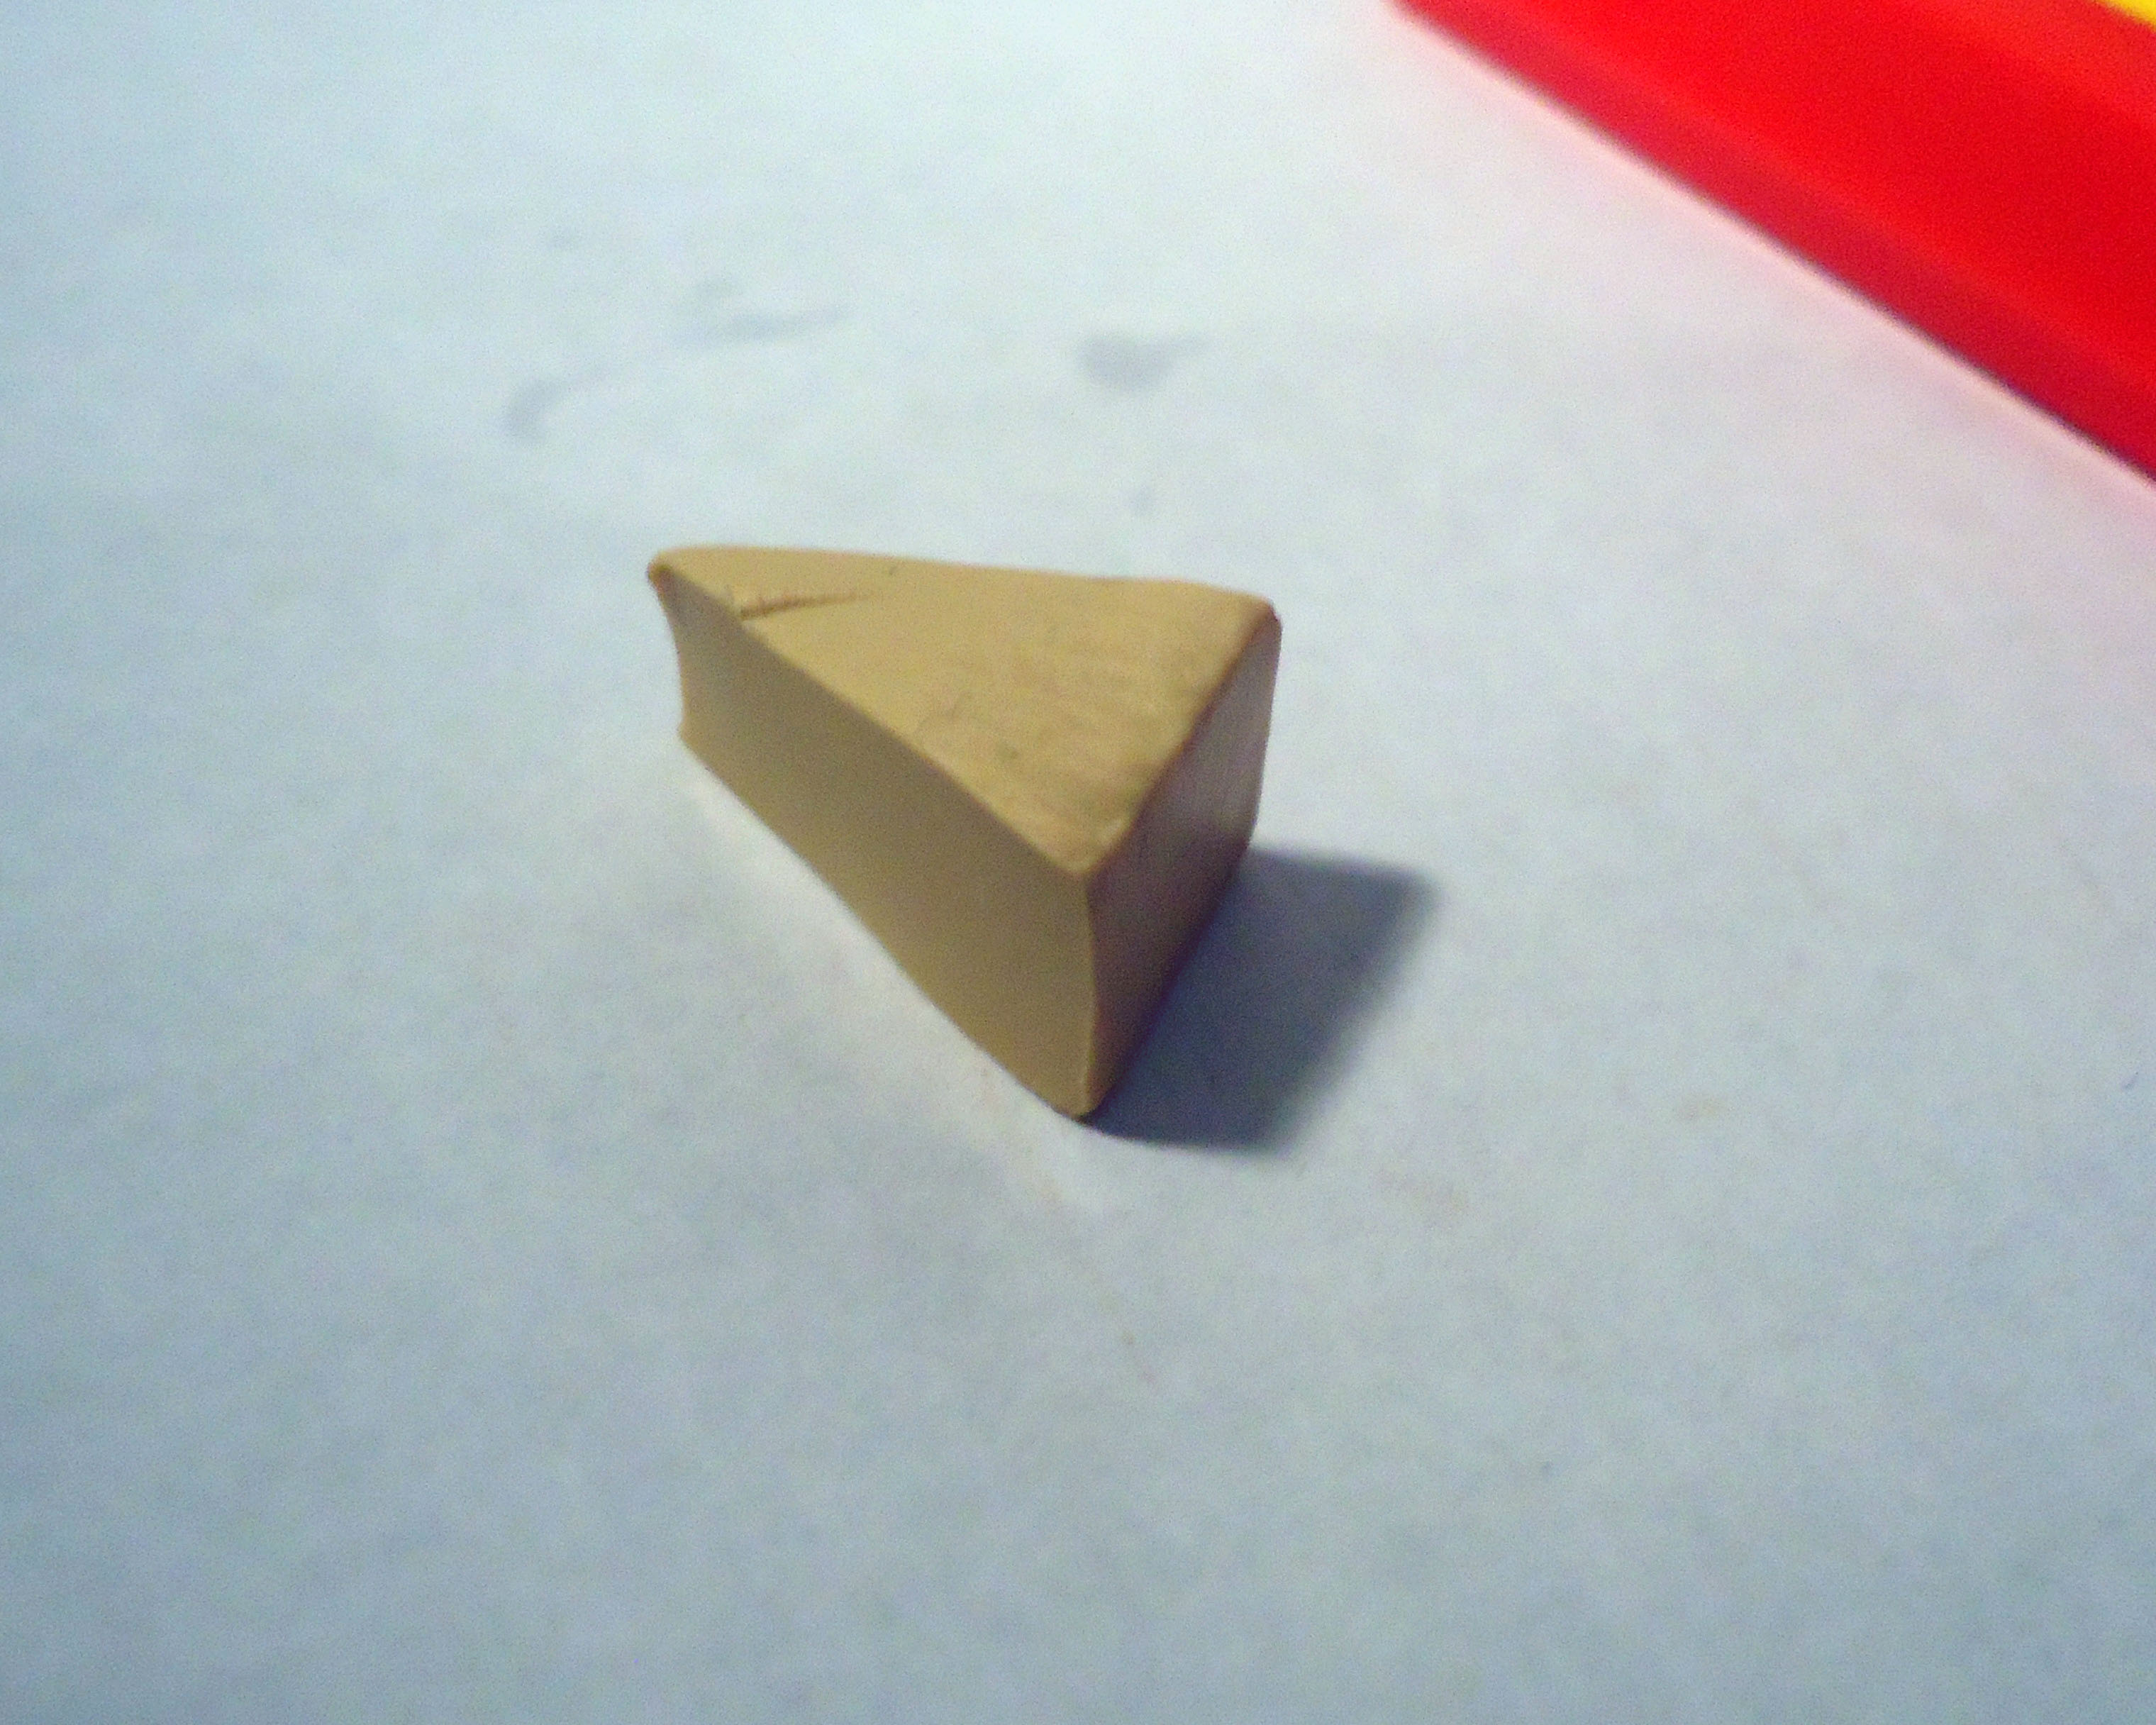
Take a piece of clay as thick as you want your cake to be. Cut it into a triangle and then cut that triangle into two similar pieces.
Cakes divided by icing are pretty much what the name suggests. Along with some examples of where you're going with this, here's how you make their base:
Take a piece of clay as thick as you want your cake to be. Cut it into a triangle and then cut that triangle into two similar pieces.
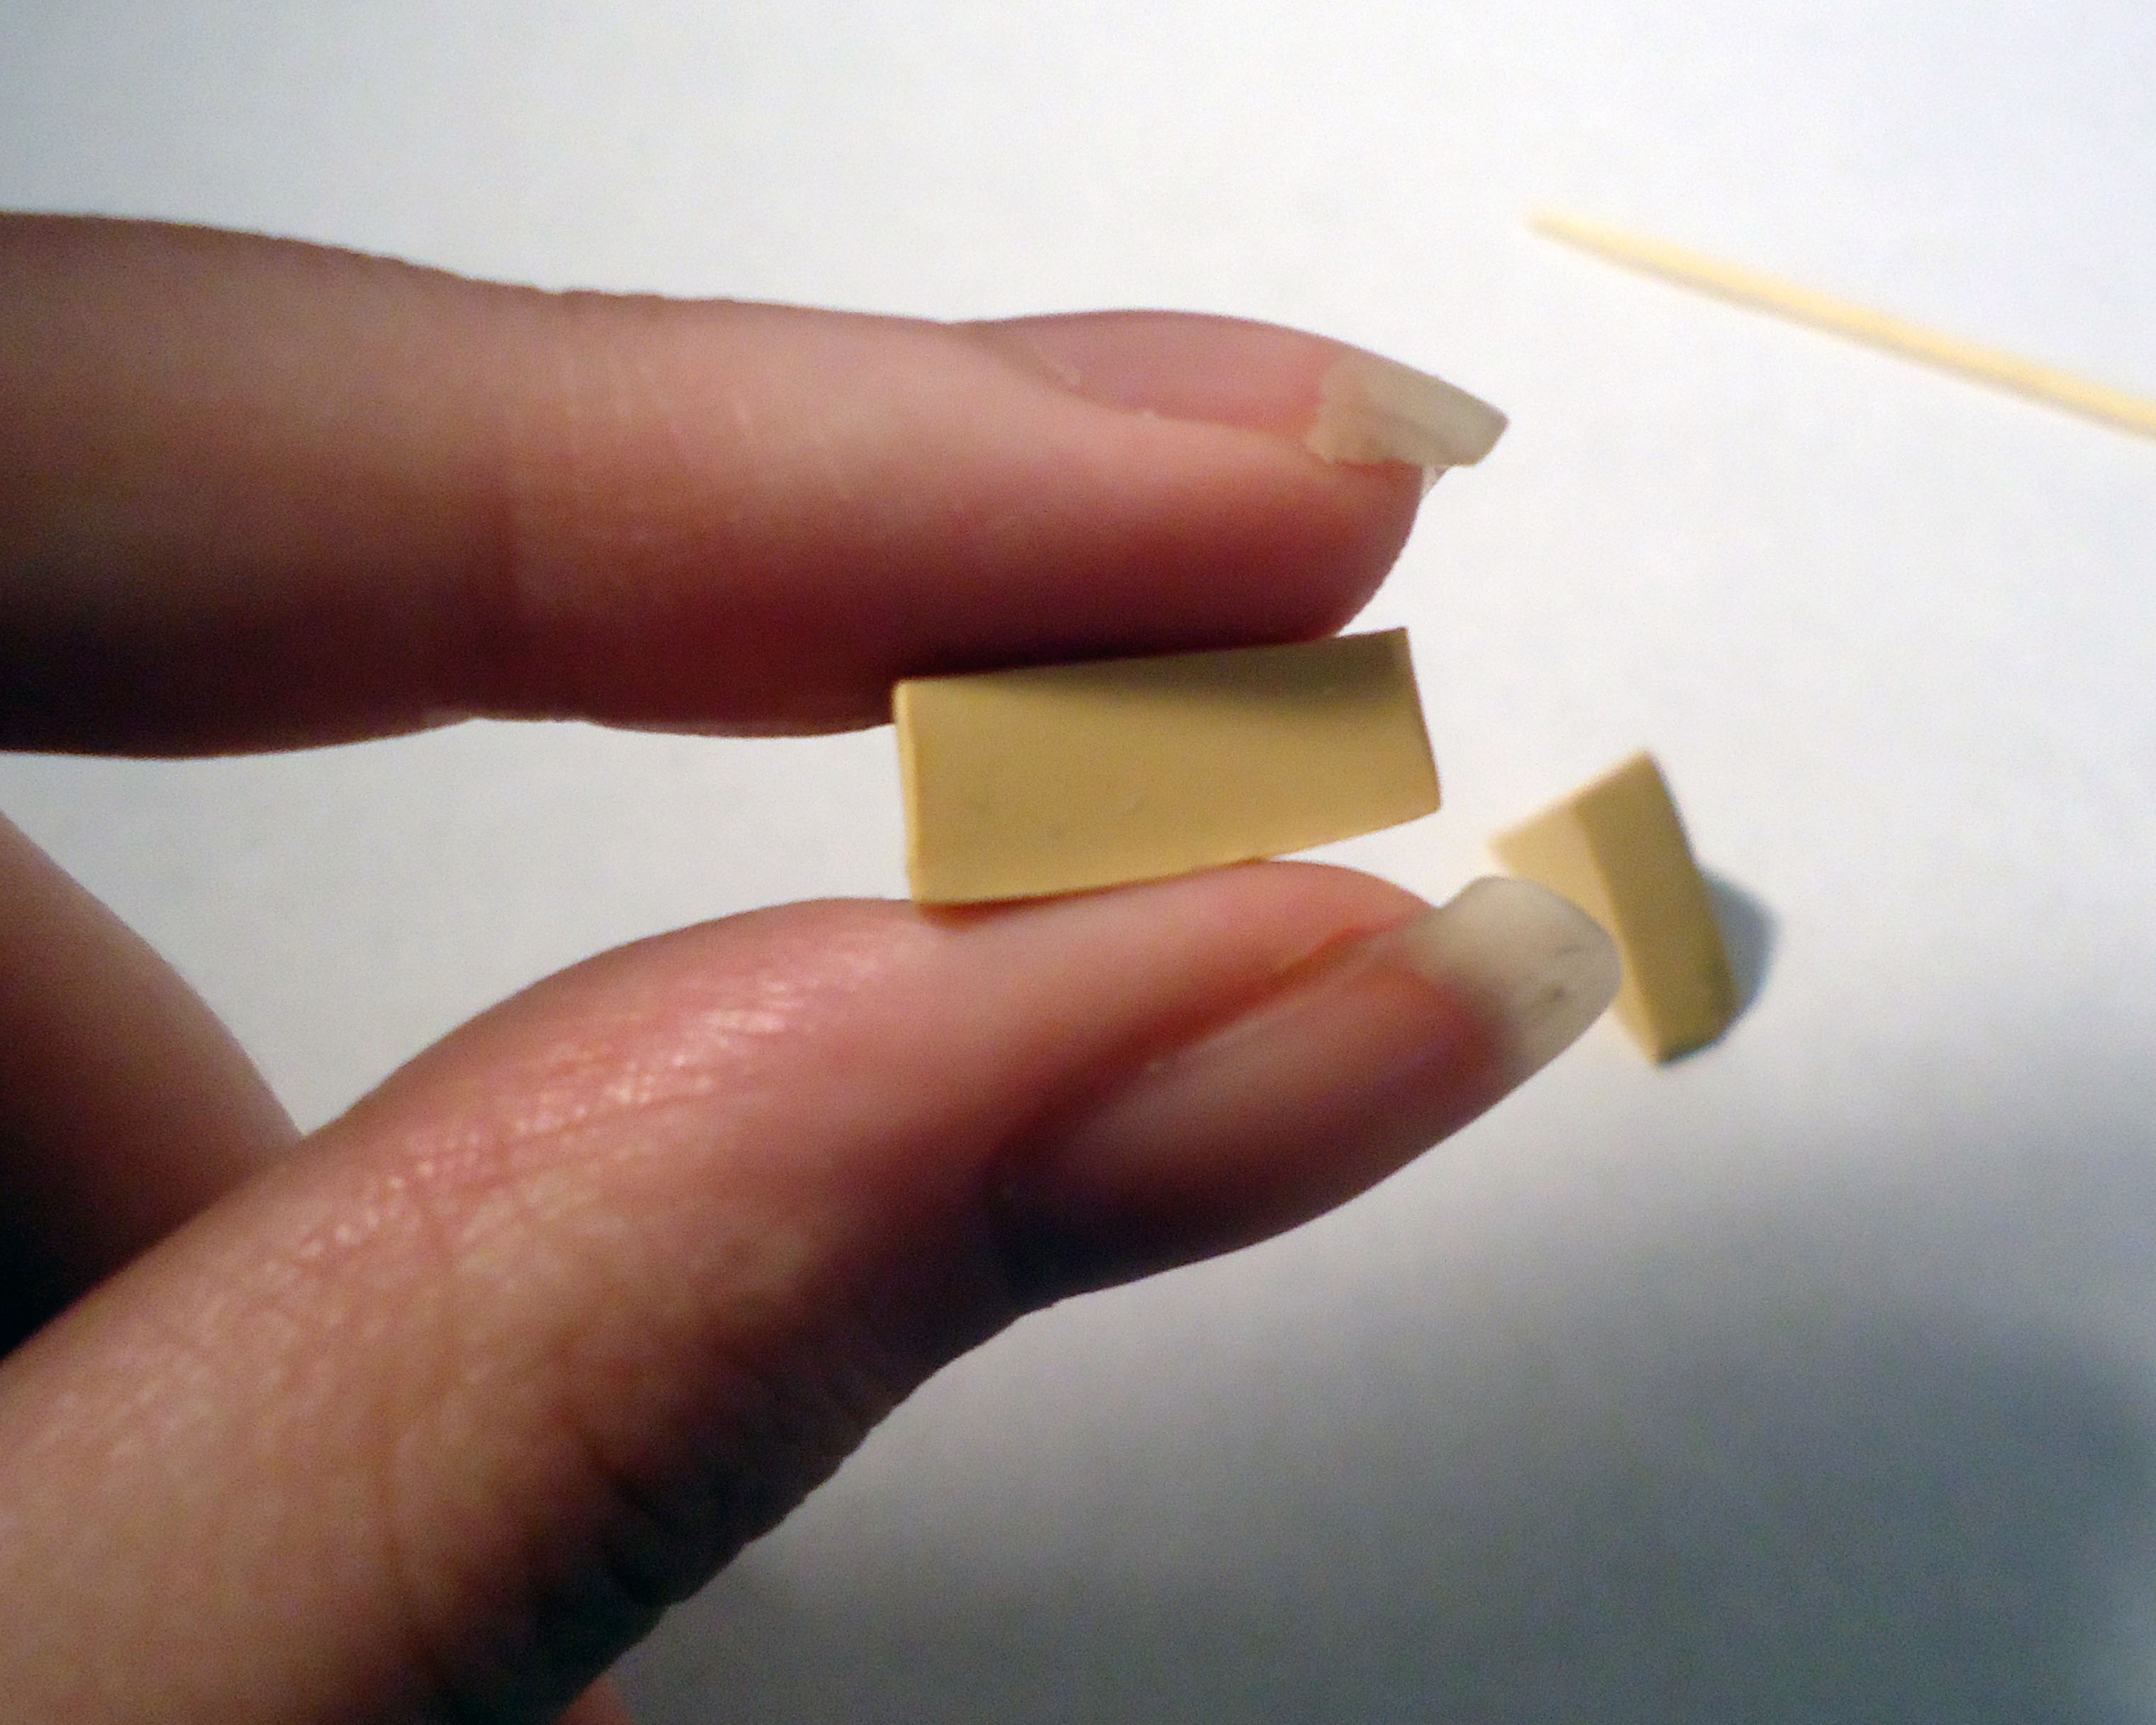
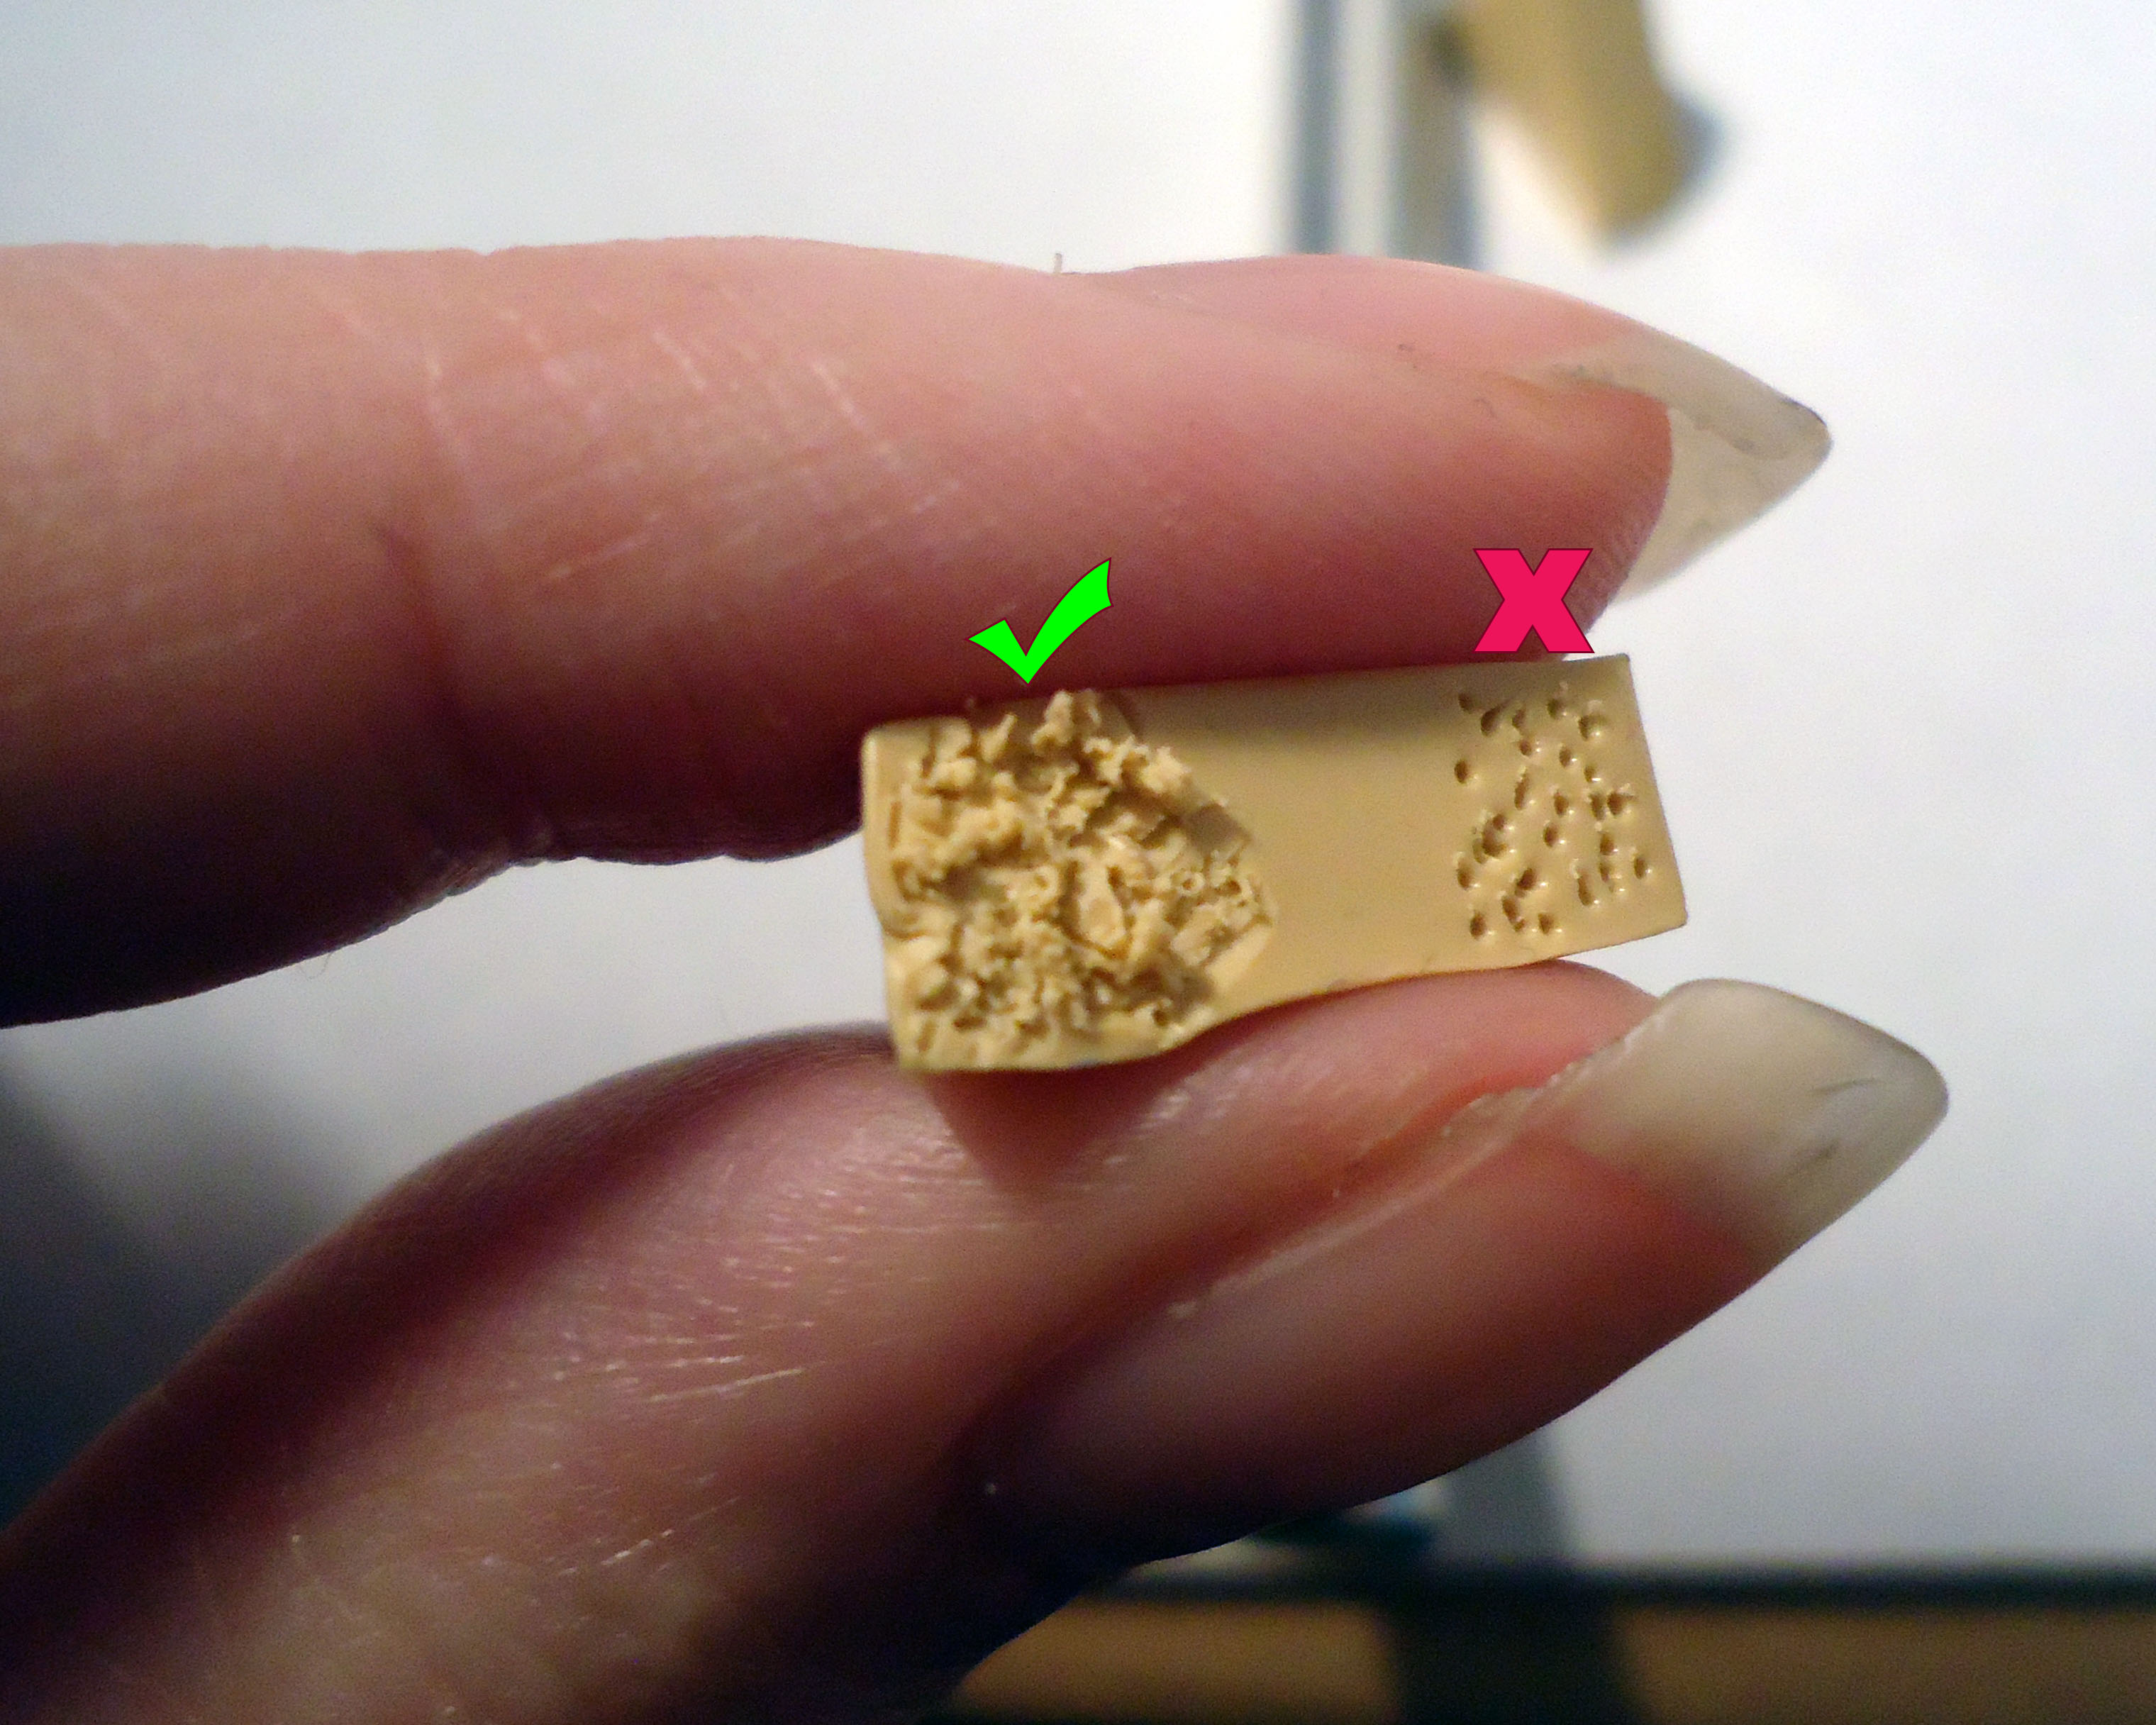
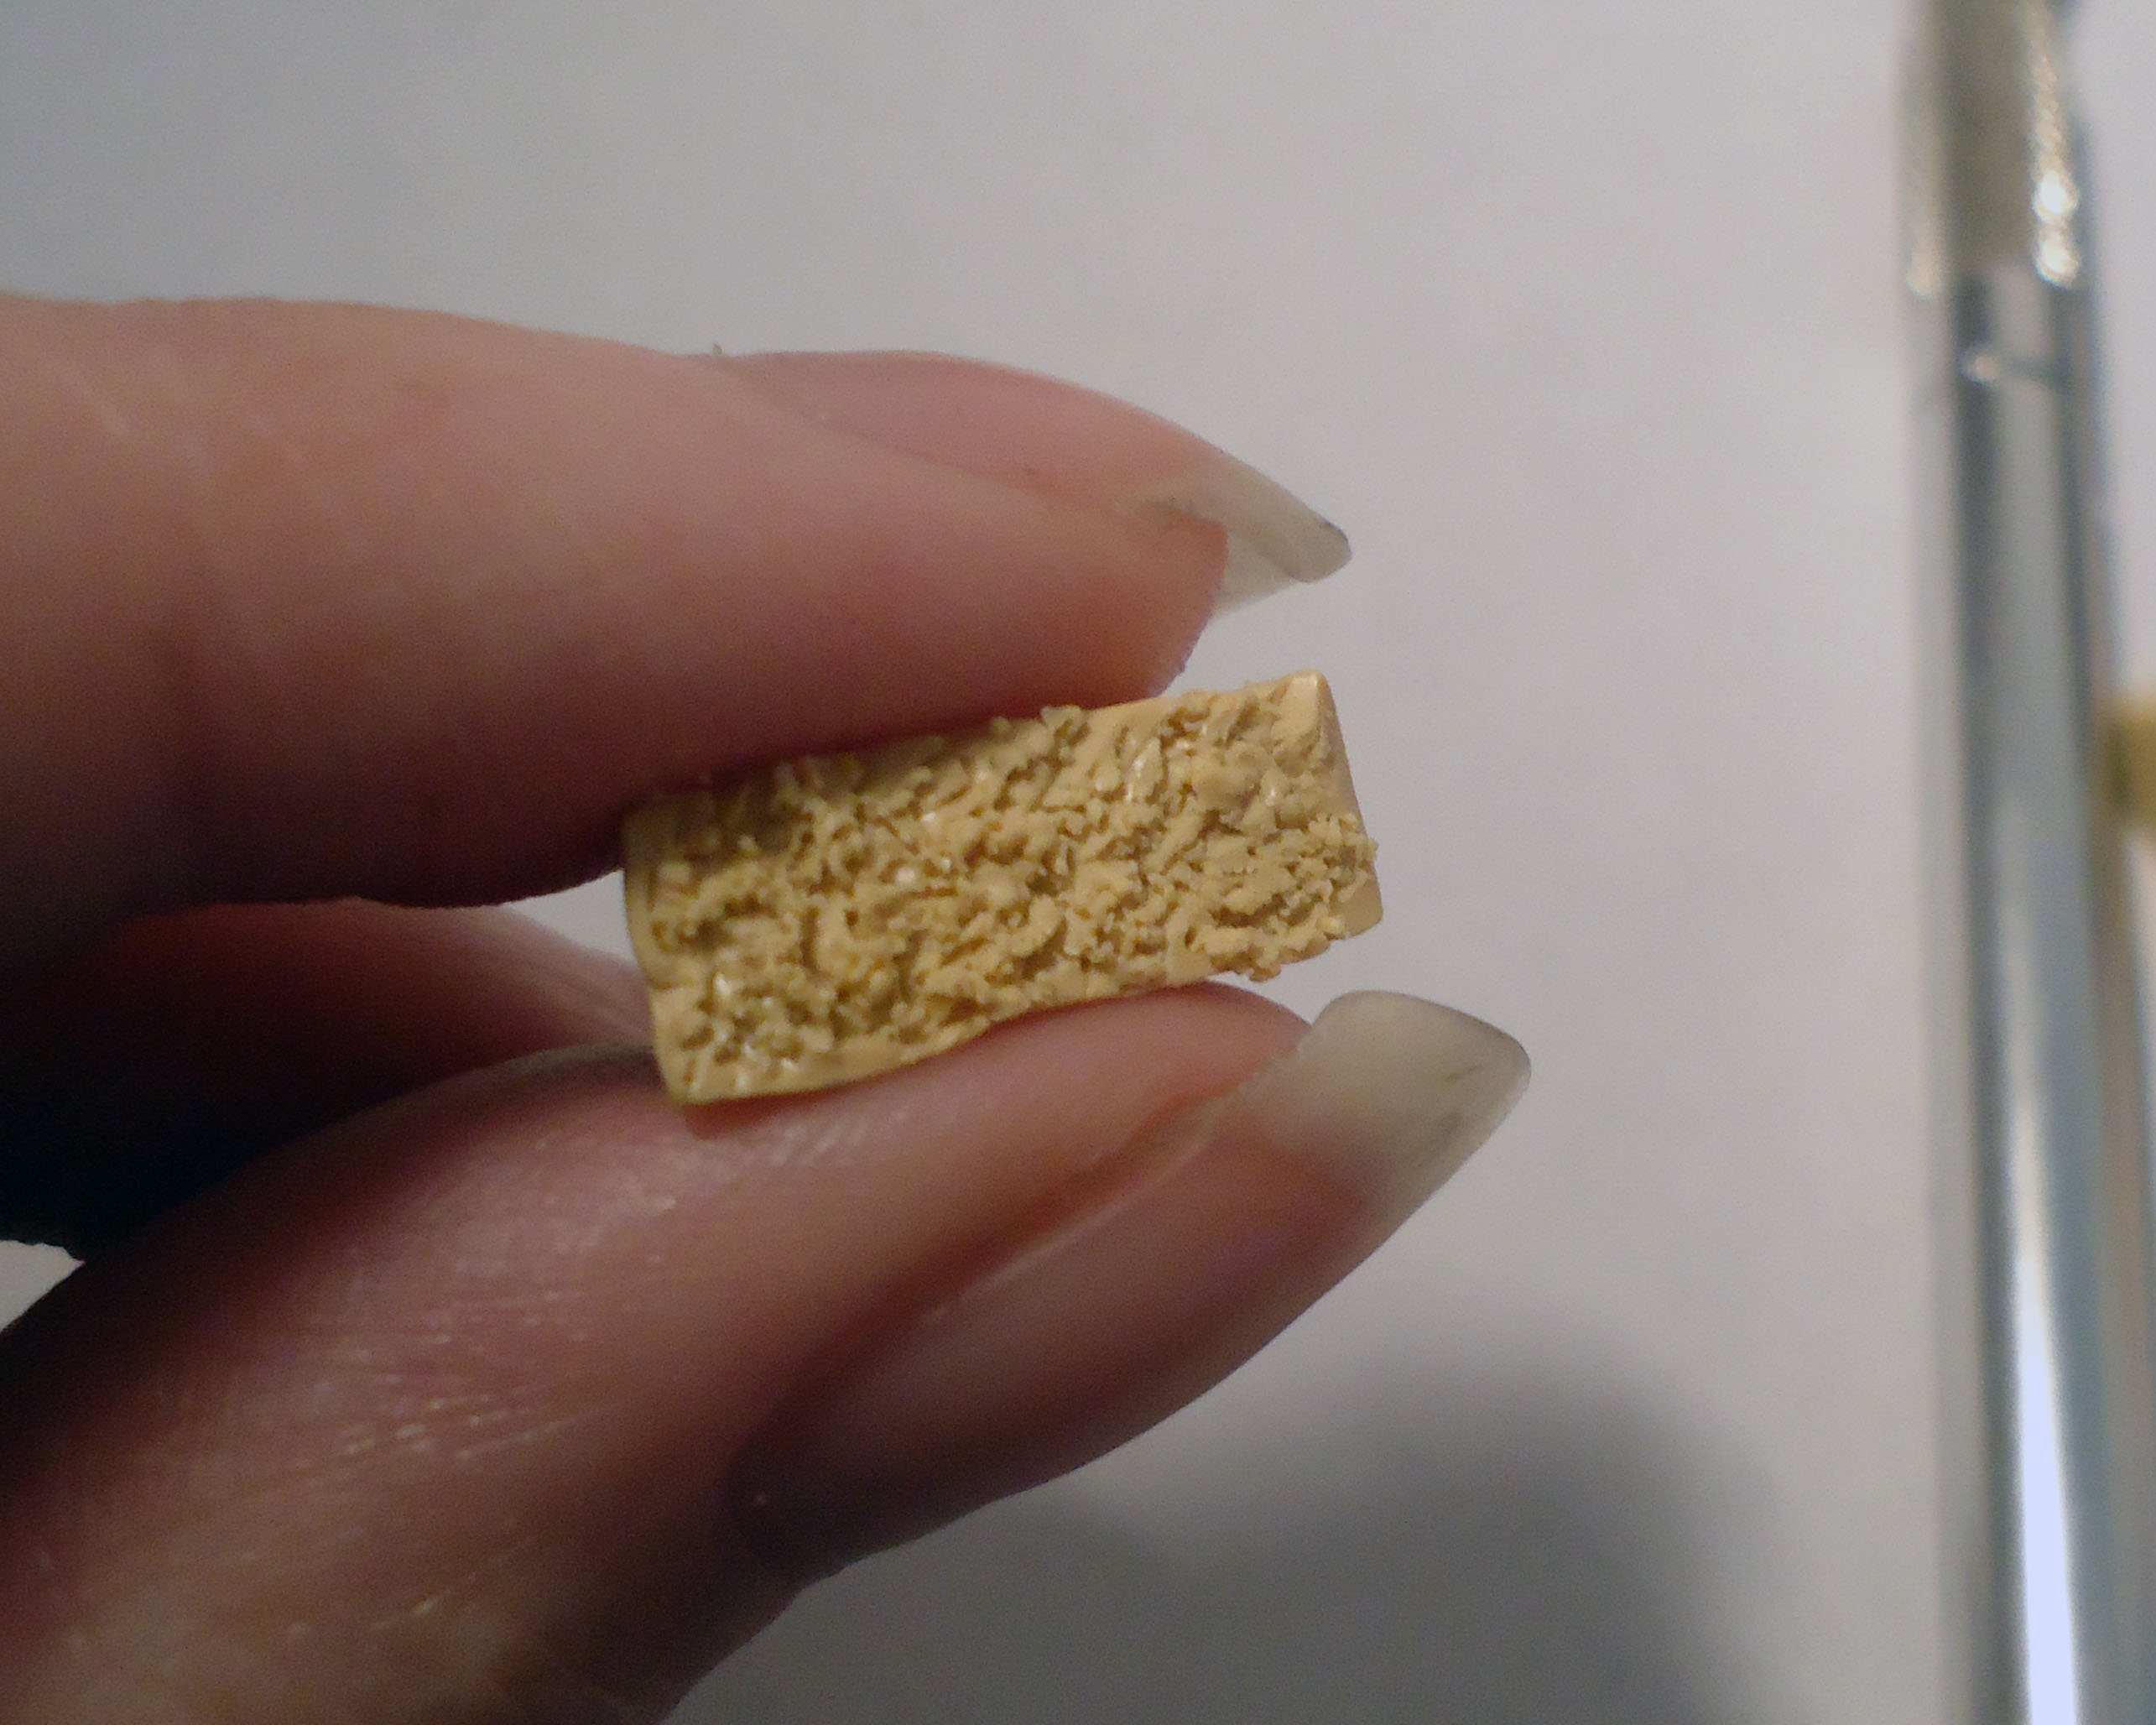
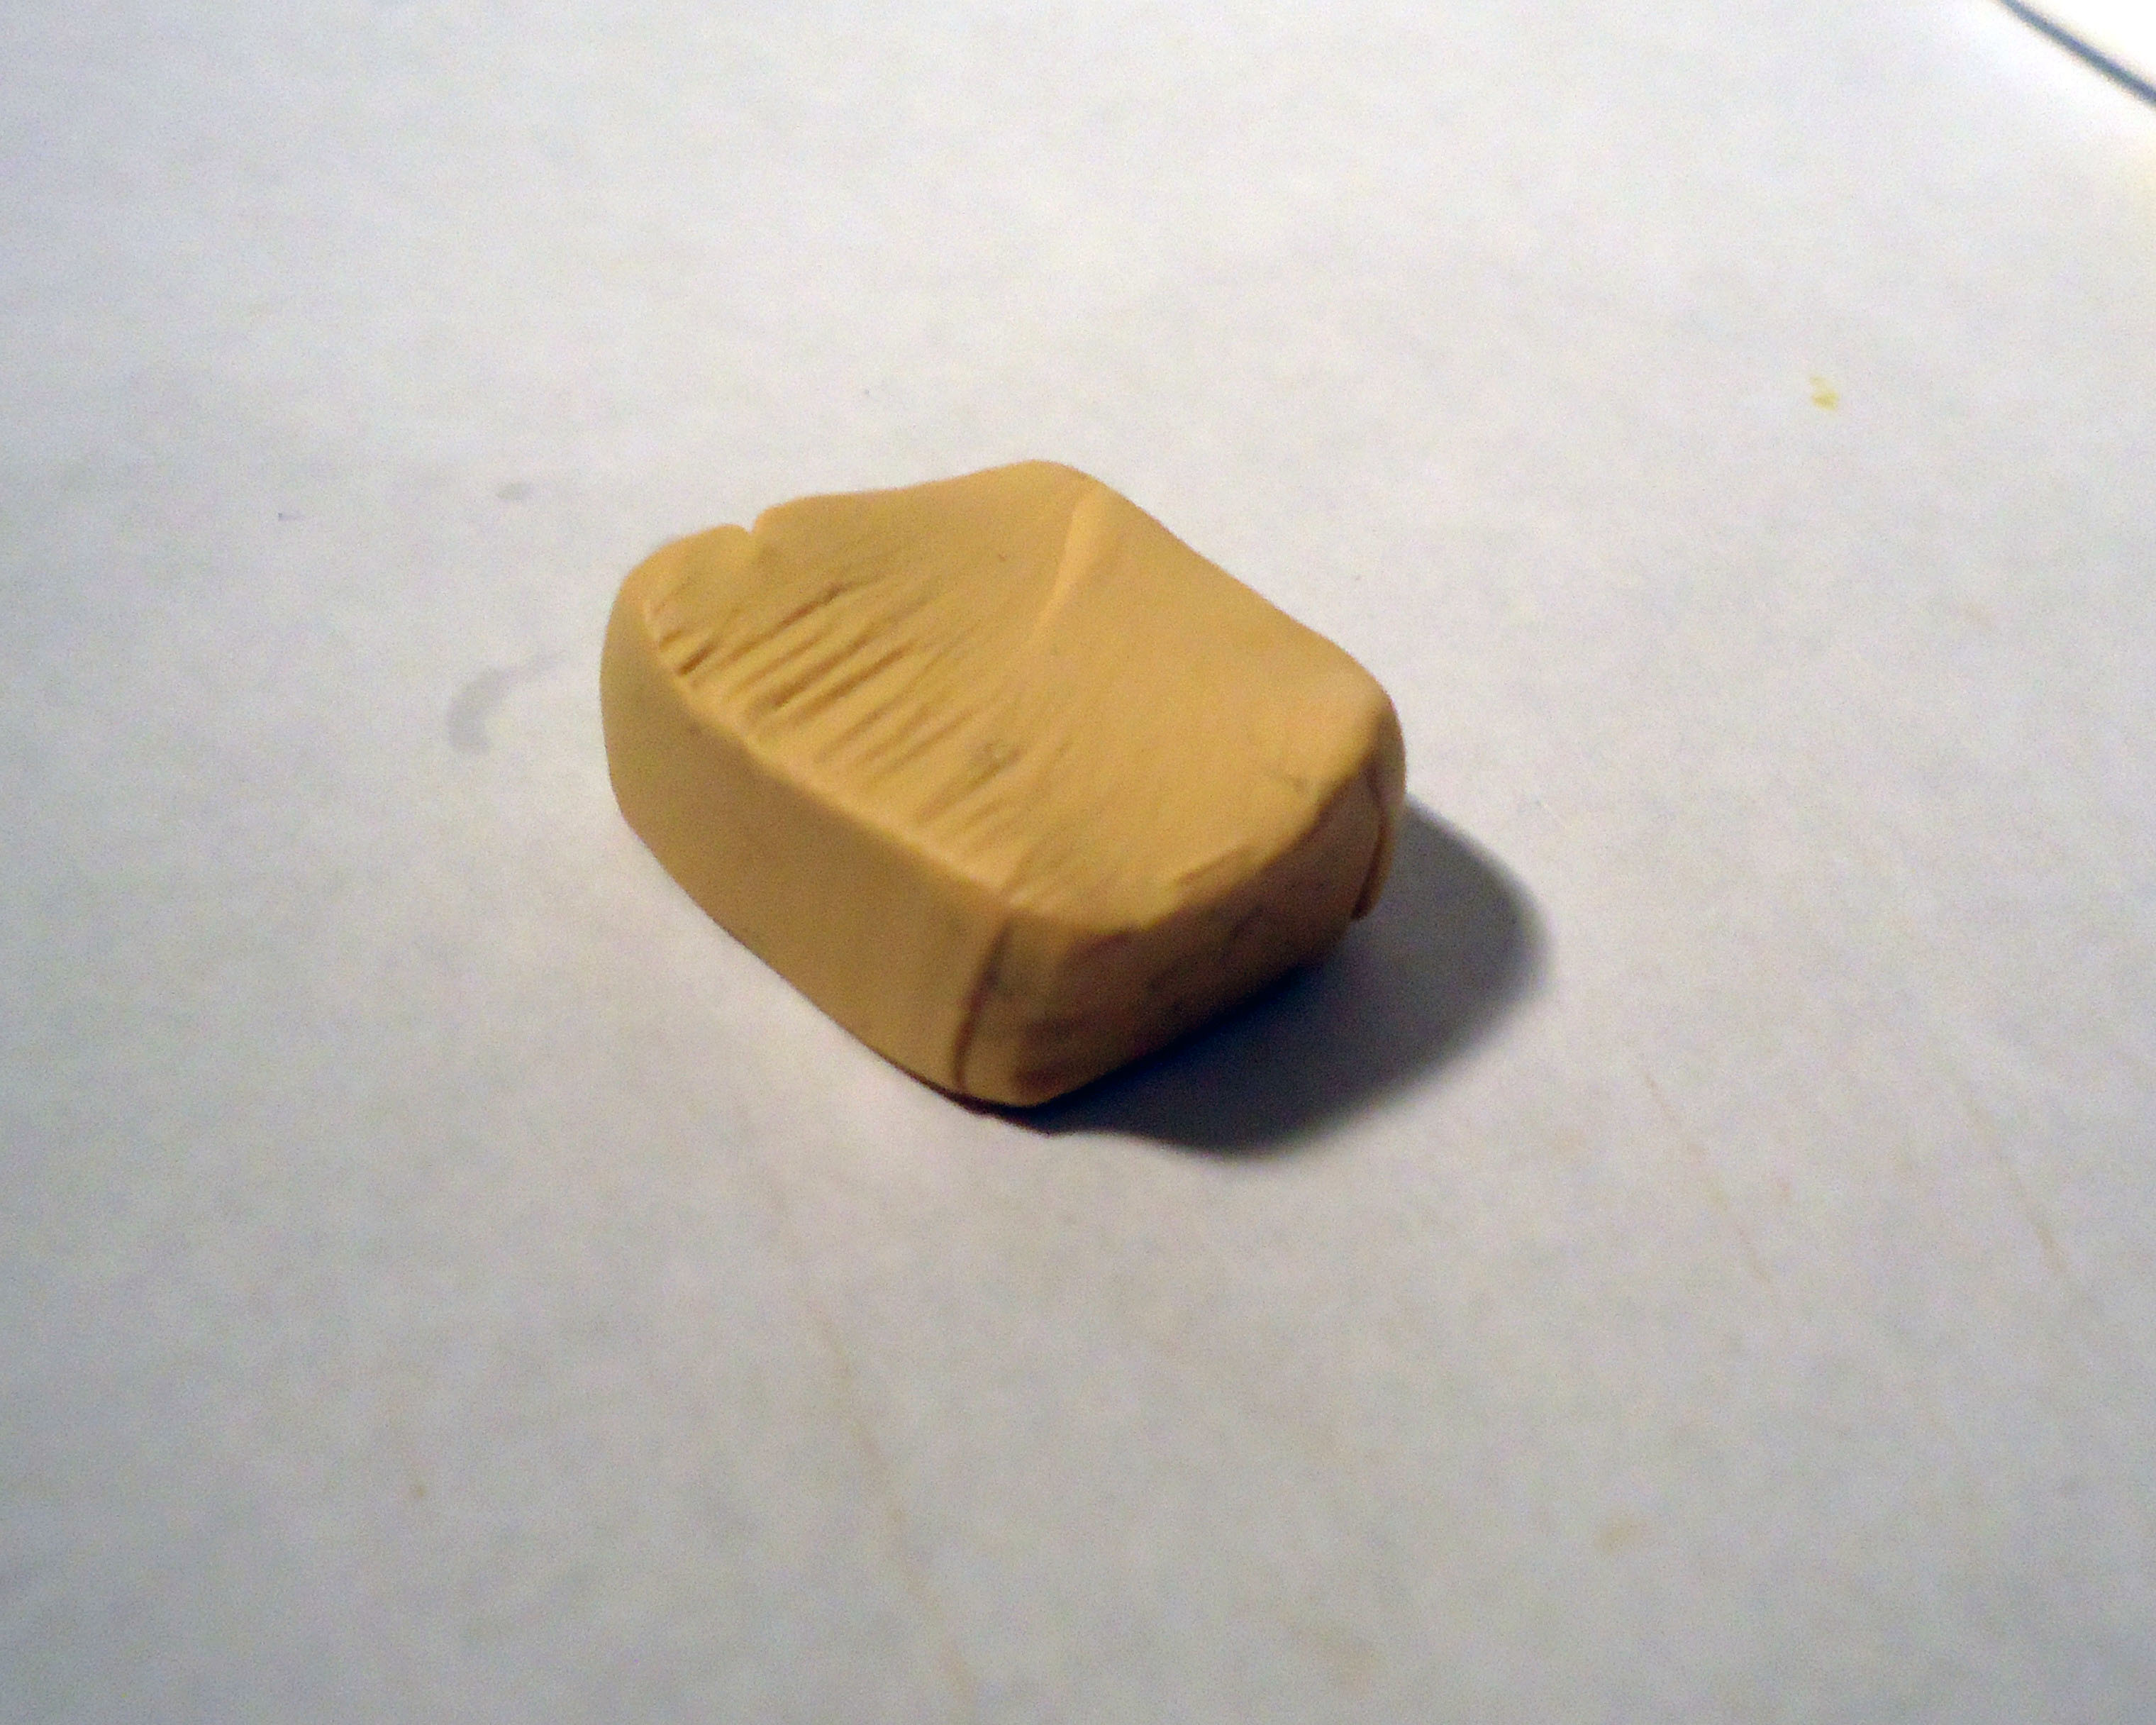
To texture your cake, hold it between your fingers like in the picture. That way when you texture the other side, the first one won't get squished.
Use something really sharp or pointy for texturing. DO NOT make holes! You need to sort of tease the clay, make random strokes with your sharp item. For me a swirly random pattern works best. Do this to both long sides on both pieces of the cake.
Use something really sharp or pointy for texturing. DO NOT make holes! You need to sort of tease the clay, make random strokes with your sharp item. For me a swirly random pattern works best. Do this to both long sides on both pieces of the cake.
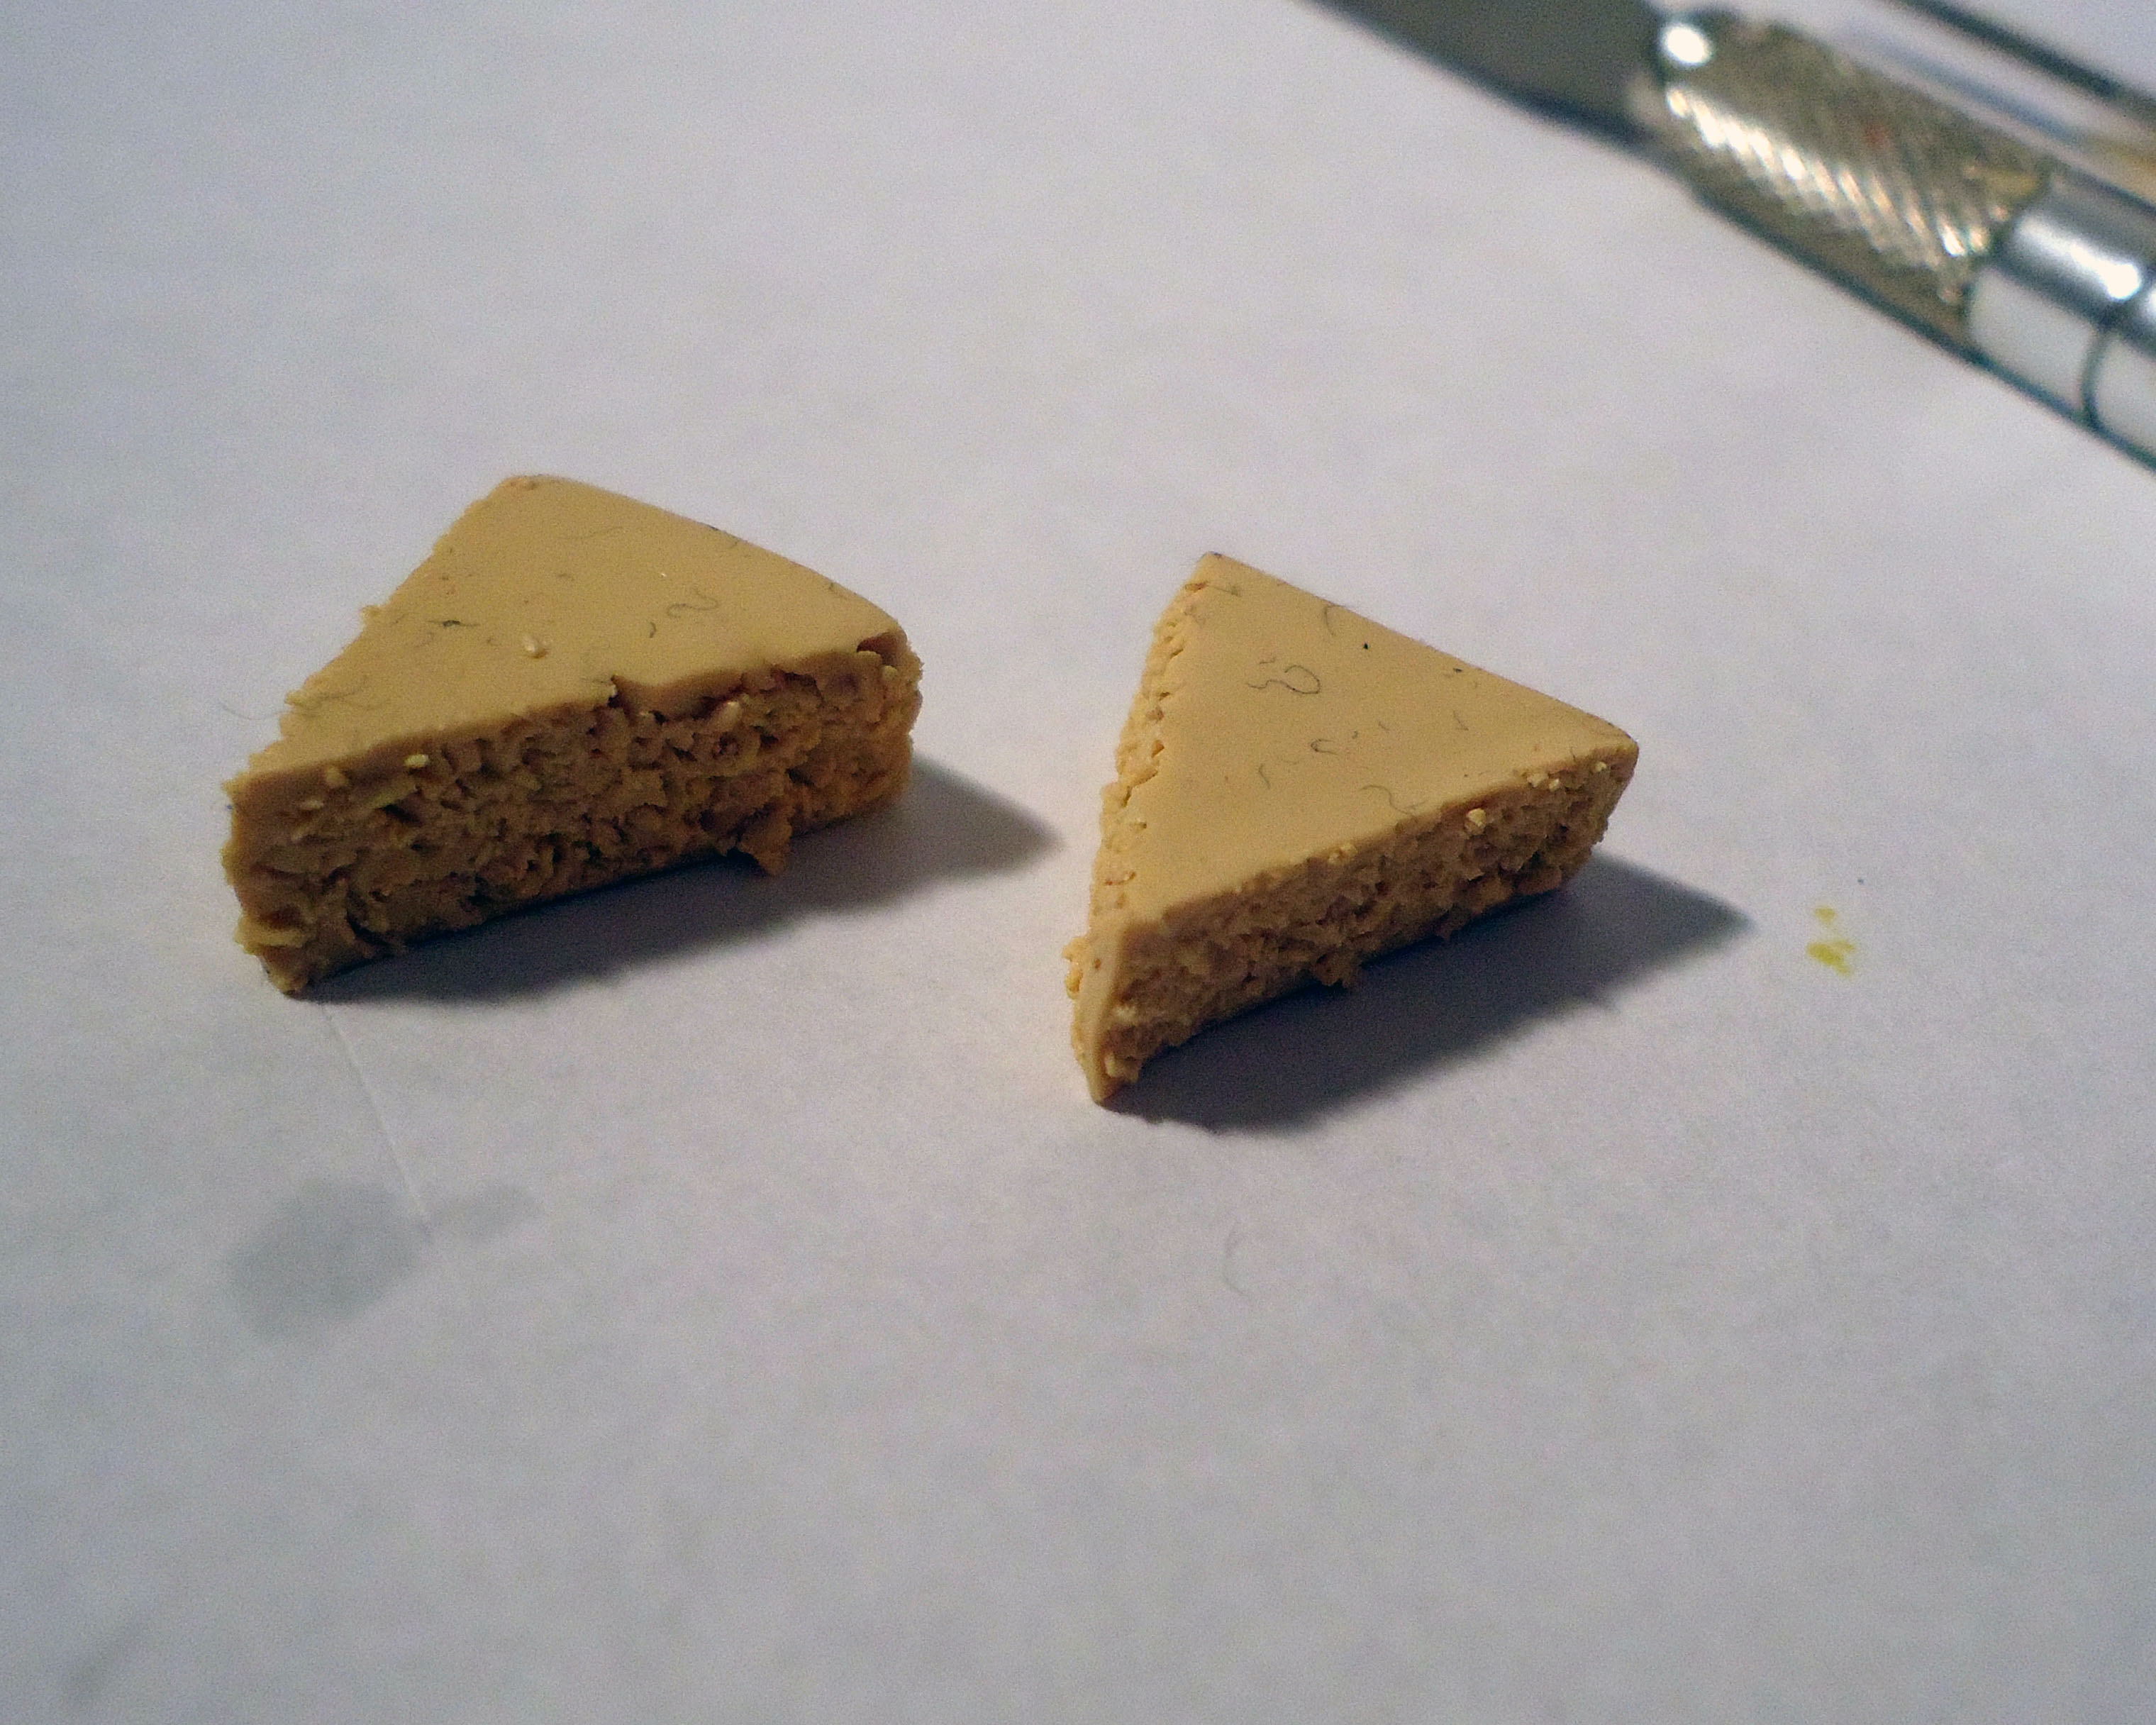
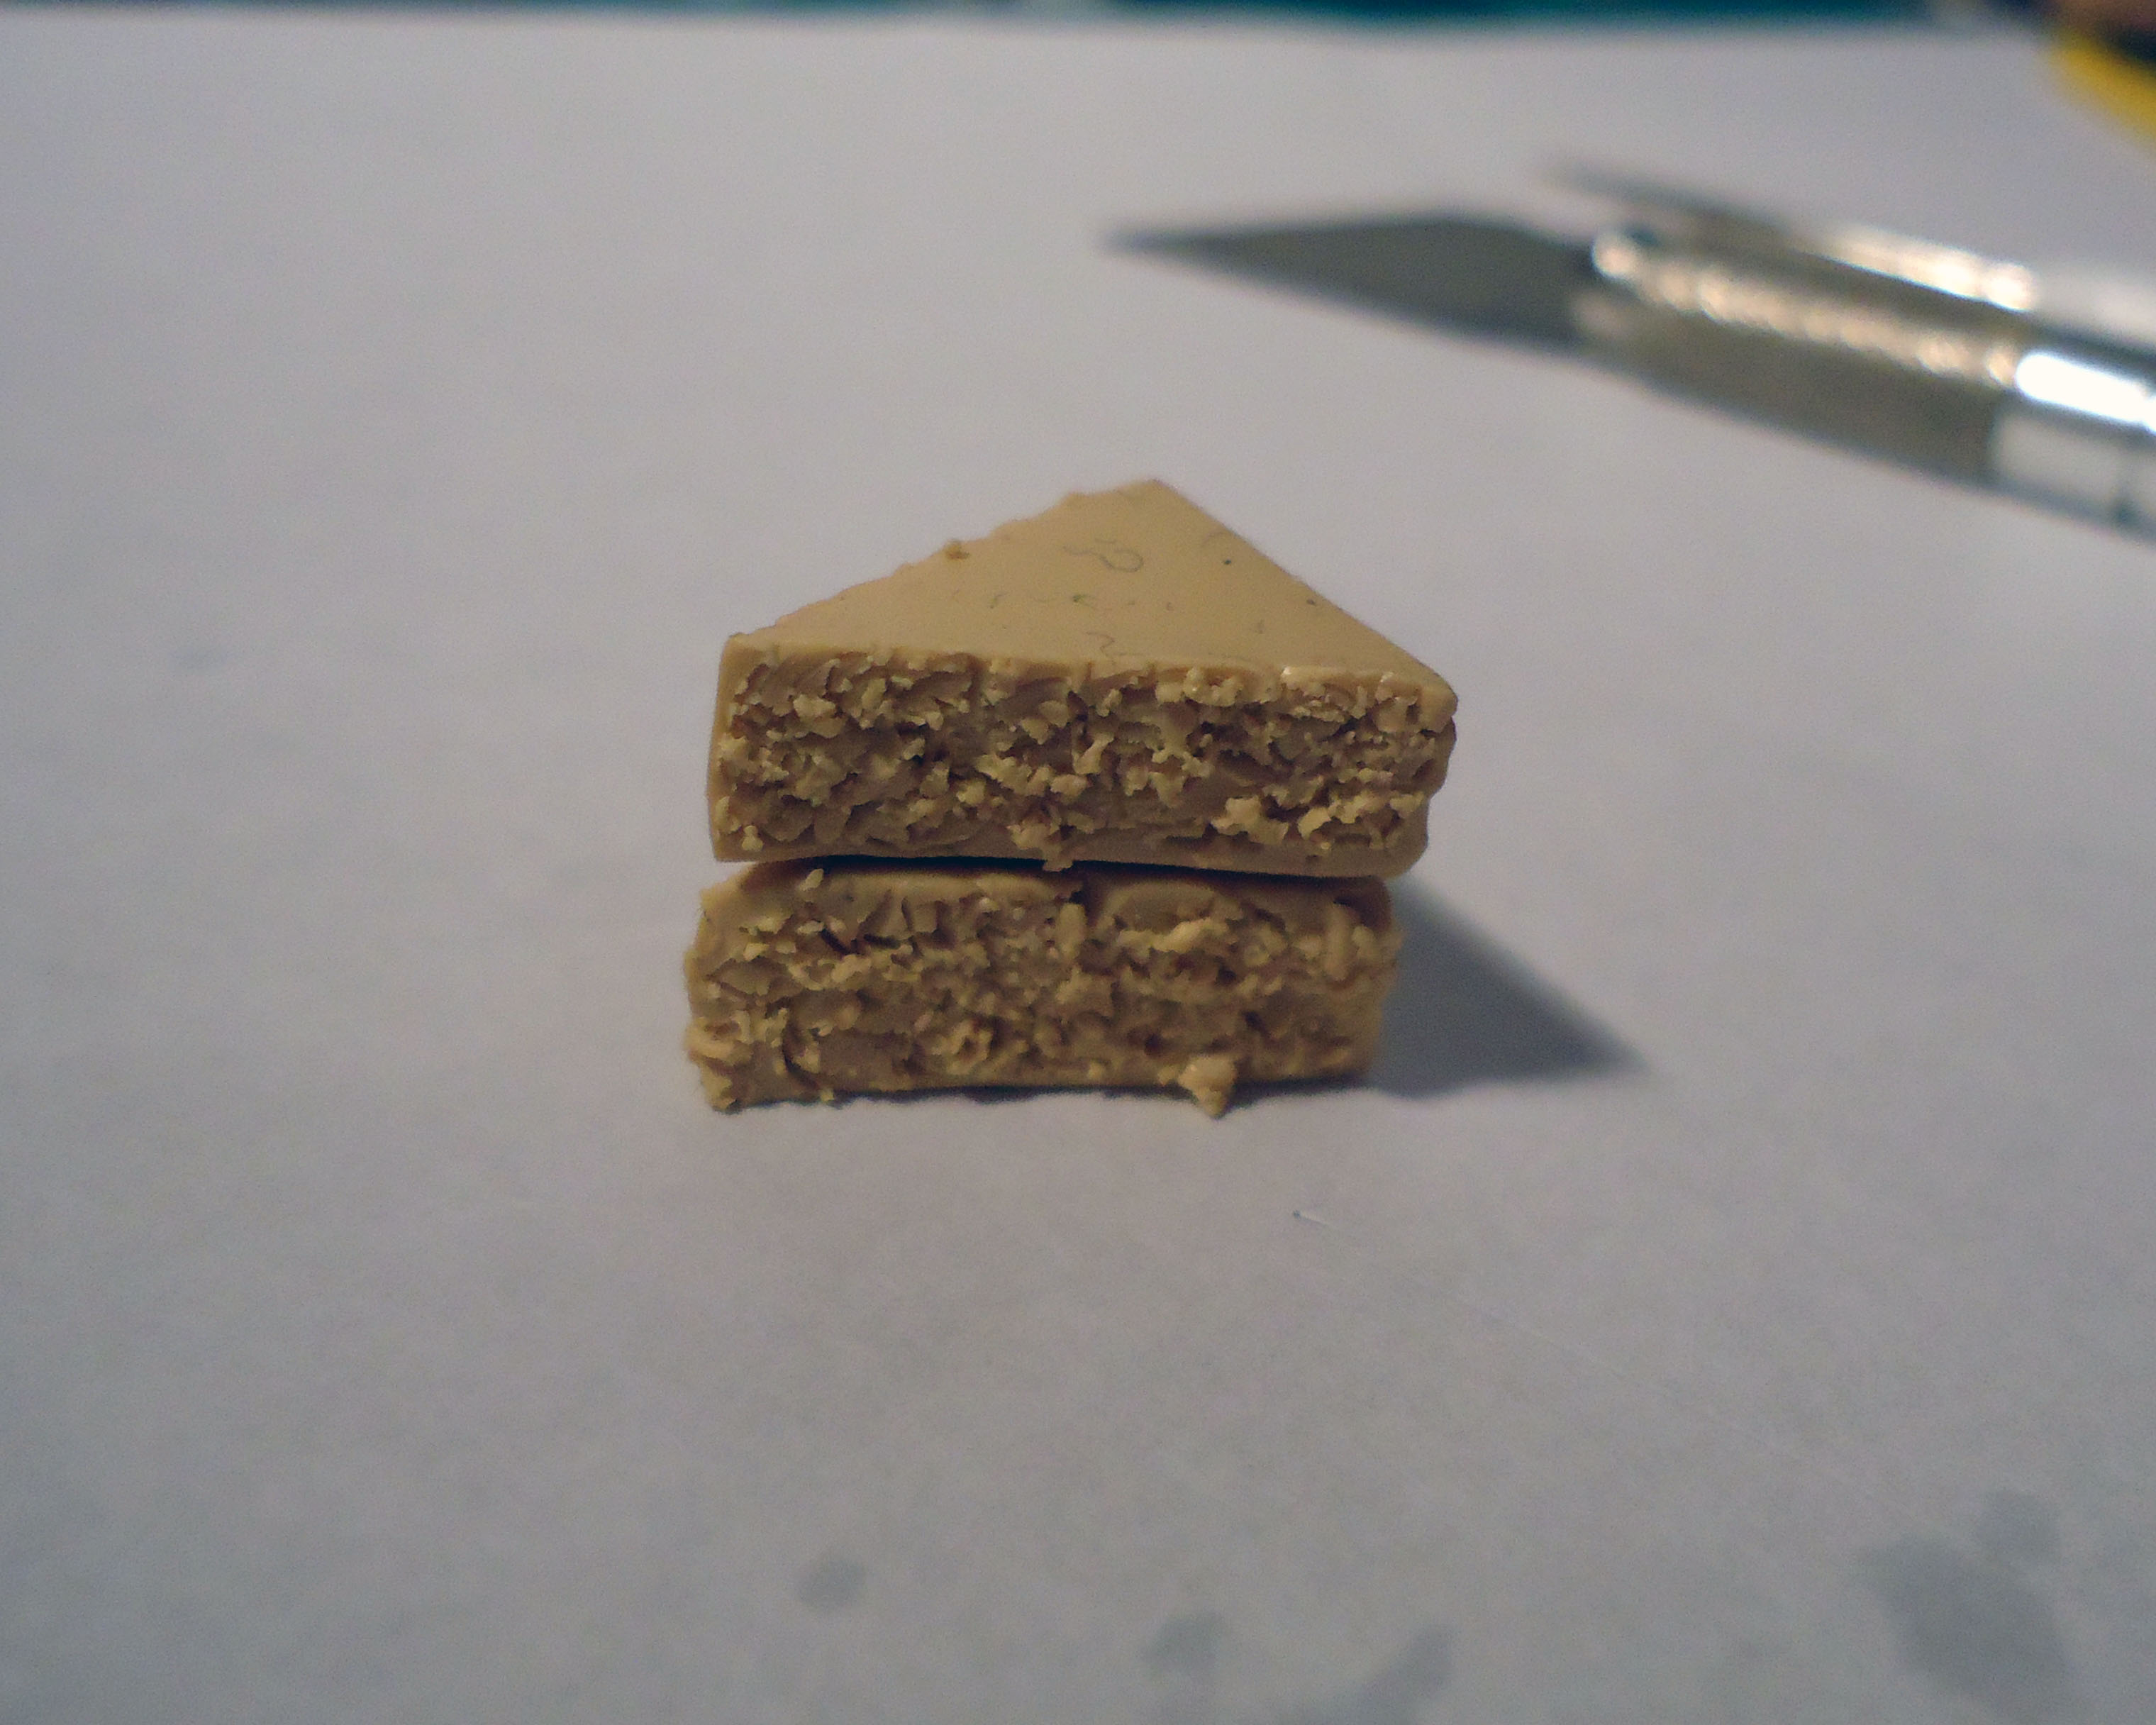
This is the cake that will be split by icing in the middle. It can be made from 3, or even 4 pieces, if you manage to pull it off!
Yes, due to you holding it all the time the cake will get all dirty and might get some lint on it... But that doesn't matter, since all the dirt will be hidden.
Now on to the next one!
Yes, due to you holding it all the time the cake will get all dirty and might get some lint on it... But that doesn't matter, since all the dirt will be hidden.
Now on to the next one!
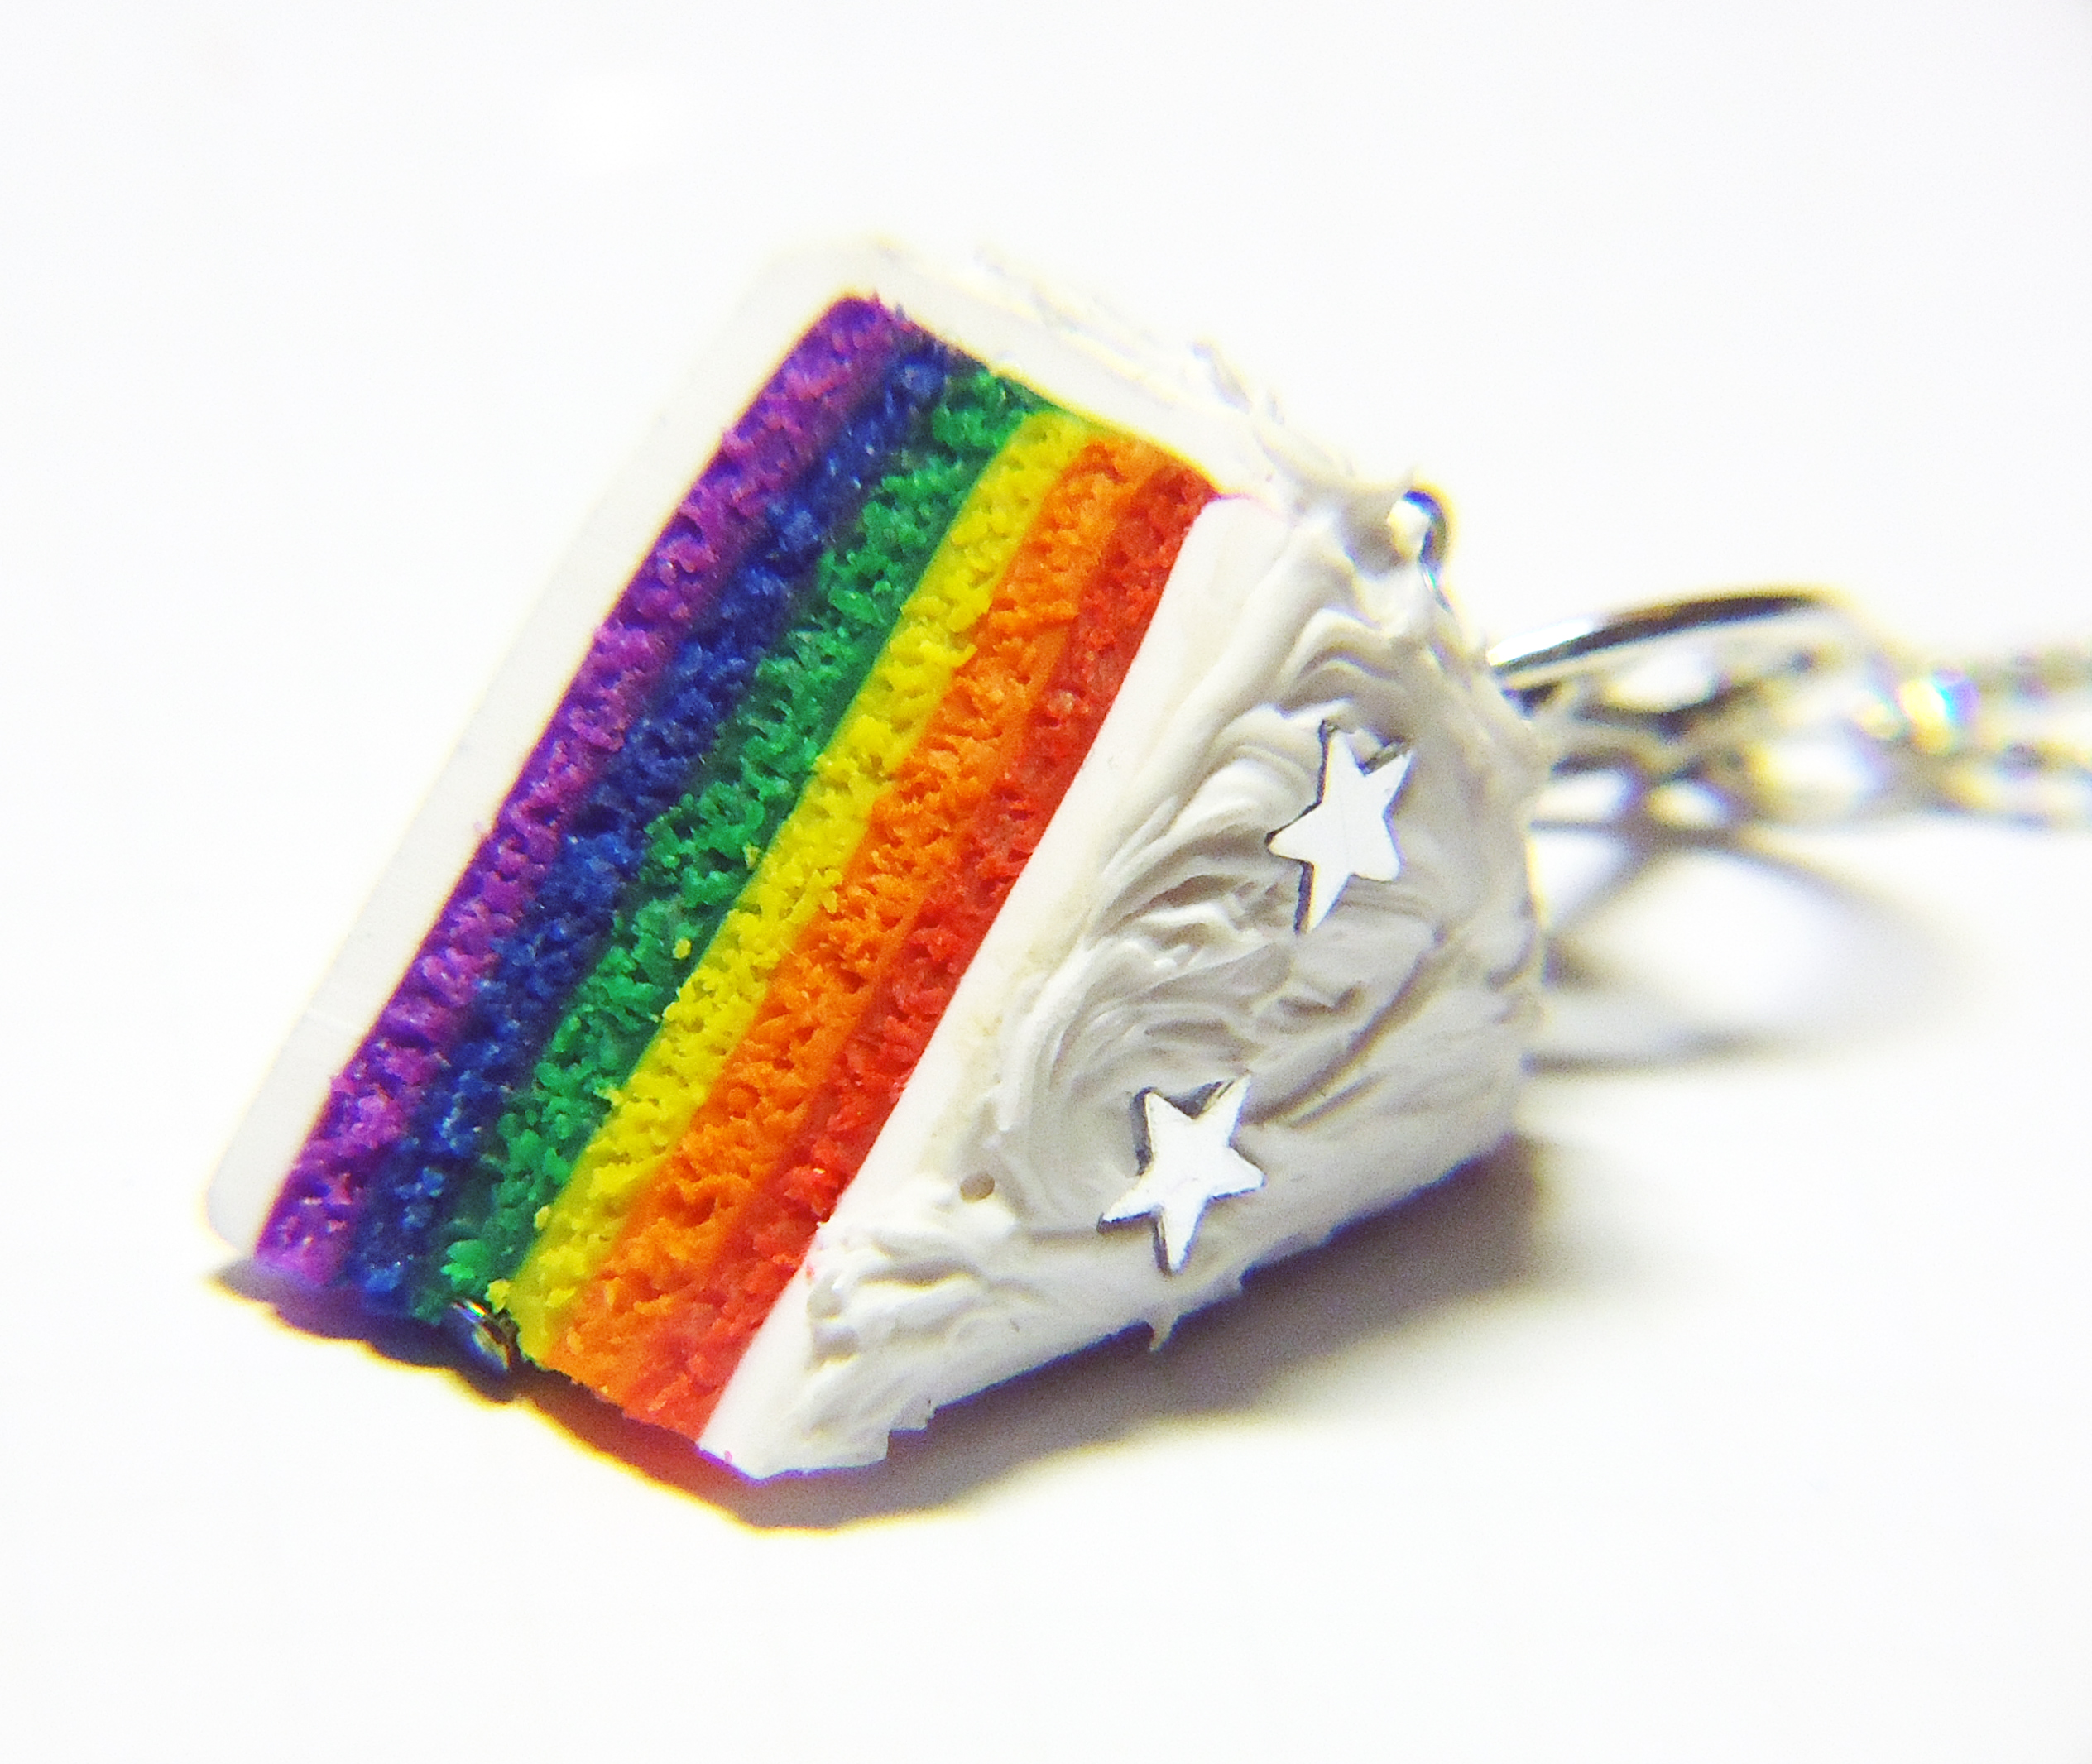
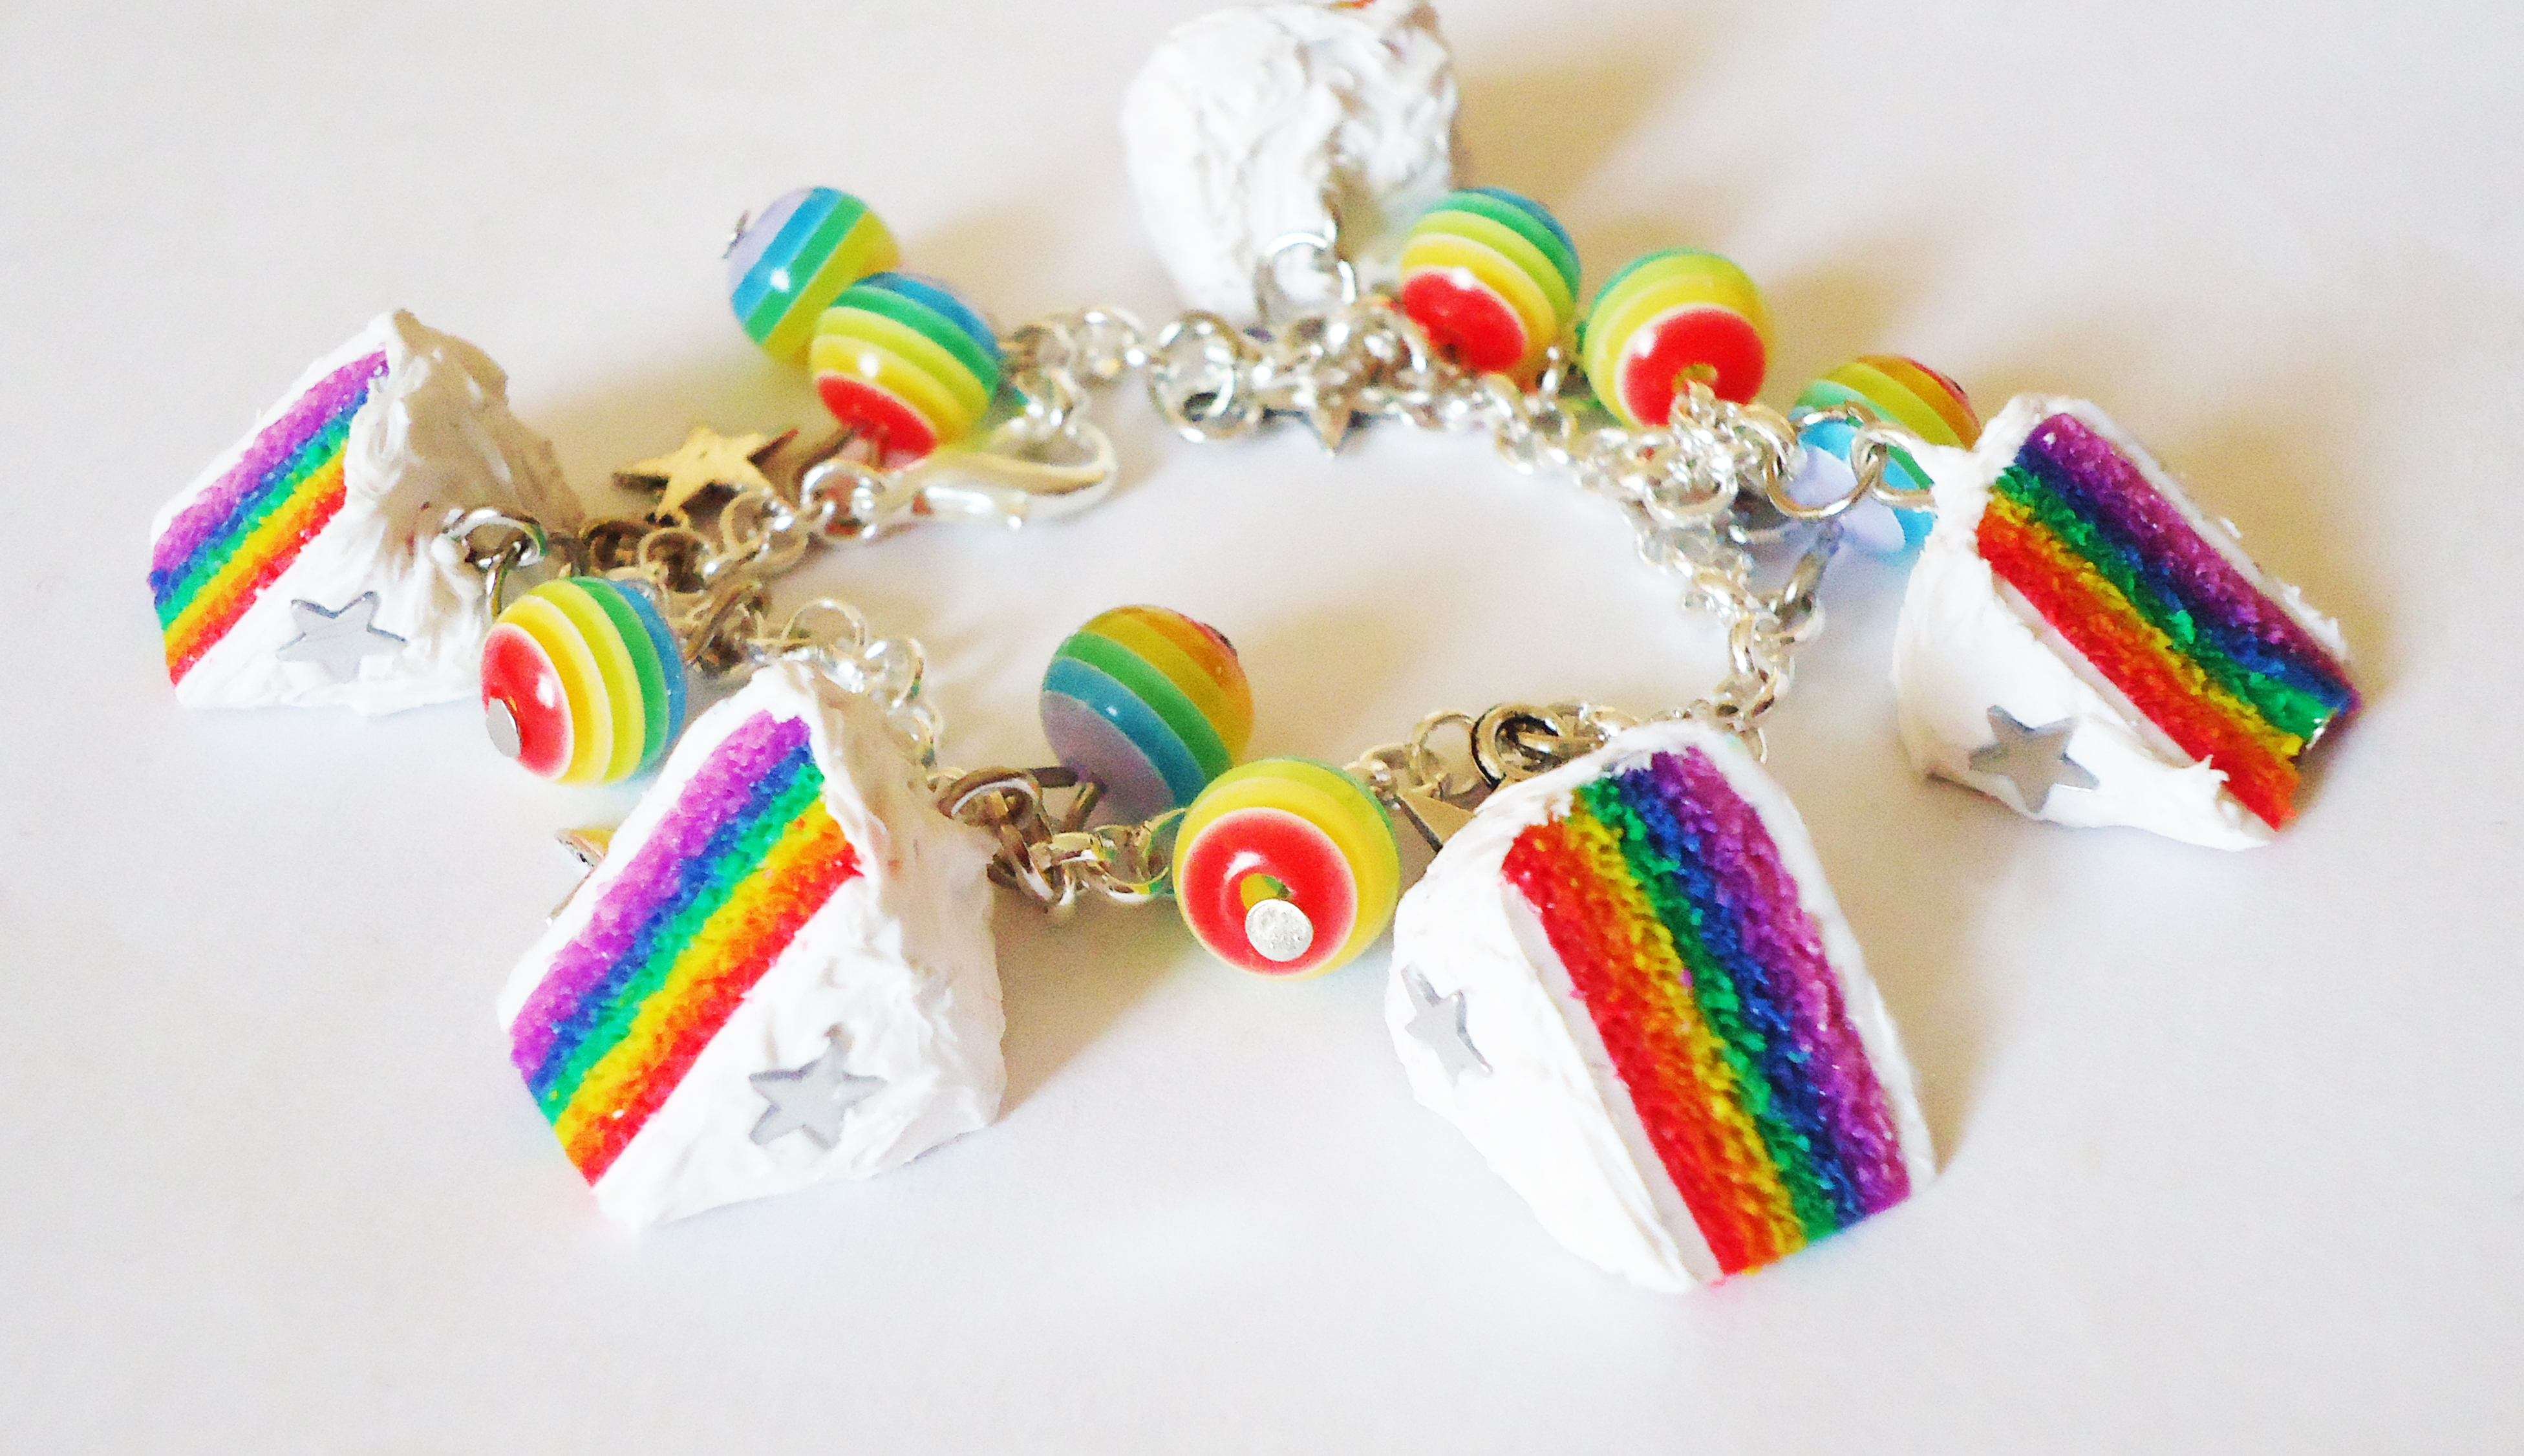
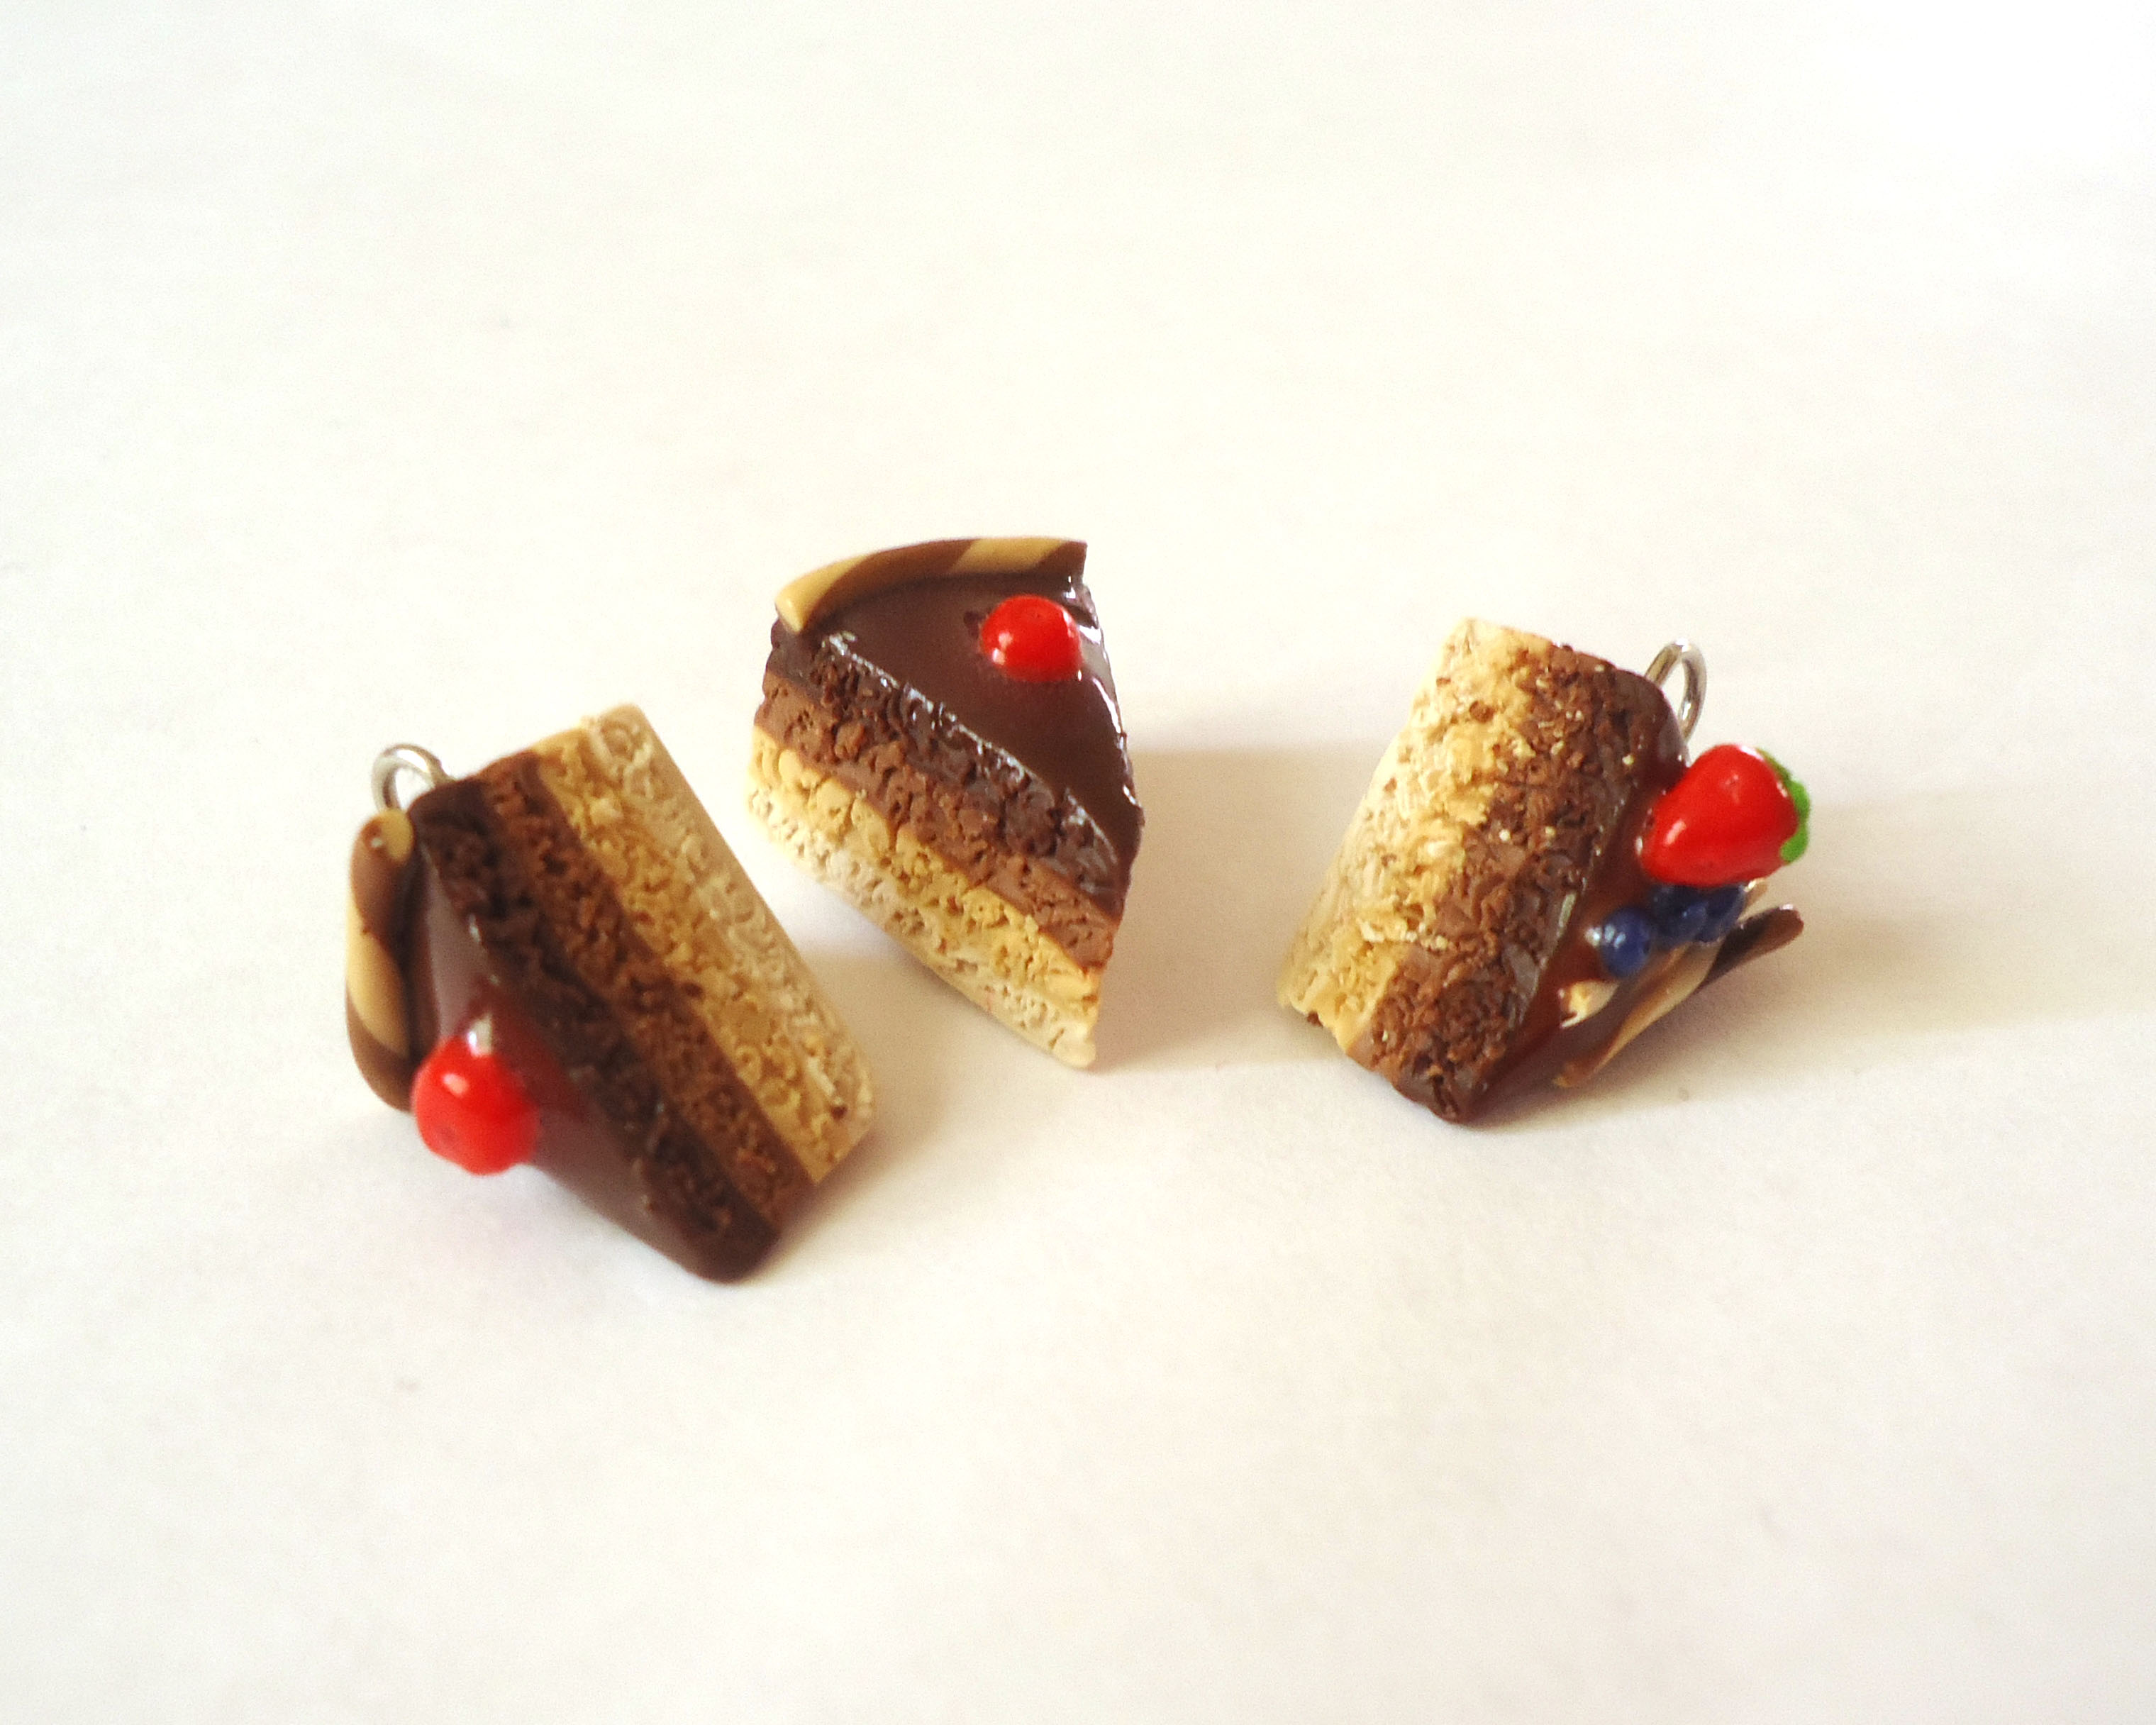
Color layers
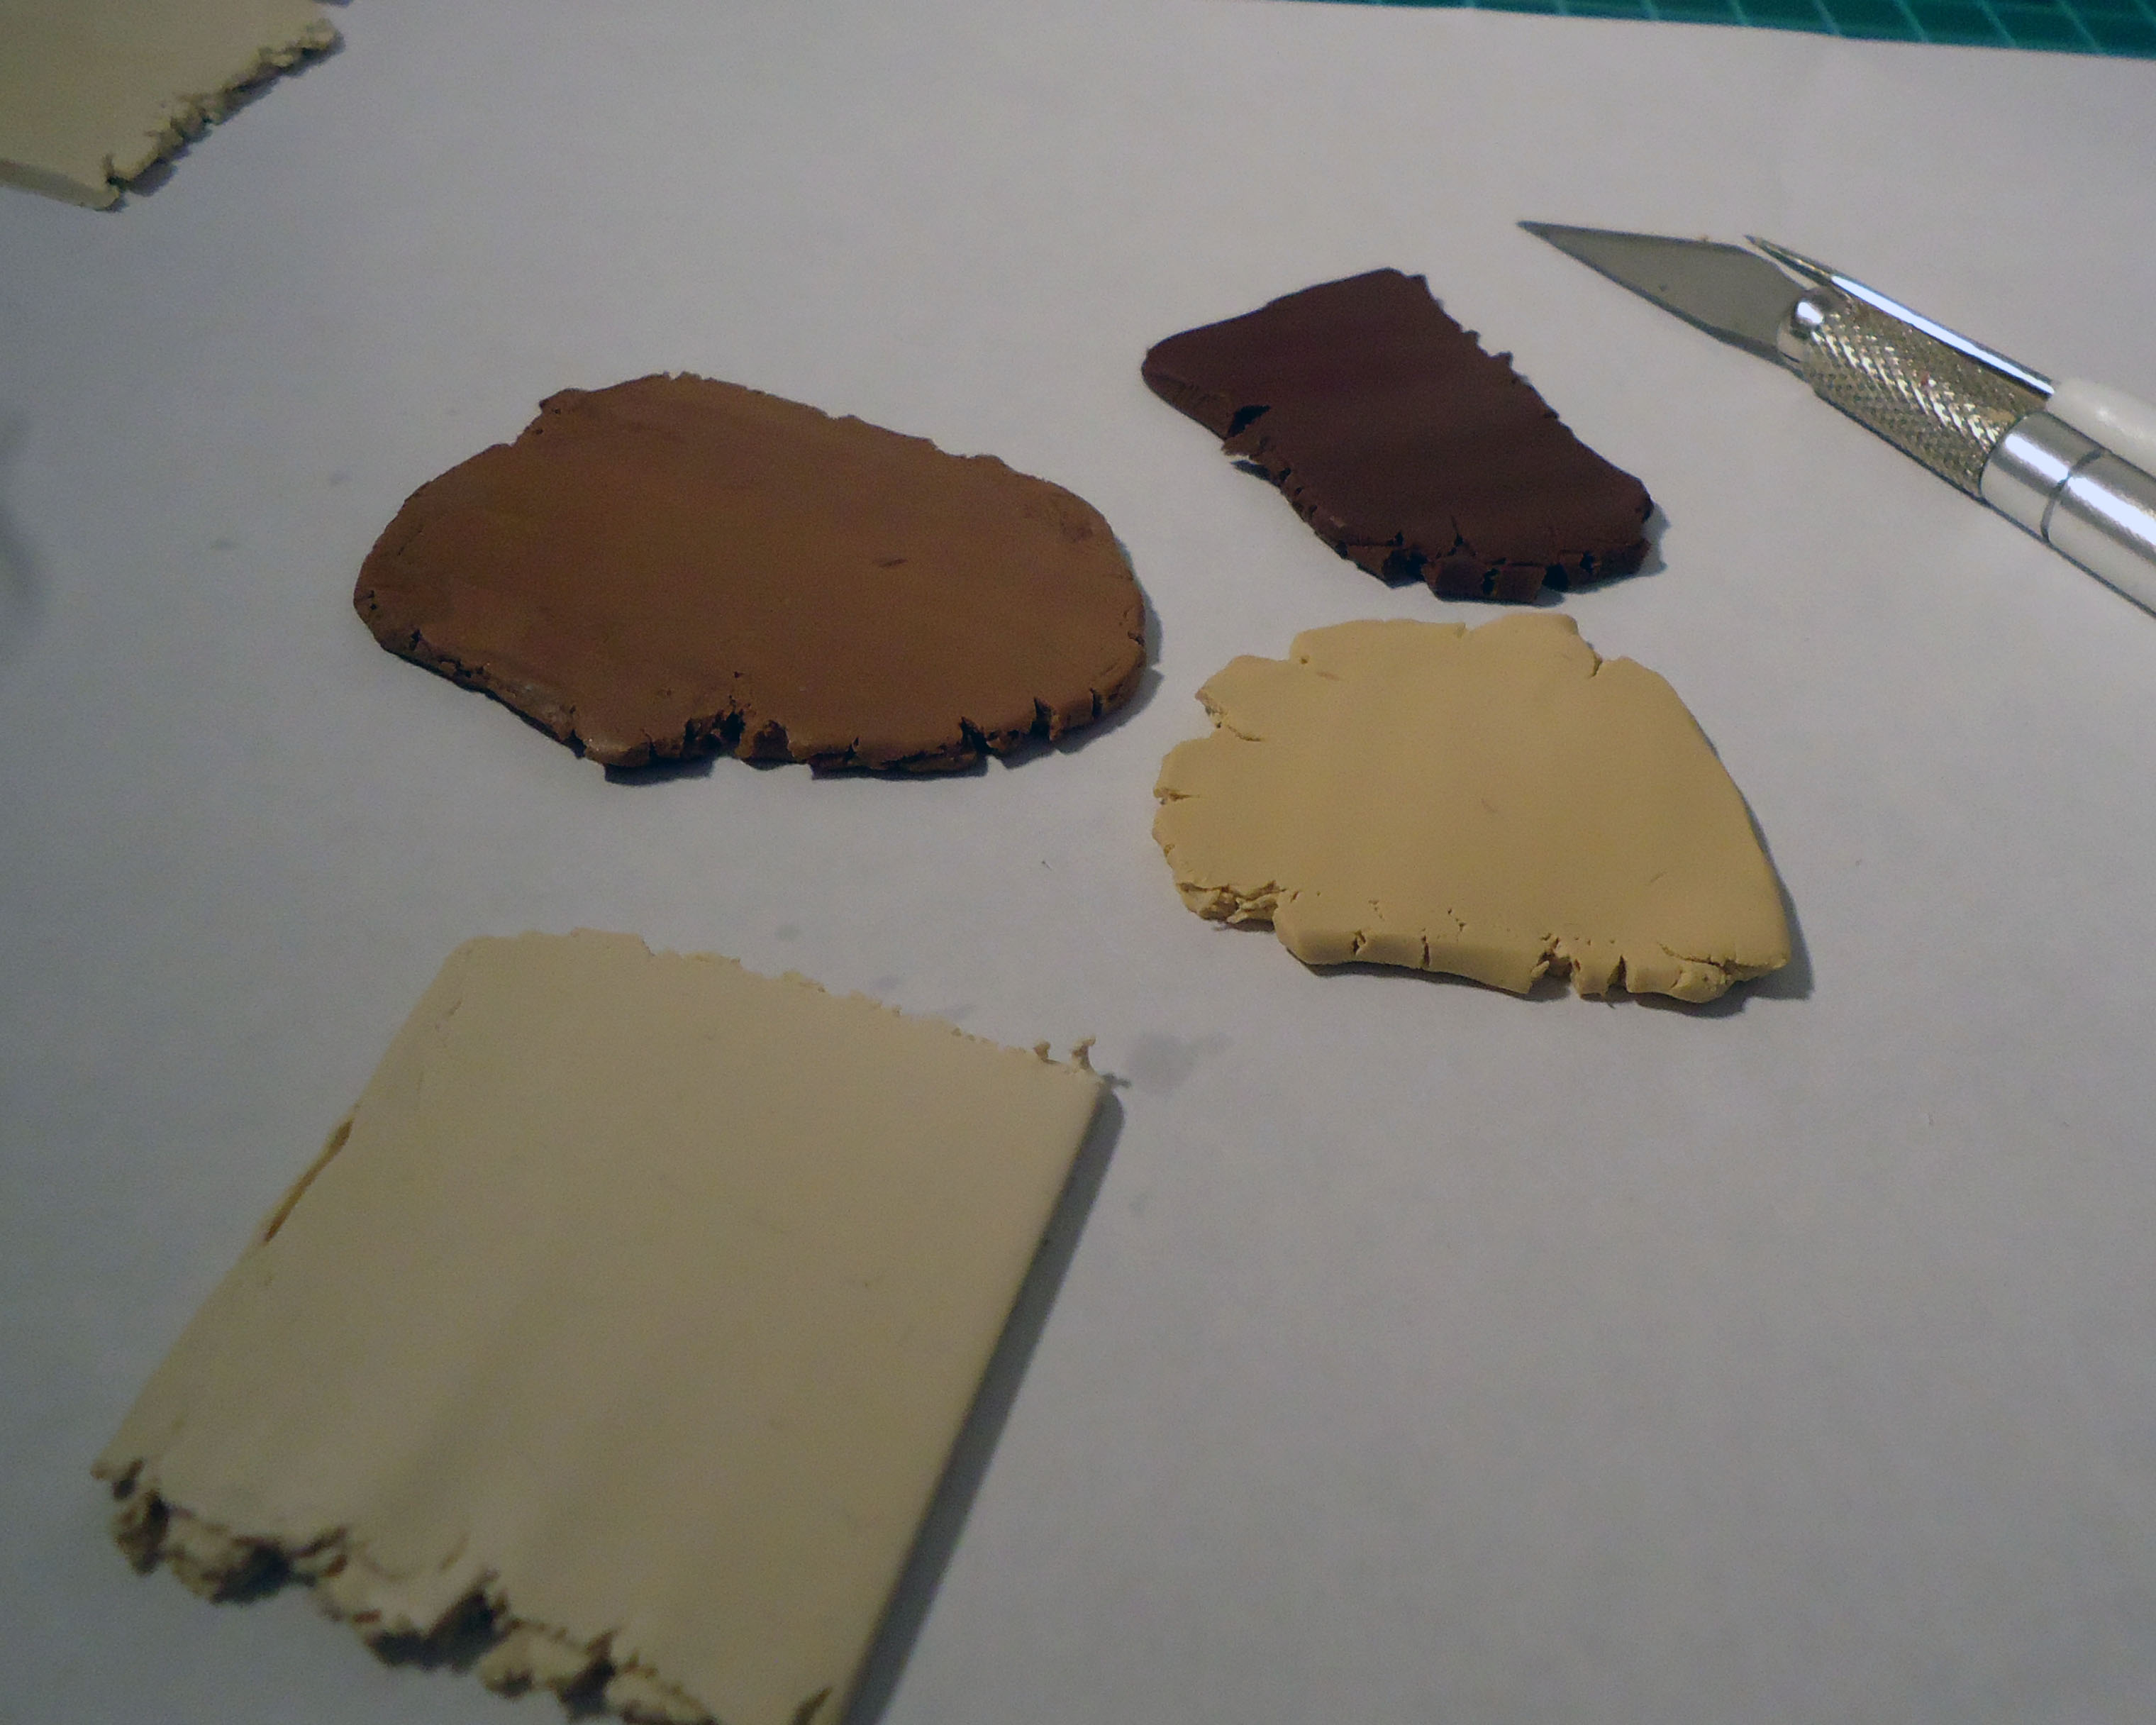
Layered cakes (I've said layered so much I...is it even a word?!) are cakes made of a few color layers. This is the technique I use for those lovable rainbow cakes! For this tutorial I am making a chocolate-caramel-vanilla cake. Basically, a gradient of browns and tans. Layered cake bases work like this:
For a layered cake, take different colors of clay and roll them all out. Try to make the thickness similar. This is a lot easier if you have a metal clay-machine-thing-that's-pretty-much-a-pasta-maker...thing. It makes your layers nice and even, look at mine!
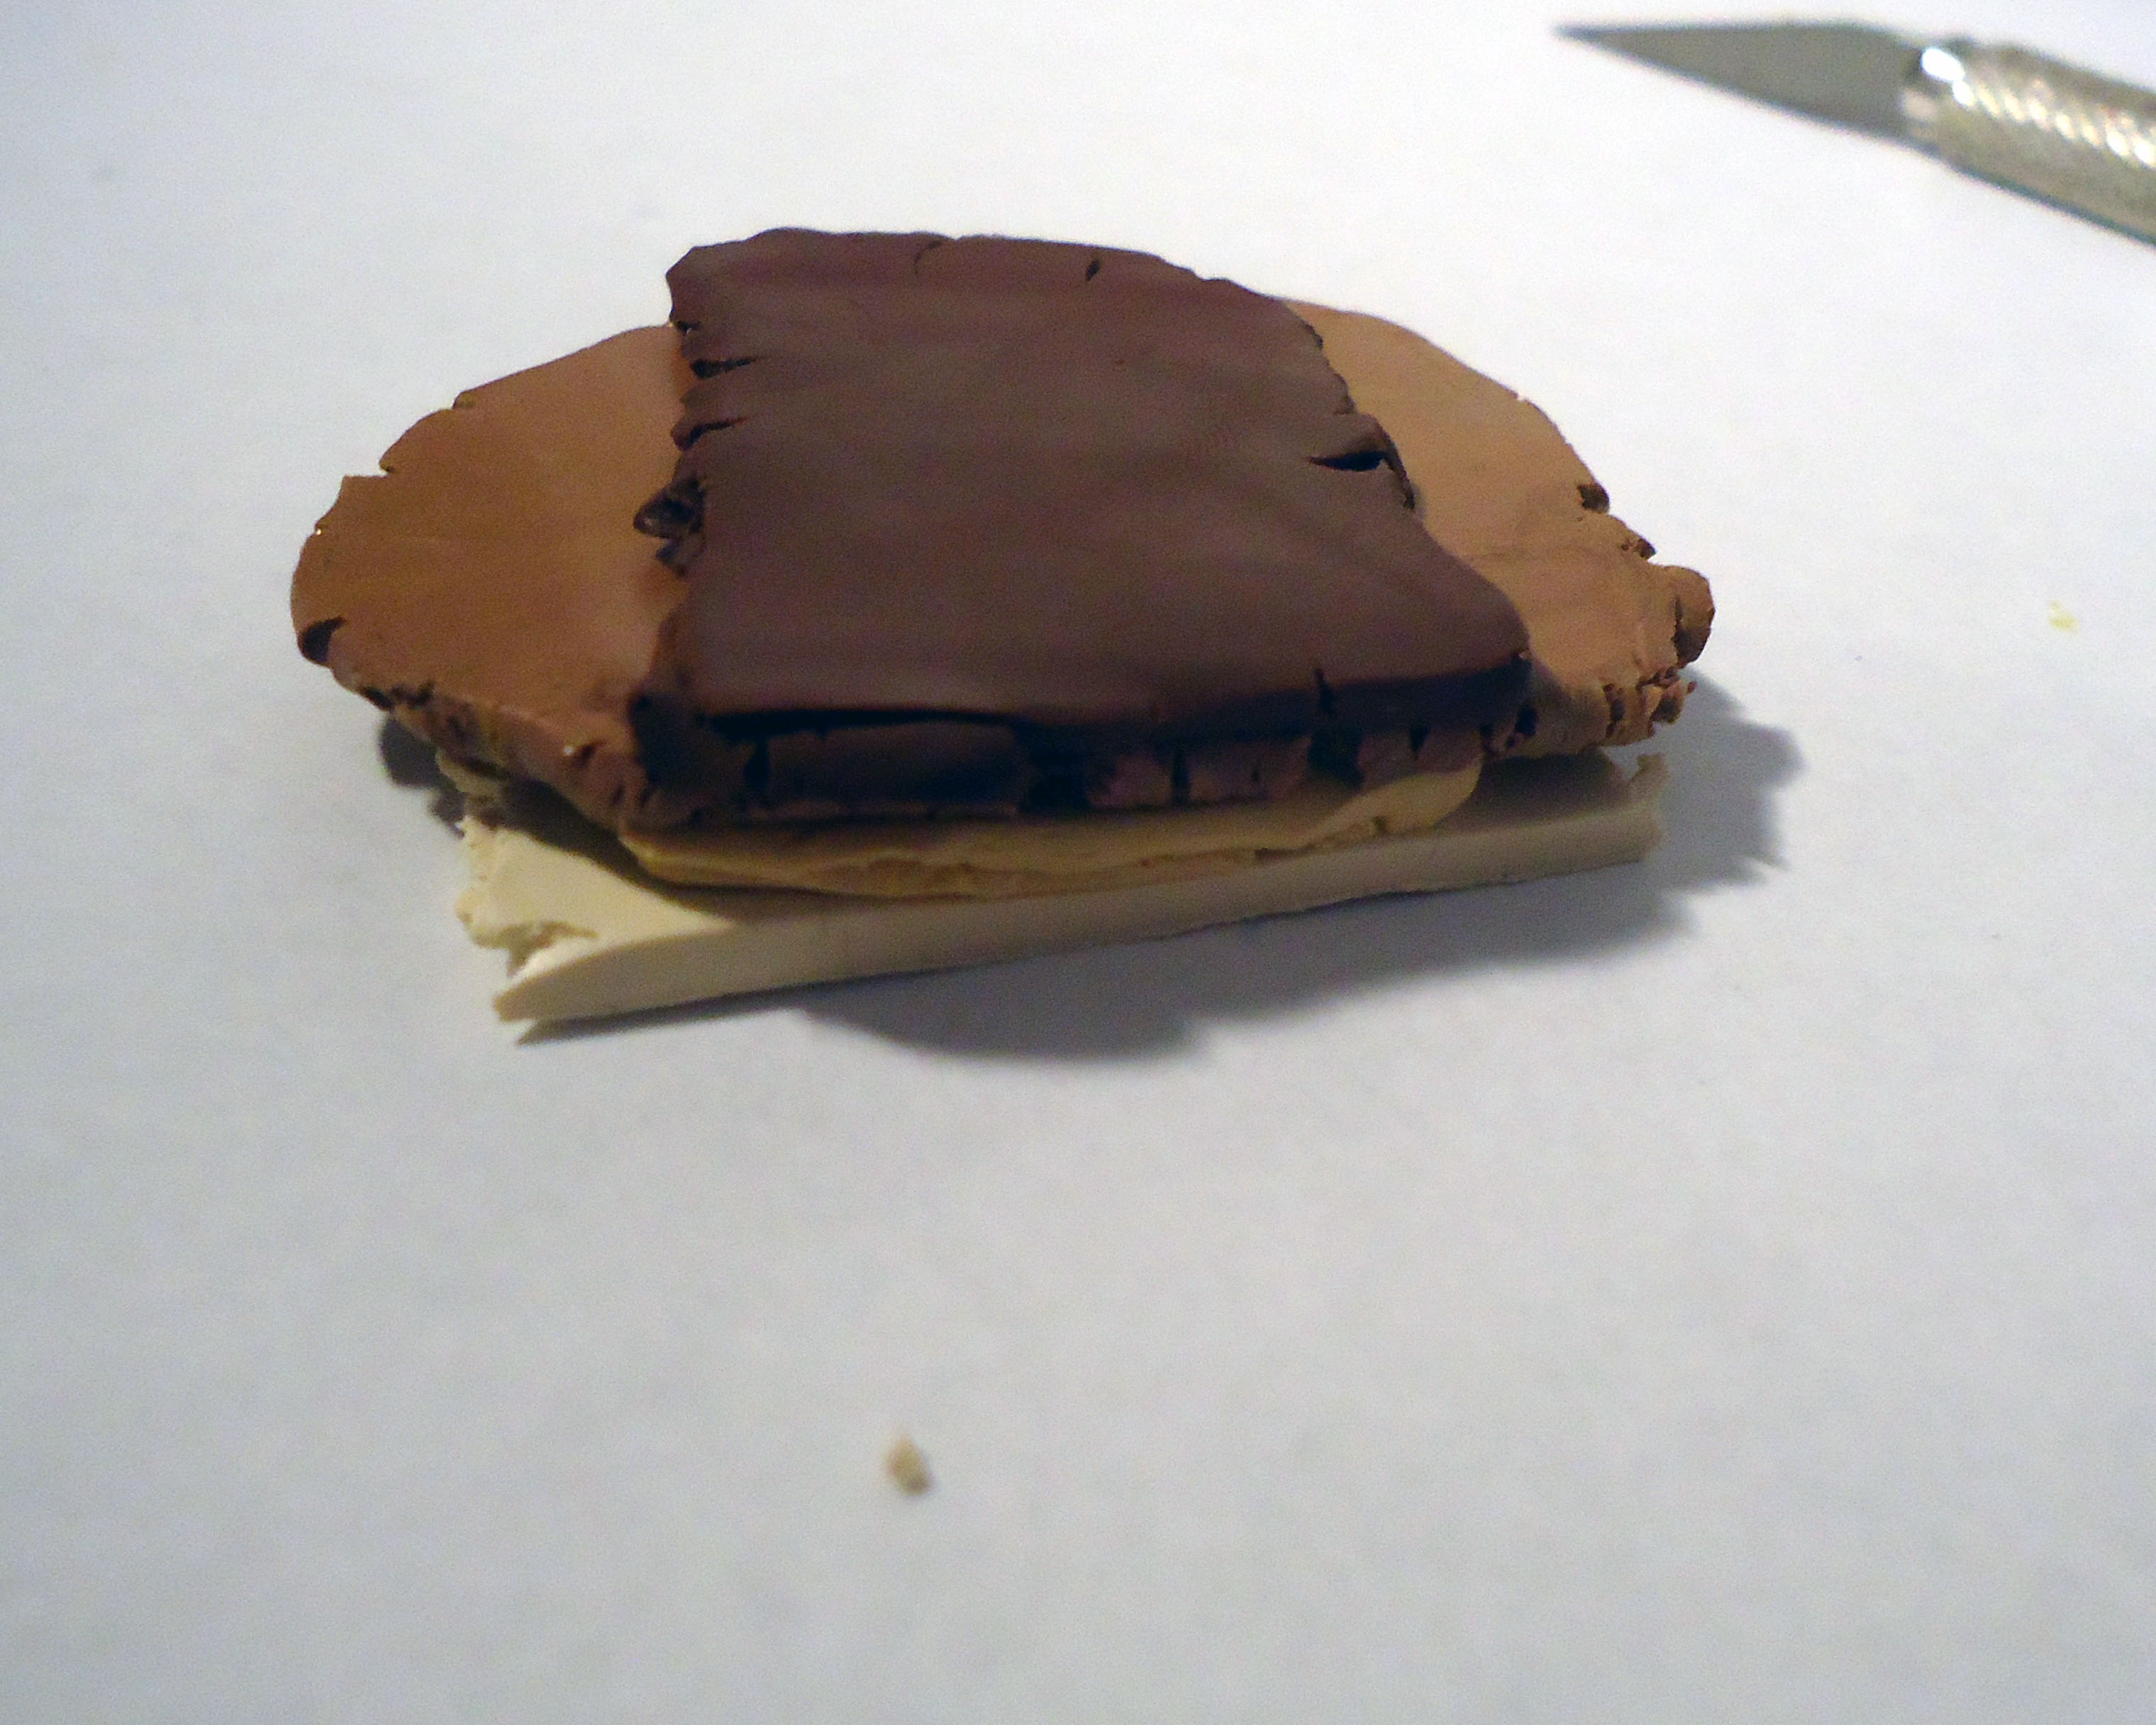
Once you have all the colors you want, put them on top of each other in the order you want and press a little, so they stick together.
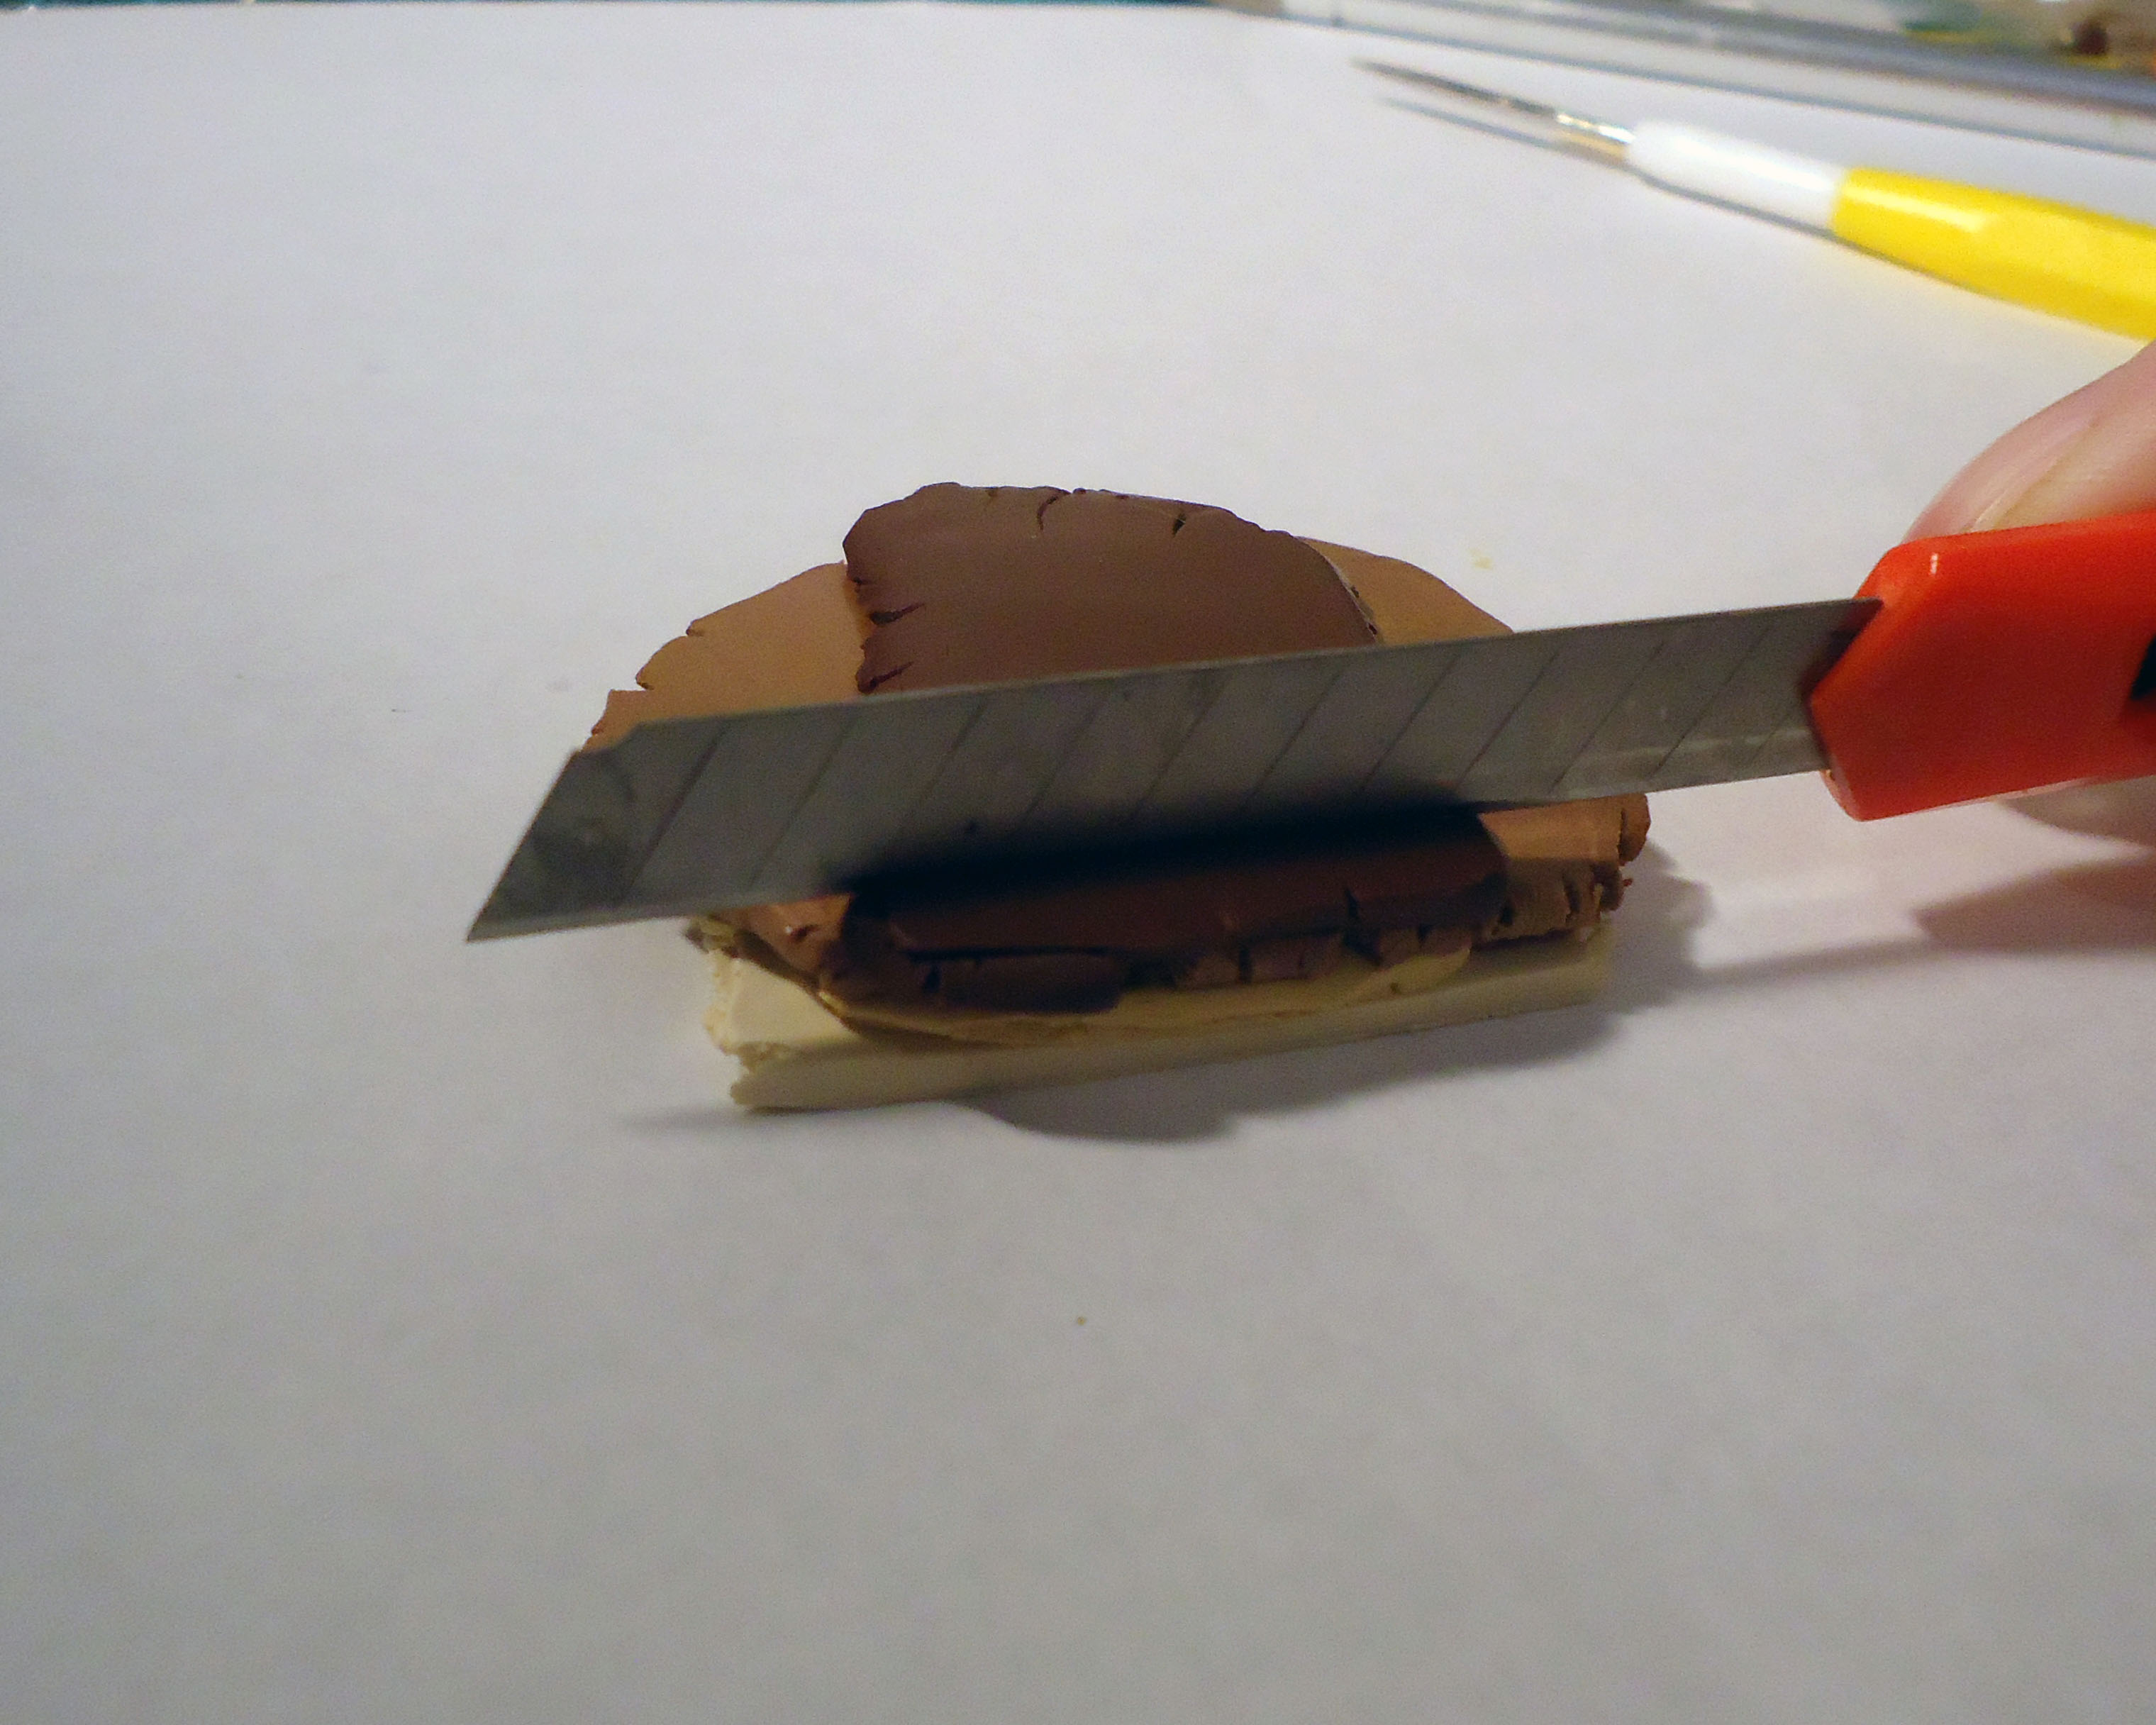
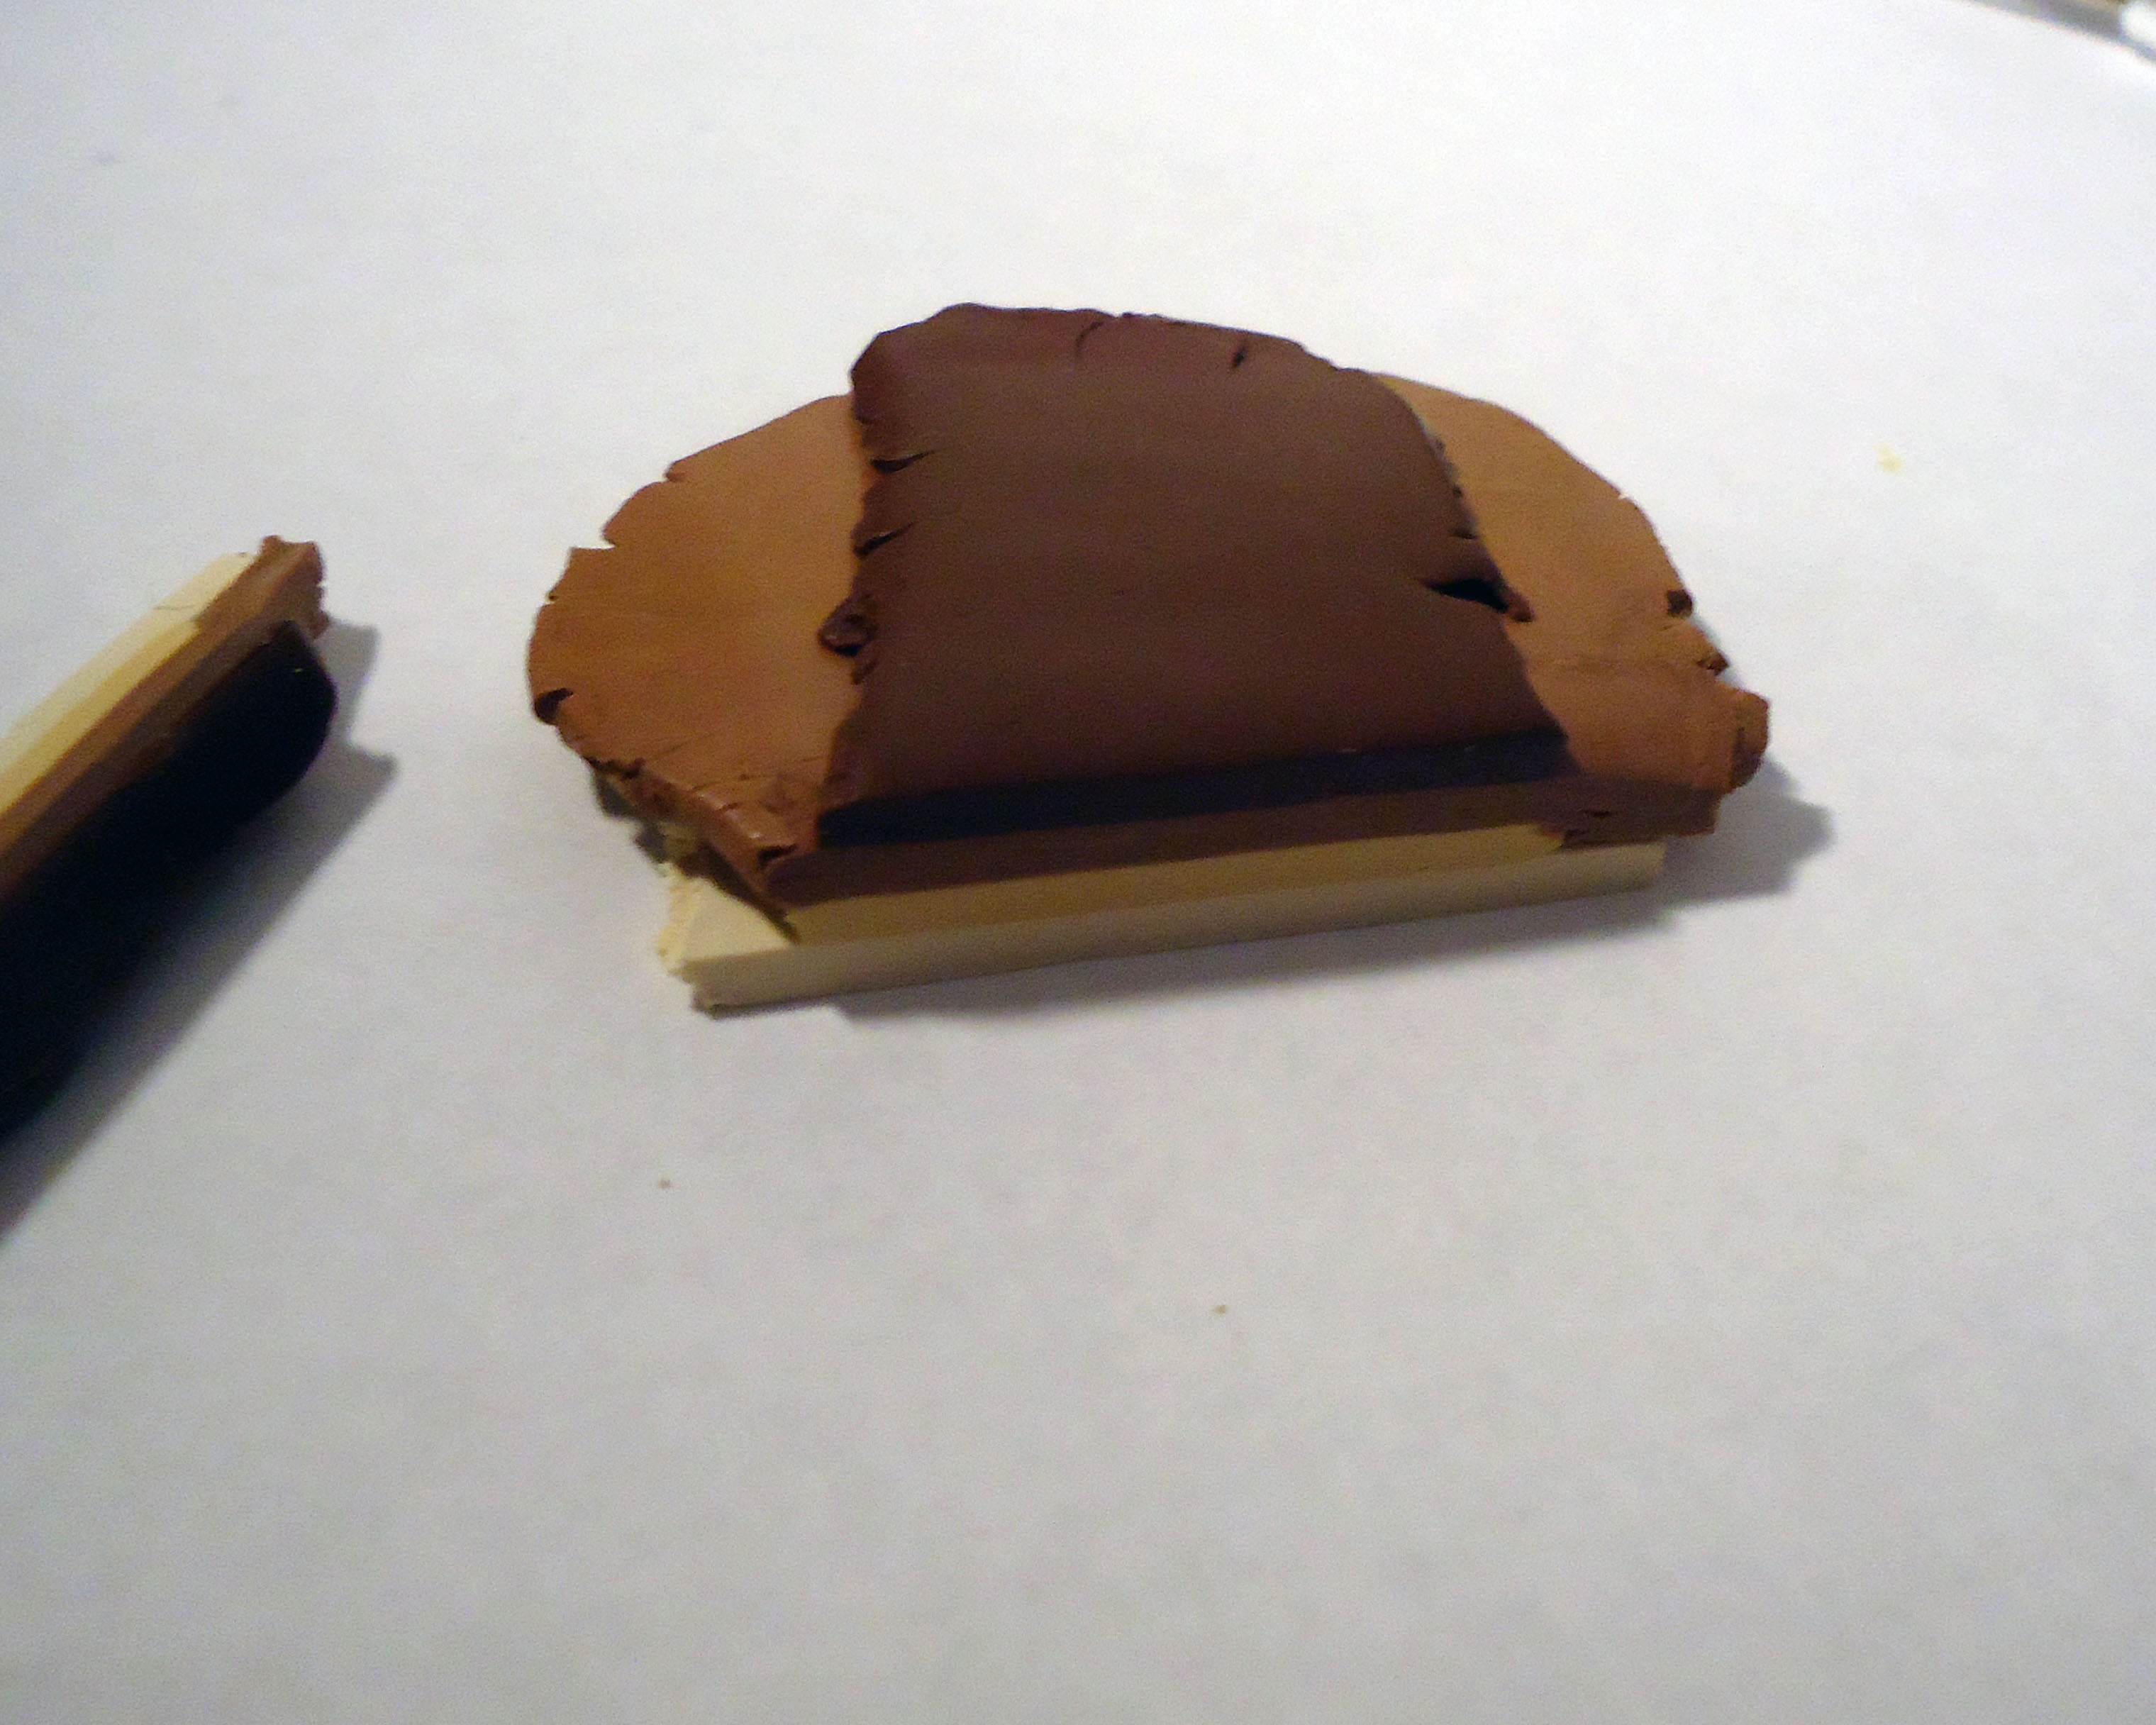
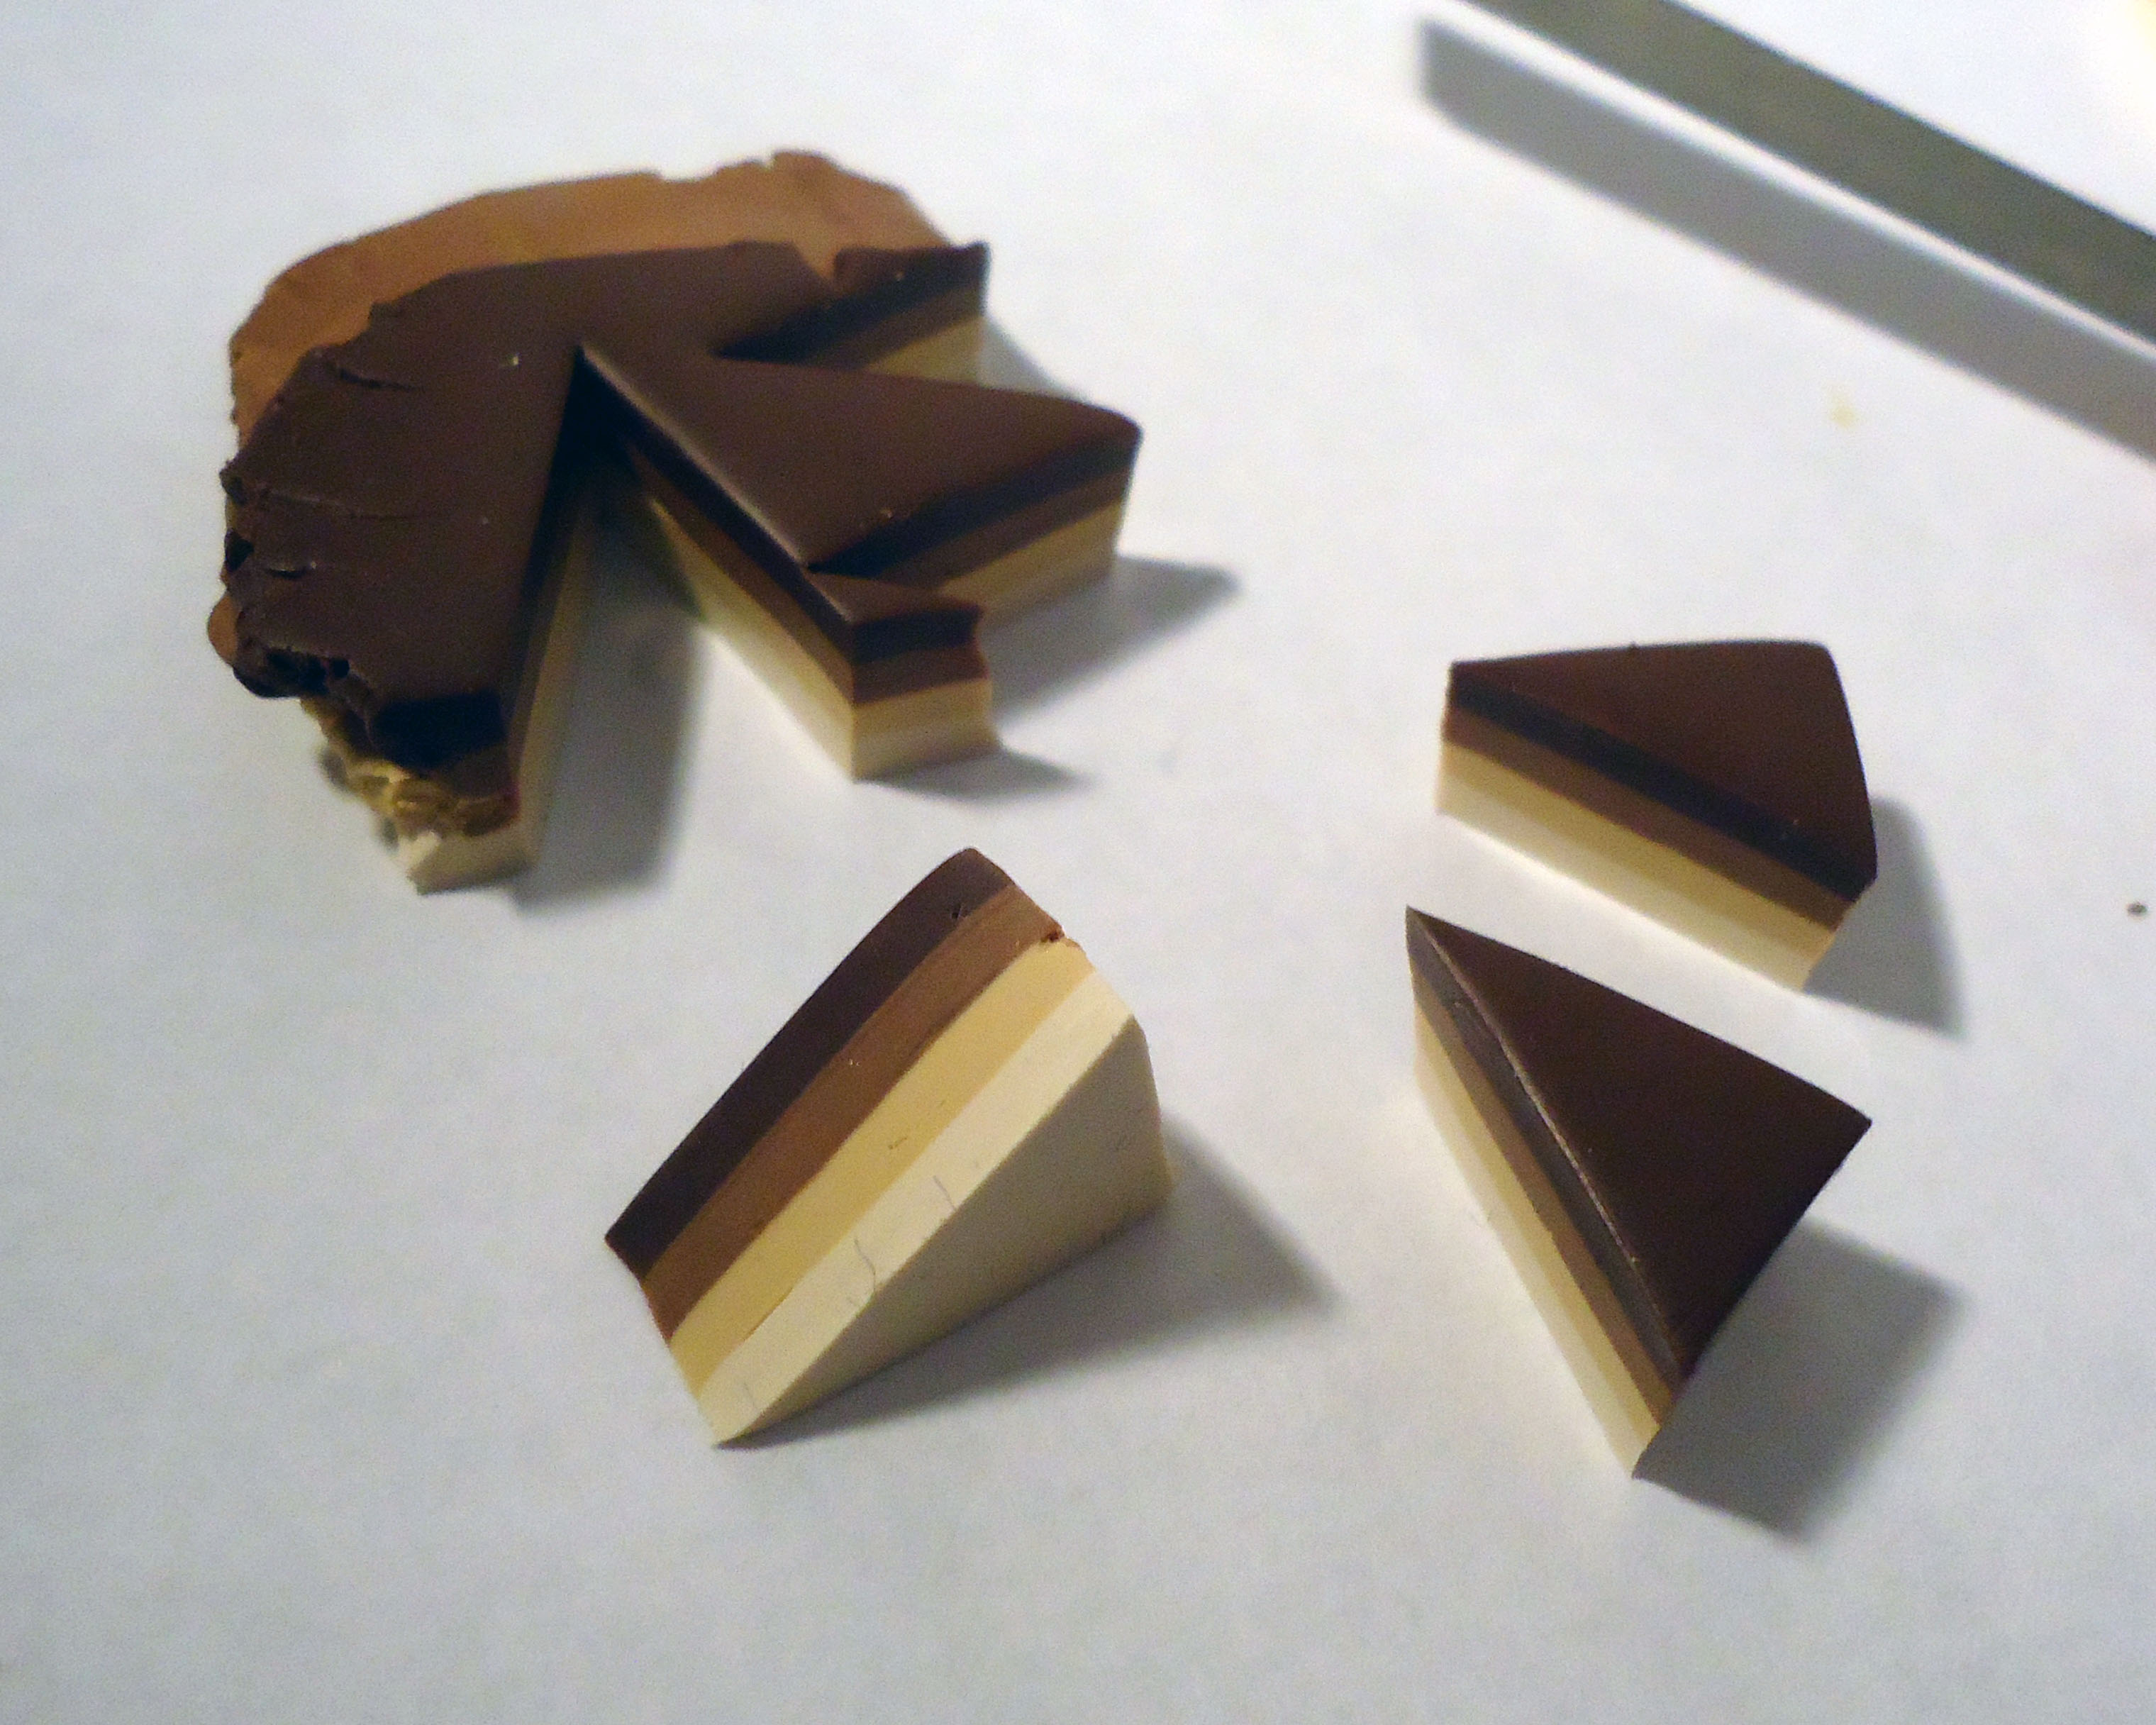
Cut off the back and see if they're stuck together, if you like your color scheme and so on. Everything is fine? Great! Cut up as many cake triangles as you can. Polymer clay isn't the cheapest thing around, so try to save it!
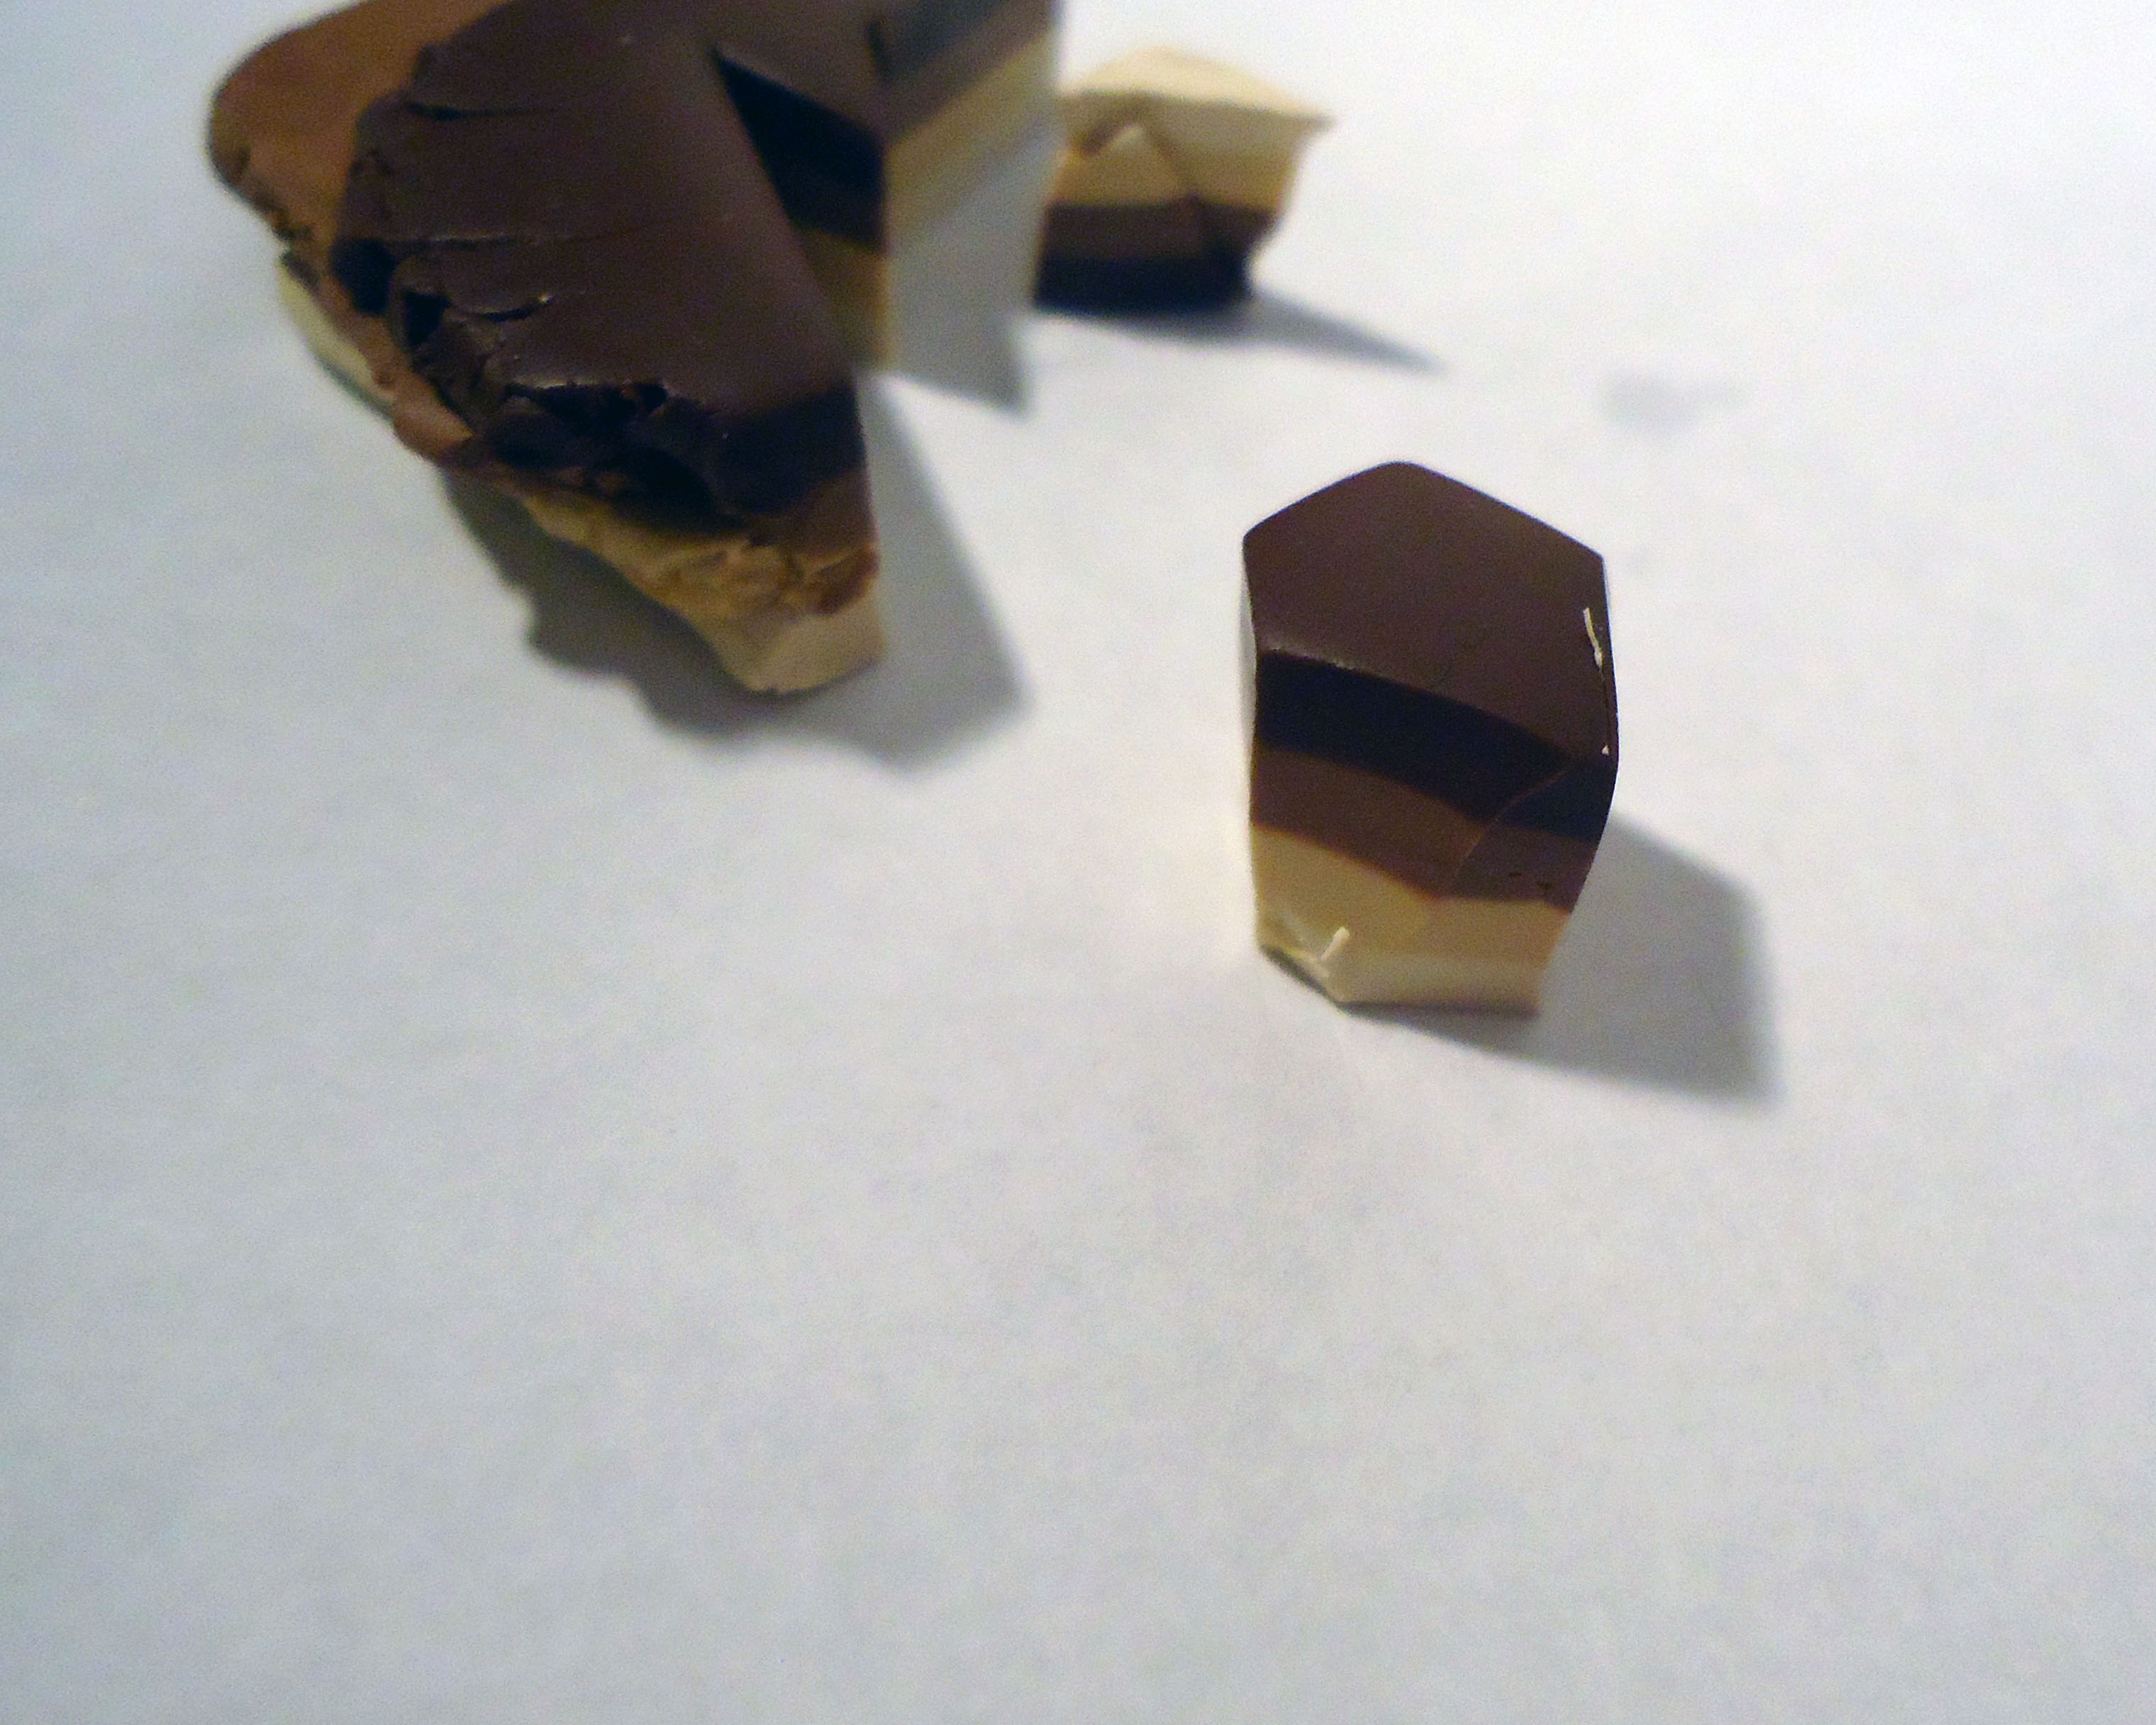
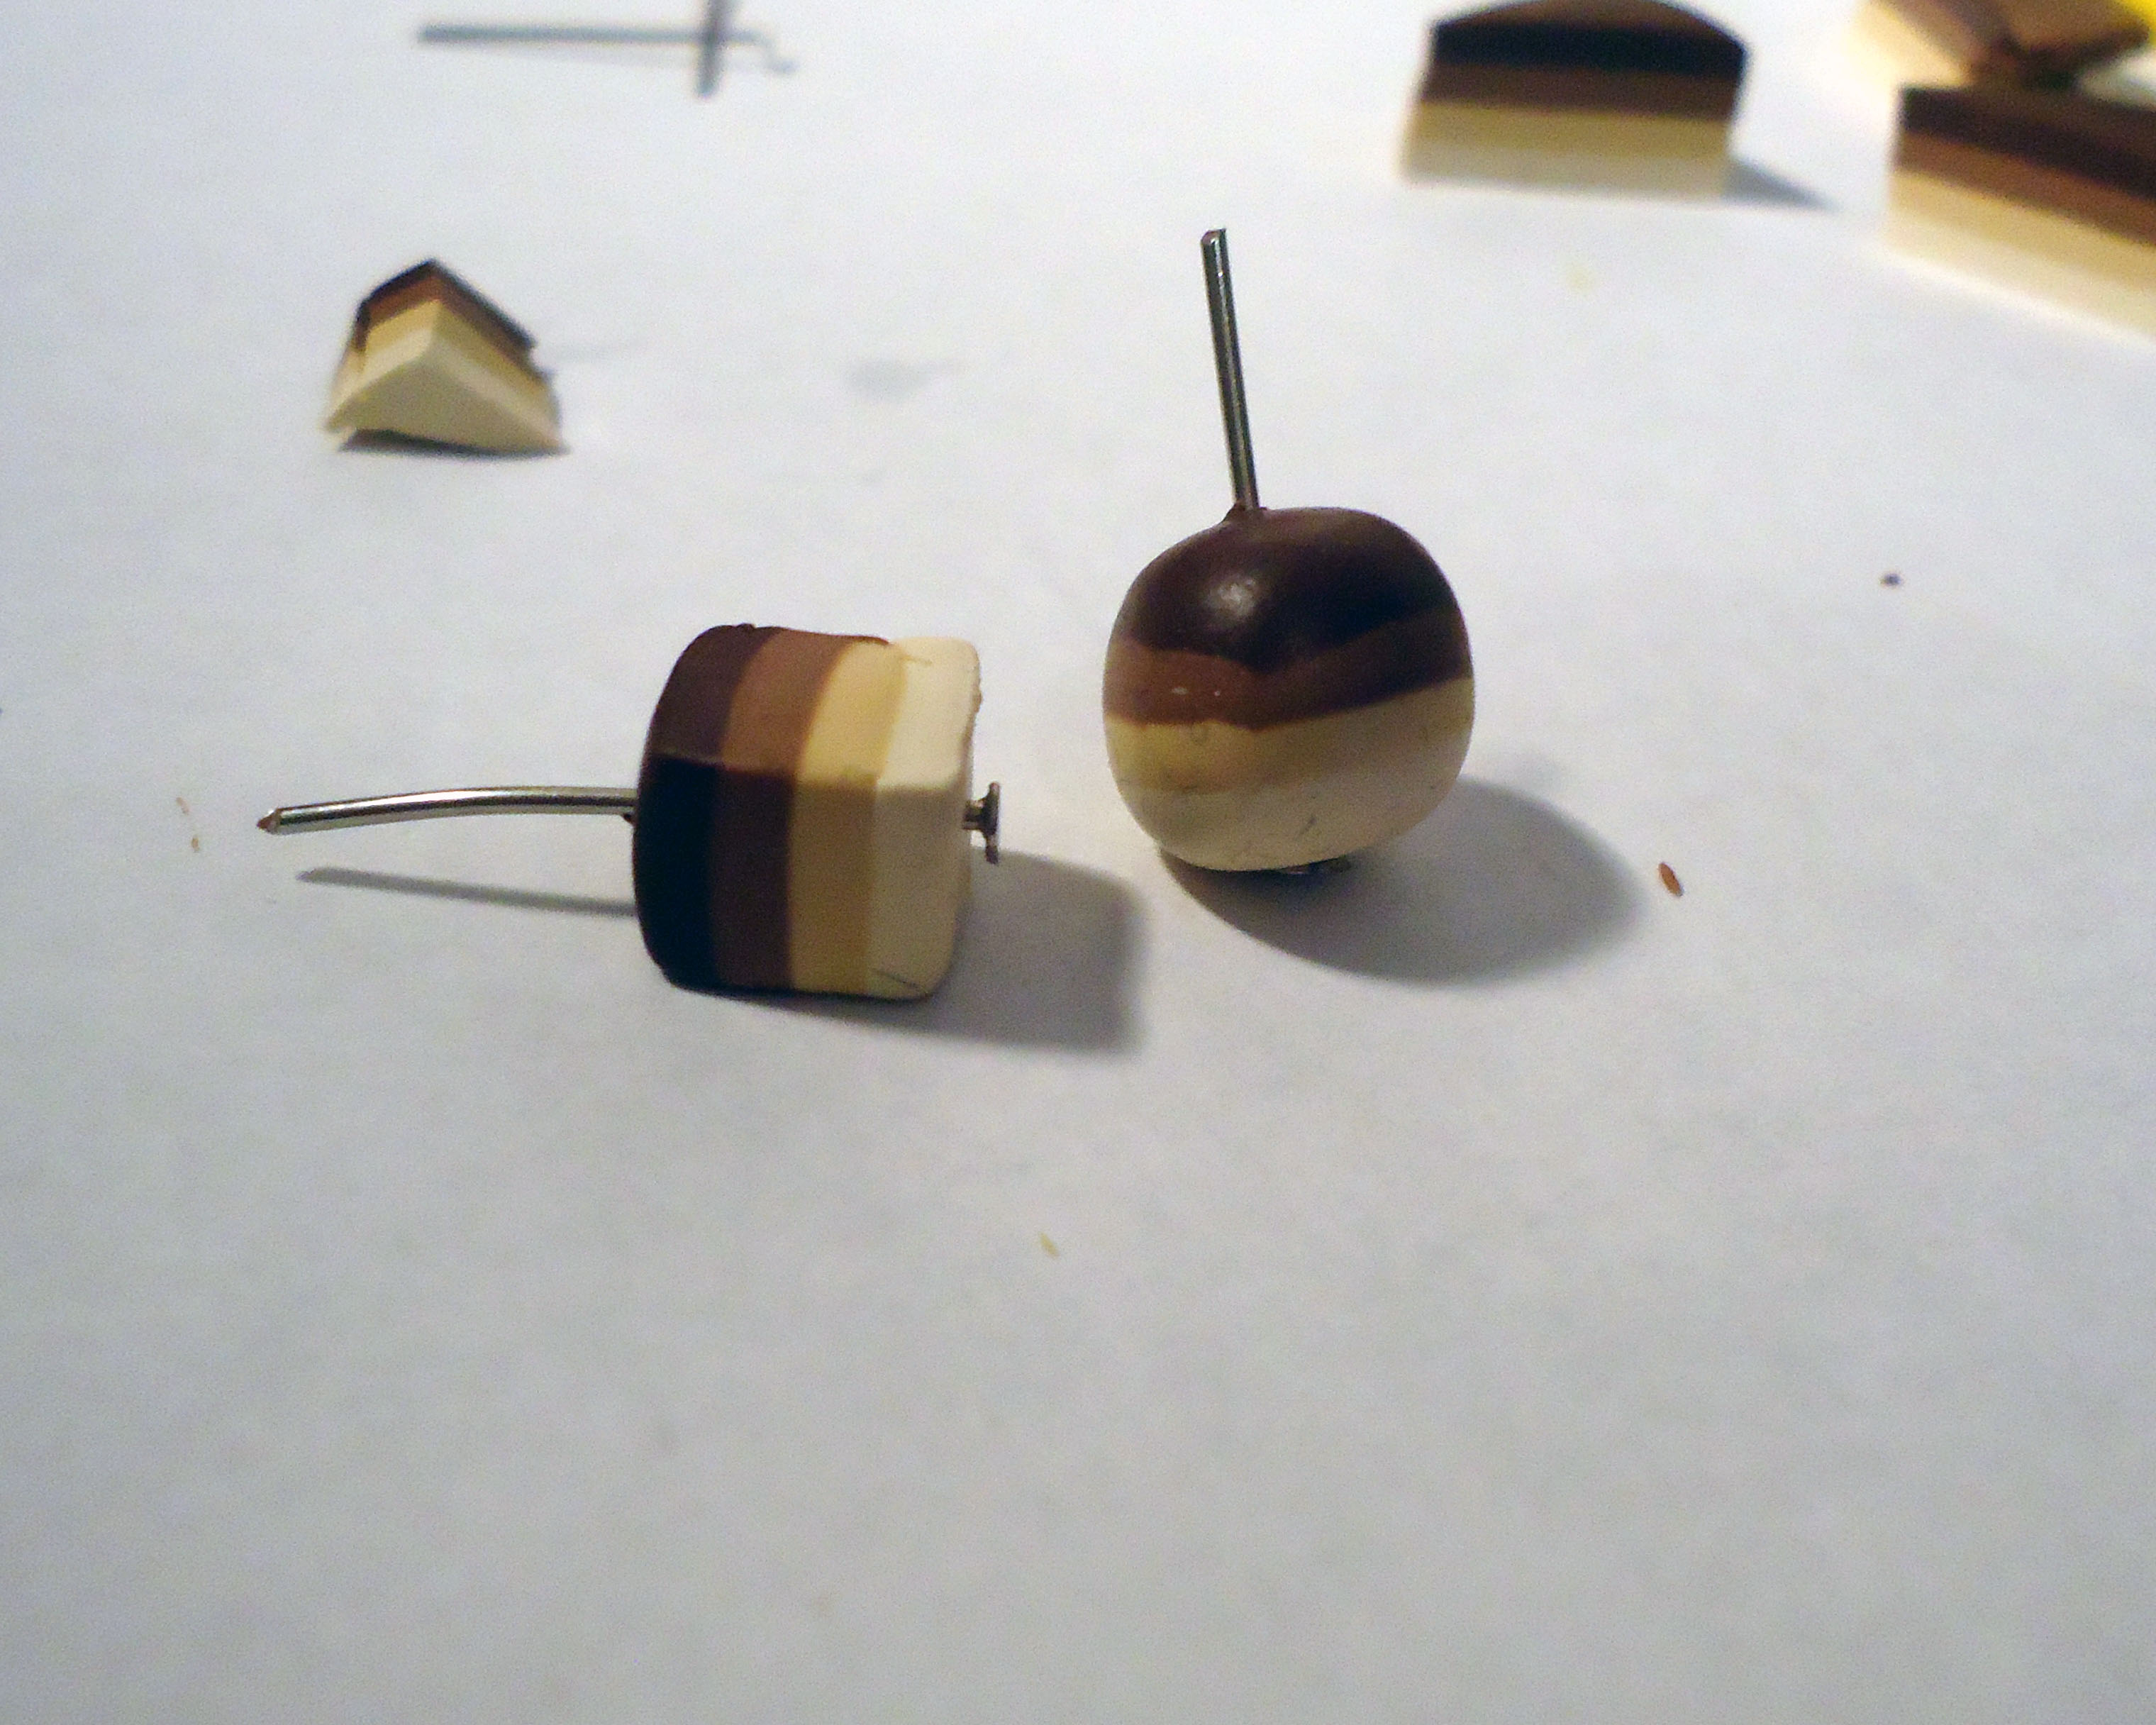
NEVER throw out excess clay that has nice patterns/gradients or anything like that. They can make nice beads to match whatever you're making. And if not, scrap clay is useful too.
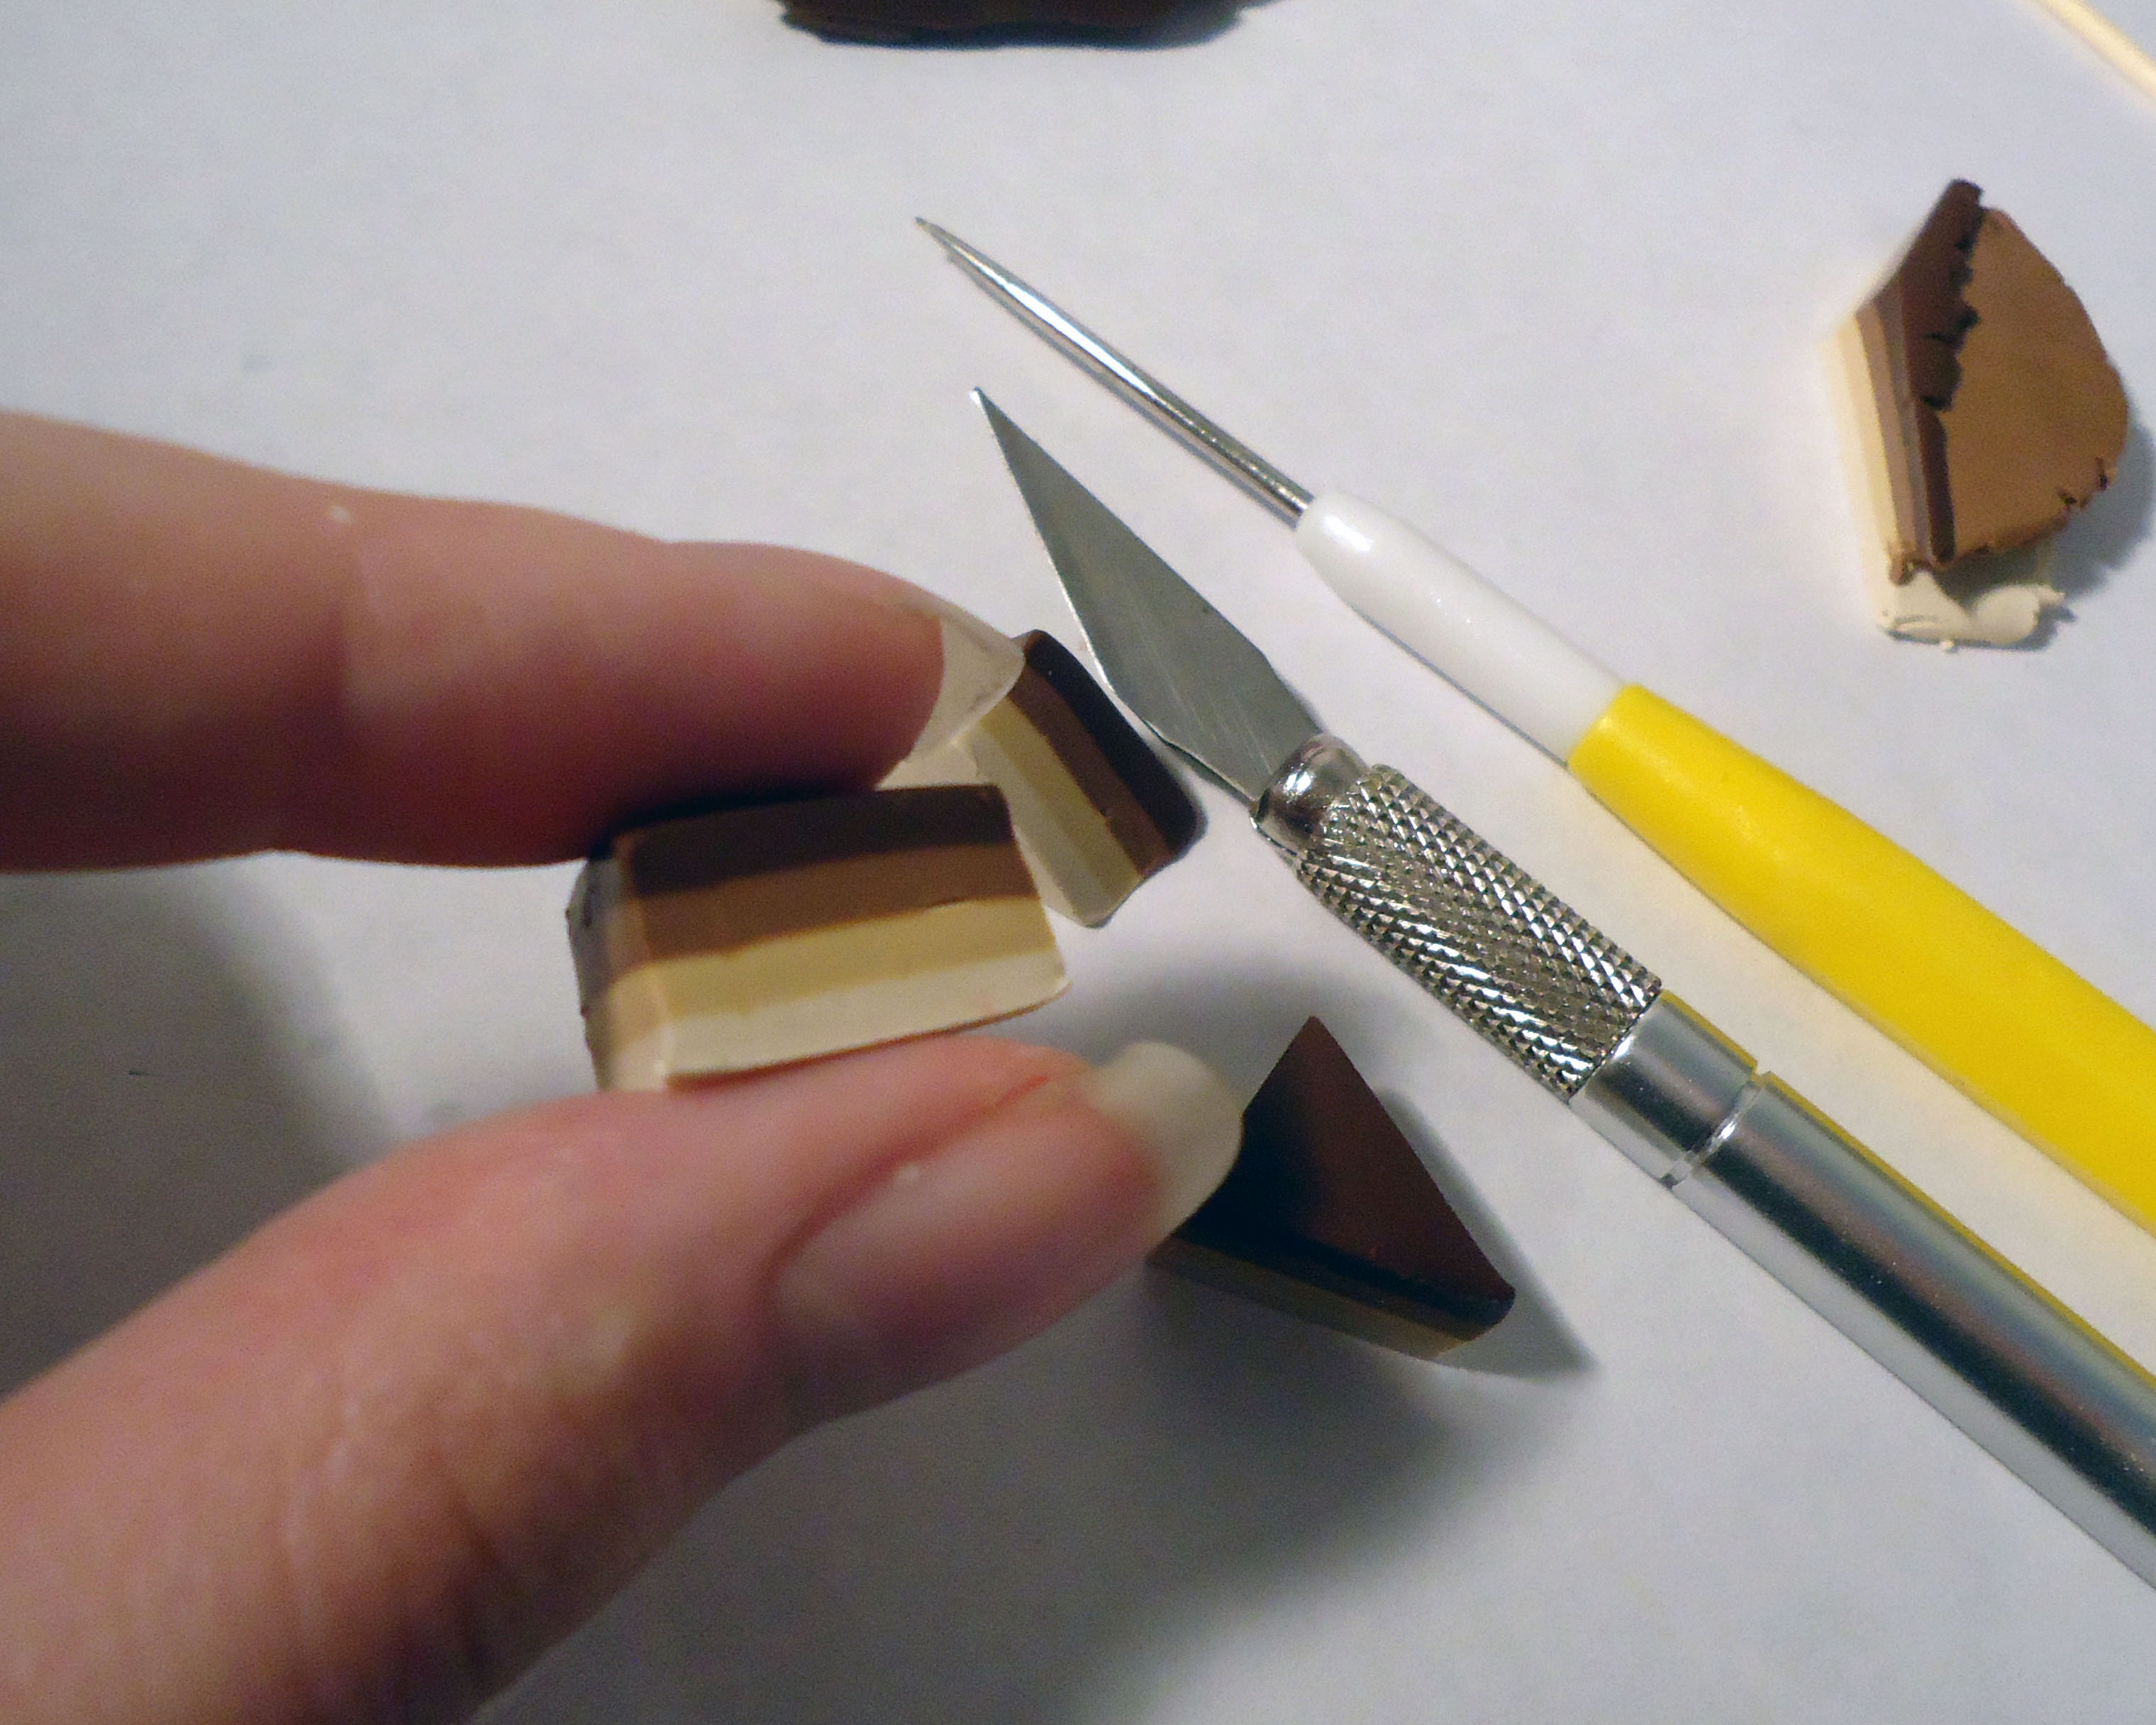
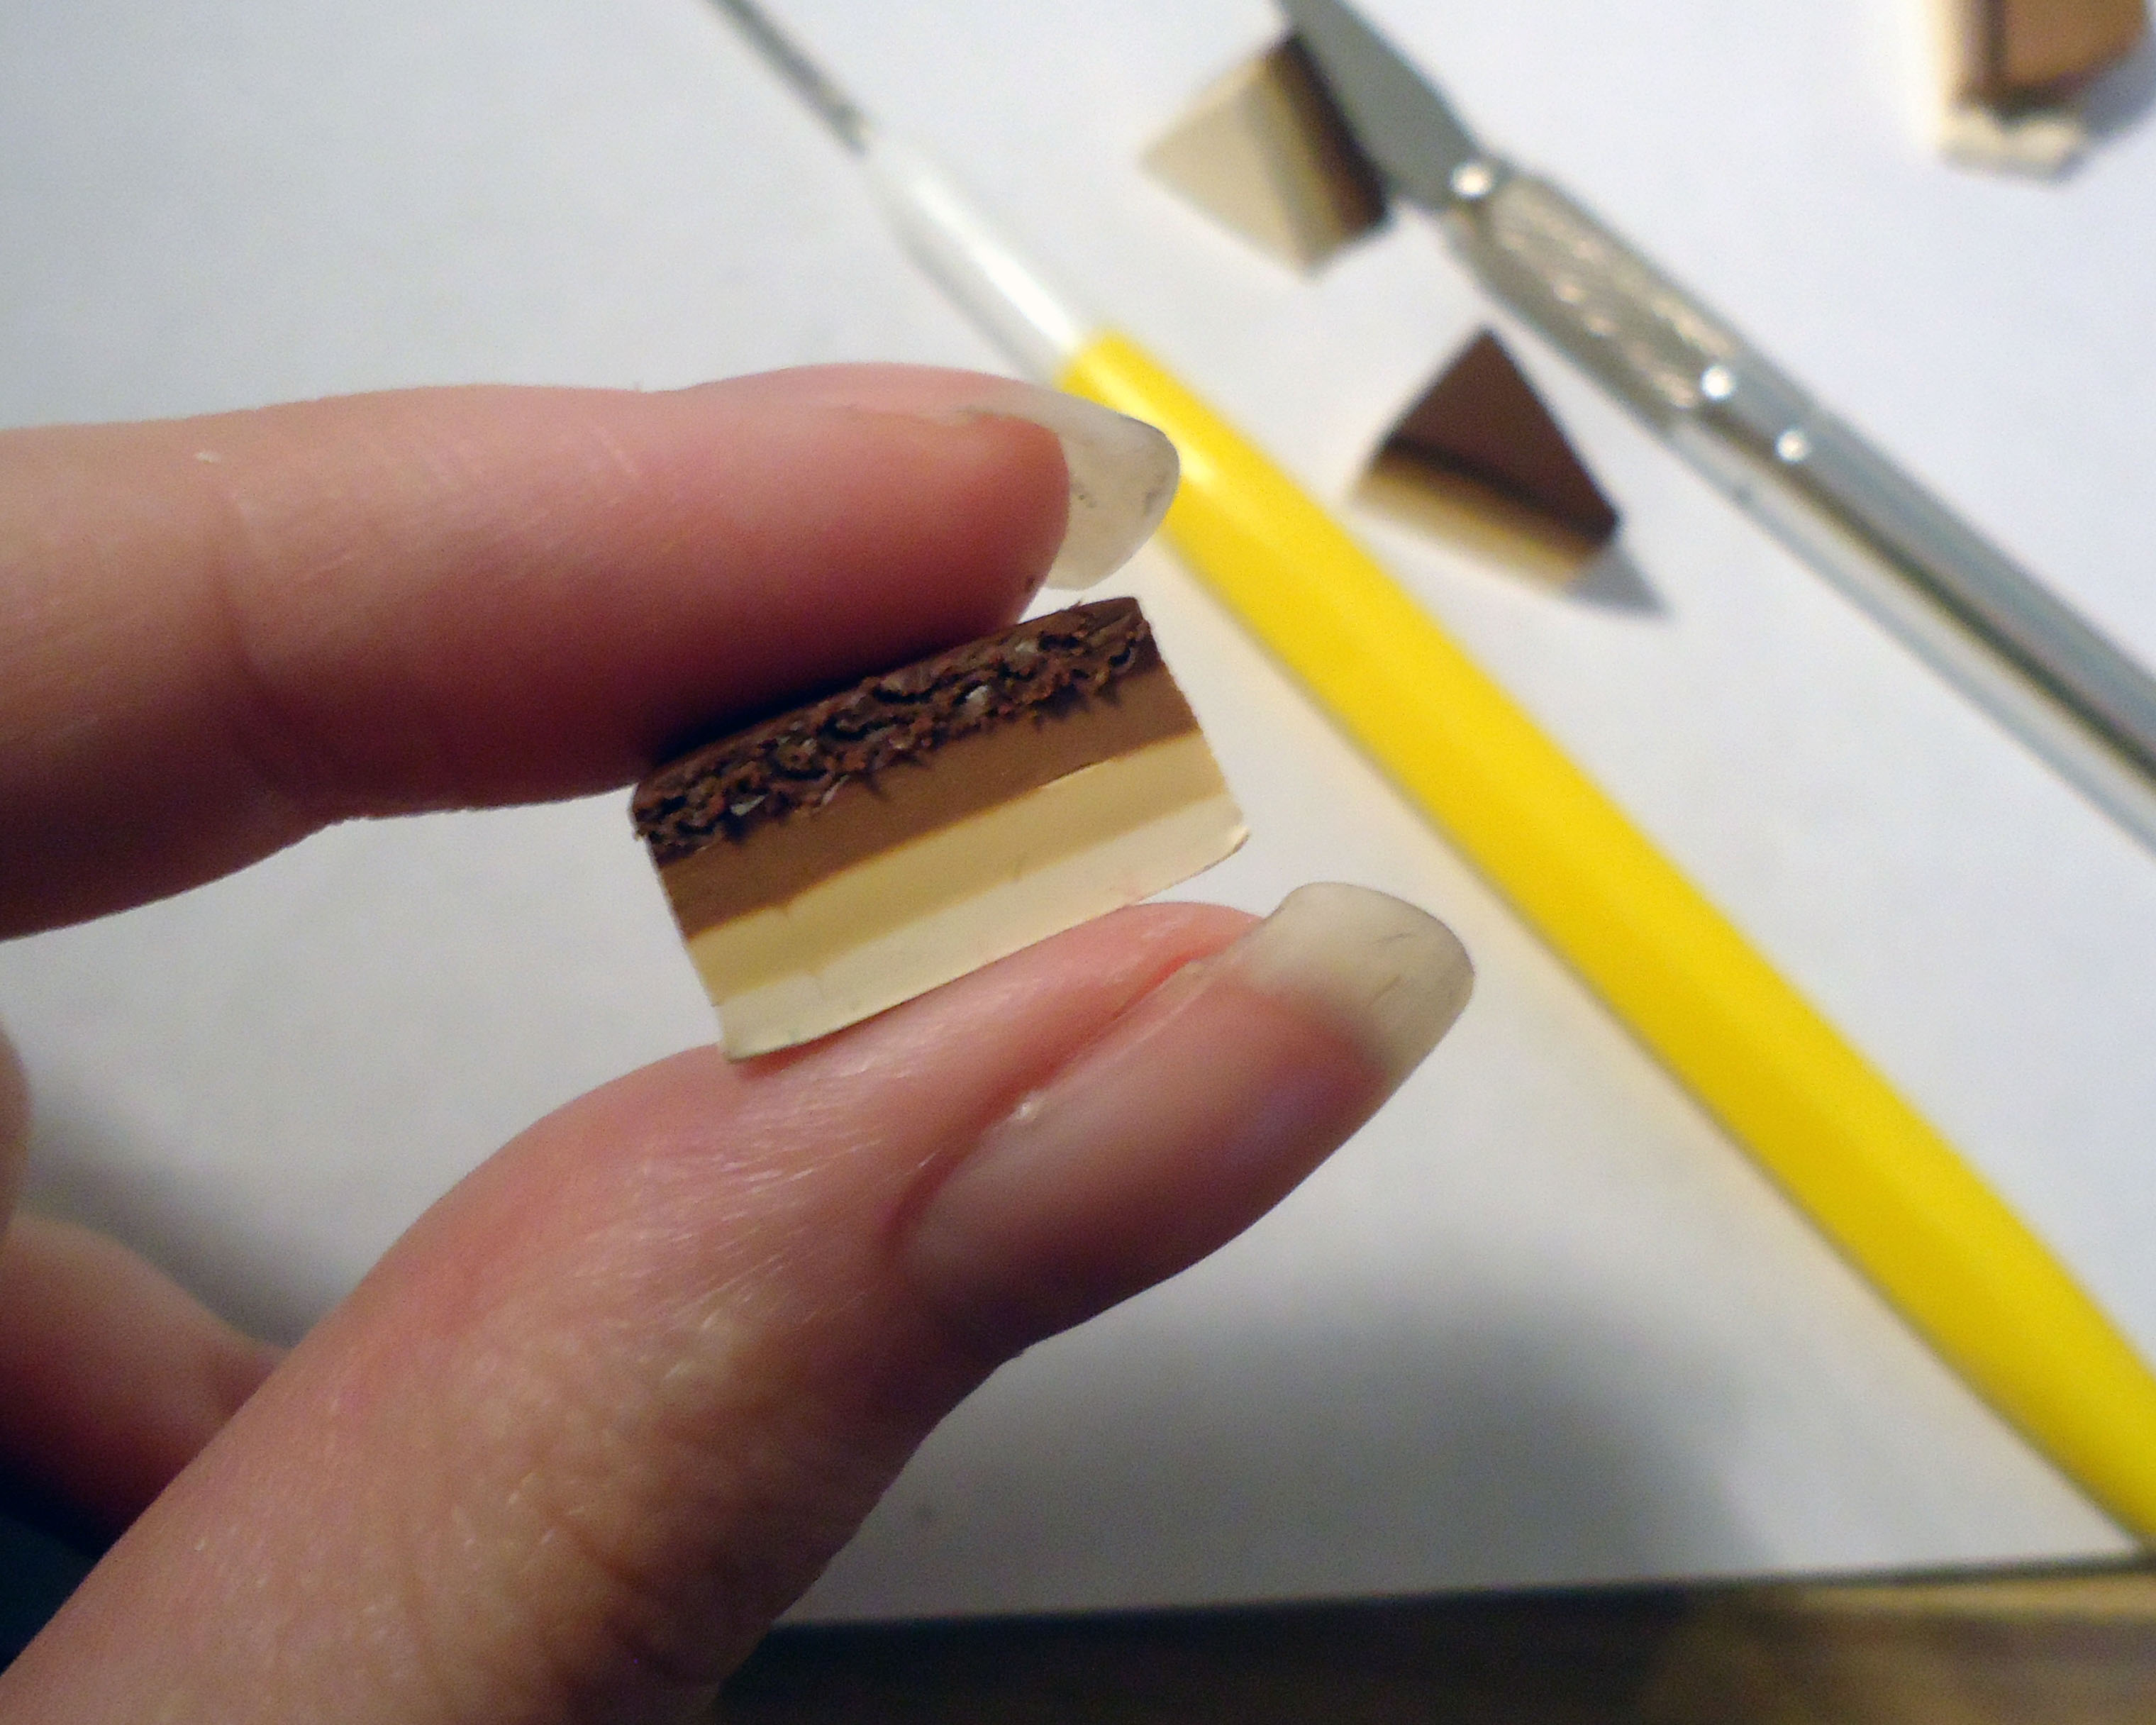
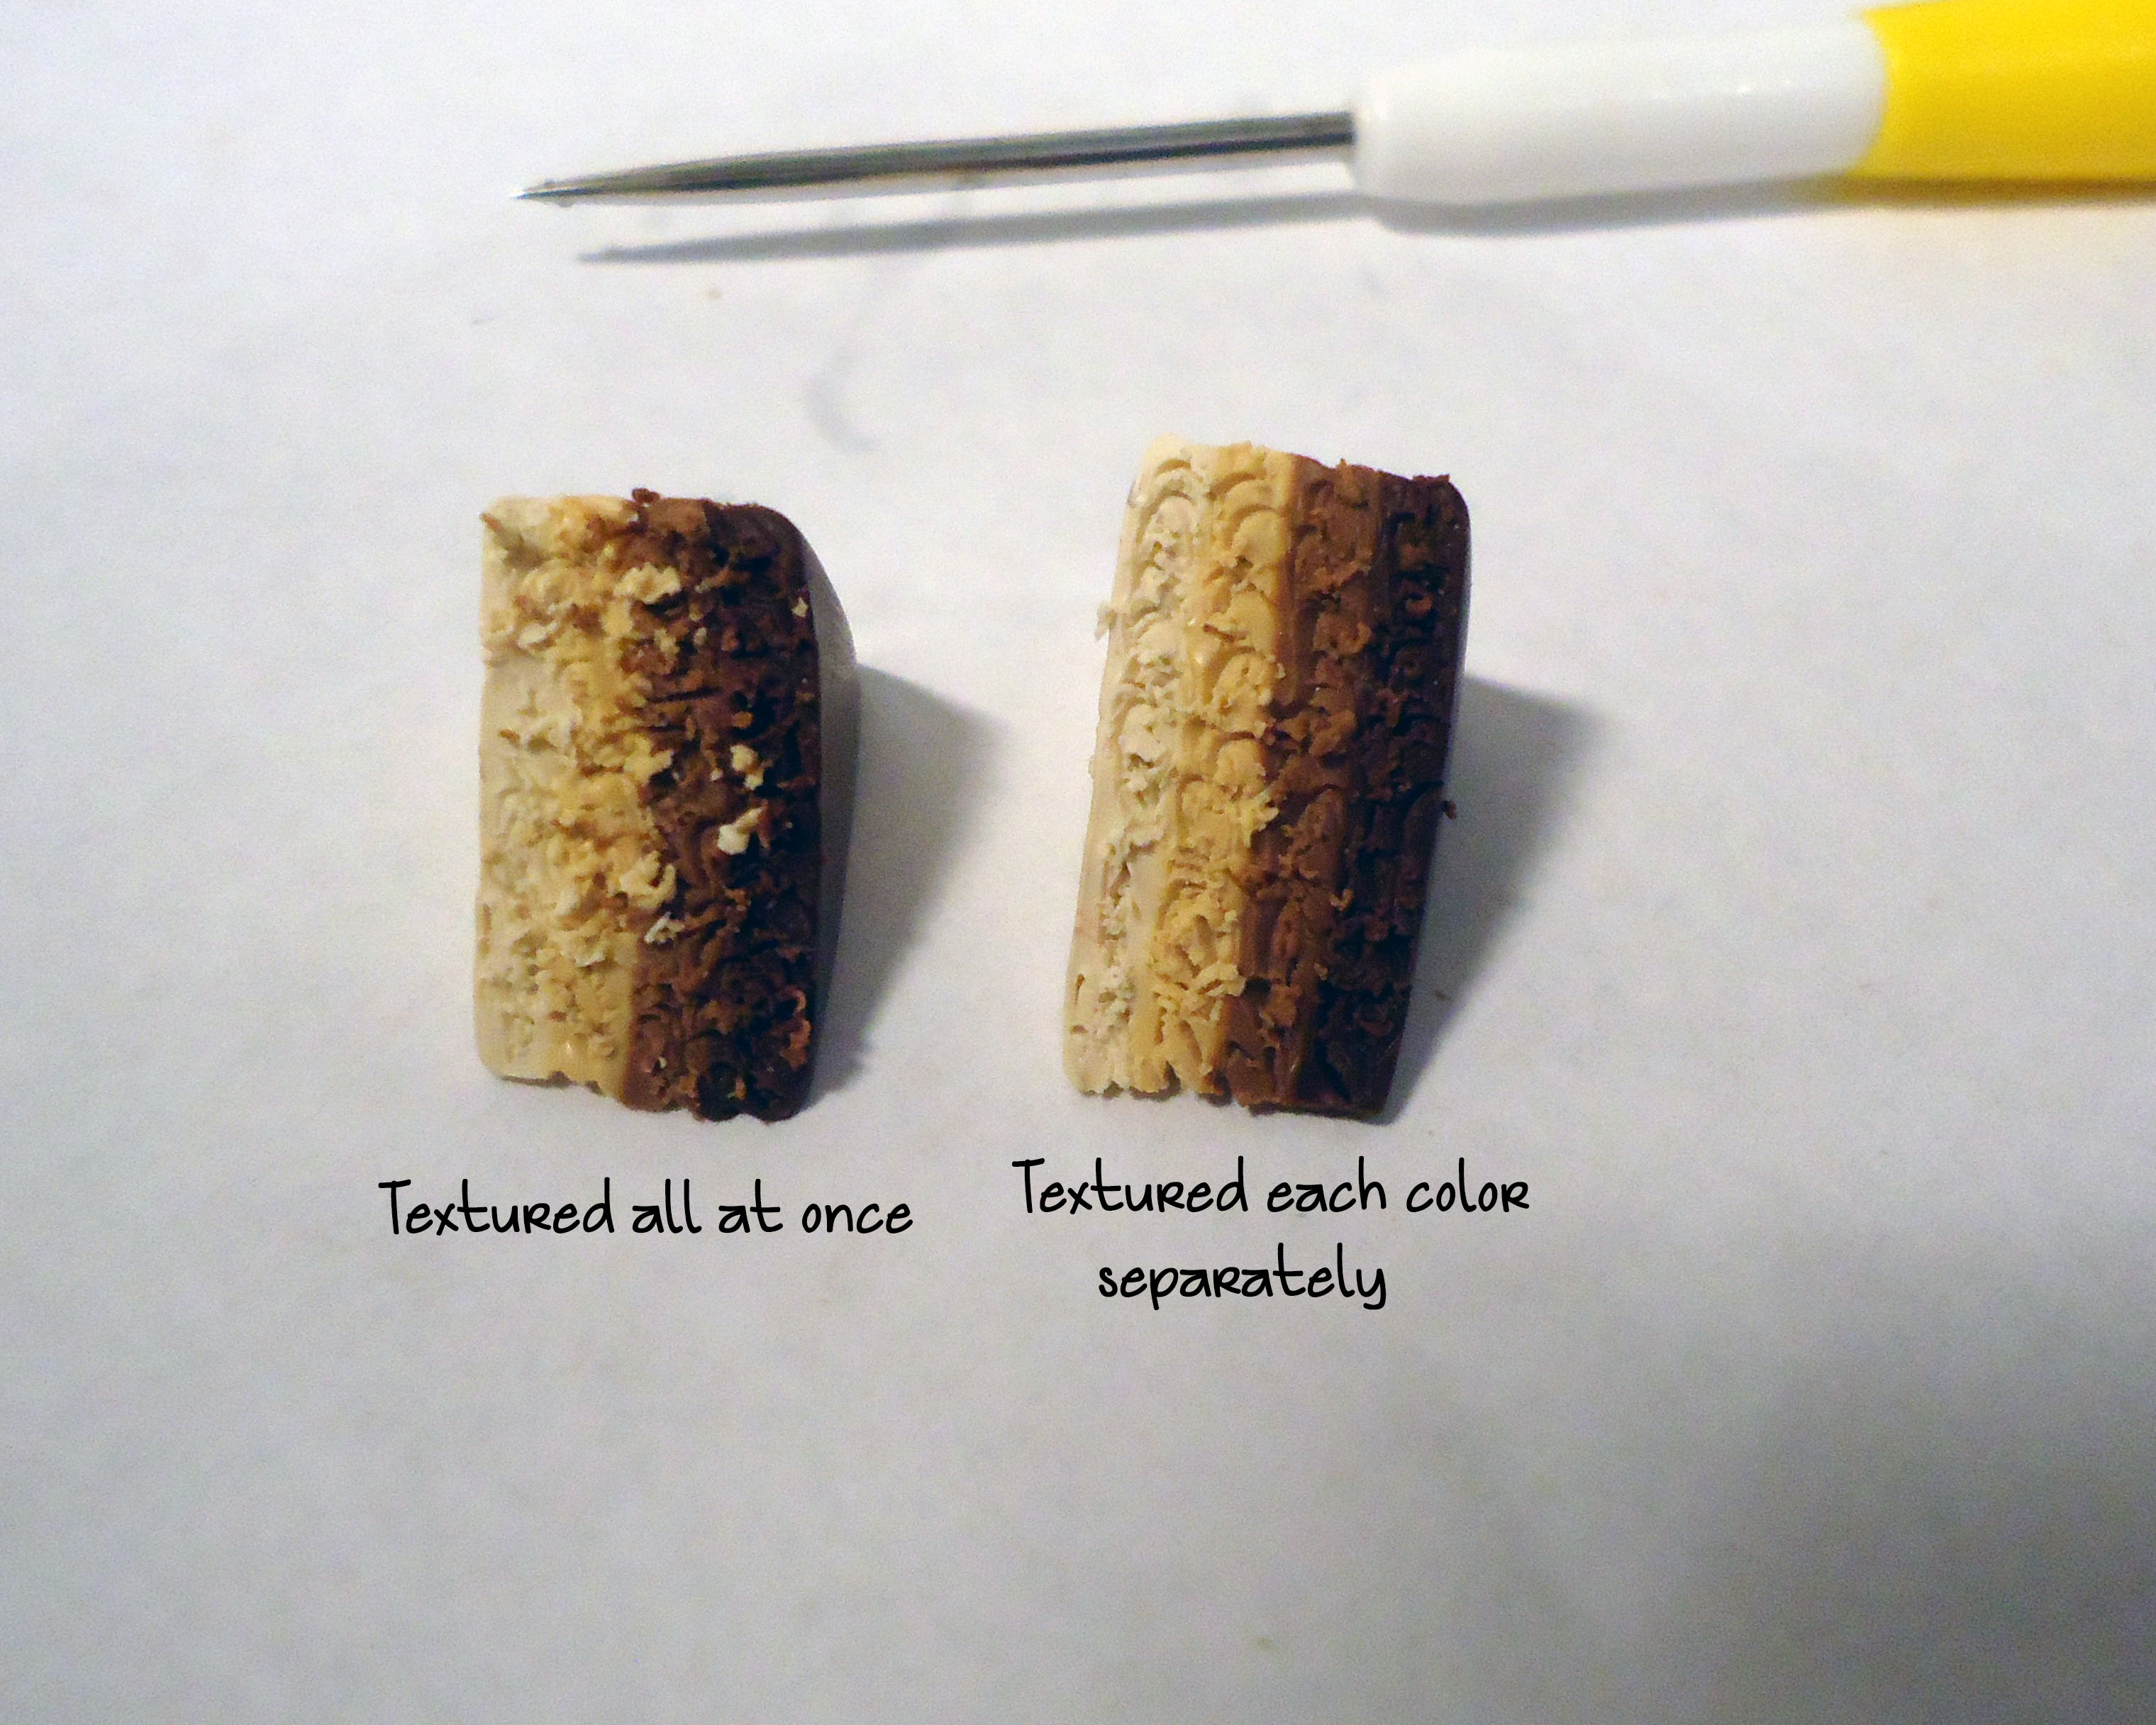
Texturing time again! For layered cakes, I texture each color separately. That way it looks less messy. Some people say that messier cakes look more natural and real, but I like mine perfect!
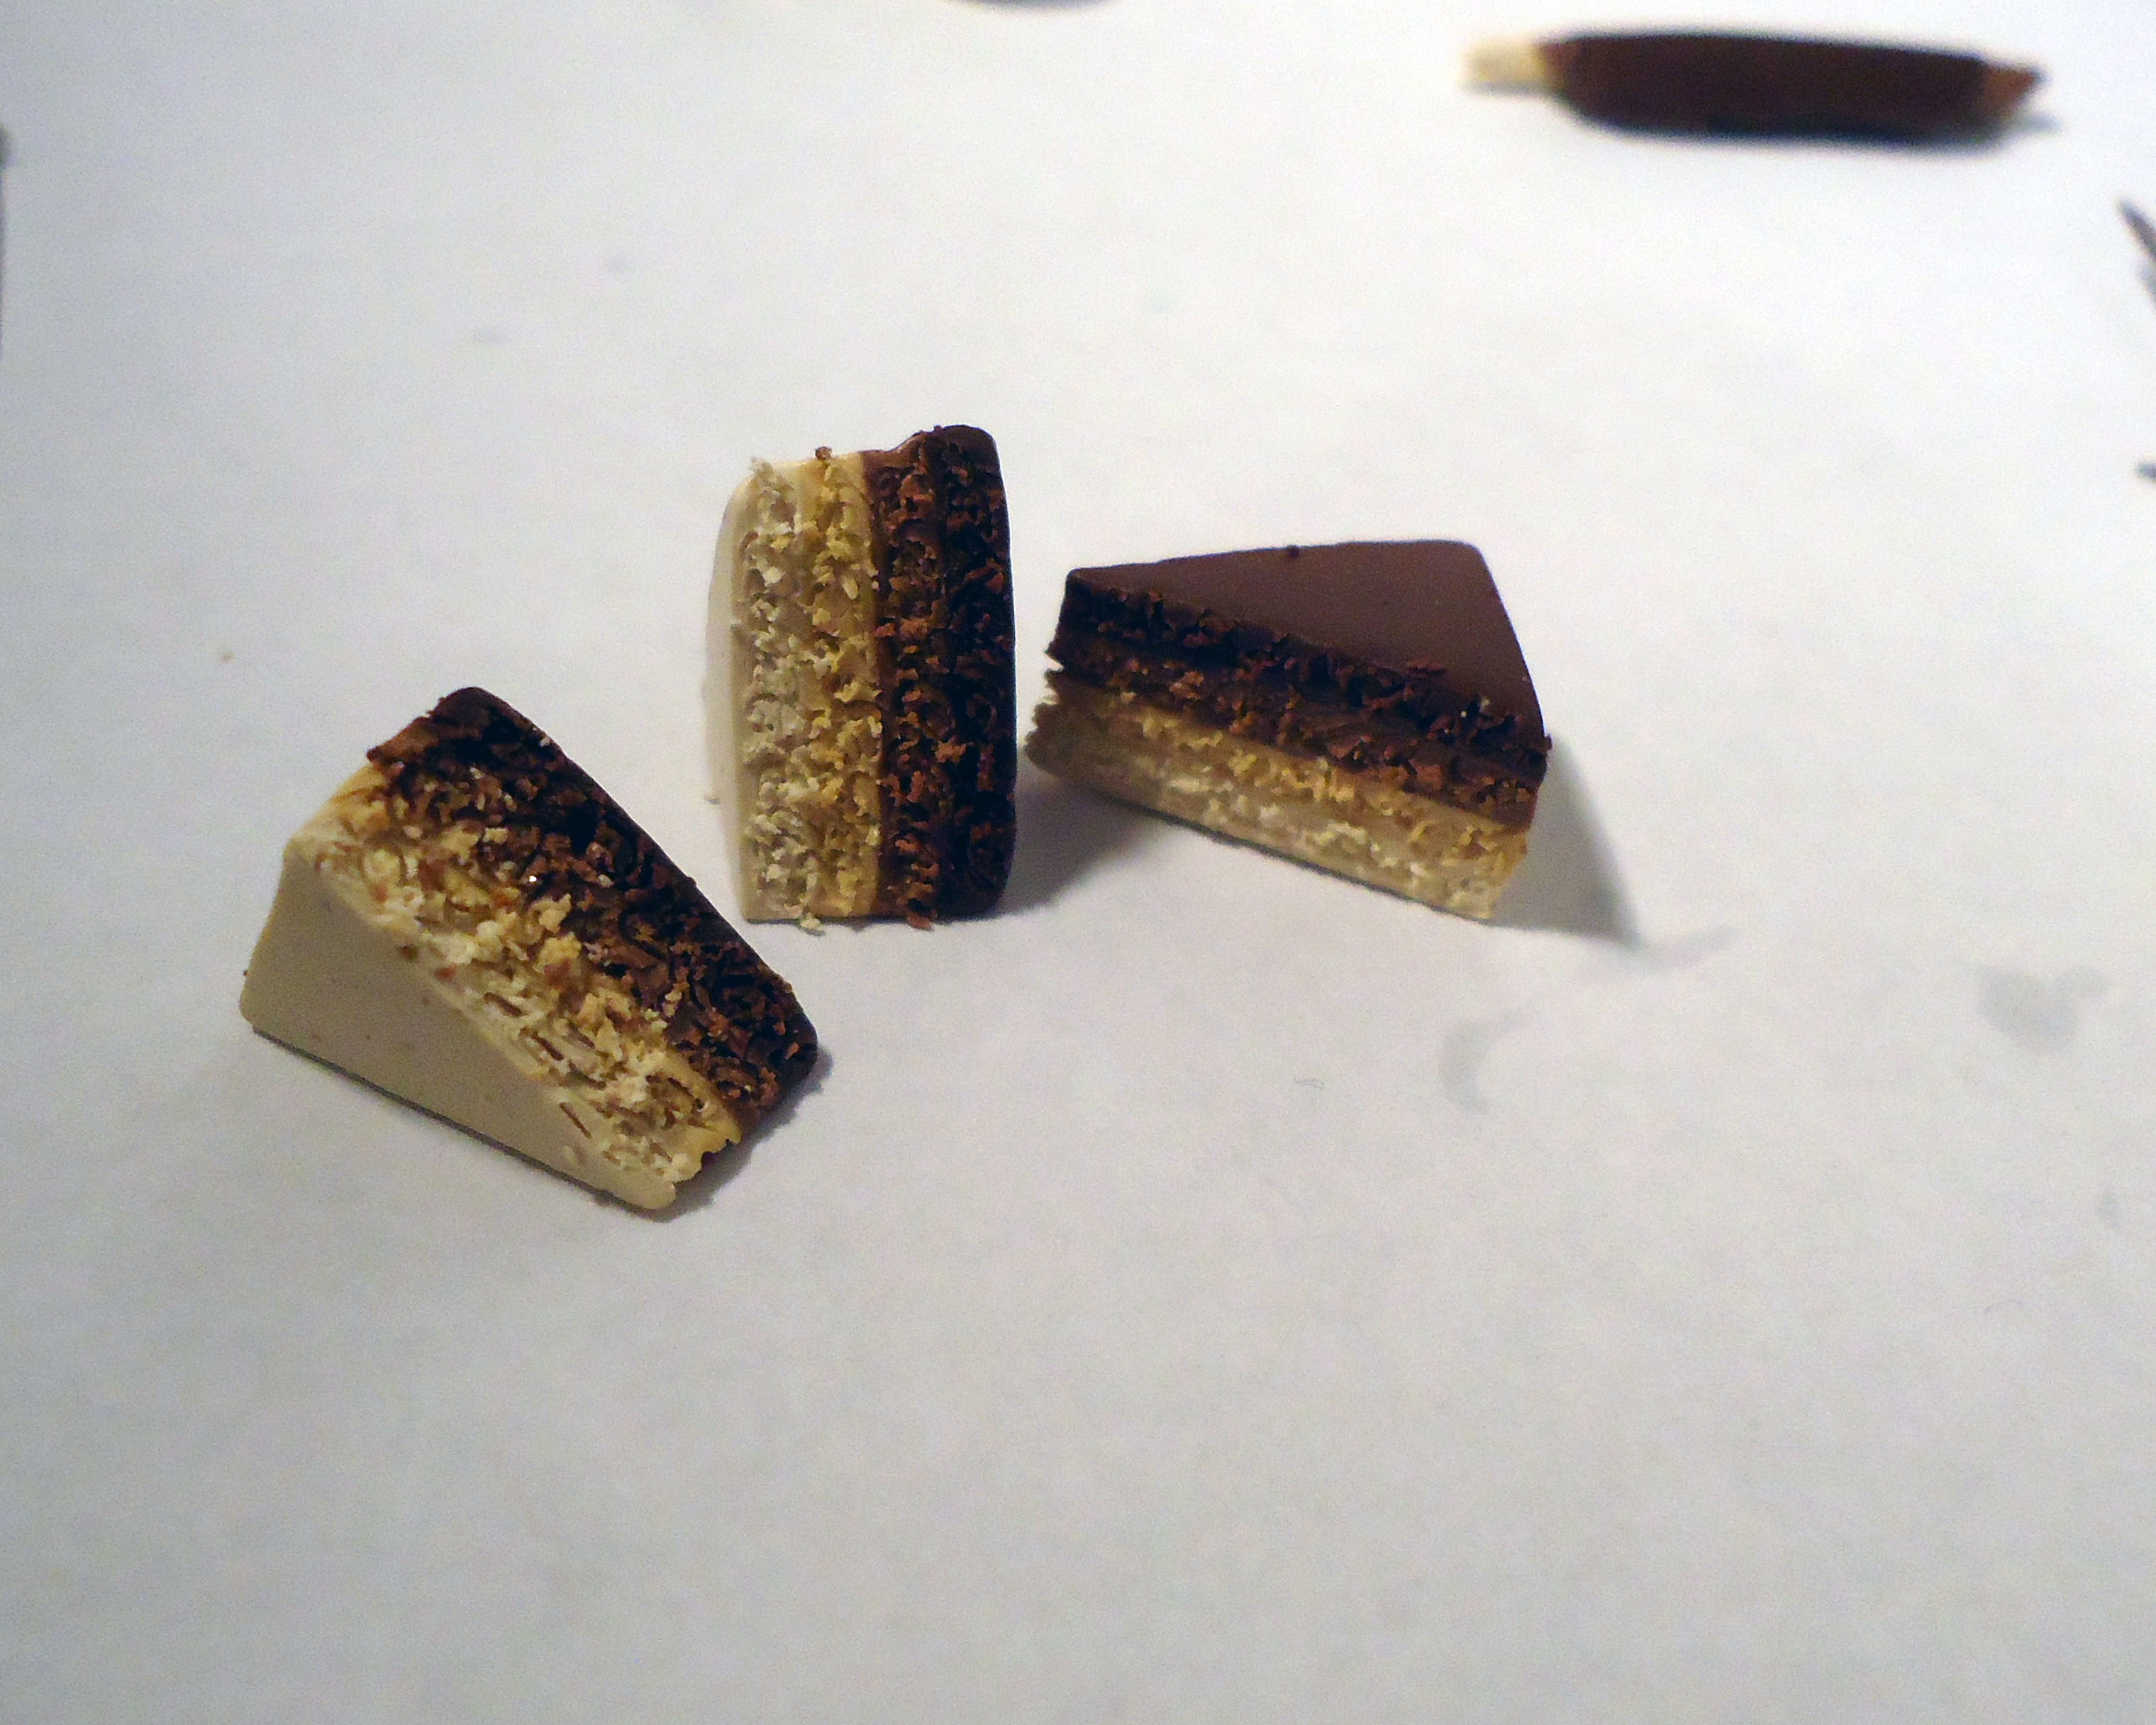
Do it to both sides You don't need the short side to be textured, since it will be covered up by icing.
Now for the jell-o bases!
Now for the jell-o bases!
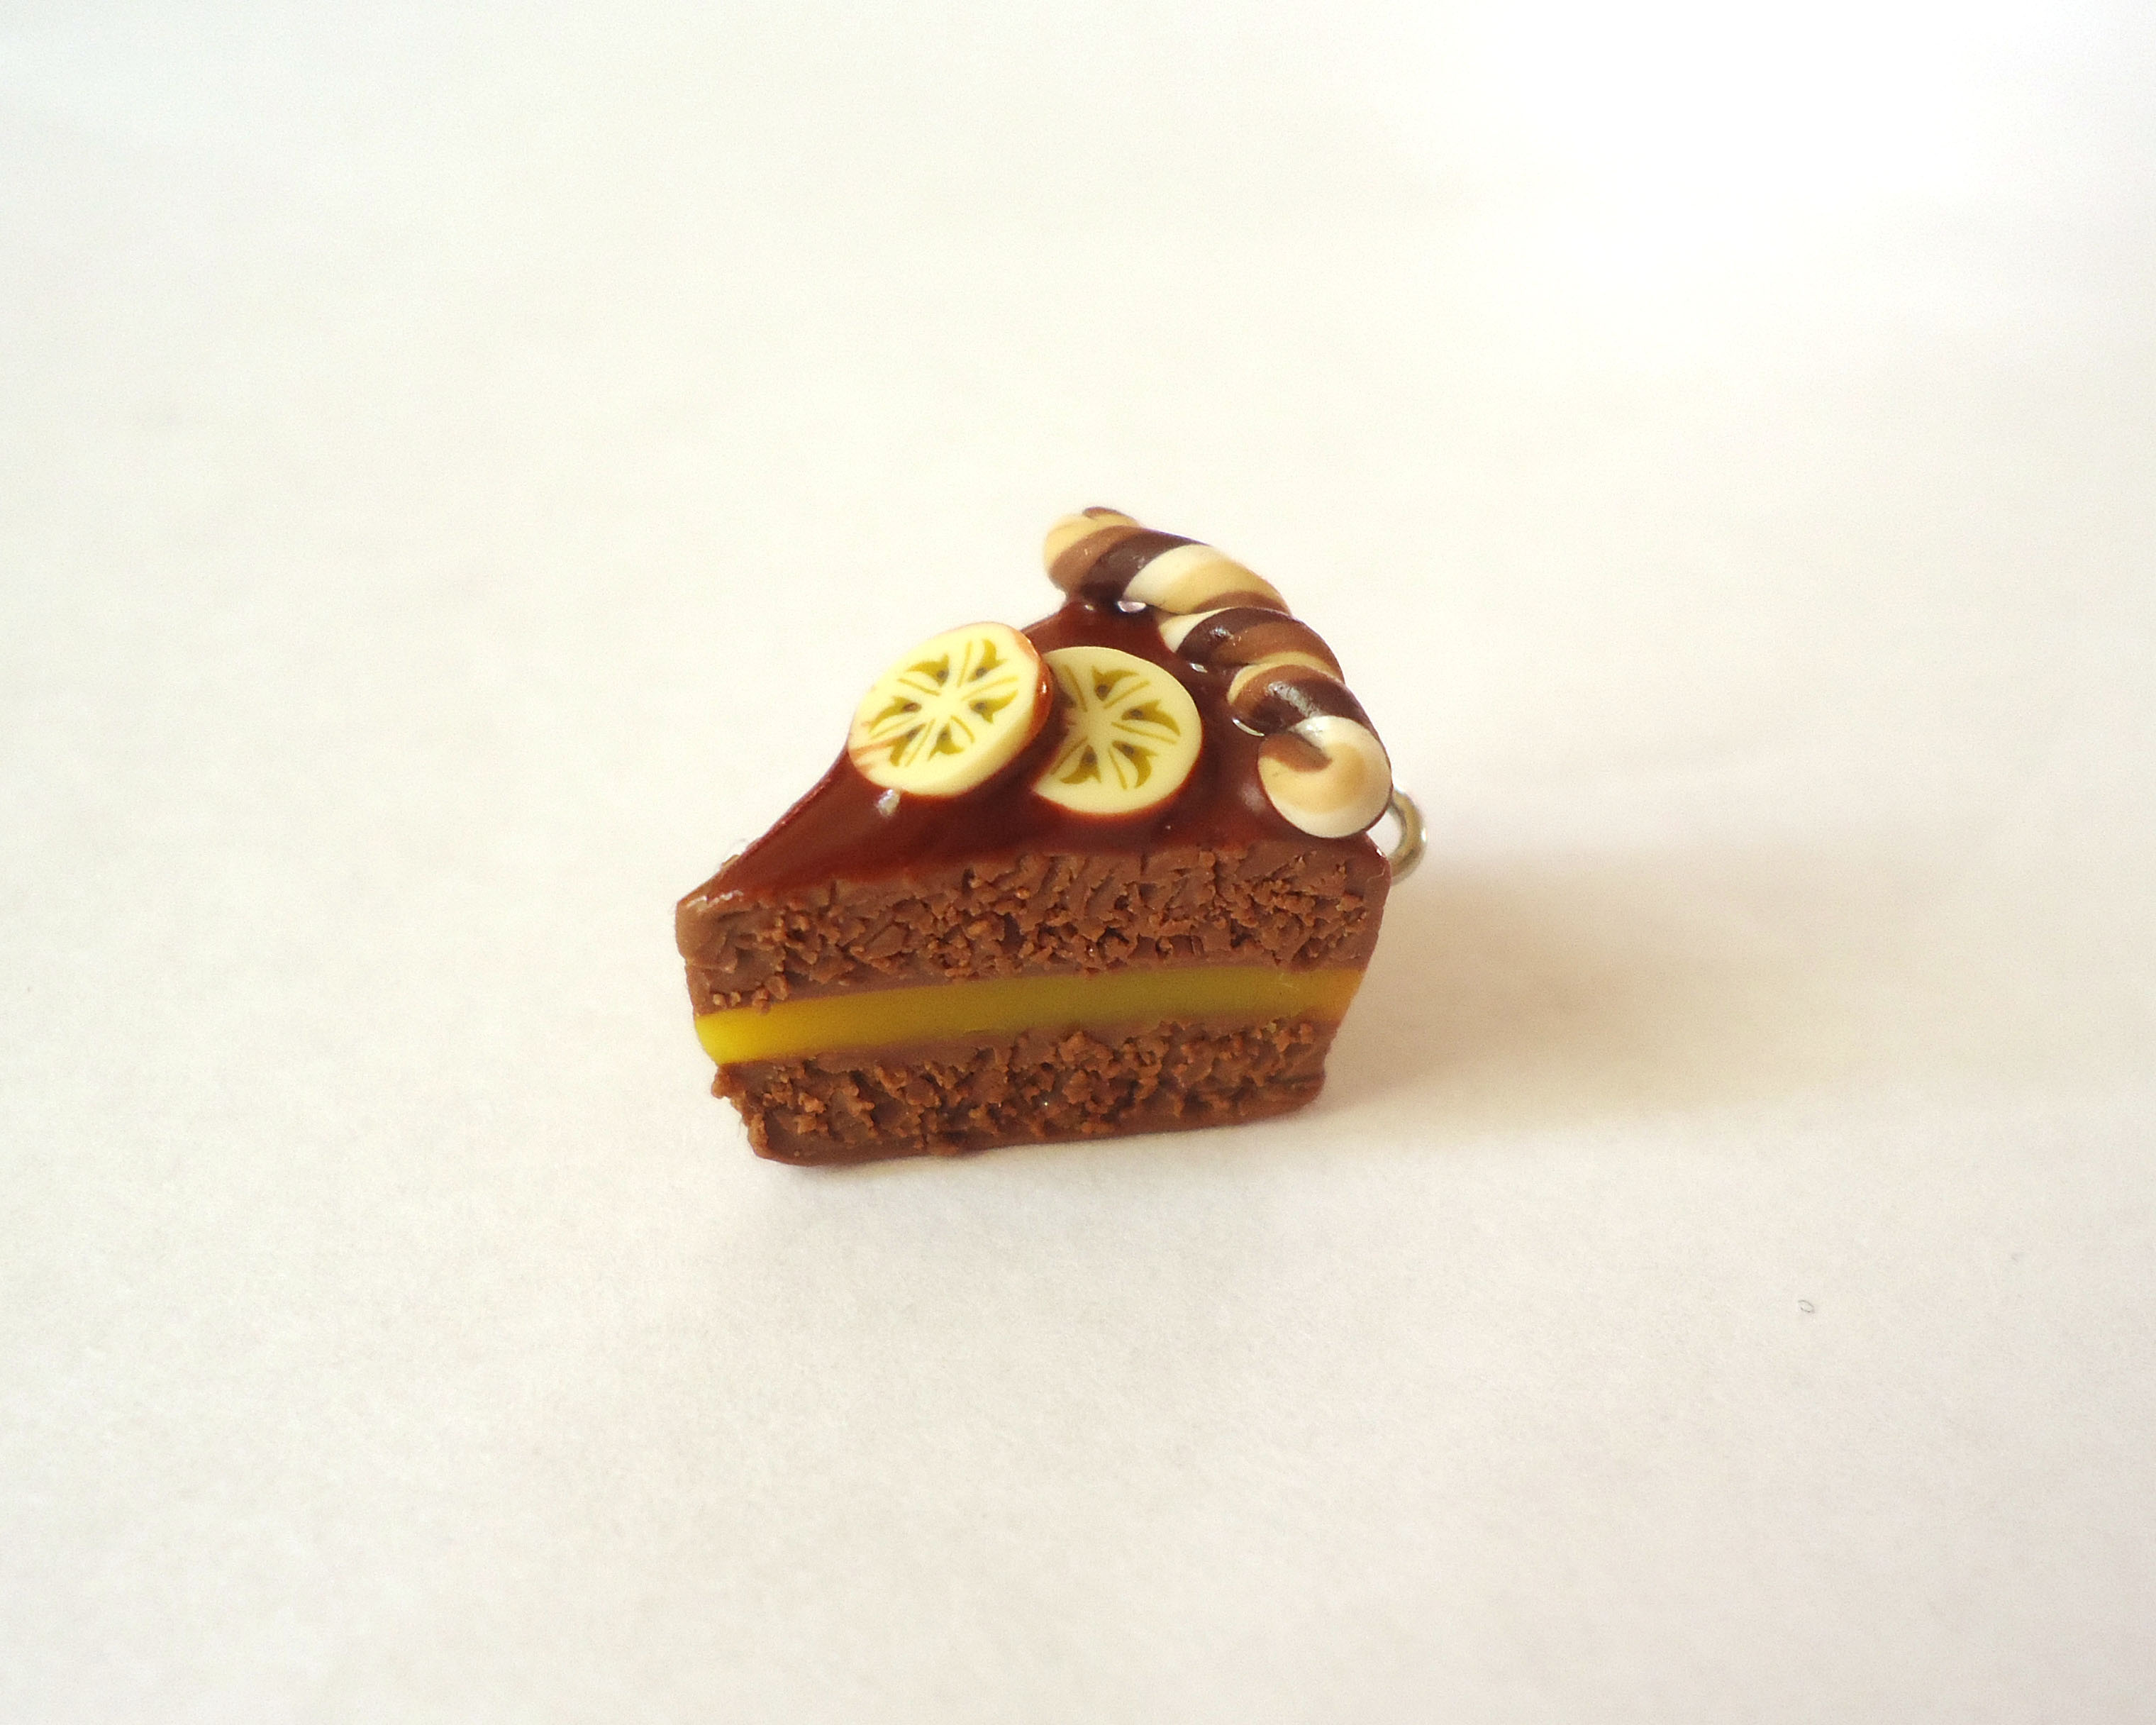
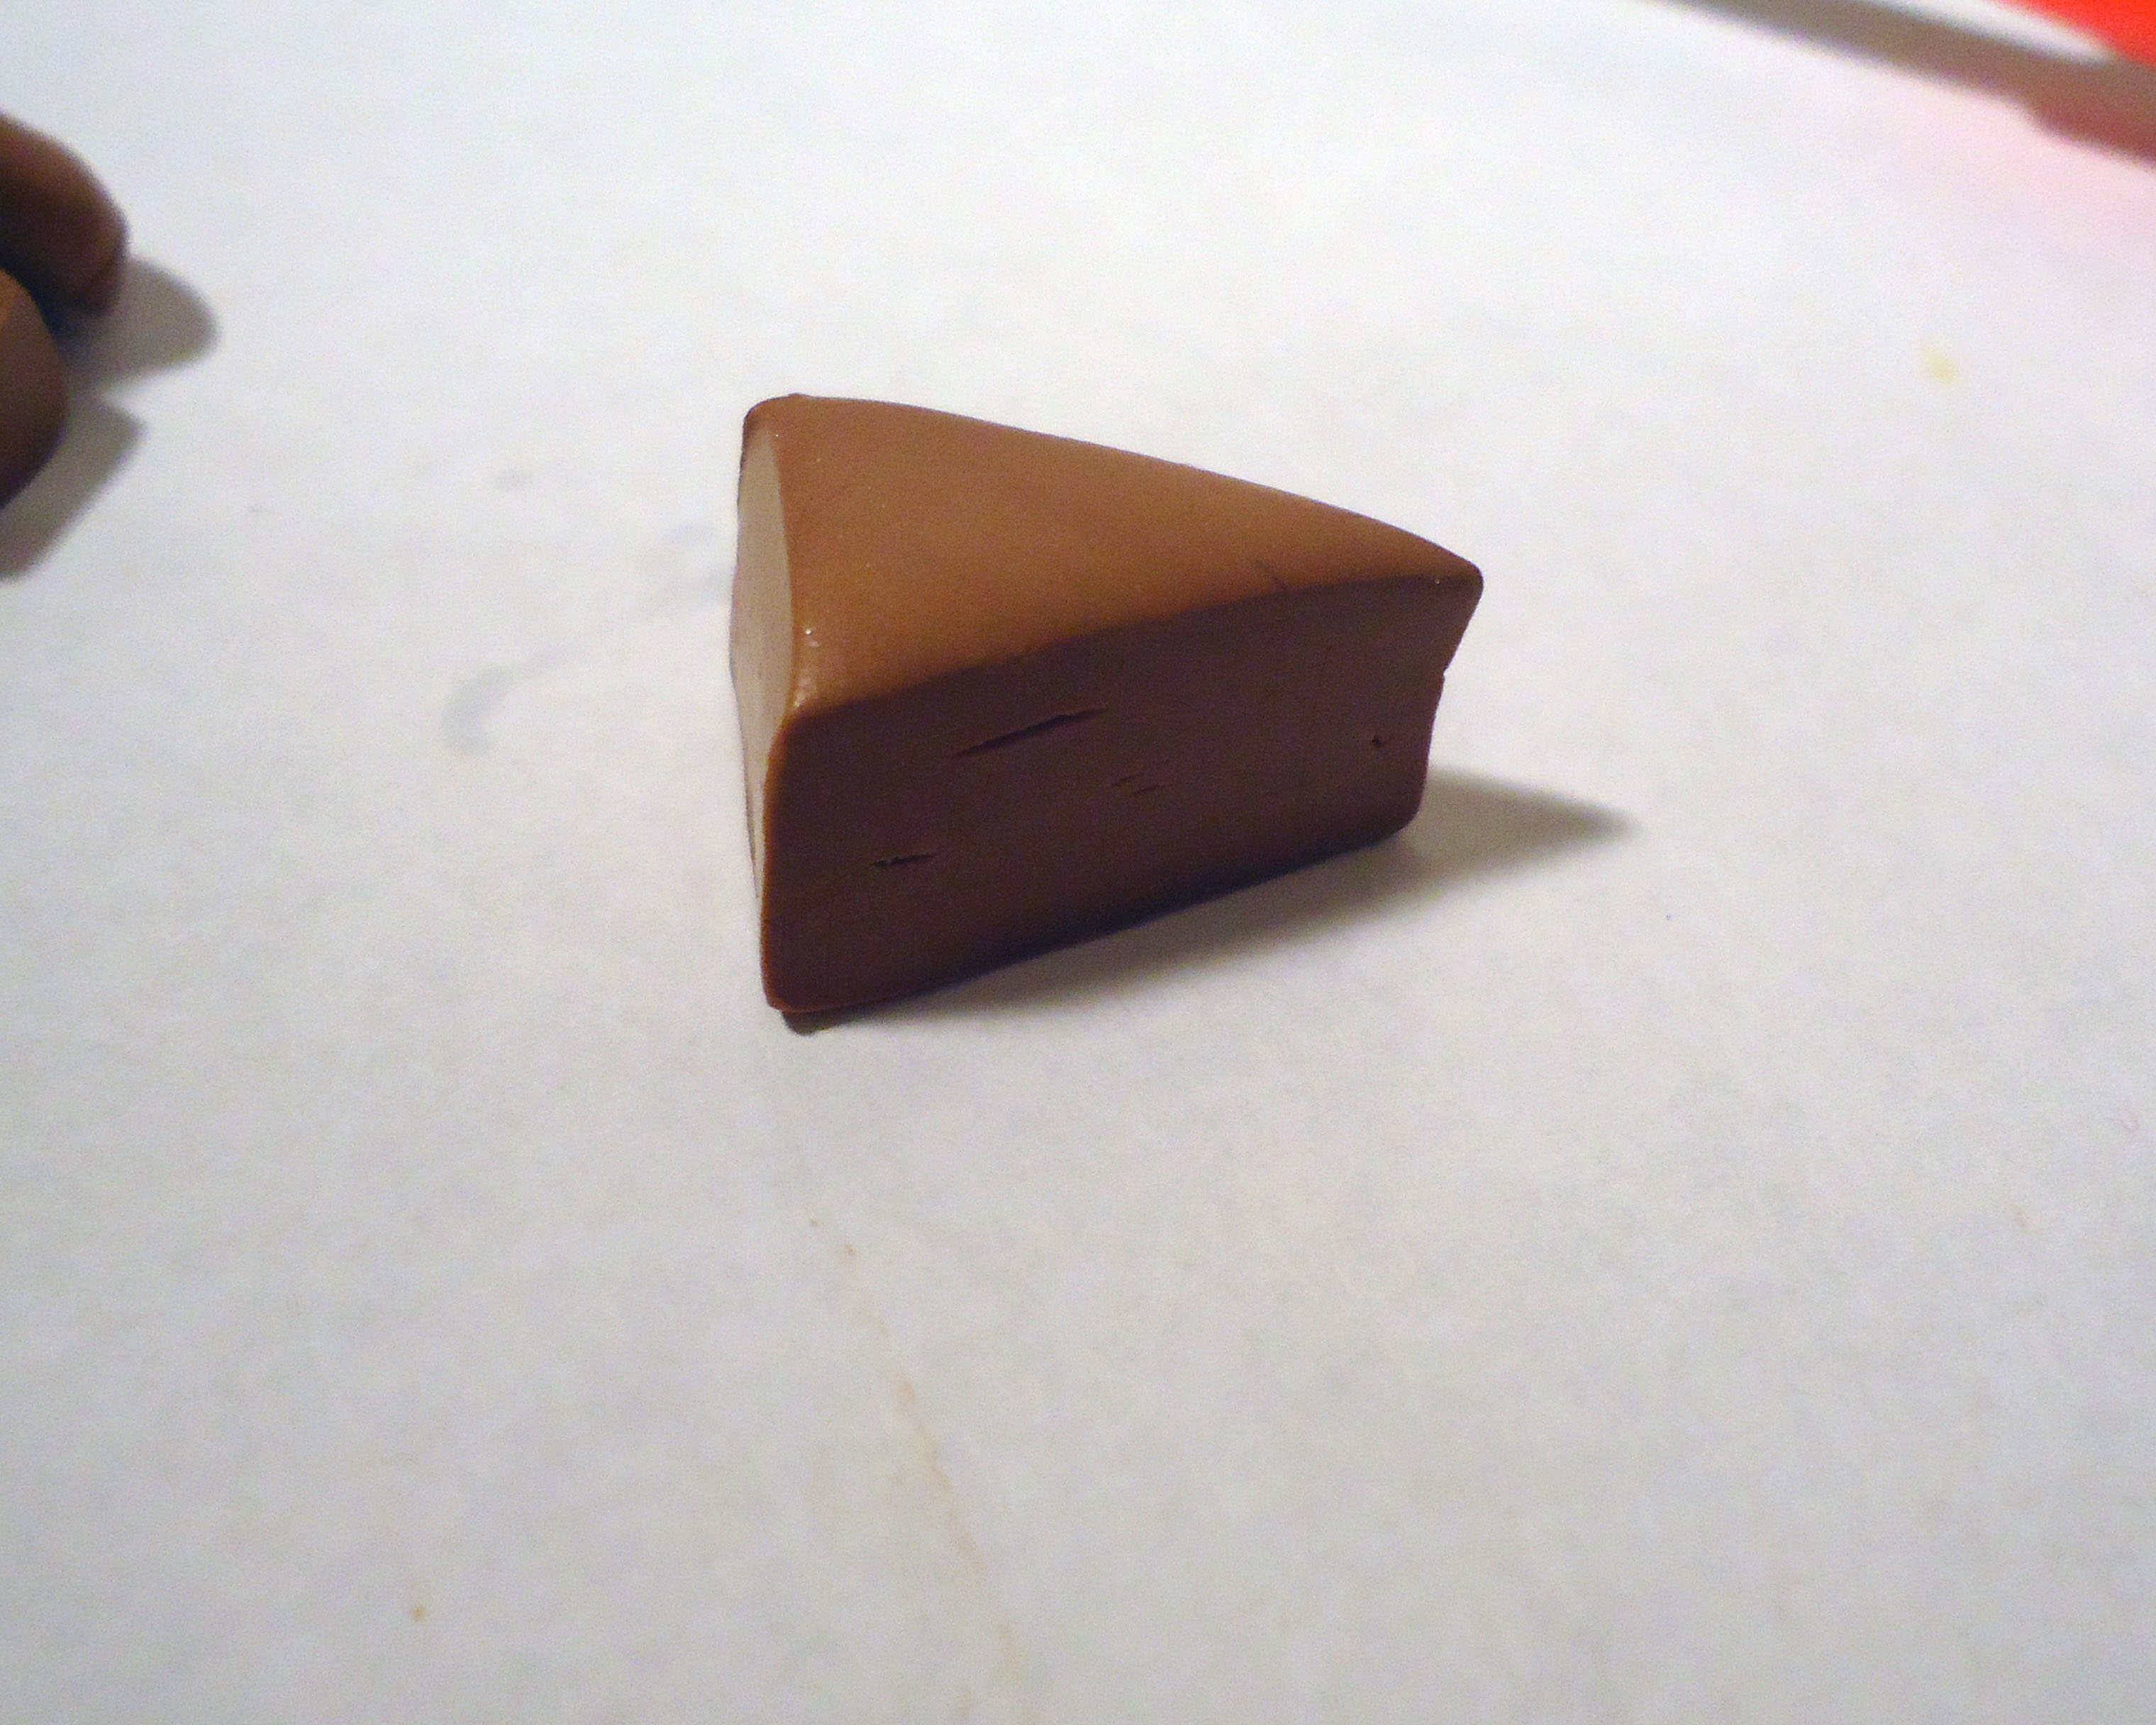
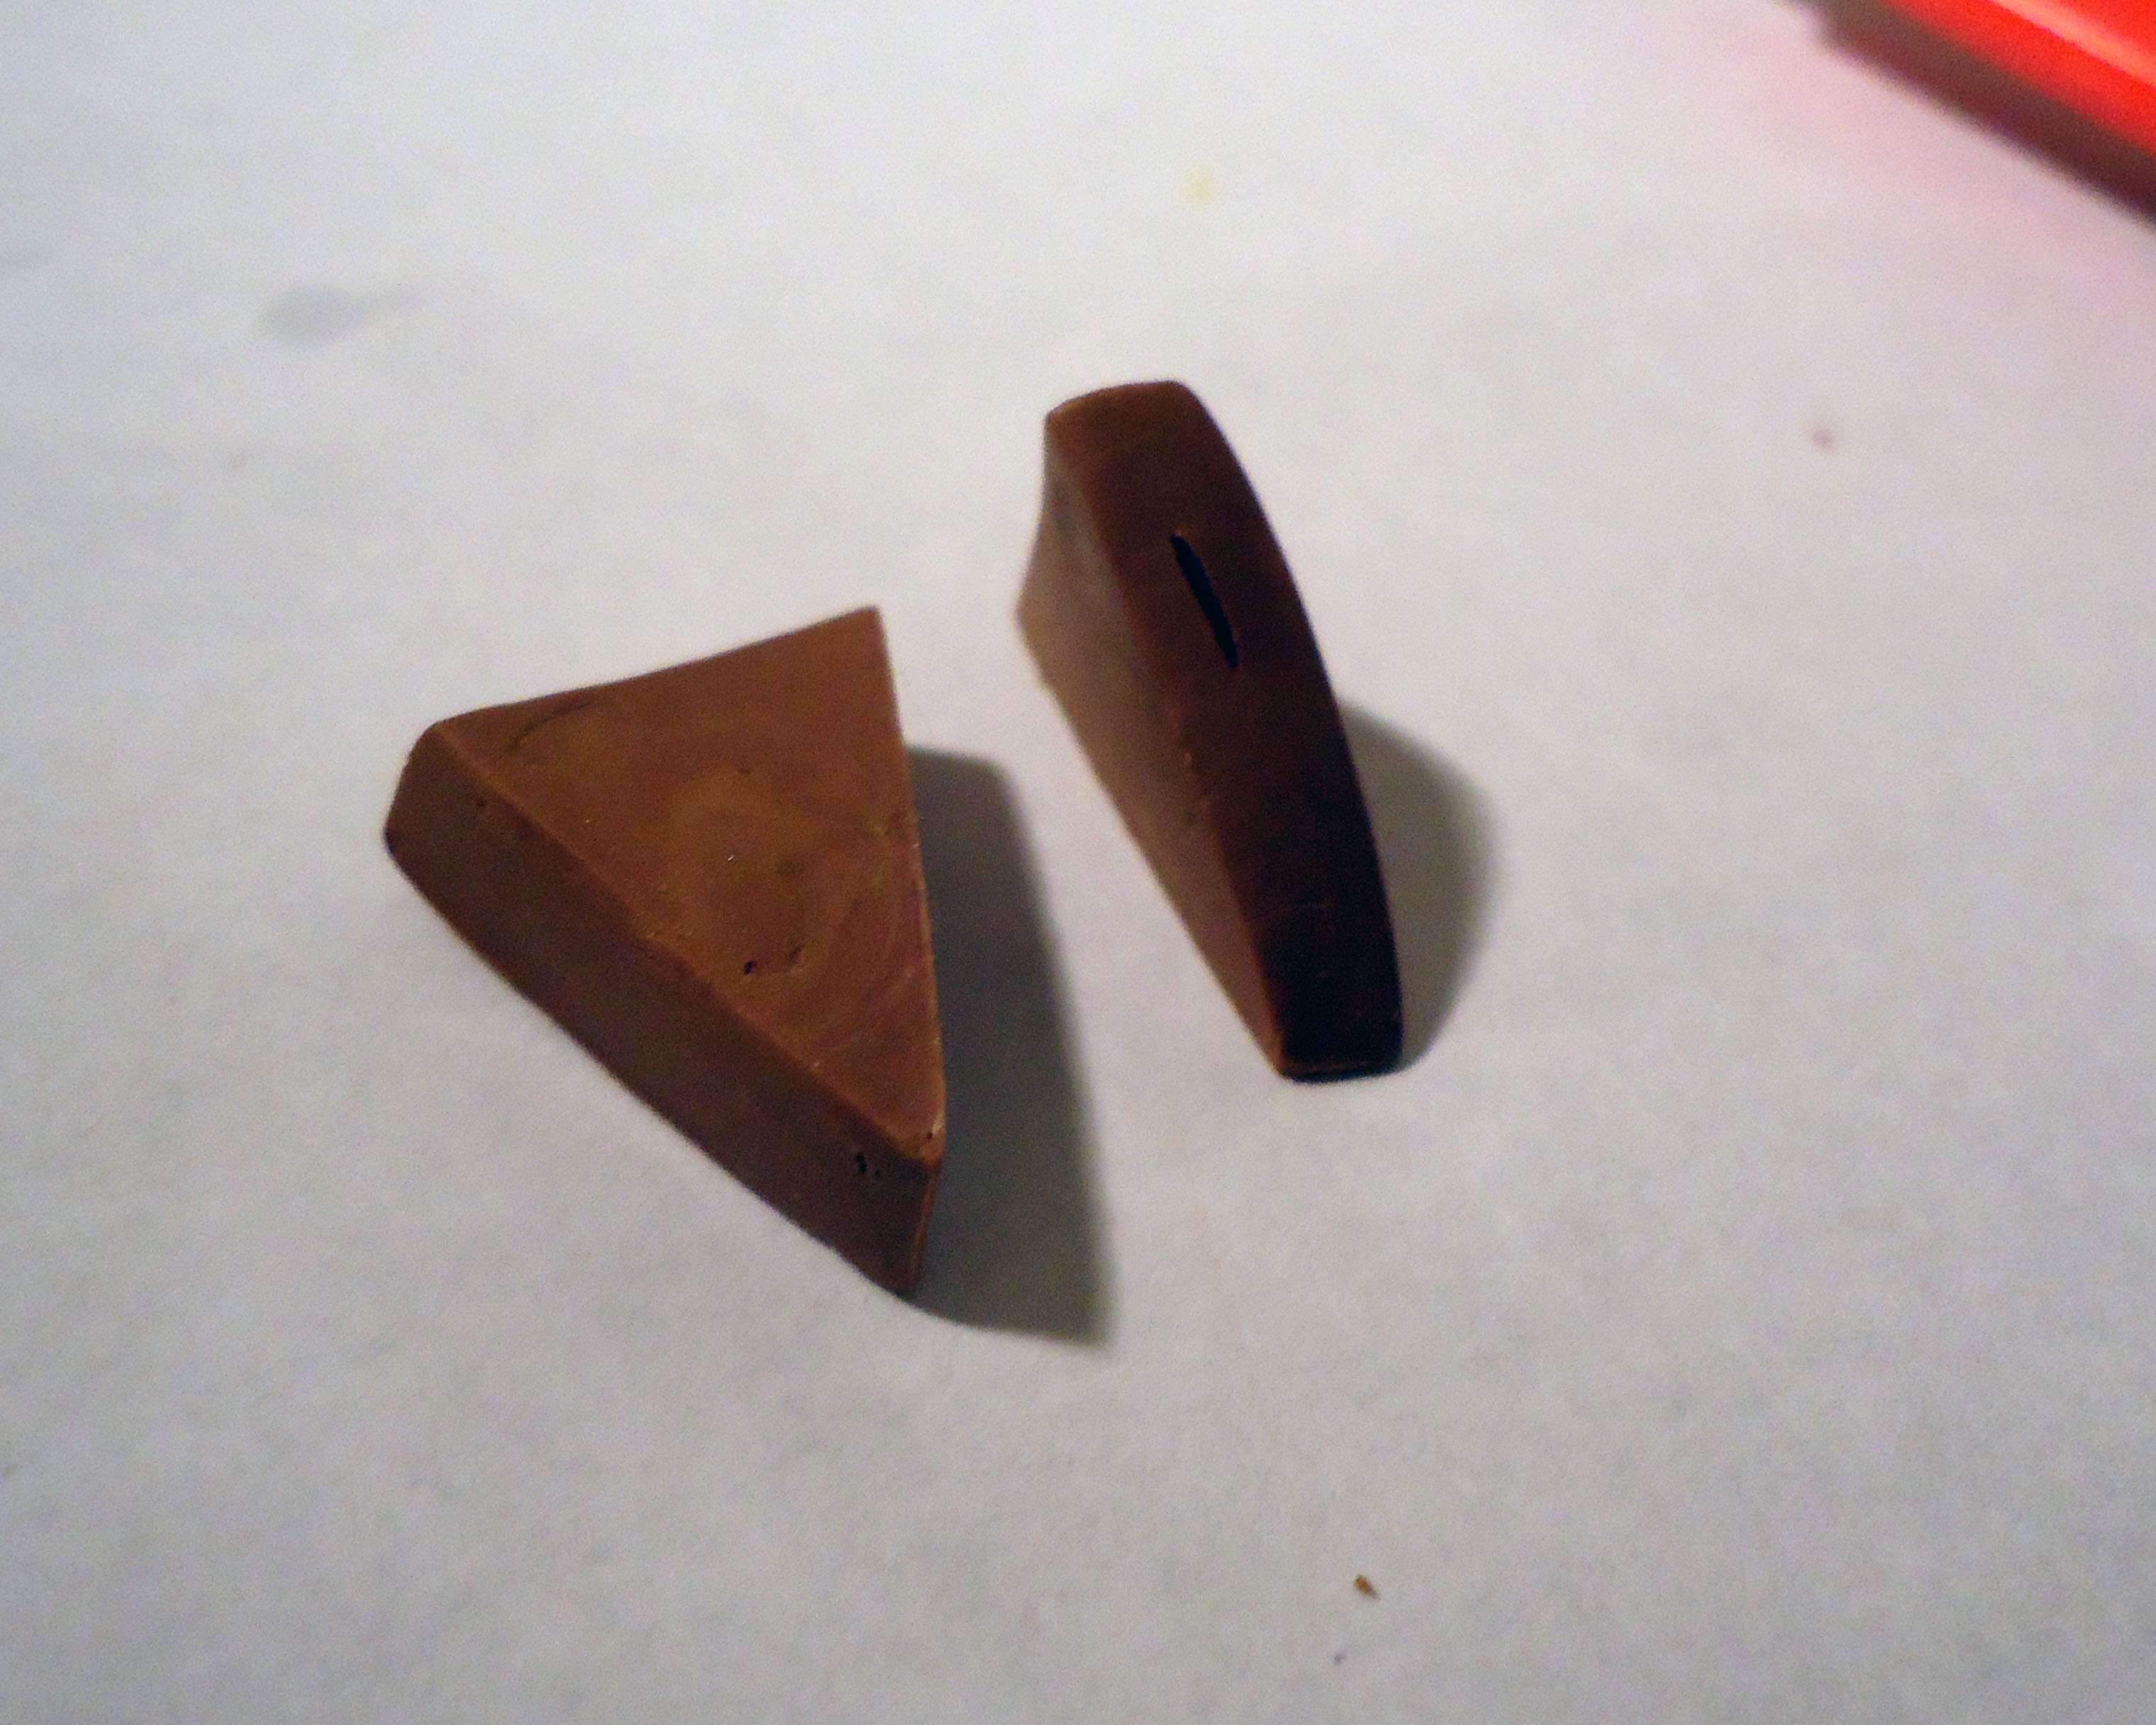
Jell-o filled cake base
I only have one example of this final product, since the only other jell-o filled cake I did I gave away.
You start out just like you do with the split cake.
I only have one example of this final product, since the only other jell-o filled cake I did I gave away.
You start out just like you do with the split cake.
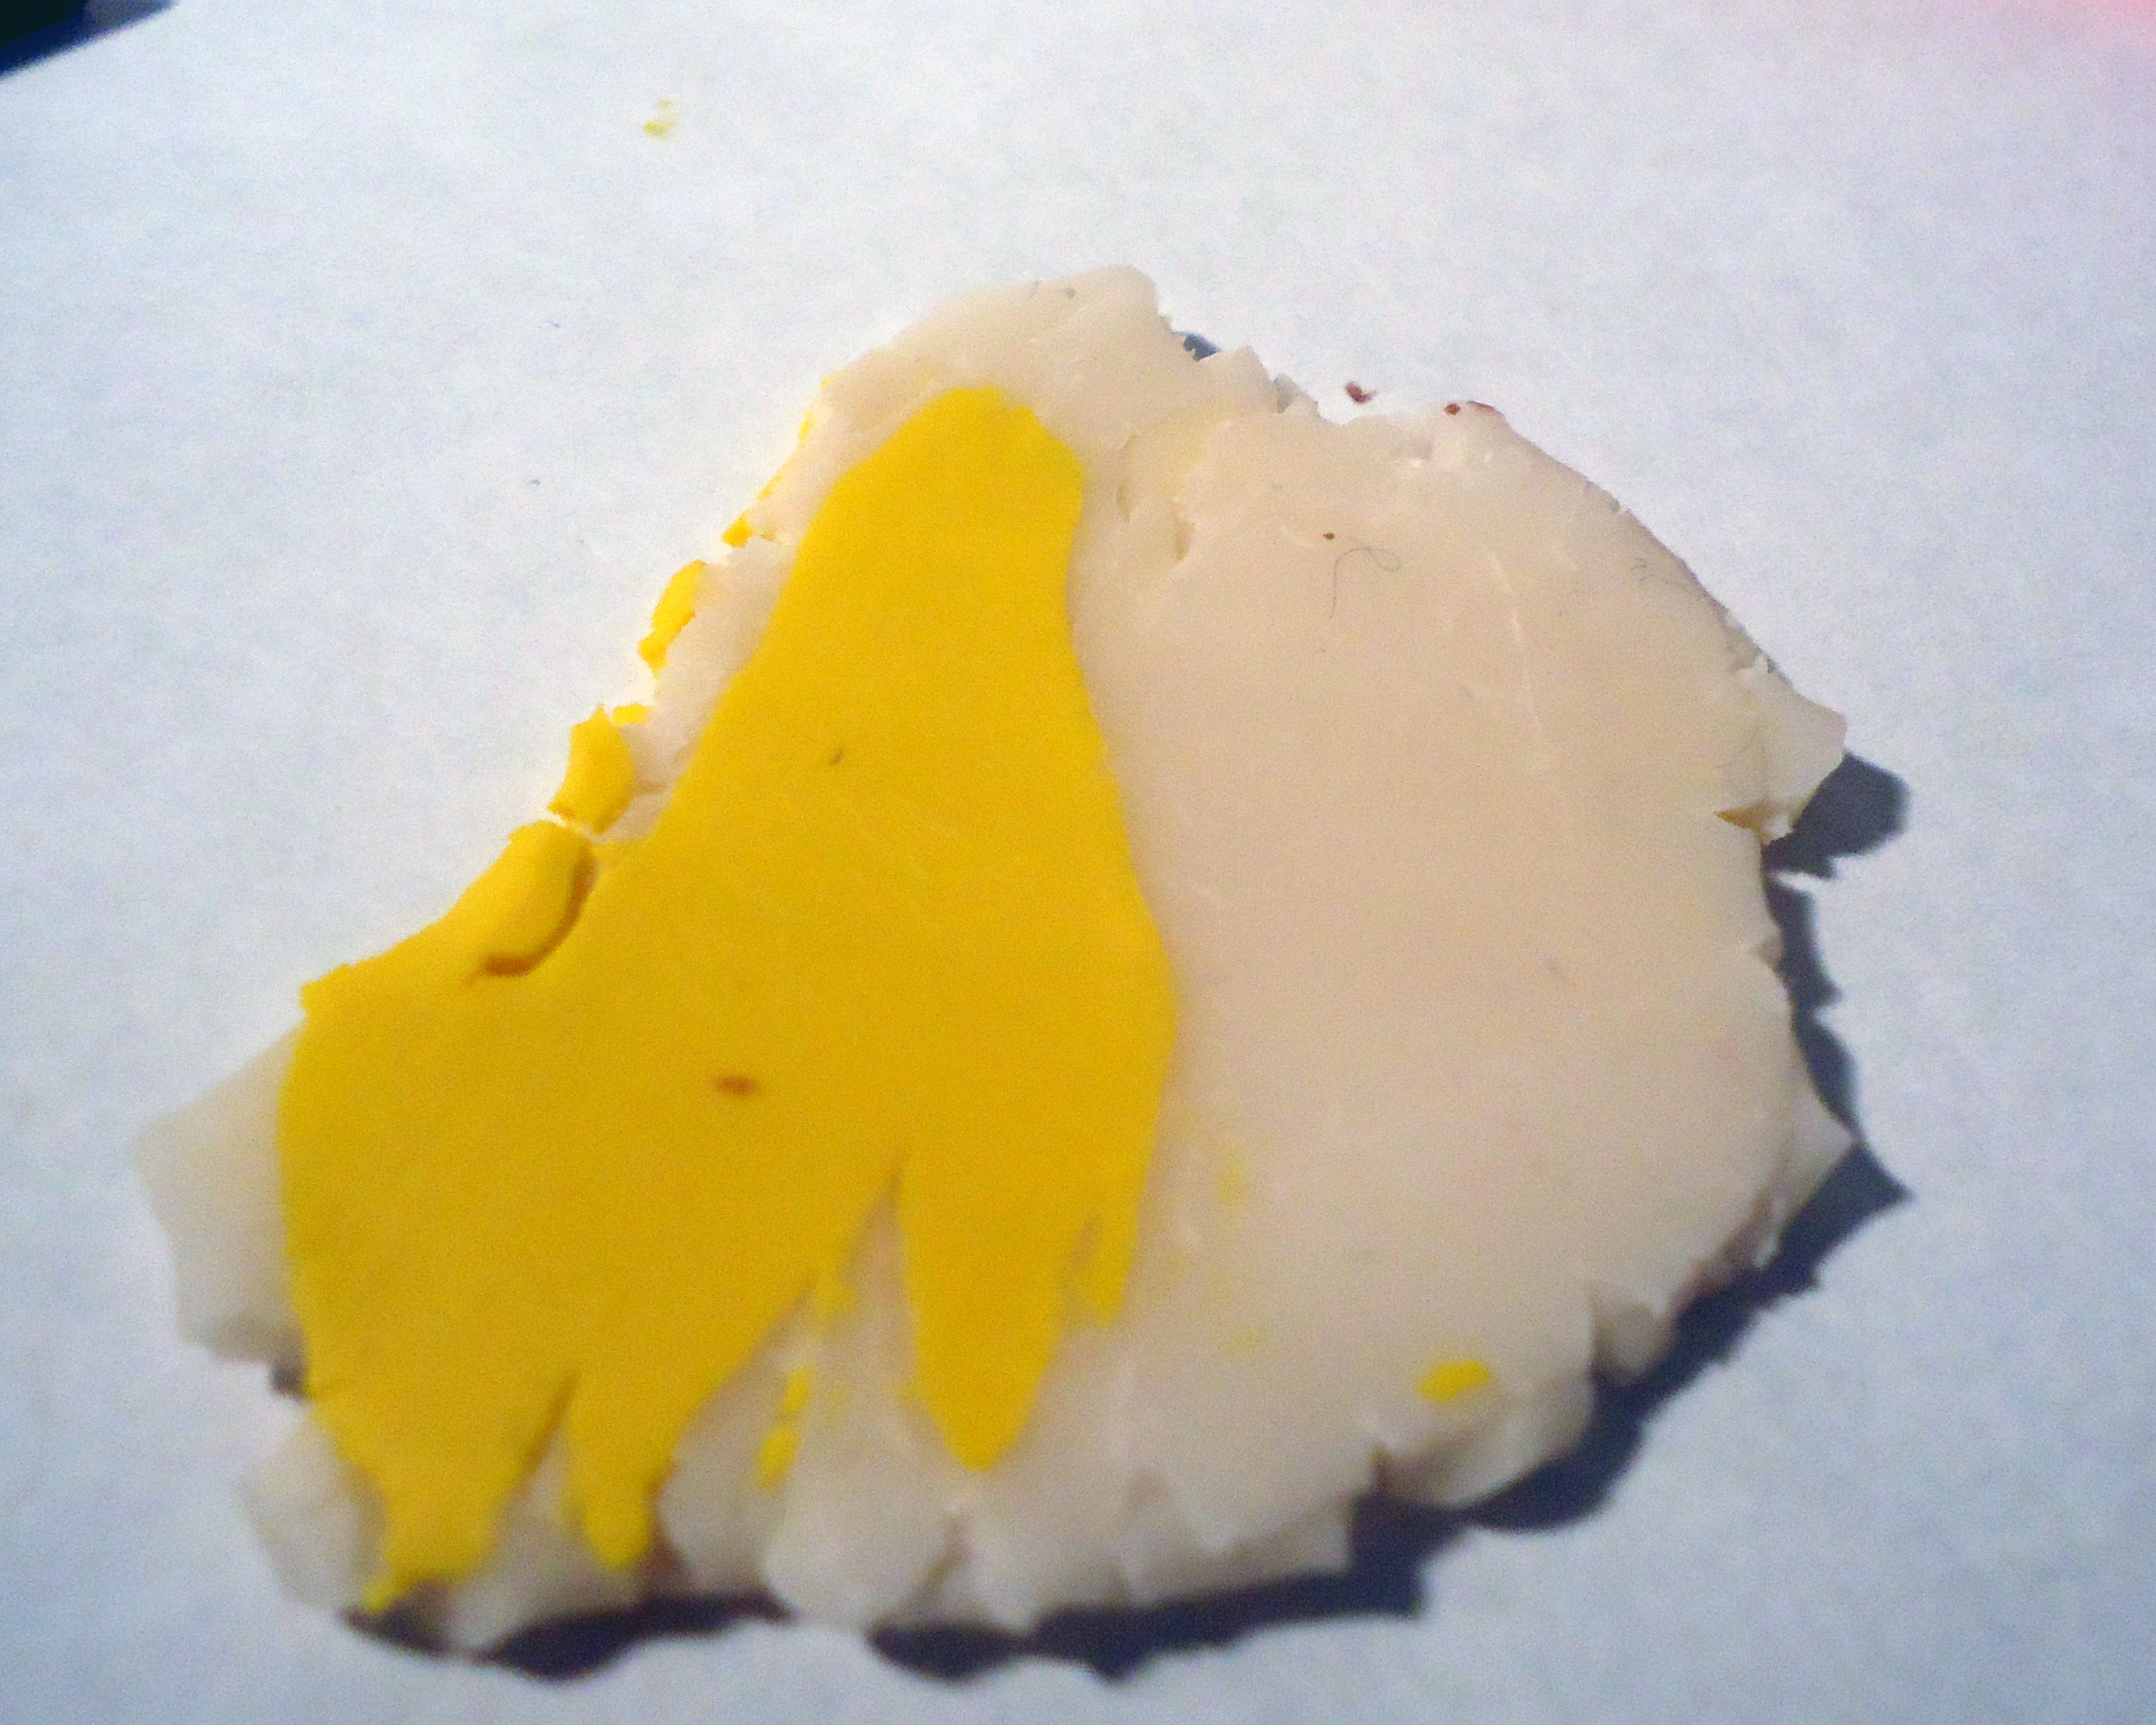
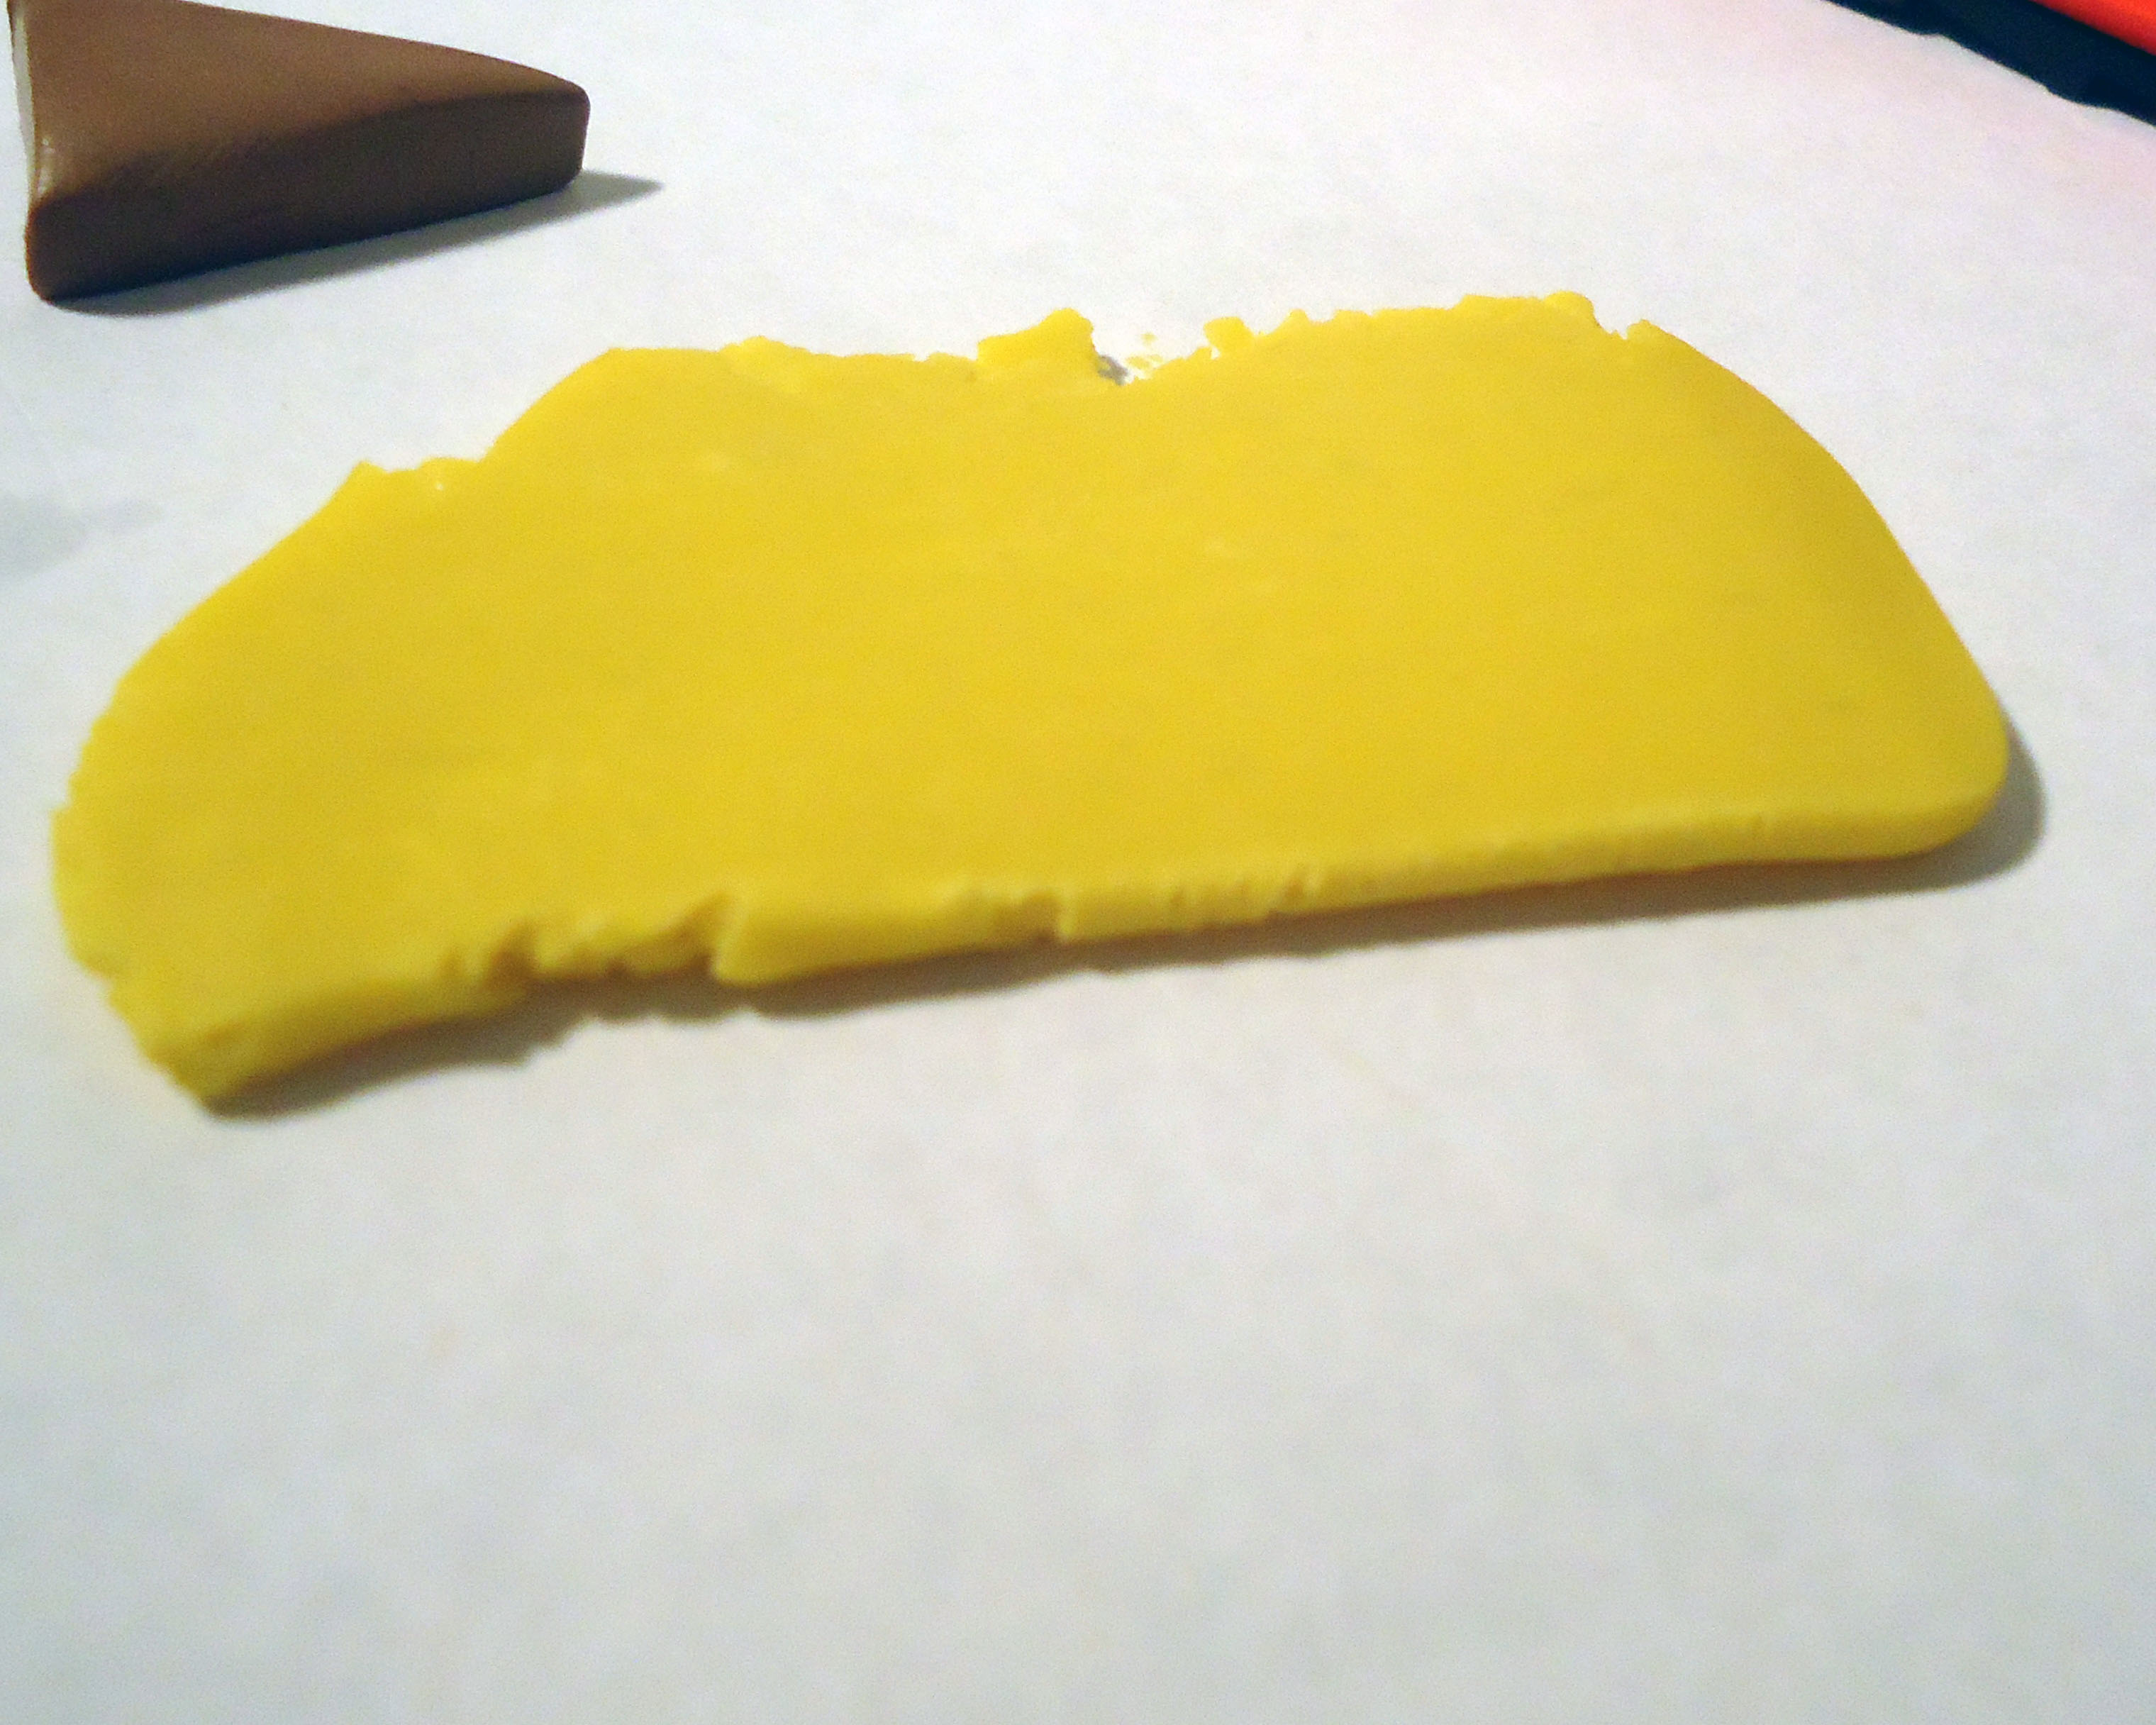
Take some translucent clay and clay of whatever color you want your jell-o filling to be, mix them at about 3:1. Yes, kneading clay to blend is hard and your hands will hurt, that's why having the metal machine thing I mentioned earlier is an advantage.
Keep kneading/rolling until it blends completely.
You can't see that it's translucent now, but you will when you cake your clay.
After you're satisfied with the blending, go on and roll your clay out to as thick as you want your jell-o layer to be.
Keep kneading/rolling until it blends completely.
You can't see that it's translucent now, but you will when you cake your clay.
After you're satisfied with the blending, go on and roll your clay out to as thick as you want your jell-o layer to be.
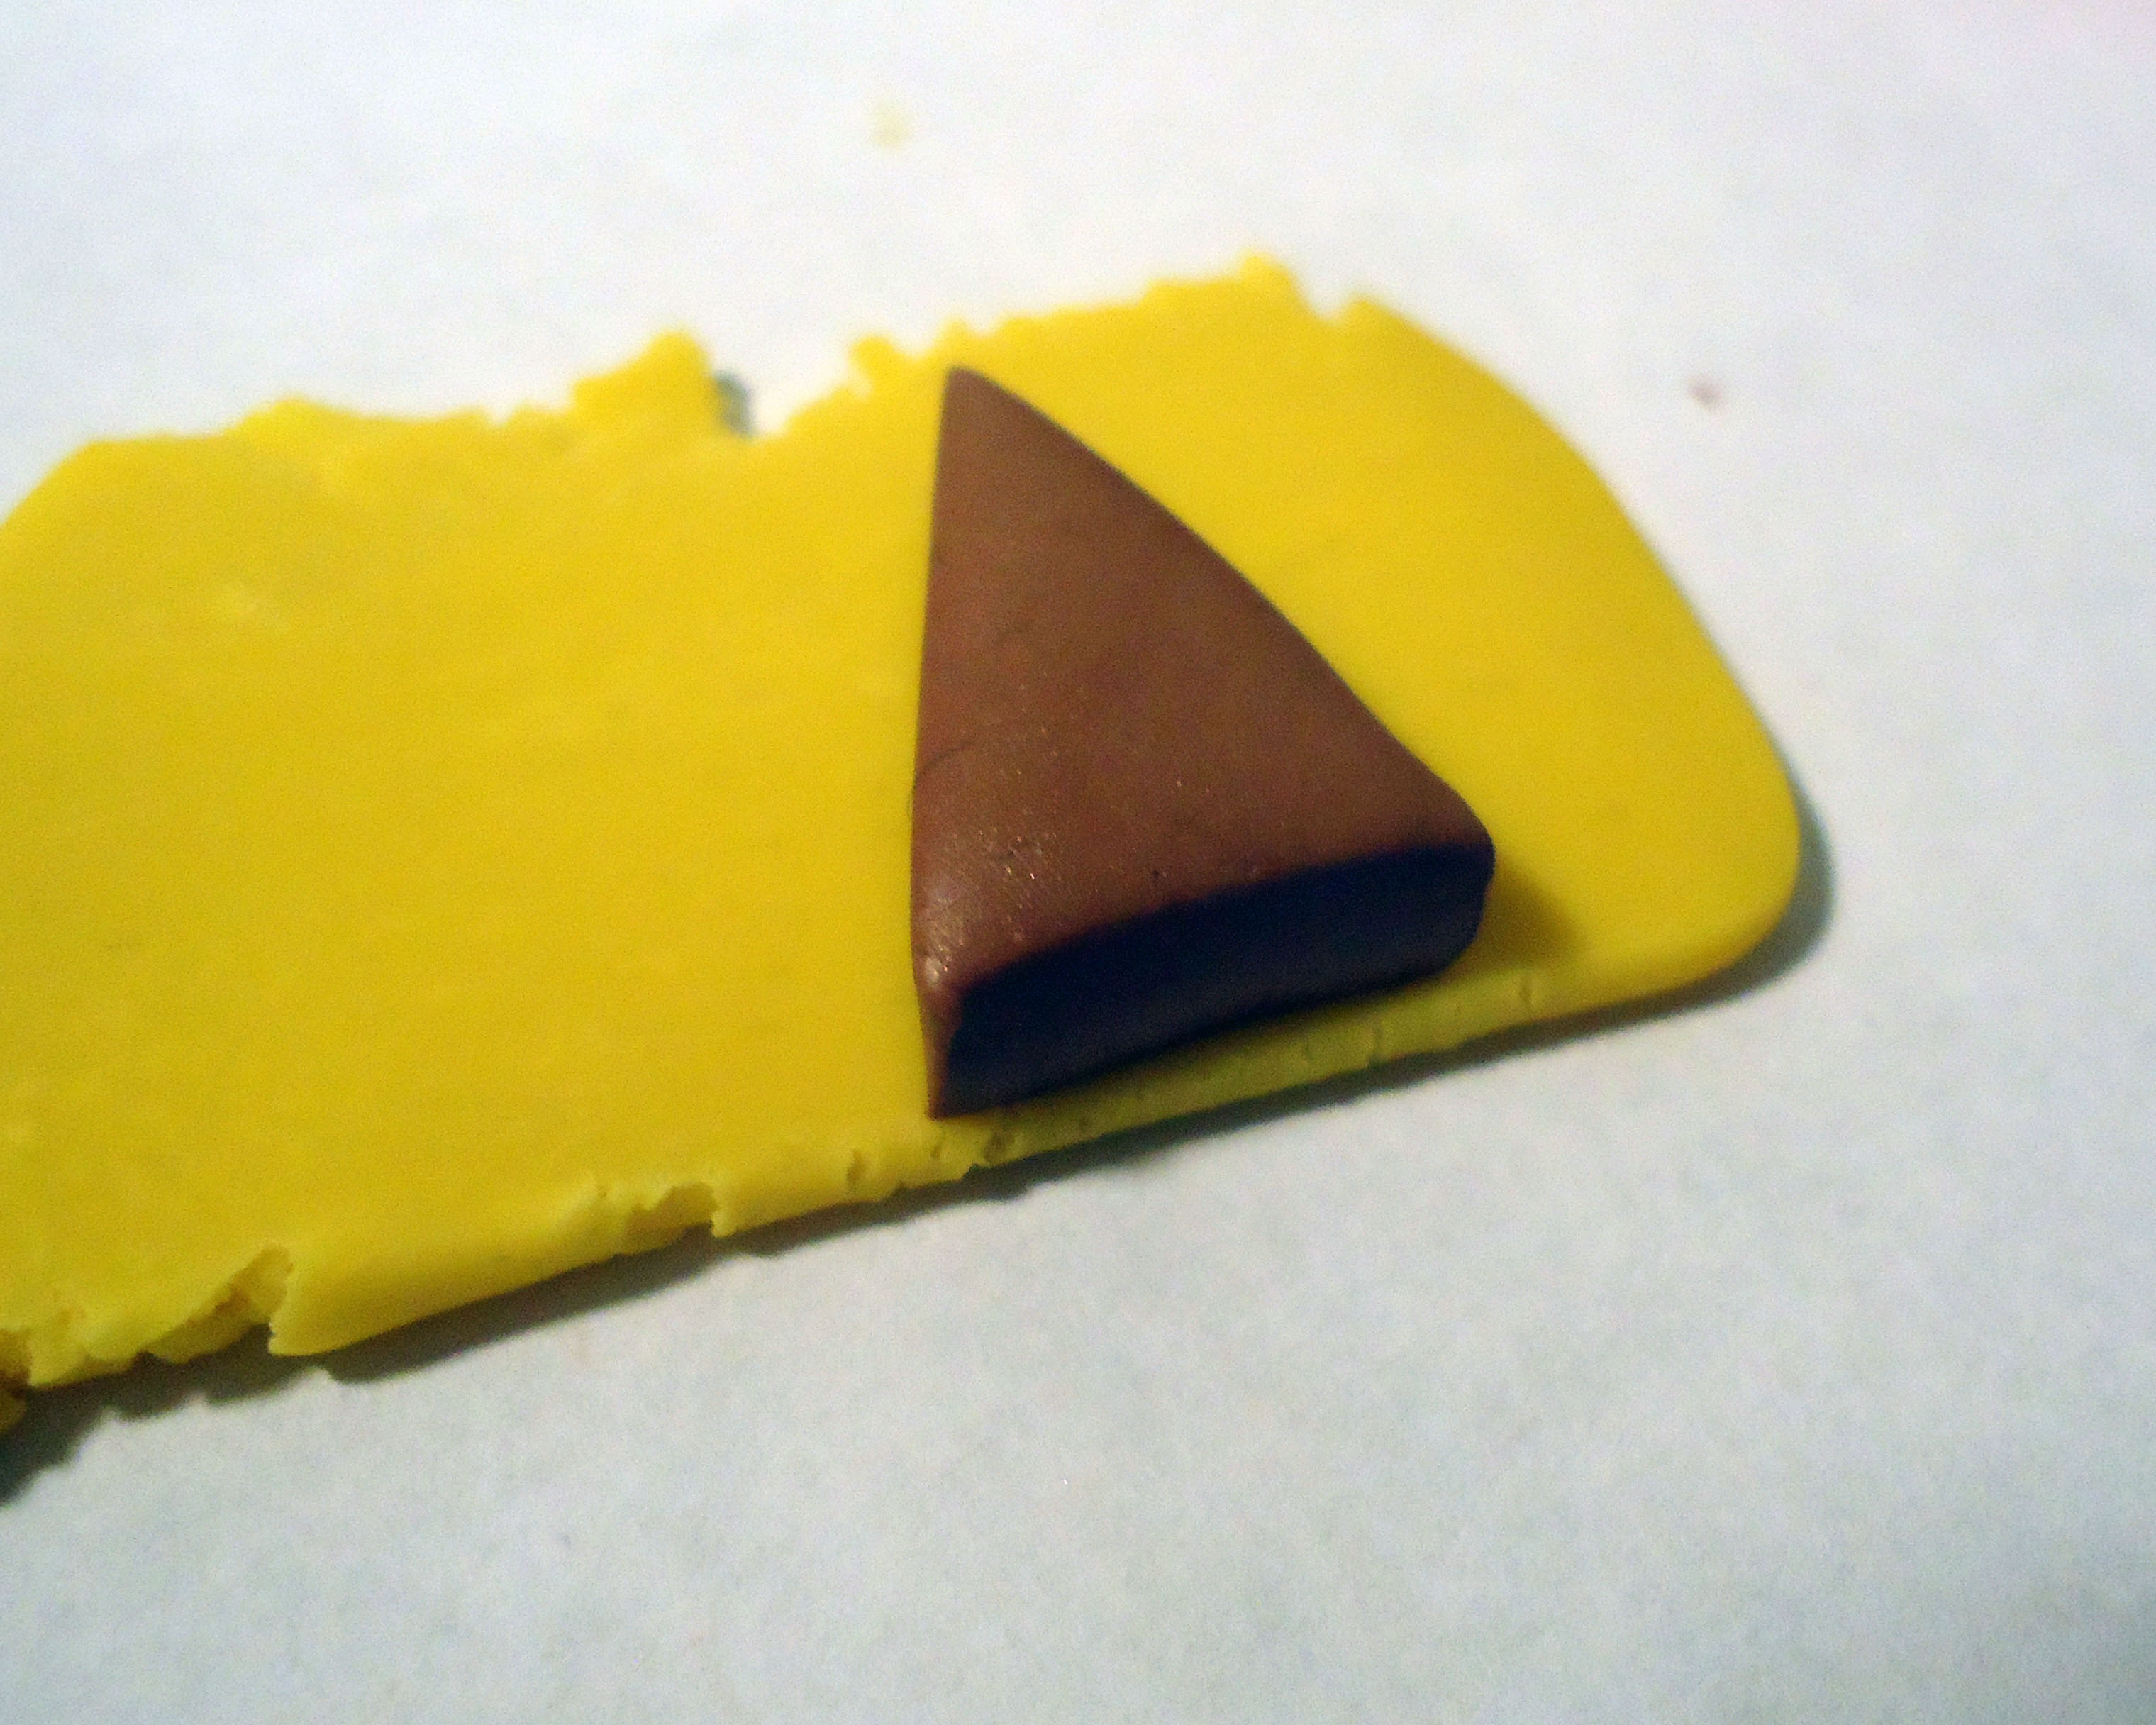
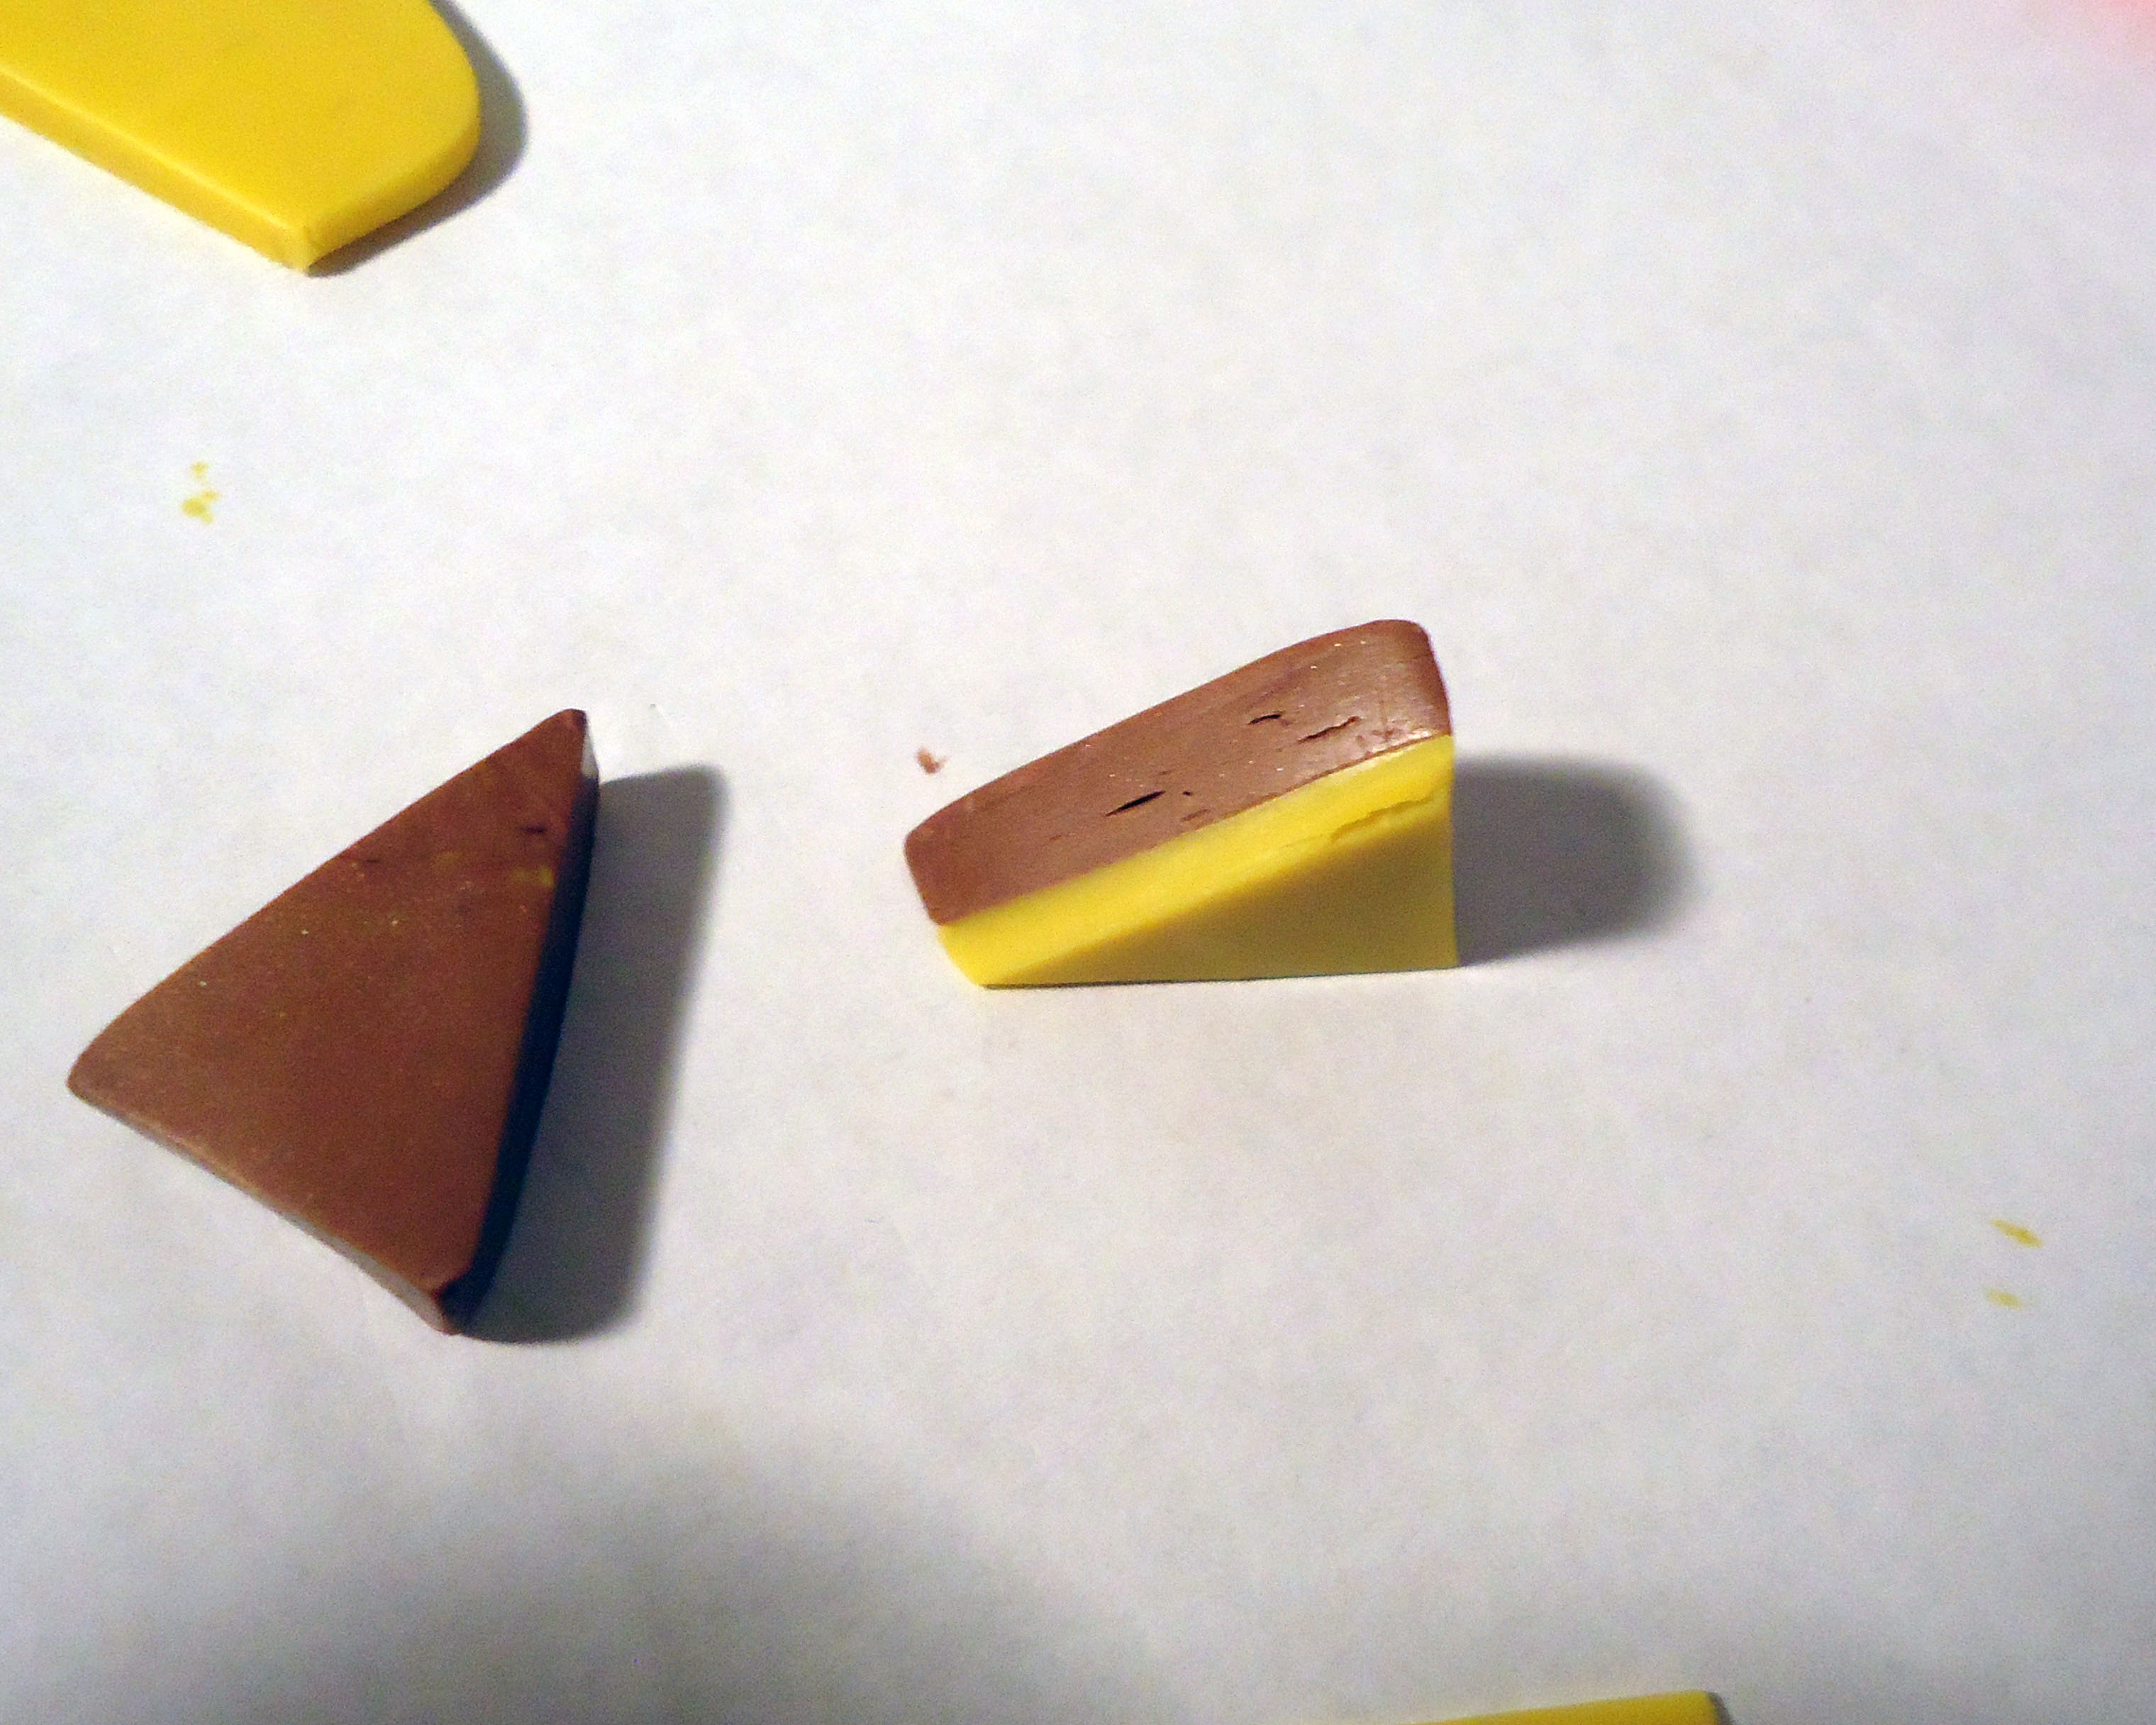
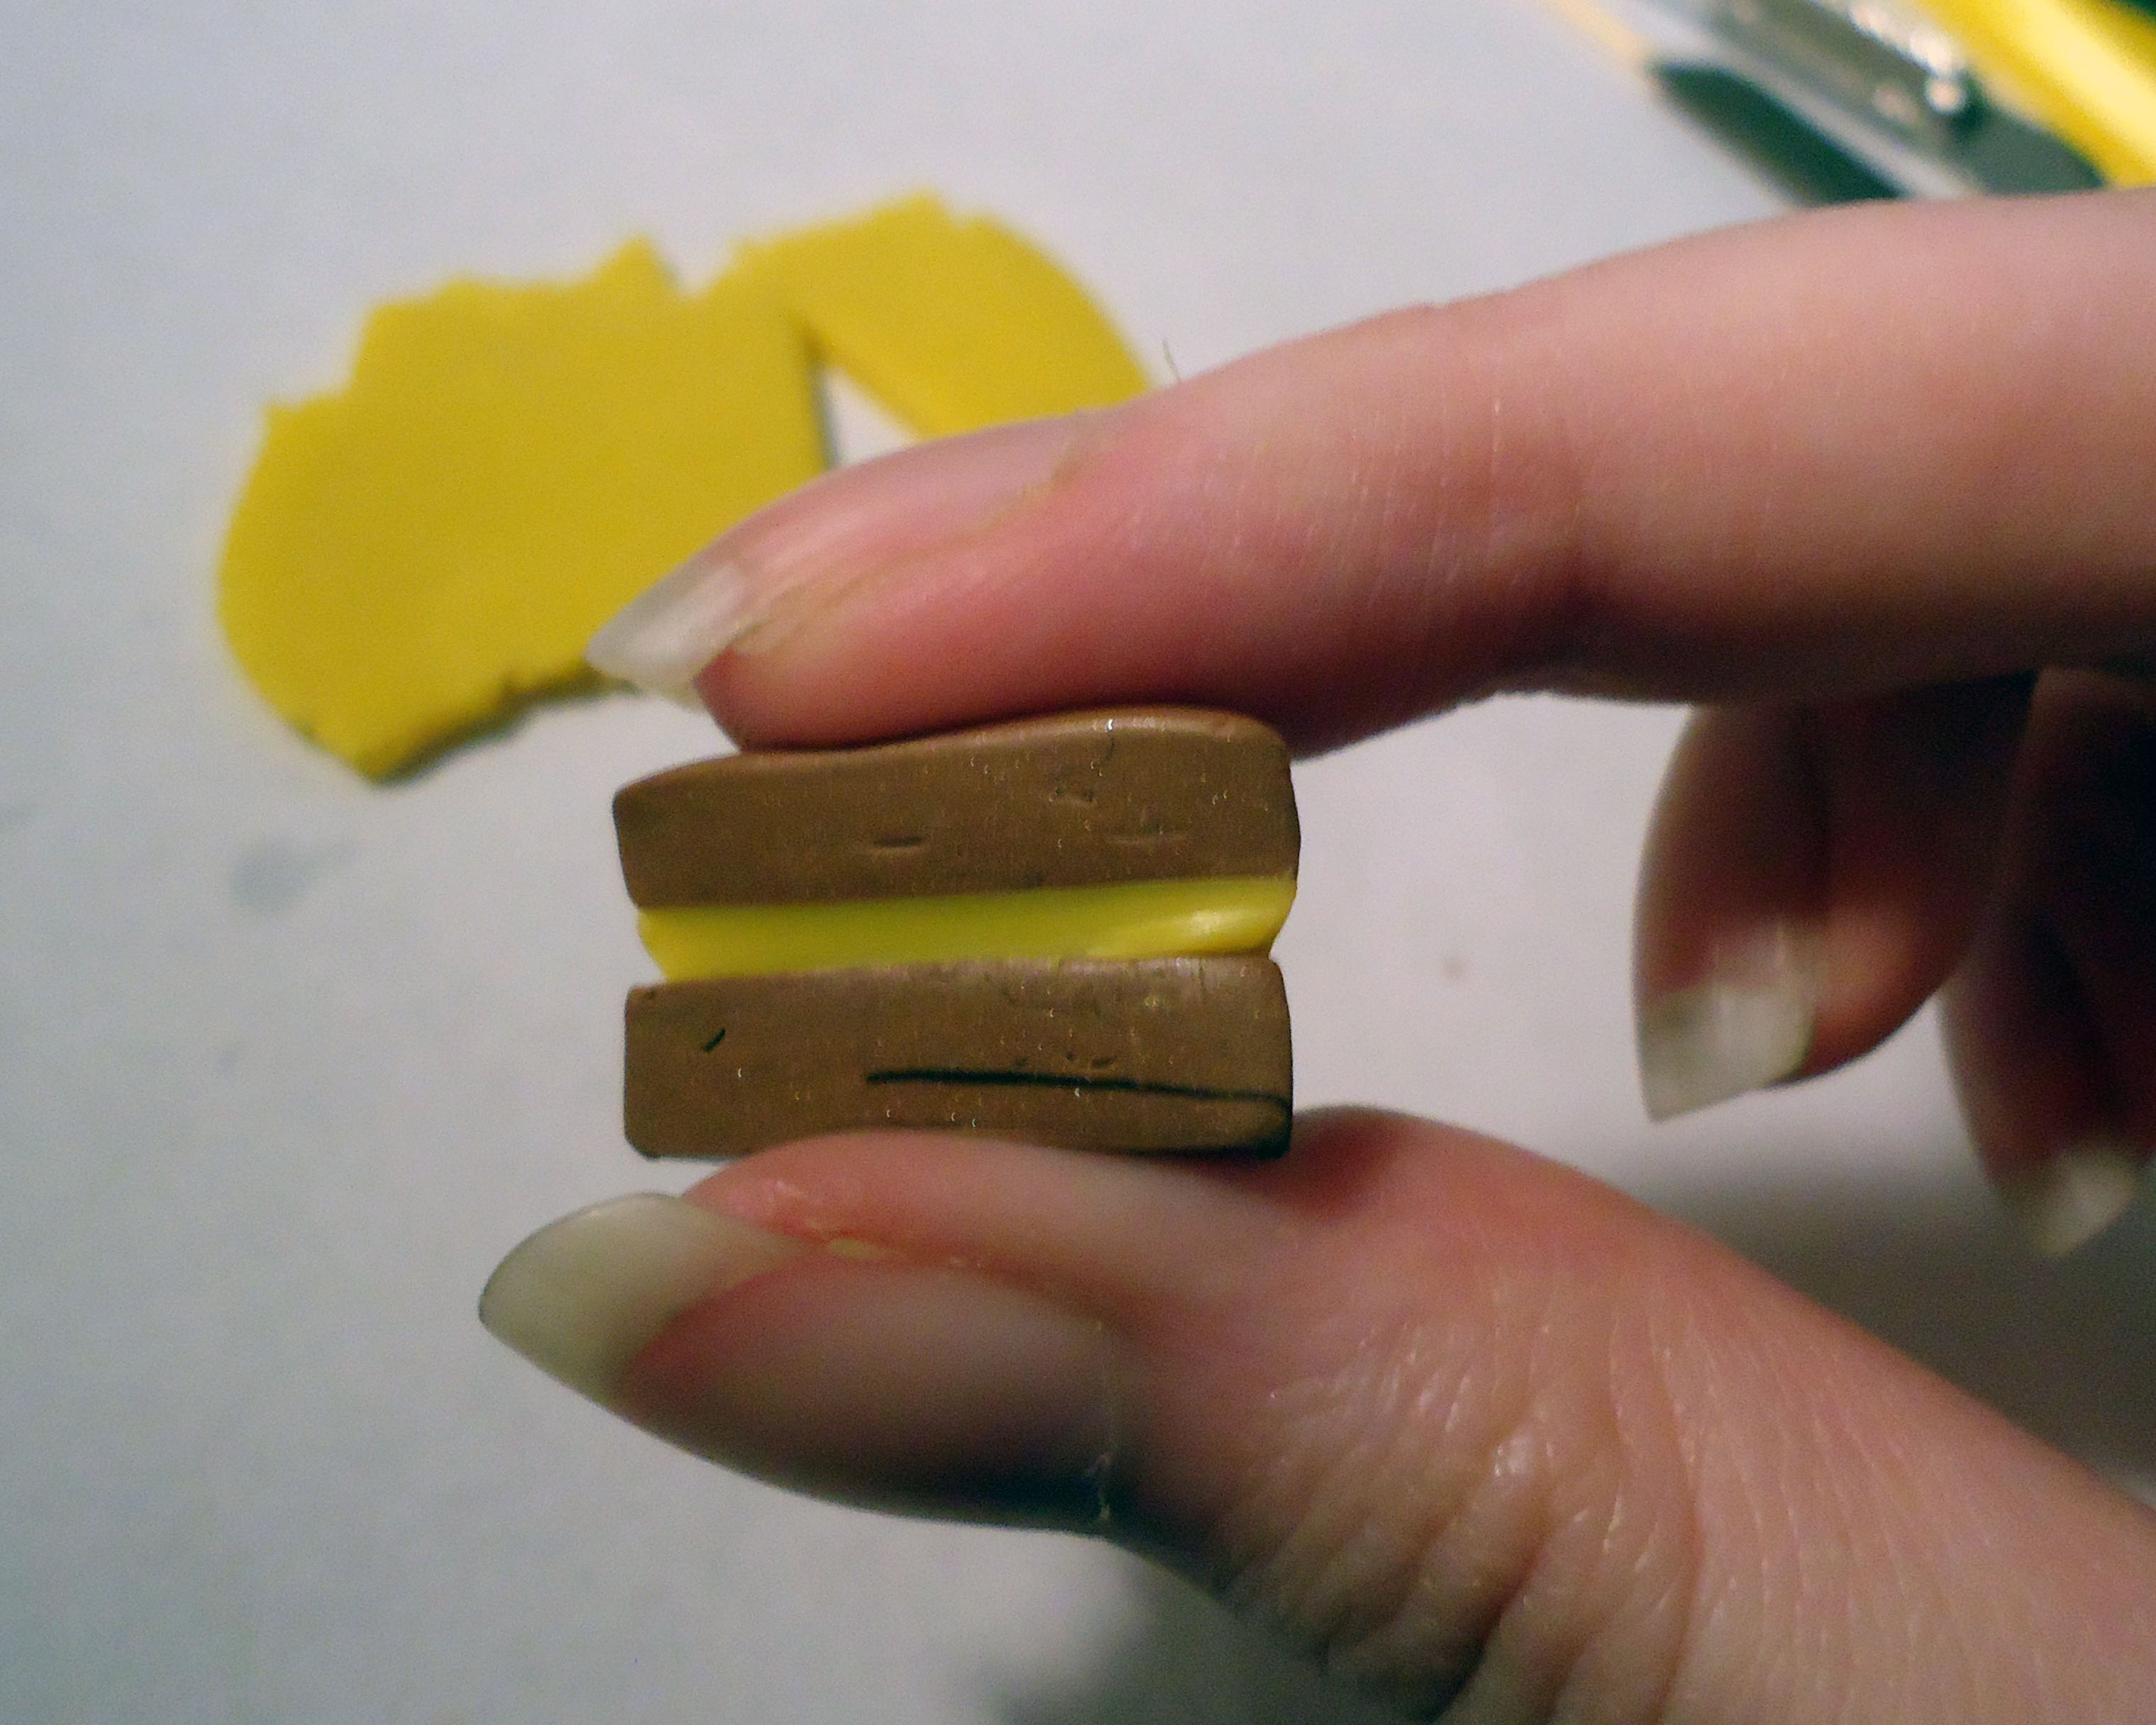
Put one of the base cake triangles on your jell-o layer. Cut around it and then squish the jell-o between the two base layers.
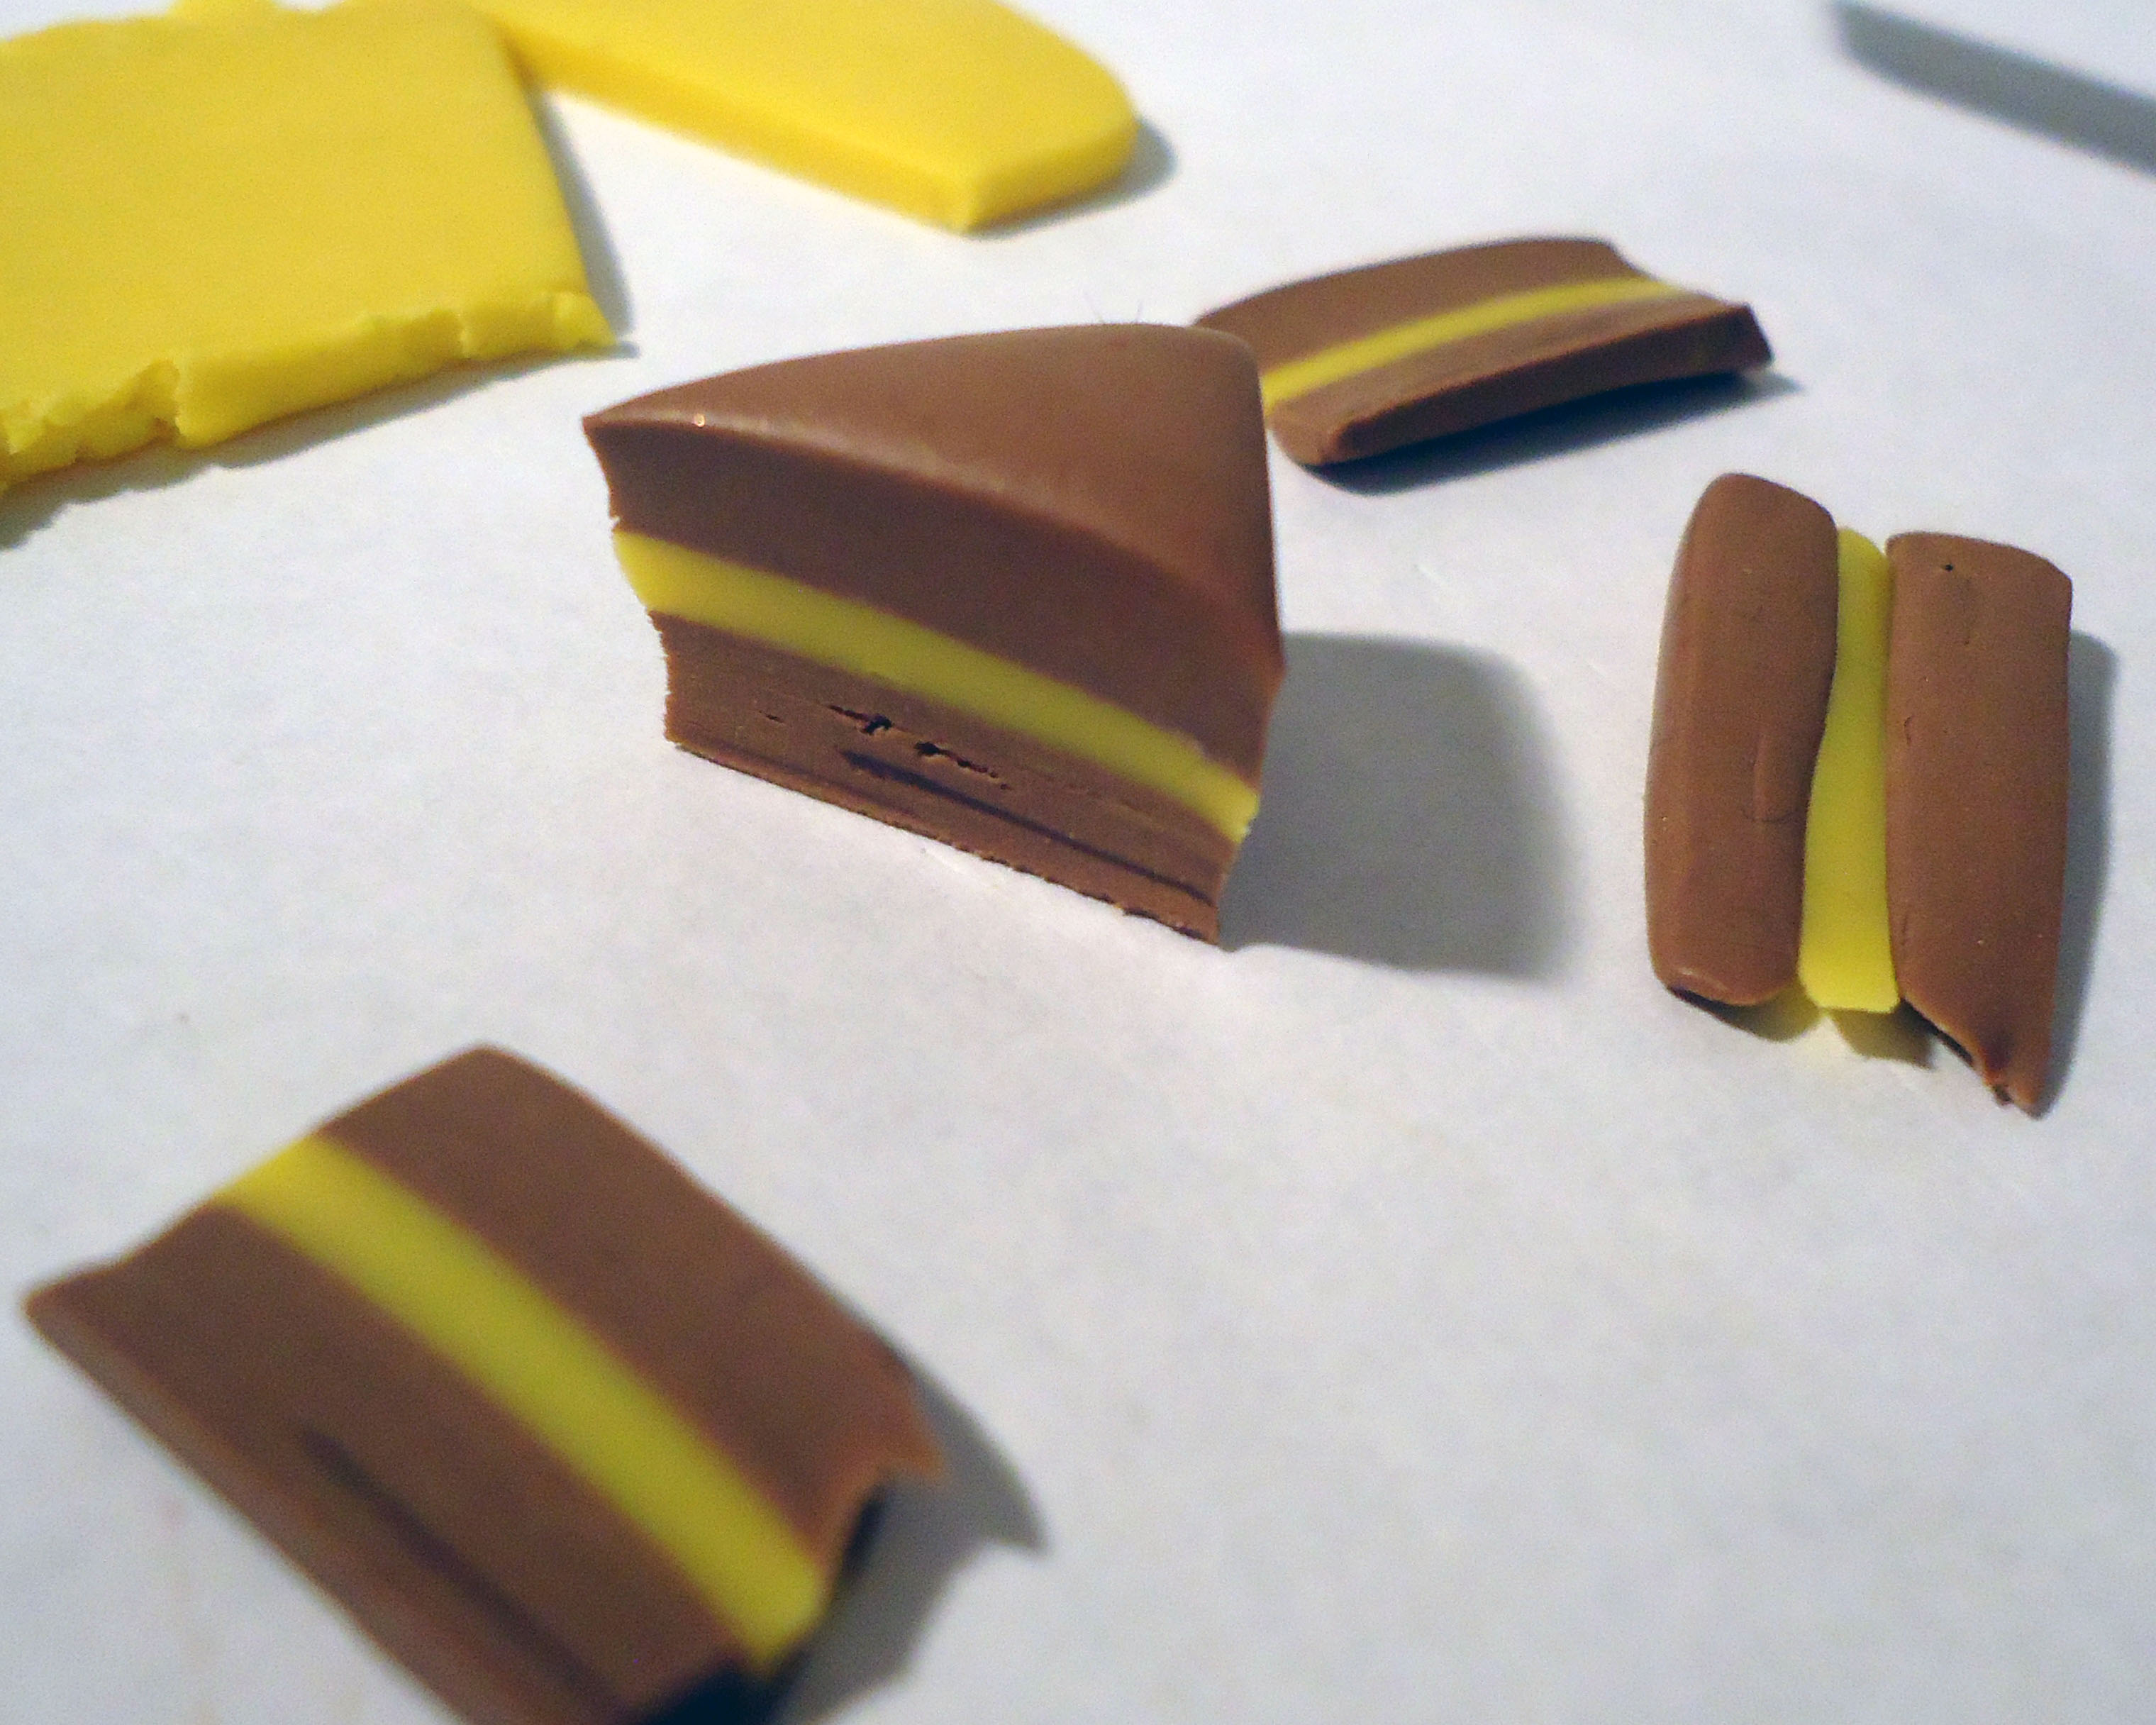
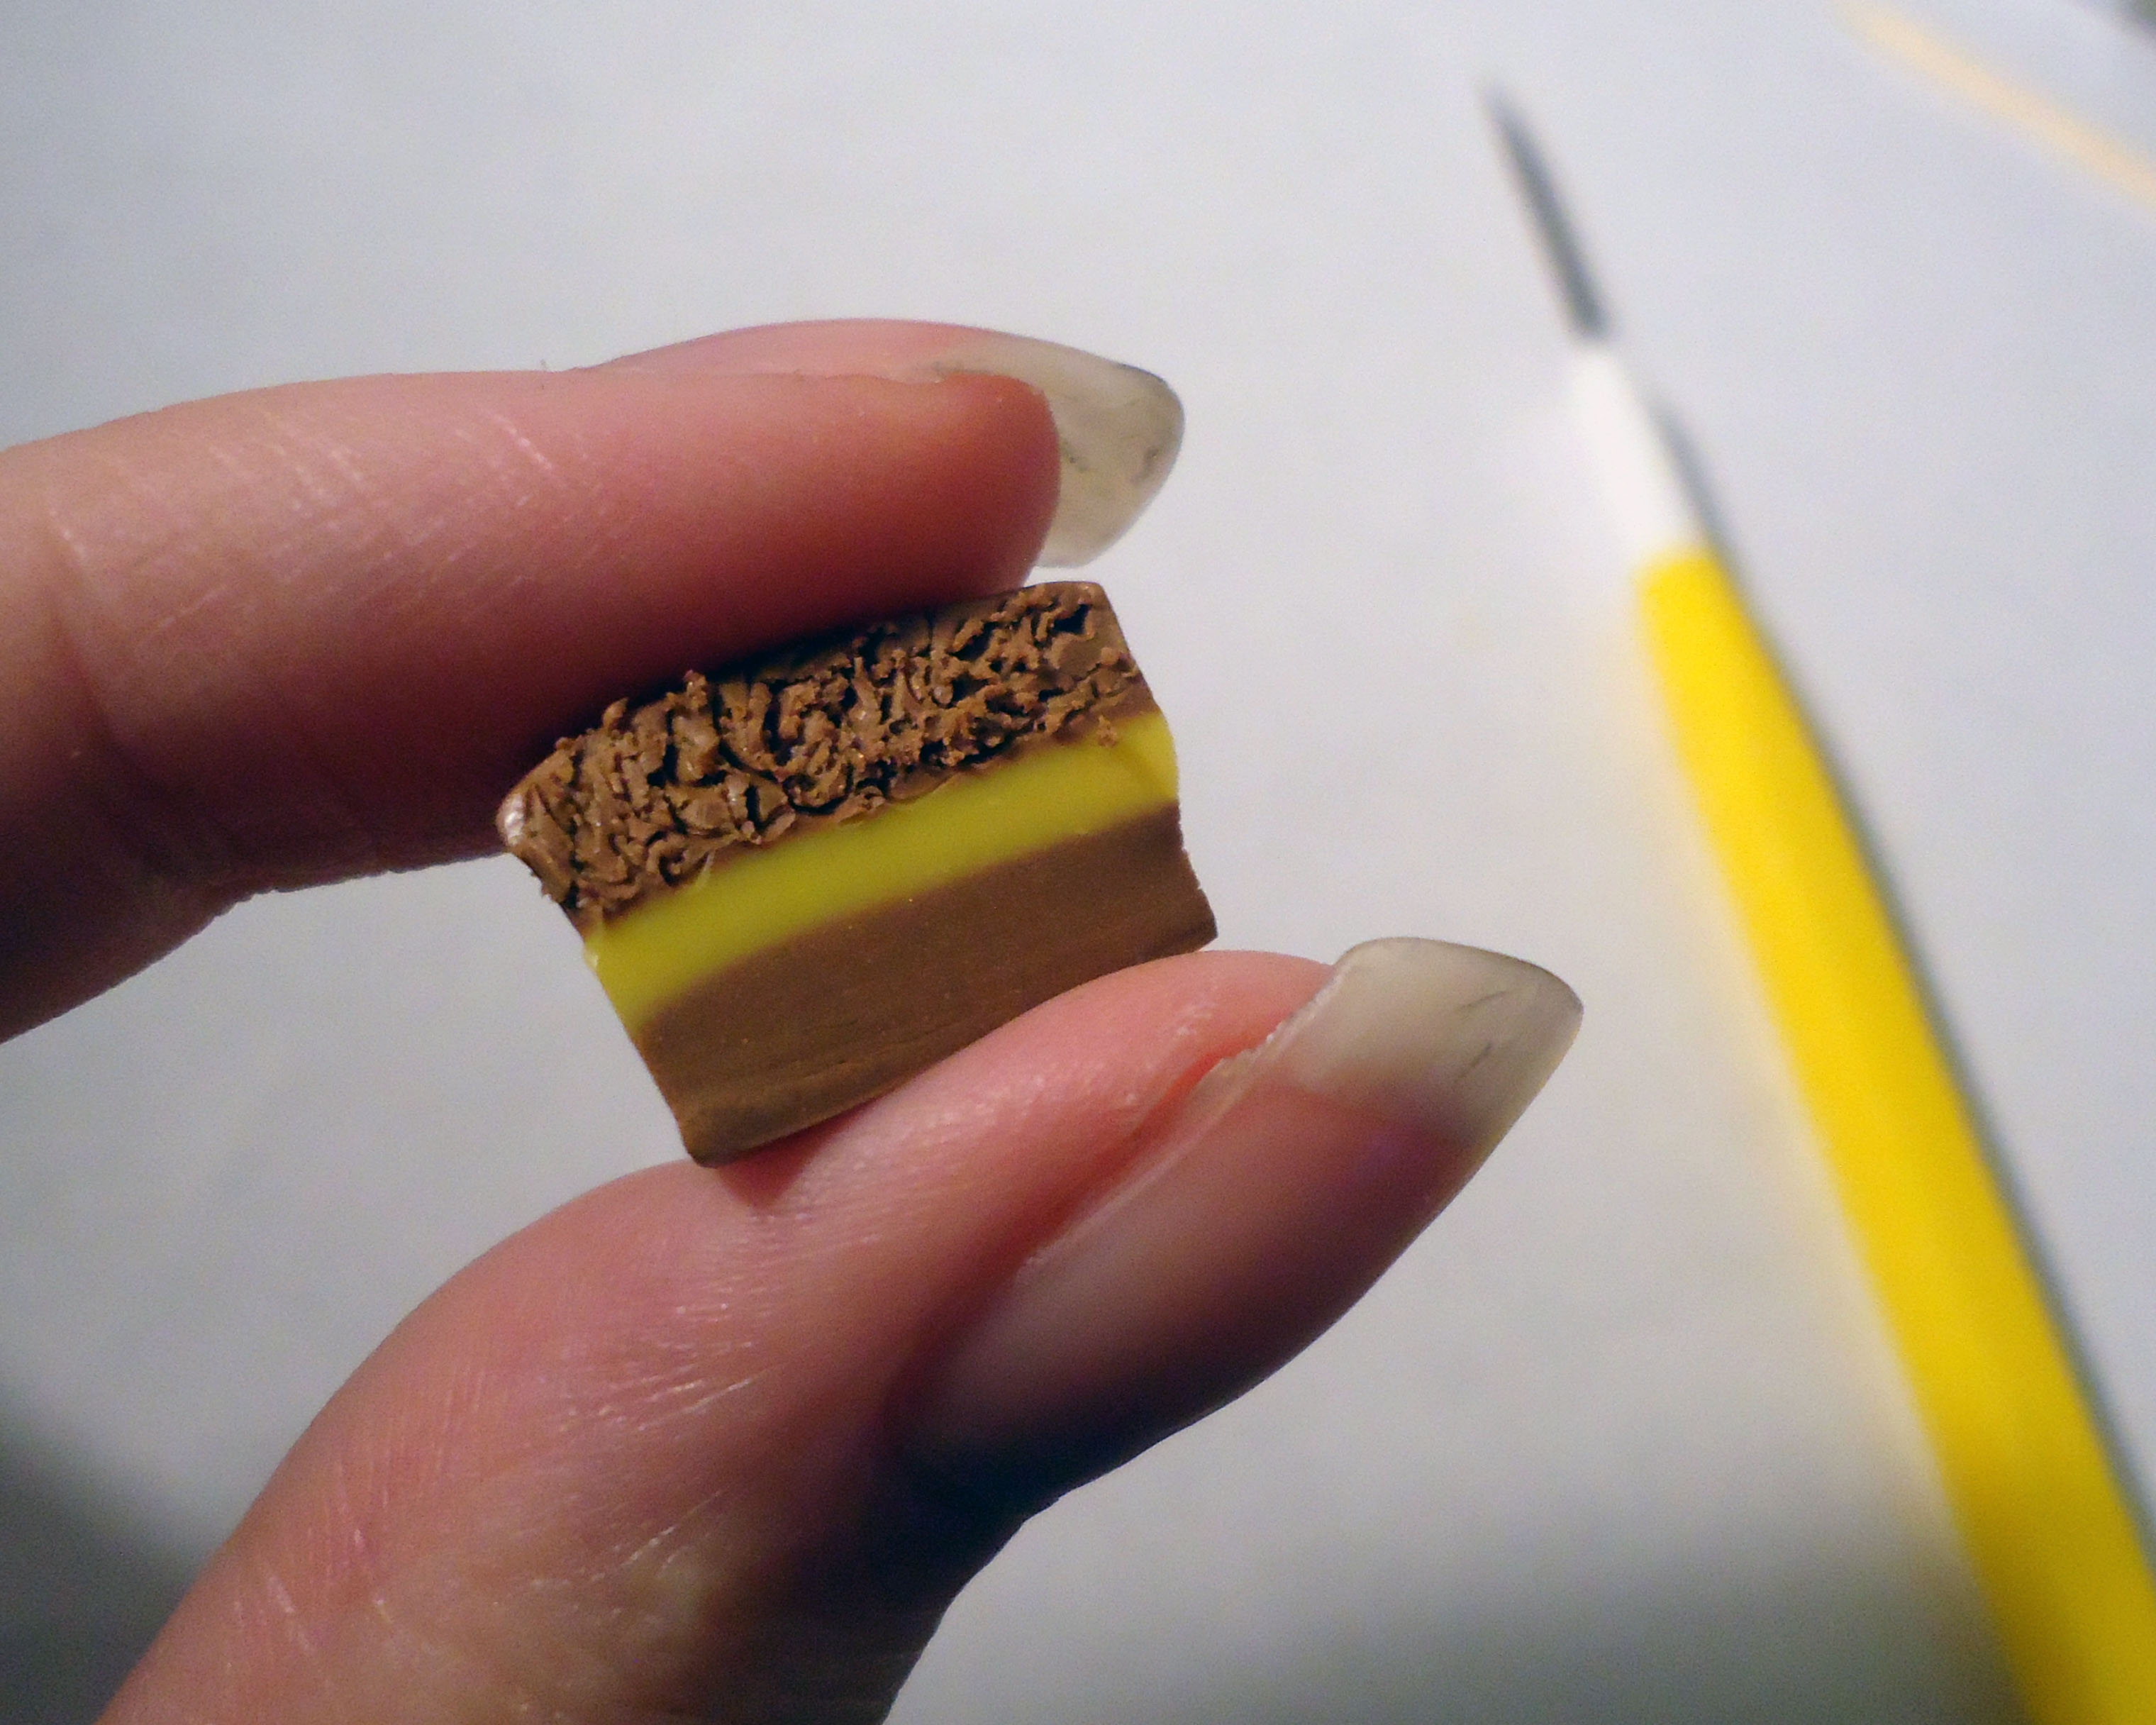
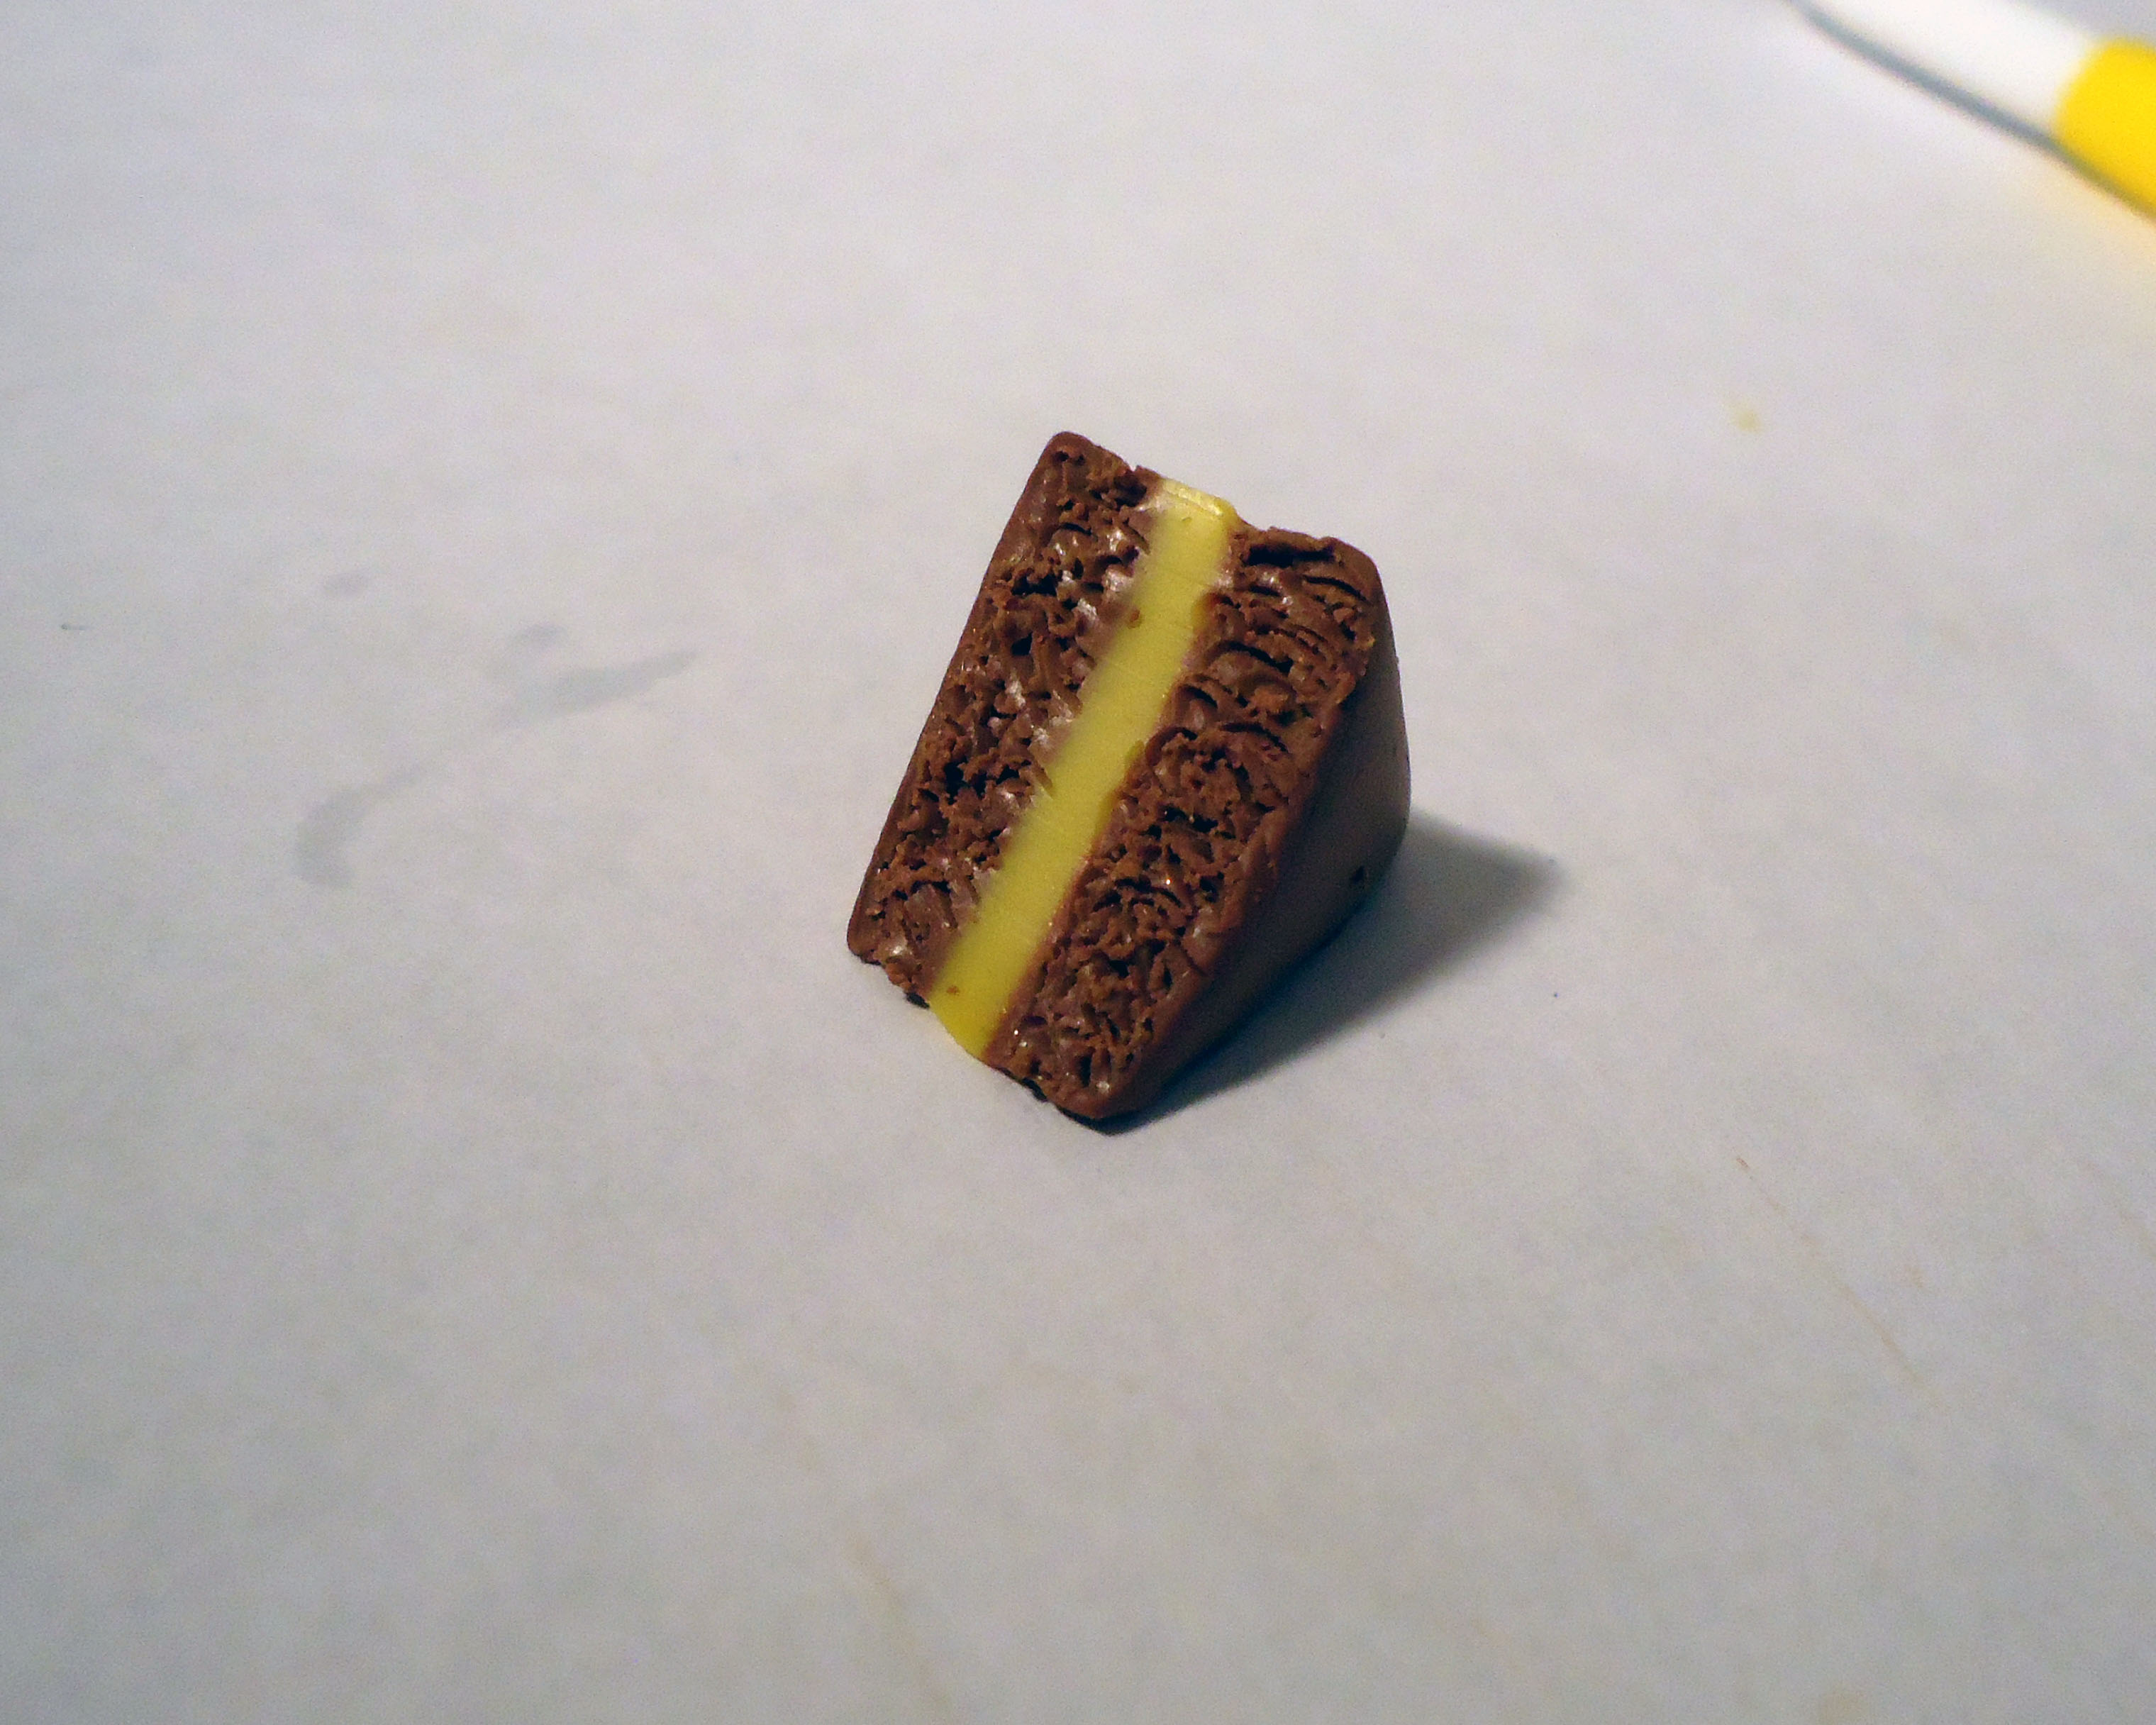
Not satisfied with the uneven shape? Cut some sides off and voila, it is a perfect triangle again.
And yep, you guessed it - more texturing! Only this time leave the jell-o layer alone. Do it to both sides and you'll have your jell-o cake base!
Now for a full cake...
And yep, you guessed it - more texturing! Only this time leave the jell-o layer alone. Do it to both sides and you'll have your jell-o cake base!
Now for a full cake...
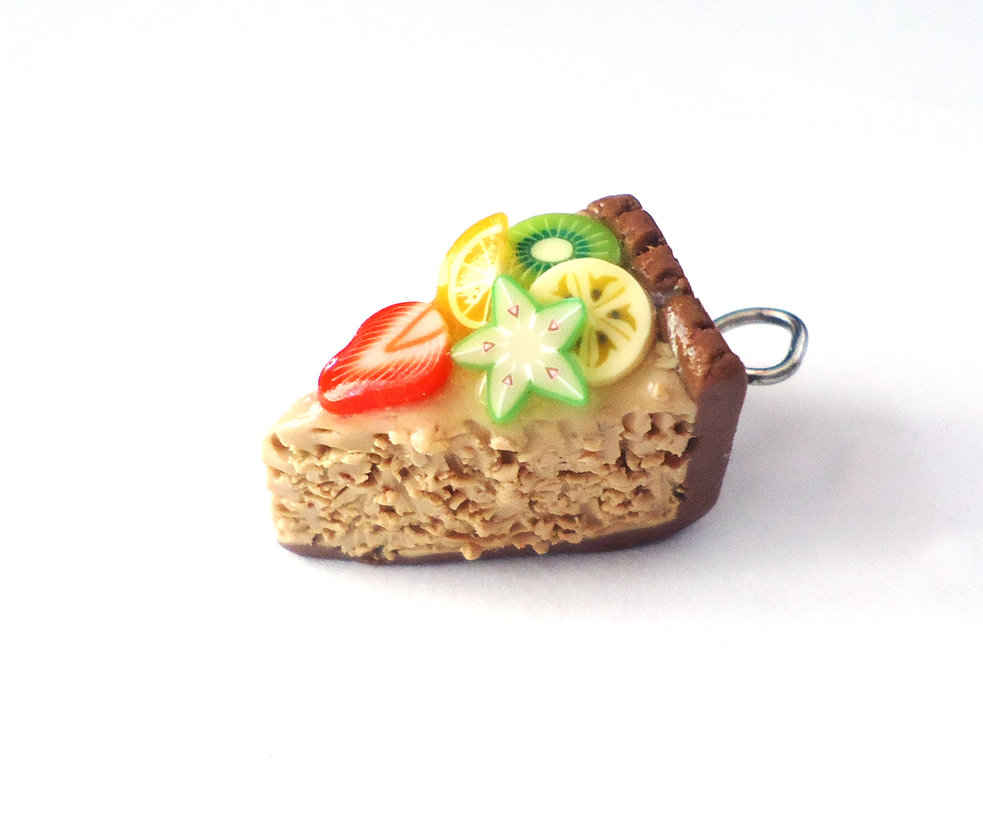
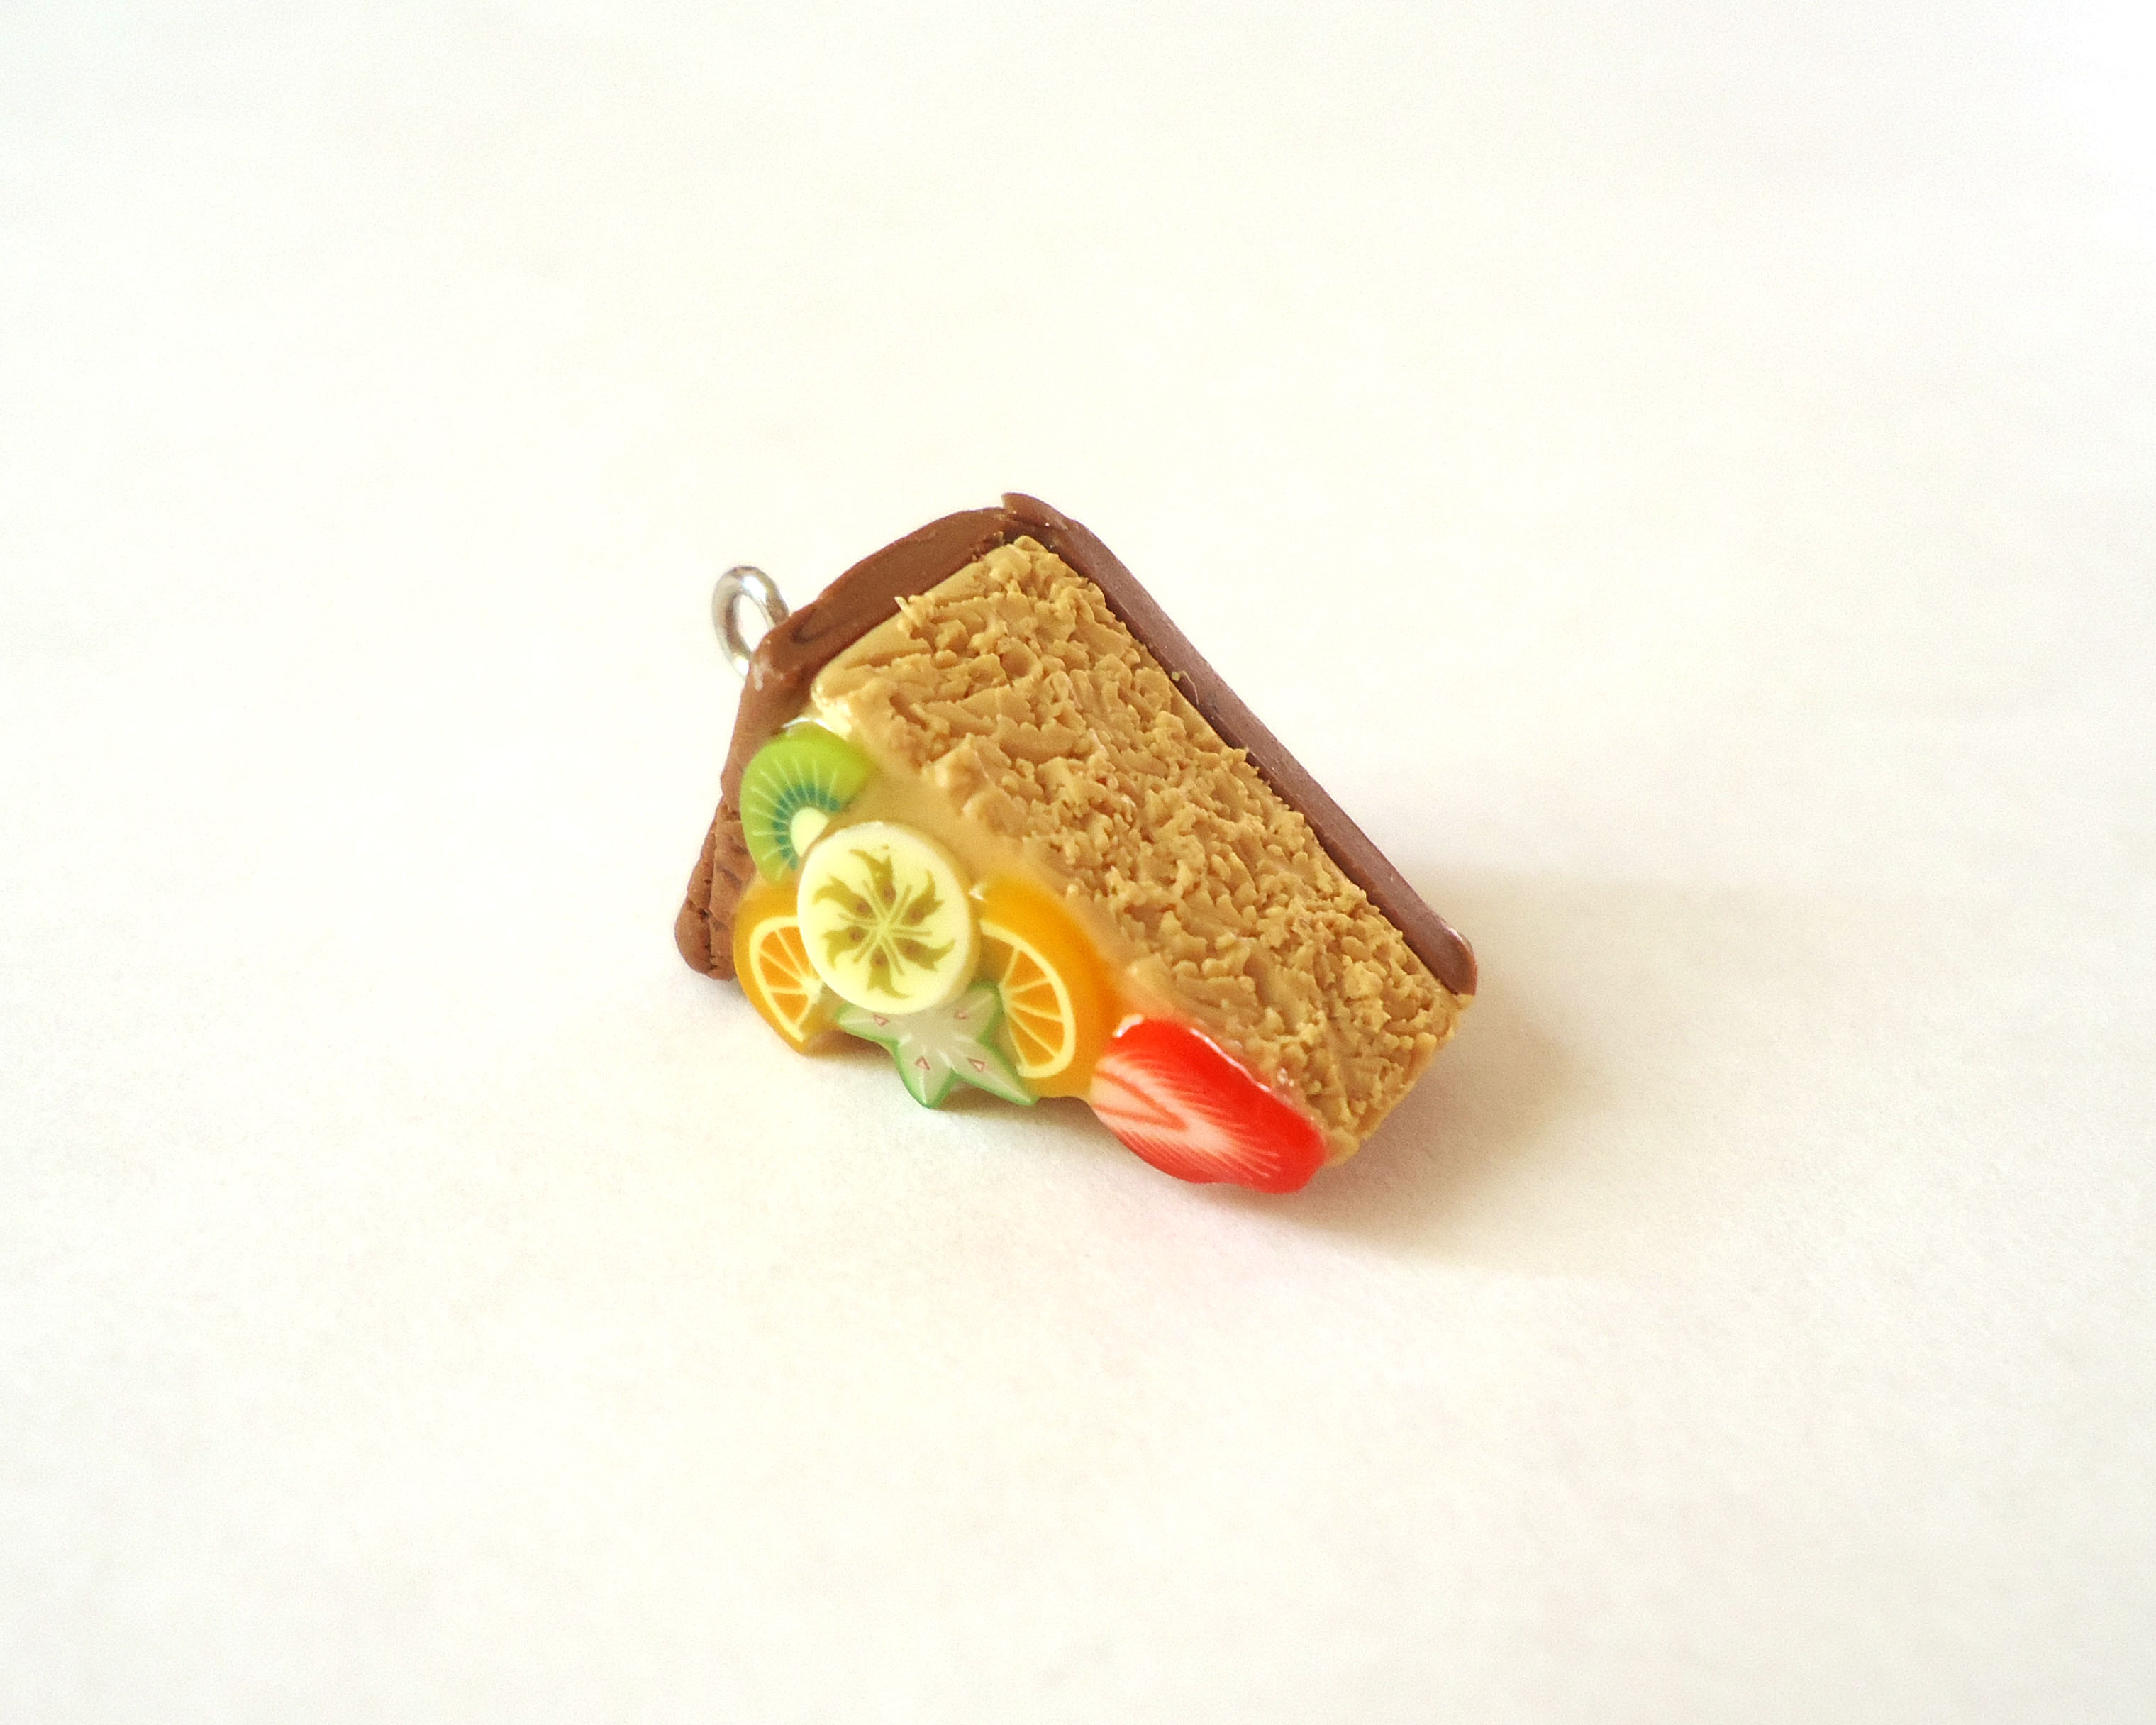
Full cake base
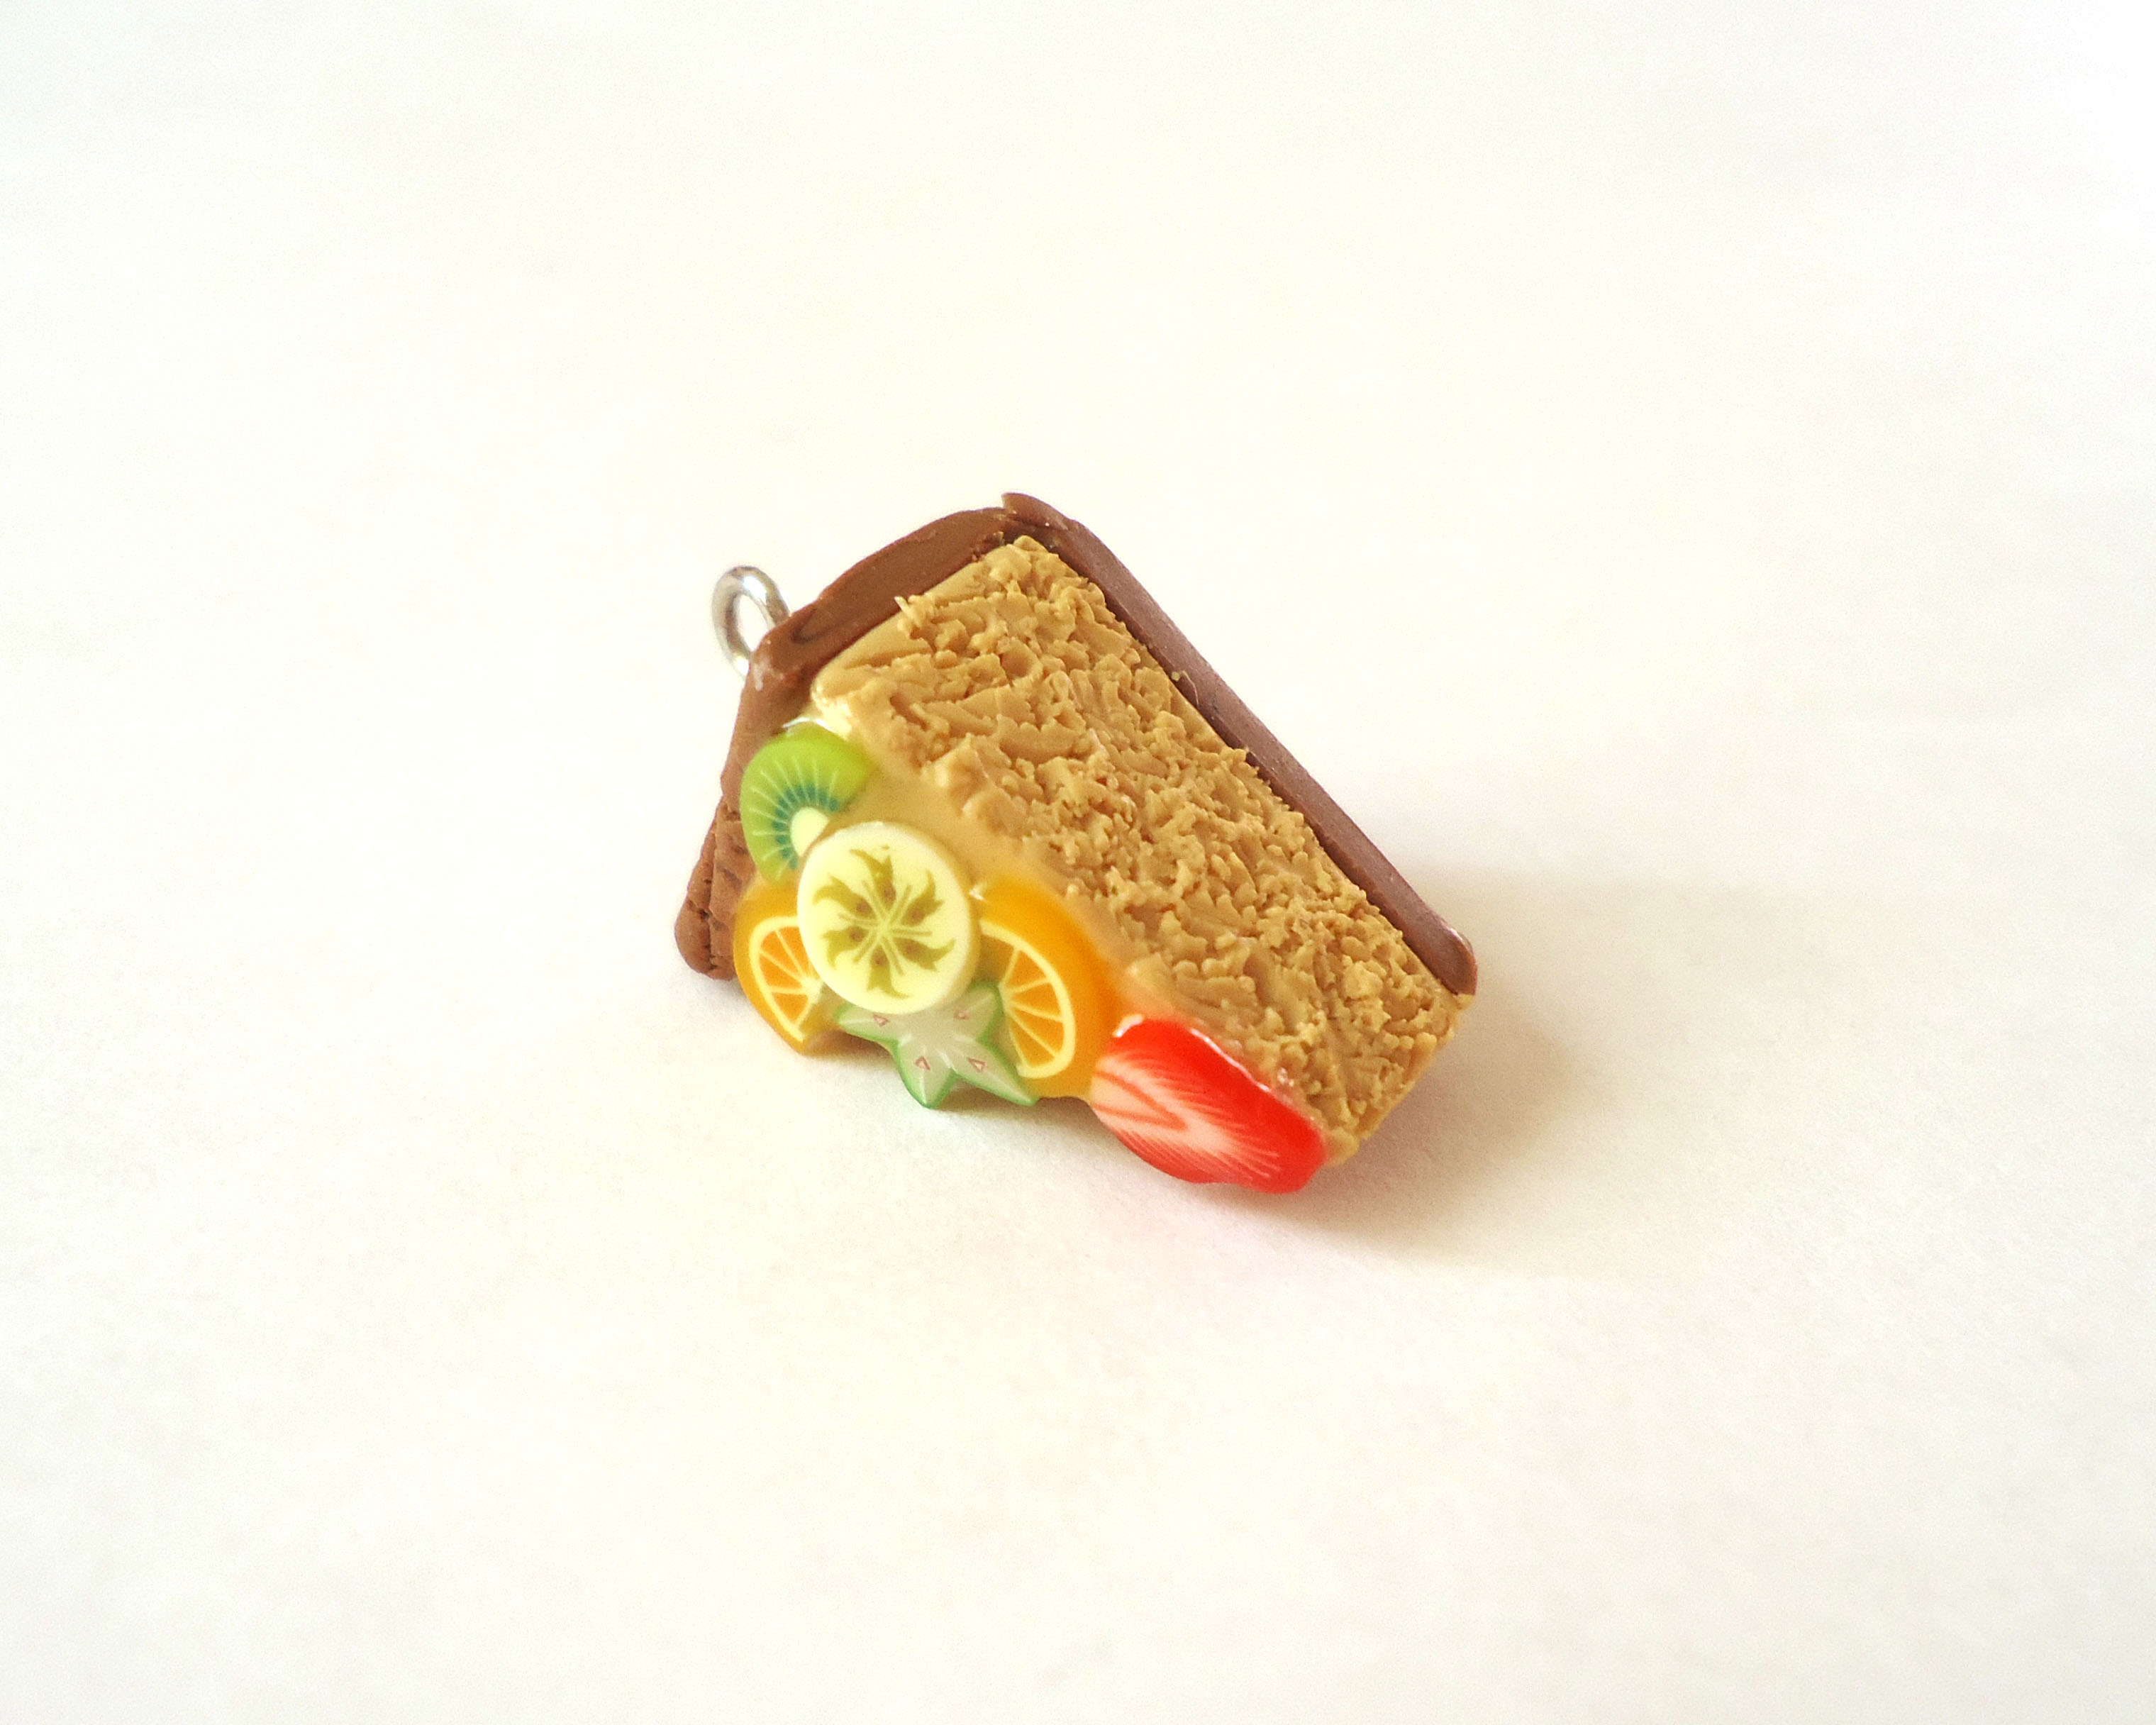
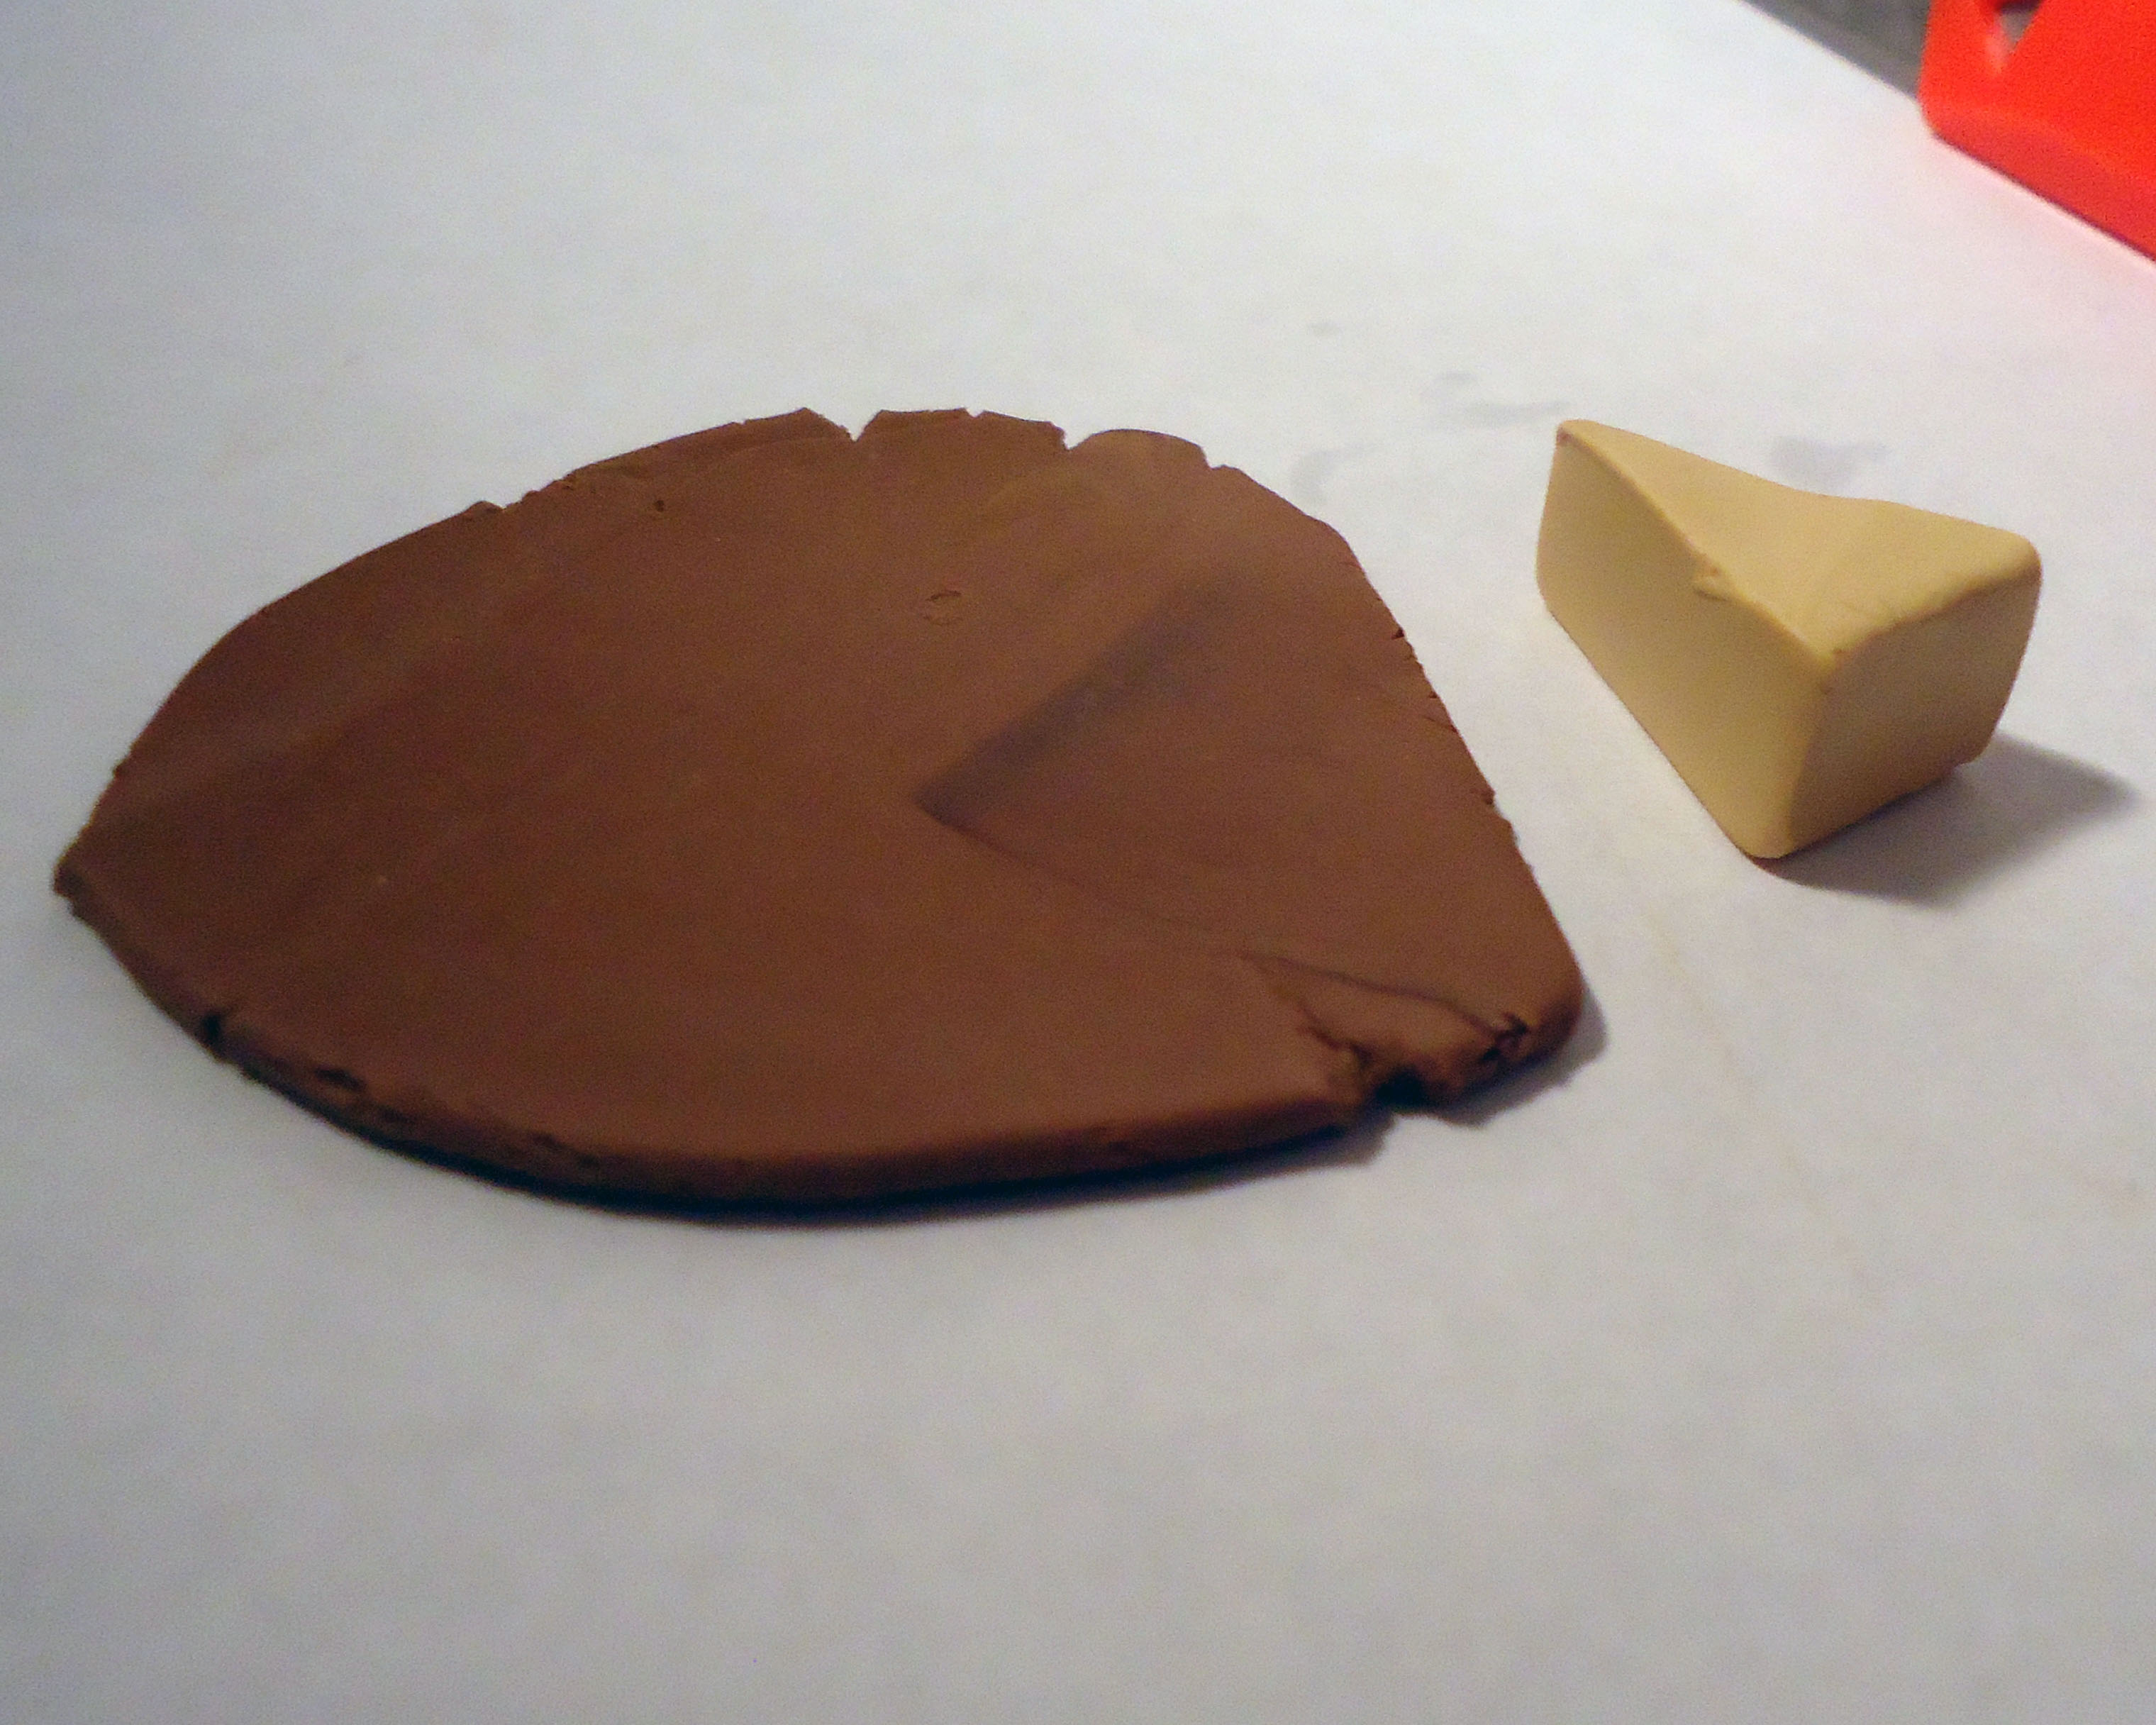
I only seem to use full cake bases for fruit cakes... The only examples are one I did a while ago and one I did for this tutorial. Nevertheless, they can be used for whatever cake you like!
Start off with a triangle again, but don't cut it this time. This is your main color. Now pick an outline color and roll it out to the thickness you want it to be.
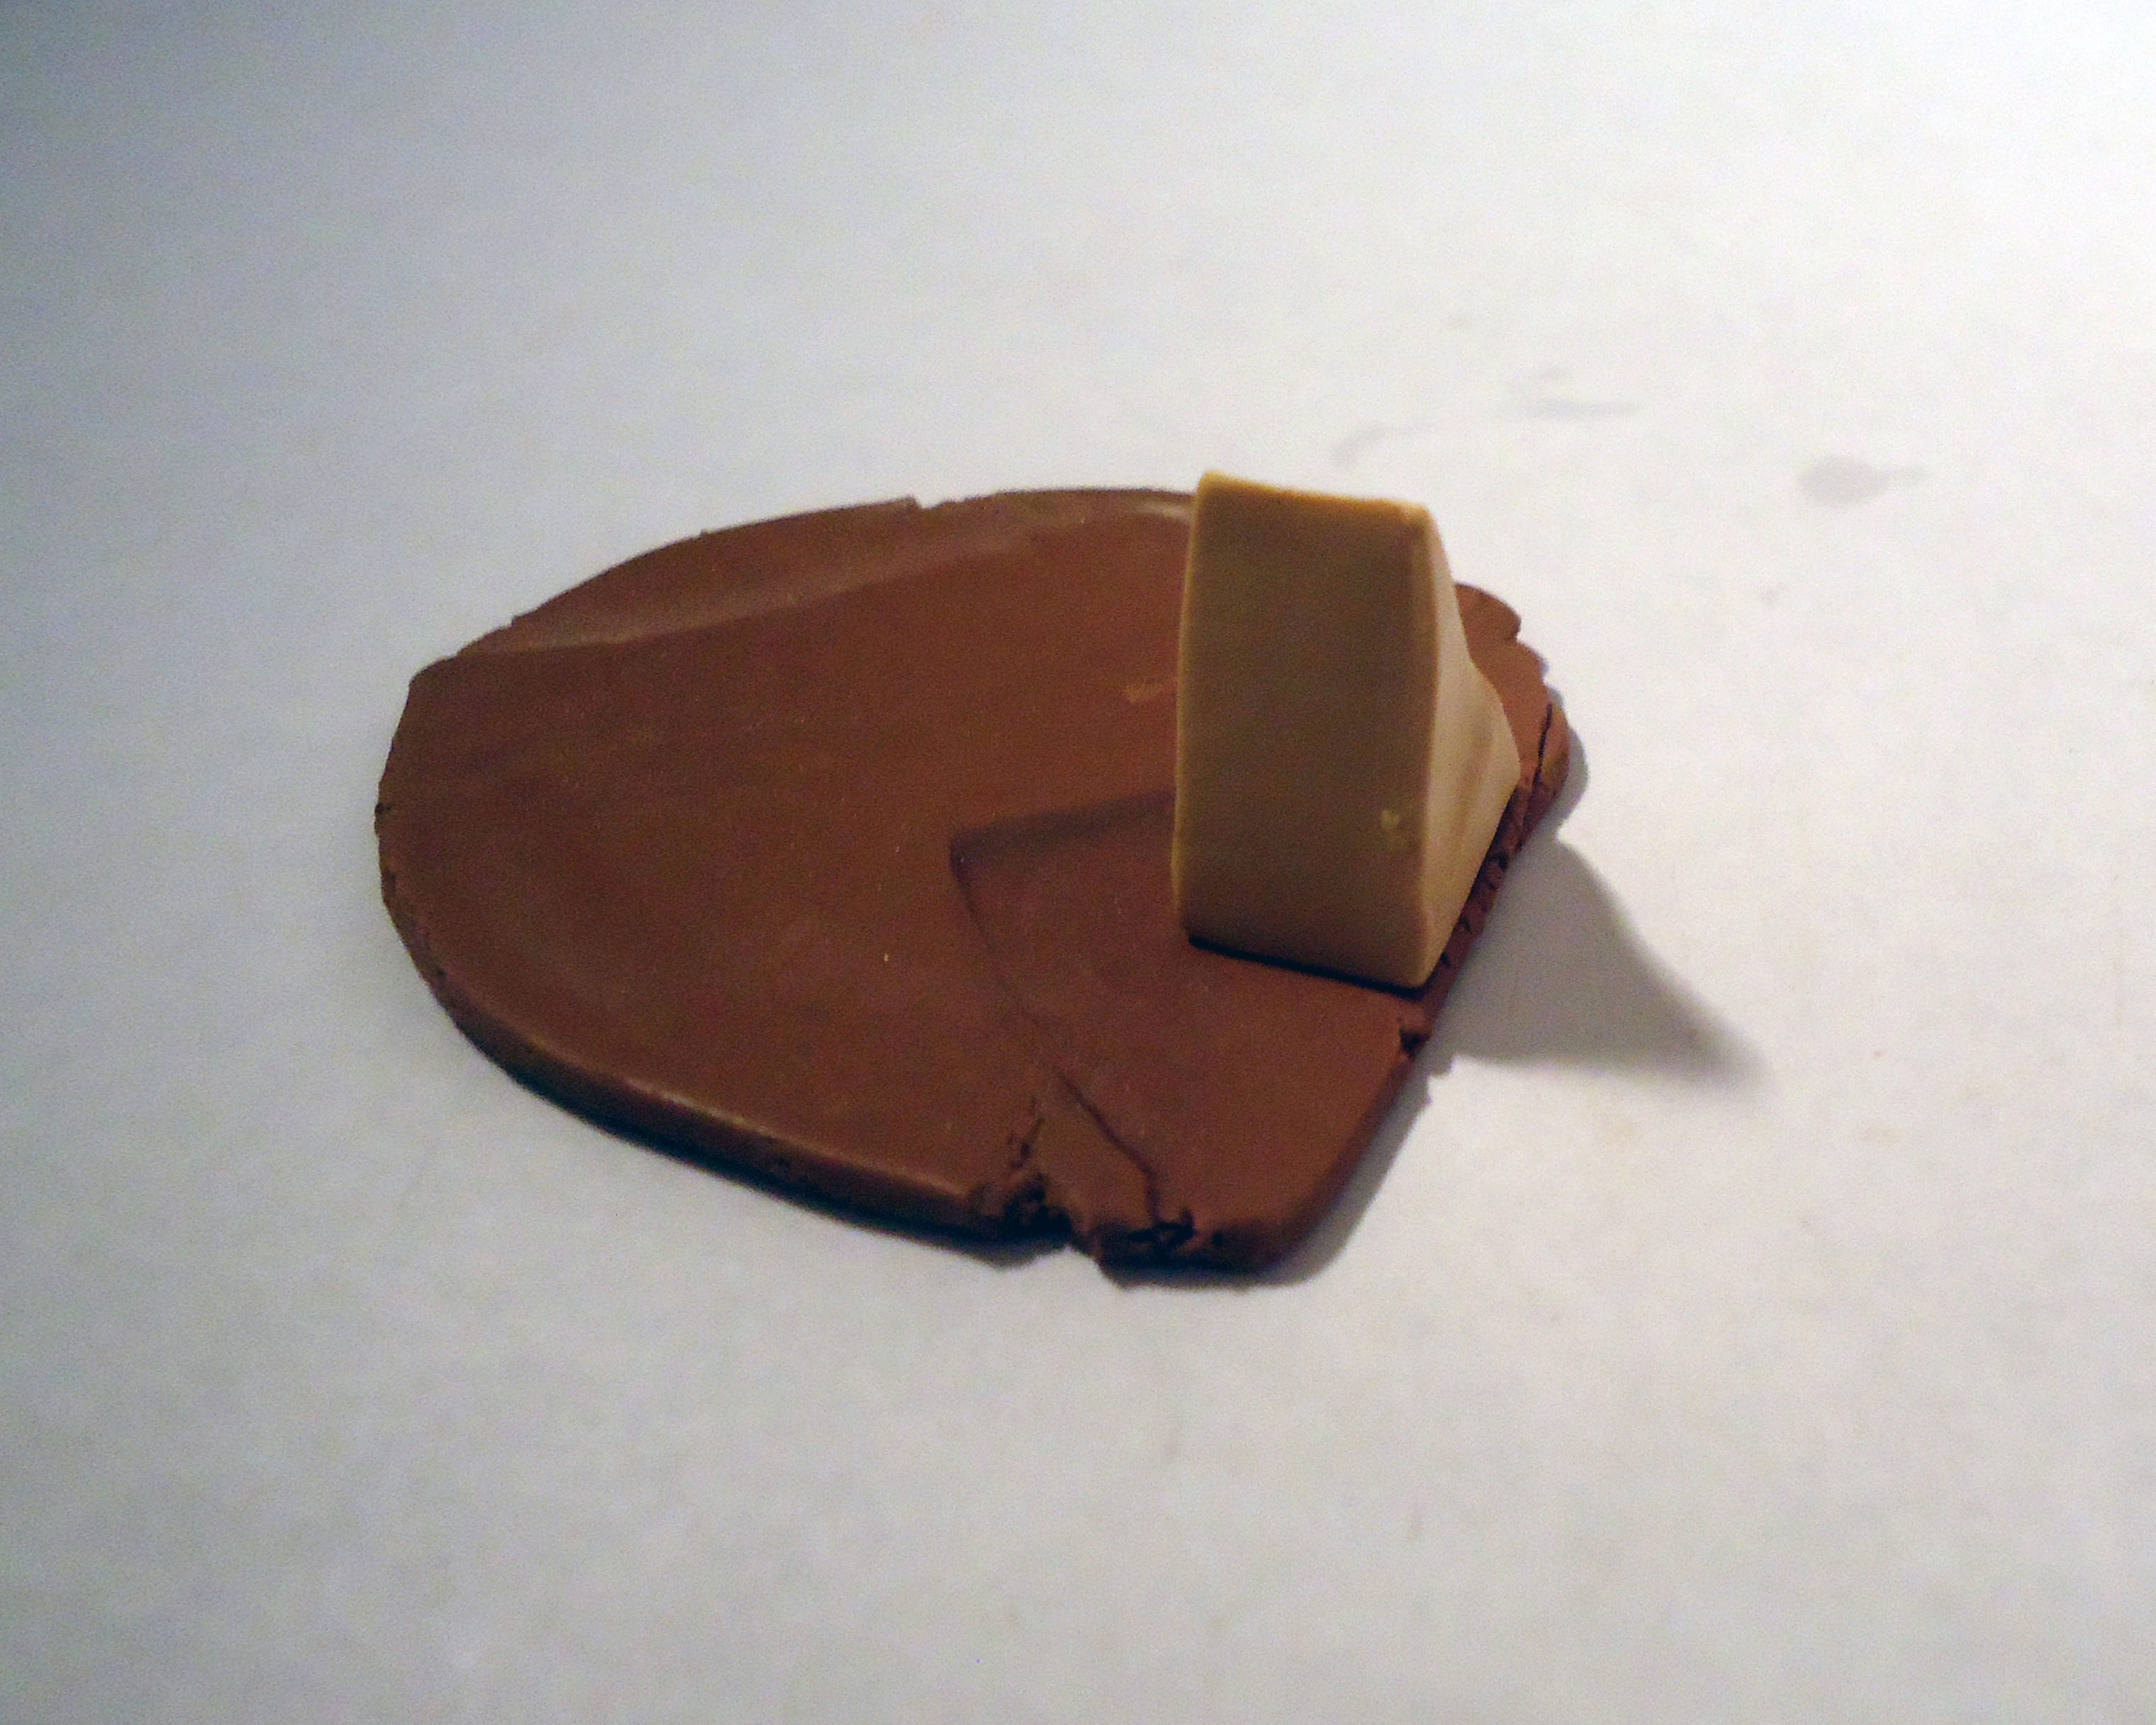
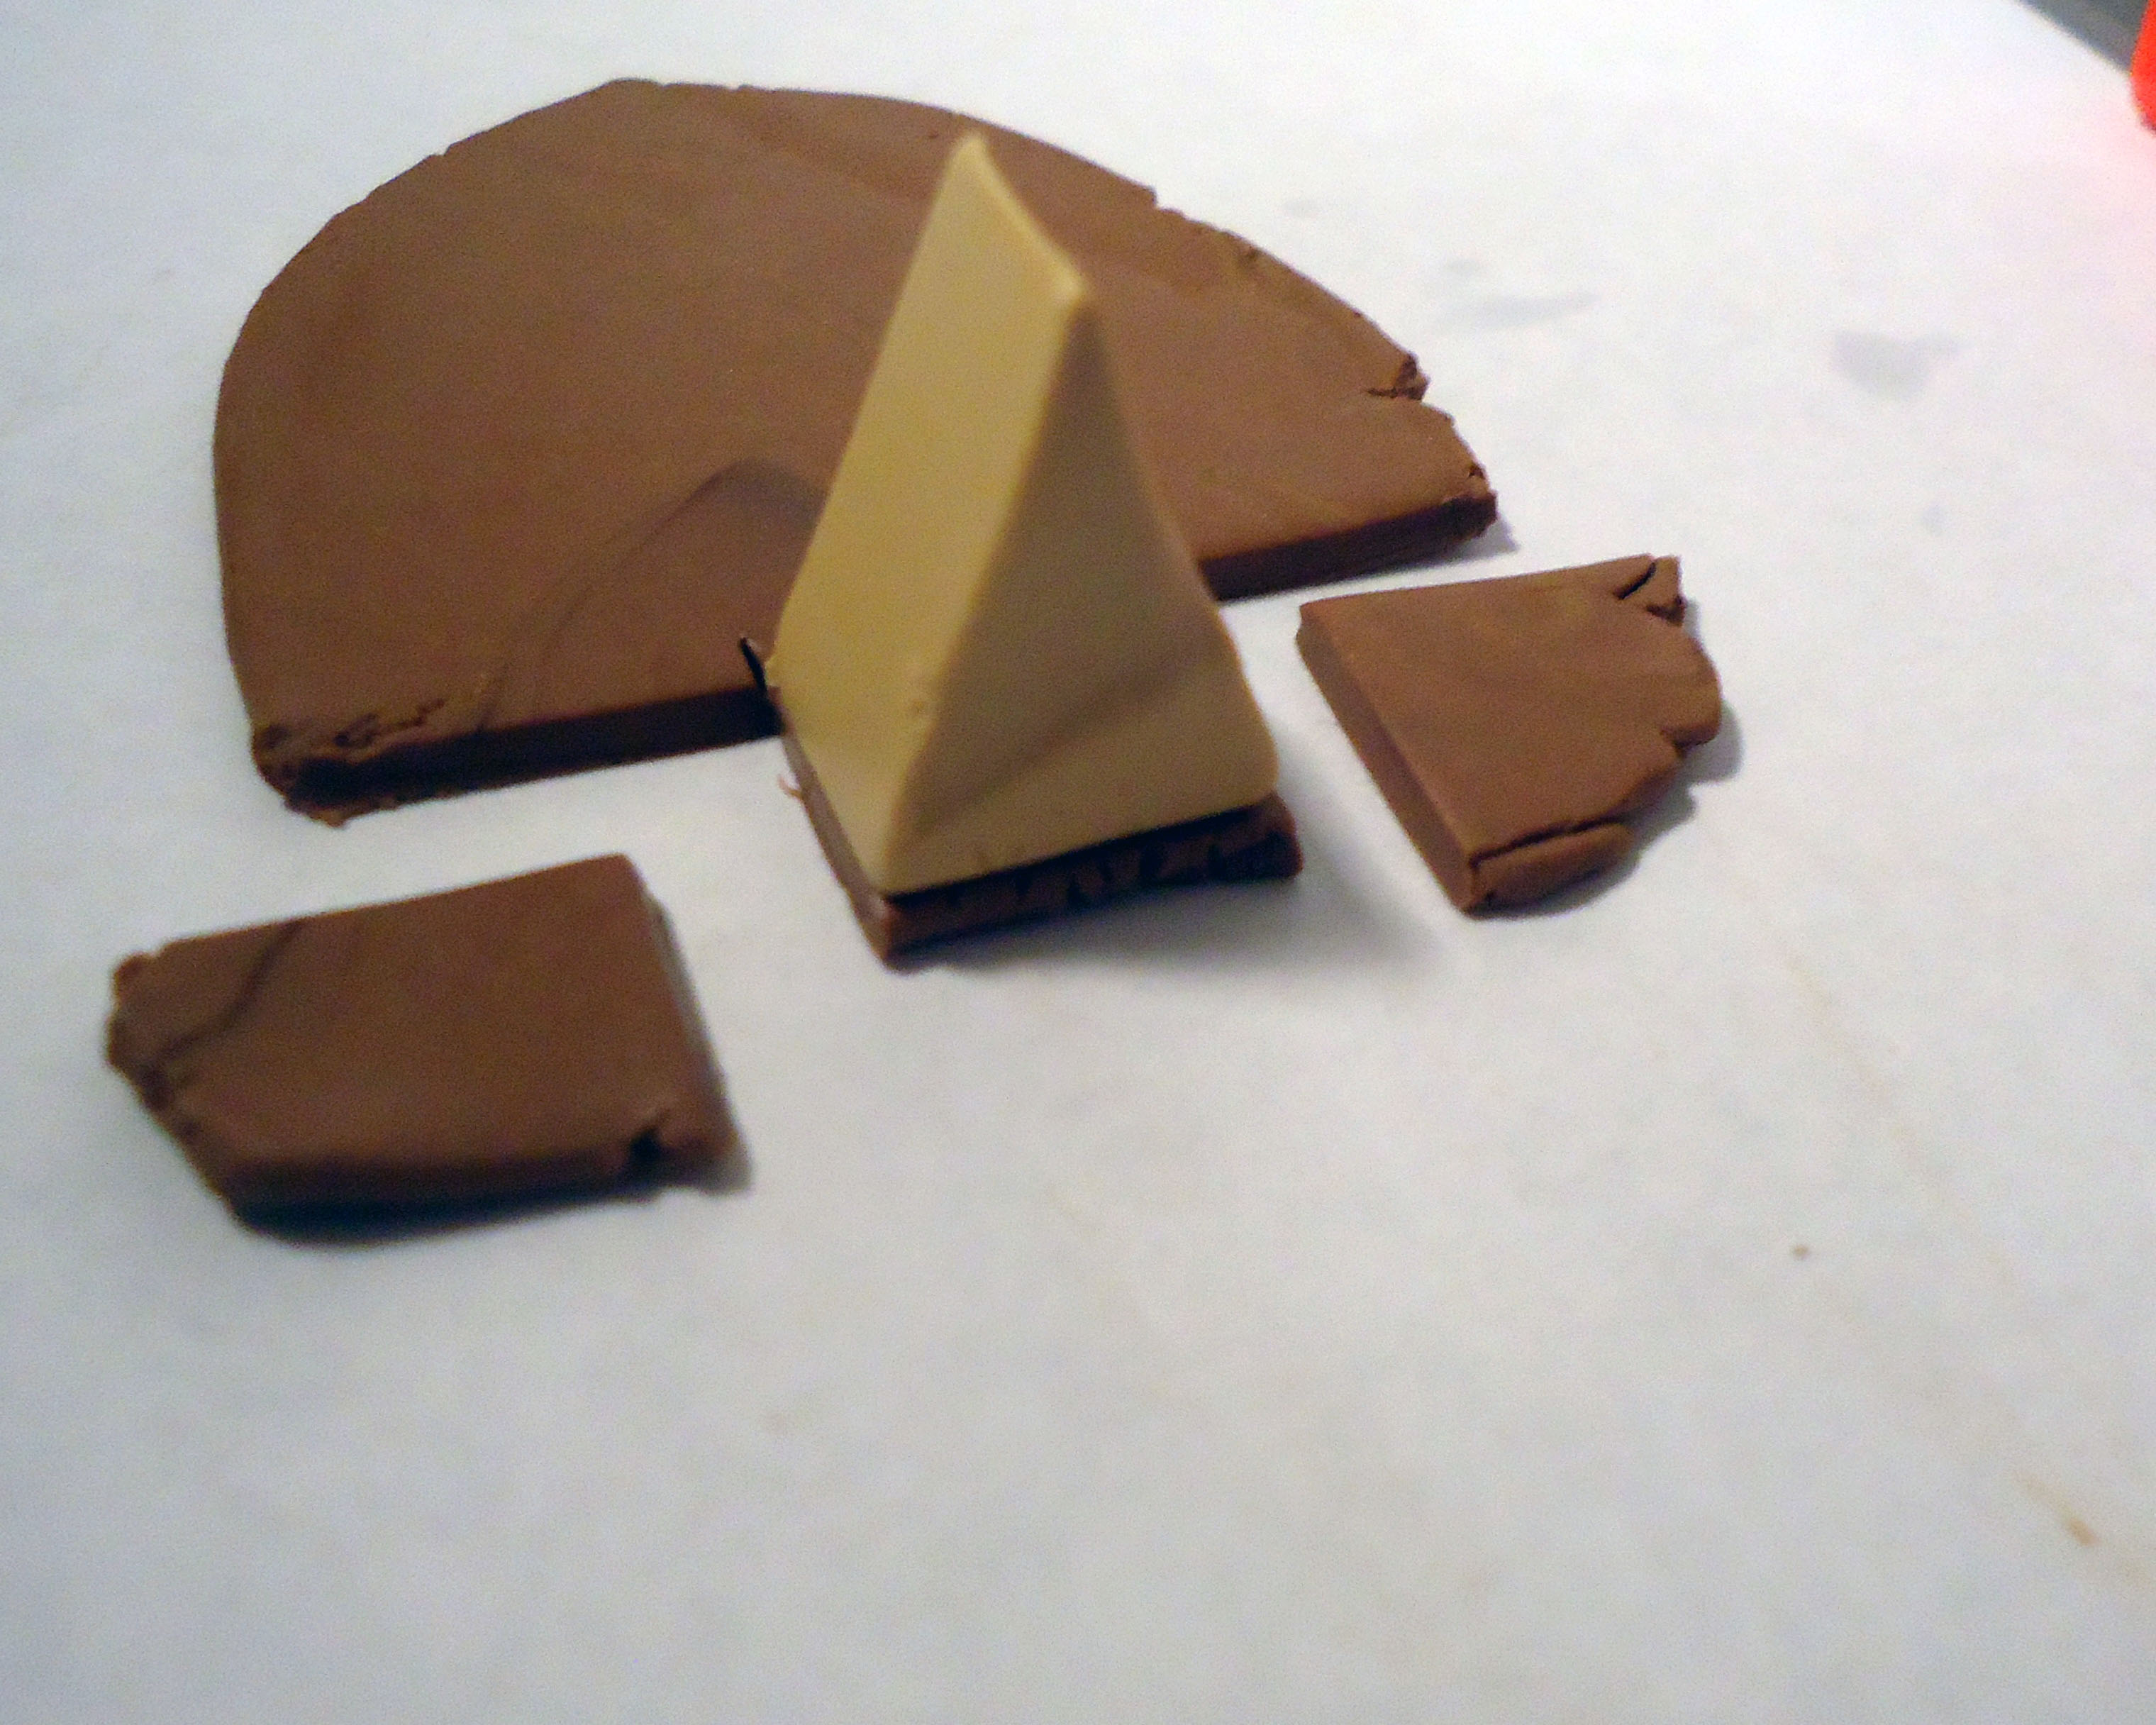
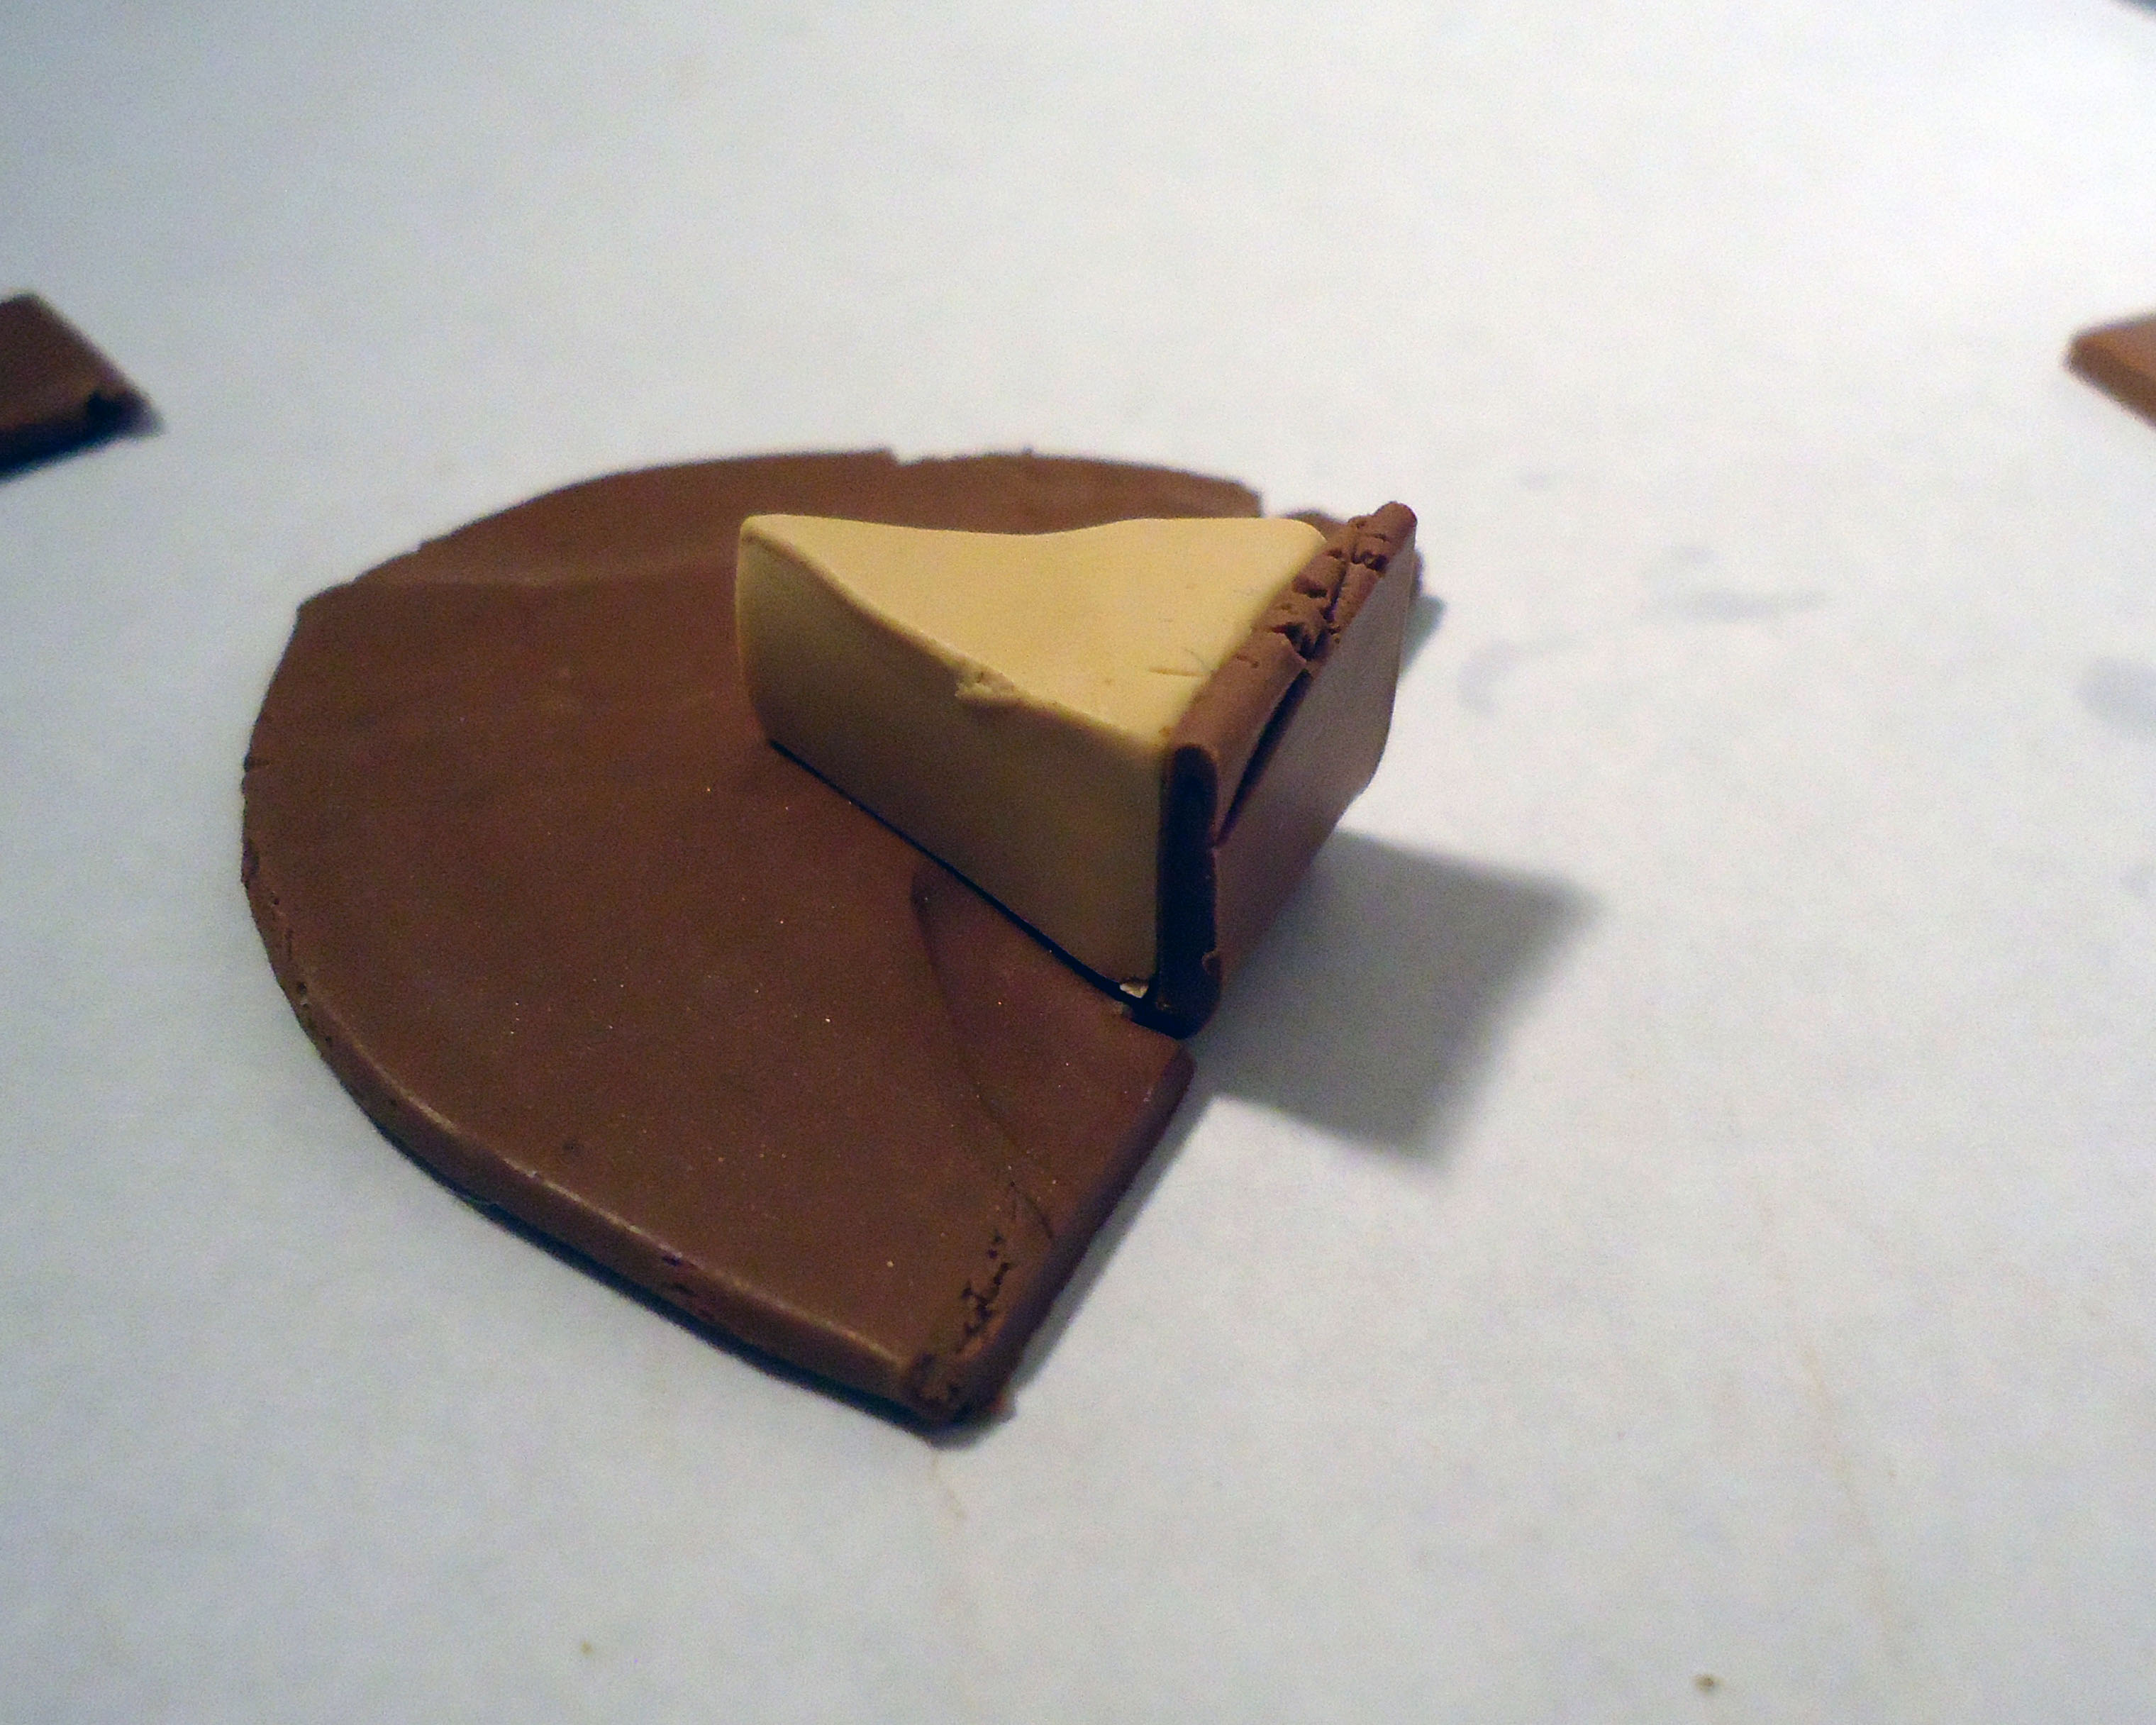
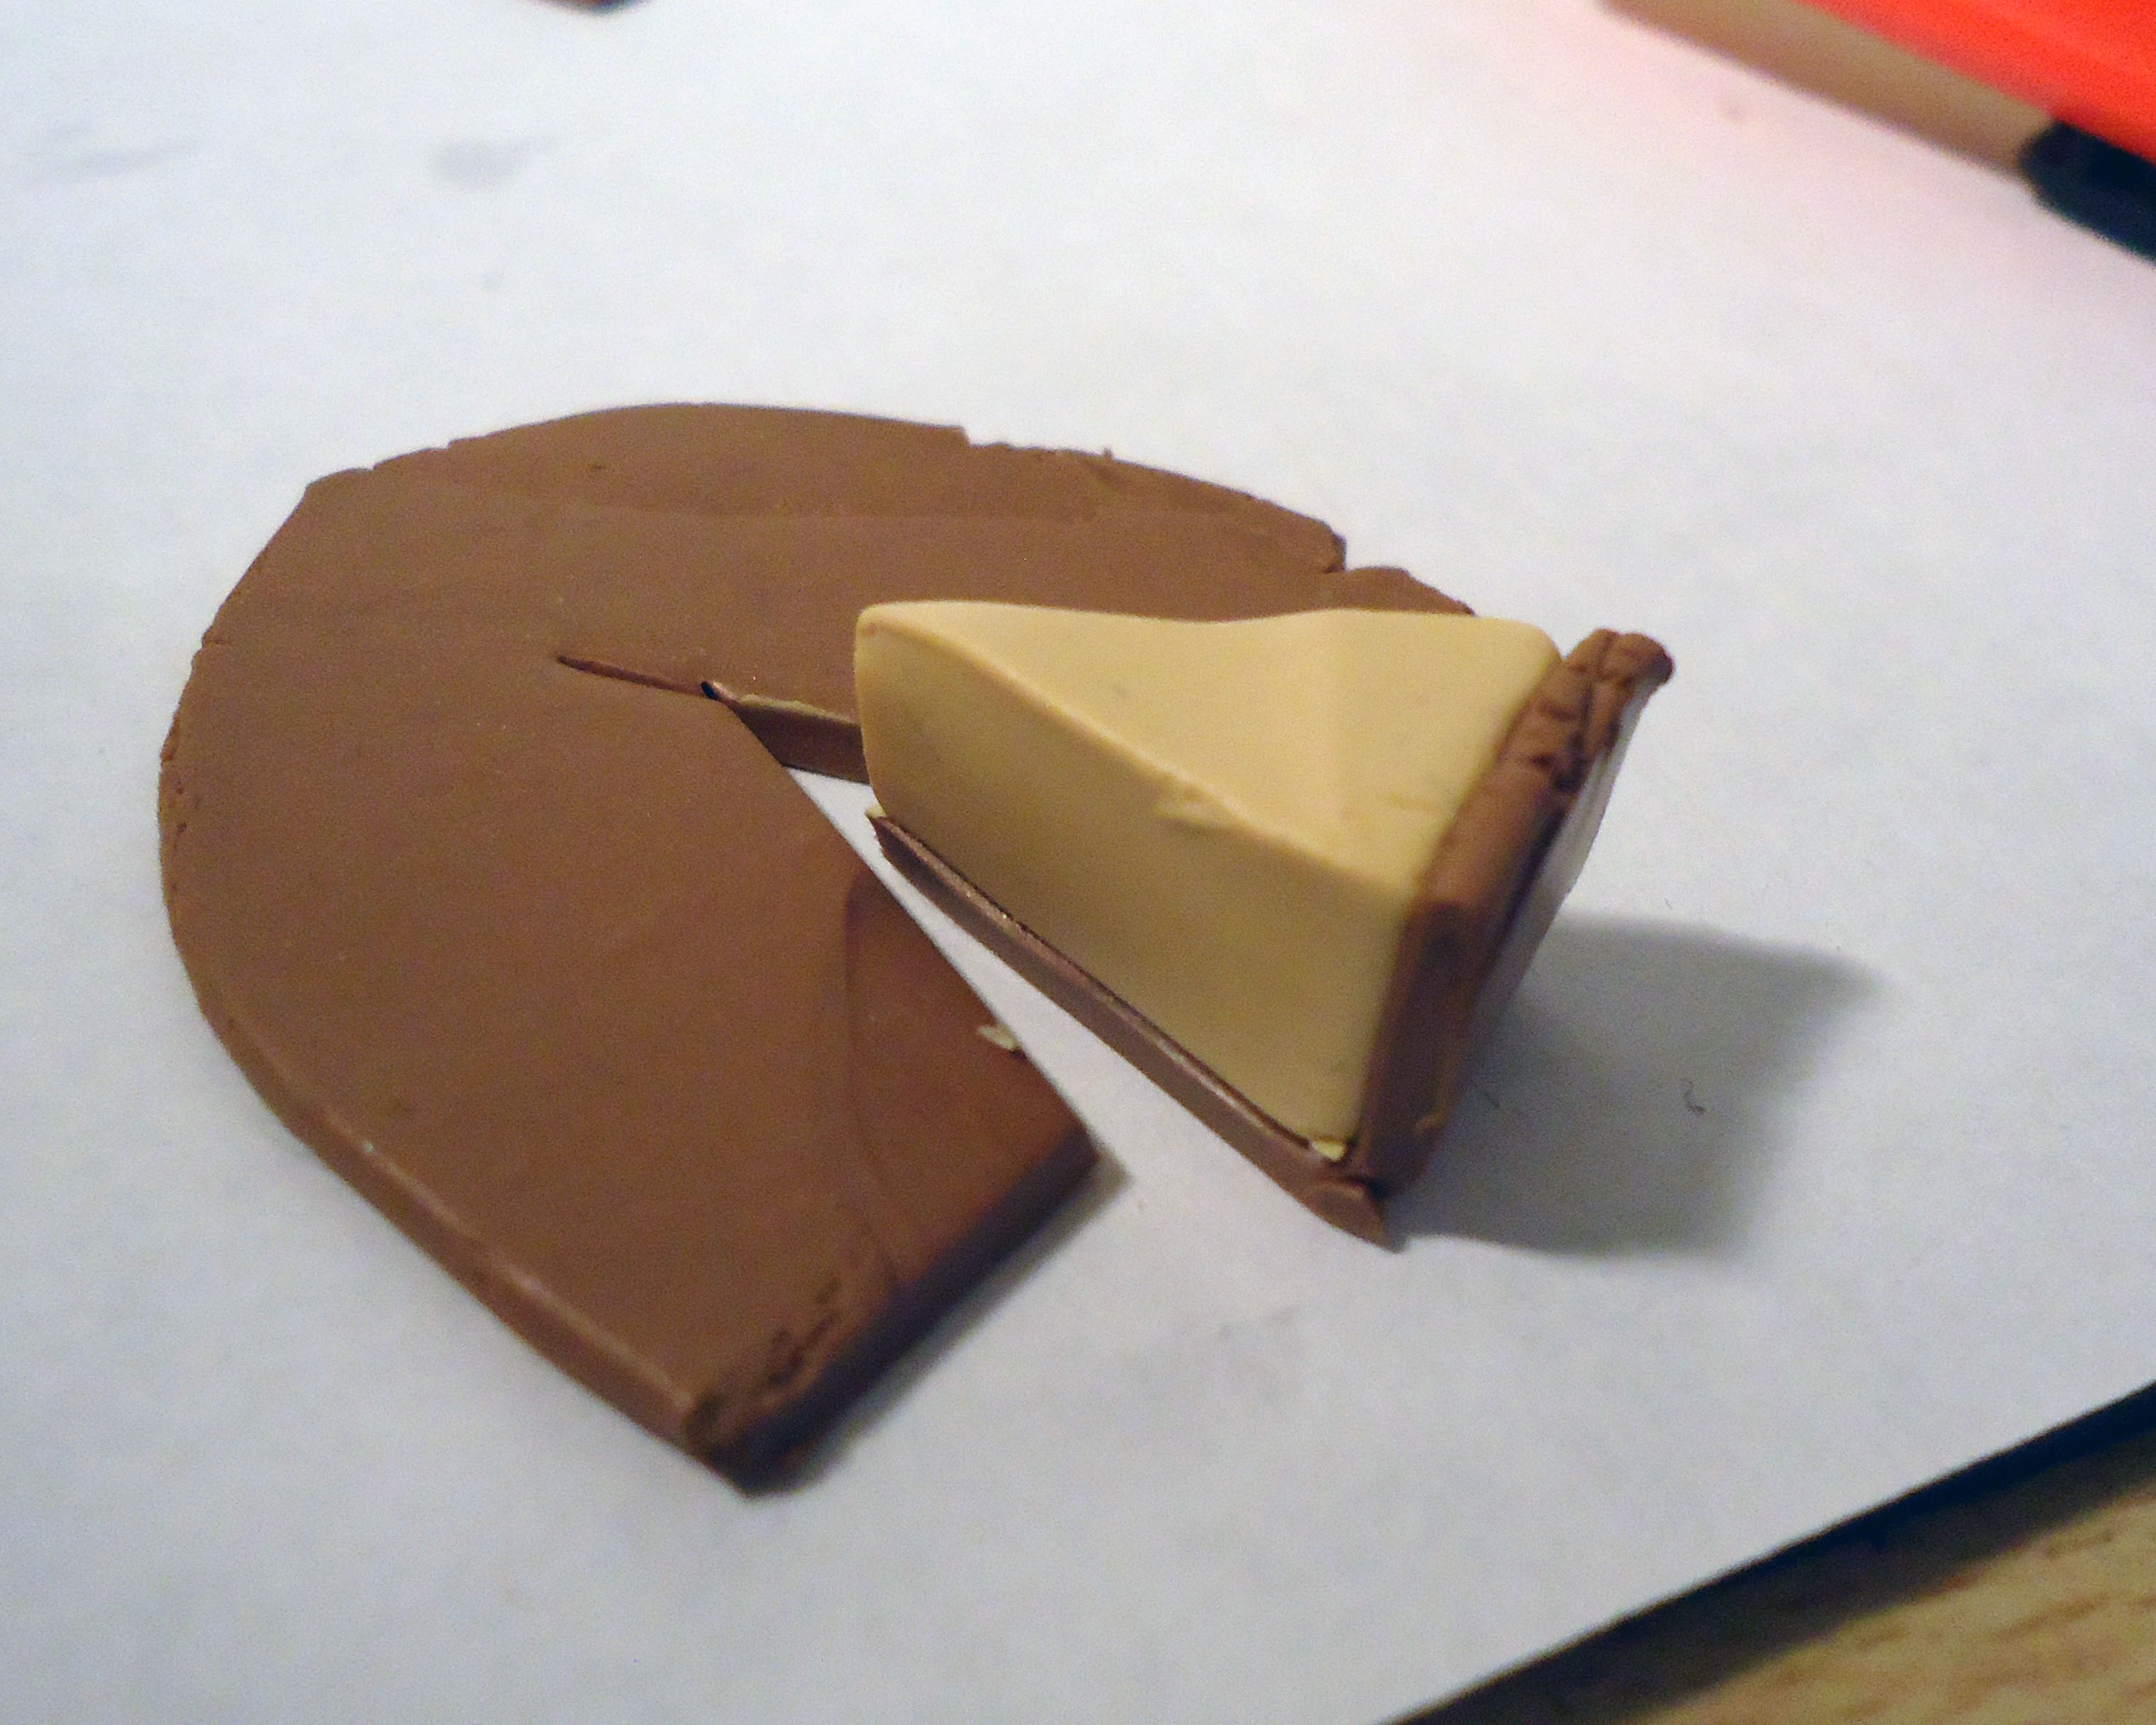
- Put your cake on the side of the rolled out sheet;
- Cut around;
- Bend carefully;
- Cut around;
- Remove from sheet.
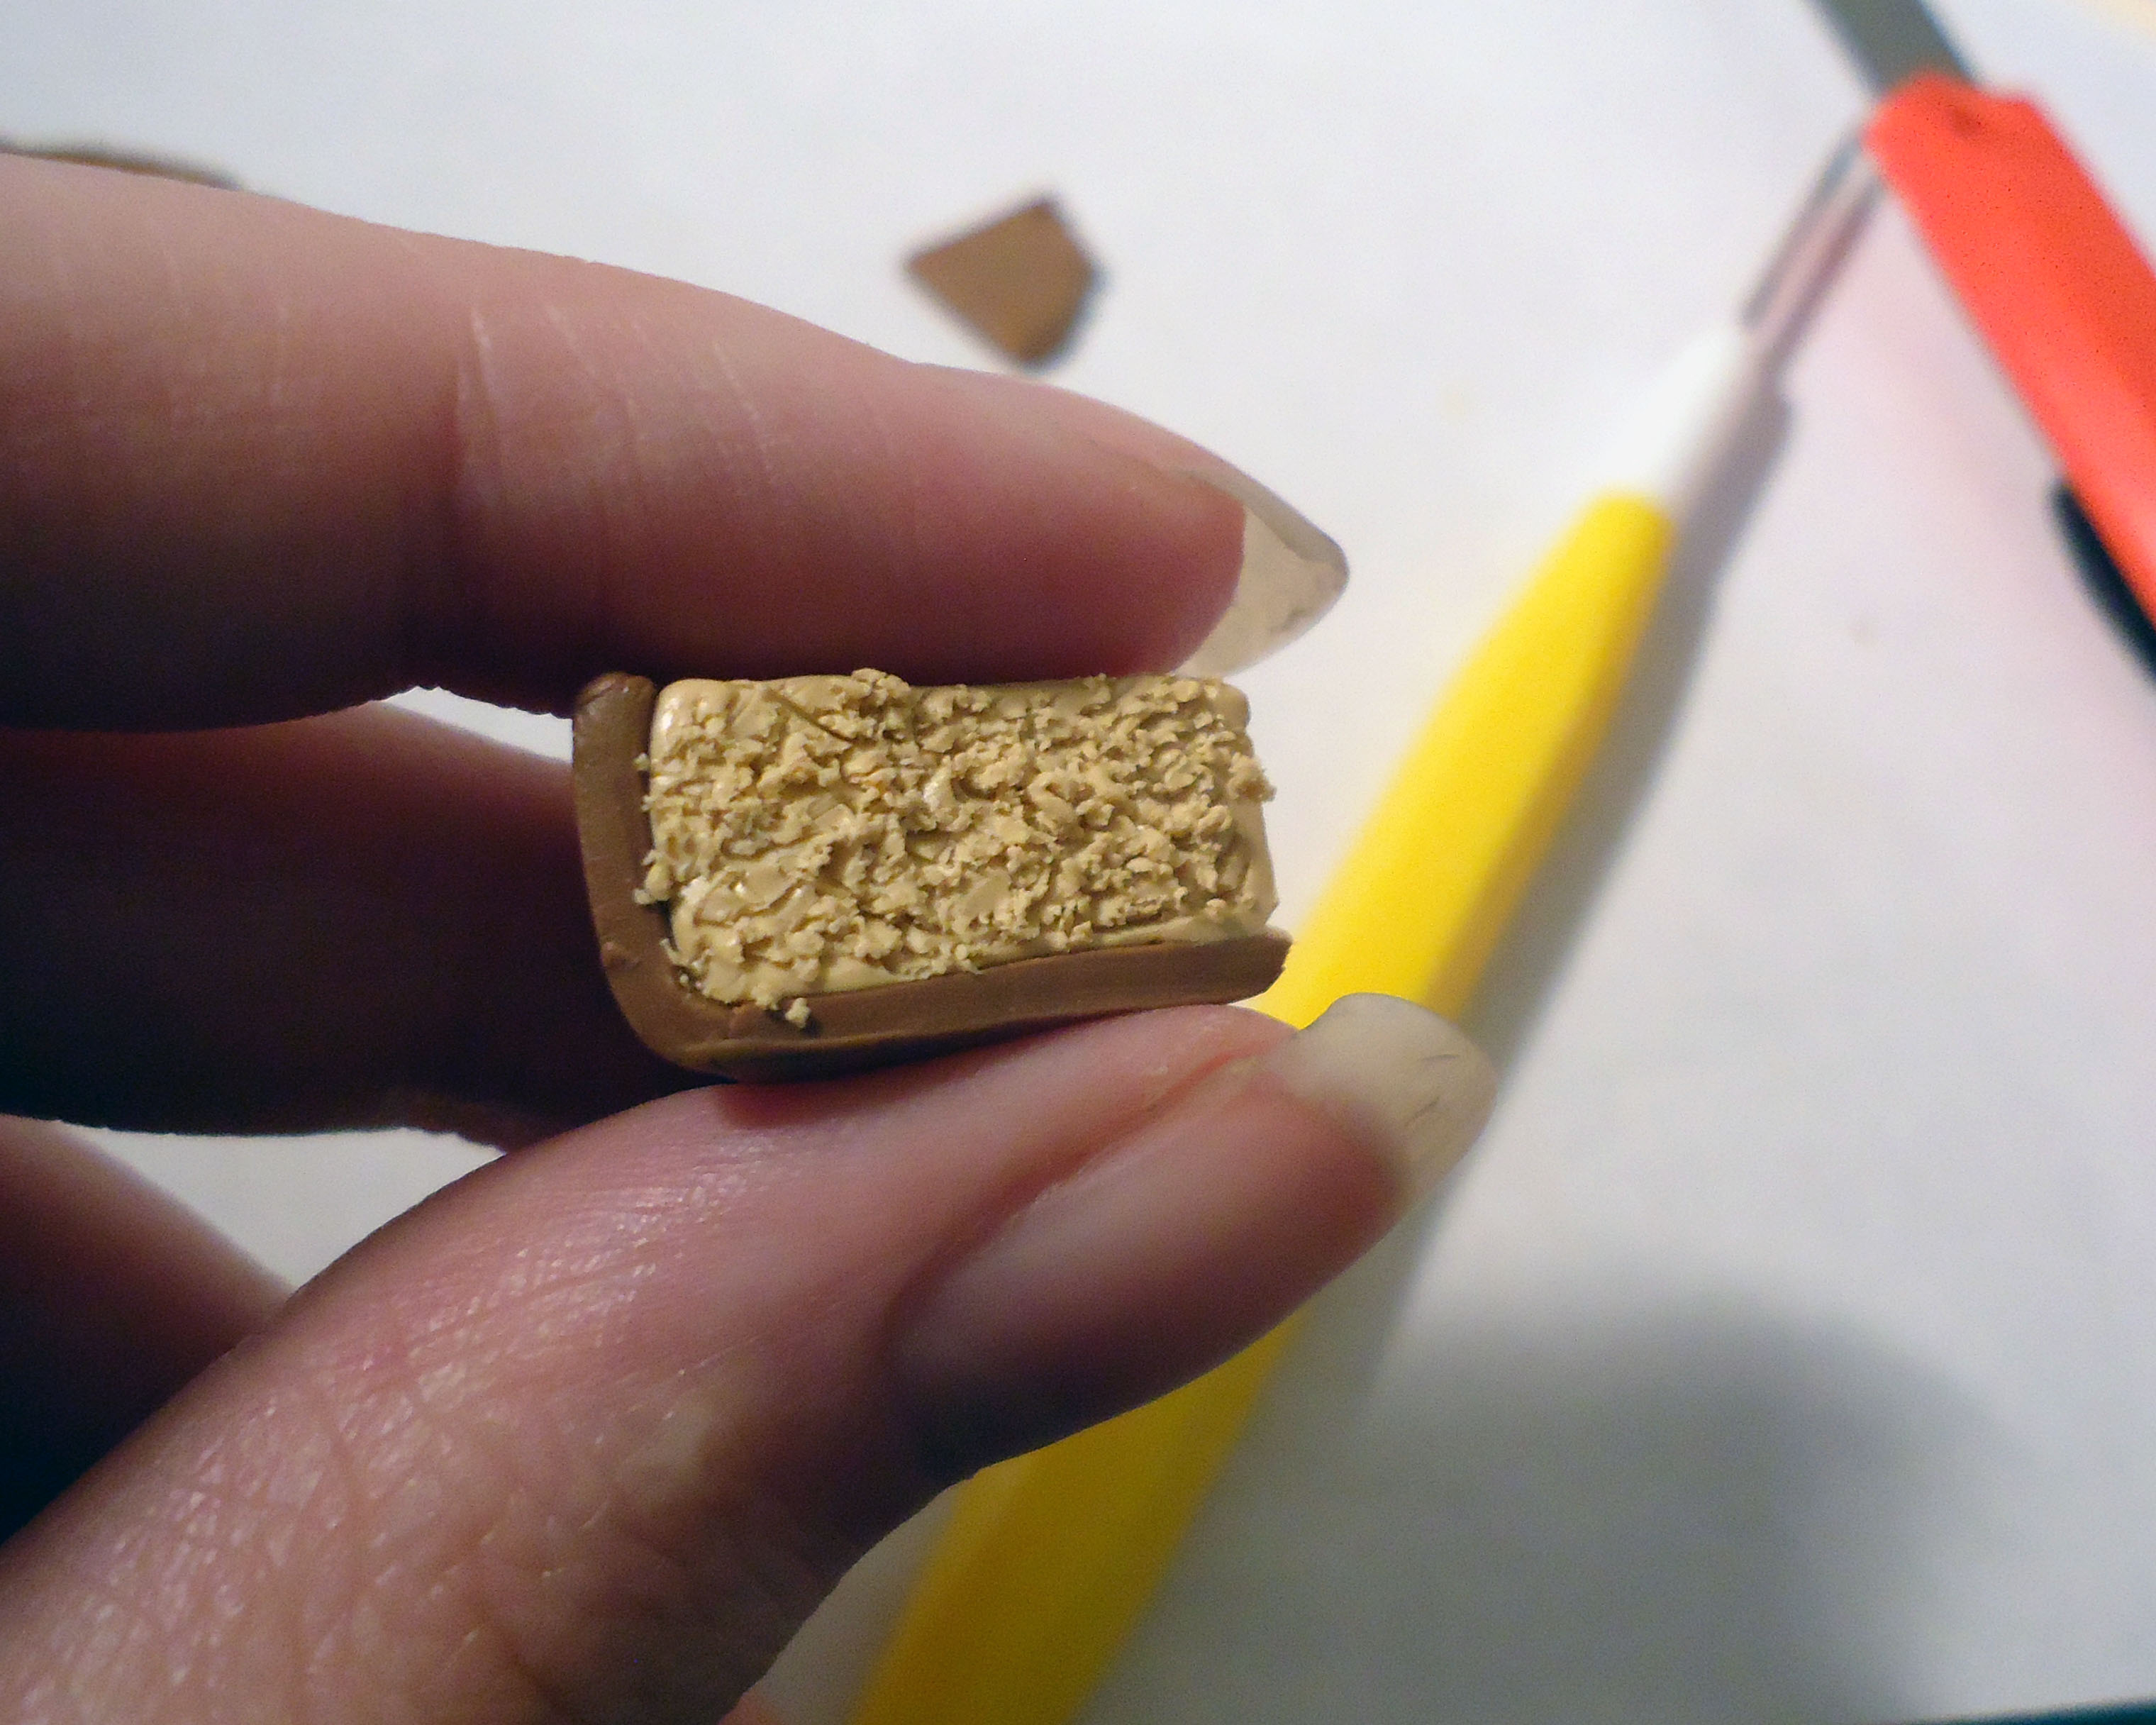
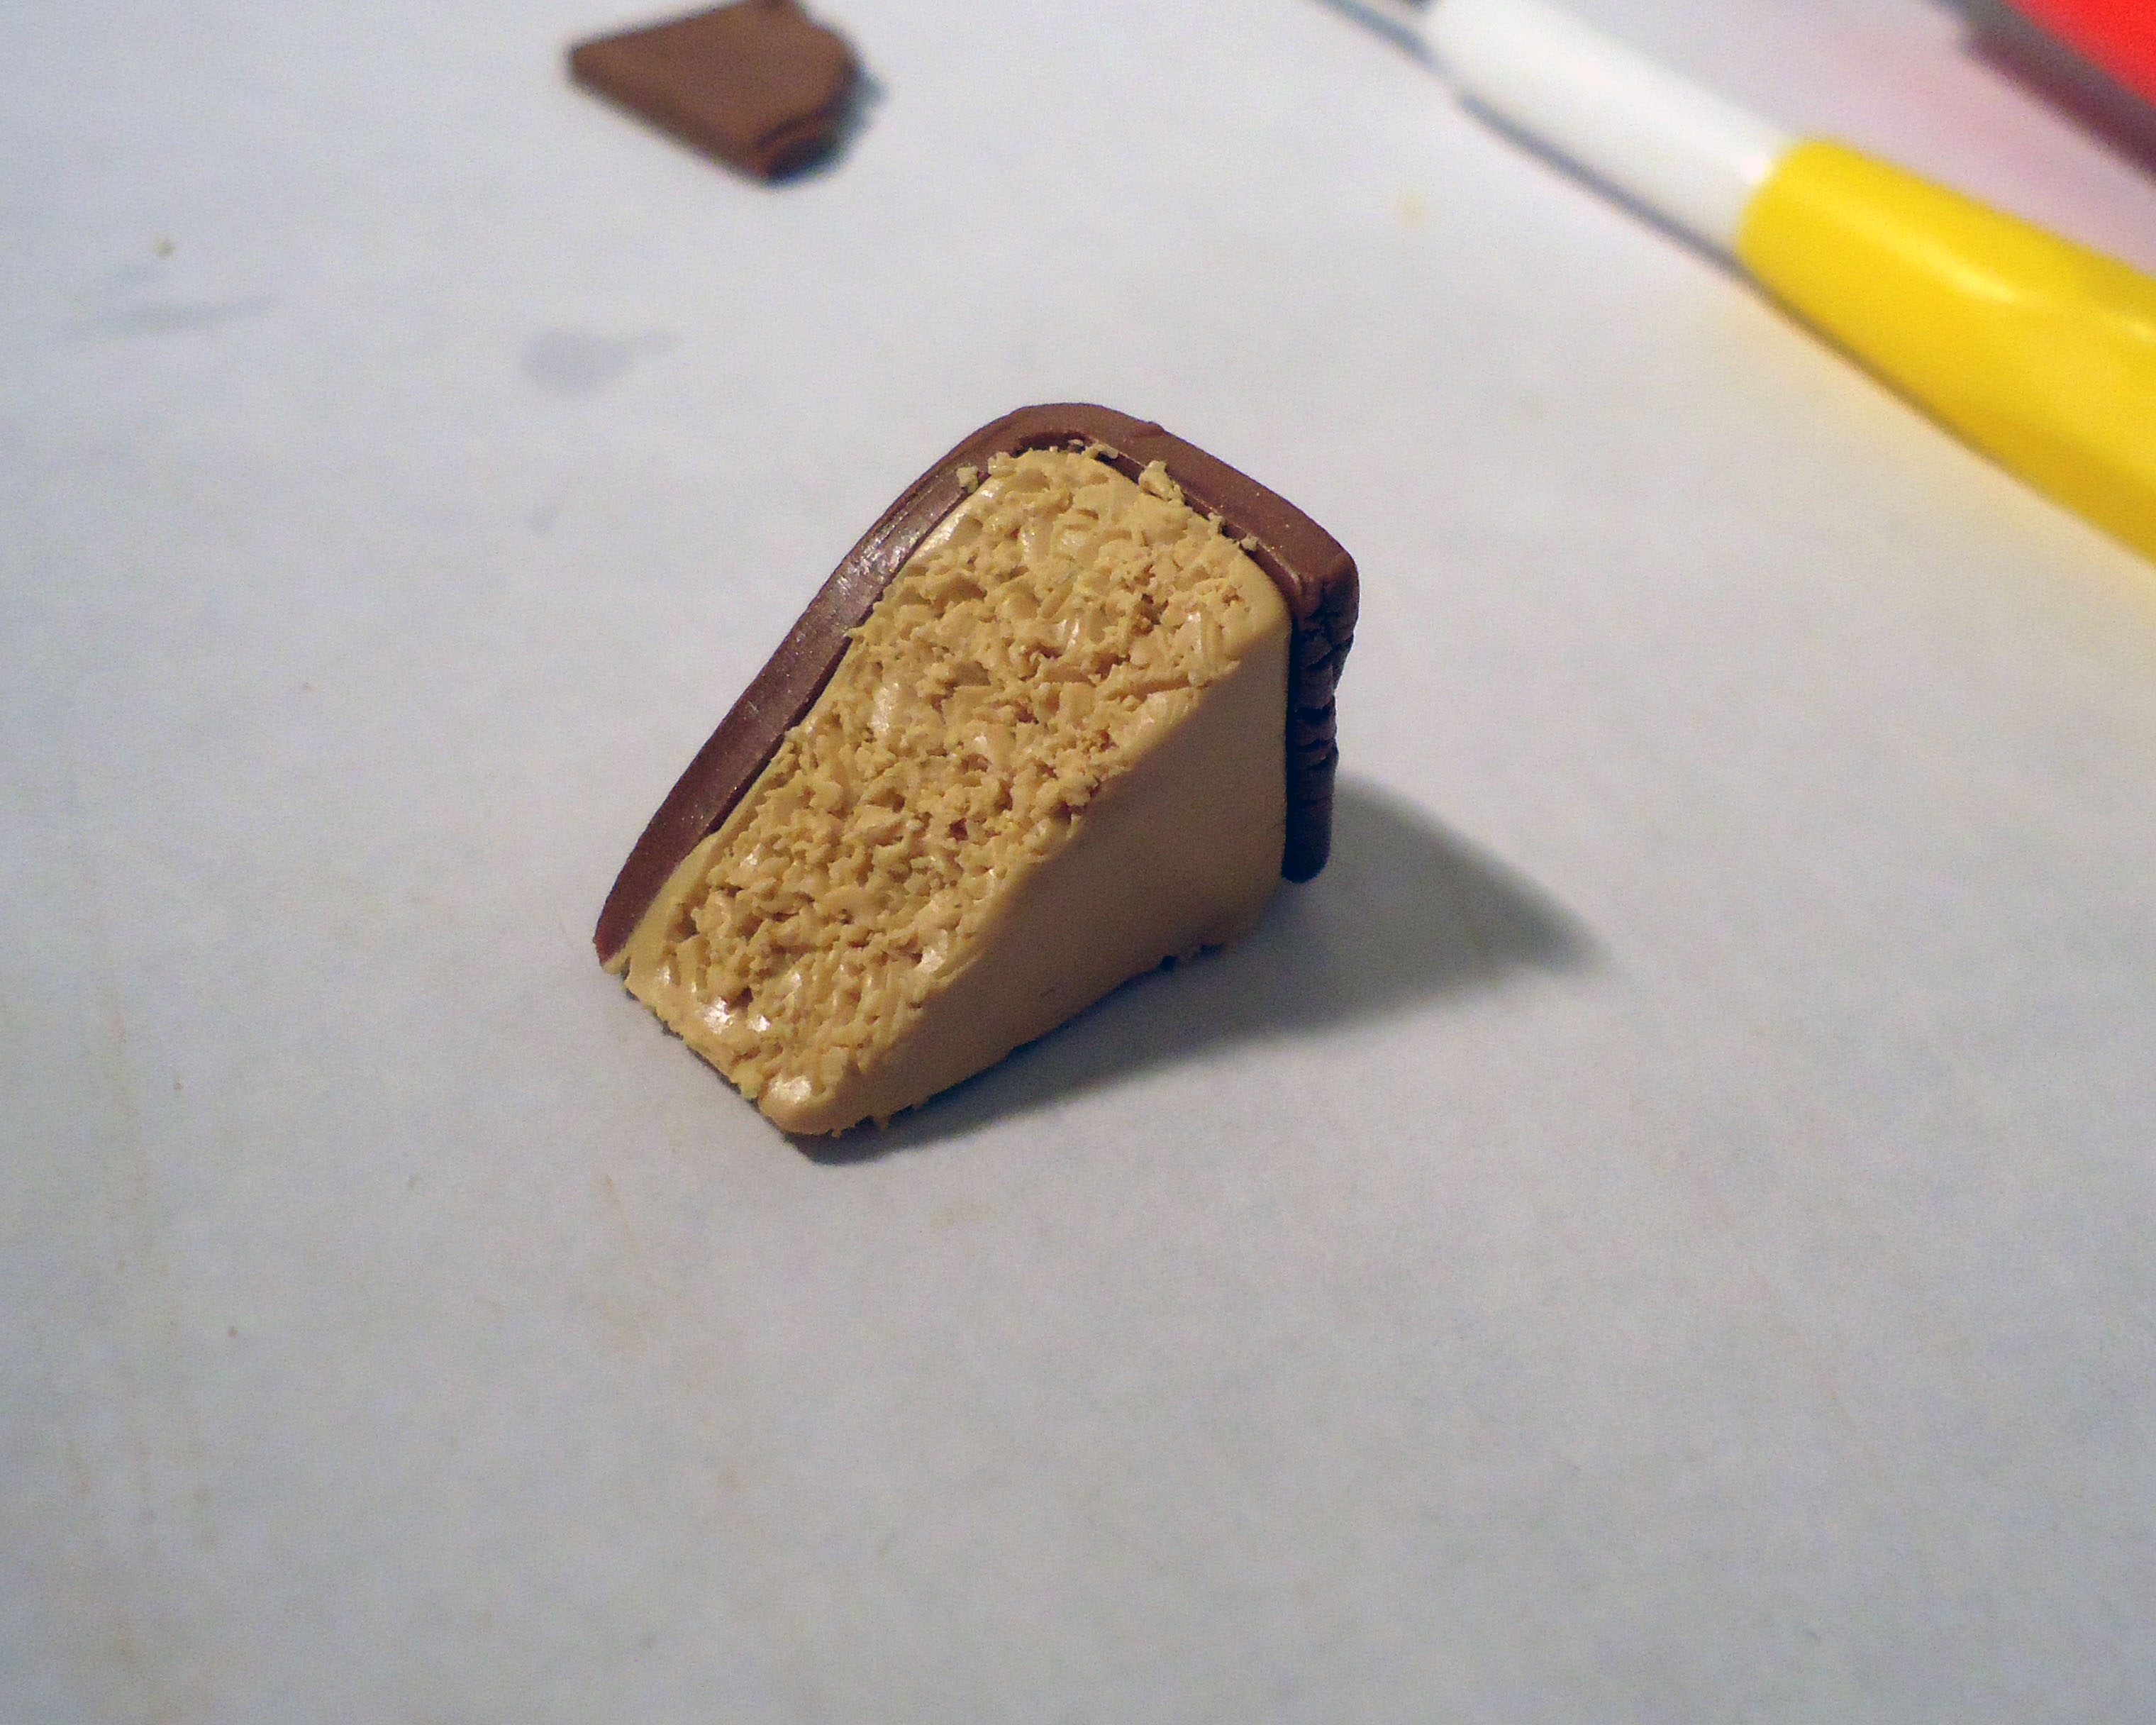
Yep. You guessed it. More texturing.
This was the last cake base. Don't think these are the only ones you can use, however. Use your imagination, there's tons of techniques you can develop! These are simply my favorites.
This was the last cake base. Don't think these are the only ones you can use, however. Use your imagination, there's tons of techniques you can develop! These are simply my favorites.
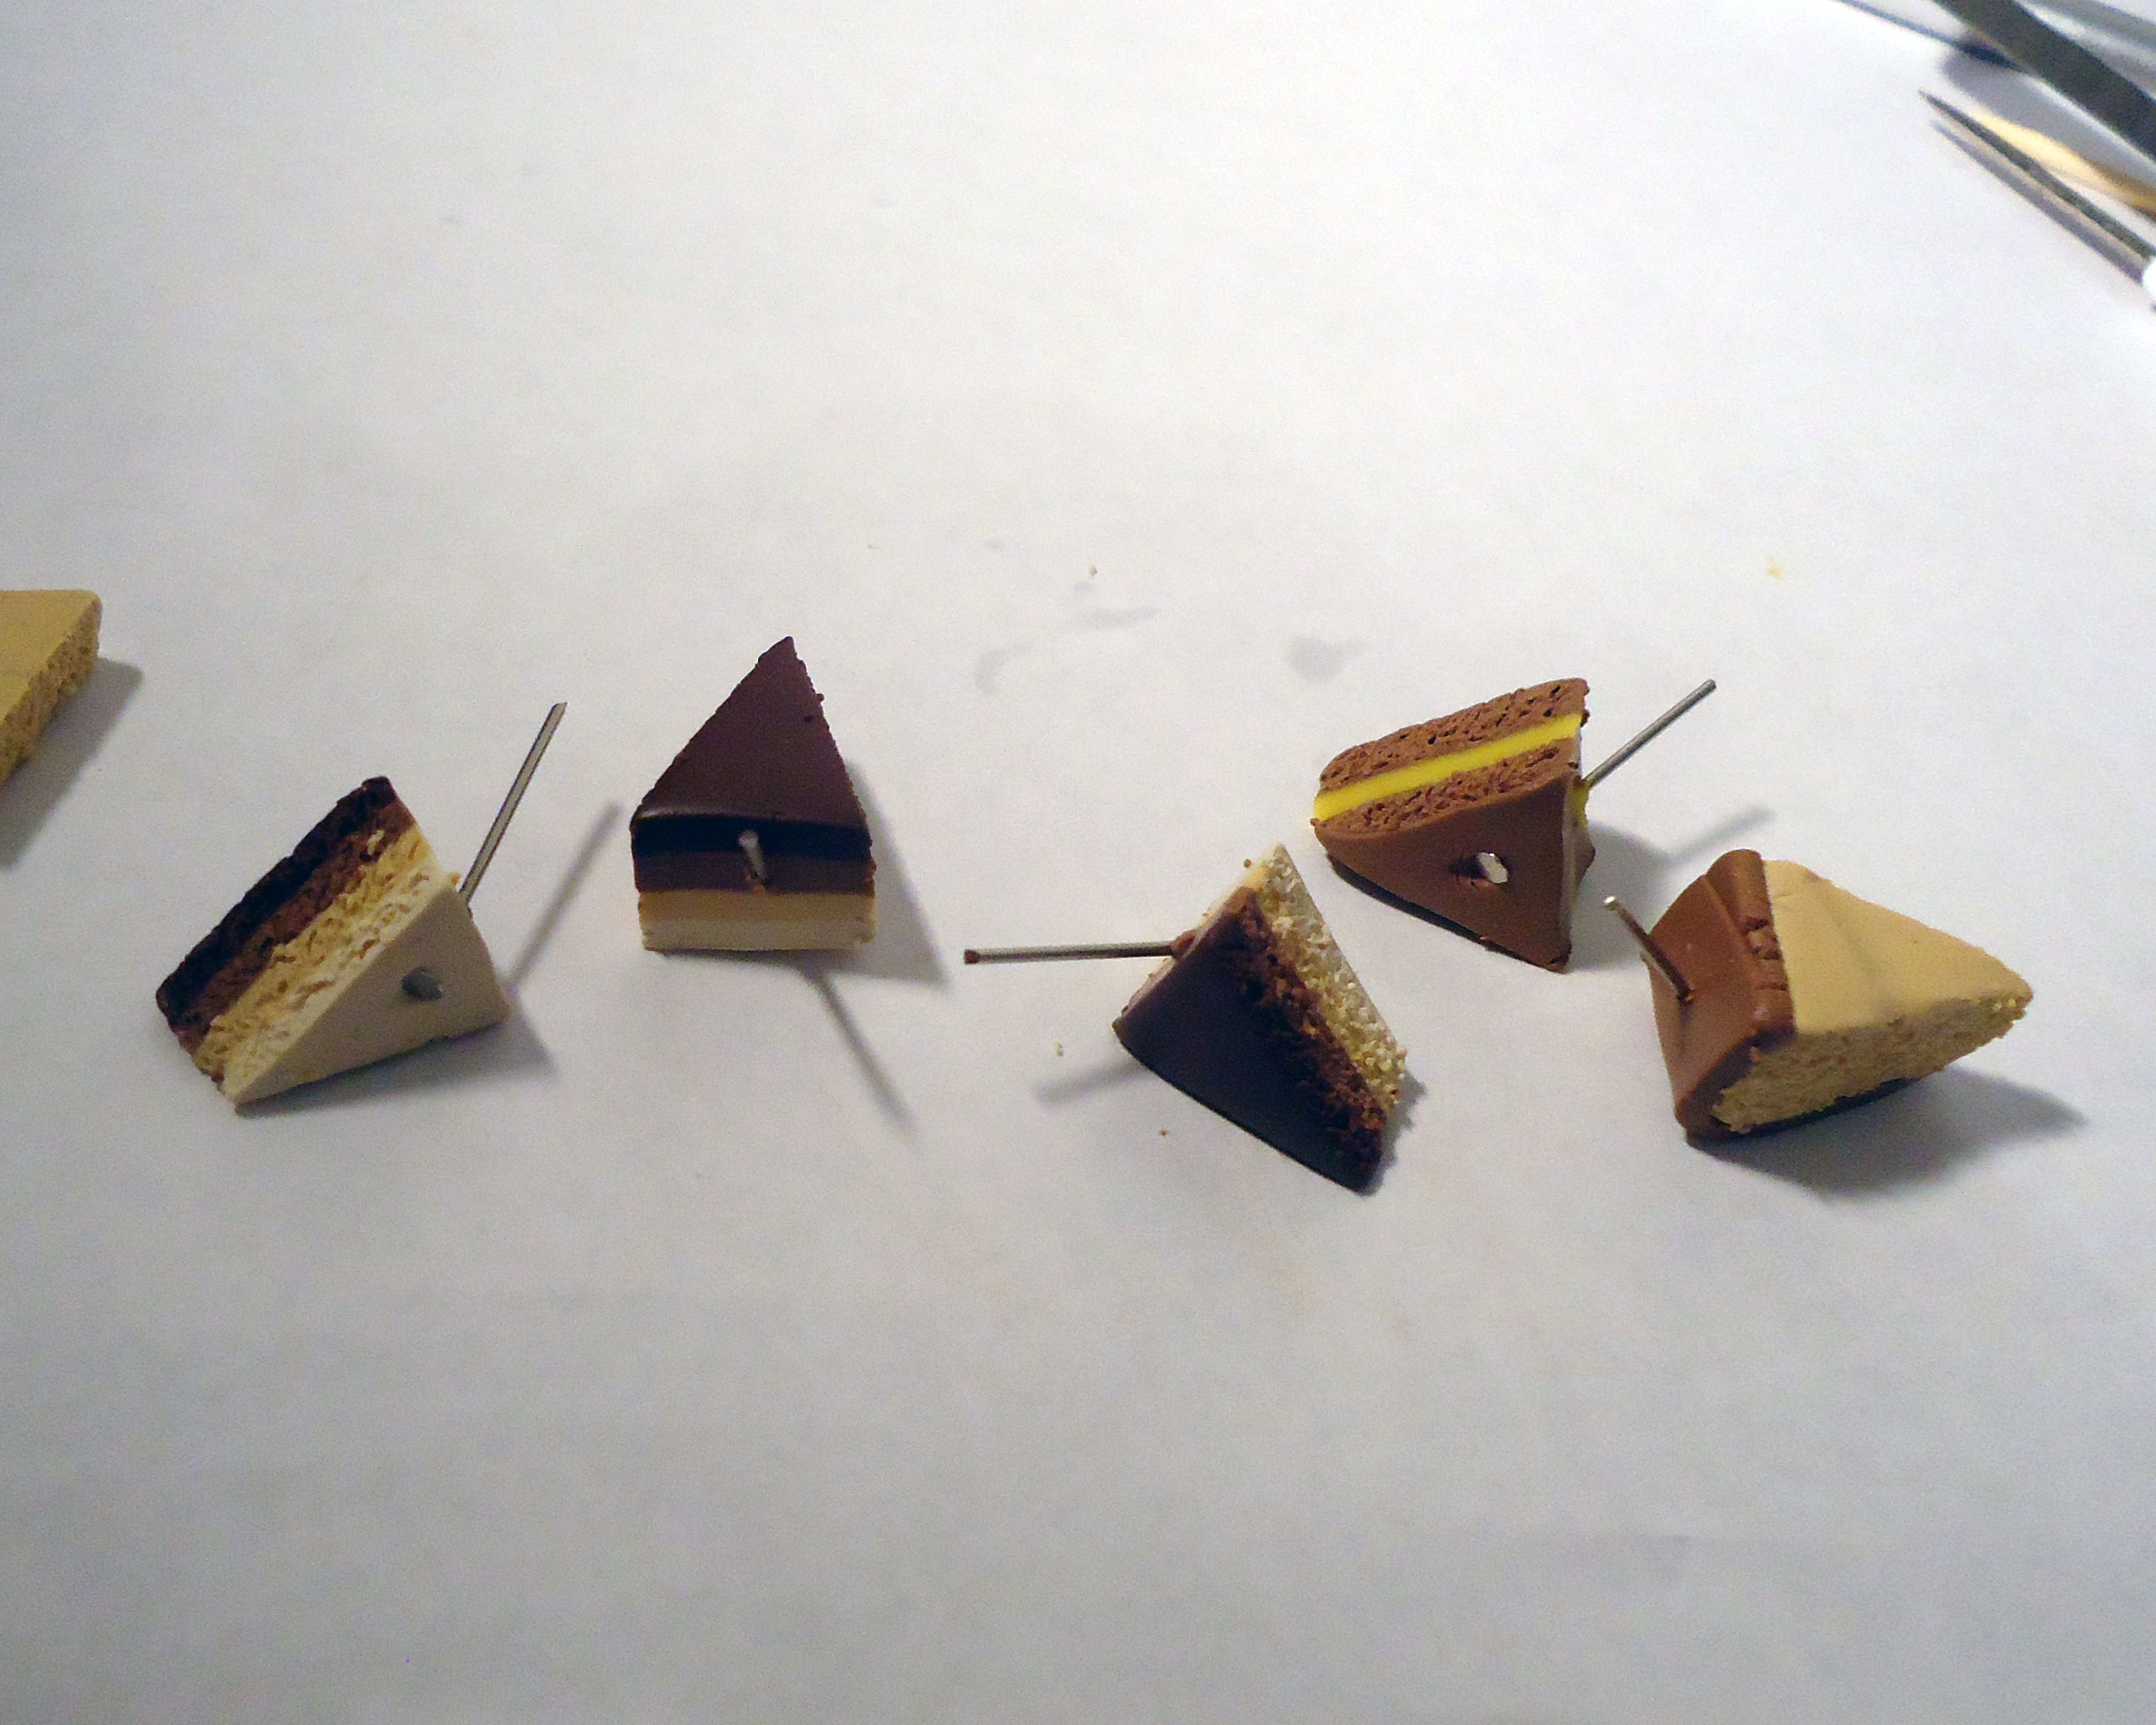
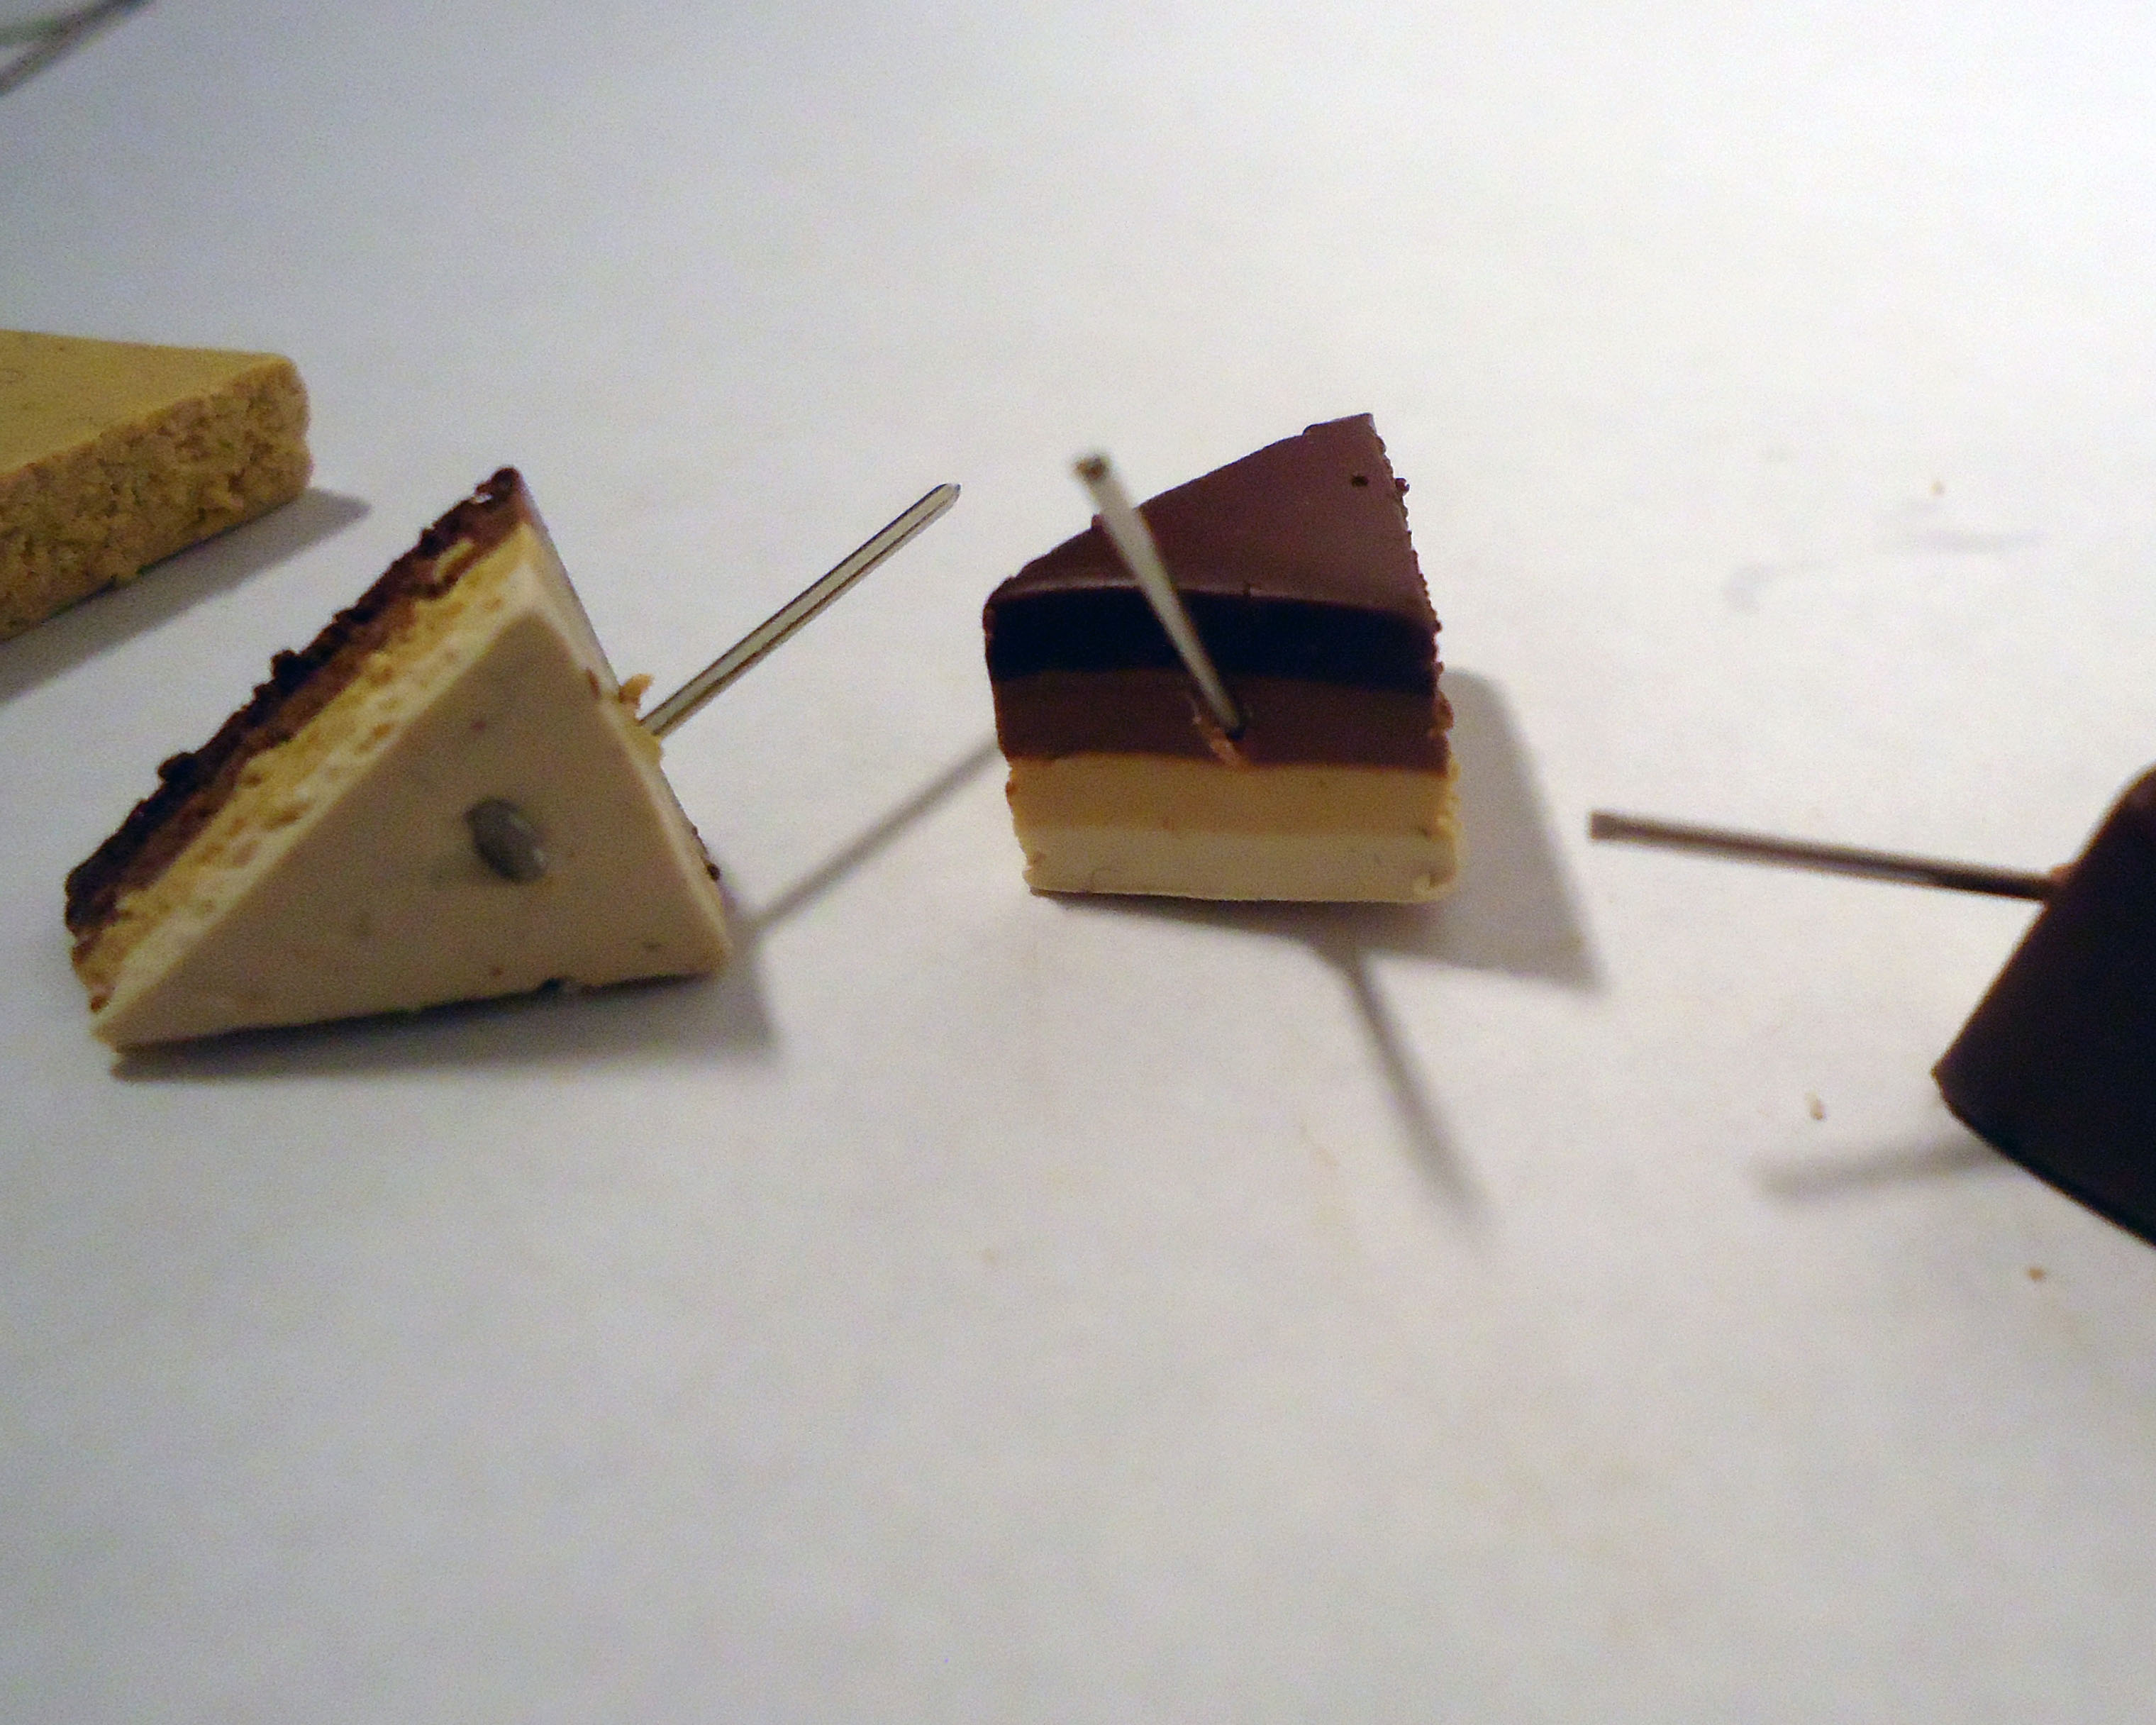
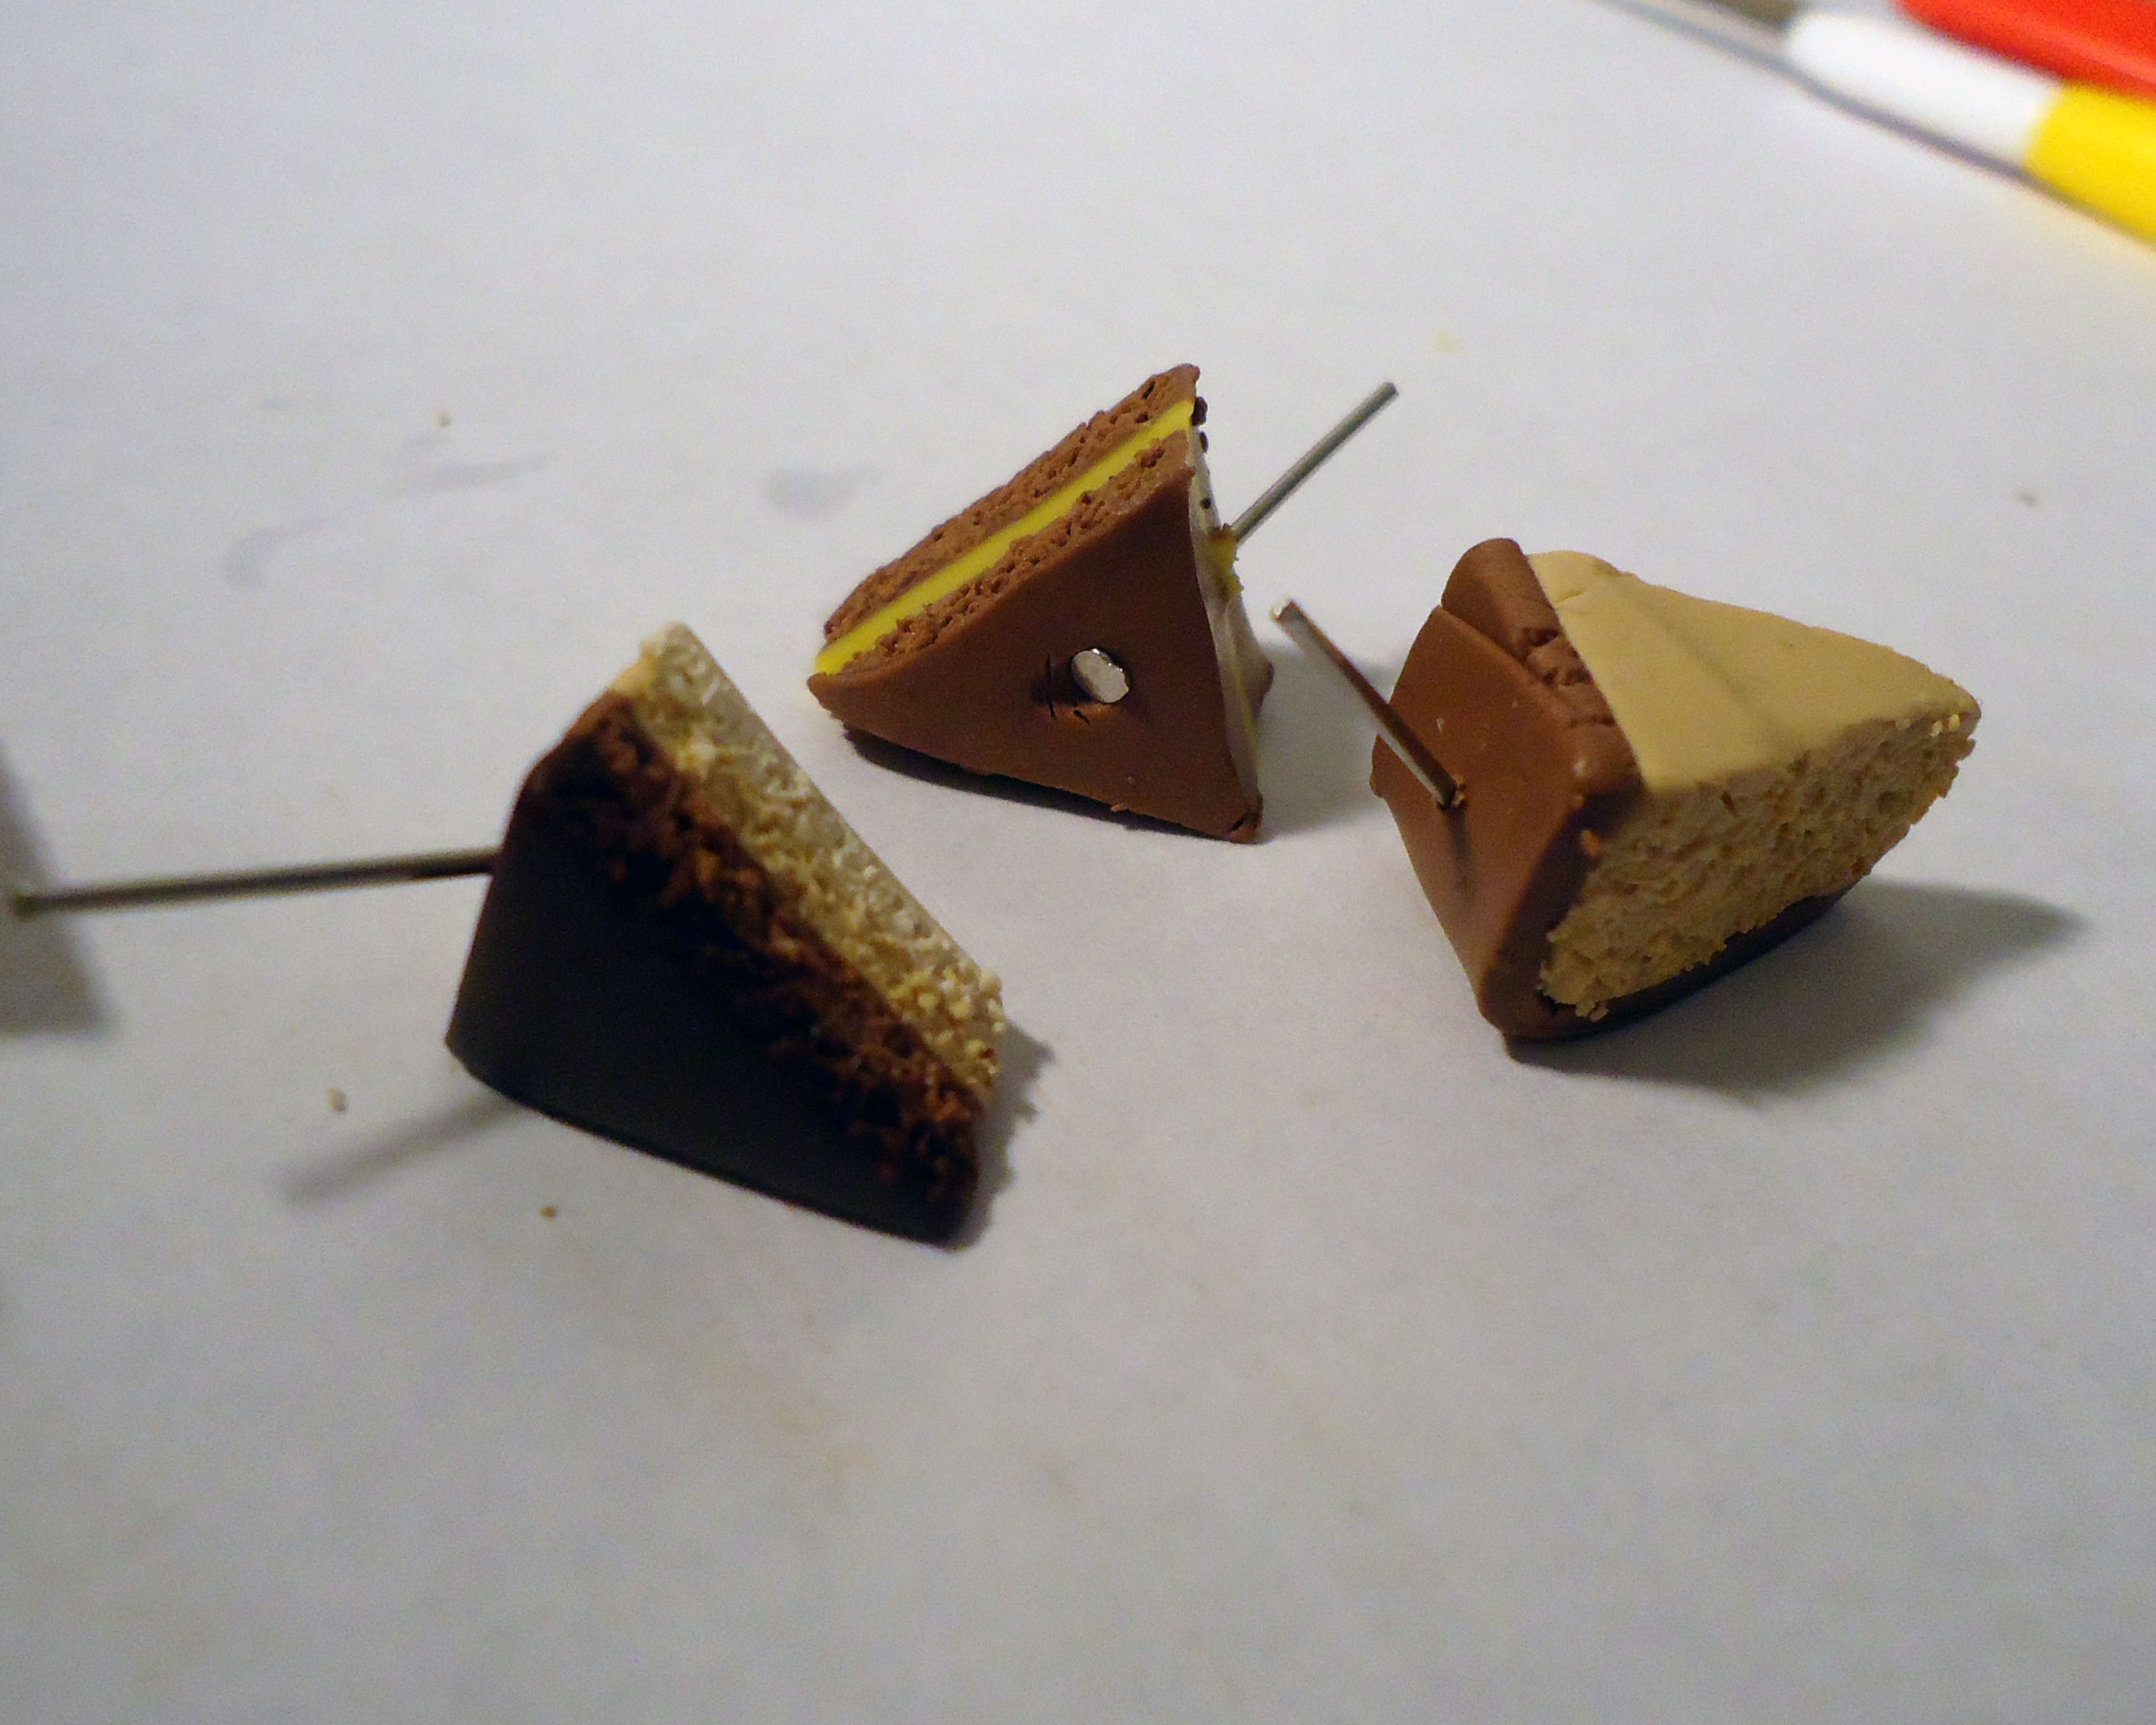
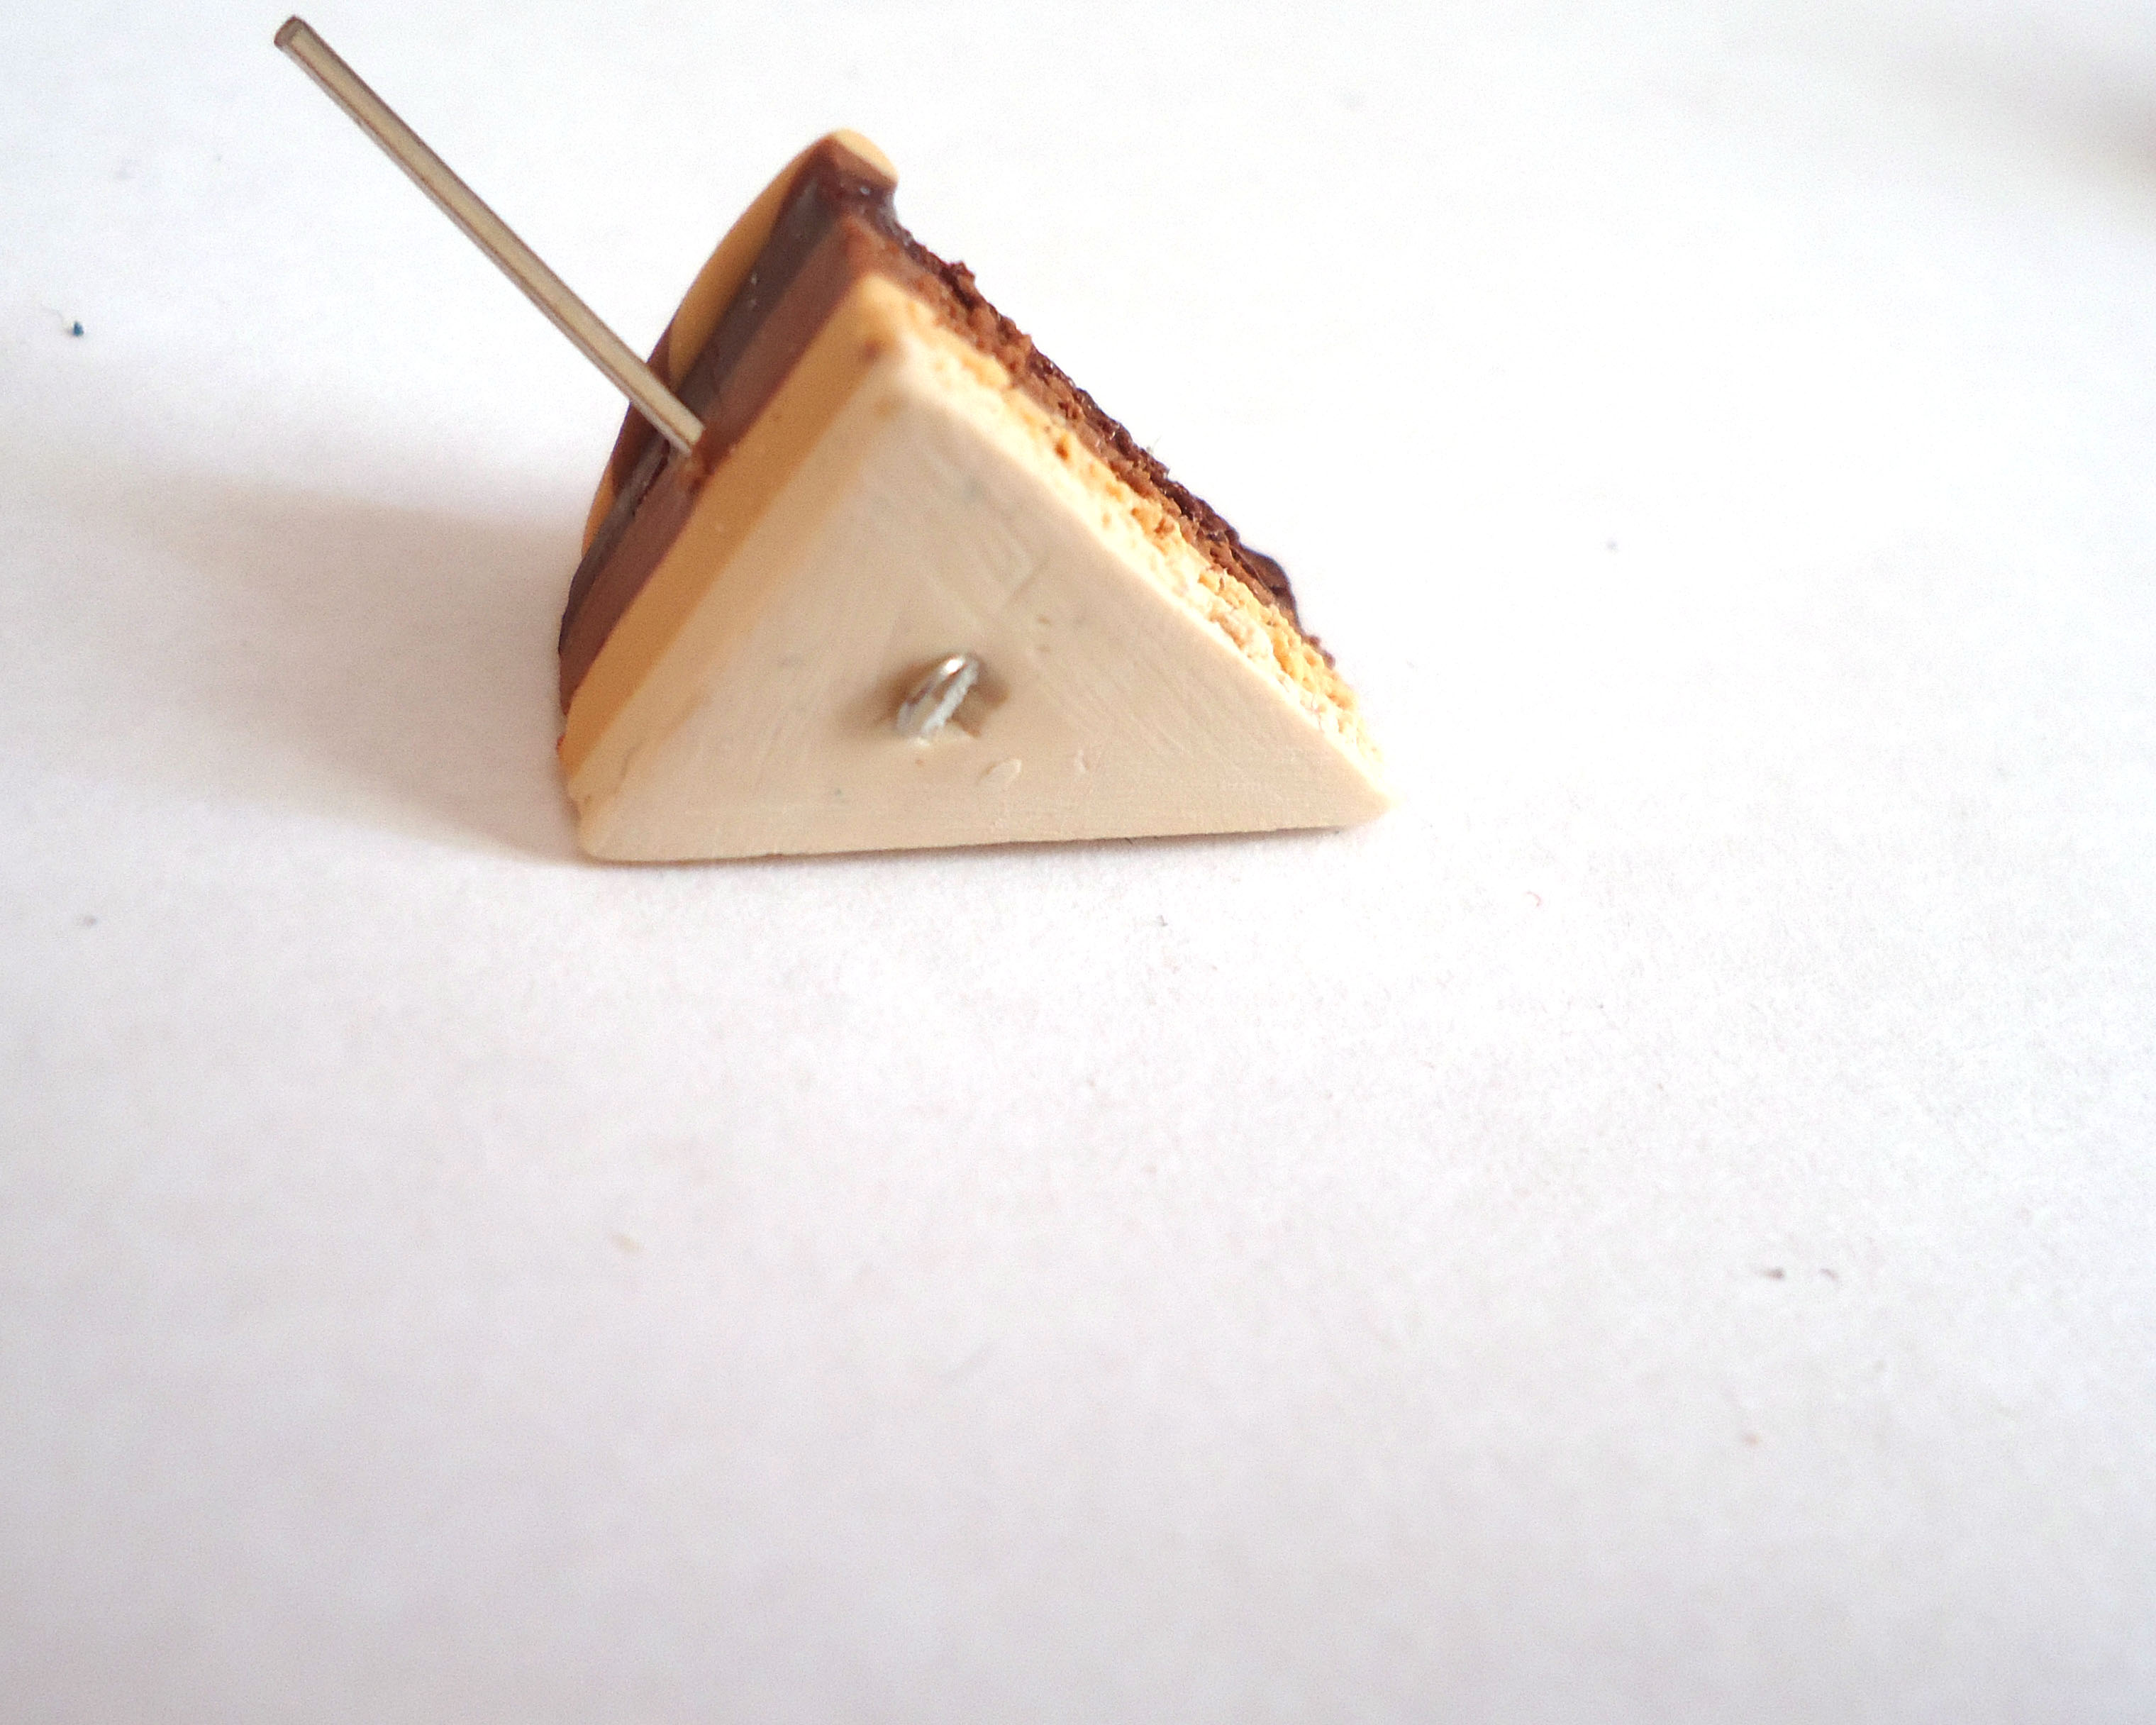
Now that you're done with the base, it's time to add the headpins. If you're making miniatures, rings or stud earrings or pins or anything of that nature - skip this. Also, if you made a split cake, skip this too. Split cakes have their headpins added in the icing stage.
To add headpins, simply stab them through the bottom and pull them out through the back. Be careful not to ruin your texture!
Headpins are better than eyepins most of the time. Even screw-in eyepins tend to fall out sometimes, while the hole can't get any bigger for a headpin to slide out. Use headpins!
Icing
There are two types of icing that I use, but I will only get in detail with one of them. You'll find out why!
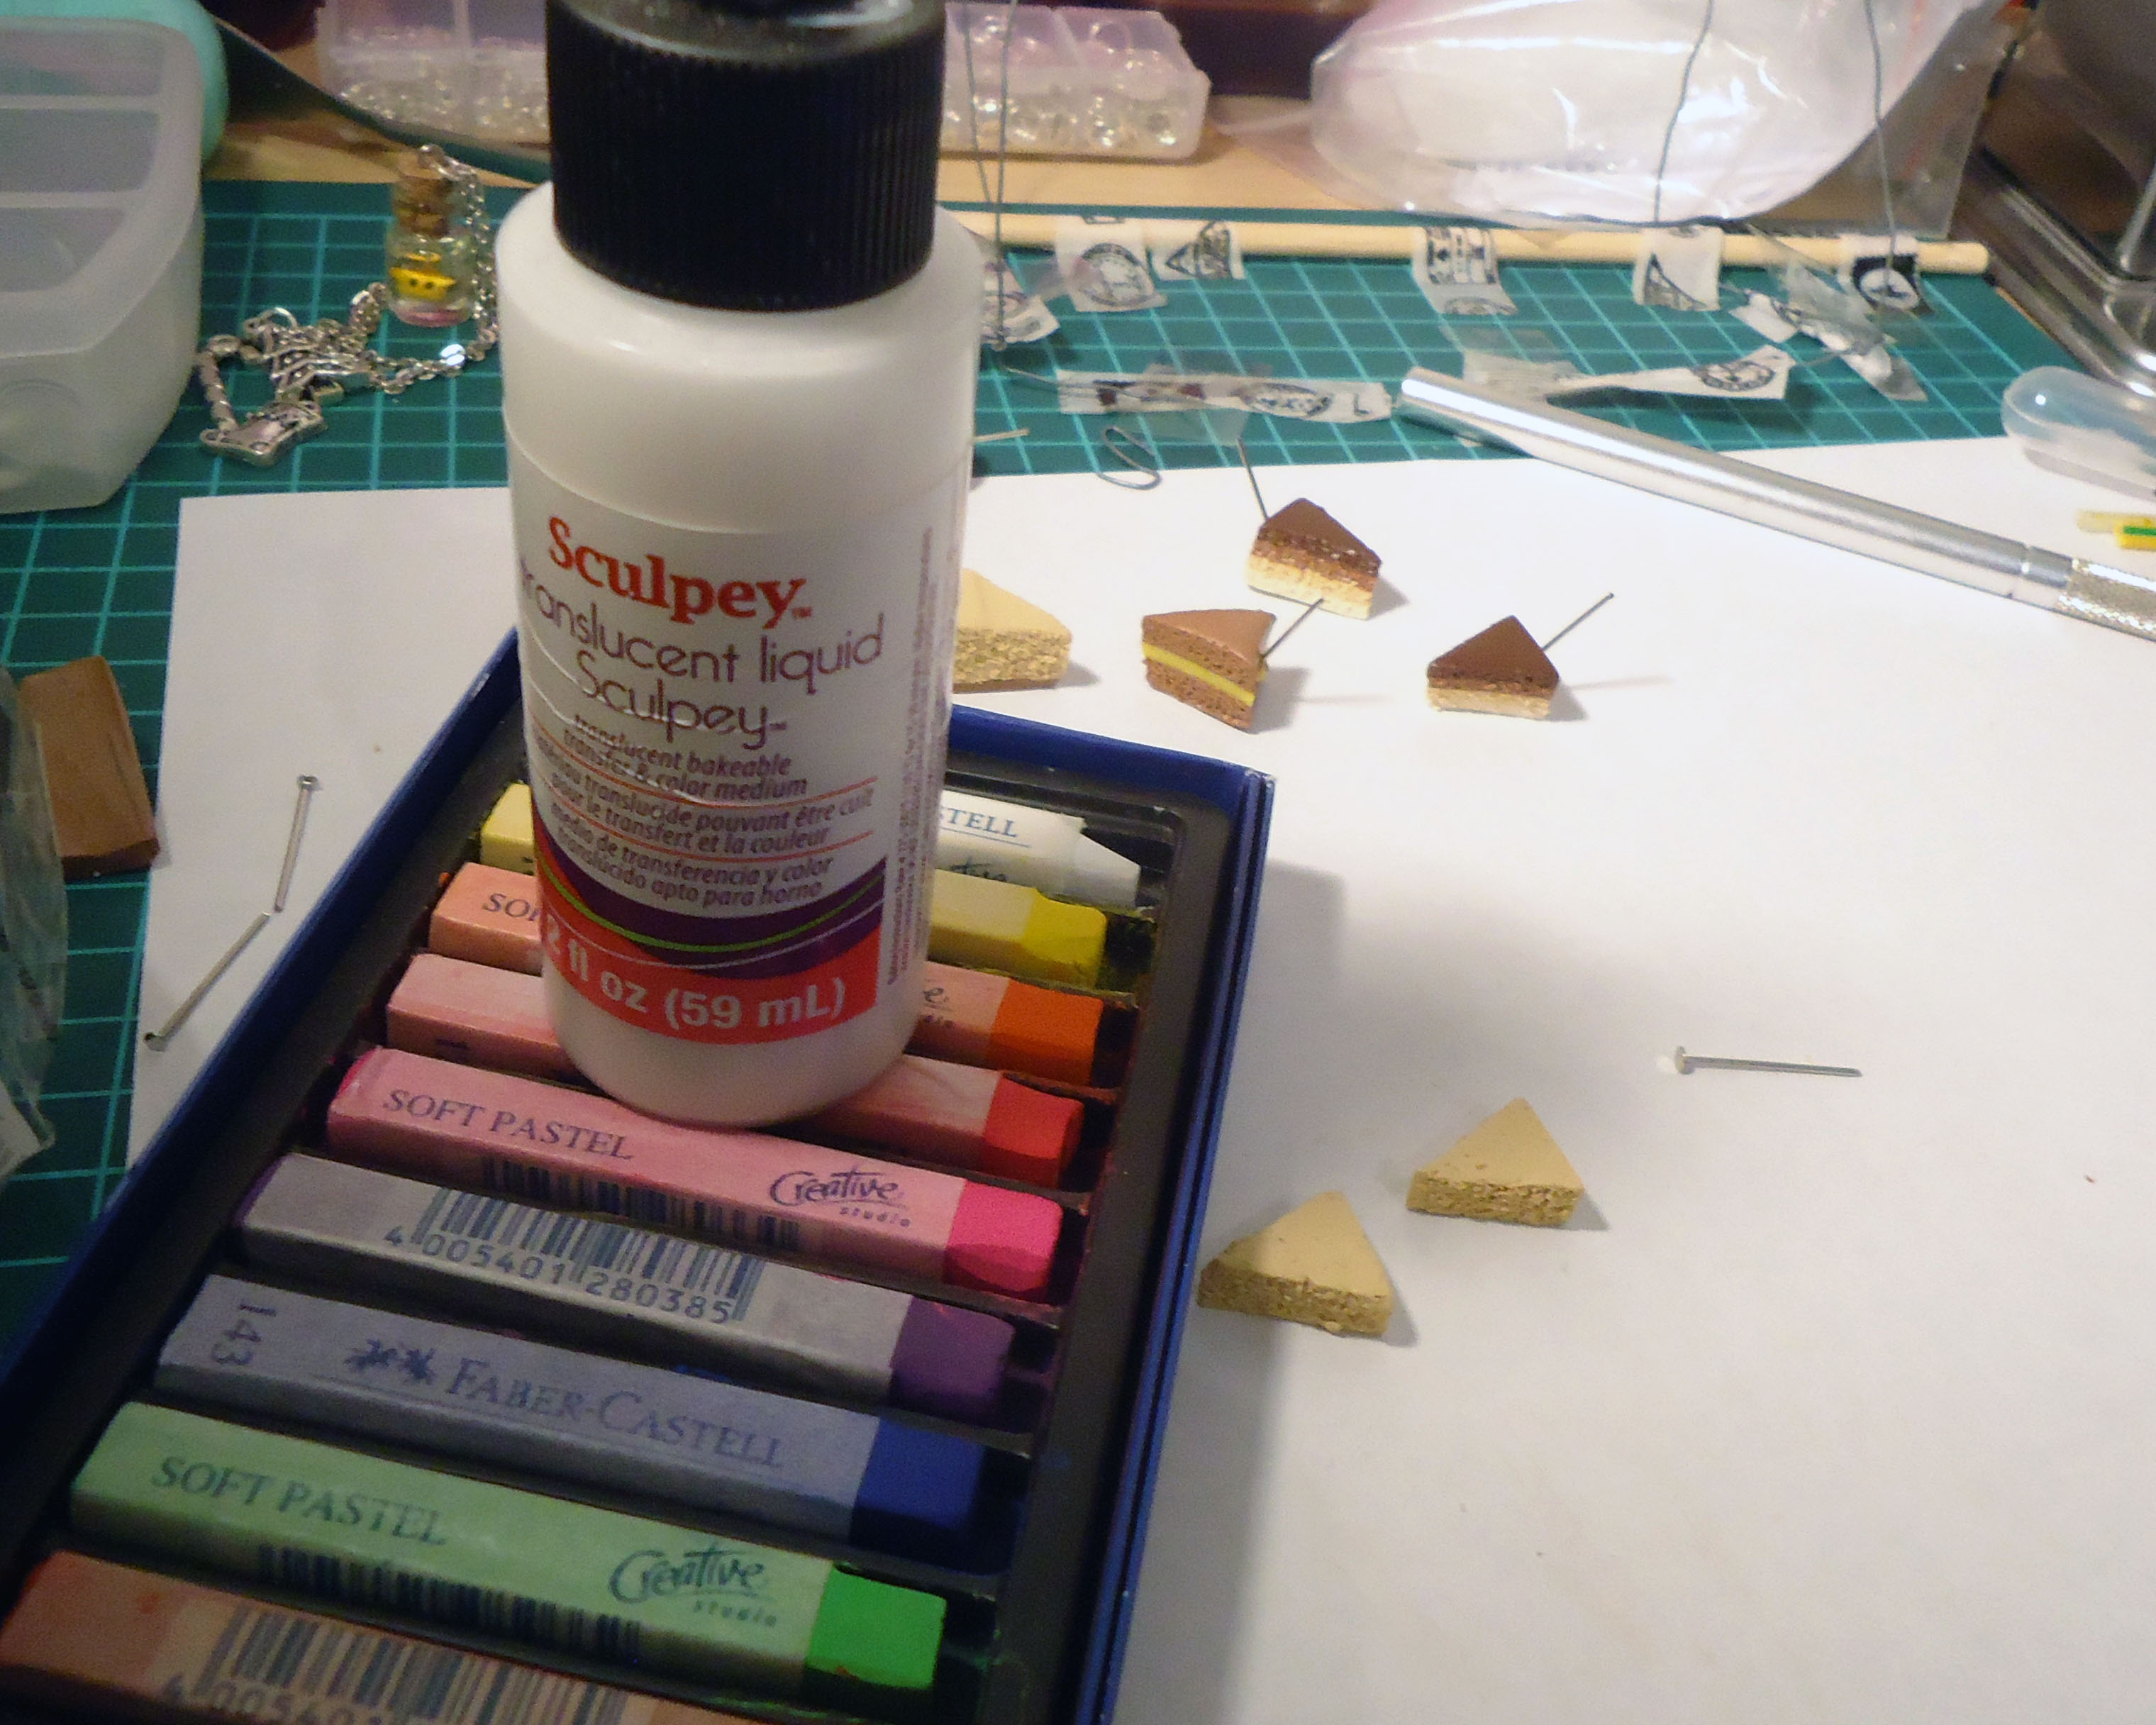
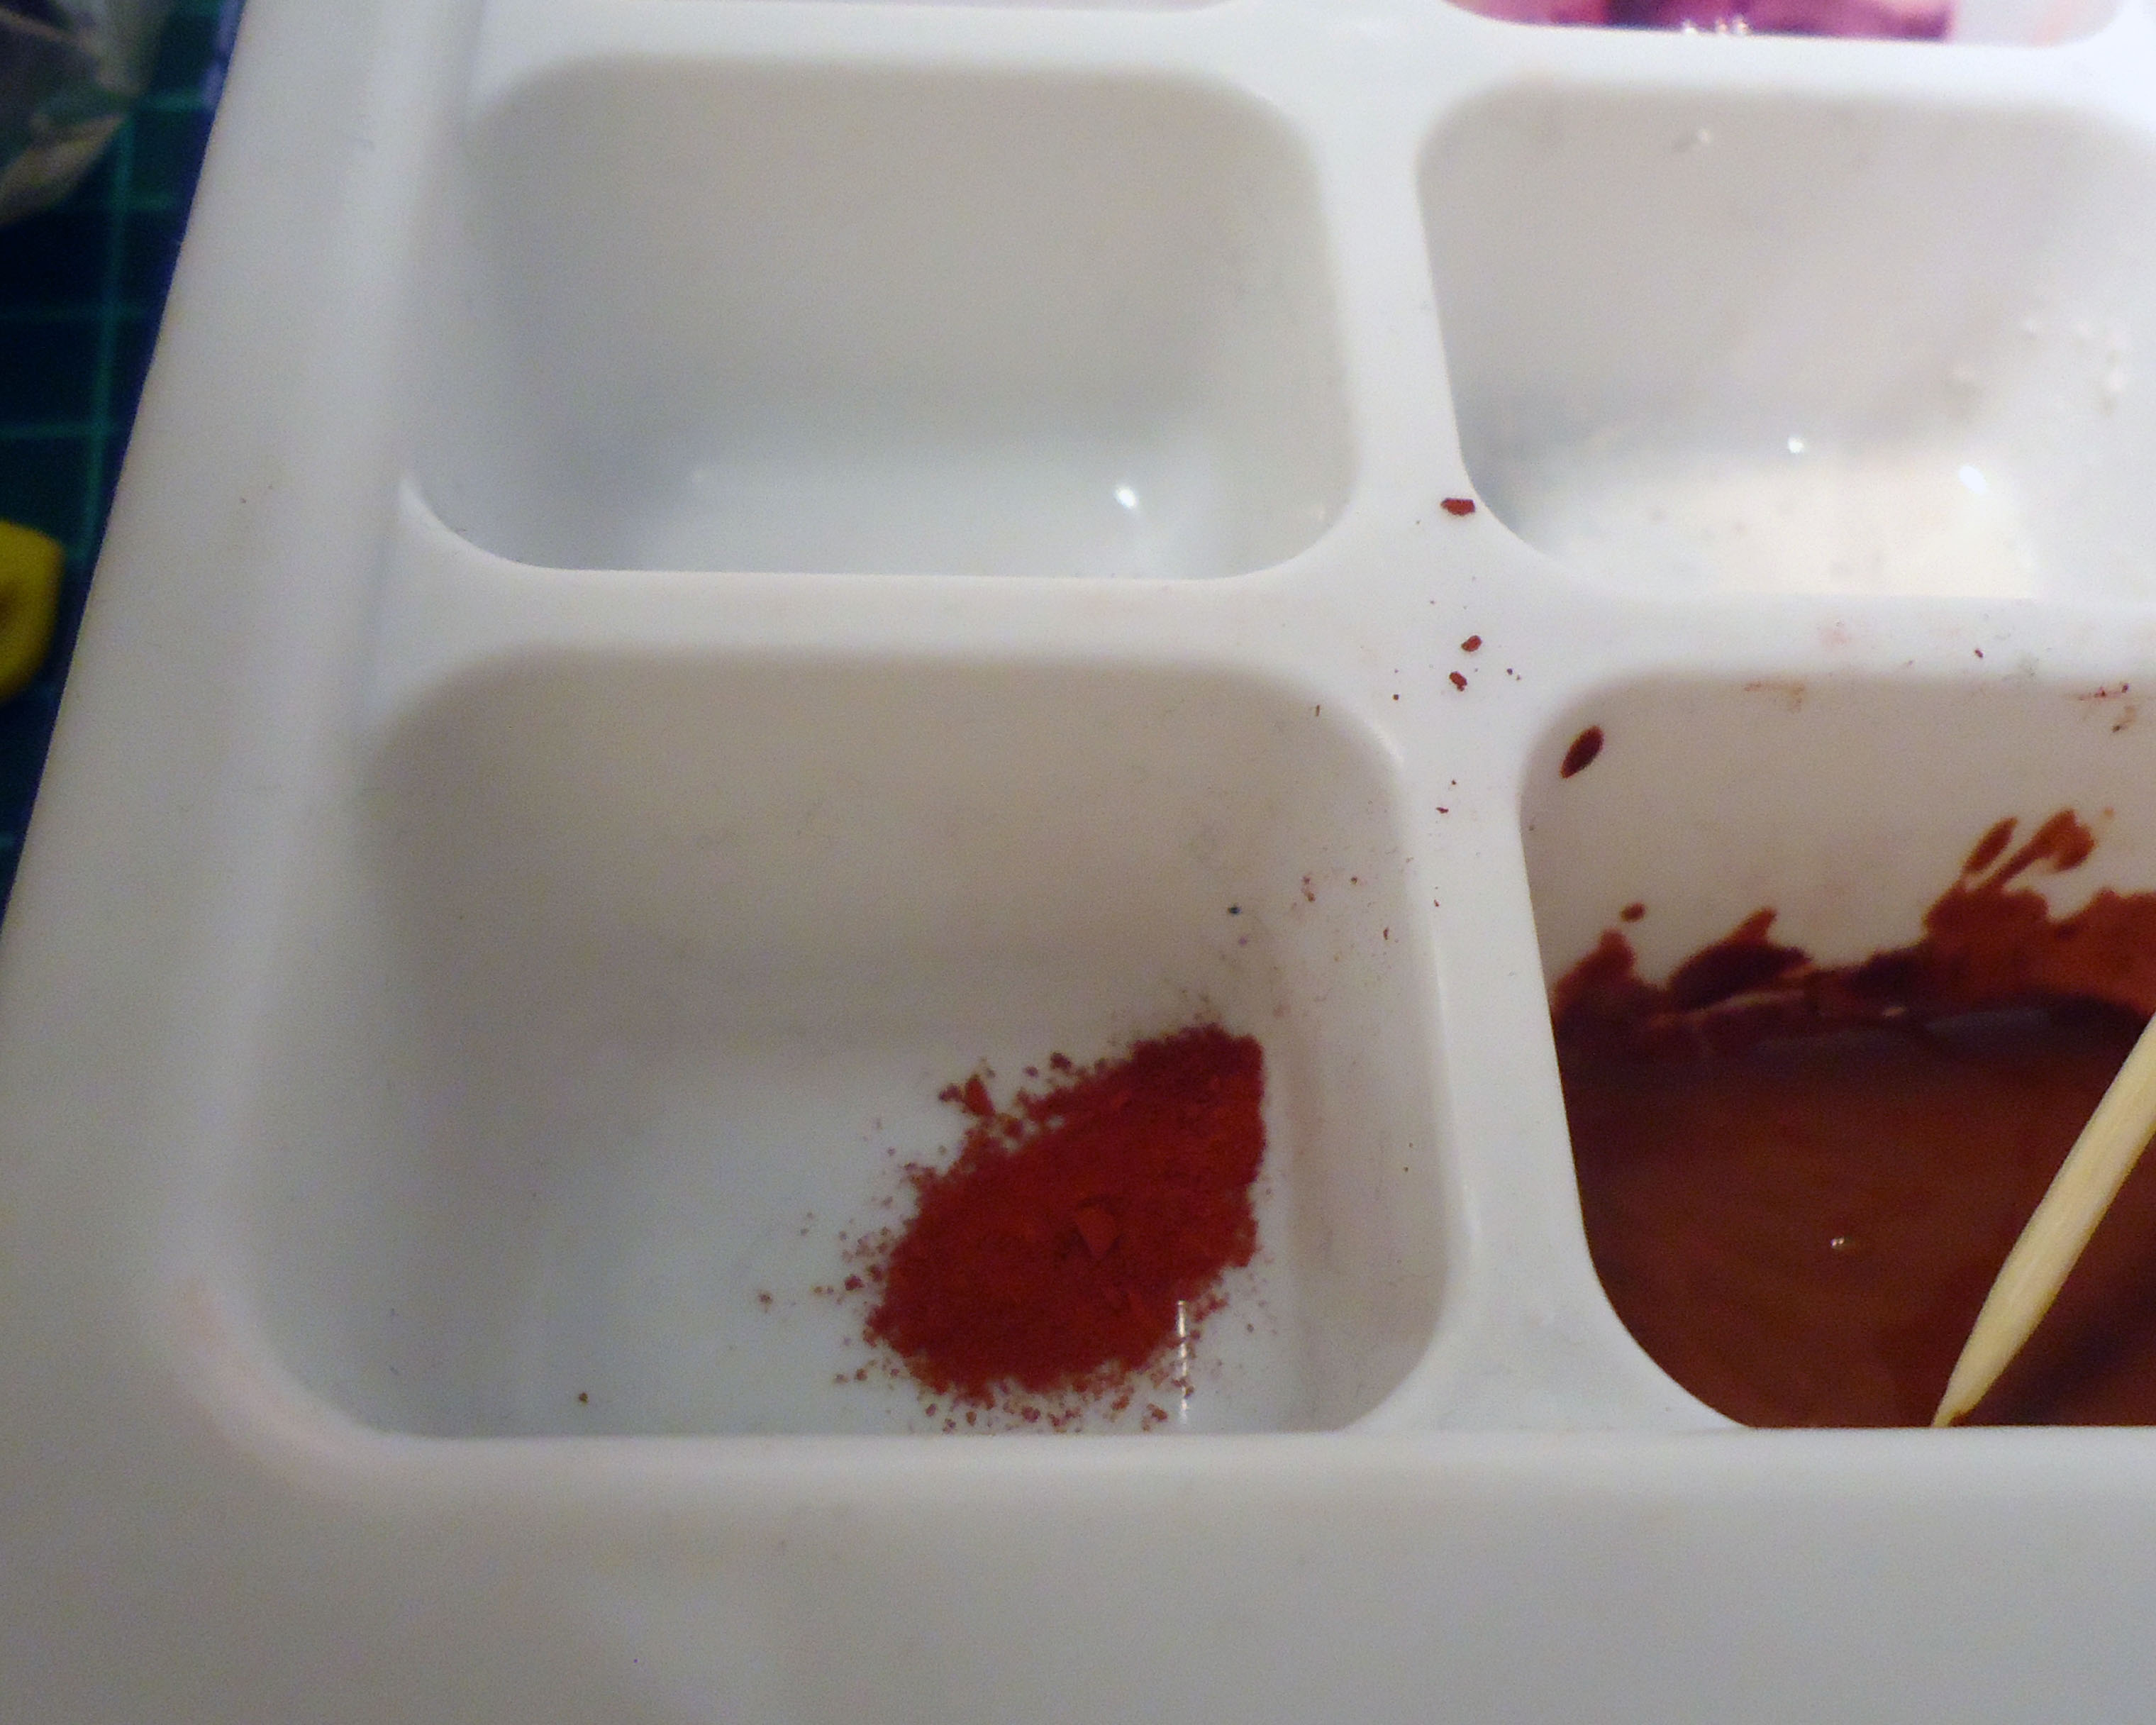
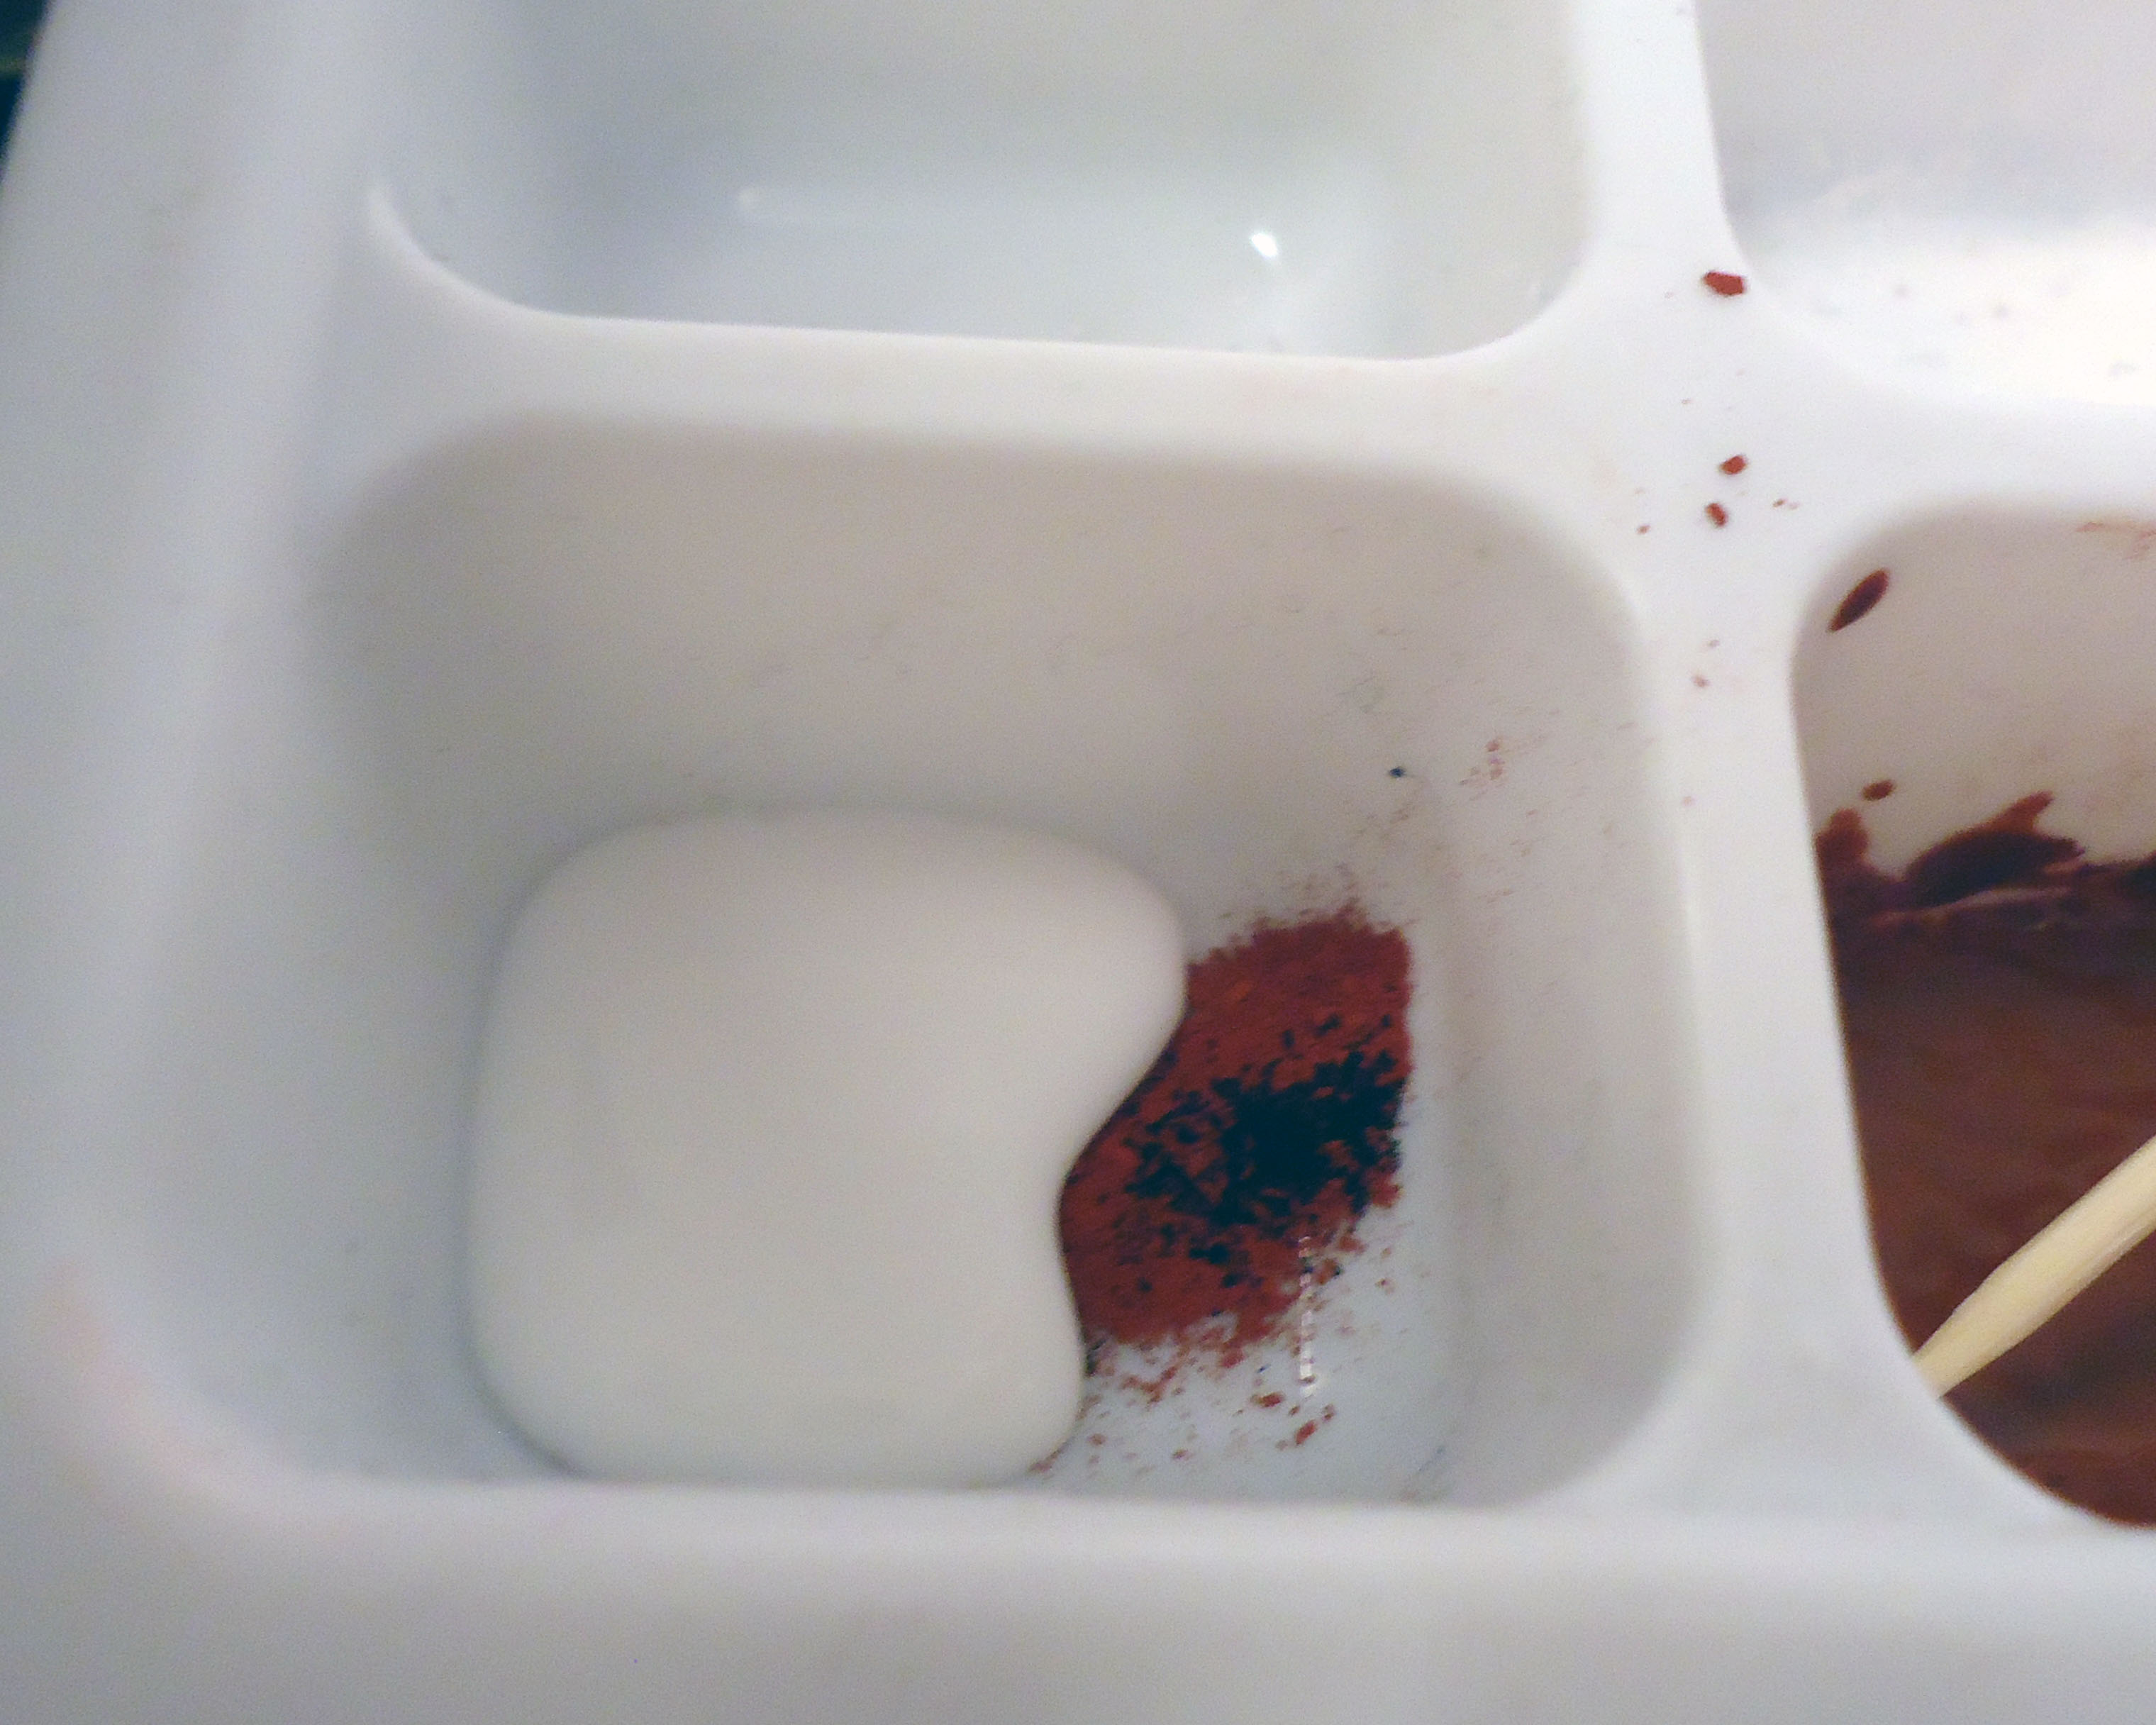
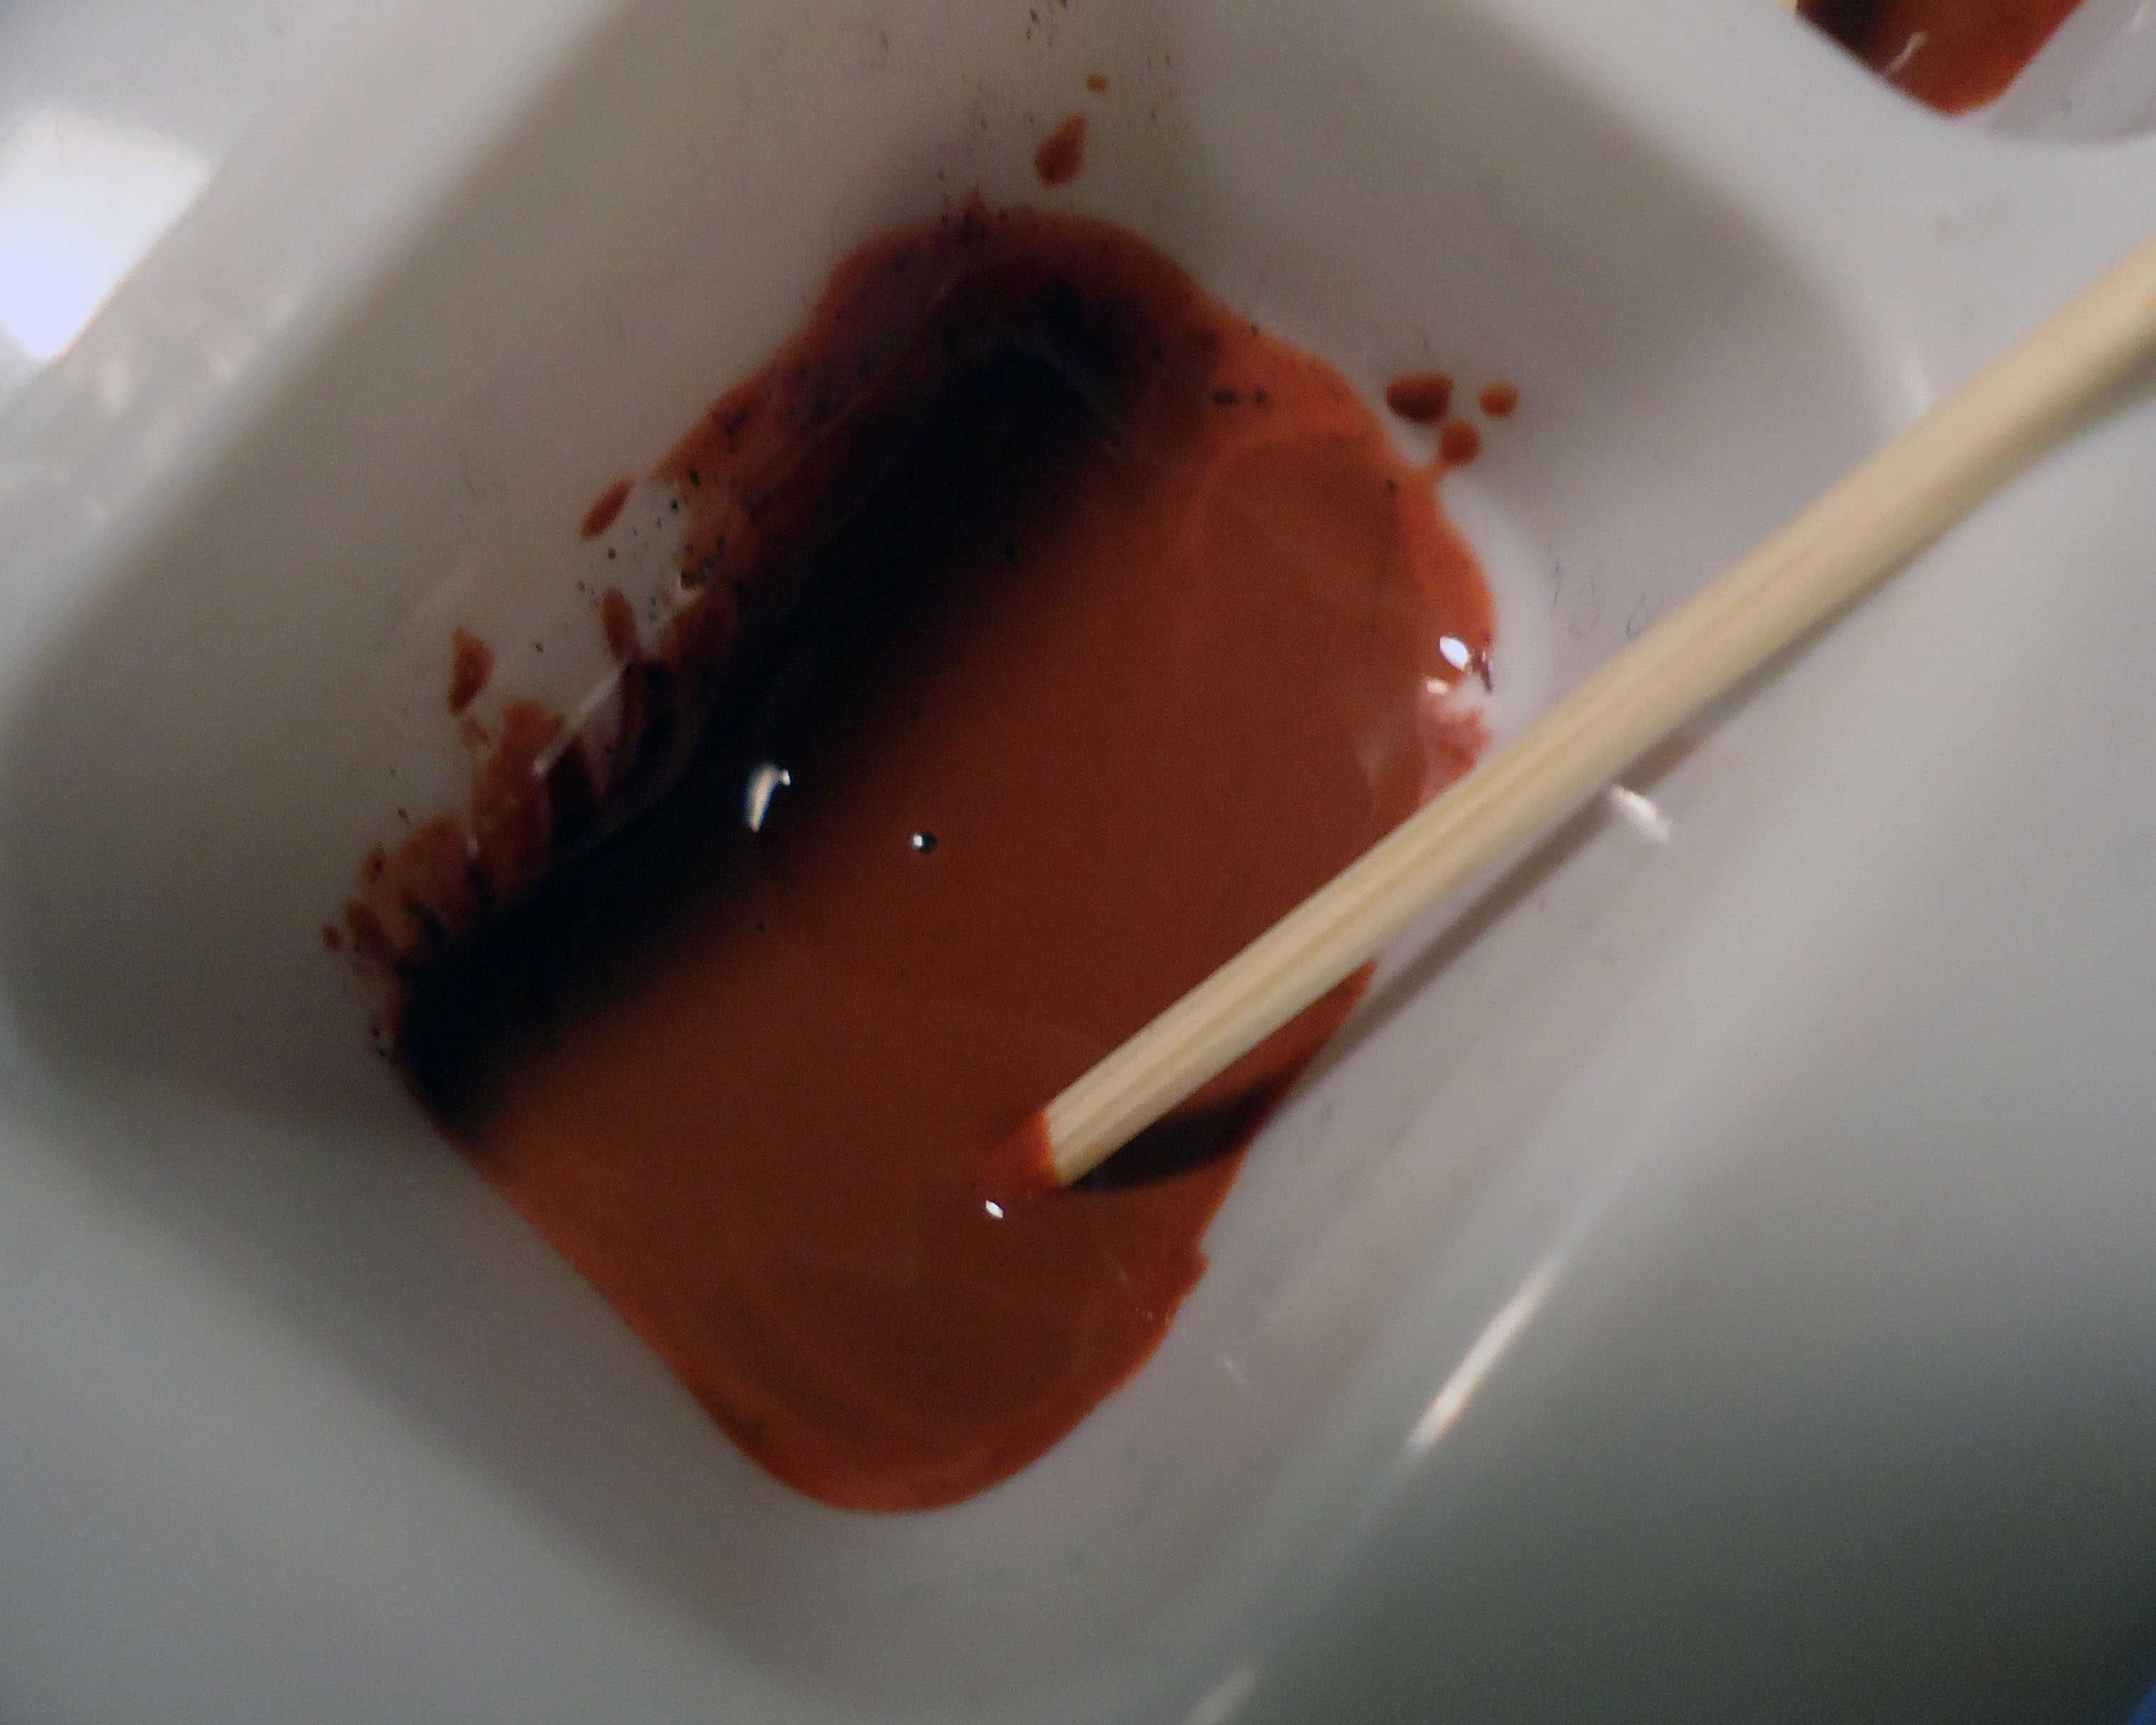
For icing, most of the time, I use TLS (Translucent Liquid Sculpey) + soft pastels. FIMO Liquid should work just as fine. To make icing, mix TLS (or FL, just remember that it's all the same) with shavings from the chalk pastel color you need. I was making chocolate icing, so I mixed in some brown, then added some black to make it darker. Be careful when using black on light colors, though! You add even a little too much and you'll mess it up!
Use a toothpick to mix. The goo is consistent? Way to go! Time to add it to your cakes!
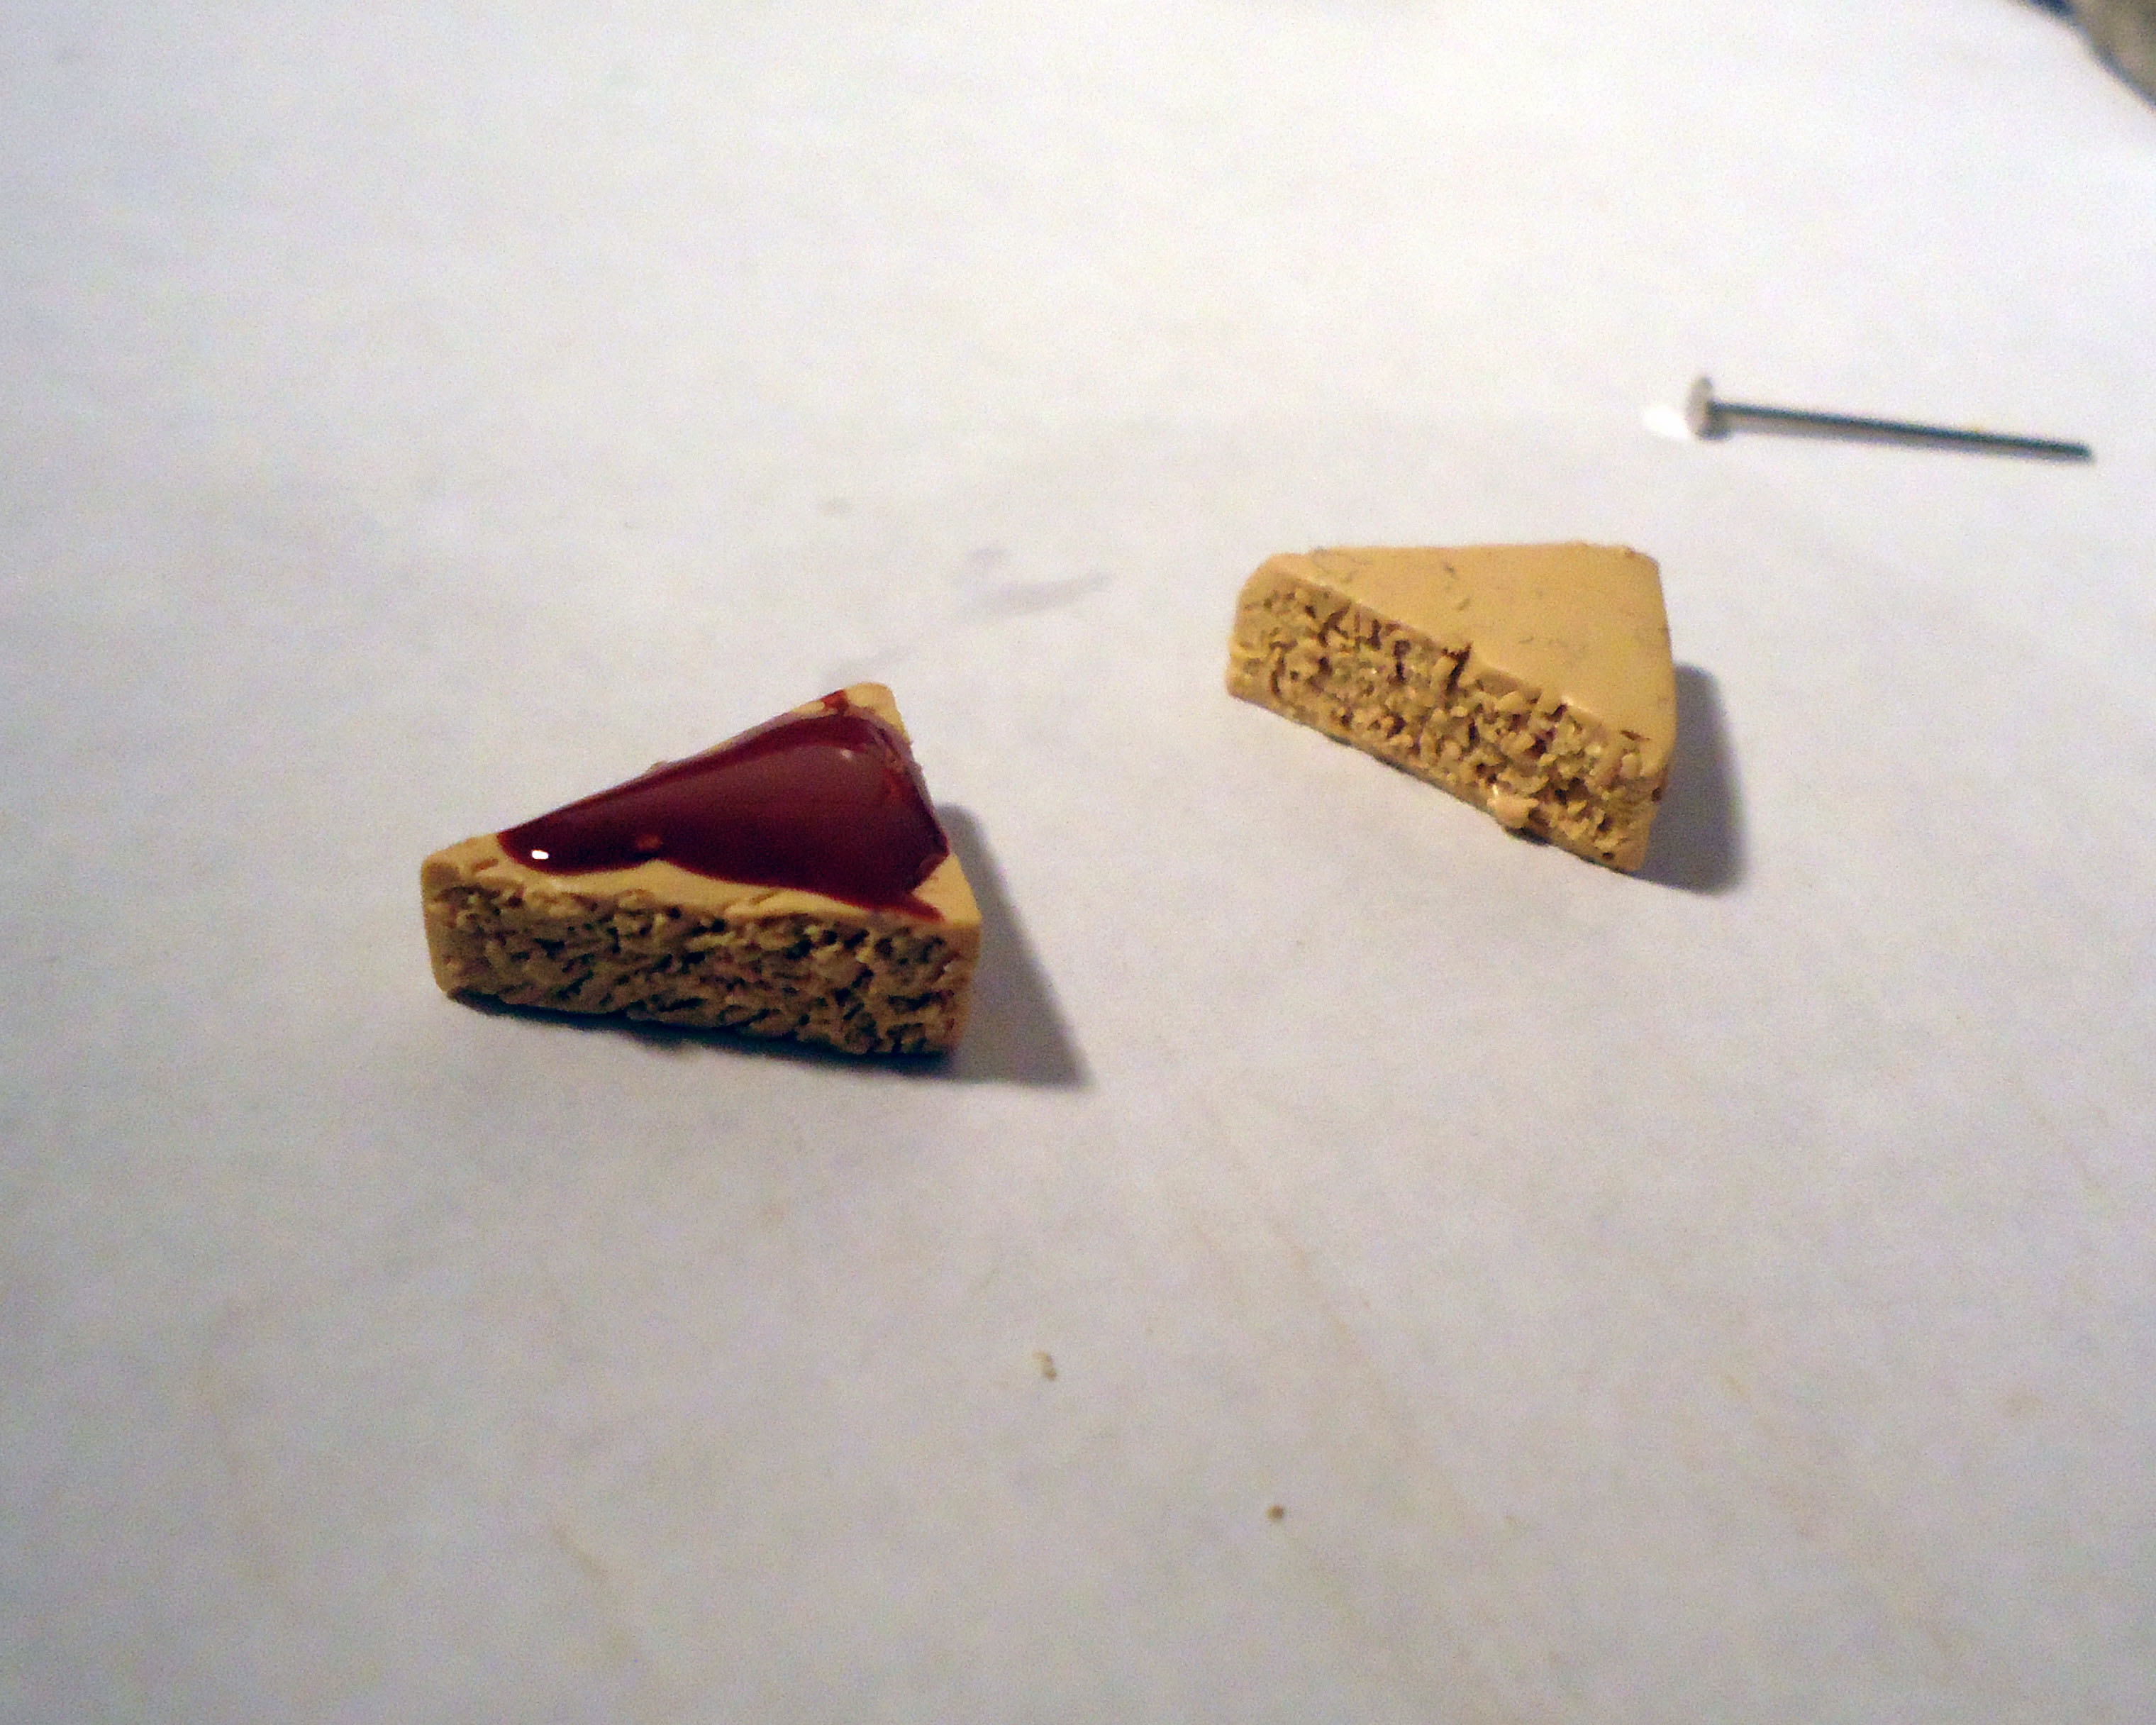
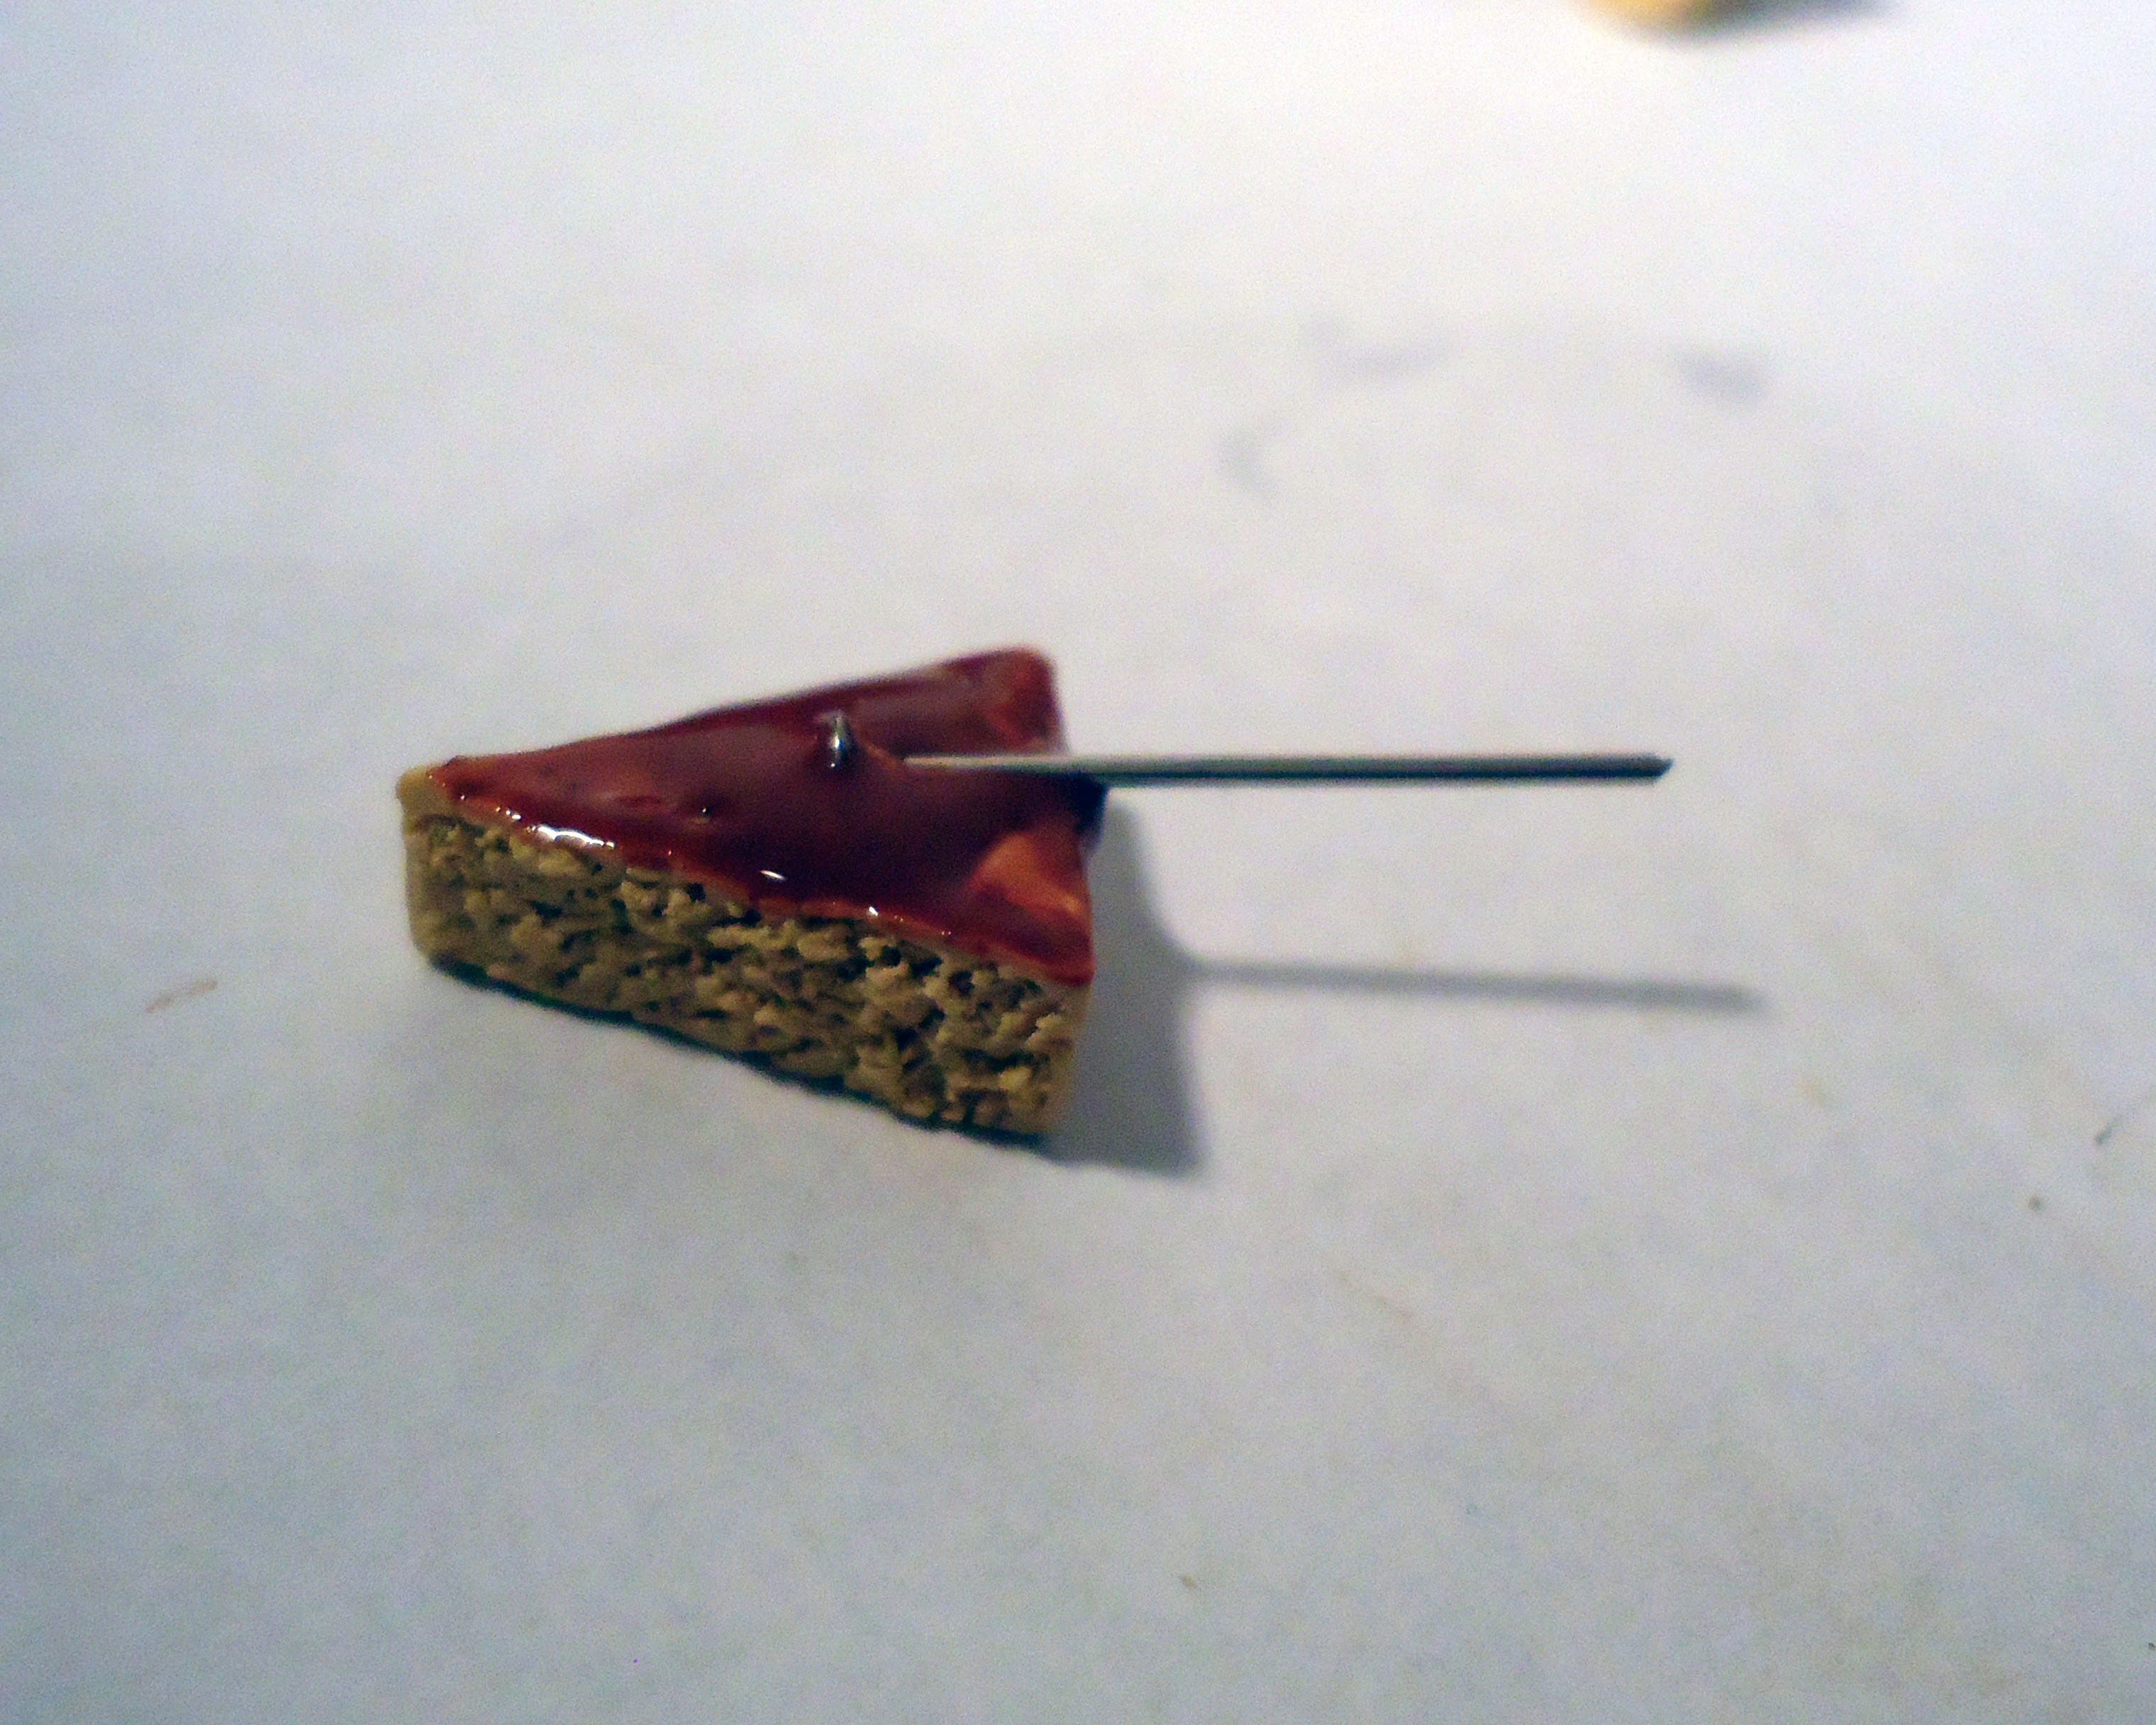
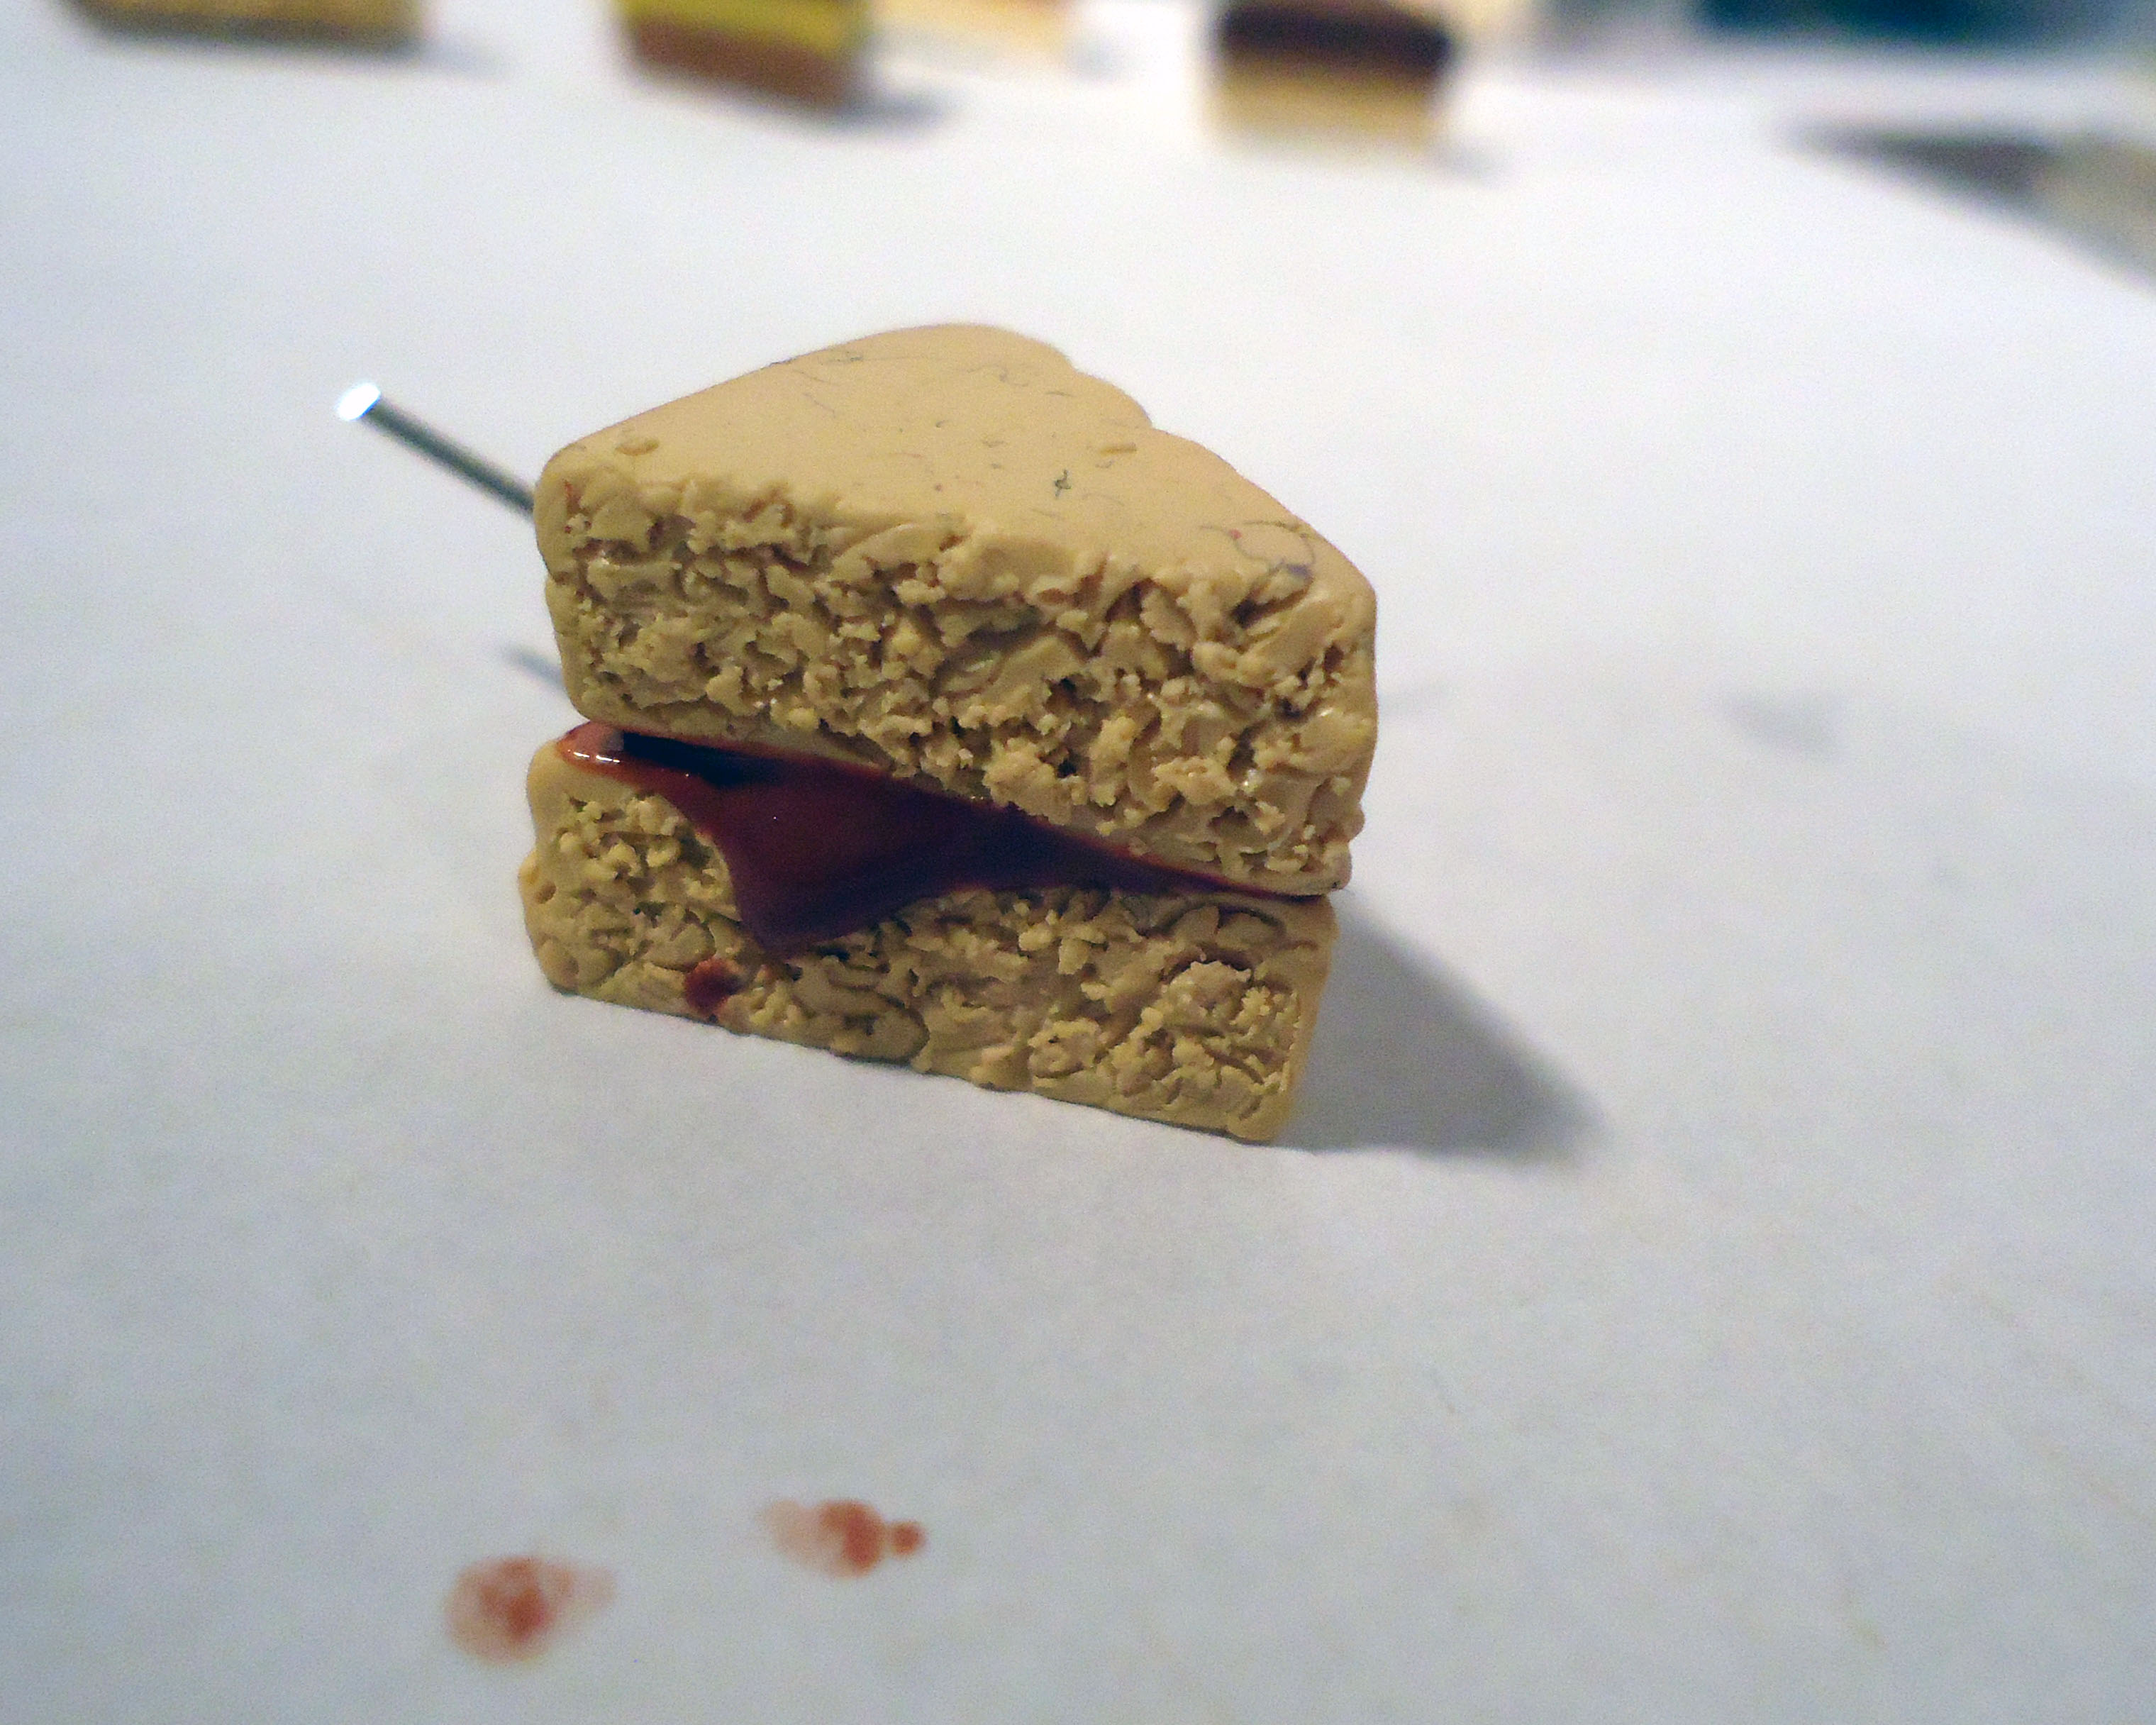
We'll start with the cake which we left without the headpin. Add some of the icing on the bottom part, add the headpin and squish the top part on. This will give it a nice dripping chocolate effect!
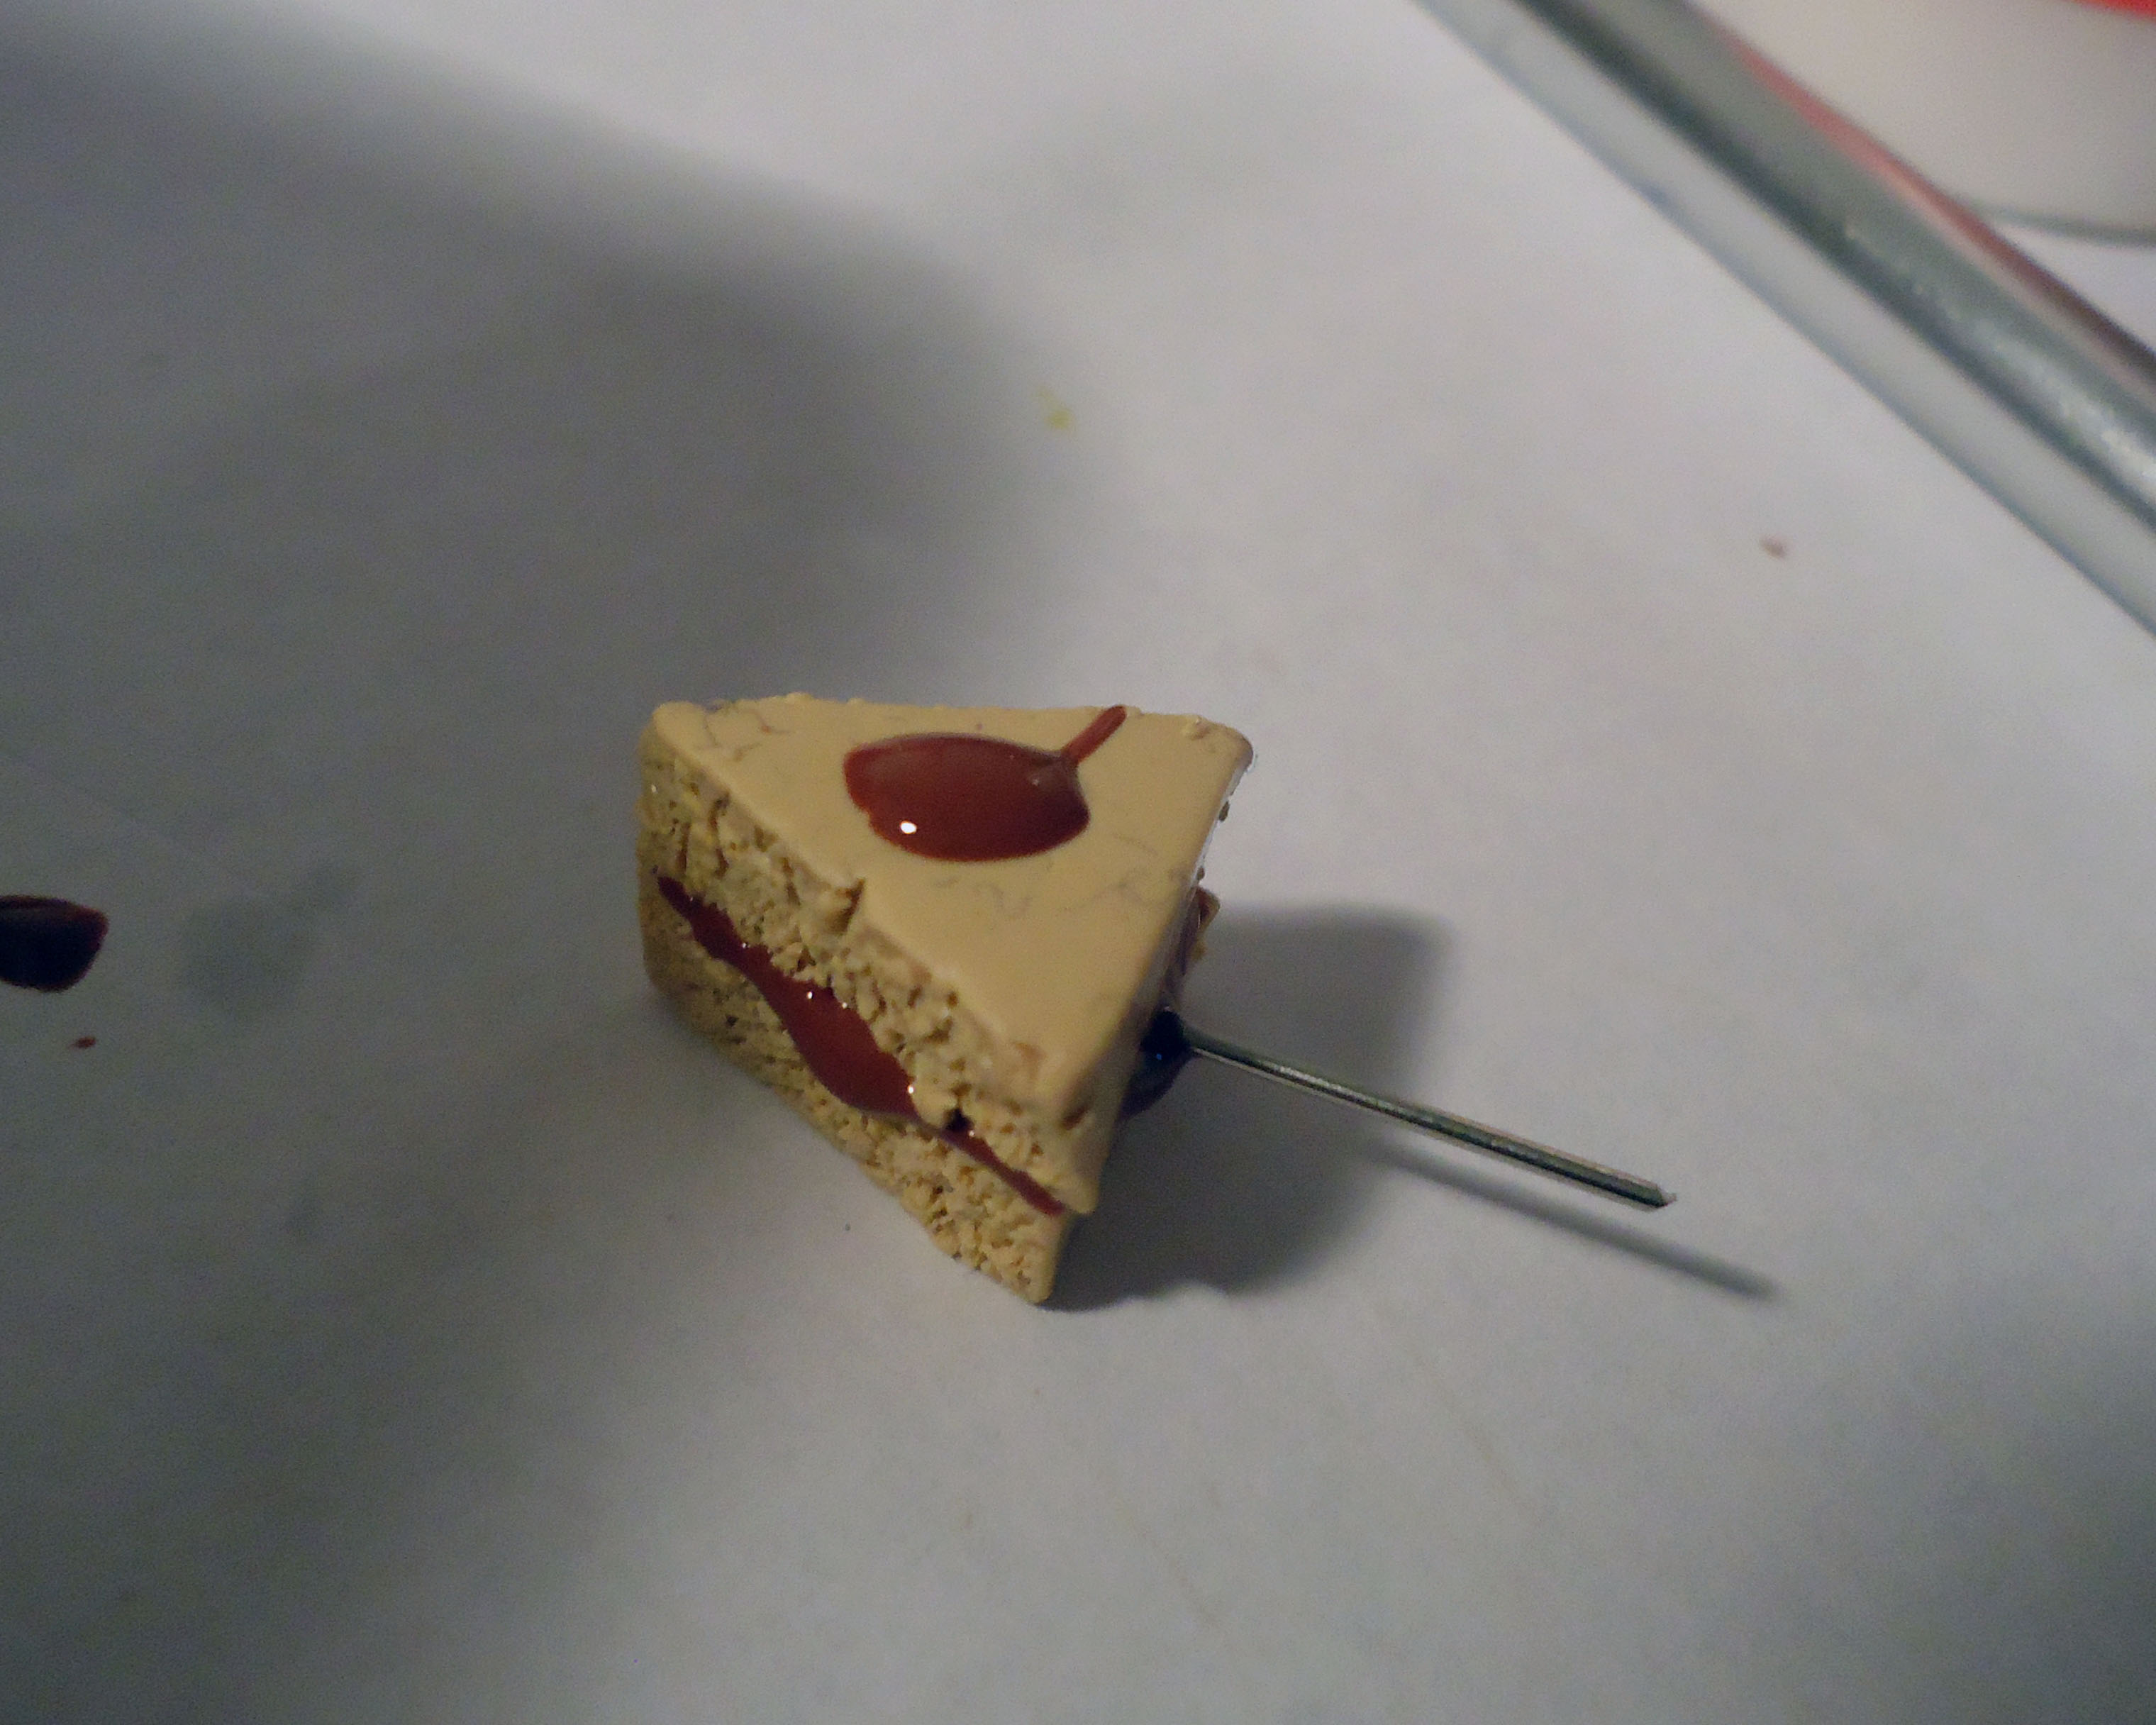
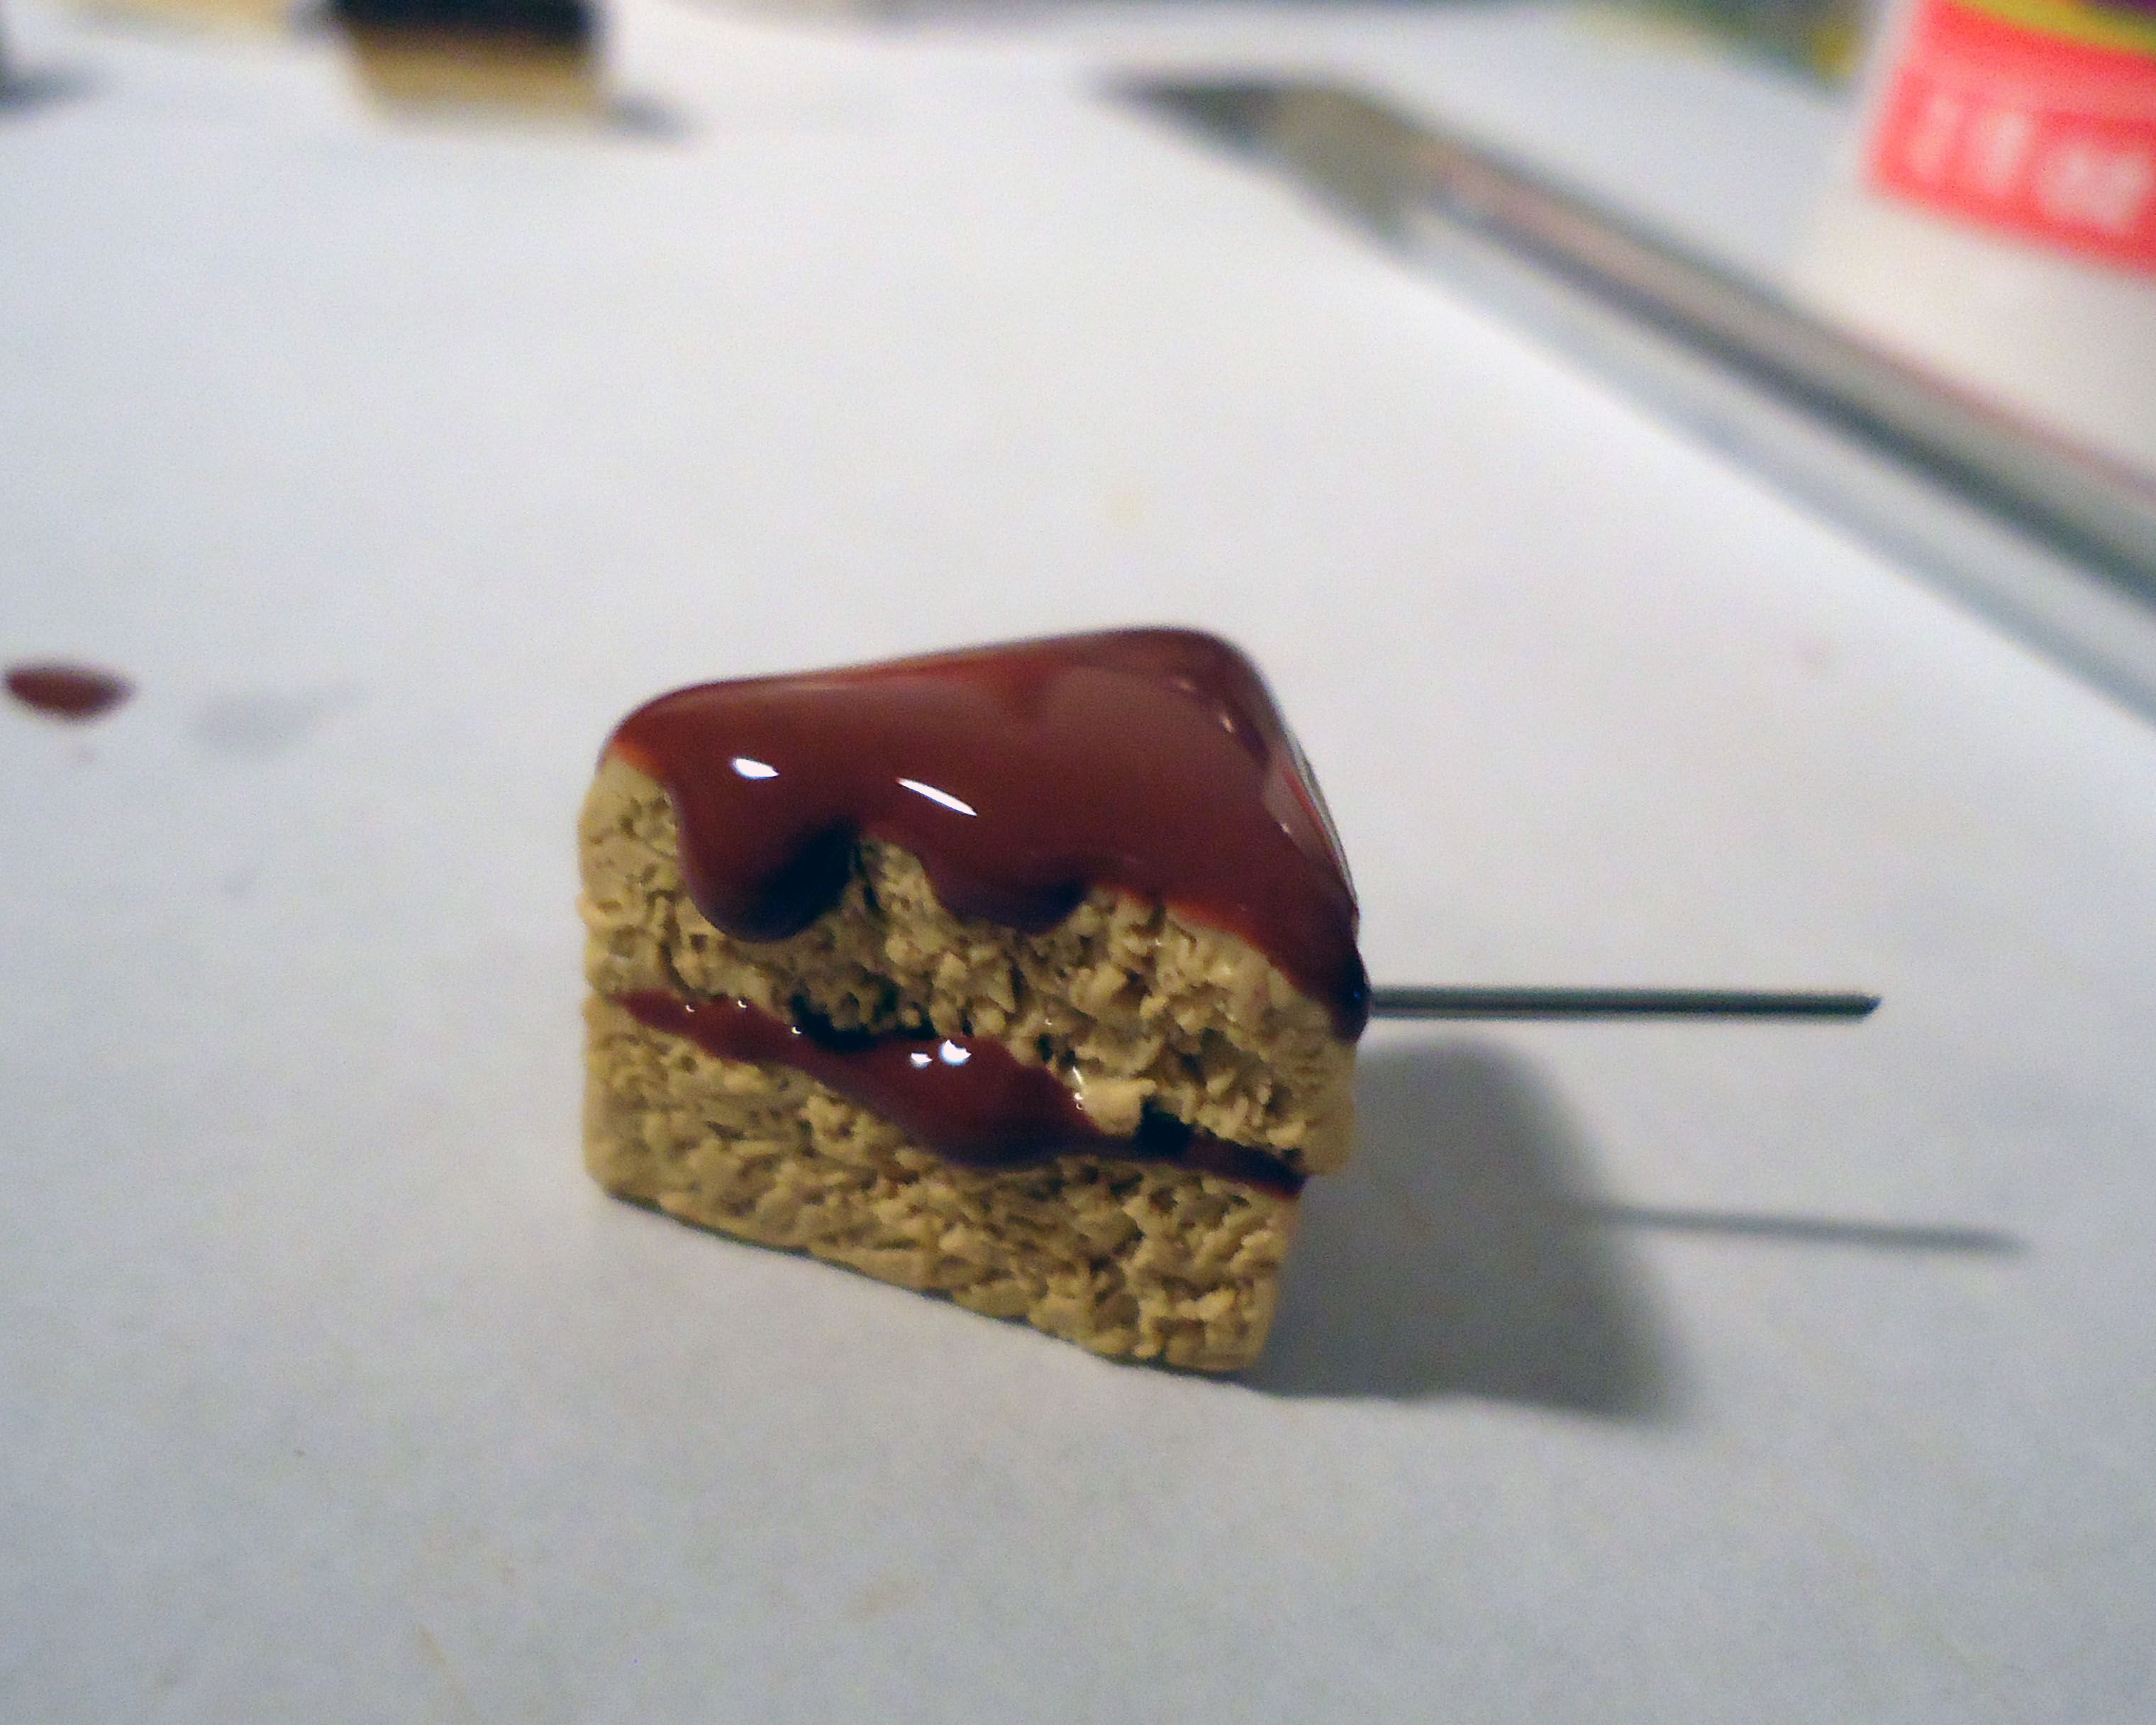
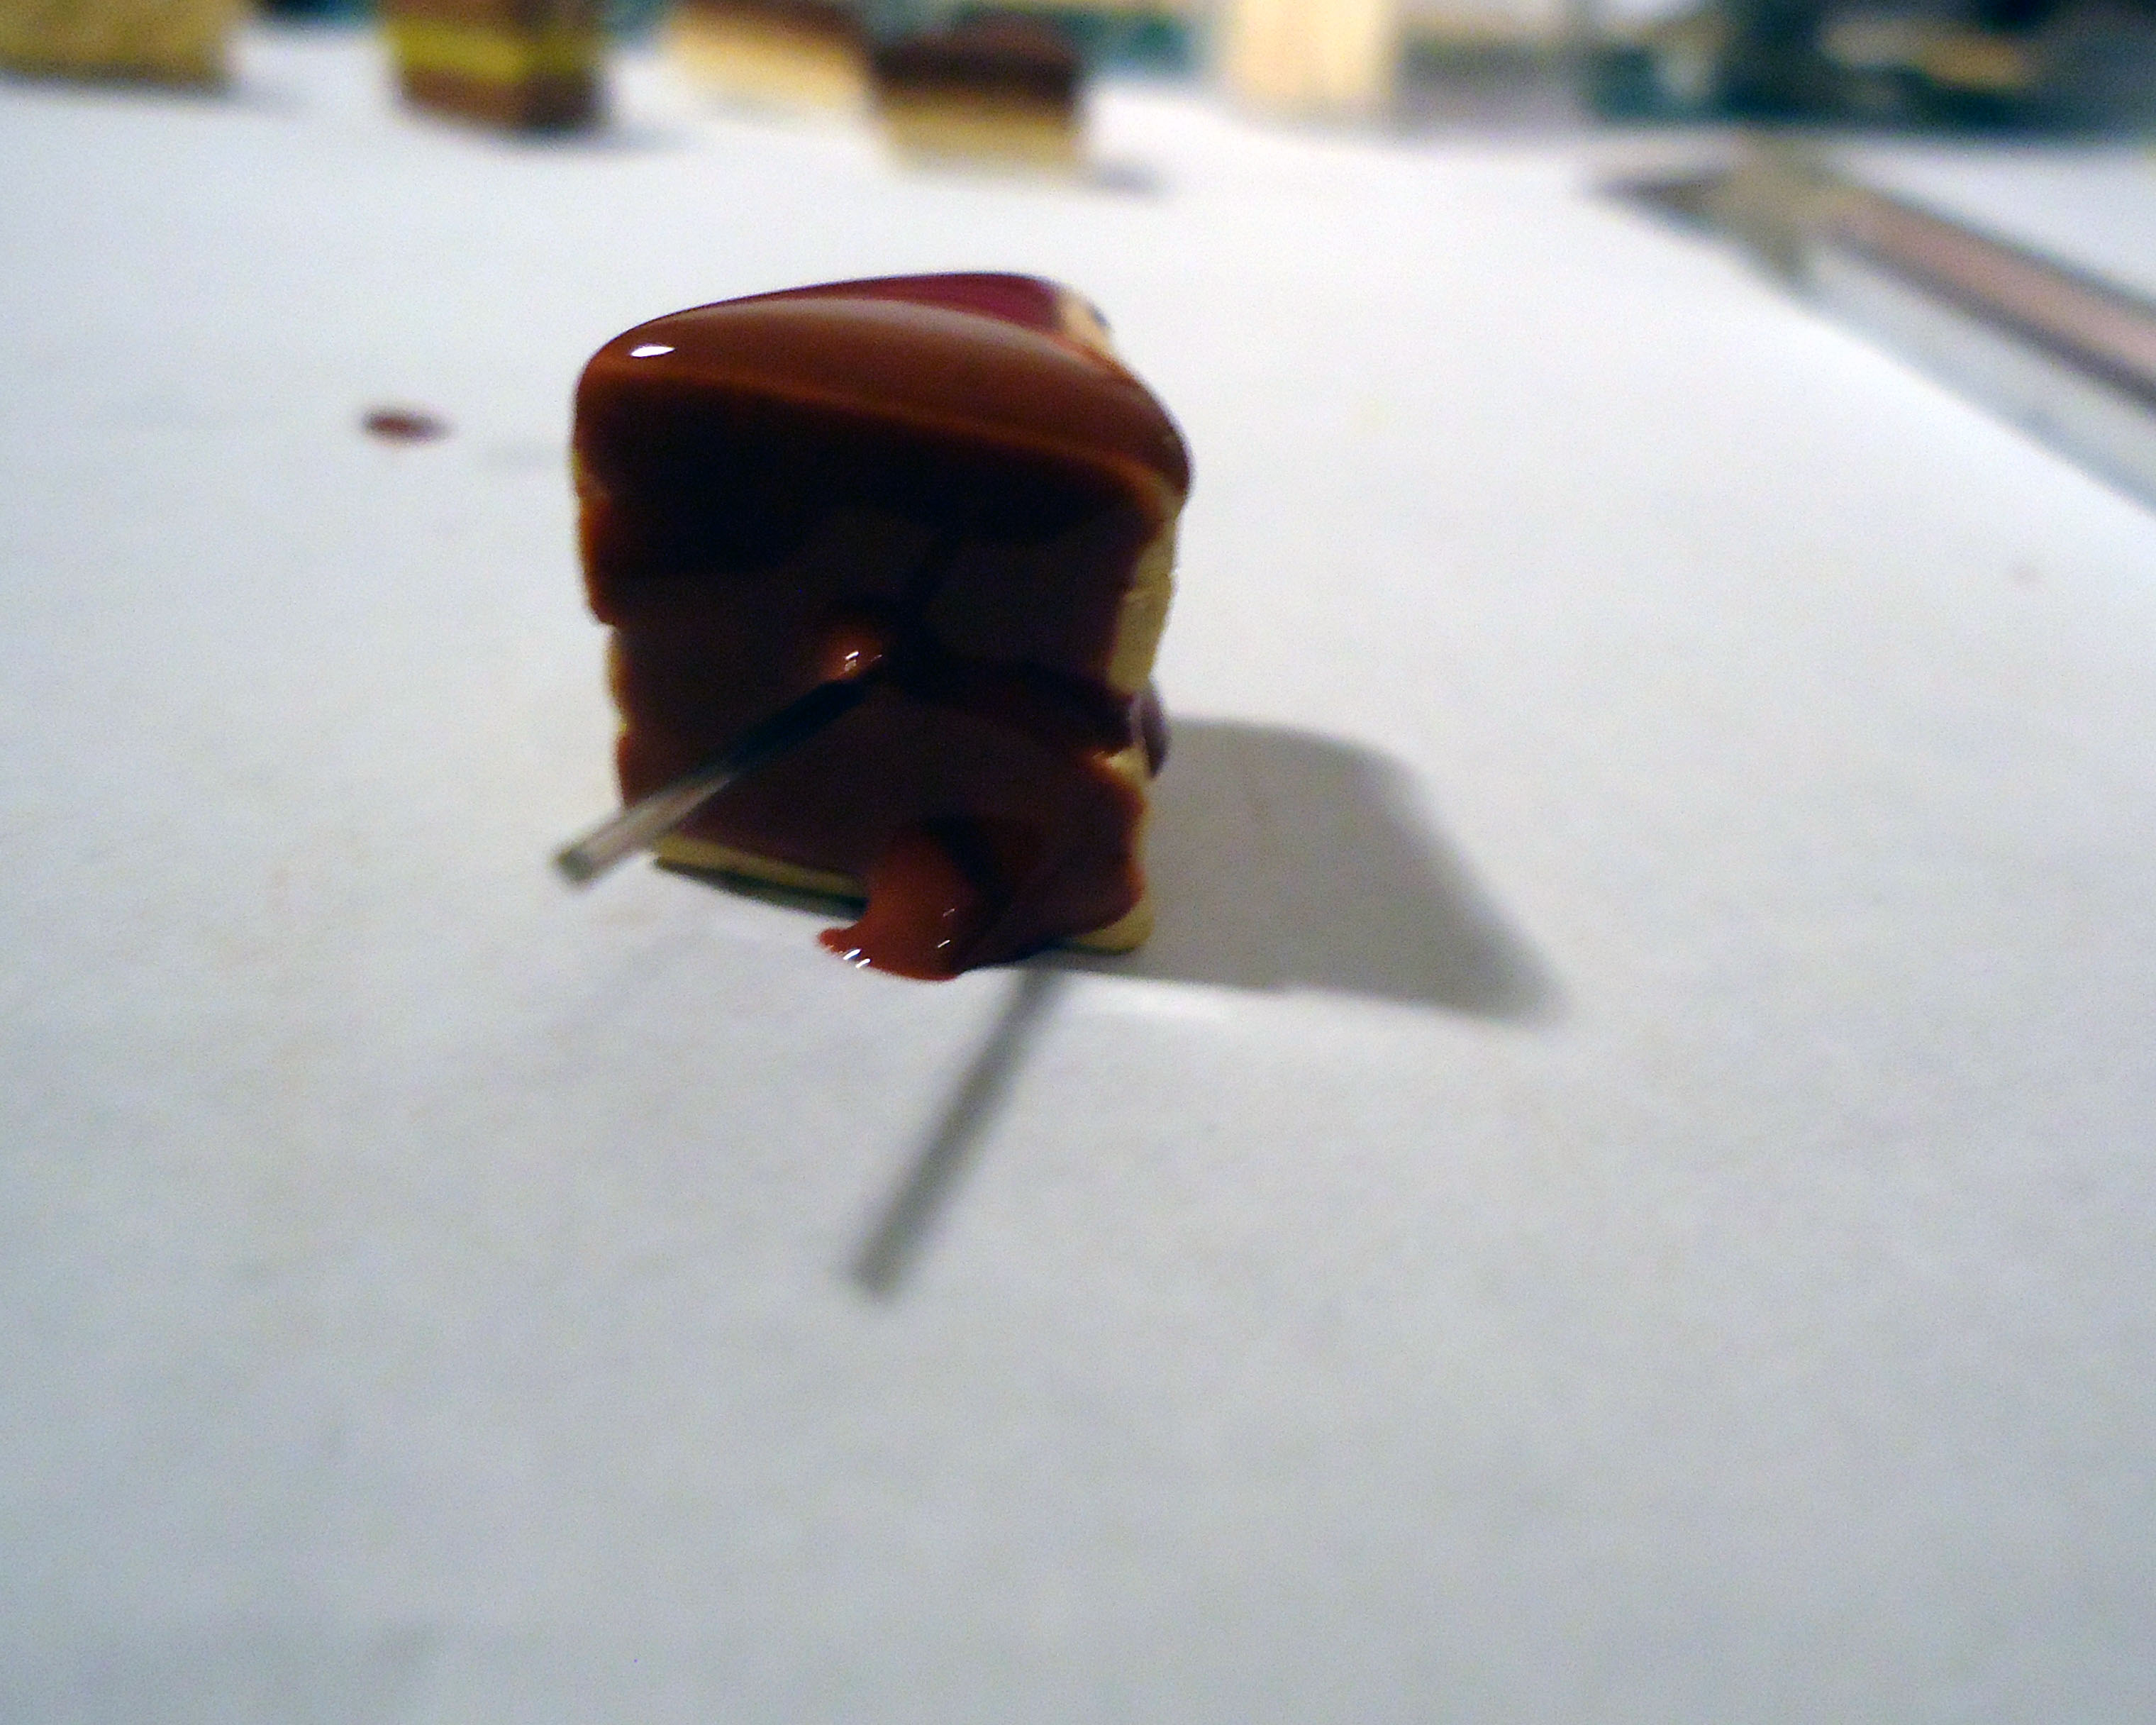
Now spread some icing on the top and back side. I like to do these sort of dripping effects, they look nice!
And don't worry if it gets messy. It will, quite a lot, until you get the hang of it. It still happens to me with the cakes that have a ton of icing!
And don't worry if it gets messy. It will, quite a lot, until you get the hang of it. It still happens to me with the cakes that have a ton of icing!
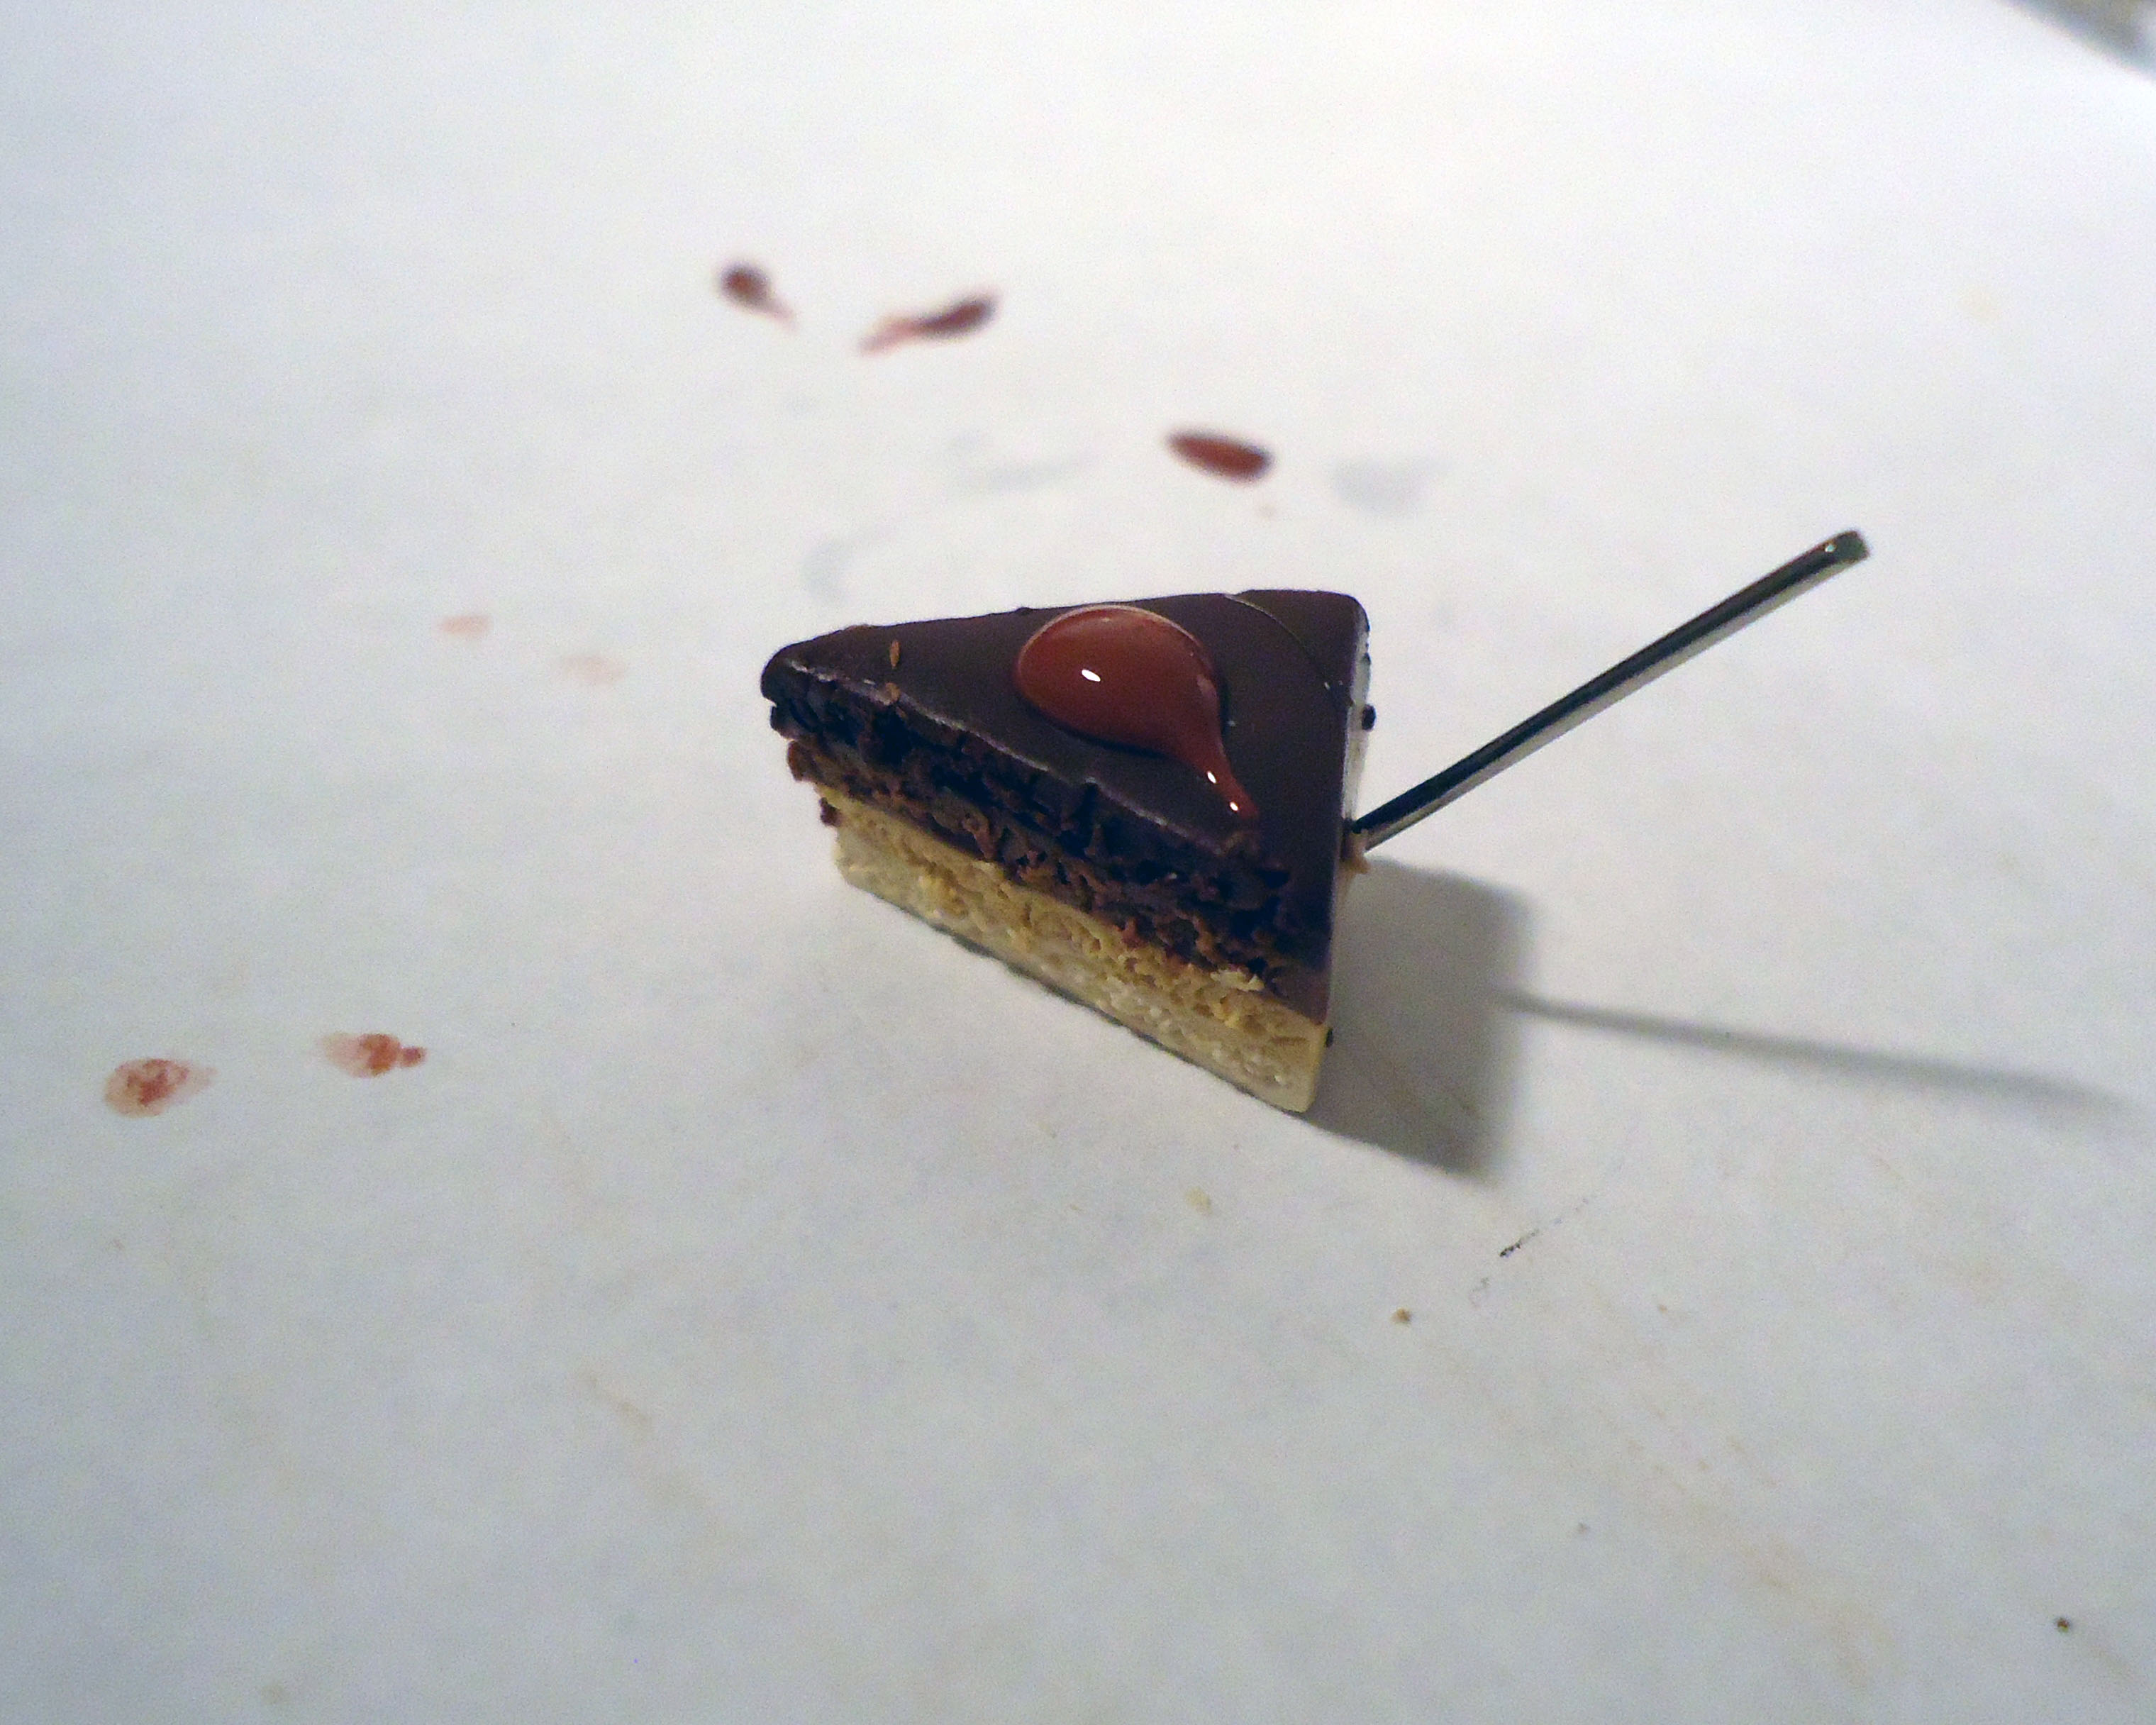
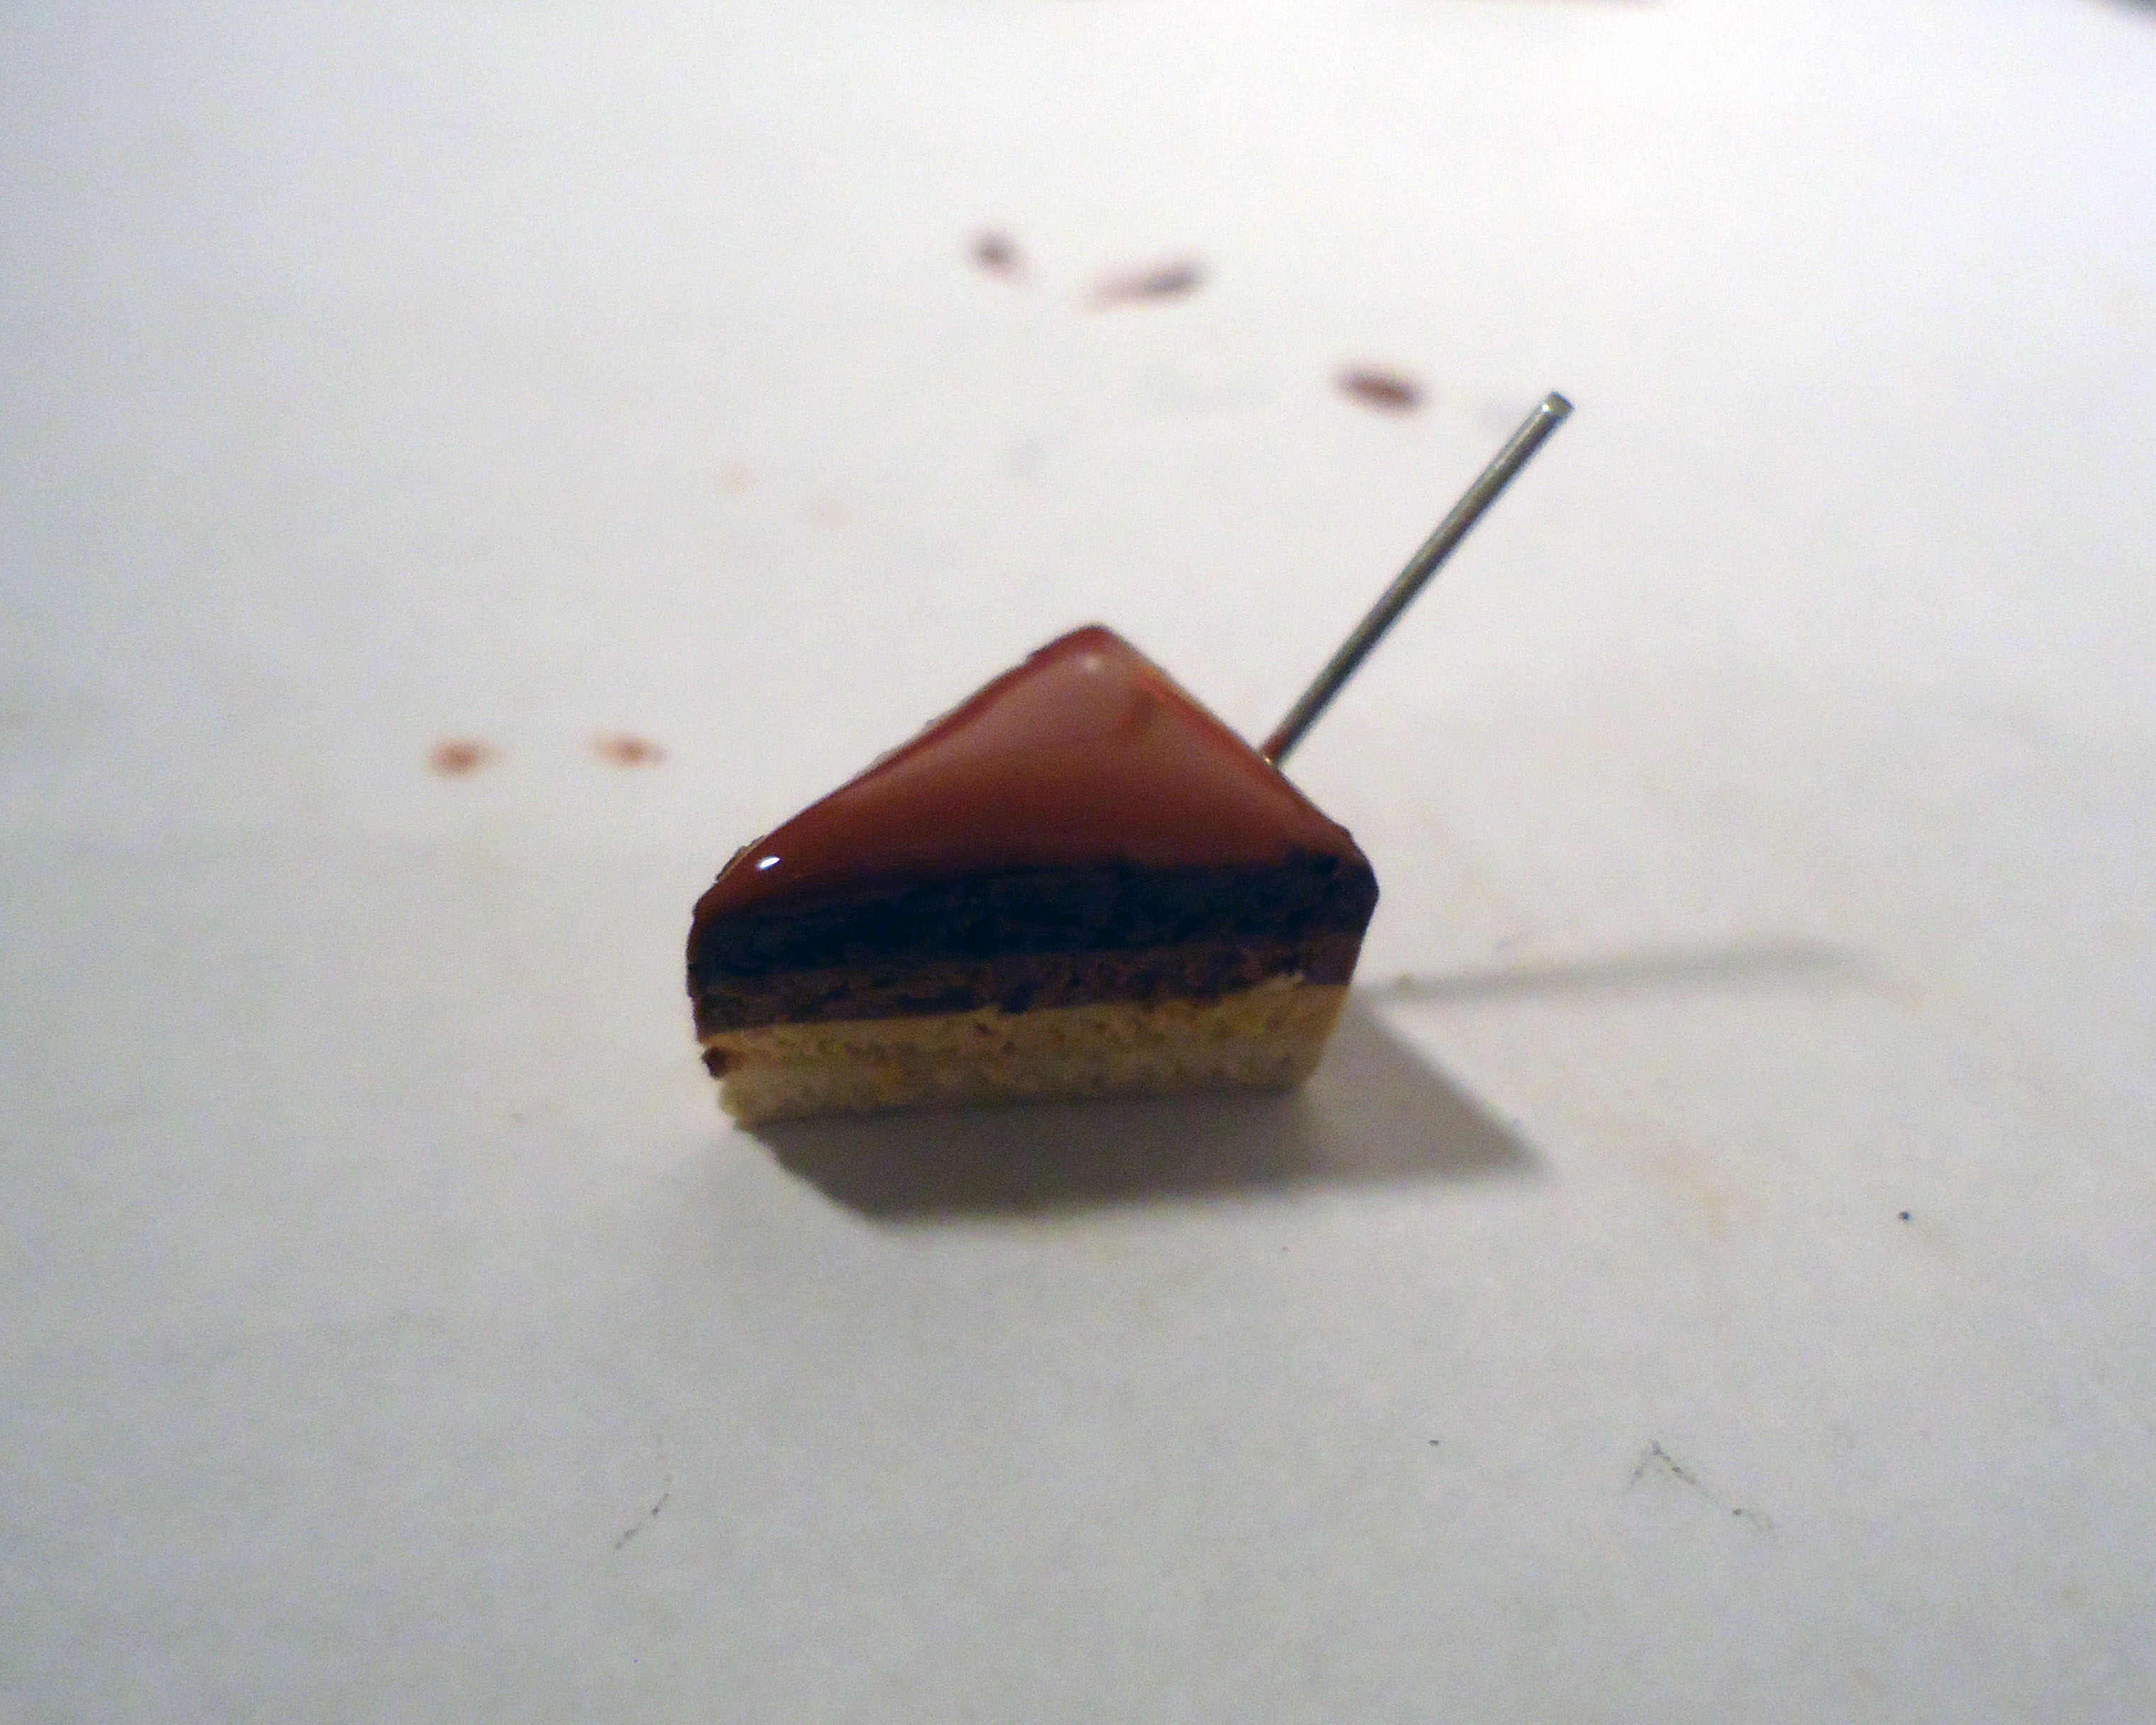
Not much to say here, just keep adding the icing with a toothpick. For one of the layered cakes I did a thin layer on the back and top, for the other layered cakes I only did the top and for the jell-o cake I also did both back and top.
I didn't touch the full cake.
I didn't touch the full cake.
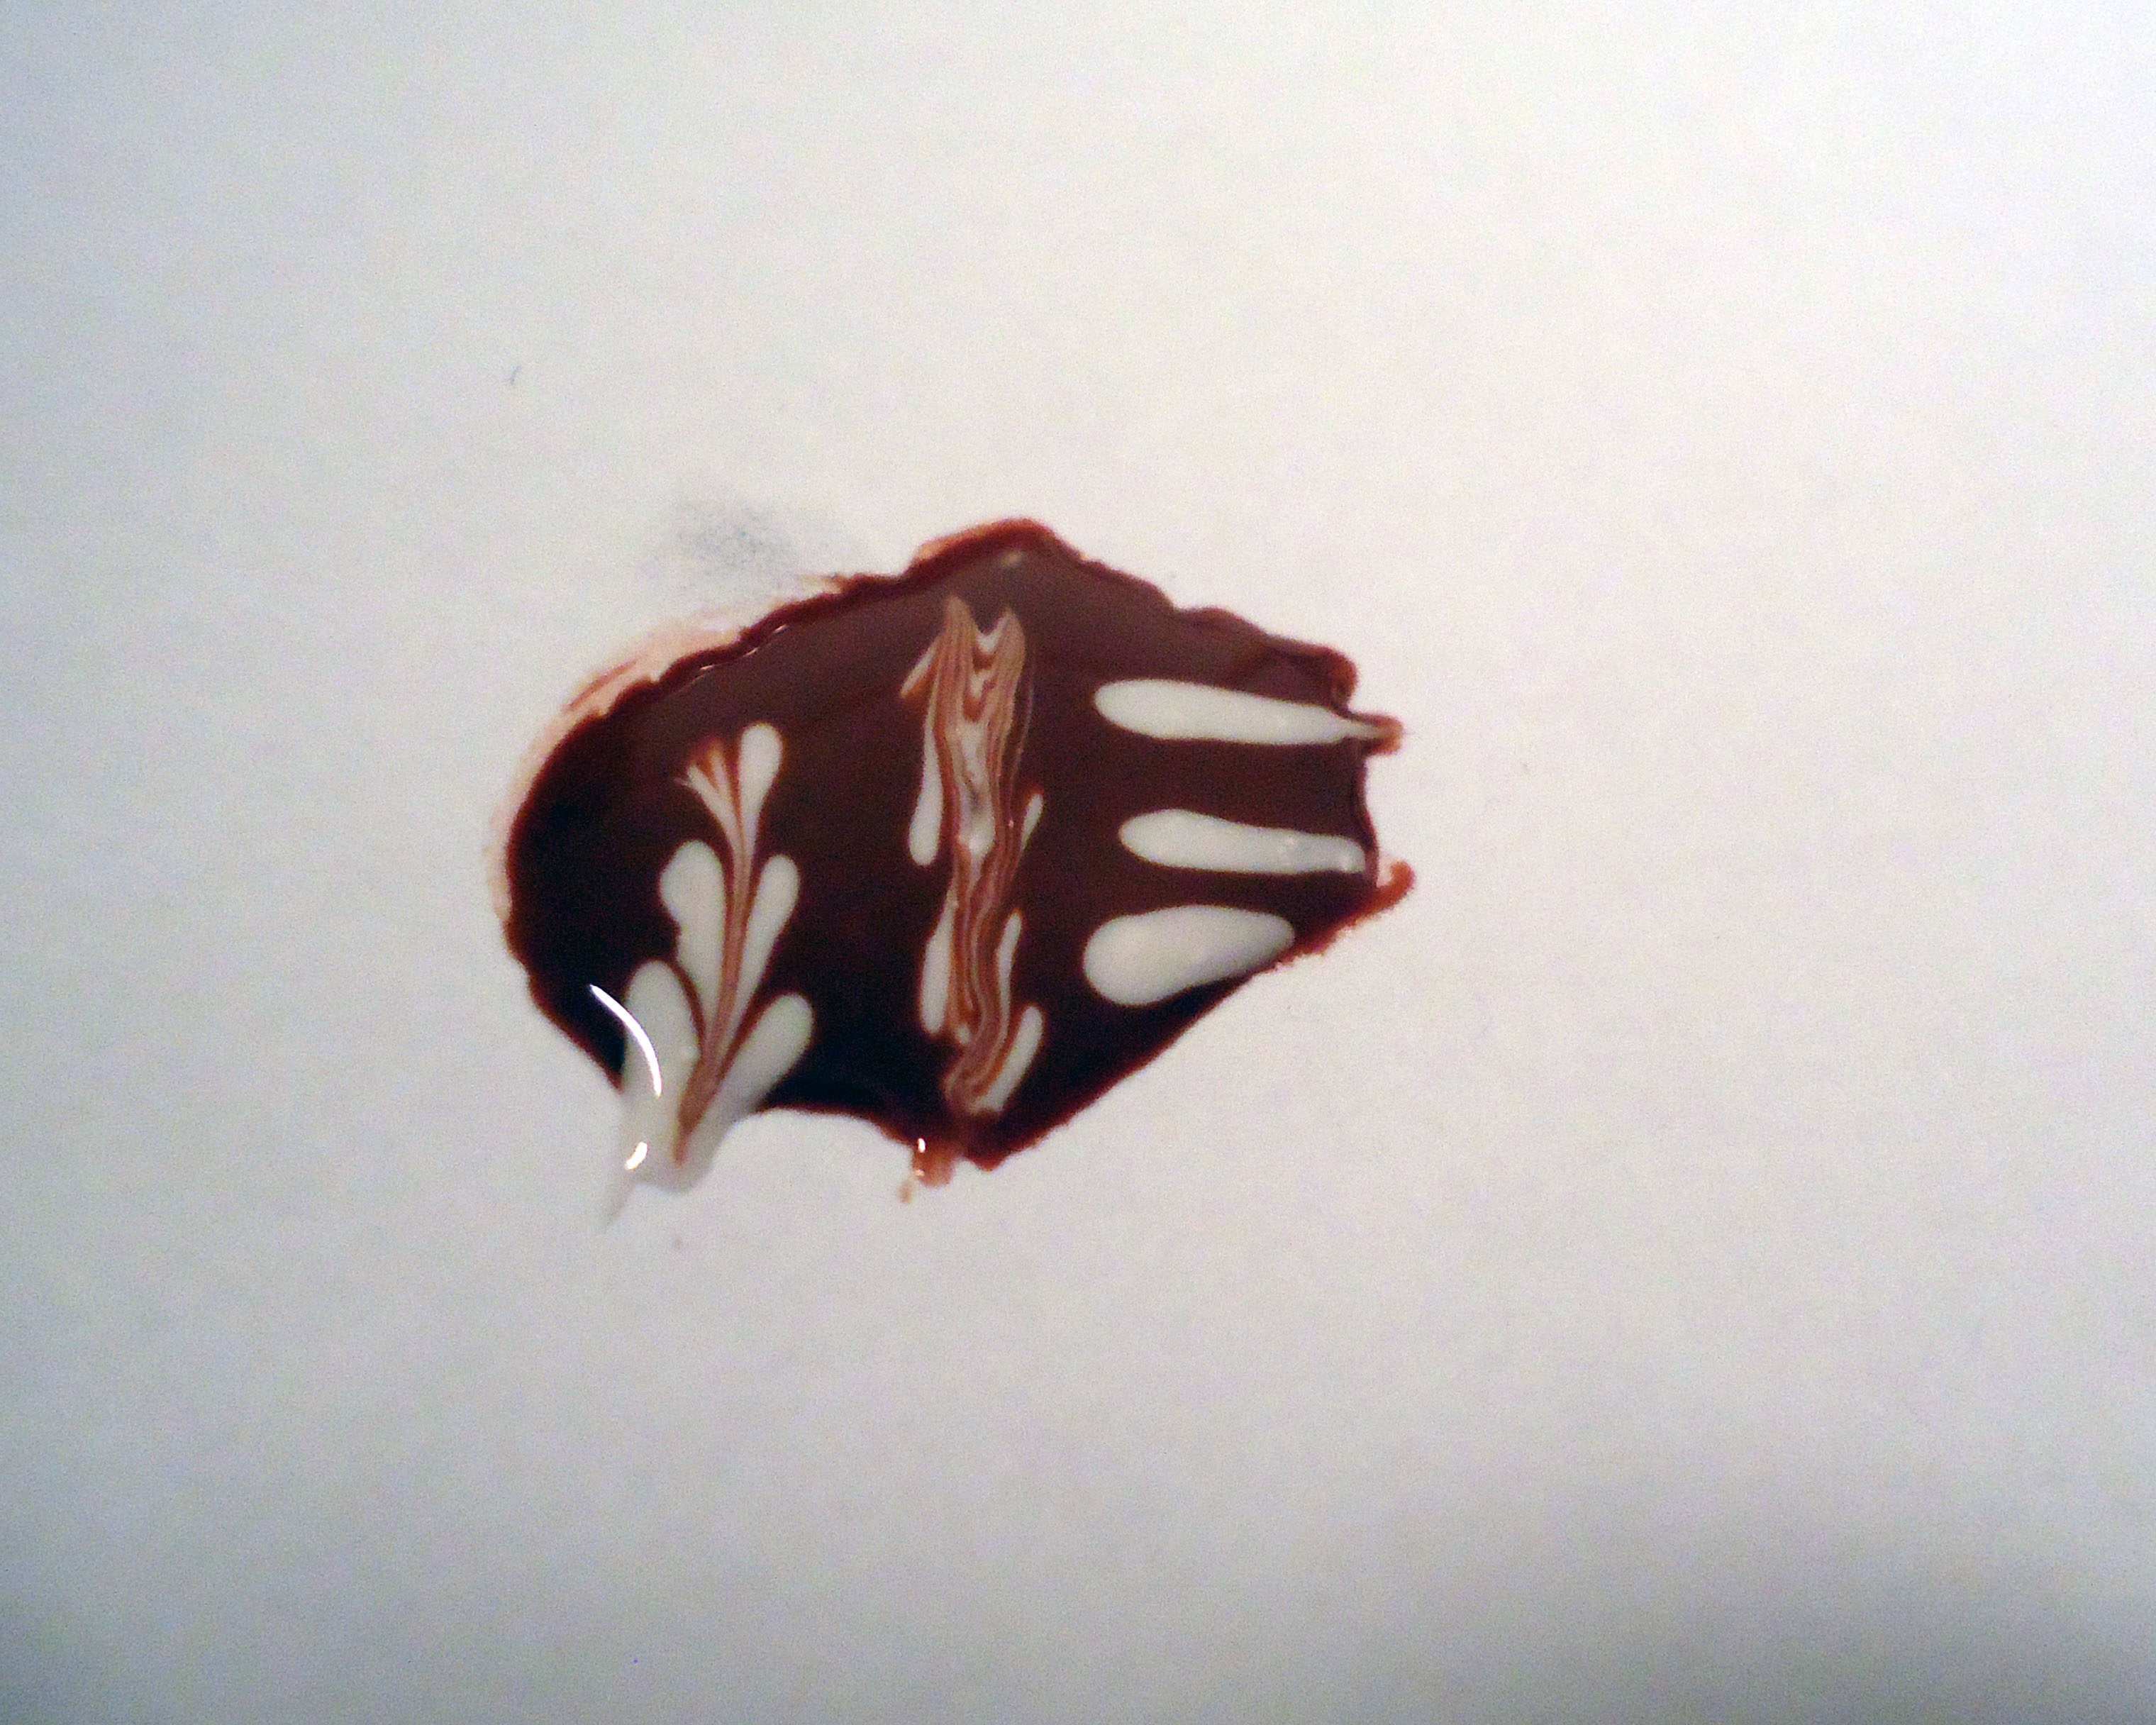
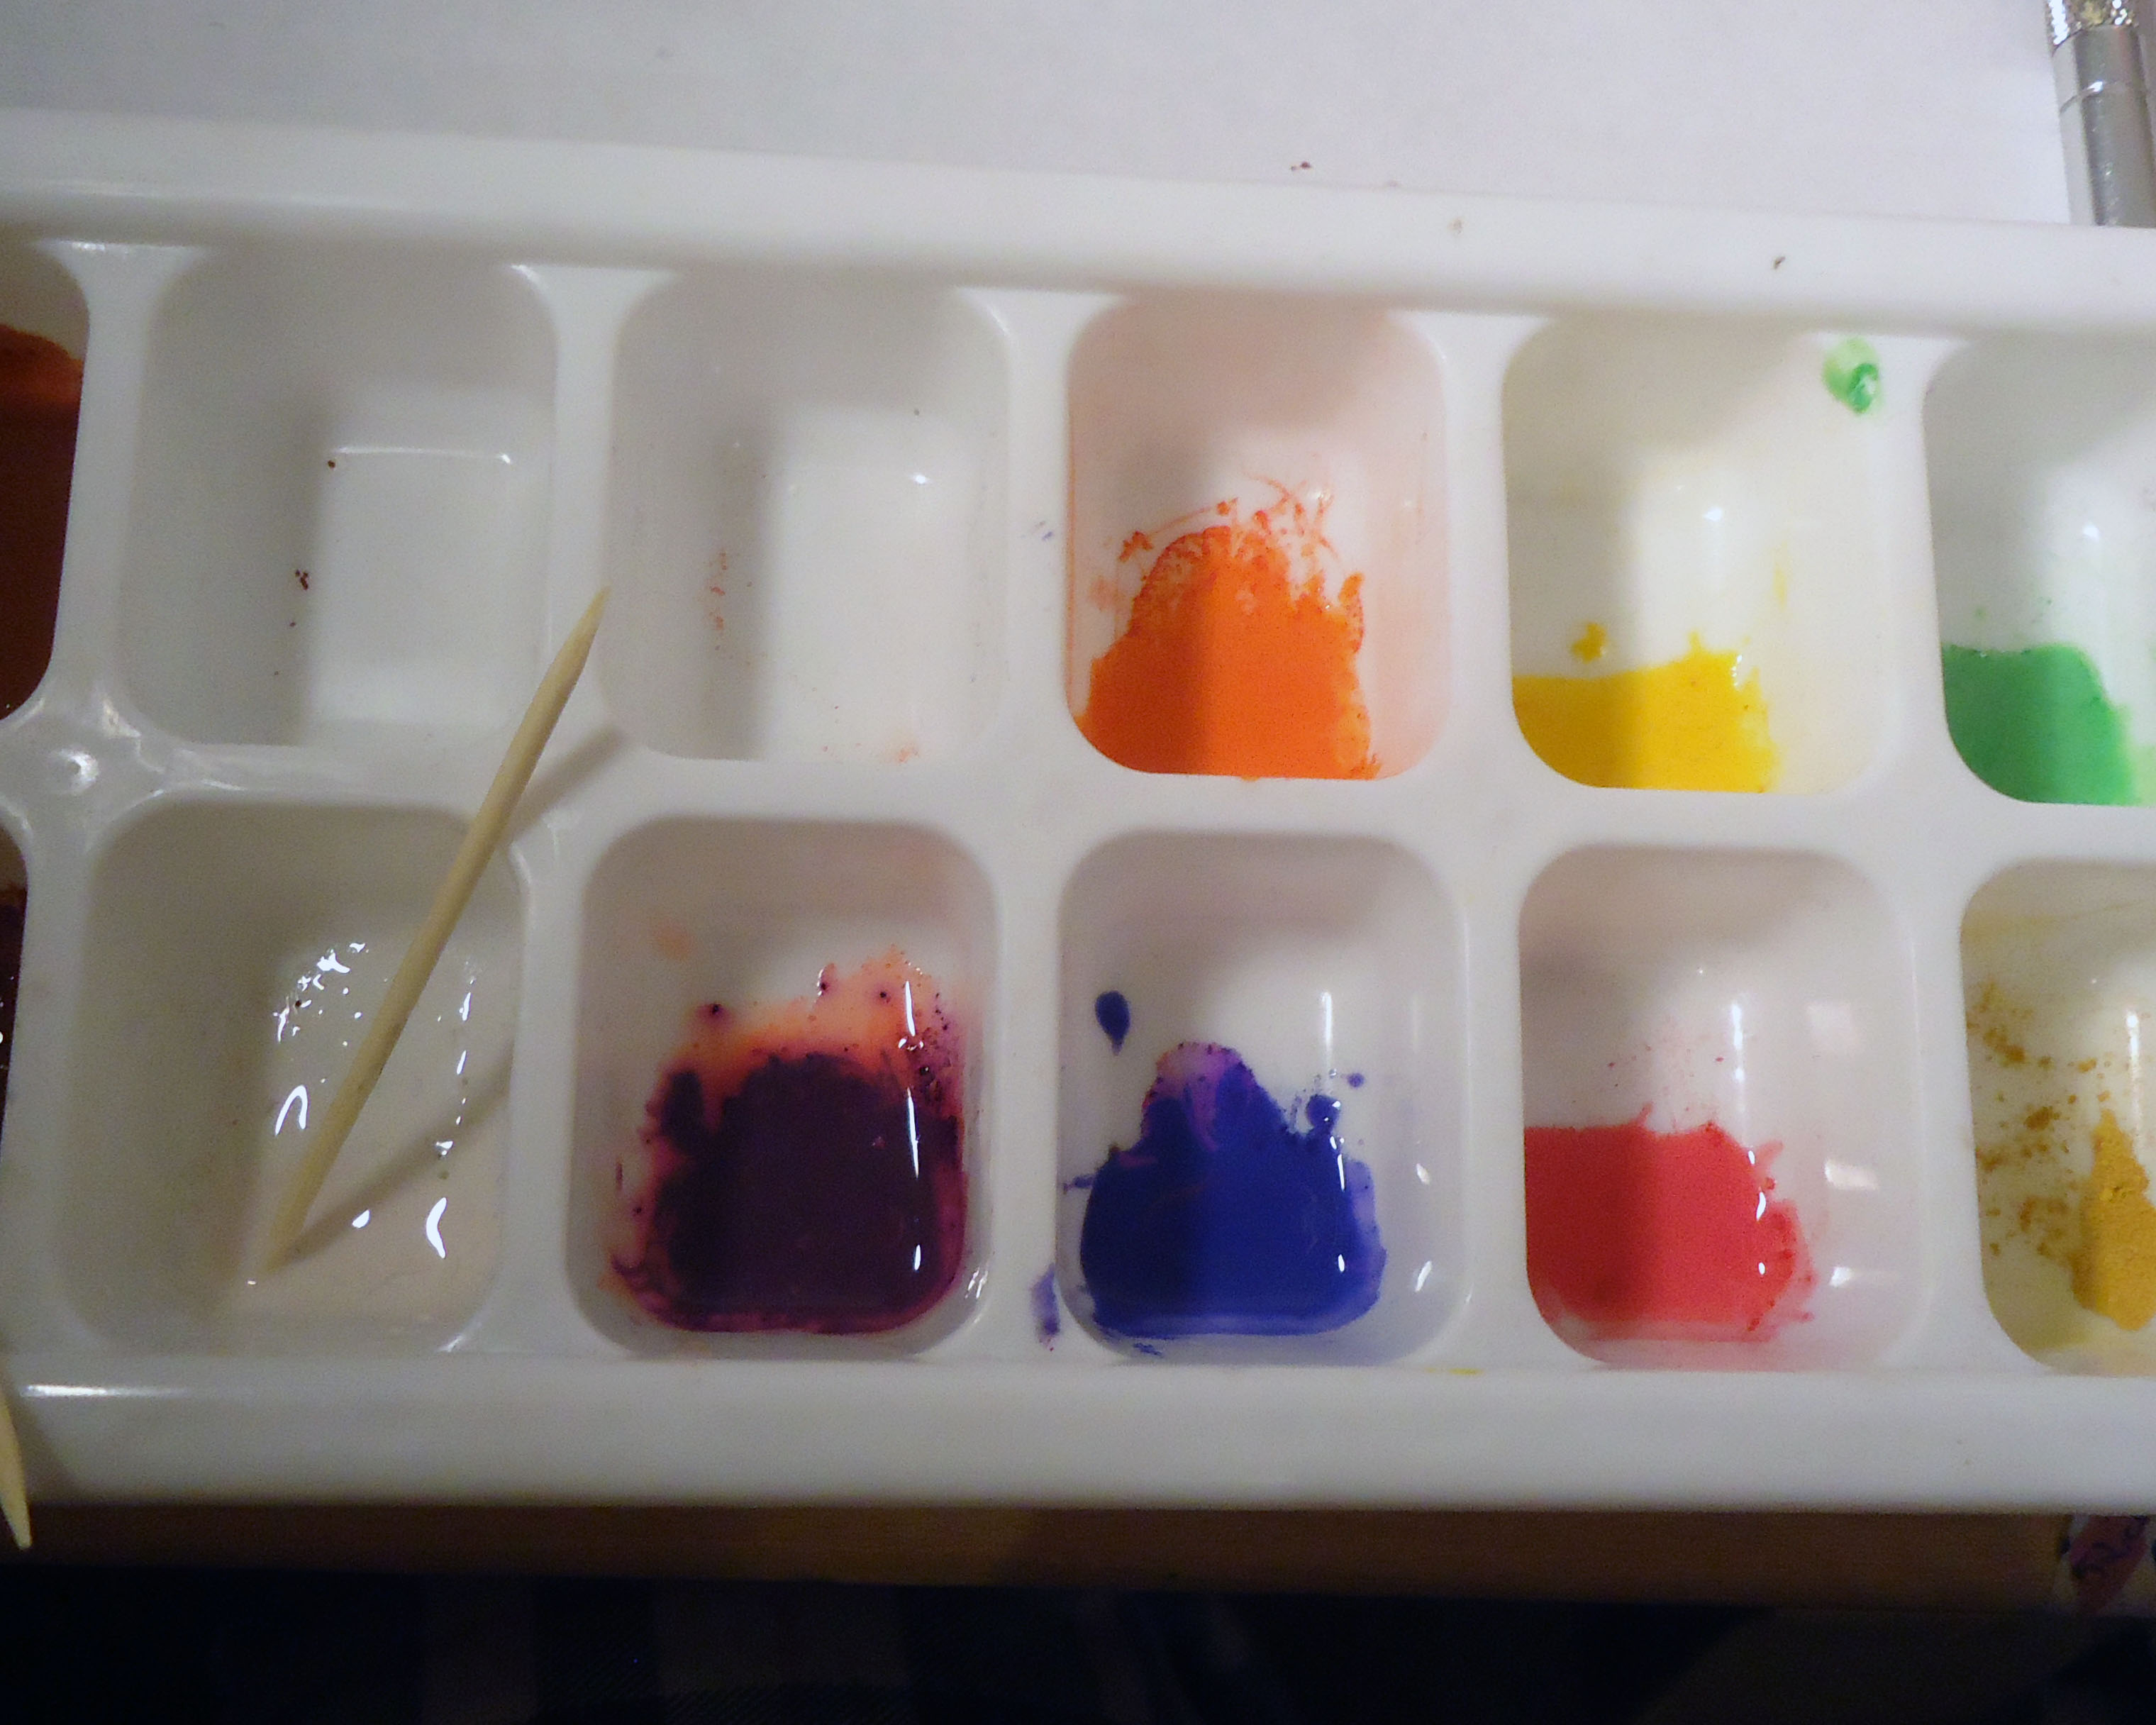
Once you get the hang of it, you can do patterns, too! And all kinds of colors, as long as you have the soft pastels to use.
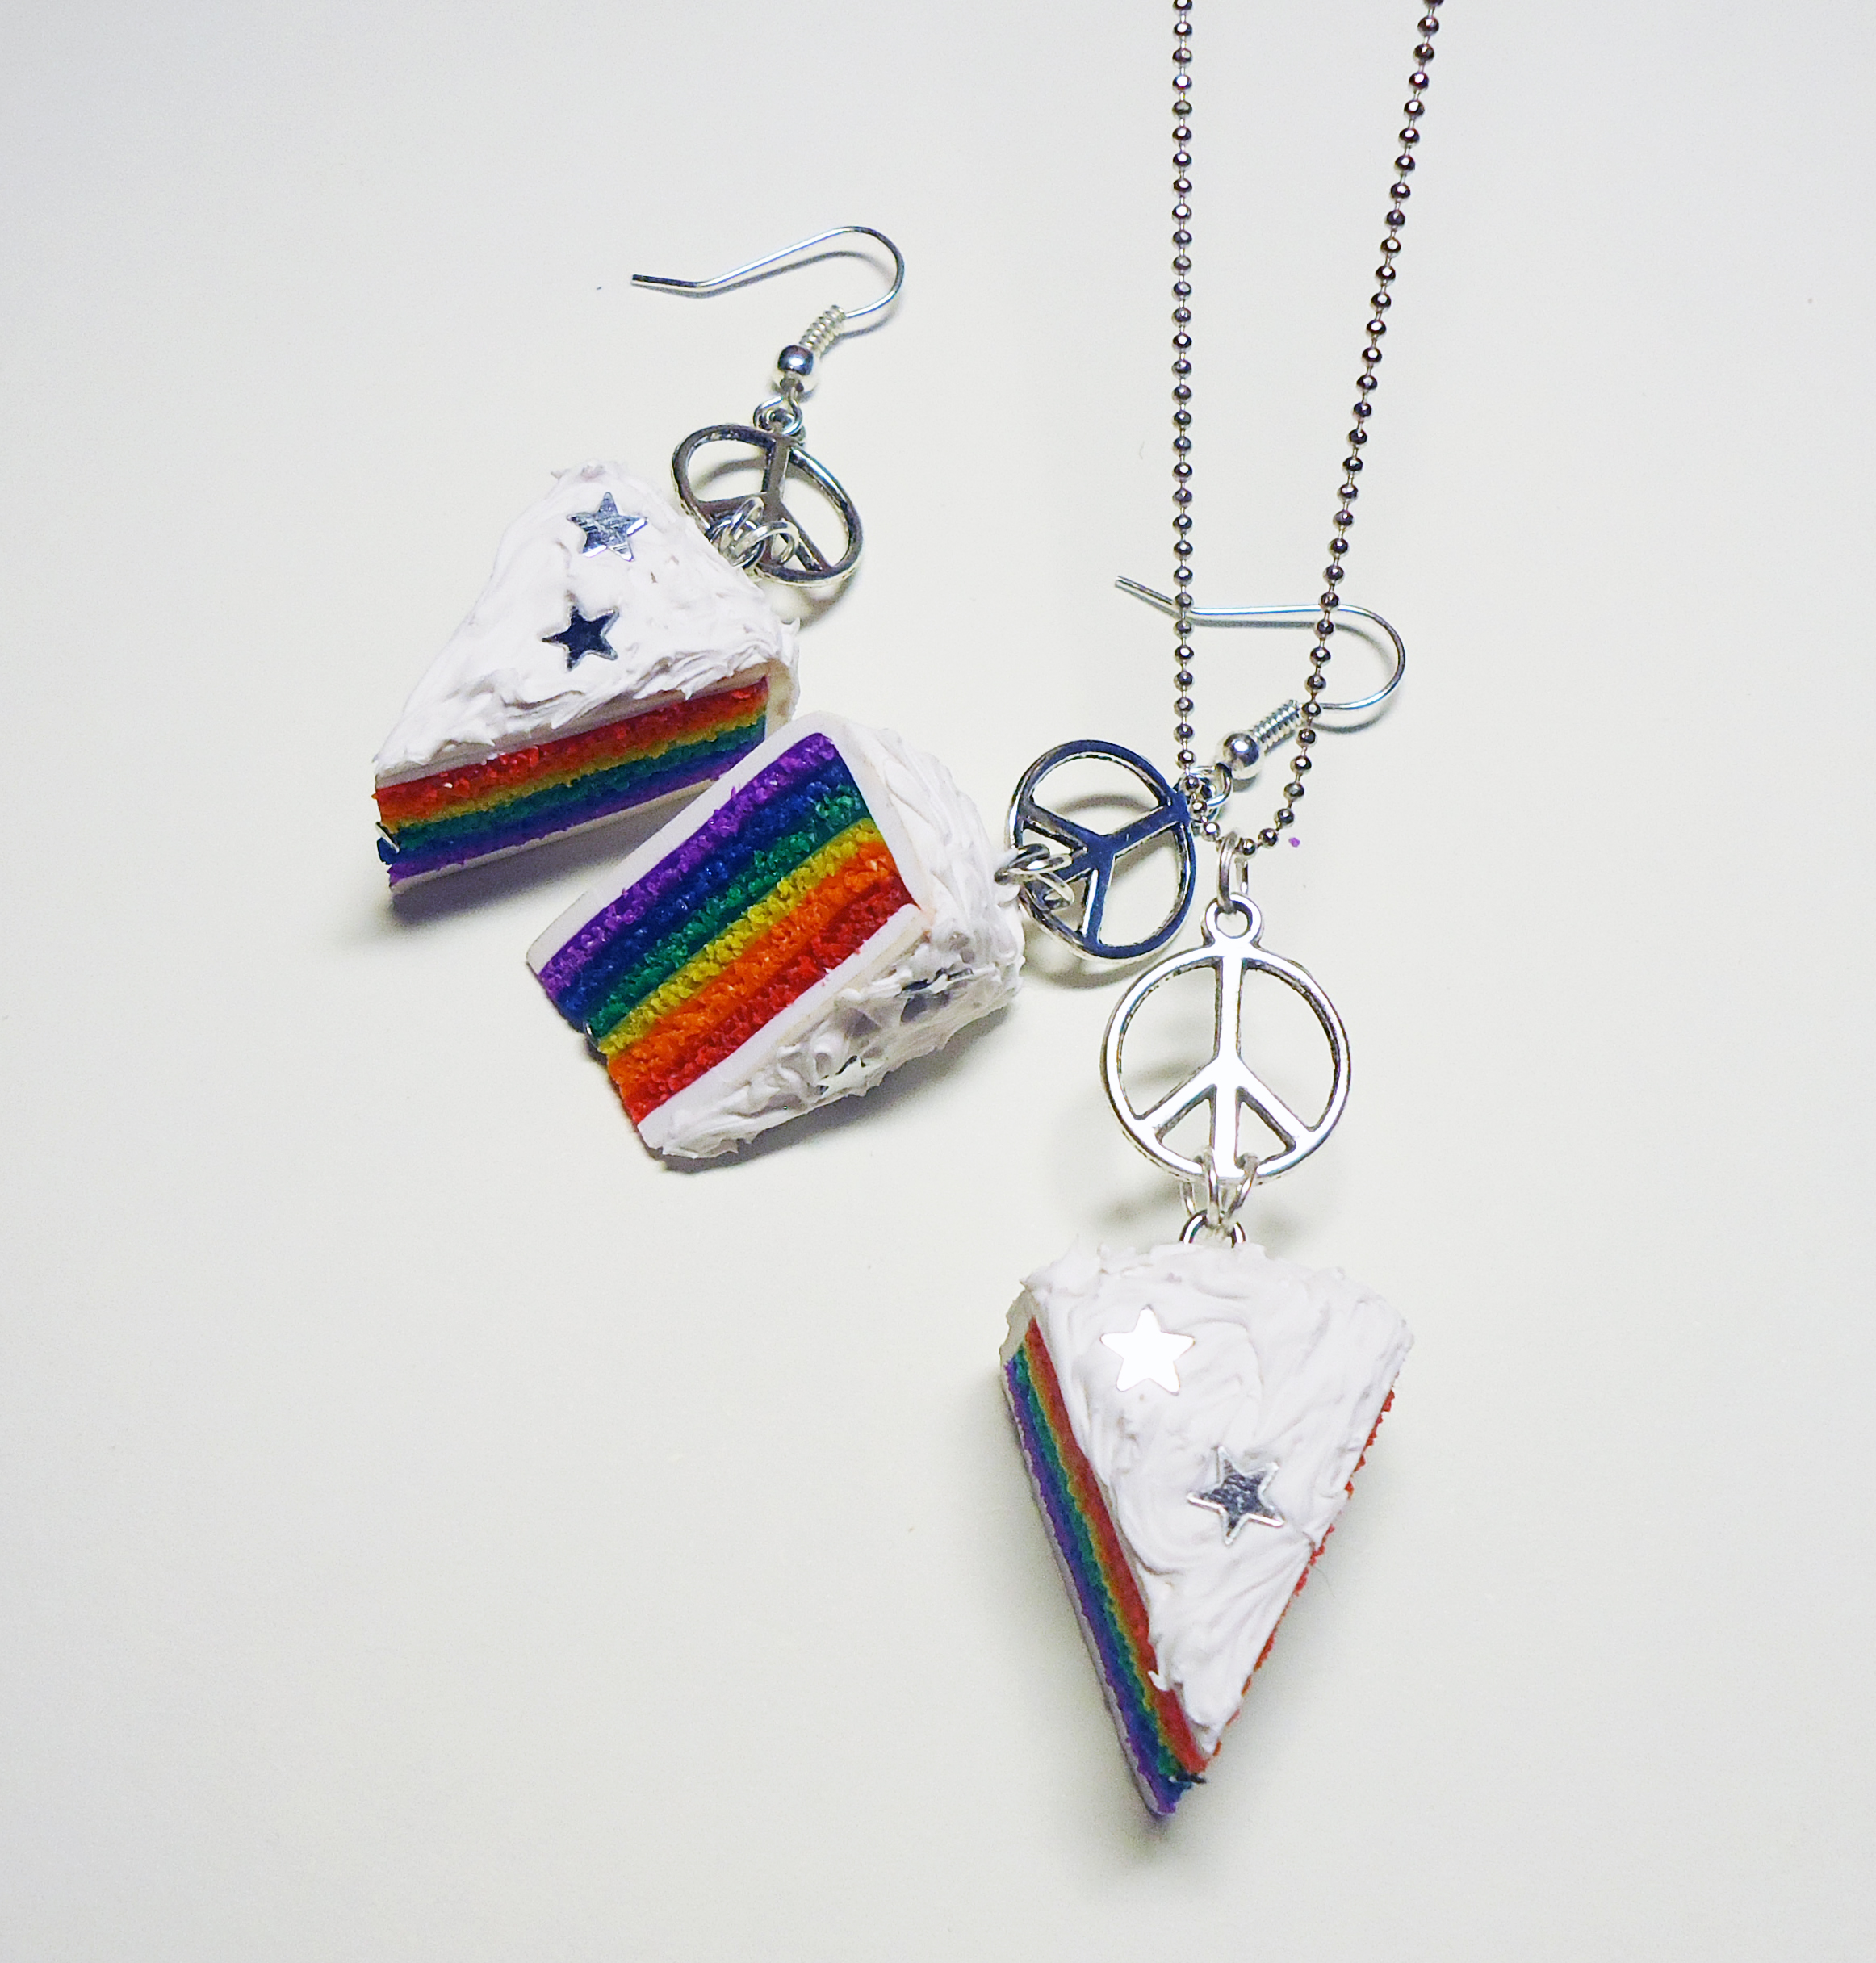
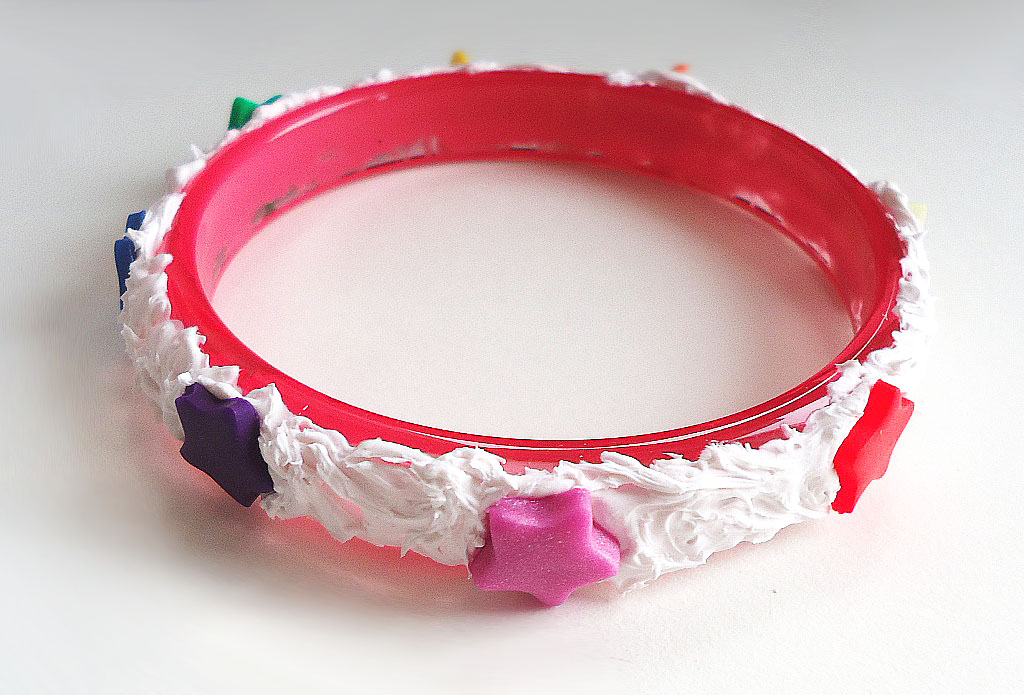
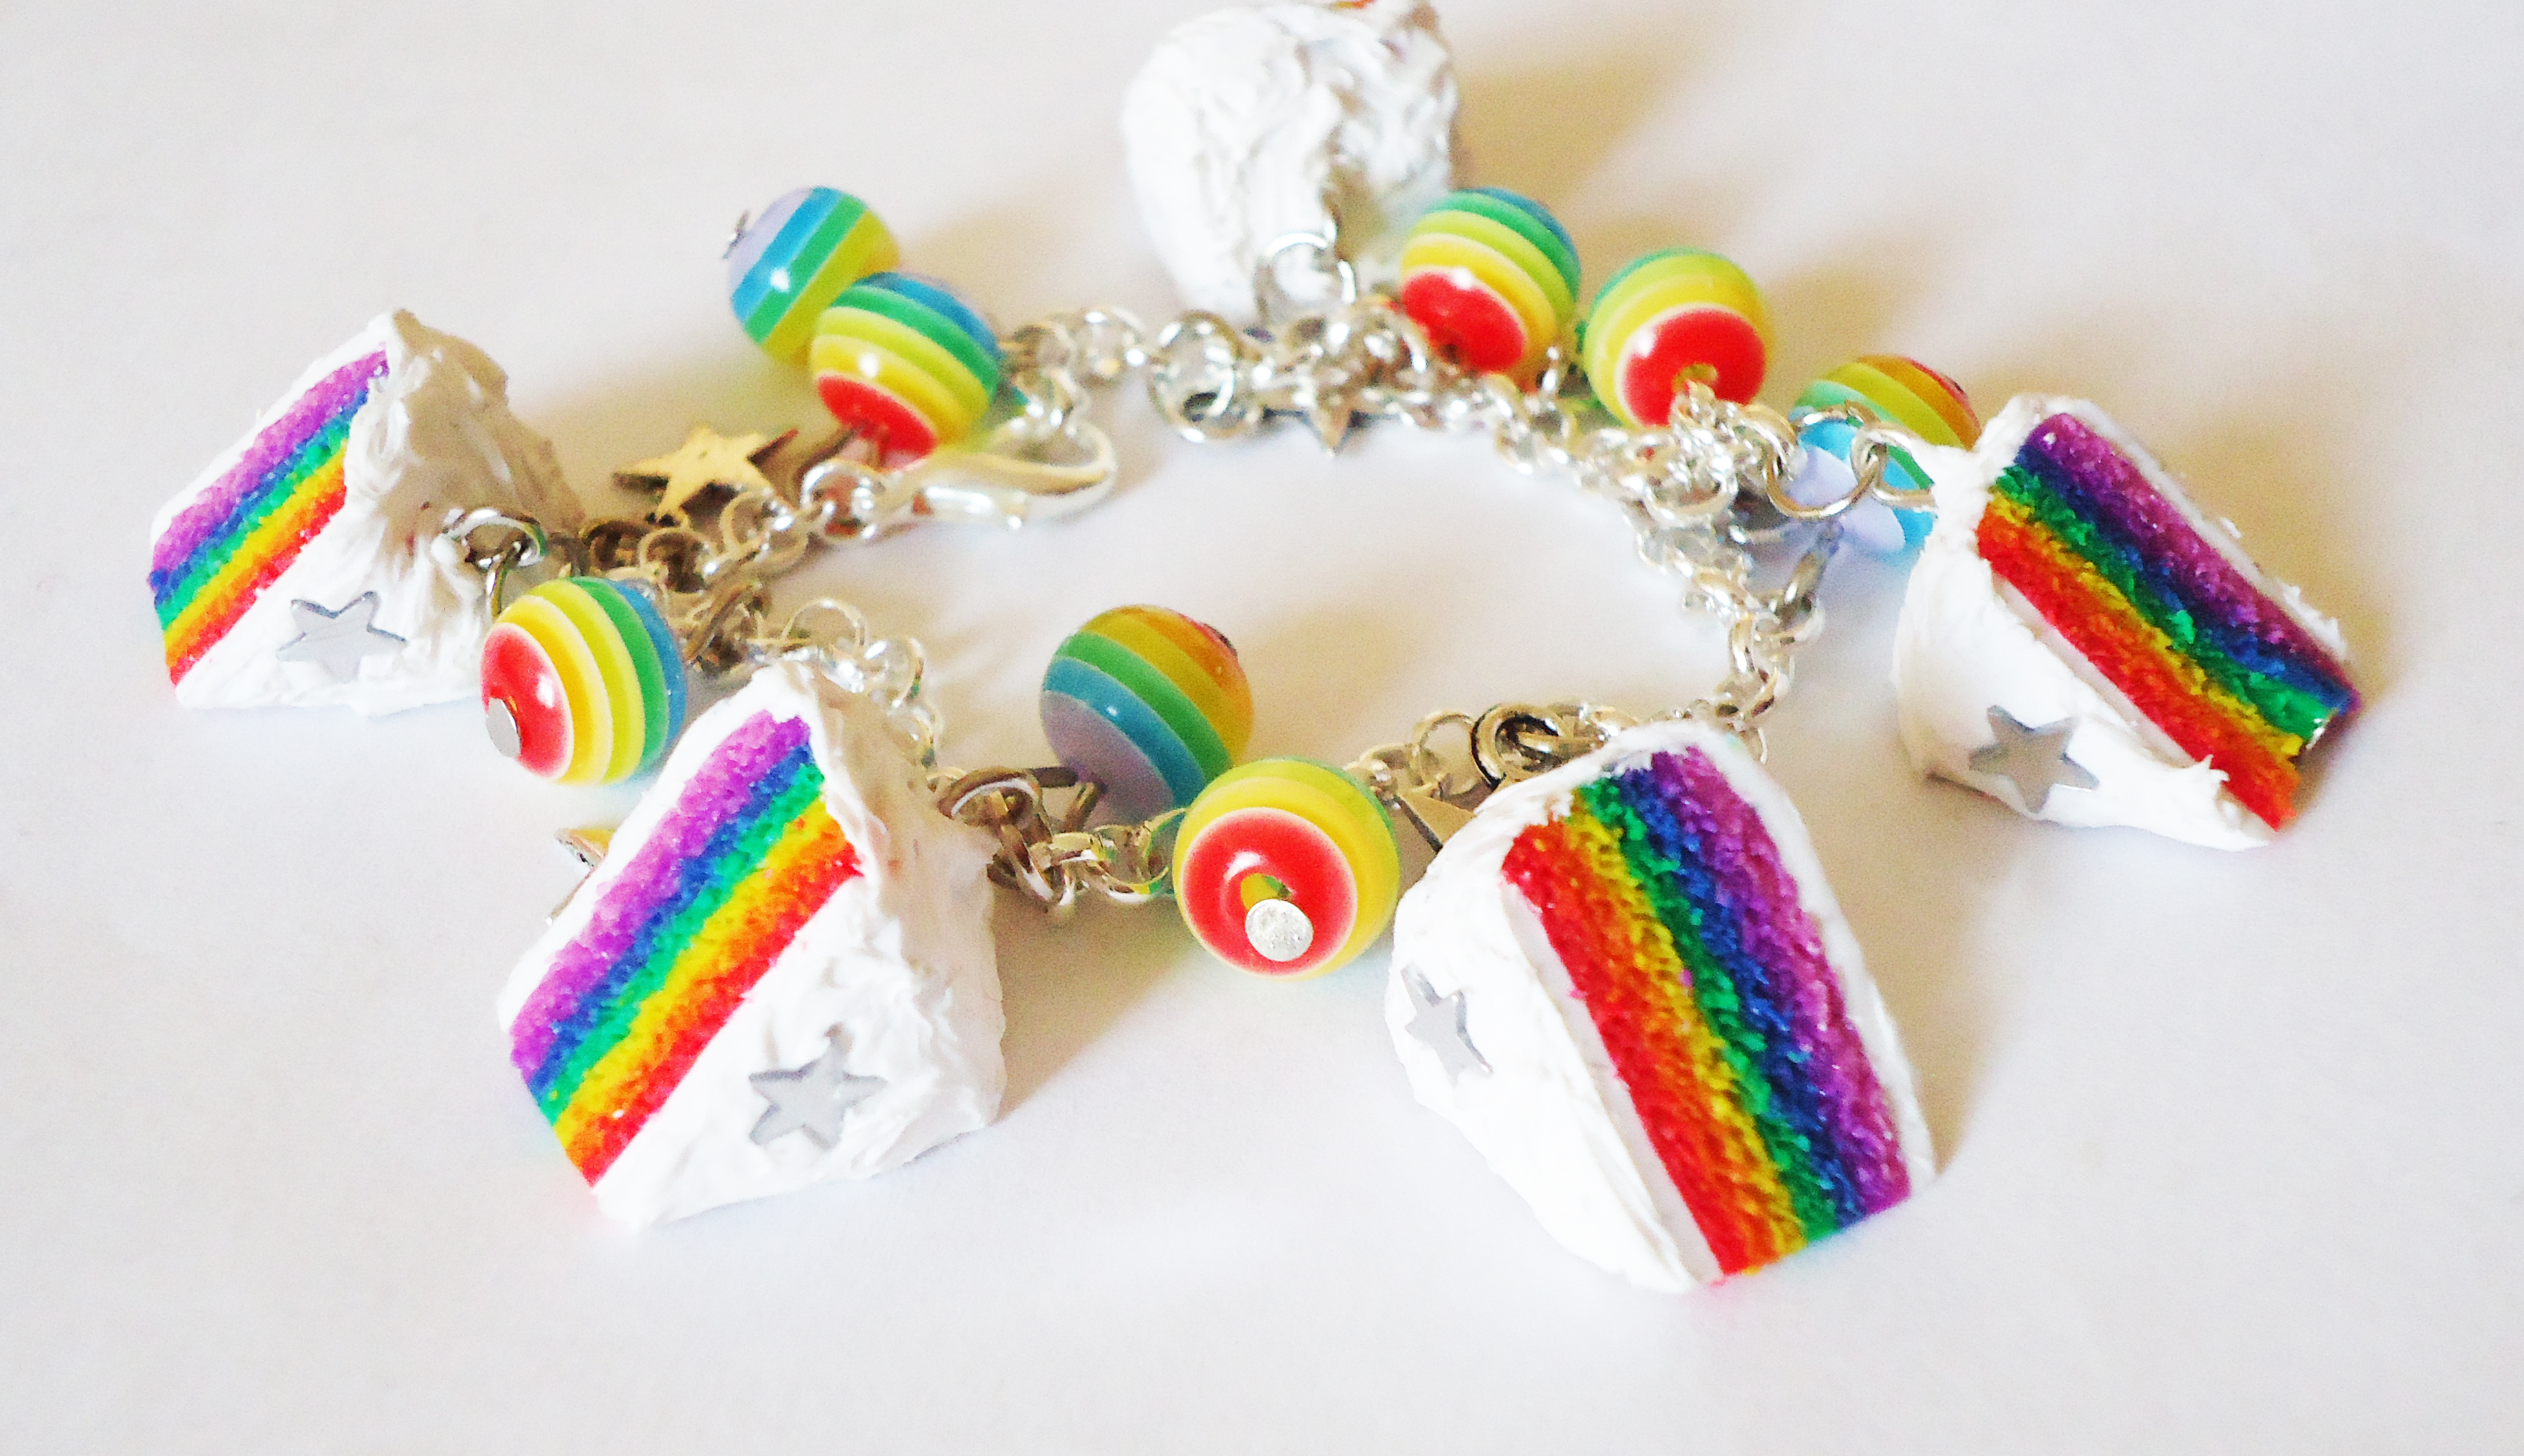
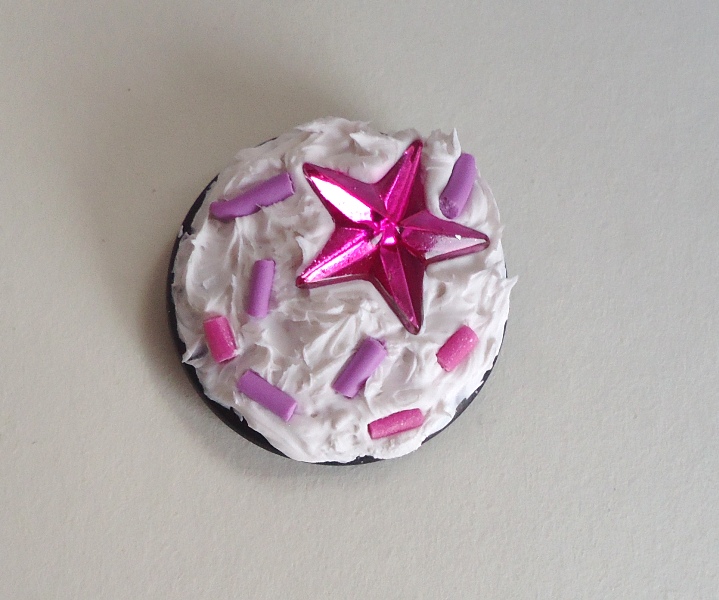
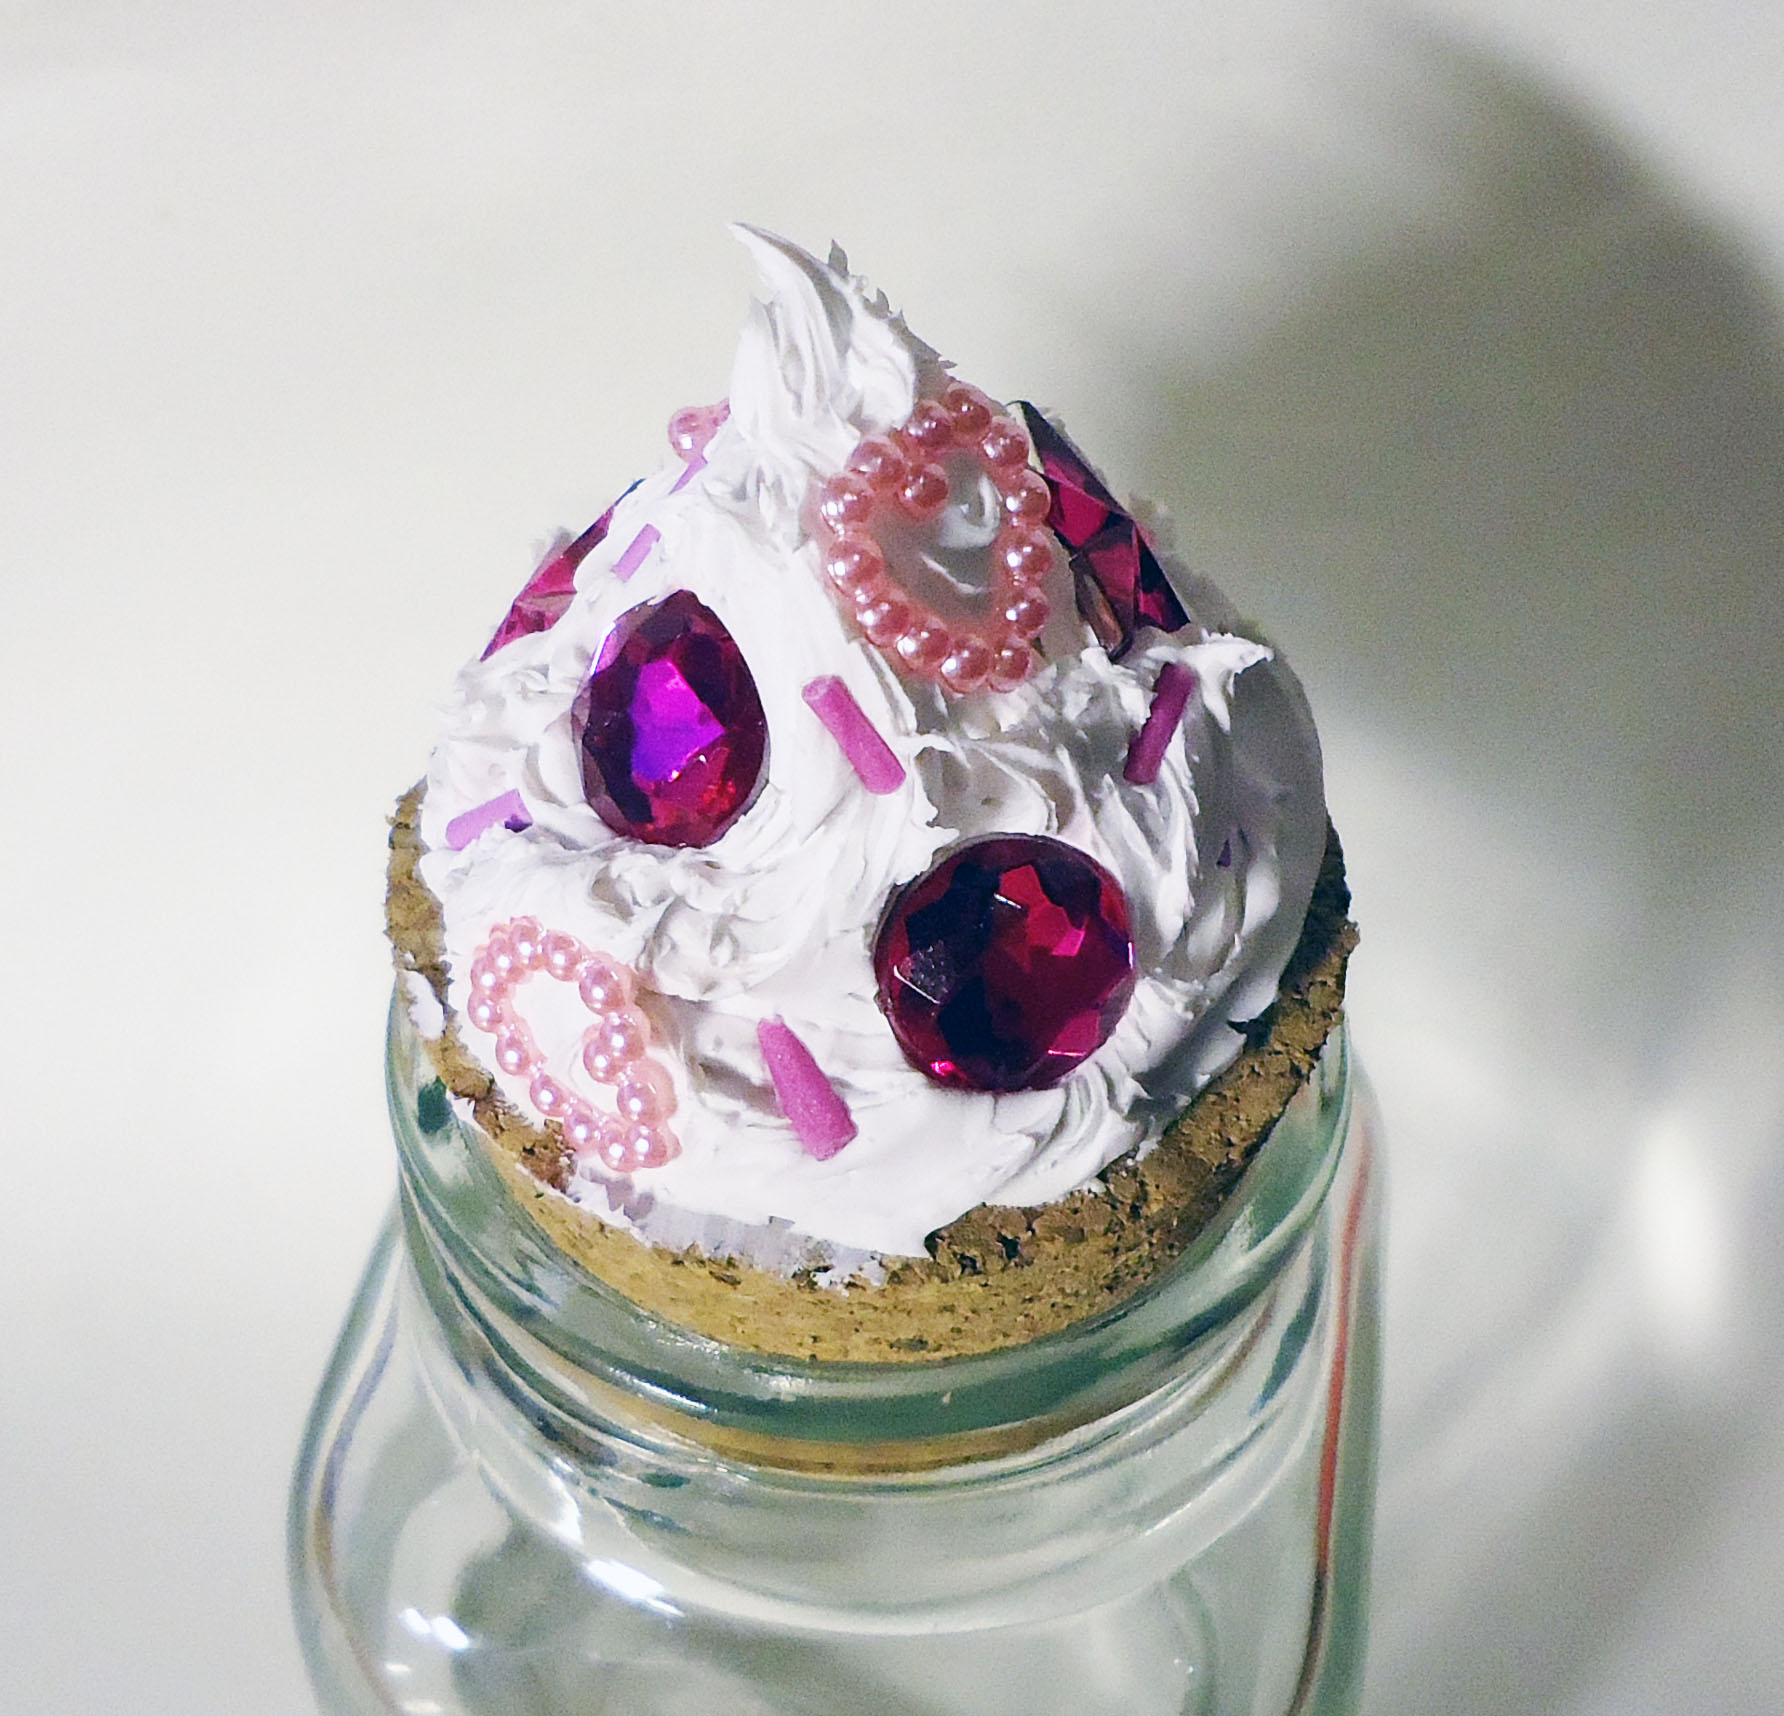
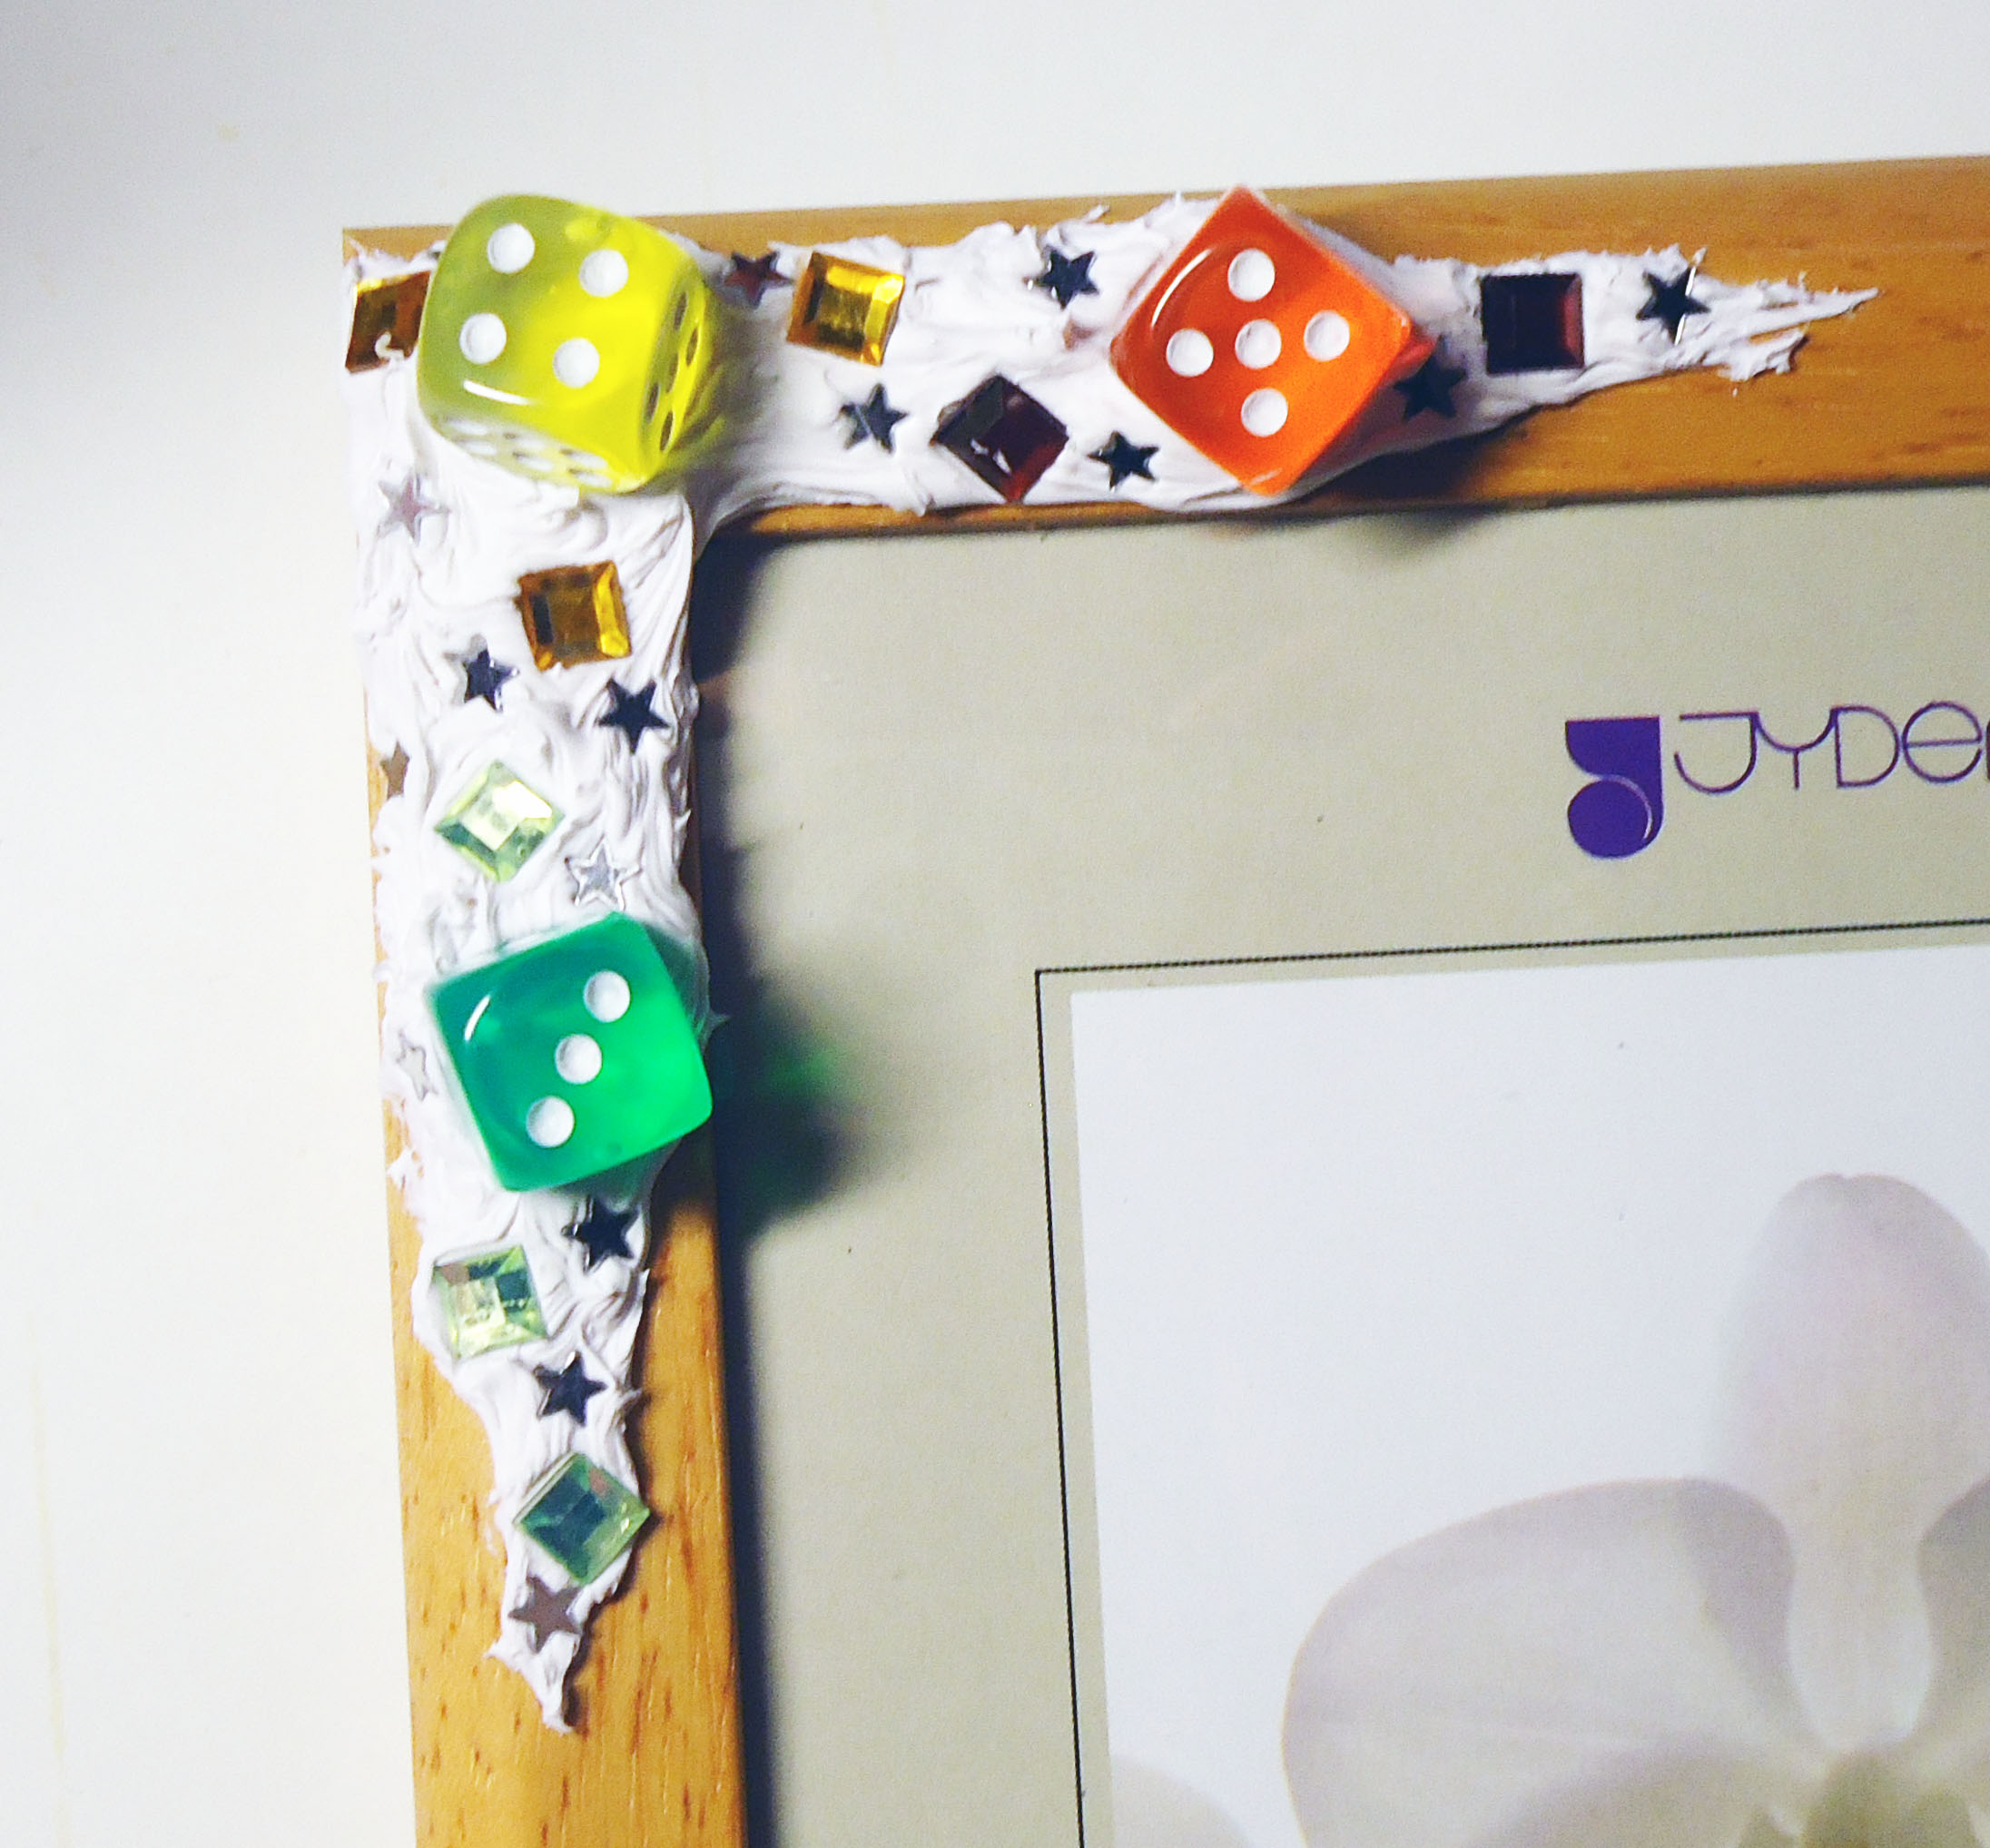
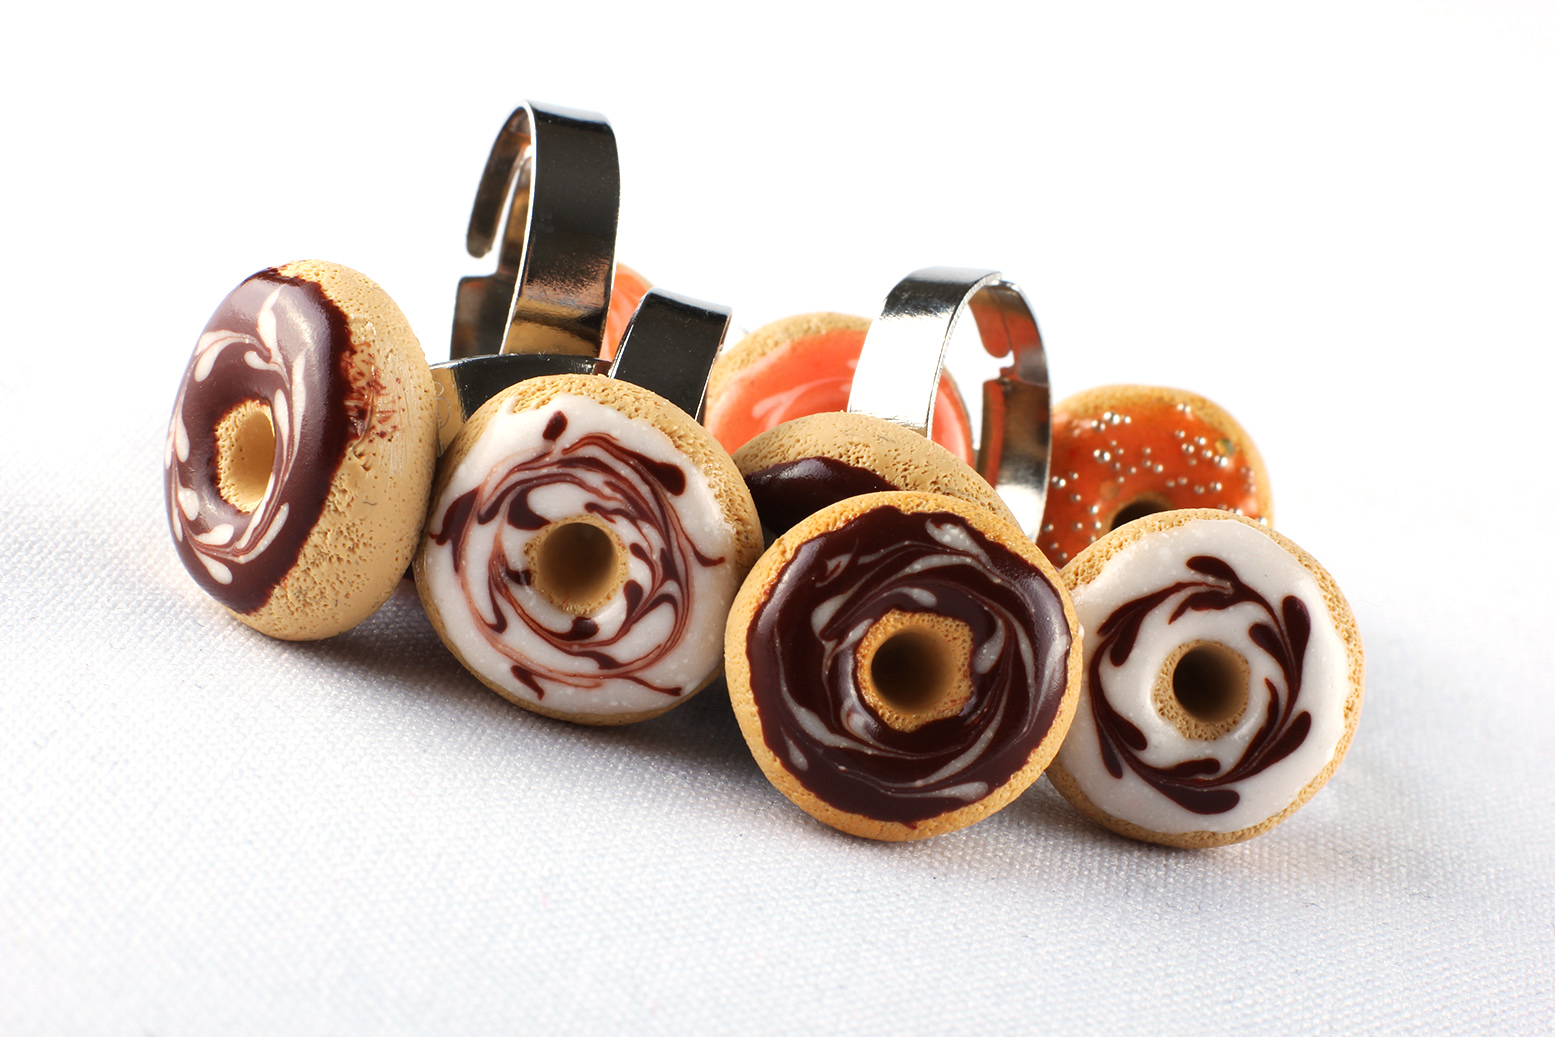
Remember I mentioned another icing method? Well this is the one. I know not all of these are cakes, but they ARE examples.
The white creamy looking thing is white silicone. Silicone is pretty tricky to mix with colors, therefore I only use it for white icing.
There's not much to tell on how to use it since all you do is squeeze it out of the tube and spread it on with a toothpick. You can find it in most hardware stores, just make sure you buy white!
Pros:
- doesn't get too dusty in the process;
- only done after baking, so you can add any kinds of decorations, like plastic beads and confetti;
- looks creamy, not gooey;
- easy to use, usually dries withing 1 hour (okay to touch) - 12 hours (fully dry), depending on the amount you added.
- usually only good for white icing, since it's hard to mix with colors;
- can't add unbaked clay, since this is done after baking;
- REALLY hard to clean off if you get it on something you didn't intend to;
- some silicones, when dry, tend to attract dust. A LOT.
.jpg)
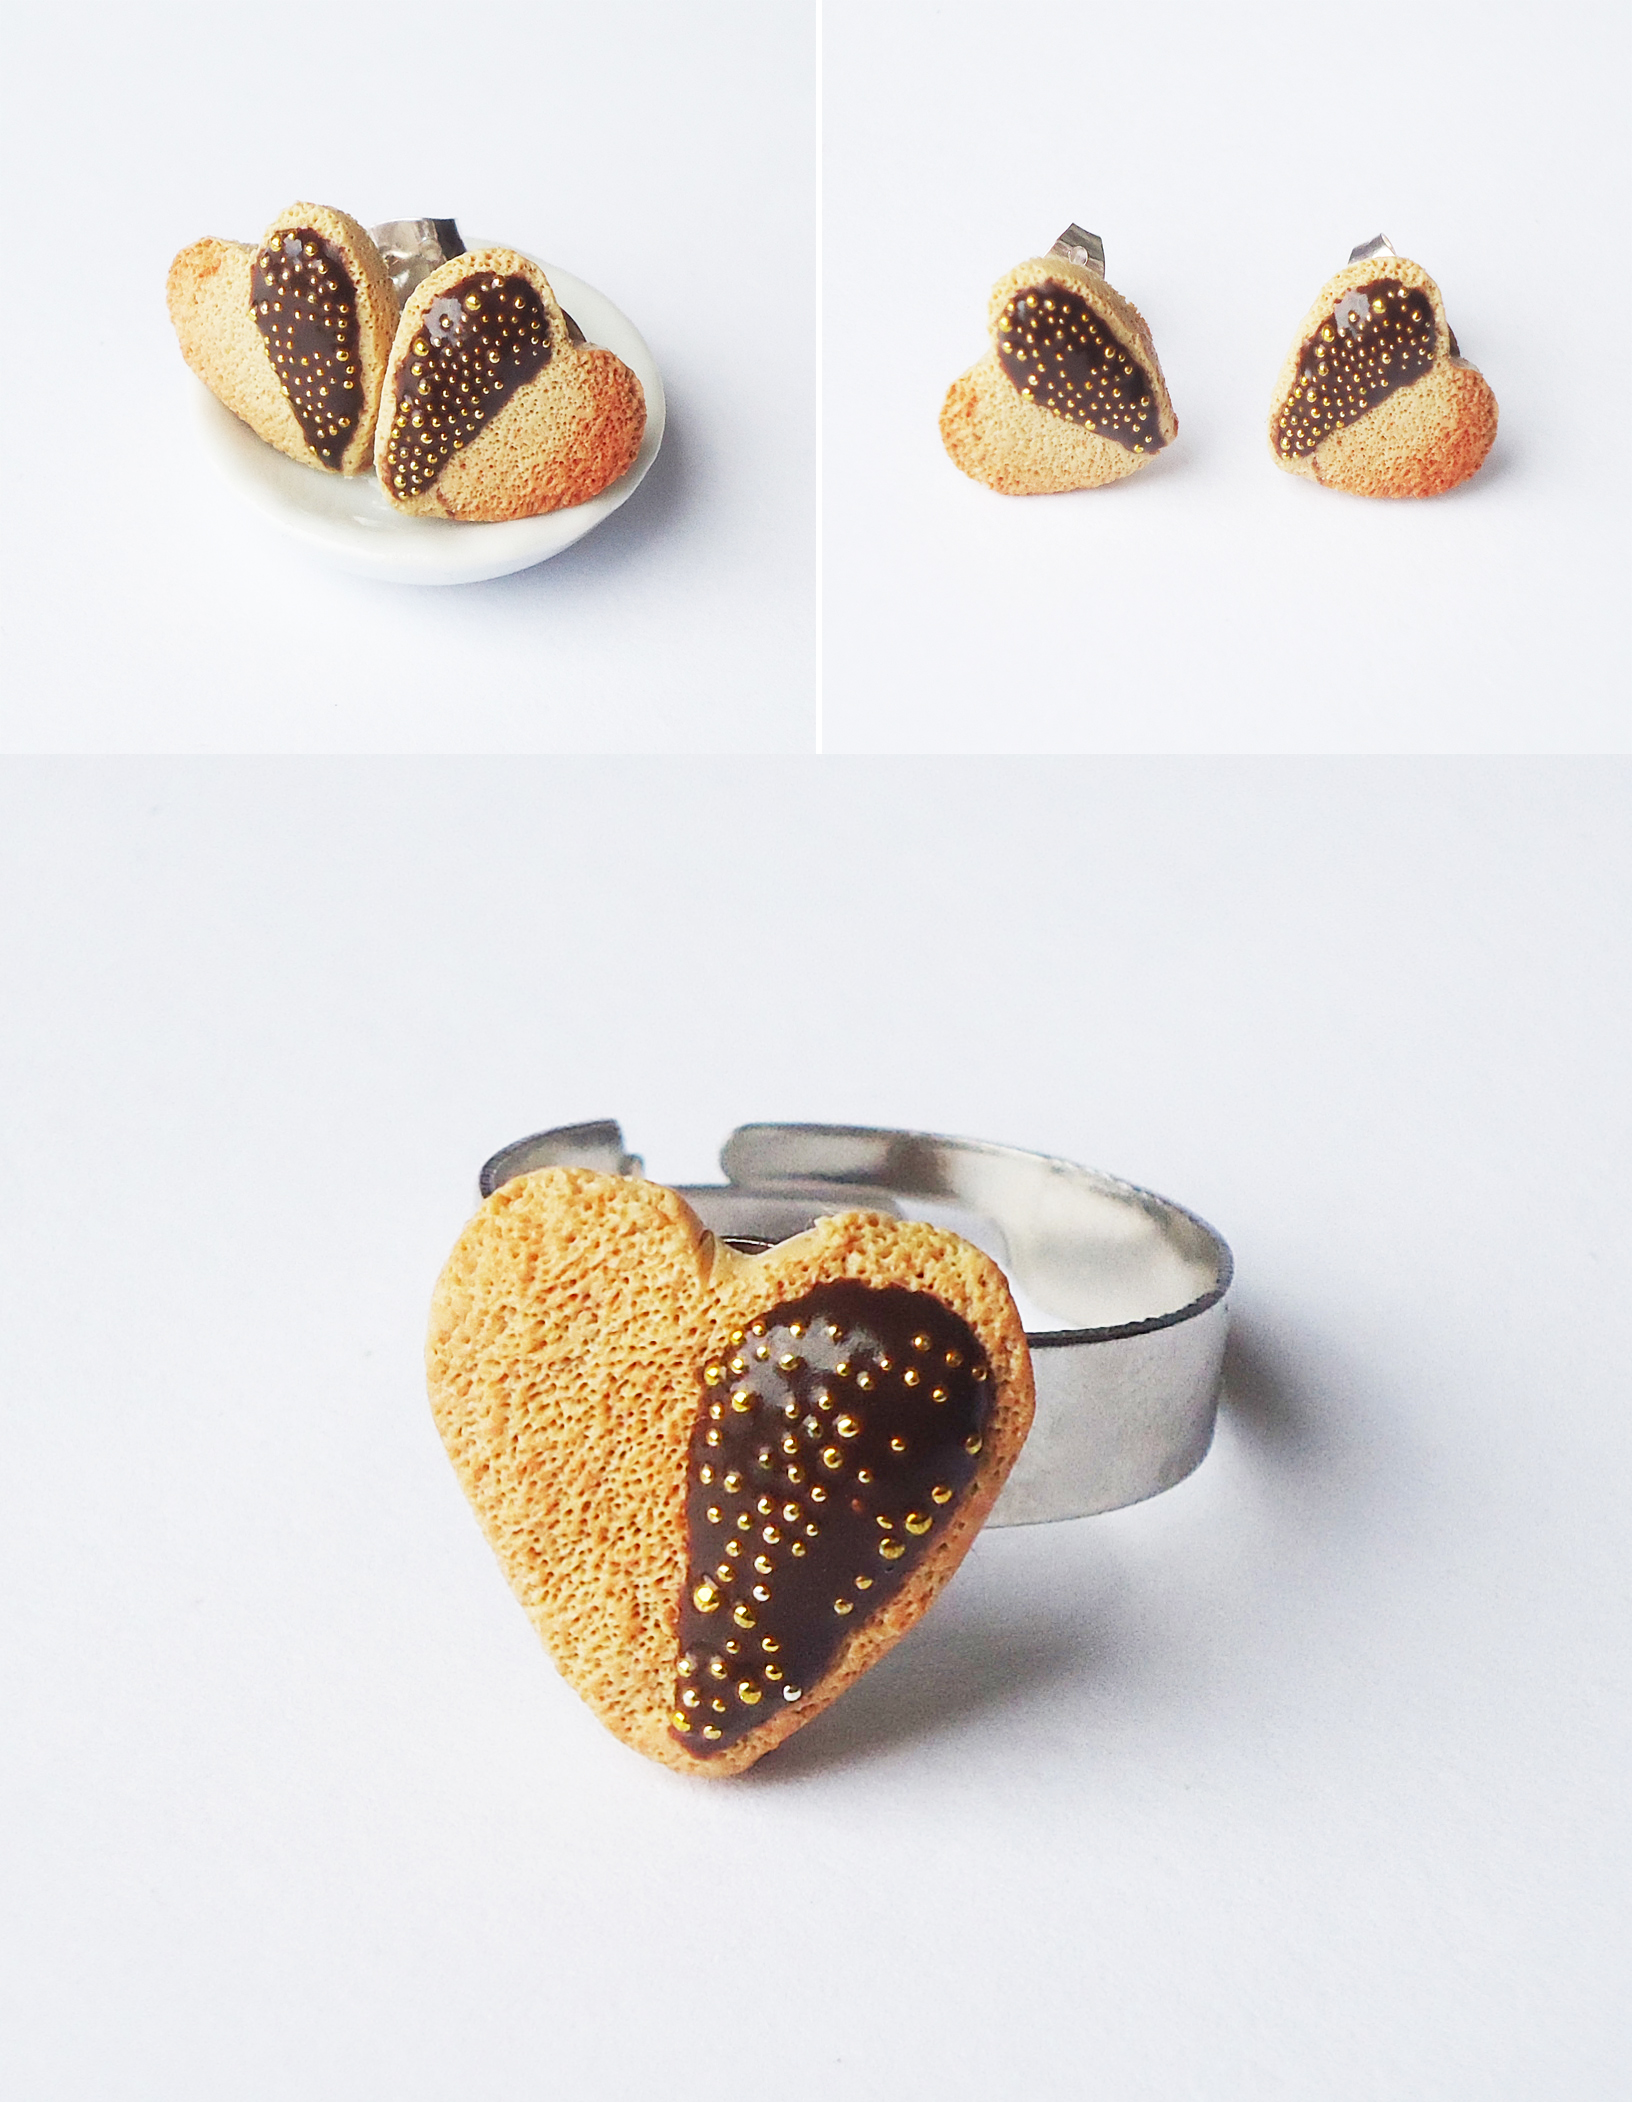
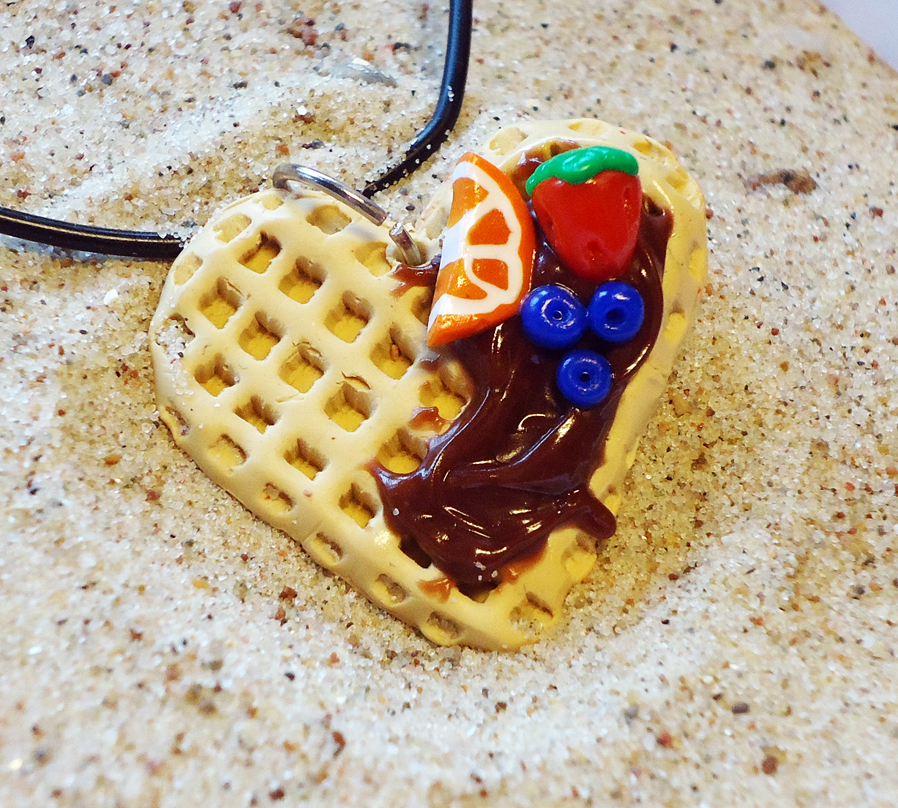
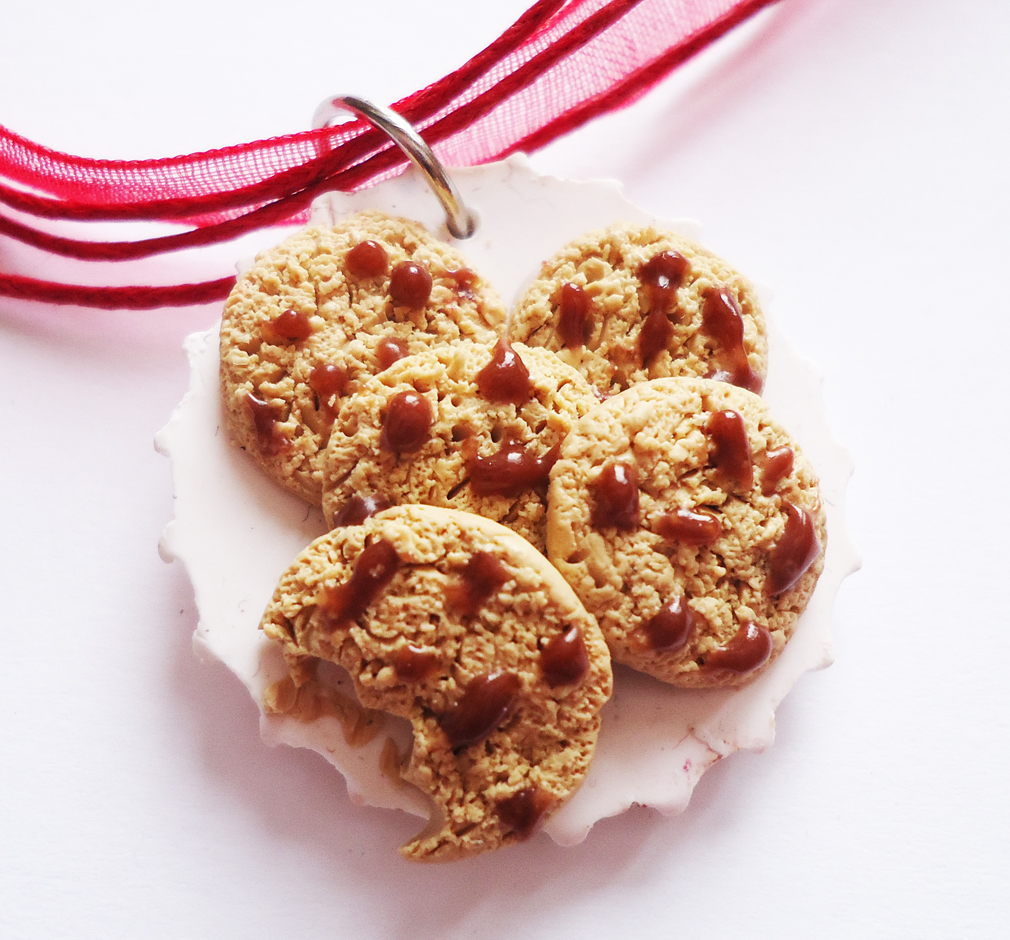
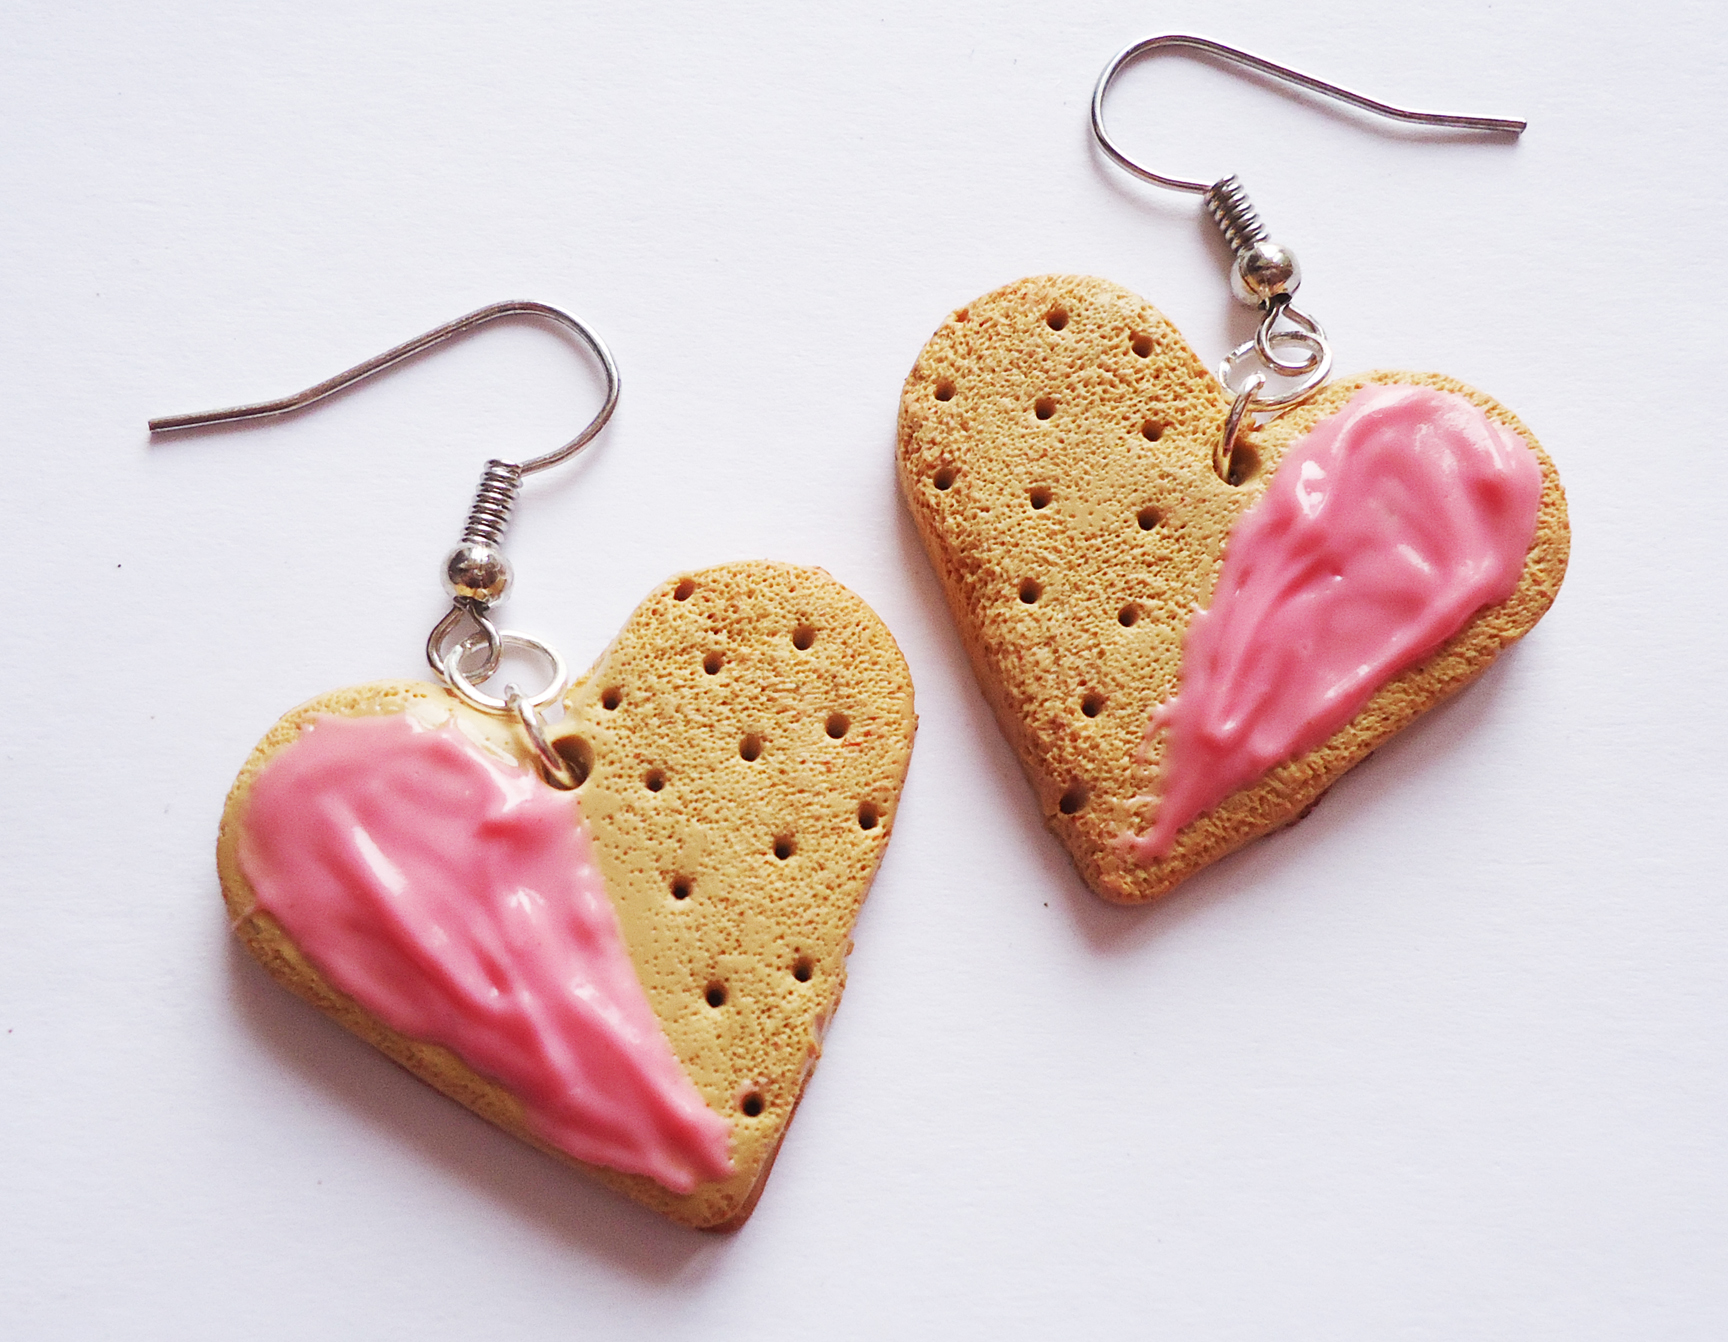
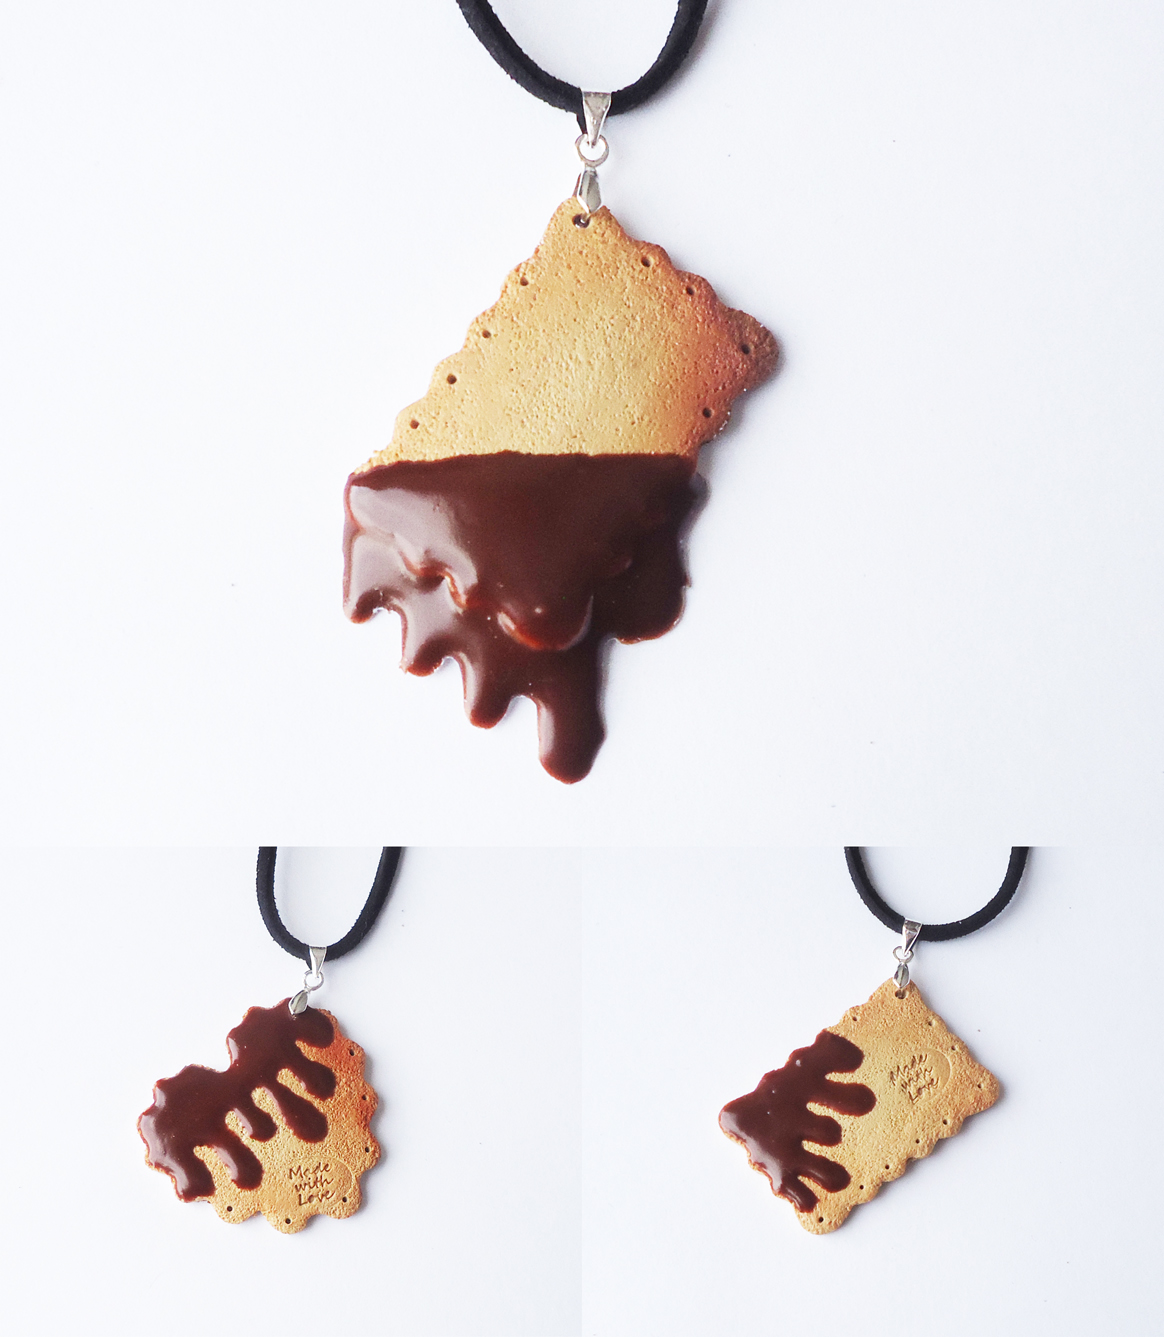
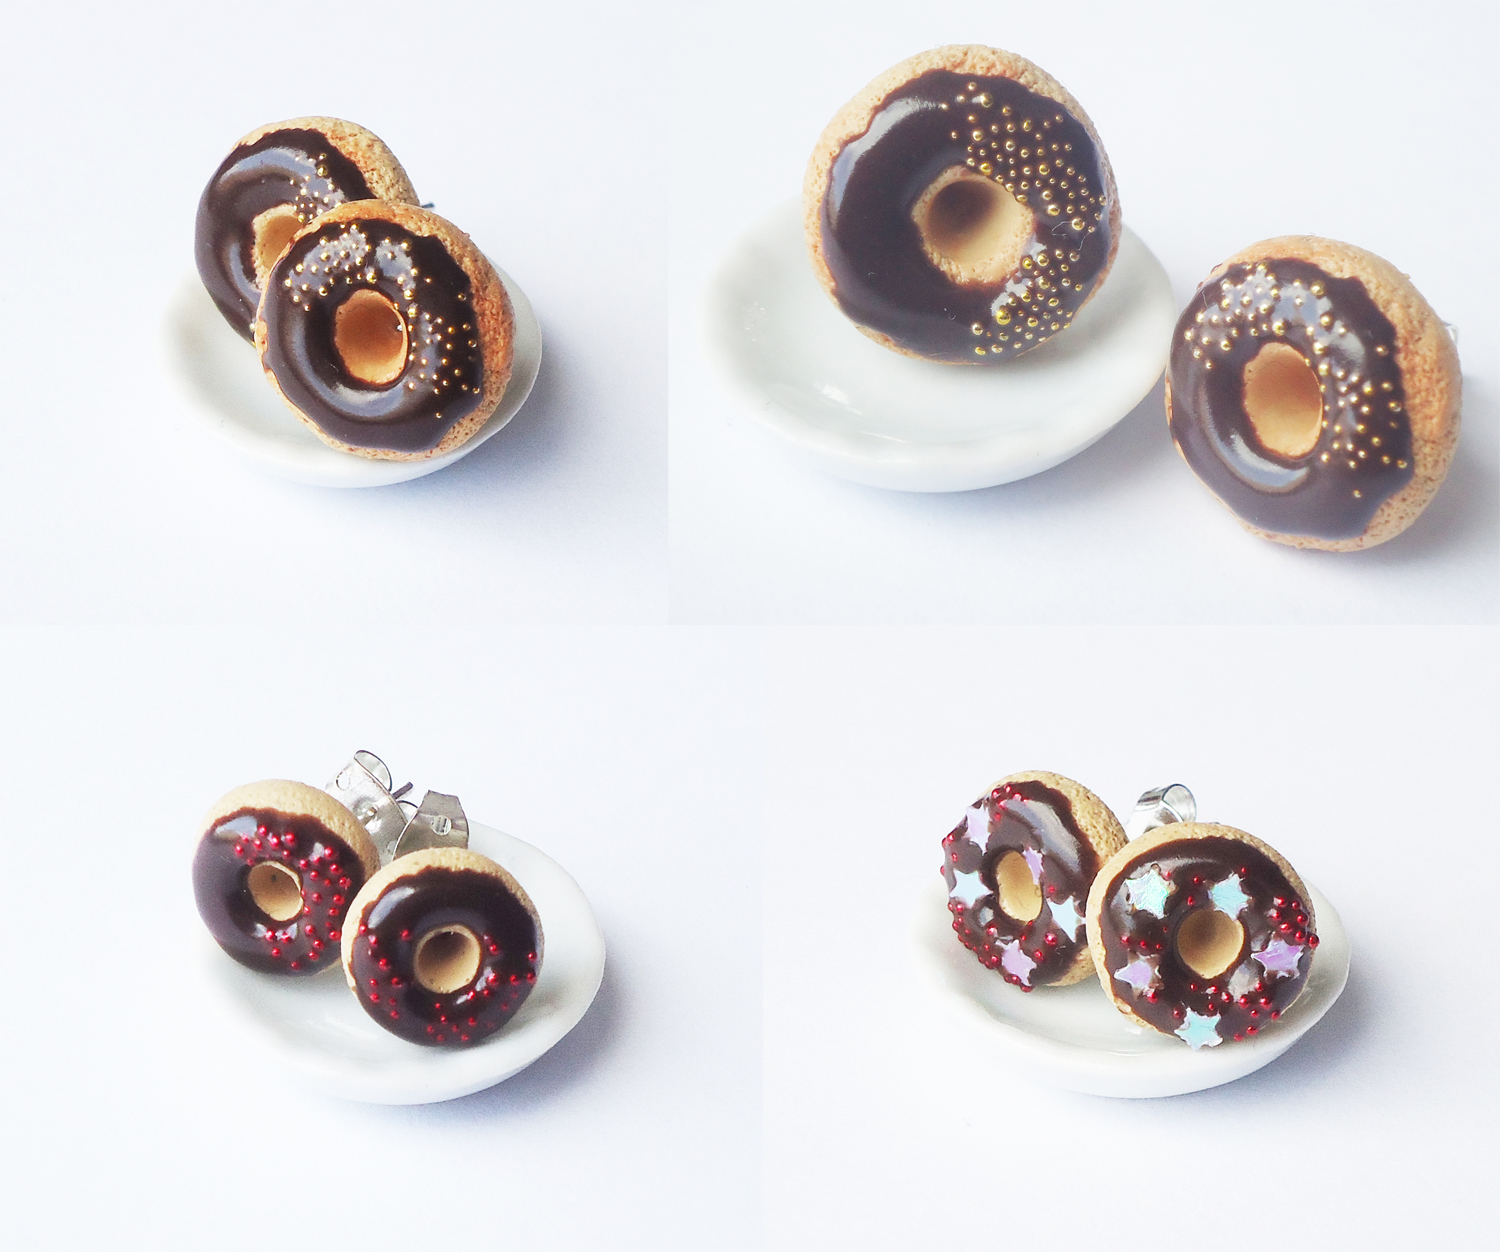
The TLS/Fimo Liquid based icing can be used to a number for of things. Here are some examples of what else I use it for!
Decorations
There are tons of ways to decorate your cake. If you use the silicone method, you can use nearly anything imaginable - beads, confetti, canes, straws, cabochons, etc. However, I will be showing you some oven-safe methods for the TLS-based icing!
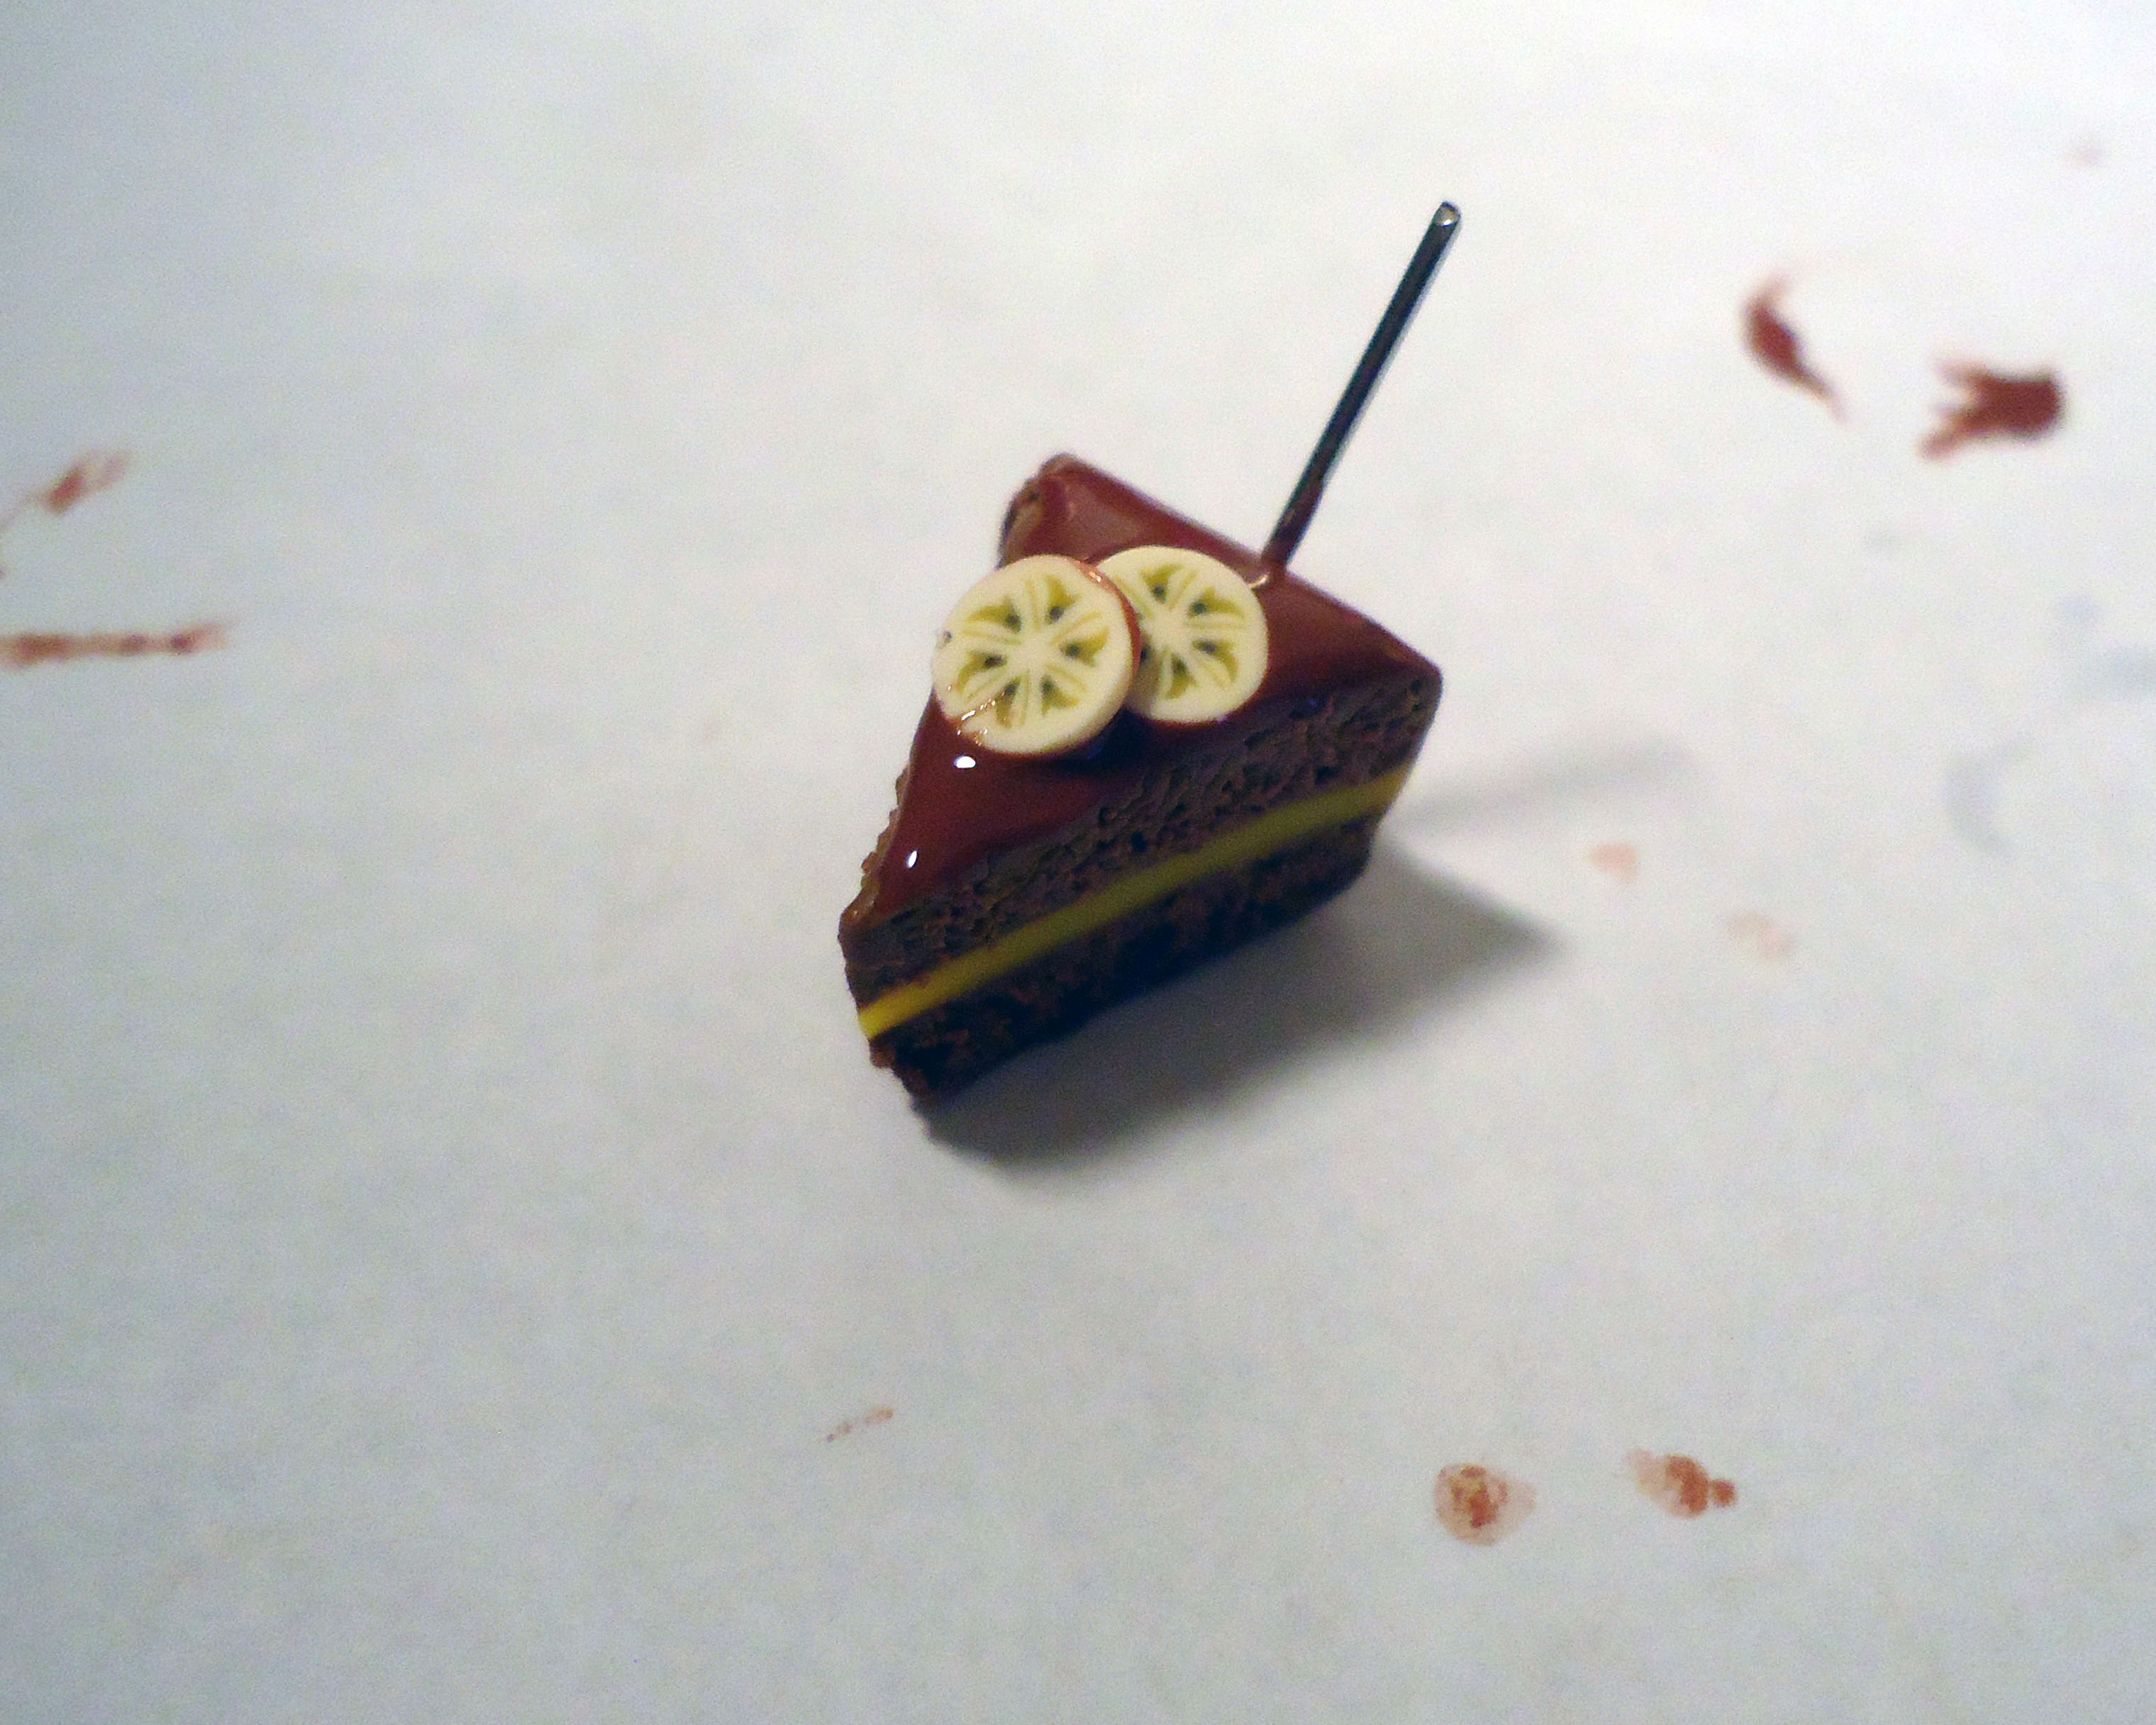
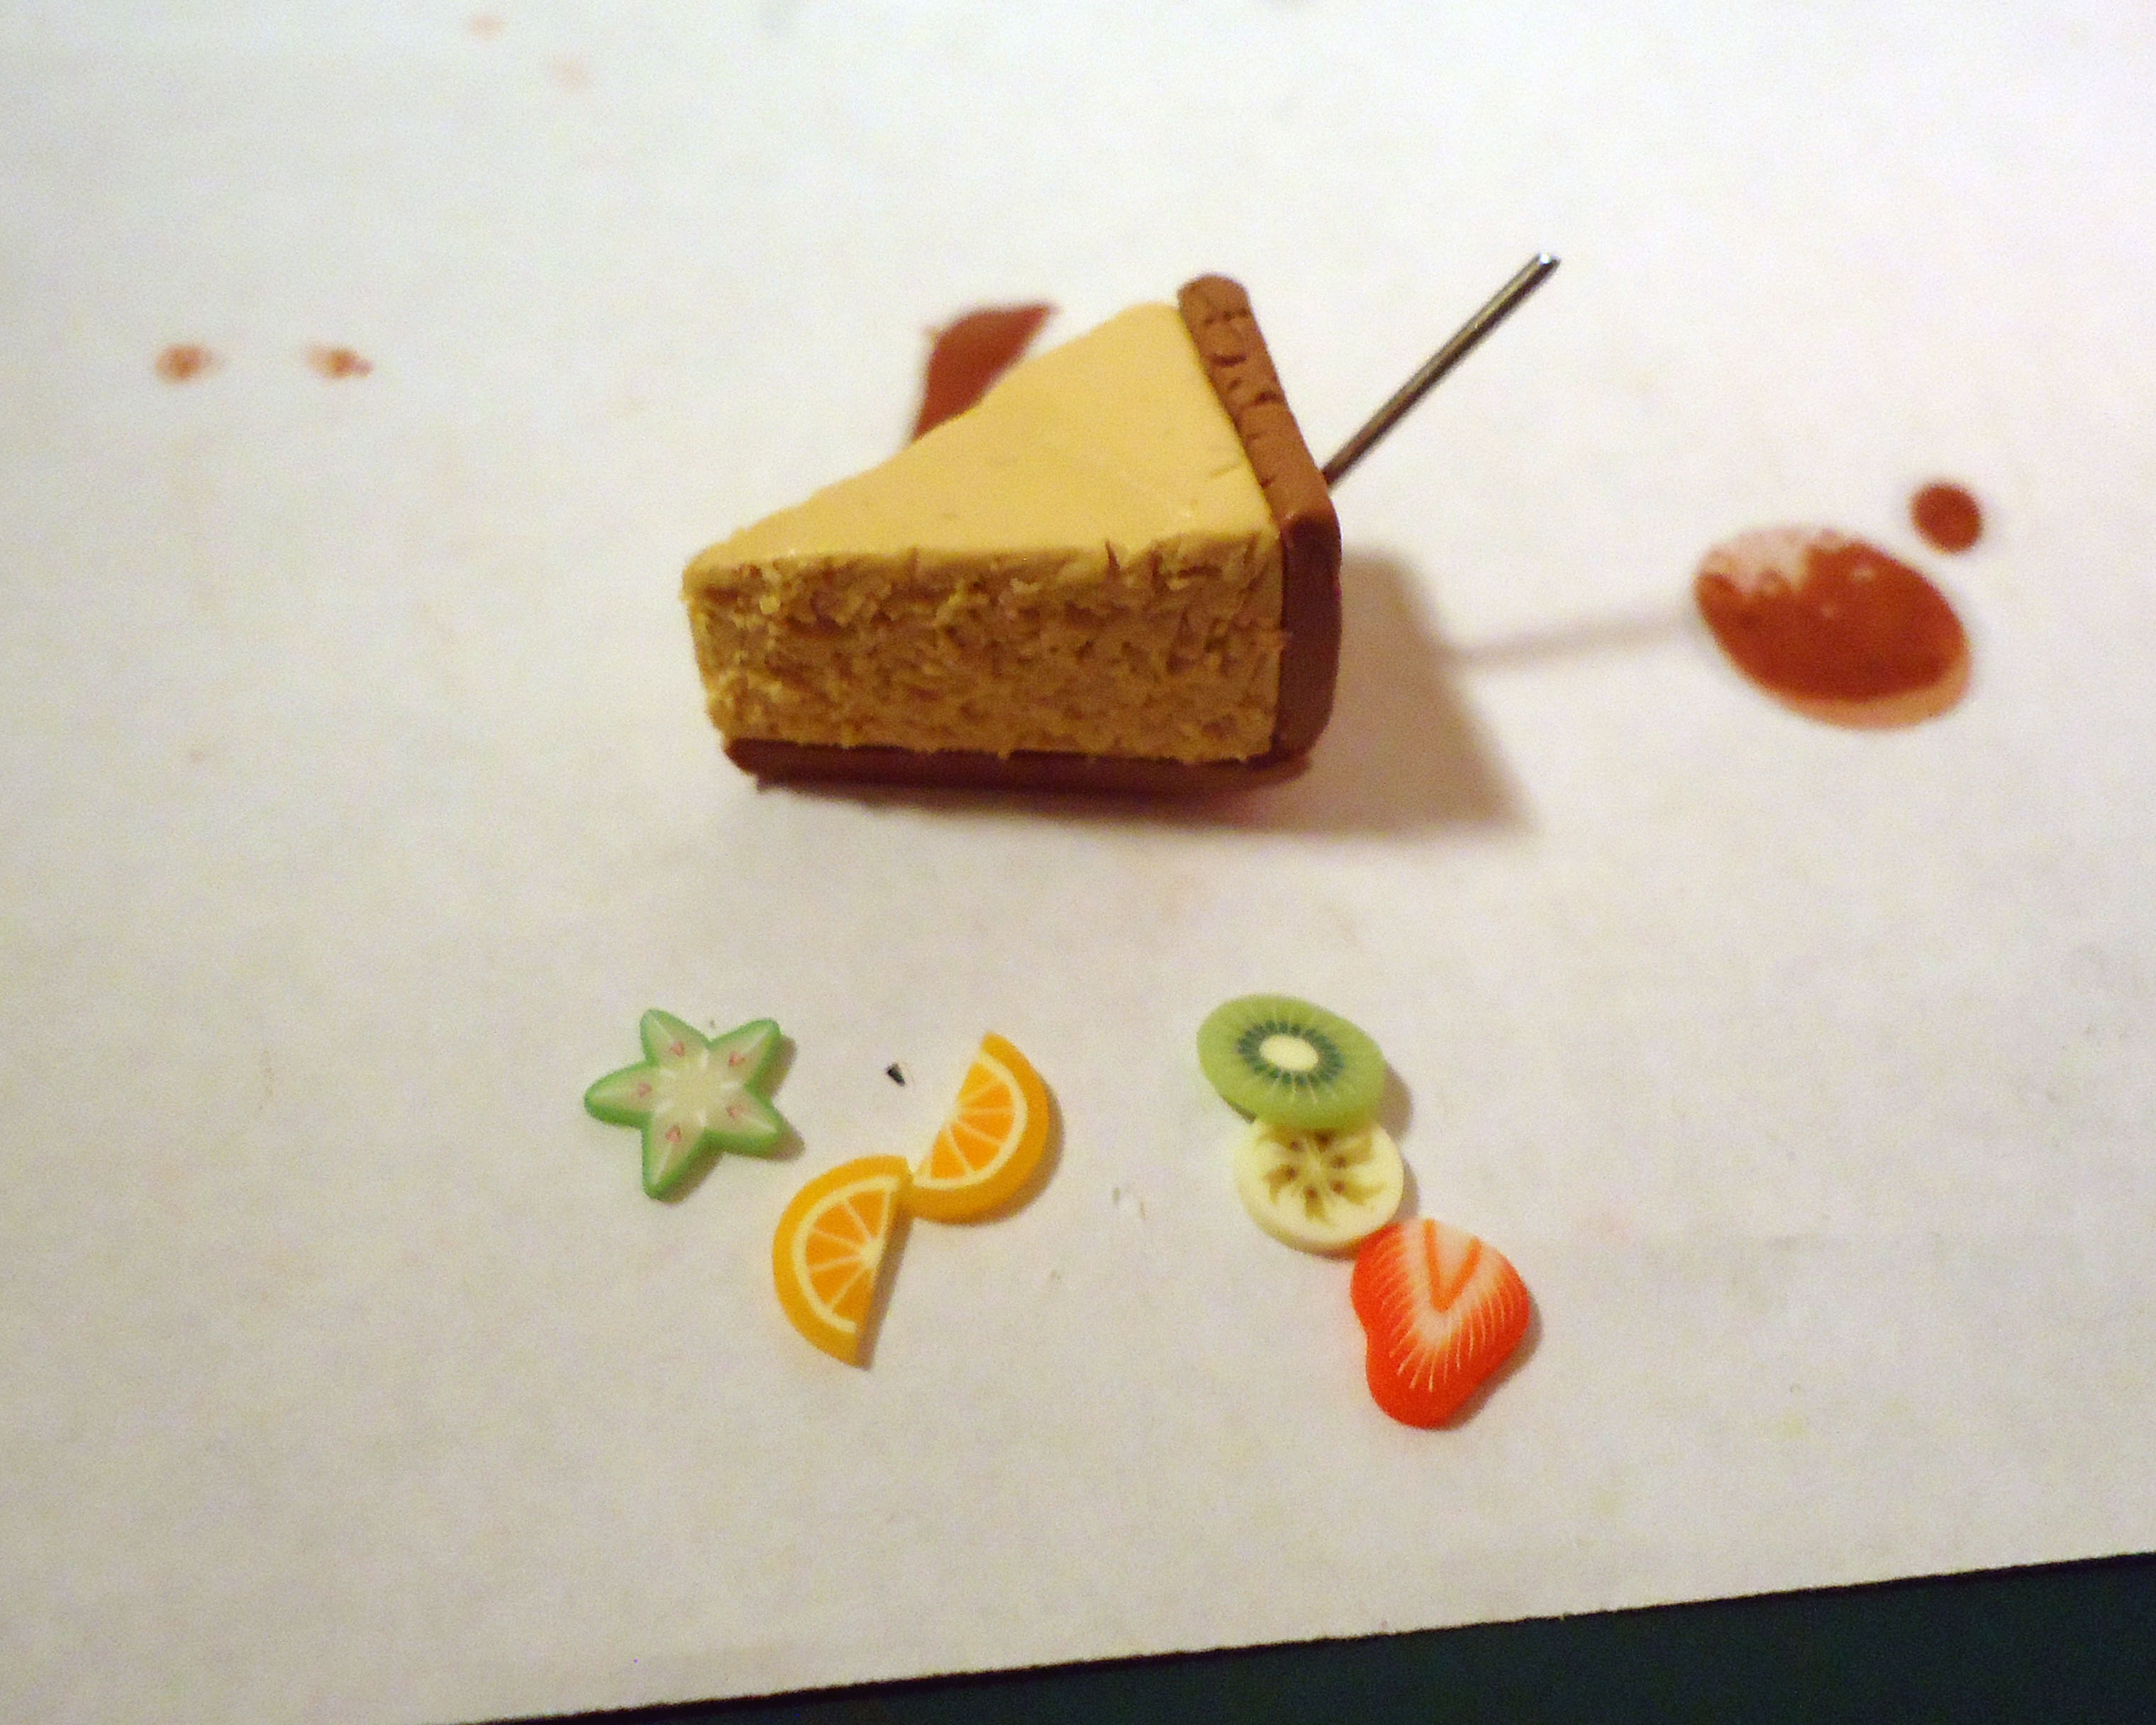
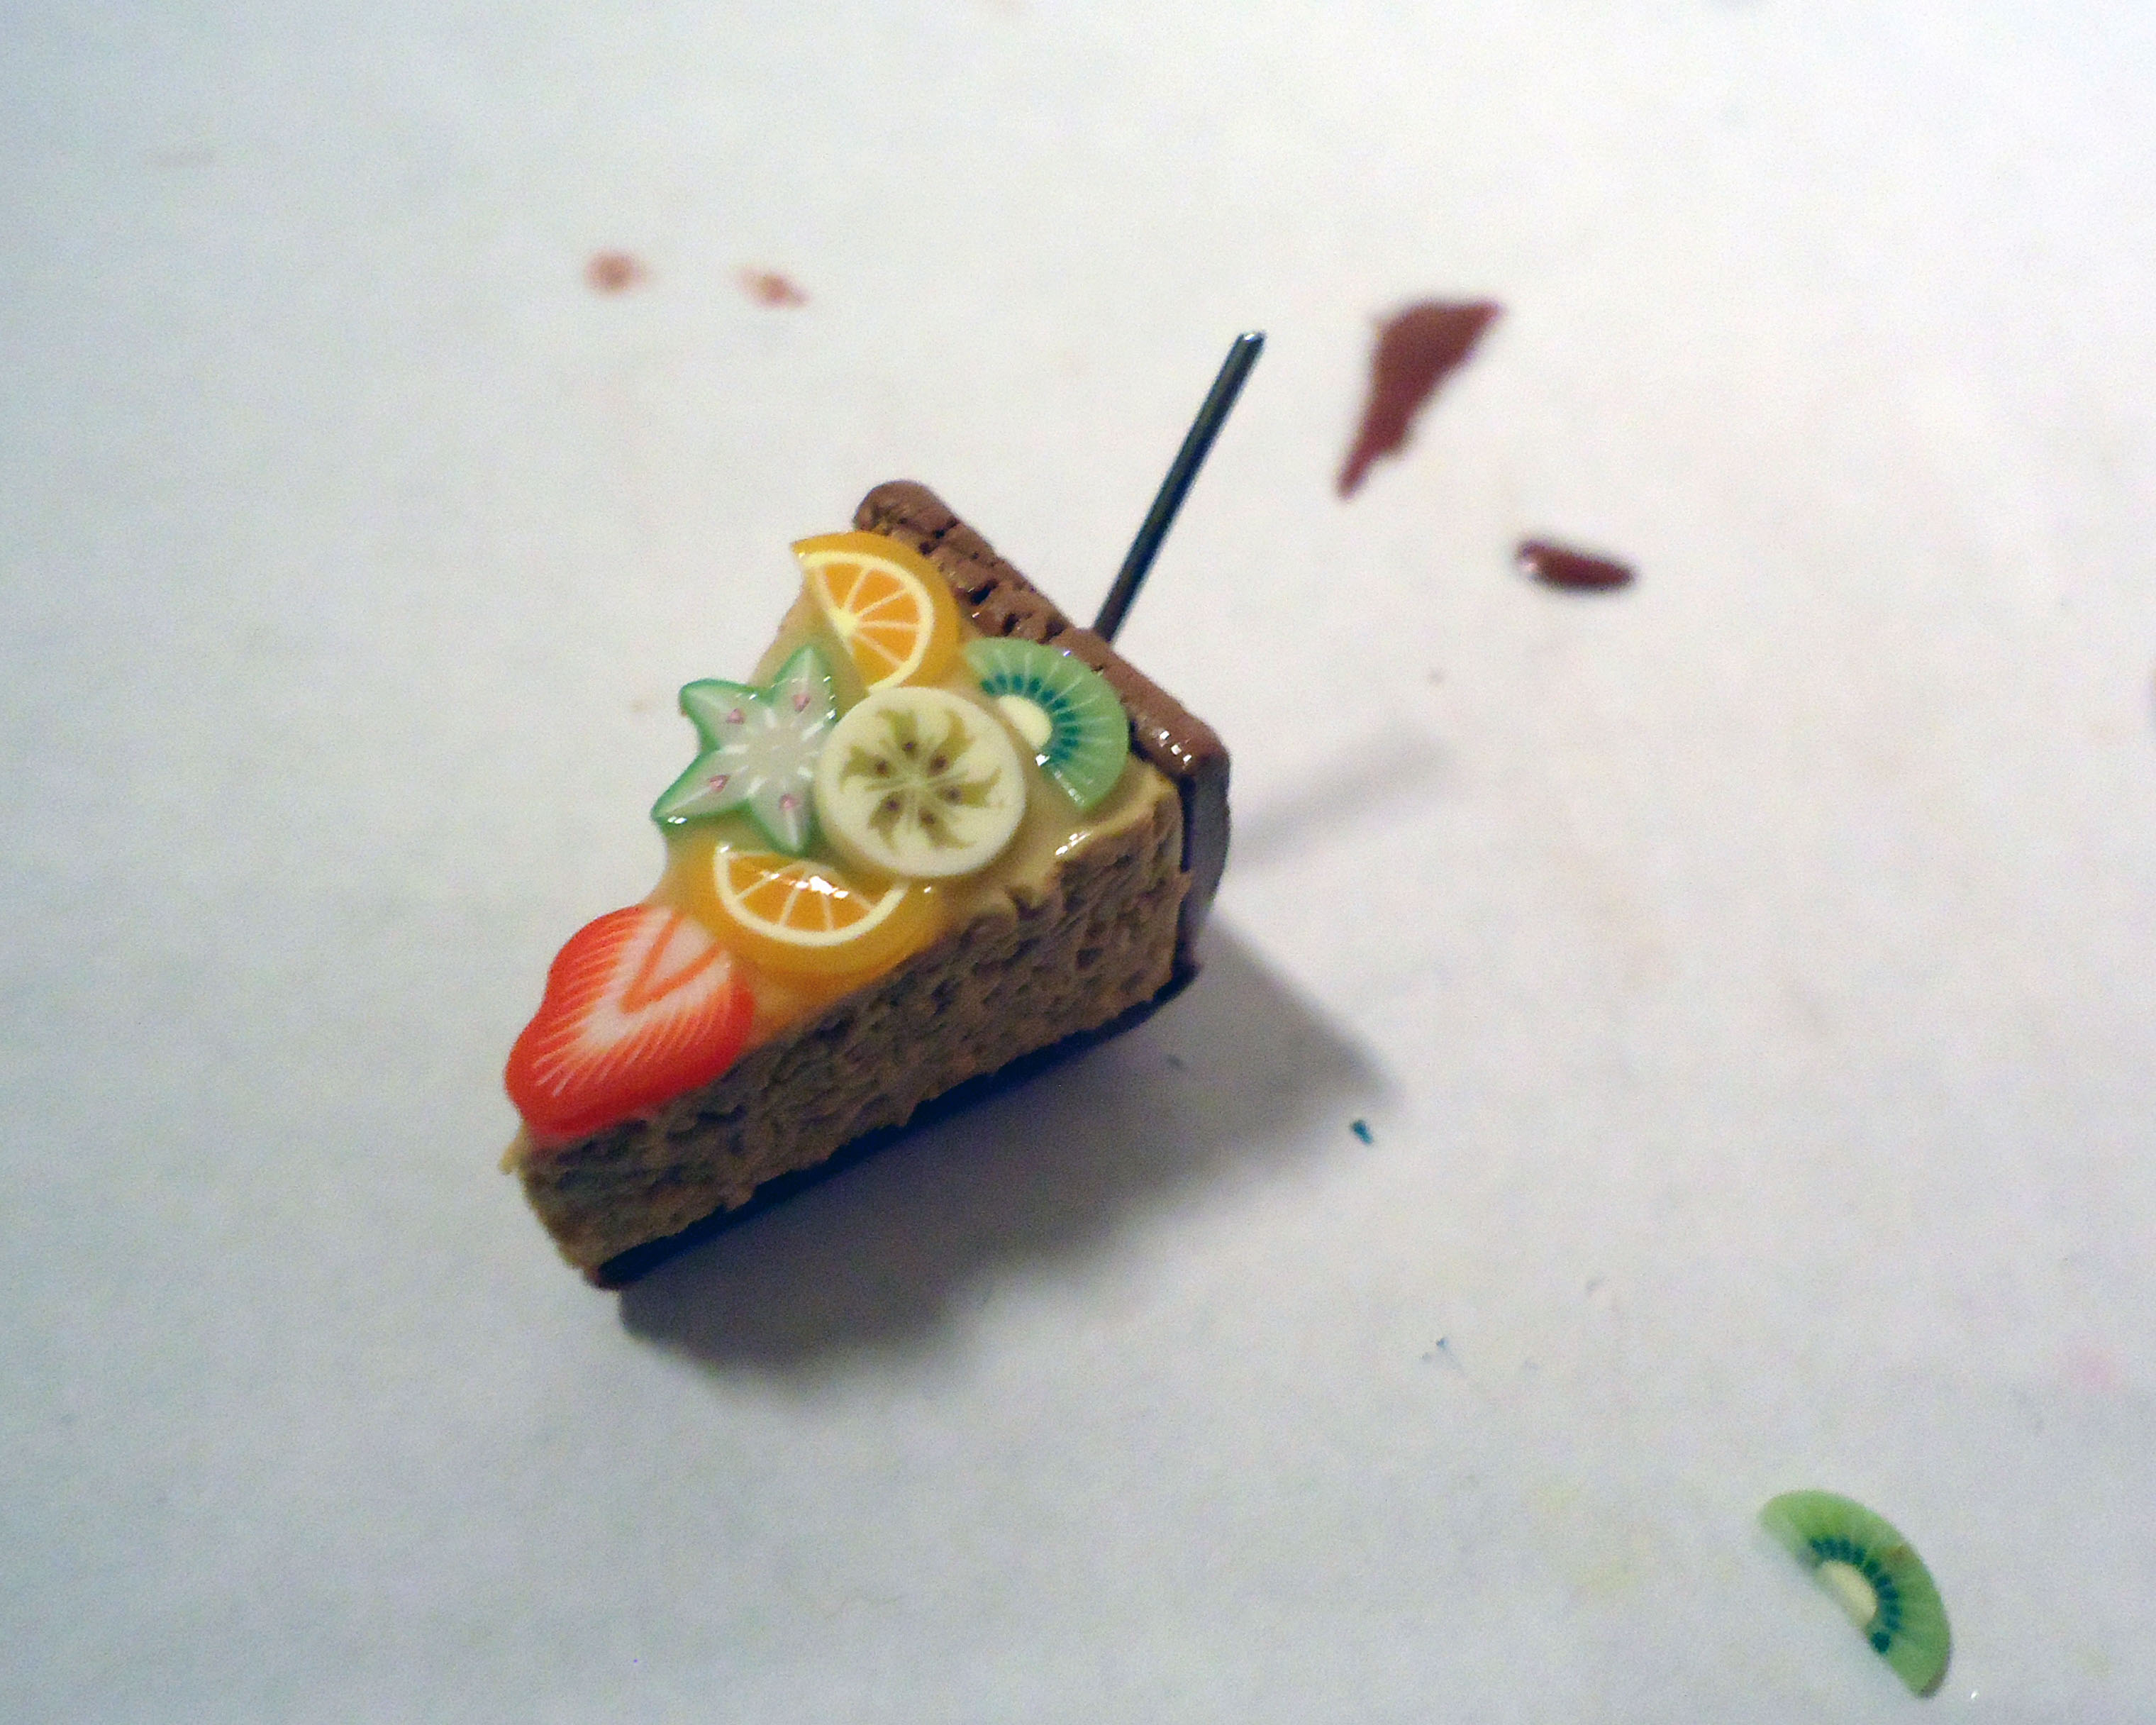
First of all, canes. They can be made by you or bought from somewhere. They're really detailed, making them look super-cool and they're easy to use! All you have to do is just sink some into the icing.
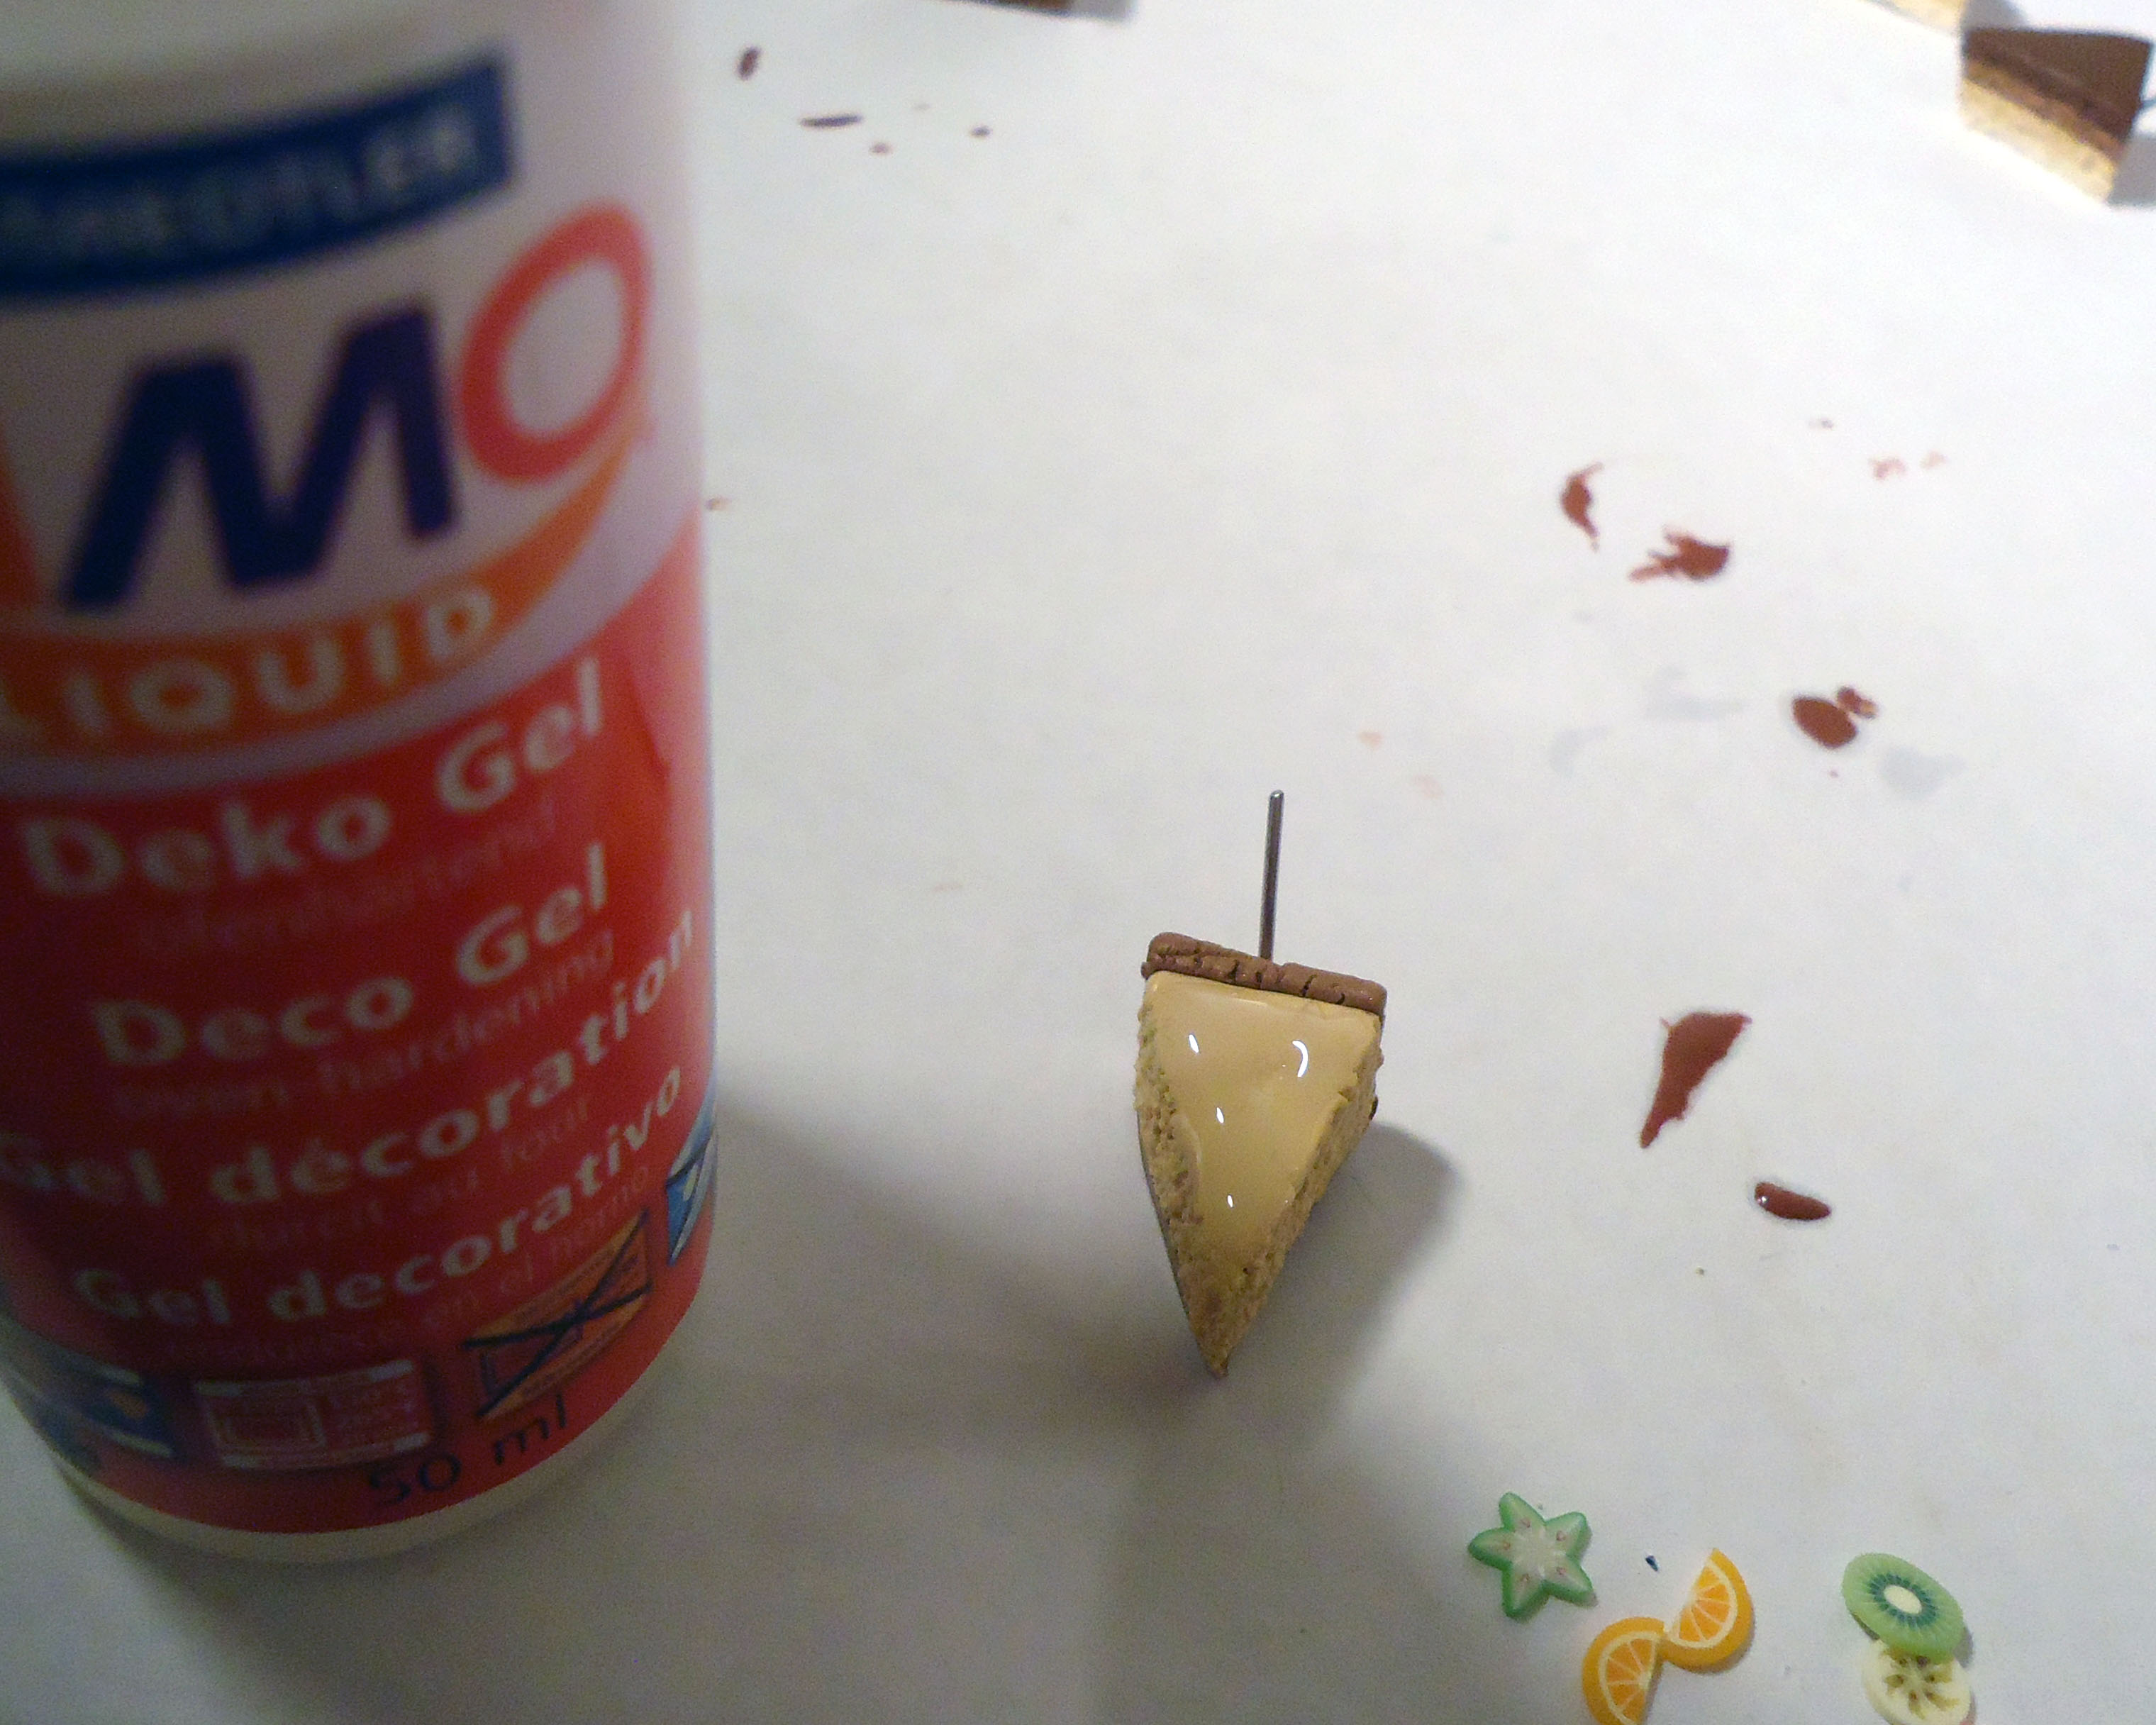
Or, if you didn't add icing, like I didn't on the full cake, you can use some Liquid Fimo to stick them on. I don't think TLS is as translucent as FL, so I advise to use that. You can pour some on top of the fruit too, for extra strength and realistic..-ness?
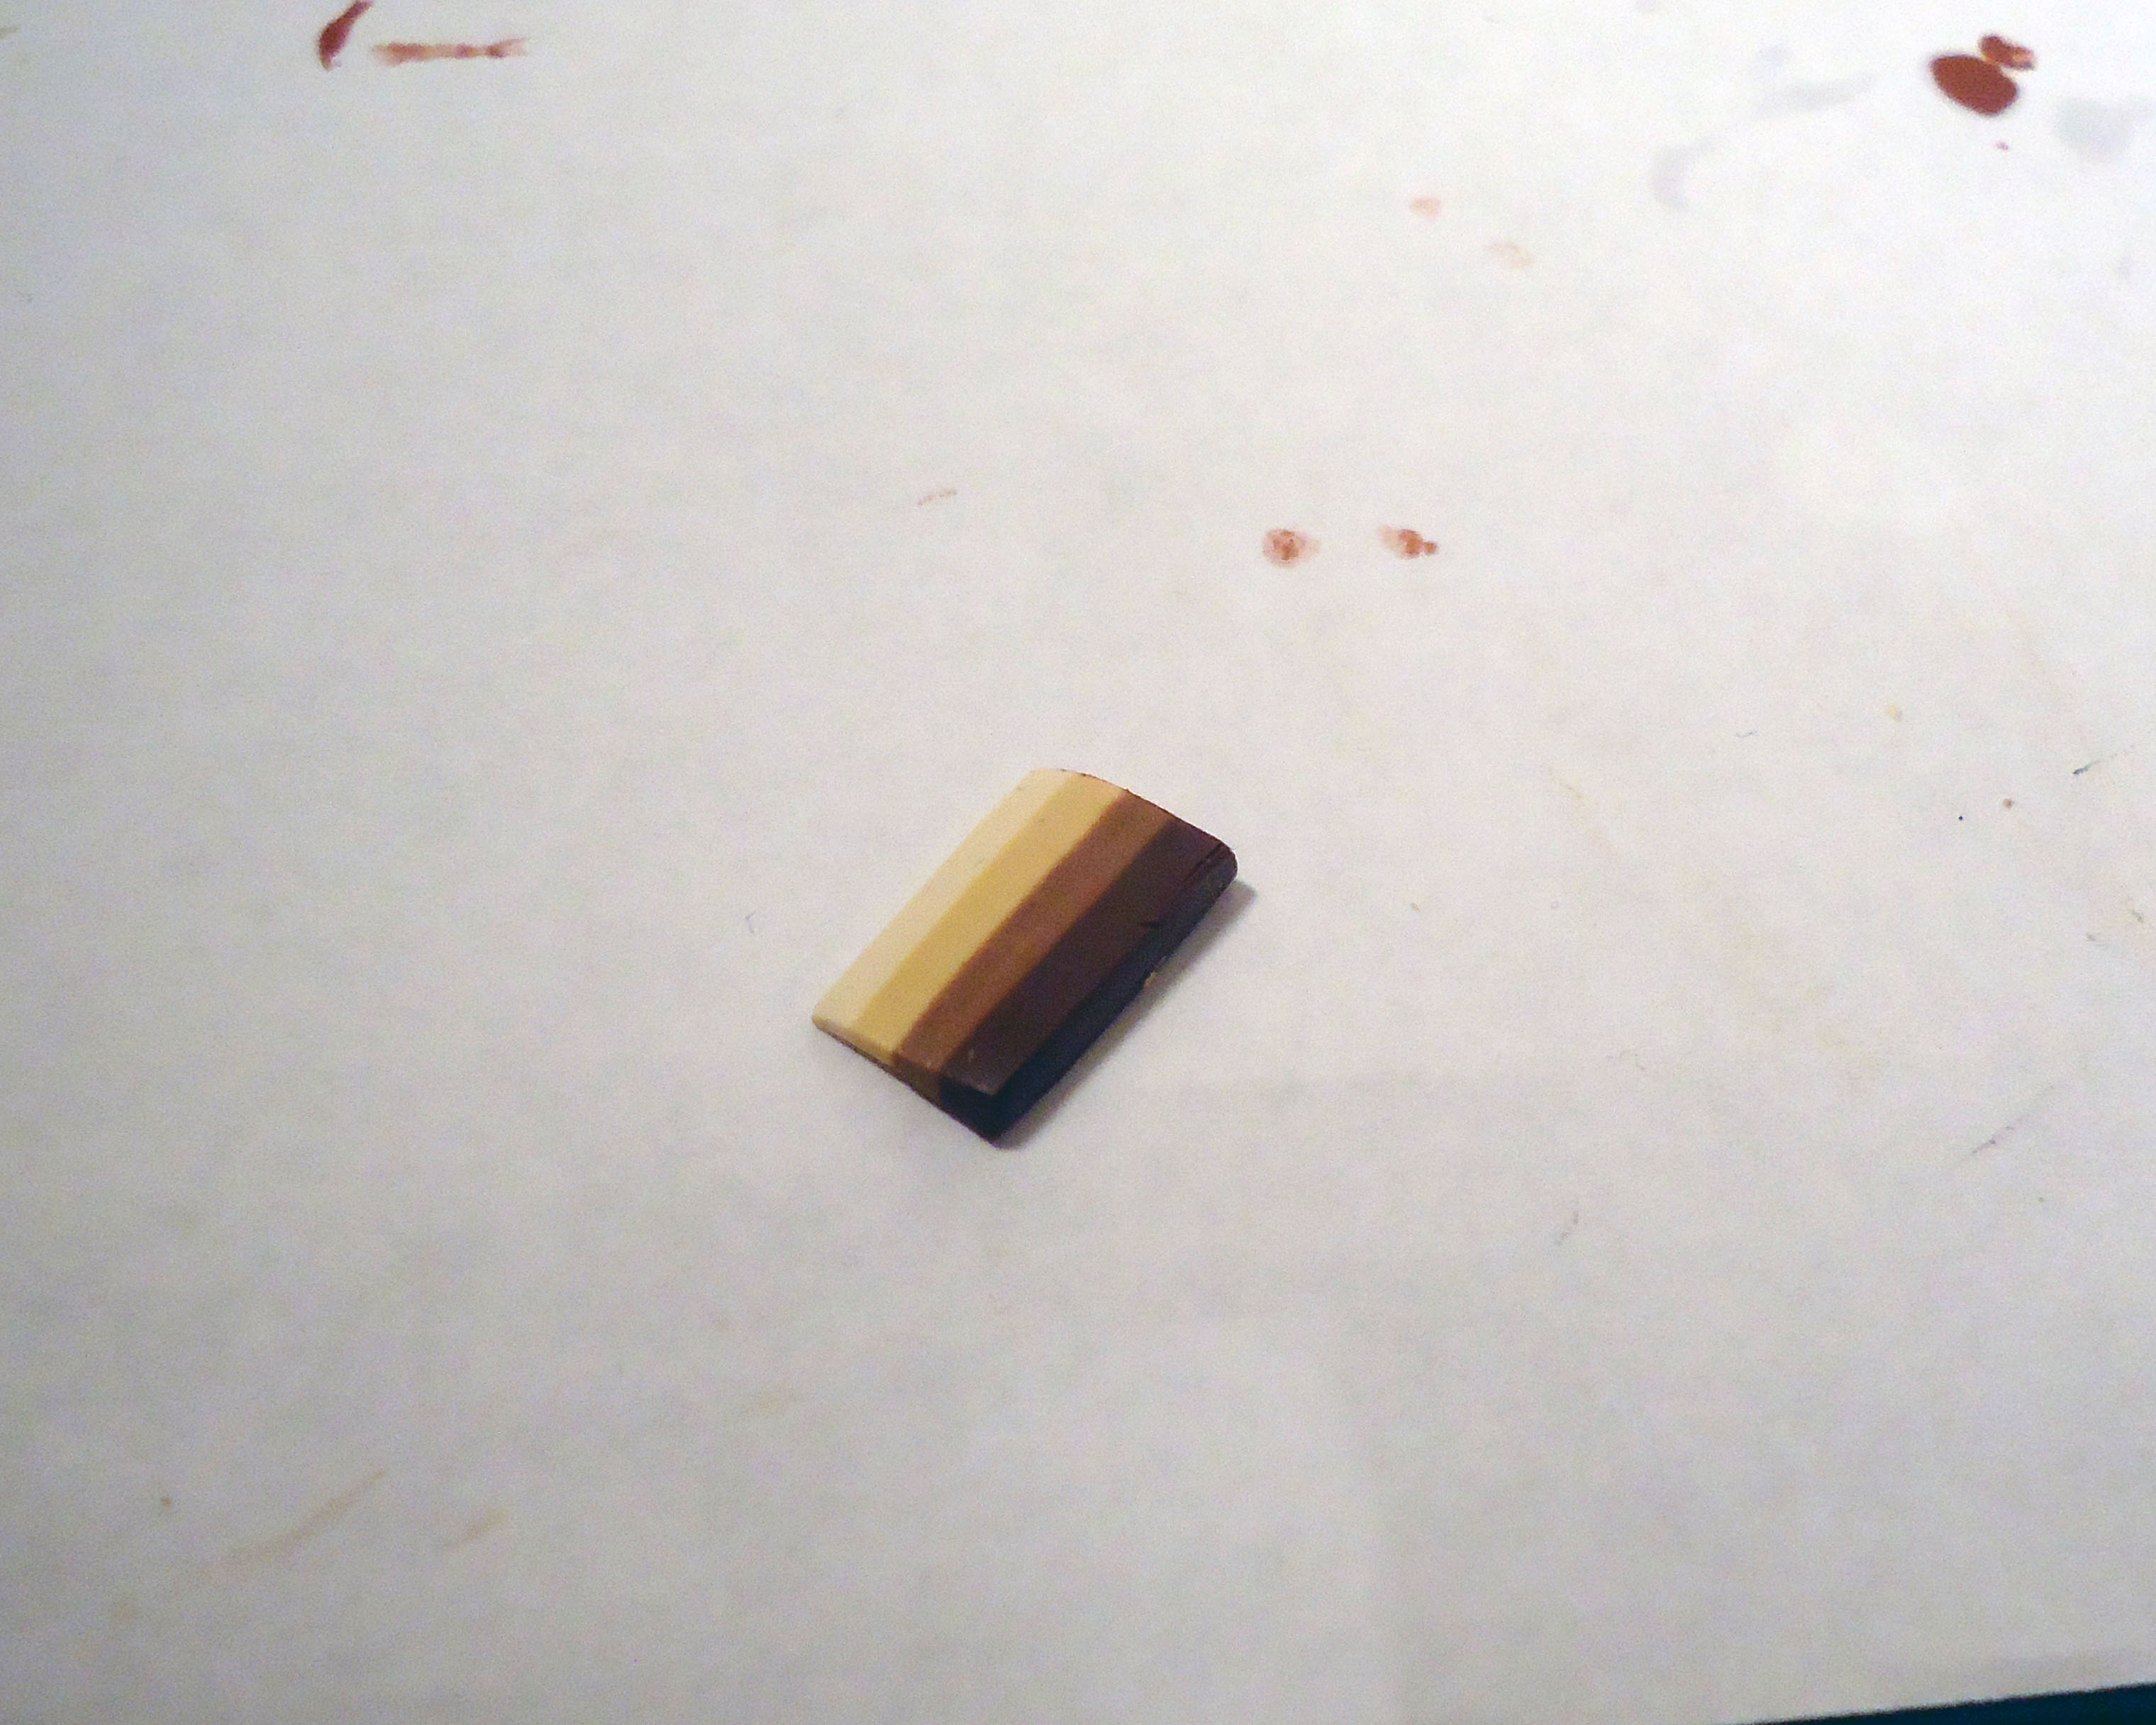
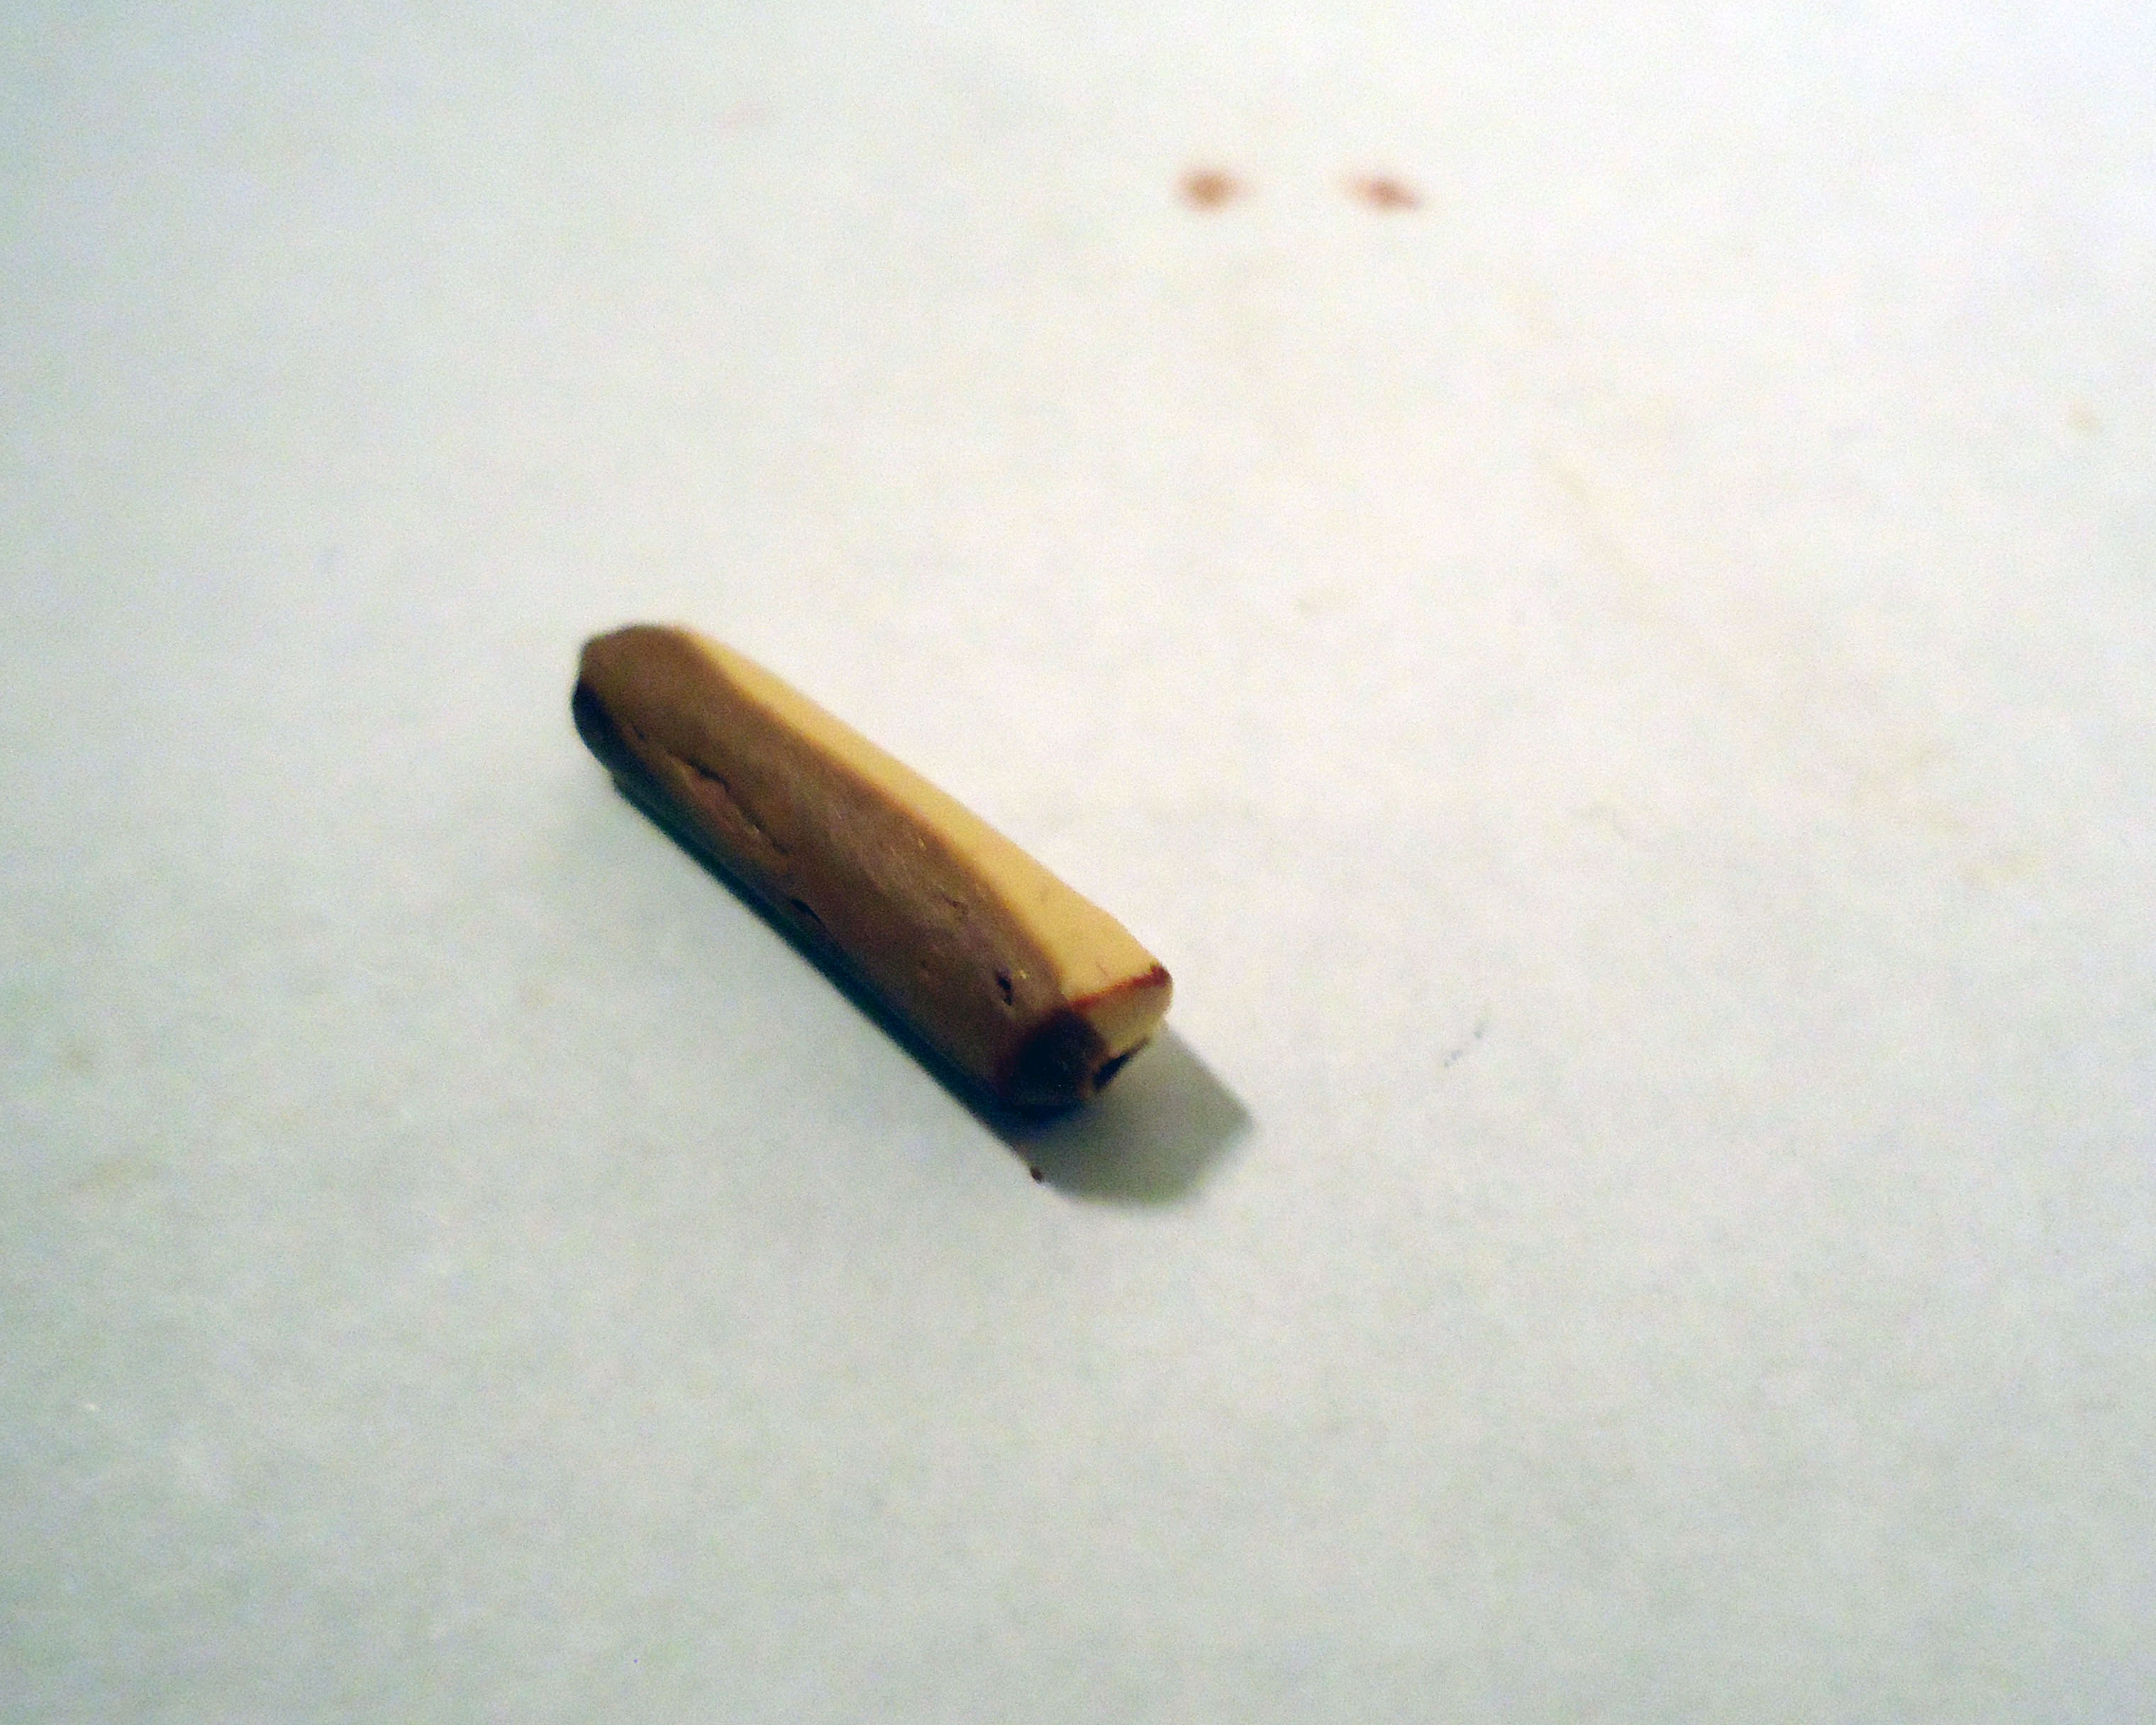
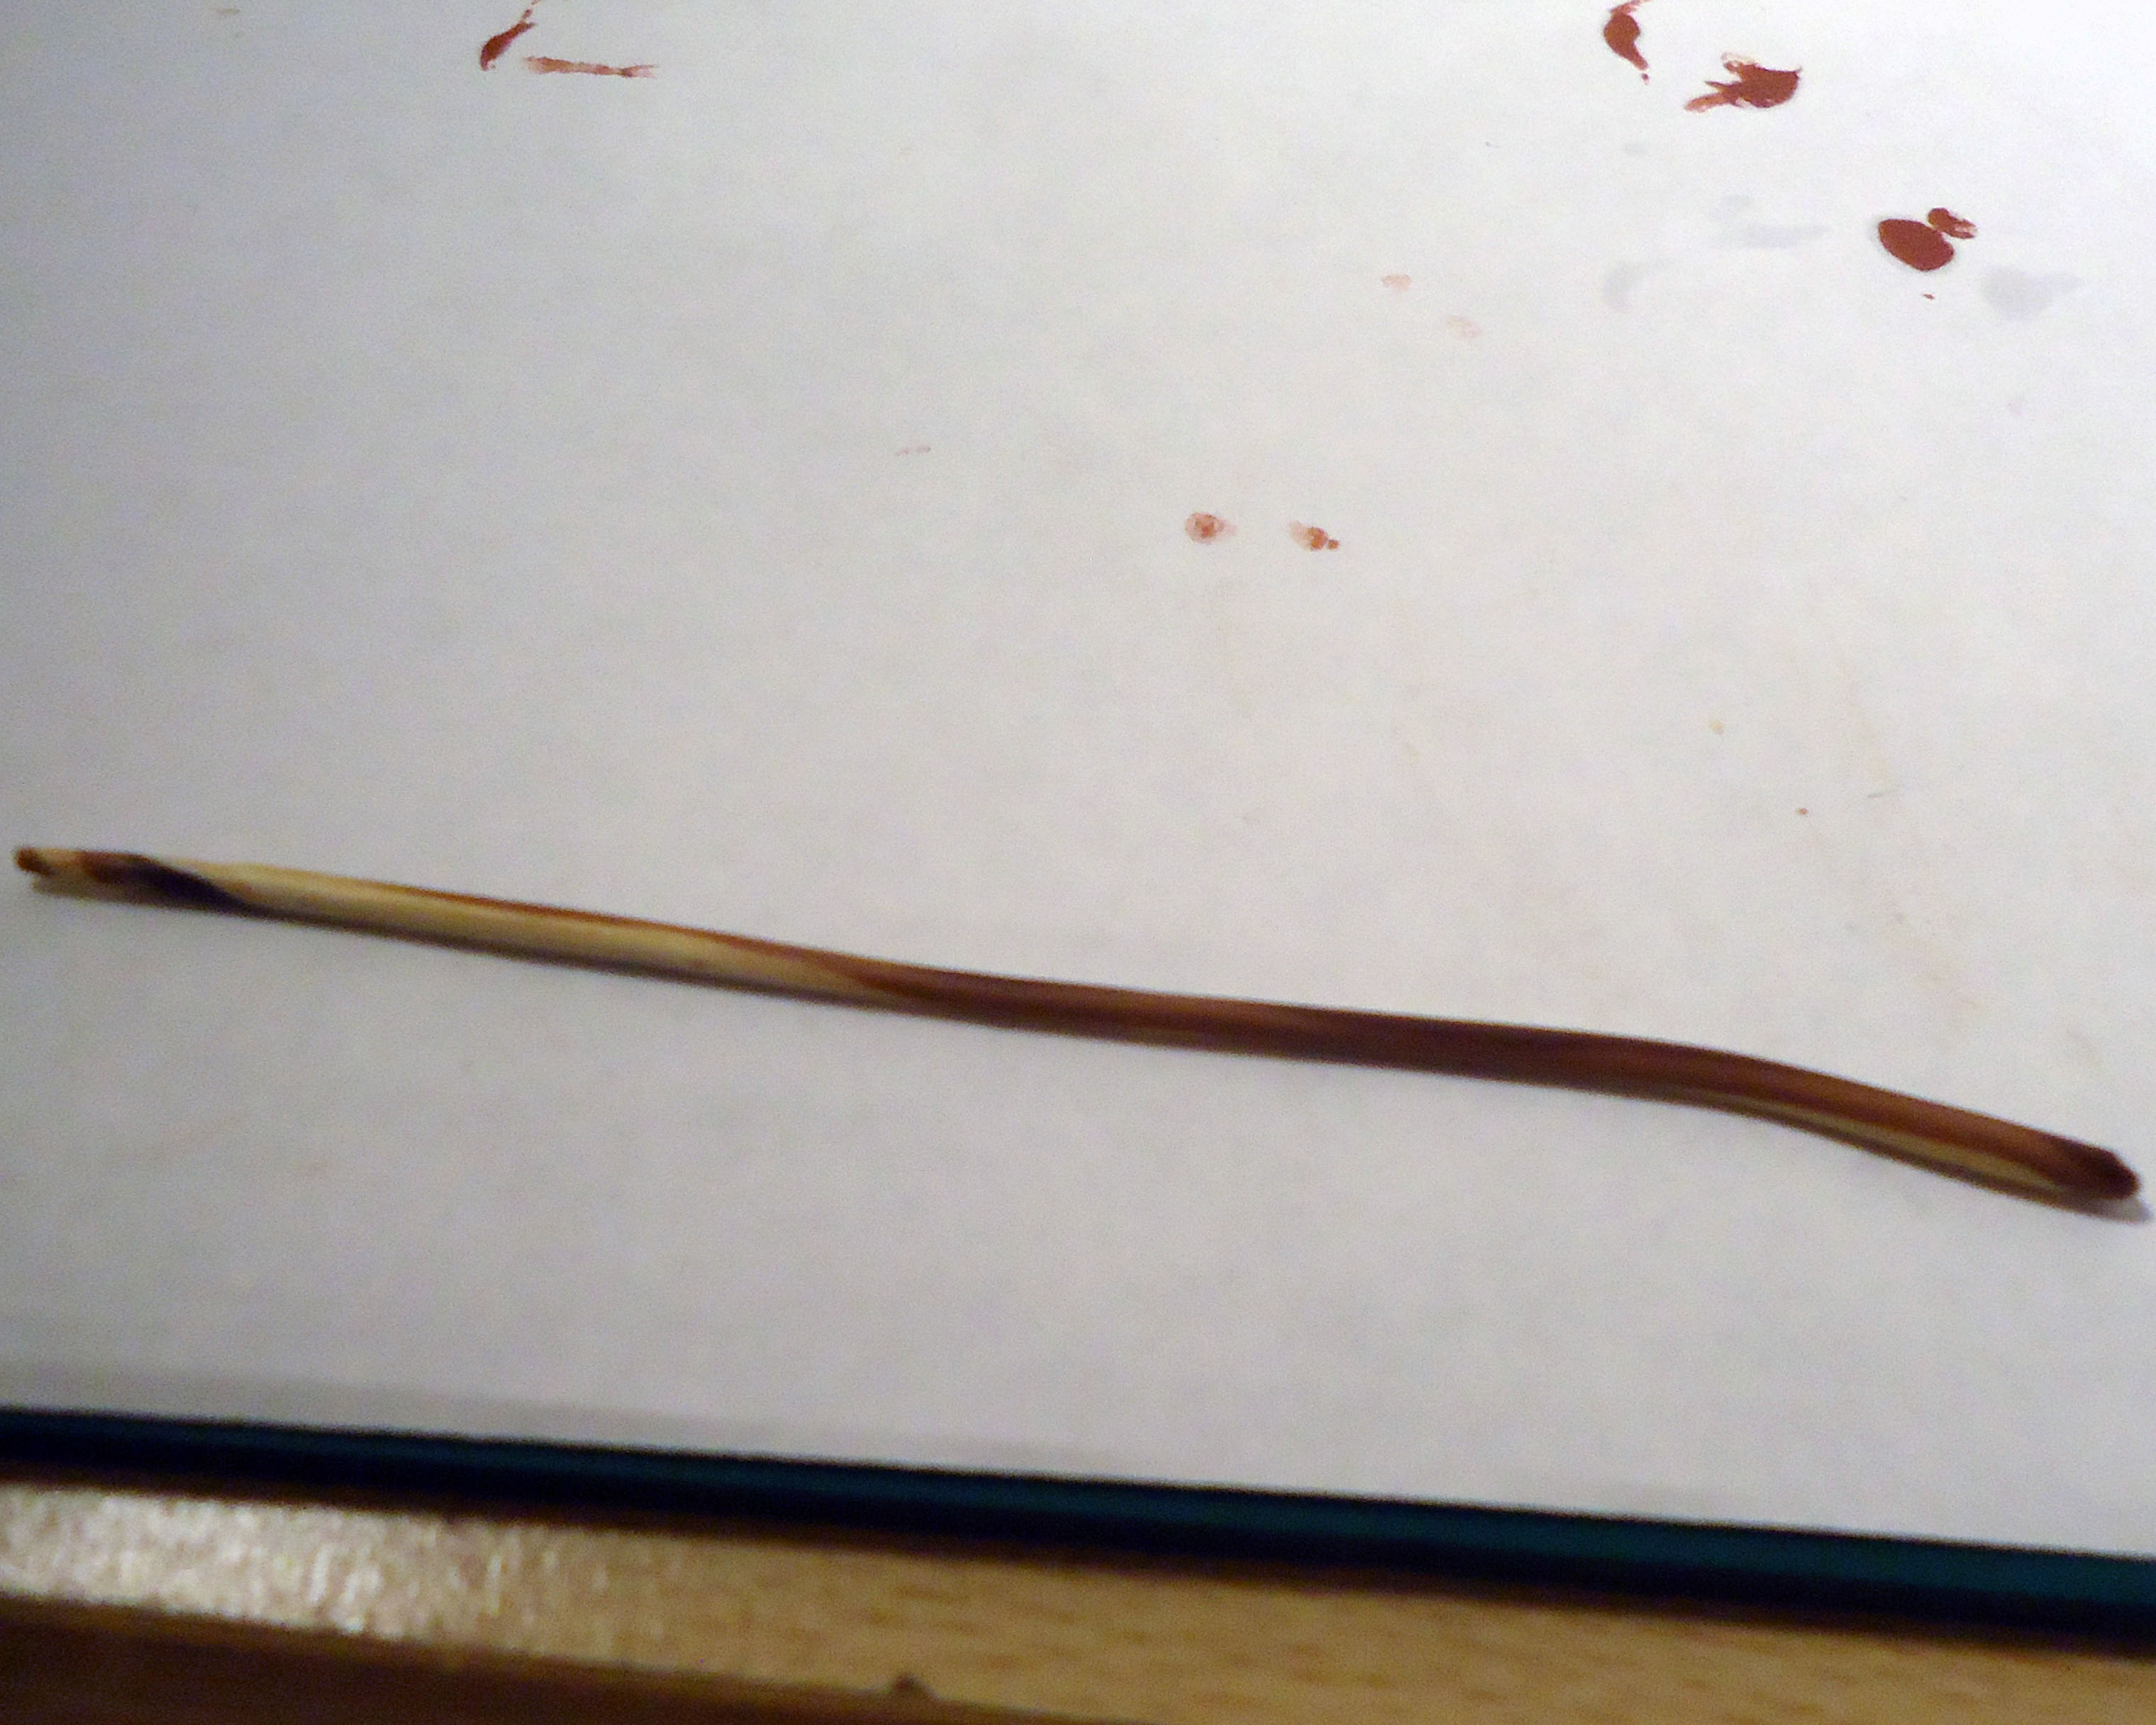
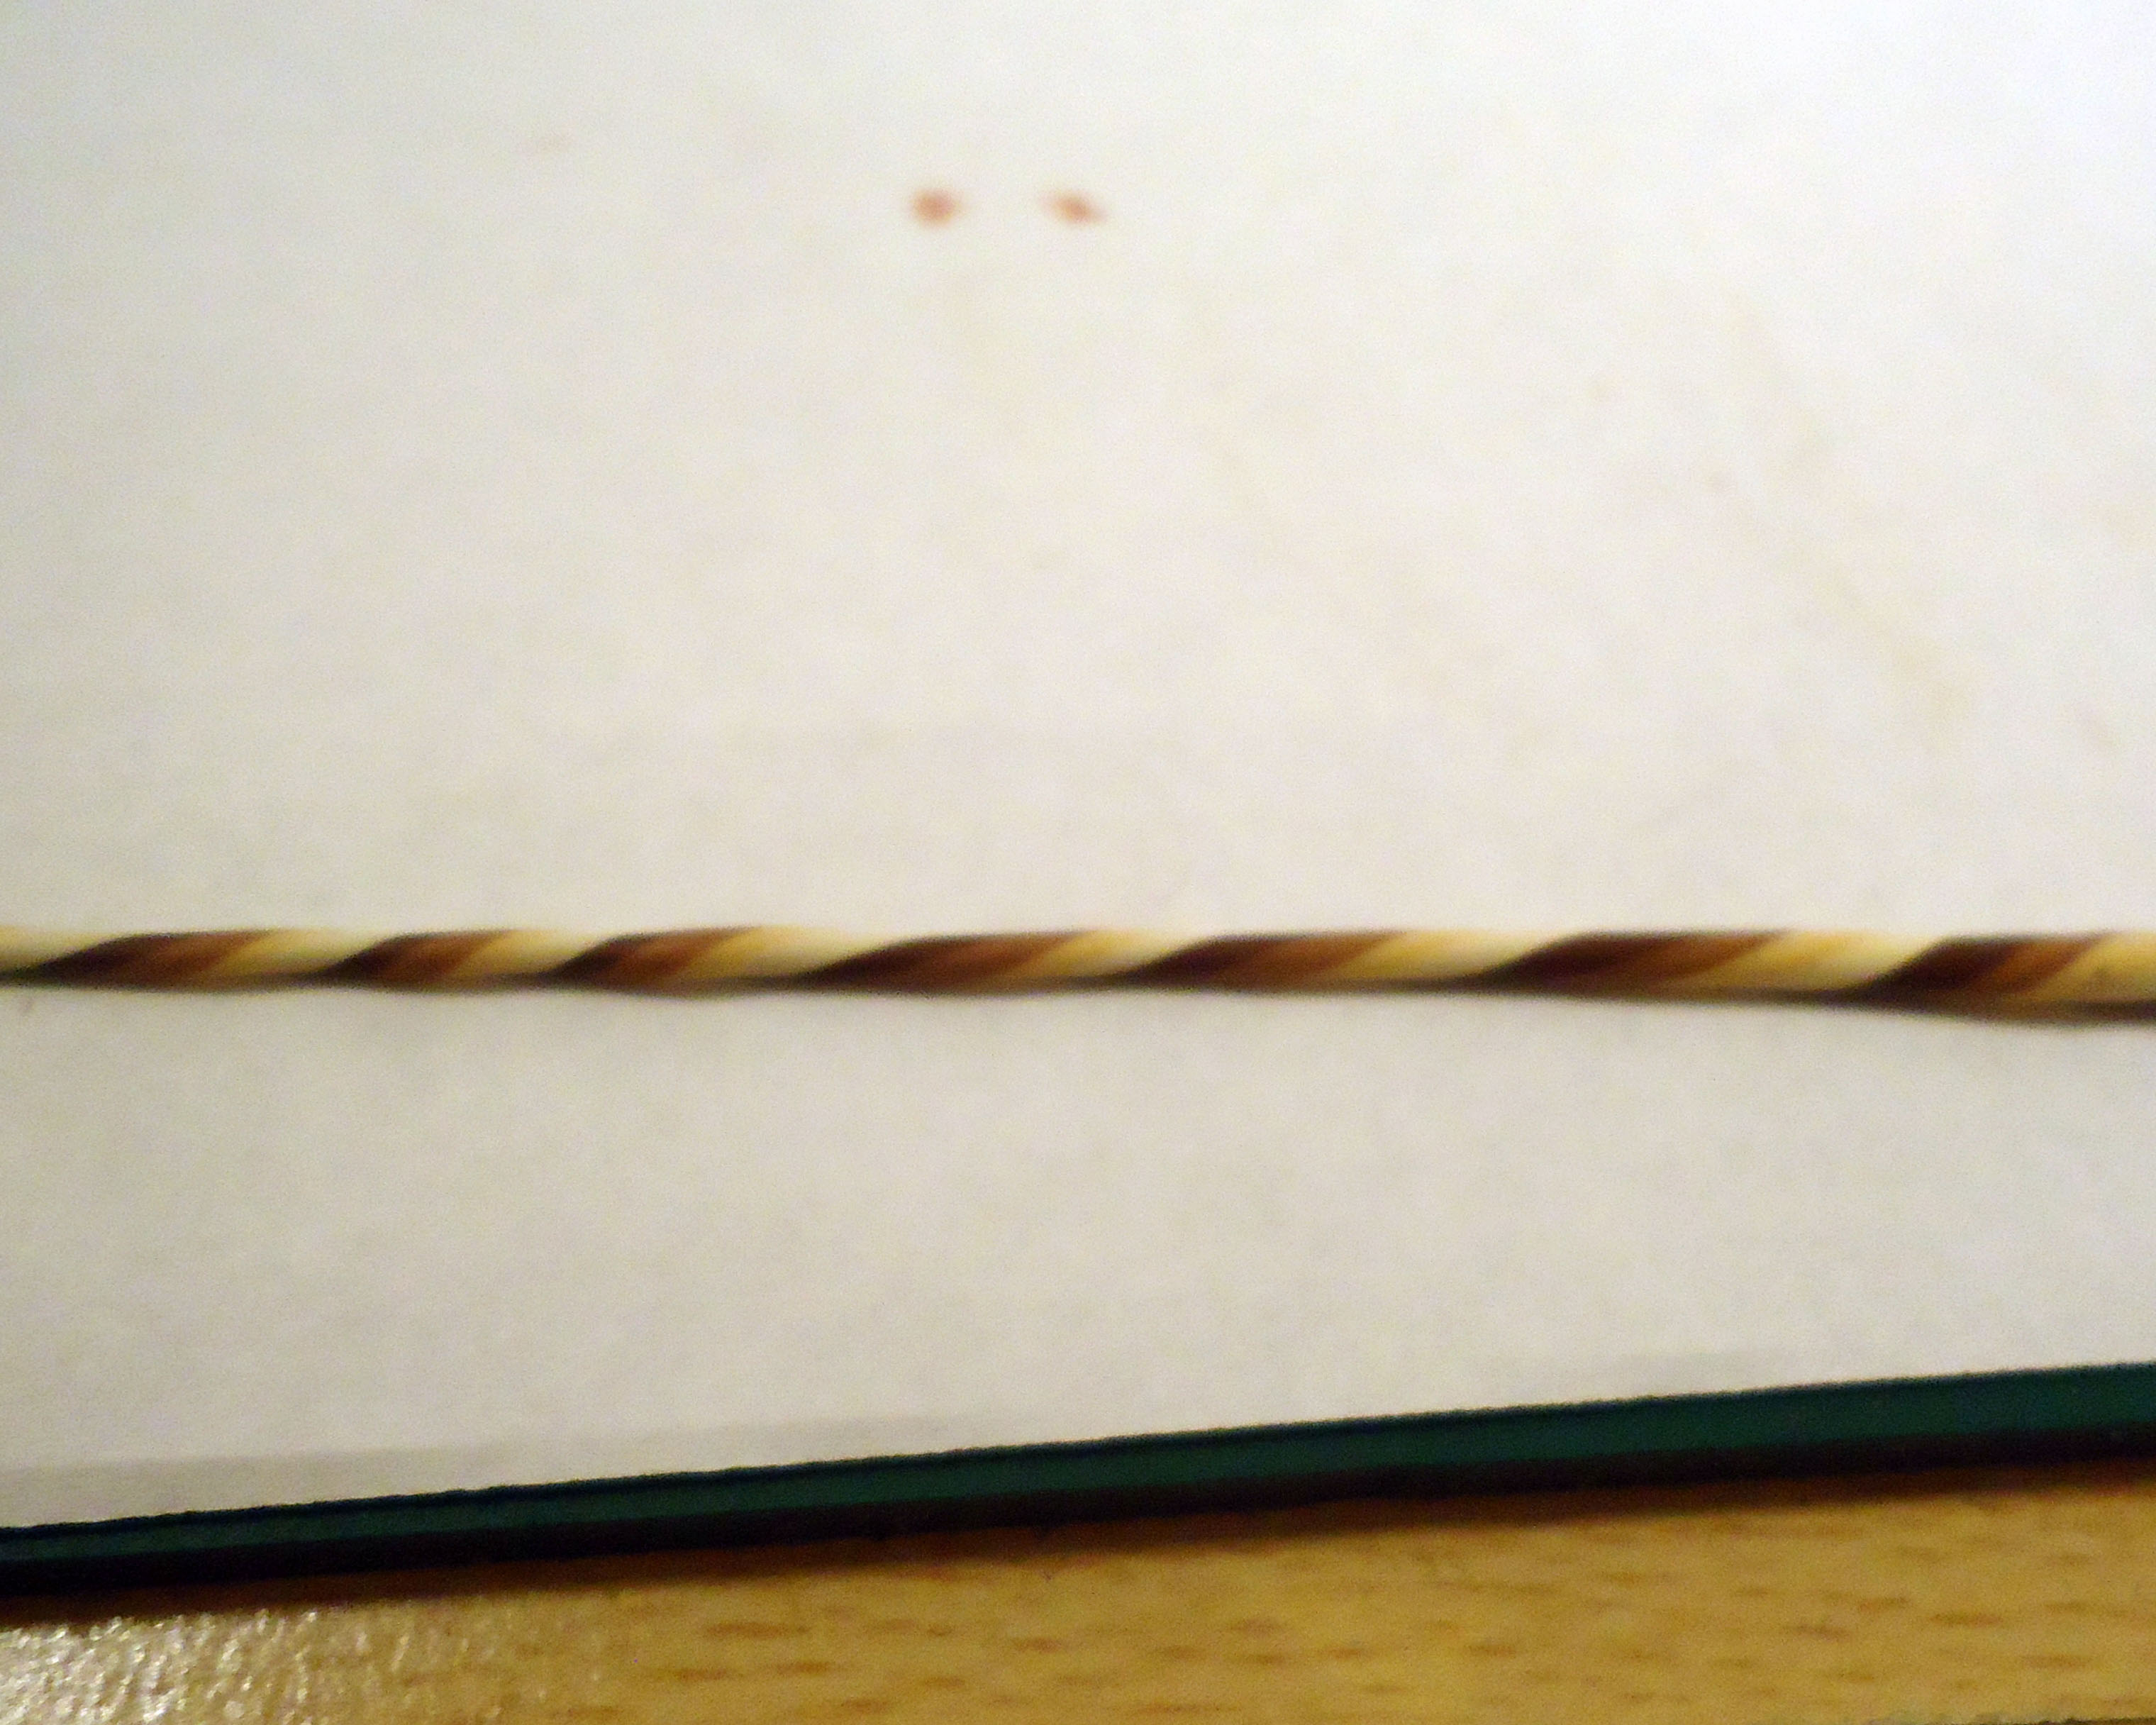
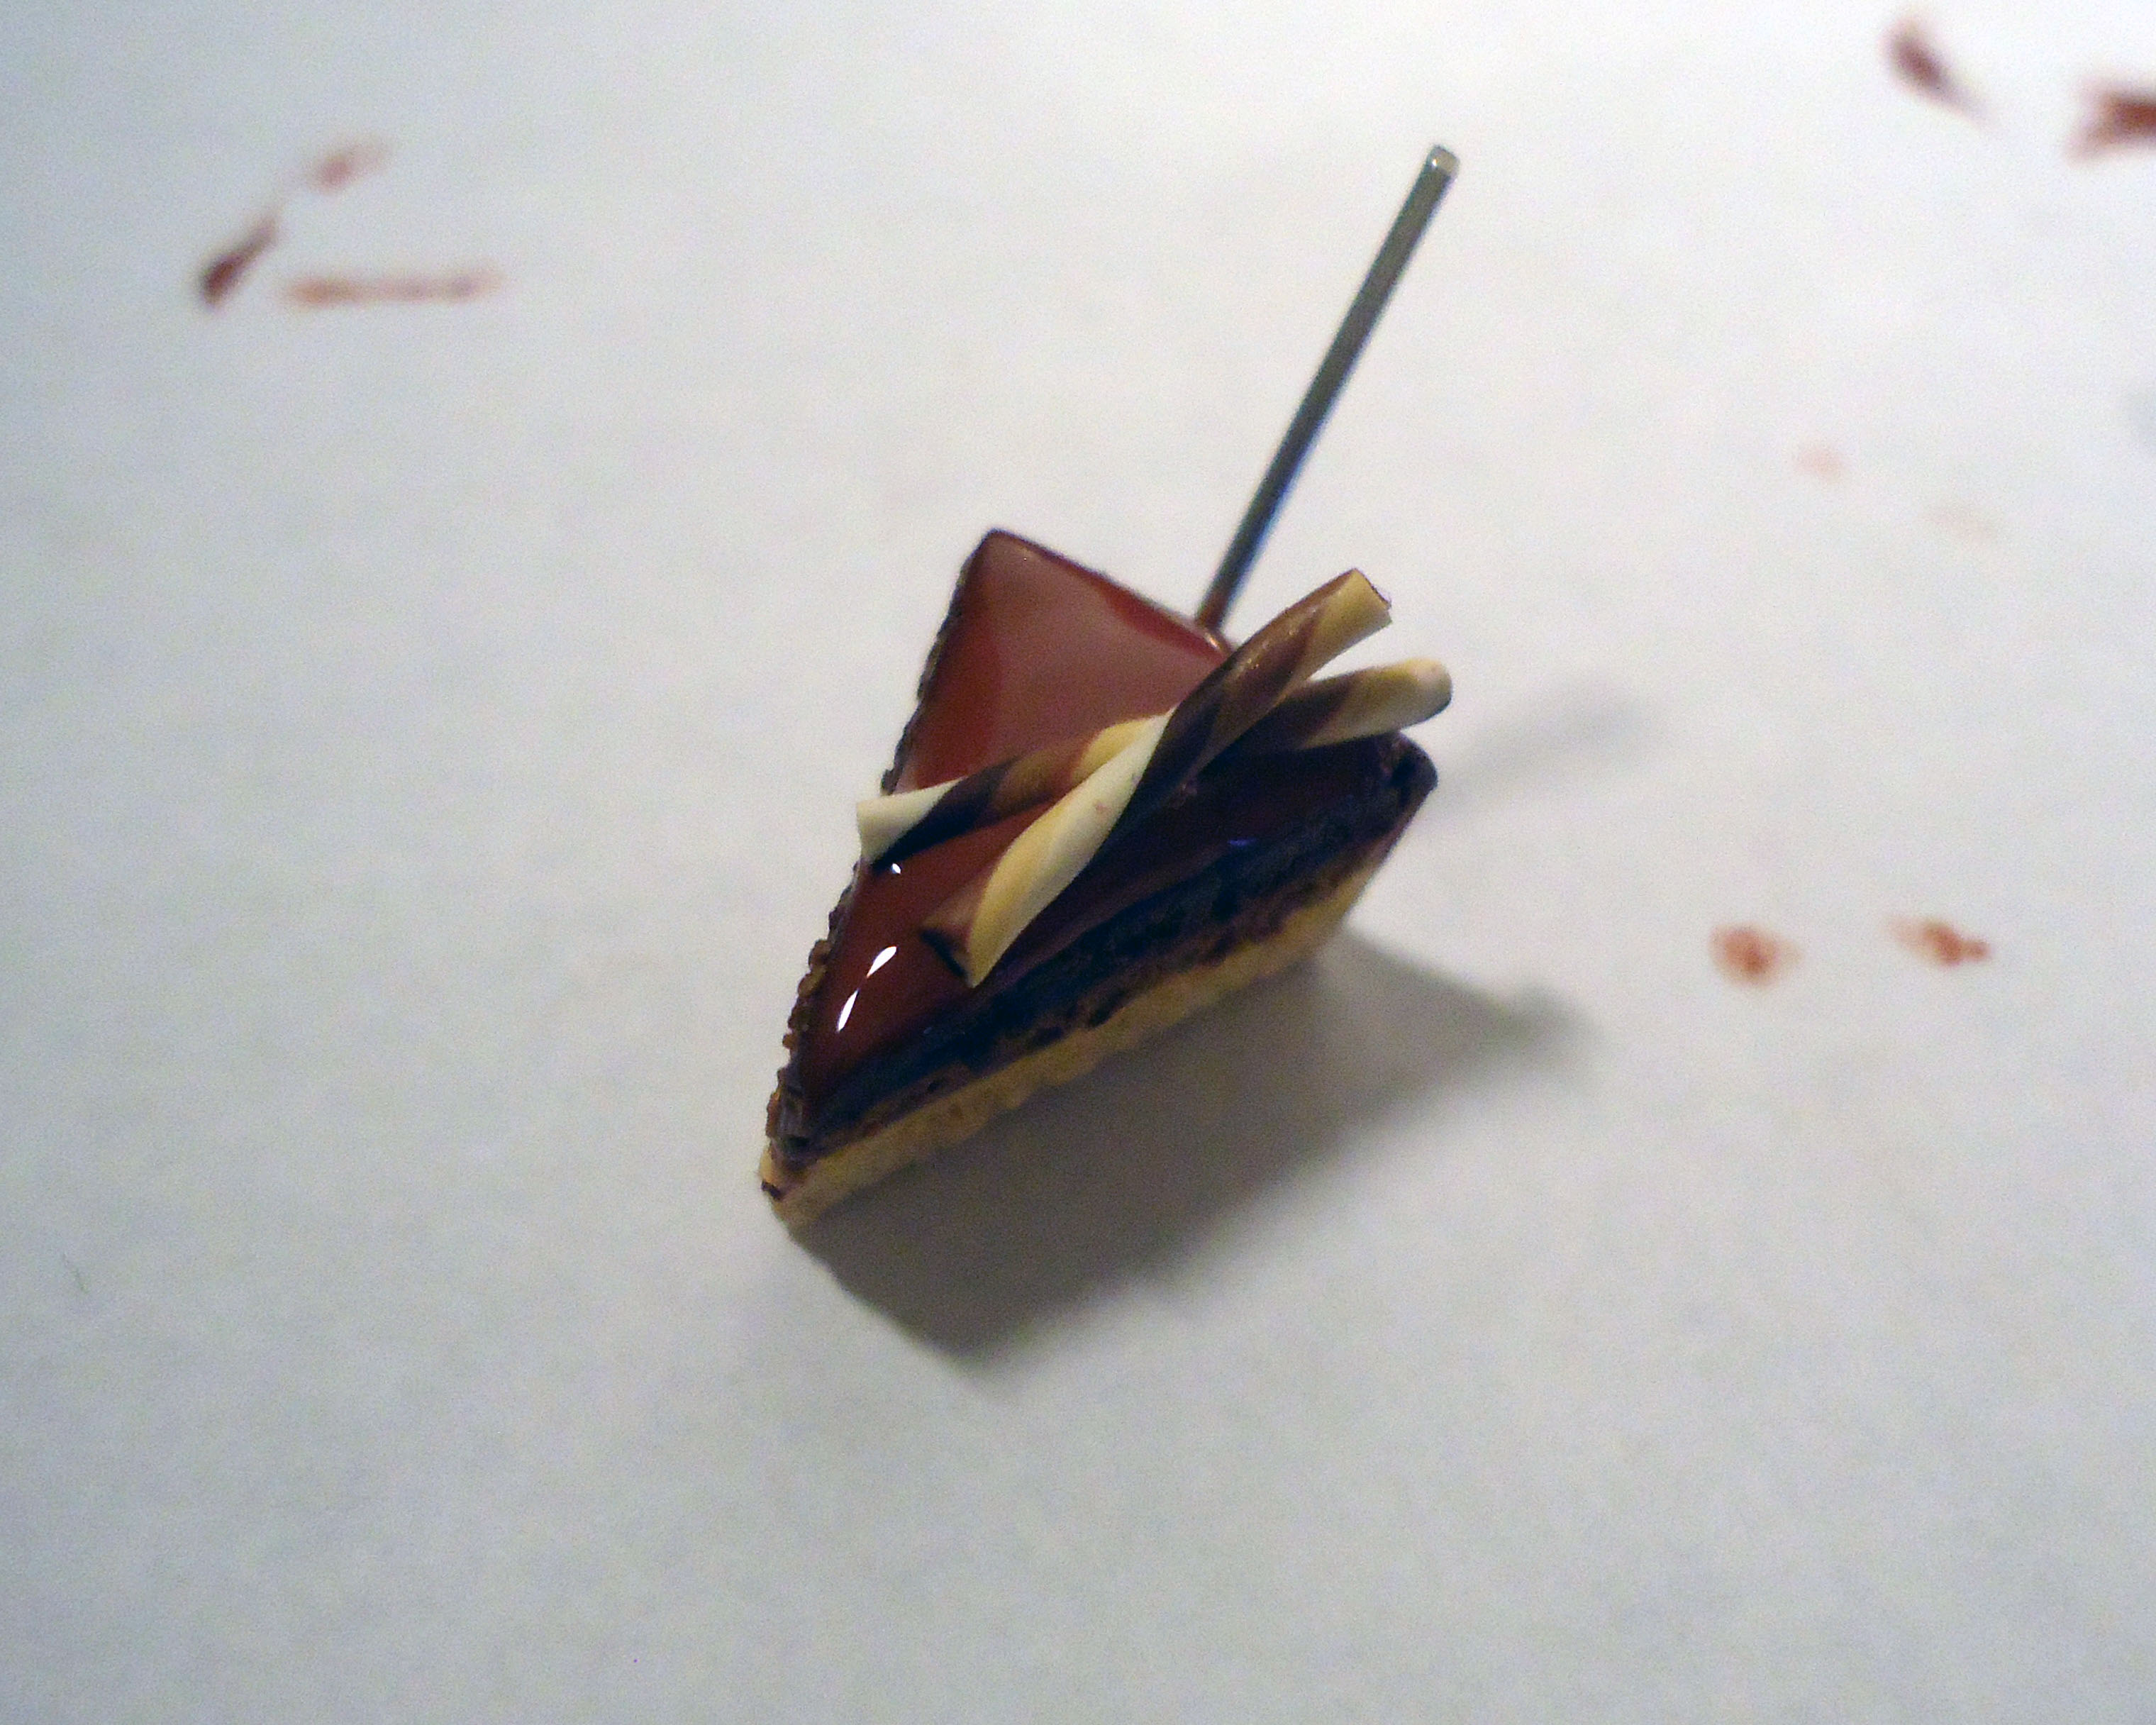
Now what did I tell you about throwing out matching clay parts!
You can use them to make nice sticks for your cake. You know, those chocolate-waffle sticks?
All you gotta do is roll and twist!
You can use them to make nice sticks for your cake. You know, those chocolate-waffle sticks?
All you gotta do is roll and twist!
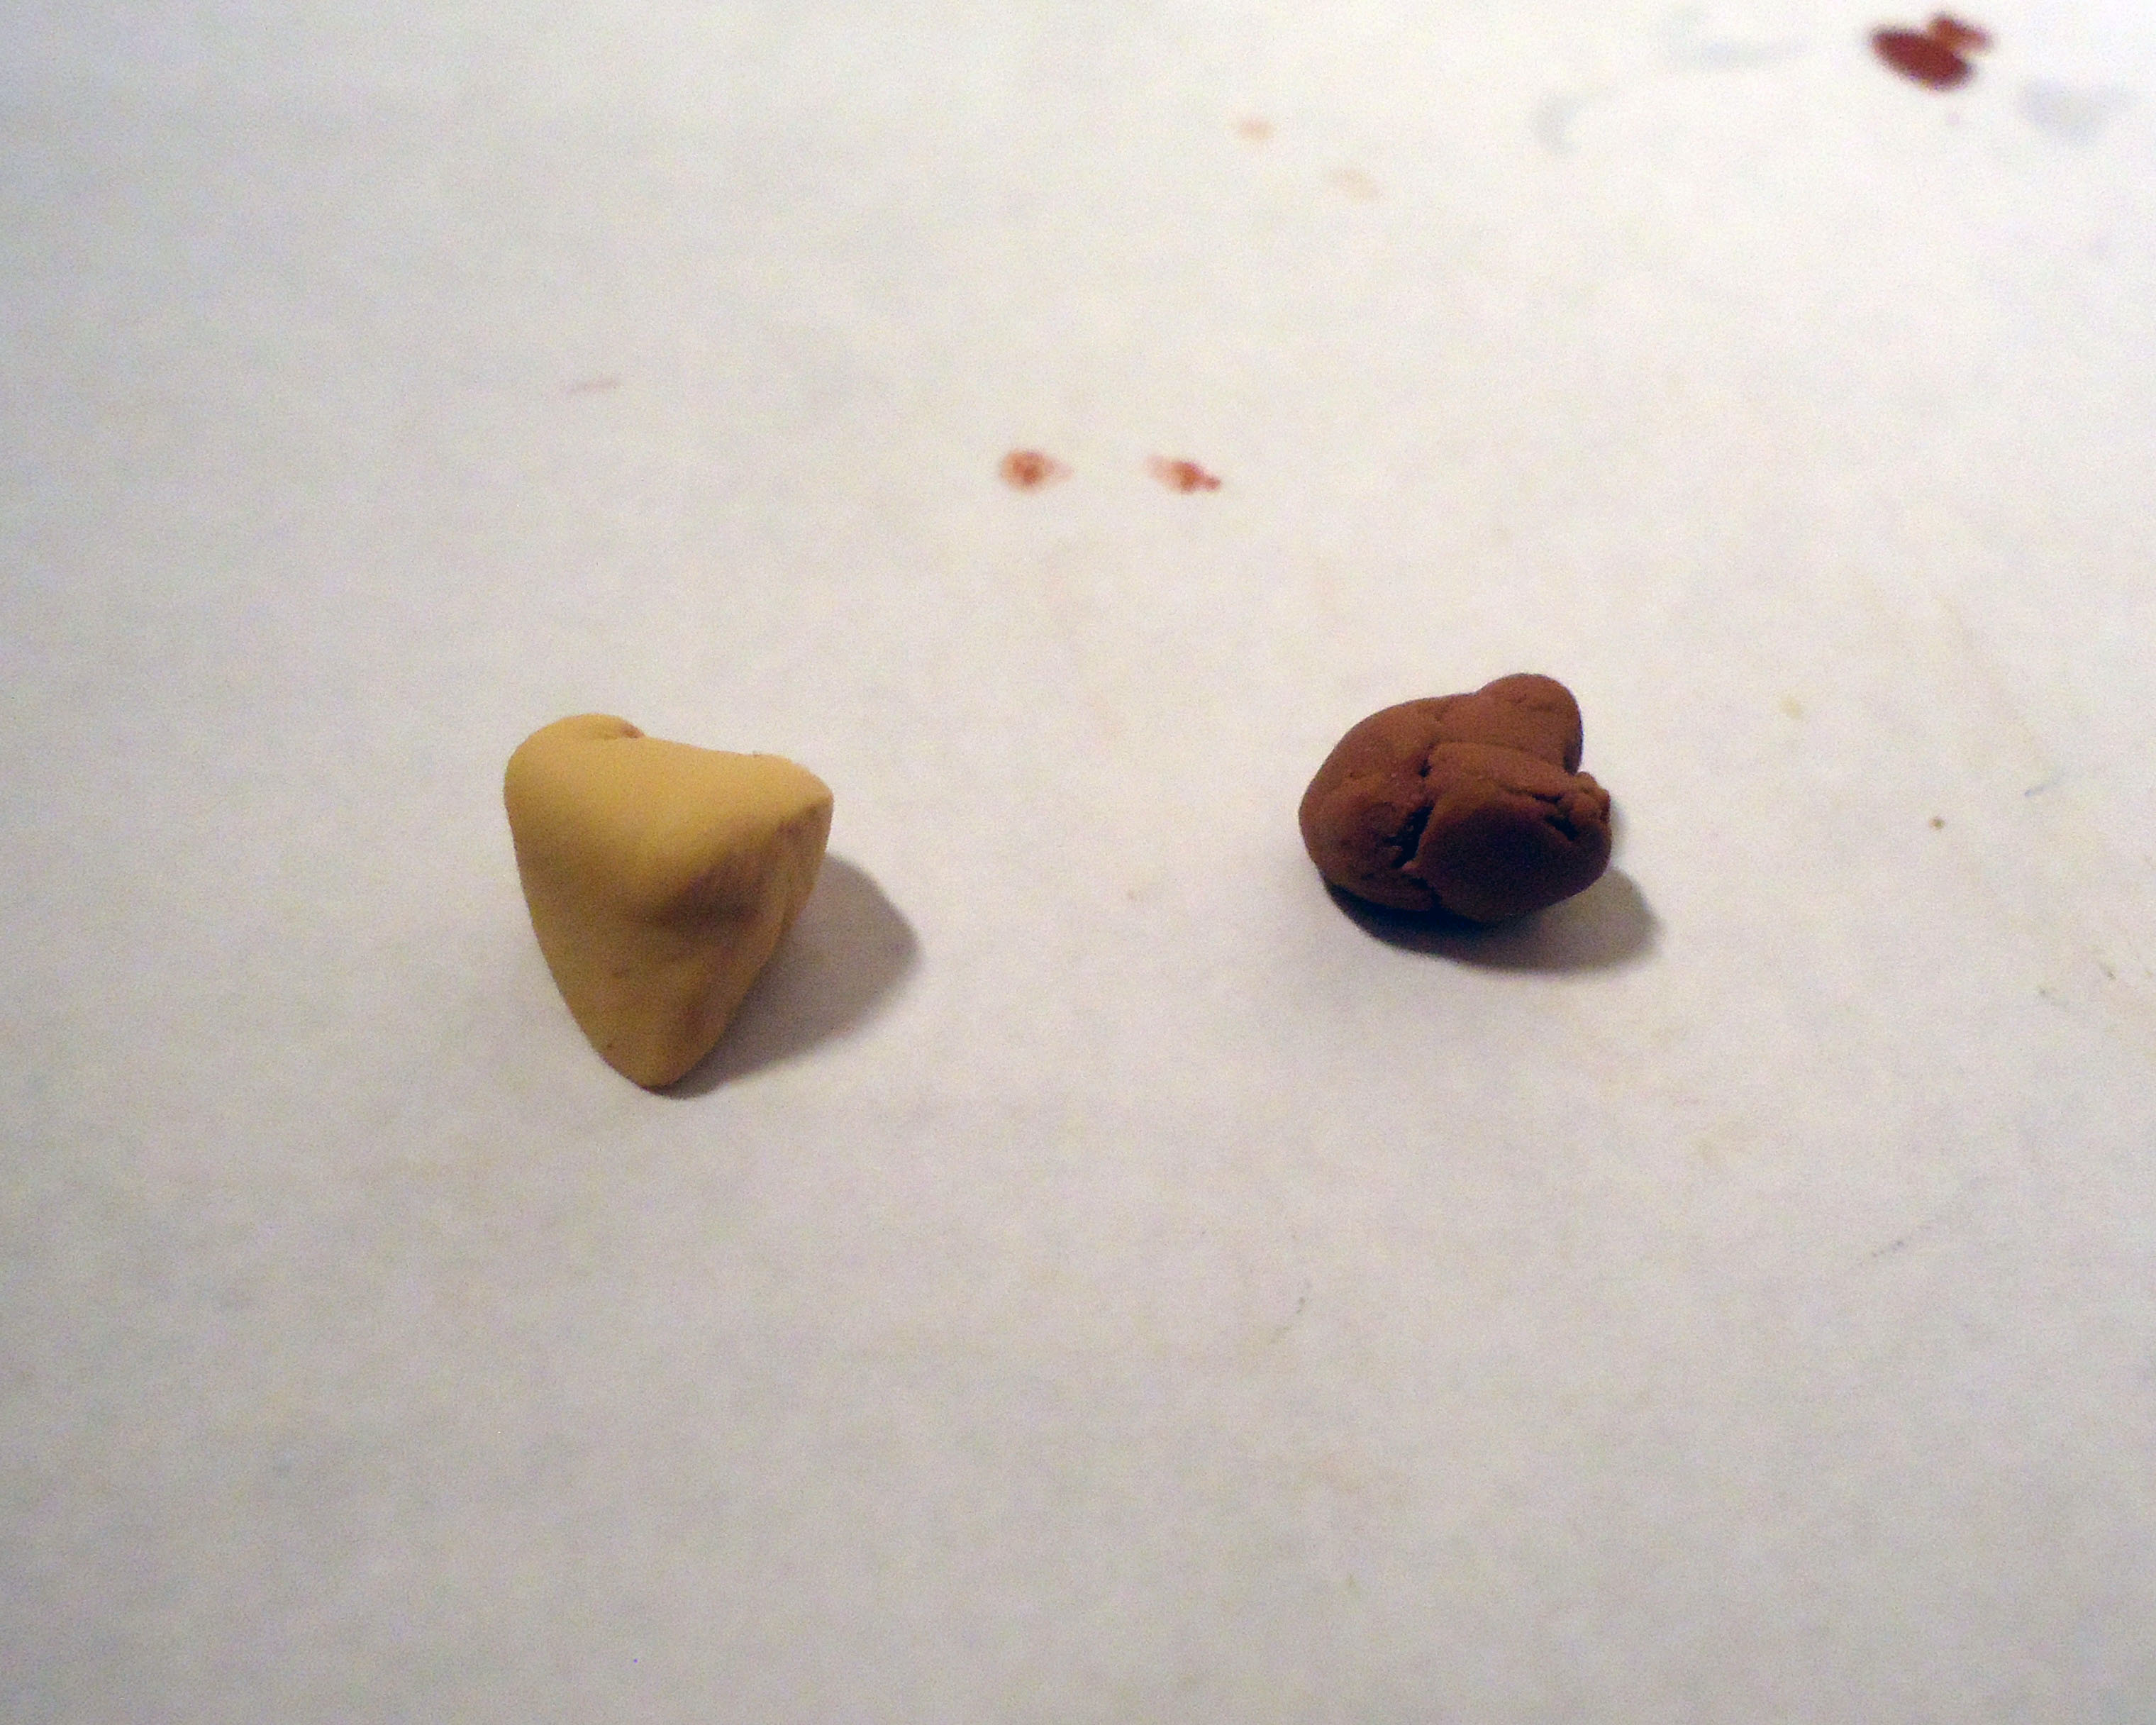
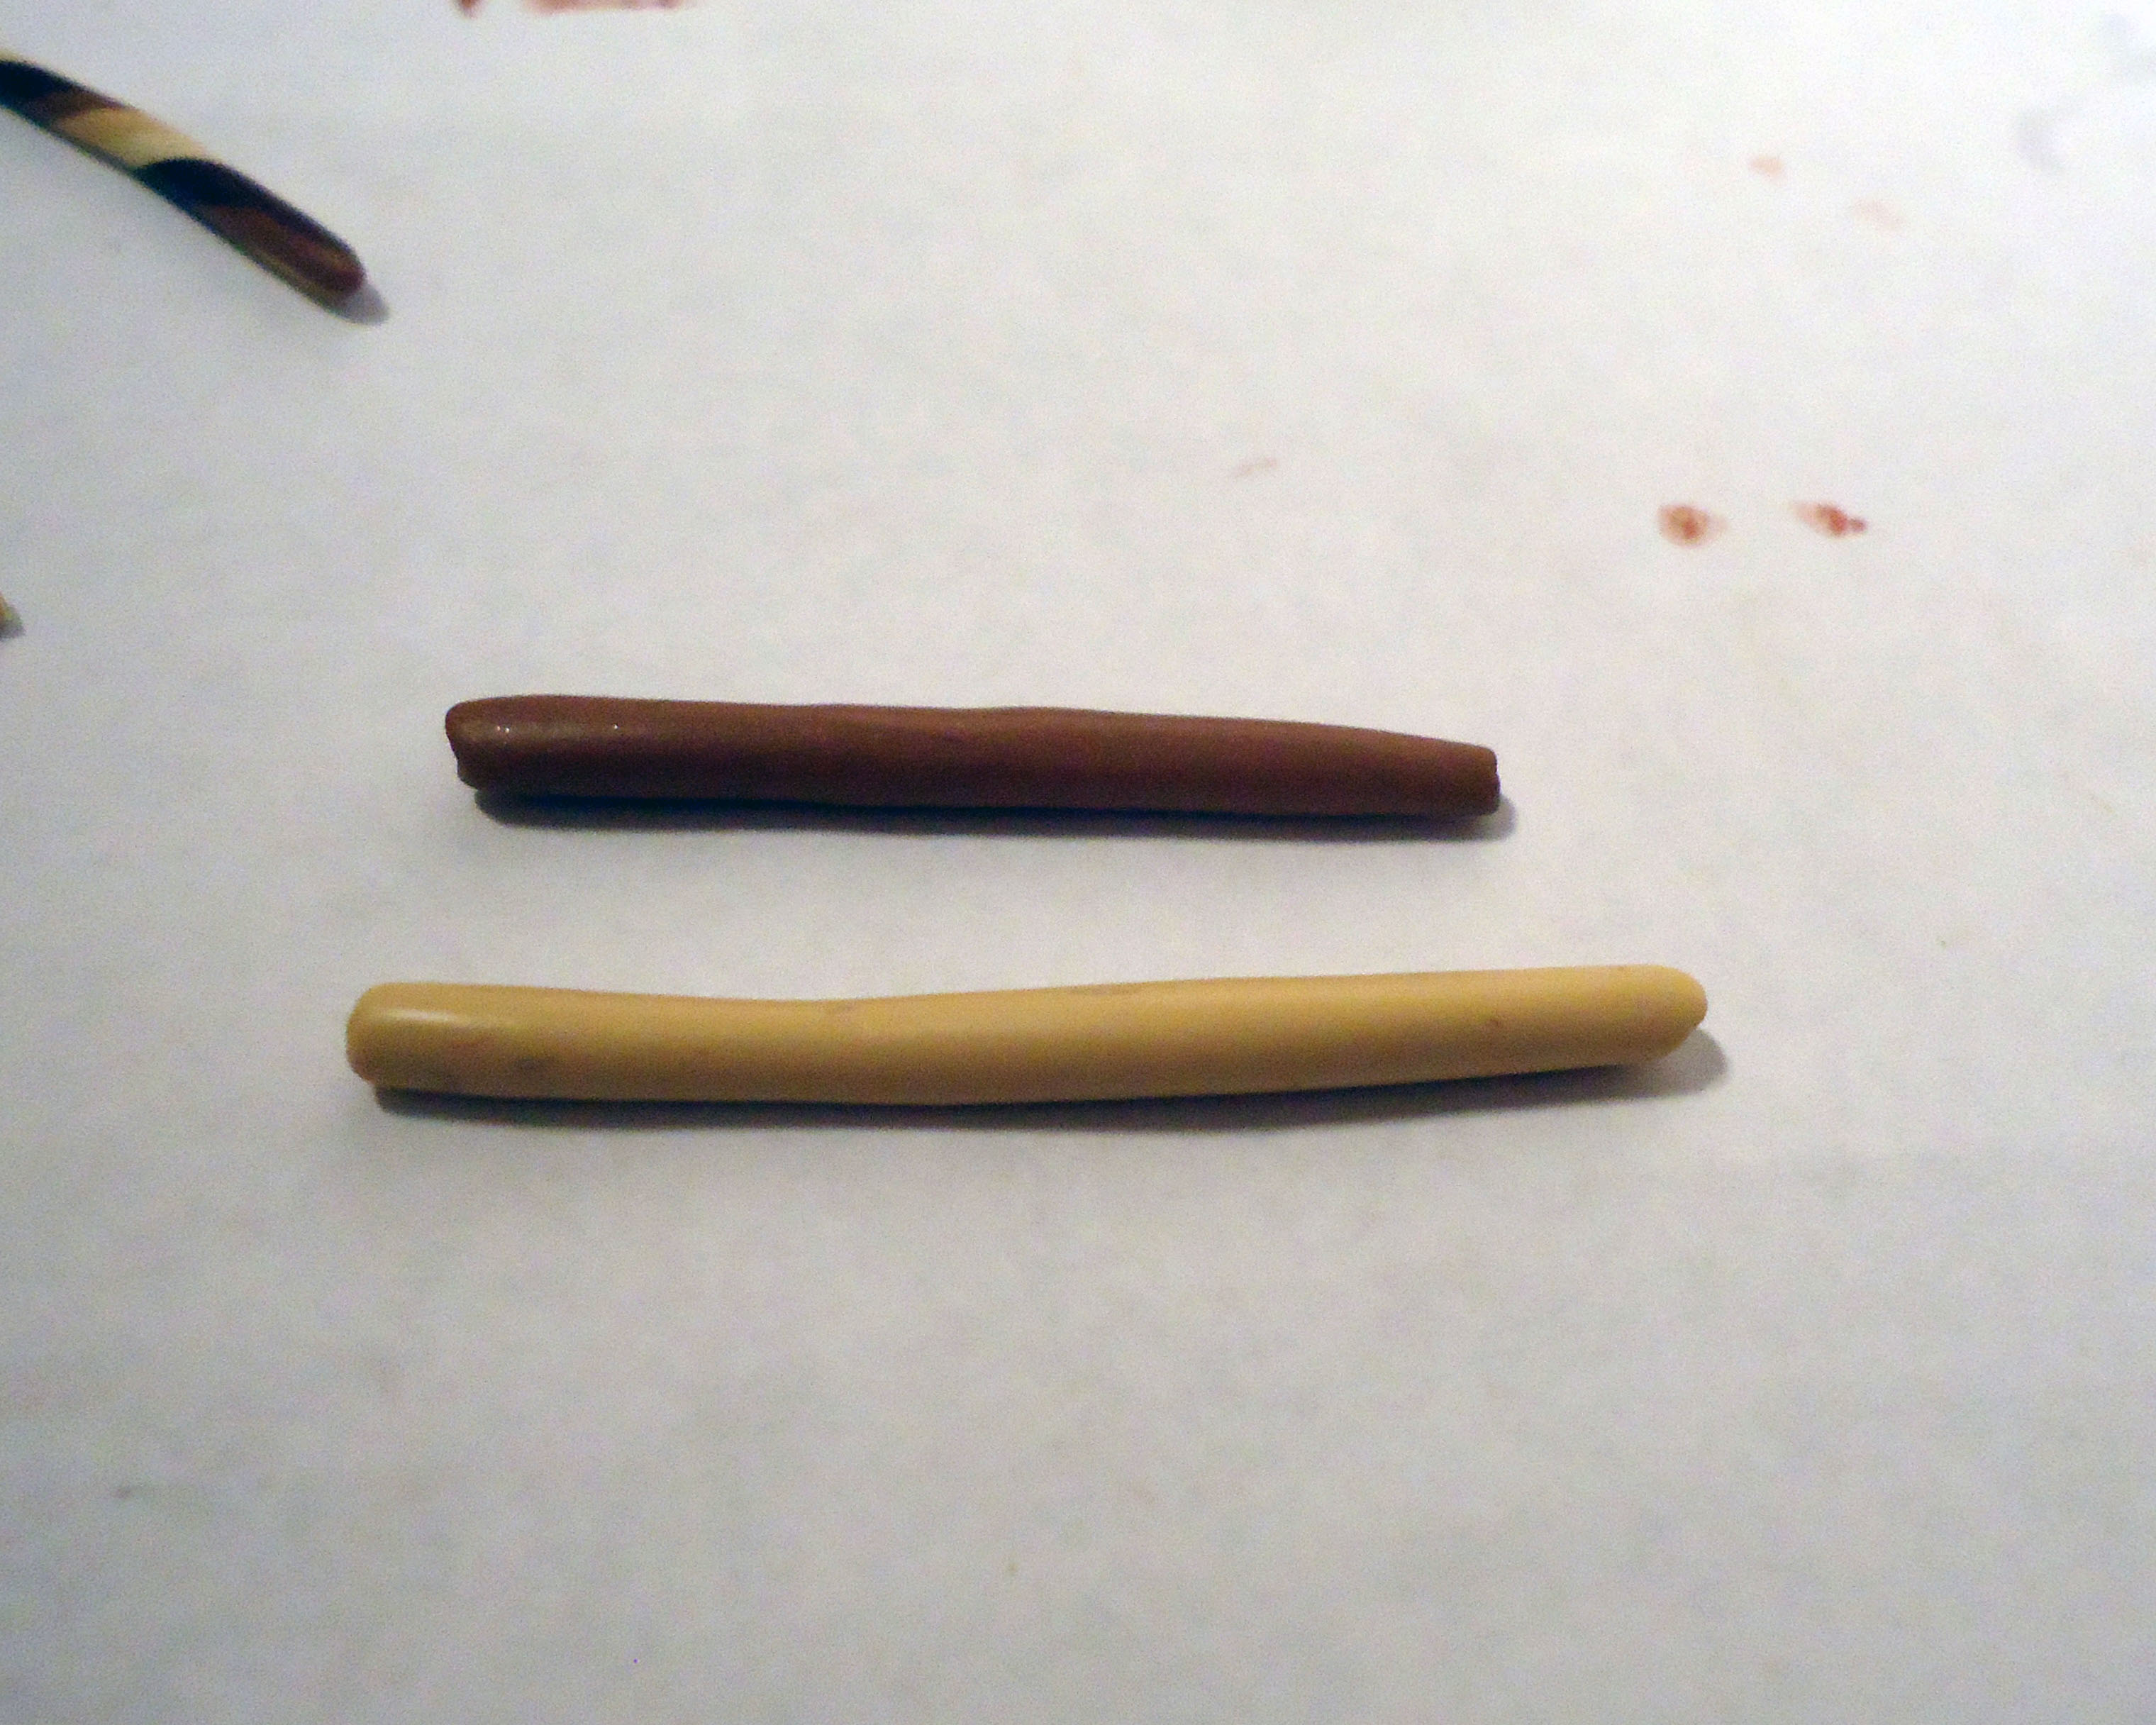
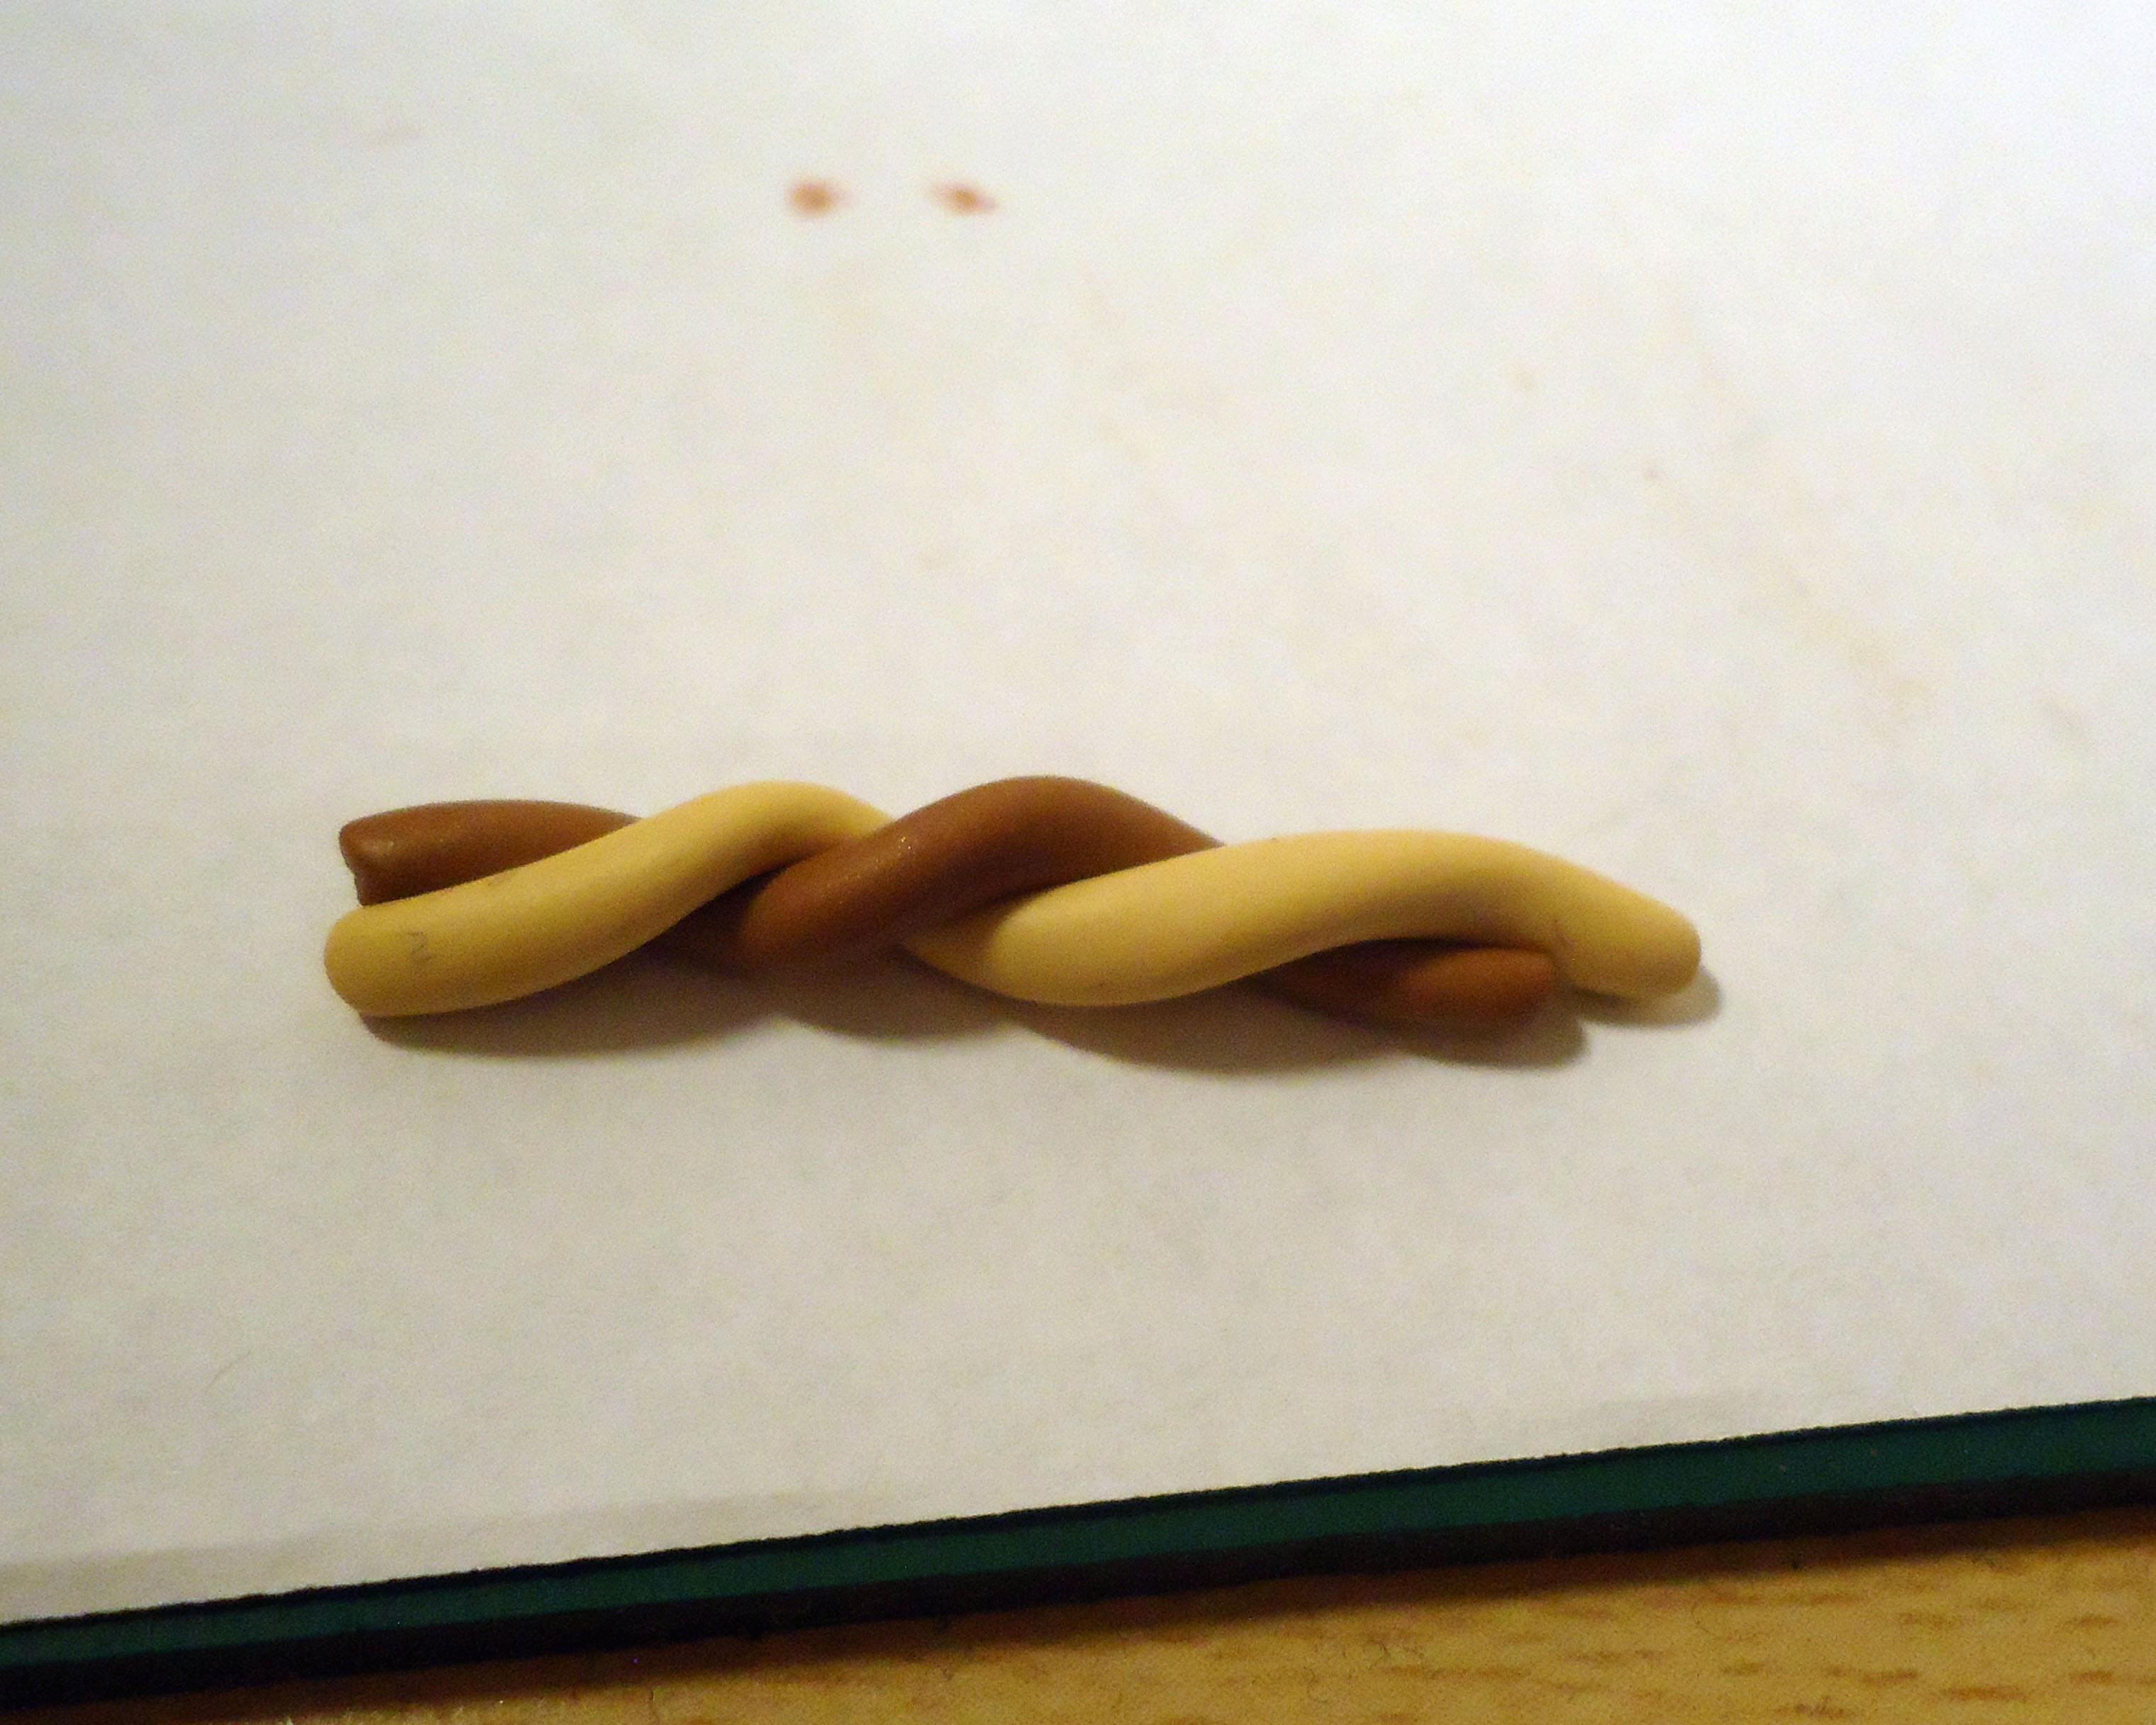
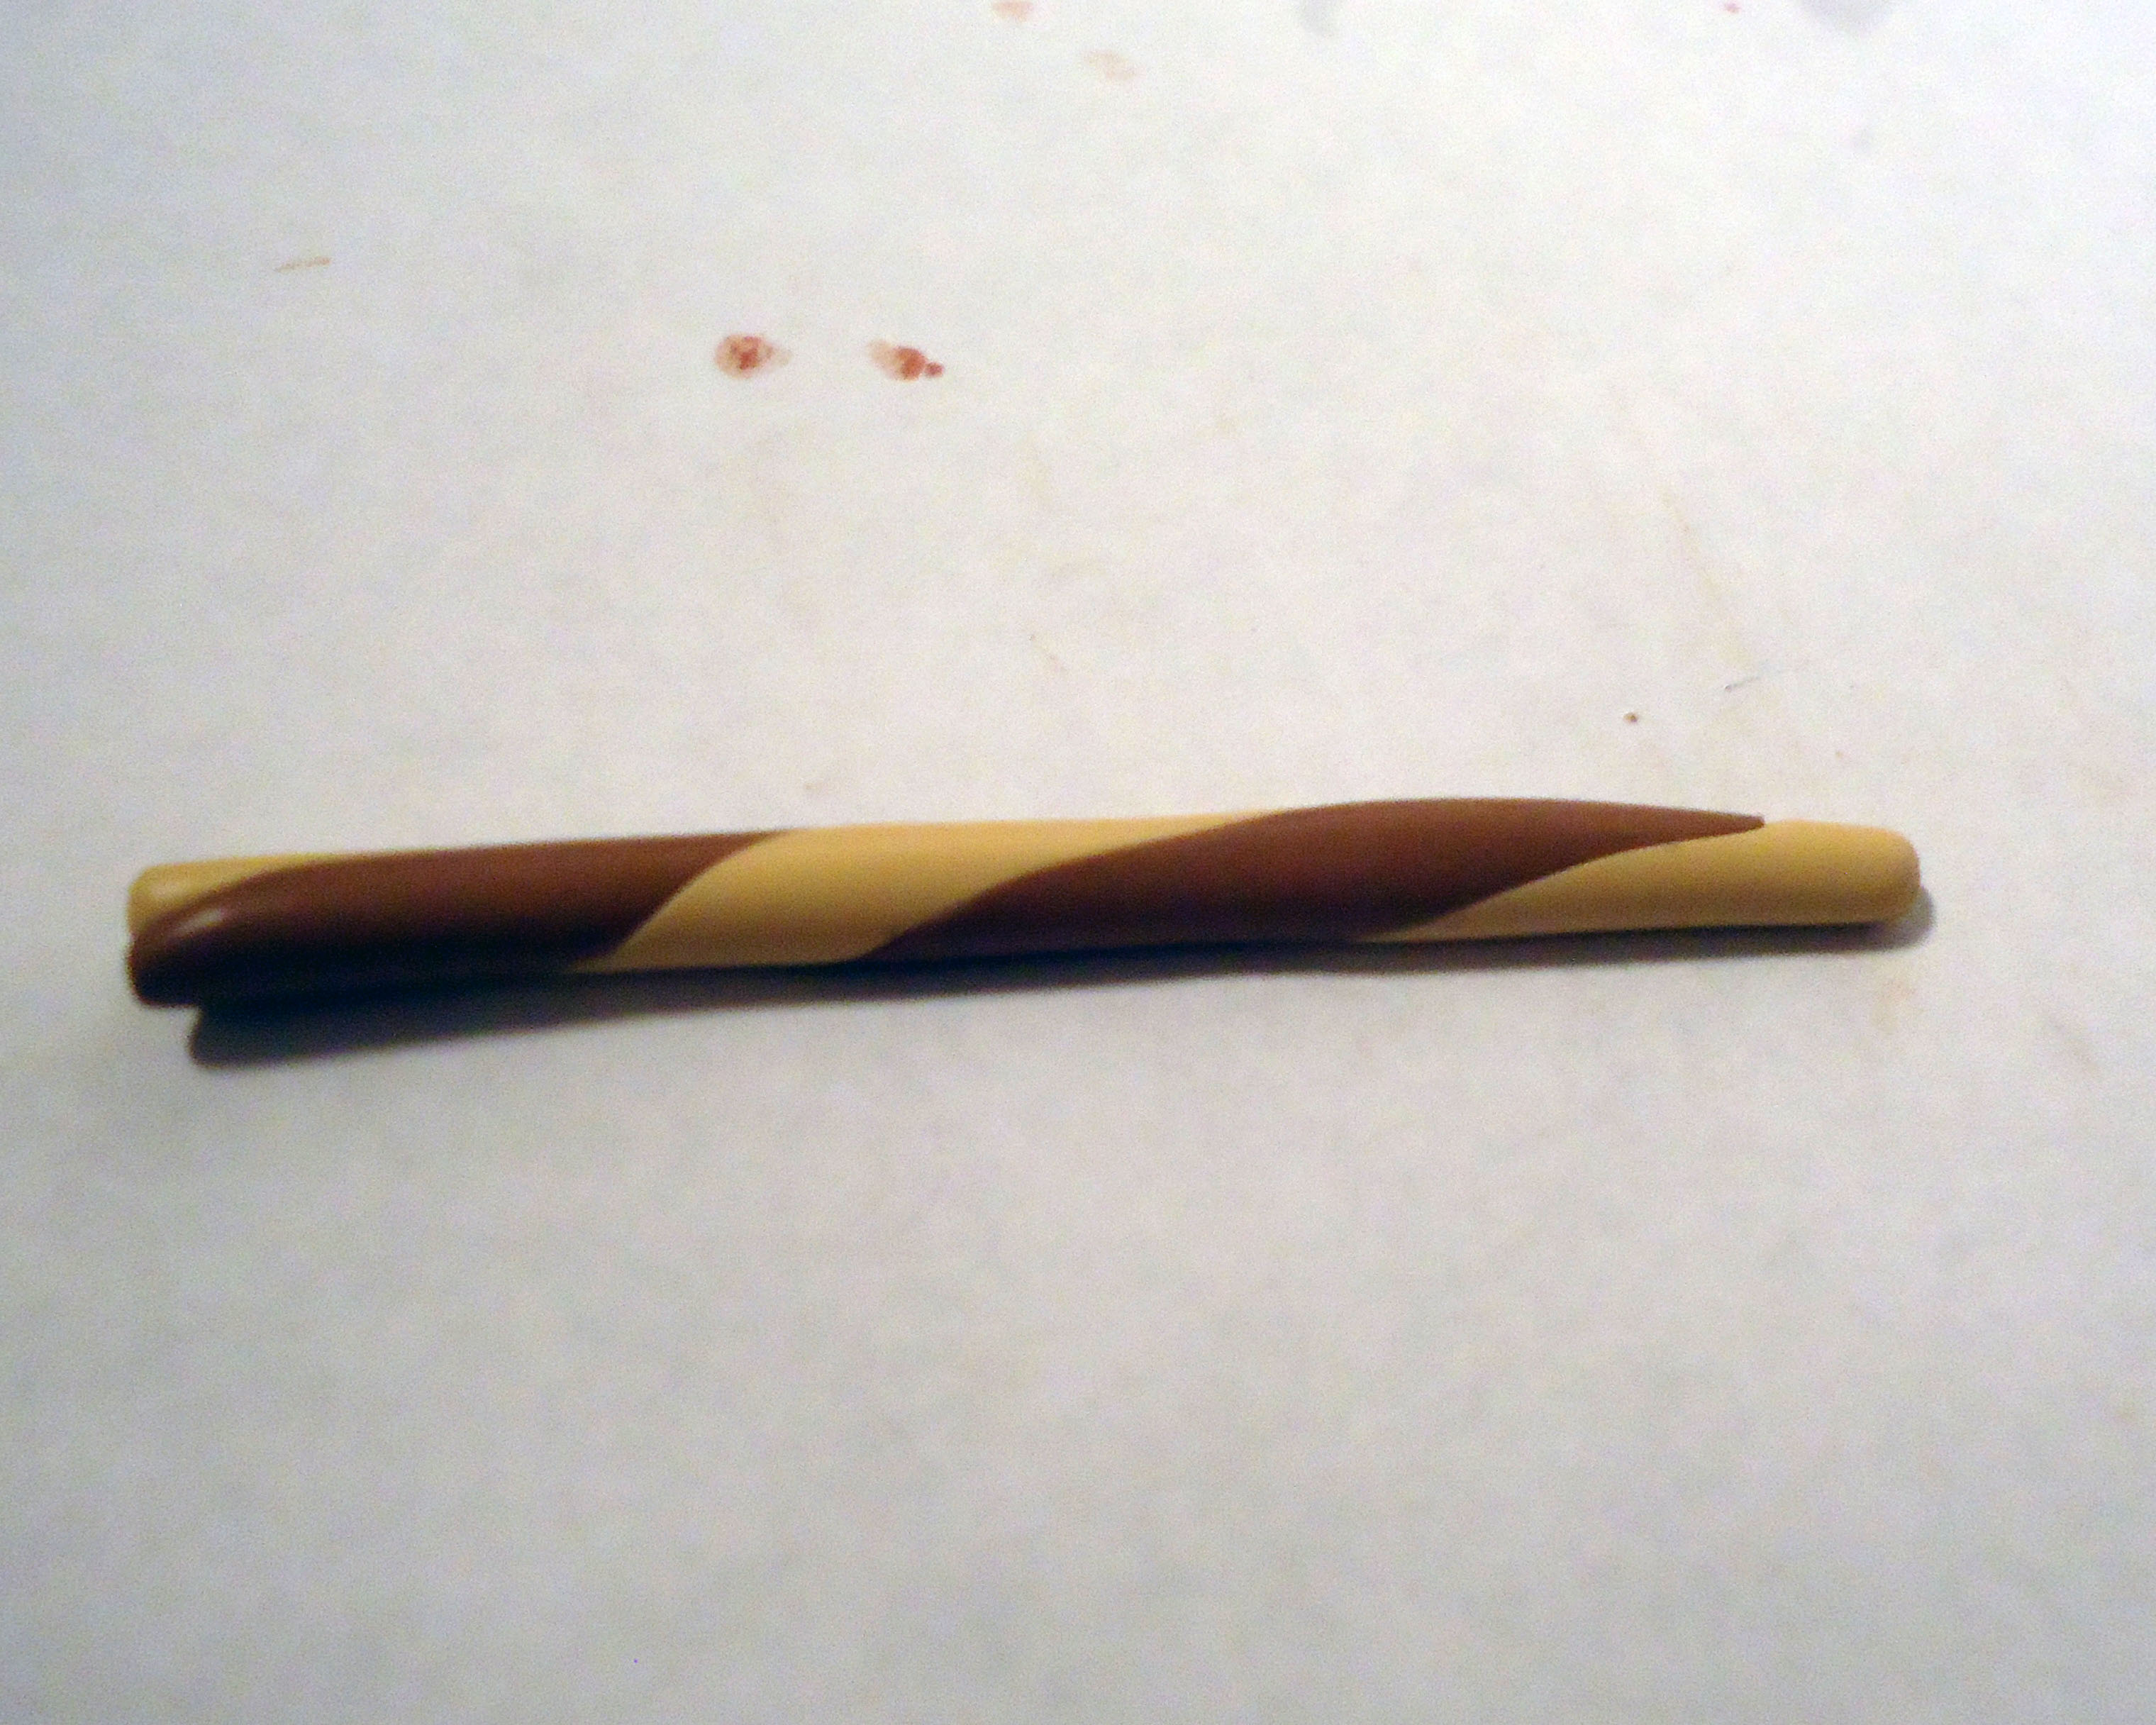
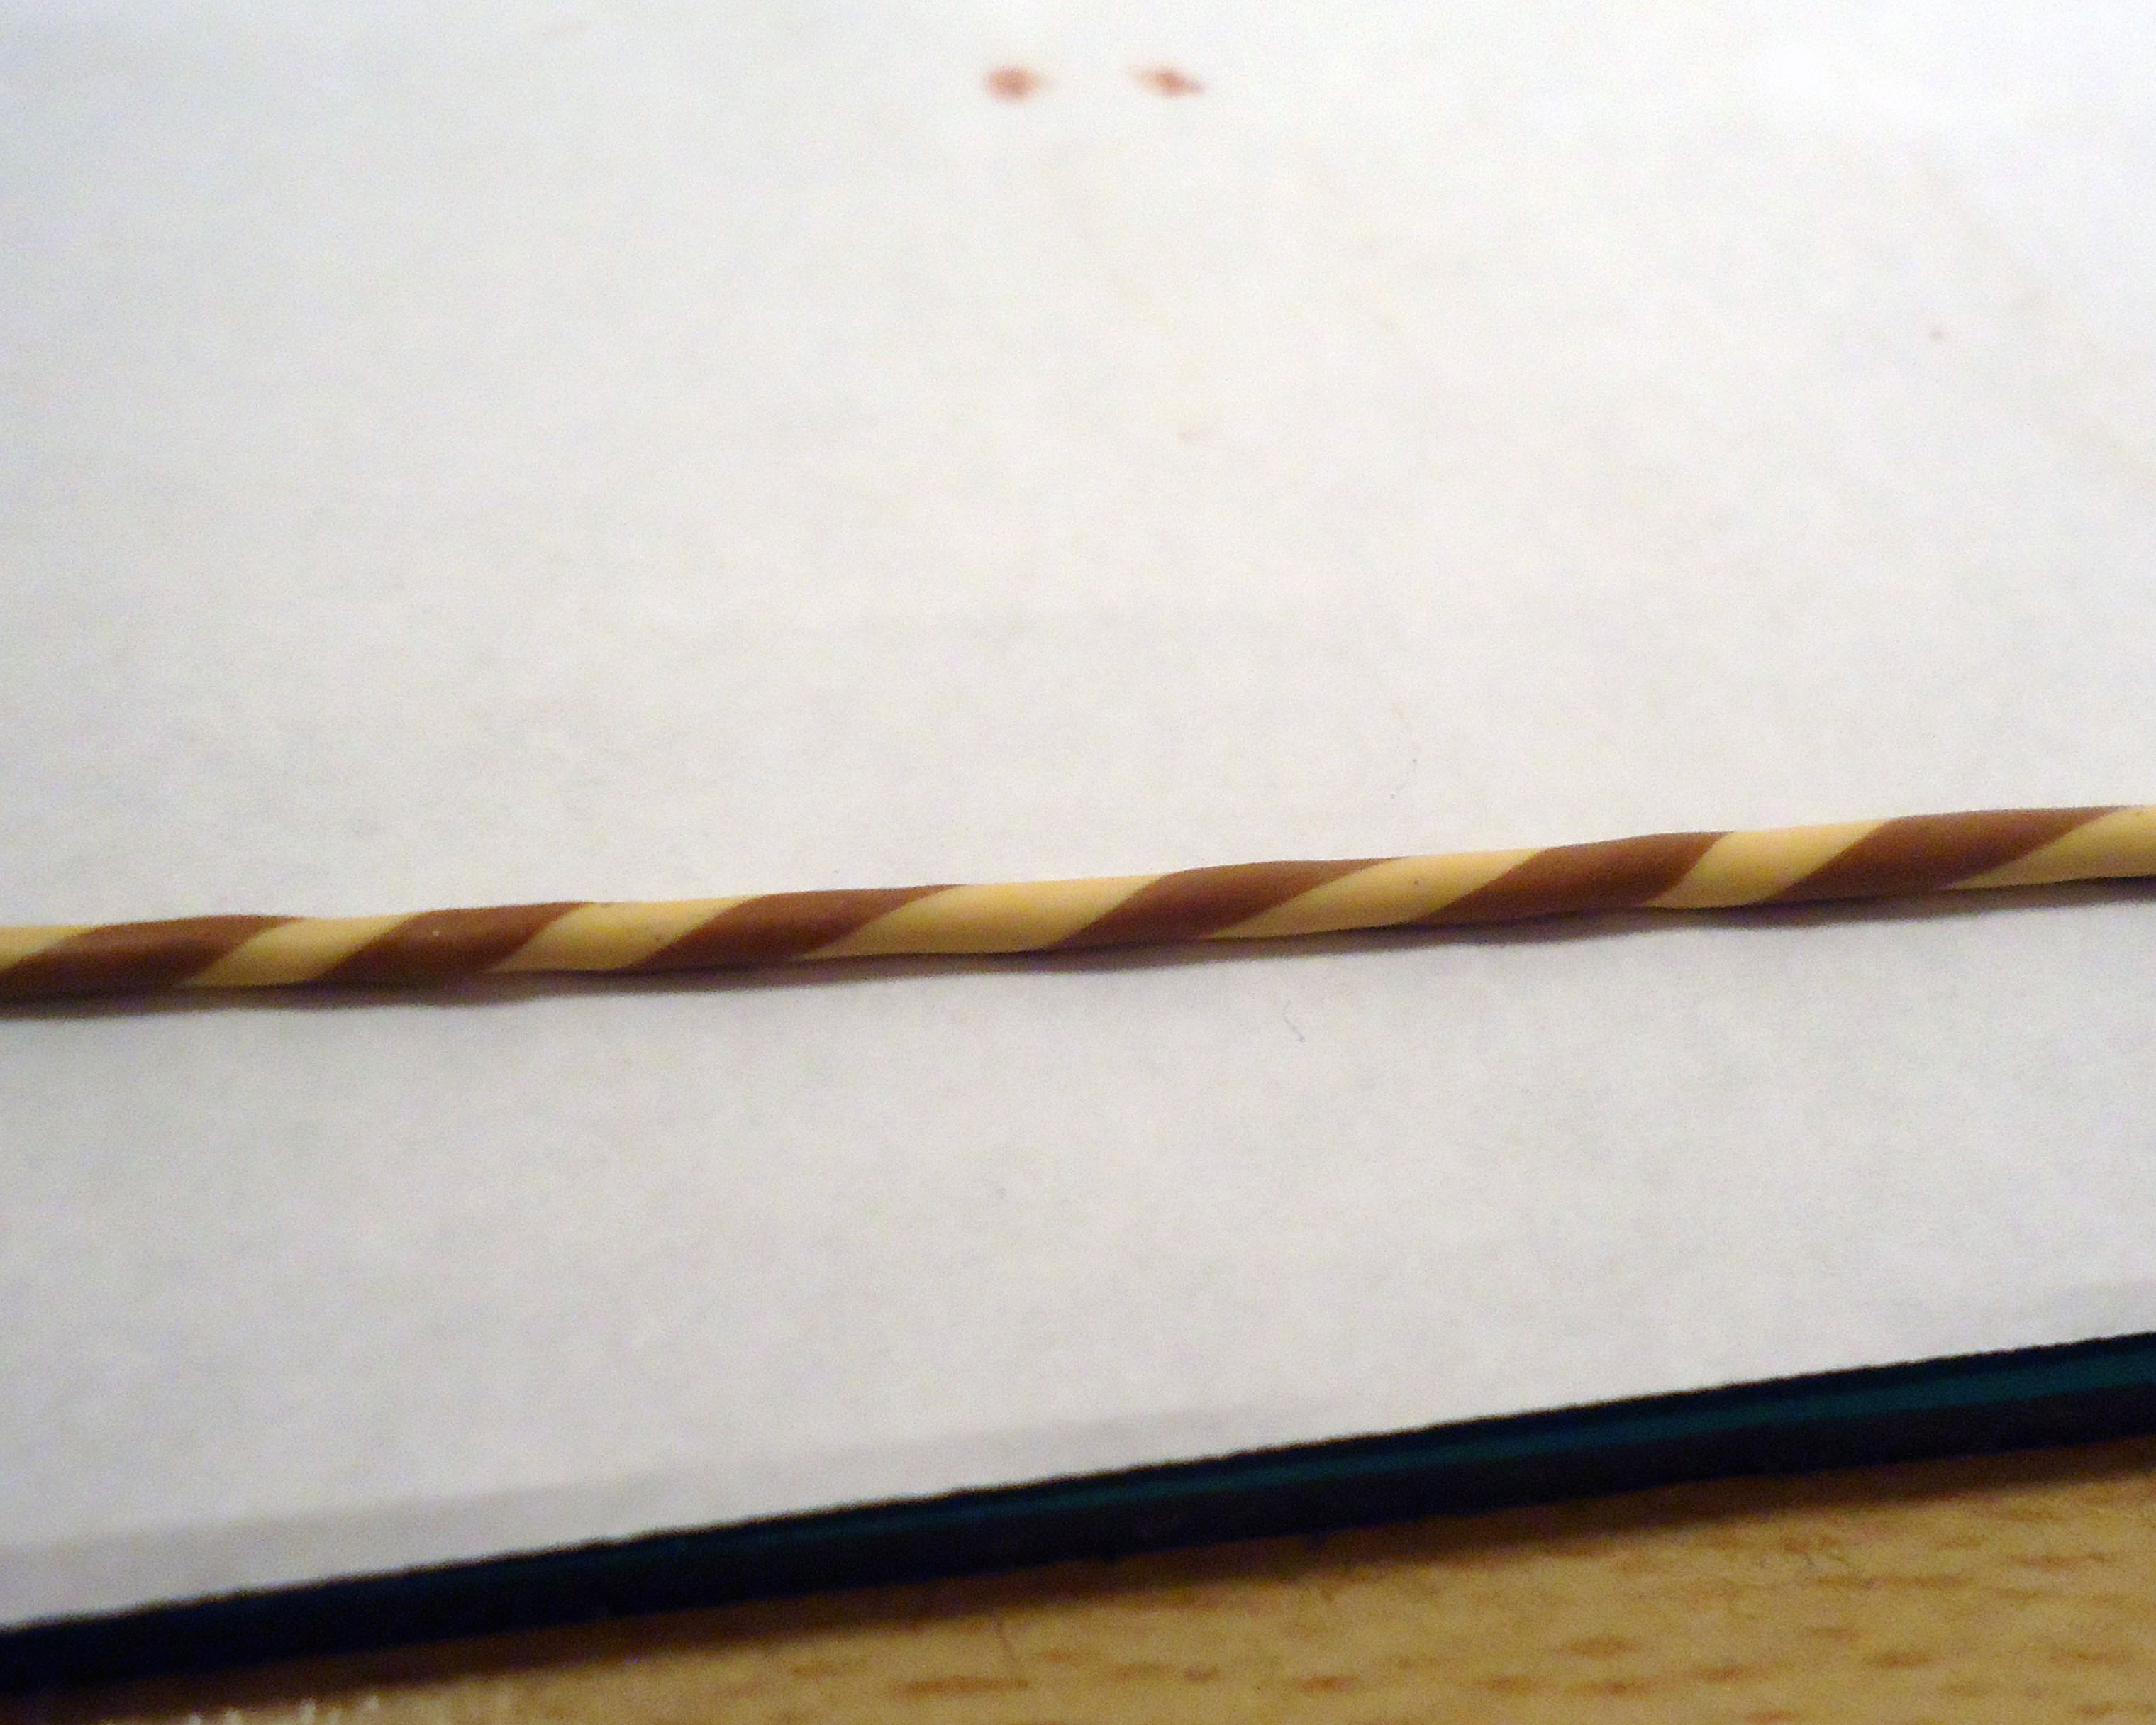
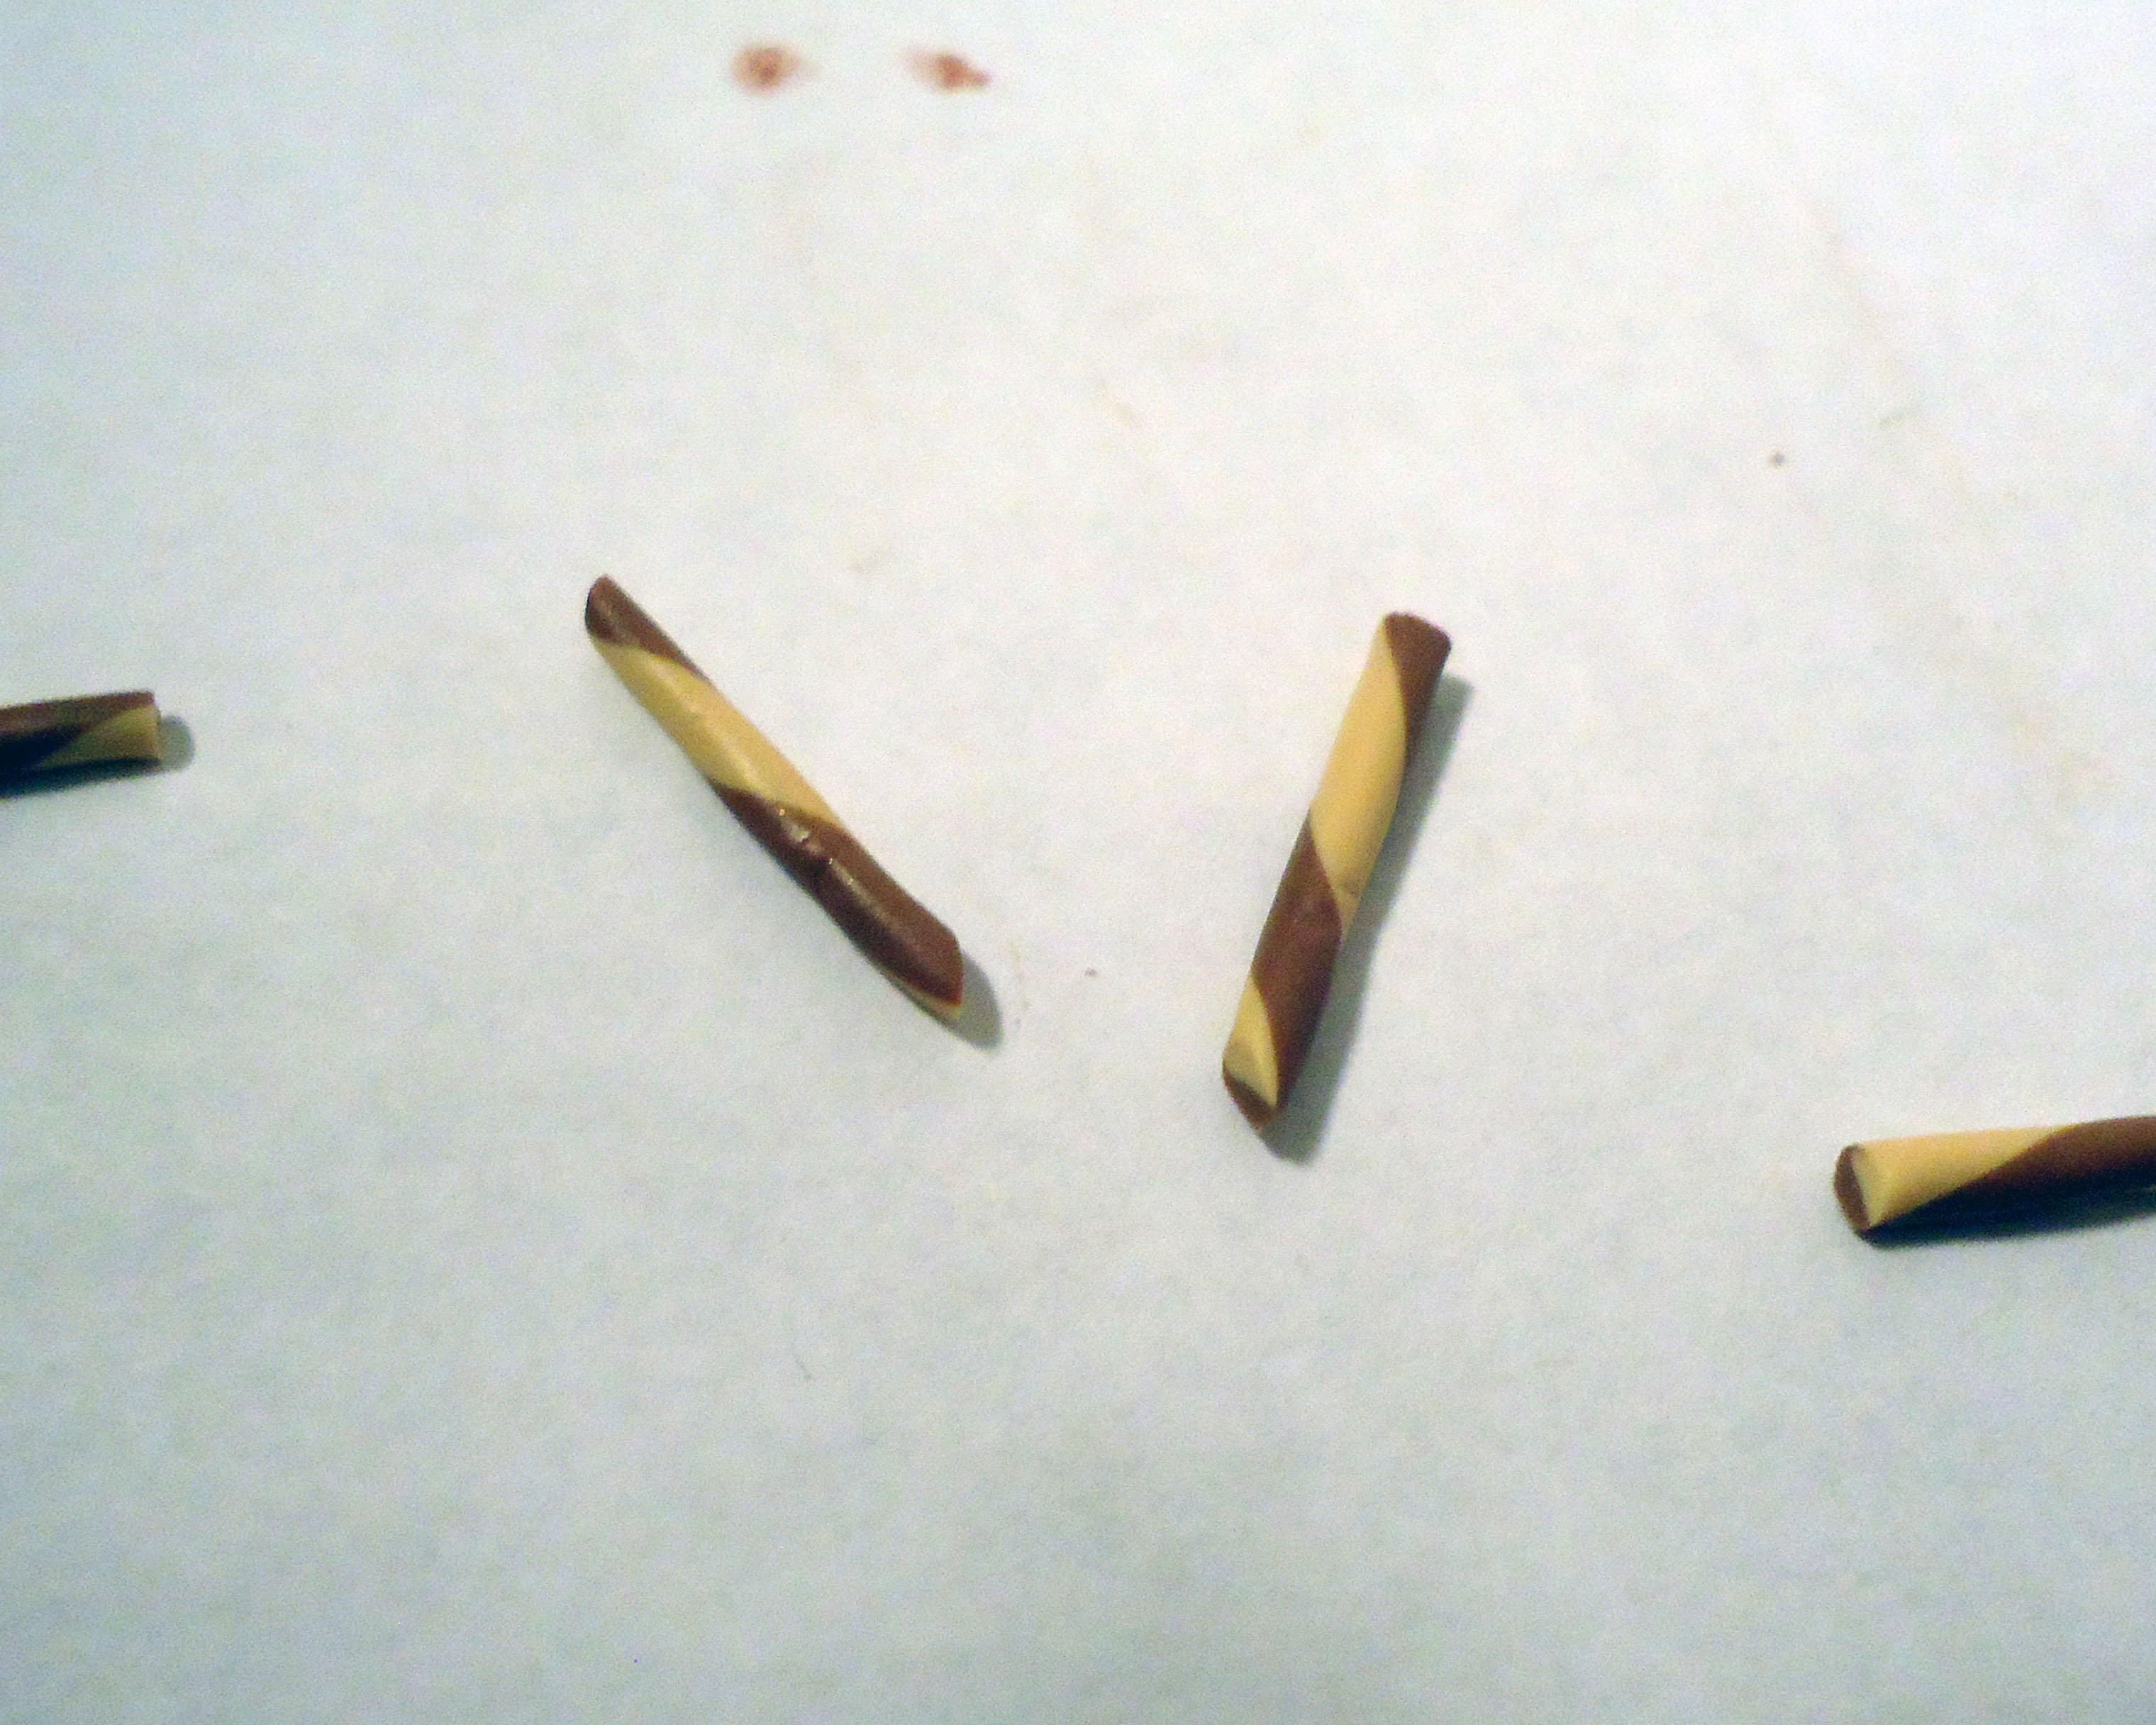
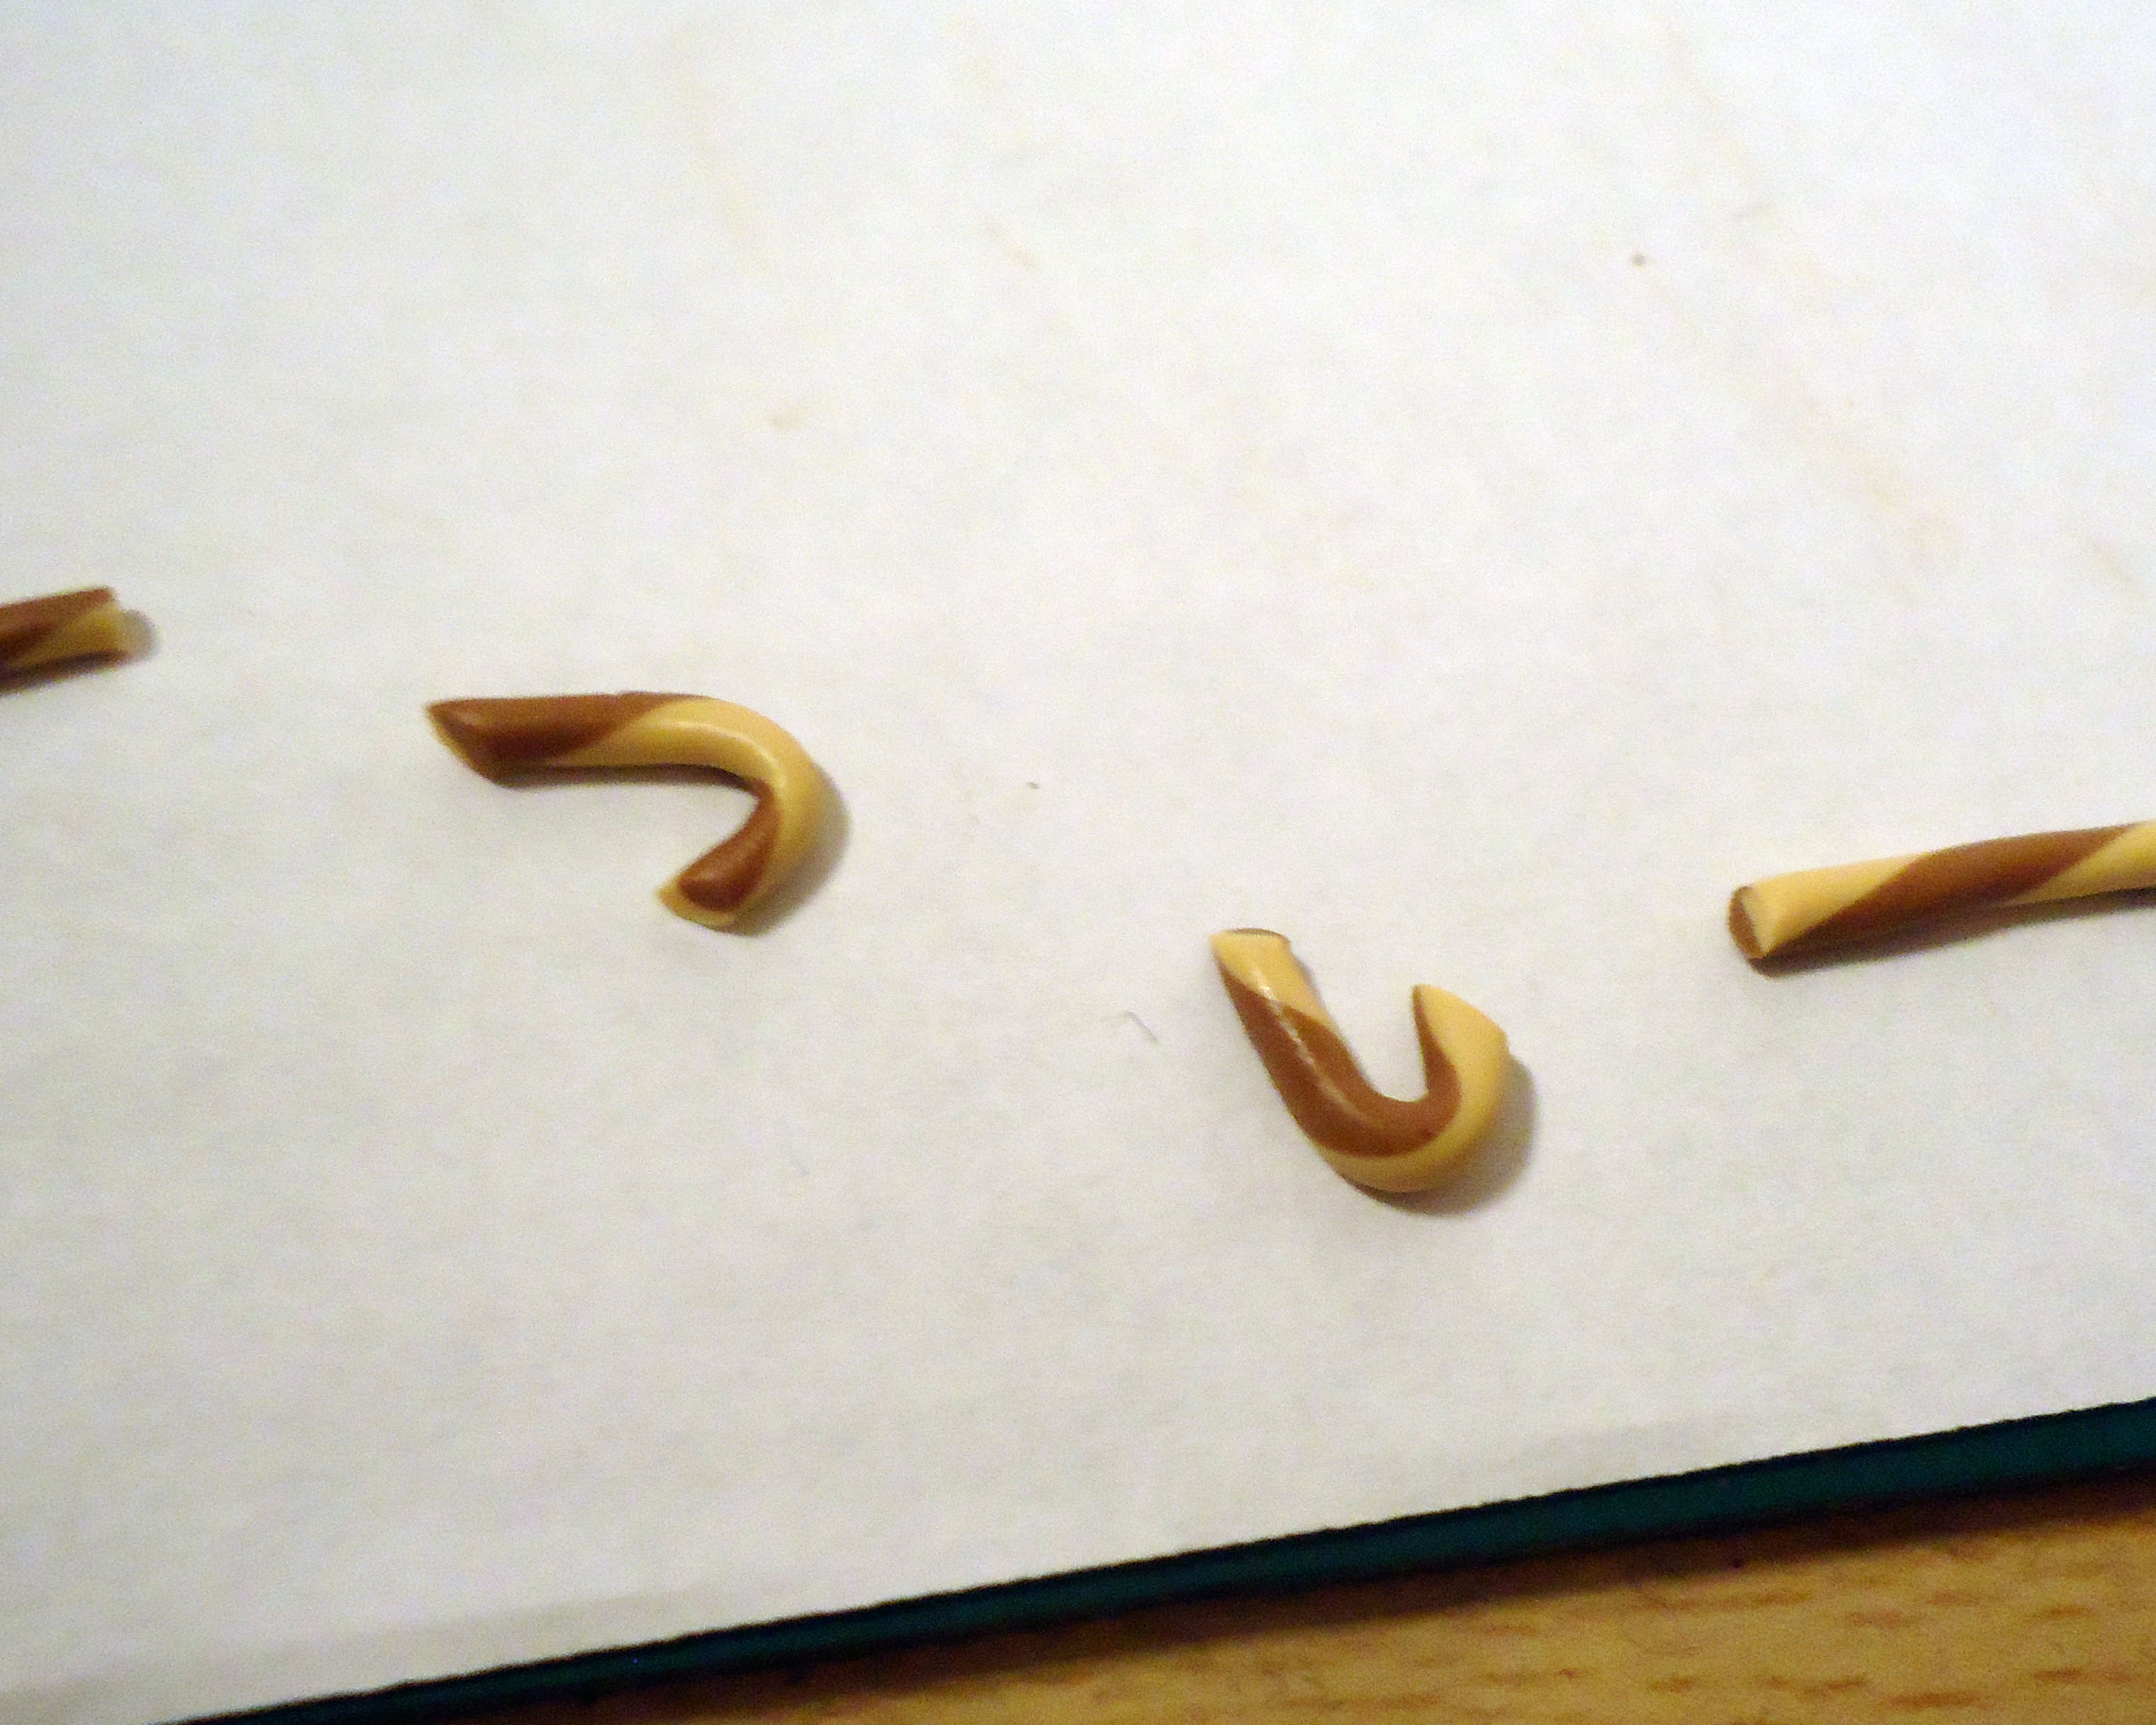
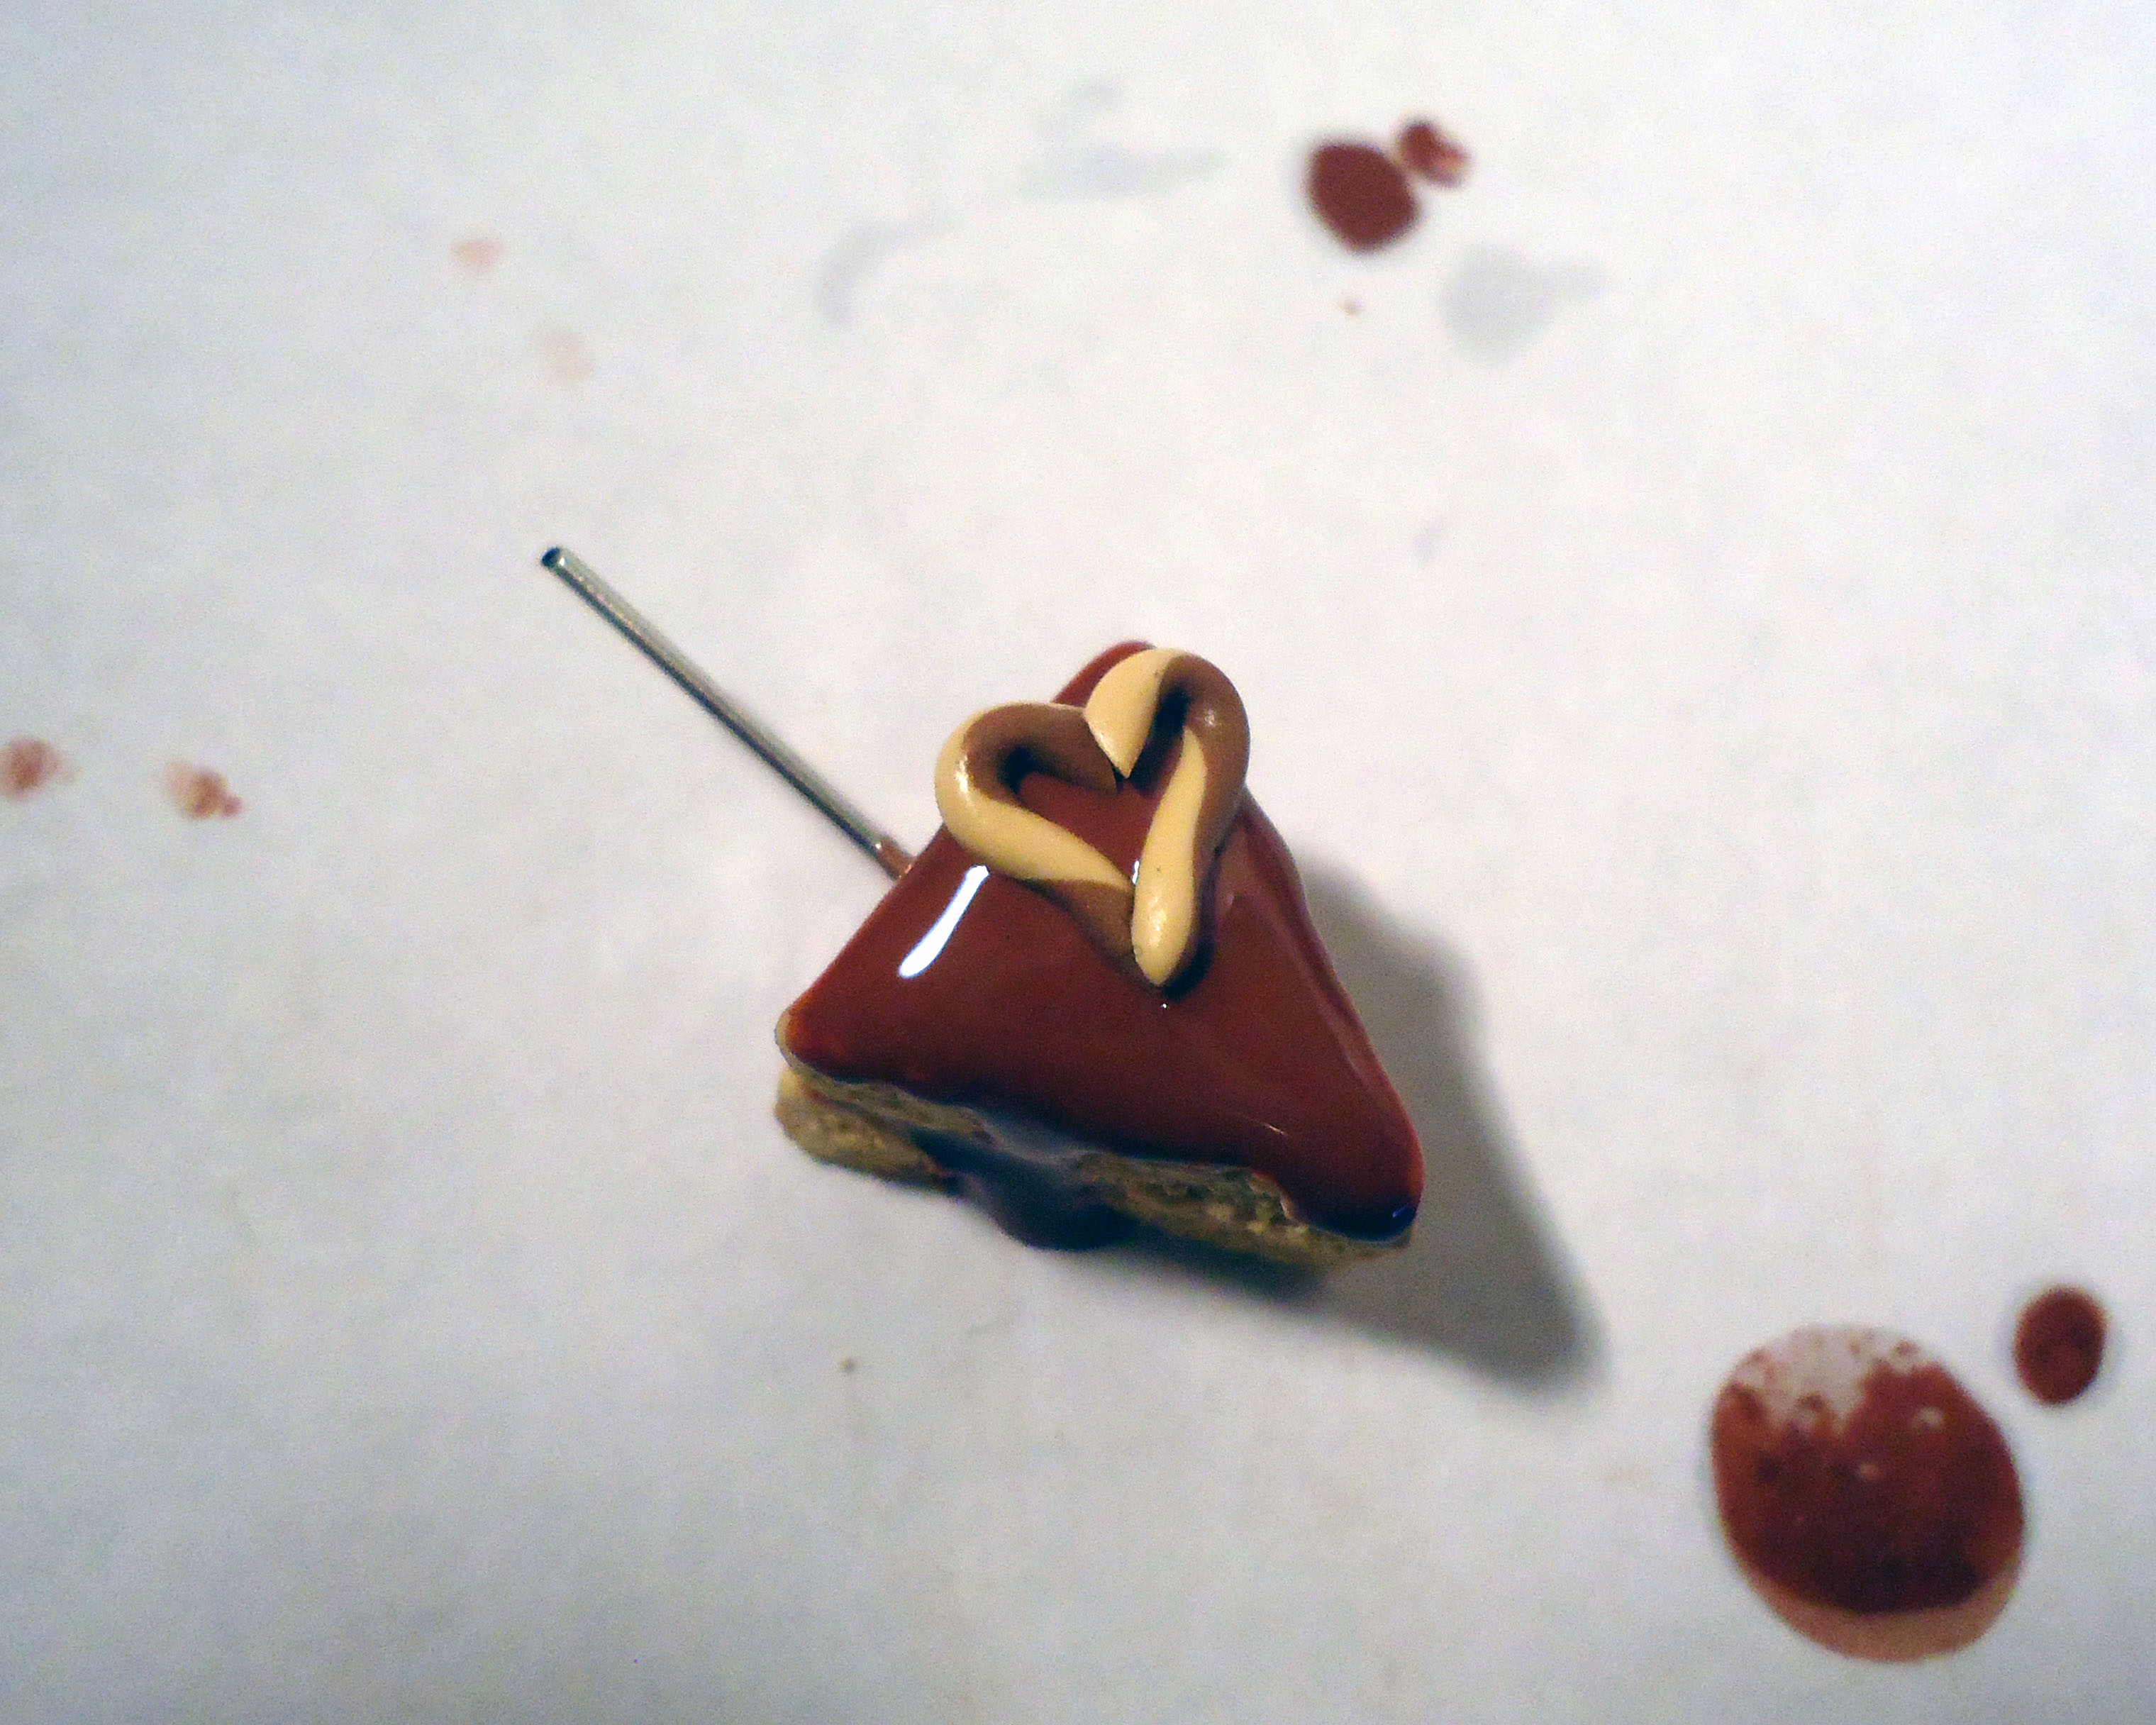
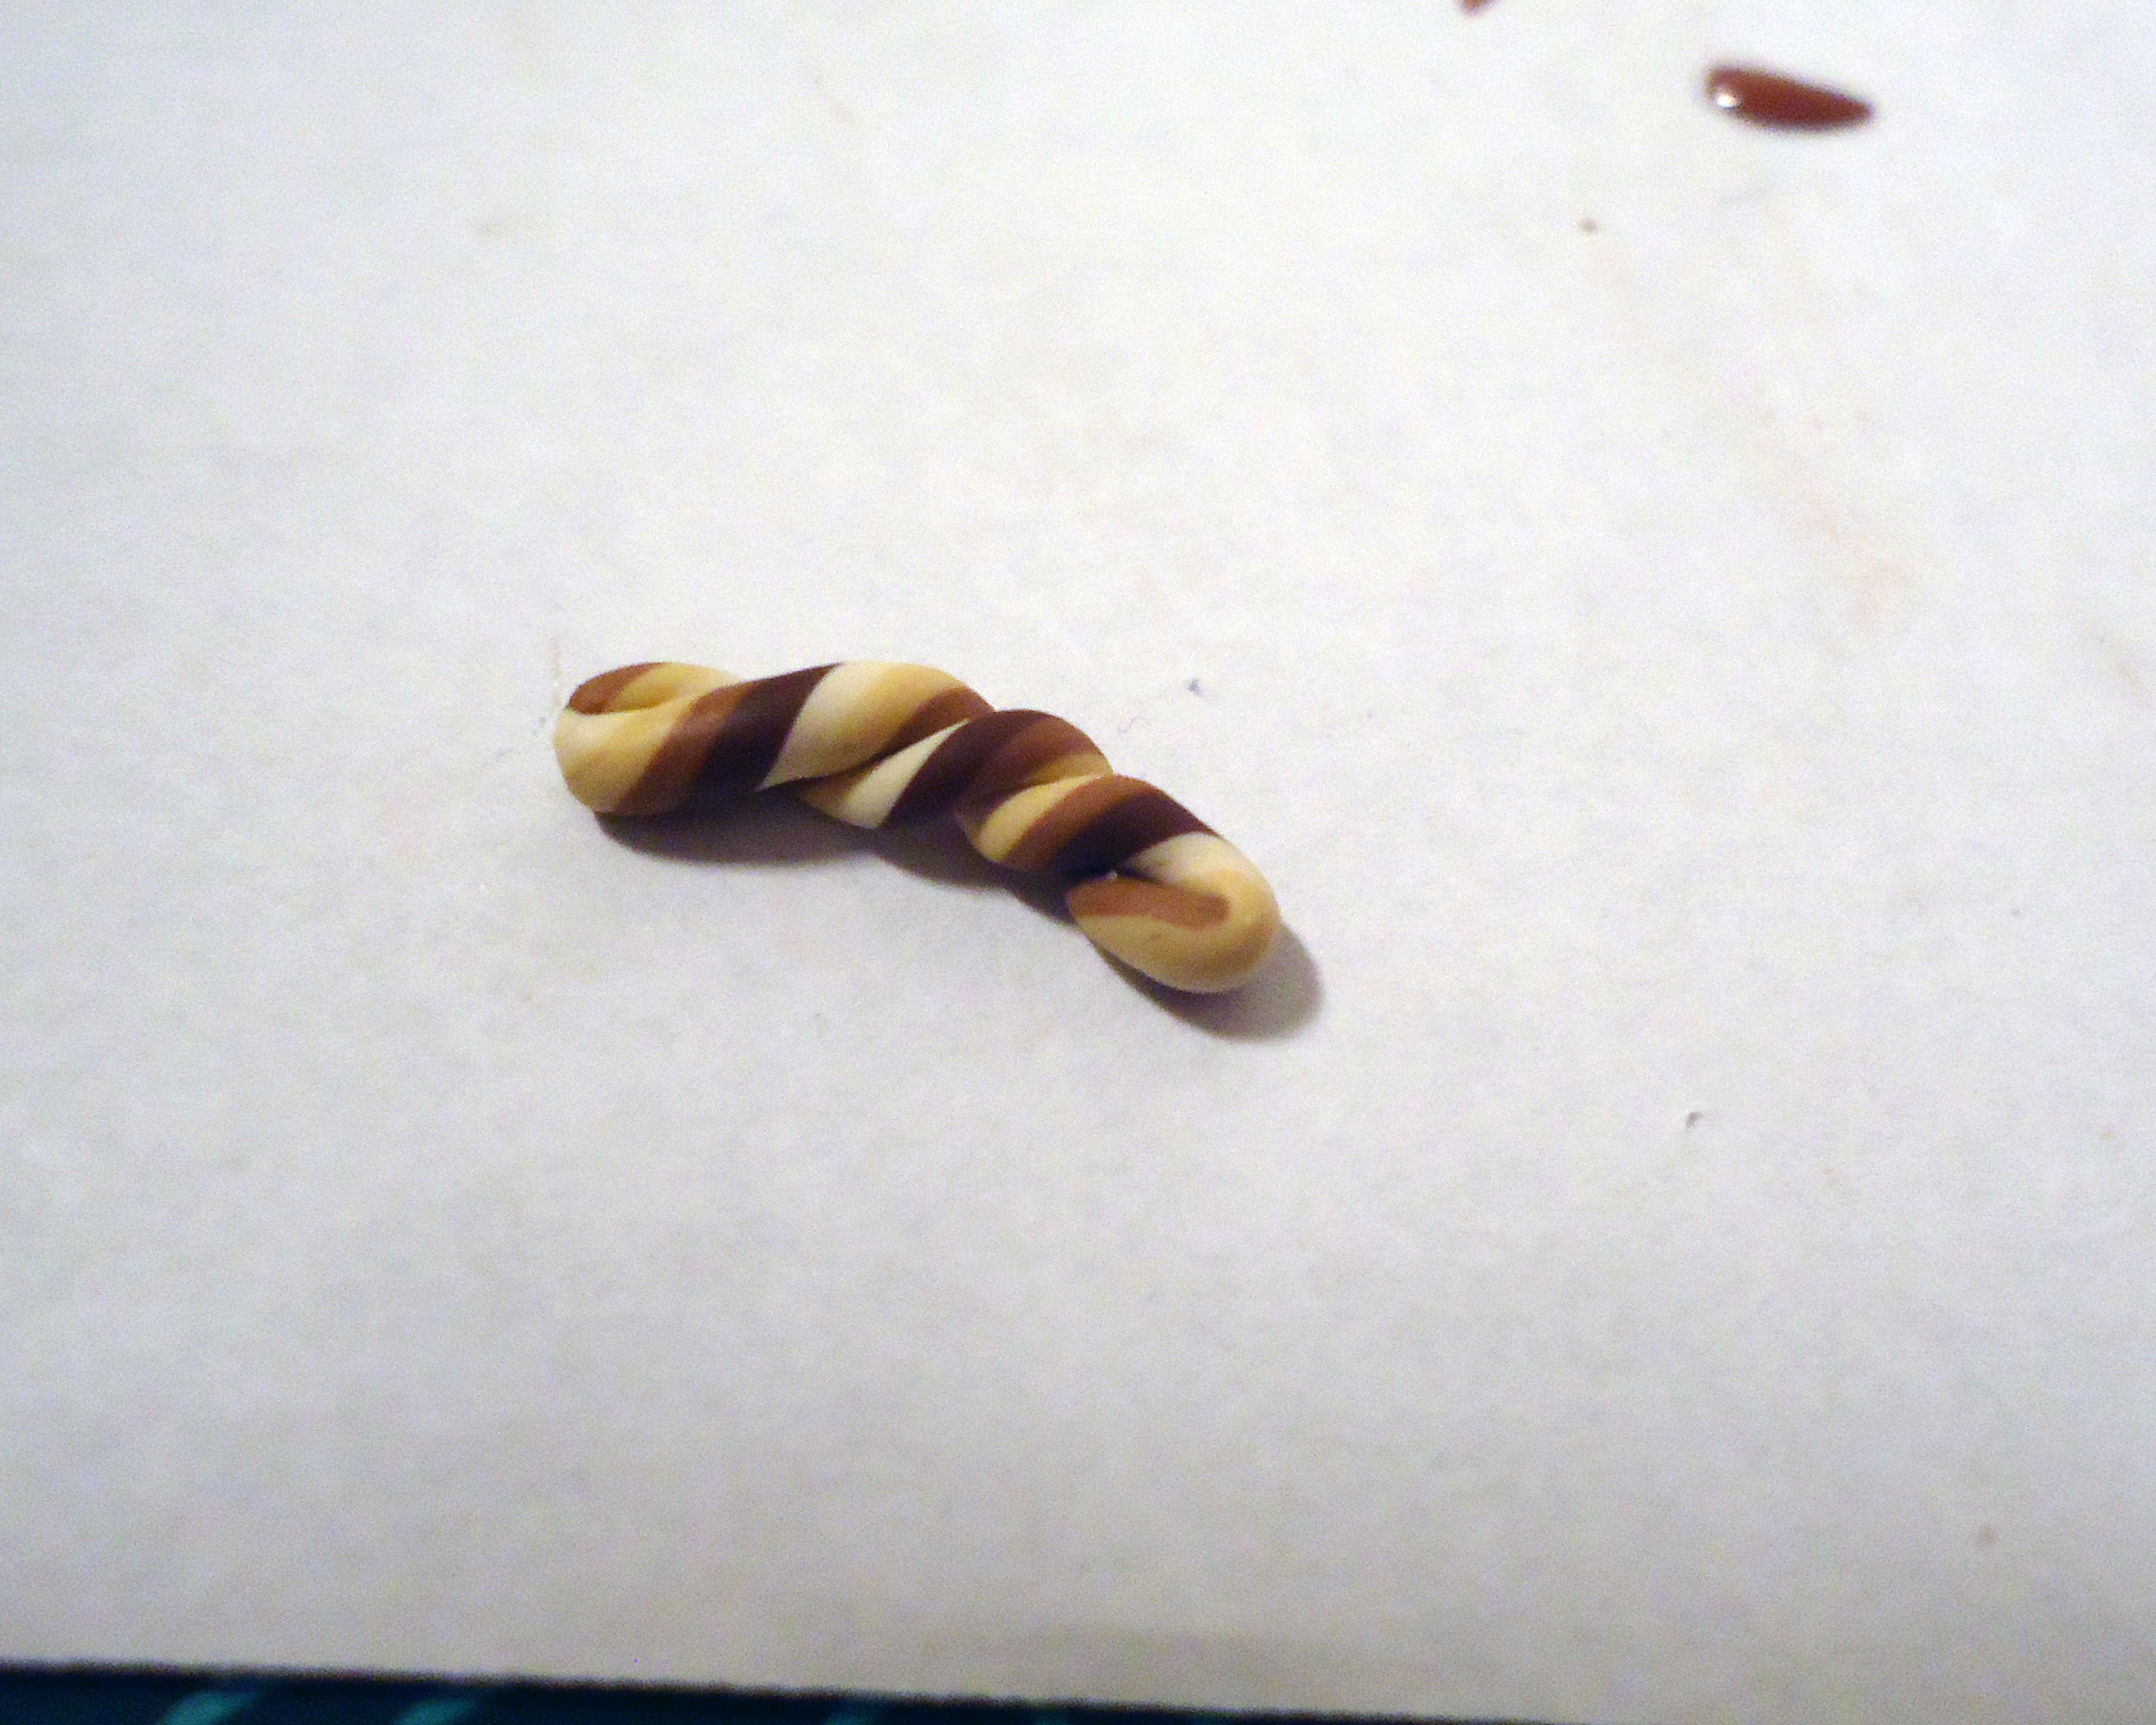
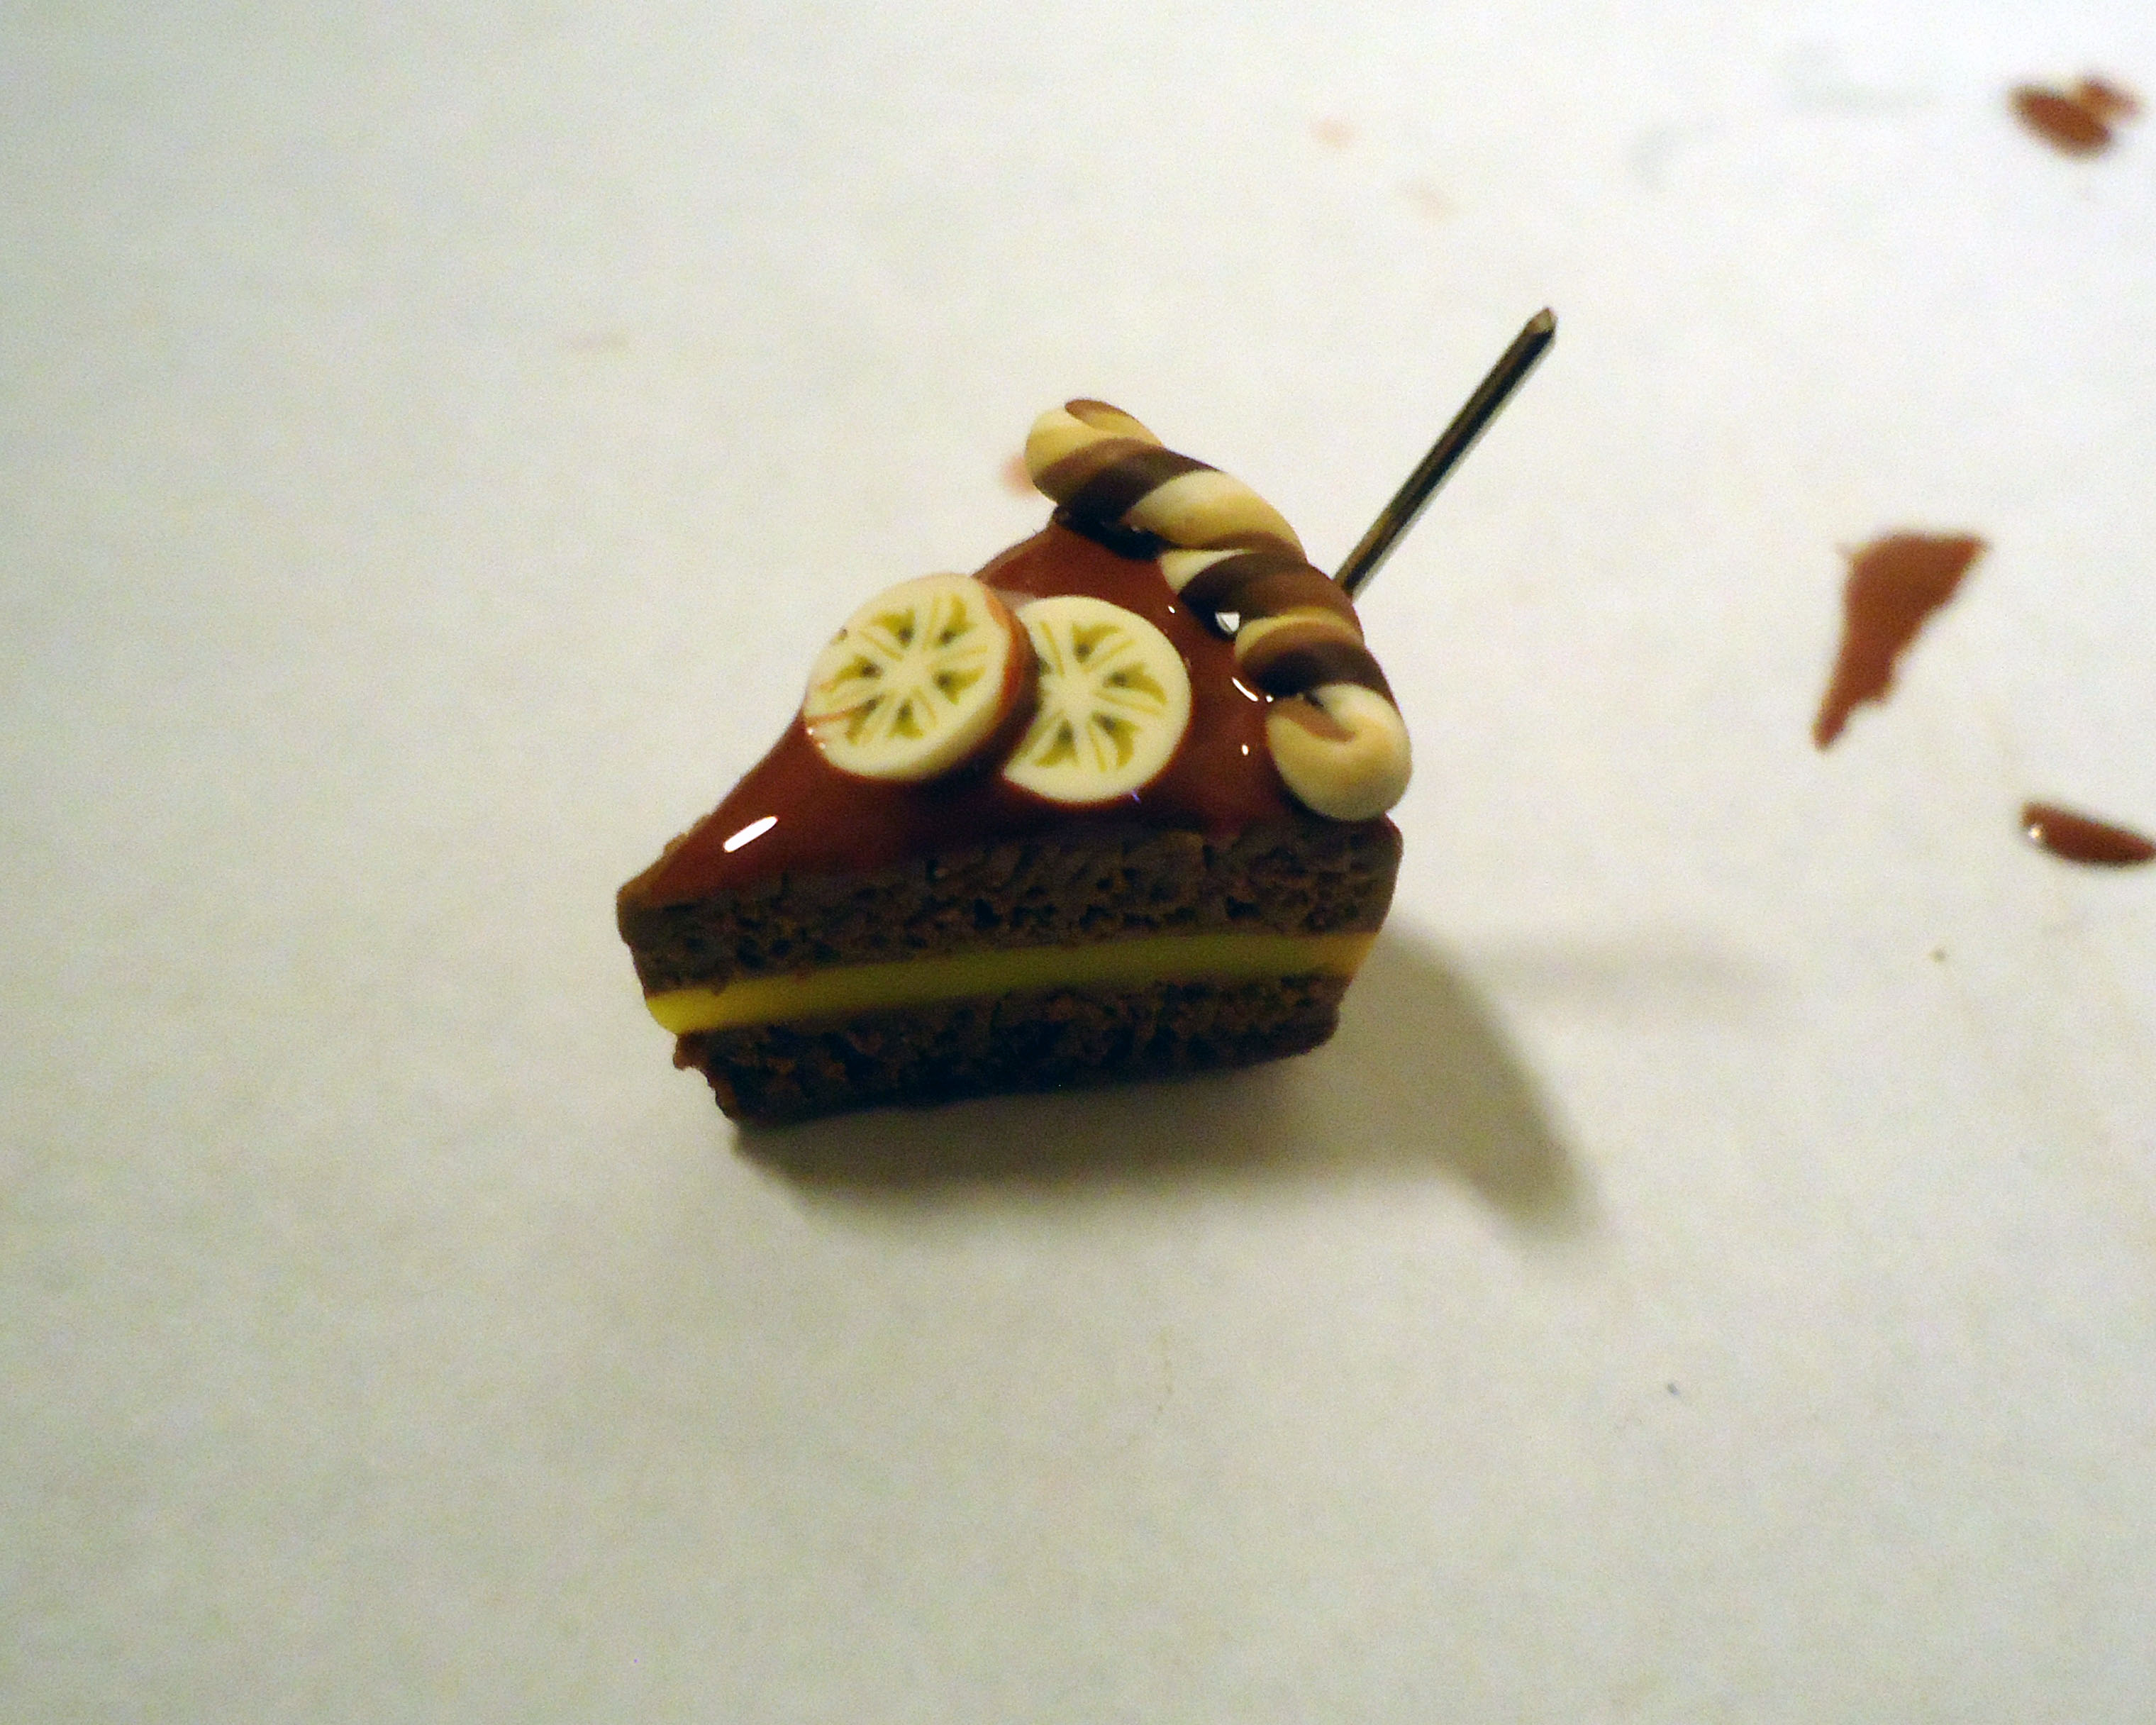
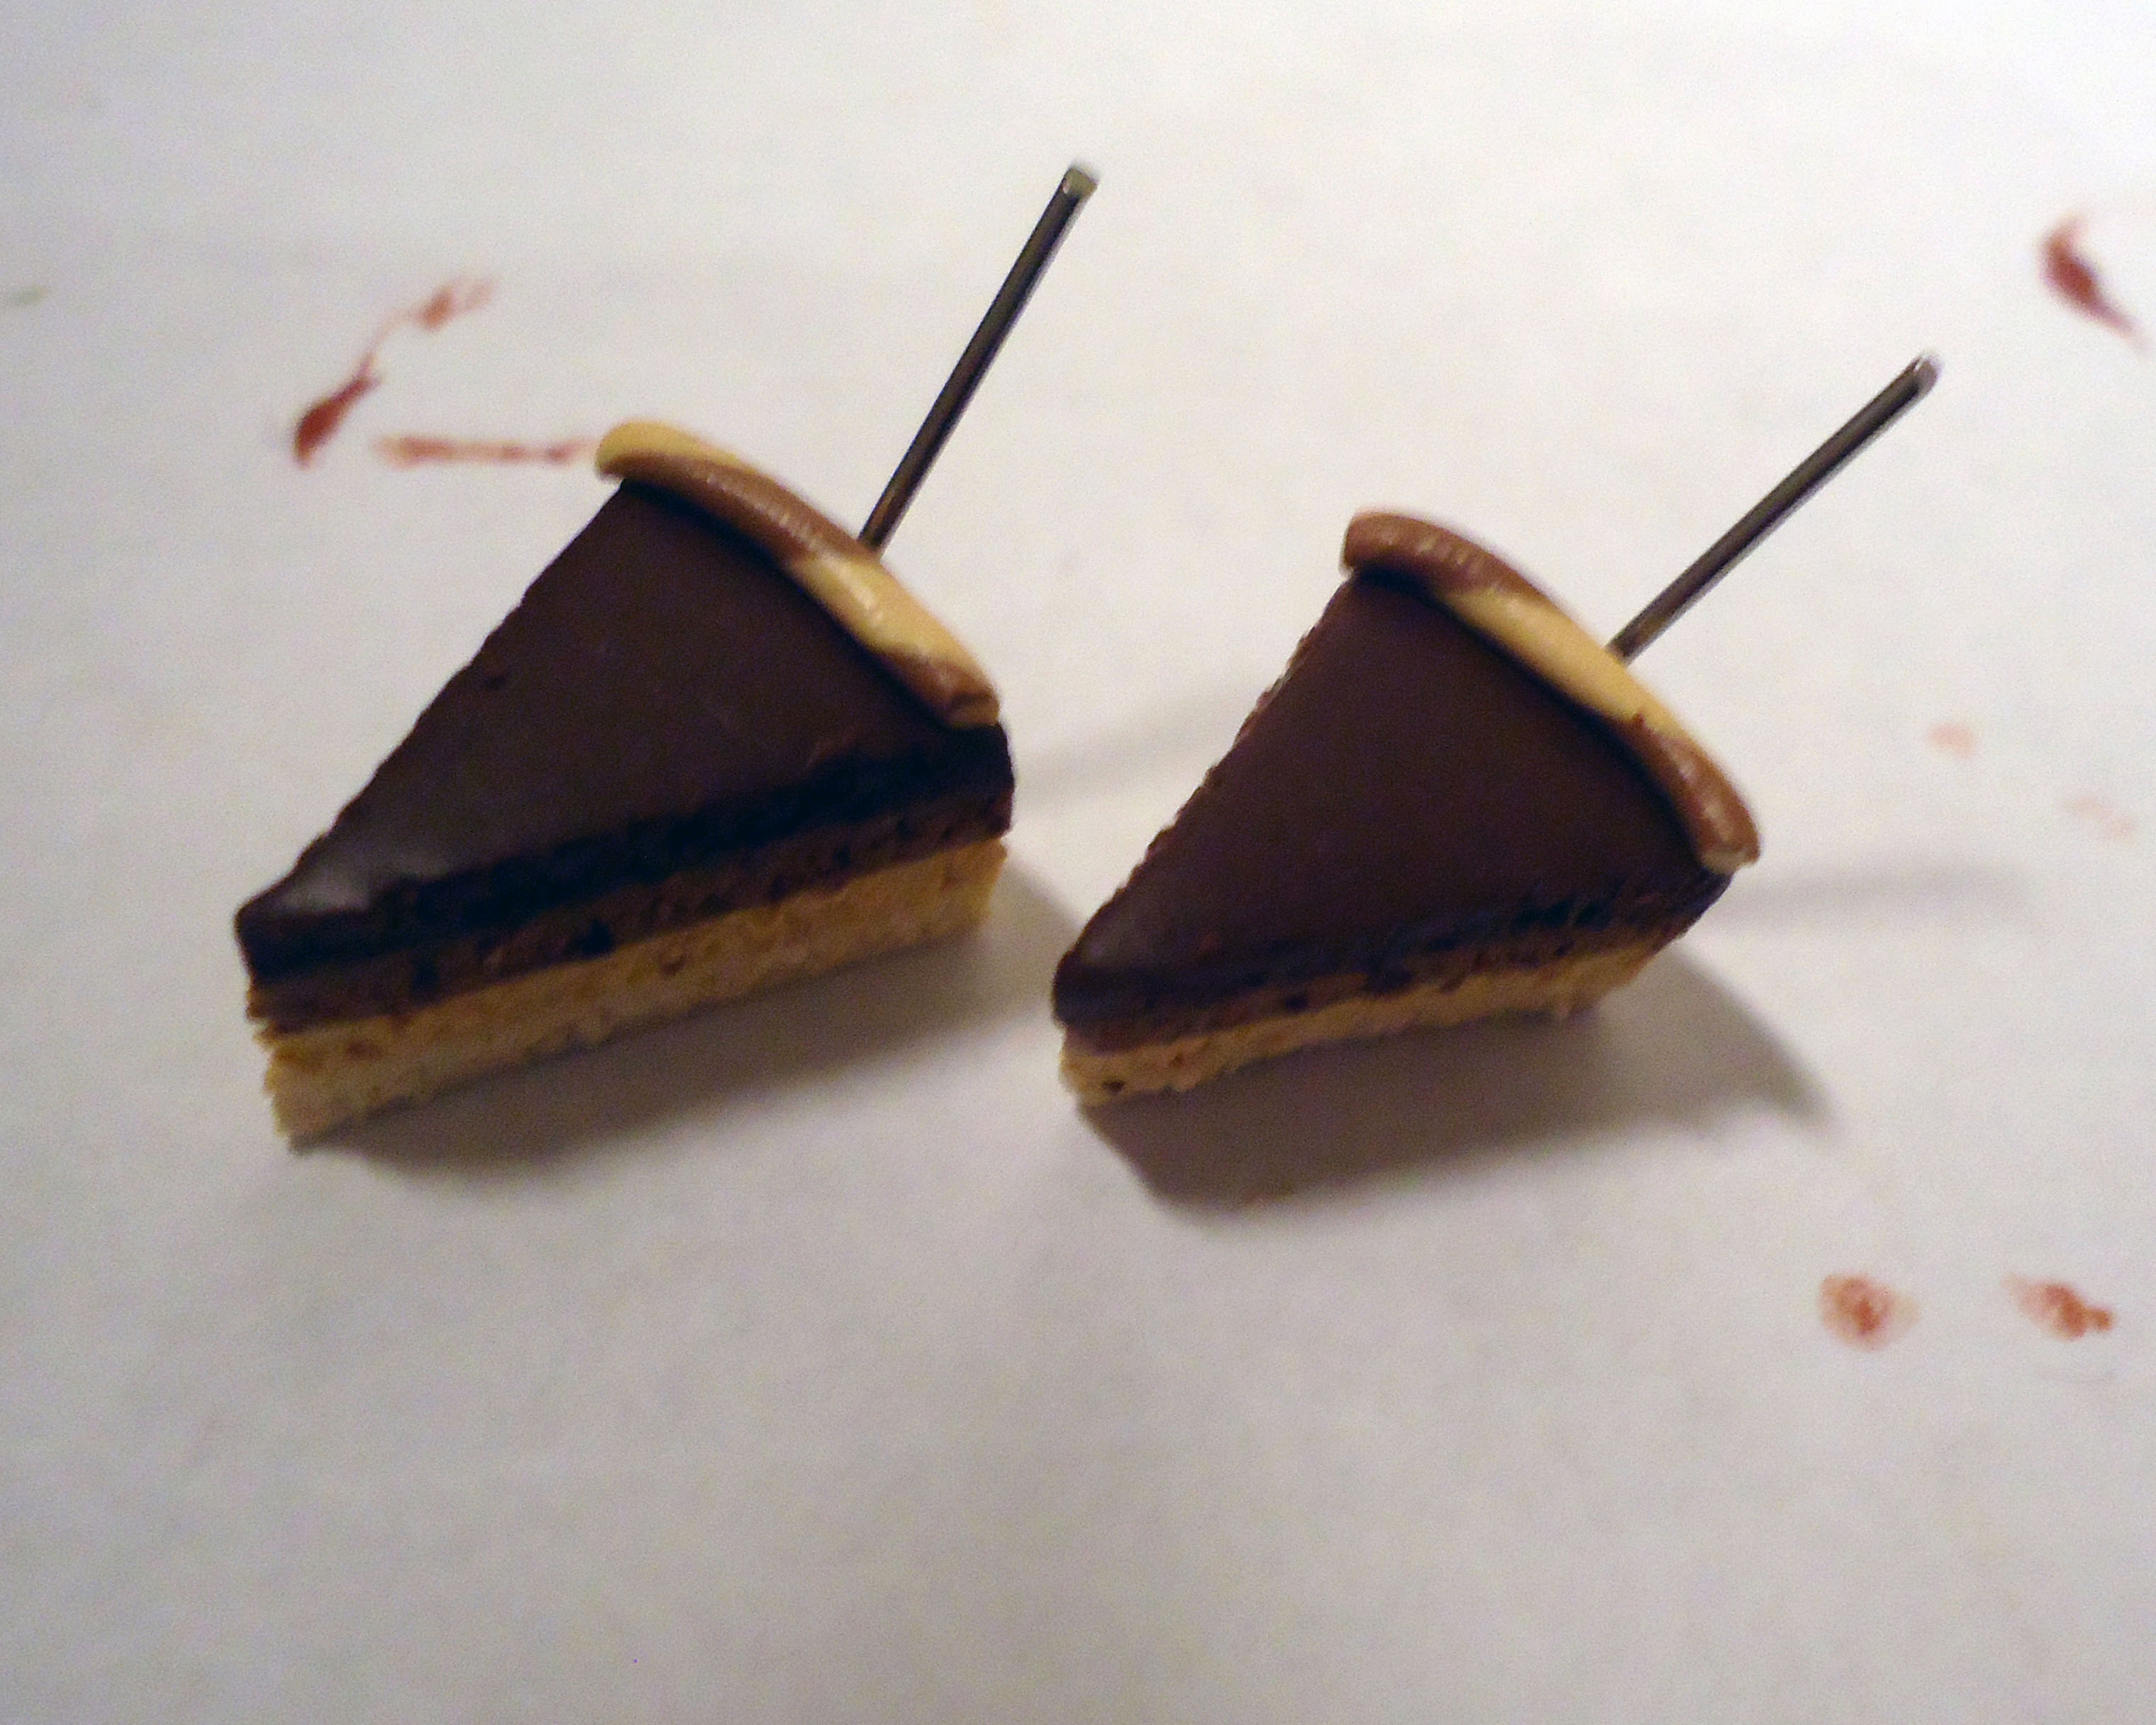
You completely ignored me an threw out the leftovers anyway? Ah well. It's easy to re-make them!
The sticks don't have to be completely straight...be creative! You can use them for quite a few things!
The sticks don't have to be completely straight...be creative! You can use them for quite a few things!
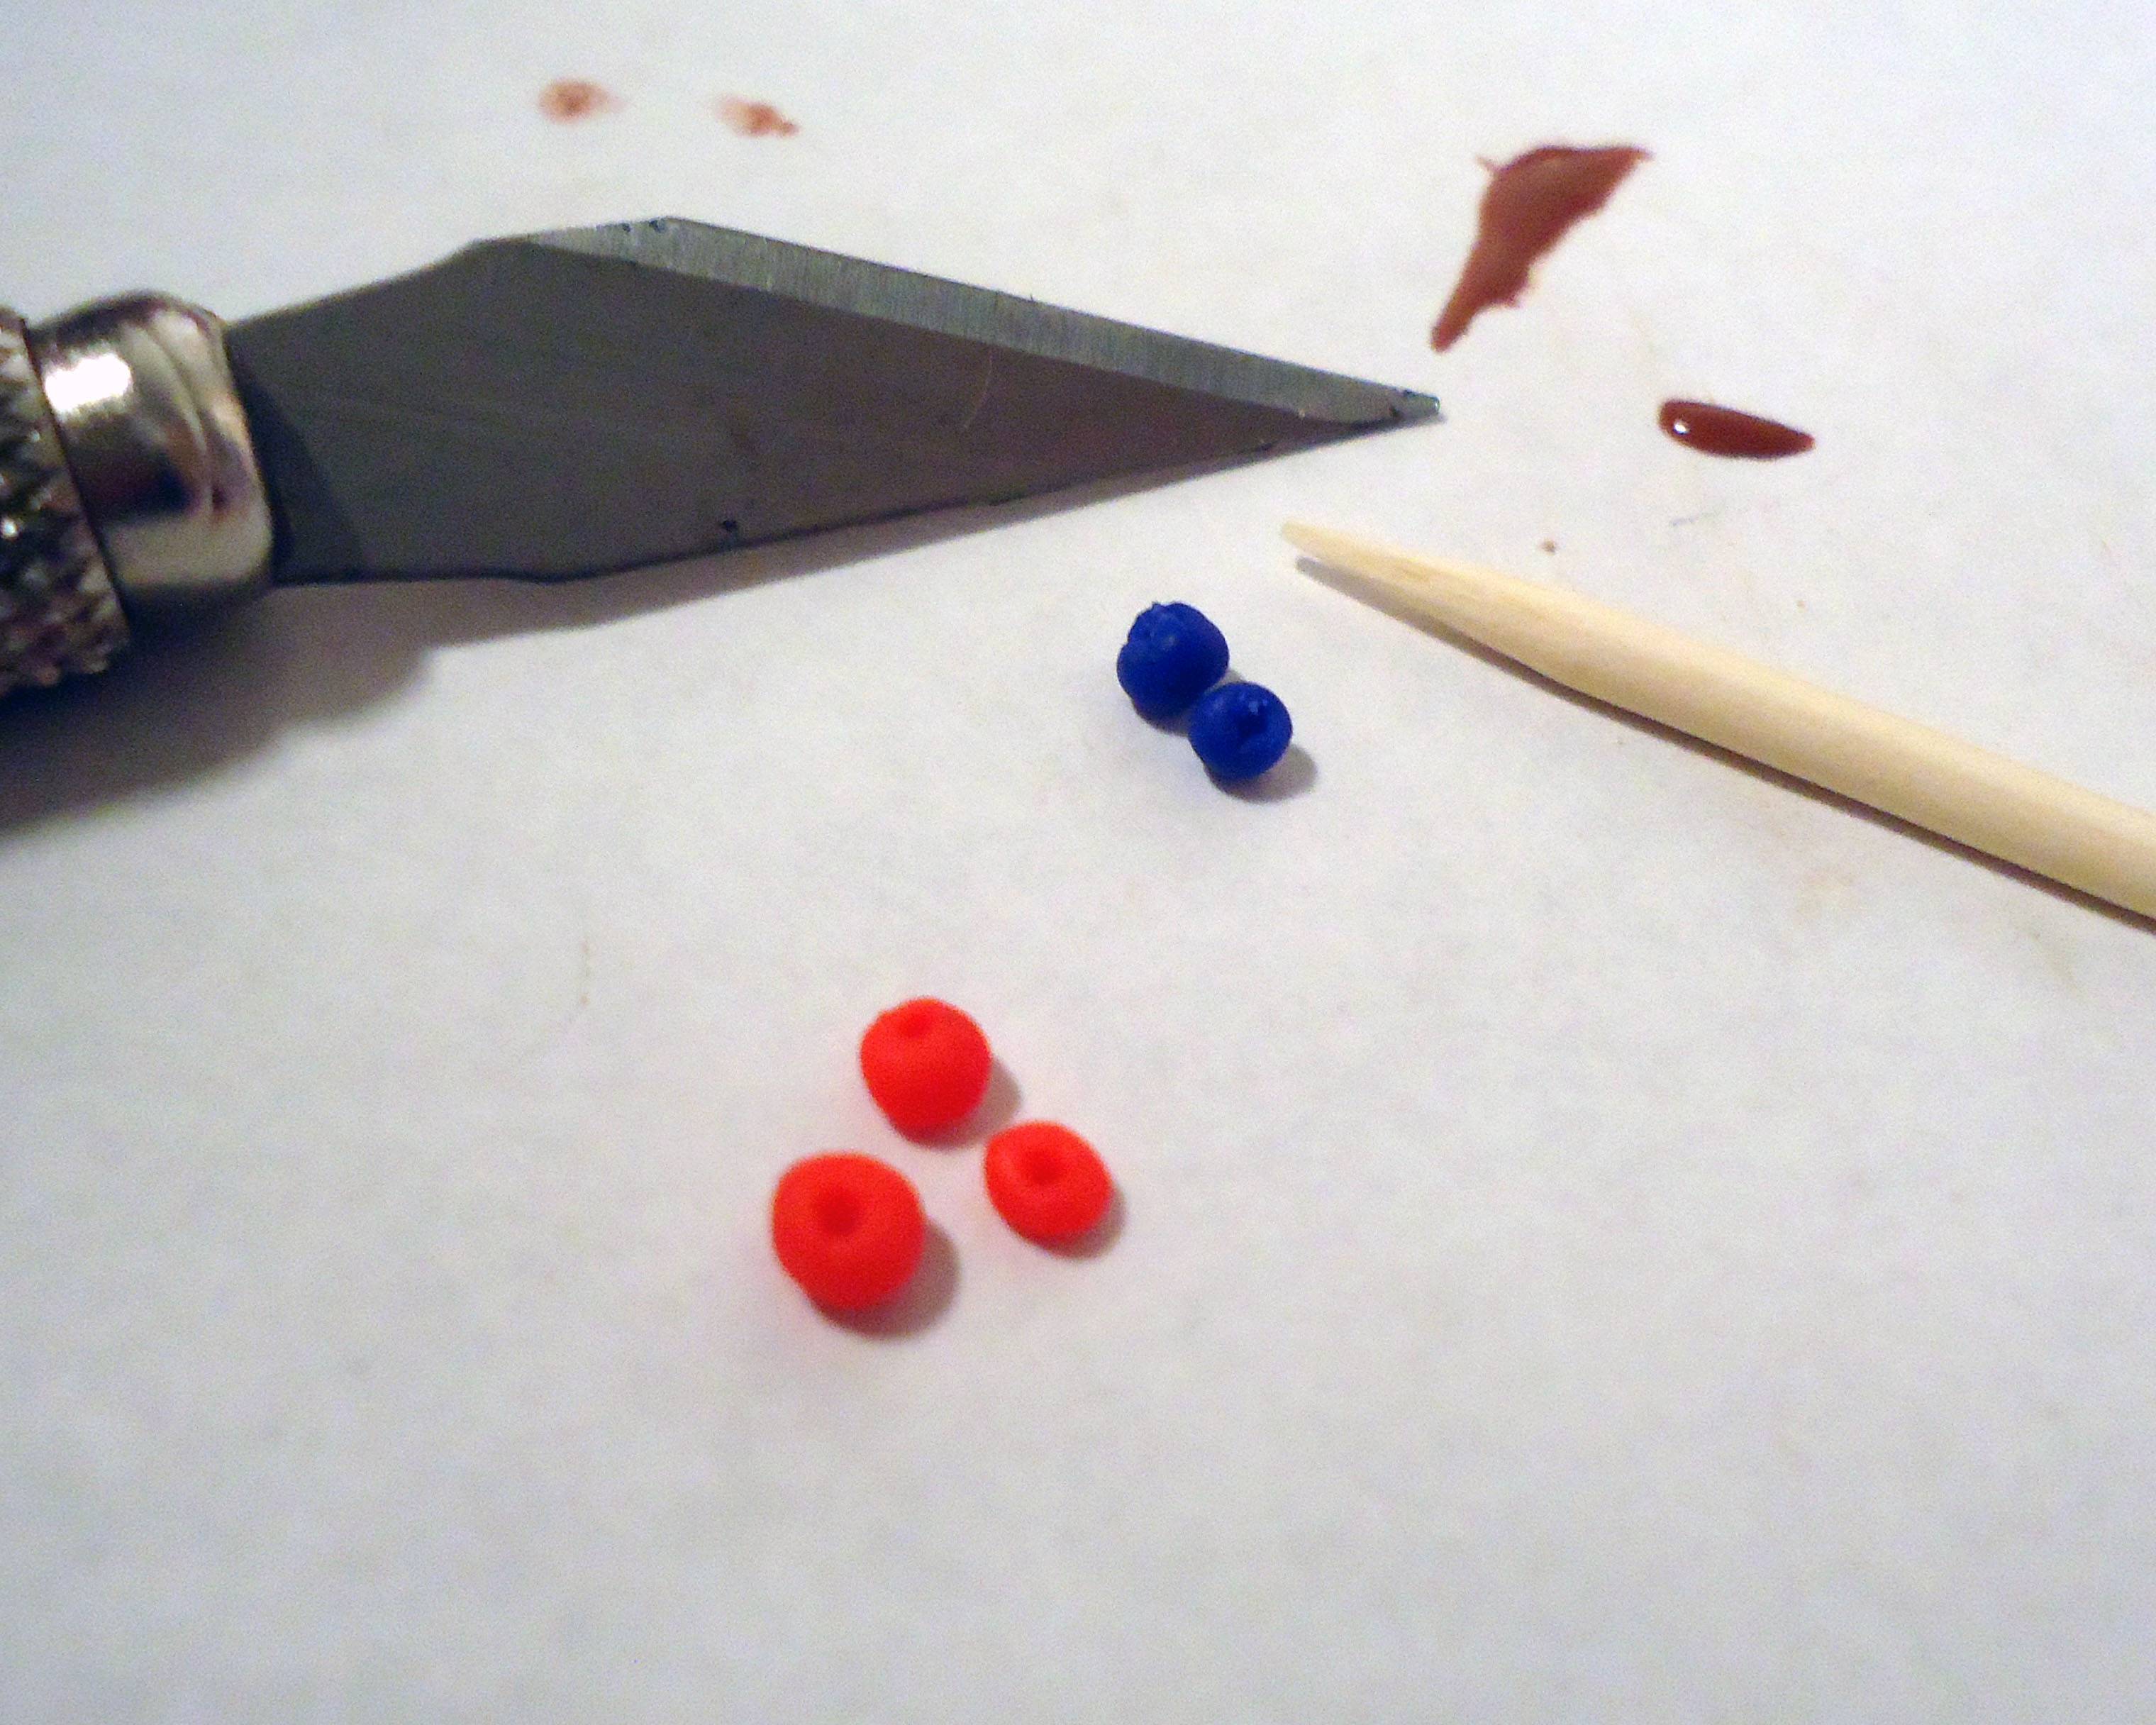
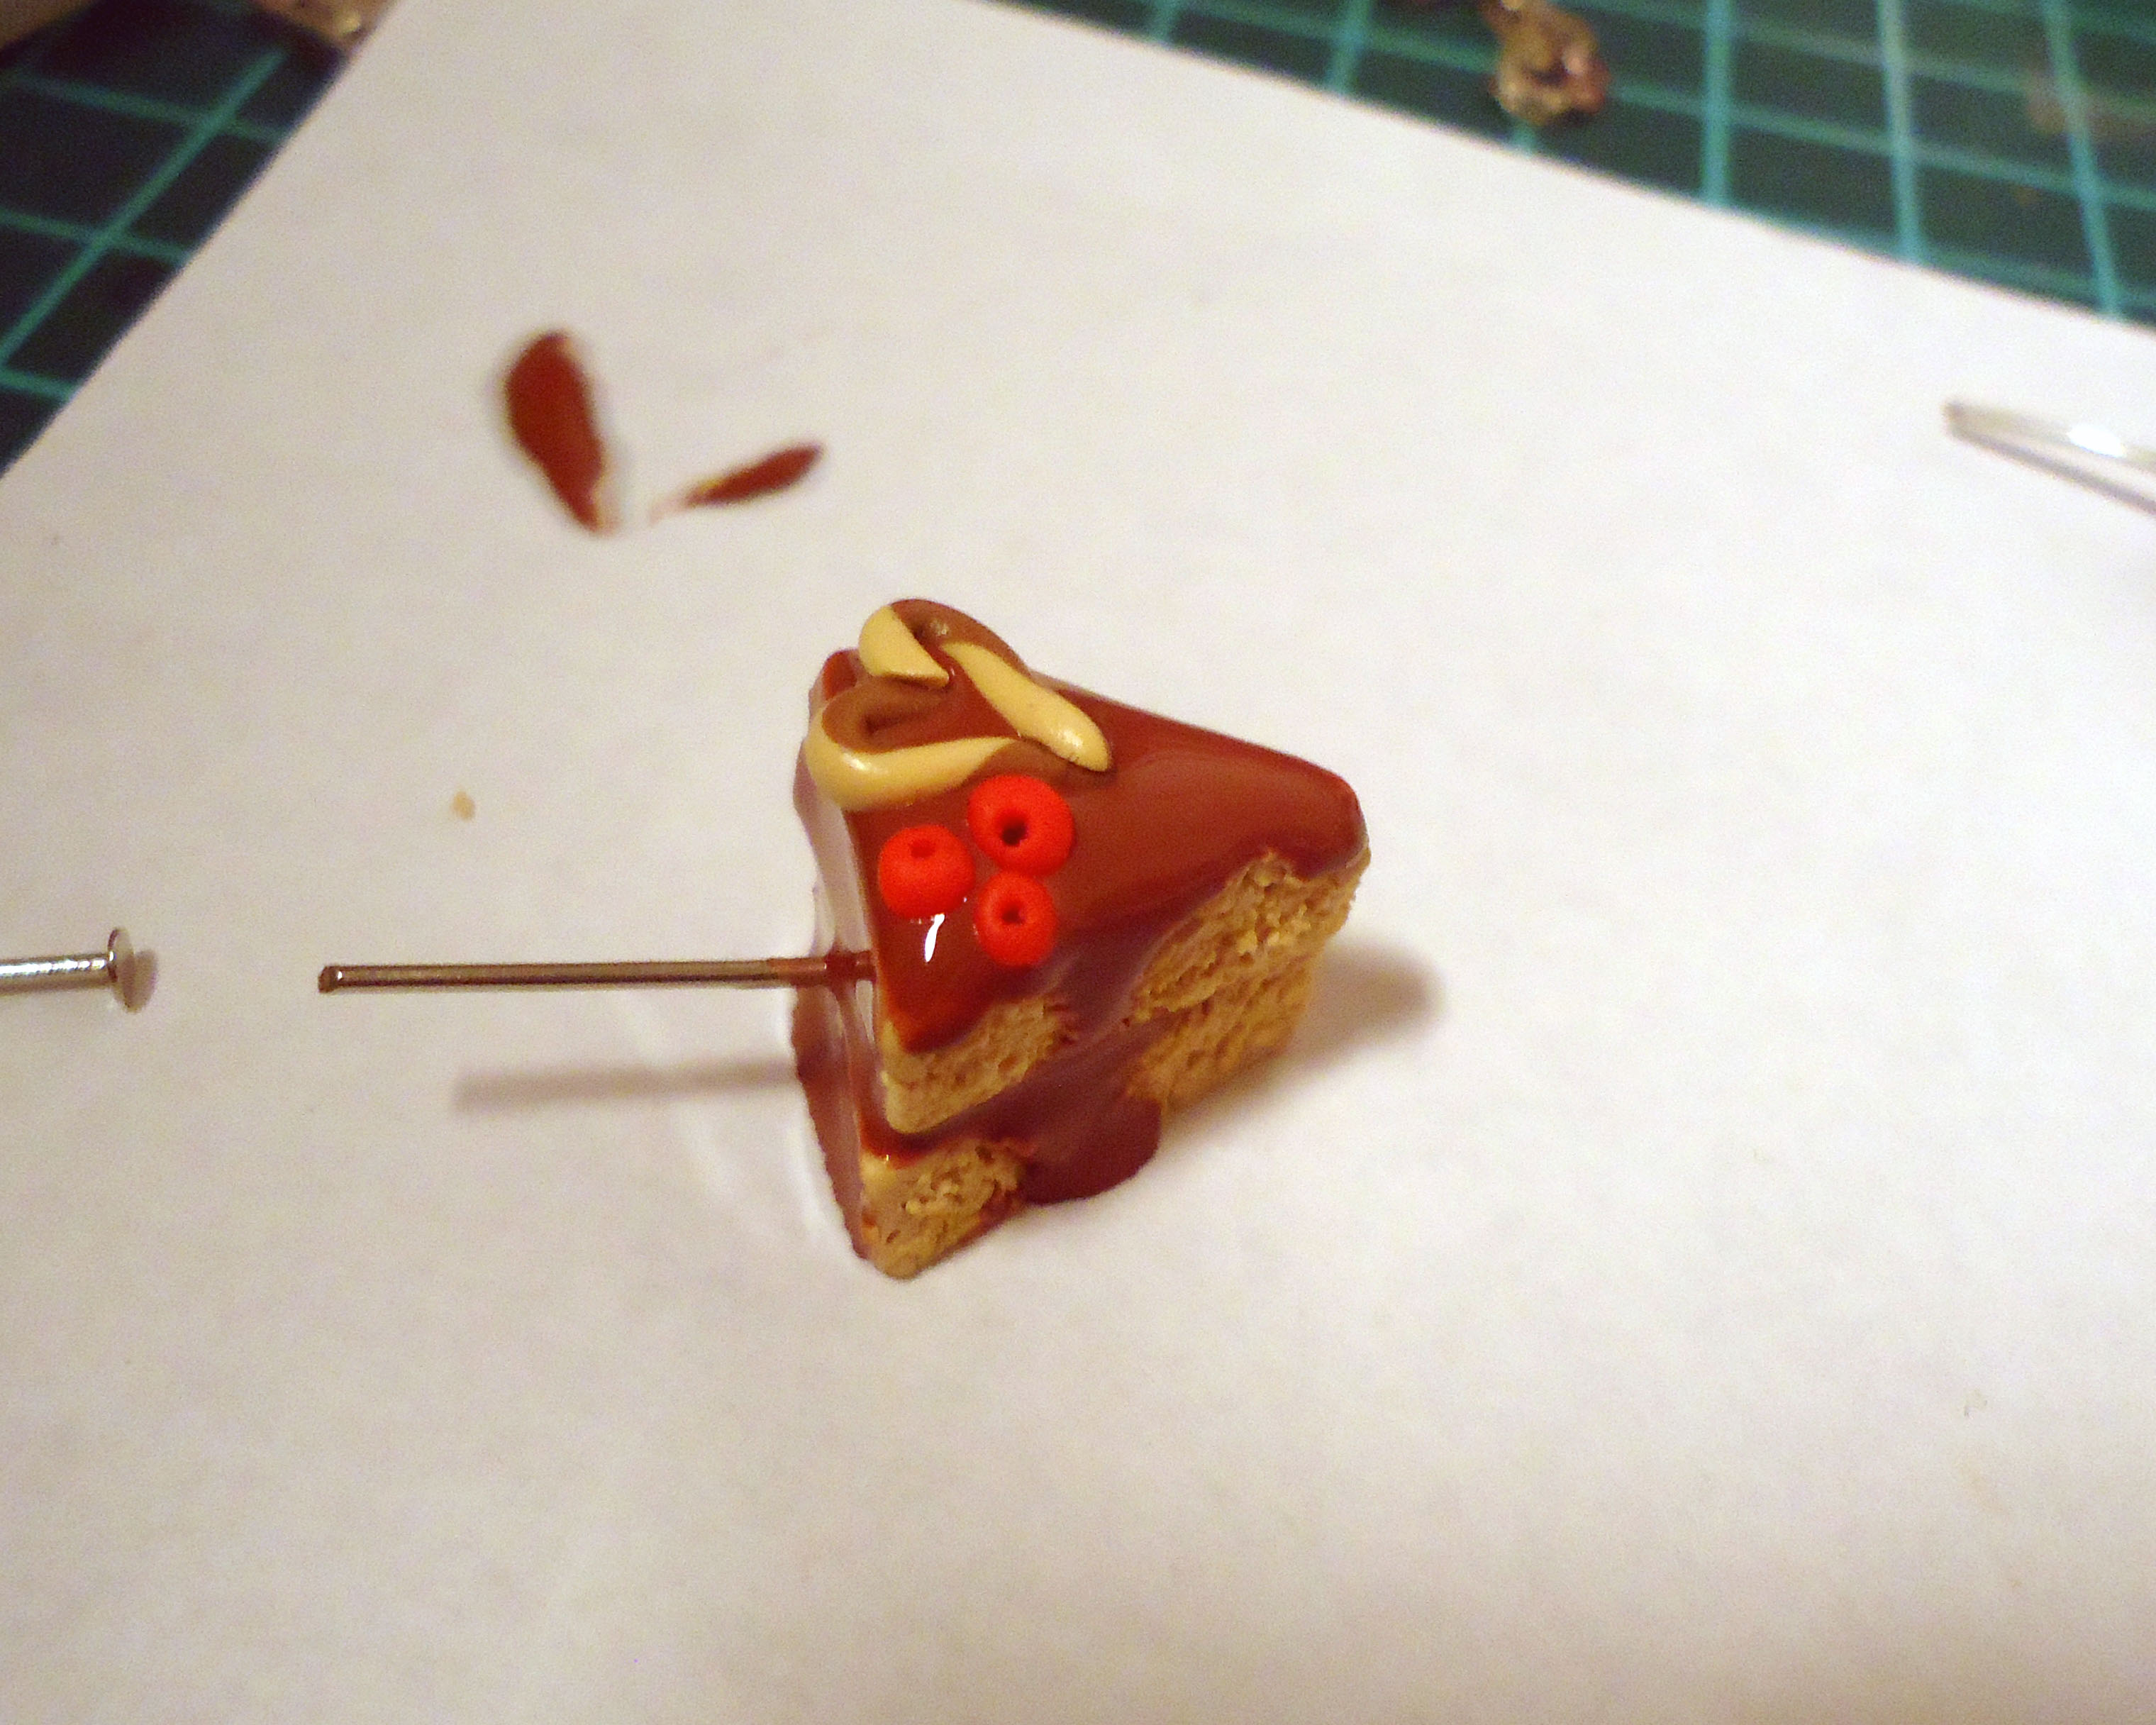
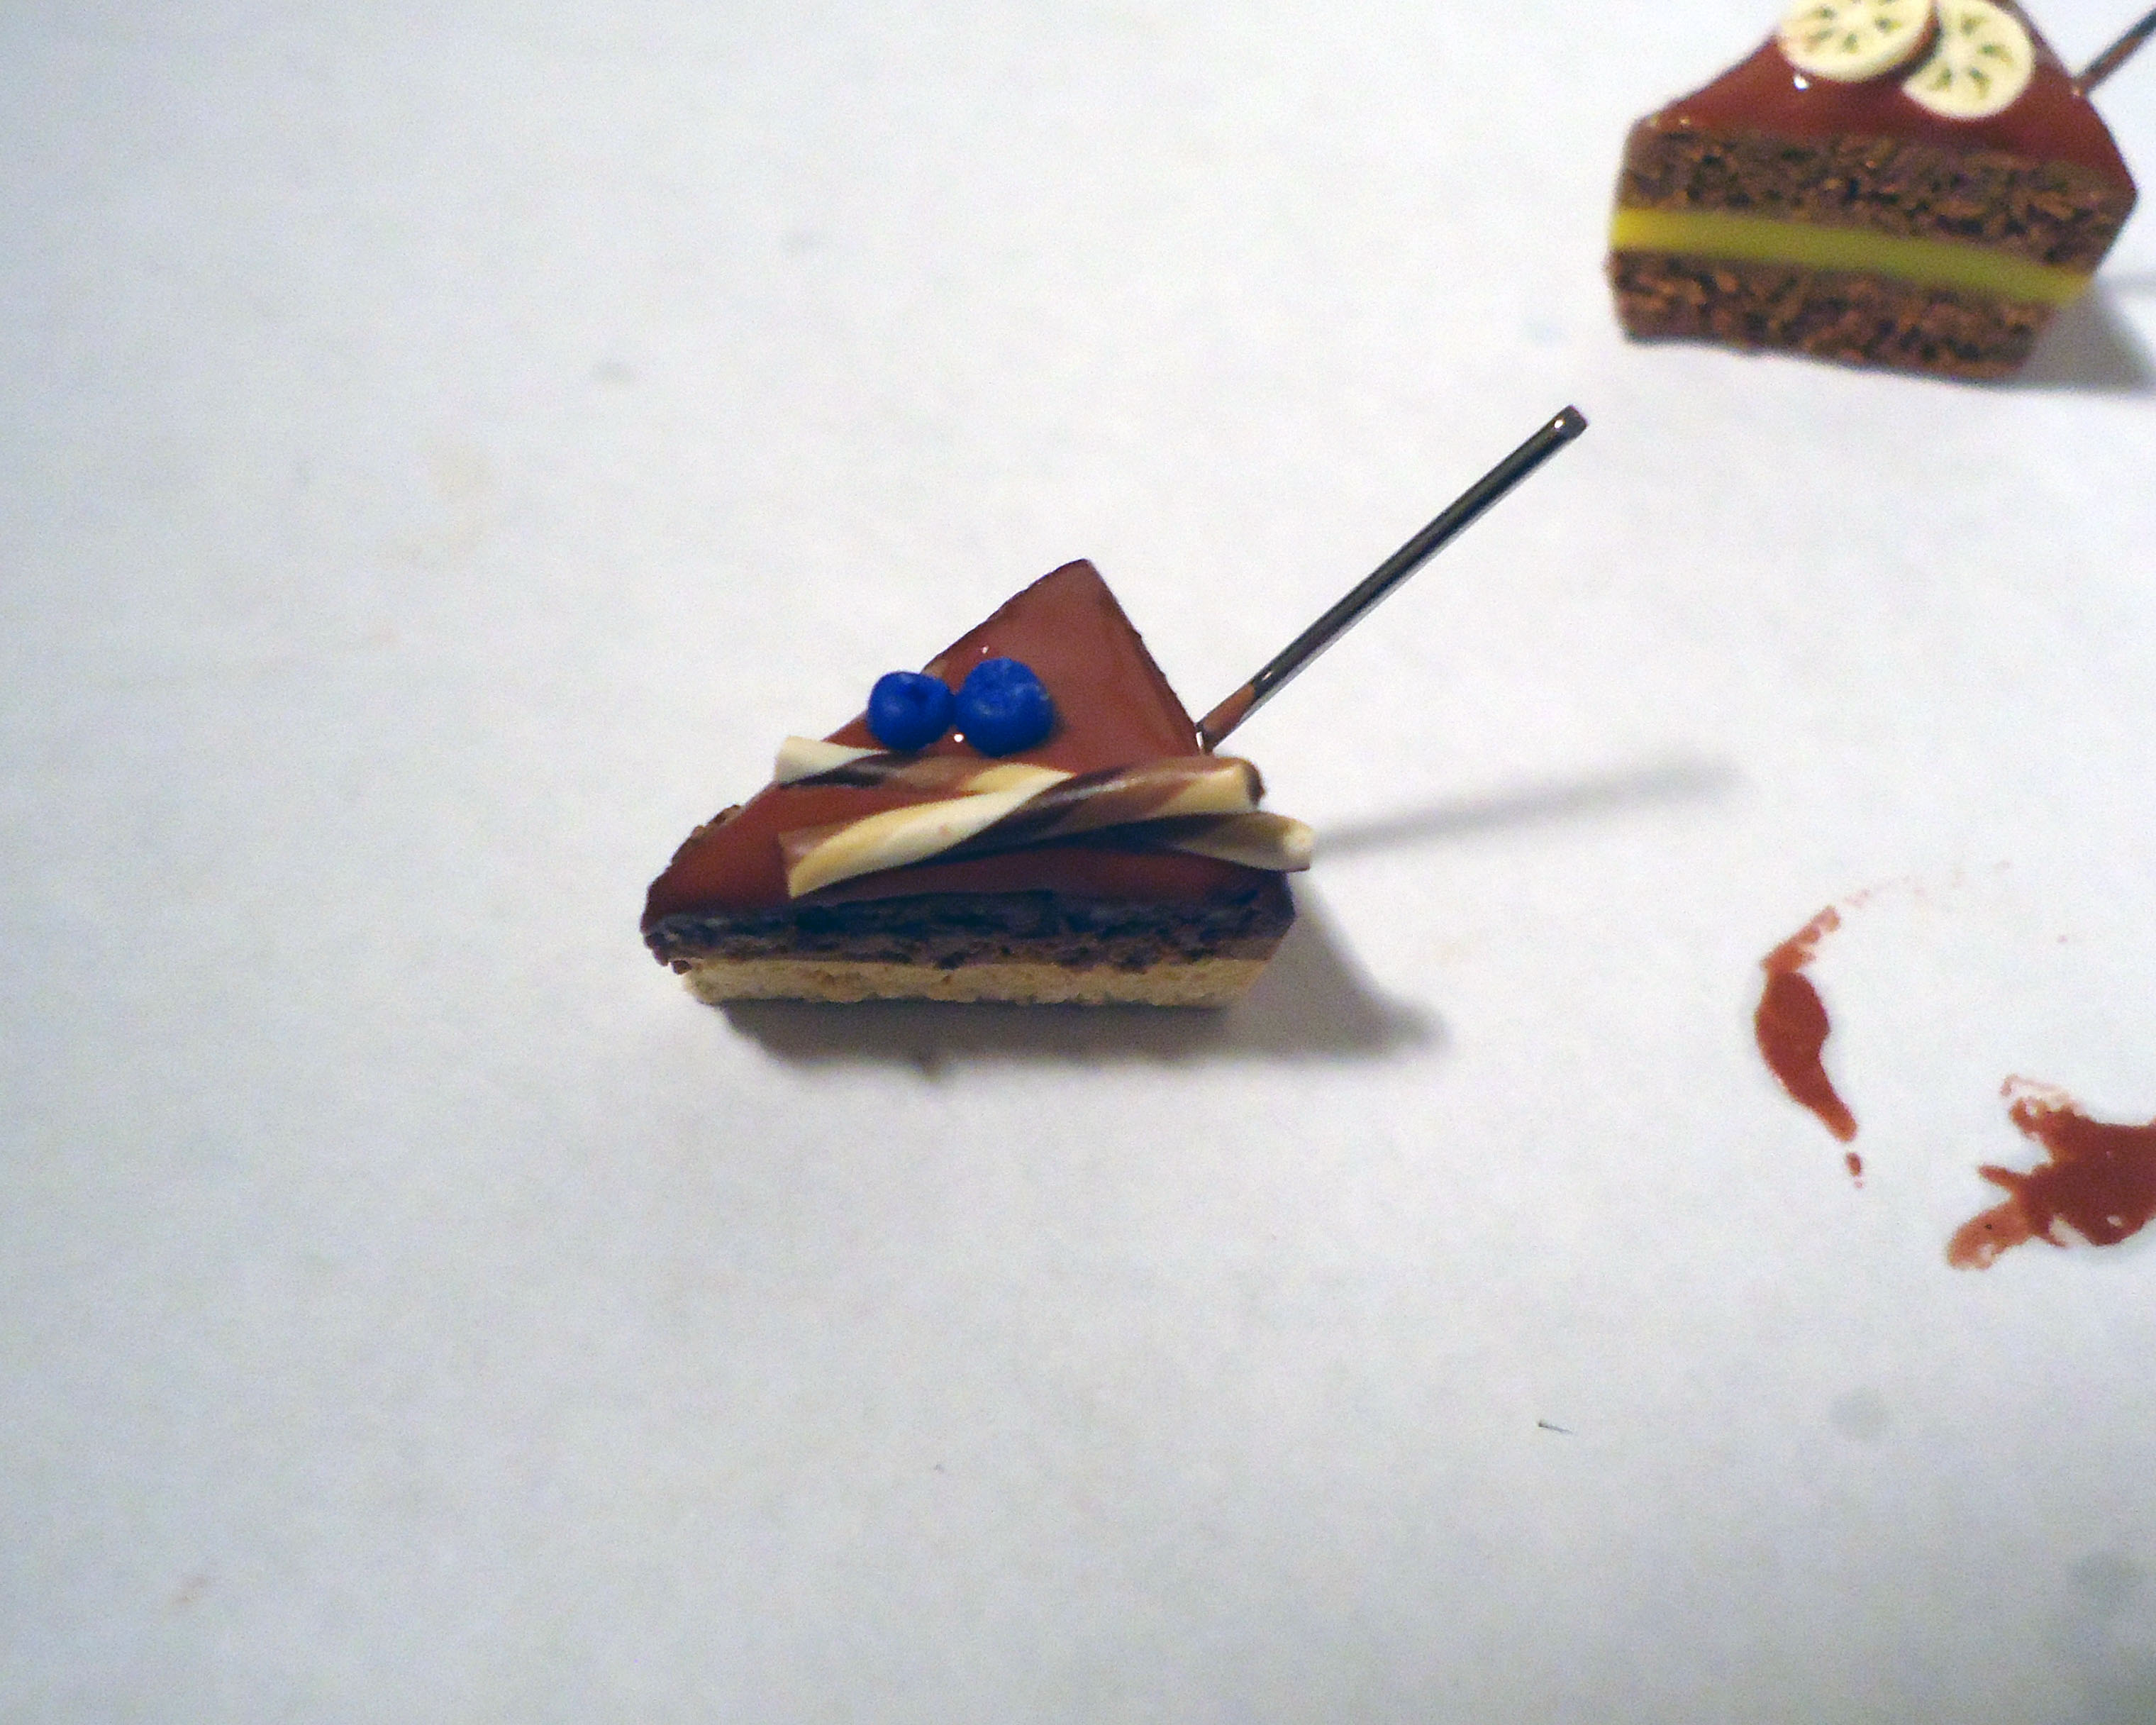
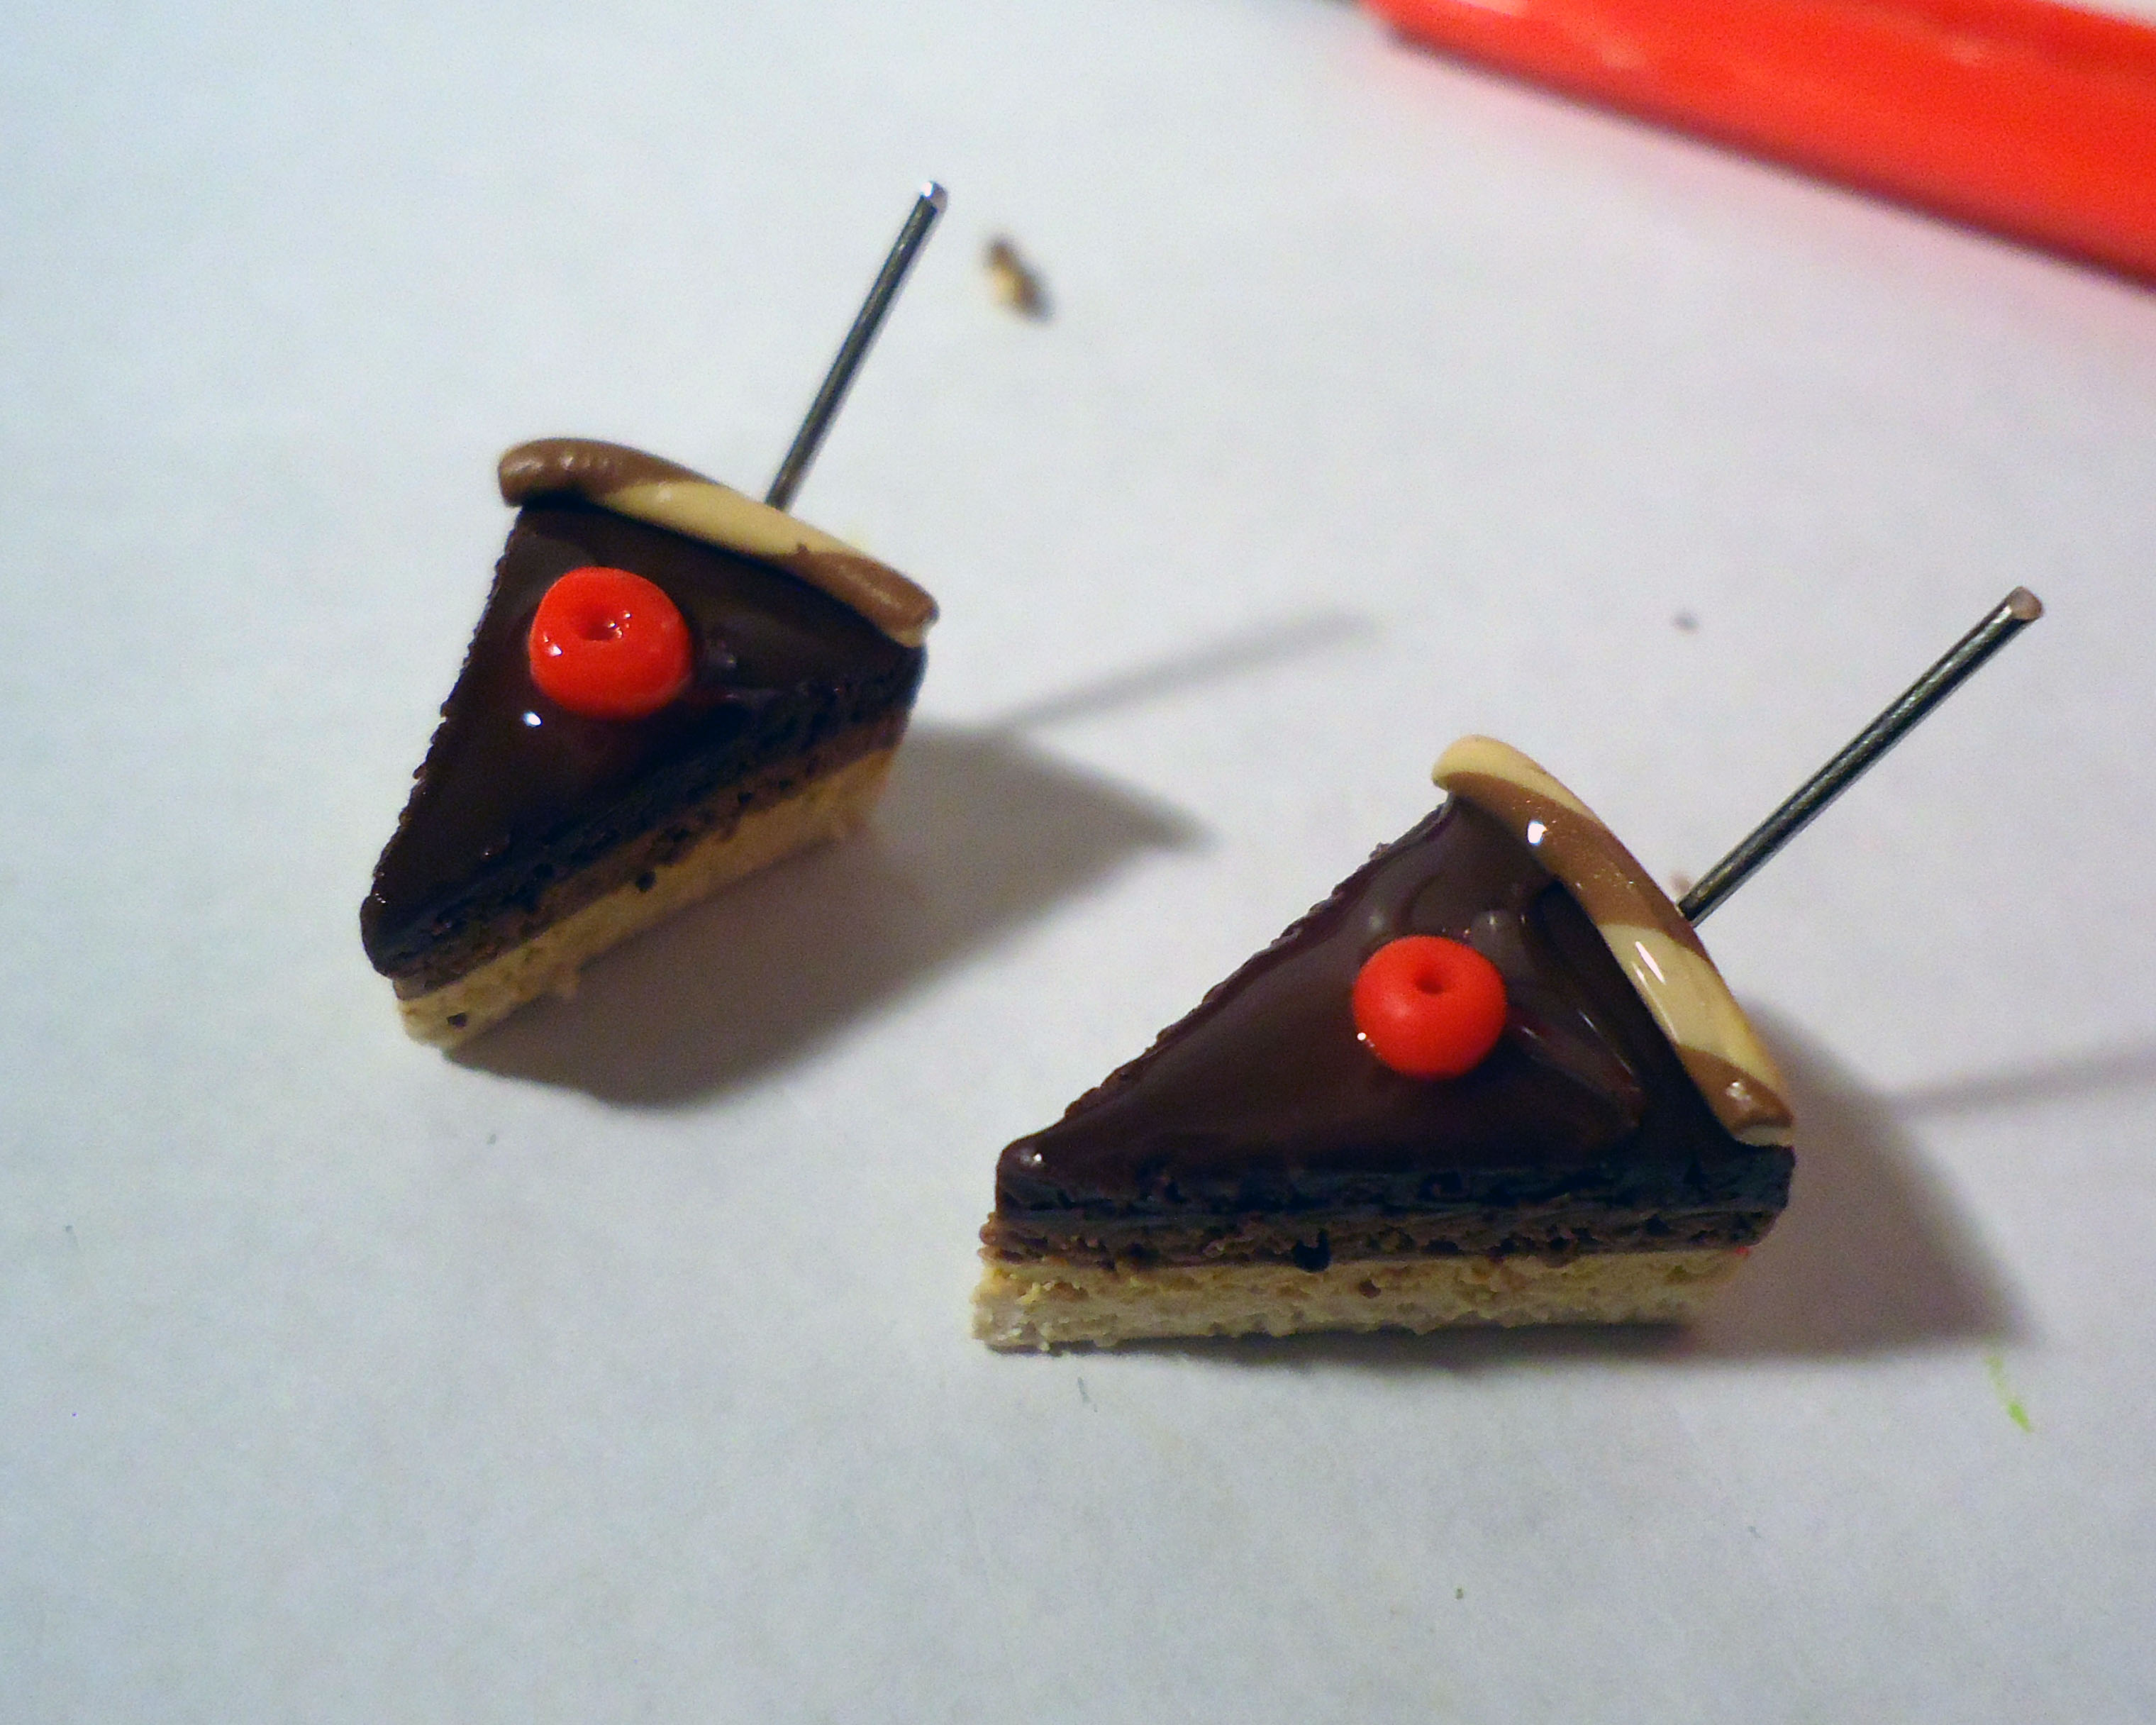
Hmm... Needs to be a little more fruity! How about some berries? Make tiny balls and add little holes with a toothpick or anything sharp!
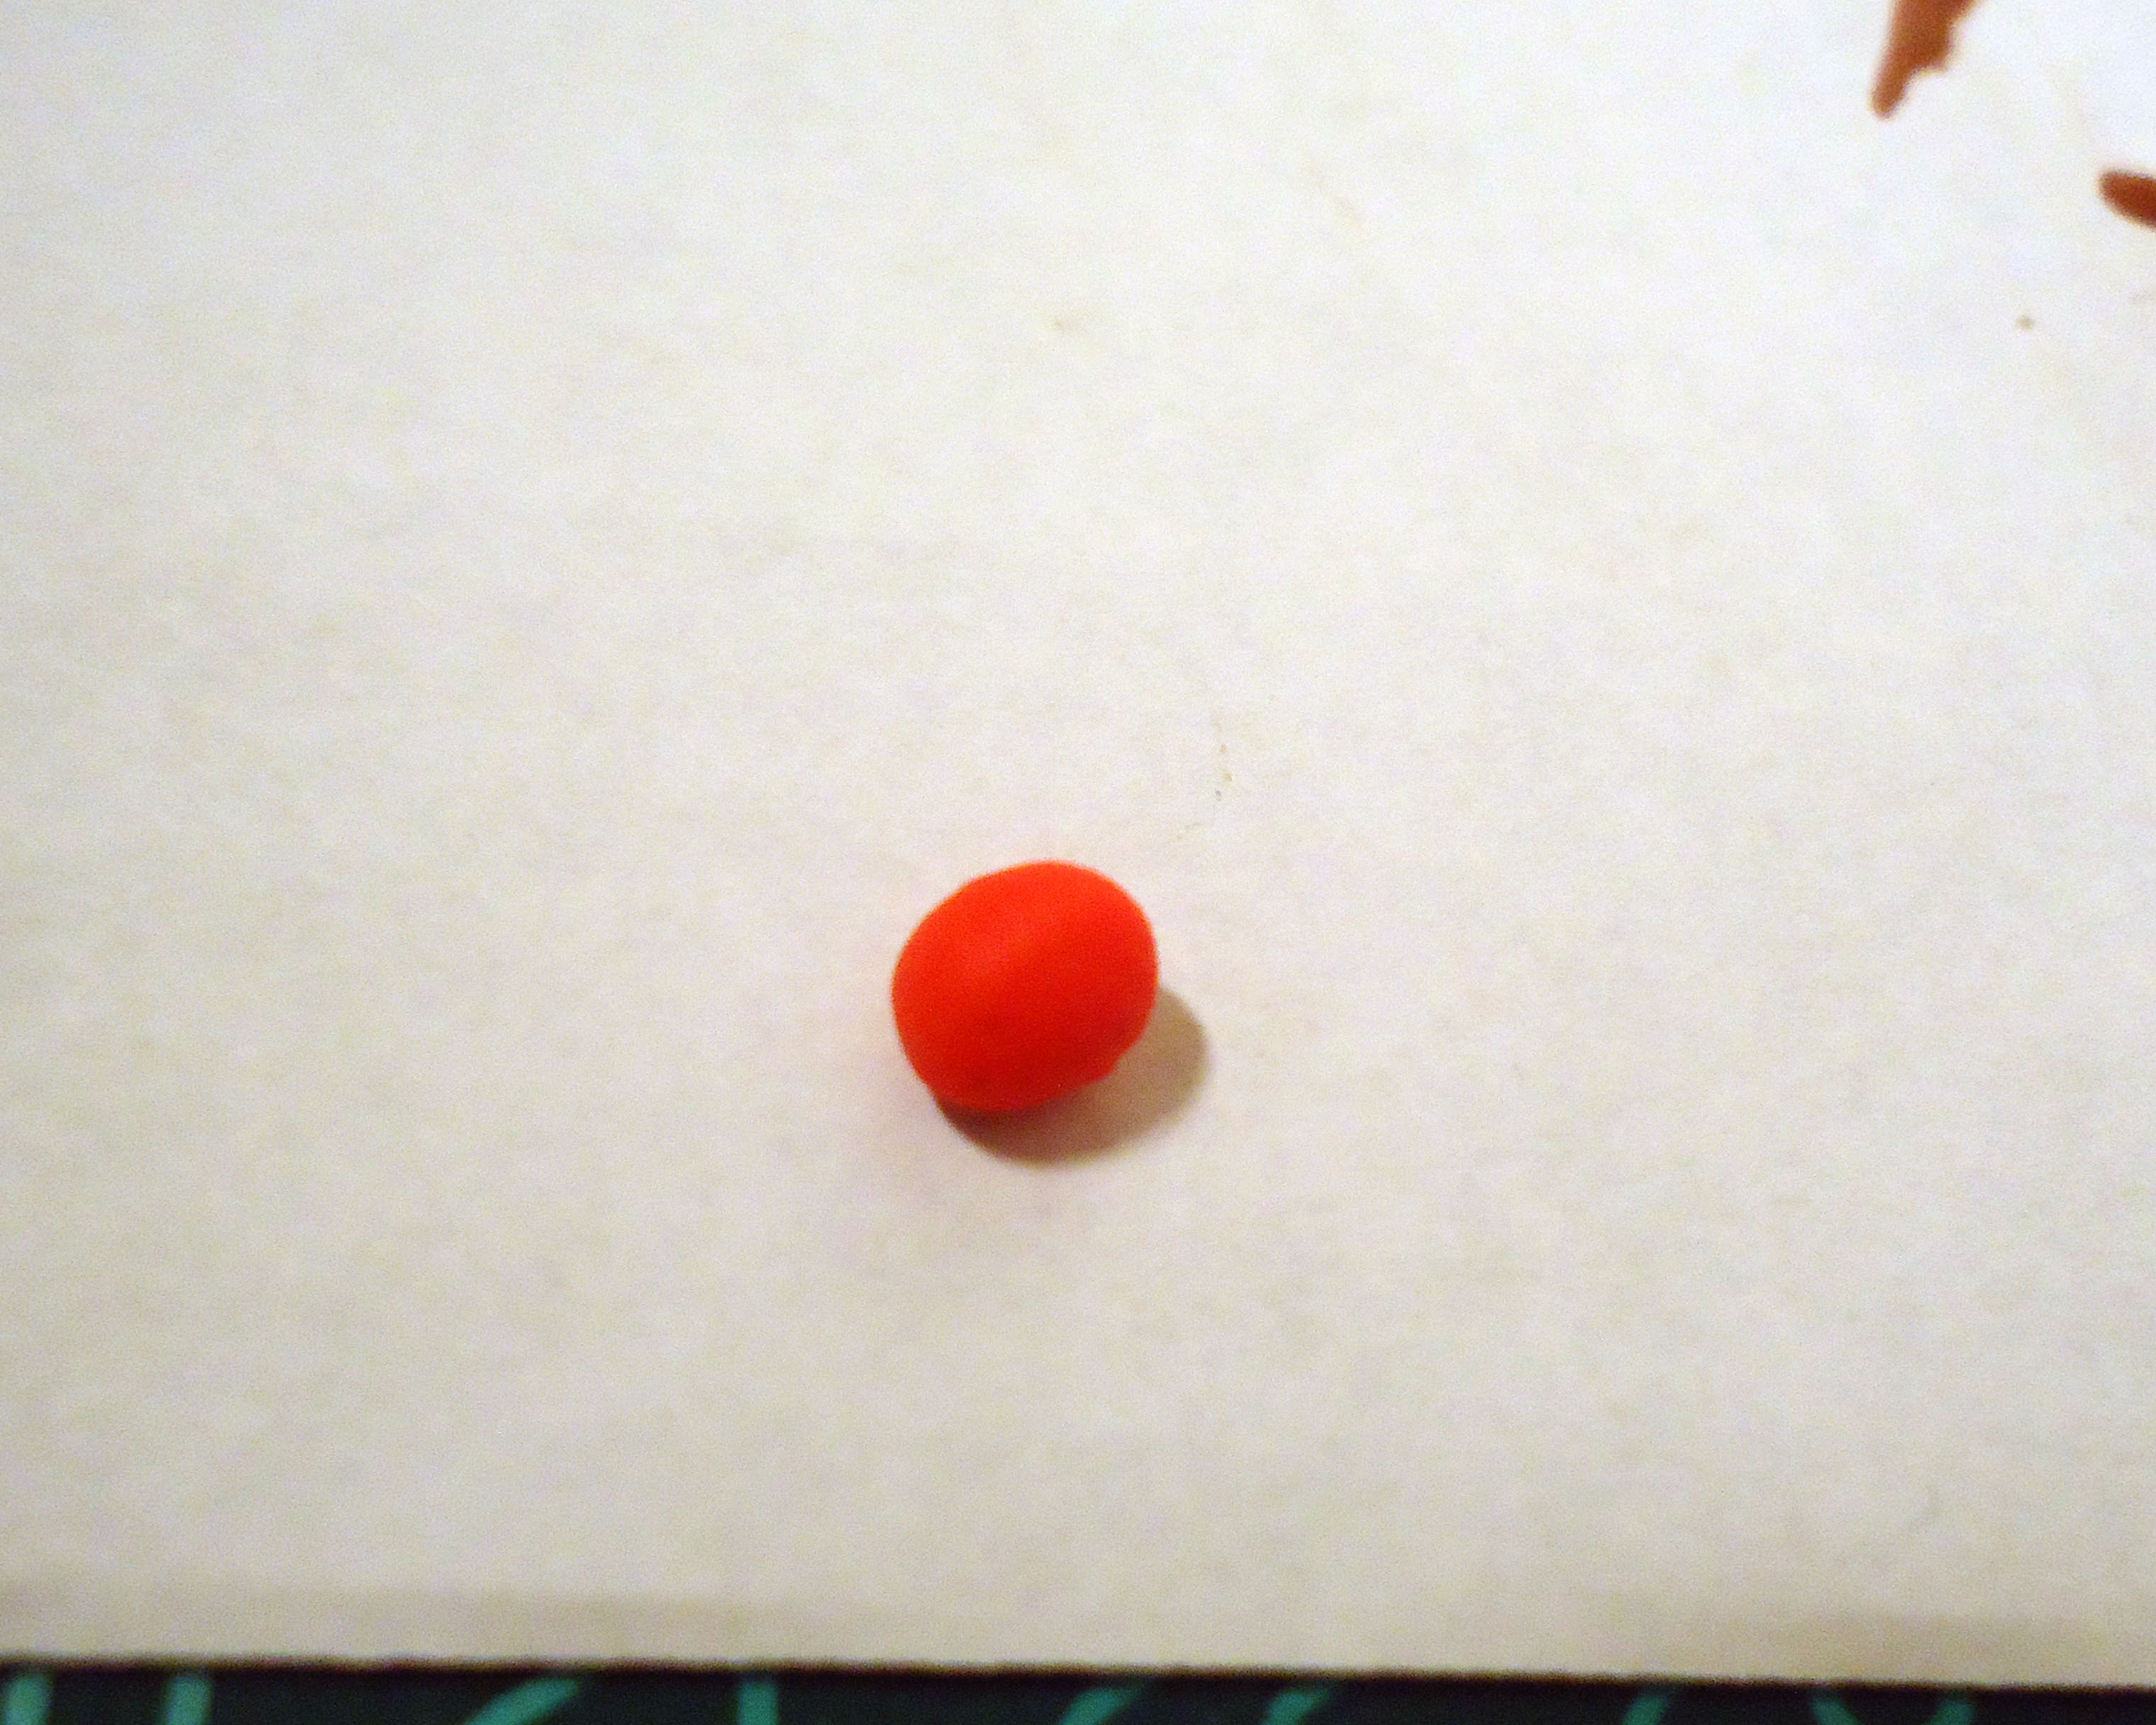
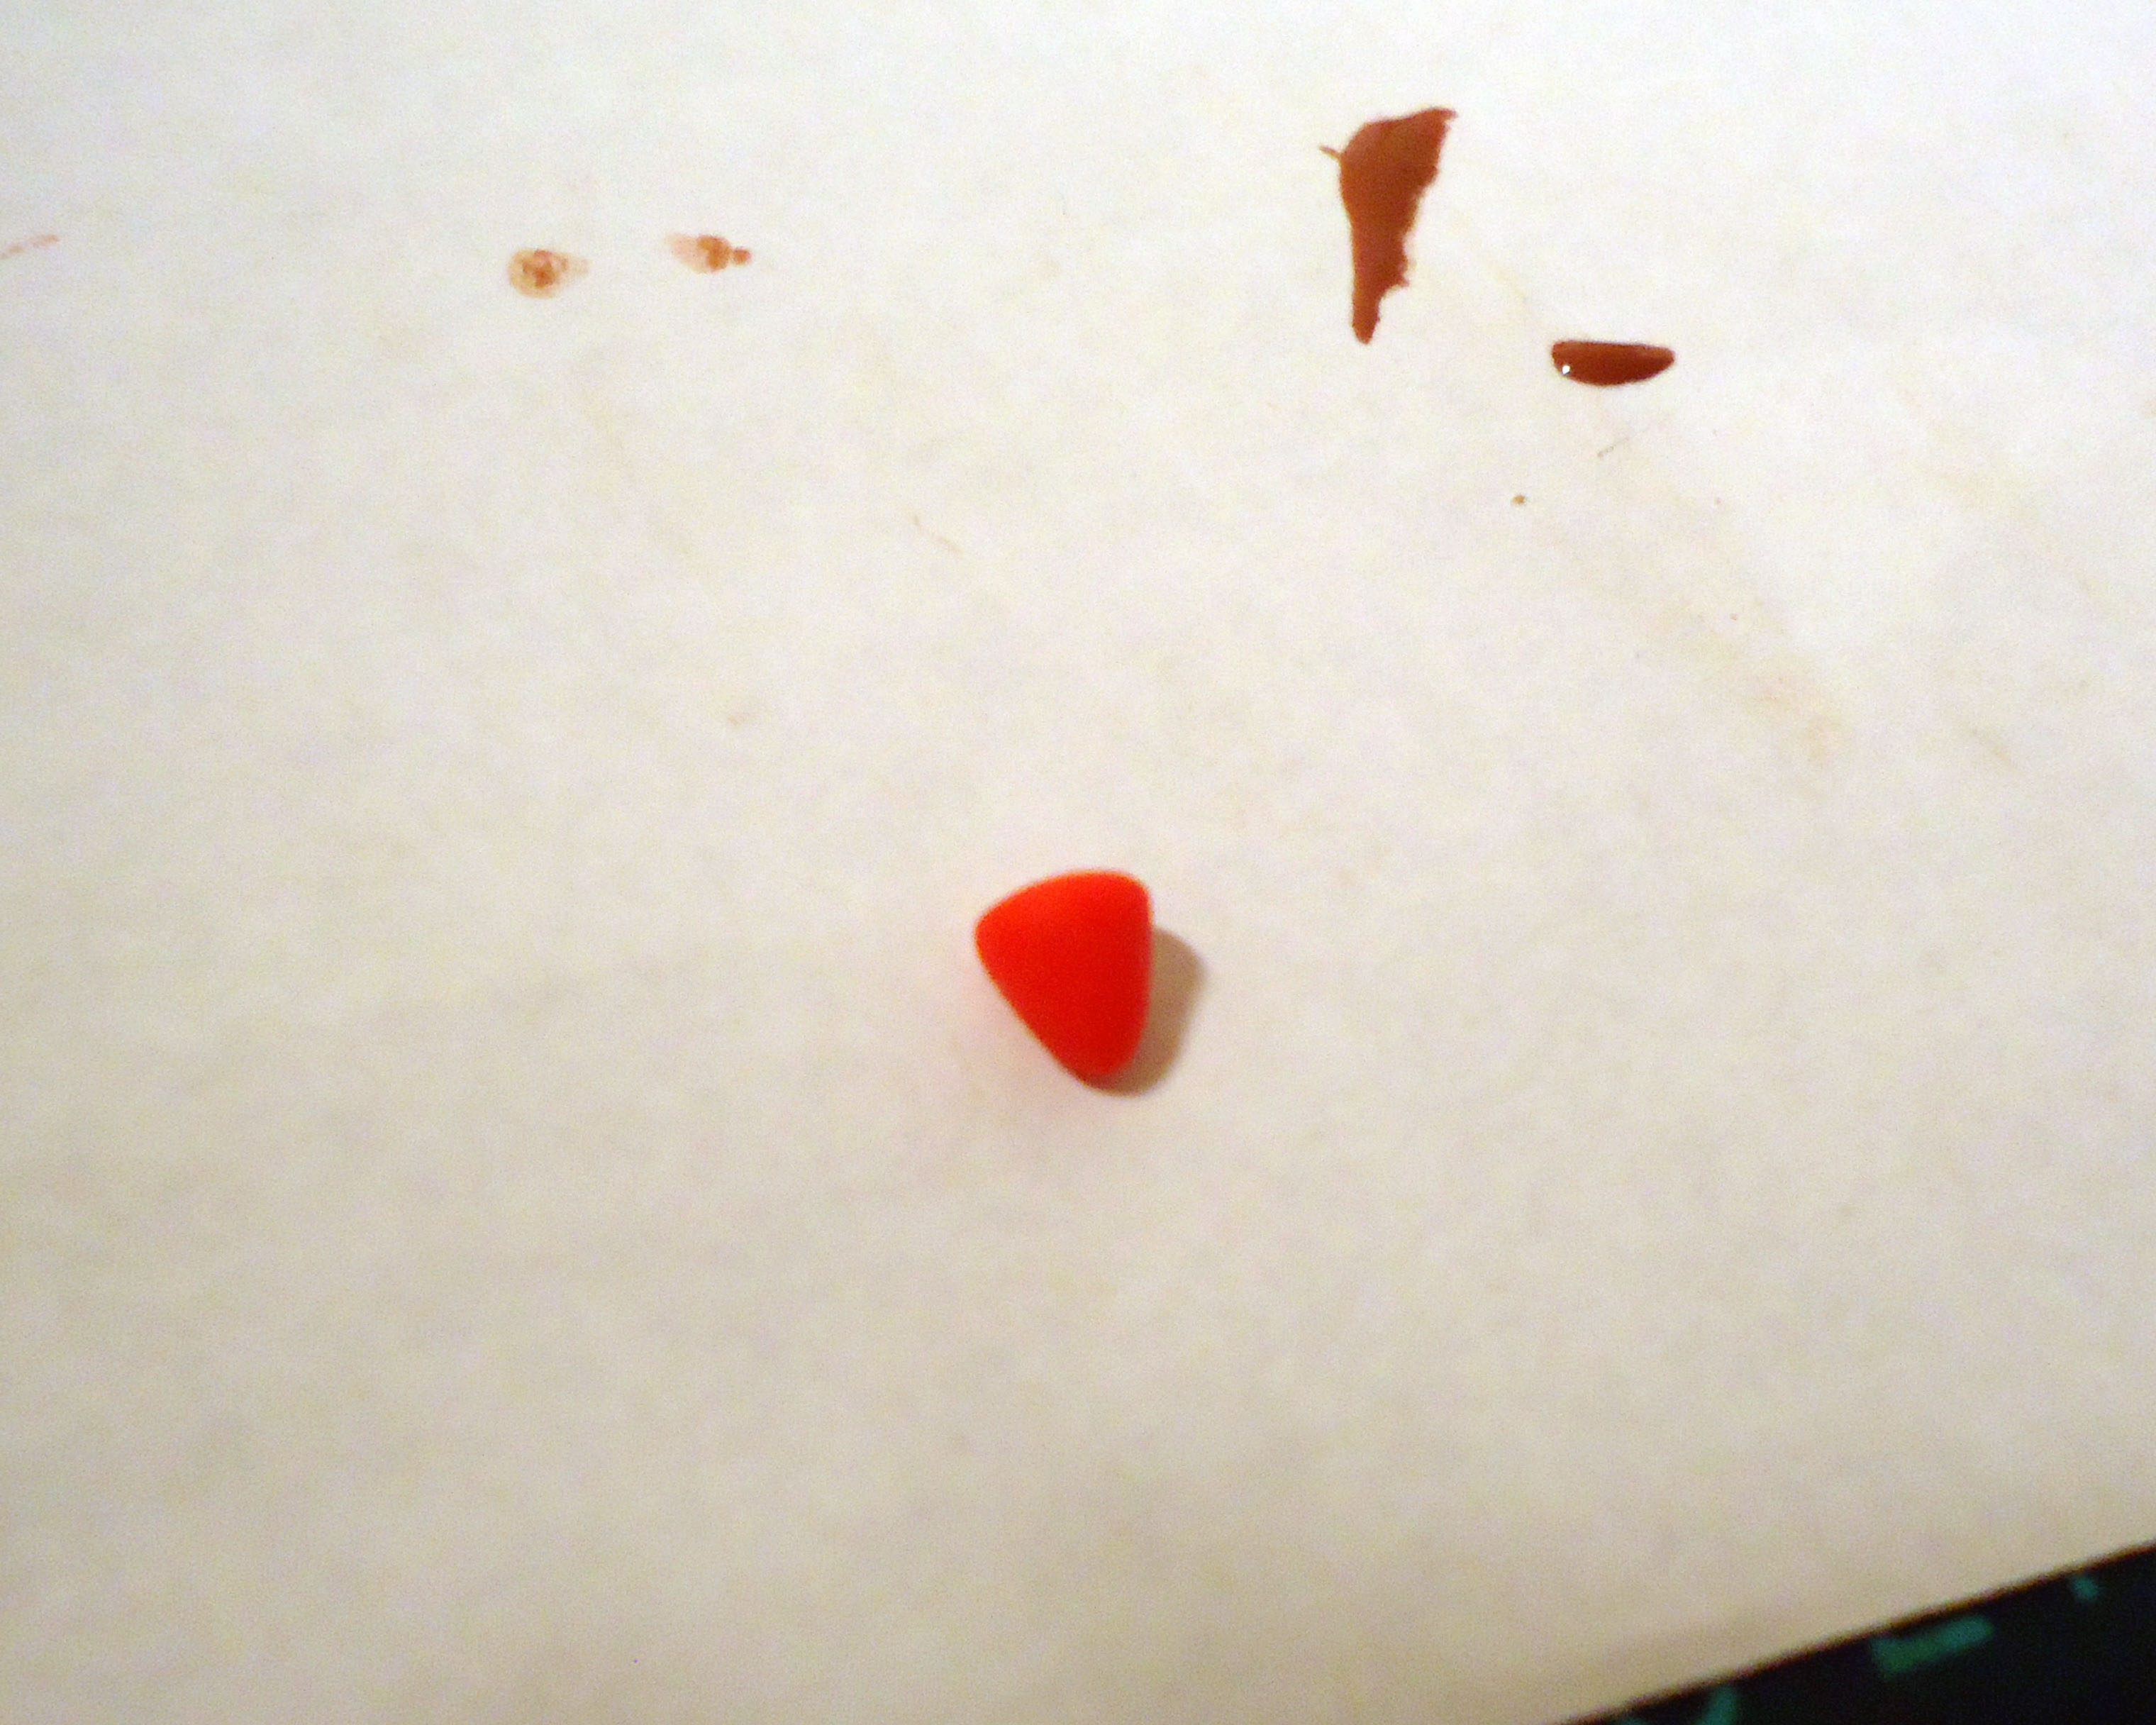
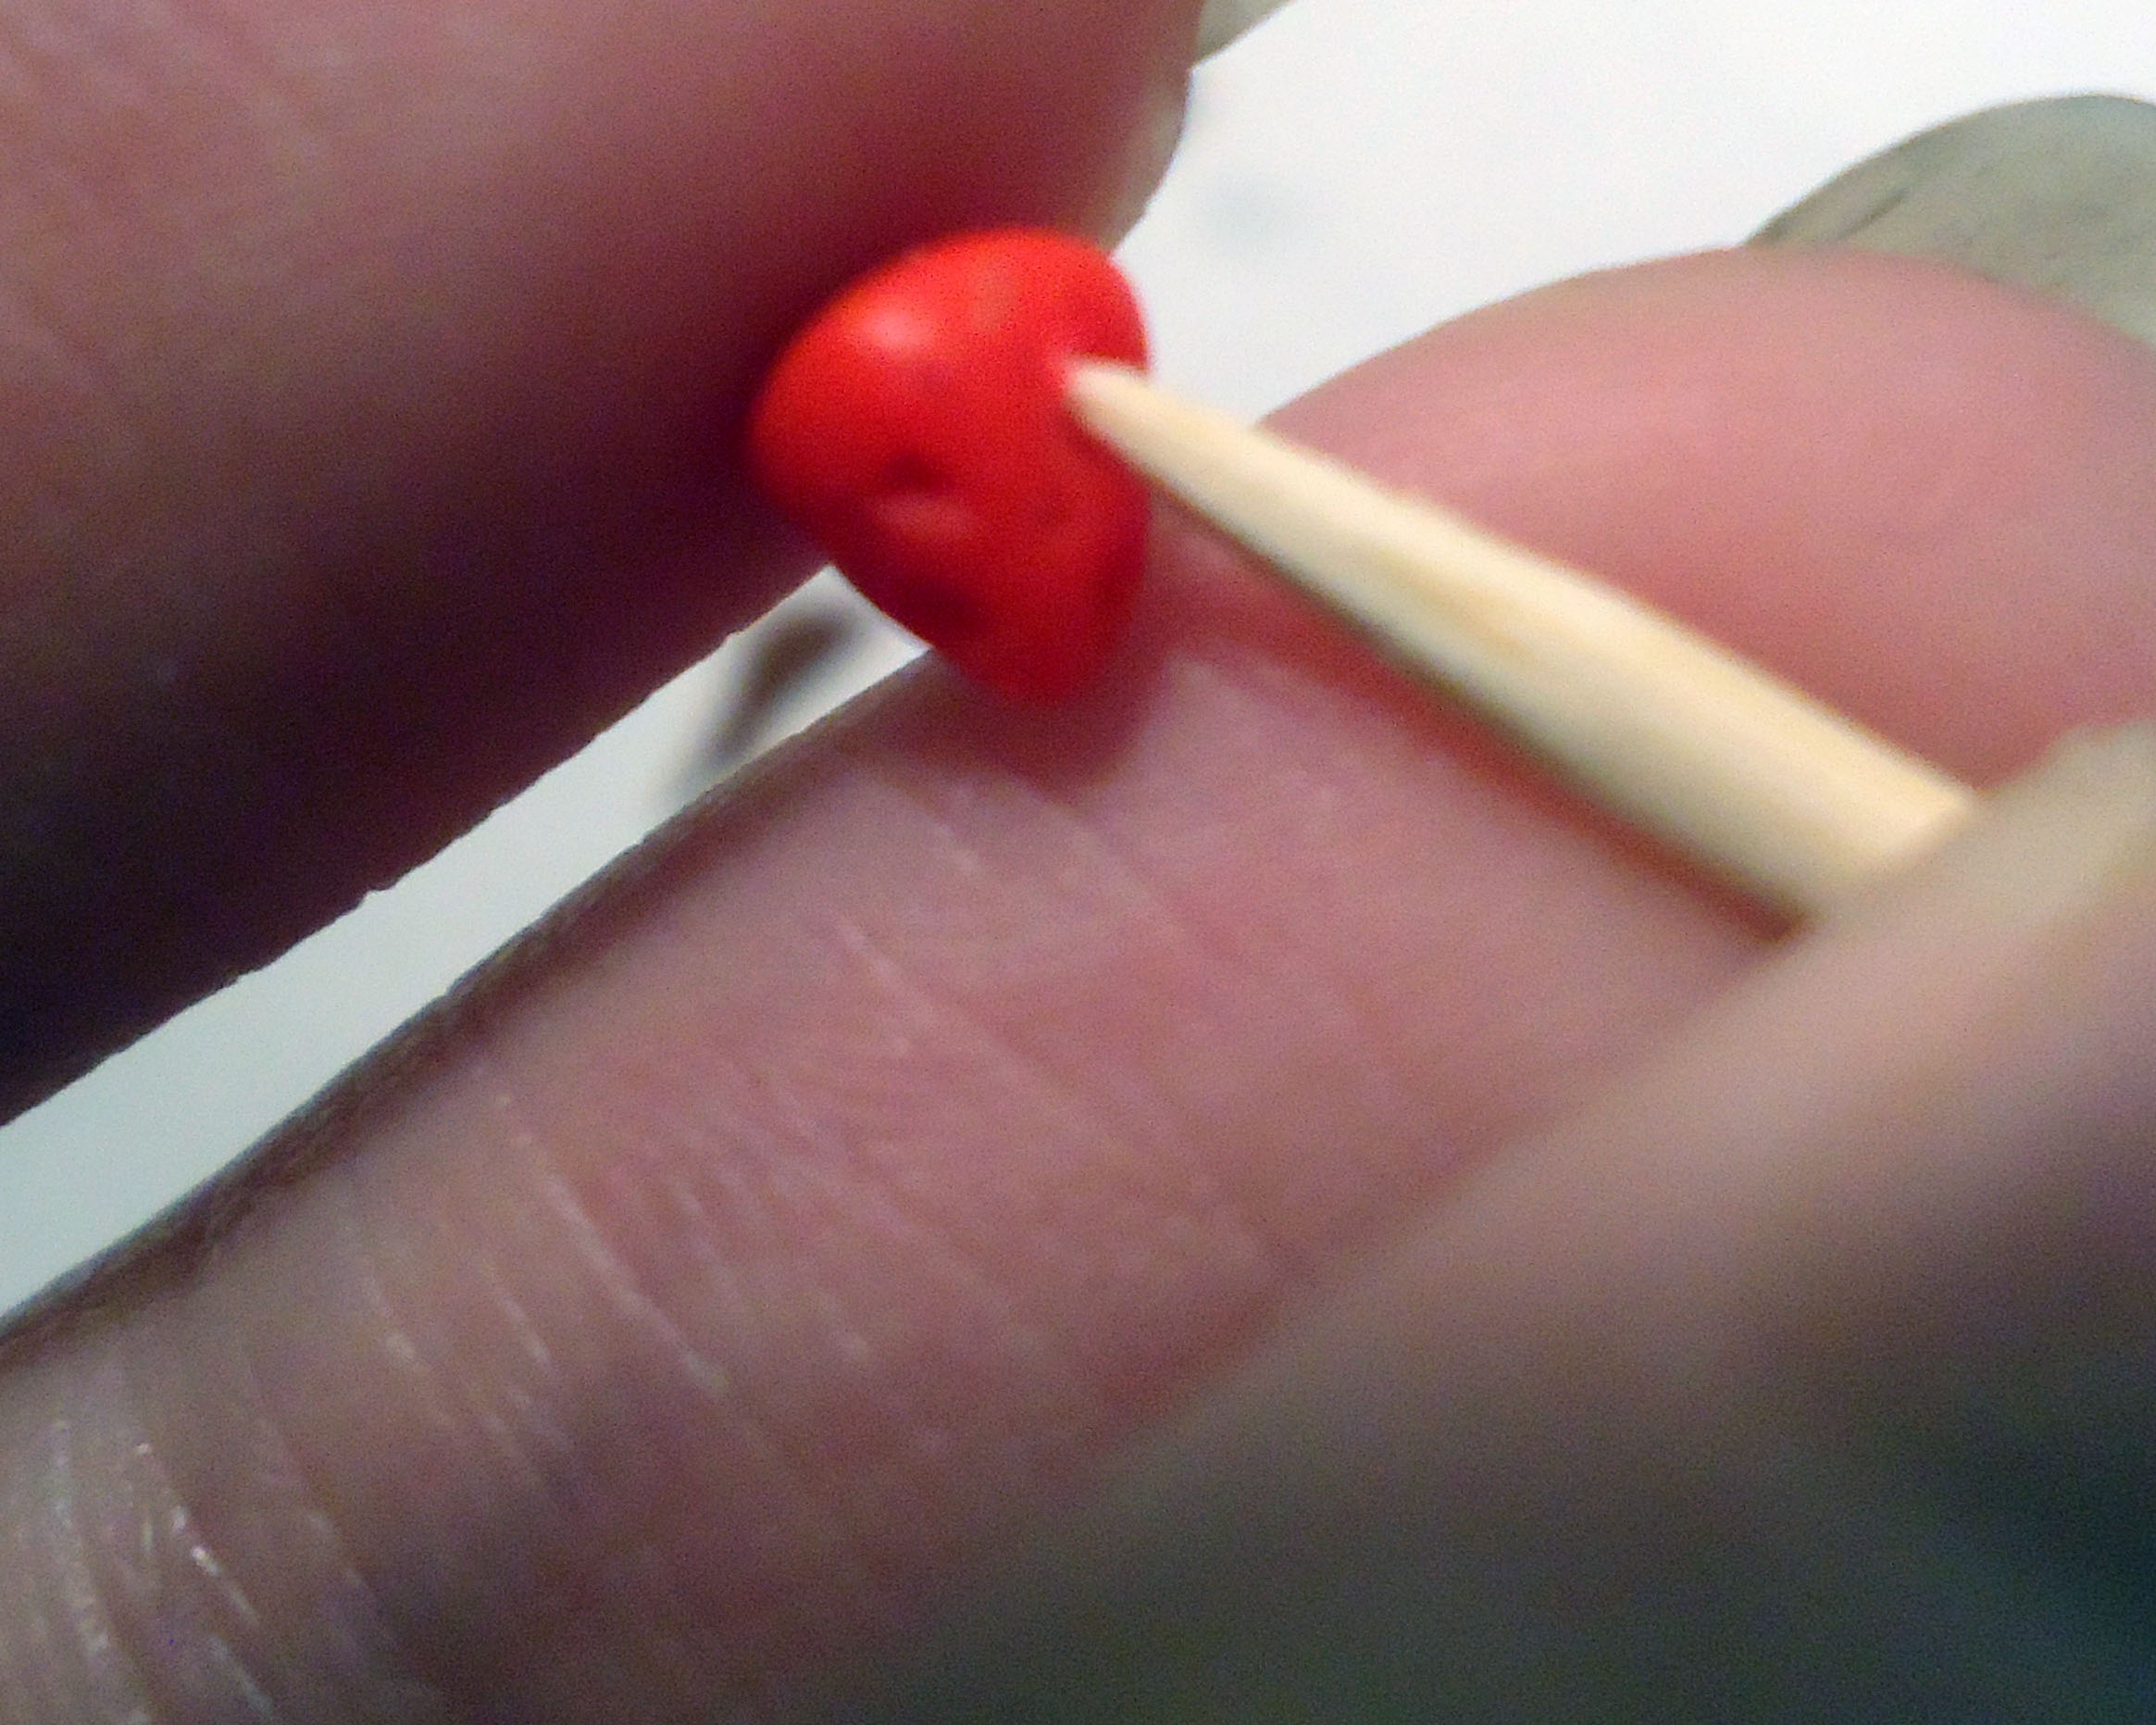
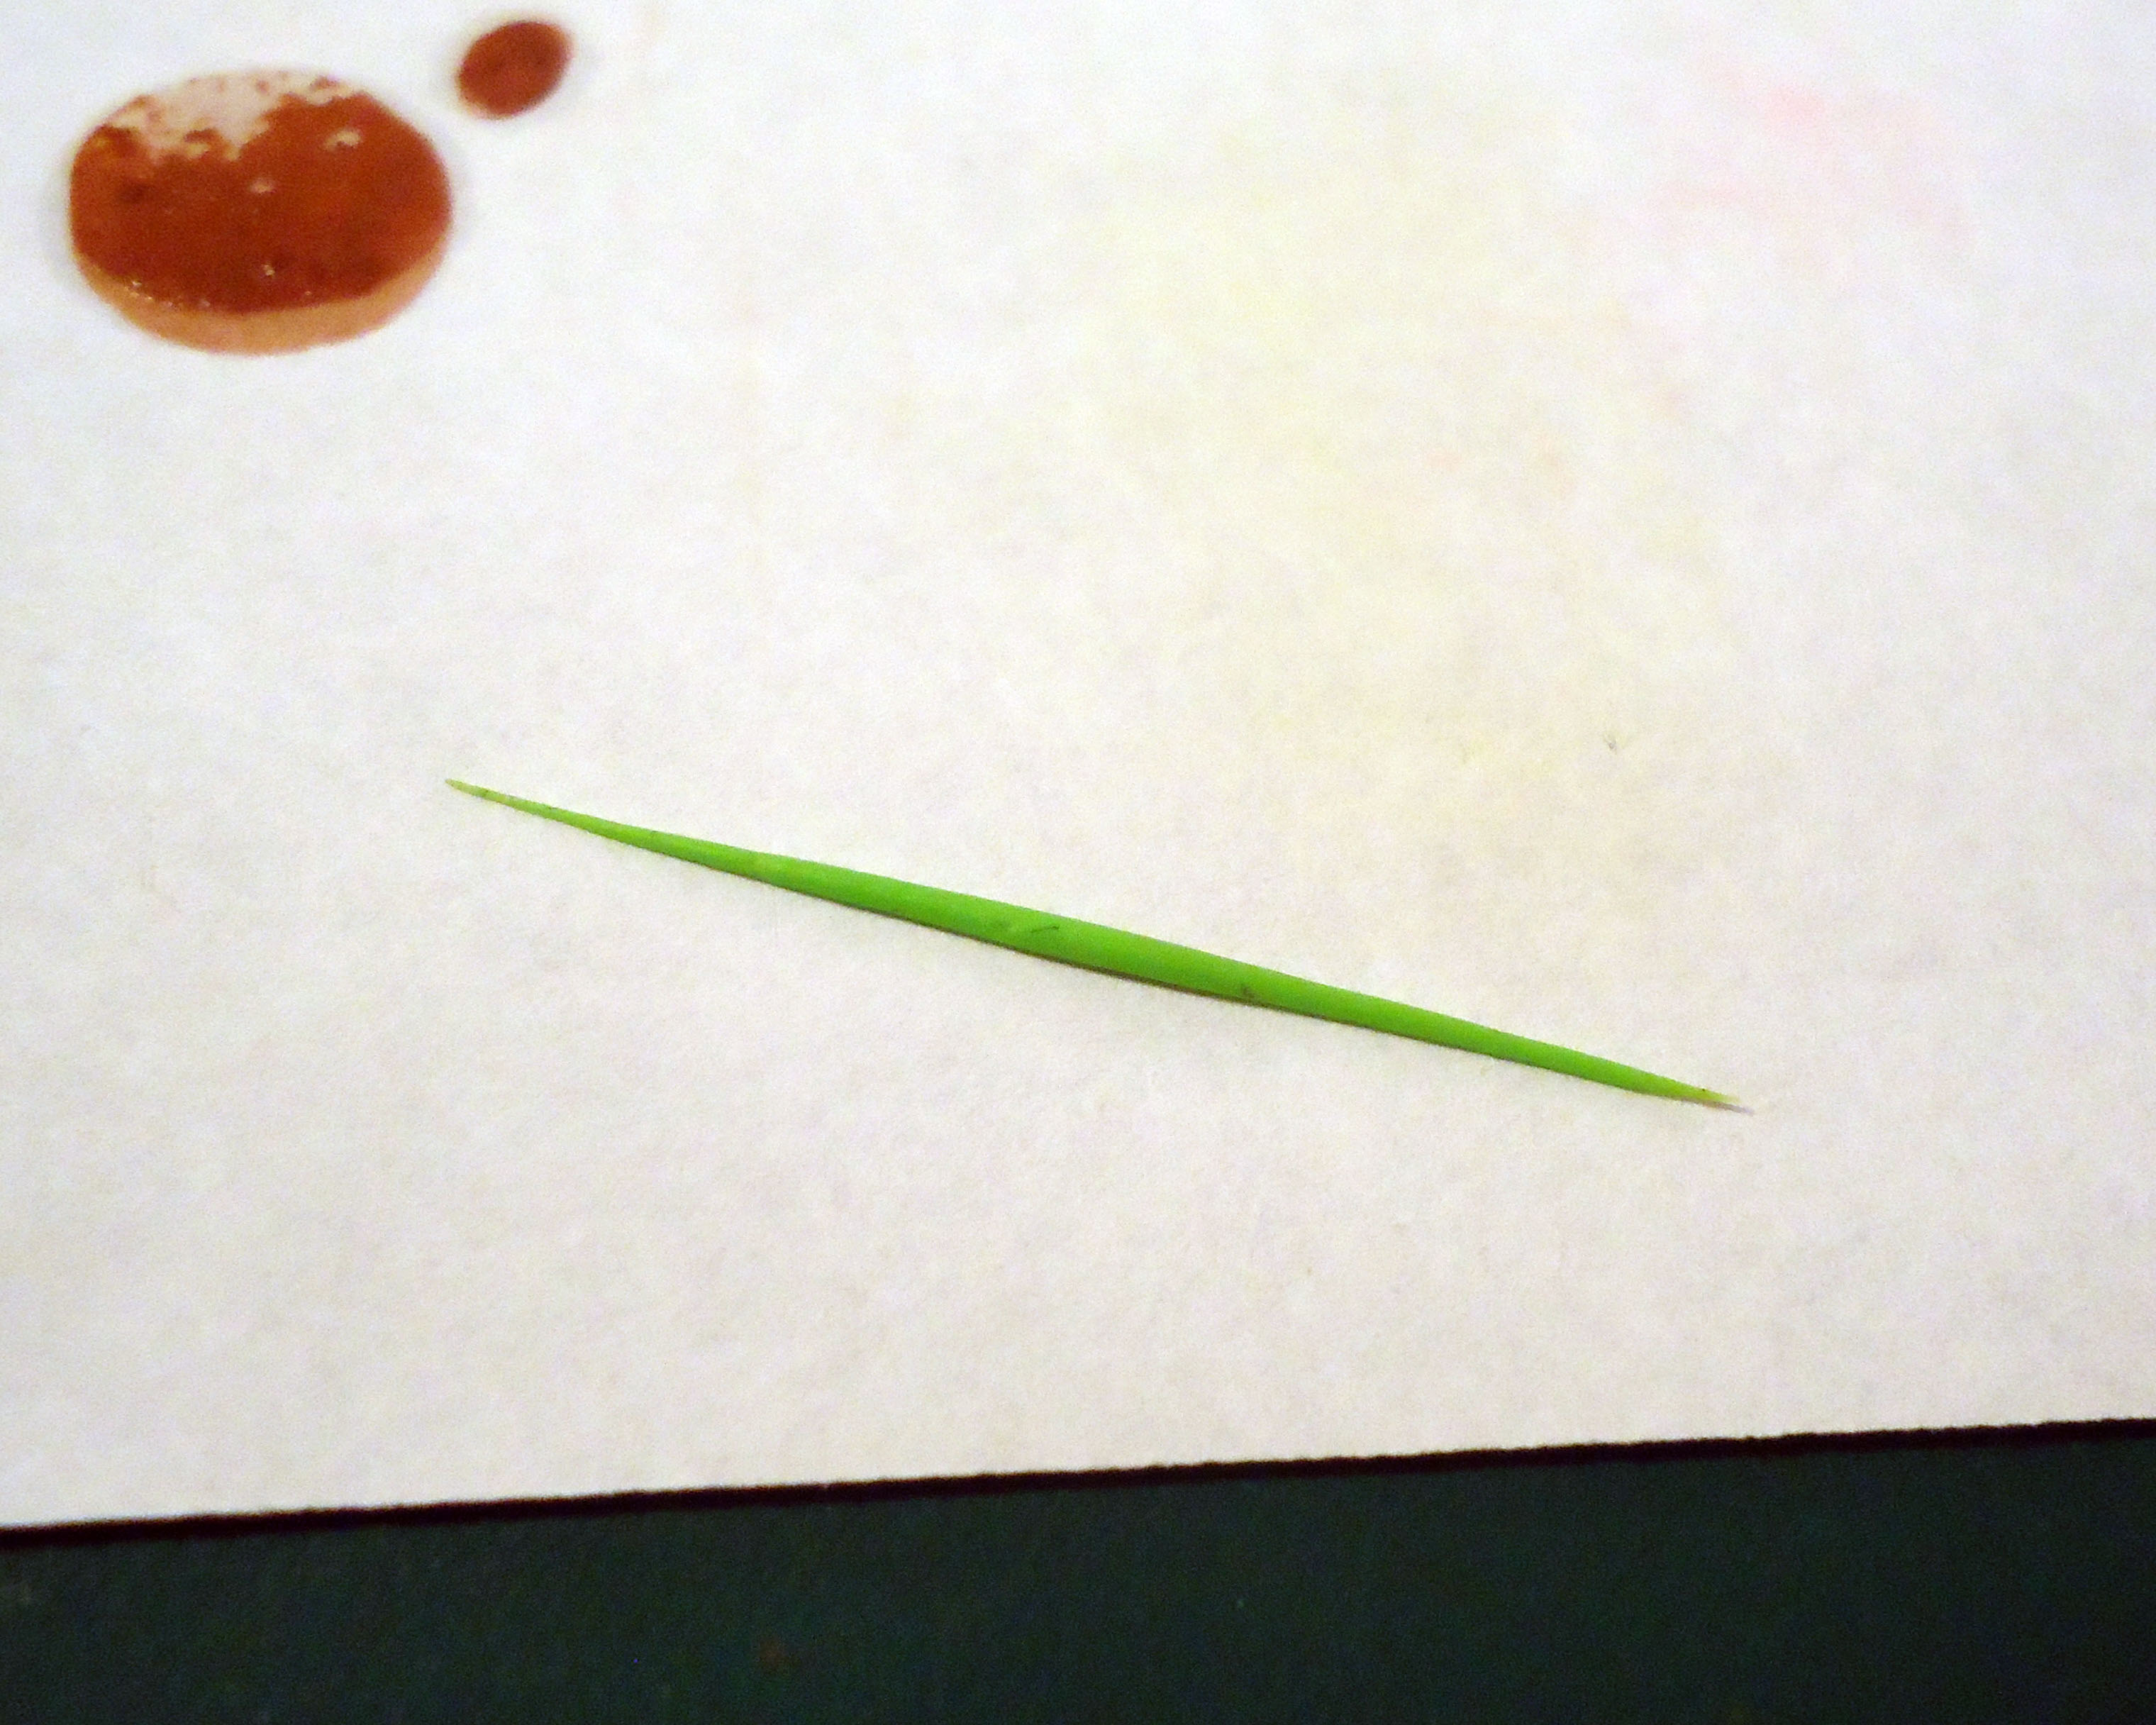
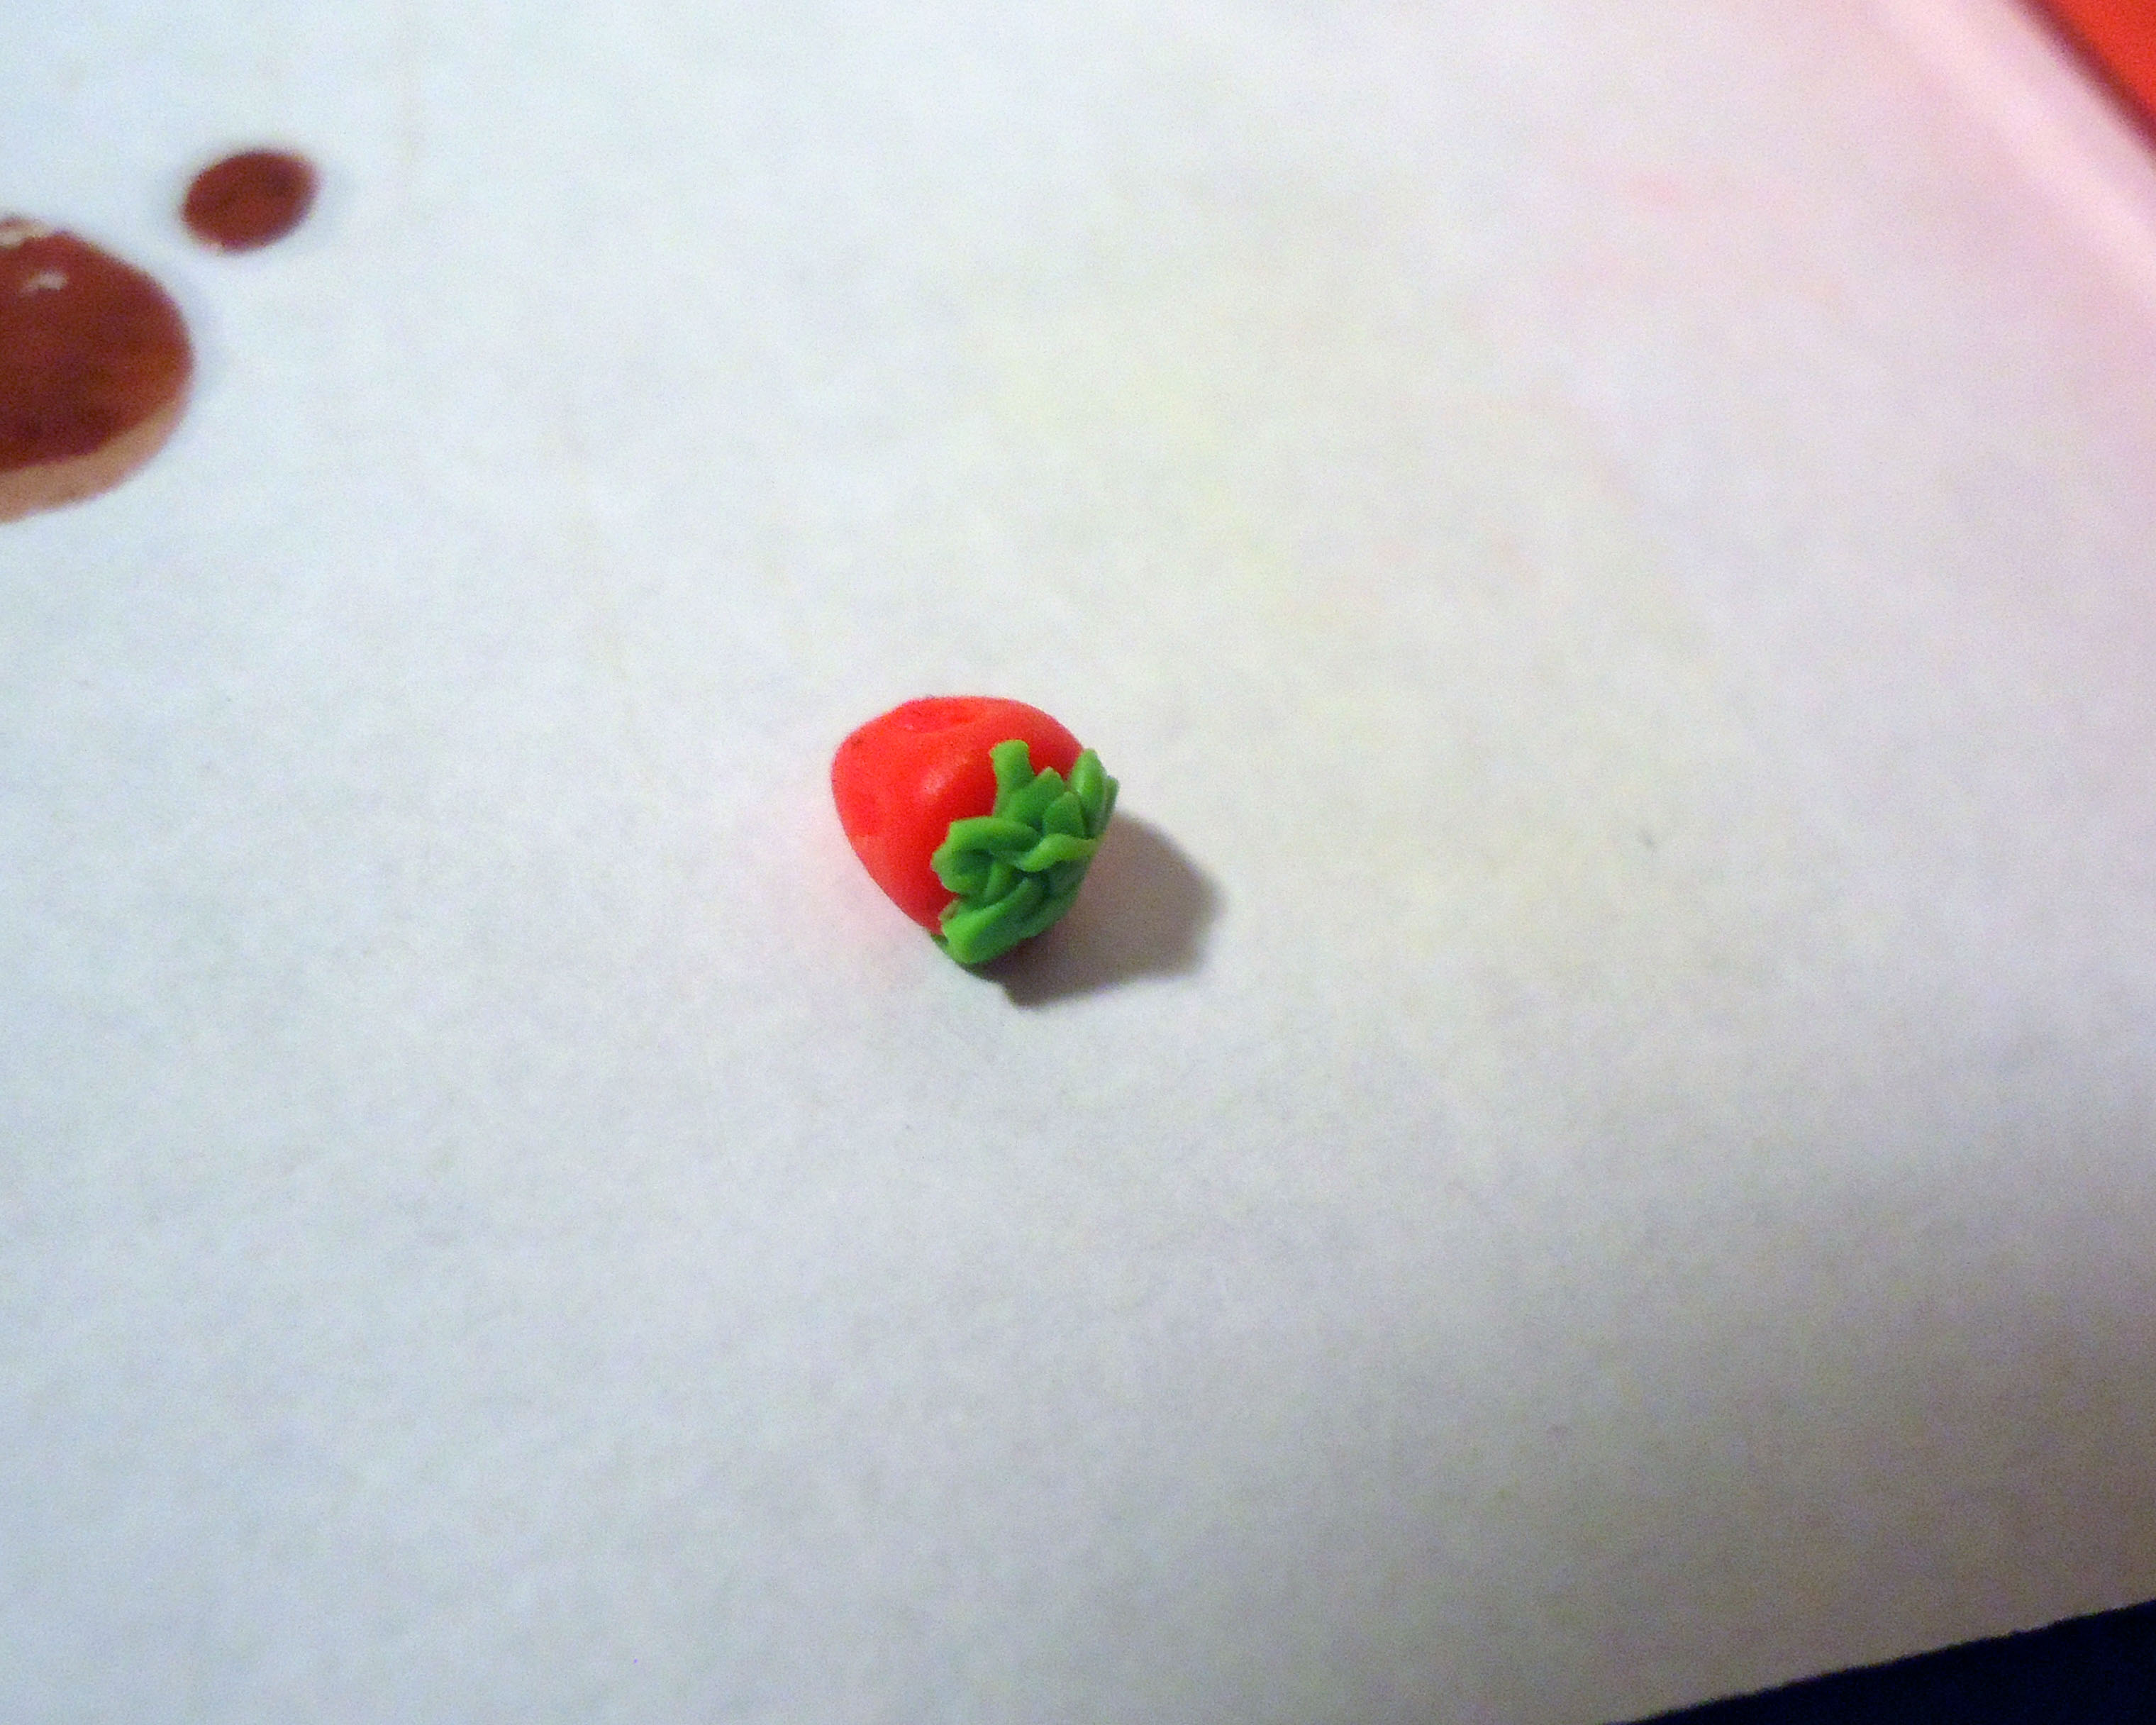
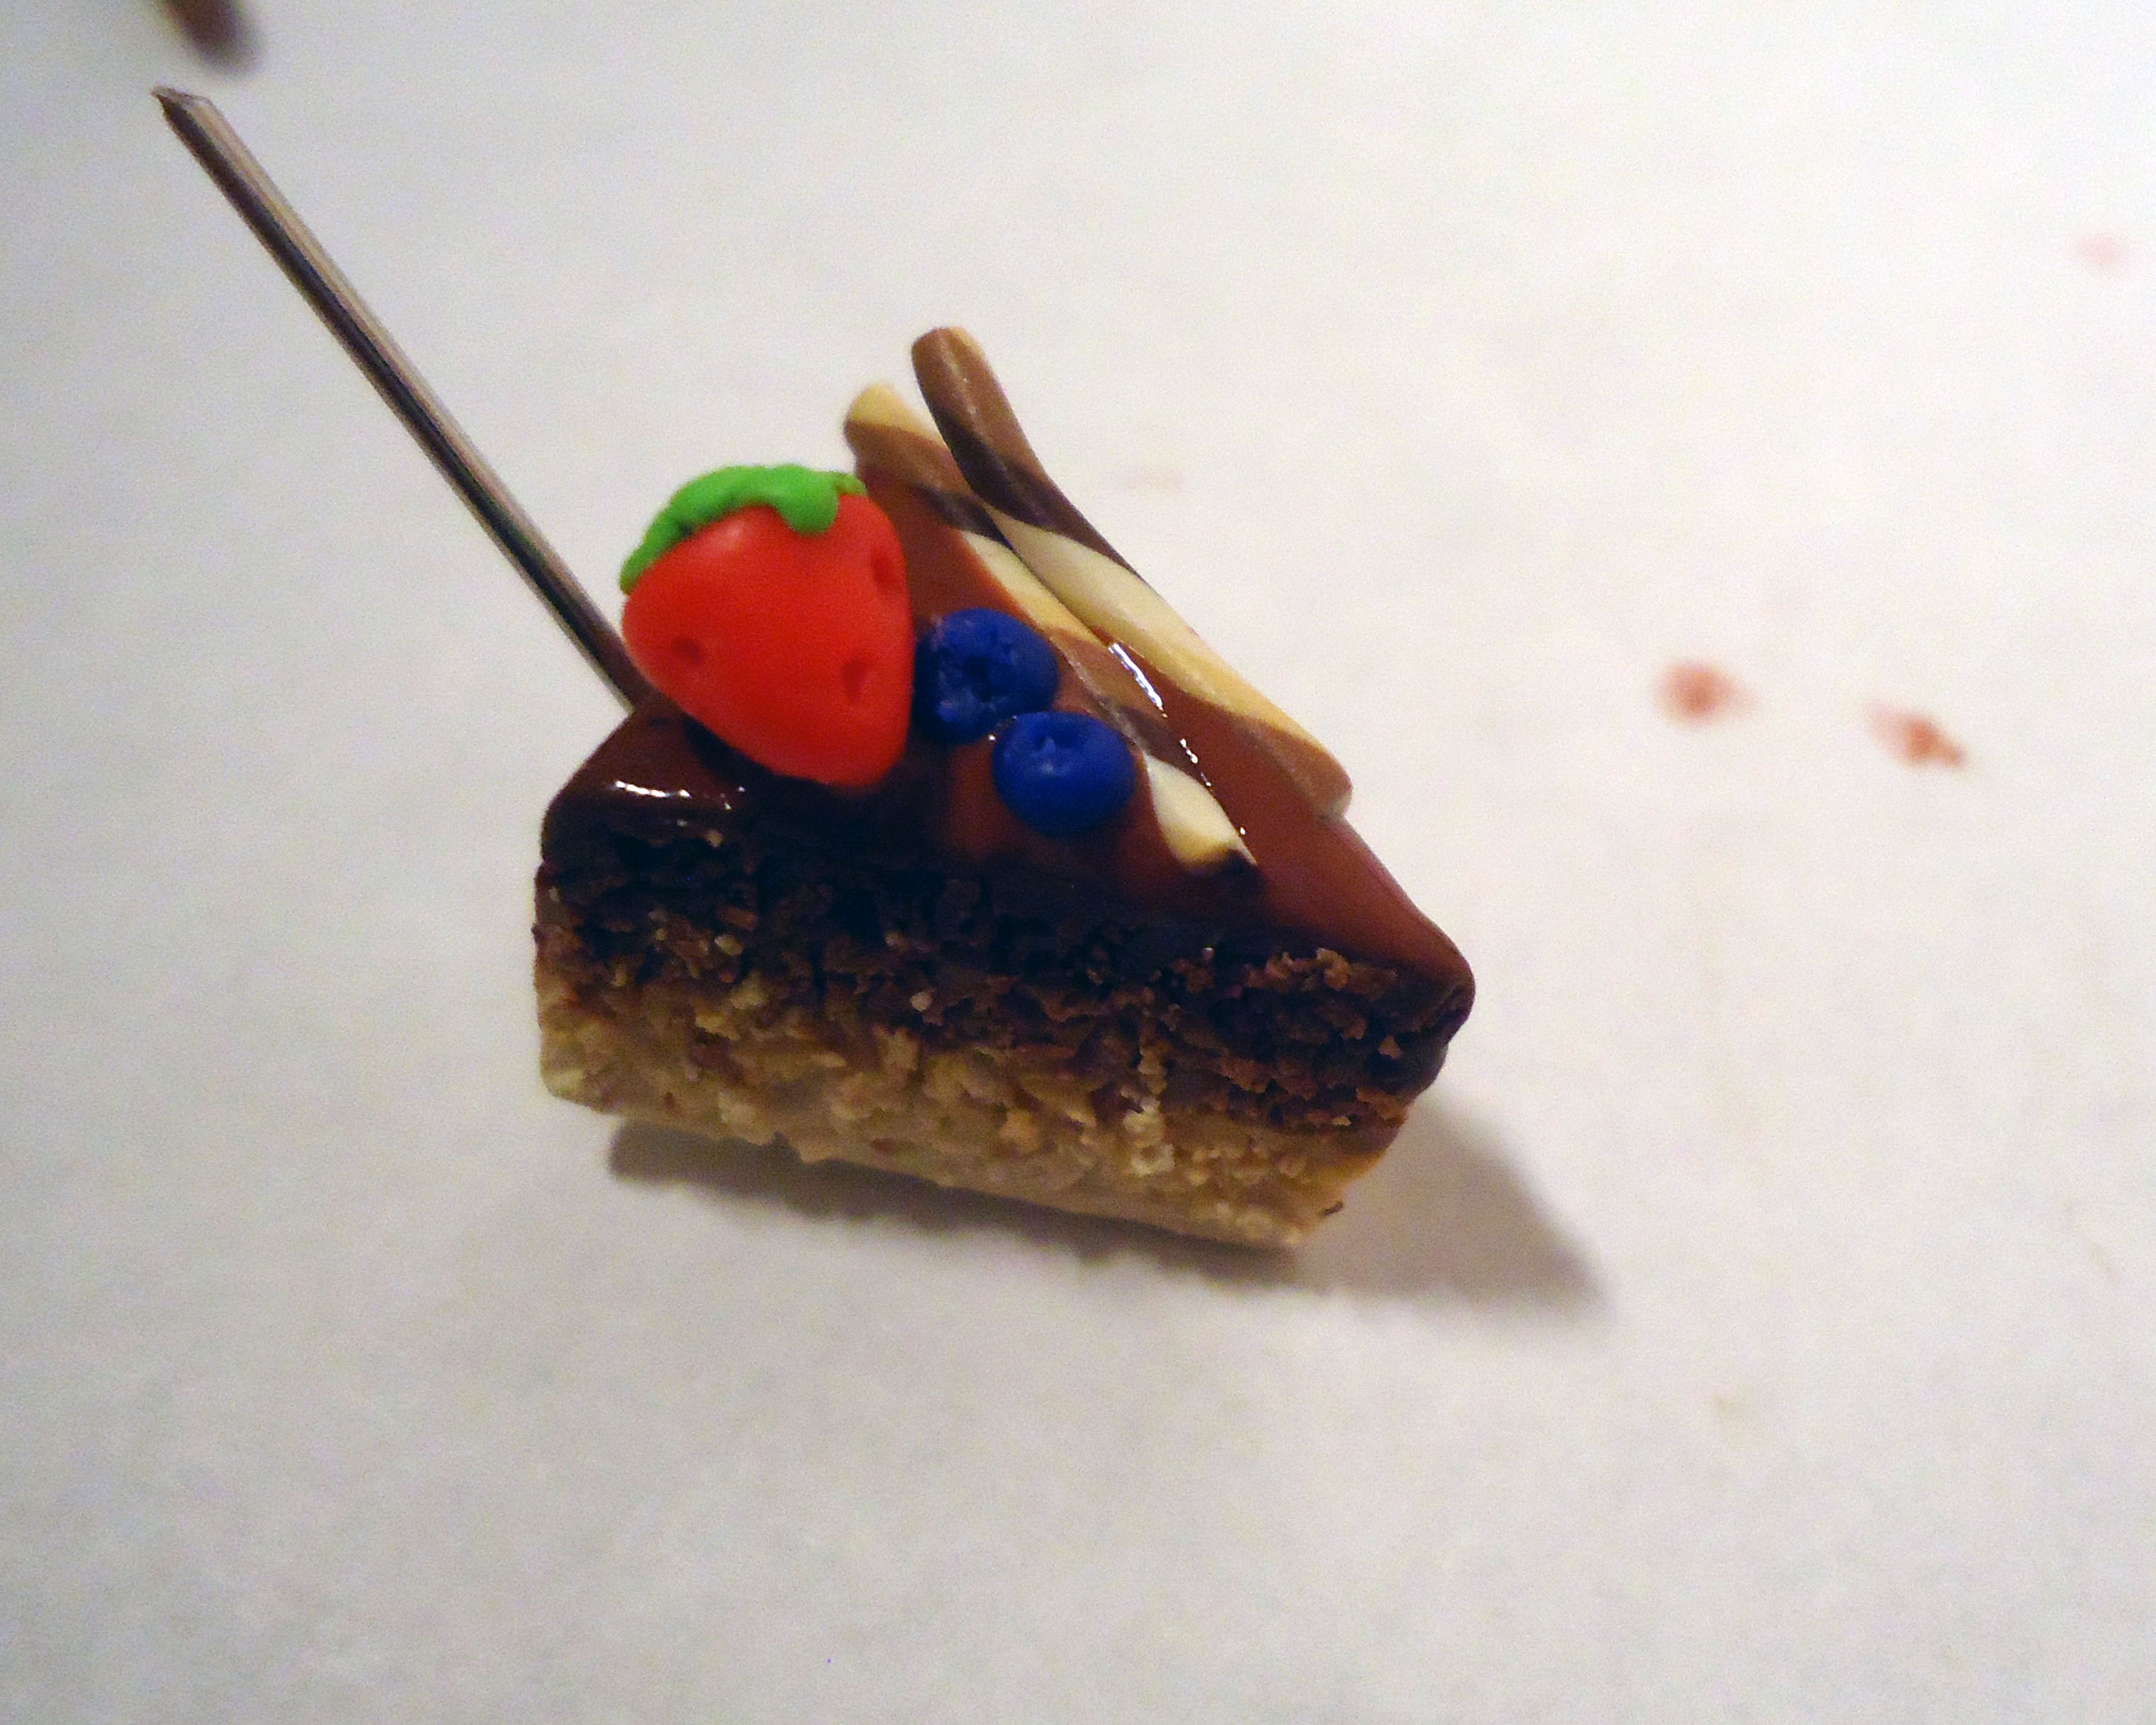
How about a strawberry, too?
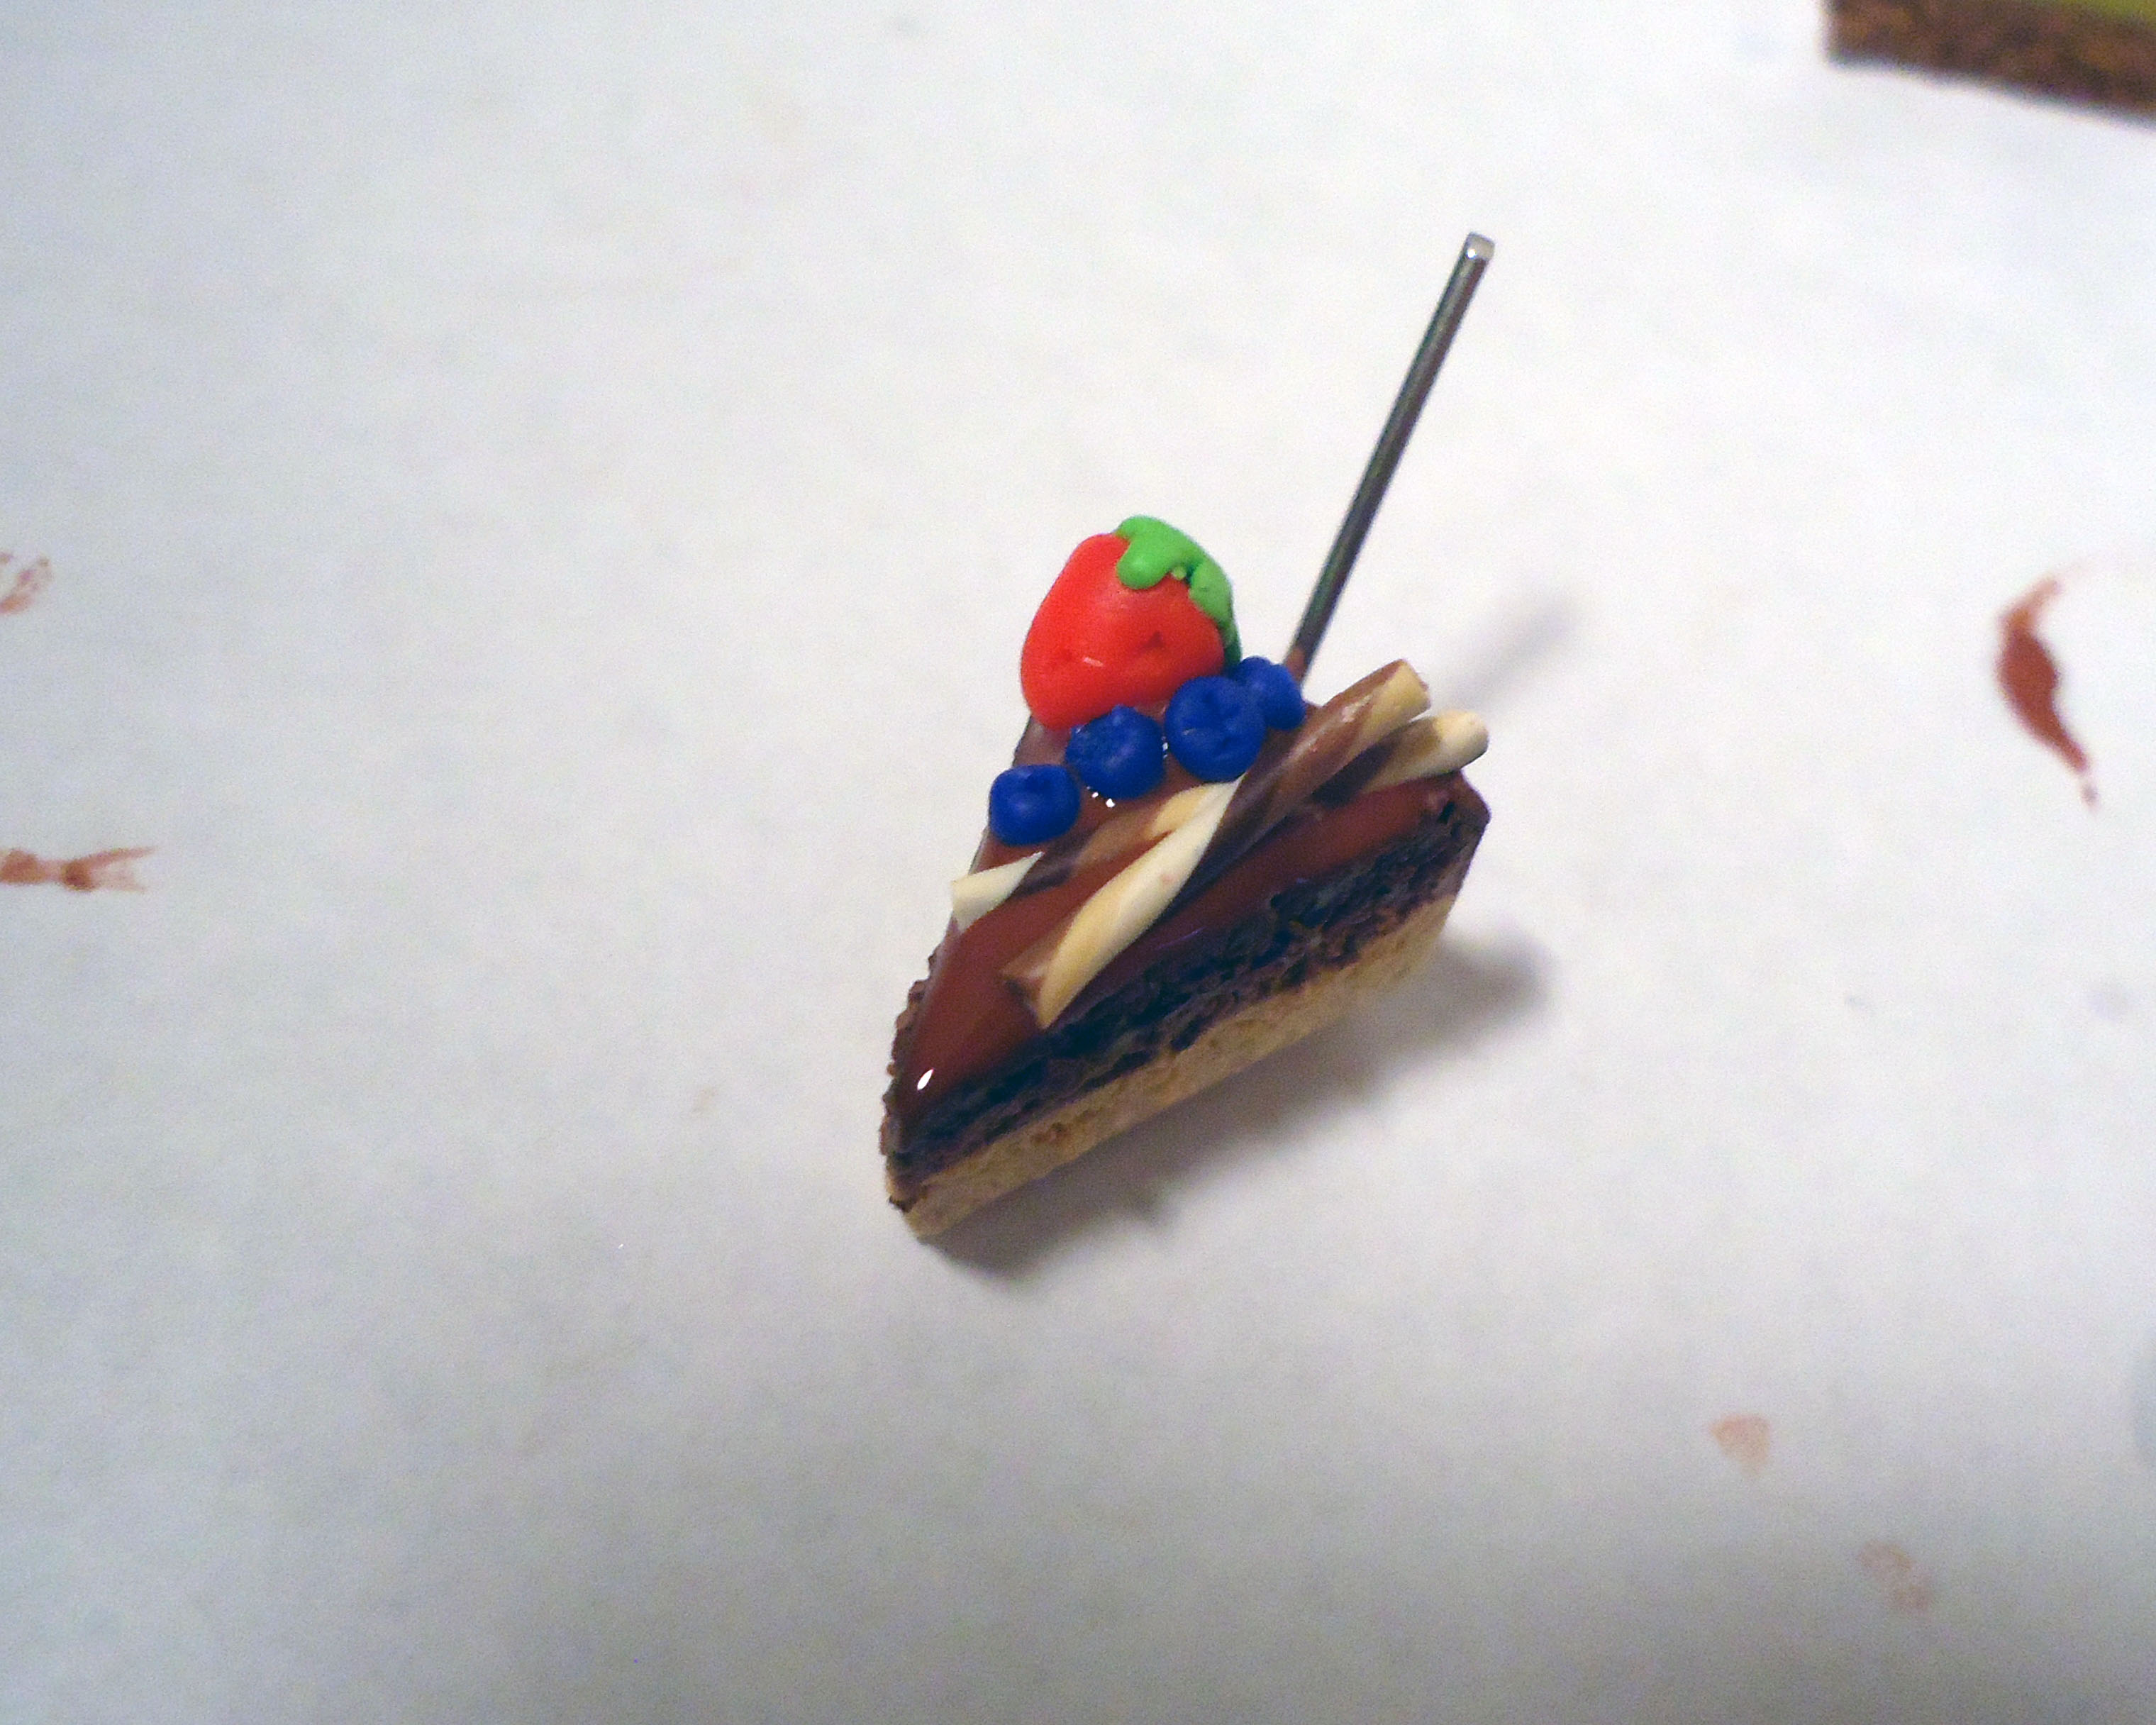
Hmm. Lacks blueberries, let's add a few more... Remember, you can keep adding decorations as long as you want! Don't be hasty and bake your clay before you're completely satisfied with your decorations!
Hmm. Lacks blueberries, let's add a few more... Remember, you can keep adding decorations as long as you want! Don't be hasty and bake your clay before you're completely satisfied with your decorations!
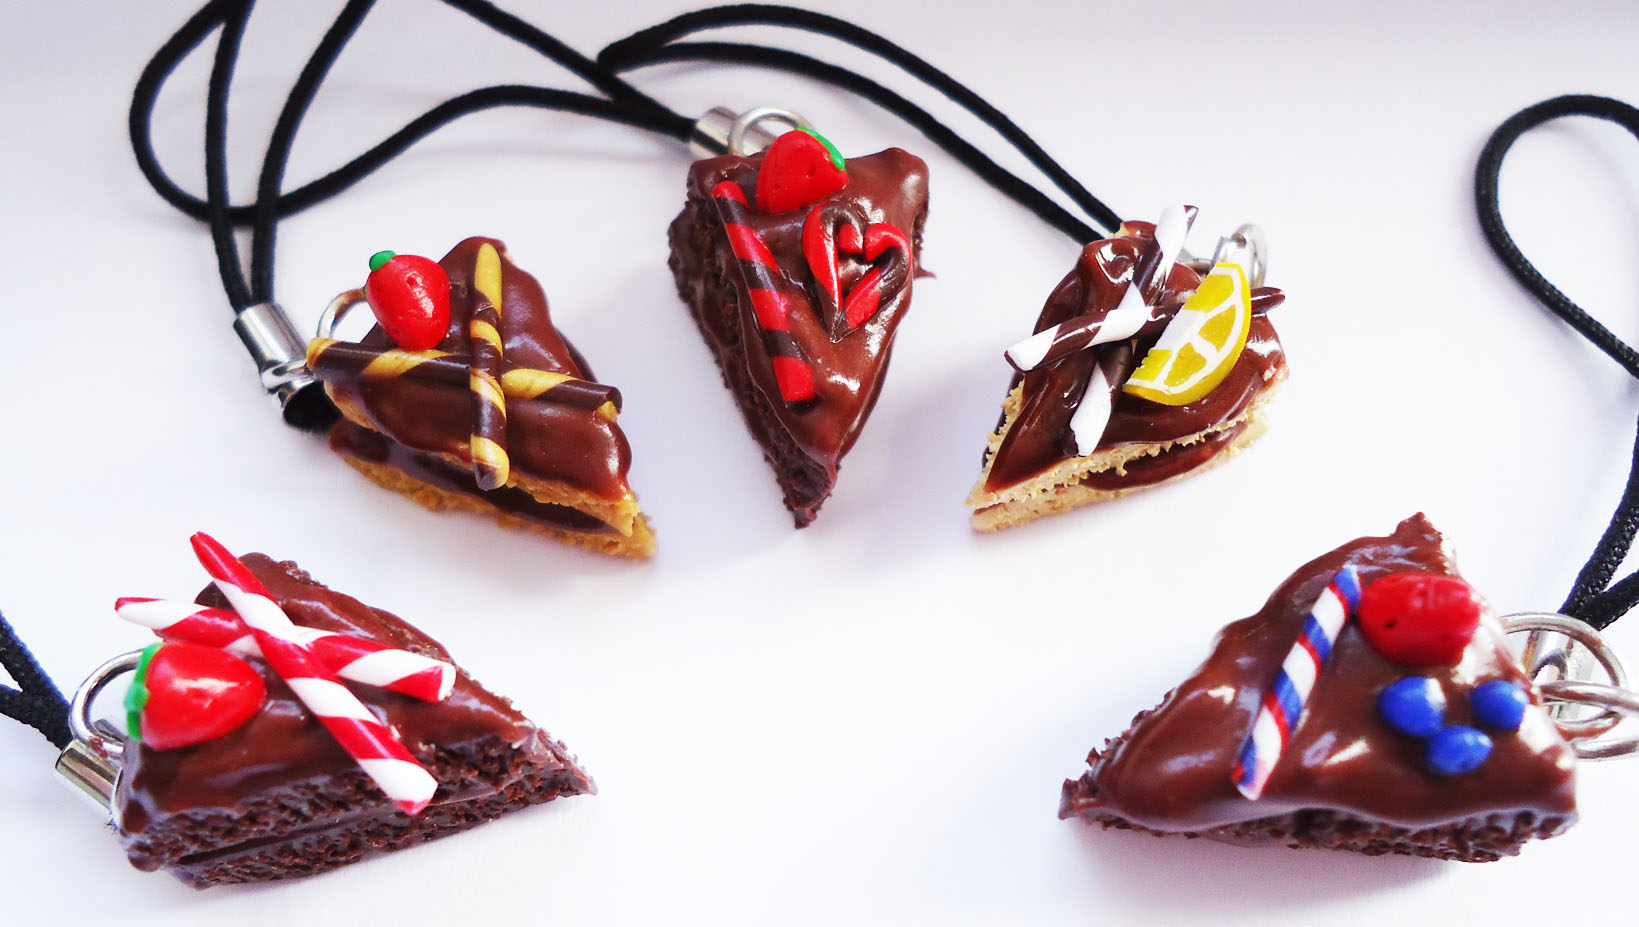
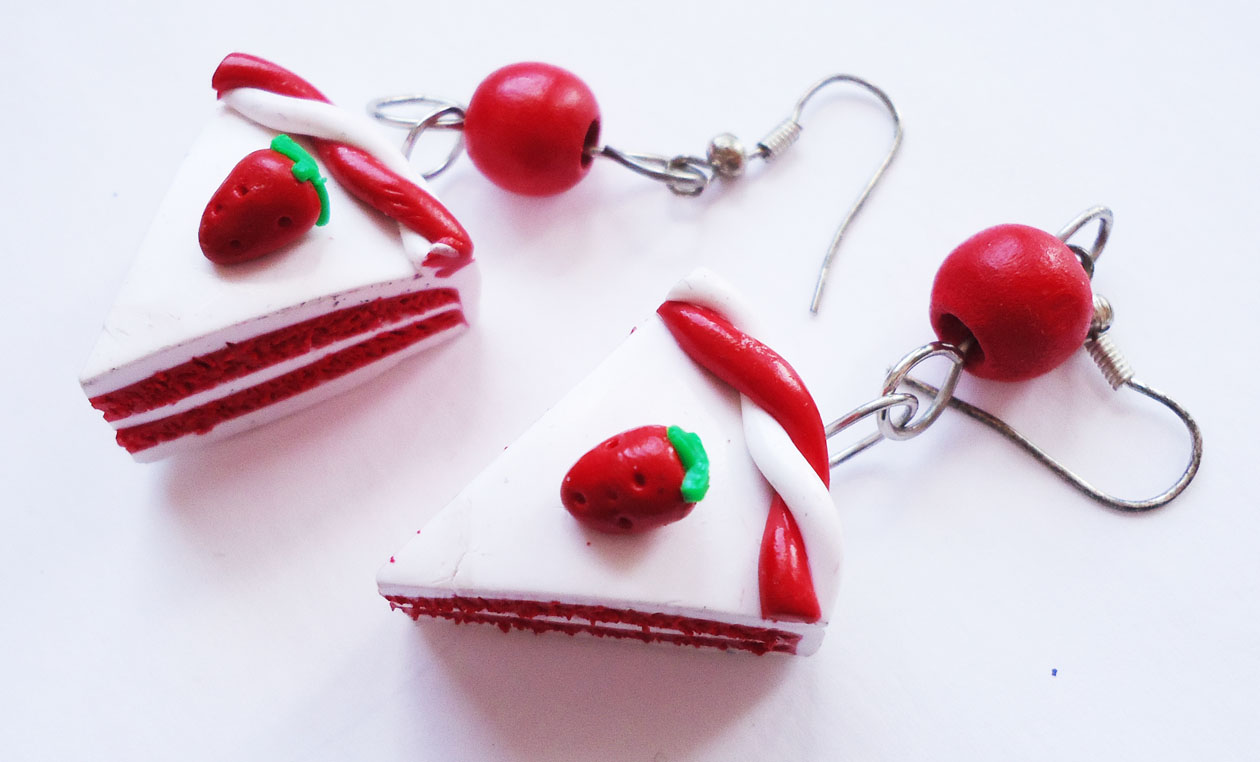
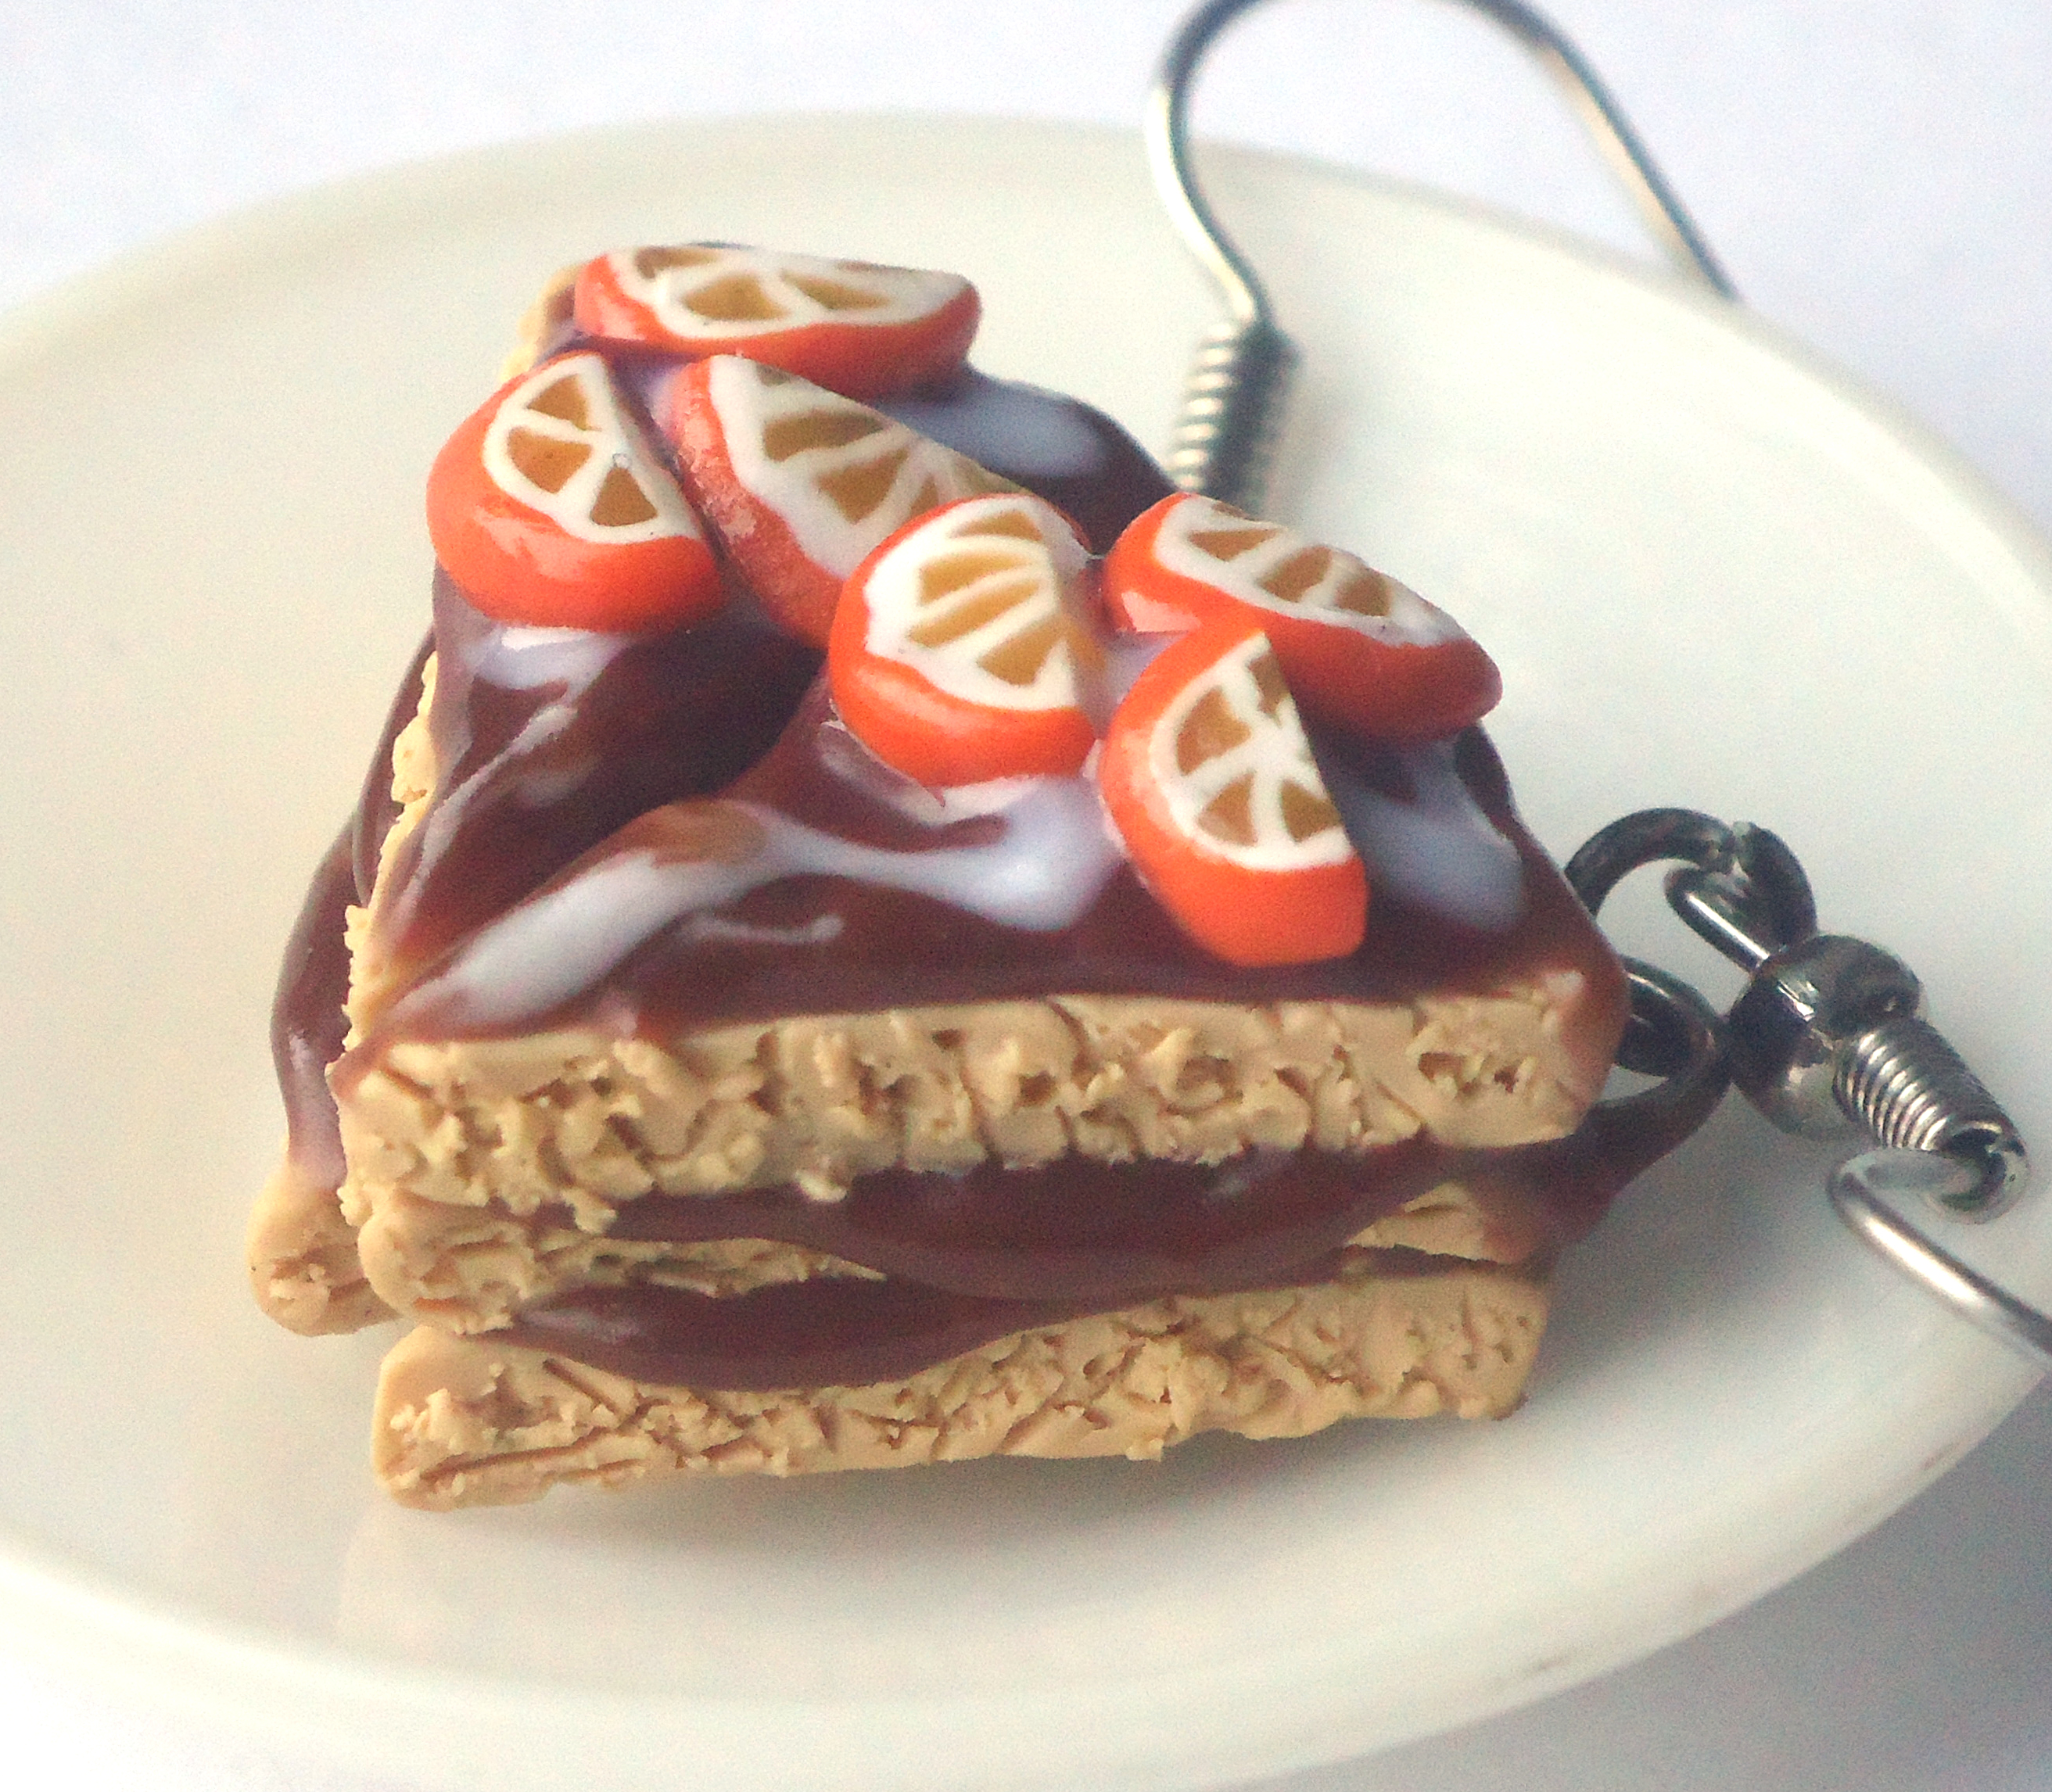
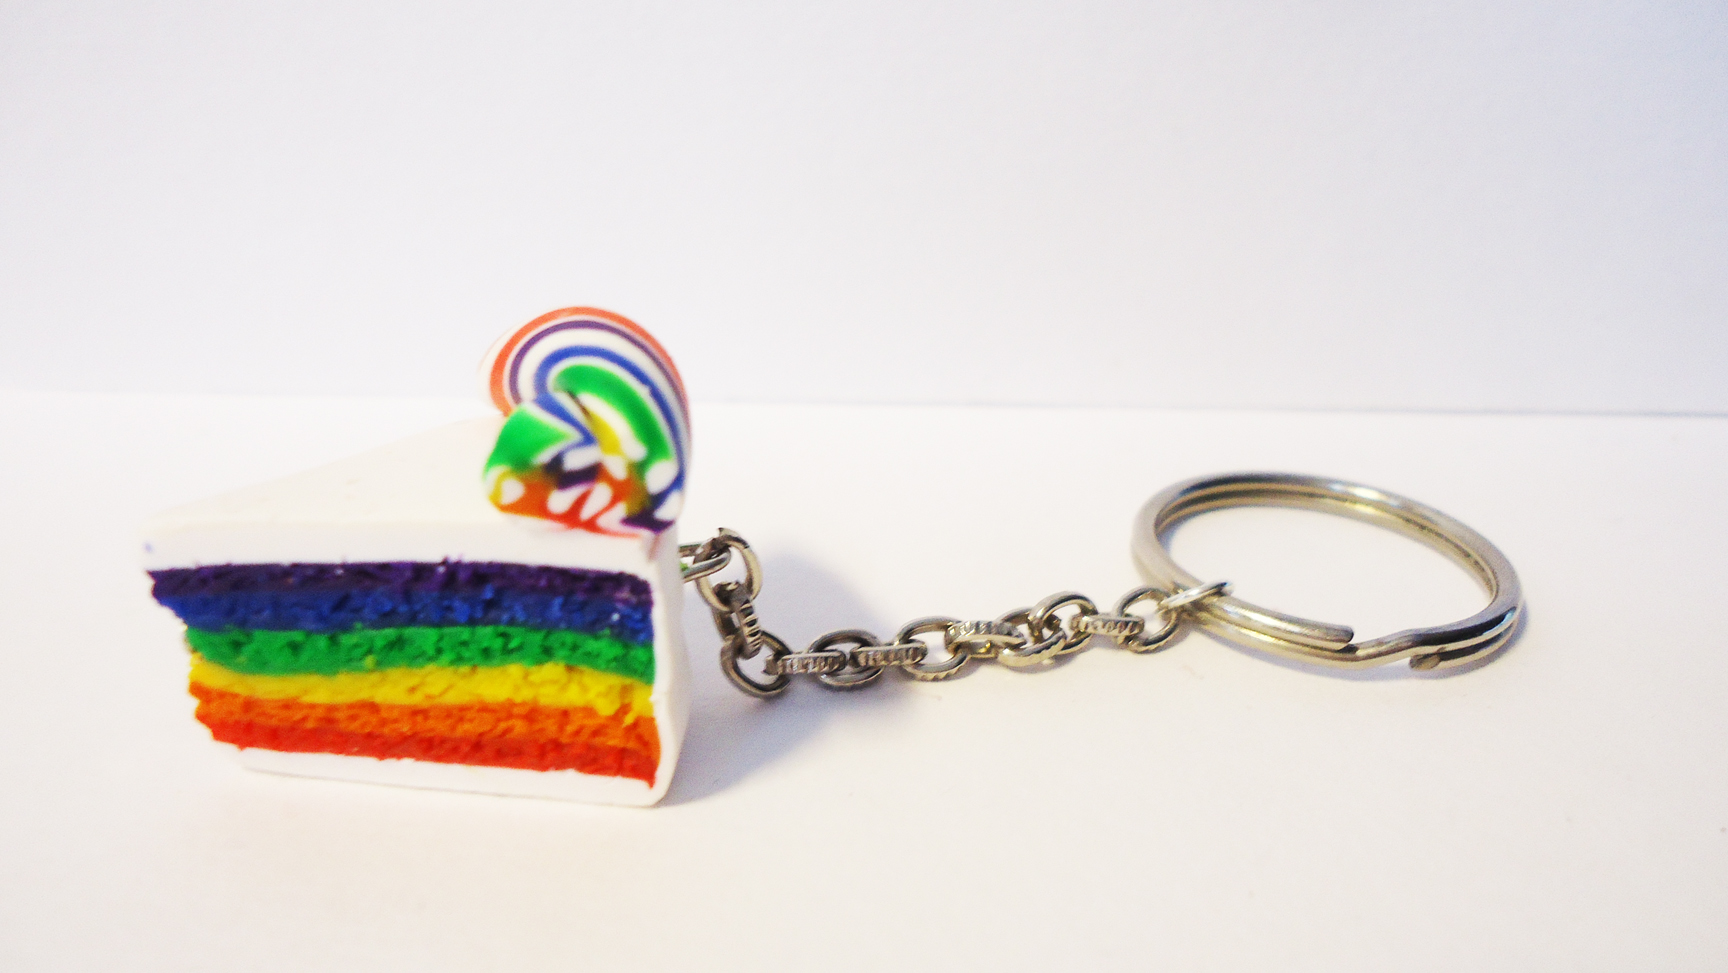
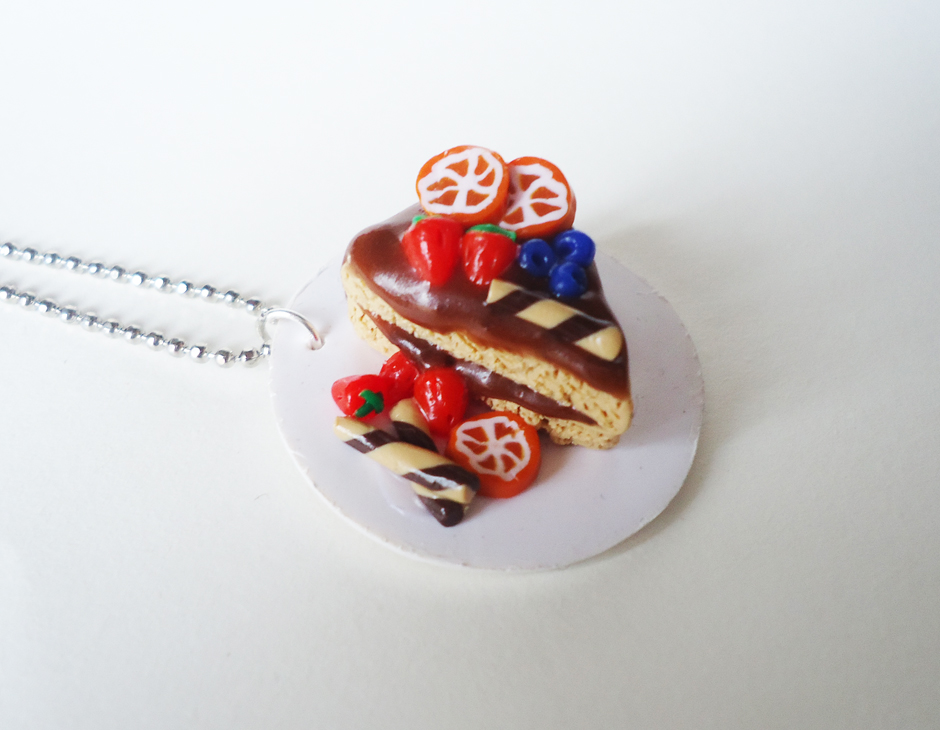
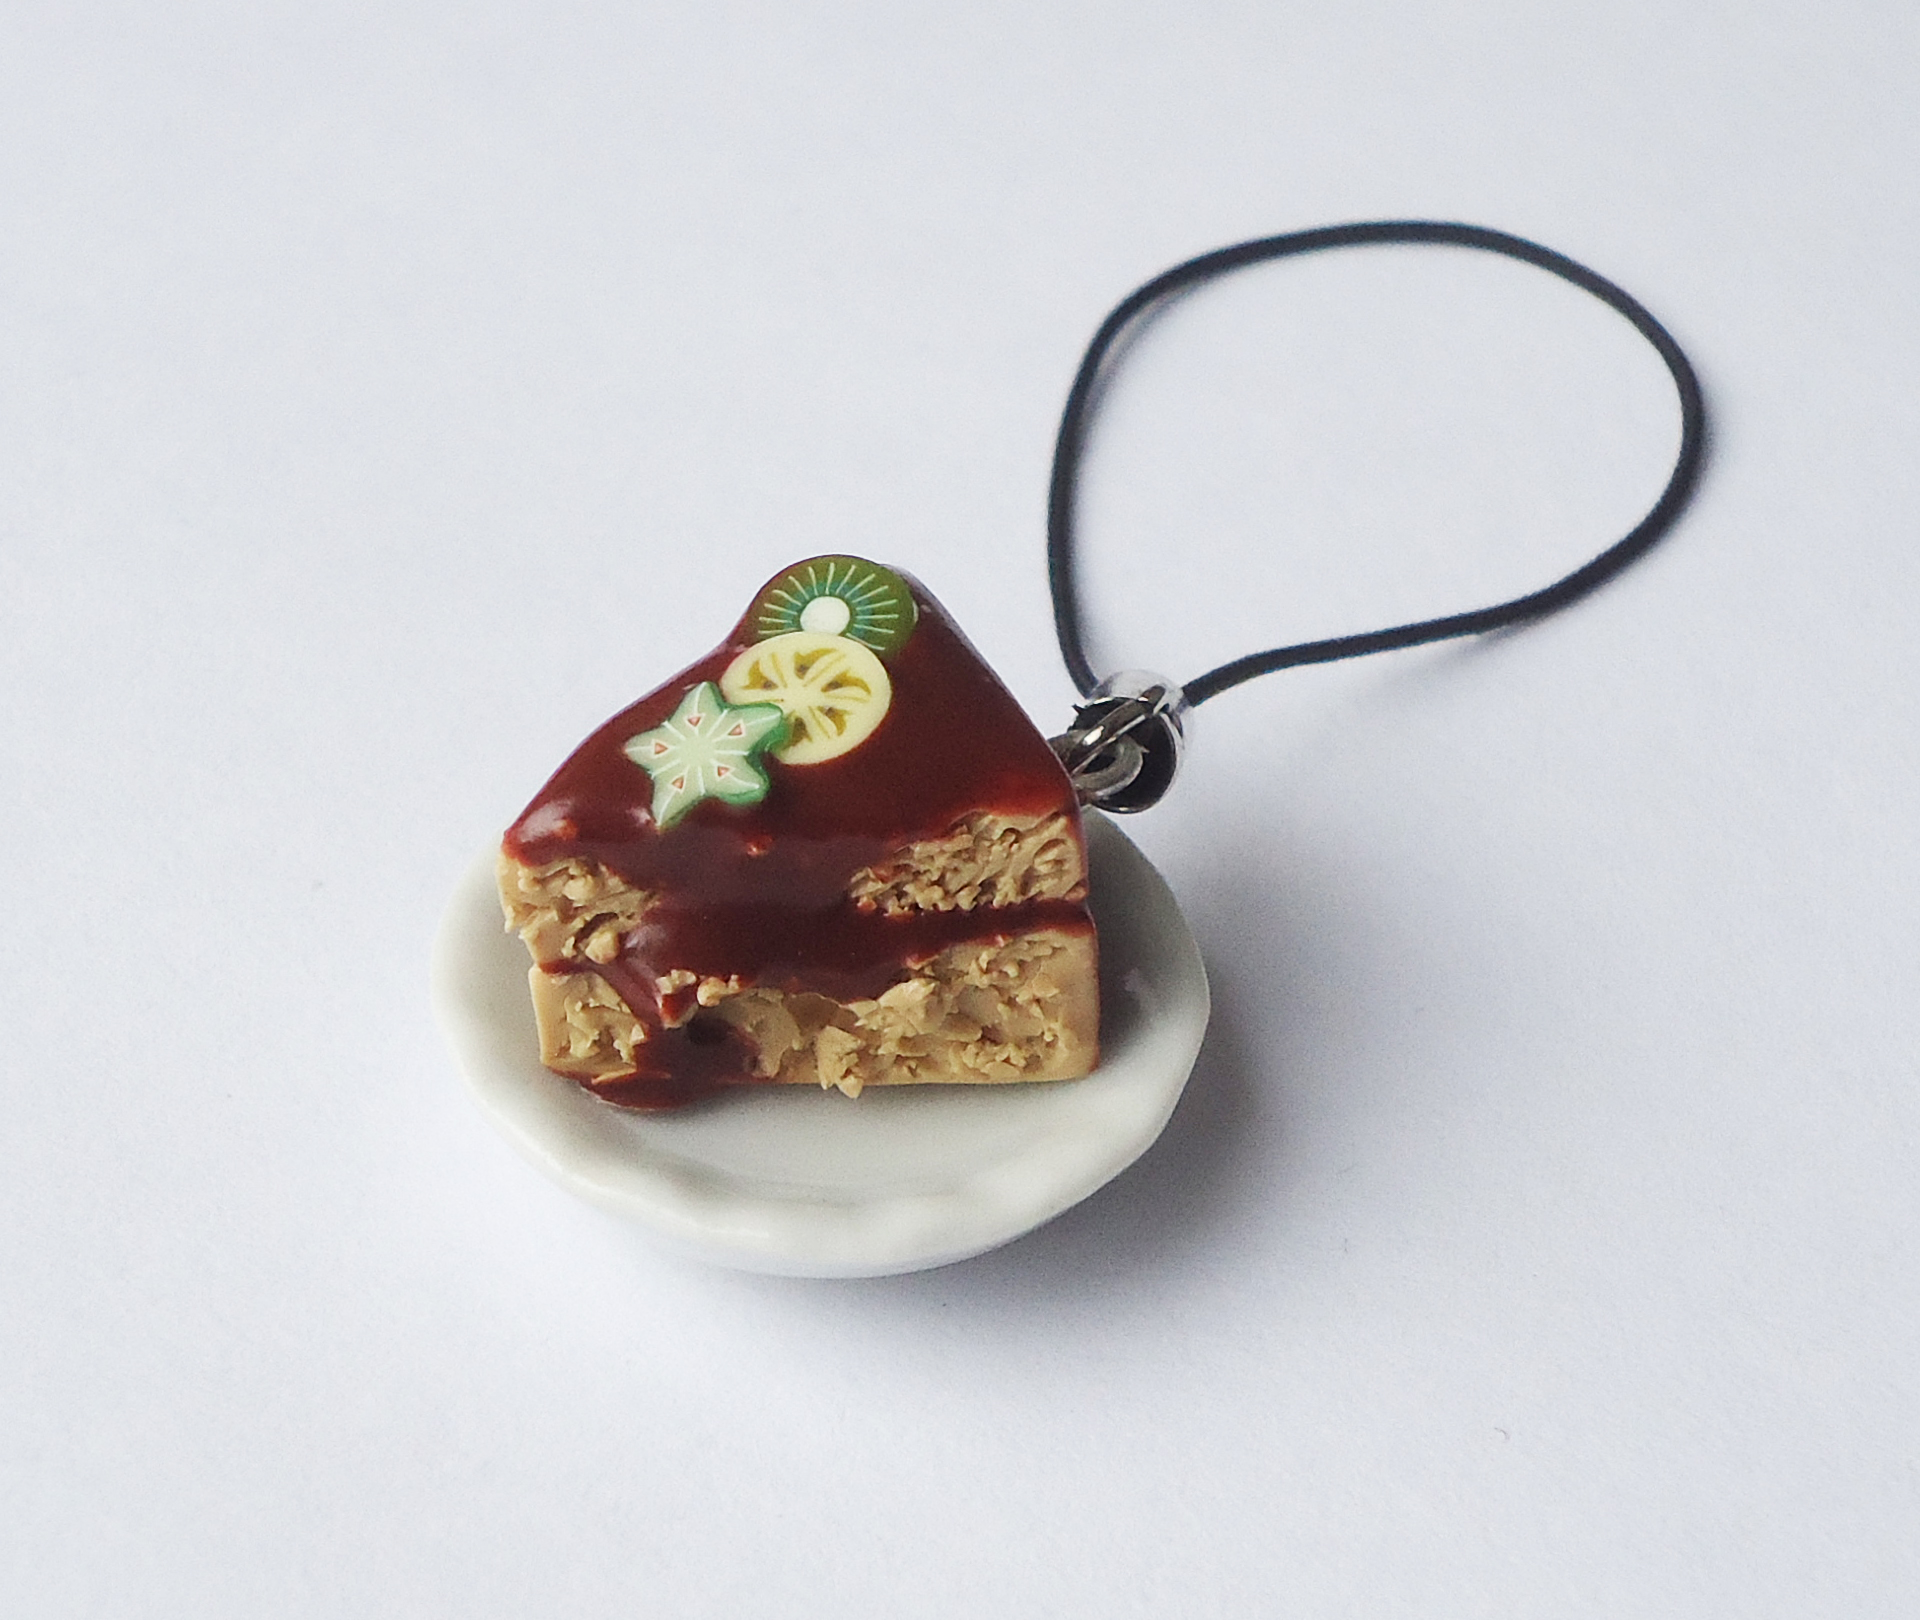
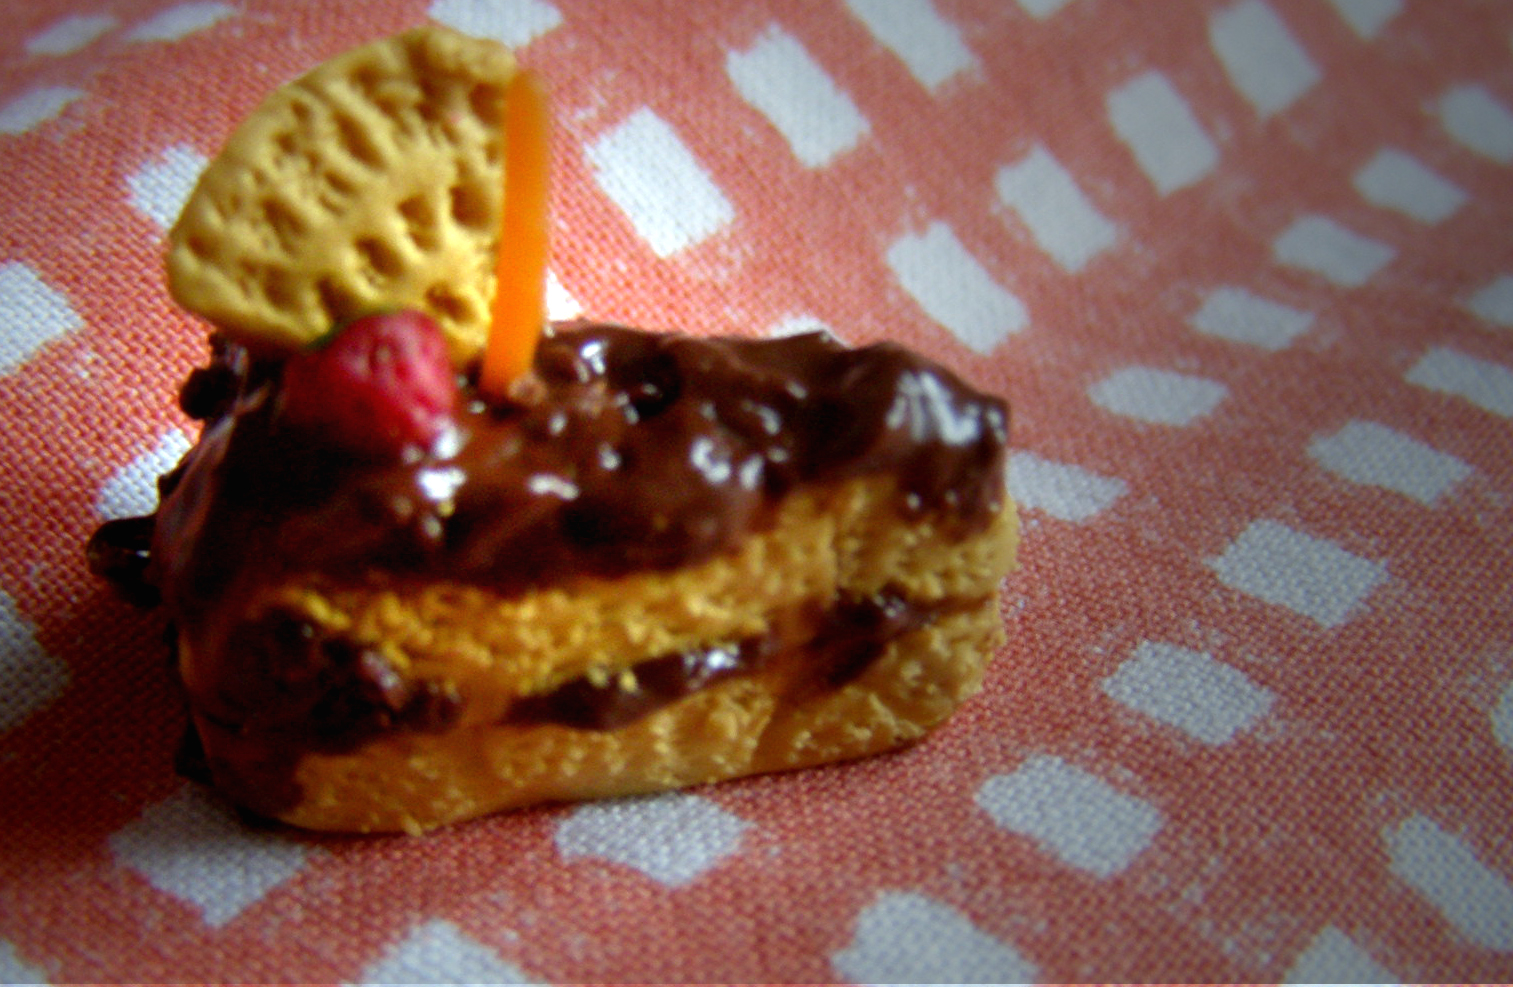
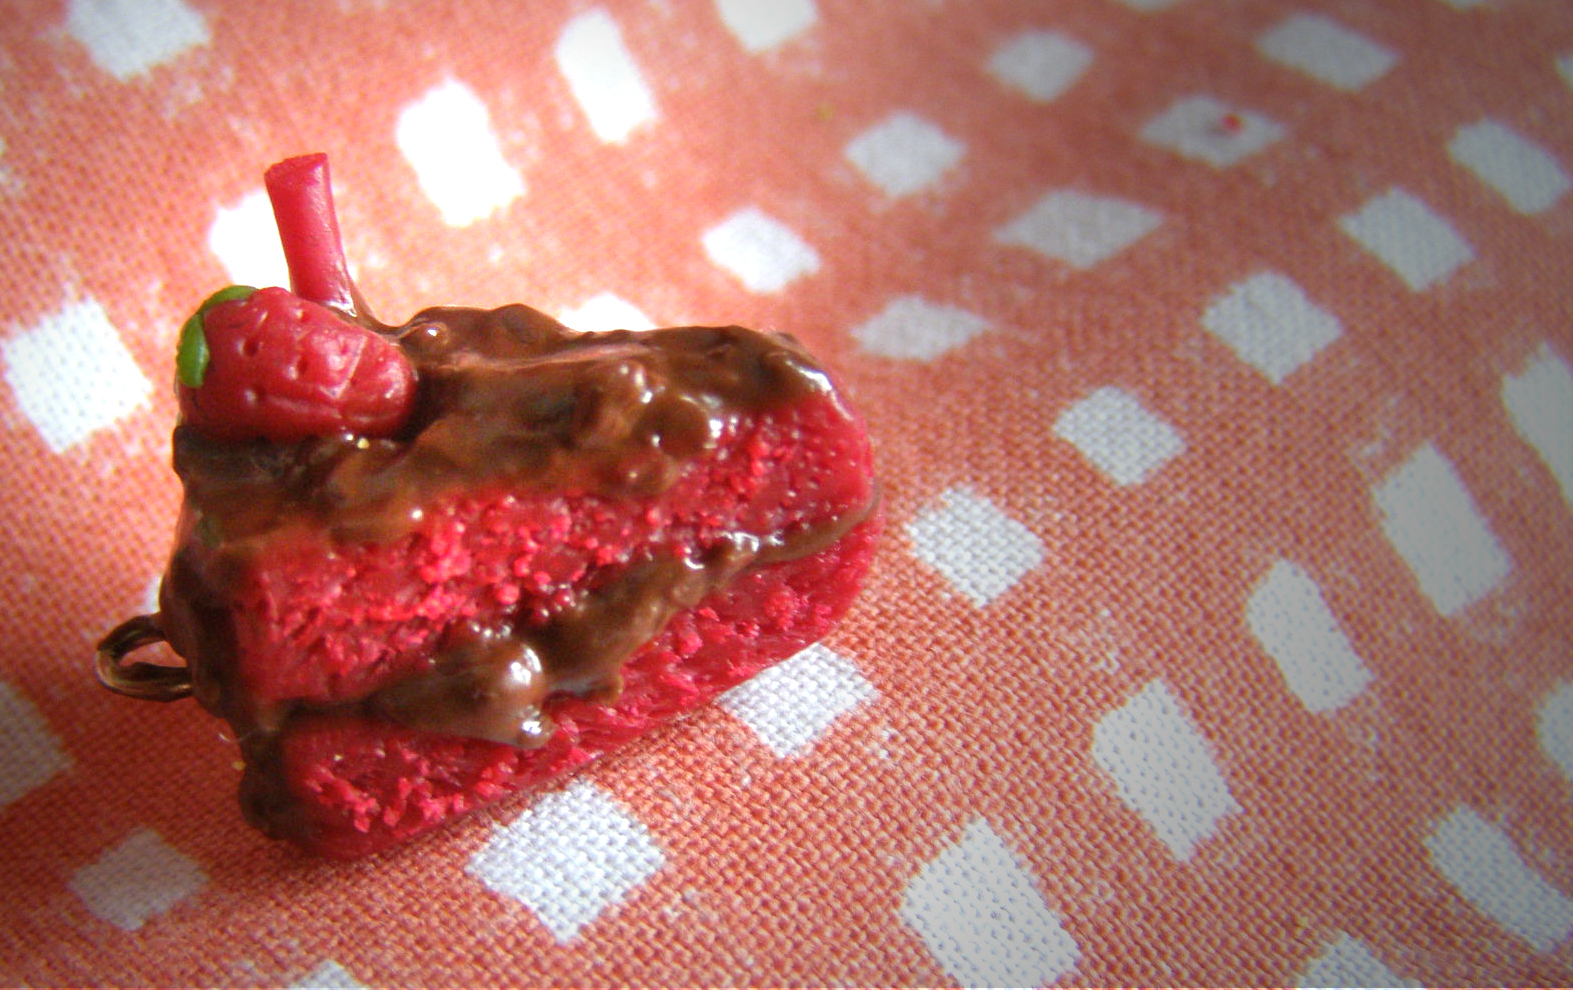
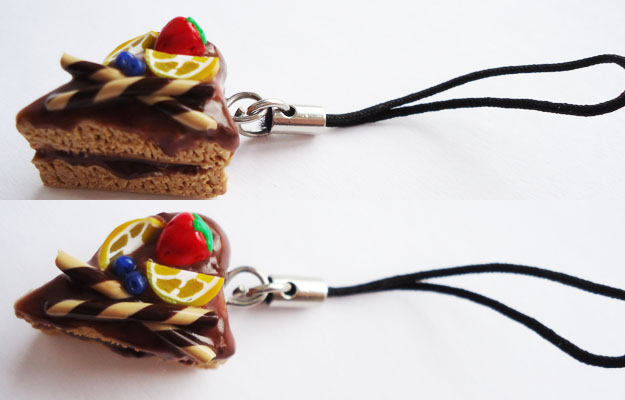
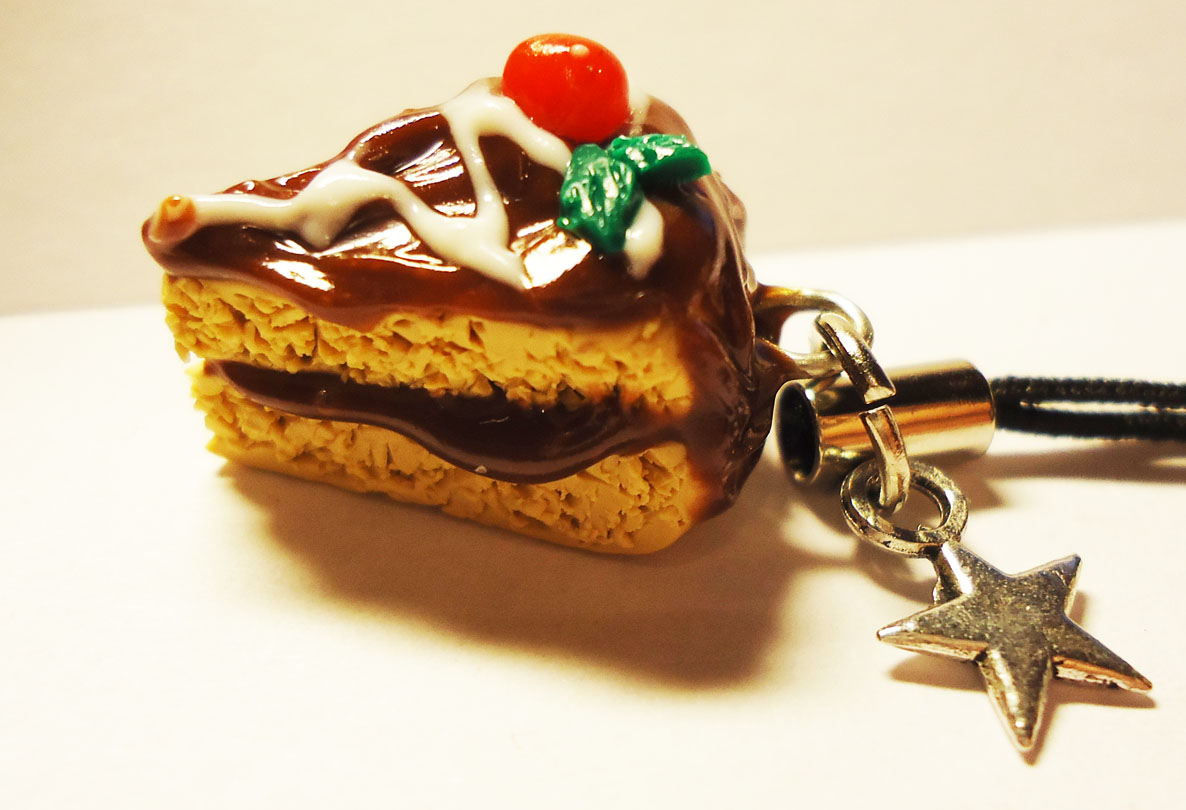
Remember, that the only rule about decorations is: is it safe to put in the oven? If it is, get to work! There are tons of other things you can make! Waffles, a whole assortment of other fruit, more chocolate stick forms, swirls, cream, chocolate bits, vanilla, sugar powder!... Just use your imagination. I got you started, now it's your turn!
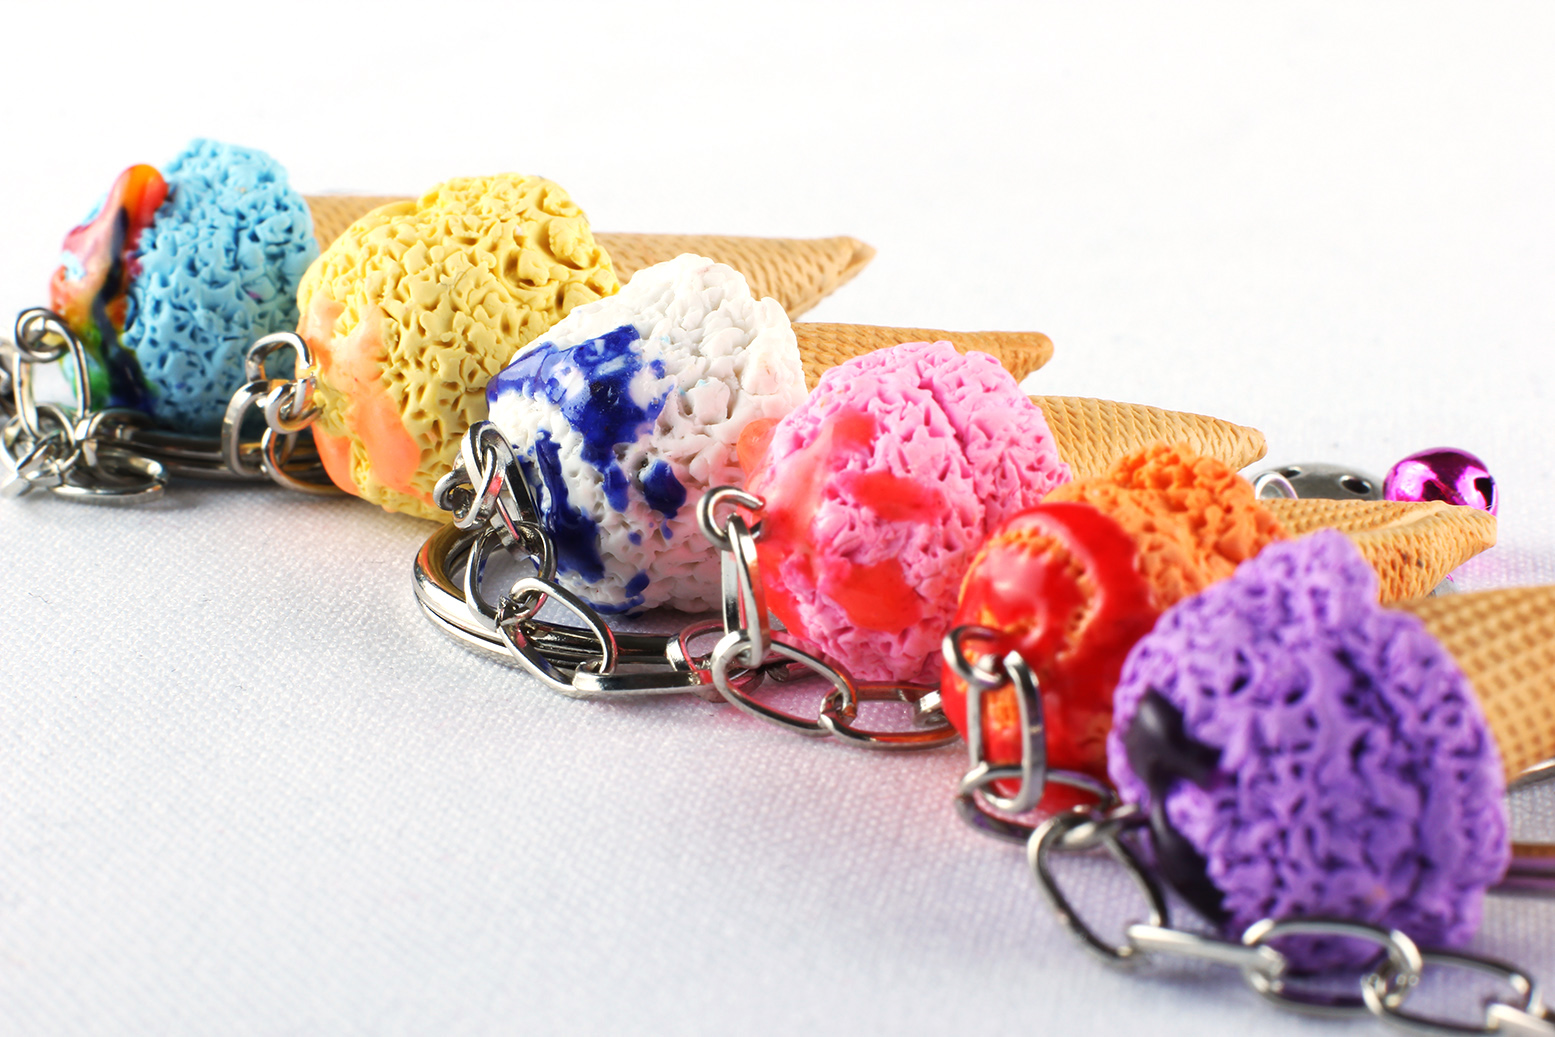
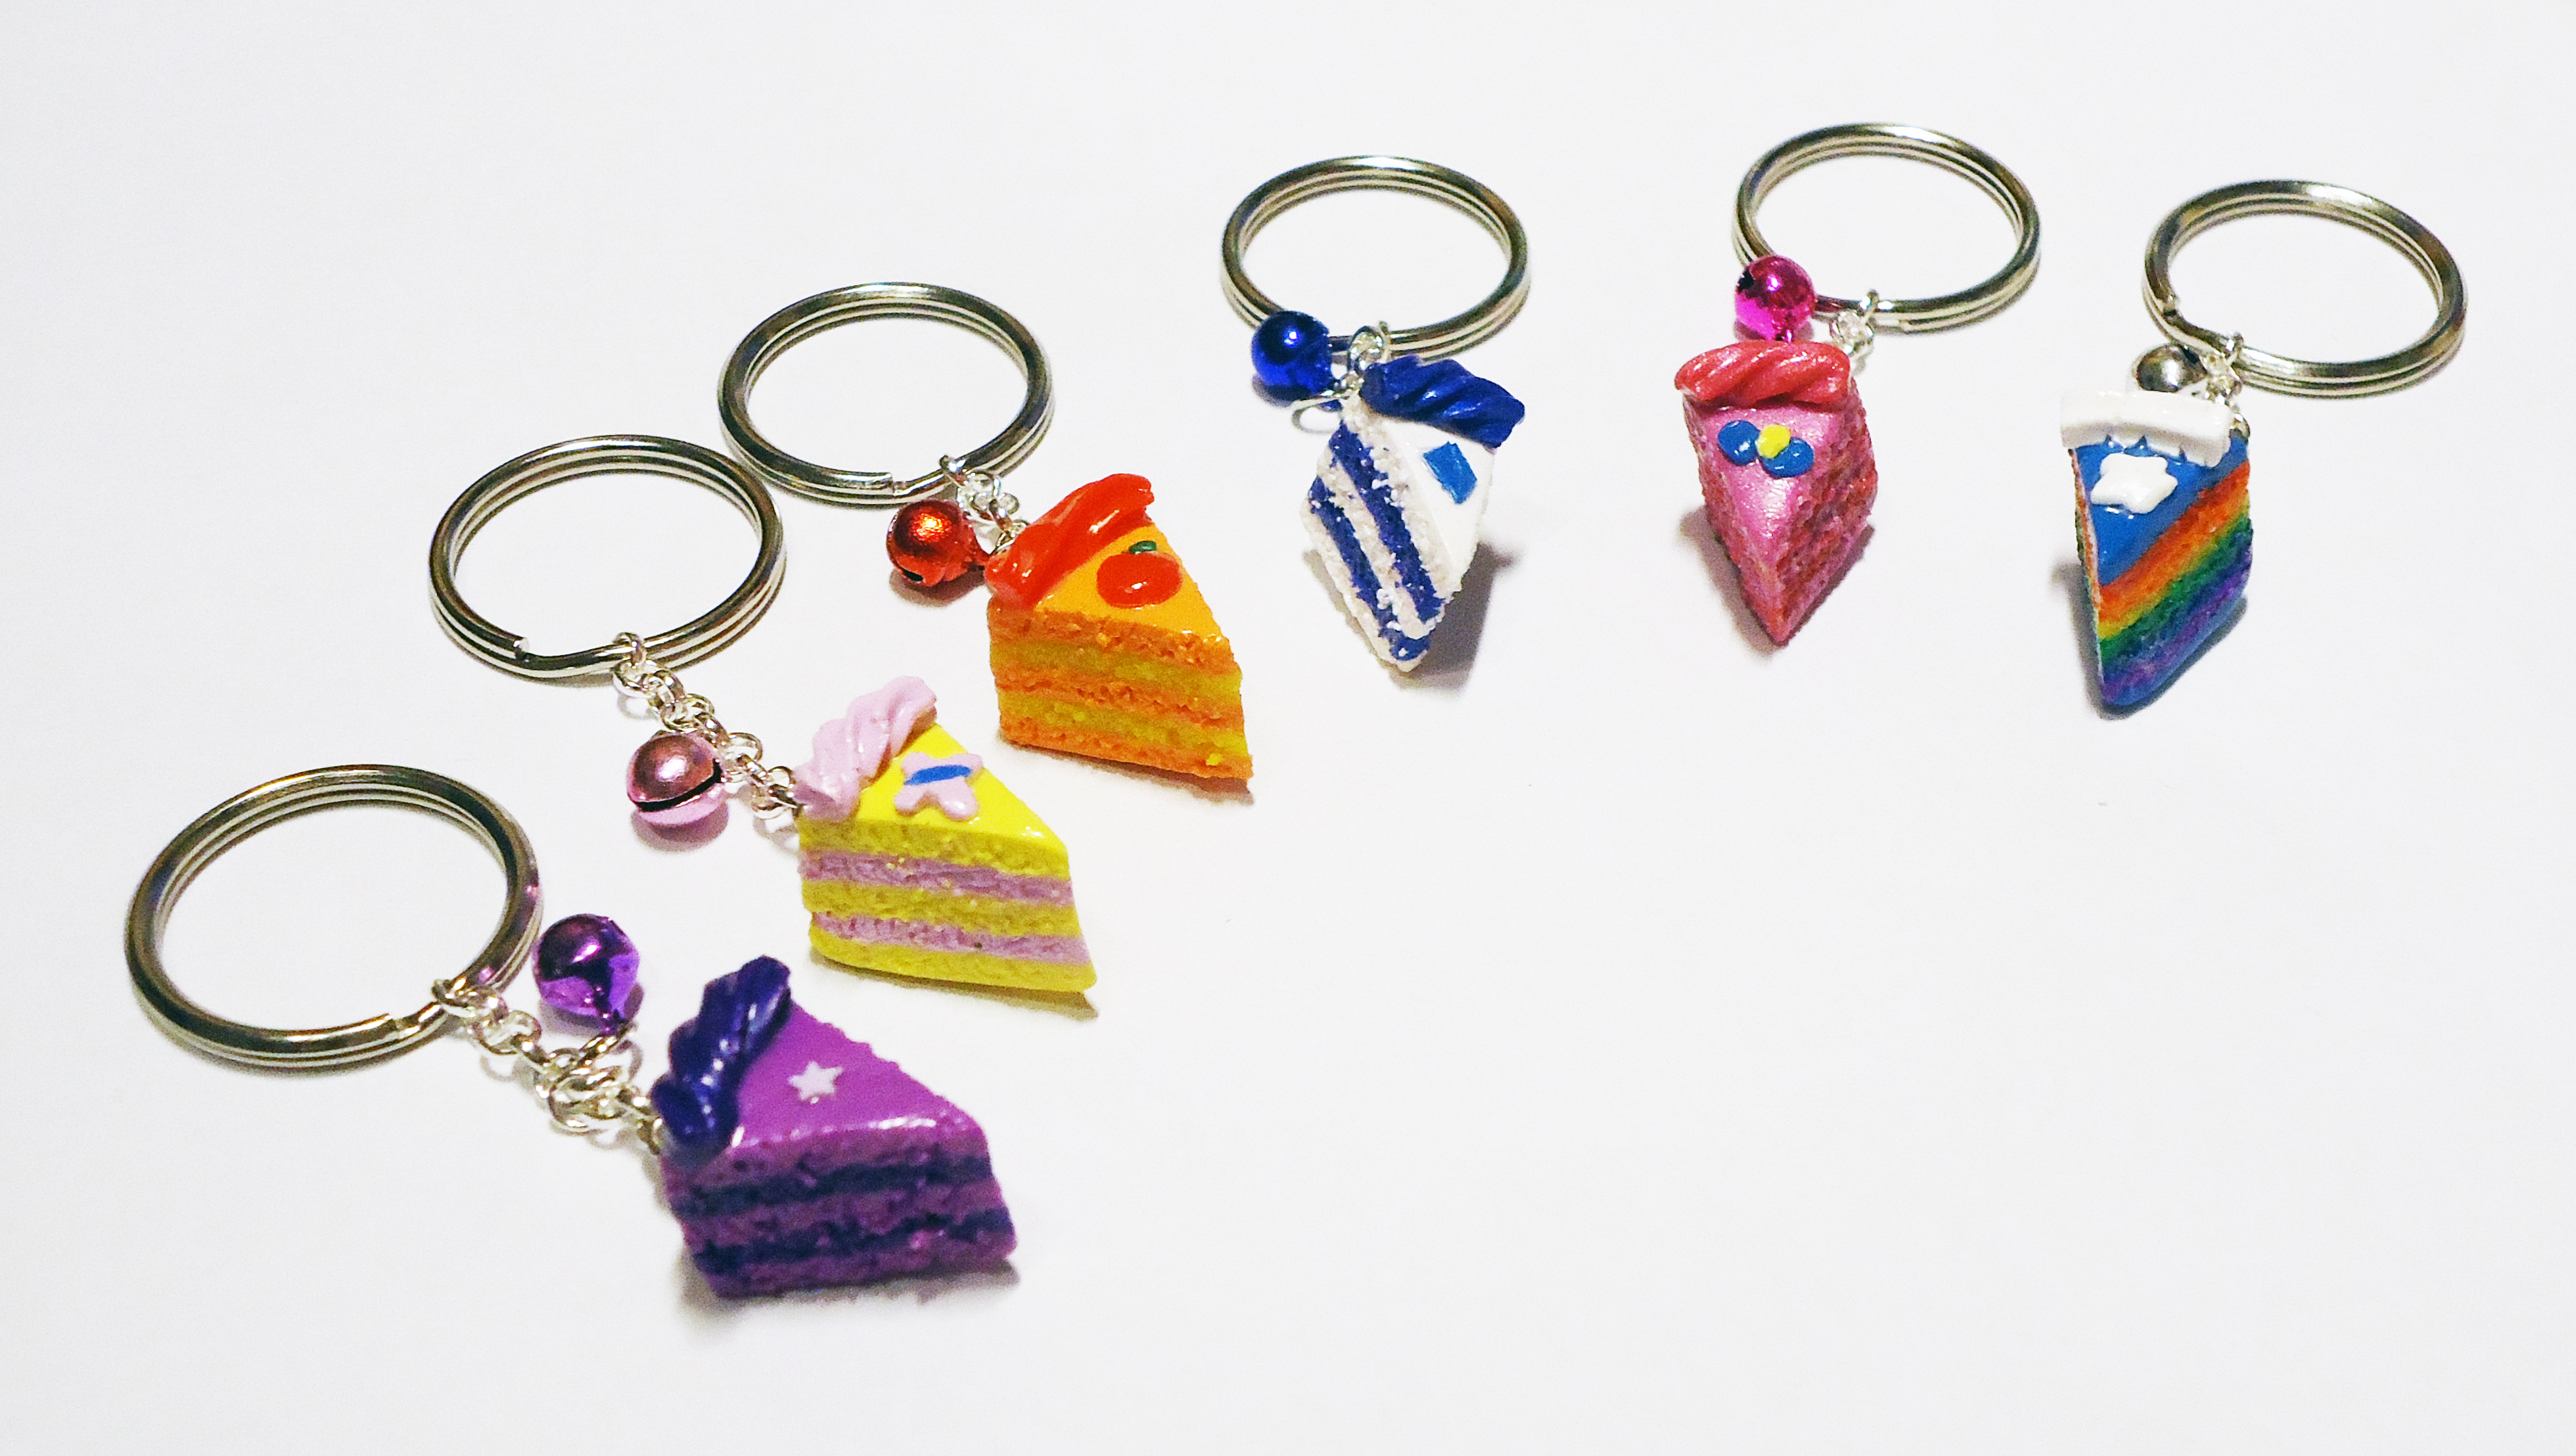
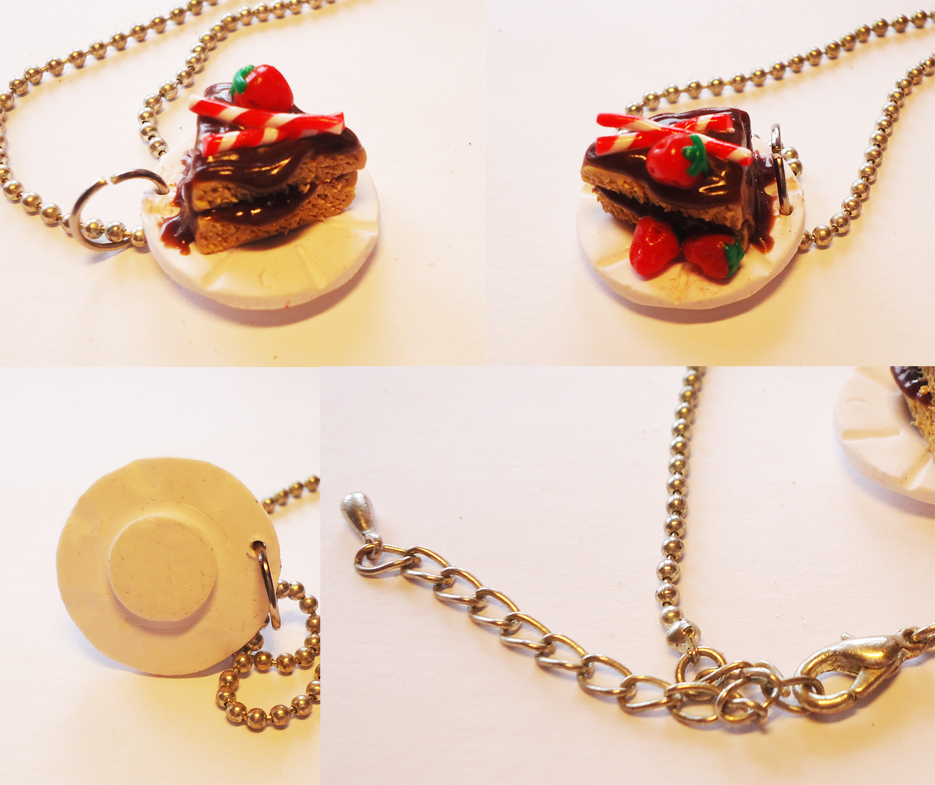
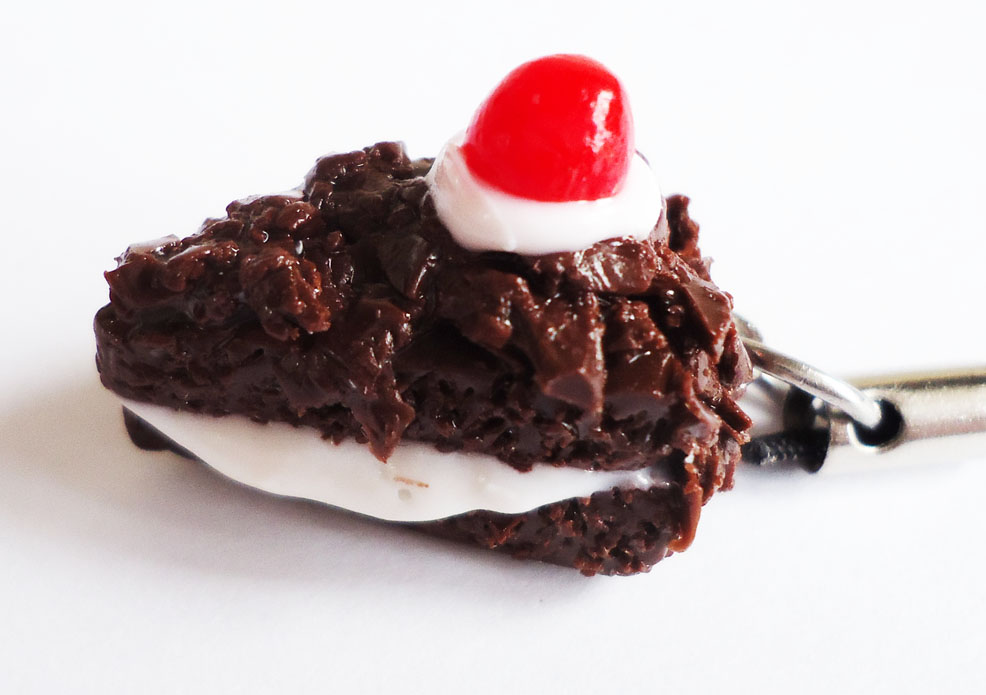
Here's some of my other cake work for inspiration. Some of these were made YEARS ago (I think you can guess by the quality haha) and I still haven't explored all the possibilities!
And finally, once you're done with the decorations...throw 'em in the oven. Remember to check your clay baking instructions!
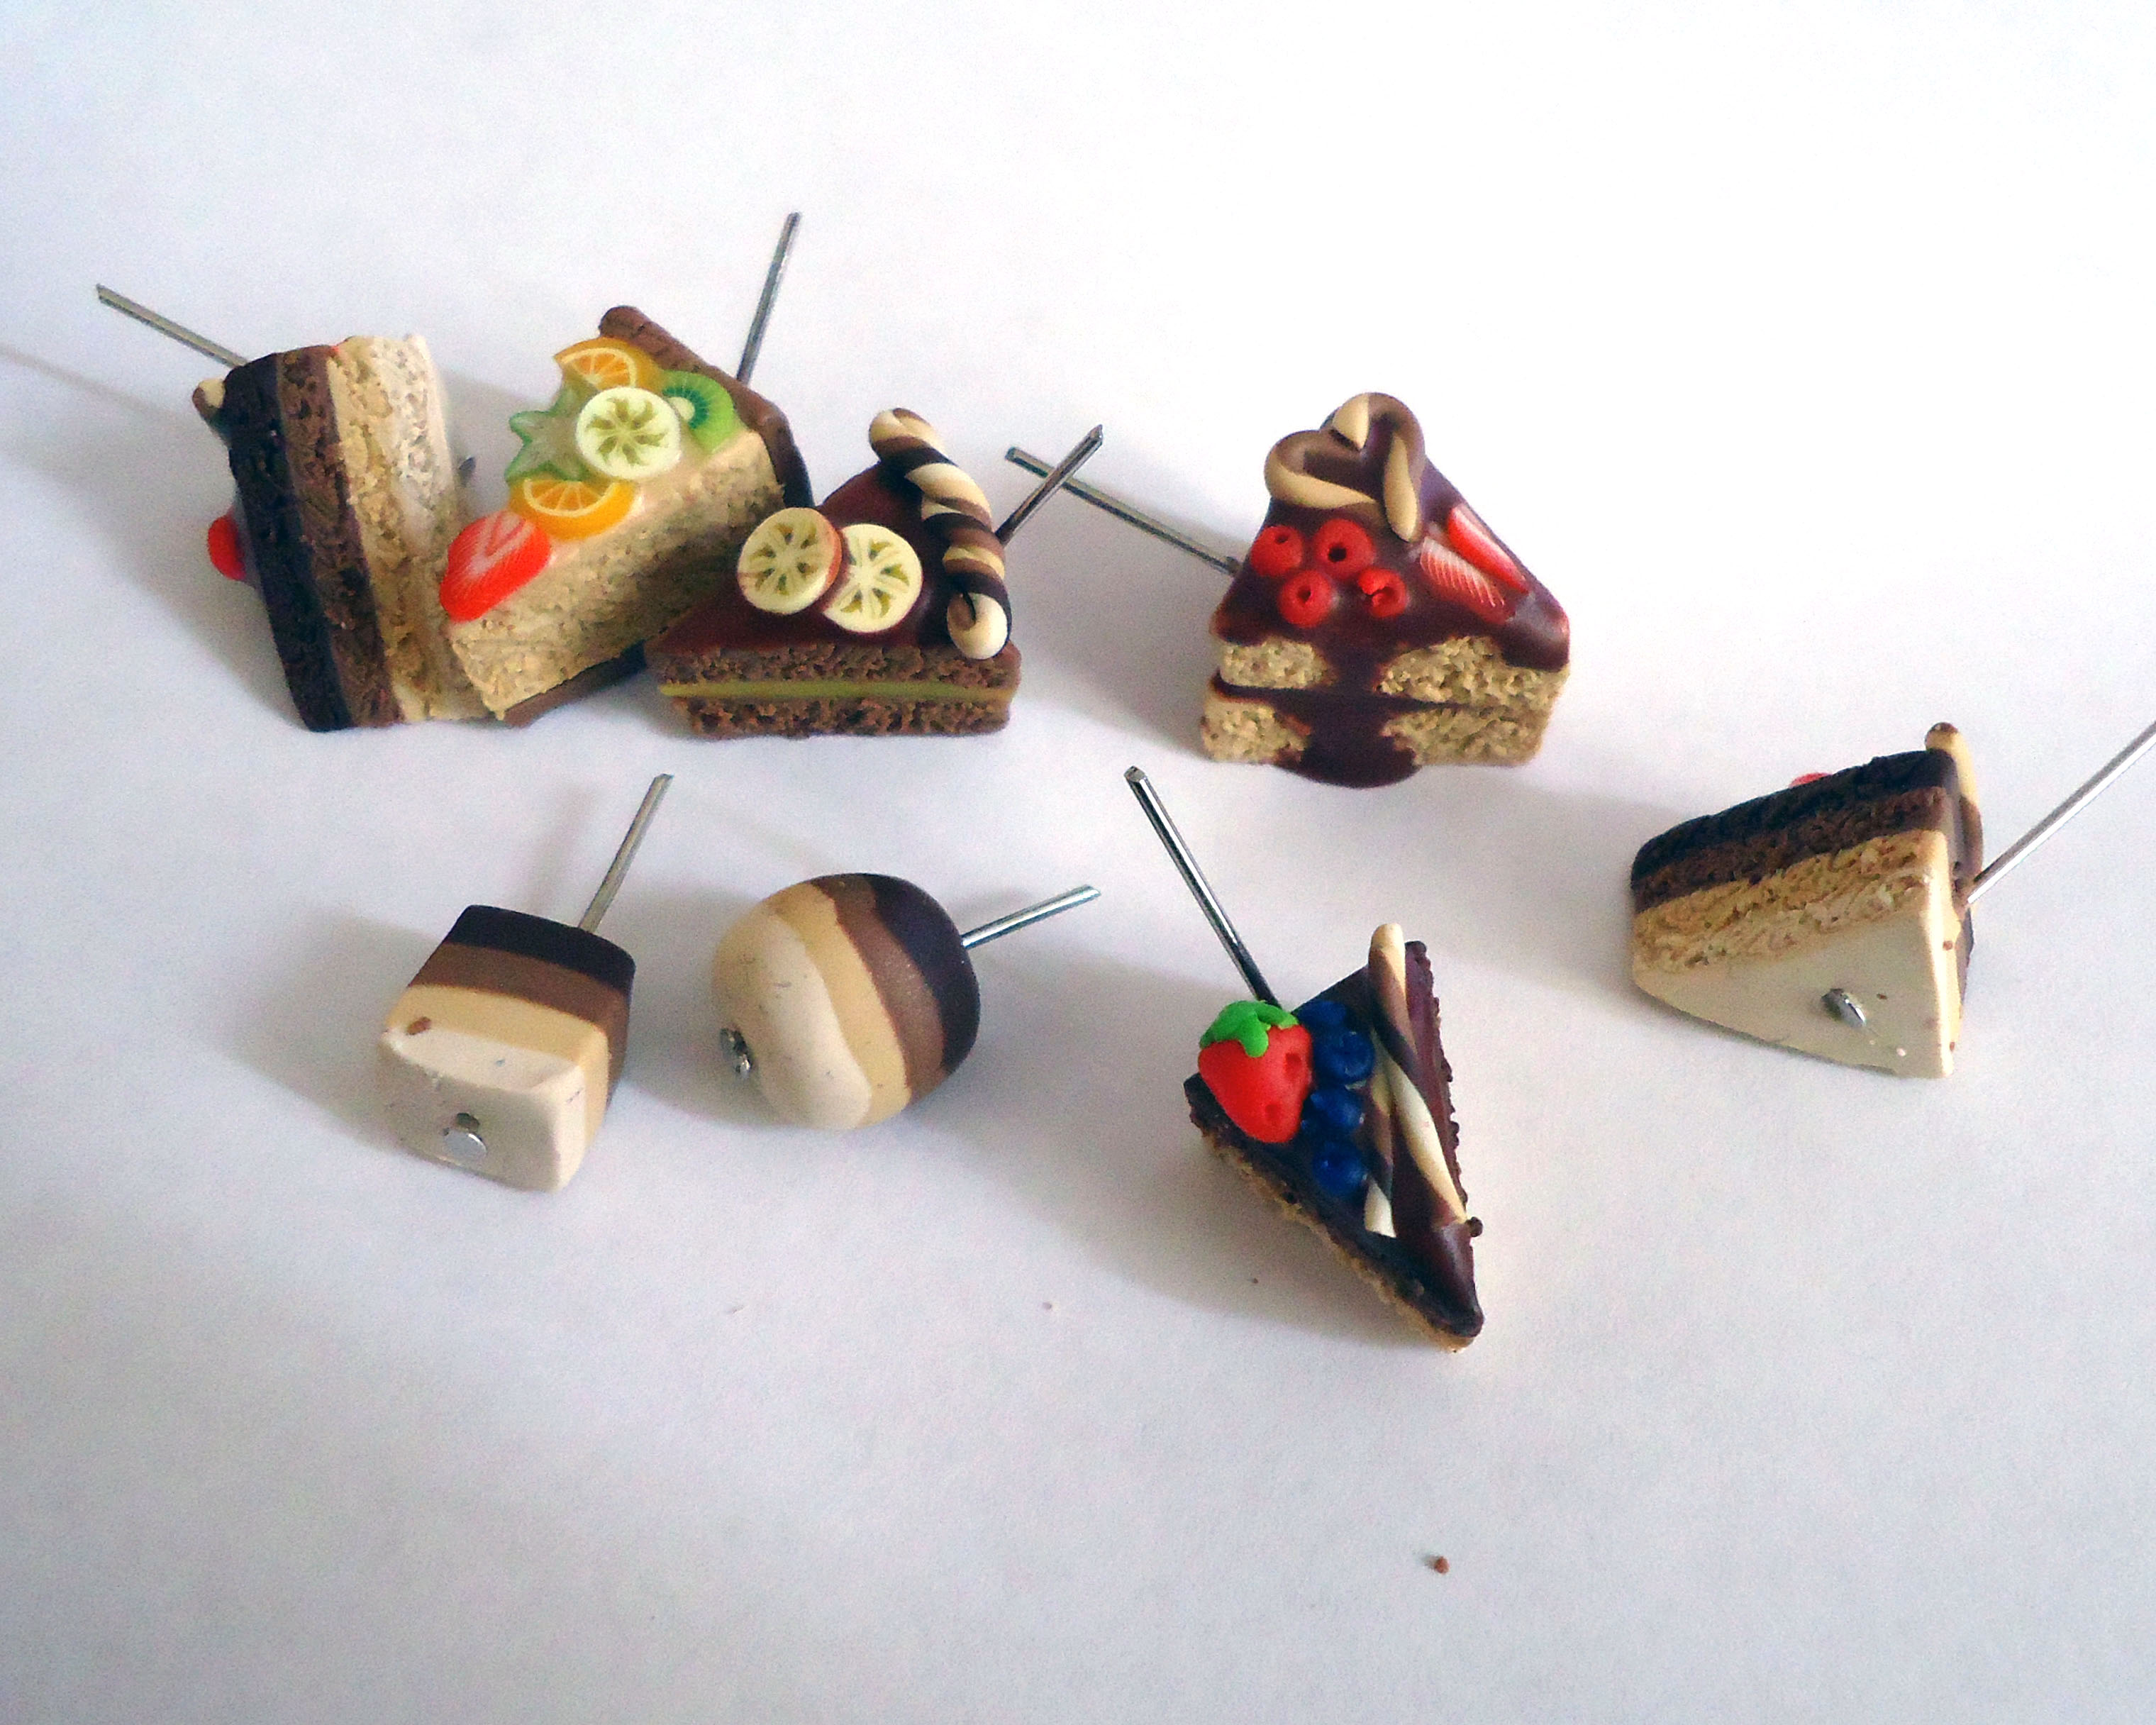
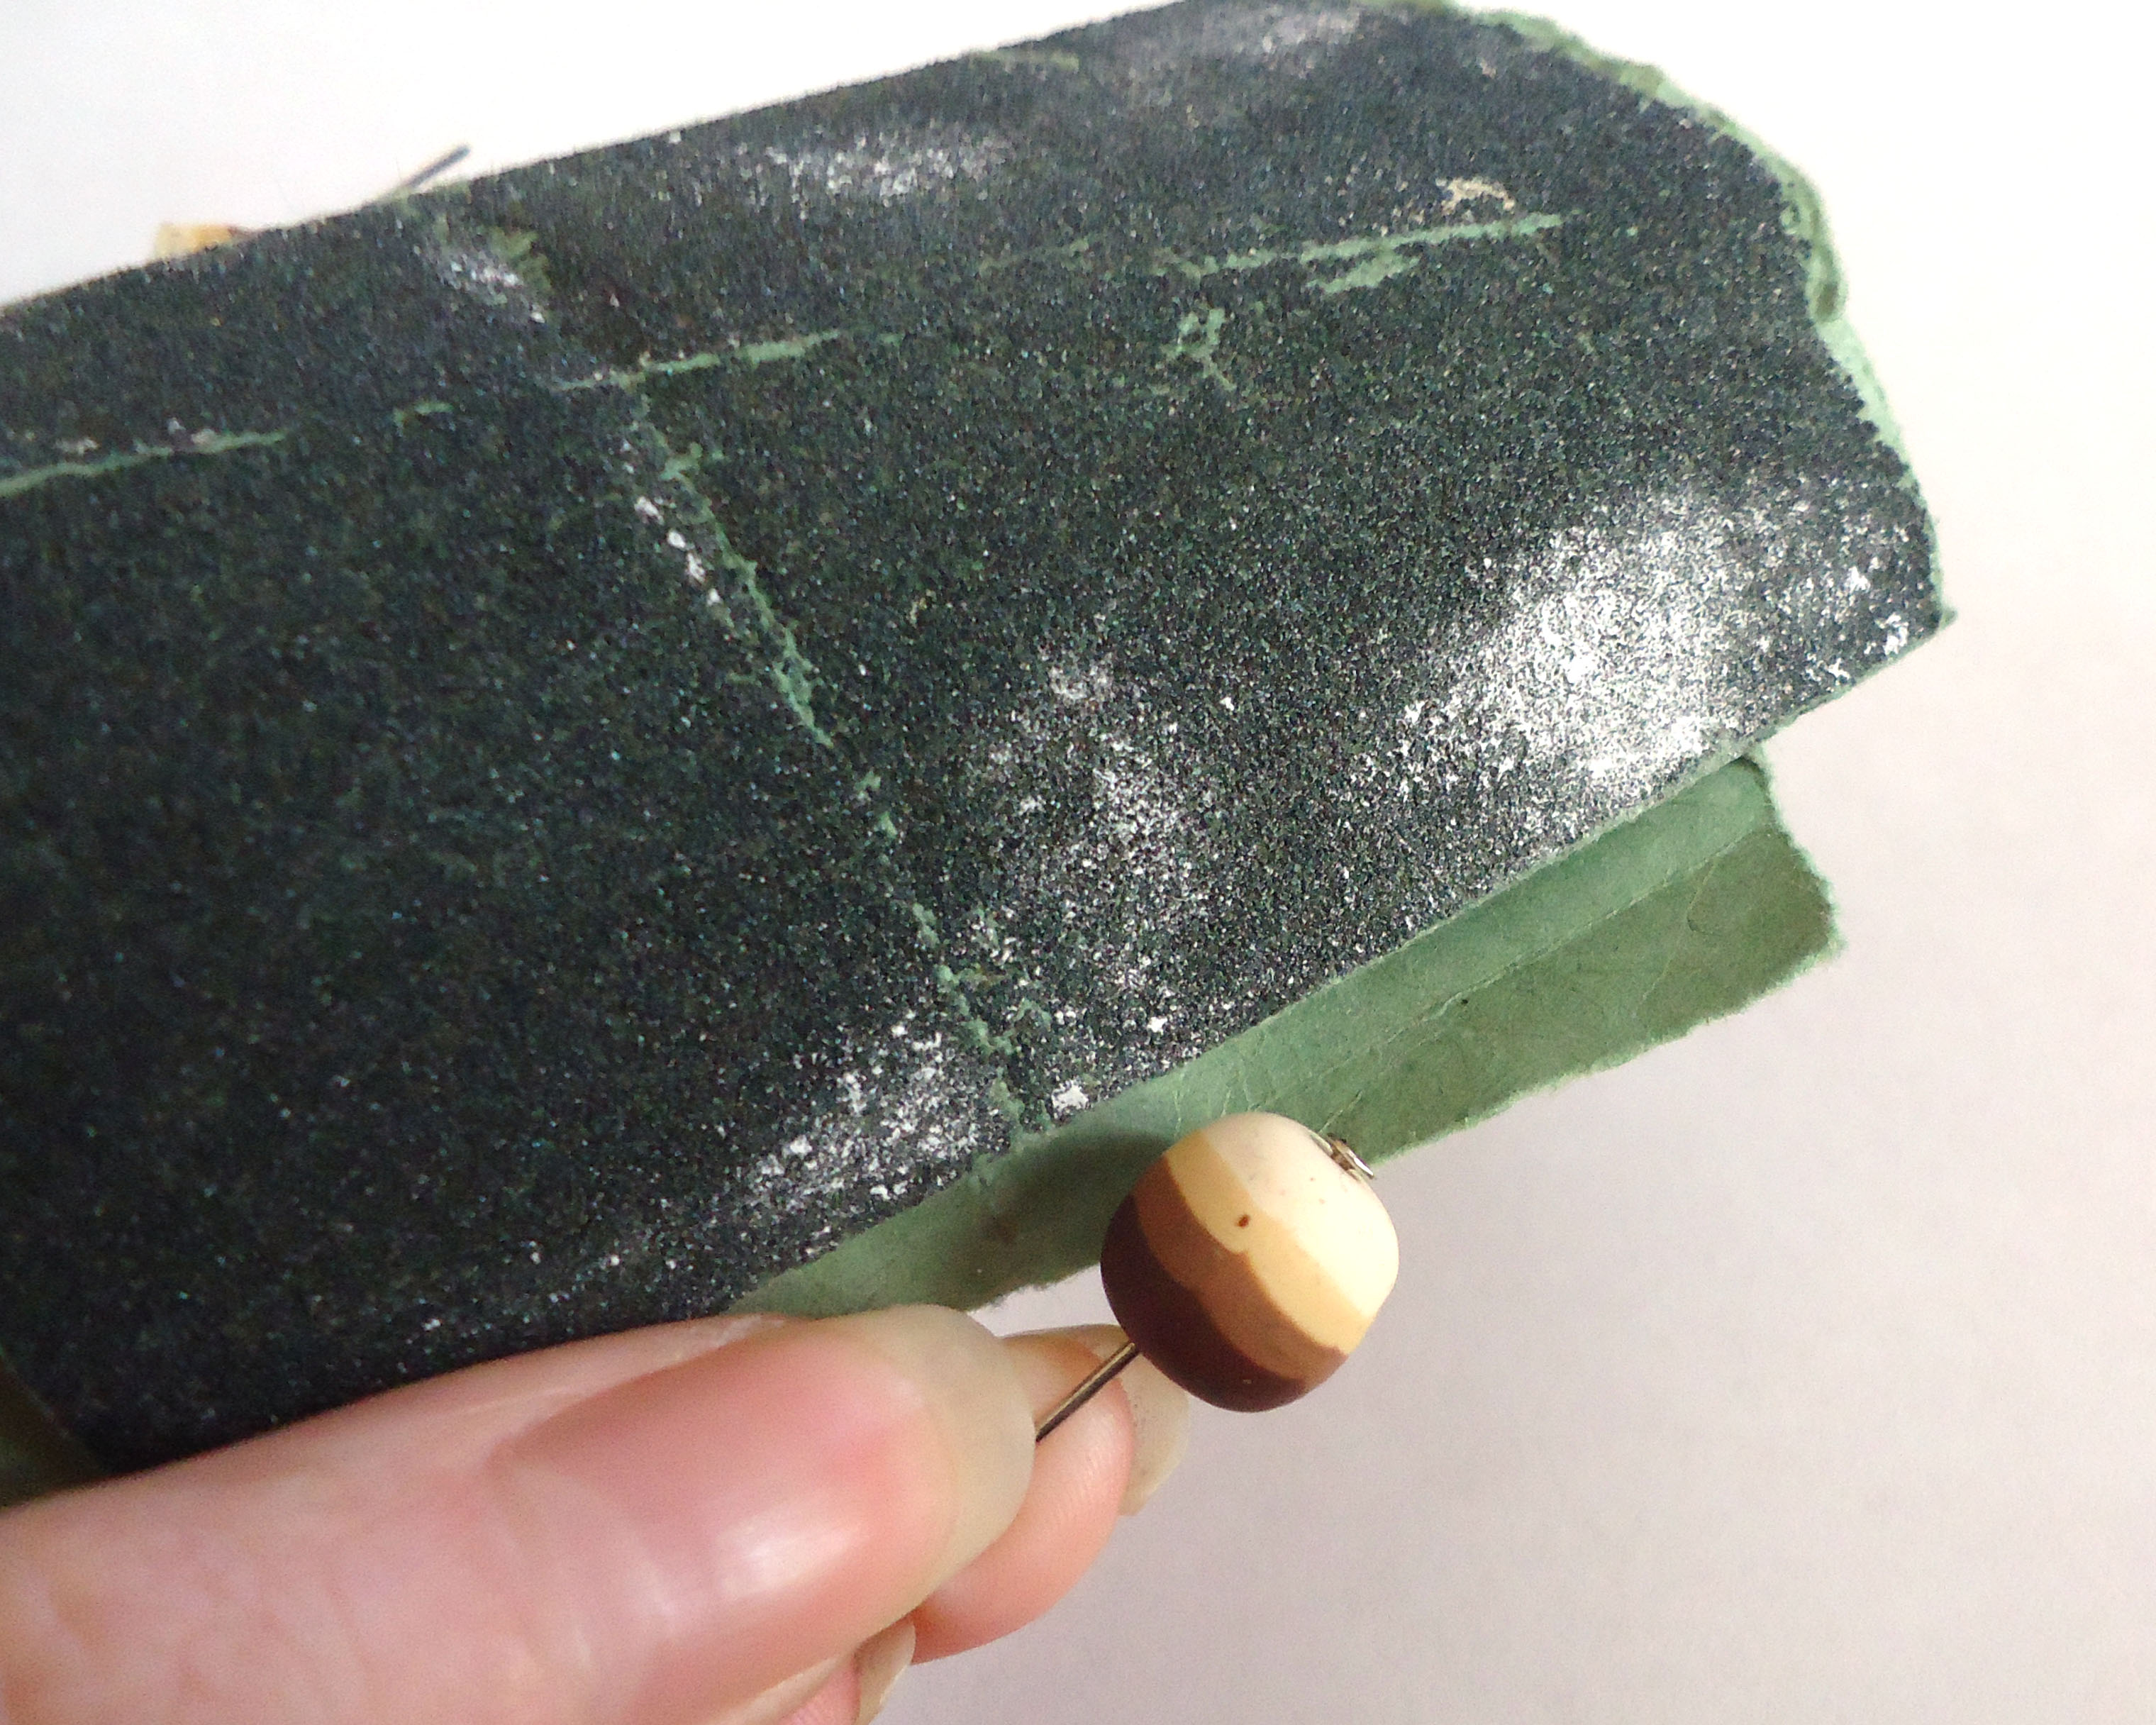
After you take them out of the oven, you'll notice that the icing isn't as shiny anymore. Don't worry, we'll take care of that in a bit! Before you do any work with gloss, check your cakes for lint and dust. You can use sanding paper to clean them off!
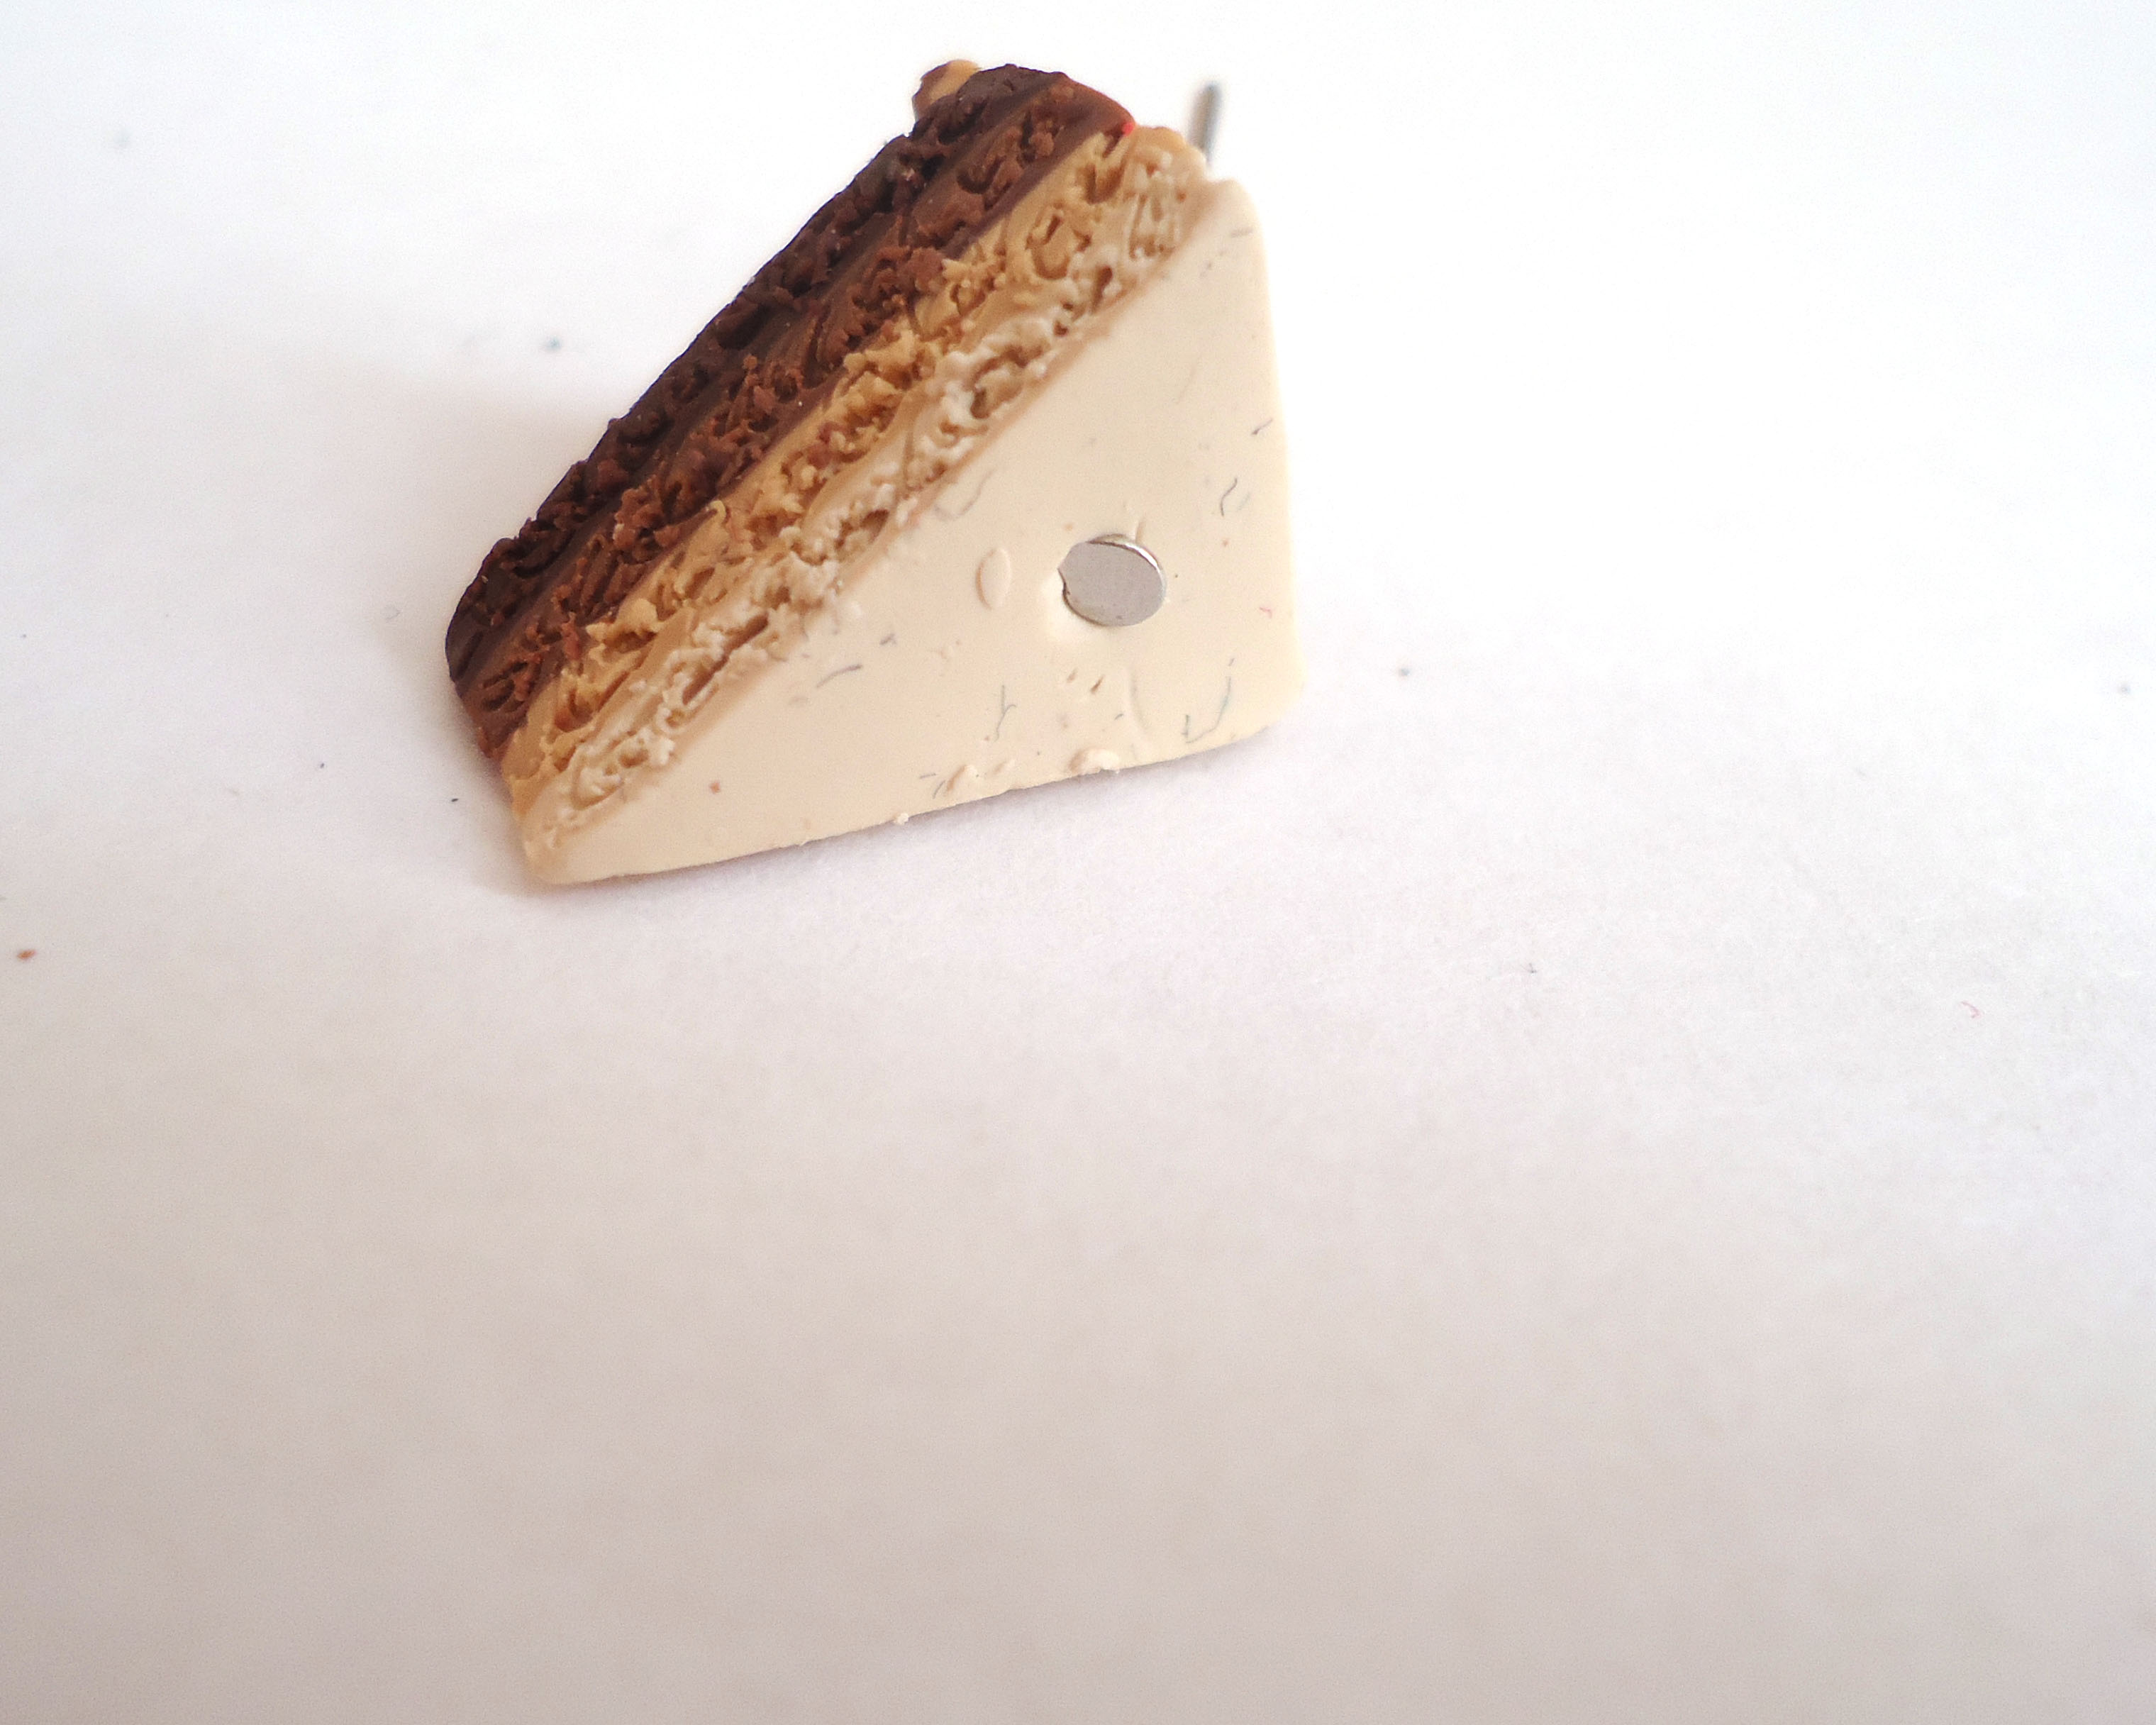
See the difference between the two? That's the same cake before and after sanding.
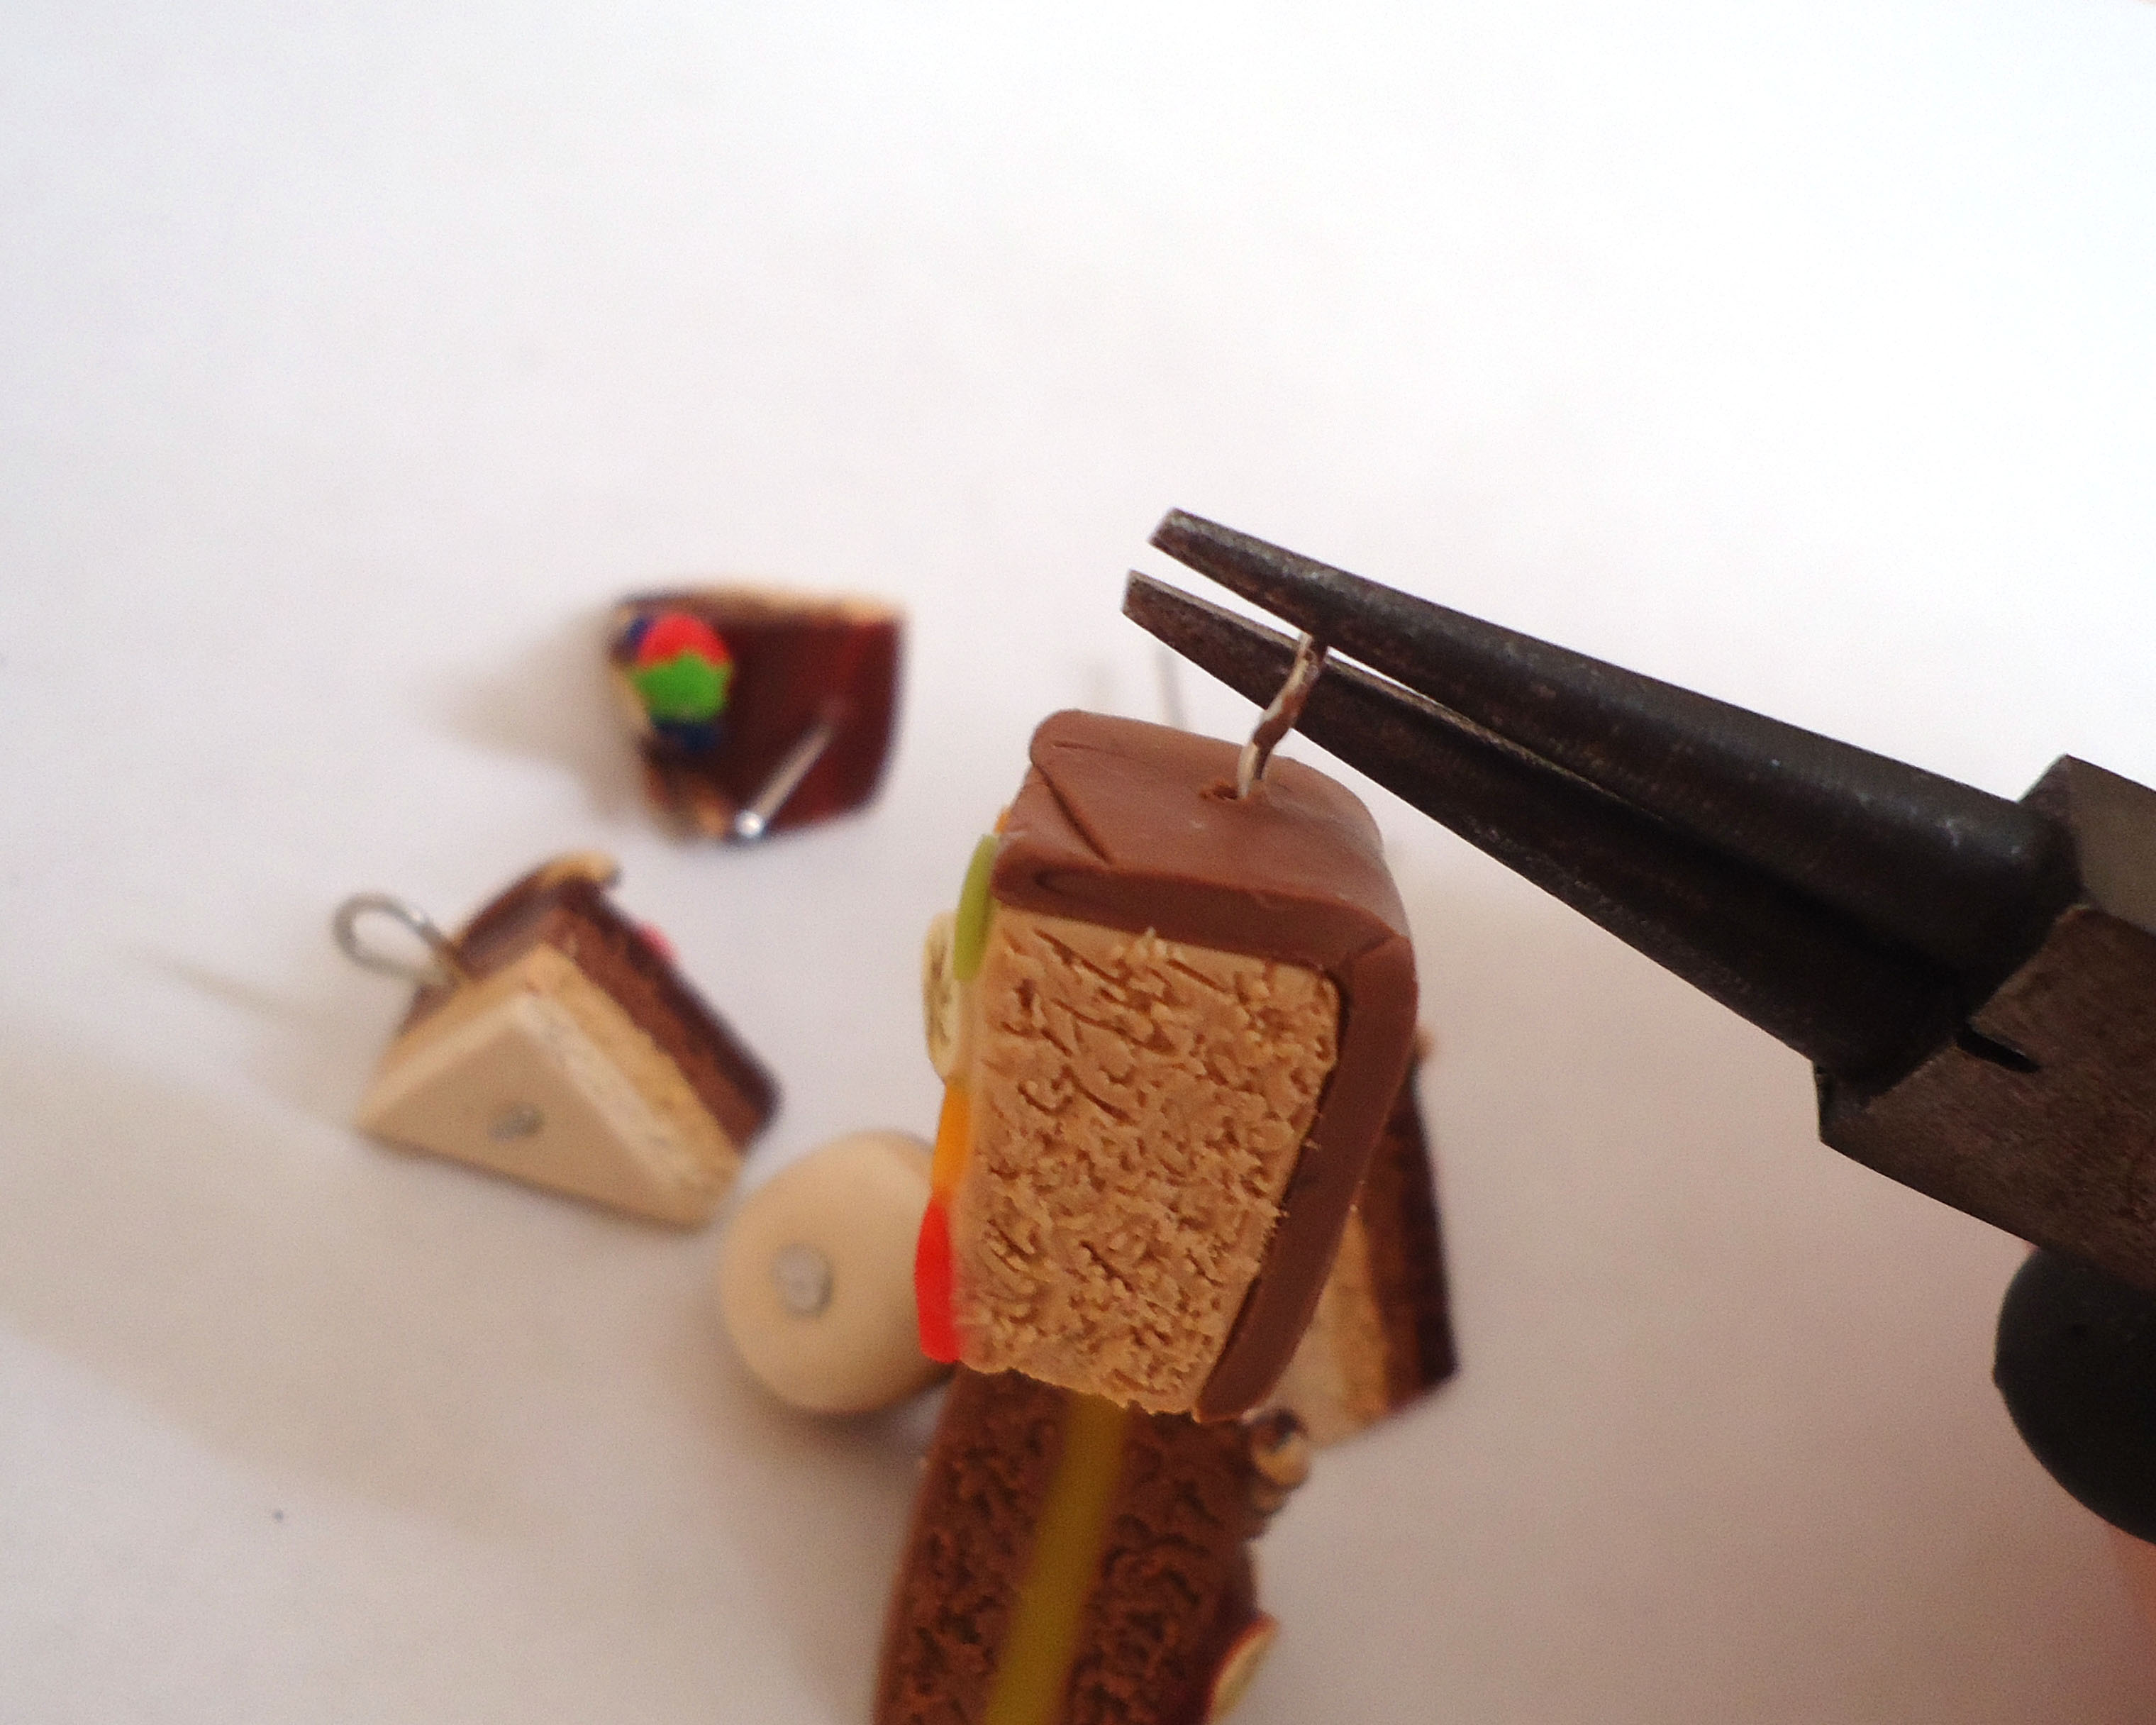
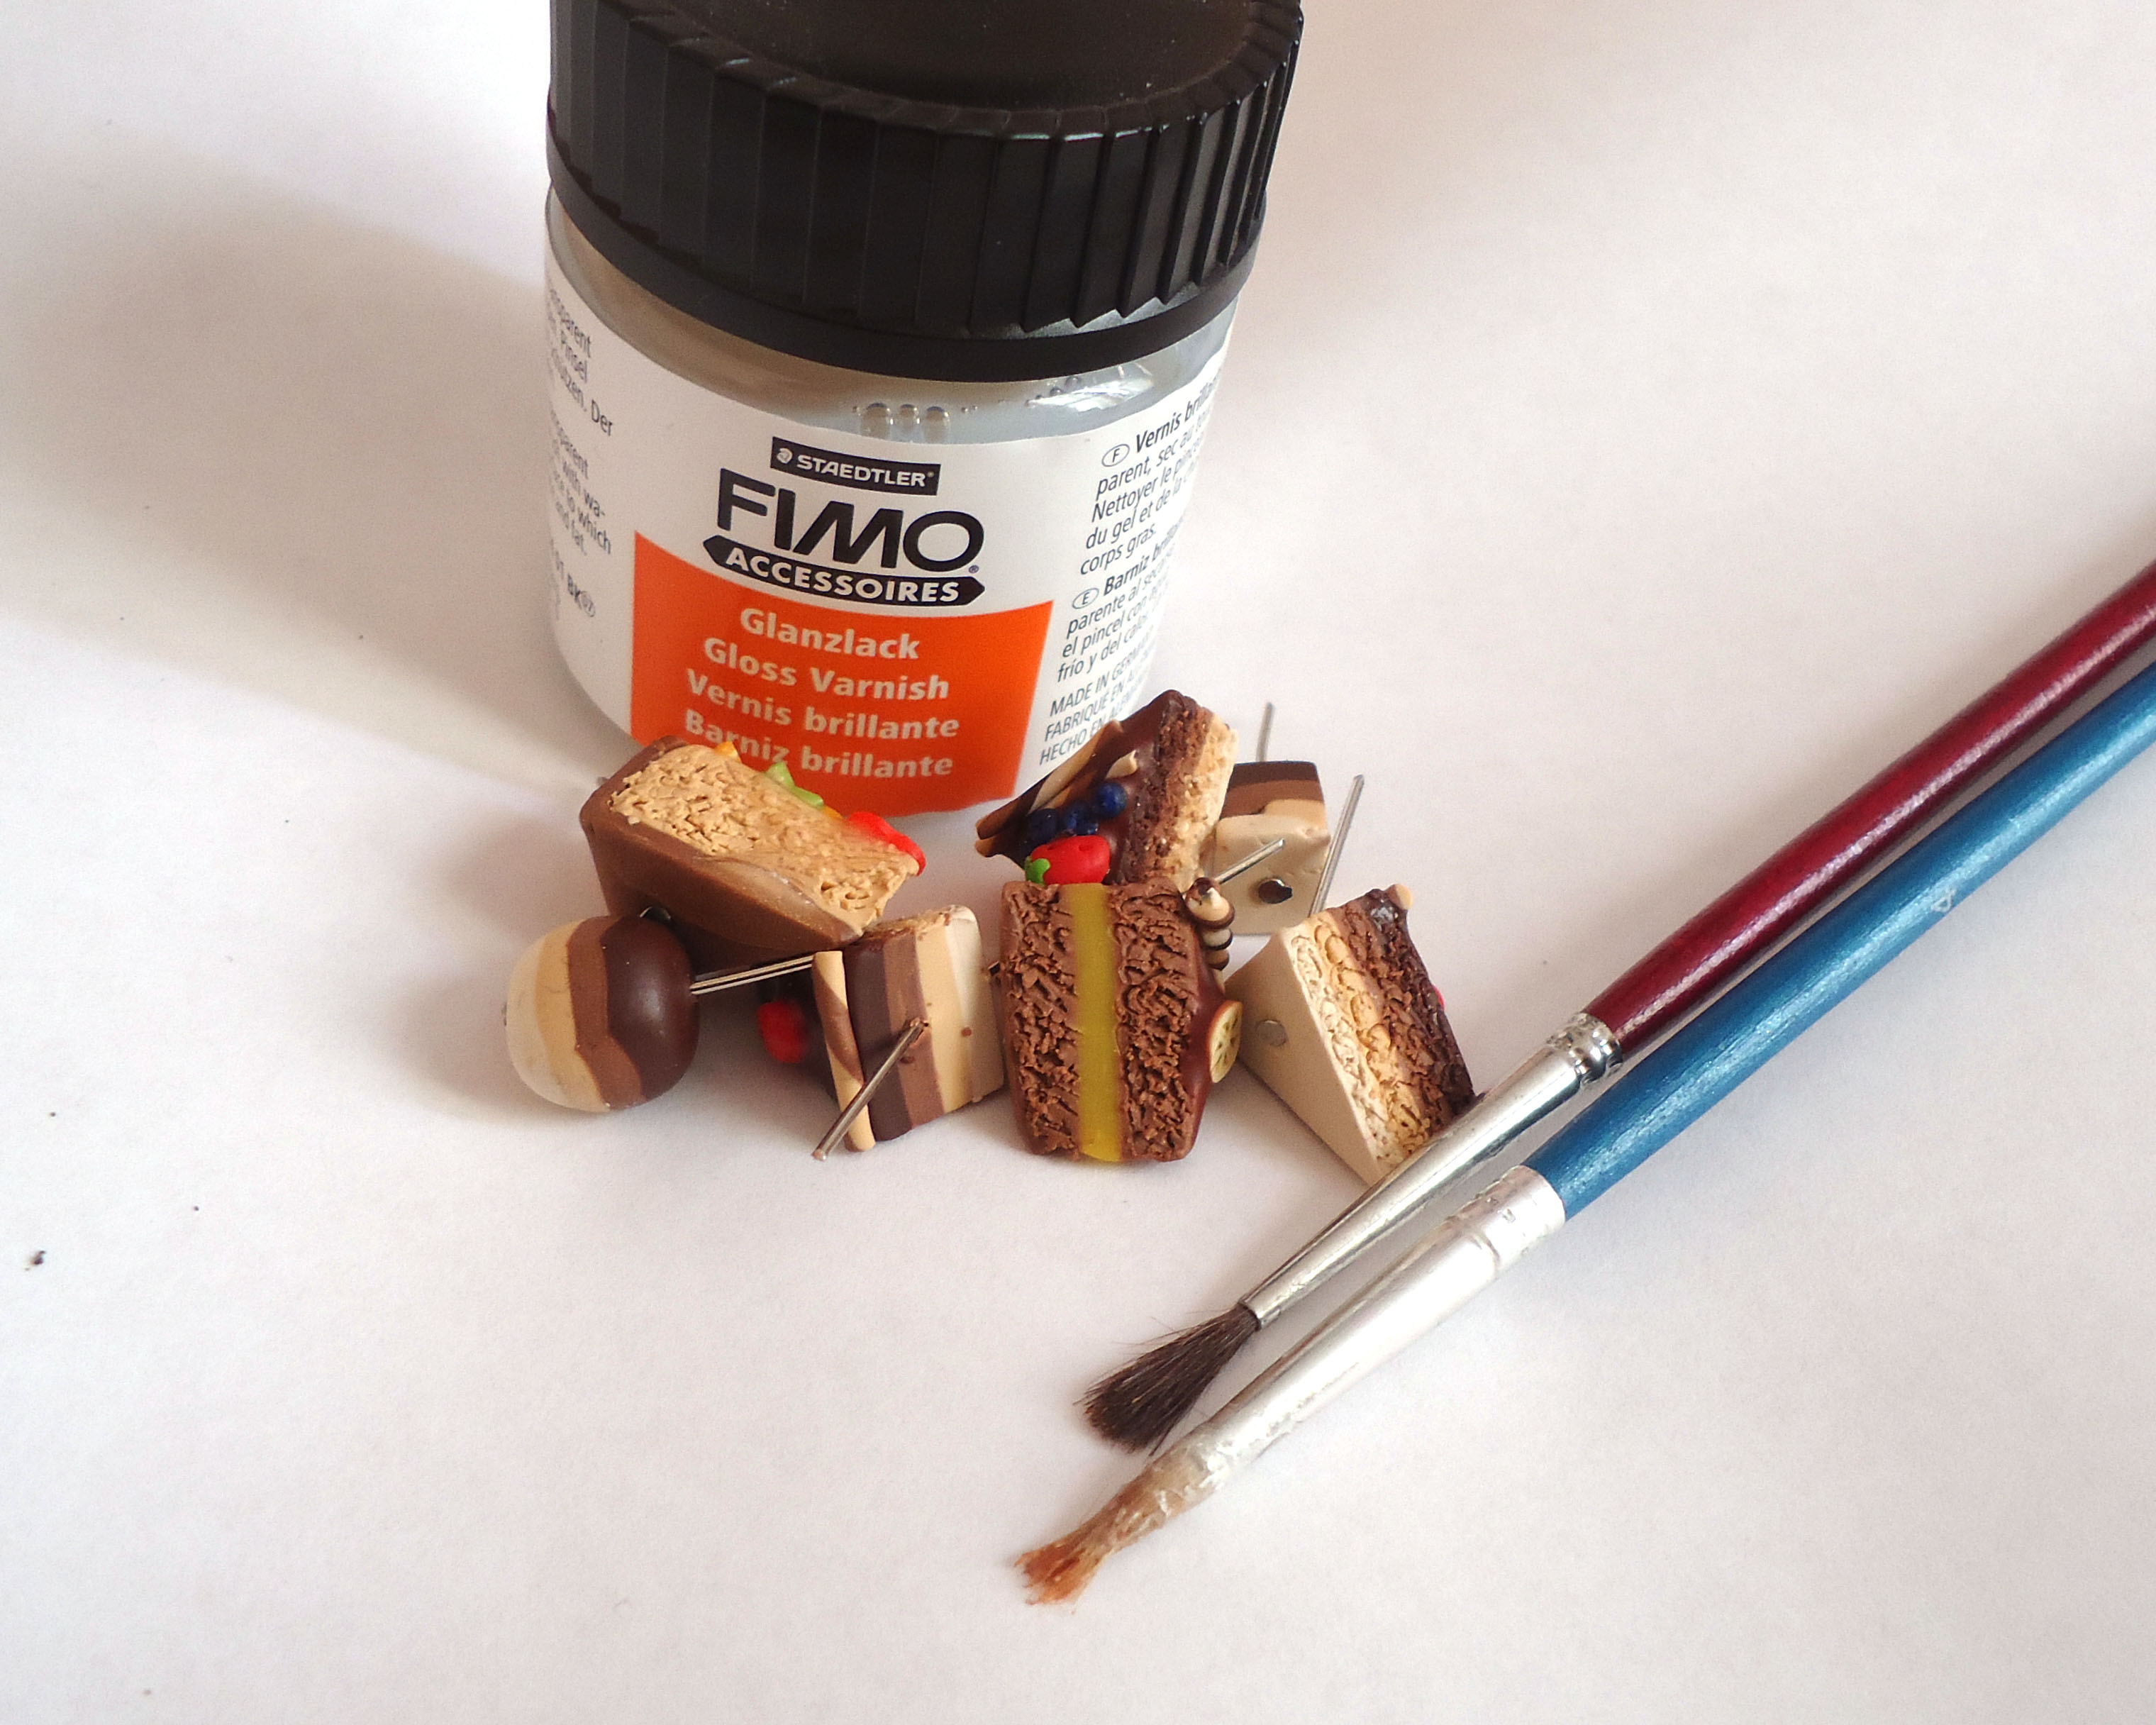
Last thing before you add gloss - twist your headpins if you made jewelry! And also add the findings like rings and pins.
Adding gloss
Remember to ONLY add gloss to the parts you want to be SHINY. This includes the icing, fruit and jell-o, NOT the base cake itself! It looks way more realistic like that.
Let them dry or about a half hour after you're done adding gloss.
Adding gloss
Remember to ONLY add gloss to the parts you want to be SHINY. This includes the icing, fruit and jell-o, NOT the base cake itself! It looks way more realistic like that.
Let them dry or about a half hour after you're done adding gloss.
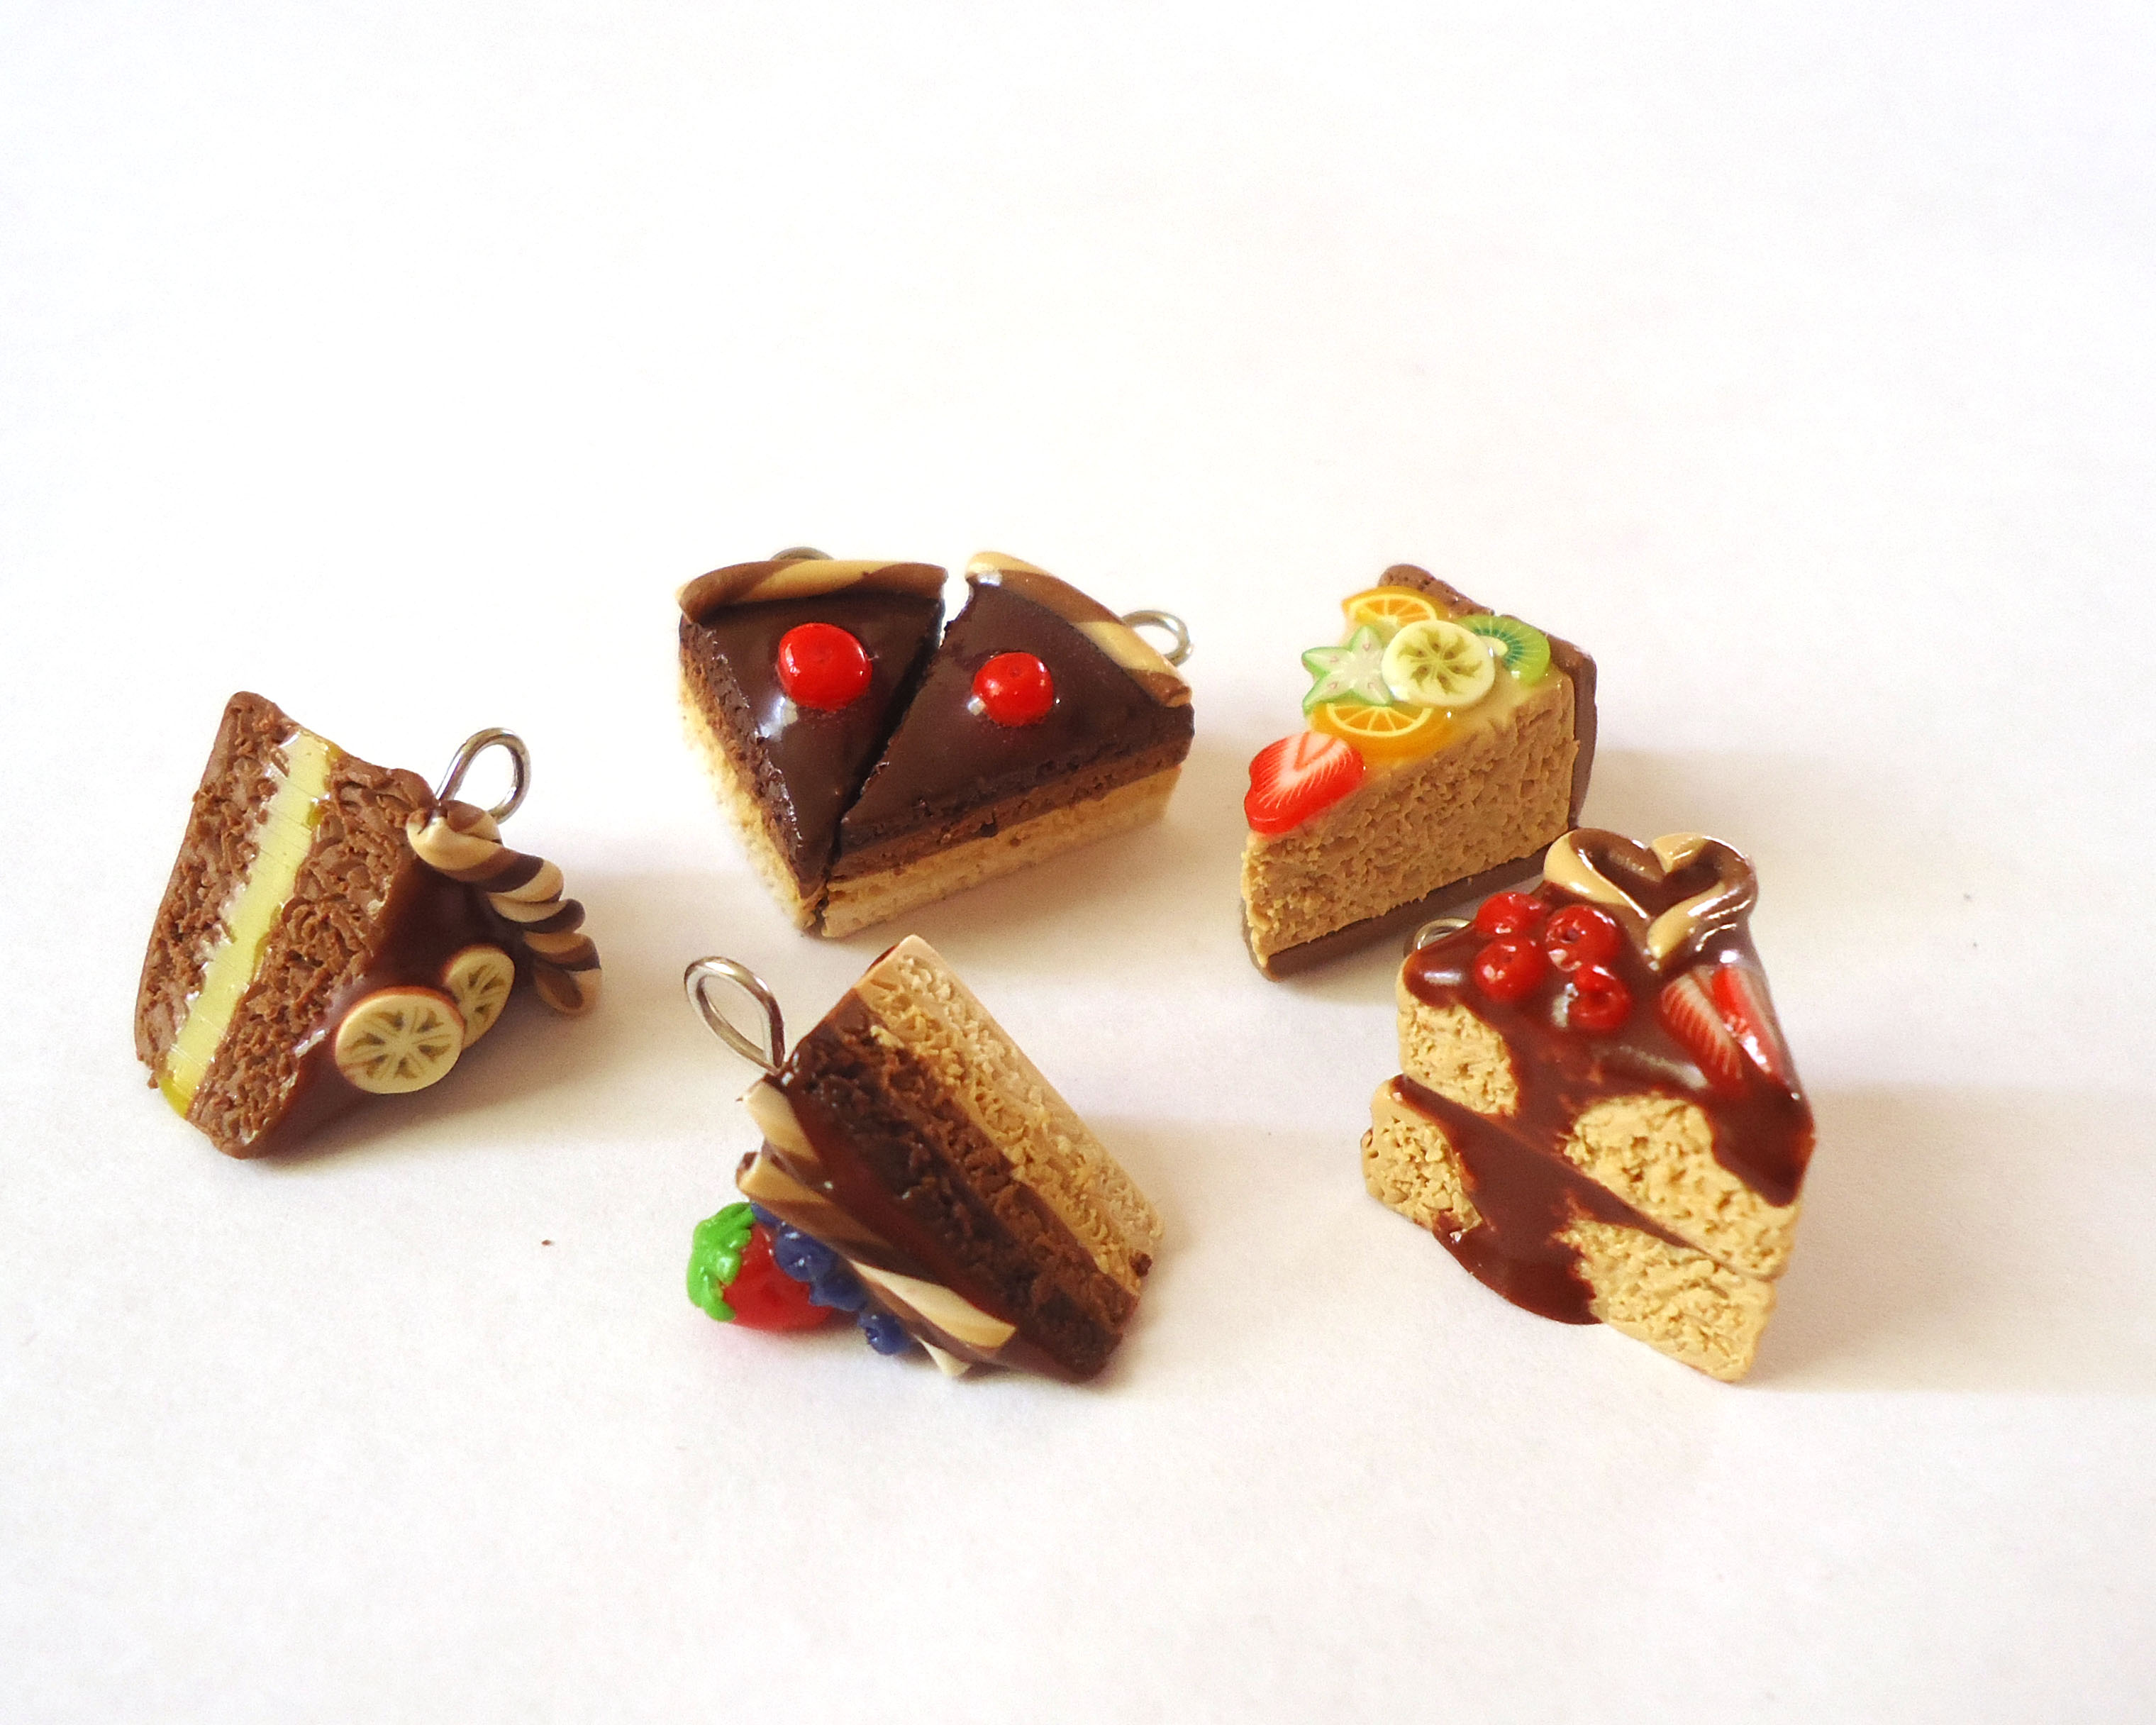
Now all you have to do is add the rest of your findings and...whoa. After 34 long steps...
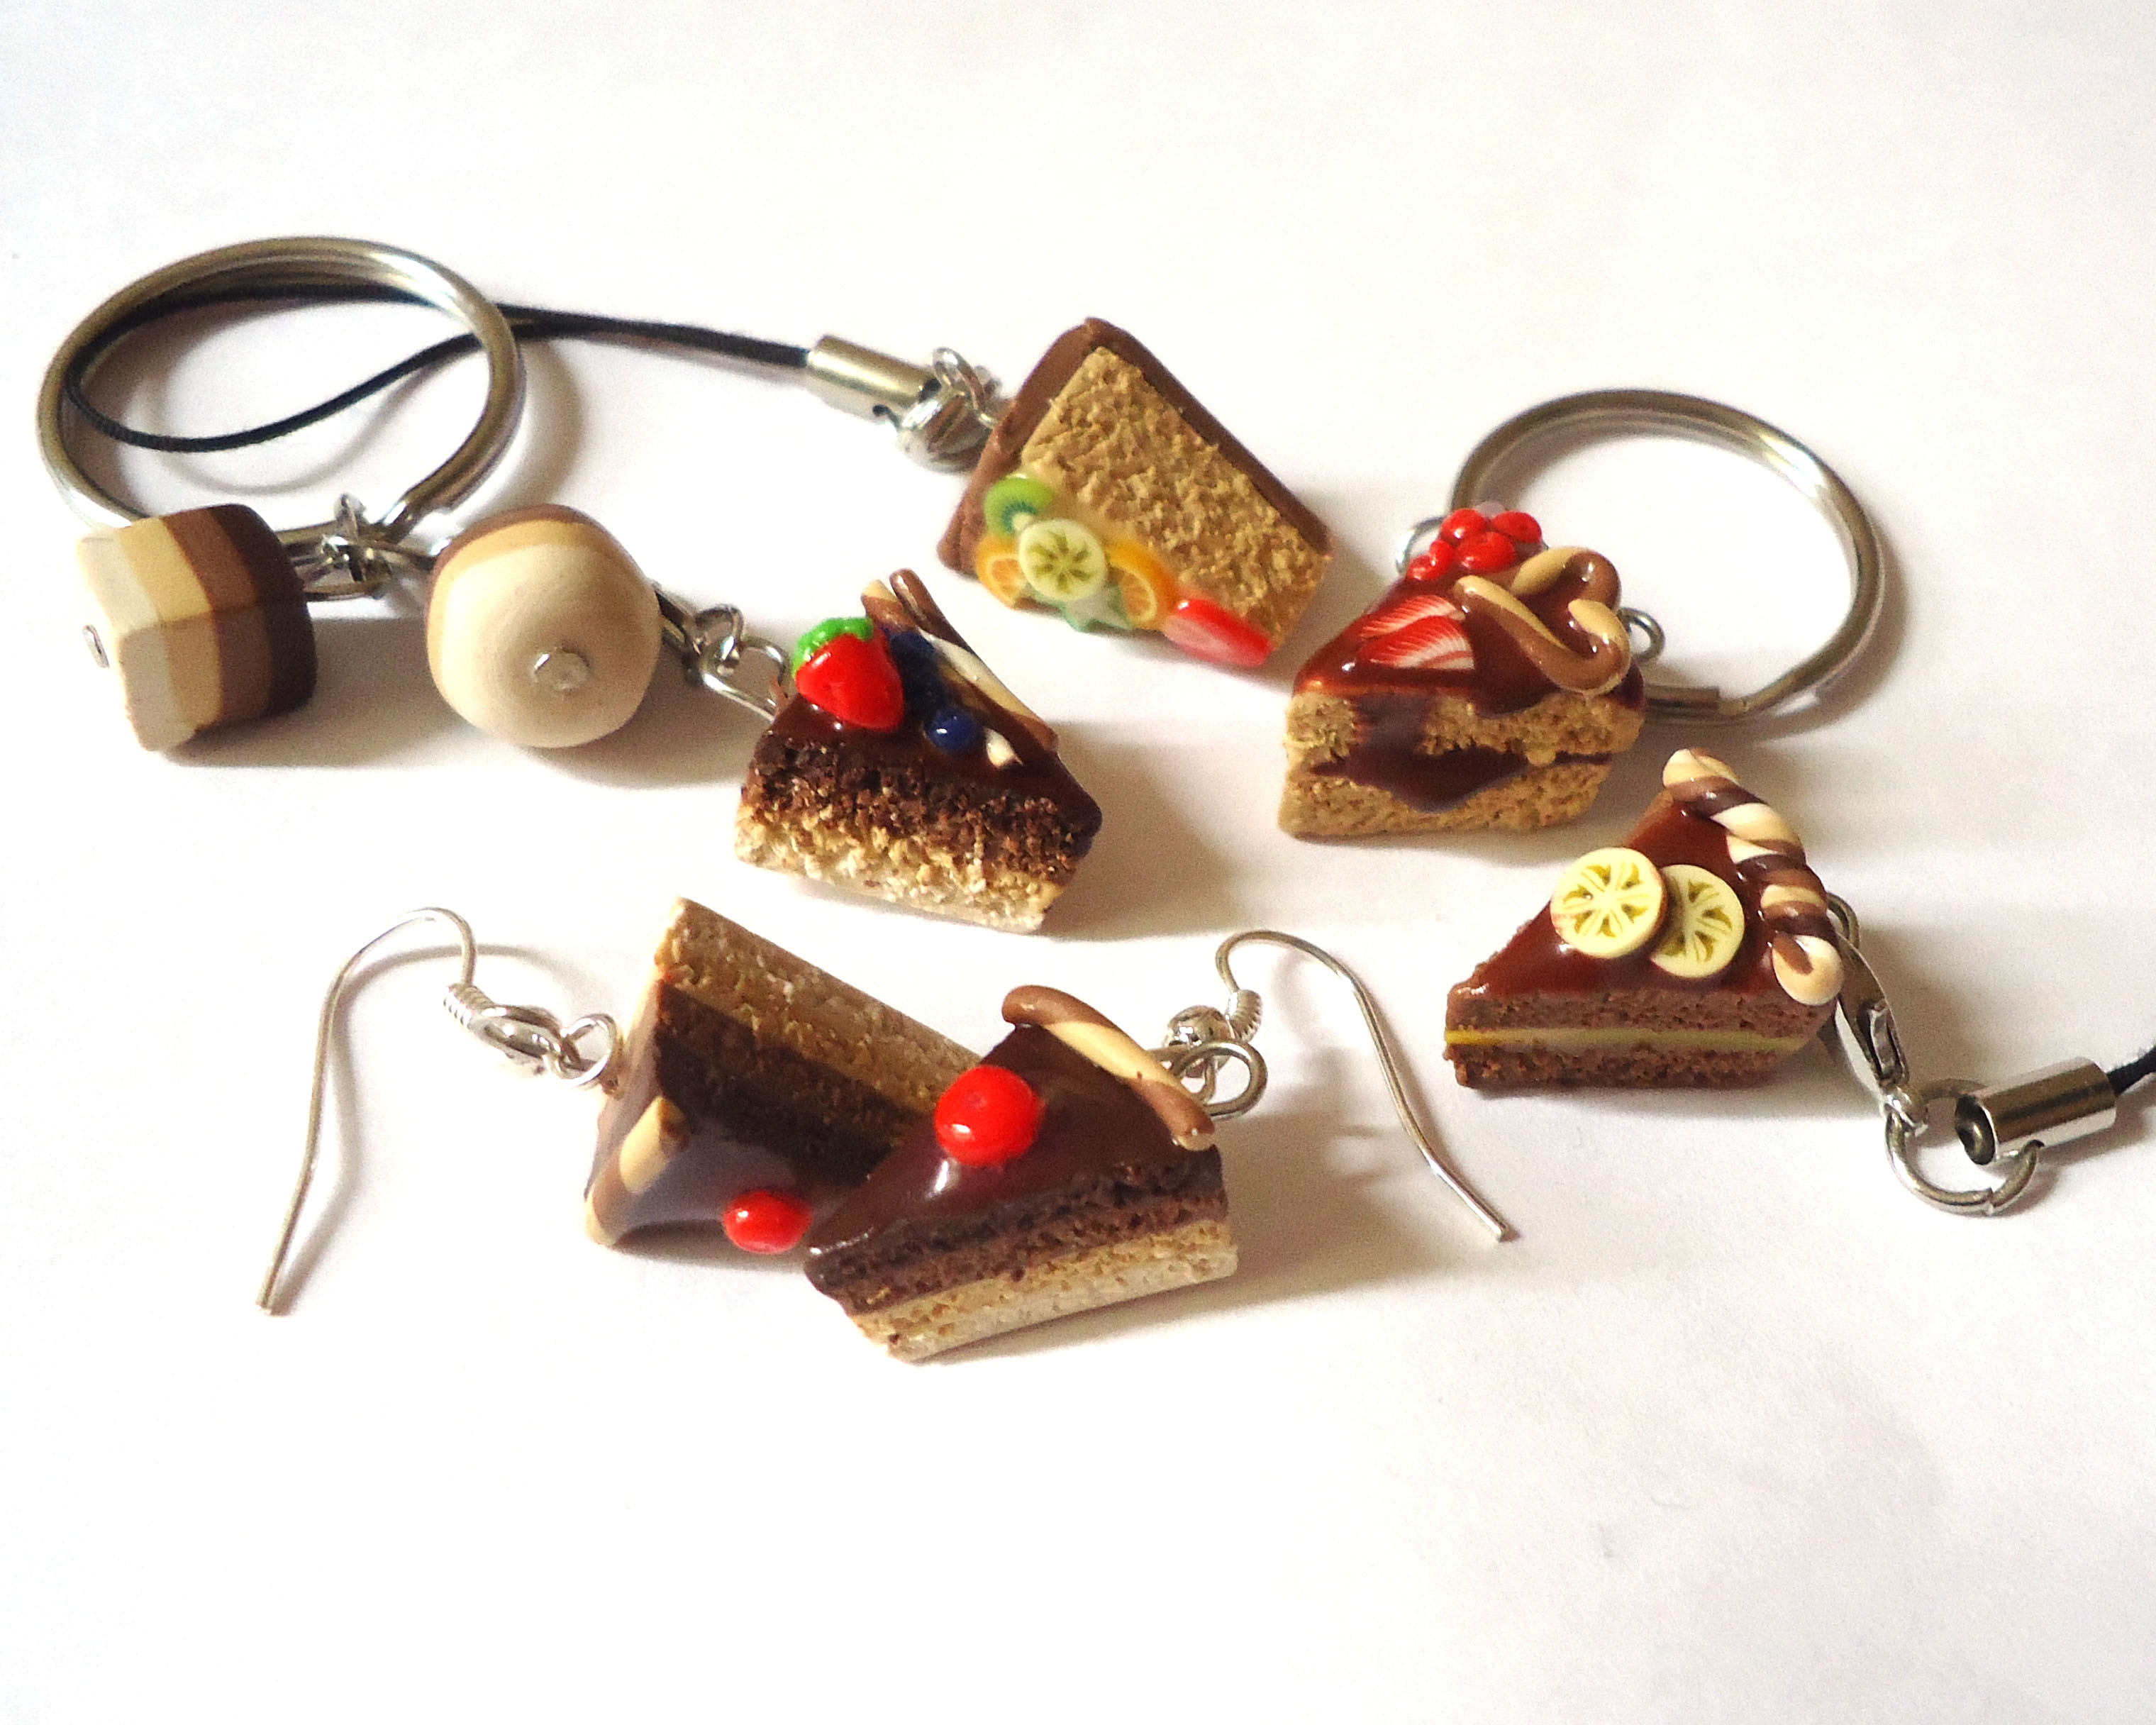
...YOU'RE DONE!!!
*throws confetti into the air*
Your first cake(s)! Congratulations!
I must say I am sorry for the jumpy photo quality. I started the tutorial in the day, worked until the evening and then finished in the morning... Other than that, some example photos are from years ago, while some were taken with a very expensive DSLR that I do not own. I hope that doesn't harm the tutorial too much!
Anyway, thank you for visiting and I hope to see you again and teach you something new! I hope this tutorial was helpful!
(Also, if you liked this tutorial, please vote for me in the Play With Clay contest! That would mean a lot to me!)