Polygonia Cube
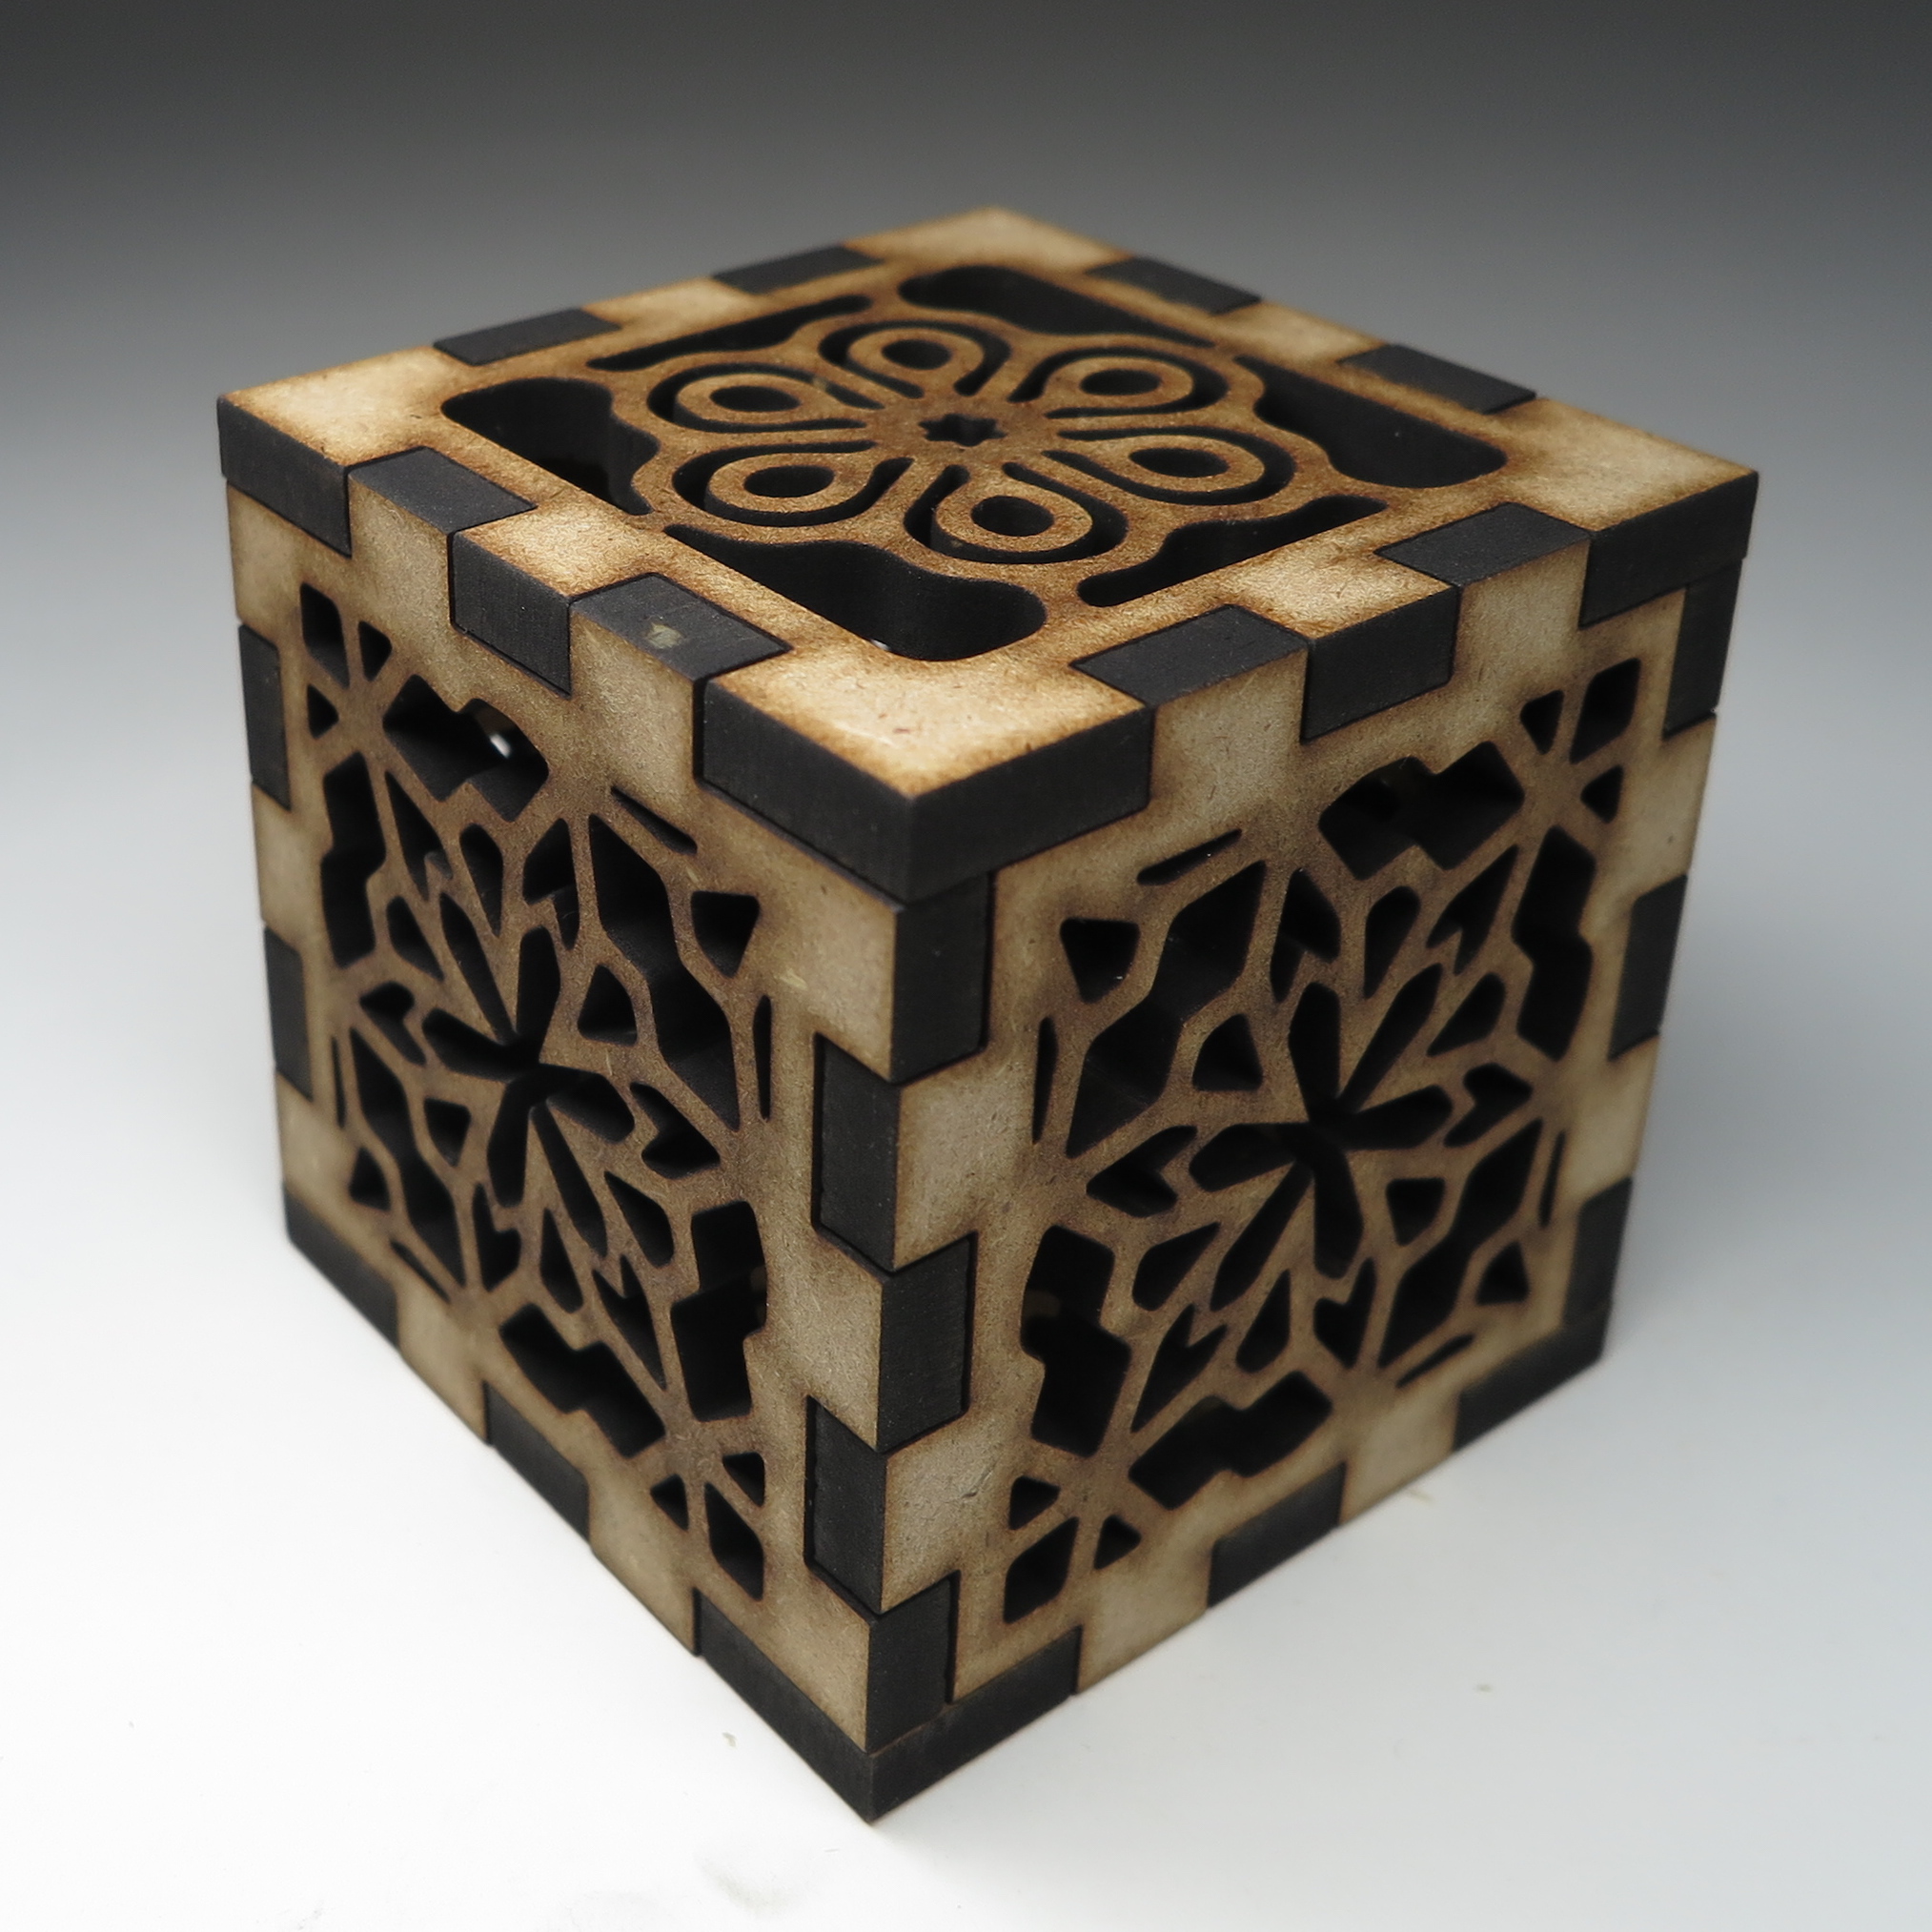
I wrote a web program, called Polygonia Design Suite, to make it easy to create symmetrical designs. These designs can be used for laser cutters, CNC machines, 3D printers, printed on paper, used to make fabric, used for "manufacture on demand", even to make tattoos -- although I have not tried the last one yet! You can see what I have made so far on my Instagram.
This project is about how to make cube with a design you have created in Polygonia. I used a laser-cutter at my local makerspace, Nova Labs. You can use a service, like Ponoko, or a paper cutter, like the Cameo or Cricut, or even just print the design on paper and fold it up.
Full disclosure: Polygonia Design Suite is my start-up. All accounts are free. You can create as many designs as you like. (It is my go-to place for doodling!) You can download three free designs a month. If you want to download more there is a small monthly fee.
But wait, there's more: I am in the process of figuring out how to add "promotion codes". Once I do, you will be able to enter "INSTRUCTABLES-EPILOG" and get two months of complementary "Hobbyist" subscription, so you can download more designs for free.
Okay, so let's get started...
It Starts With a Cube...
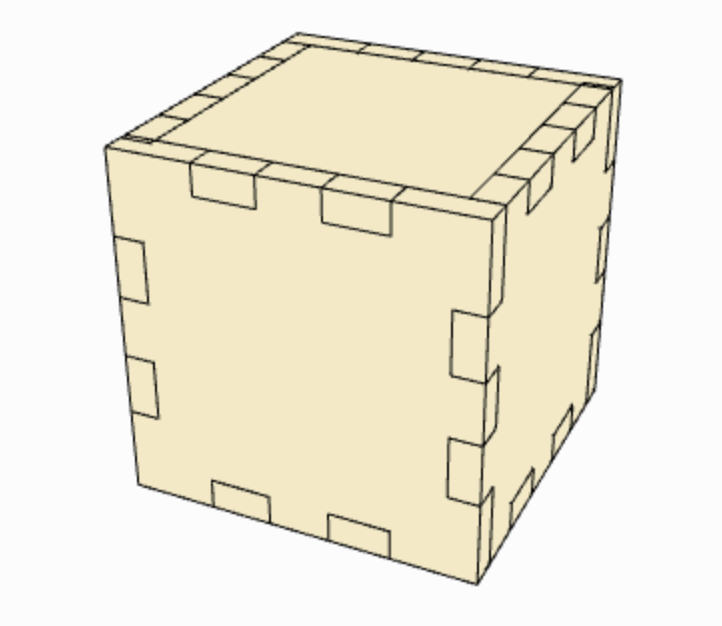
I decided that I wanted a cube that was 3" on each side. Actually, I found piece of MDF in the scrap pile at Nova Labs that was 6" wide, and that's why I made the cube 3".
Right now Polygonia only works in millimeters and pixels, so I tend to work in millimeters for things like this. (I am adding inches soon. It's on my to do list.) 3" is very close to 75mm.
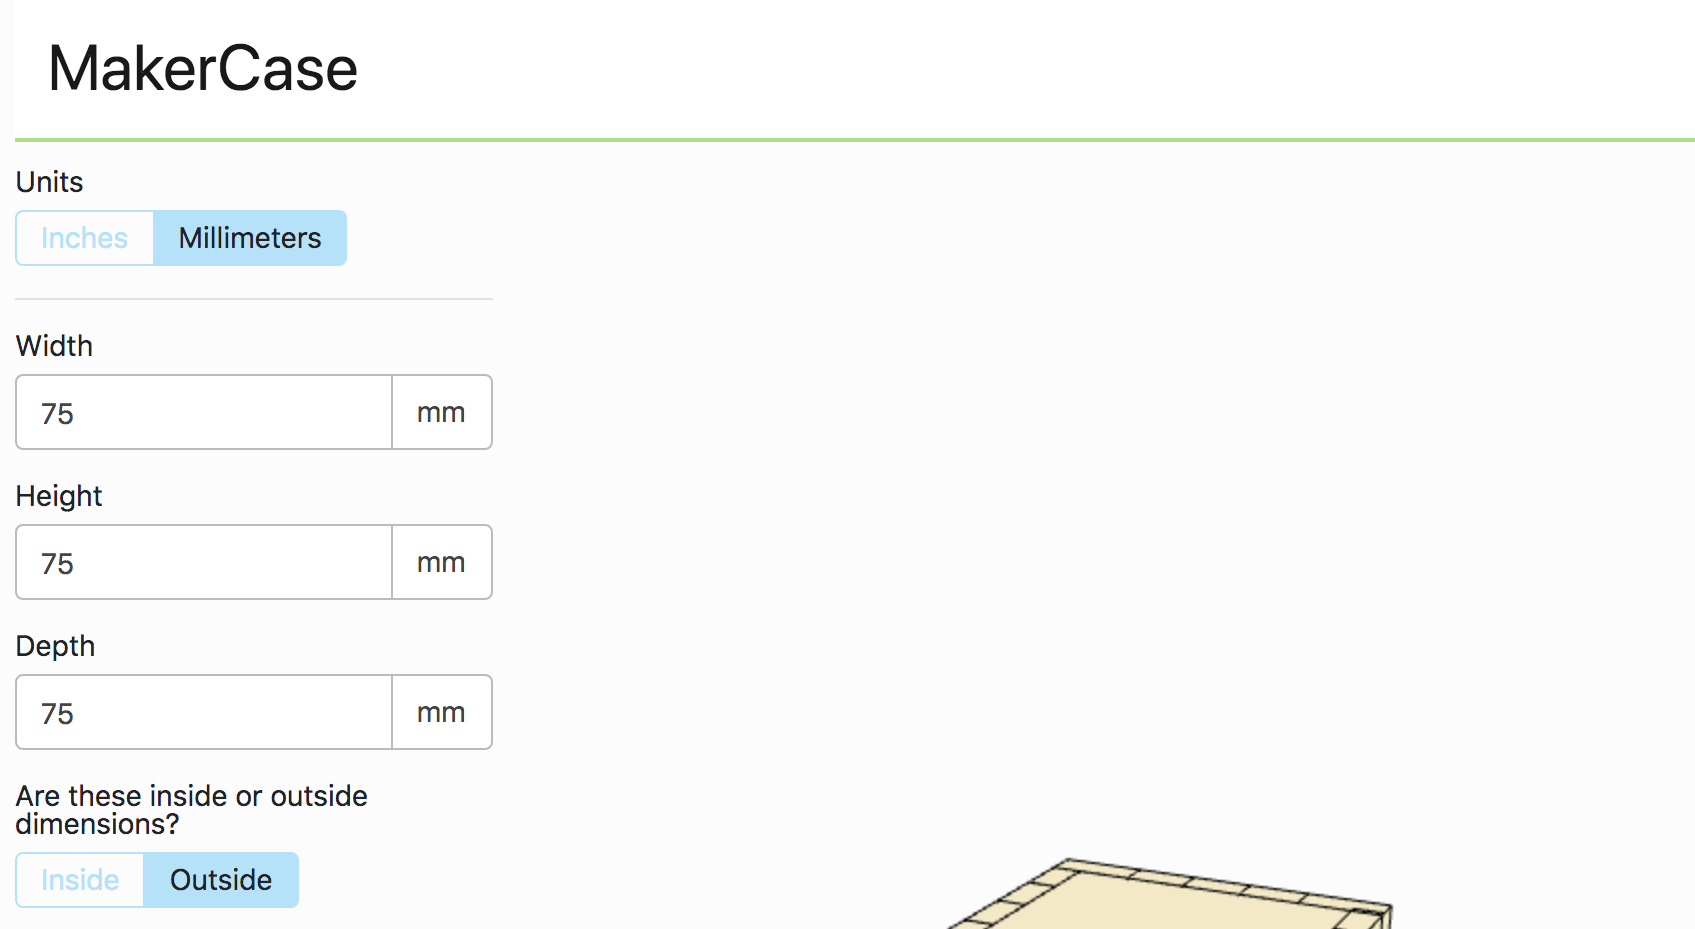
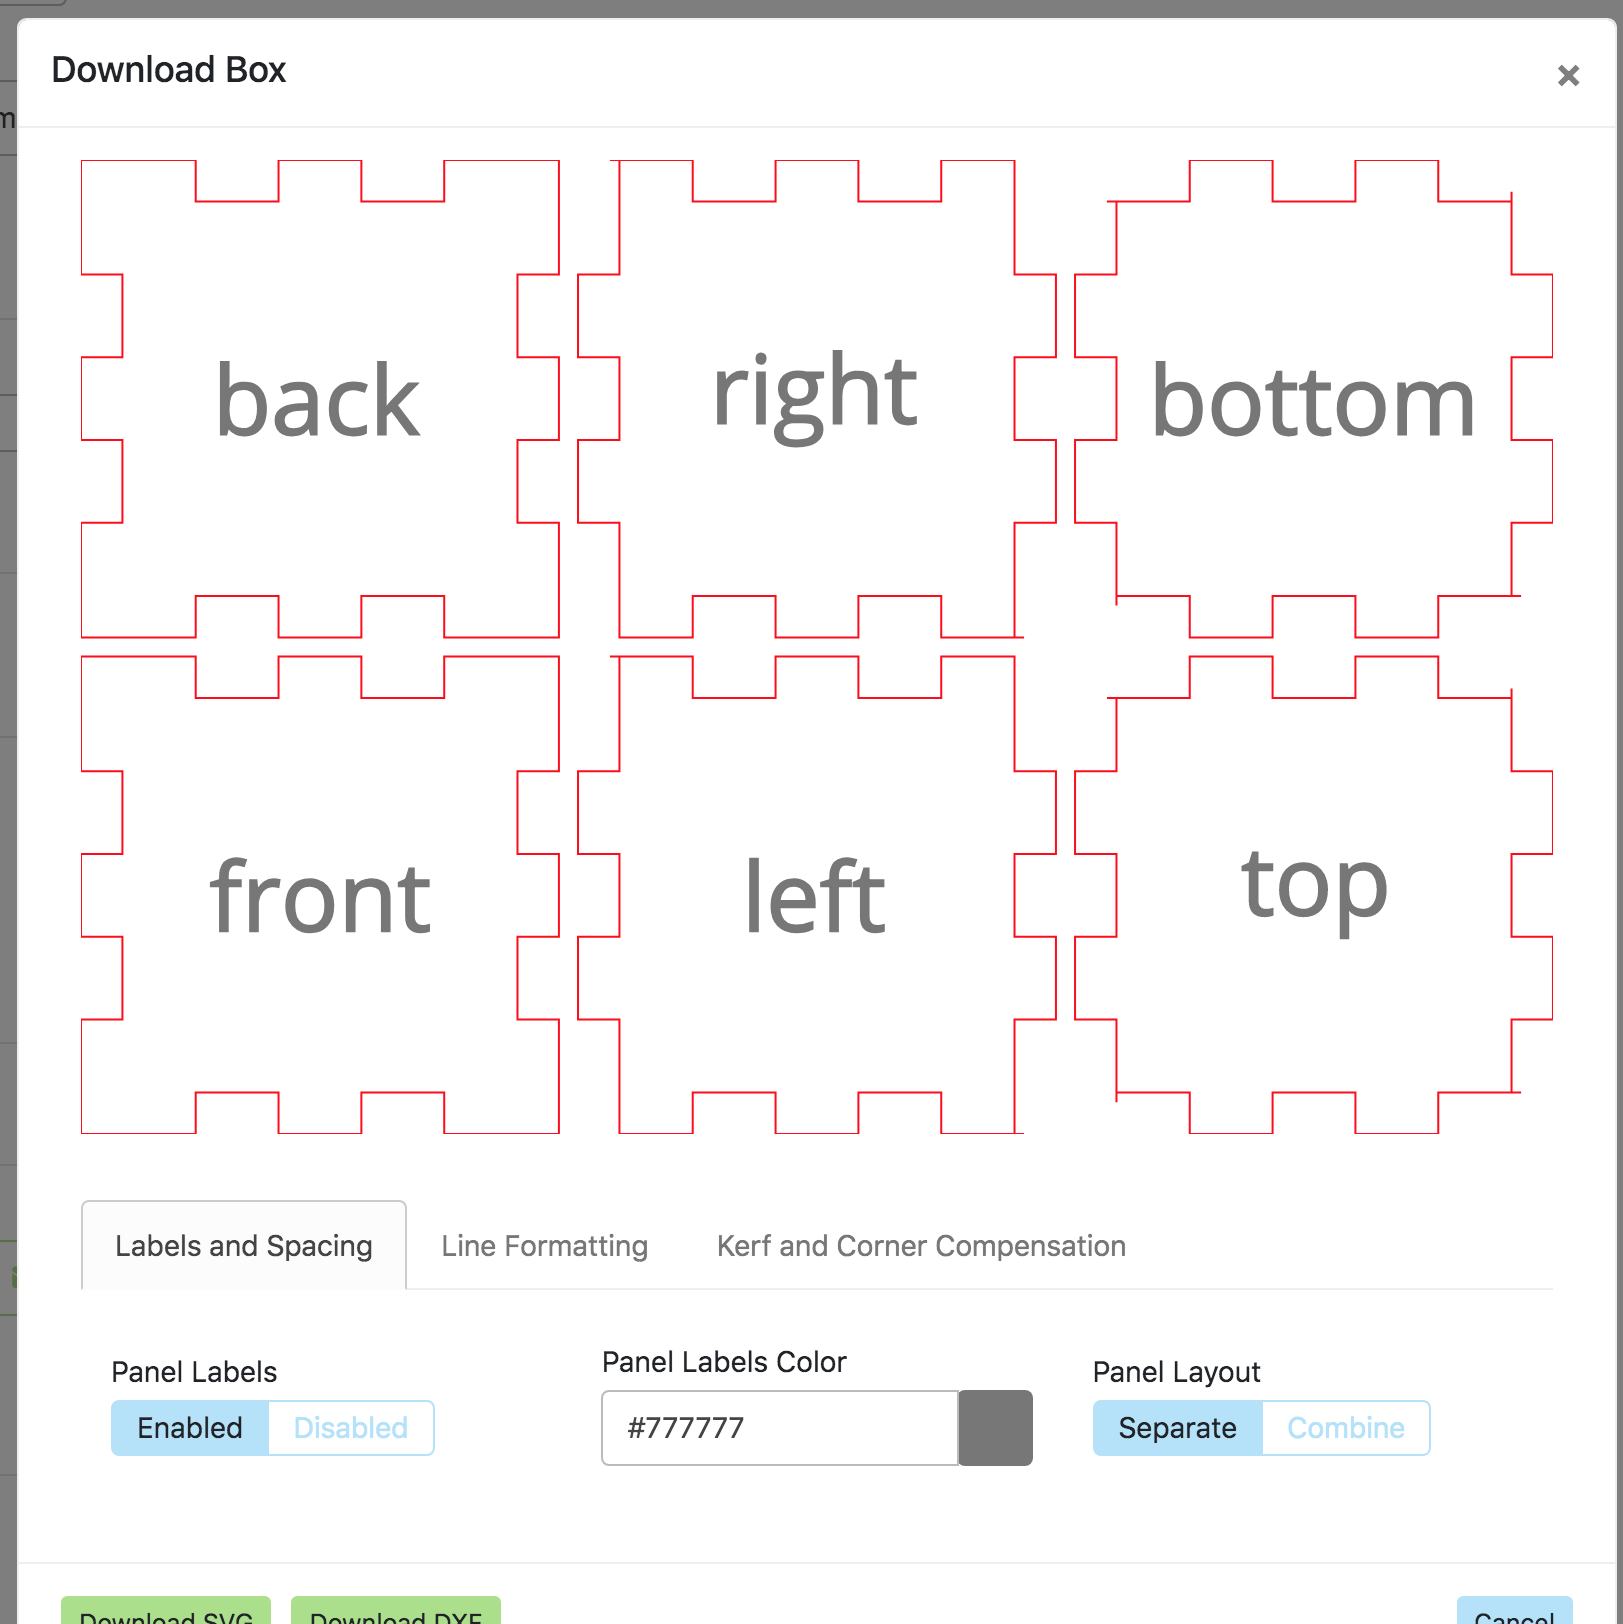
A quick google search led me to MakerCase. This site lets you easily design a cube for laser cutting. I changed the units to millimeters and entered 75 for the Width, Height, and Depth fields. I also clicked "Outside Dimensions".
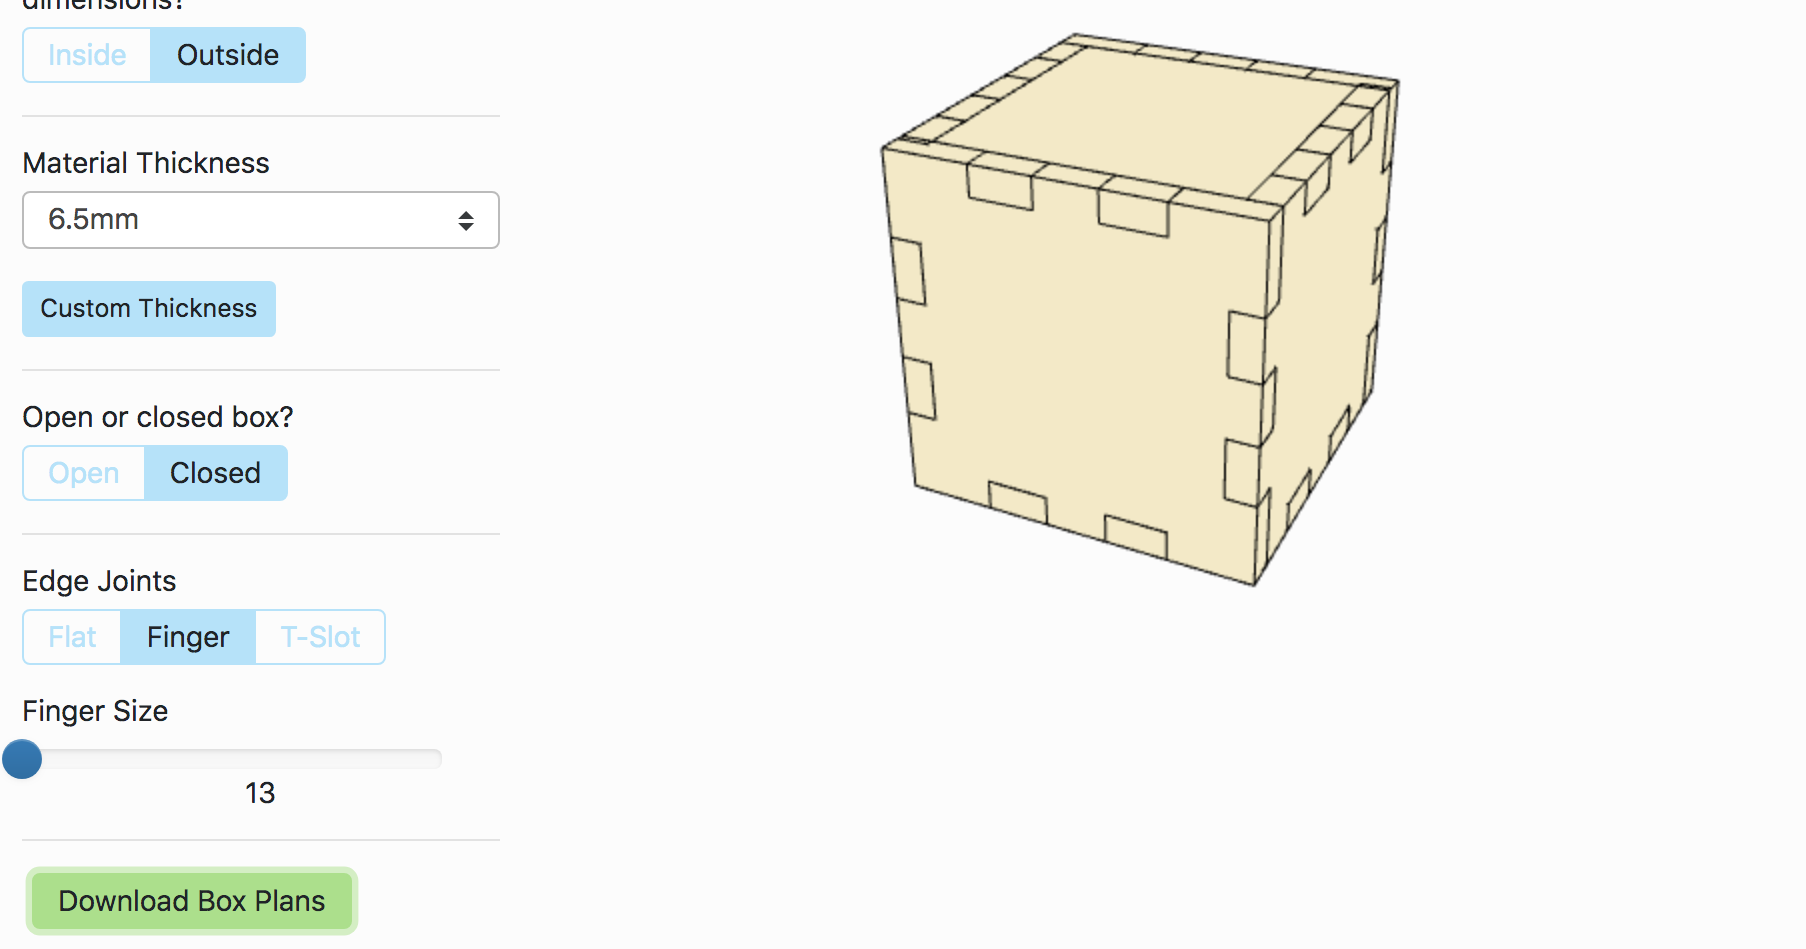
The MDF I found was 1/4" thick, or about 6.5mm. I entered that for the "Material Thickness", by clicking "Custom Thickness". I also wanted a top, so I selected "Closed box". And I wanted the finger or tab connections, so for "Edge Joints" I clicked "Finger".
I was ready to download the file as an SVG. I clicked the "Download Box Plans" and then clicked "Download SVG".
This gave me an SVG file that I could open in Inkscape (a free vector editor software -- it's my favorite). Here is a link to the file I downloaded: MakerCase 75mm box.
Explore Polygonia
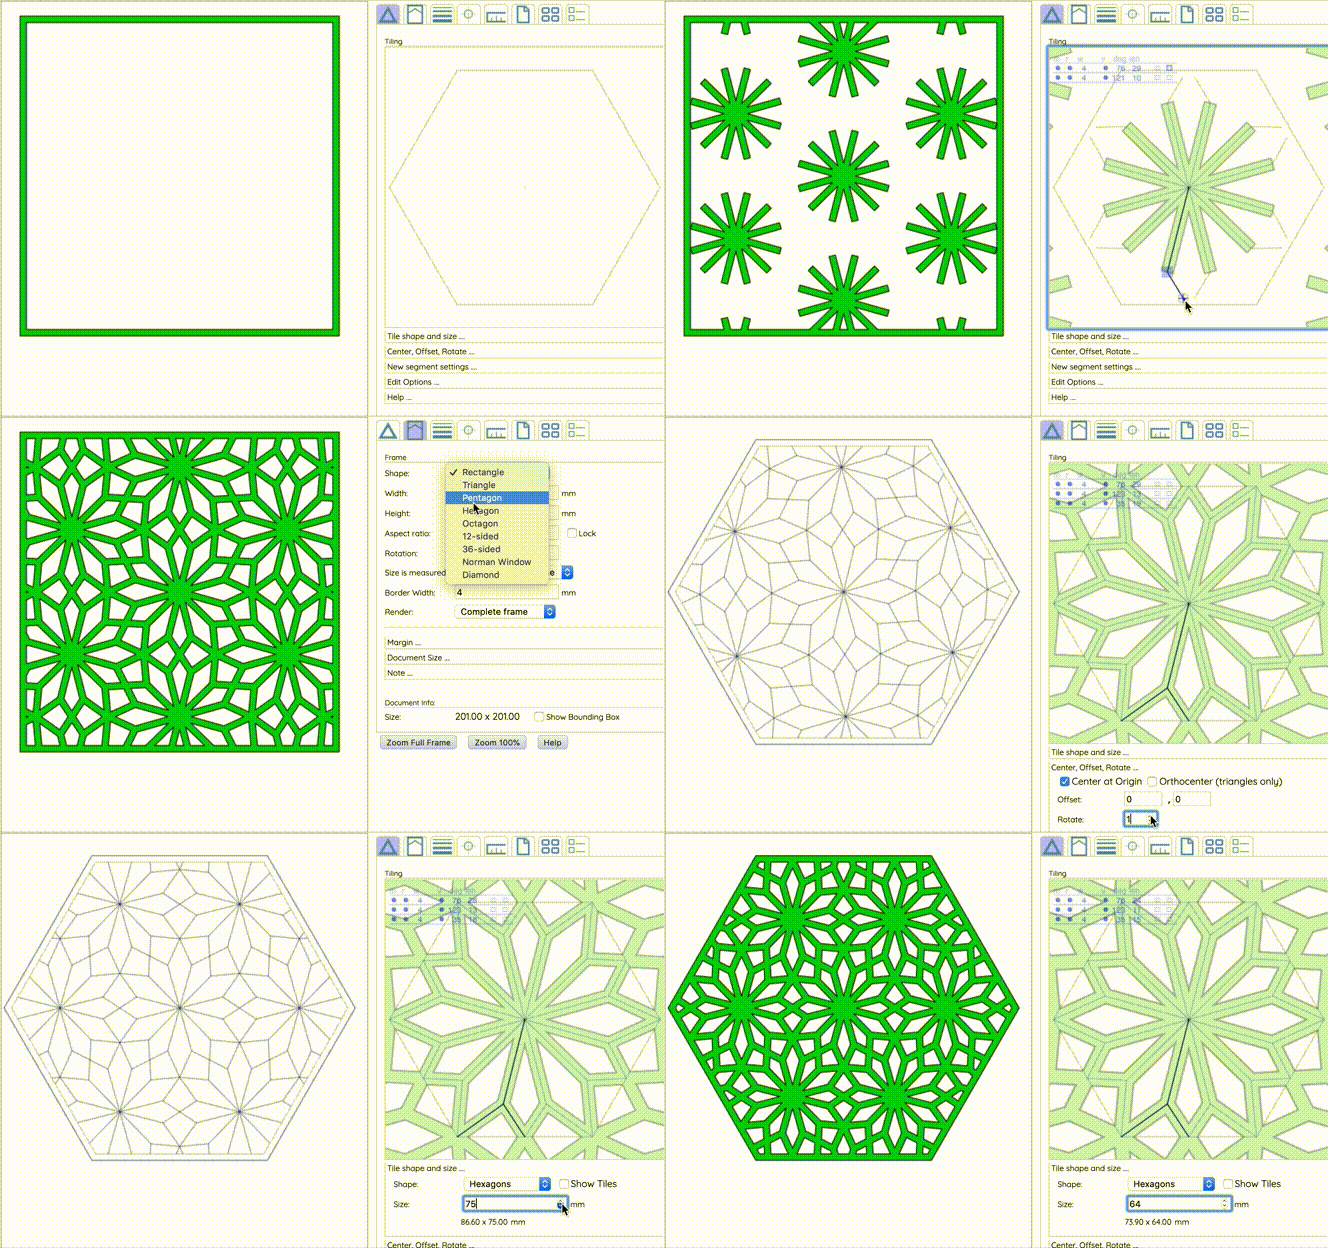


It is easy to create symmetrical patterns in Polygonia. You draw a line and Polygonia will copy it for you and connect it to other lines. You can use your Google account to login or create an account.
I'll go over what to do in Polygonia in the next few steps.
Set the Frame Size in Polygonia
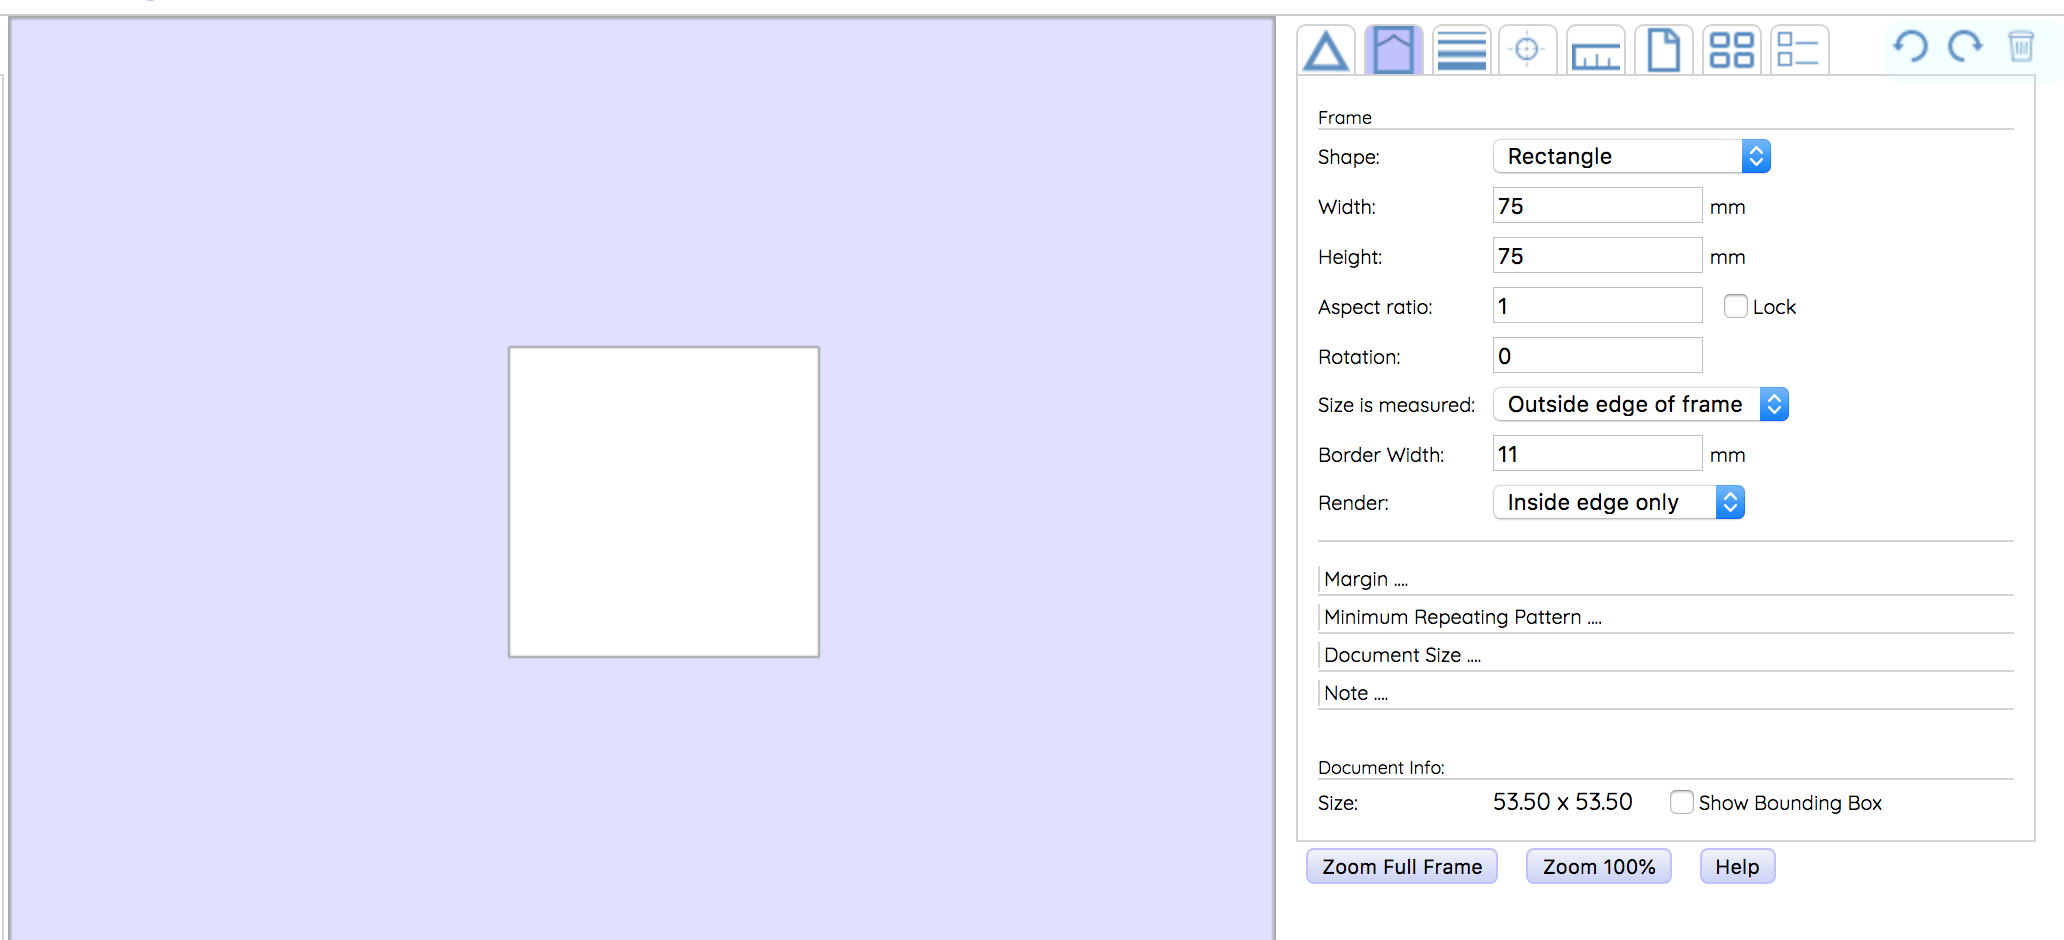
Click on the Frame tab, the second from the left, to access the frame settings.
Since my cube is 3", or 75mm, I want a design that is a rectangle that is 75mm wide and 75mm high.
- In the "Shape" popup, pick "Rectangle"
- Enter 75 in "Width"
- Enter "75" in "Height"
- Enter "11" or "12" in "Border Width"
- For "Render" select "Inside Edge Only"
When you are done you should have a white square in a blue field.
The "Border Width" has to be large enough to account for both the tabs created by "MakerCase" and still leave some space so the side will not fall apart when you cut it with the laser.
You want "Inside Edge Only" because we get the outside edge from the MakerCase SVG file.
Create a Design
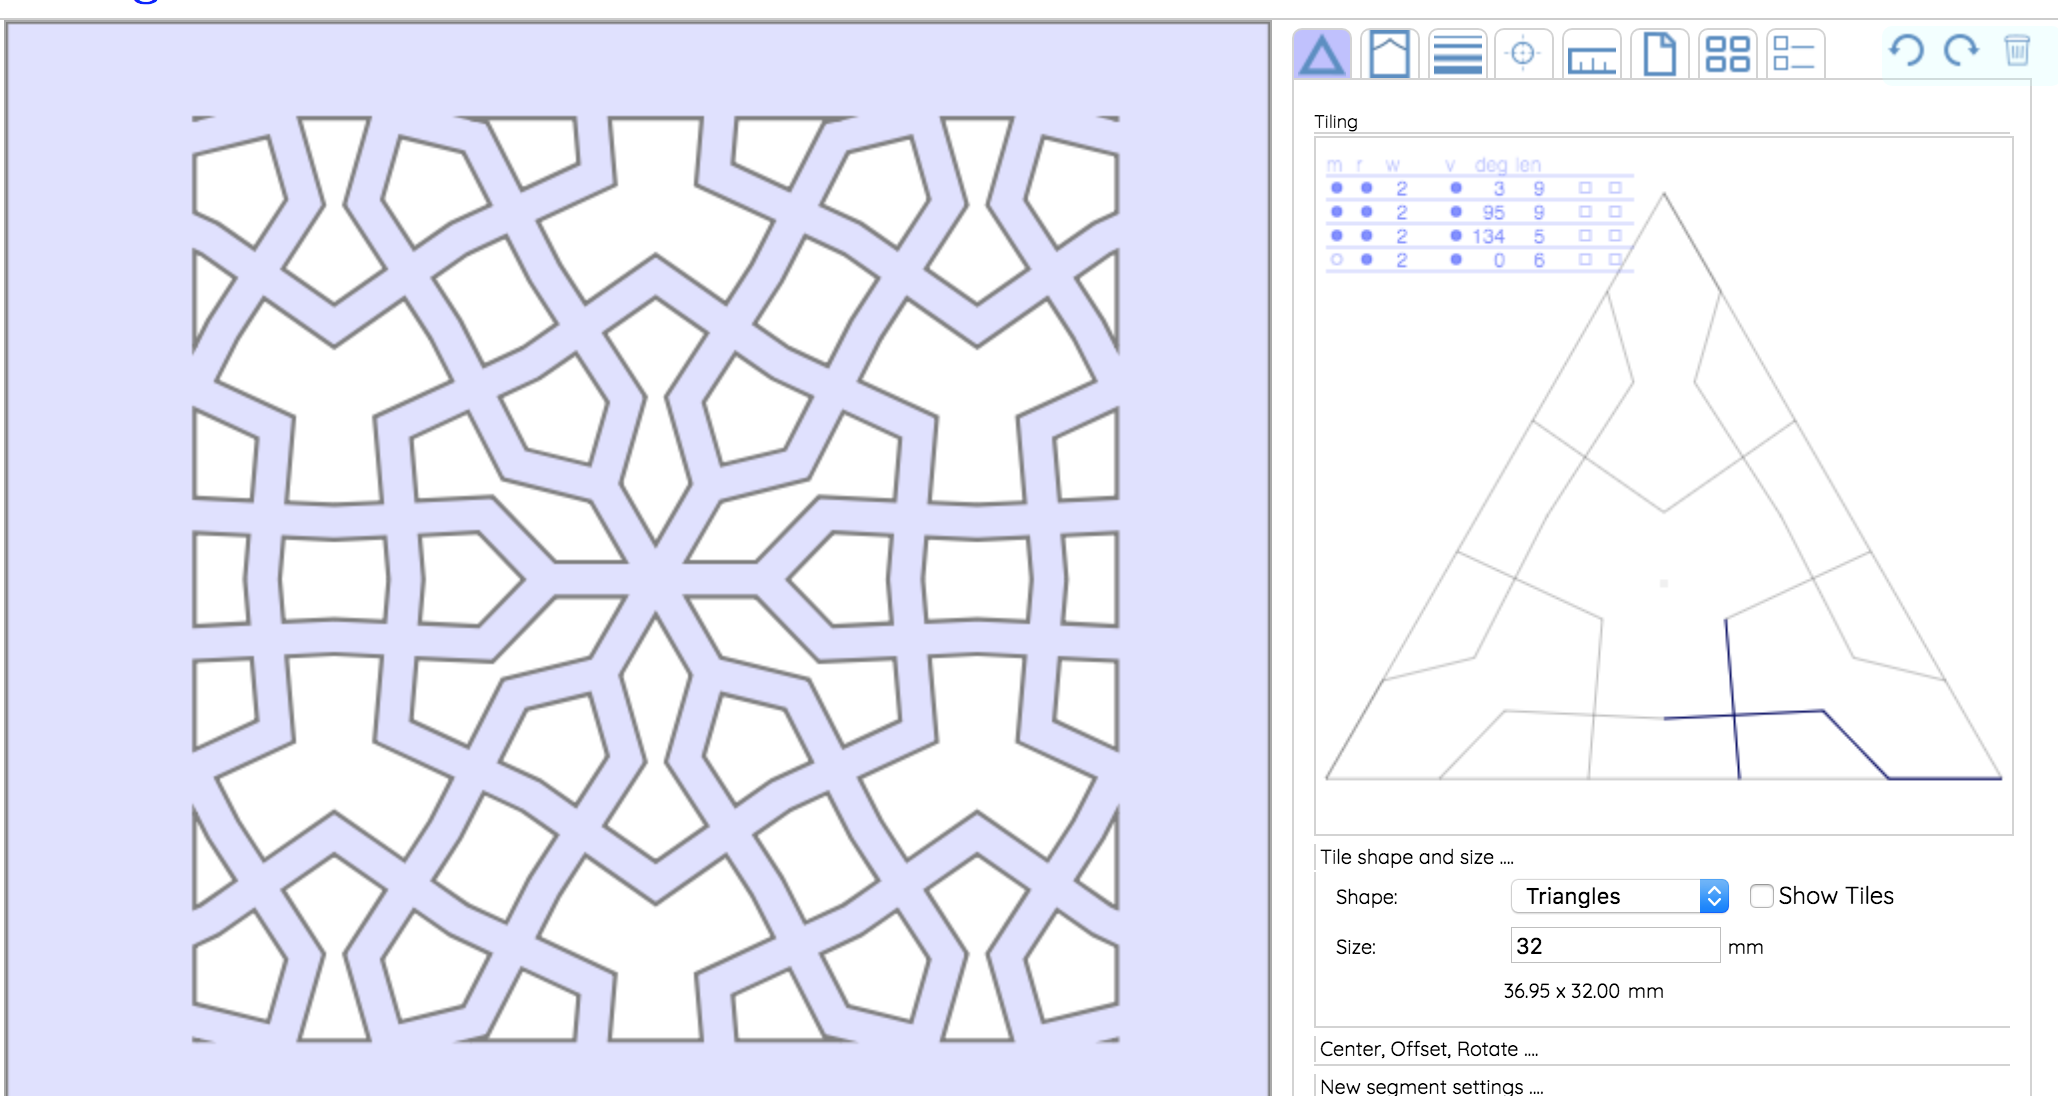
Click on the "Tile" tab, to the left of the "Frame" tab.
Draw a few lines.
You might want to reduce the tile size to fit more of the tile onto the frame, since the default tile size is 55mm, or about 2".
Remove the Fill Color
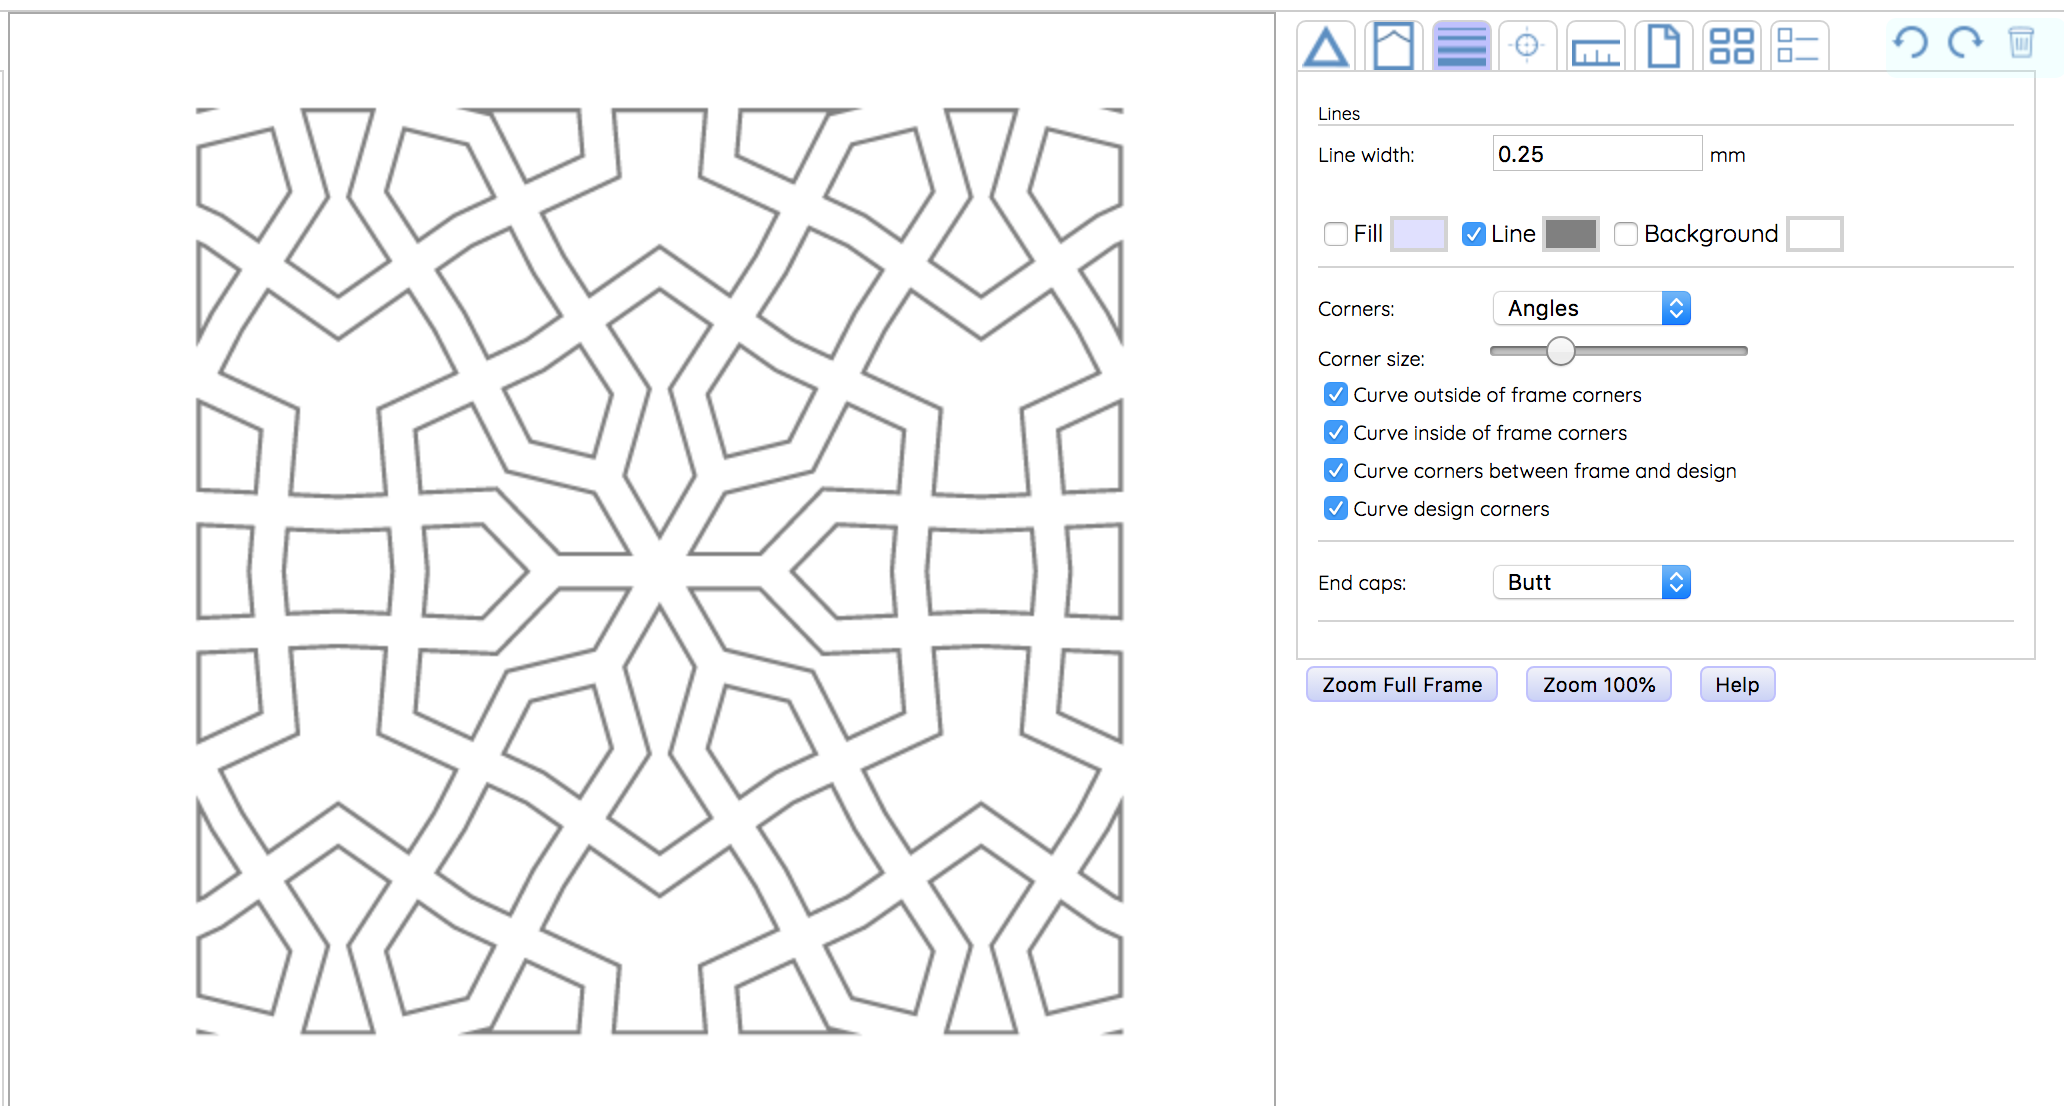
For the laser cutter, we don't need a fill color, so we can remove it in the "Lines" tab.
- Click on the "Lines" tab, which is the third from the left.
- Unclick the "Fill" checkbox. Your design should now be only gray lines.
This is also the tab where you can add curves to your design.
Wait a second... You might notice that a few steps ago that the sketches I posted had a frame and had a fill color. That was because I made the mistake of not following my own advice. So I had to do more work in Inkscape.
Save Your Design File
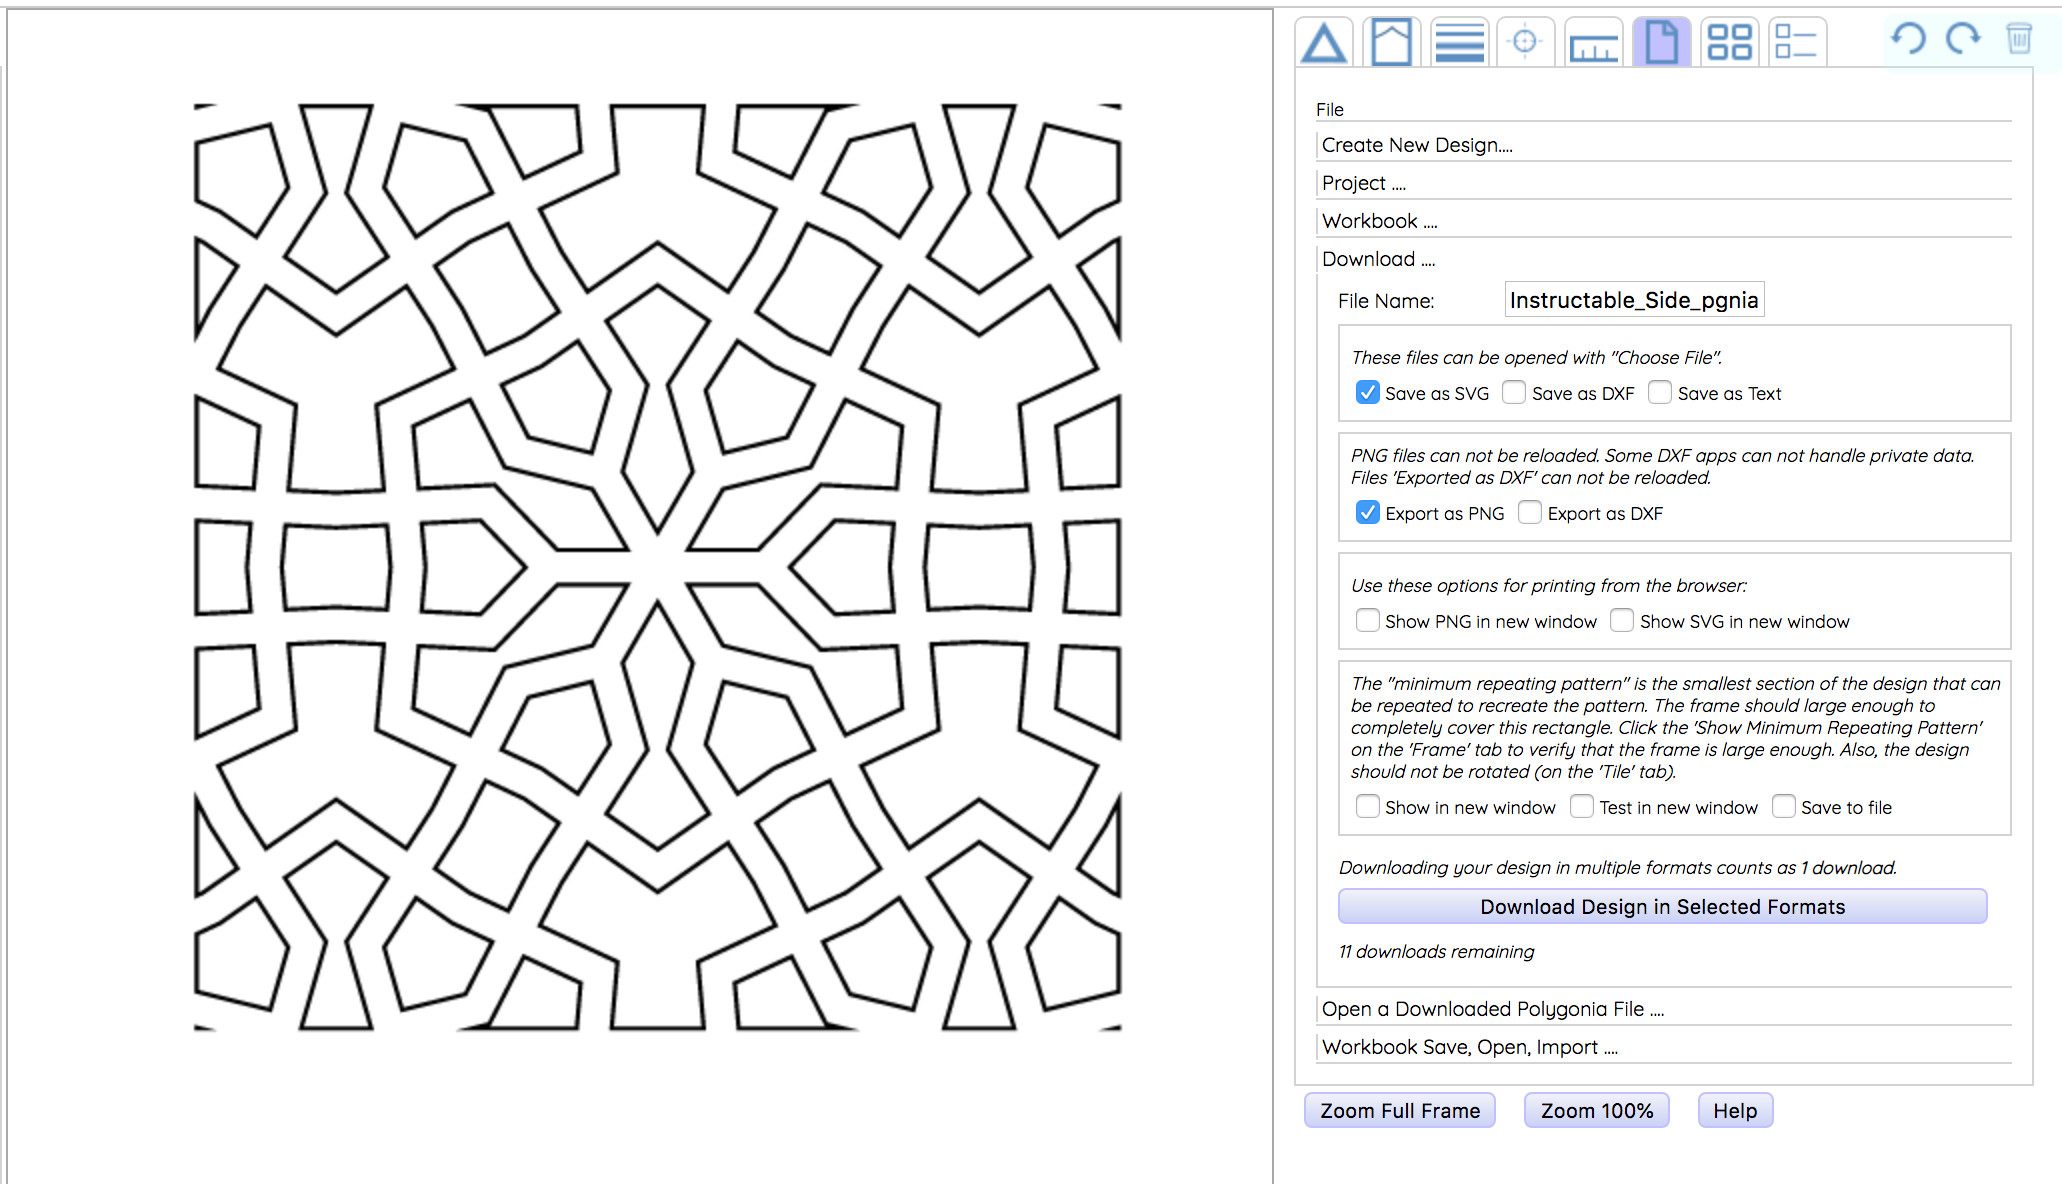
Your design files are automatically saved in the cloud.
To download a local copy...
- Click on the "Files" tab.
- Click on the "Download..." label
- Enter a file name
- Click the "Save as SVG" checkbox.
- I also usually click the "Save as PNG" checkbox, just so I have a reference picture.
- Click the "Download Design in Selected Formats"
You get one (or two) files downloaded.
Prepare the MakerCase File
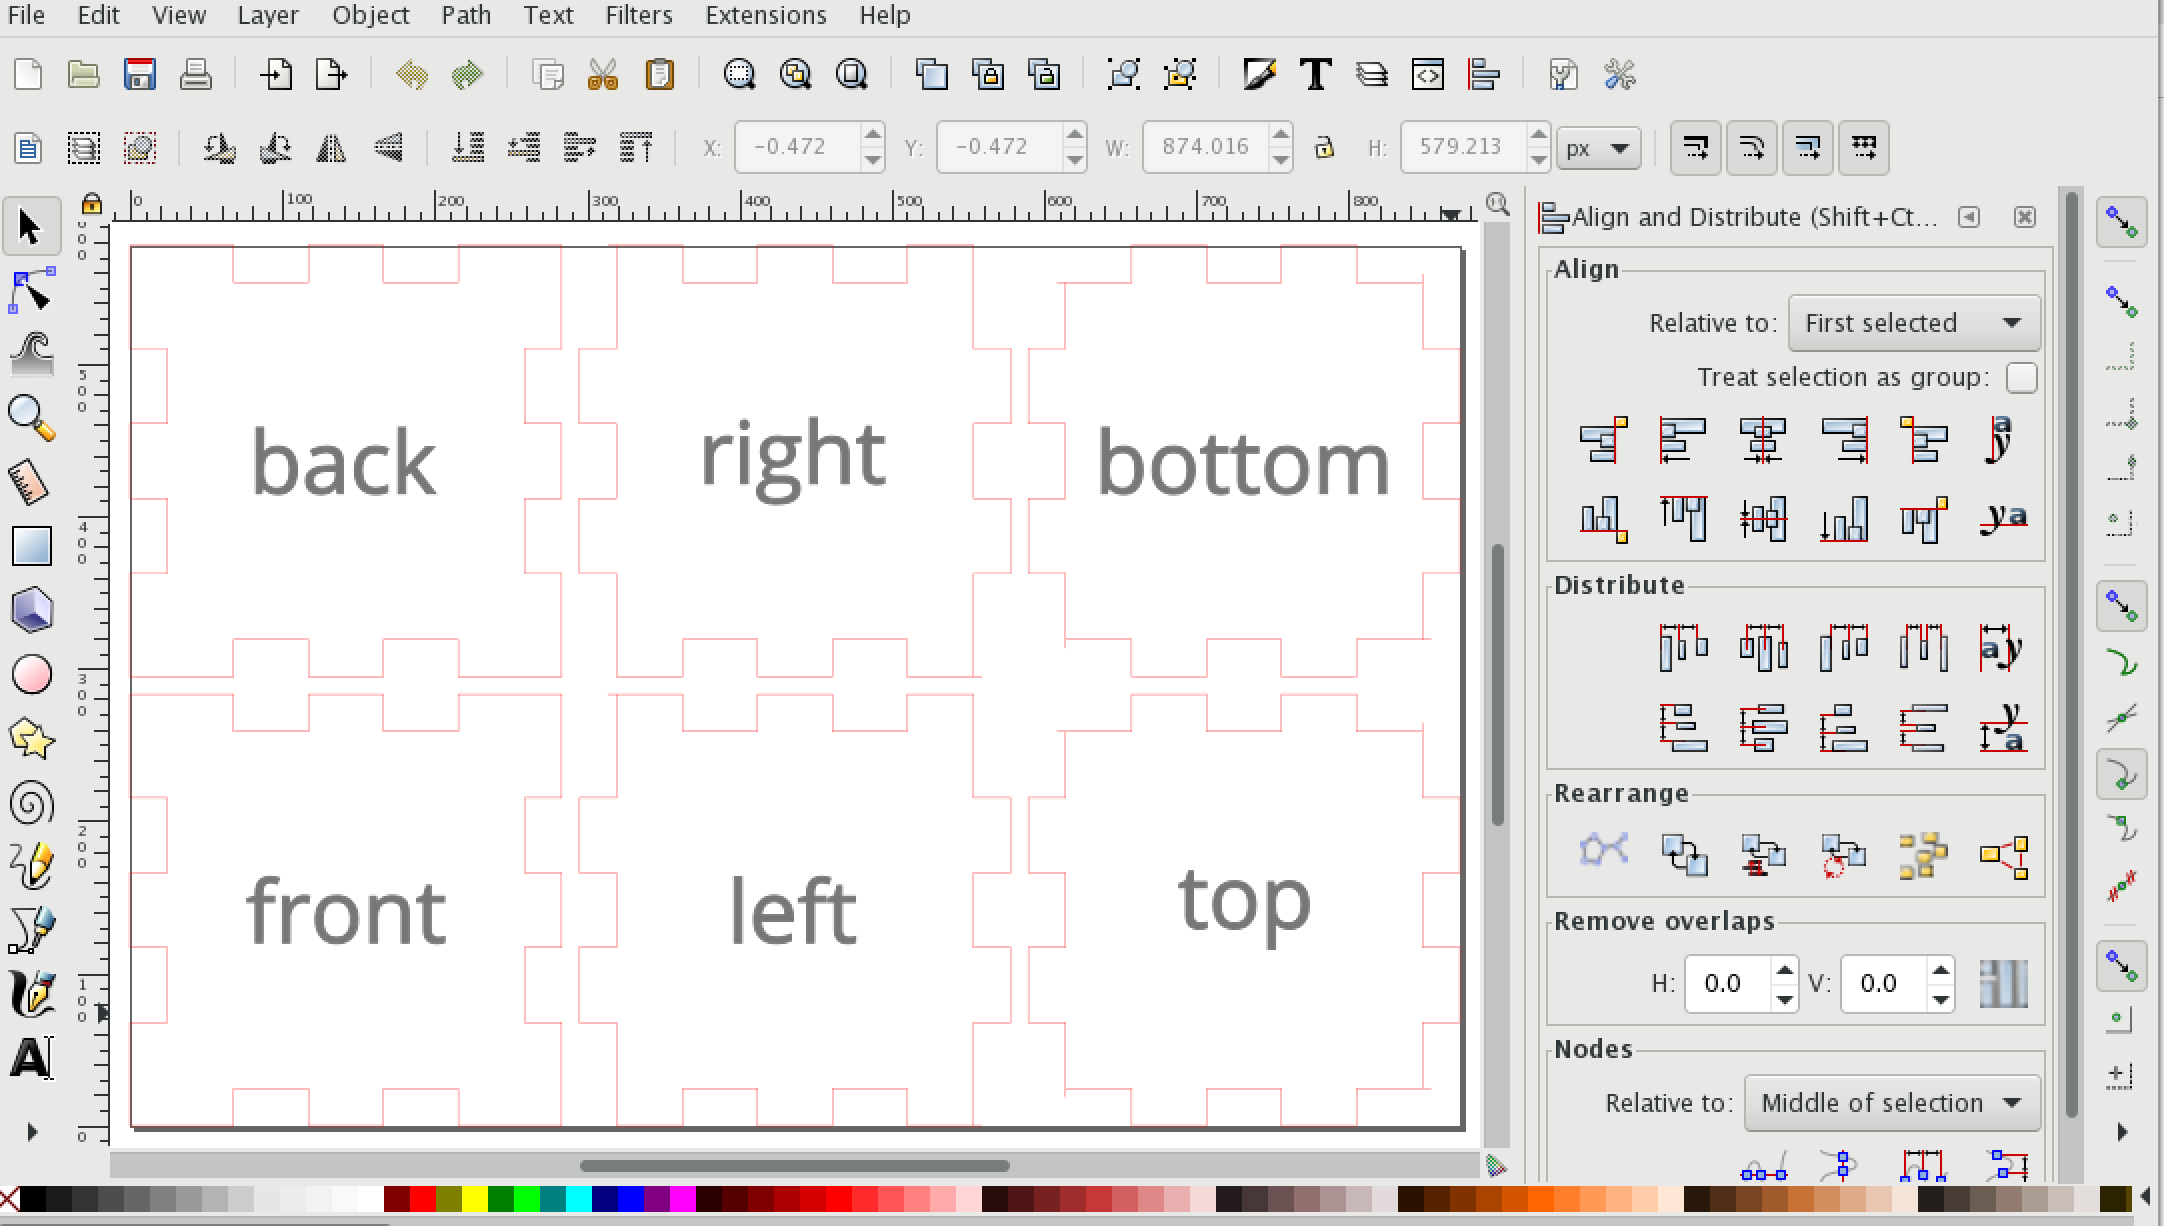
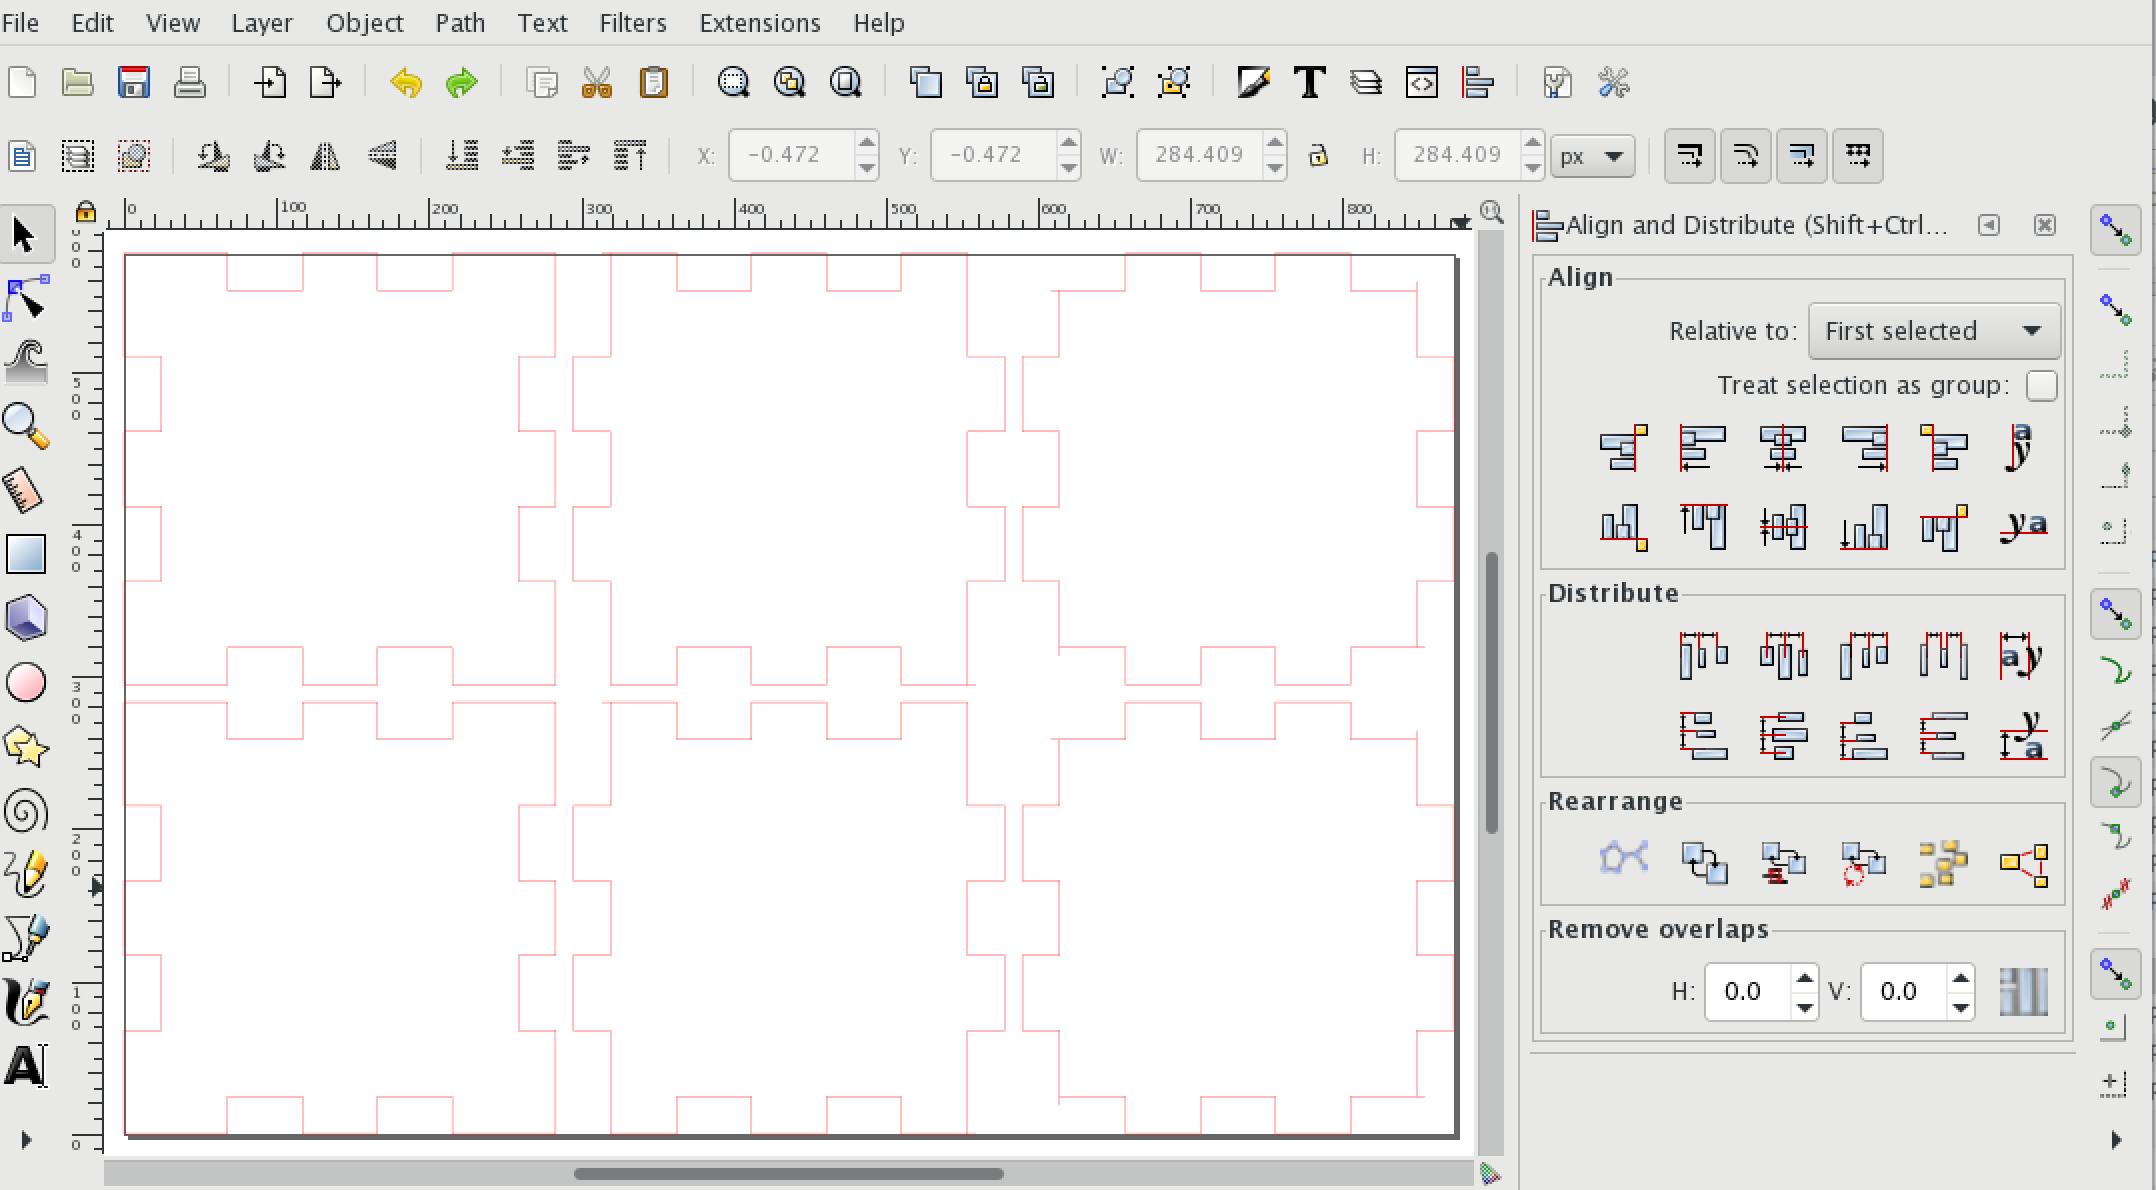
Make a copy of the SVG file you saved from MakerCase.
Open the copy.
It should look similar to the file above.
Ungroup everything:
- Click once on anything in the document
- From the Object menu, select "Ungroup"
Delete the text
- Click on each label
- Hit delete
Save your work
Combine the Files
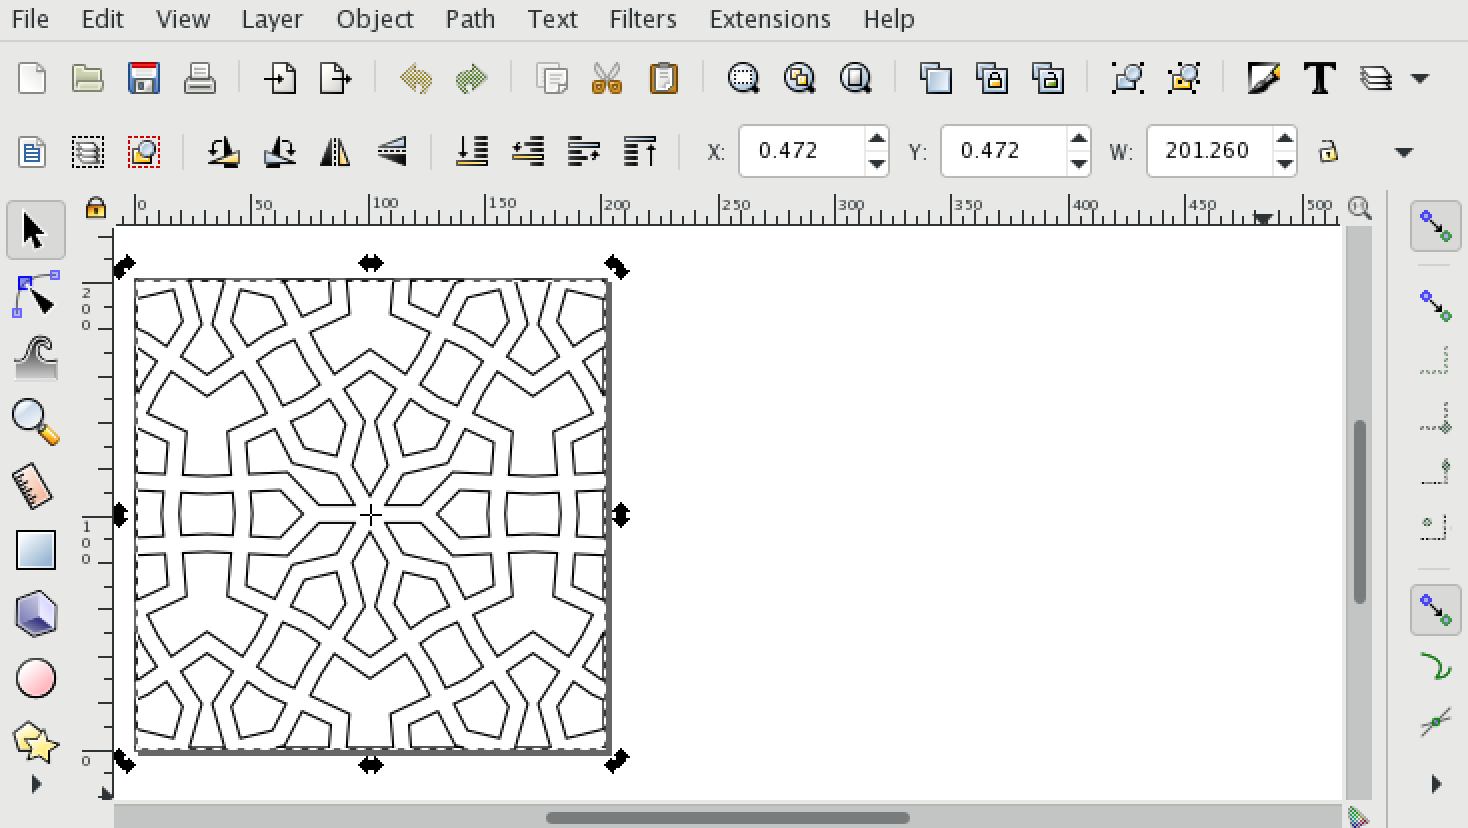
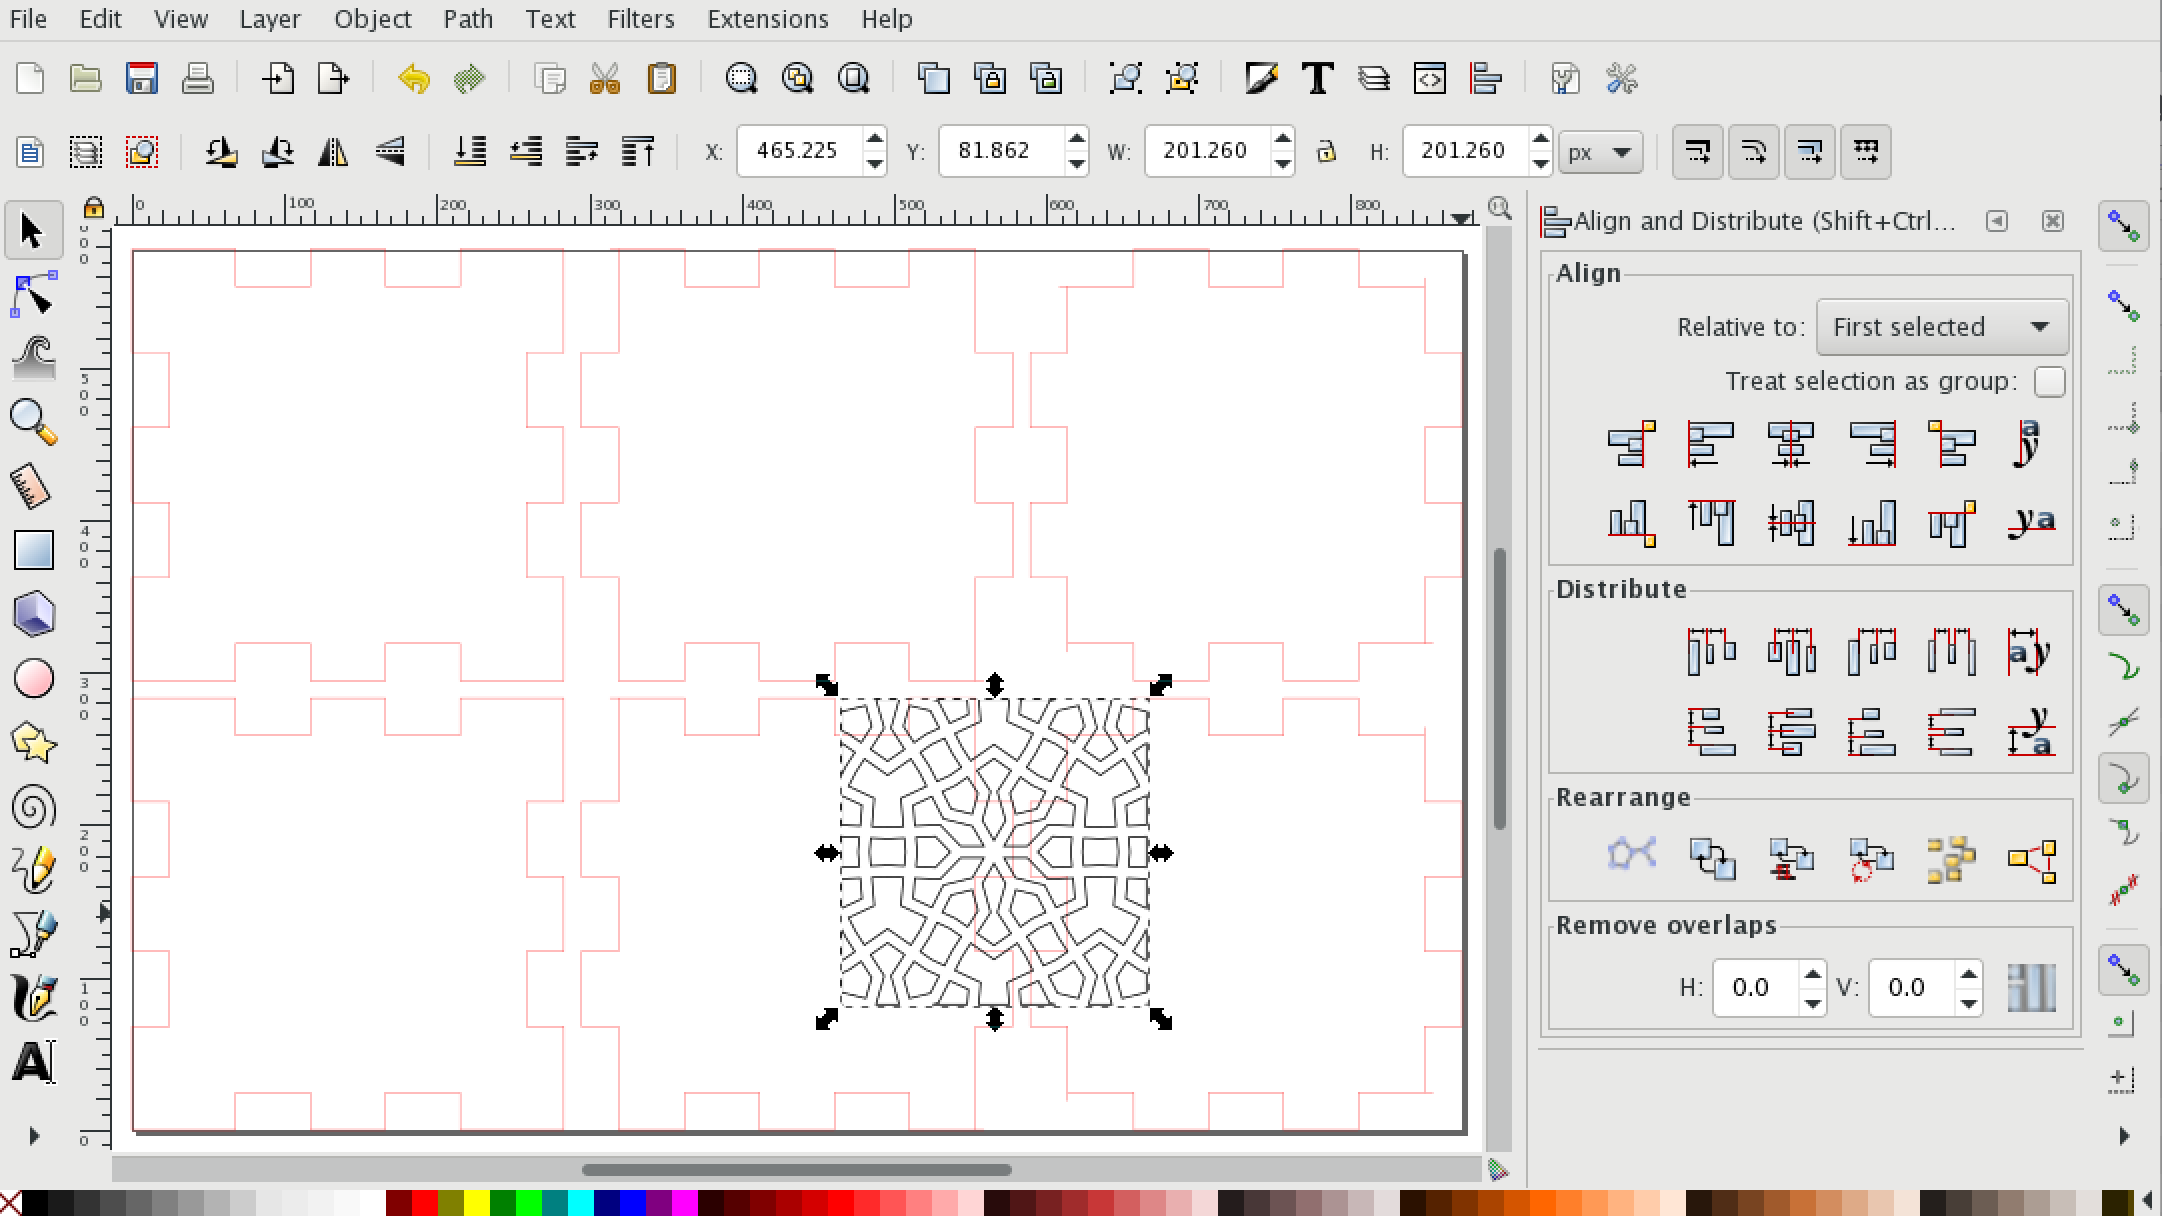
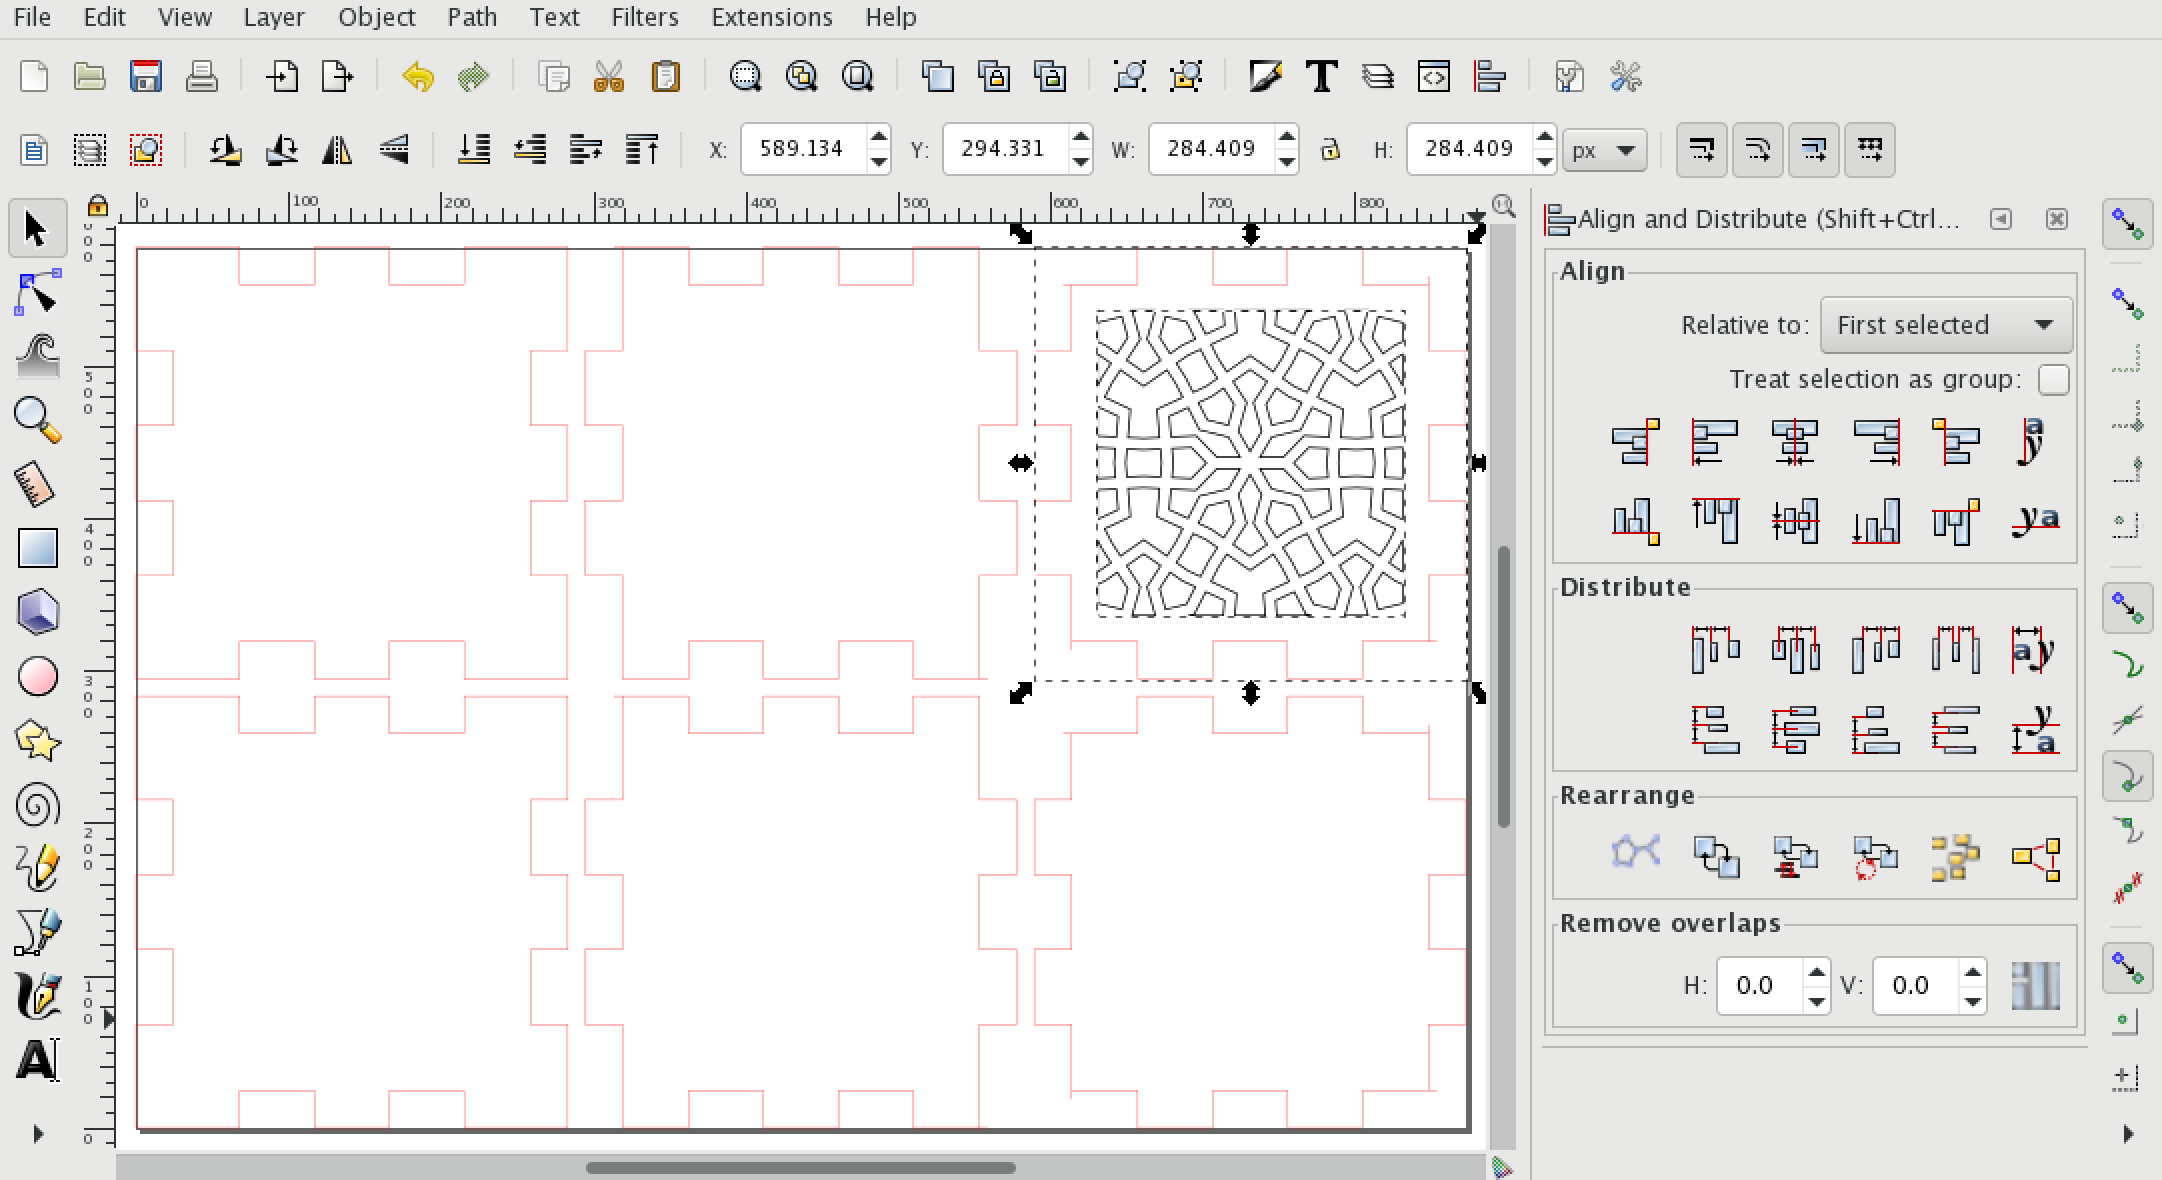
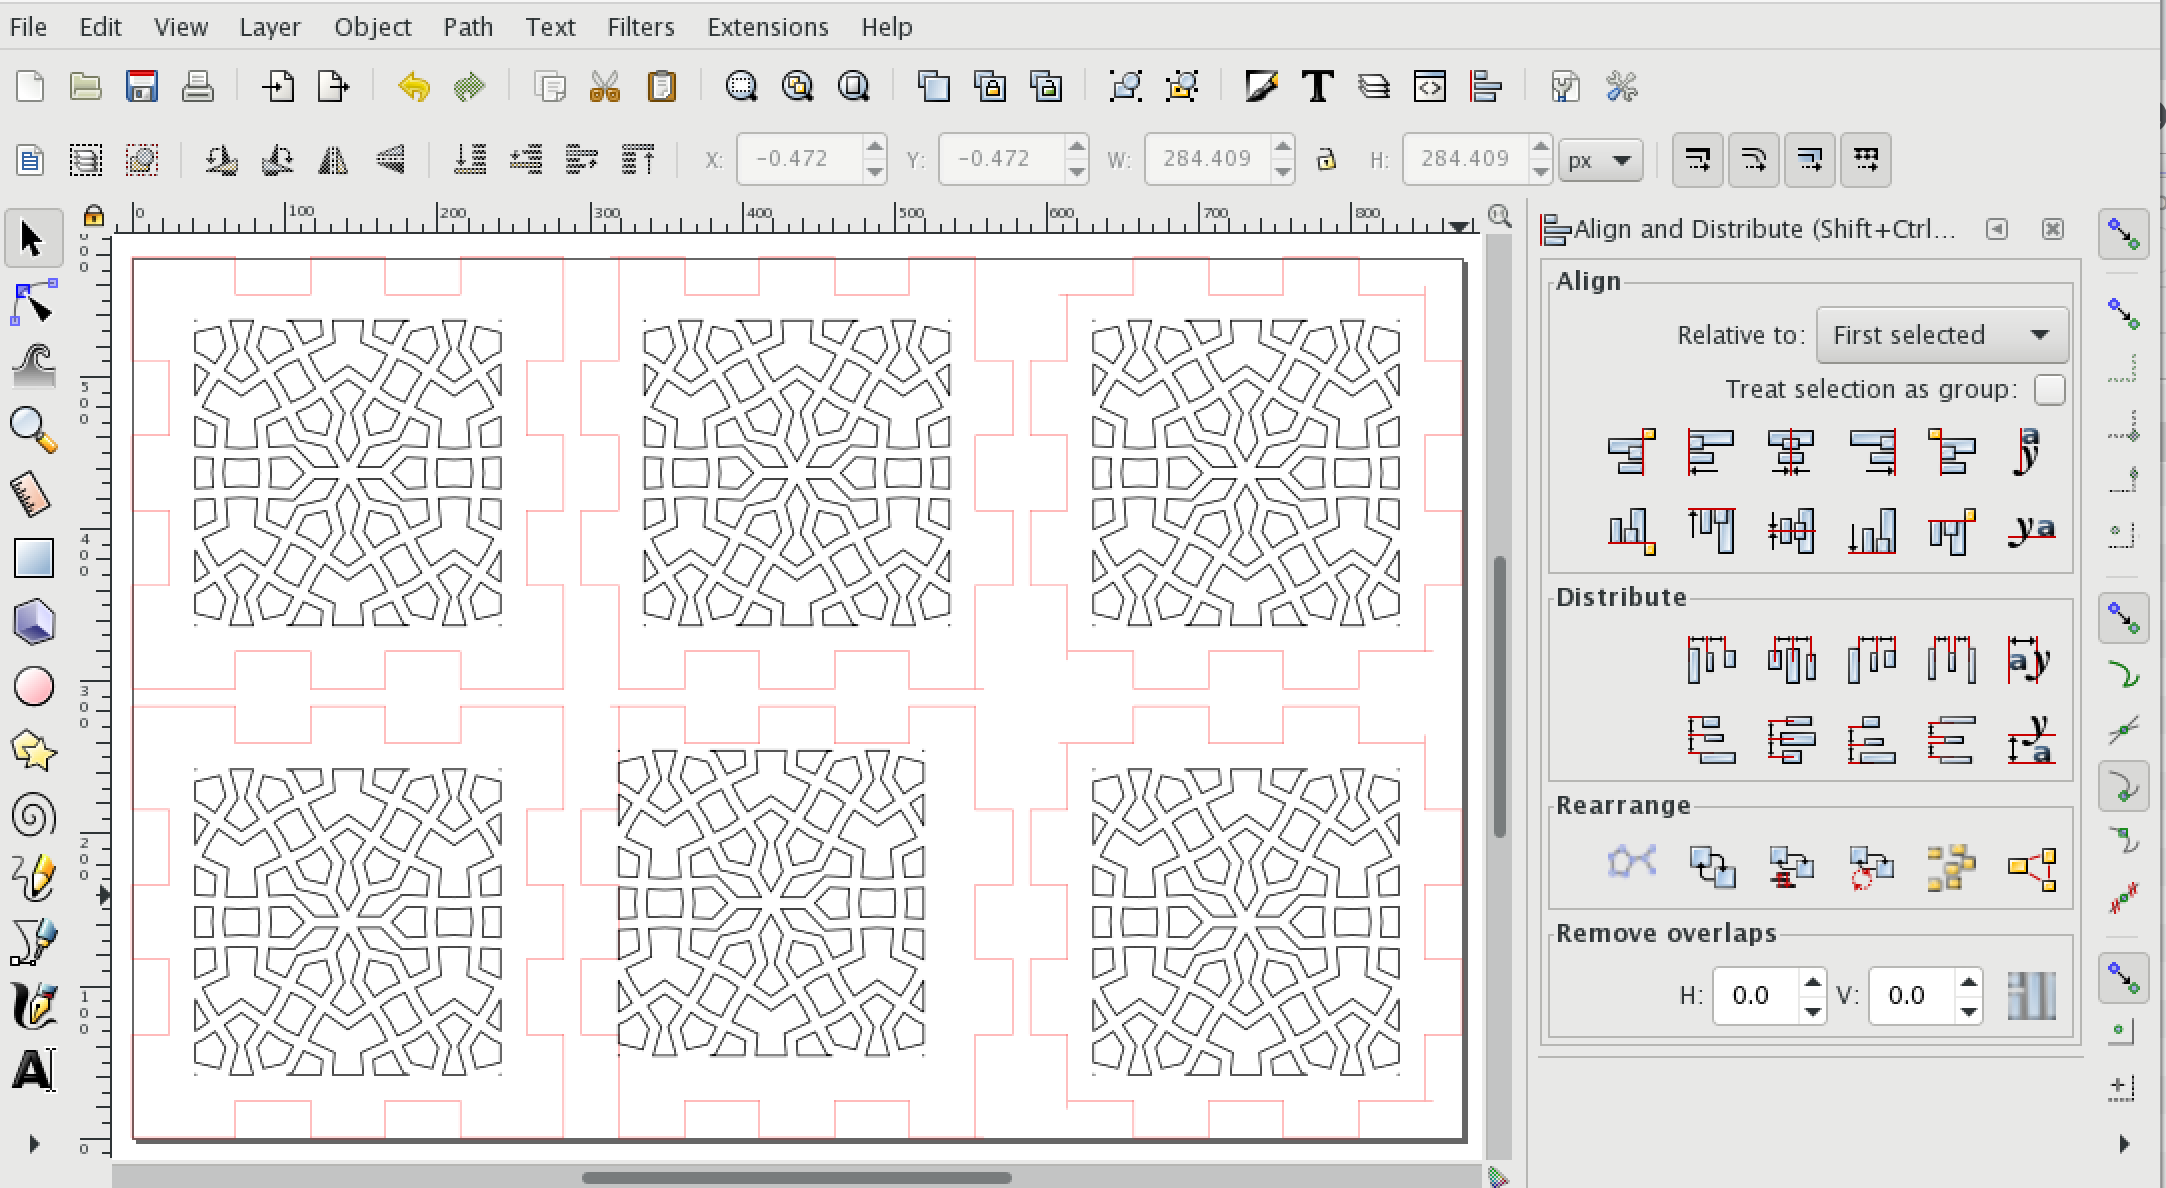
- Open the SVG file you saved from Polygonia.
- Click on the contents to select them.
- Select "Copy" from the edit menu or use "Ctrl-C"
- Go back to the Inkscape window with the MakerCase file
- Select "Paste" or use "Ctrl-V"
You can see that the Polygonia design is not aligned with anything. You can move it manually, but I like to use the "Align" feature of Inkscape to do that for me.
- In the "Objects" menu, click on the "Align and Distribute..." item. (It is near the bottom.)
- Click once on one of the sides created by MakerCase and then click on the Polygonia design.
- Then click on the "Vertical Align" and "Horizontal Align" buttons.
Repeat the "Paste" and align steps for the remaining sides.
Save your file.
Prepare for the Laser Cutter
If you are going to use Ponoko, you will need to follow their specific requirements for line wide and line color.
I was using RDWorks, the laser cutter software we use at NovaLabs. RDWorks can import DXF files, so I selected "Save As..." from Inkscape and selected DXF.
In RDWorks, I imported the file and modified the settings to cut through the 1/4" MDF I was using.
Pew-pew: Lasers!
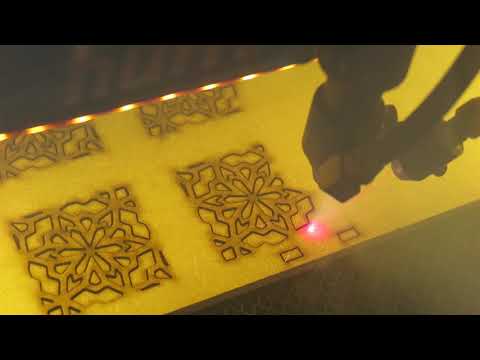
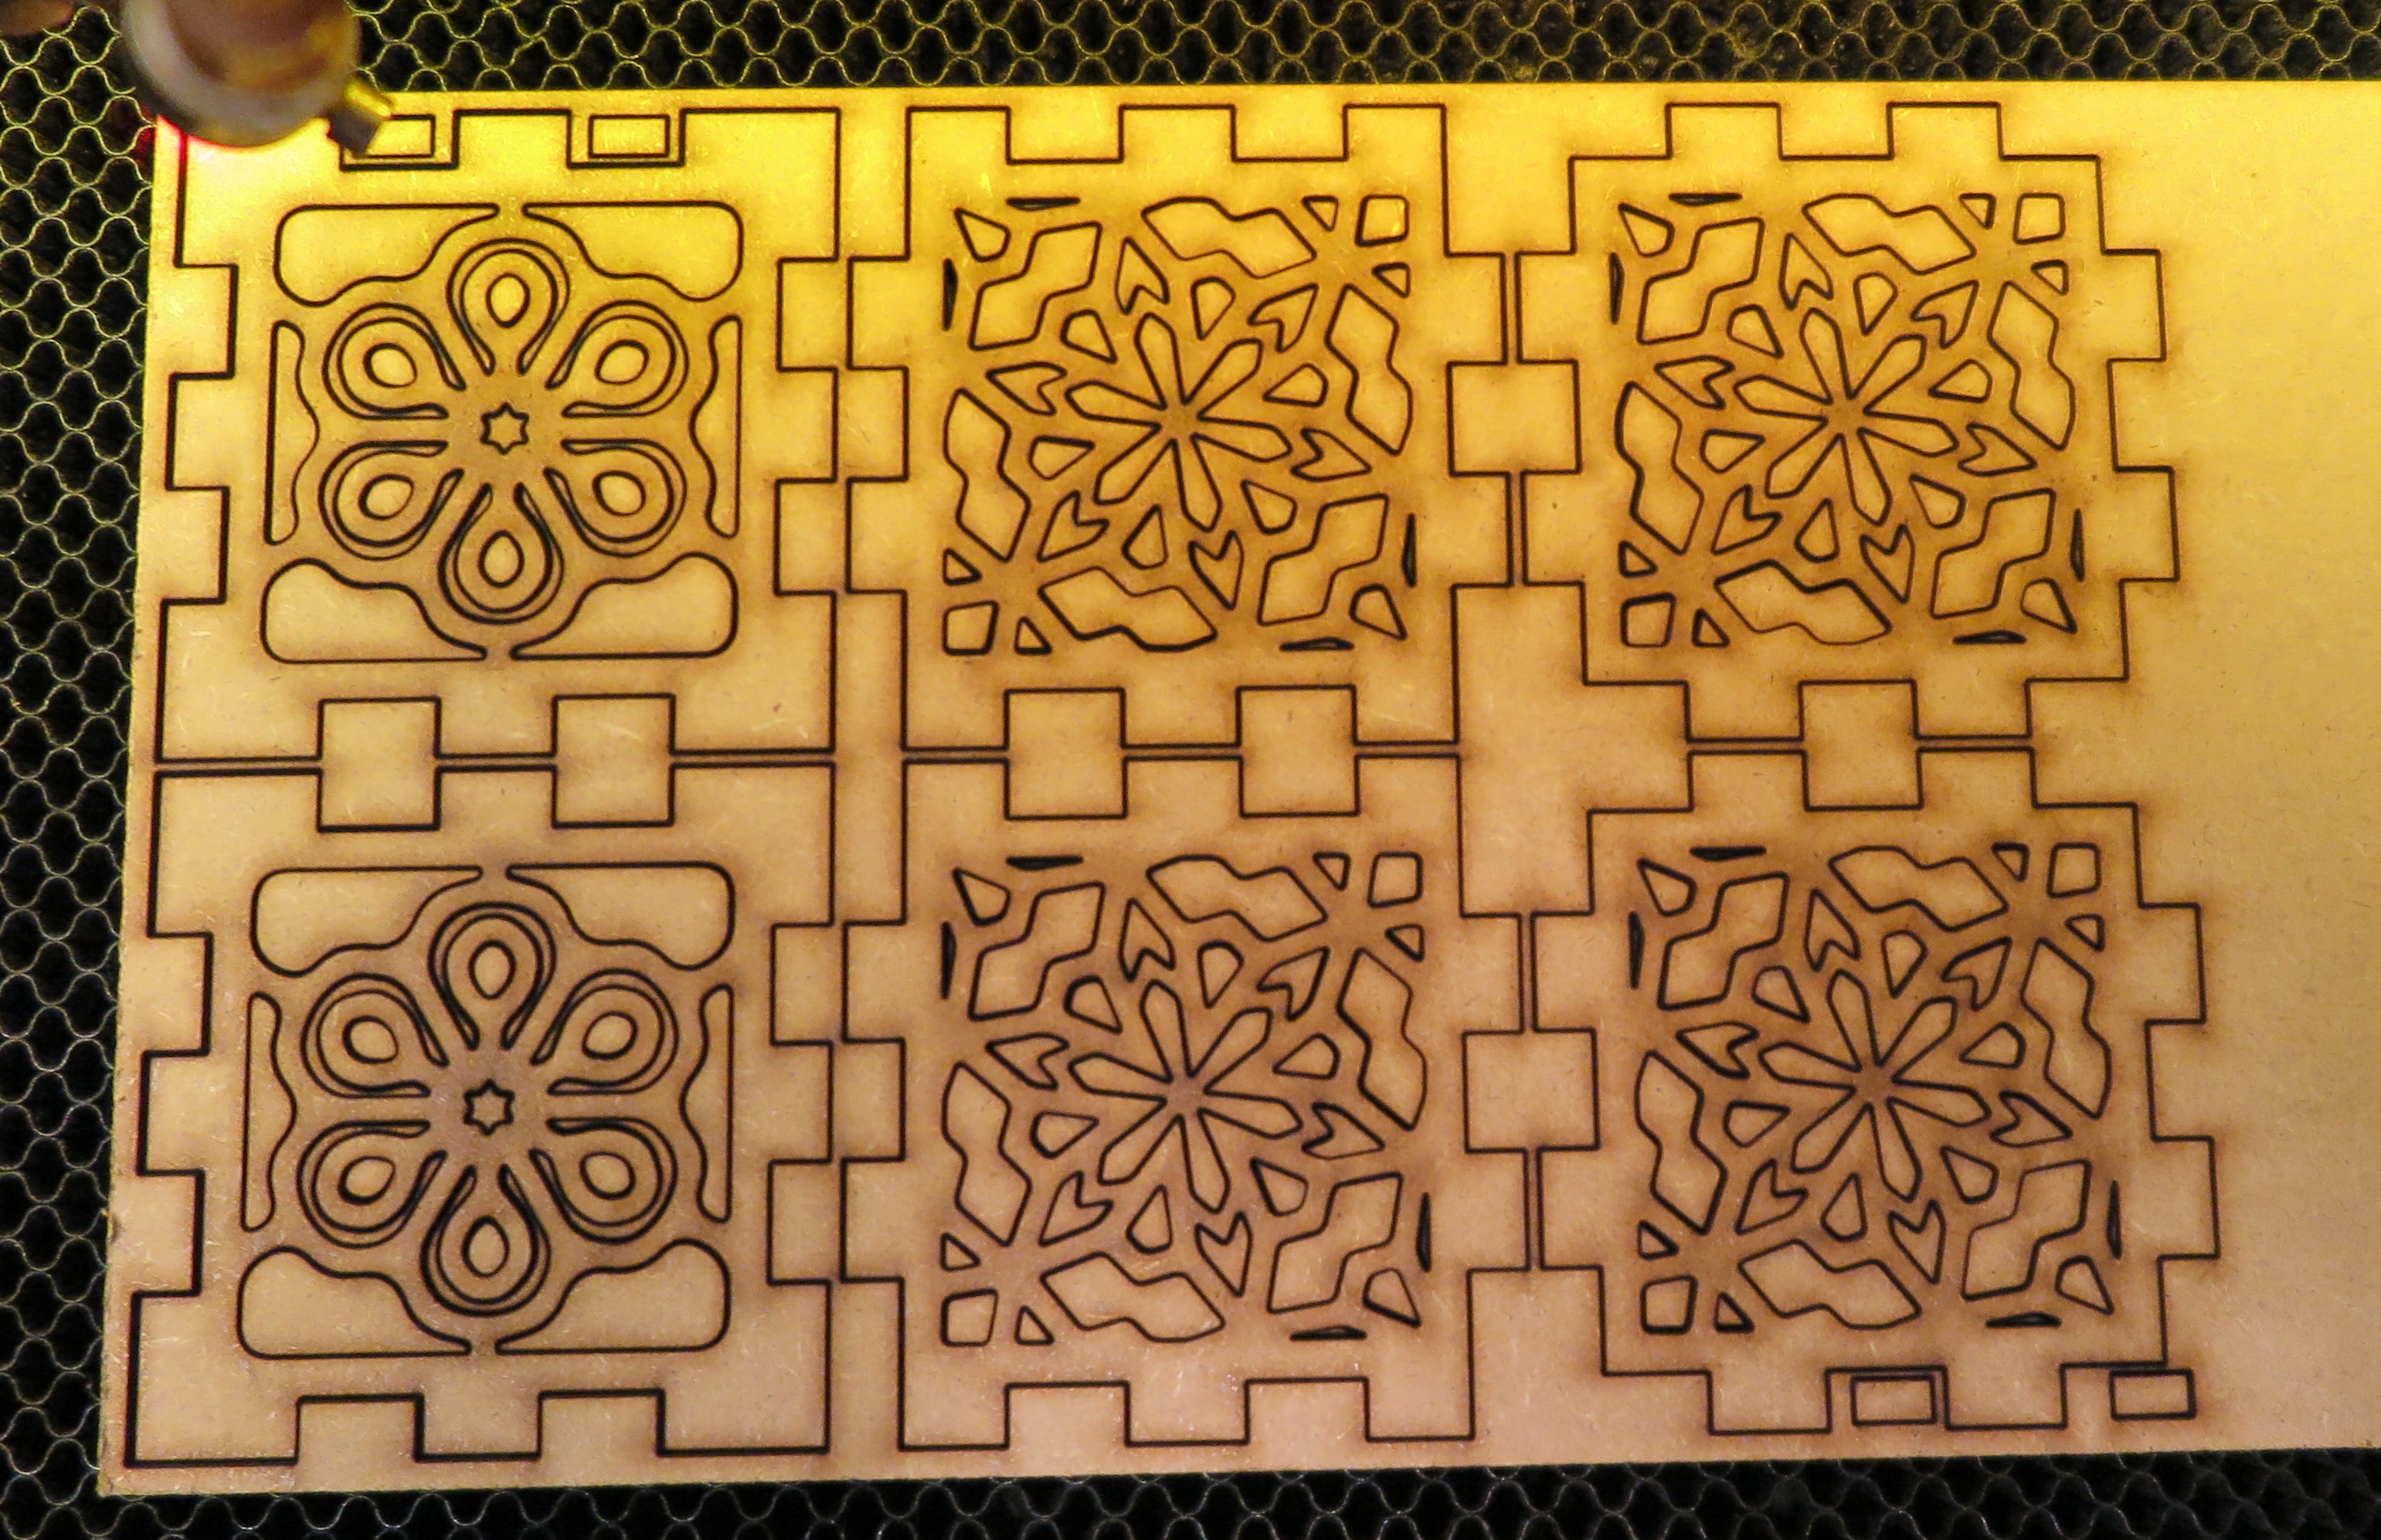
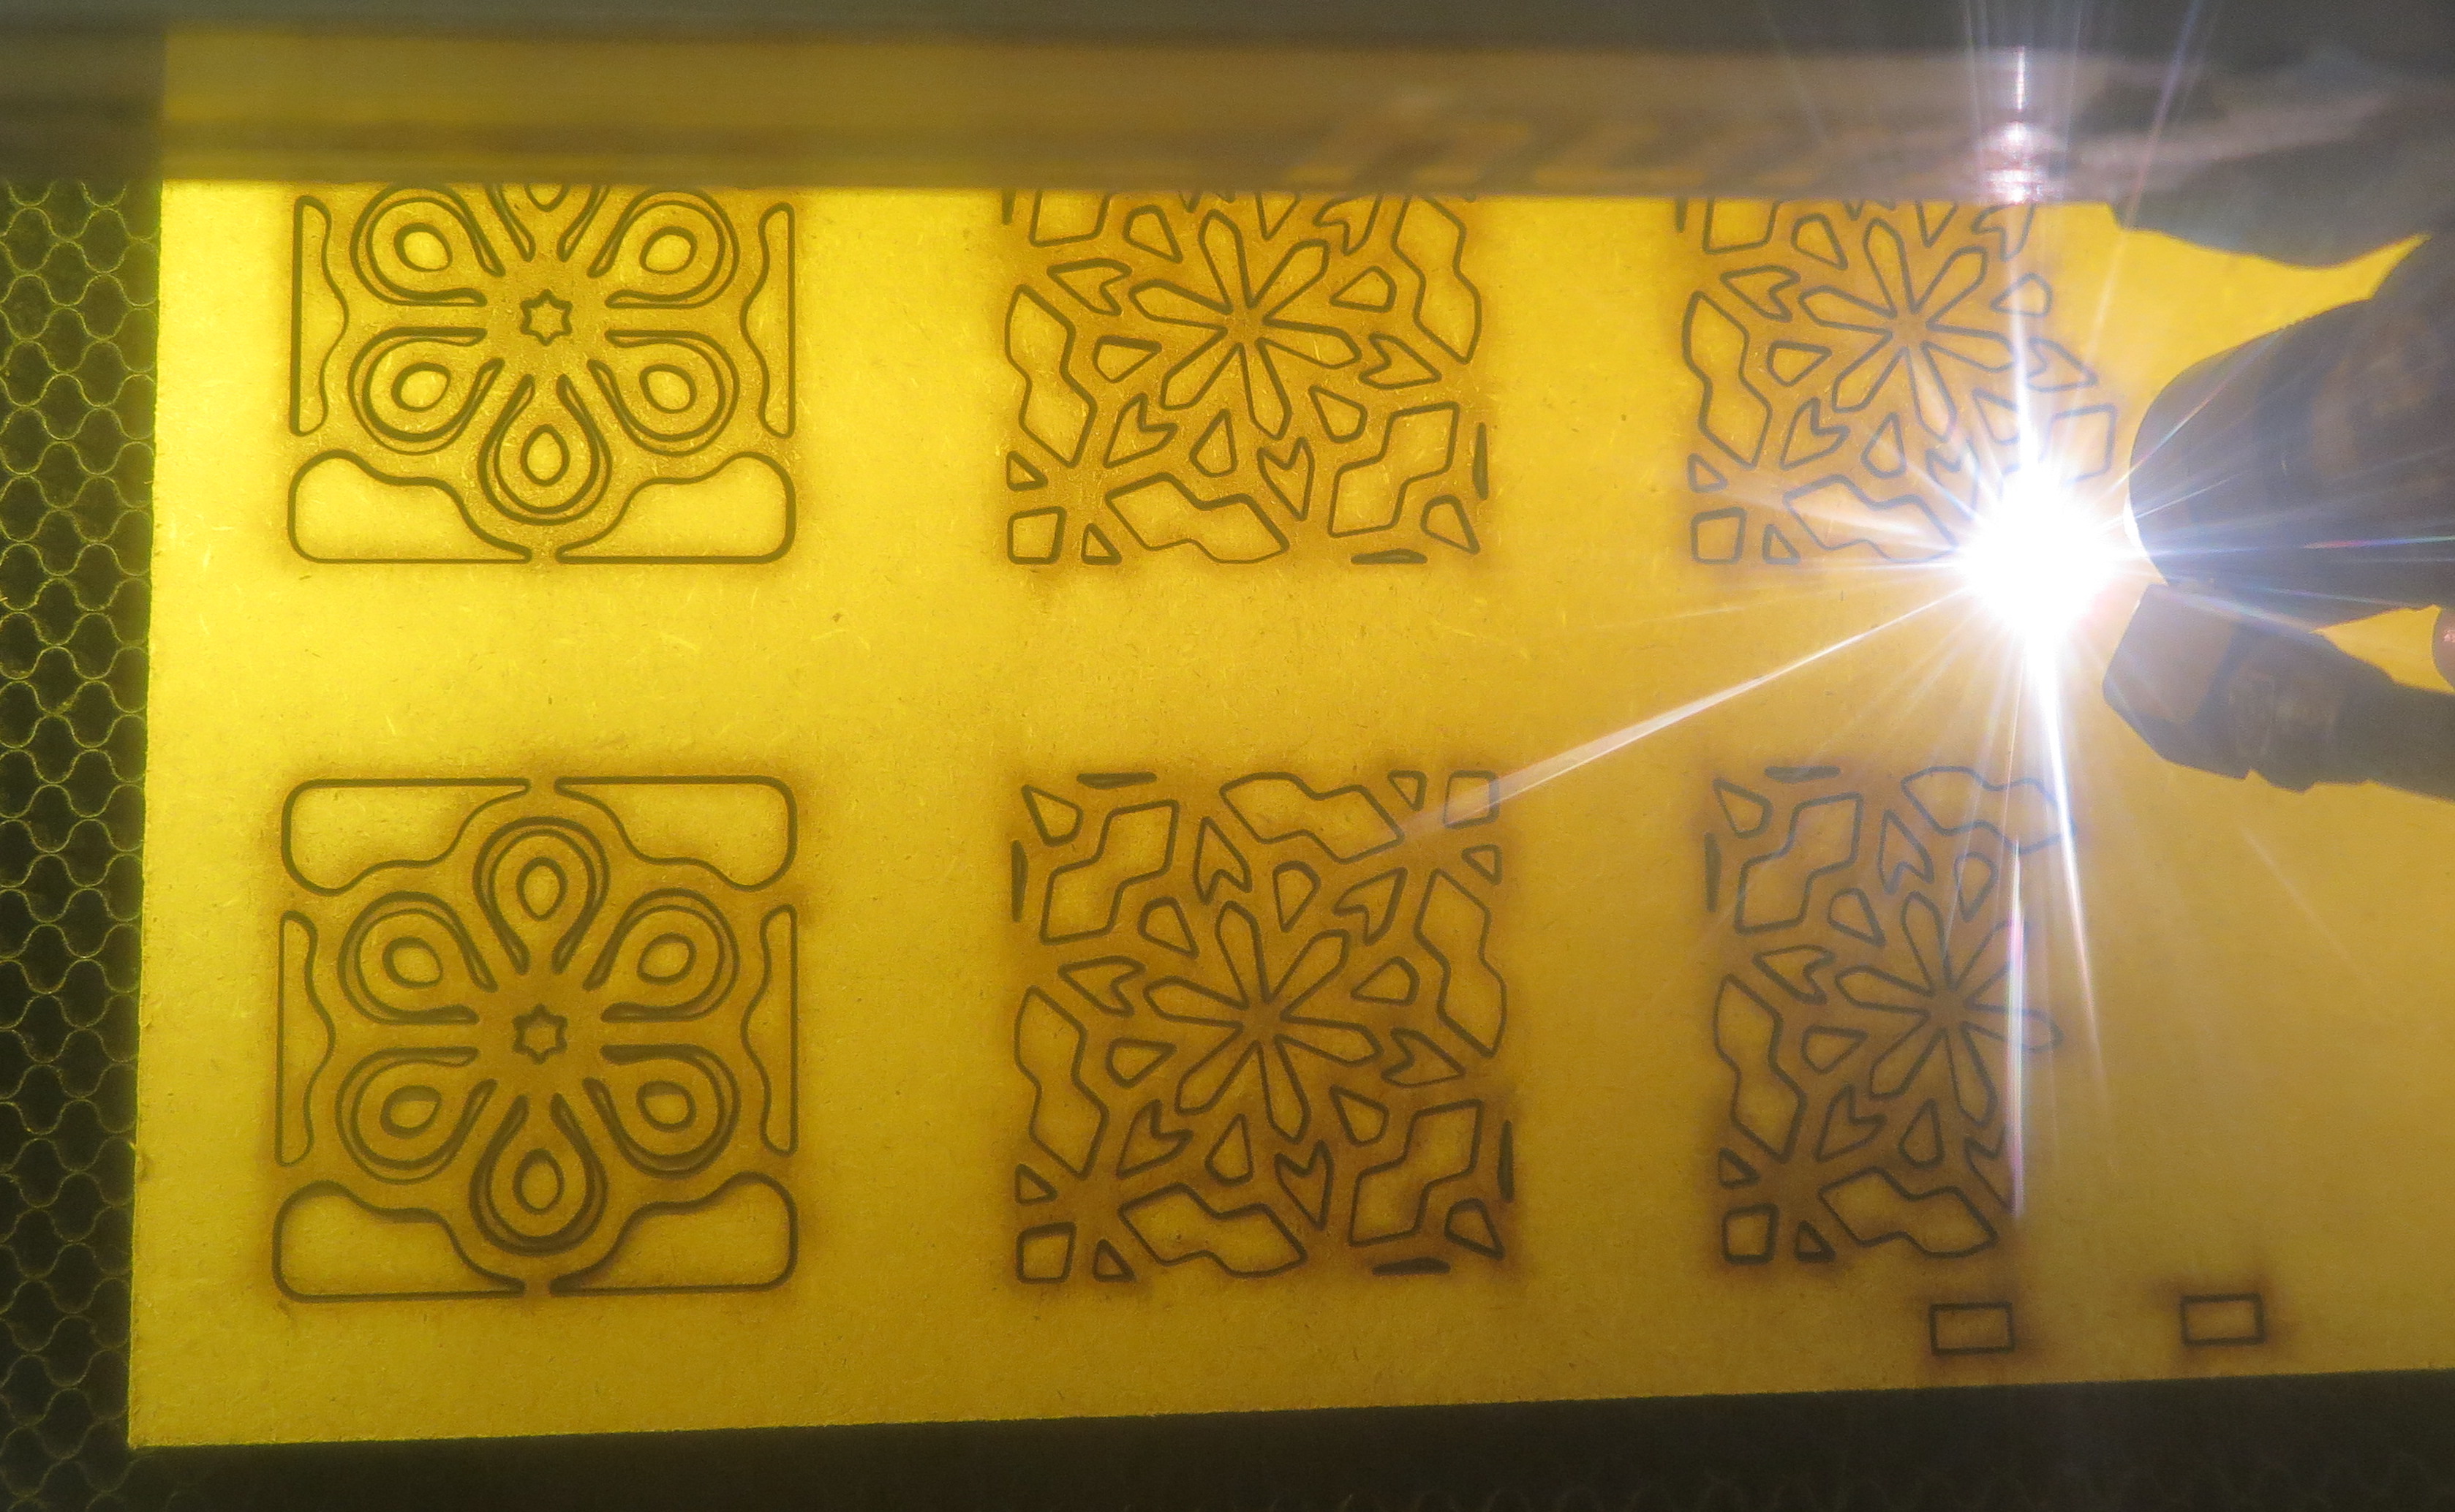
Cutting the MDF.
I used two different designs for the cube.
Assembling the Cube
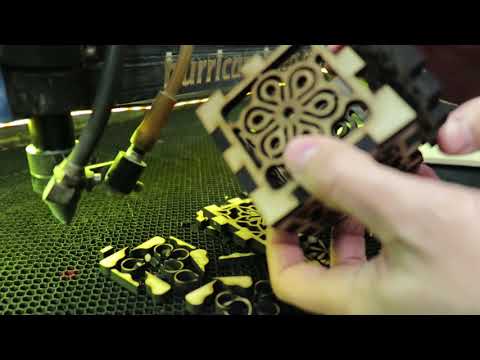
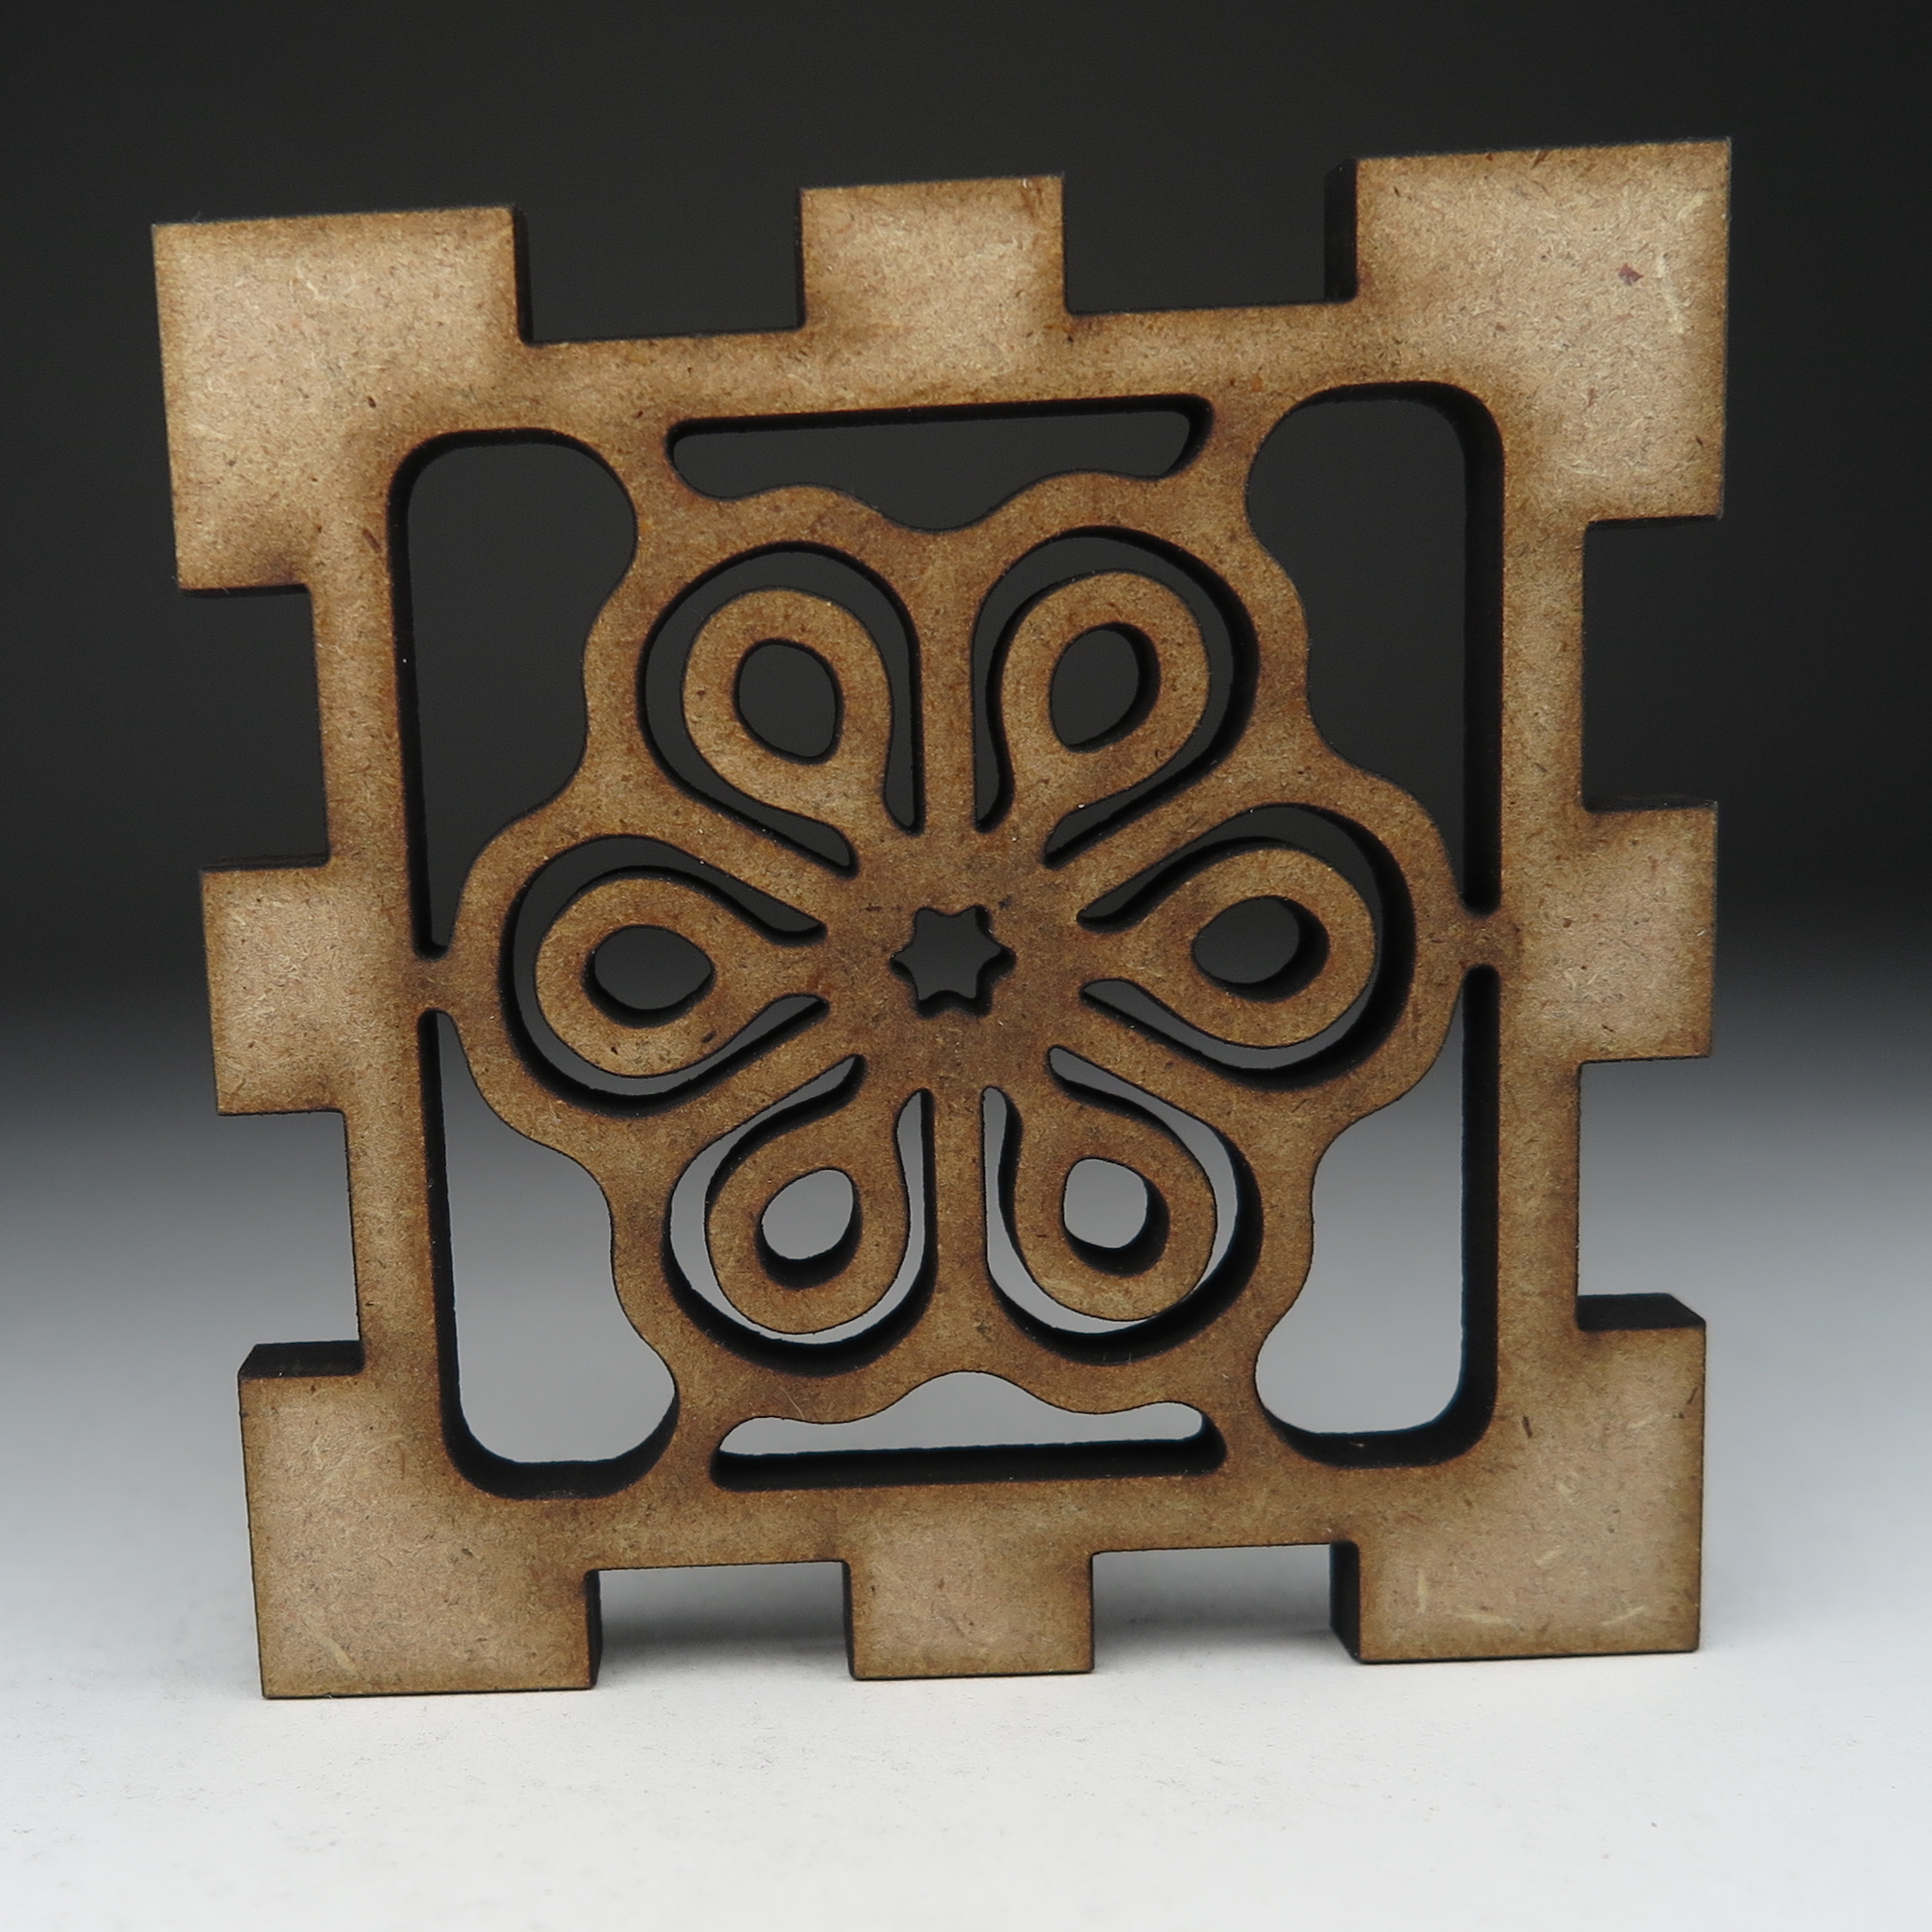

The cube assembles quite easily. I did not account for the kerf, the part of the wood that is vaporized by the laser, so the parts slip together easily. They also slip apart easily, so this needs to be glued.
Final Thoughts
I really like how the cube came out. It has a nice solid feel and would look great with an LED tea light.
The cube could be made with no top, to hold a votive candle. Also the bottom could be solid.
It doesn't have to be a cube. You would have a quite nice pencil box if it was taller.
If you have a Cricut or Silhouette, you can follow the same steps in Polygonia, but start with a cube designed for paper. (I don't have a link handy, but I would be happy to create an SVG file for anyone to use.)