Pocket Door Opener
This instructable is for people that have access to a 3D printer, First, you will need to gather your materials and for this product, you will need a 3D printer, a computer, 3D printer filament, and the software for the 3d printer called Fusion 360. My name is Gabriel Milmo and I am an 11th-grade student at the American School Foundation of Monterrey, I decided to choose this product because with the global pandemic going on right now a lot of people don’t want to touch doors or objects that are touched by other people. This device will allow you to open doors without you having to expose yourself to the germs that are on door handles and credit card terminal. This device will allow you to be safe and be able to carry your everyday routine while being safe!
Supplies
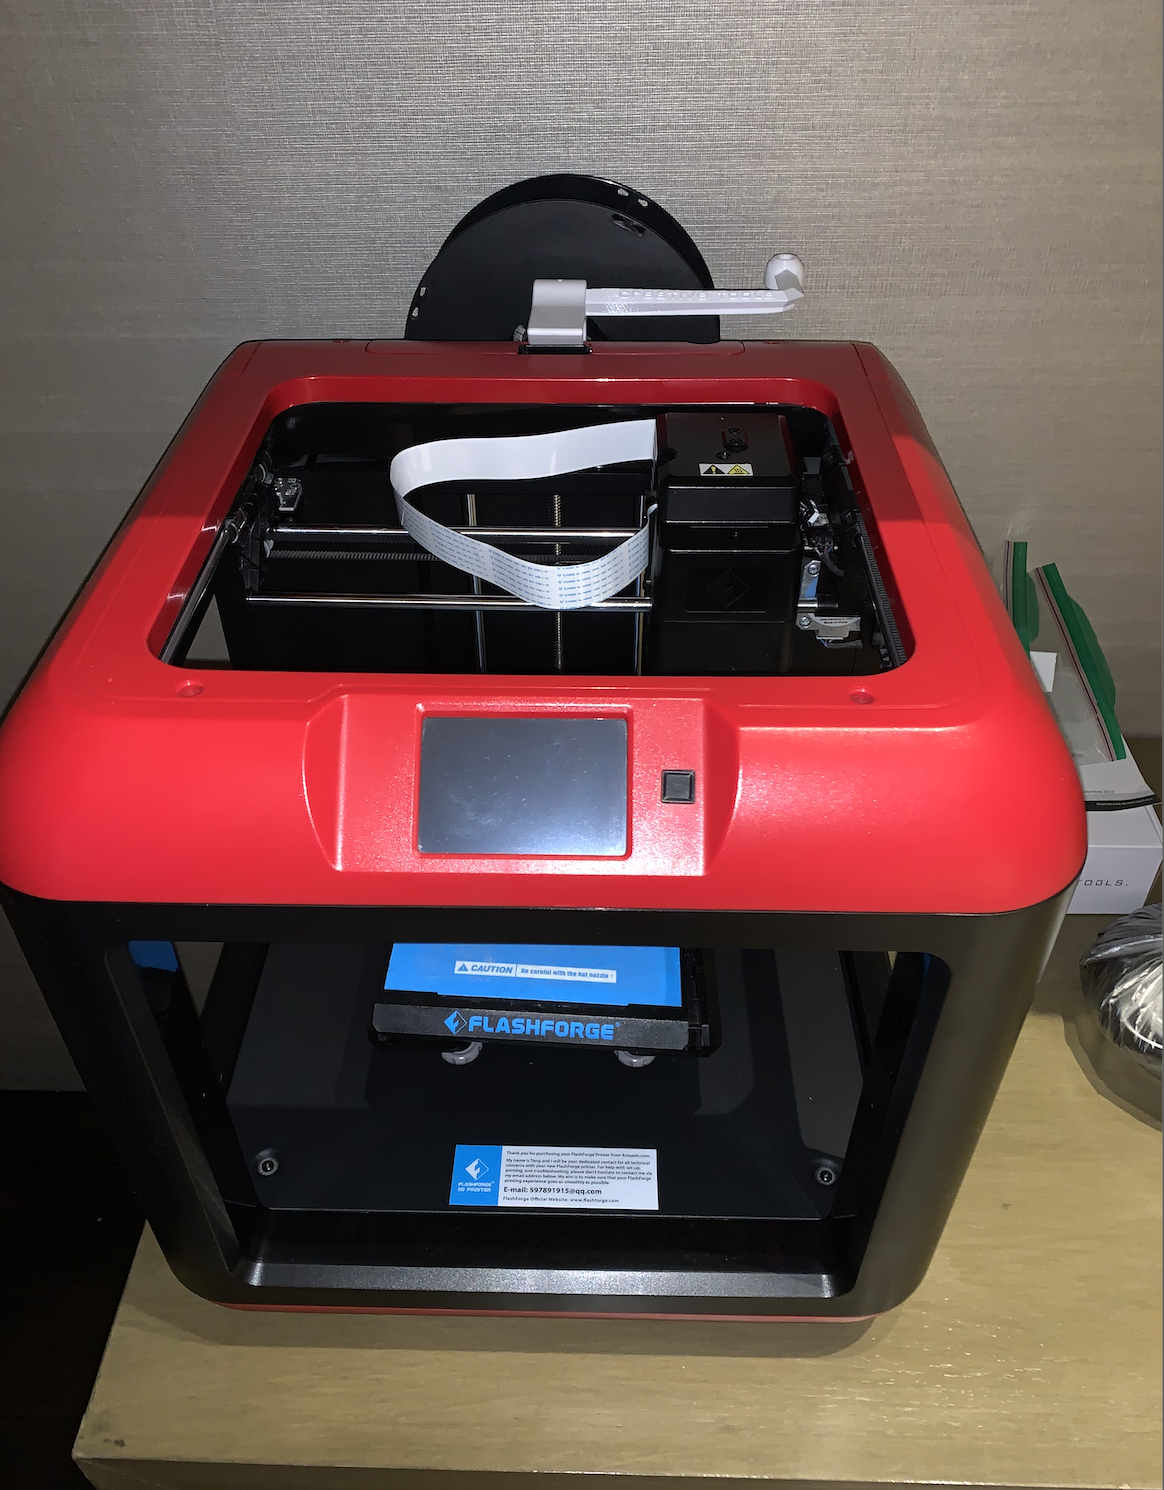
1. 3D Printer
2. 3D printer filament
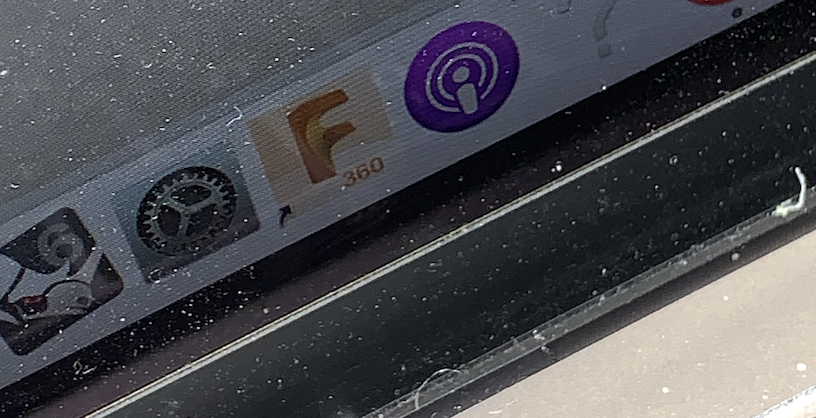
3. Fusion 360 app on the computer
Step 1
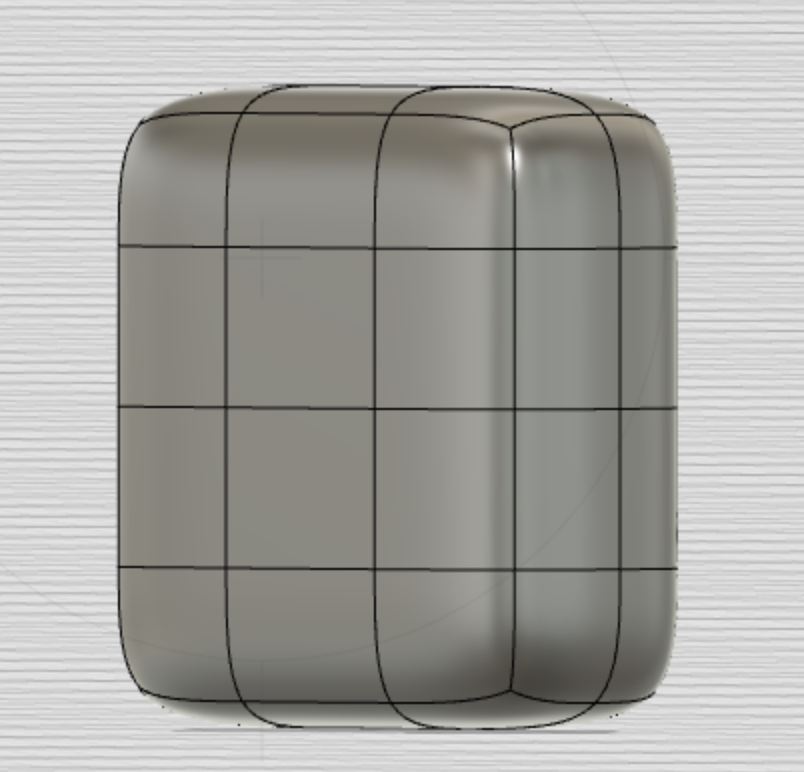
Go into the app Called Fusion 360 download it and set it up if you don’t have it already. Add a box that is 1 centimeter in width and 4 to 5 centimeters in length and height.
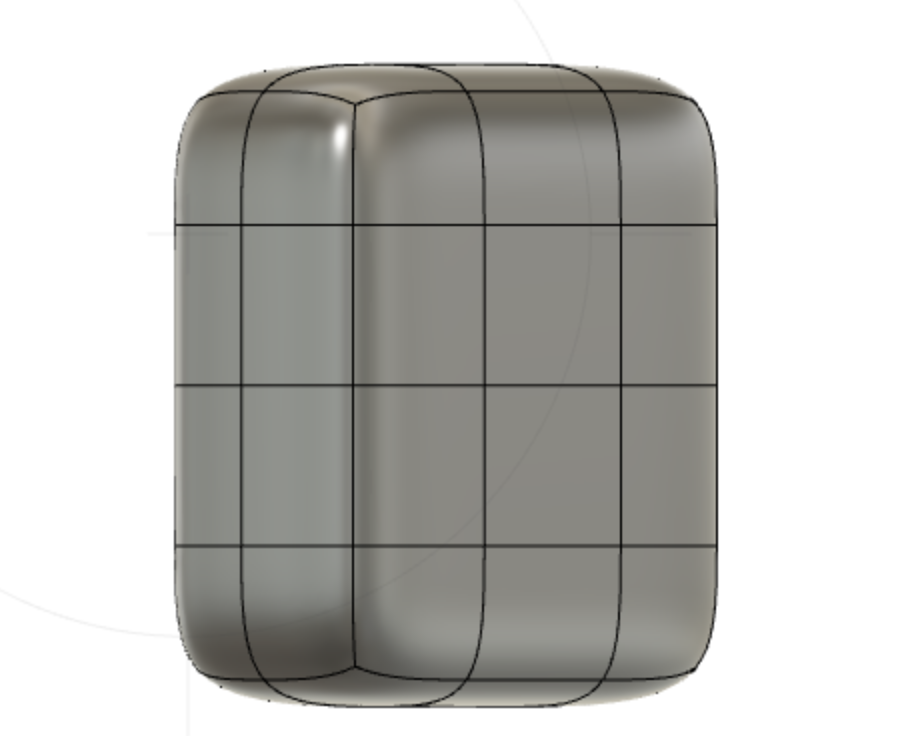
Step 2
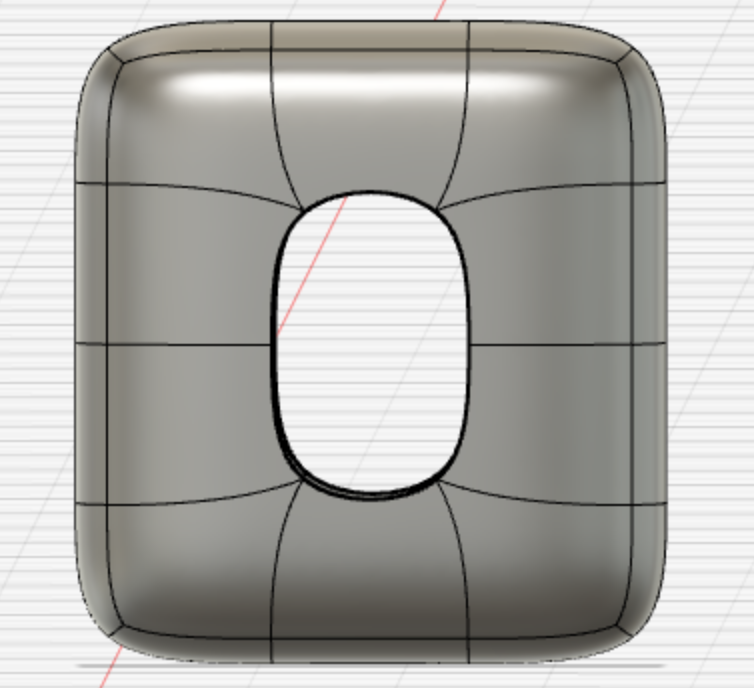
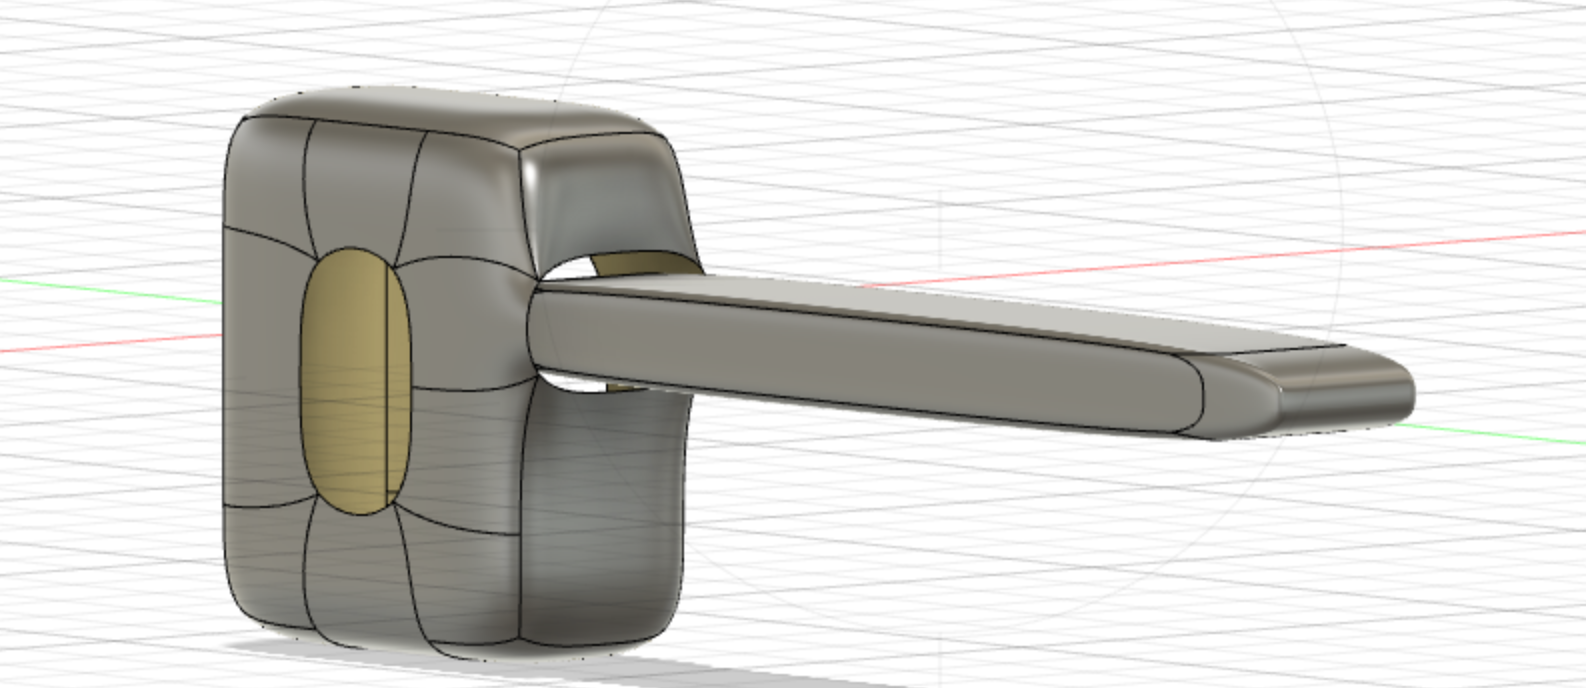
Working in Fusion 360 Add a hole in the center of your box so that you can have a hole for your finger to pass through when you are holding the device. You will need to delete the two blue squares that you can see in the photos and it will be on both sides of the square as shown by the photo in the middle.
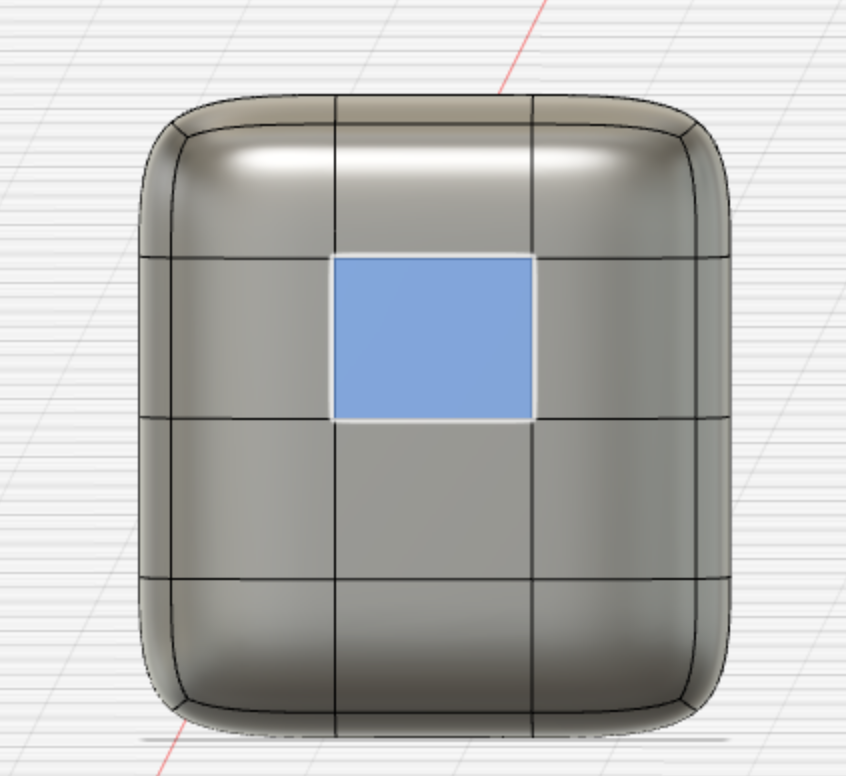
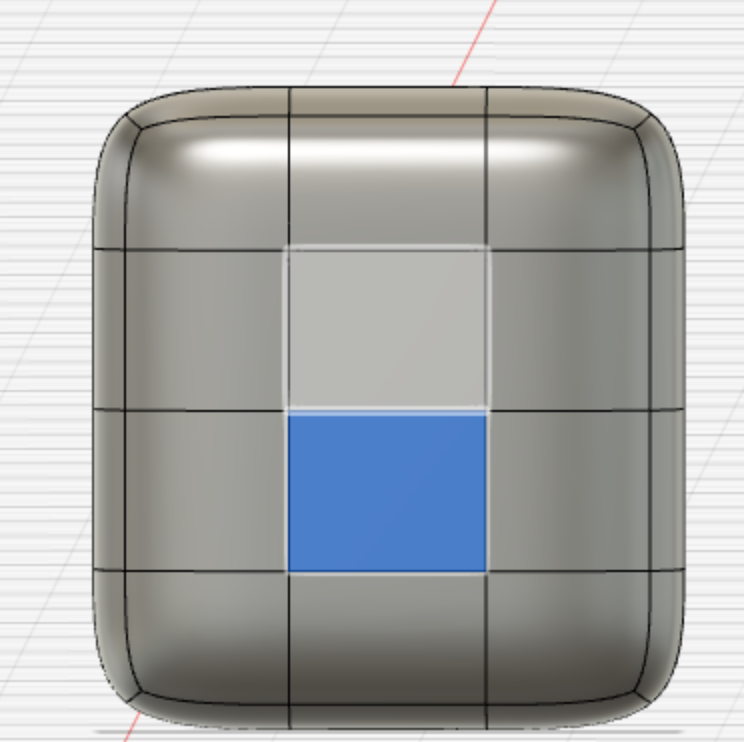
Step 3
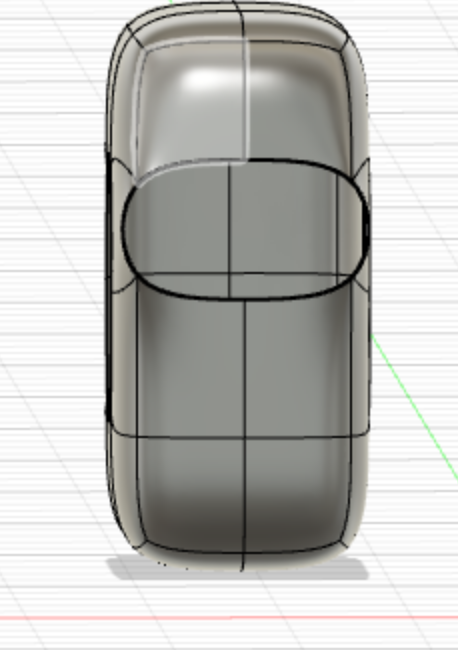
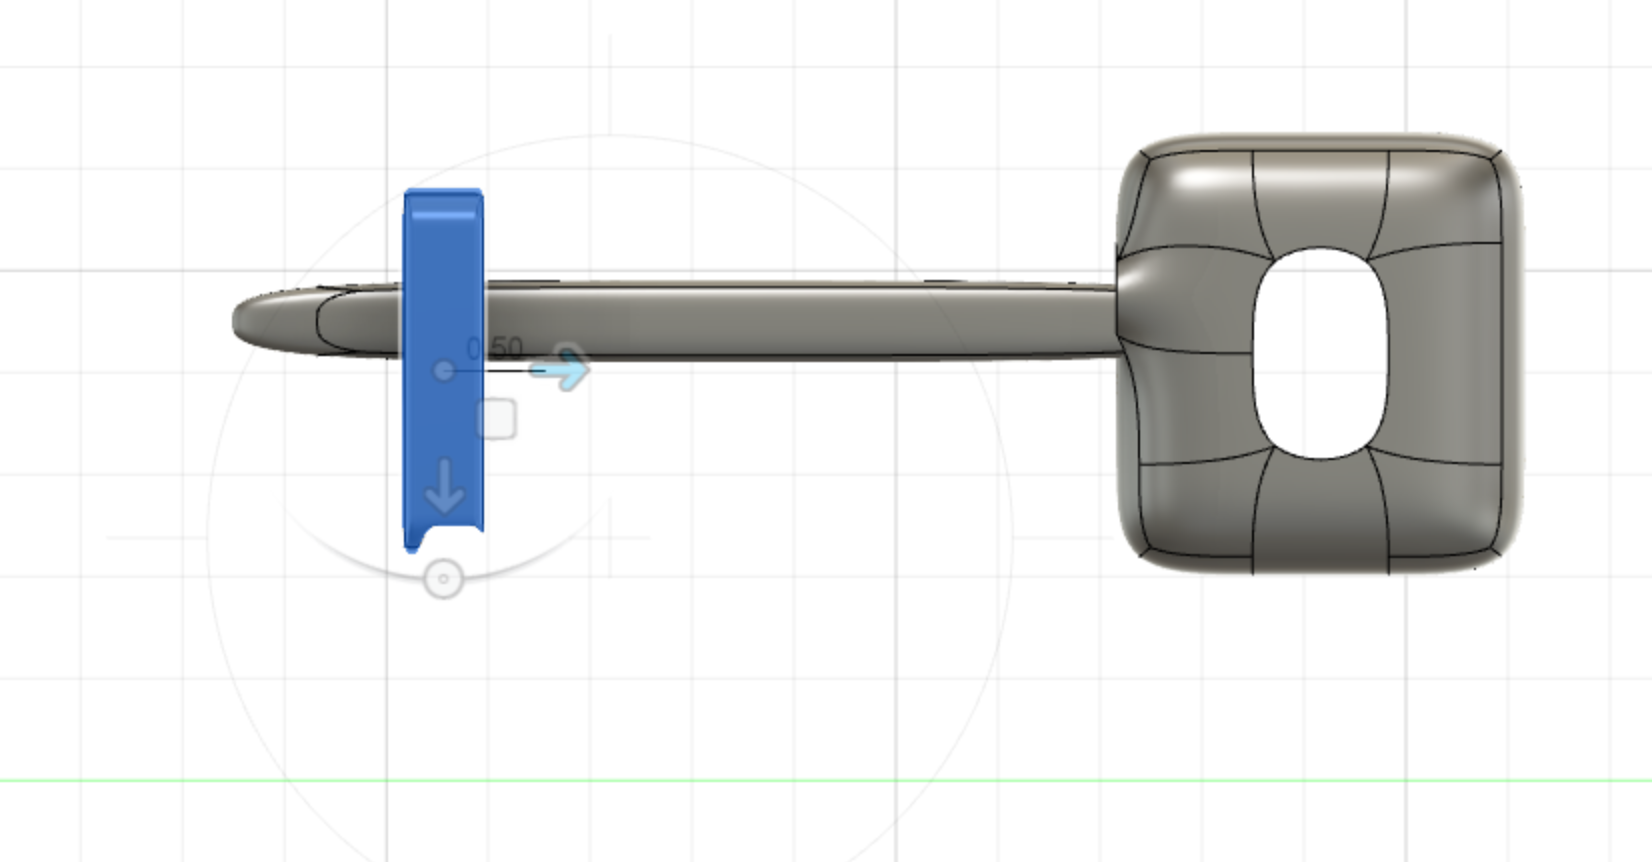
Add a little hole at the front of the square as shown below by the two blue squares, you will delete these blue squares to get the hole you need and this is where you will insert the long piece of the device that allows you to open doors.
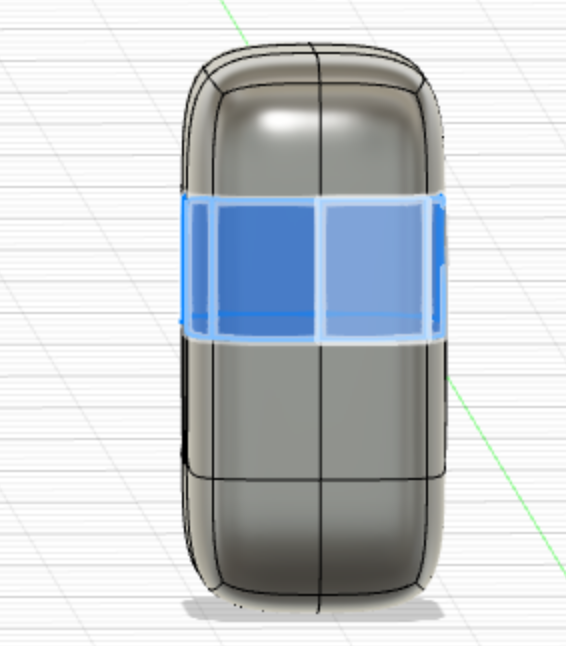
Step 4
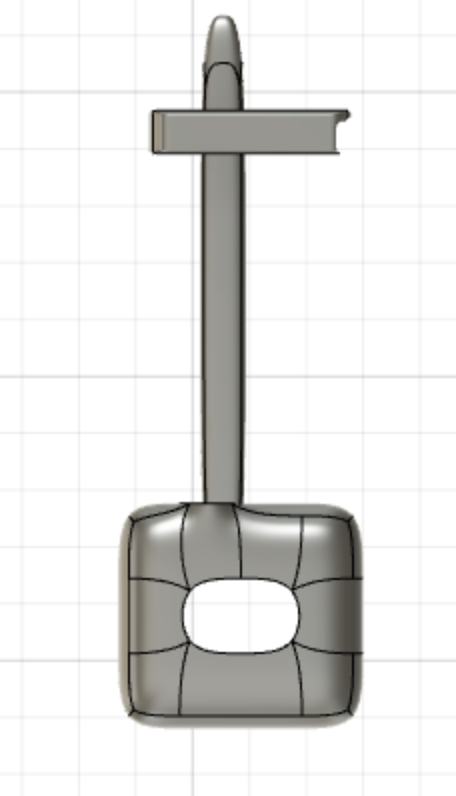
Now you can add a rectangle that is about 7 cm long so you can have some reach this will be the main thing that will open up the door. And it will be inserted in the second hole you made as you can see in the photos below.
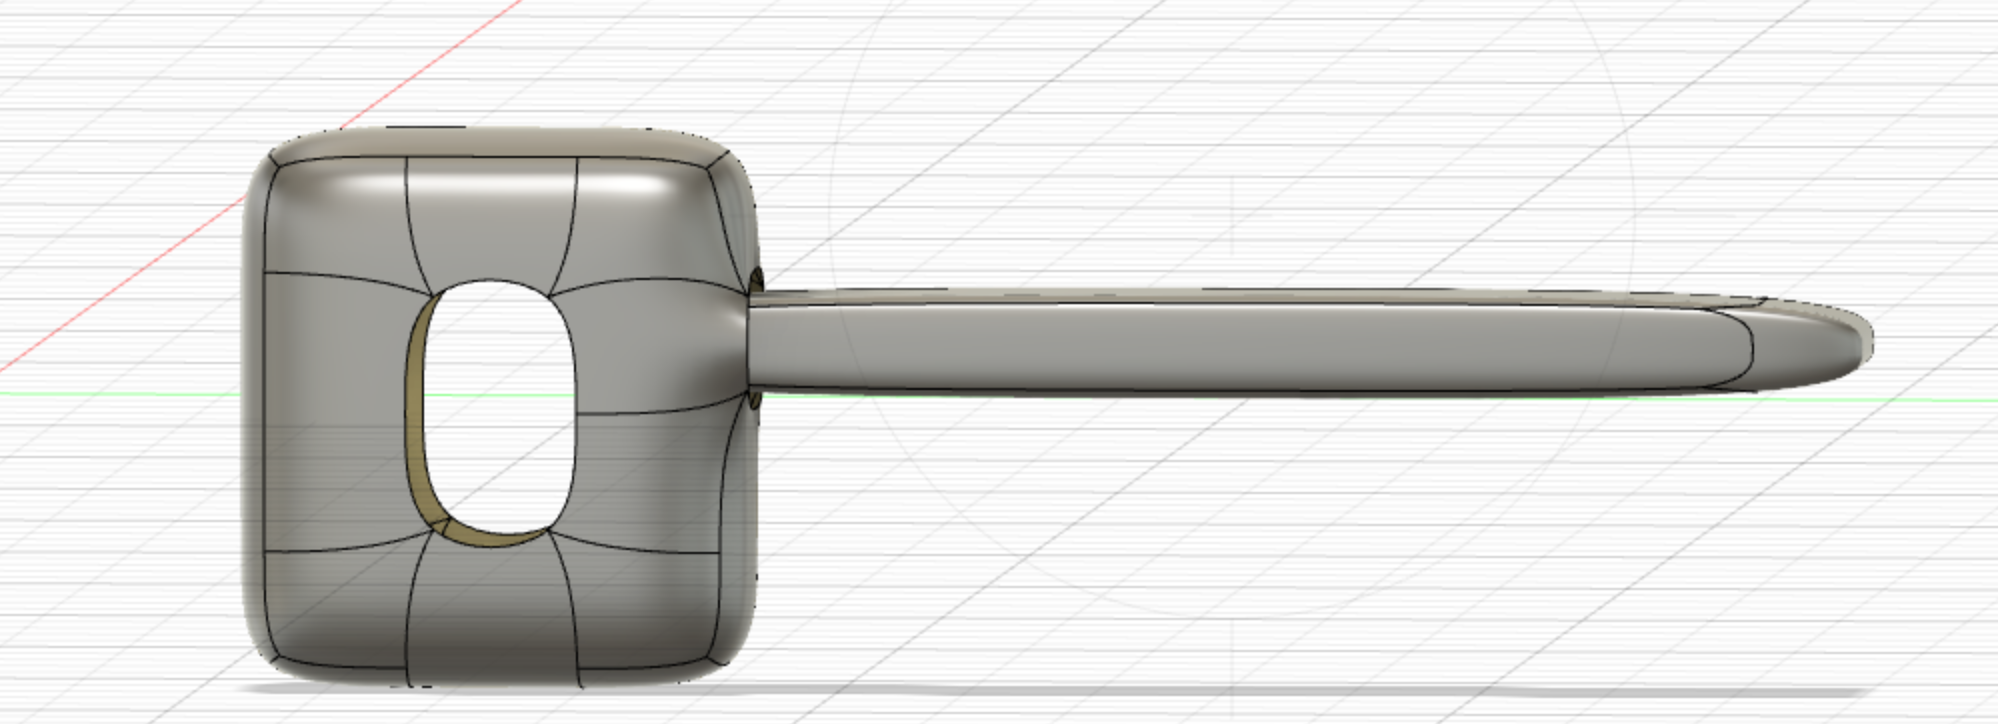
Finally, add a big square at the end of the rectangle as shown in the photo by the blue square and this will be to grab the door as you open it and this will be your final product the square should be about 5 to 6 cm long and 4 to 5 cm wide.
Step 6
You can go ahead and print your new device!
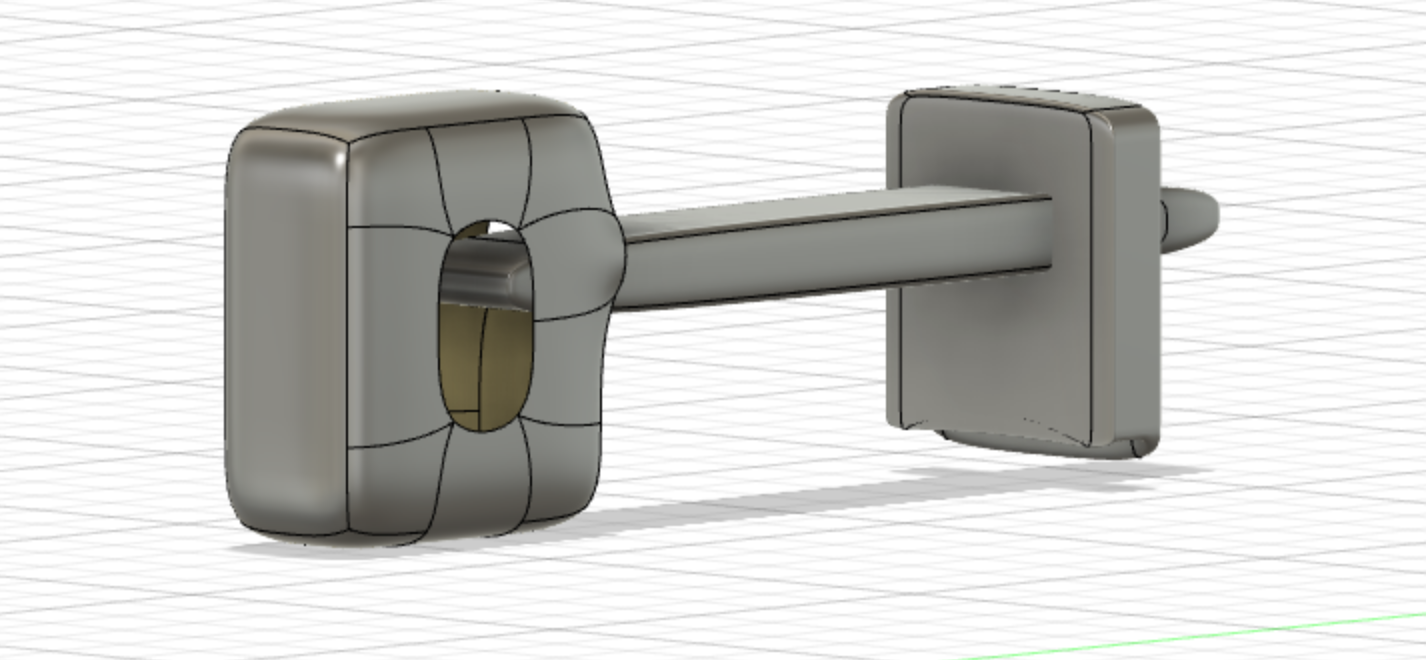
Final Product
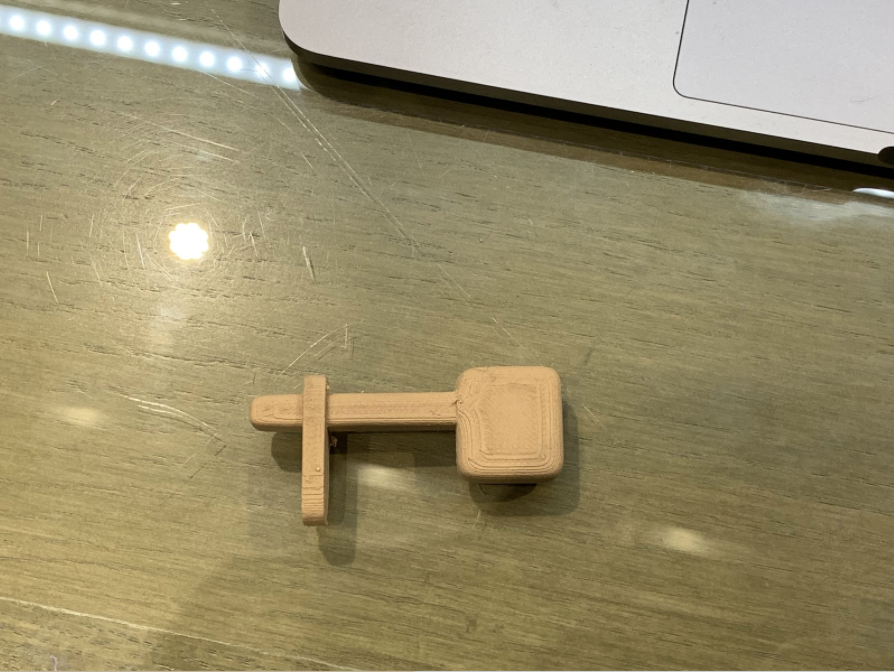
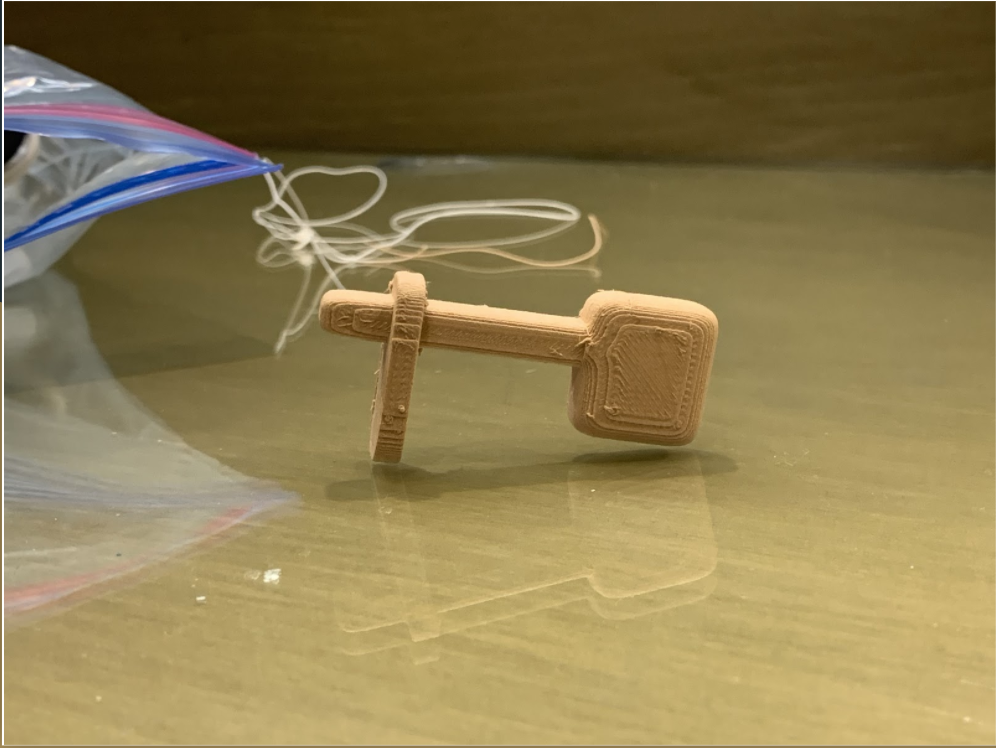
I removed the whole for your finger but you can keep it if you want to.